


Vailly Seafury 90 inch - new wing build
 12-13-2016, 12:59 PM
#26

thanks F4U5
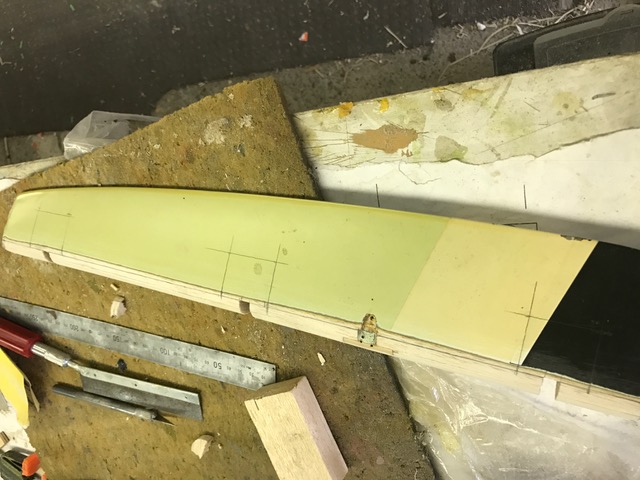
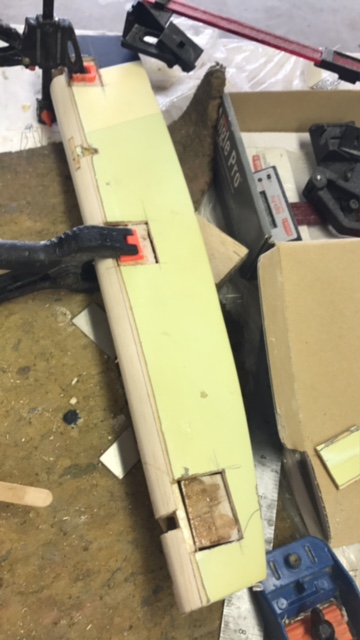
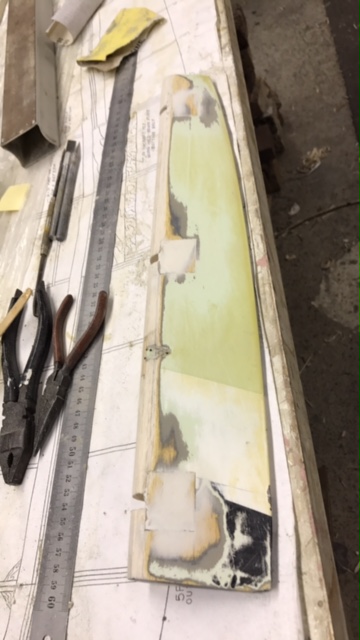
I crashed this one about 4 years ago and needed to build a new wing. Fuz is fine thank fuly, new prop to be fitted.
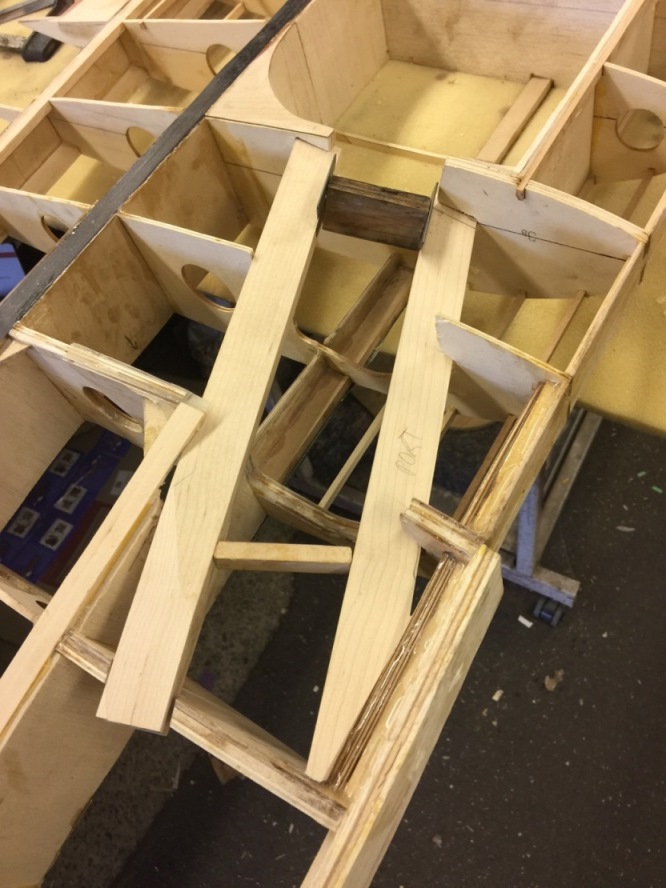
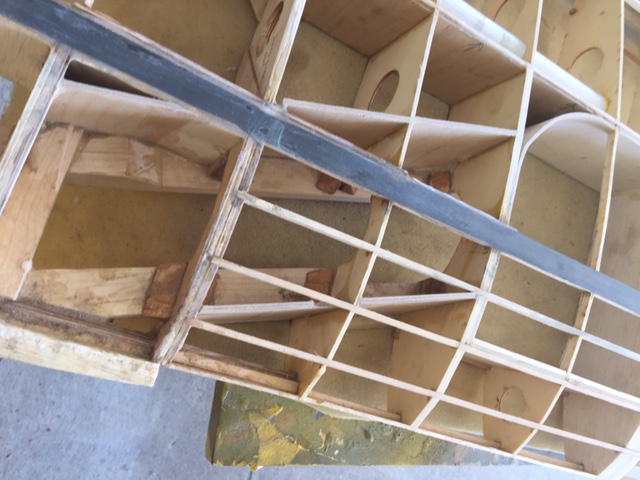
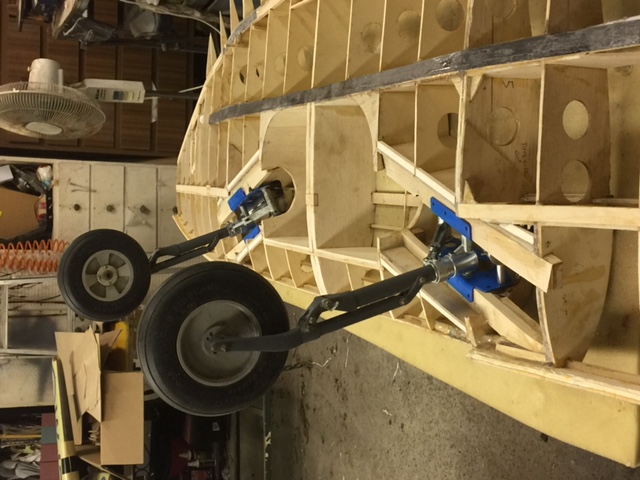
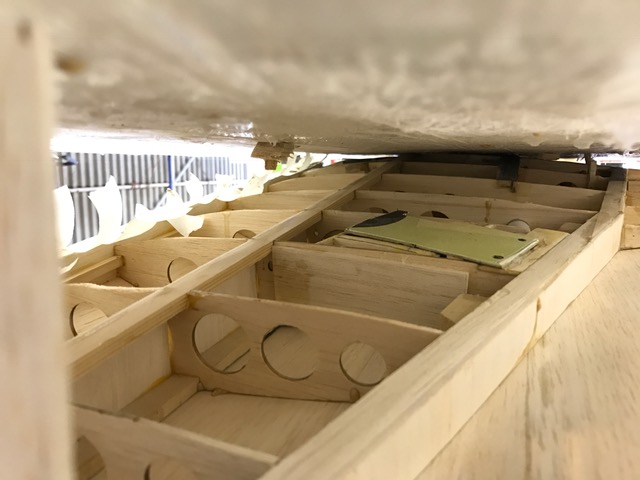
Port side gear rails now in place. Will do a bit of reinforcing here and there using triangle stock.

I crashed this one about 4 years ago and needed to build a new wing. Fuz is fine thank fuly, new prop to be fitted.
Port side gear rails now in place. Will do a bit of reinforcing here and there using triangle stock.
 12-14-2016, 02:00 PM
#27
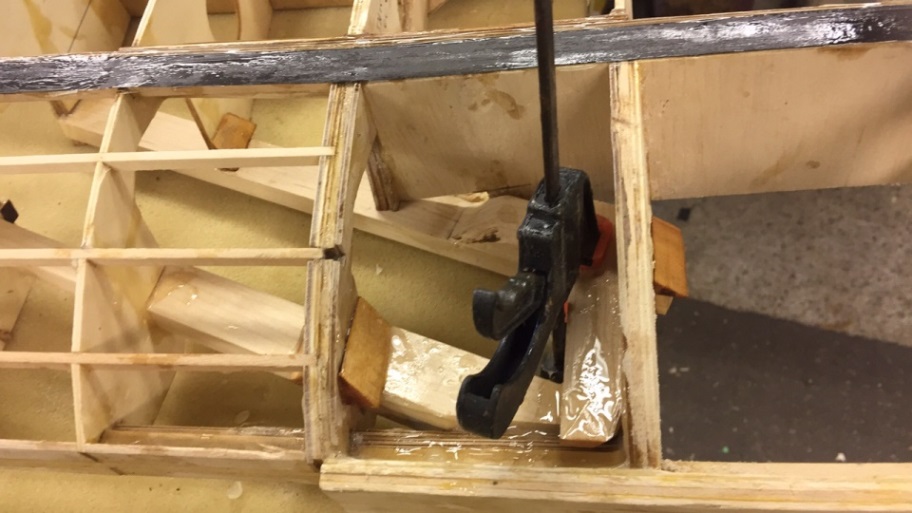
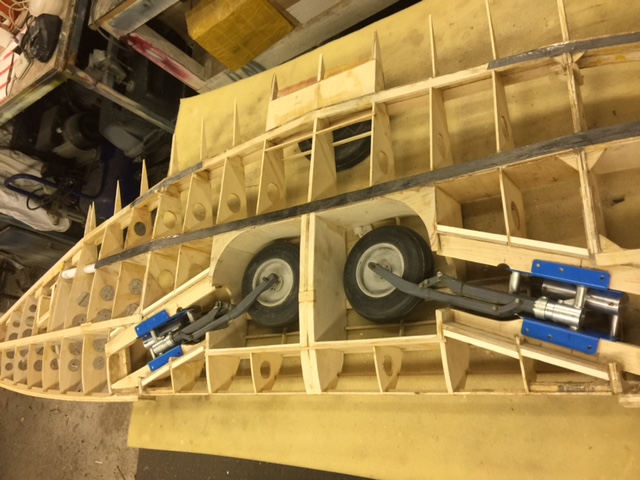
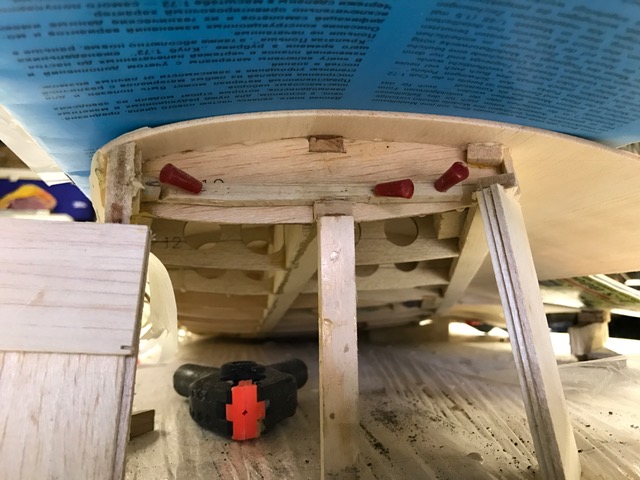
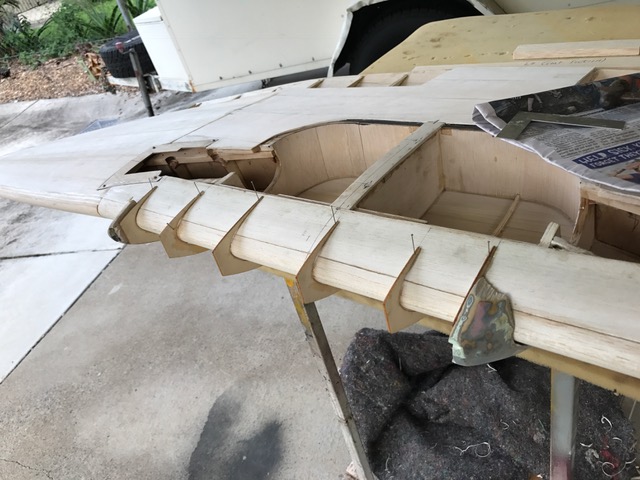
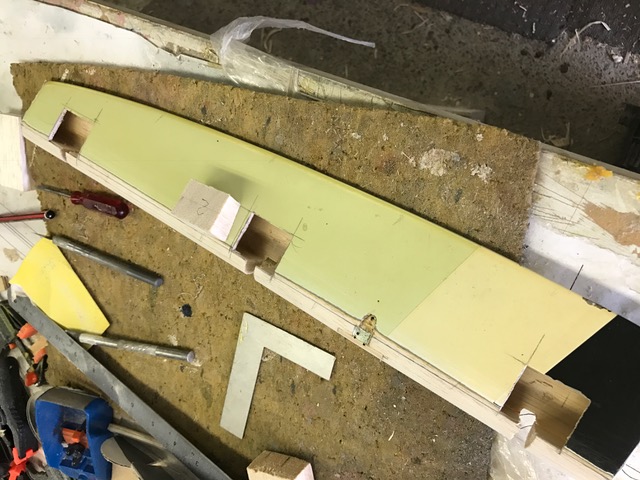
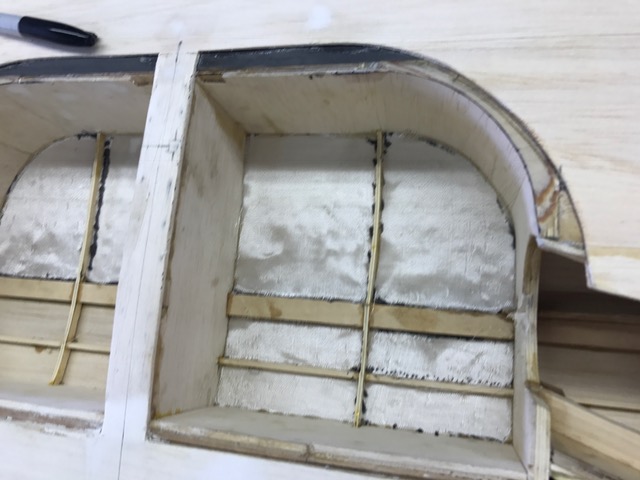
Both sets of gear rails are now in and I have started reinforcing where they meet the ribs. See photos. Might be a bit of overkill but it is a high stress area on this wing.
Stb side is all done and will epoxy the triangle pieces on port side tonight. They are all cut ready.
Next step will be the 1/8th ply sheer webbing for the gear rails.
Cheers
PN
Stb side is all done and will epoxy the triangle pieces on port side tonight. They are all cut ready.
Next step will be the 1/8th ply sheer webbing for the gear rails.
Cheers
PN
12-15-2016, 04:21 PM
#28
anyway got more progress done last night, been putting in about 3 hours per evening so far and enjoying the quiet time in cool of night pottering. At least I don't have a wife, partner, GF to nag and annoy me these days about how much time I spend or how many $$!! 
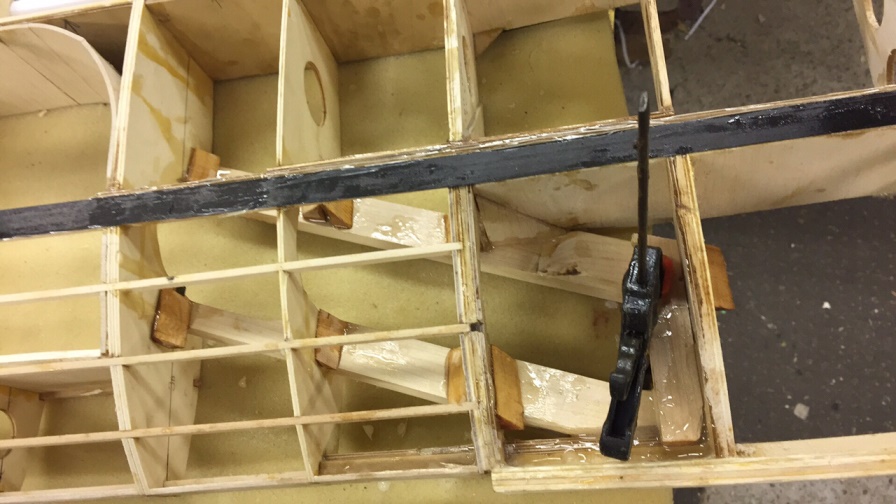
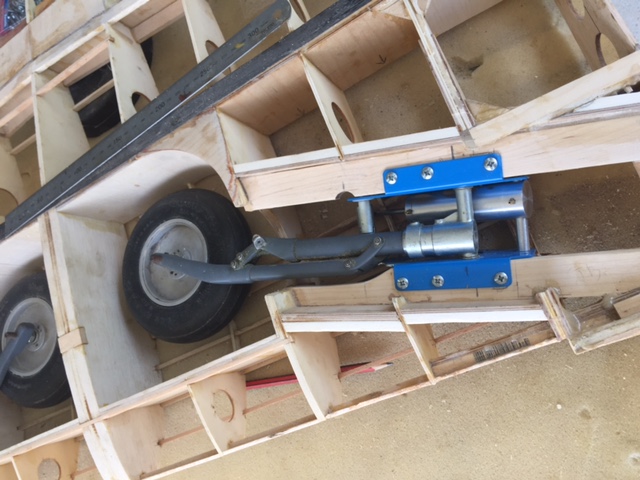
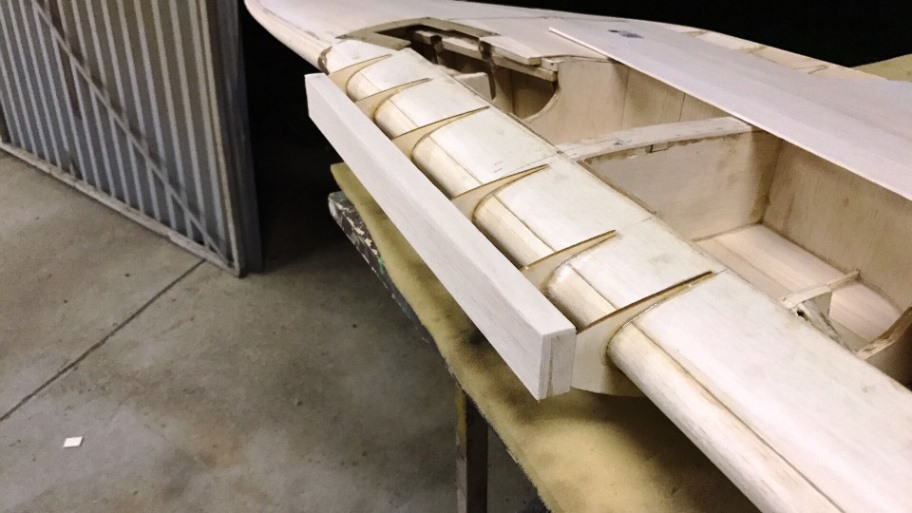
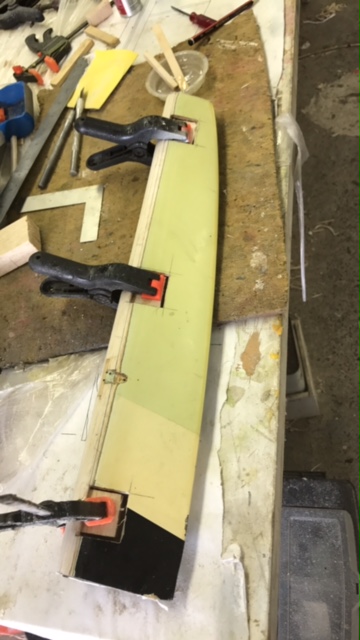
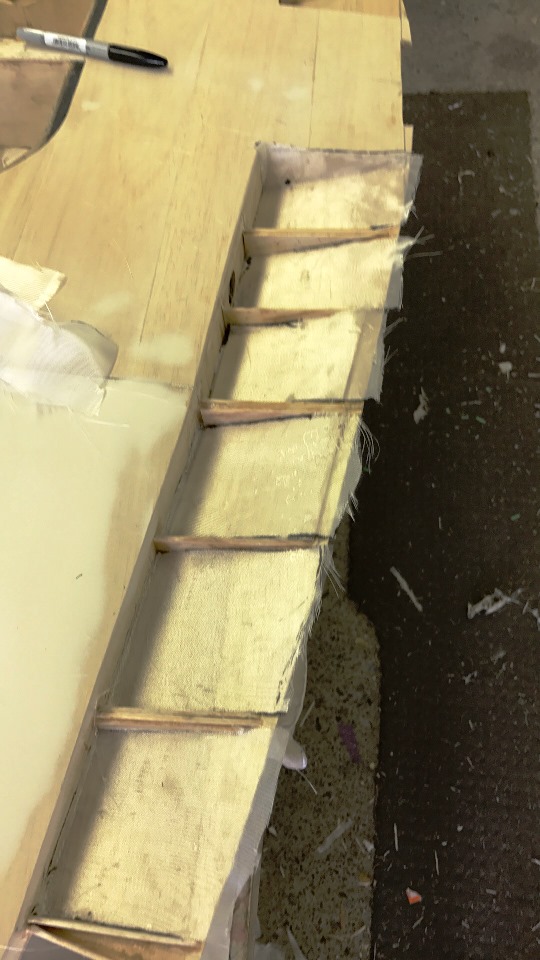
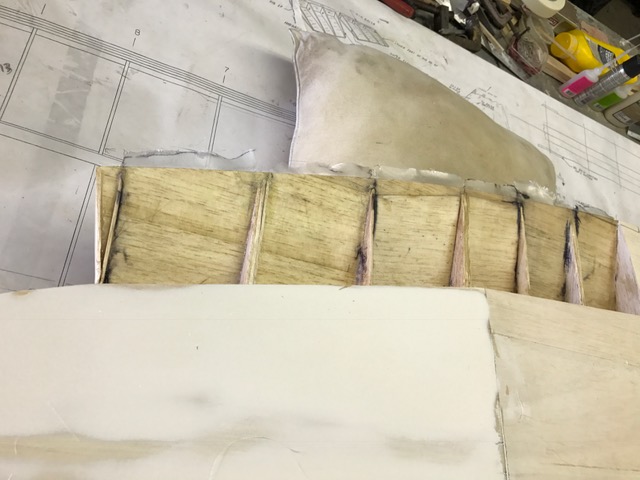
Started fitting the 1/8th ply sheer webbing to the rear of the gear rails. Quite involved and the front ones more so as they have to fit over the stringers in the front. Will have a crack at those tonight. Unless the cricket distracts me . . .
Started fitting the 1/8th ply sheer webbing to the rear of the gear rails. Quite involved and the front ones more so as they have to fit over the stringers in the front. Will have a crack at those tonight. Unless the cricket distracts me . . .
12-18-2016, 01:24 PM
#29
Busy weekend of working in the shed in between watching the cricket!
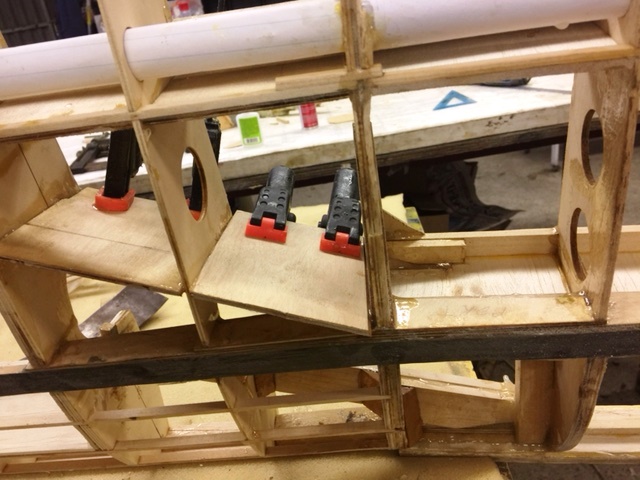
Ply sheer webs to the gear rails done with balsa doubler at the top edge only, all sanded / bled back to the rib profile.
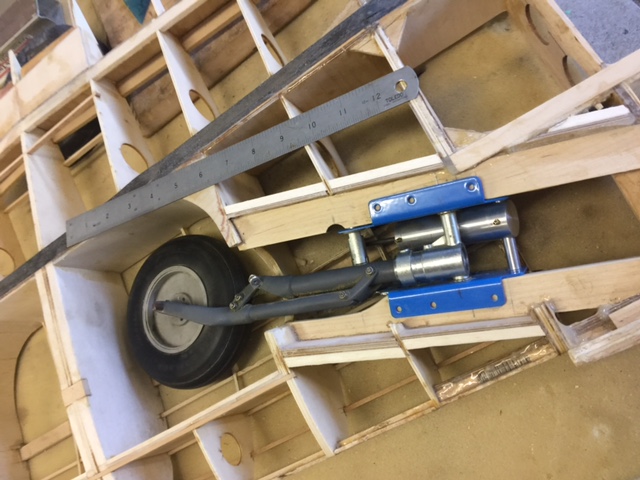
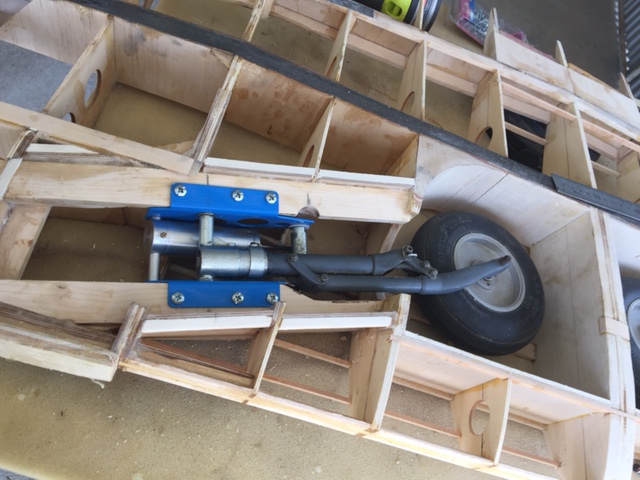
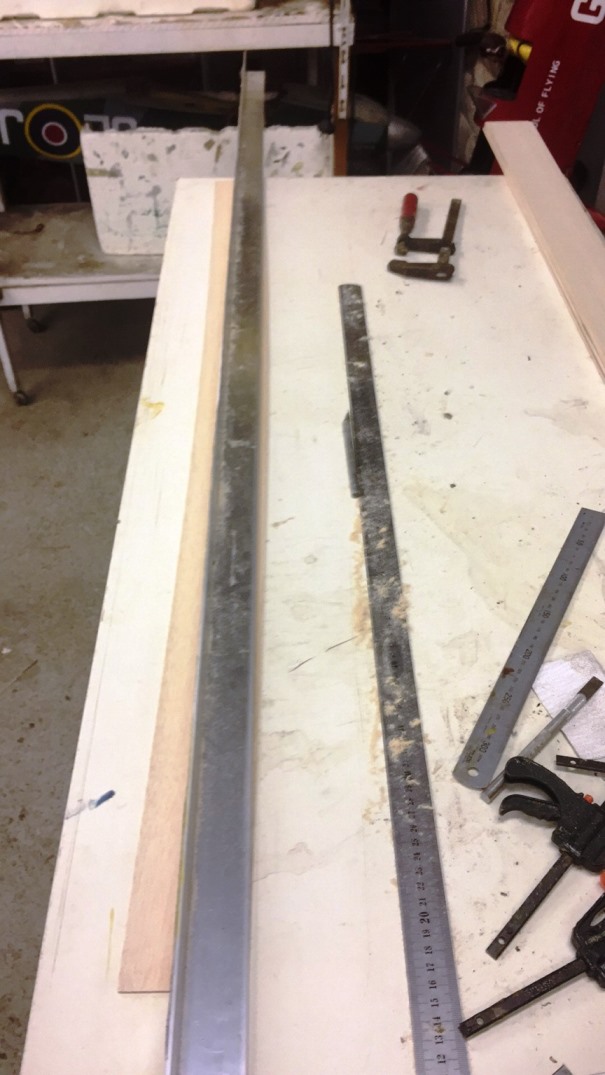
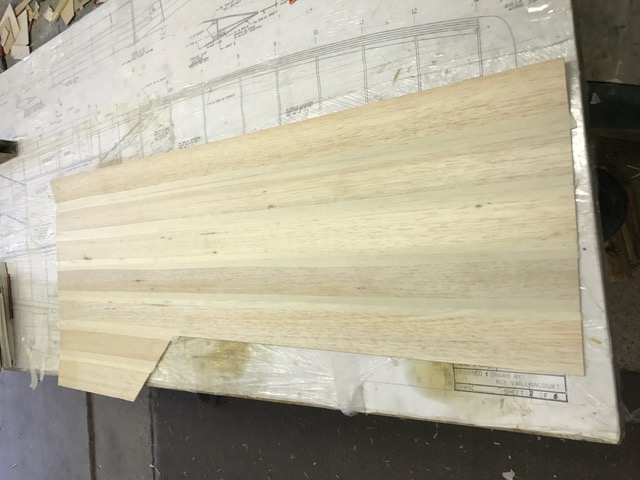
Retracts are in and I have straight edge trimmed the 3/32 sheets. Some were bloody awful and ended being 2/3 of original width.
At least I do not have to make new flaps and ailerons, just reuse the ones from the old wing.
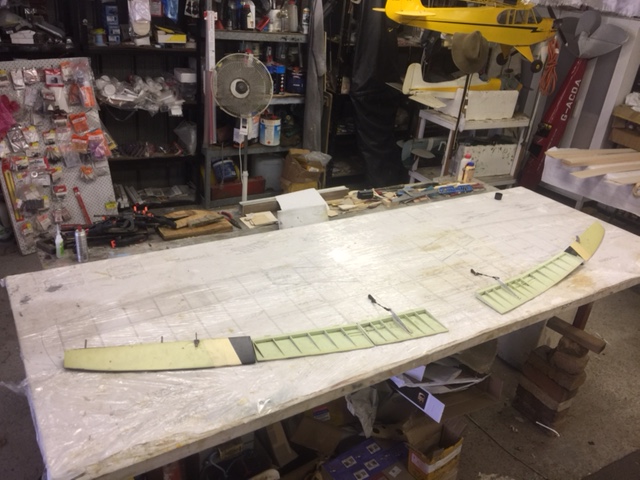
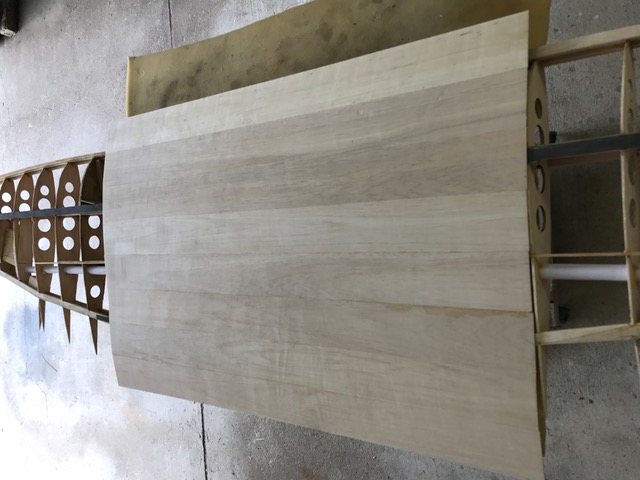
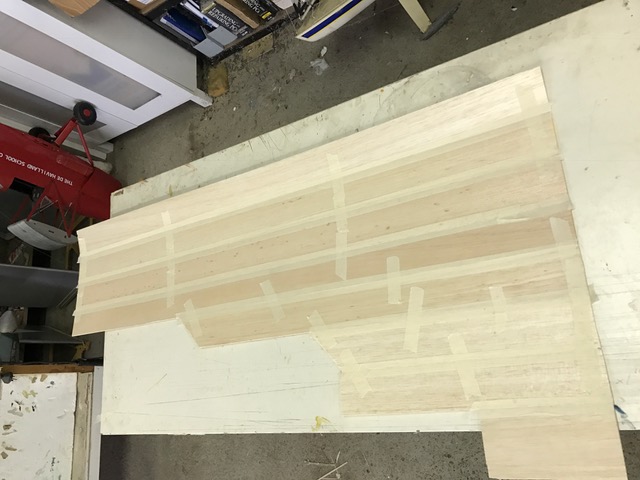
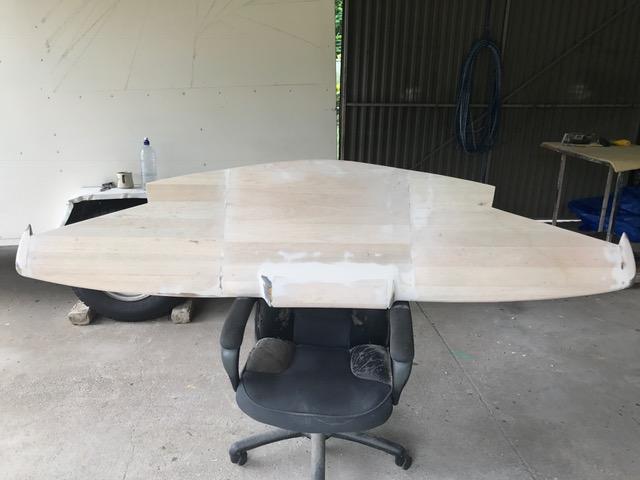
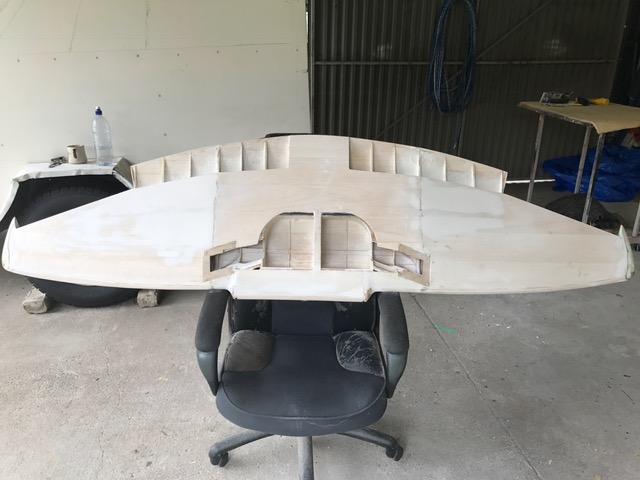
I have created the first skin for the centre section and will start to get it trimmed to fit during the week.

Ply sheer webs to the gear rails done with balsa doubler at the top edge only, all sanded / bled back to the rib profile.
Retracts are in and I have straight edge trimmed the 3/32 sheets. Some were bloody awful and ended being 2/3 of original width.
At least I do not have to make new flaps and ailerons, just reuse the ones from the old wing.
I have created the first skin for the centre section and will start to get it trimmed to fit during the week.
12-21-2016, 02:20 PM
#30
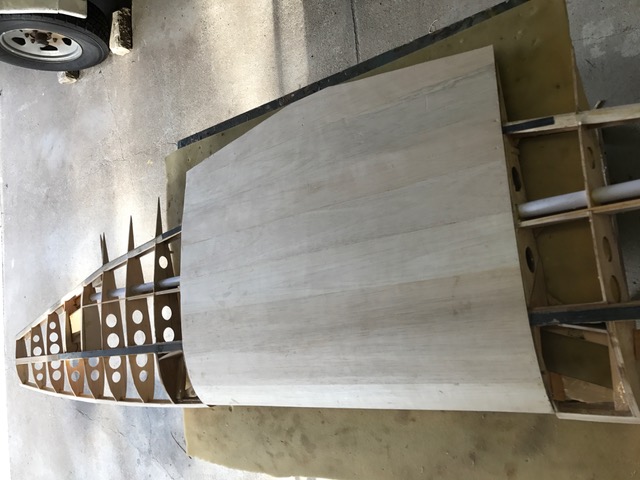
Went to make a start on the top centre sheeting only to find I had missed applying titebond to one of the sheets right in the middle of the skin.
Fixed that up and weighed the skin back down.
Will have a crack again tonight. Getting a new iPhone 7 plus after work so will be getting that up and running first.
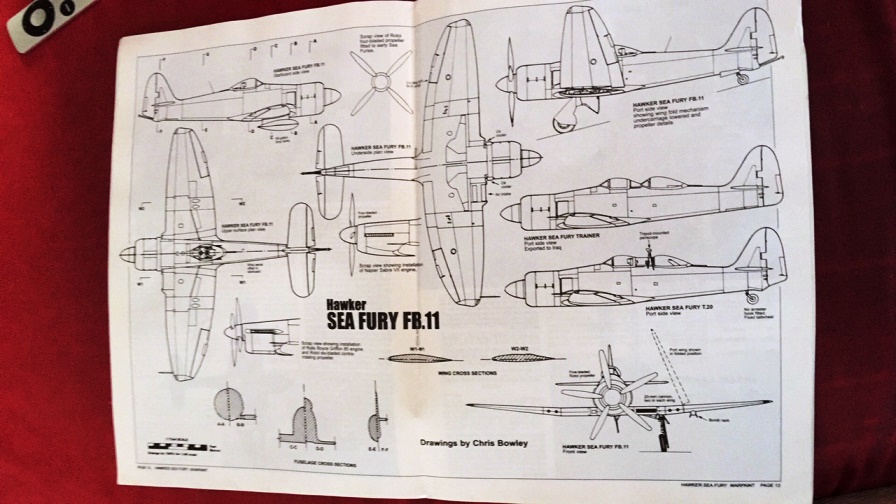
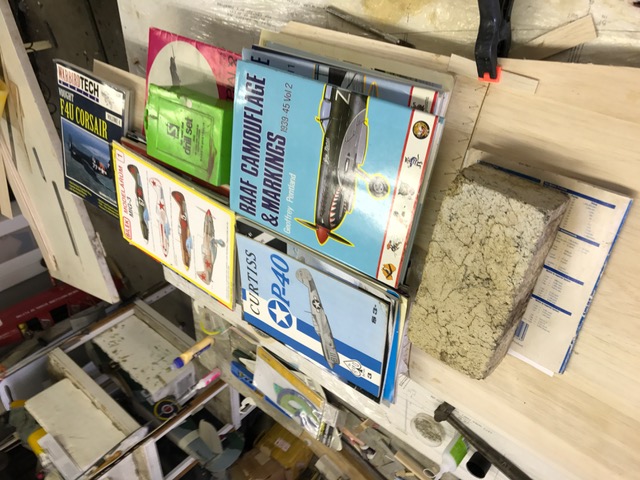
Found my Seafury Warpaint series book so now have the 3 view to use for panel lines. This model was not heavily detailed in the rst place and I will only be applying the main wing panel lines, no rivets.
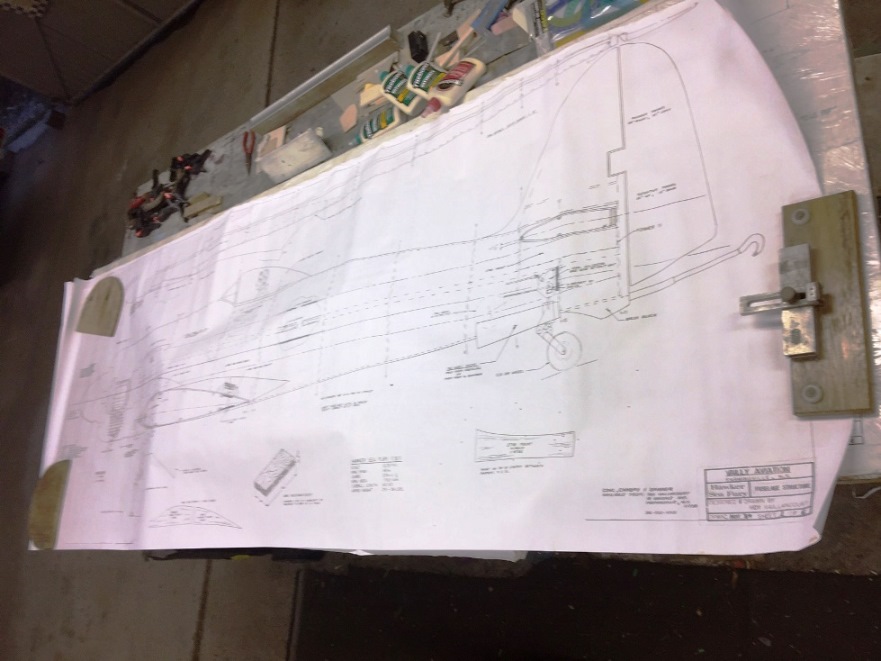
Also found that I had the complete plans for this bird, laid them on the bench and on paper is is a bloody large model. Glad I do not have to build the fuz!
Will keep my OCD tendecies in check for once.
On leave from close of today for 17 days and soooo looking forward to it.
Merry Christmas to all
cheers
PN !
Fixed that up and weighed the skin back down.
Will have a crack again tonight. Getting a new iPhone 7 plus after work so will be getting that up and running first.
Found my Seafury Warpaint series book so now have the 3 view to use for panel lines. This model was not heavily detailed in the rst place and I will only be applying the main wing panel lines, no rivets.
Also found that I had the complete plans for this bird, laid them on the bench and on paper is is a bloody large model. Glad I do not have to build the fuz!
Will keep my OCD tendecies in check for once.
On leave from close of today for 17 days and soooo looking forward to it.
Merry Christmas to all
cheers
PN !
 12-27-2016, 02:22 PM
#33
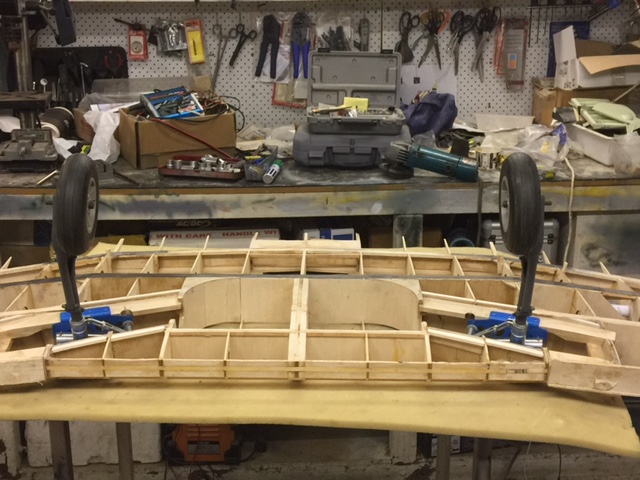
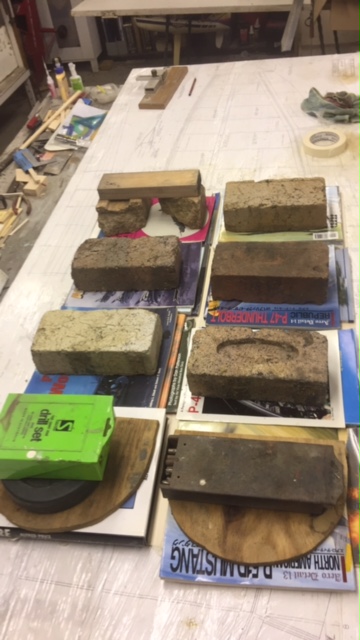
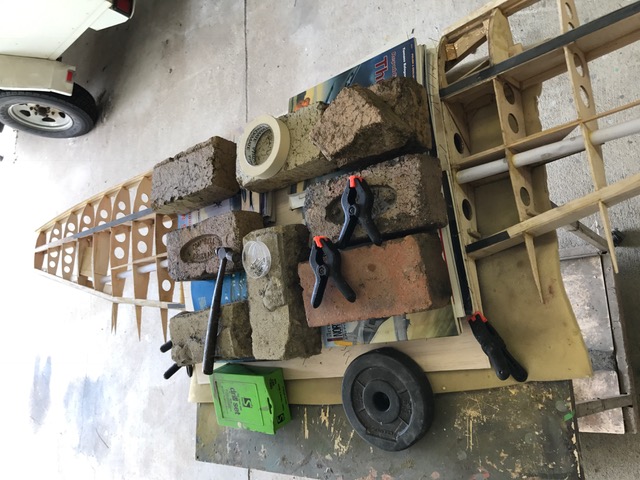
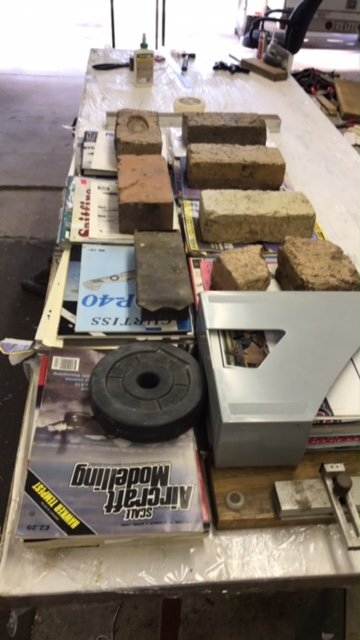
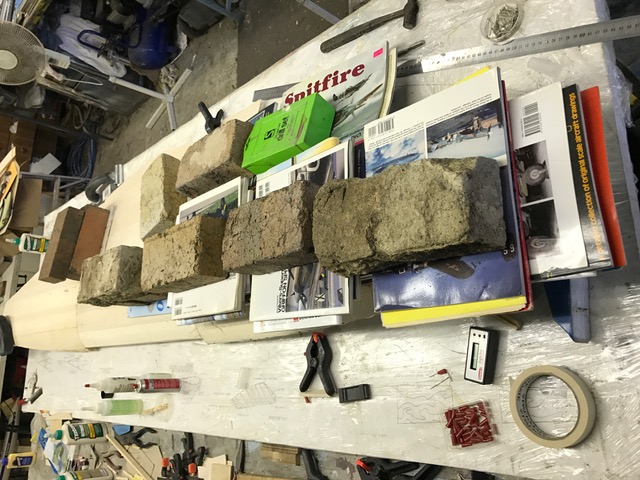
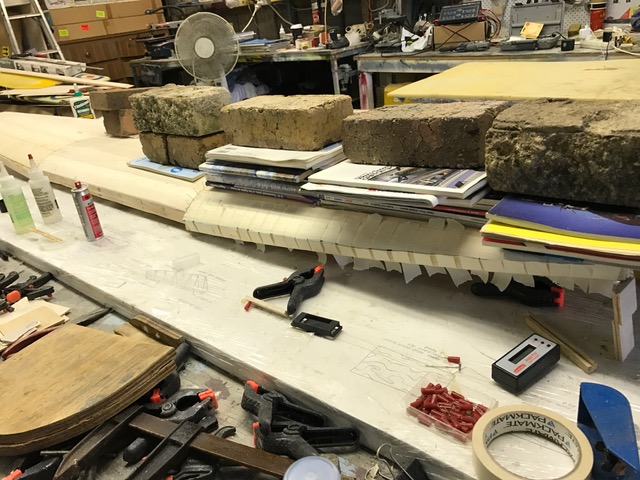
Indeed F4U!!, they work well! I would have liked some bags of shot but over here you need a gun licence to buy that stuff. Bags of builders sand would also work but as I had lots of magazines and bricks laying about ....
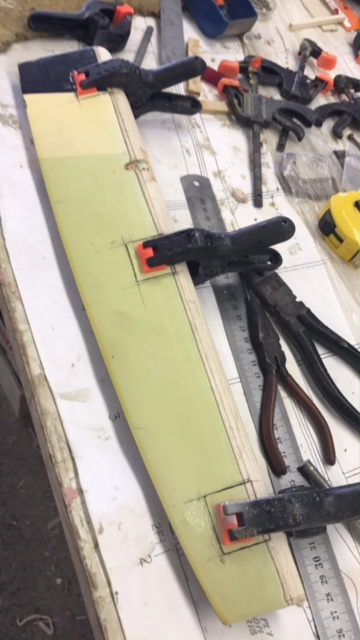
I have a small error with starboard wing tip being about 5mm higher than it should be. Not sure how I stuffed that up but I have it all weighted down and hoping to eliminate that error. If not I can live with it and a little trim on aileron should correct and flight issues though that amount of extra dihedral won't be noticeable I would suggest.
I have a small error with starboard wing tip being about 5mm higher than it should be. Not sure how I stuffed that up but I have it all weighted down and hoping to eliminate that error. If not I can live with it and a little trim on aileron should correct and flight issues though that amount of extra dihedral won't be noticeable I would suggest.
12-30-2016, 05:02 AM
#34

My Feedback: (71)
Looking great there planenutzz.
VA Sea Fury is a great flying machine.
Mine came out pretty heavy at 40 lbs, but the 3W 80cc twin has enough power to pull it around. Probably flies it around at 85mph, not fast but respectable.
Had to put a ton of lead up front to balance this beast, even though 3w is pretty heavy engine already. I like the G80 twin option if I had one.
I had to baffle the engine compartment to provide enough cooling in mine during the hot summer.
My engine overheated and deadstick on me couple times before the baffling solved the problem.
01-05-2017, 04:02 PM
#35
I have a Zenoah GT-80 twin with electronic ignition and it flies very well with ample authority at 42lbs. Have been pretty busy with the wing over the last 2 weeks as I am on leave. Had one almost major problem. We had a thunderstorm here with very heavy rain and the shed leaked, of course right on top of the wing. Came out next morning to find severely warped sheeting. Couple of hours with a hair dryer and carefully easing the sheeting back down saw most of it settle.
Weighted the sheet down with magazines overnight and that cured the rest.
Opened up the trailing edge and dribble CA down along the ribs while applying pressure and that fixed the lifted sheet issue.
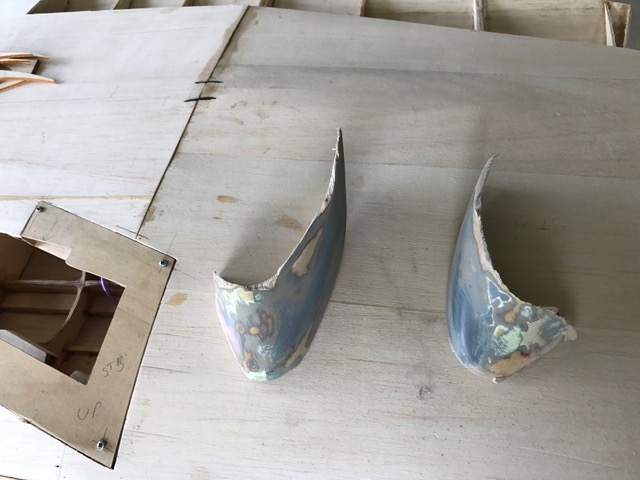
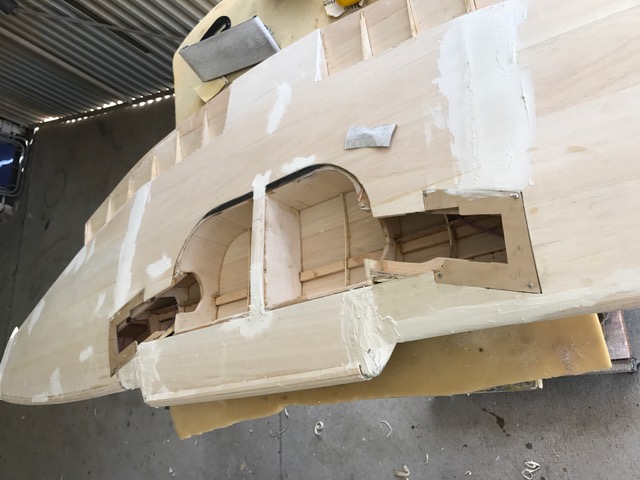
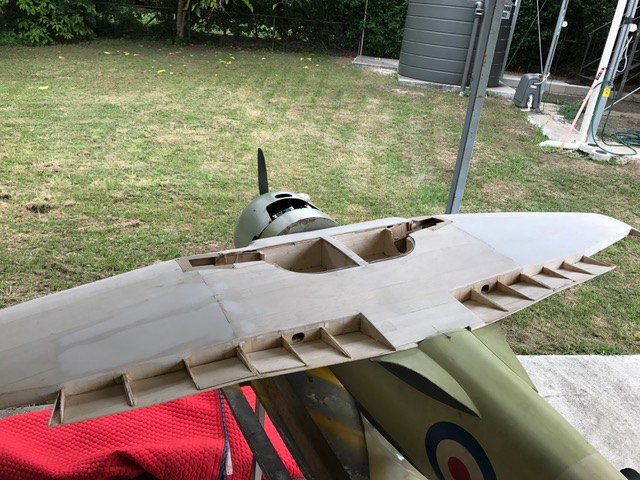
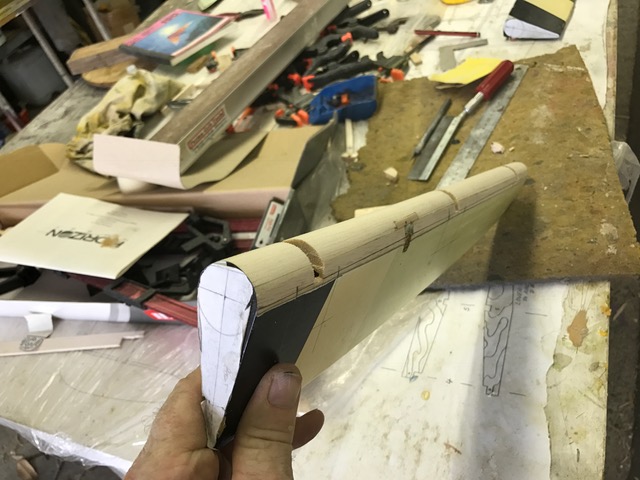
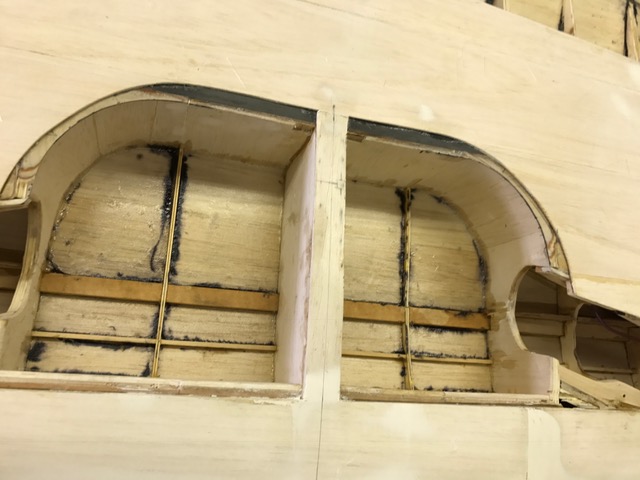
Spent all of yesterday doing the retract access panels and quite pleased with how they turned out.
Leading edge shaping and the centre radiator section are the next jobs.


Weighted the sheet down with magazines overnight and that cured the rest.
Opened up the trailing edge and dribble CA down along the ribs while applying pressure and that fixed the lifted sheet issue.
Spent all of yesterday doing the retract access panels and quite pleased with how they turned out.
Leading edge shaping and the centre radiator section are the next jobs.
01-08-2017, 04:08 PM
#36
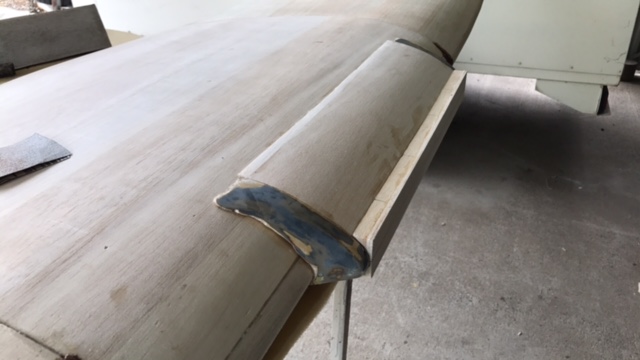
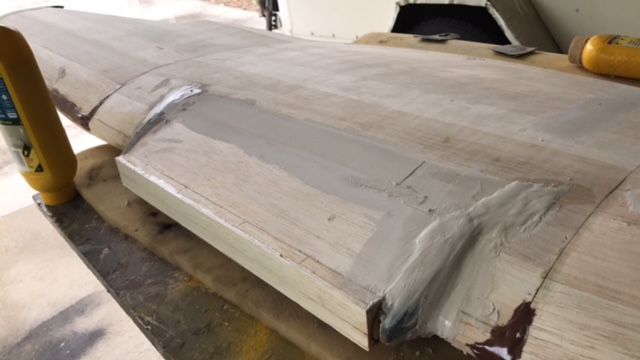
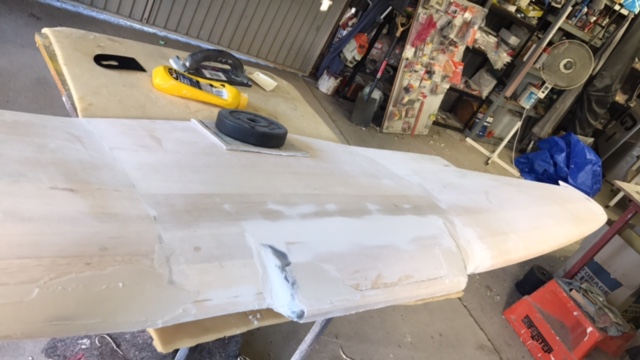
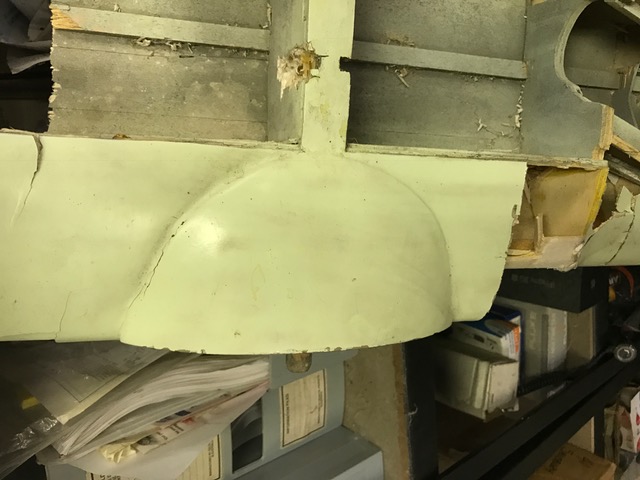
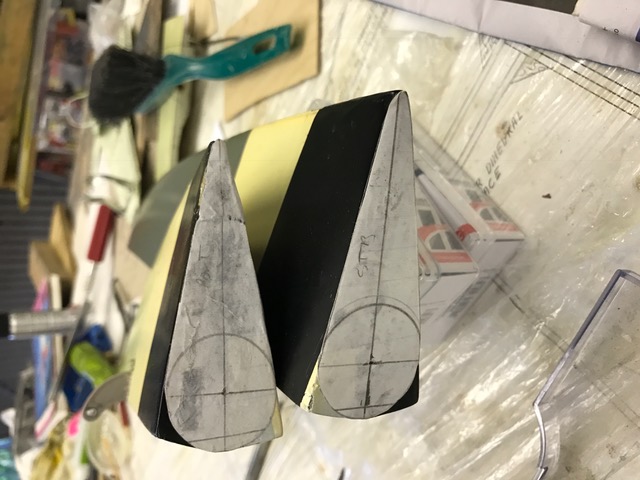
Oil cooler fairing done, just the final shaping to be done with filler. I have used a spackle but thinking it may not be robust enough. Will do some sanding and see how it feels, if I am not happy with it I will sand it all out and use epoxy / micobaloons. I know that works but is a pain to sand.I have reused the shaped balsa fillets from the old wing too, saves a bit of work.
01-15-2017, 01:05 PM
#37
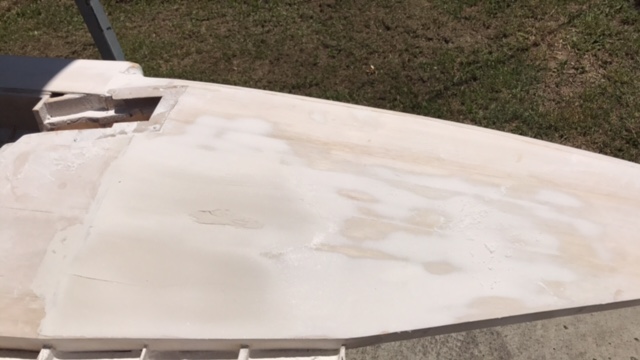
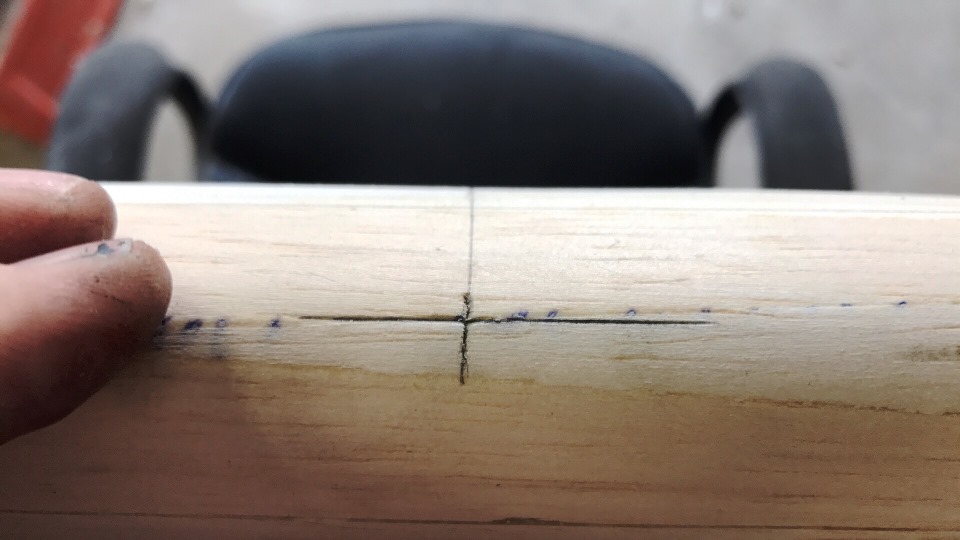
Well I am pretty much at glassing stage now. Will do a light sand with 360 and 600, air dust it then glass.Location for centre pin has been marked using references from the fuselage.
The centre peg & hold down holes will be drilled after glassing.
Fore and aft belly pan fillets will be added after glassing and final wing mating.
I'll be scavenging the front belly pan off the old wing but need to make a new one for the rear, not a big job.
Leading edge radiators to be done, 20mm cannon fairings to be scavenged from old wing and fitted. Same for the barrels.
01-22-2017, 02:31 PM
#38
Progress report.Worked on the ailerons on Saturday radiusing the lead edge. Thought I would have to splice some 1/2 stock onto them but did not in the end which pleased me no end.
I did have to open up the bottoms and epoxy bals blocks in for the hinges as the original builder did not have those and very little substance to support the robart hinge points.
Quite pleased with how they turned out.
Next job will be to put some 2 oz cloth in the gear wells and the flap trailing edge sections. Once that is done I will dummy fit the flaps and ailerons priot to glassing the wing.
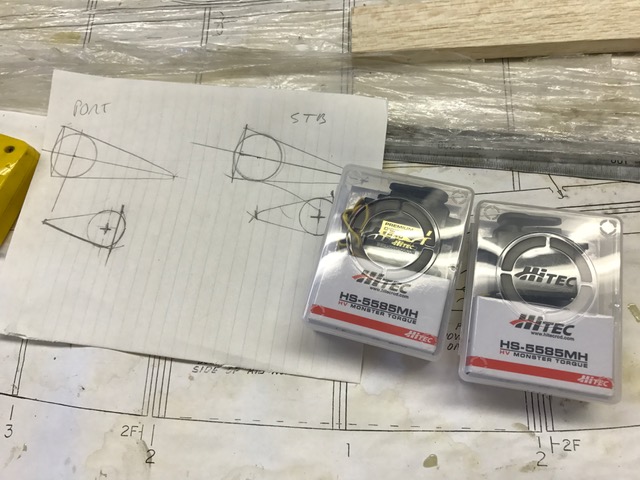
Got my new flap servos too Hitec HS-5585MH 14kg torque @ 6V. Much gruntier than the old HS-645 which were 9kg torgue and eally struggled with the flaps, kept getting blow back.
cheers
P
I did have to open up the bottoms and epoxy bals blocks in for the hinges as the original builder did not have those and very little substance to support the robart hinge points.
Quite pleased with how they turned out.
Next job will be to put some 2 oz cloth in the gear wells and the flap trailing edge sections. Once that is done I will dummy fit the flaps and ailerons priot to glassing the wing.
Got my new flap servos too Hitec HS-5585MH 14kg torque @ 6V. Much gruntier than the old HS-645 which were 9kg torgue and eally struggled with the flaps, kept getting blow back.
cheers
P
01-30-2017, 05:29 PM
#39
Some progress but aalso a potential setback.Glassed the wheel & flap wells as well as the aileron leading edges.
I stuffed up the mixing ratio of the LC3600 resin which is supposed to be 100mL to 33mL ratio.
As I was only mixing up 30mL of resin I should have added about 10mL of hardener but only added 1mL.
Will check it tonight when I get home from work, given the ehat we are having it might cure. If it doesnt look like it is going to I will have to pull it all off and clean with metho and start that bit again.
Fingers crossed
02-01-2017, 08:31 PM
#40
Well the resin did not go off at all but I did a little test by brushing on a thin coat of hardener to one of the flap bays. After an hour it was curing nicely. I have now brushed on hardner to all of the other areas in the flap and gear wells.
Will leave it a few days then see how it looks.
Will leave it a few days then see how it looks.
06-18-2017, 01:26 PM
#41
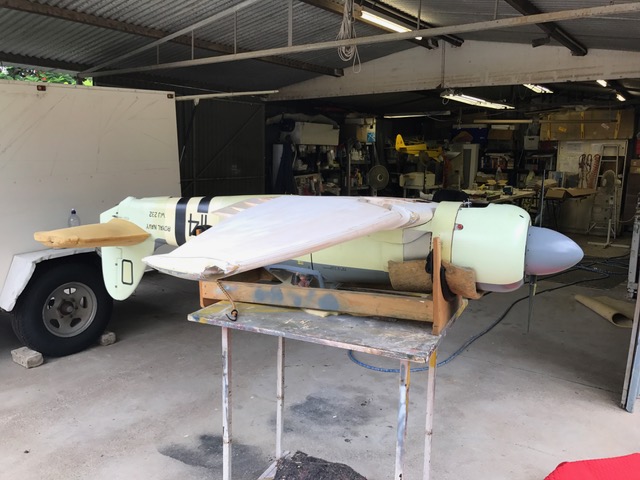
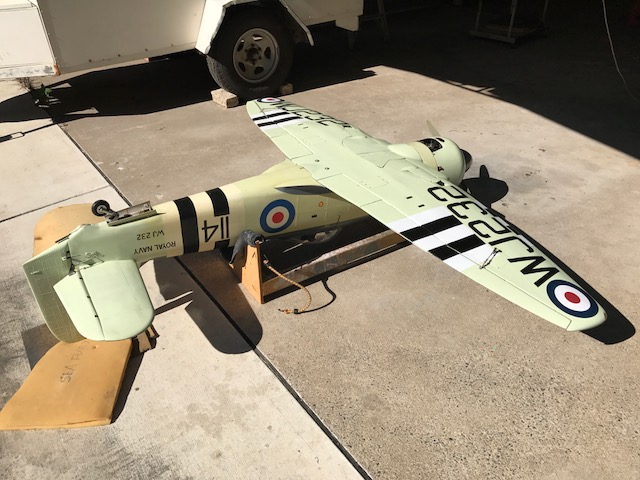
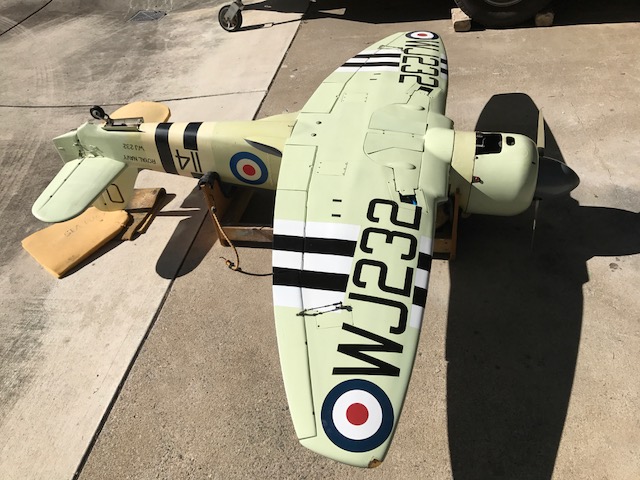
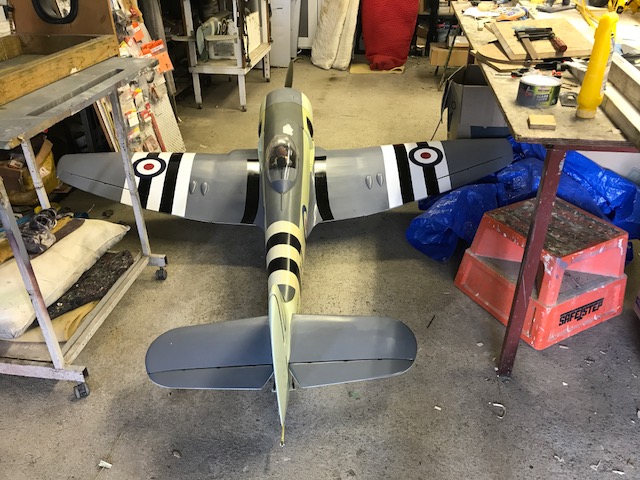
She is ready for engine runs. Was hoping to do those today but ran out of time Anyway.
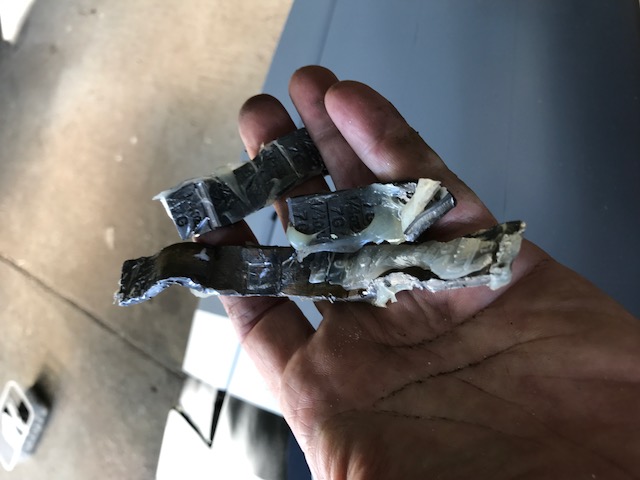
Did the balance and weight checks. Ended up pulling a bit of lead out, maybe 3/4 lb. Just as well as the AUW has increased to 20kg/ 44lbs!! It was 42lbs before. Considering all the reinforcing I did with this wing that is not a bad result and I'm quite happy with it.
I think it was a fair bit nose heavy before which is why I was having so much trouble landing it. Could not get nose up coming in over the threshold then it would rear up as the elevators finally got a purchase.
It will handle the weight ok.
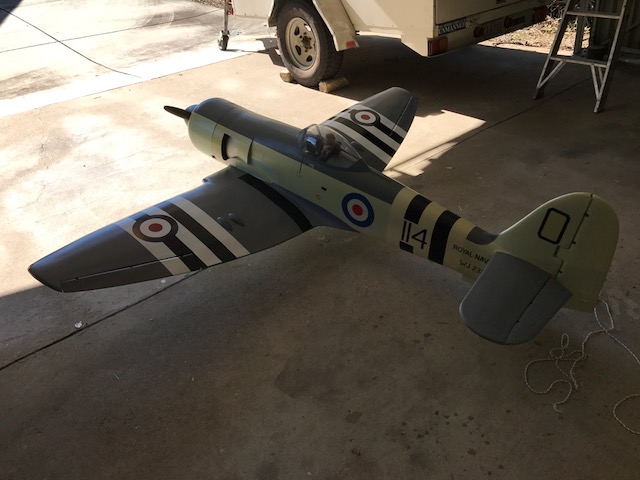
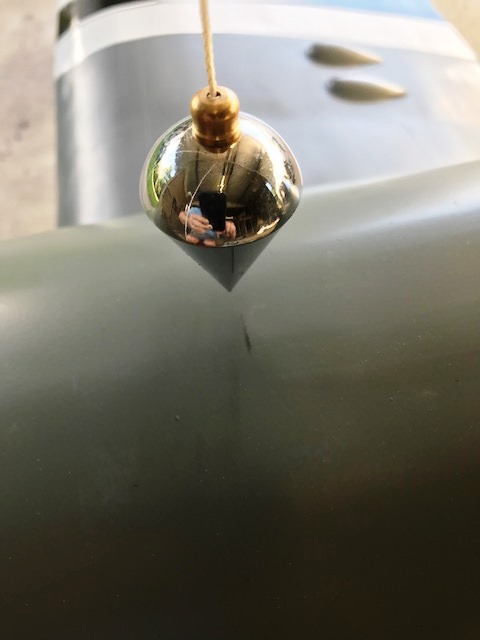
A few photos and videos too


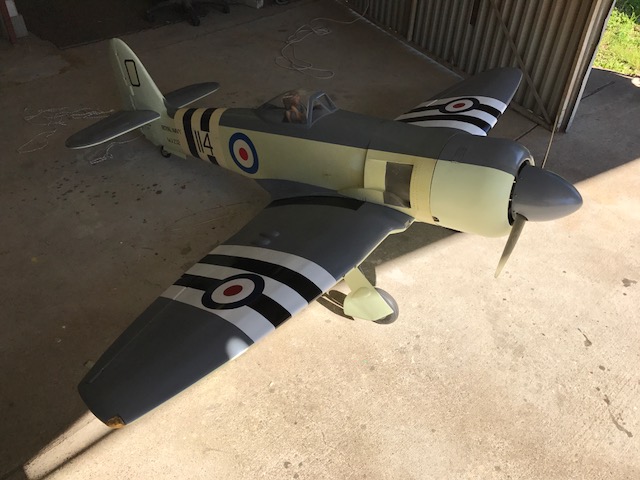
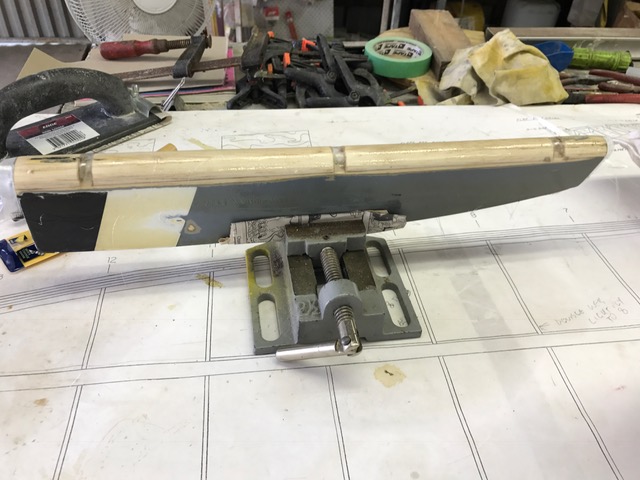
In the Vanessa Rig for CG checks.
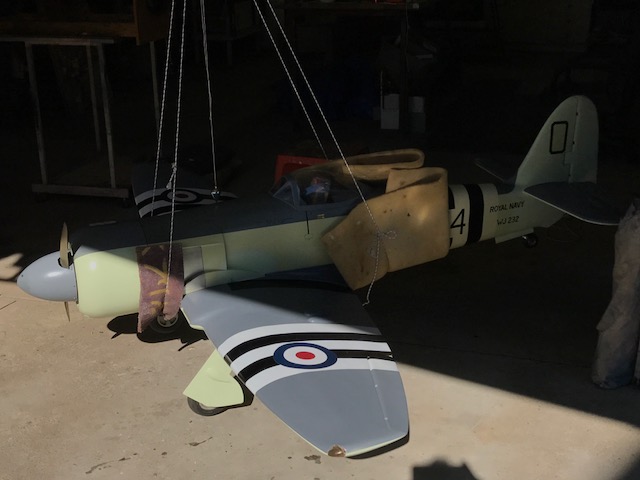
That looks close enough. It was wobbling about a little while taking the photo.
Lead I removed from the nose.
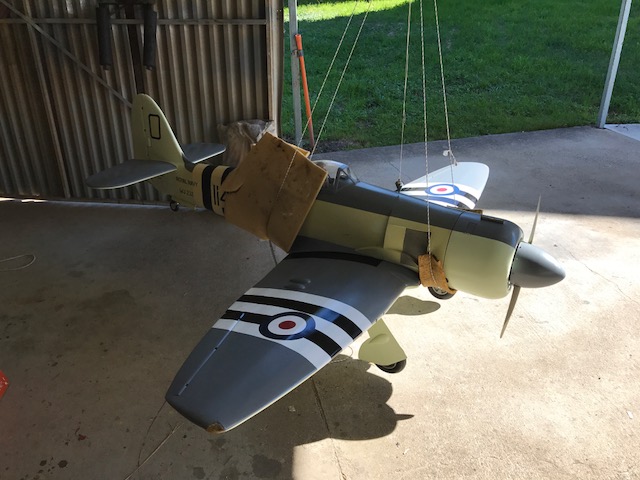
Safely in the hanger.
Did the balance and weight checks. Ended up pulling a bit of lead out, maybe 3/4 lb. Just as well as the AUW has increased to 20kg/ 44lbs!! It was 42lbs before. Considering all the reinforcing I did with this wing that is not a bad result and I'm quite happy with it.
I think it was a fair bit nose heavy before which is why I was having so much trouble landing it. Could not get nose up coming in over the threshold then it would rear up as the elevators finally got a purchase.
It will handle the weight ok.
A few photos and videos too
In the Vanessa Rig for CG checks.
That looks close enough. It was wobbling about a little while taking the photo.
Lead I removed from the nose.
Safely in the hanger.
