CARF SPITFIRE ASSEMBLY and SCALE DETAILING
 05-31-2018, 05:25 PM
#151

I will give that a go Bob , I could make some nice ragged edges with tape. I don't have much more I can do until the weather gets better . next will be to strip her down and paint , that gets done outside .I have never done a camo on a plane this big so I could use some help form anyone that's painted these big birds . The parts of the plane where they have taped off lines will be no problem but the over sprayed edges in the camo I am not to sure about . how are guys doing that . I red somewhere that one guy was making templates and spacing them 1/4 " off the surface to get just the correct amount of over spray . , other guys taping of the lines and air brushing the over spray in later ?? any advice welcome. cheers Roger .
 07-07-2018, 06:15 AM
#152

Join Date: Nov 2012
Location: , NY
Posts: 16
Likes: 0
Received 0 Likes
on
0 Posts
I am back build my Carf Spit with the Kolm. I am replicating some of yours and Brian�s scaling tips. Very helpful thanks!
07-07-2018, 06:22 AM
#153
Join Date: Nov 2012
Location: , NY
Posts: 16
Likes: 0
Received 0 Likes
on
0 Posts

Trim assemblies from Vailley Aviation in Long Island.

Used some wire to create a hinge as per Brian�s suggestion.

Finished product. Sanded and etched.
 10-20-2018, 04:39 PM
#156

Sorry guys I fell over and woke up at the flying field and could not find my way home . Short flying season here in Canada so you have to take advantage of every day LOL. Time to get building again though , went down to the basement to take a look and see if I can remember what I was doing . . I think I am going to have to read my own thread to get back up to speed ..
10-20-2018, 04:45 PM
#157
Little late here but if you haven't shot the paint yet... I think free-handing it is the best way to go. I lightly outline the pattern based off of historical photos in pencil then airbrush the lighter color first along the pencil lines followed by the darker color. It's really not that hard to do, you can overshoot as much as you want with the lighter color then nail it down accurately with the darker color. I also pre-shade the panel lines in black before my main/ base colors. This gives a more scale effect, just do multiple light coats around the pre-shading until the shading is coming through to your liking.
10-20-2018, 05:38 PM
#158
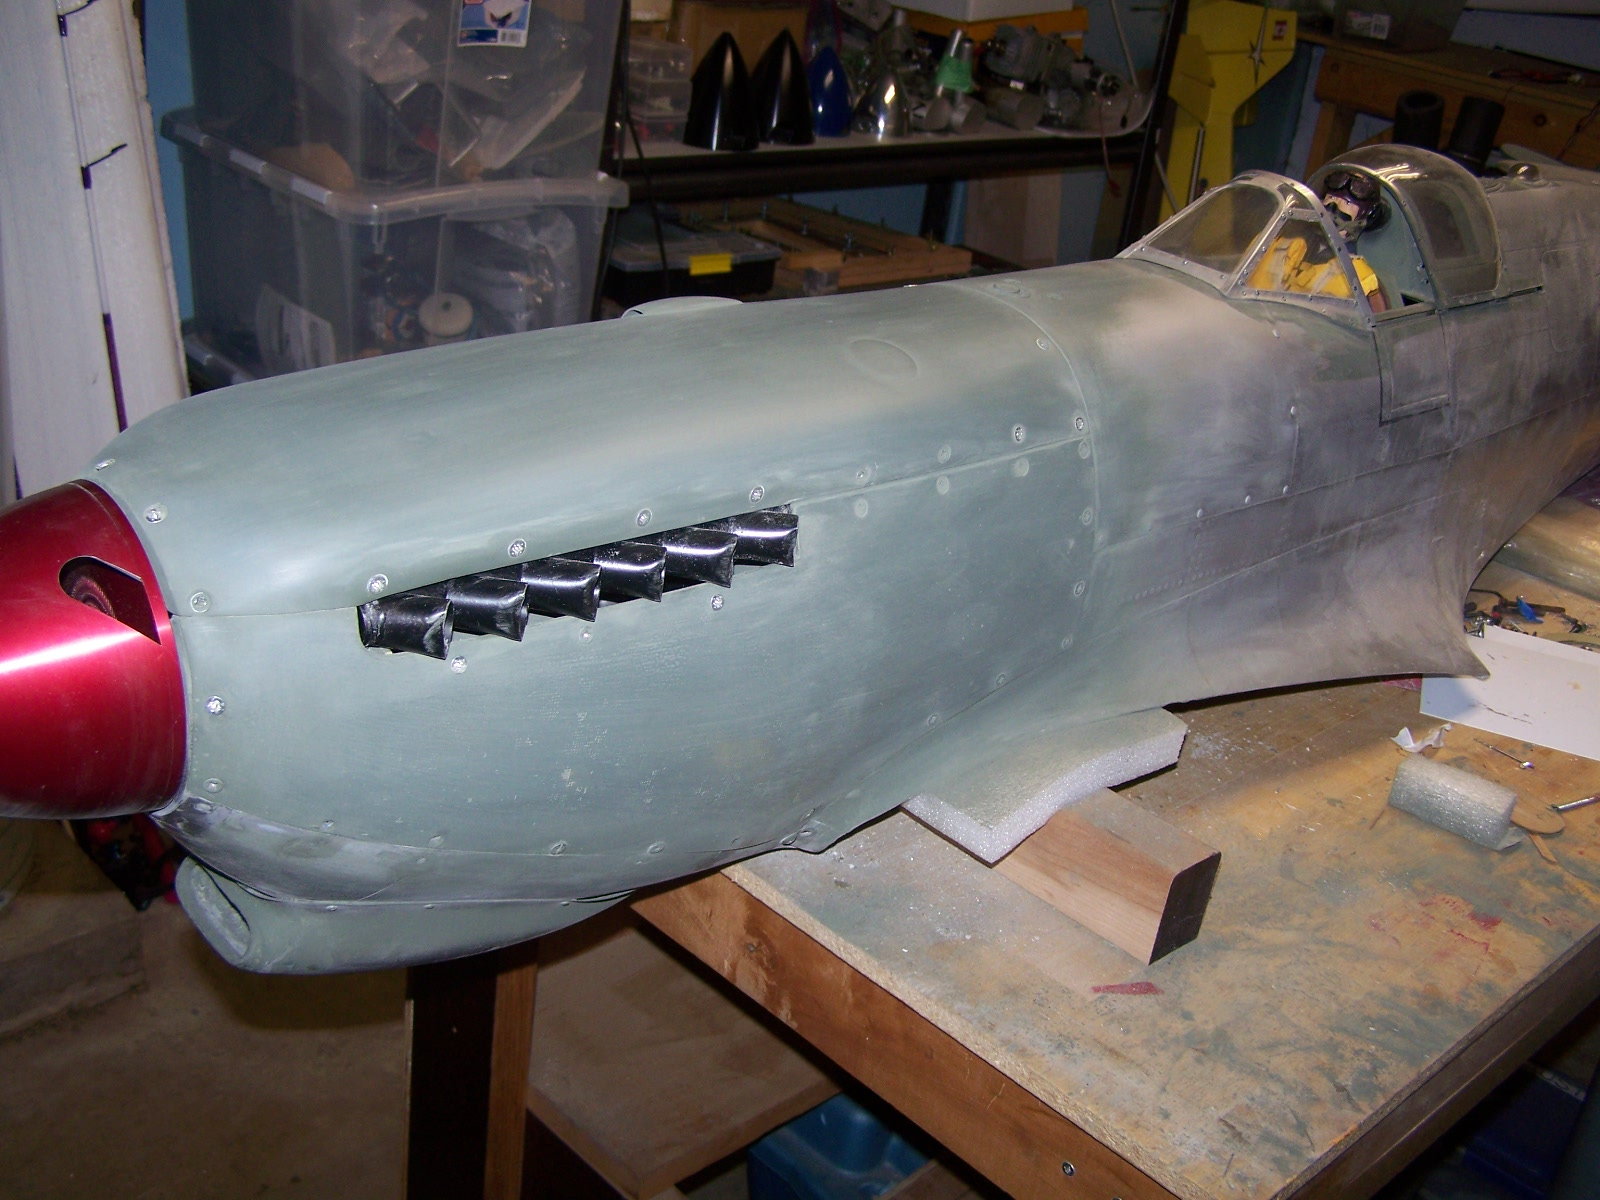
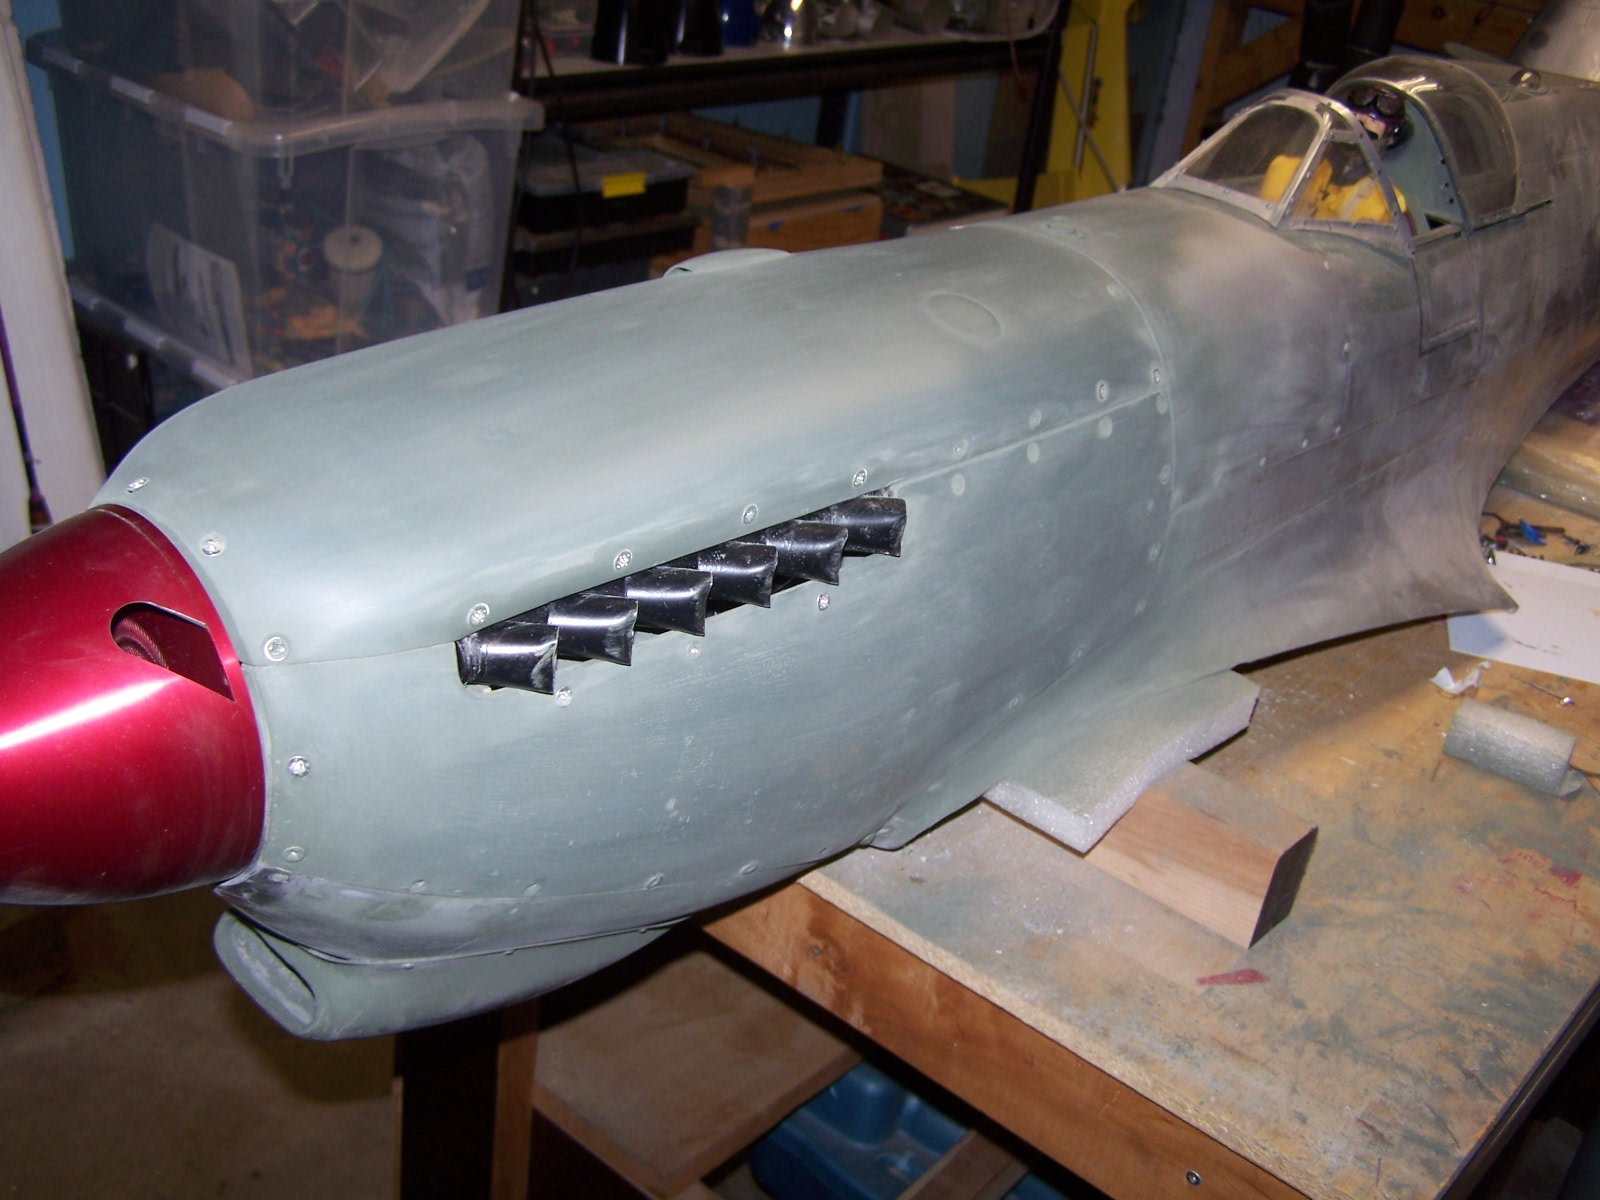

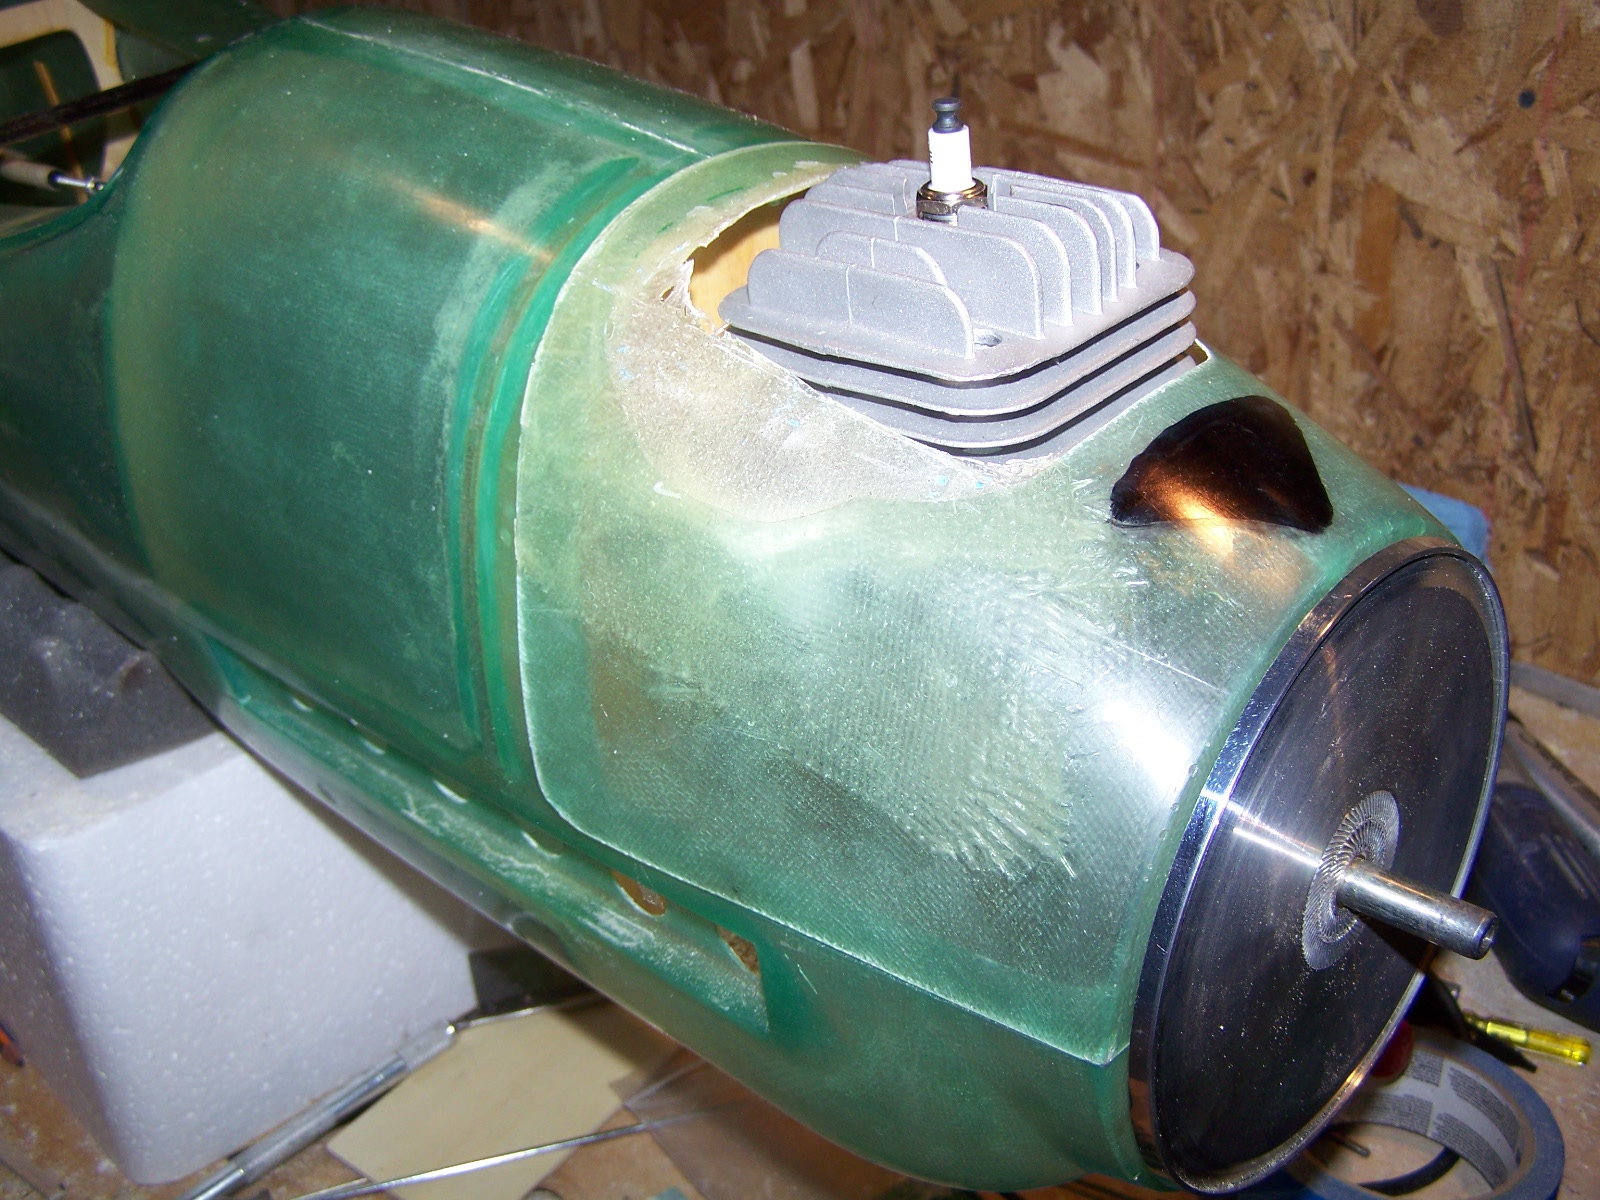
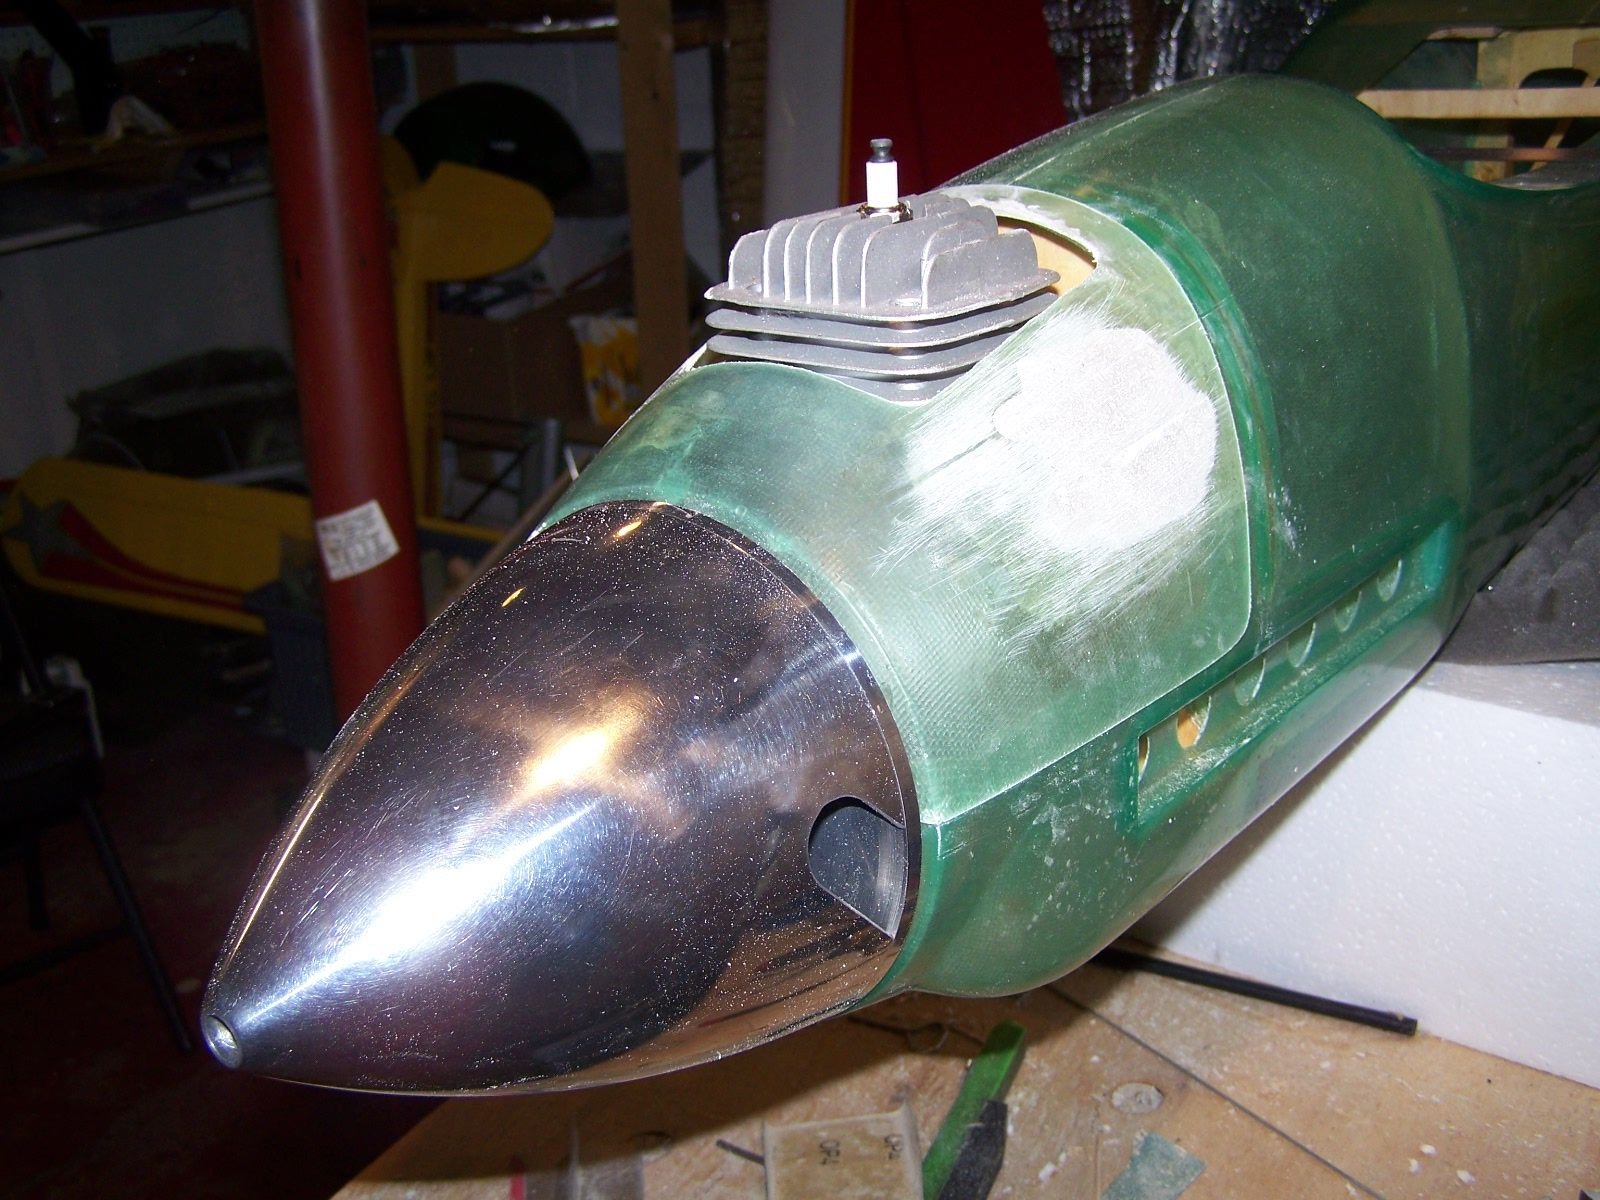
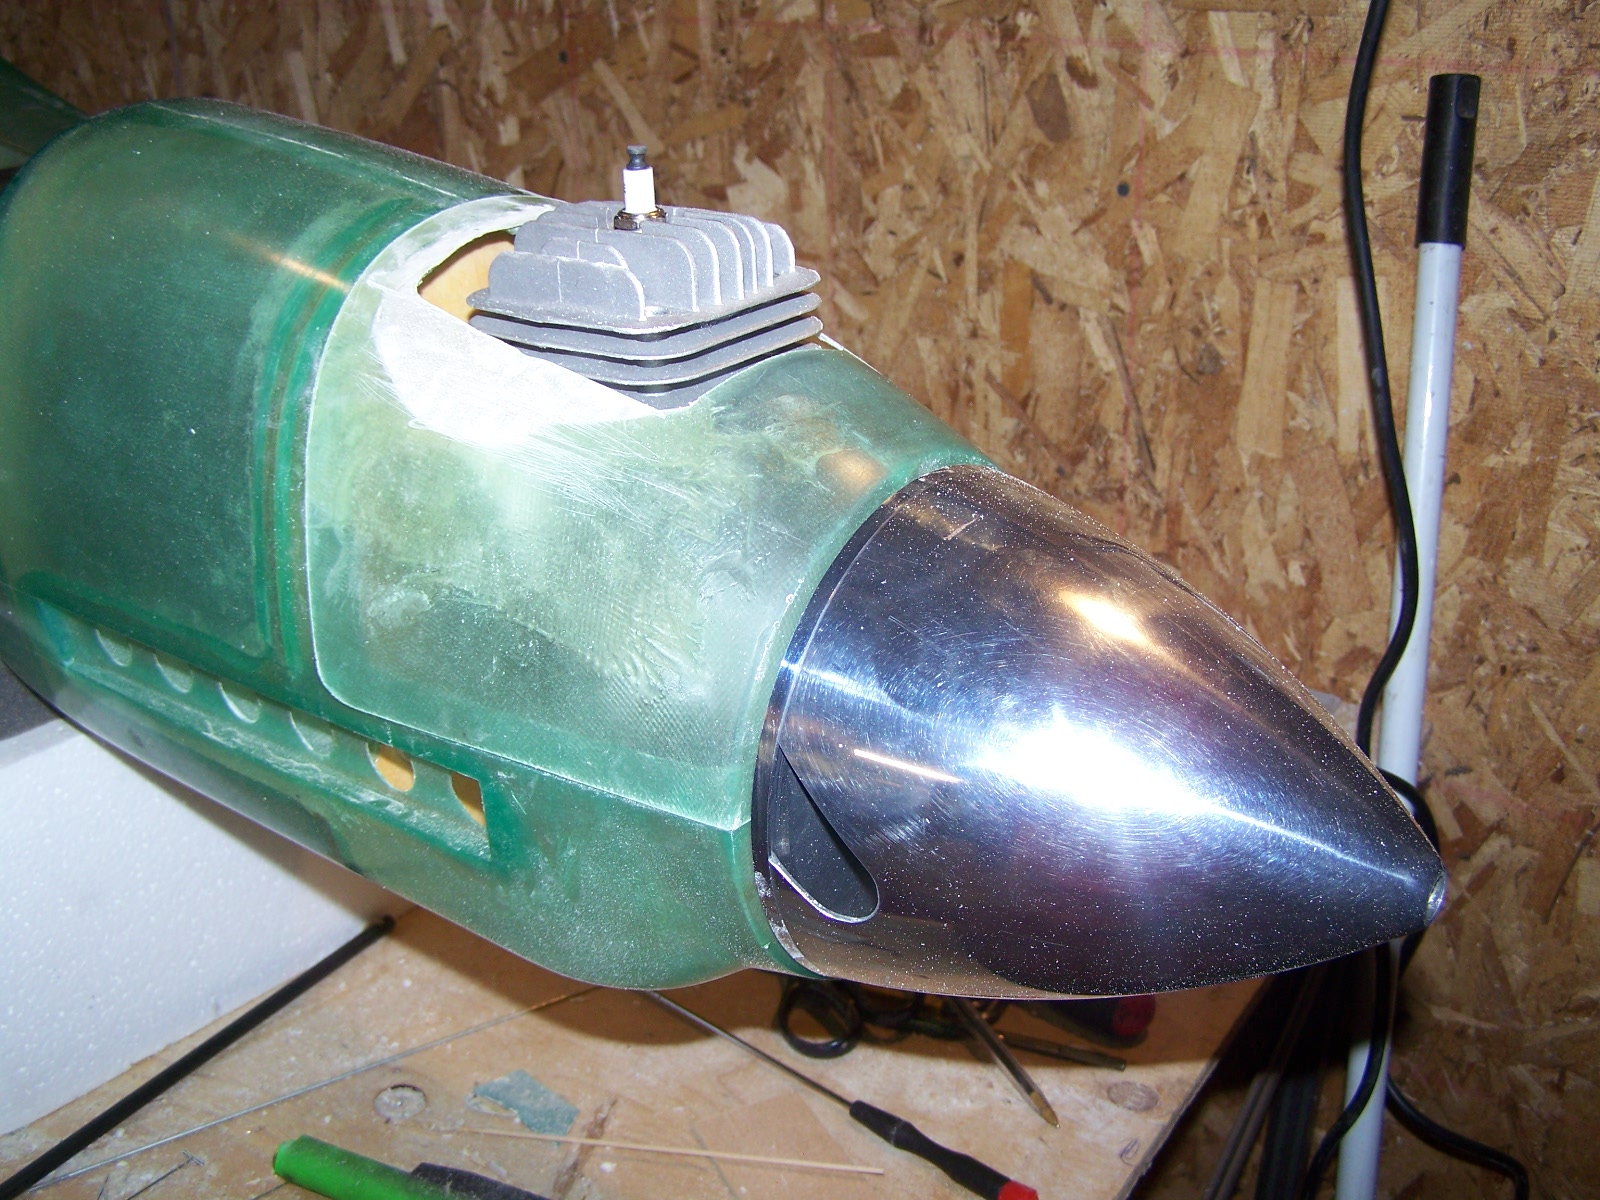
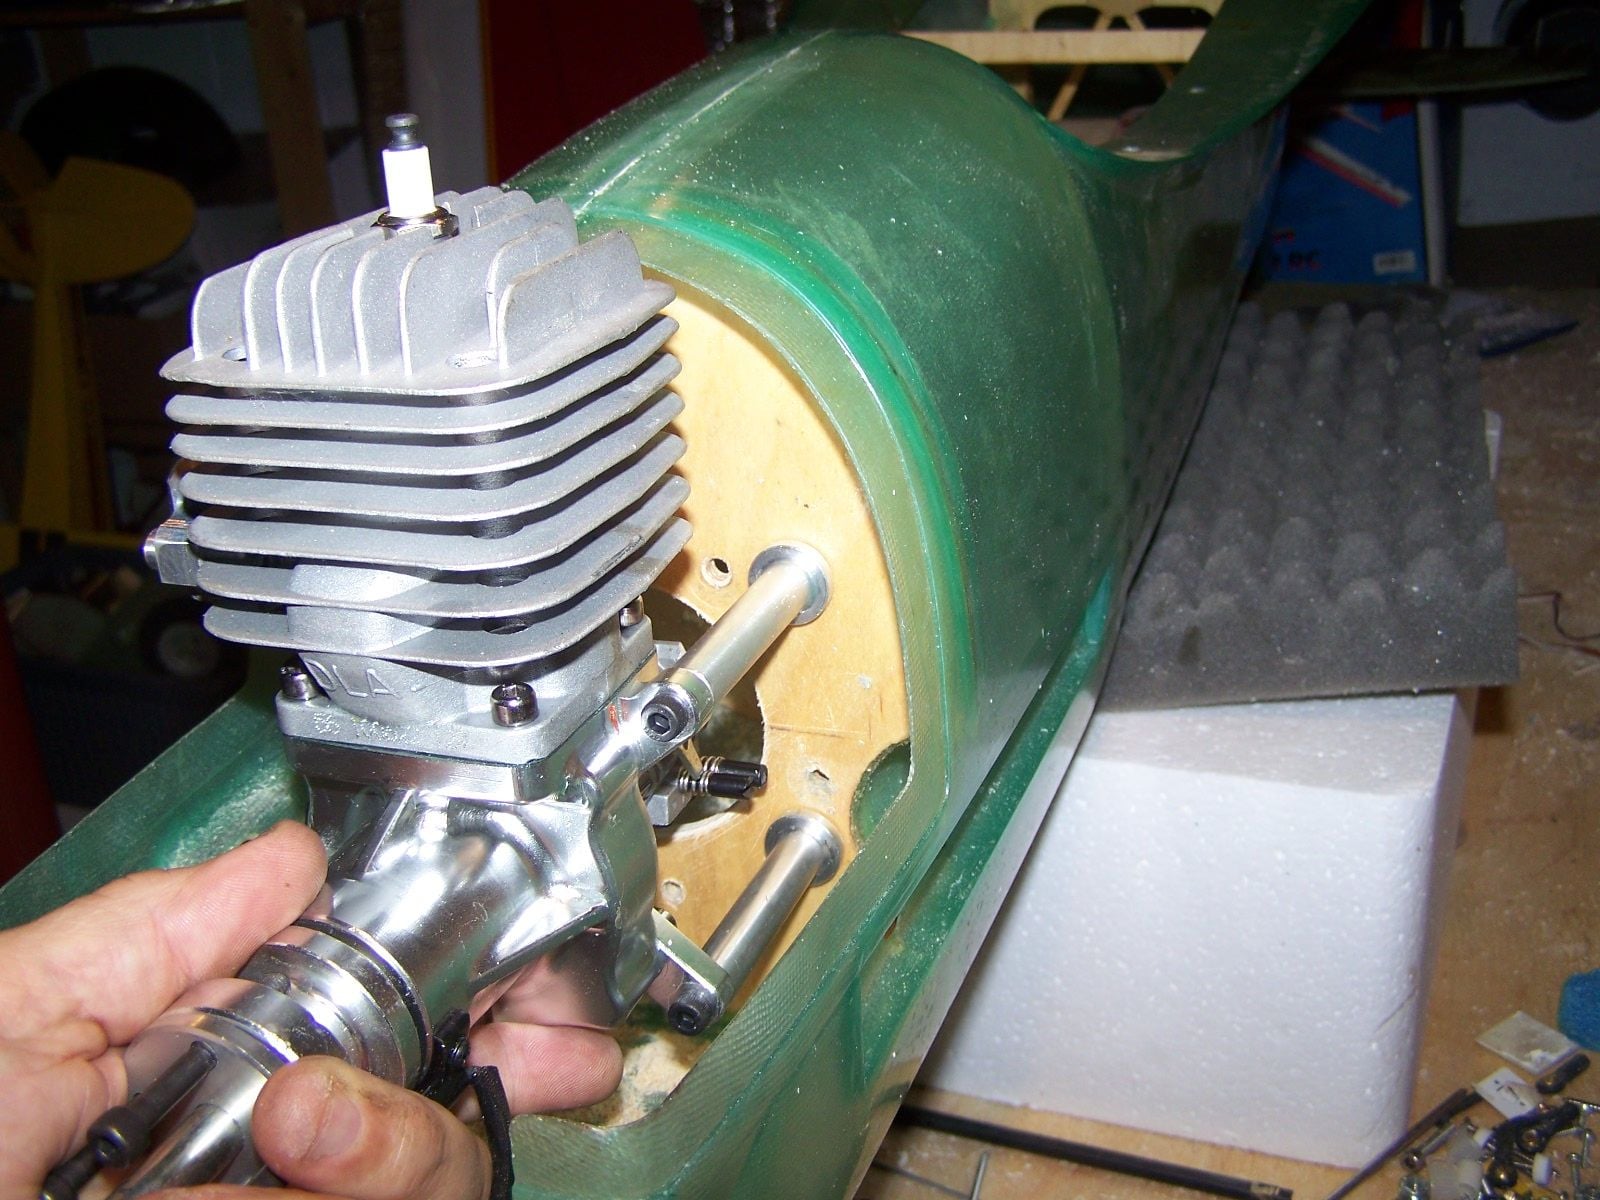
couple of pictures of the last work I did before the summer break , I still have to counter sink some of the screws but it gives you a general idea of the look I am going for .
10-20-2018, 05:42 PM
#159
My Feedback: (2)
An alternative approach to the Camo pattern is to use Jamb Tape. Its a round foam tape sold at autobody shops. It's for putting on car door jambs to keep the paint off of them.
Its has a sticky side that you can just put down on your Camo Pattern and then shoot paint against it. Works very well and there's no over spray.
The RAF Depots used Masks on the wings and and fuse to get the outlines for the Camo. Just an FYI.
Its has a sticky side that you can just put down on your Camo Pattern and then shoot paint against it. Works very well and there's no over spray.
The RAF Depots used Masks on the wings and and fuse to get the outlines for the Camo. Just an FYI.
10-21-2018, 05:13 AM
#161
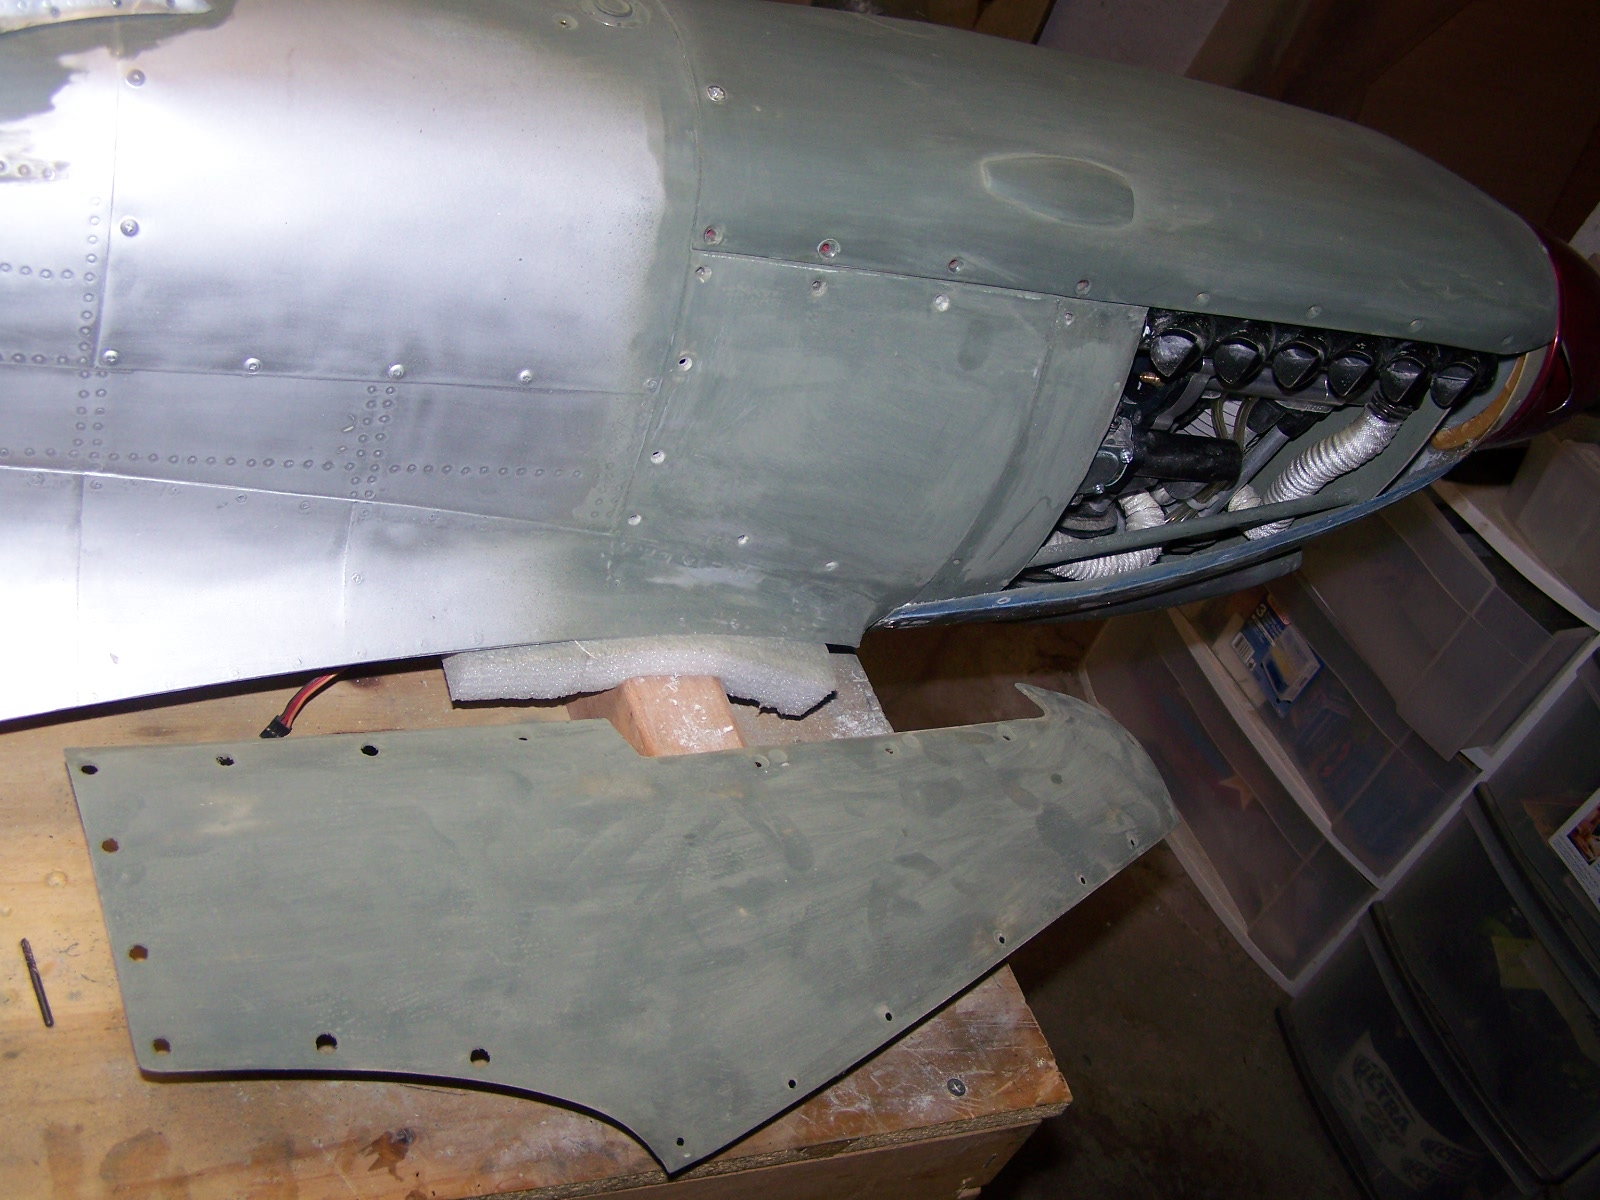
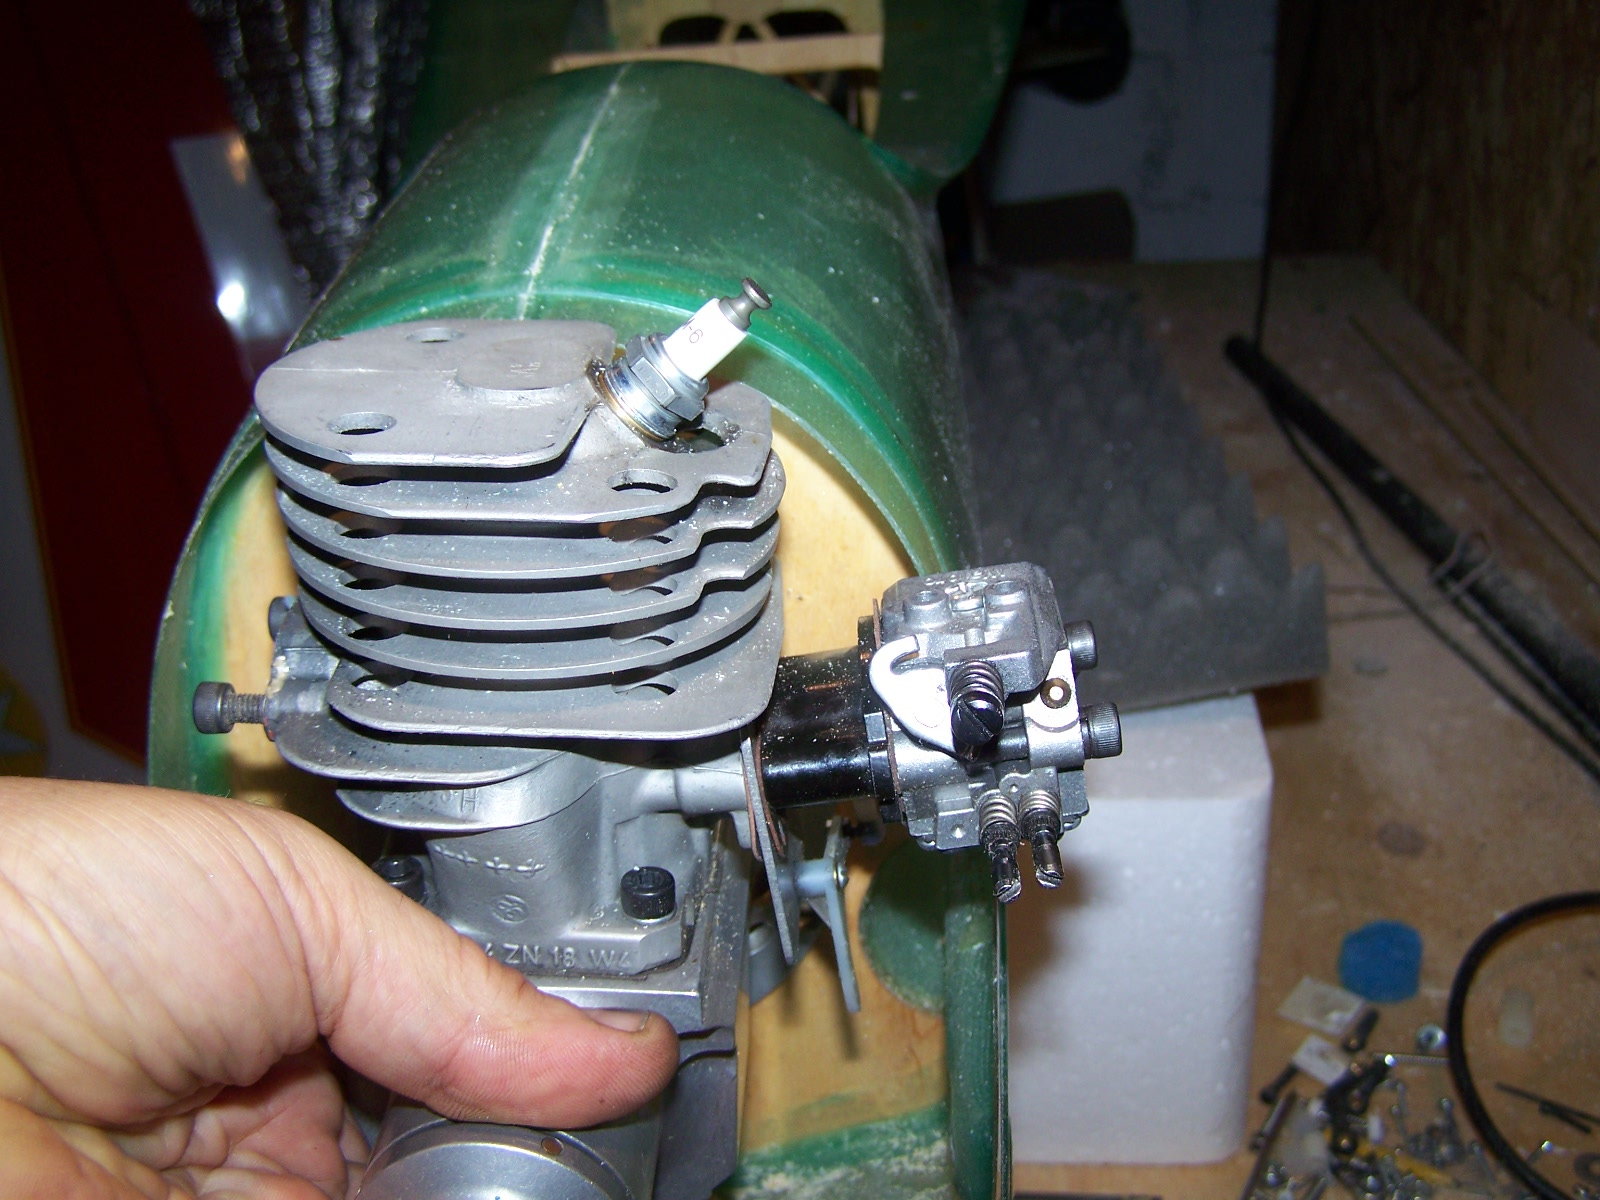
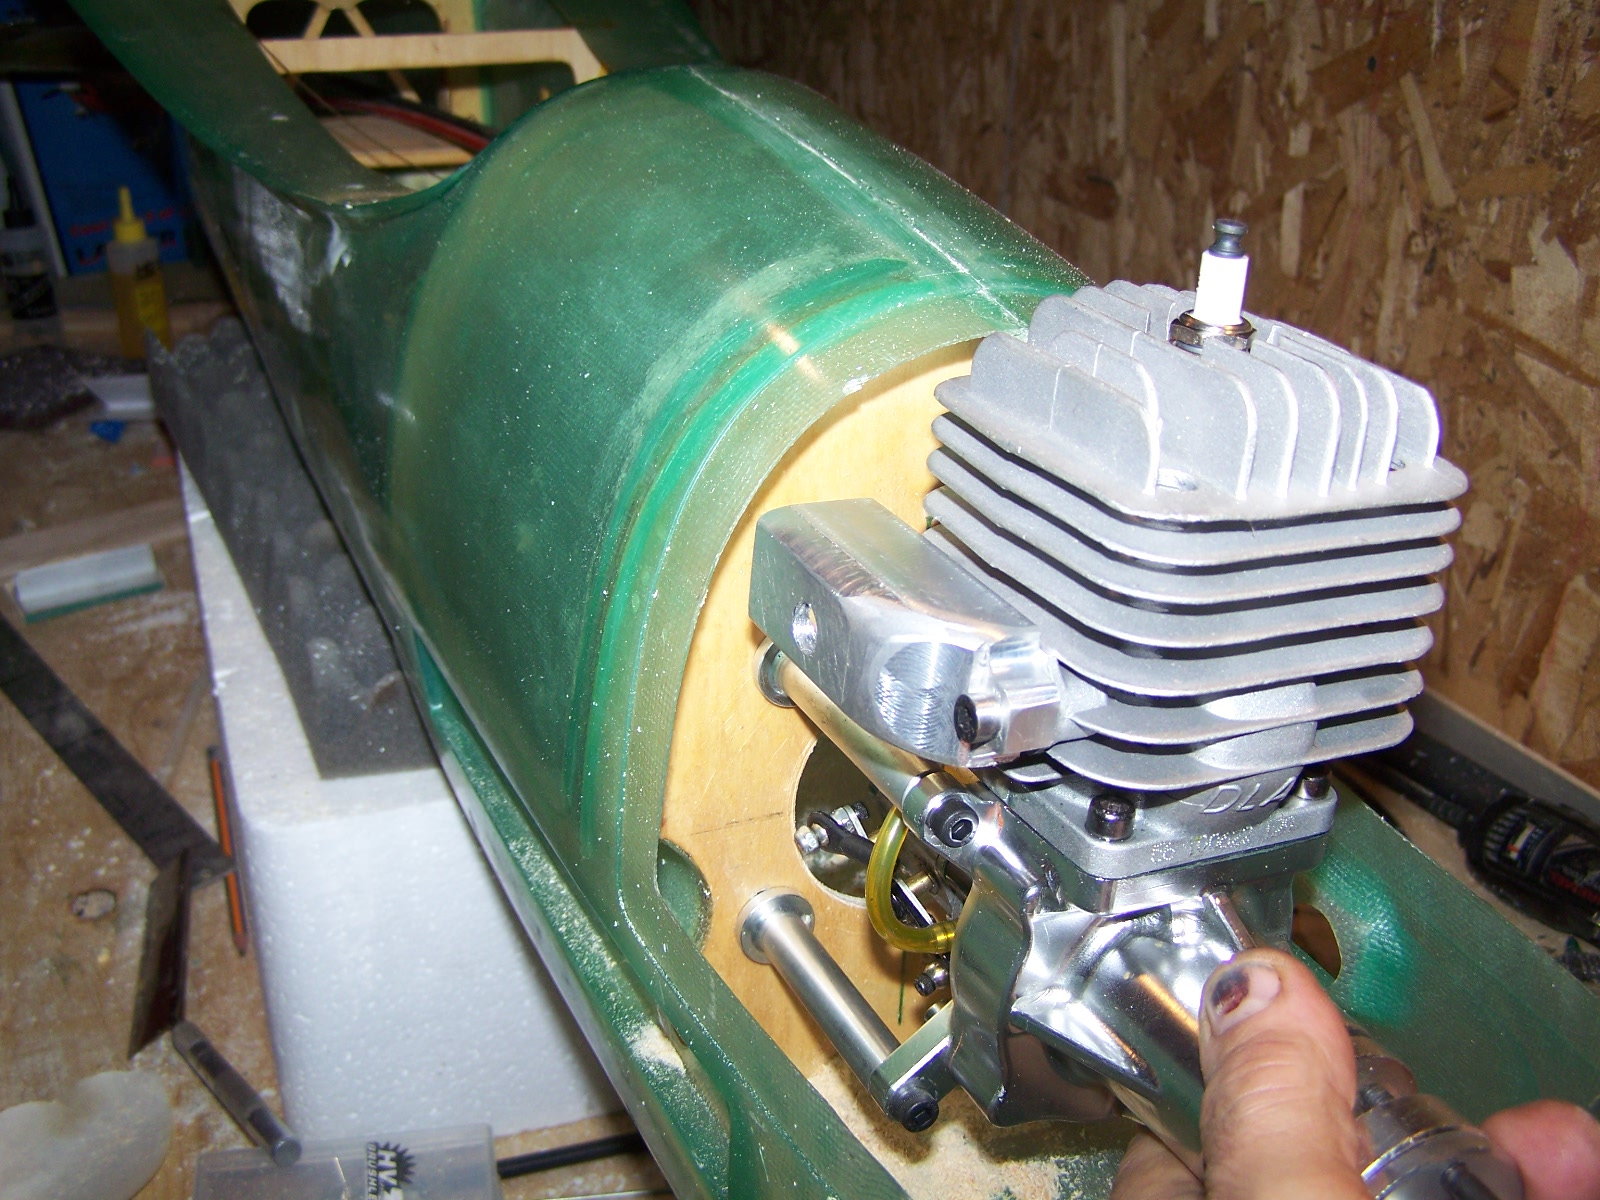
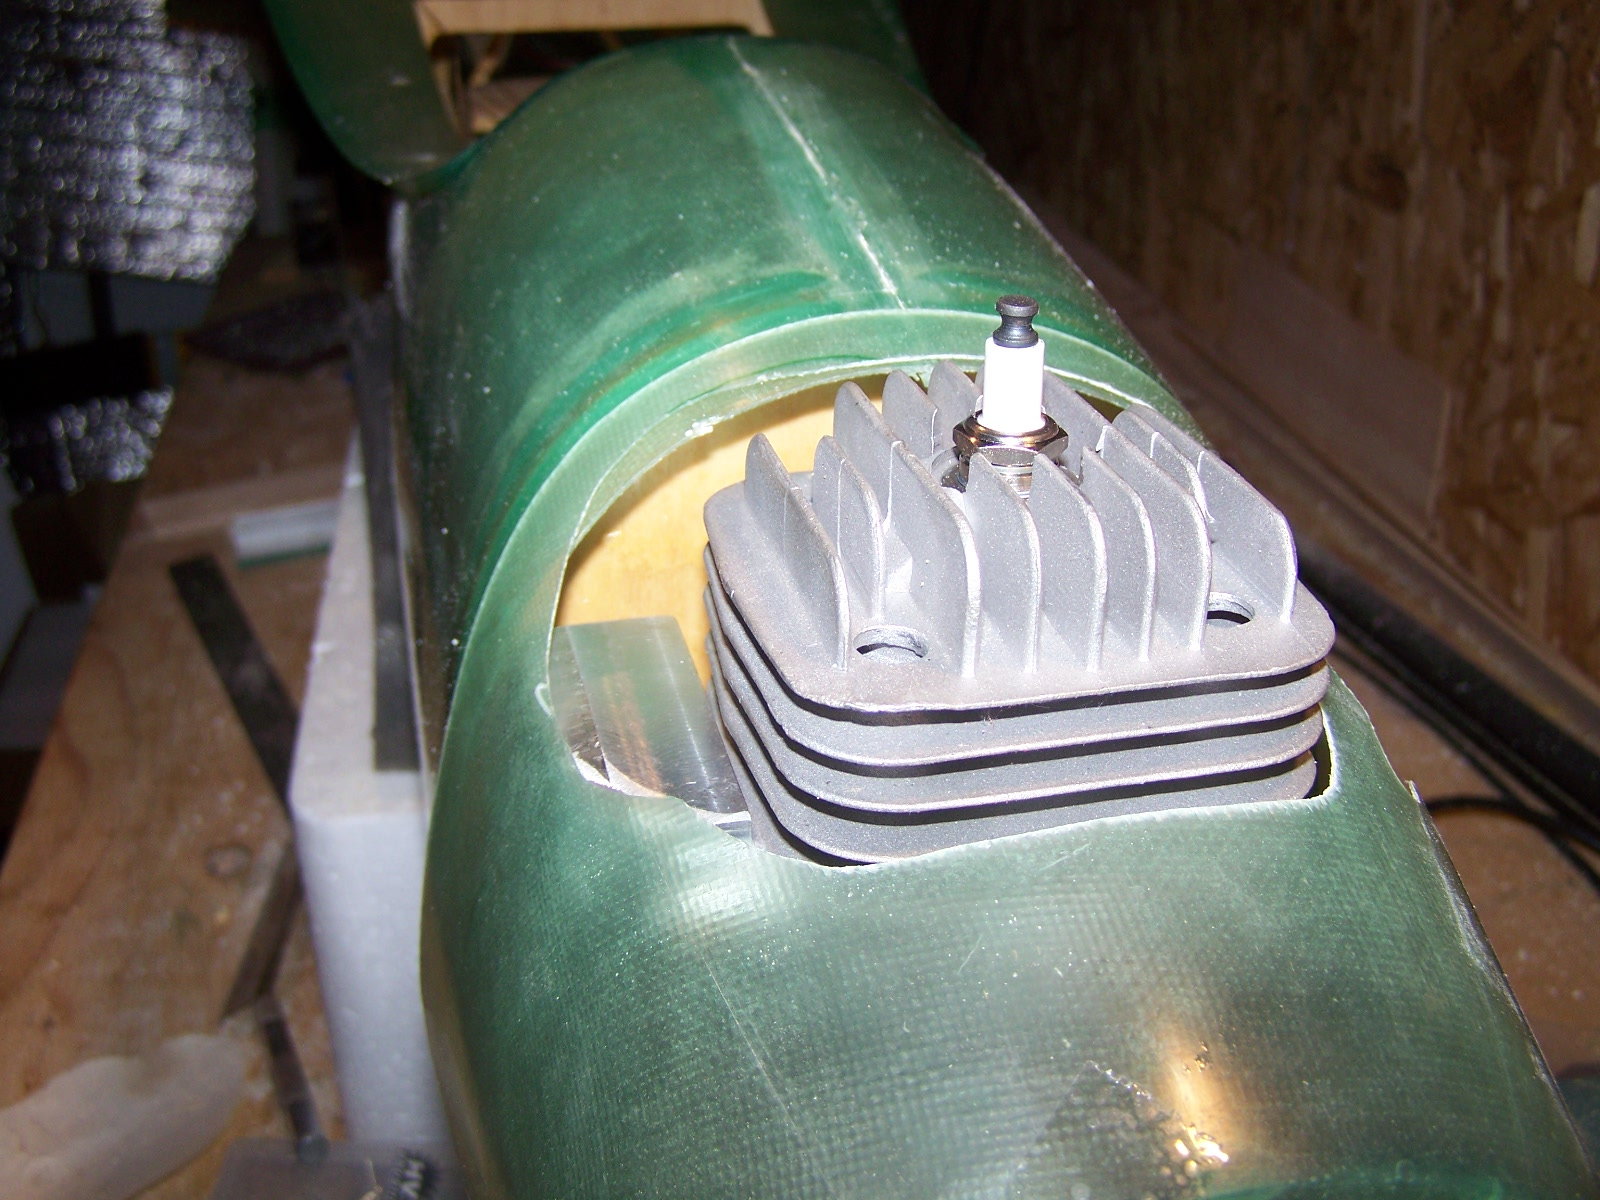
Not much further to go now ,just have to finish up on the belly scoop . I have the intake in the correct place but the the body of the air cleaner assembly should be bigger and travel further back under the belly . I could build up on the one I have and pull a mold from it or I may even carve one from blue foam and use it for a plug. I like the idea of having molds because I can replace any parts I mess up it the future .
 11-07-2018, 03:34 PM
#163
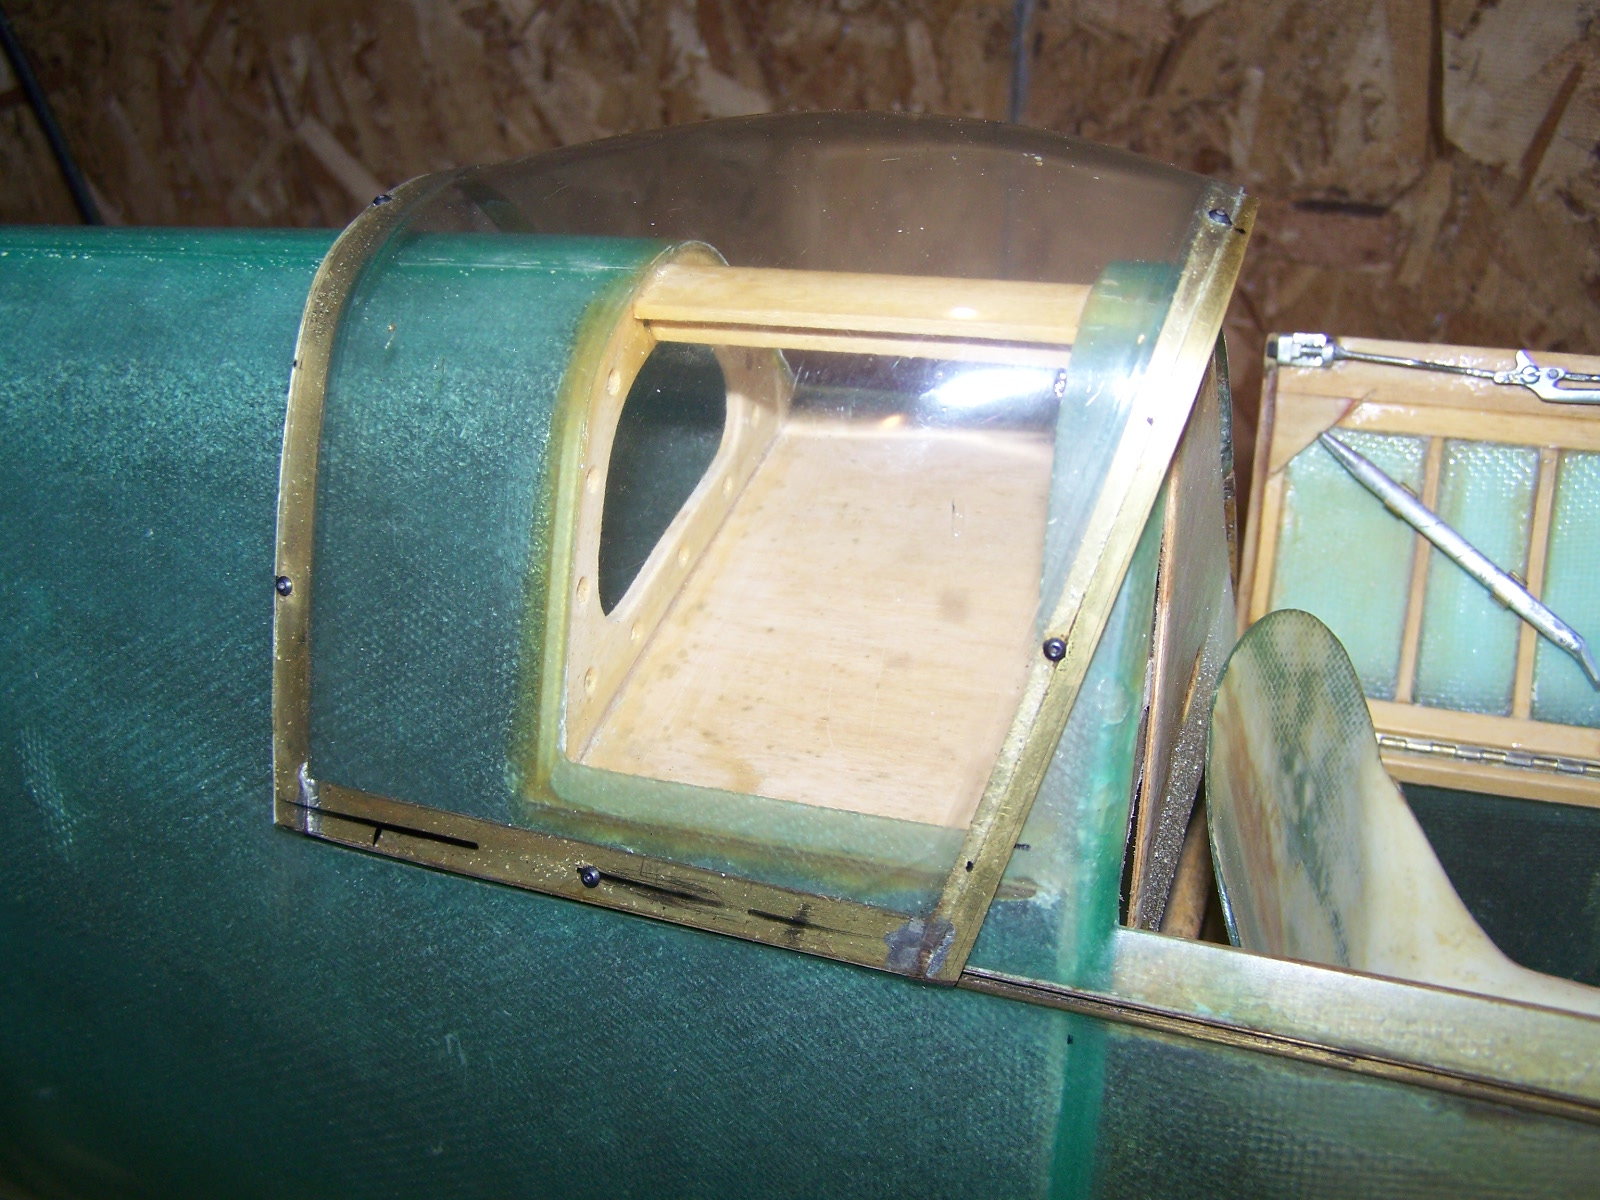
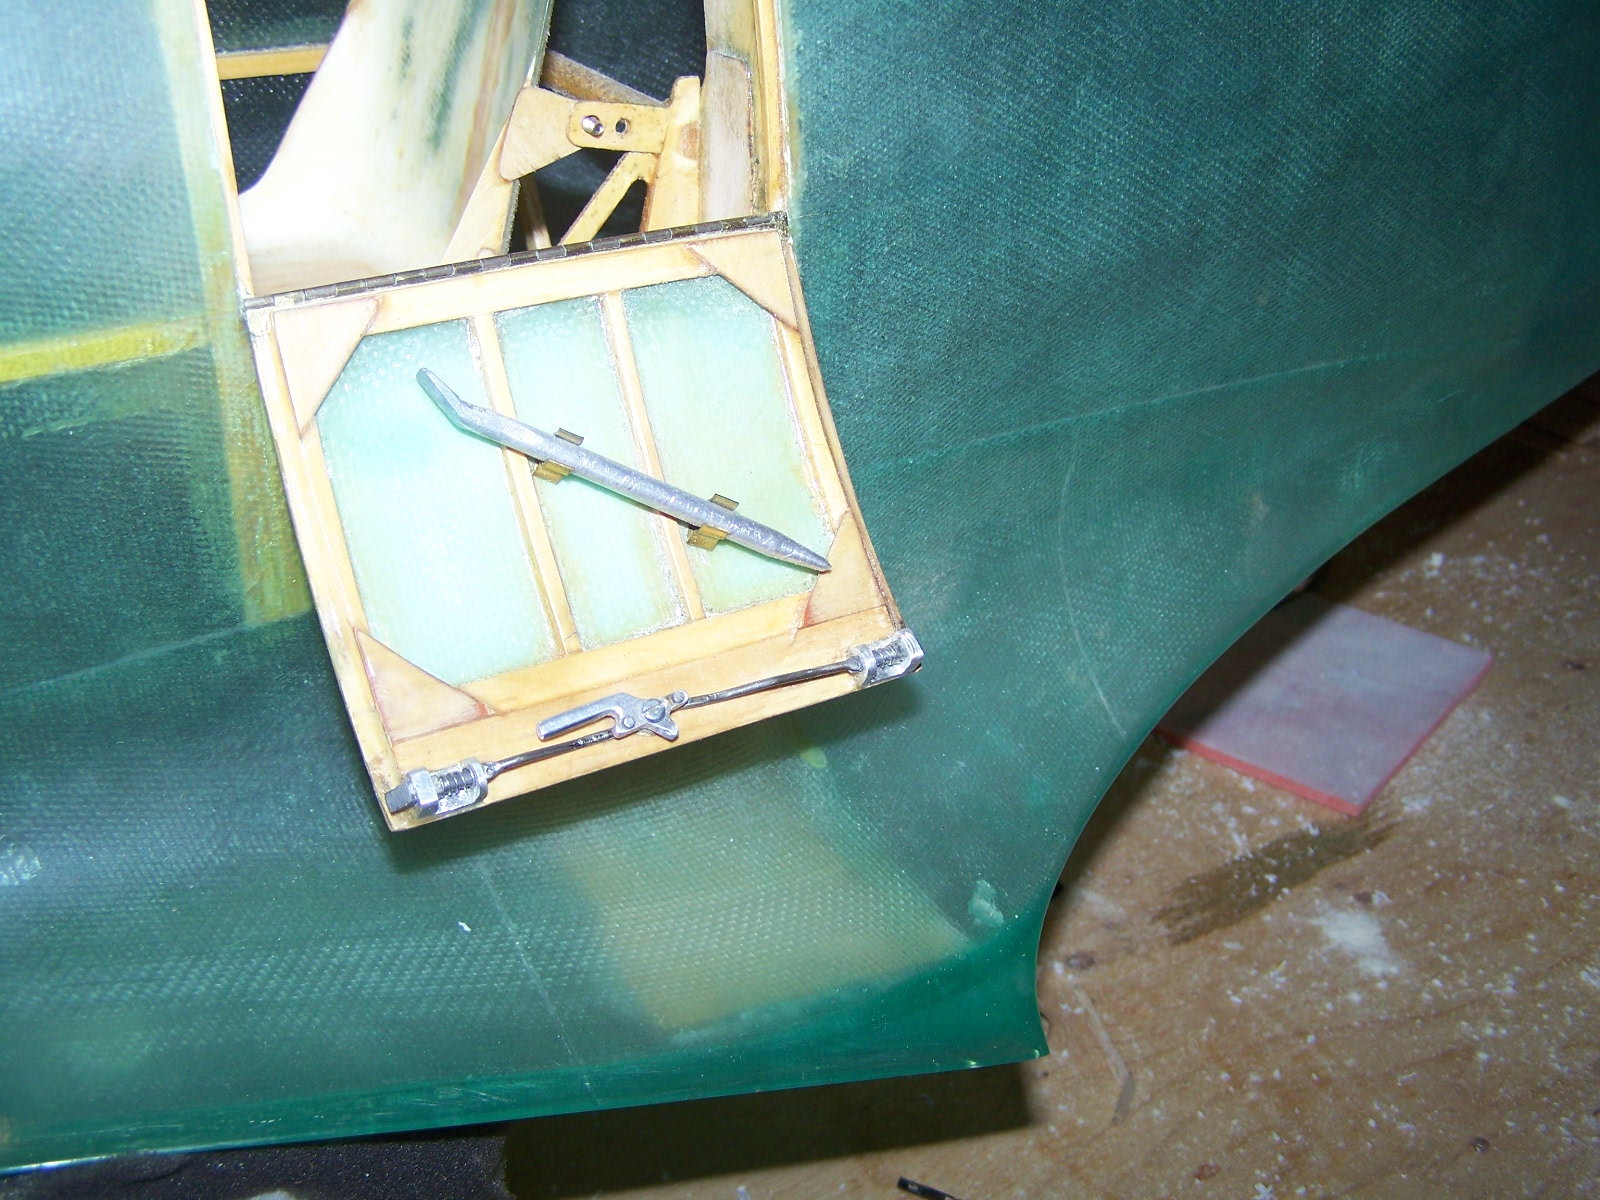
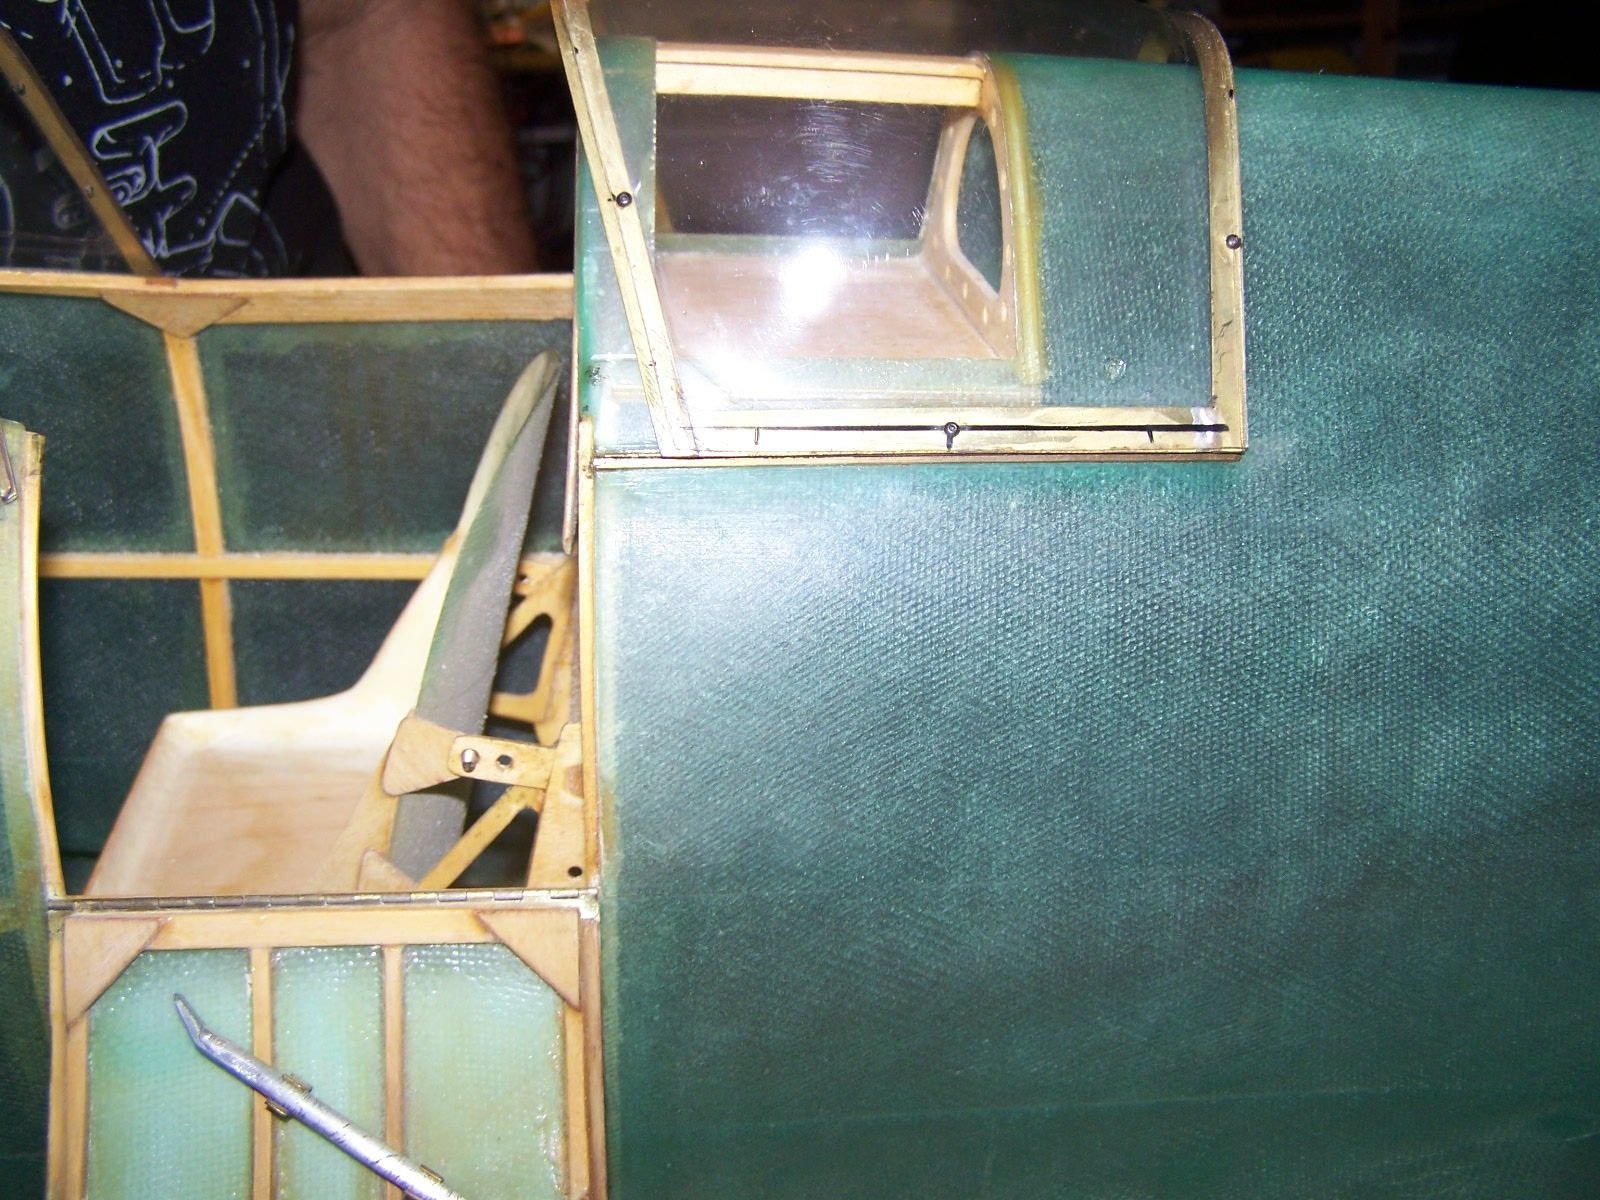


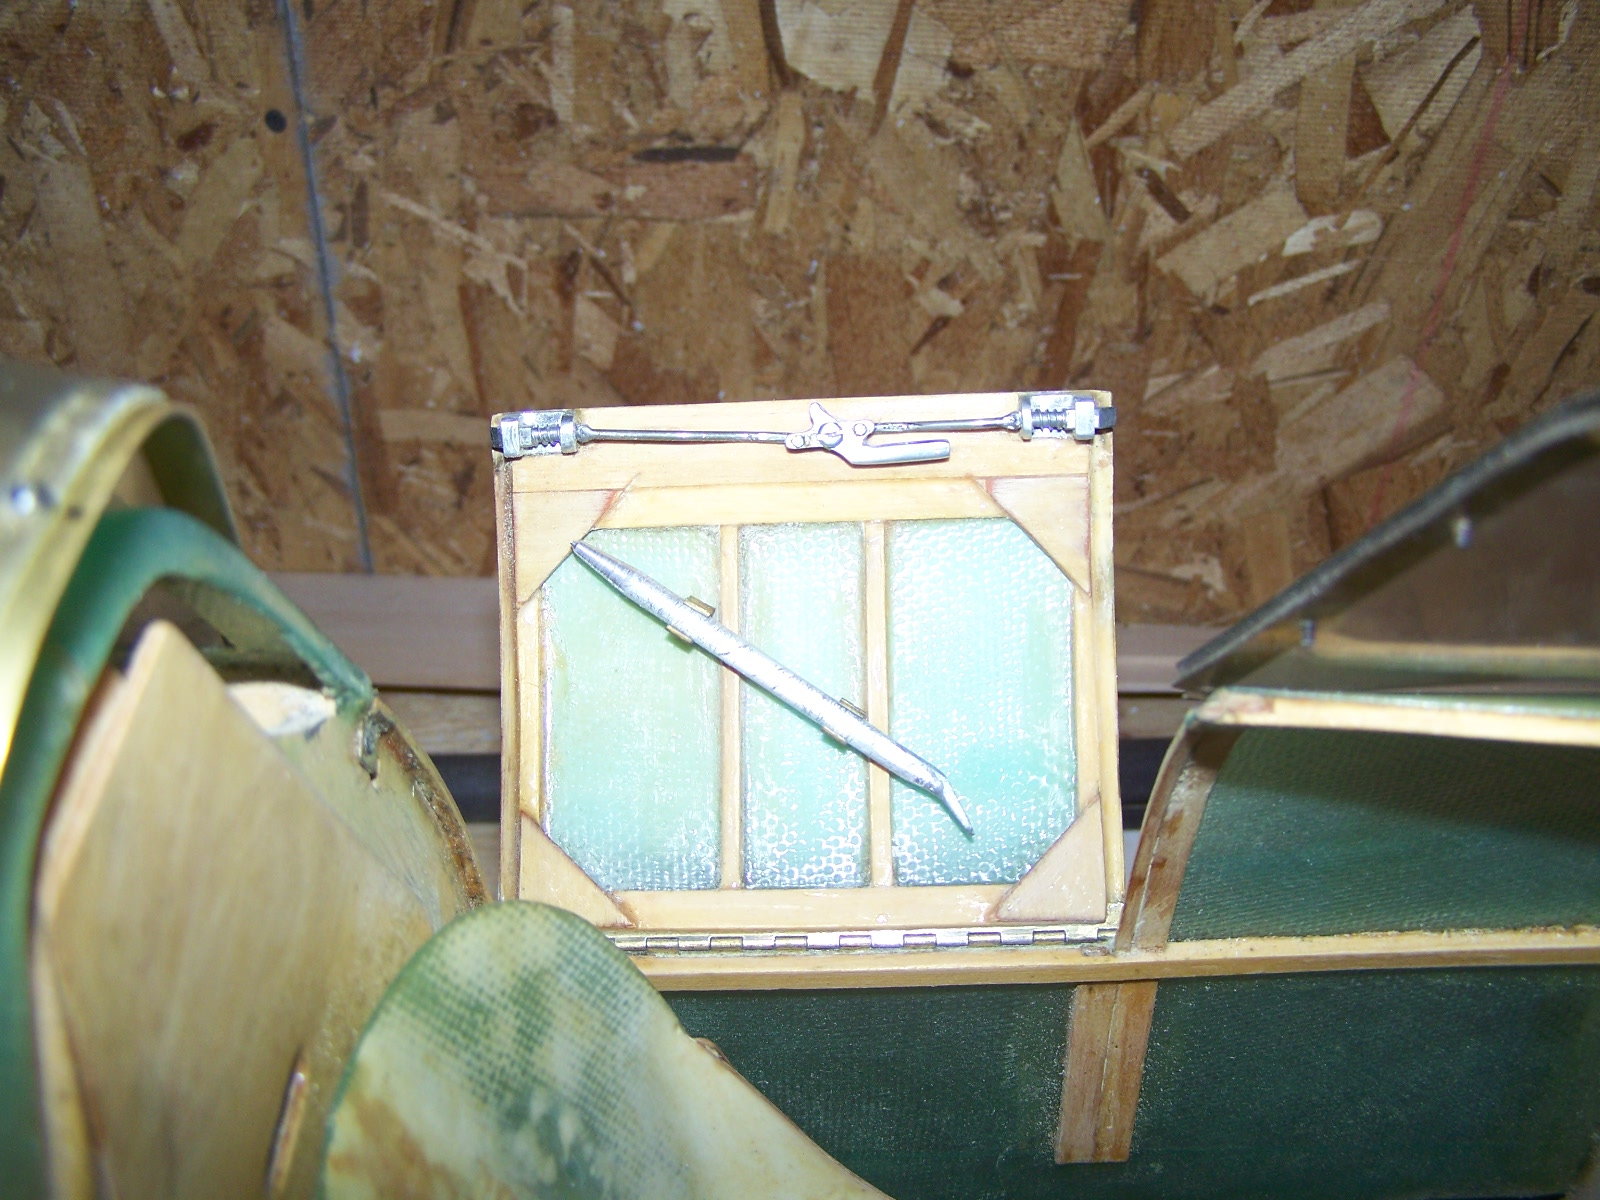
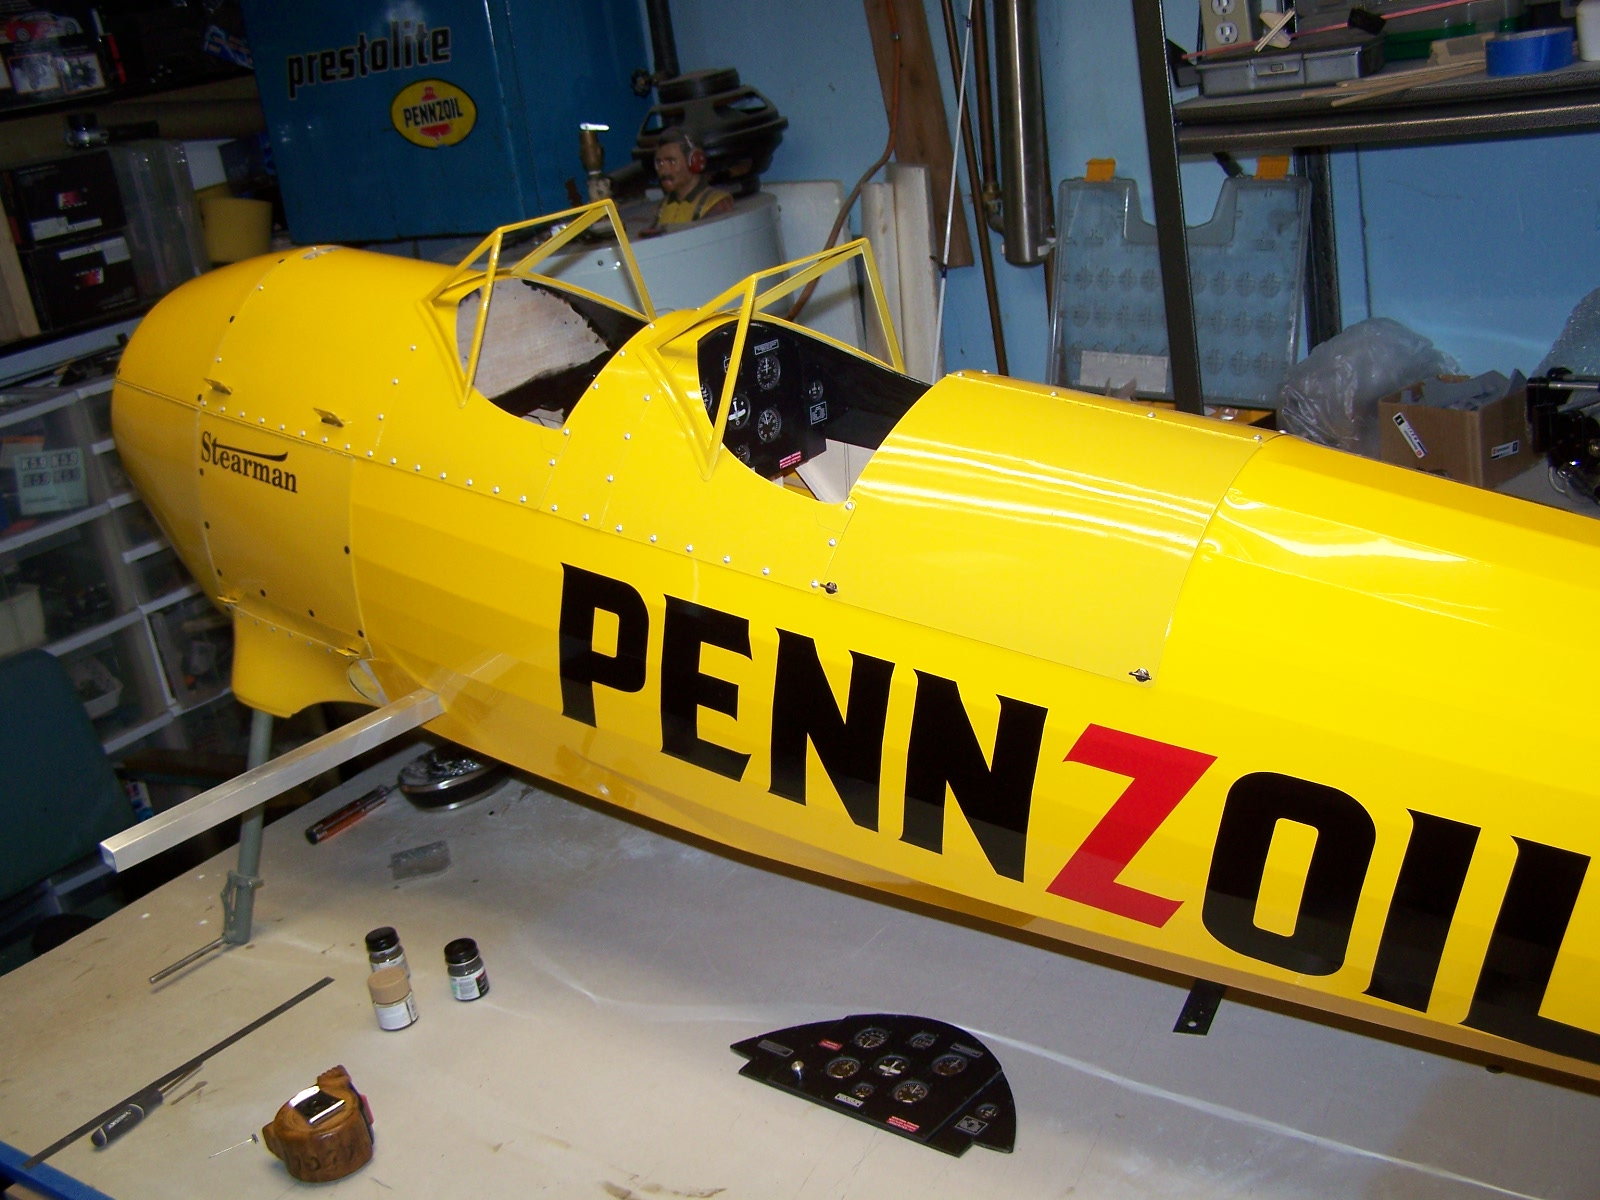
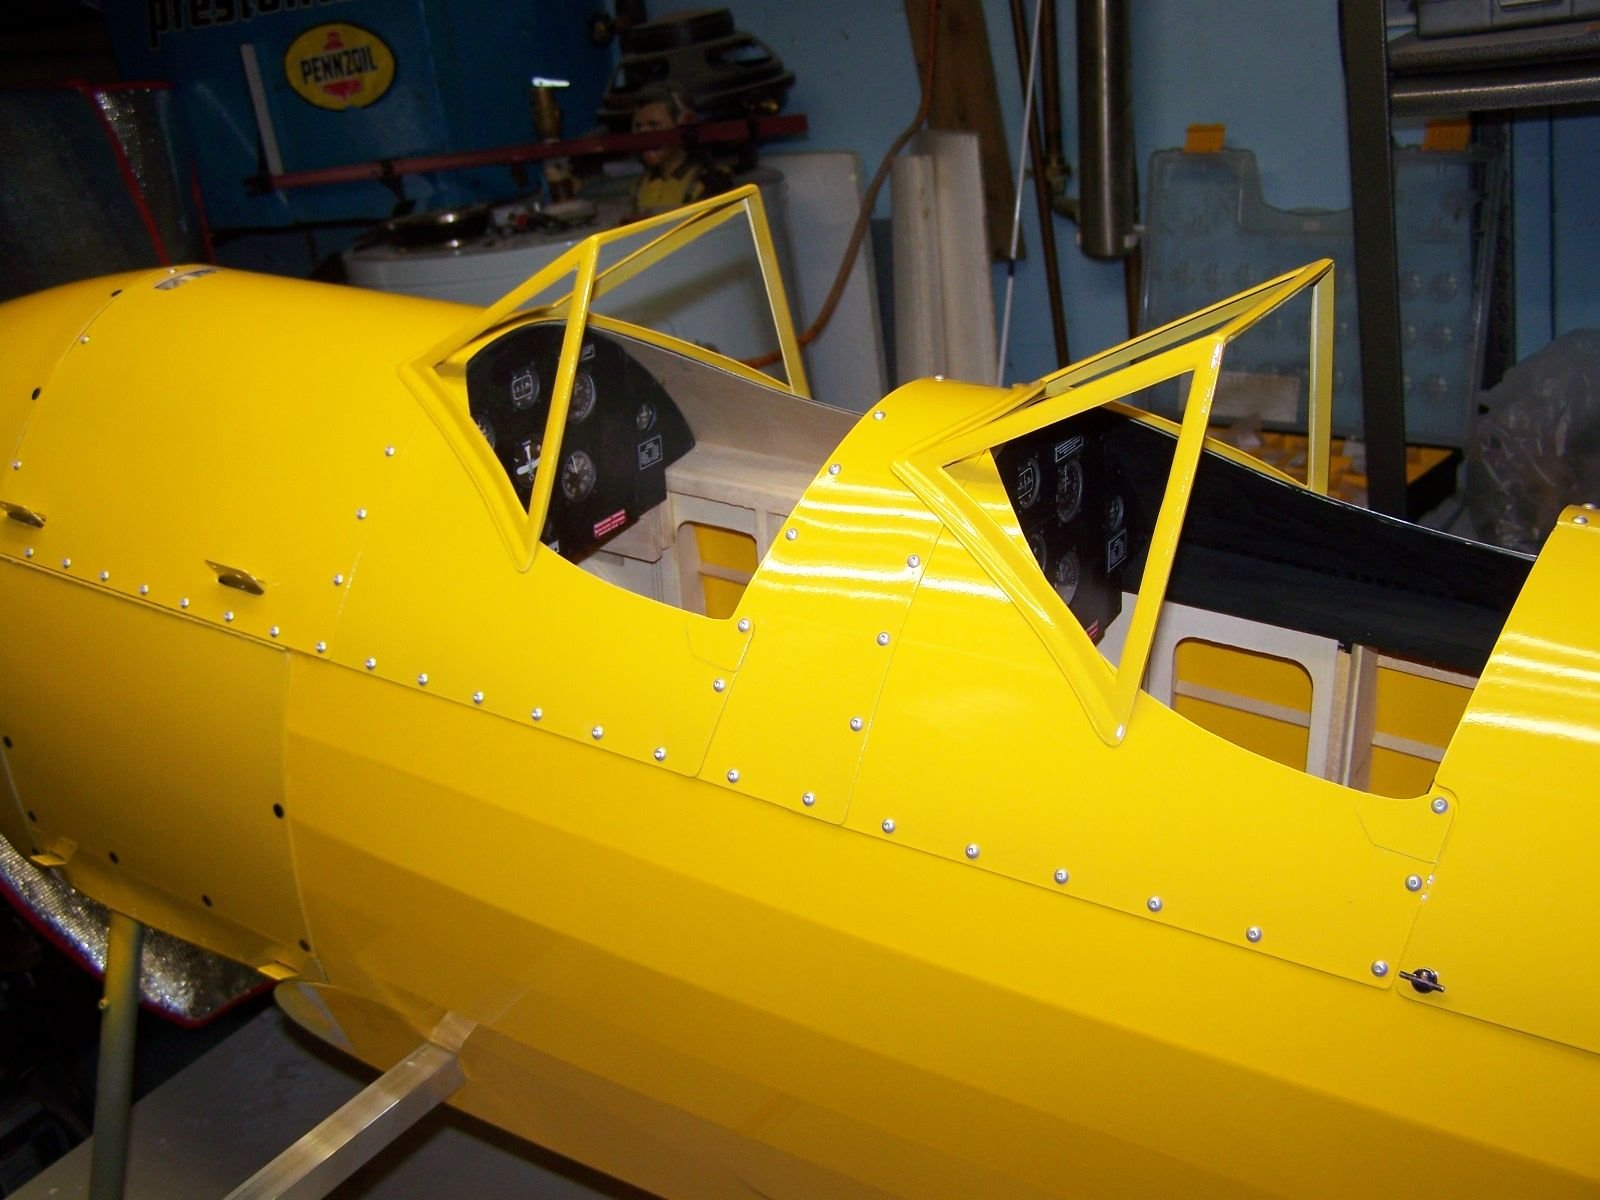
Here we go another distraction . I had a yellow aircraft spitfire that I Purchased 30 years ago, well life got in the way and after 20 years I parted with it unfinished . I regretted ever selling and it had haunted we ever since ,well 10 years after selling it it pops up for sale in near the same condition I sold it . So of course I buy the plane back LOL ,quite the deal too I paid the same as I sold it for bit it now comes with a pilot Taurus 52 engine and new yellow retracts . Couple of shots of the cockpit and sliding canopy I did almost 30 years ago ..


 11-08-2018, 11:13 AM
#168
Should have called them old Yellar ,these planes are like a old dogs LOL... Ok Bob so this is it I have to start painting things . What would you recommend for paint ,1/2 the guys I talk to say use epoxy and I have used epoxy before but it was heavy and I am worried about adding extra weight to the tail of a spitfire . I do have some paint from WarBirdColors before they went out of business but from what I understand you have to wait 20 days for a cote to dry , I know I don't have the patients for that , with all the colors that have to be applied it would take me a year to paint .
11-08-2018, 01:42 PM
#169
My Feedback: (2)
Ram,
I've used warbird colors and I don't recall waiting a long time for it to dry. In fact it dries pretty quickly.
If you have the additive that makes it fuel proof all the better.
If not then put some kind of clear over the paint.
I like WBC .. they are correct as well.
I've used warbird colors and I don't recall waiting a long time for it to dry. In fact it dries pretty quickly.
If you have the additive that makes it fuel proof all the better.
If not then put some kind of clear over the paint.
I like WBC .. they are correct as well.
11-09-2018, 05:03 AM
#170
Ok Bob I've just got to finish the flaps on the yellow and I will paint her first ,figure I might as well make all my mistakes on the yellow before I move onto my carf ..


 02-07-2019, 10:59 PM
#173