Scratchbuilt Scale Fokker Eindecker E.III

 11-12-2017, 08:53 AM
#27

Thread Starter
Join Date: Jan 2005
Location: , MS, BHUTAN
Posts: 65
Likes: 0
Received 0 Likes
on
0 Posts
Now things start to get insteresting...
It's time to start detailing it as much as possible.
So many ultra small parts, really very hard to work with...
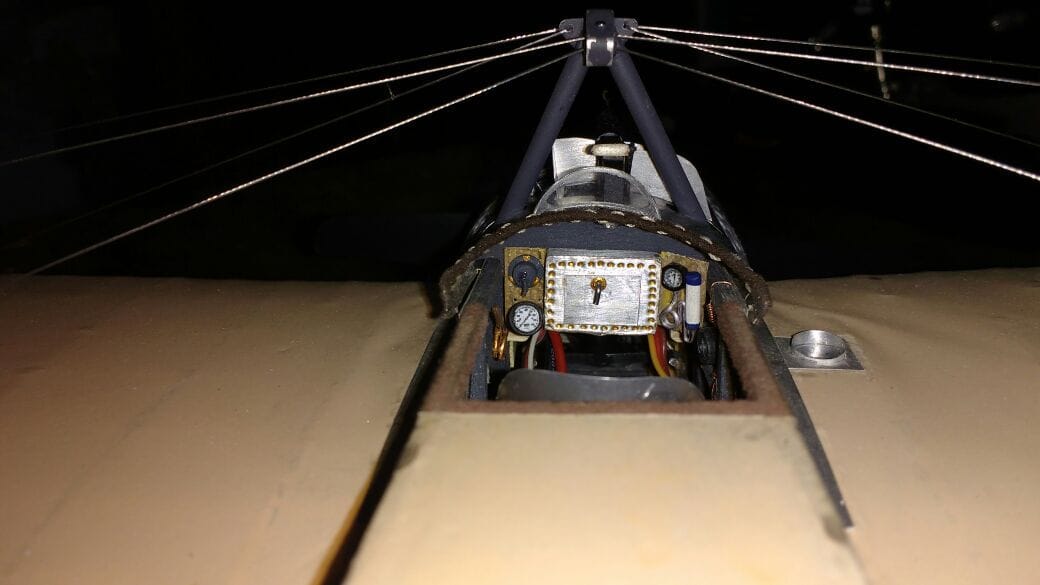
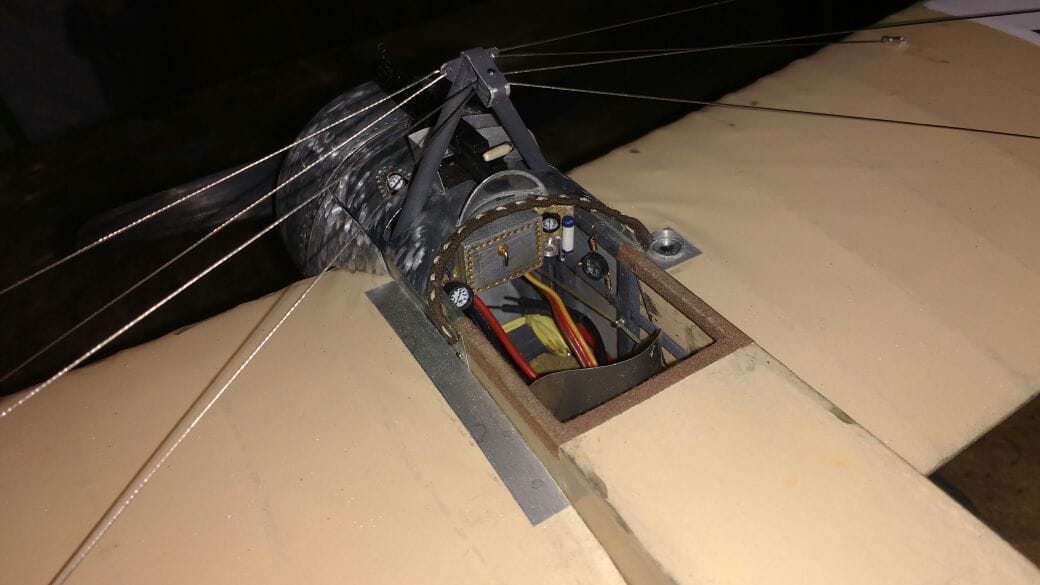
Here i made the first 3 instruments: Oil pulsator, oil pressure, and compass
It's time to start detailing it as much as possible.
So many ultra small parts, really very hard to work with...
Here i made the first 3 instruments: Oil pulsator, oil pressure, and compass
11-12-2017, 08:57 AM
#30
Thread Starter
Join Date: Jan 2005
Location: , MS, BHUTAN
Posts: 65
Likes: 0
Received 0 Likes
on
0 Posts
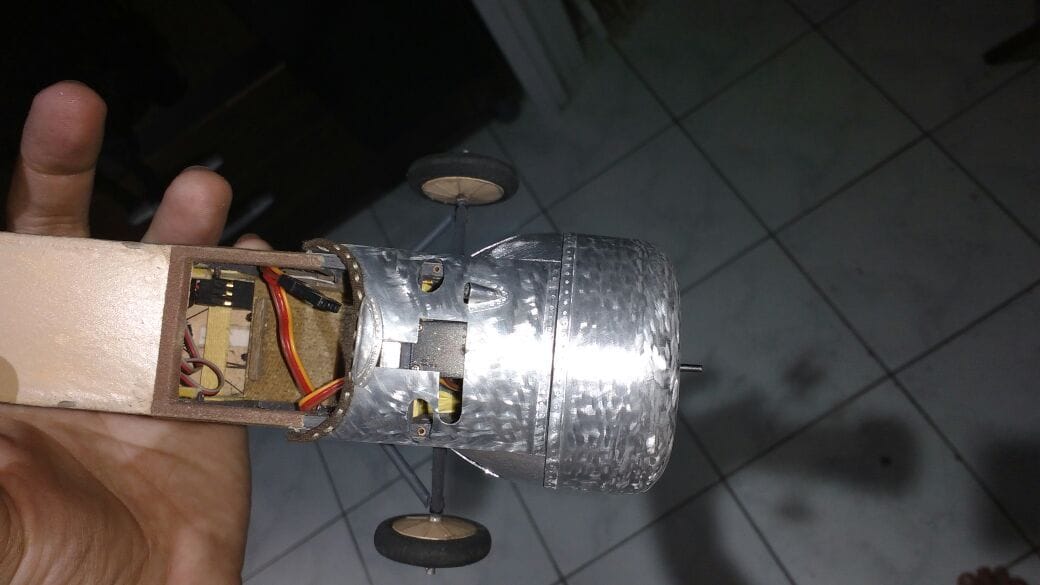
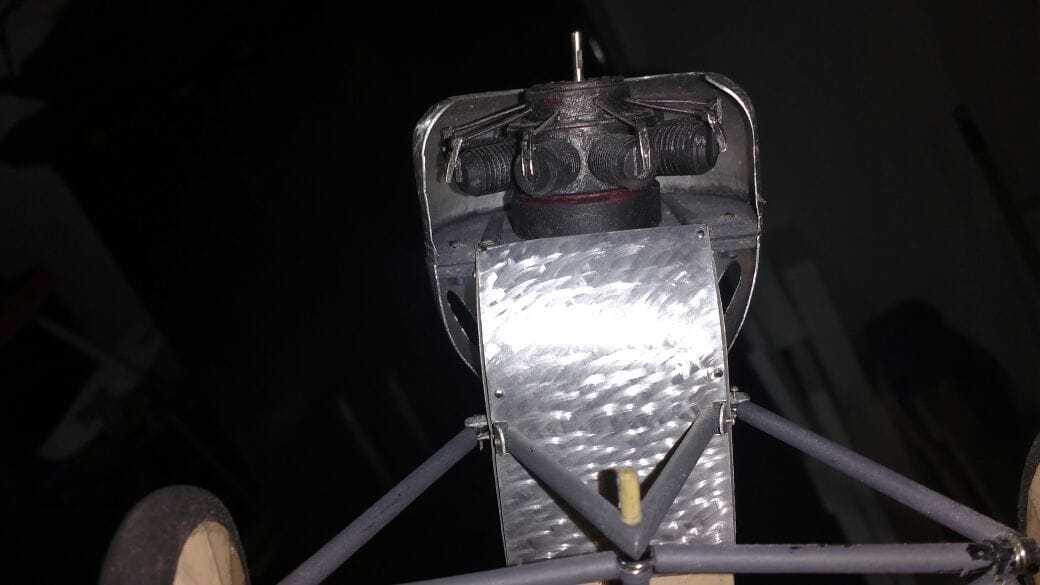
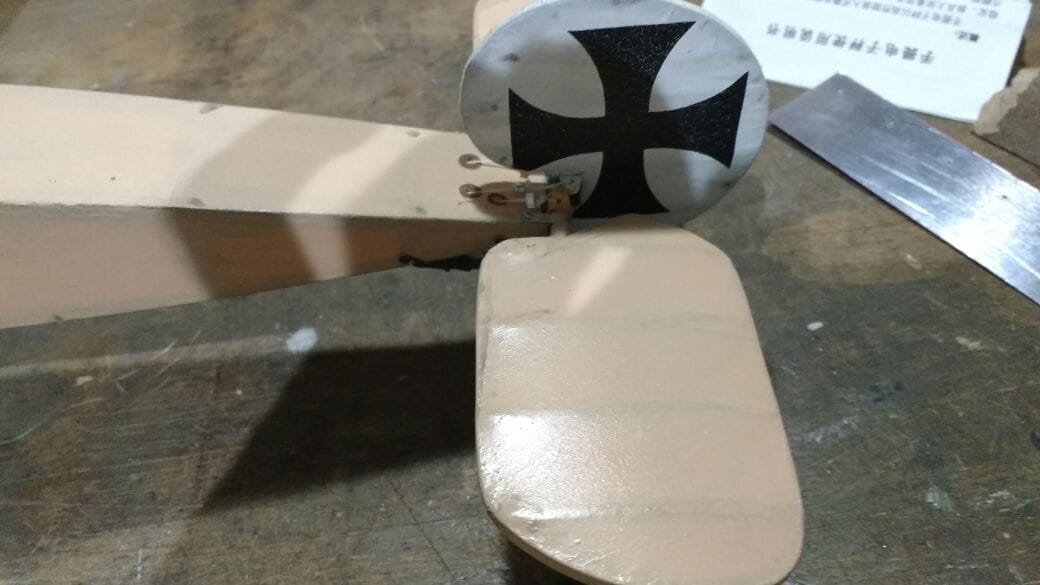
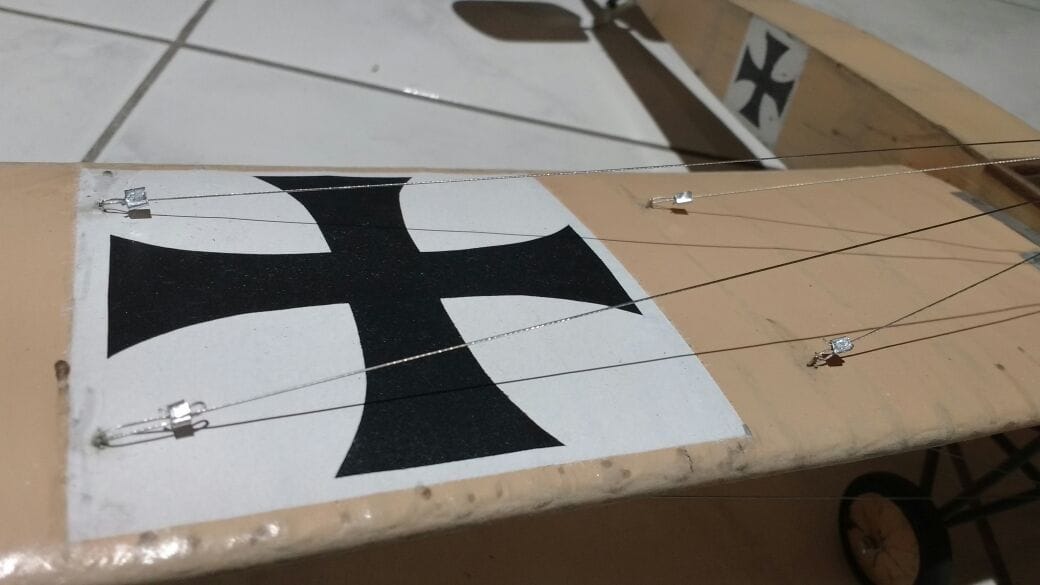
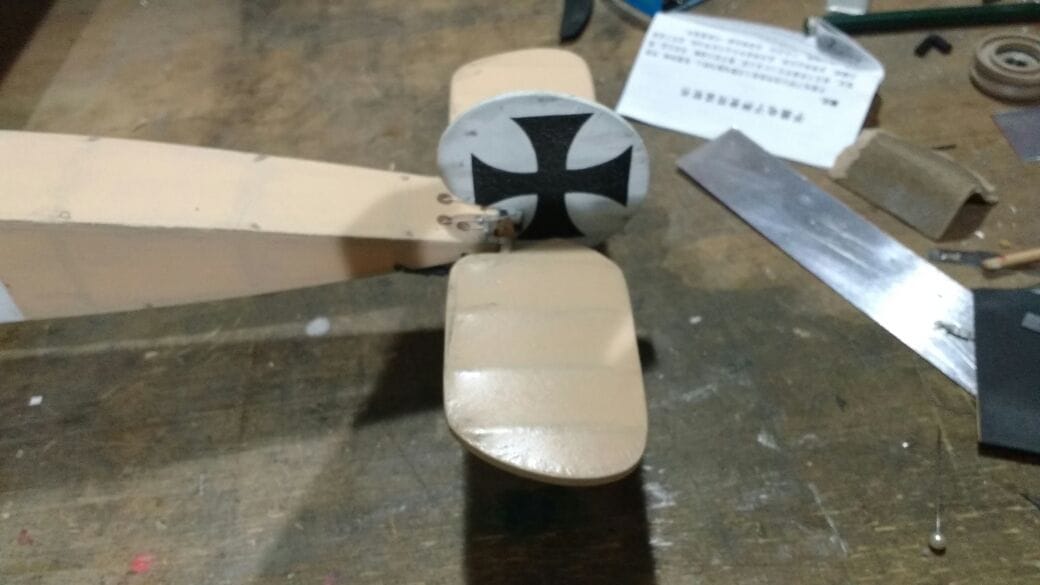
Here it's possible to see the fuselage already aged and wetheared...
Some more details done like pull pull cables exit, throtle lever painted and in place, etc..
Some more details done like pull pull cables exit, throtle lever painted and in place, etc..
11-12-2017, 09:00 AM
#32
Thread Starter
Join Date: Jan 2005
Location: , MS, BHUTAN
Posts: 65
Likes: 0
Received 0 Likes
on
0 Posts
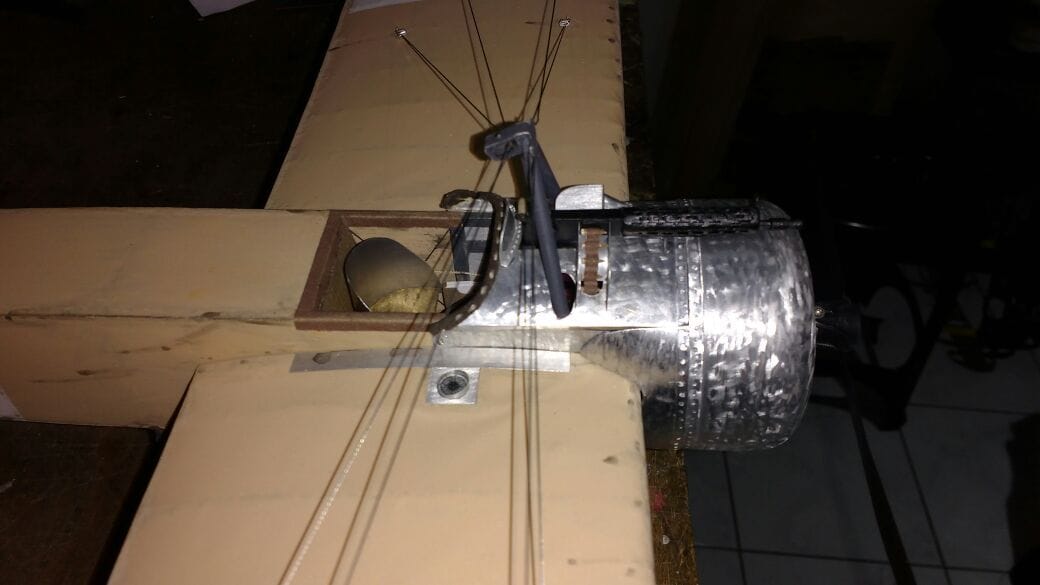
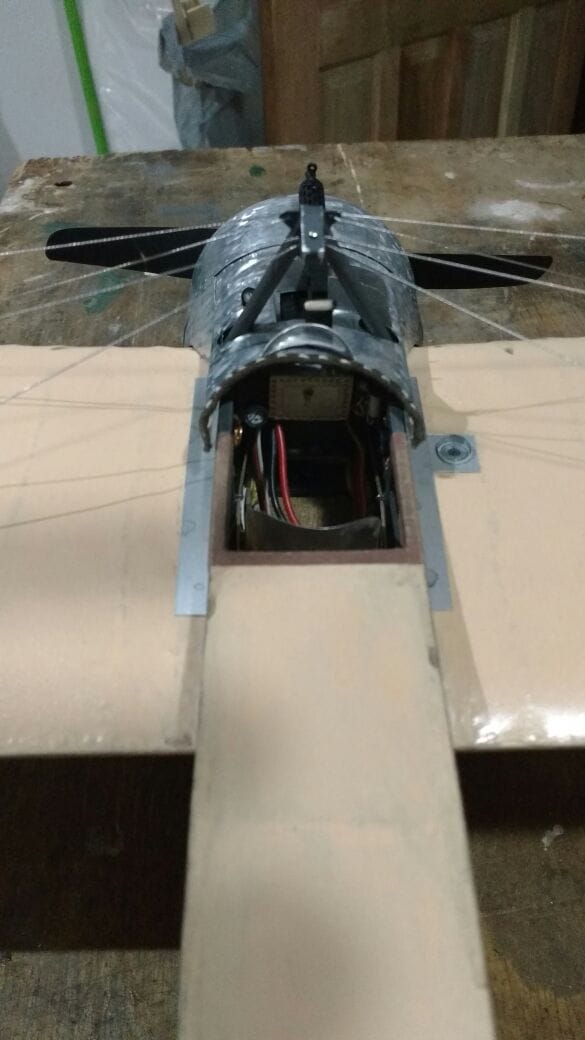
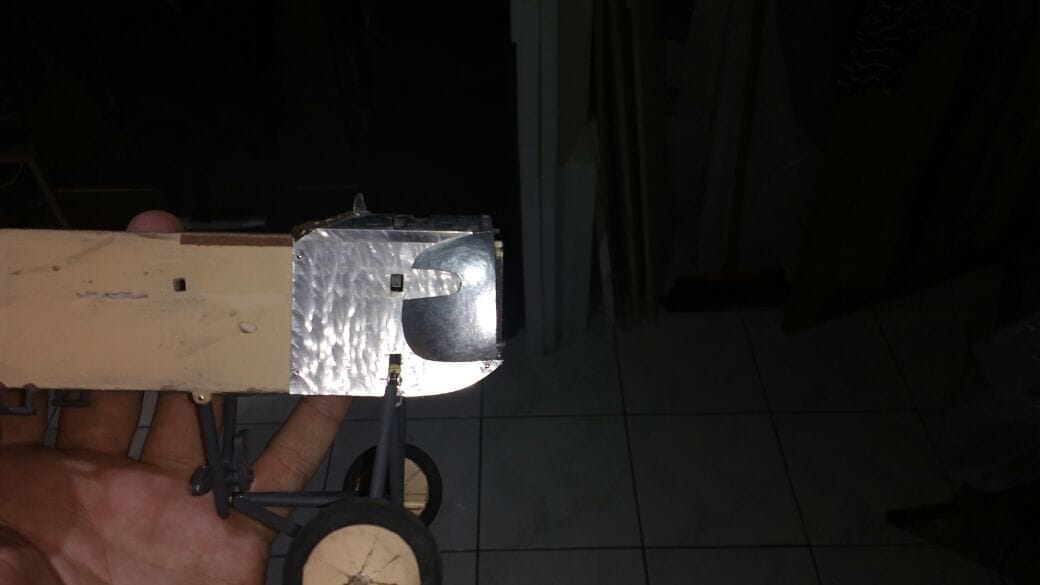
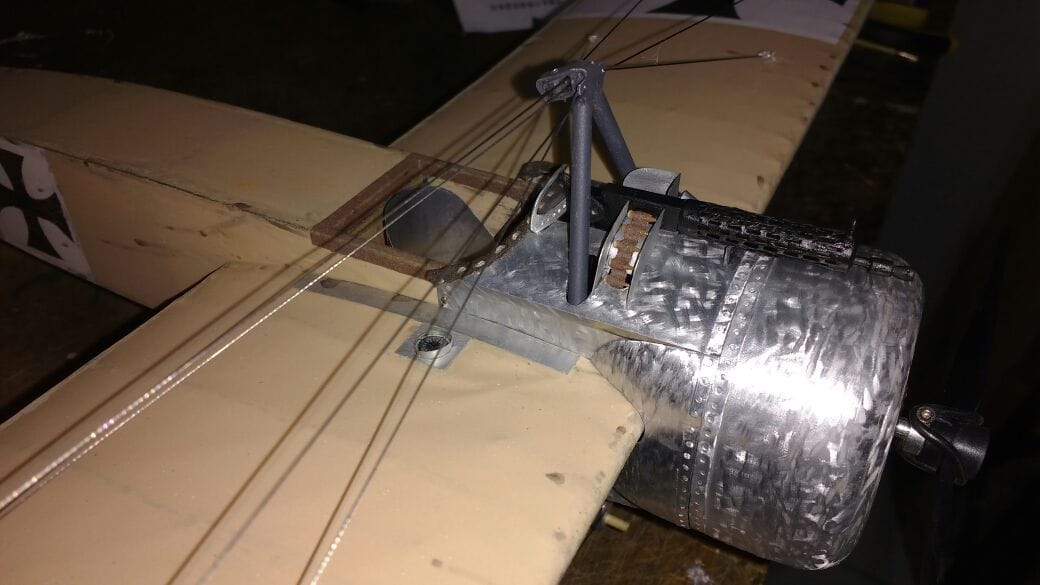
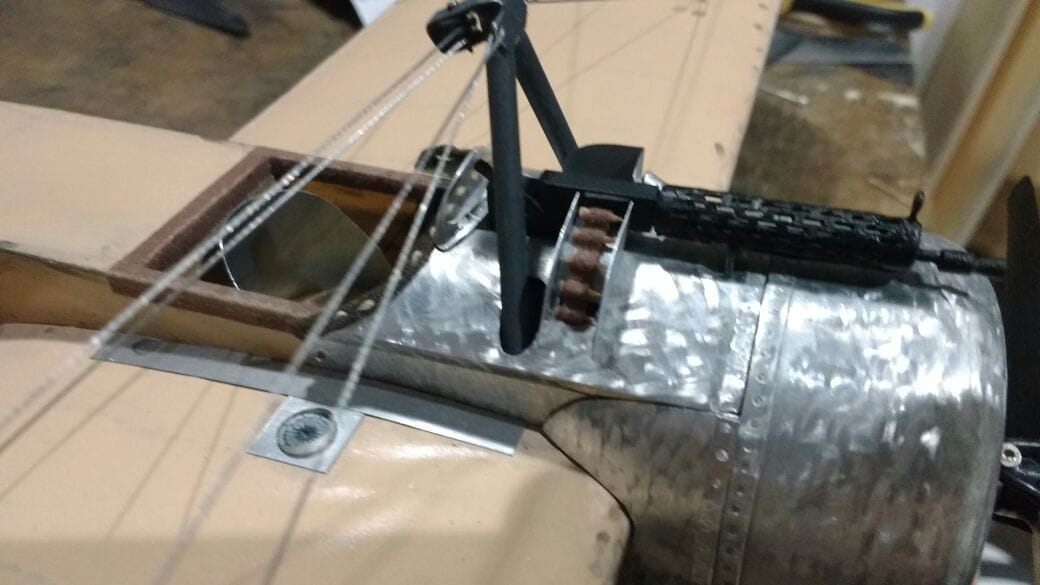
More progress....
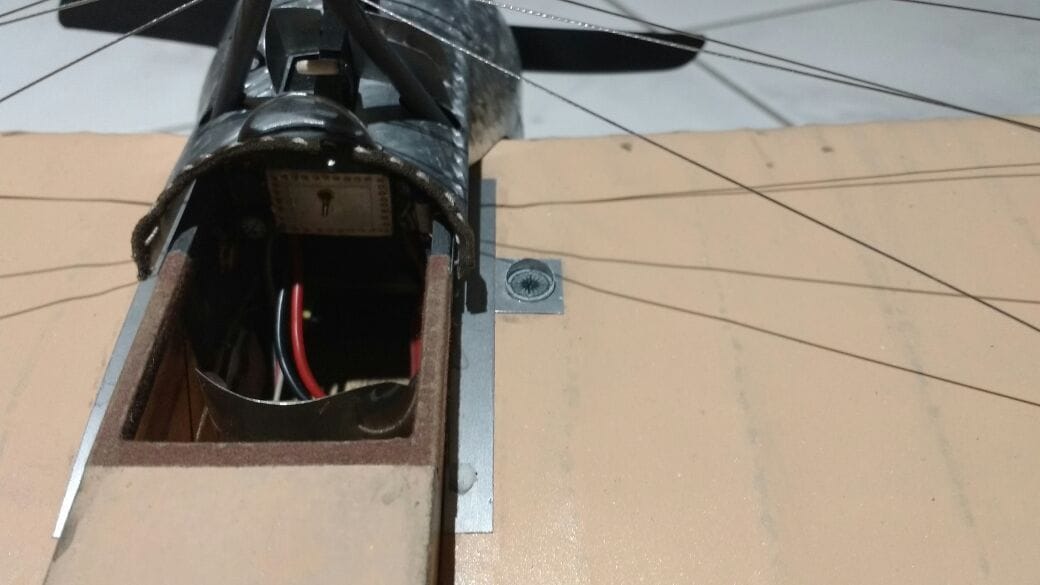
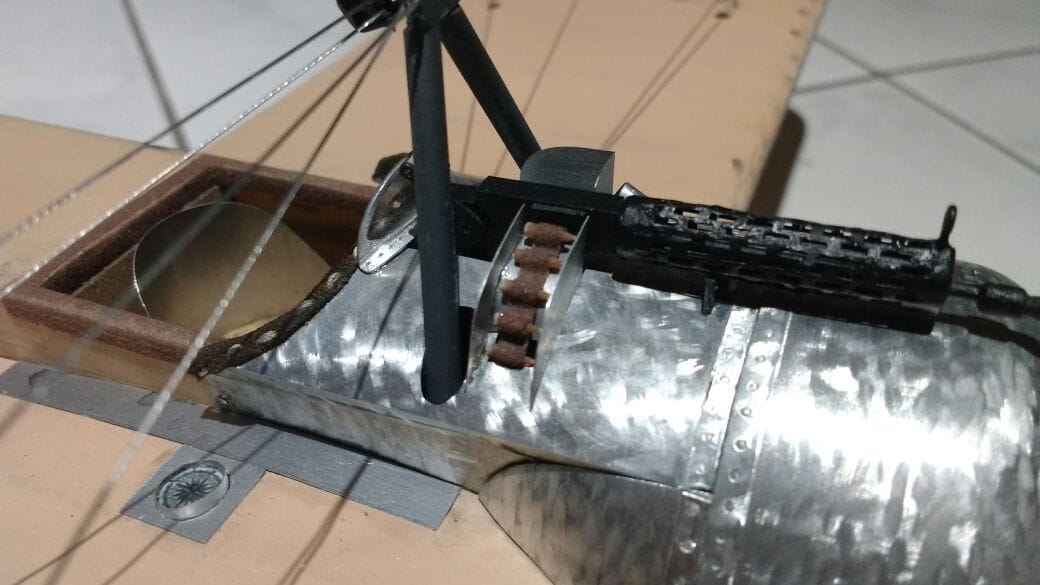
Today i worked on the last instruments and on the left, right and bottom metal panels.
Note the elevator cables which comes out from the cockpit and get in the fuselage again...
Today i worked on the last instruments and on the left, right and bottom metal panels.
Note the elevator cables which comes out from the cockpit and get in the fuselage again...
11-16-2017, 03:48 AM
#39
Thread Starter
Join Date: Jan 2005
Location: , MS, BHUTAN
Posts: 65
Likes: 0
Received 0 Likes
on
0 Posts
for a couple of reasons:
1. To fly it in small areas or even indoors
2. To give use for a set of small electronics i had
3. To have a decorative plane that will fit my office wall during the week
4. Detailing in such a small scale is a harder chalenge... and i wanted to face it
5. Keep cost of materials low
6. Use it to test some concepts and building techniques in a easier and cheaper way
there are a few other reasons too but i think the ones above may seem enough...
anyways your curiosity makes perfect sense...
04-08-2018, 08:52 AM
#41
Thread Starter
Join Date: Jan 2005
Location: , MS, BHUTAN
Posts: 65
Likes: 0
Received 0 Likes
on
0 Posts
Hello guys...
Had to stop working on the fokker 3 months ago to work on another model, now i'm getting back to the eindecker....
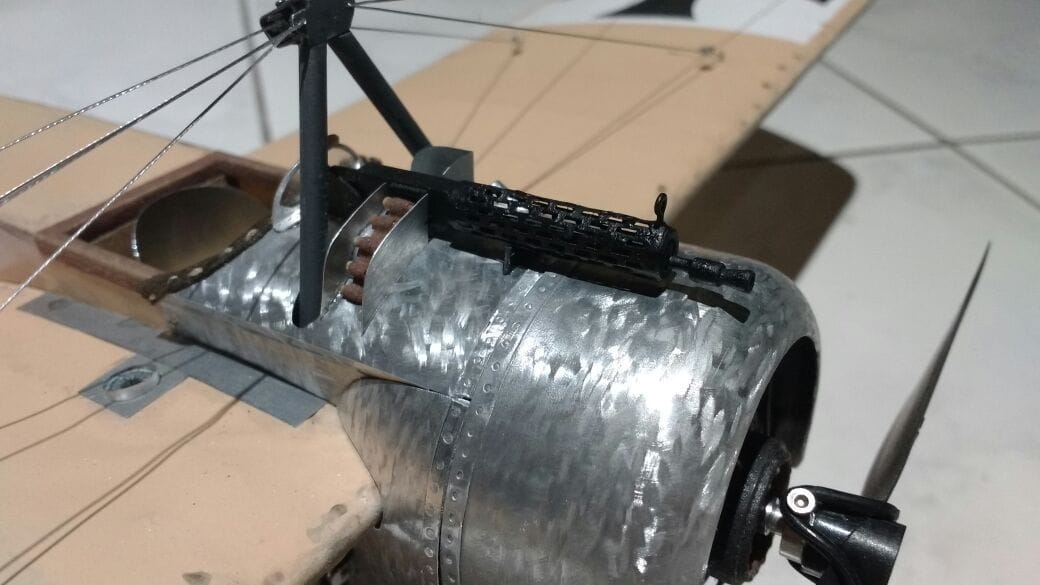
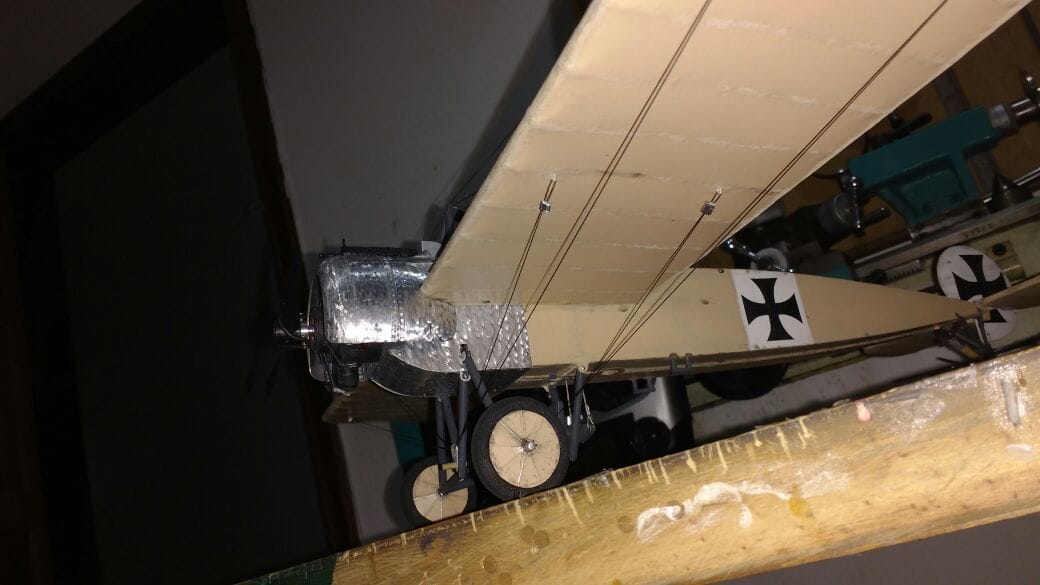
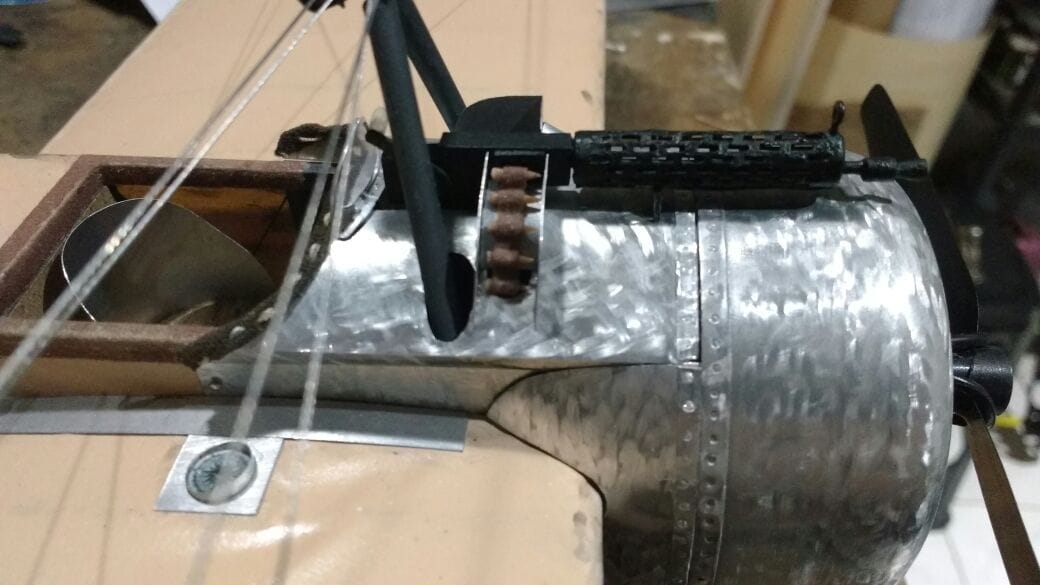
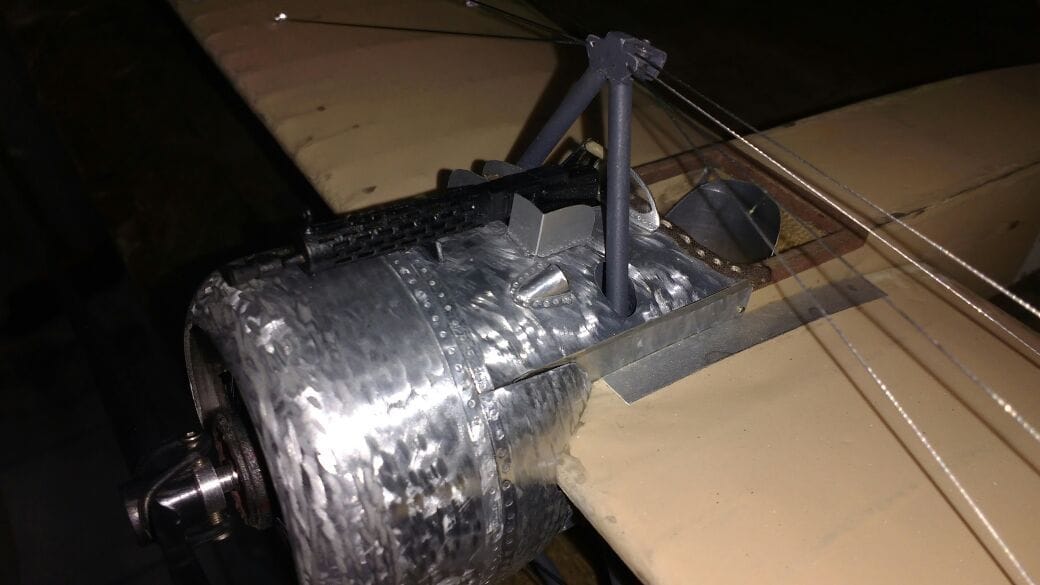
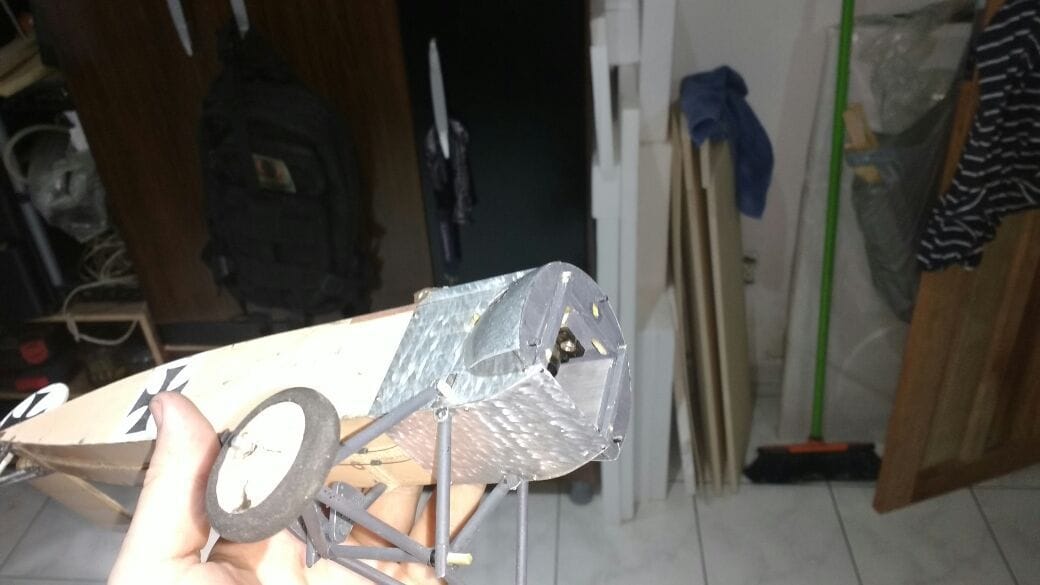
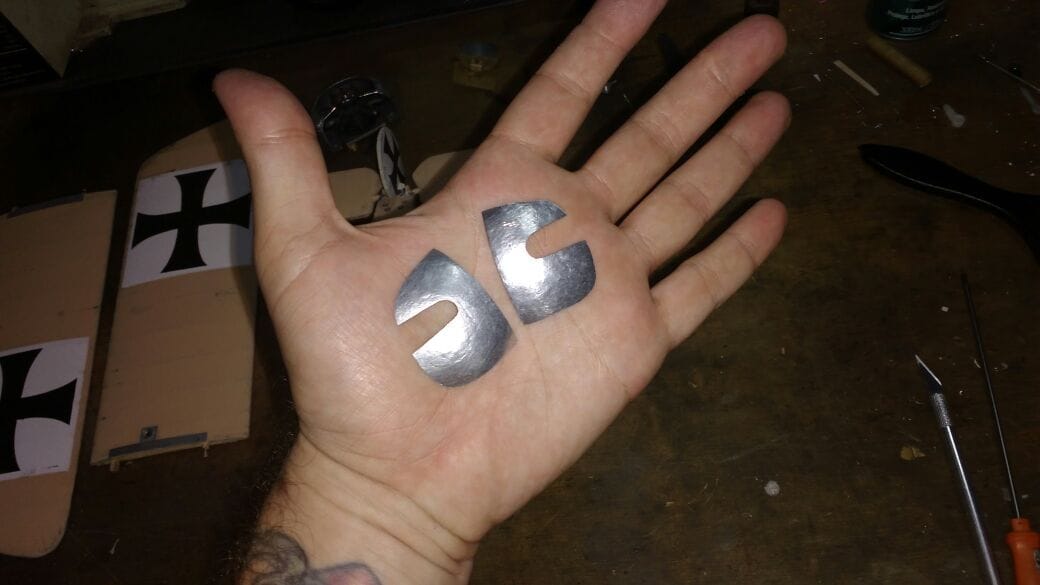
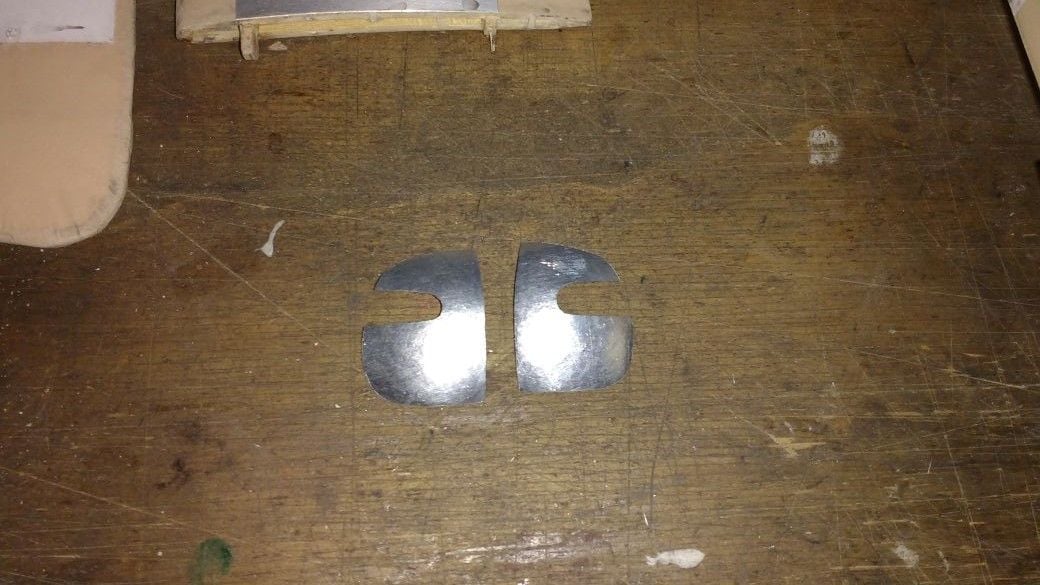
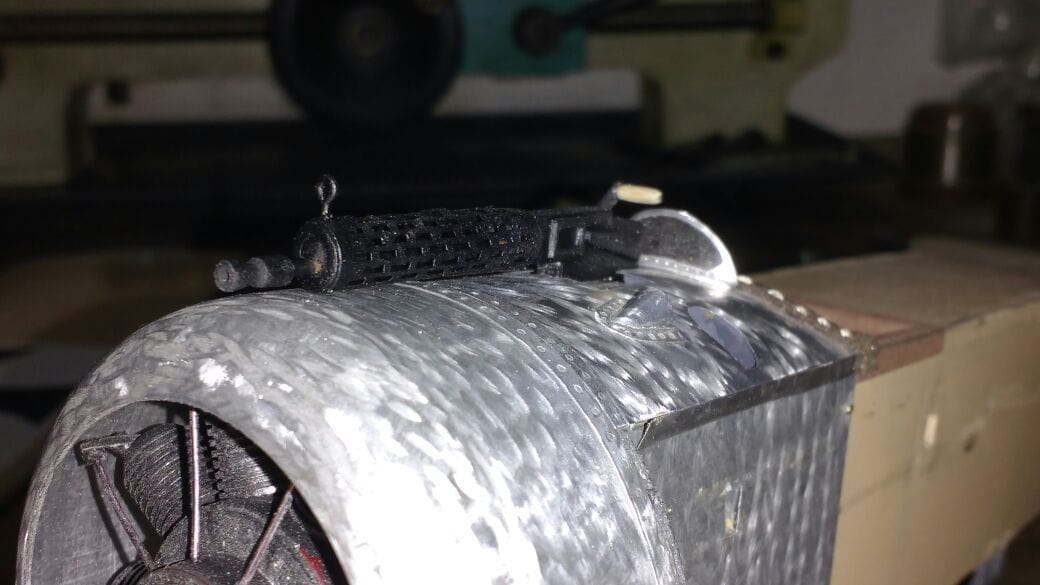
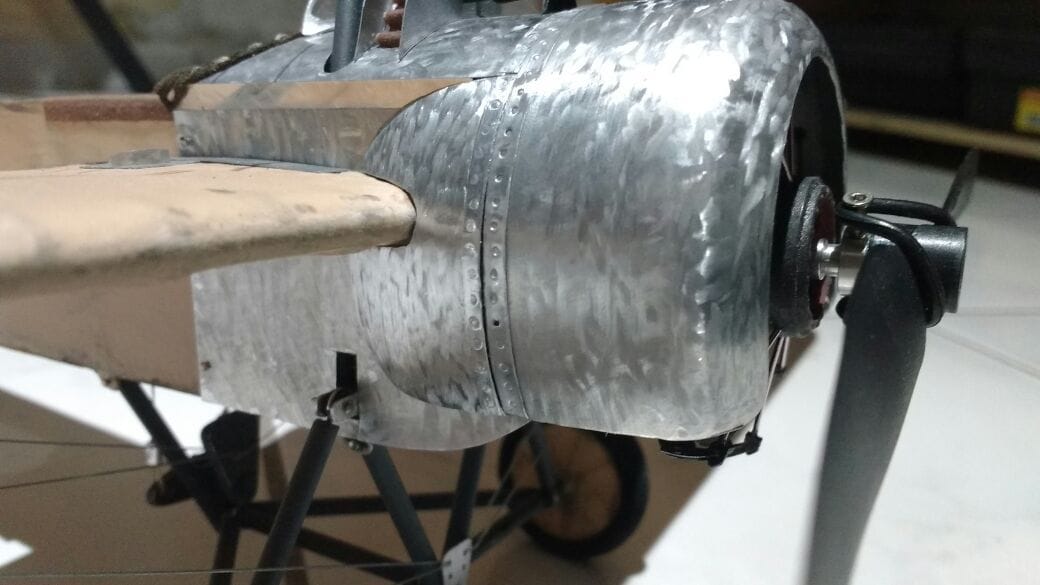
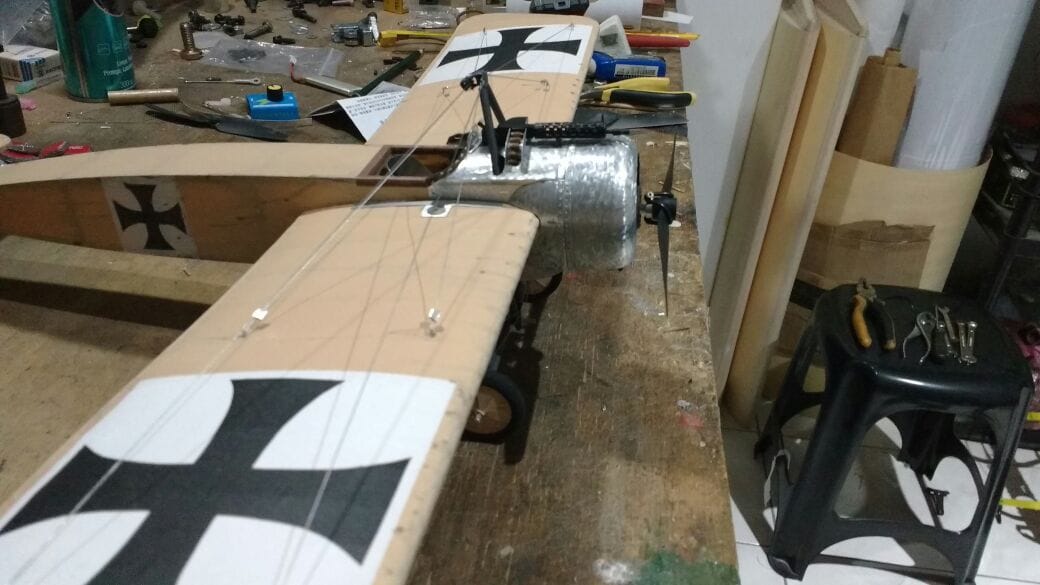
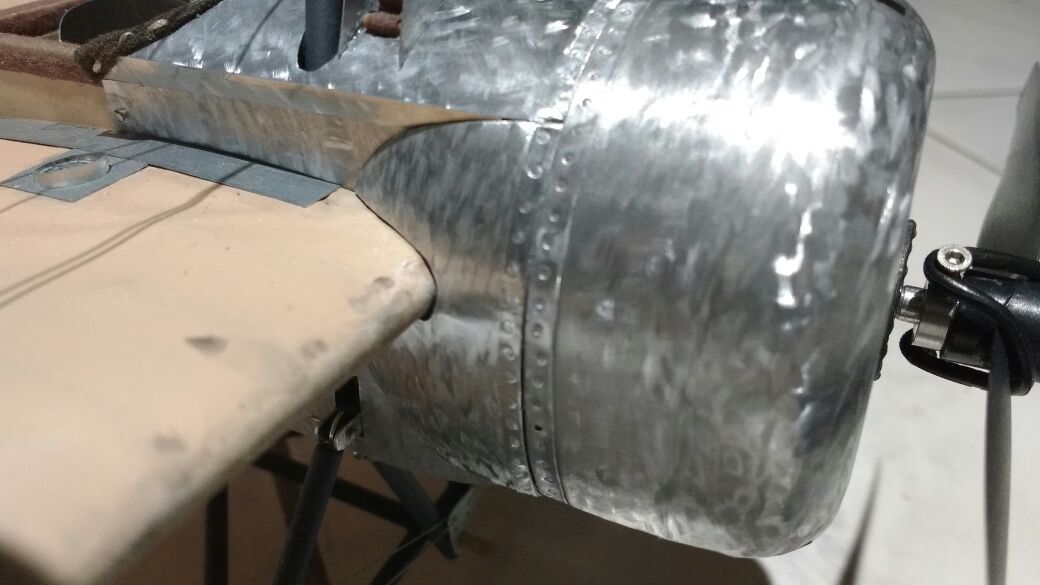
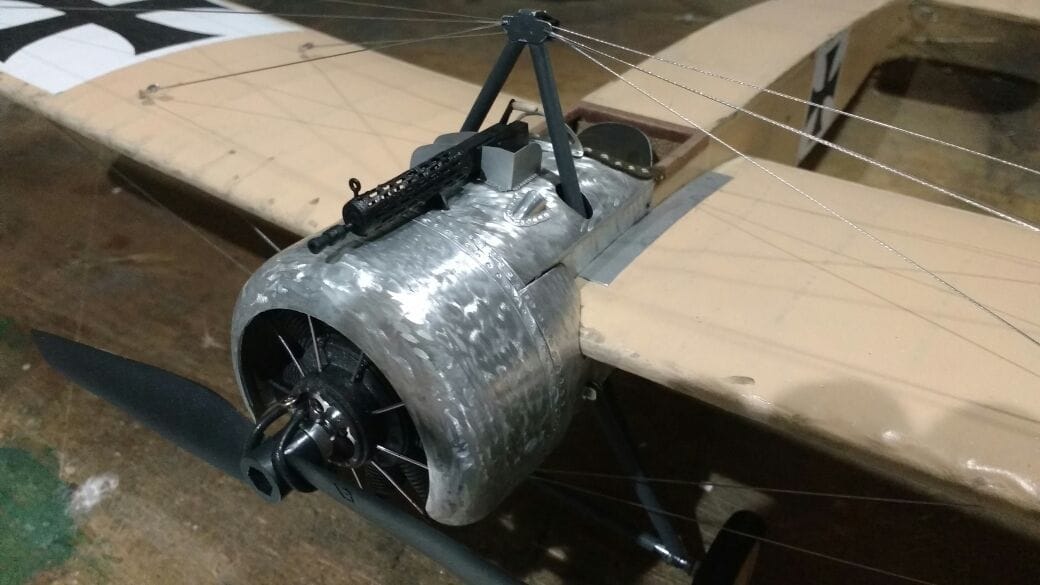
Today i made the side metal exhaust cover...
started with a square roofing alluminium and hammered it a lot with different kinds of hammers and dies to get the right compound shape...
Still need to sand it down to remover hammer marks and make the simulated jeweling effect, but all the metal parts are done now...
Only thing i still must fabricate is the machine gun... than just link the ailerons and it will be ready to go!


Had to stop working on the fokker 3 months ago to work on another model, now i'm getting back to the eindecker....
Today i made the side metal exhaust cover...
started with a square roofing alluminium and hammered it a lot with different kinds of hammers and dies to get the right compound shape...
Still need to sand it down to remover hammer marks and make the simulated jeweling effect, but all the metal parts are done now...
Only thing i still must fabricate is the machine gun... than just link the ailerons and it will be ready to go!


 04-13-2018, 06:14 PM
#44
Thread Starter
Join Date: Jan 2005
Location: , MS, BHUTAN
Posts: 65
Likes: 0
Received 0 Likes
on
0 Posts
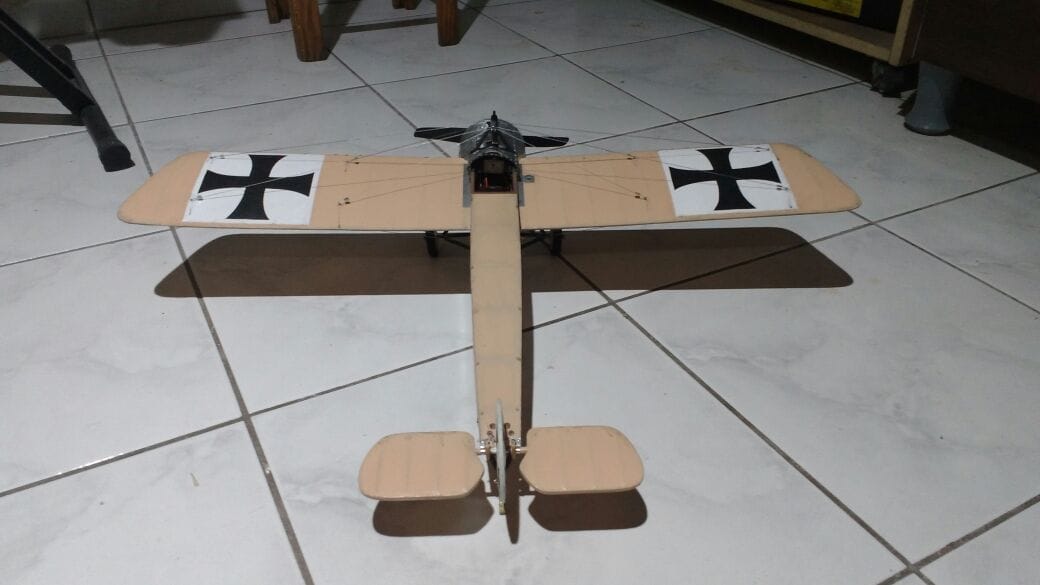
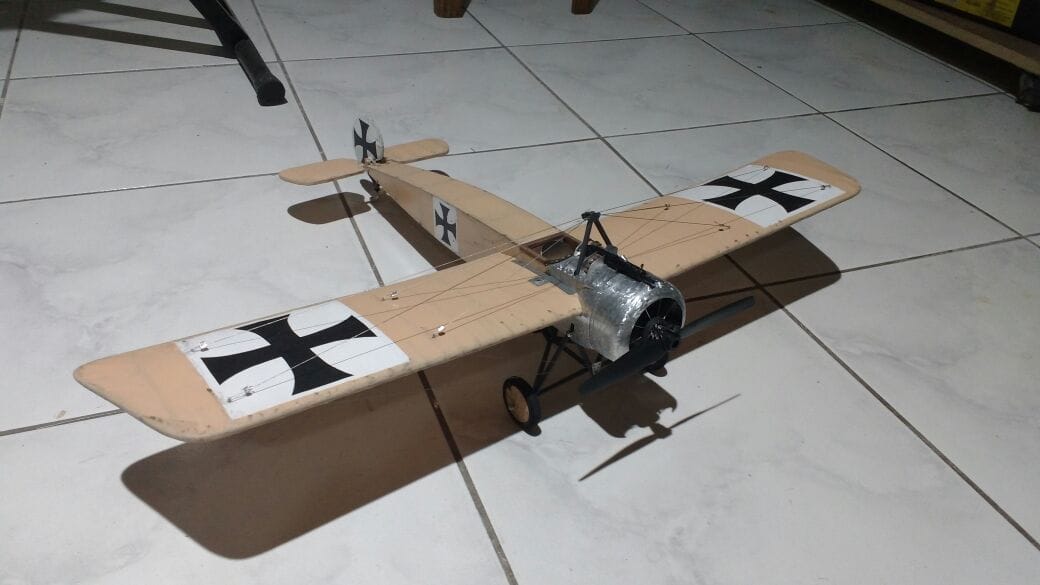
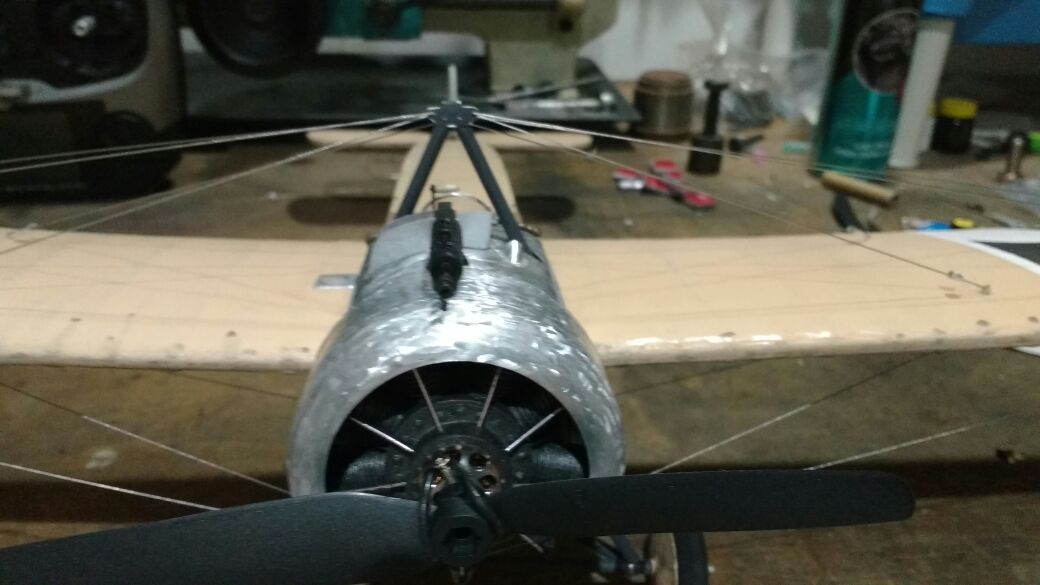
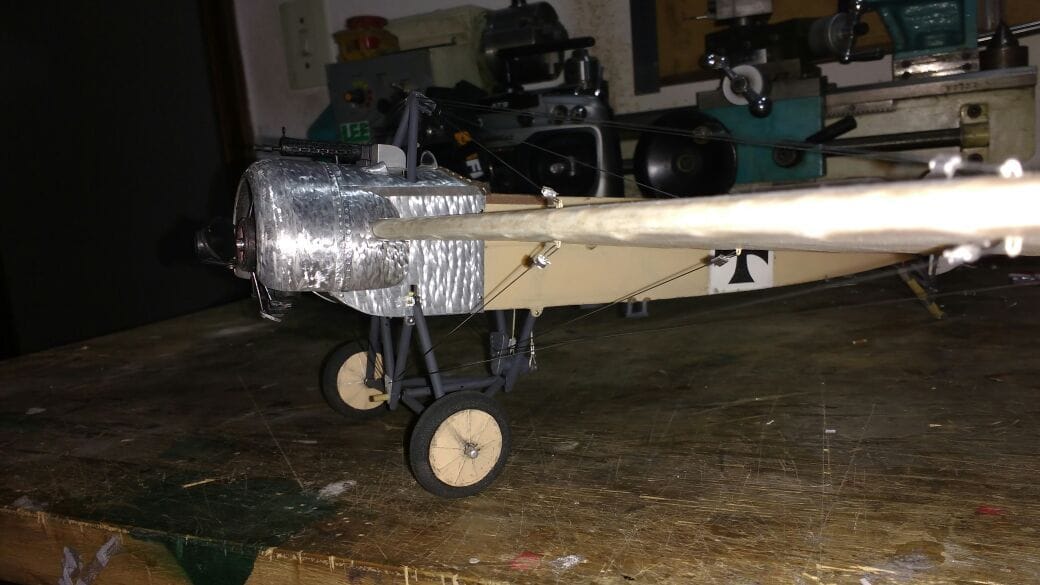
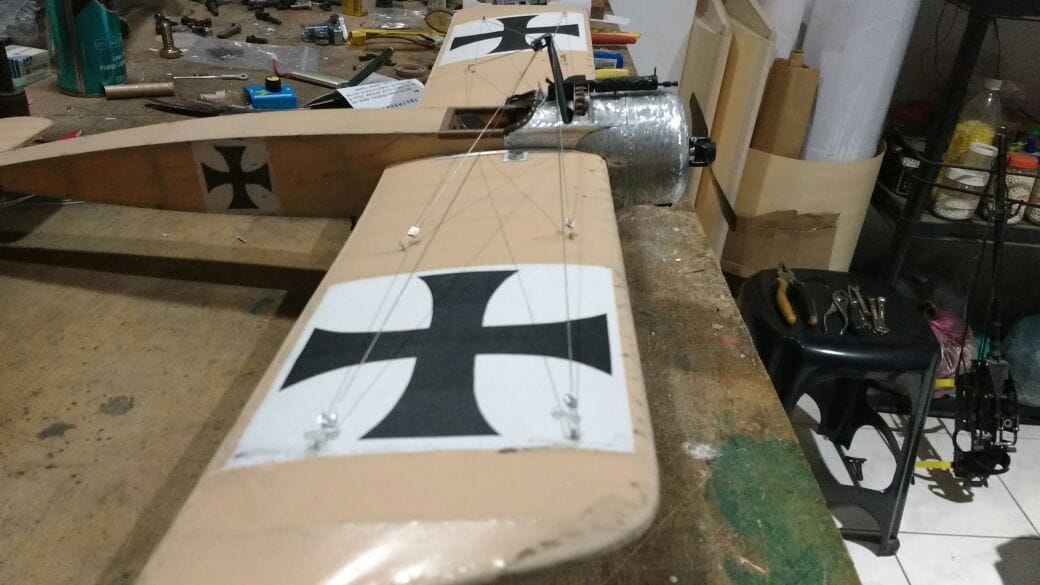
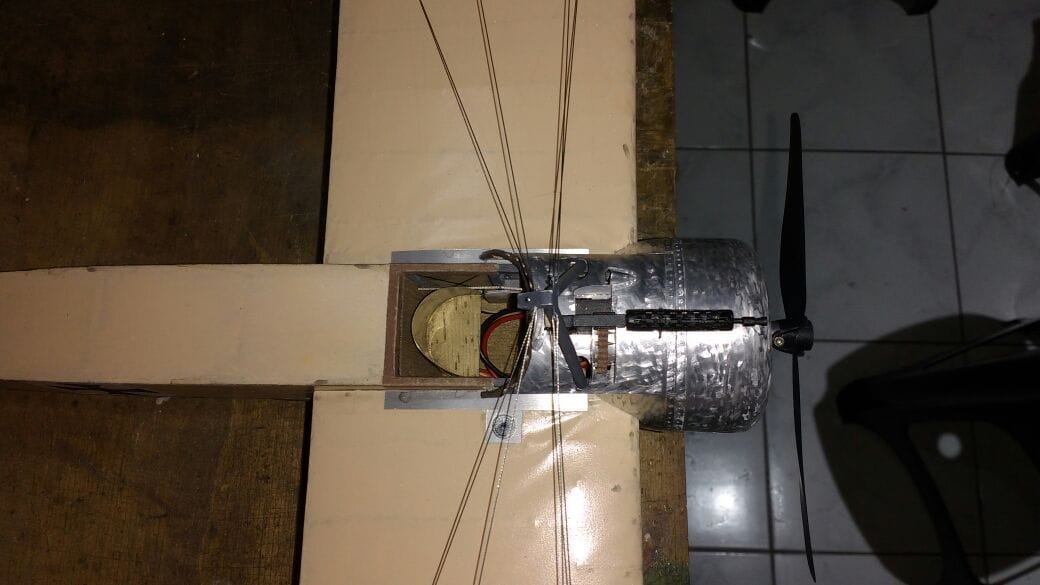
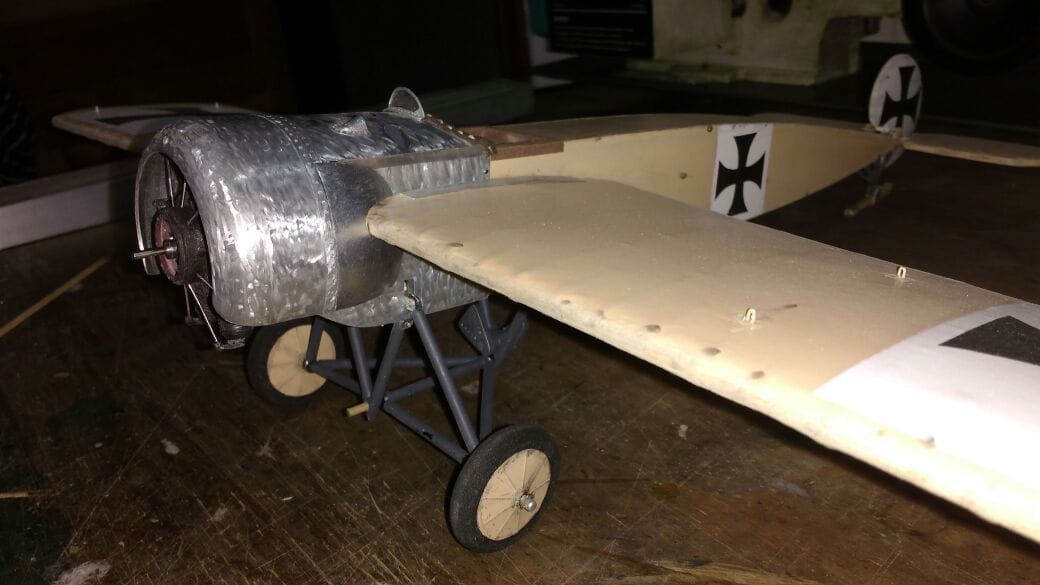
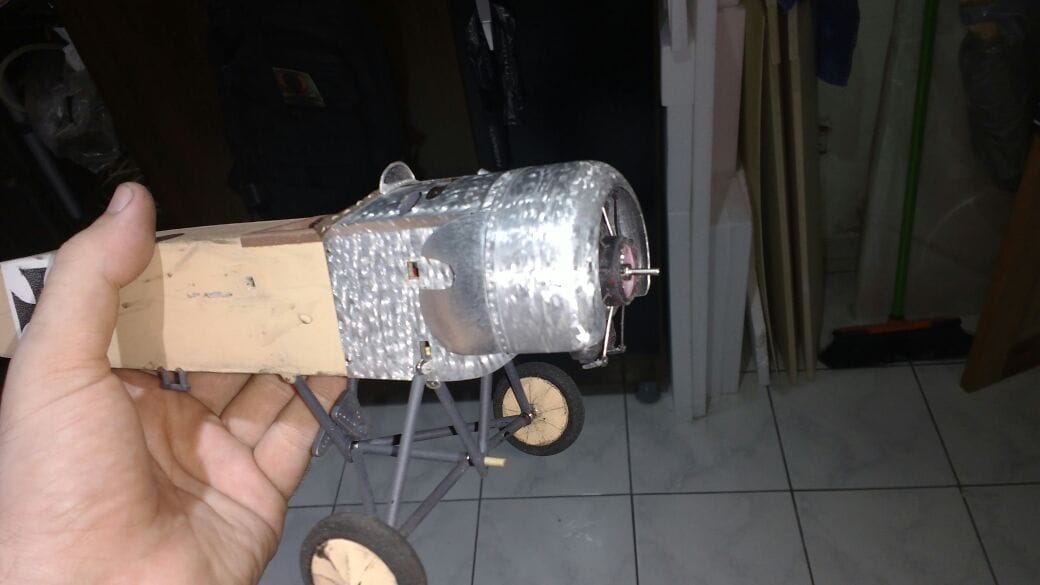
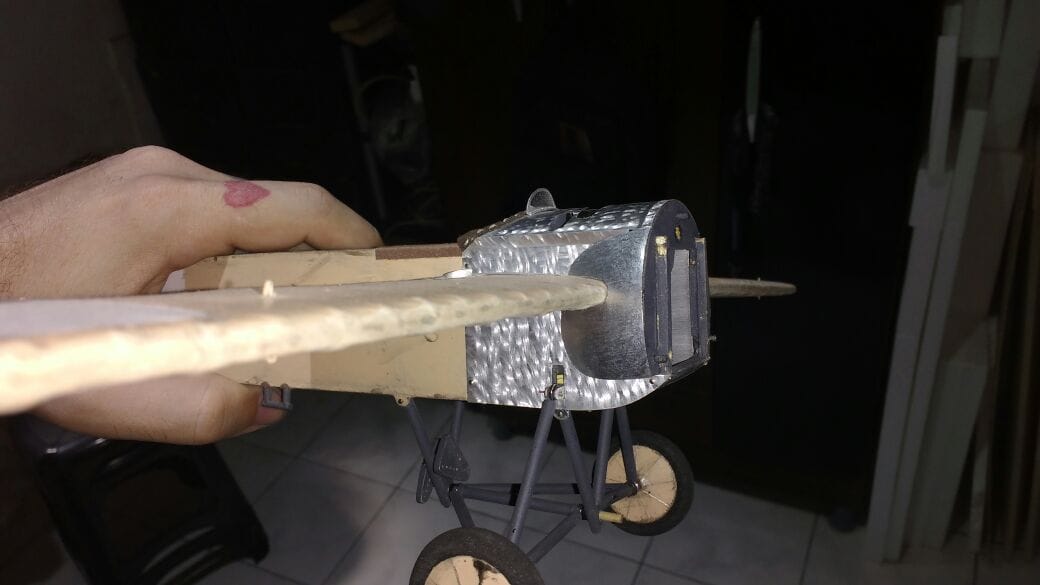
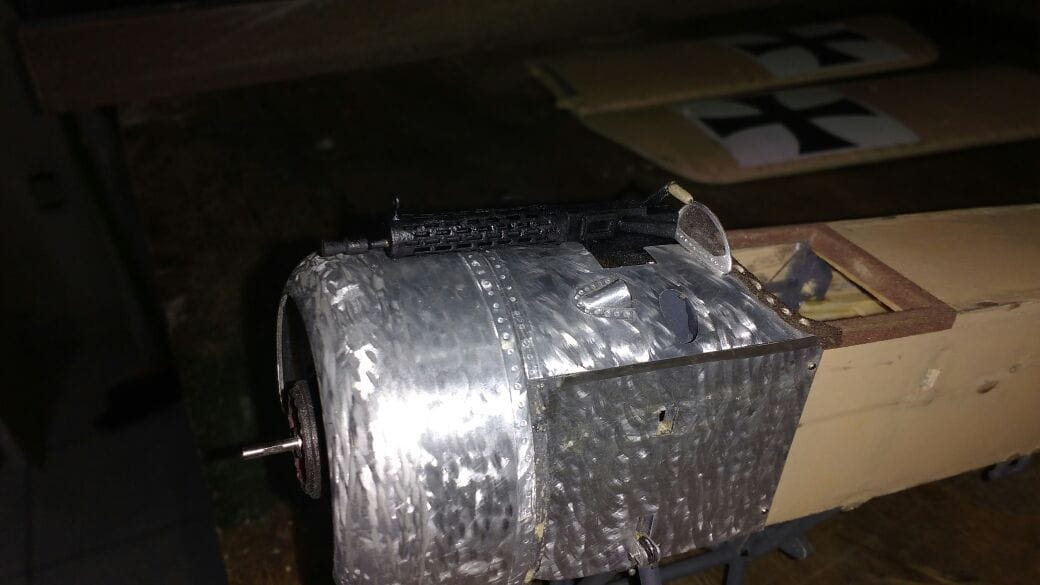
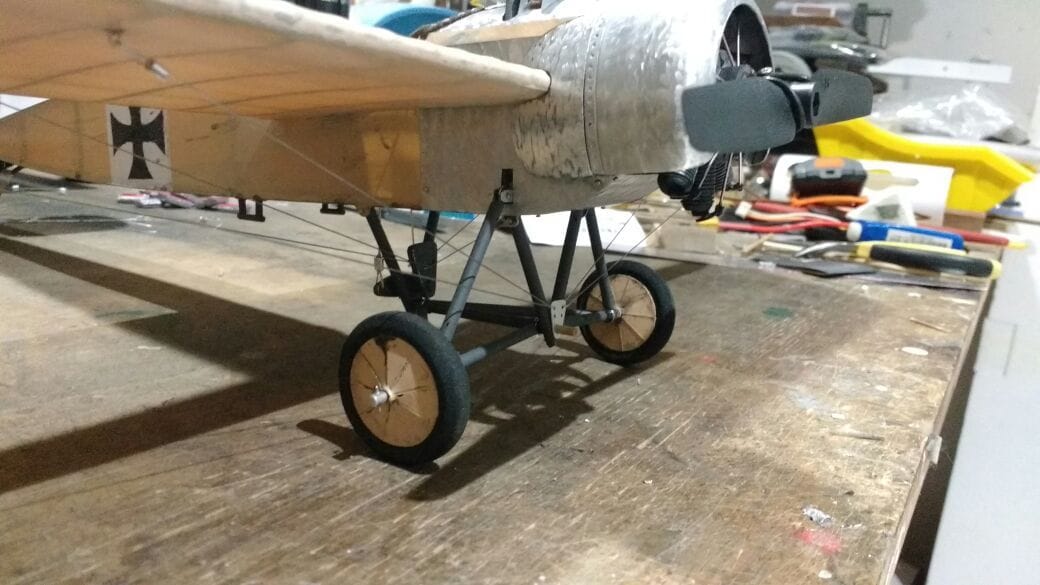
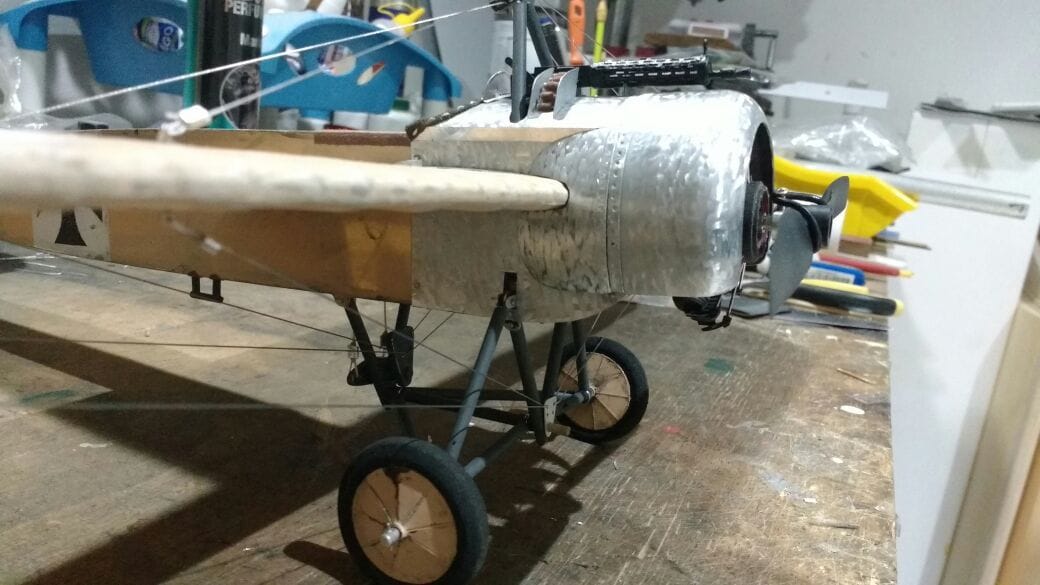
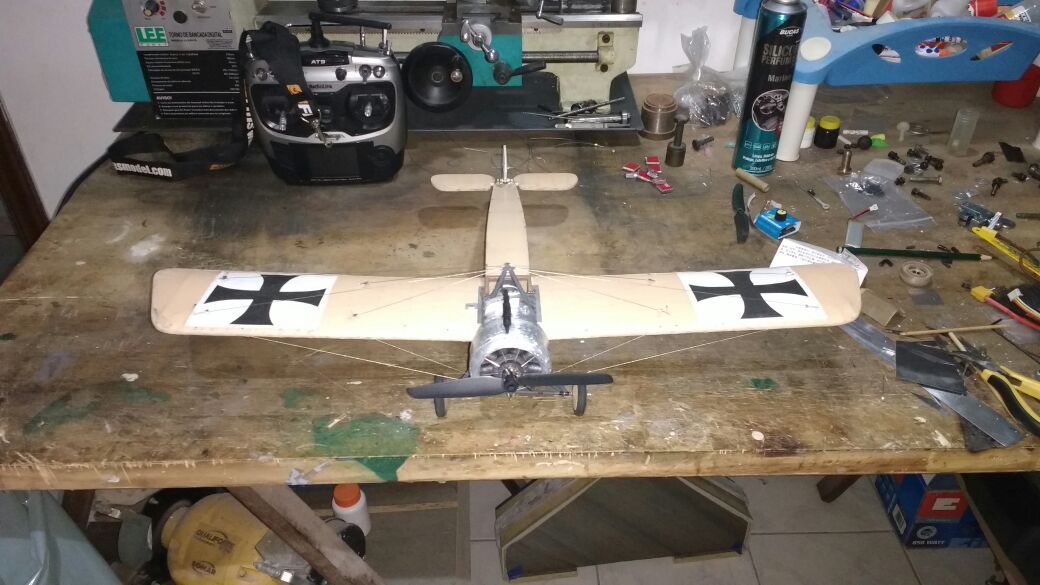
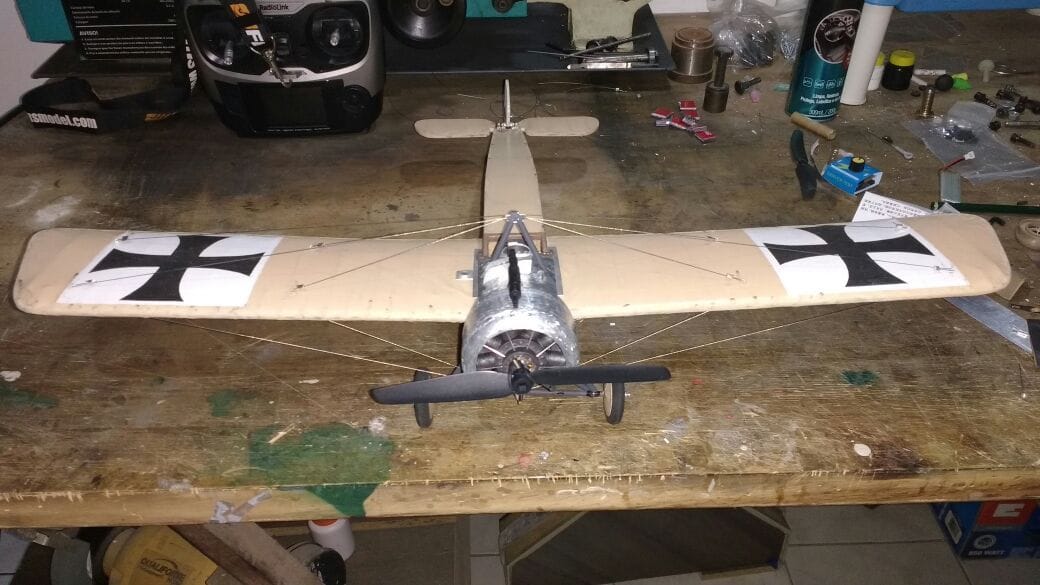
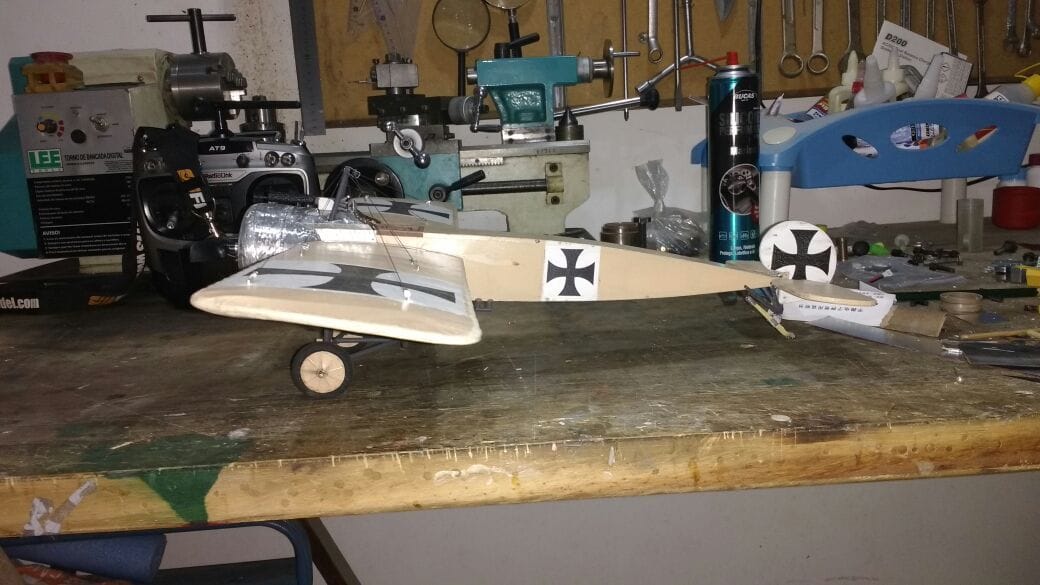
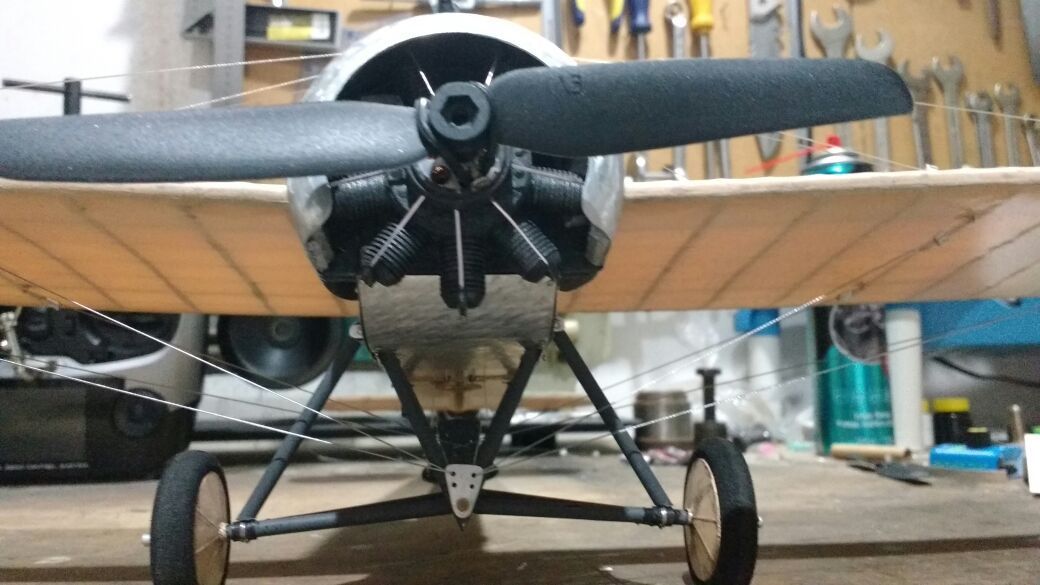
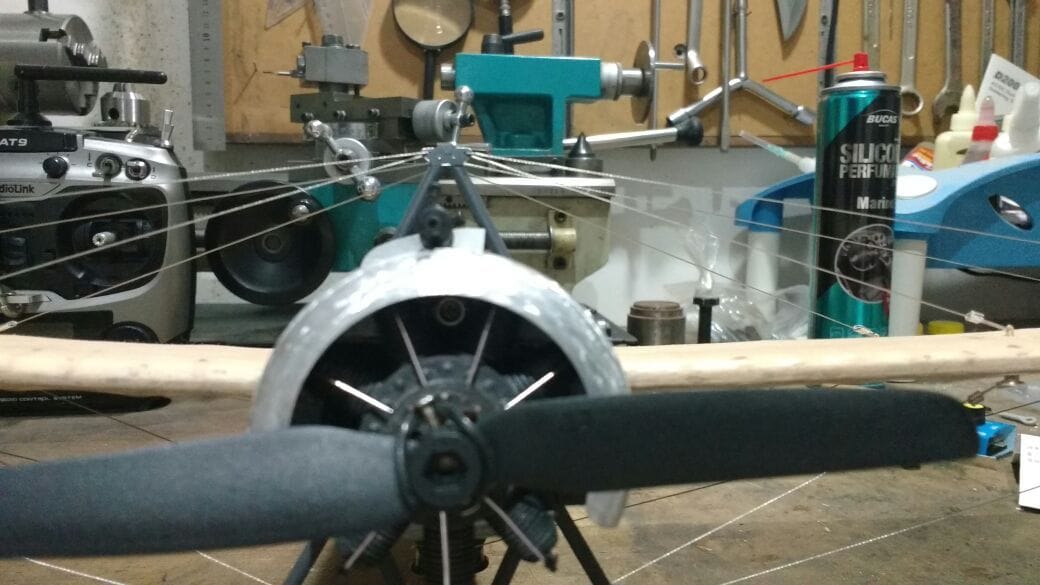
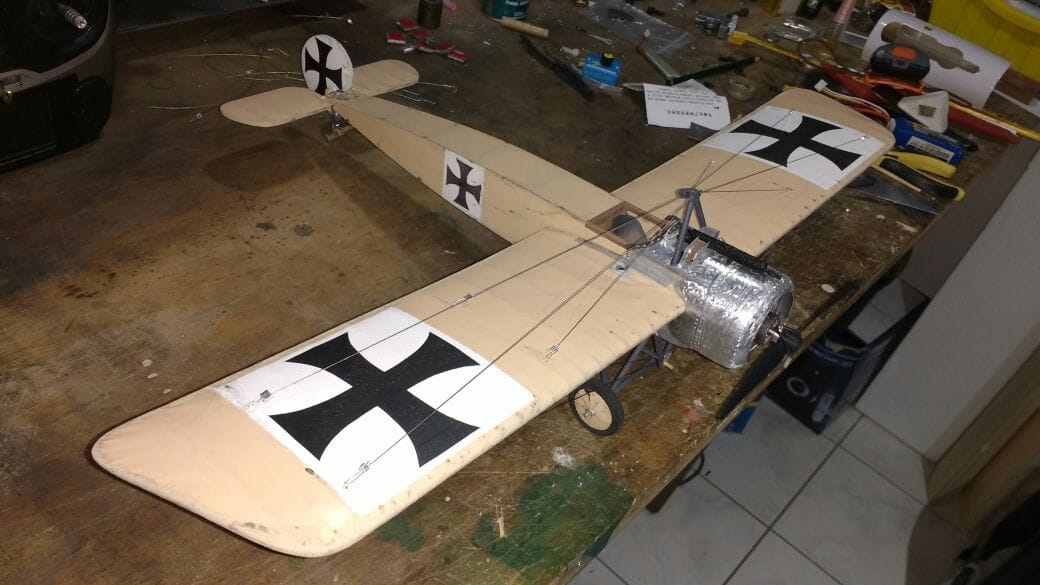
Alright guys.. ready for maiden here!
Finished everything... it ended up weighing 205 grams ready to fly!
40 grams of those 205 grams are dead weight i had to add to the nose to get CG close to where i wanted it to be (1/3 of mac) but even with those amount of dead weight i couldn't set cg at 1/3.. its somewhere behind those 1/3.. probably it will be tail heavy, but theres nothing else i can do!
Tested the motor and for my surprise i'm getting only 90 grams of thrust with a 6x3 prop... so power to weight ratio is ver critical...
With all those negative factors i'm not sure it will fly... probably it won't even survive first flight, so, at least i took lots of pictures so that i can remain on my memories hehehe...