


TopRCModel FW-190


 03-25-2018, 09:40 AM
#153

My Feedback: (49)
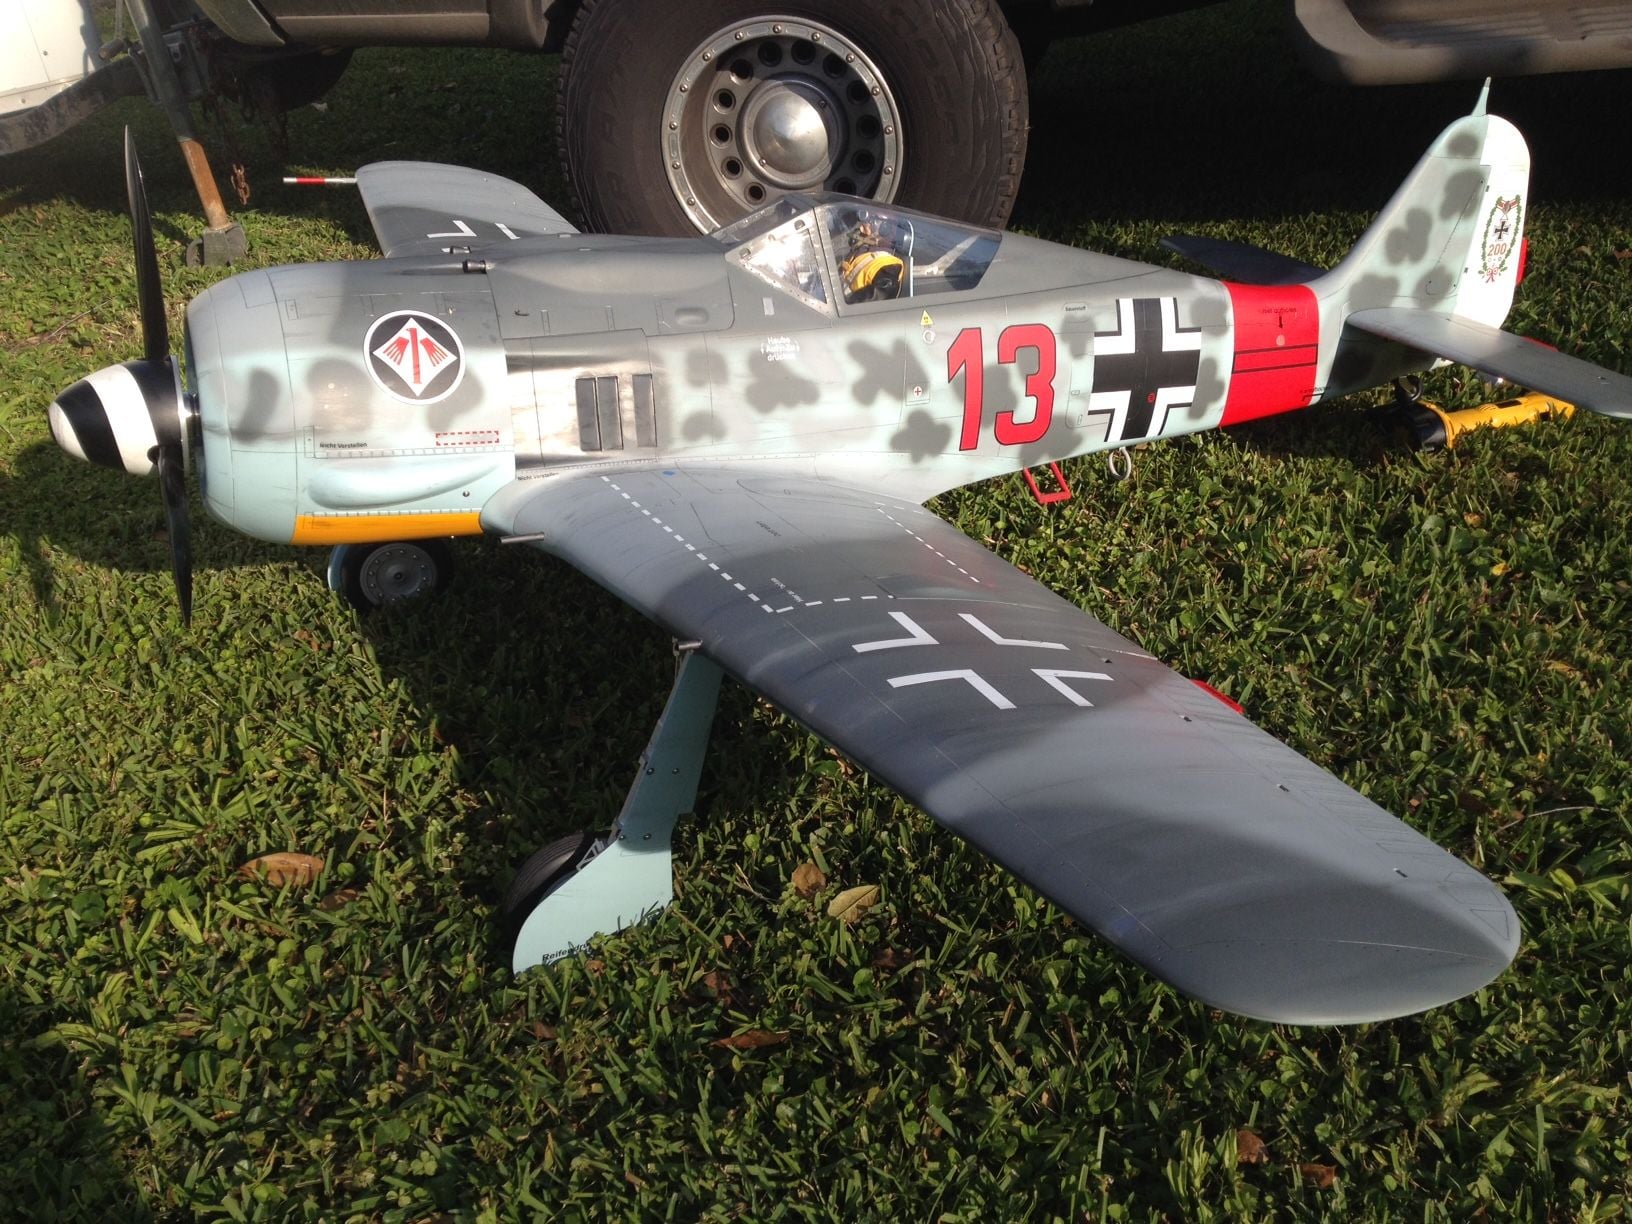
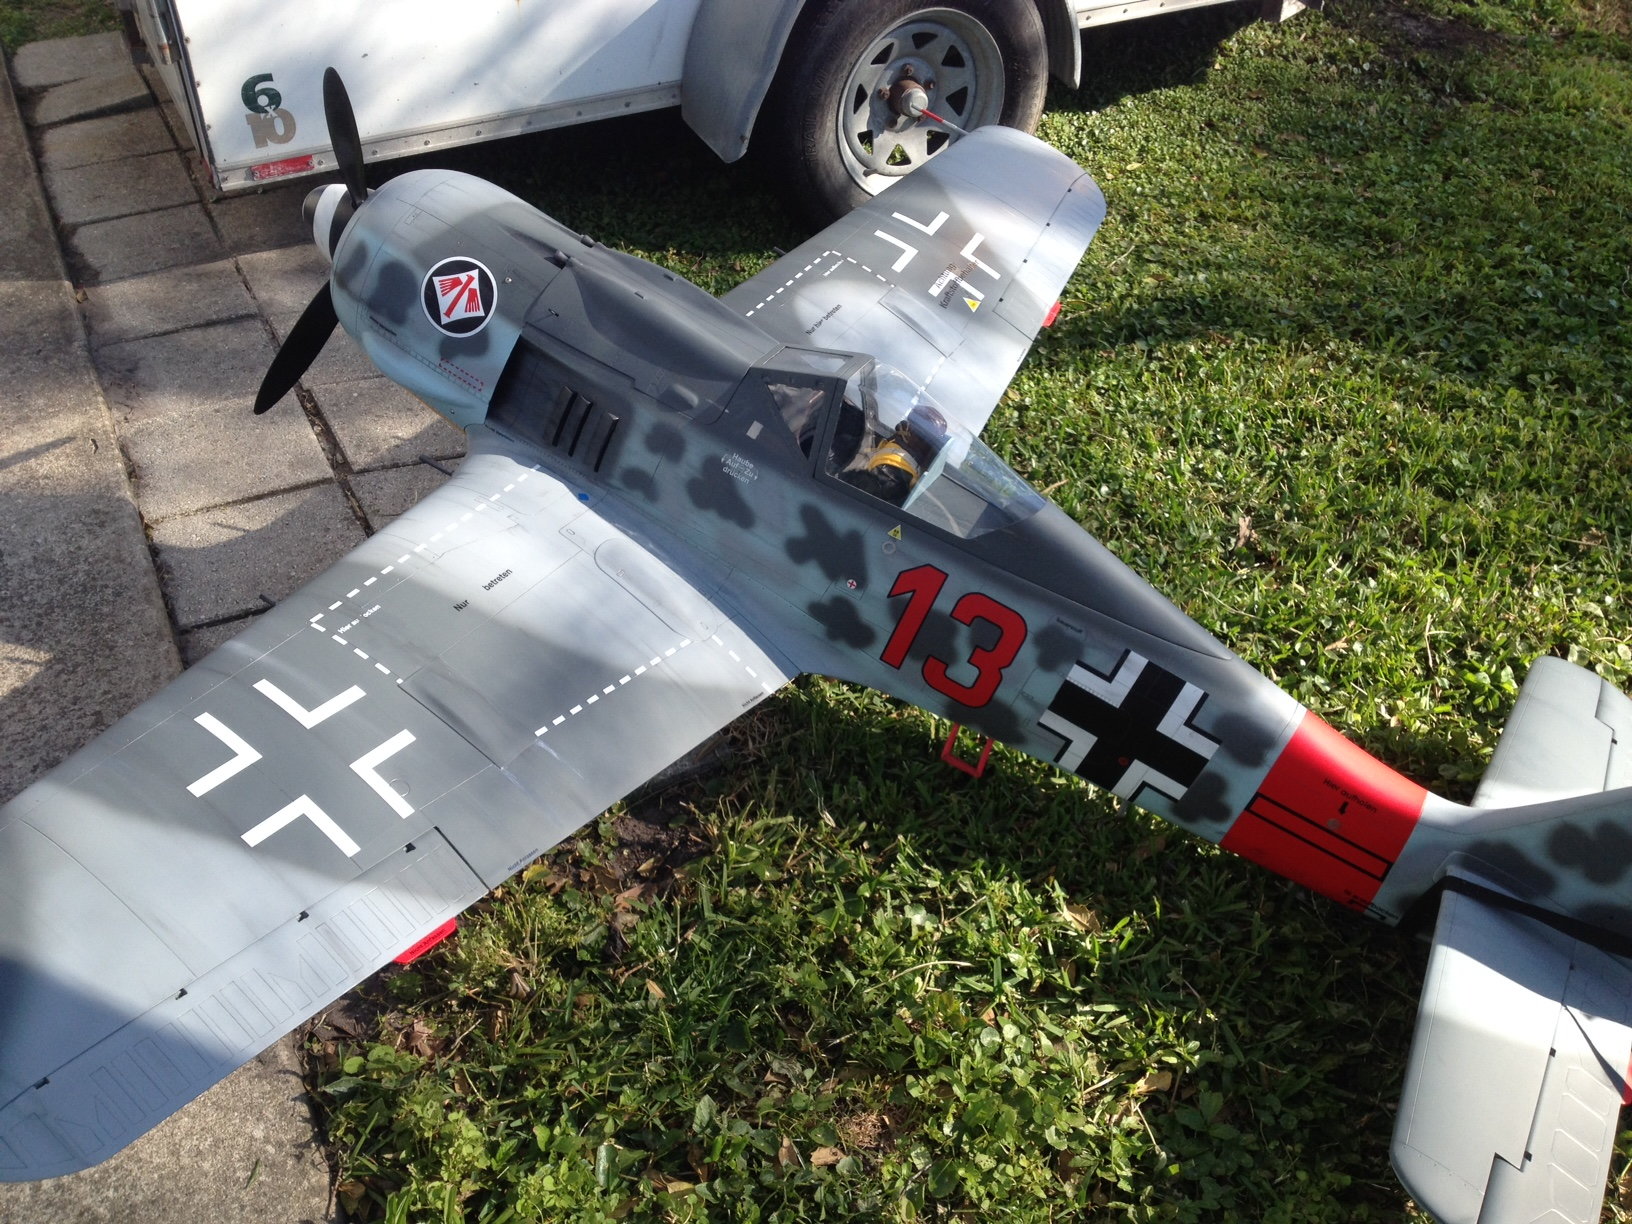
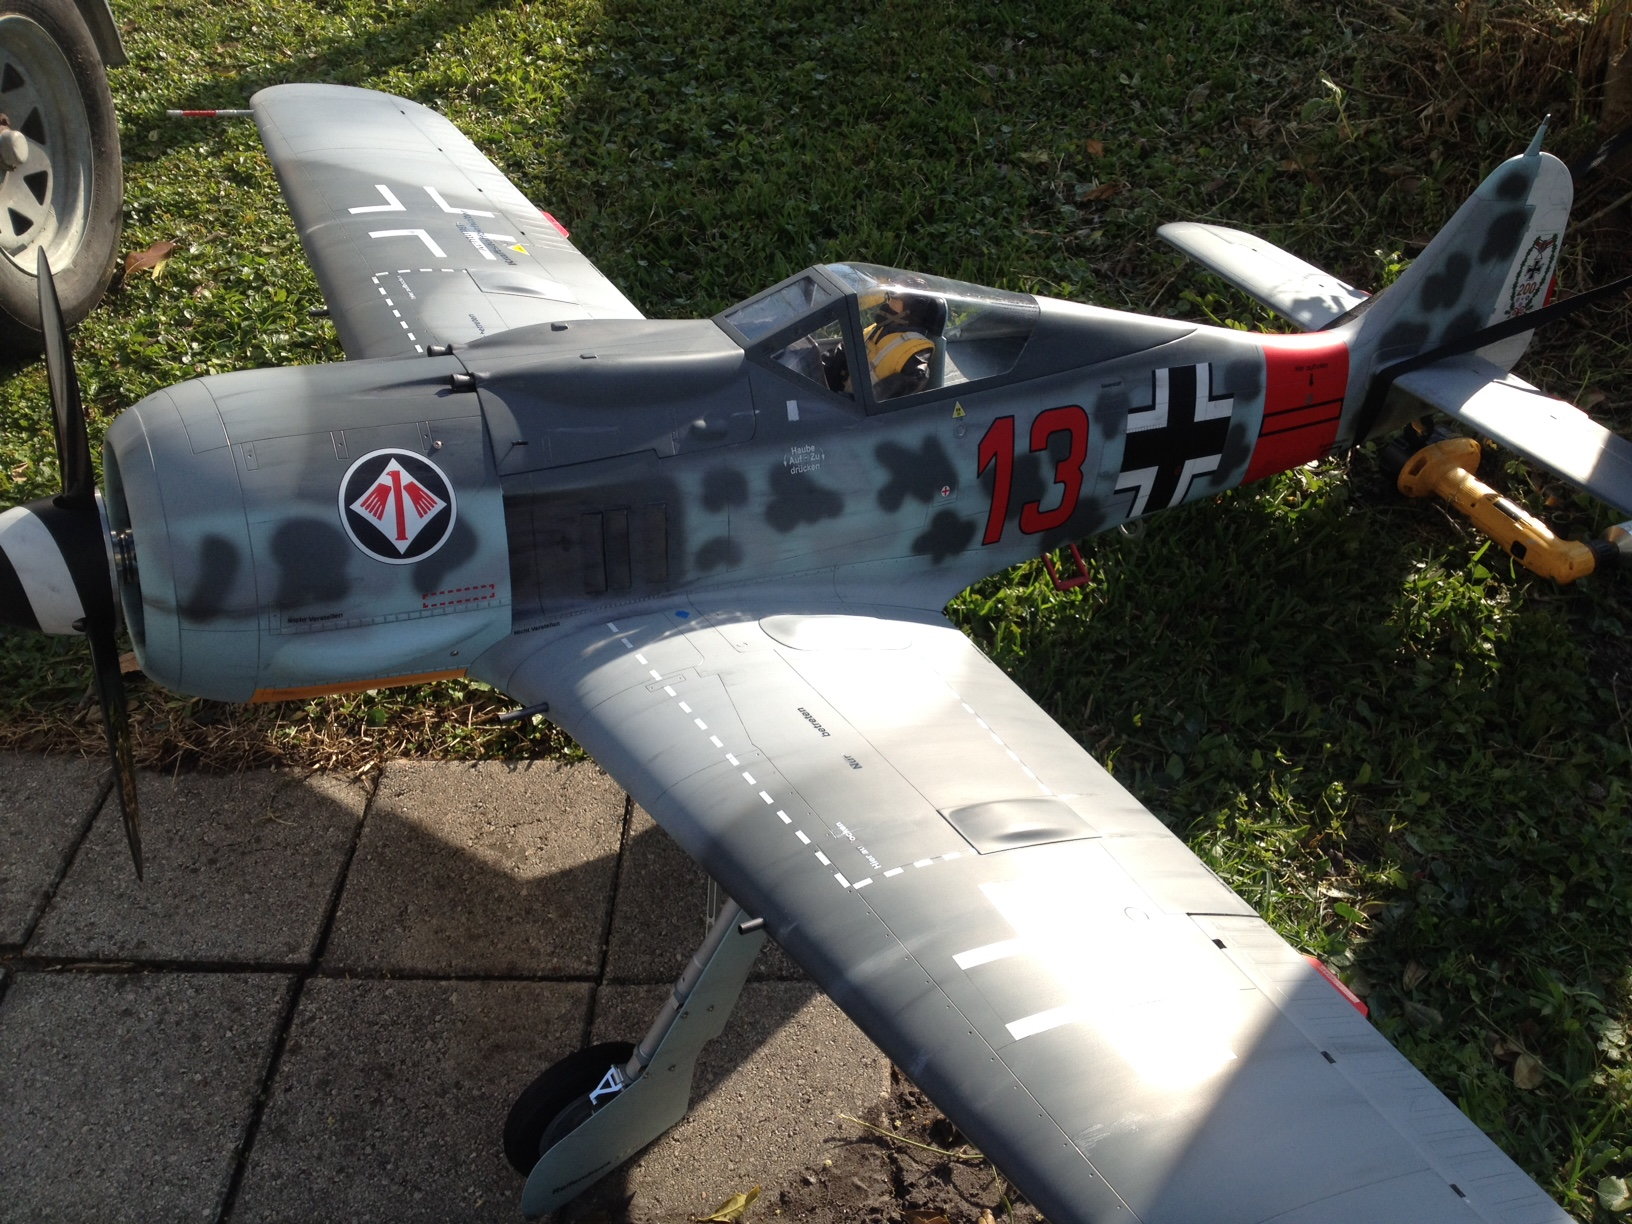
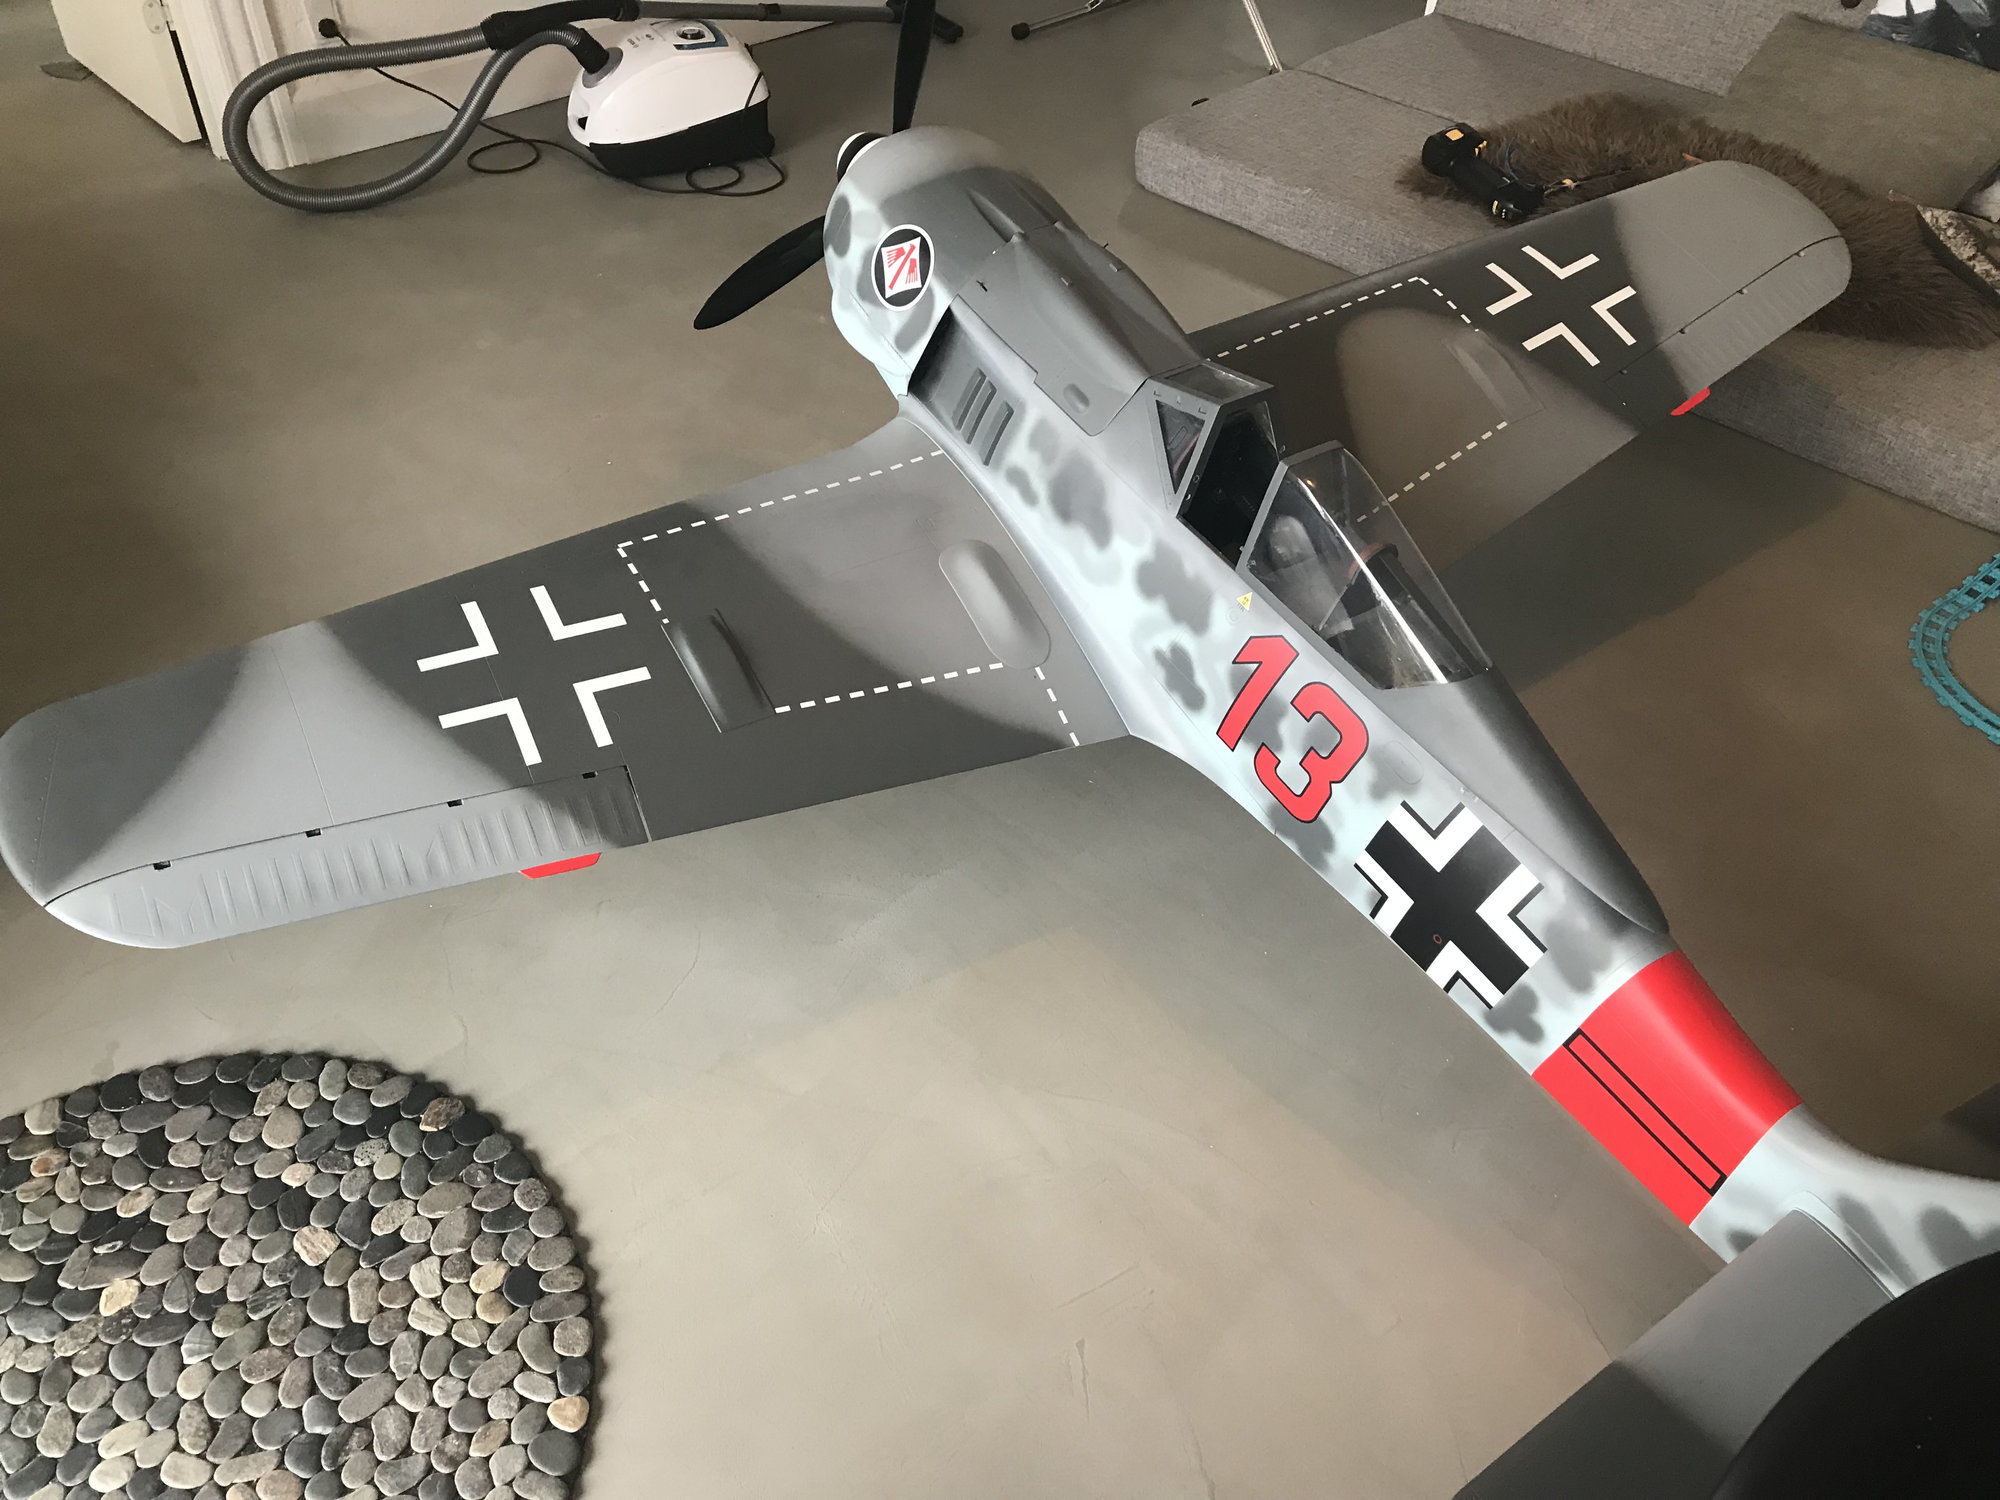
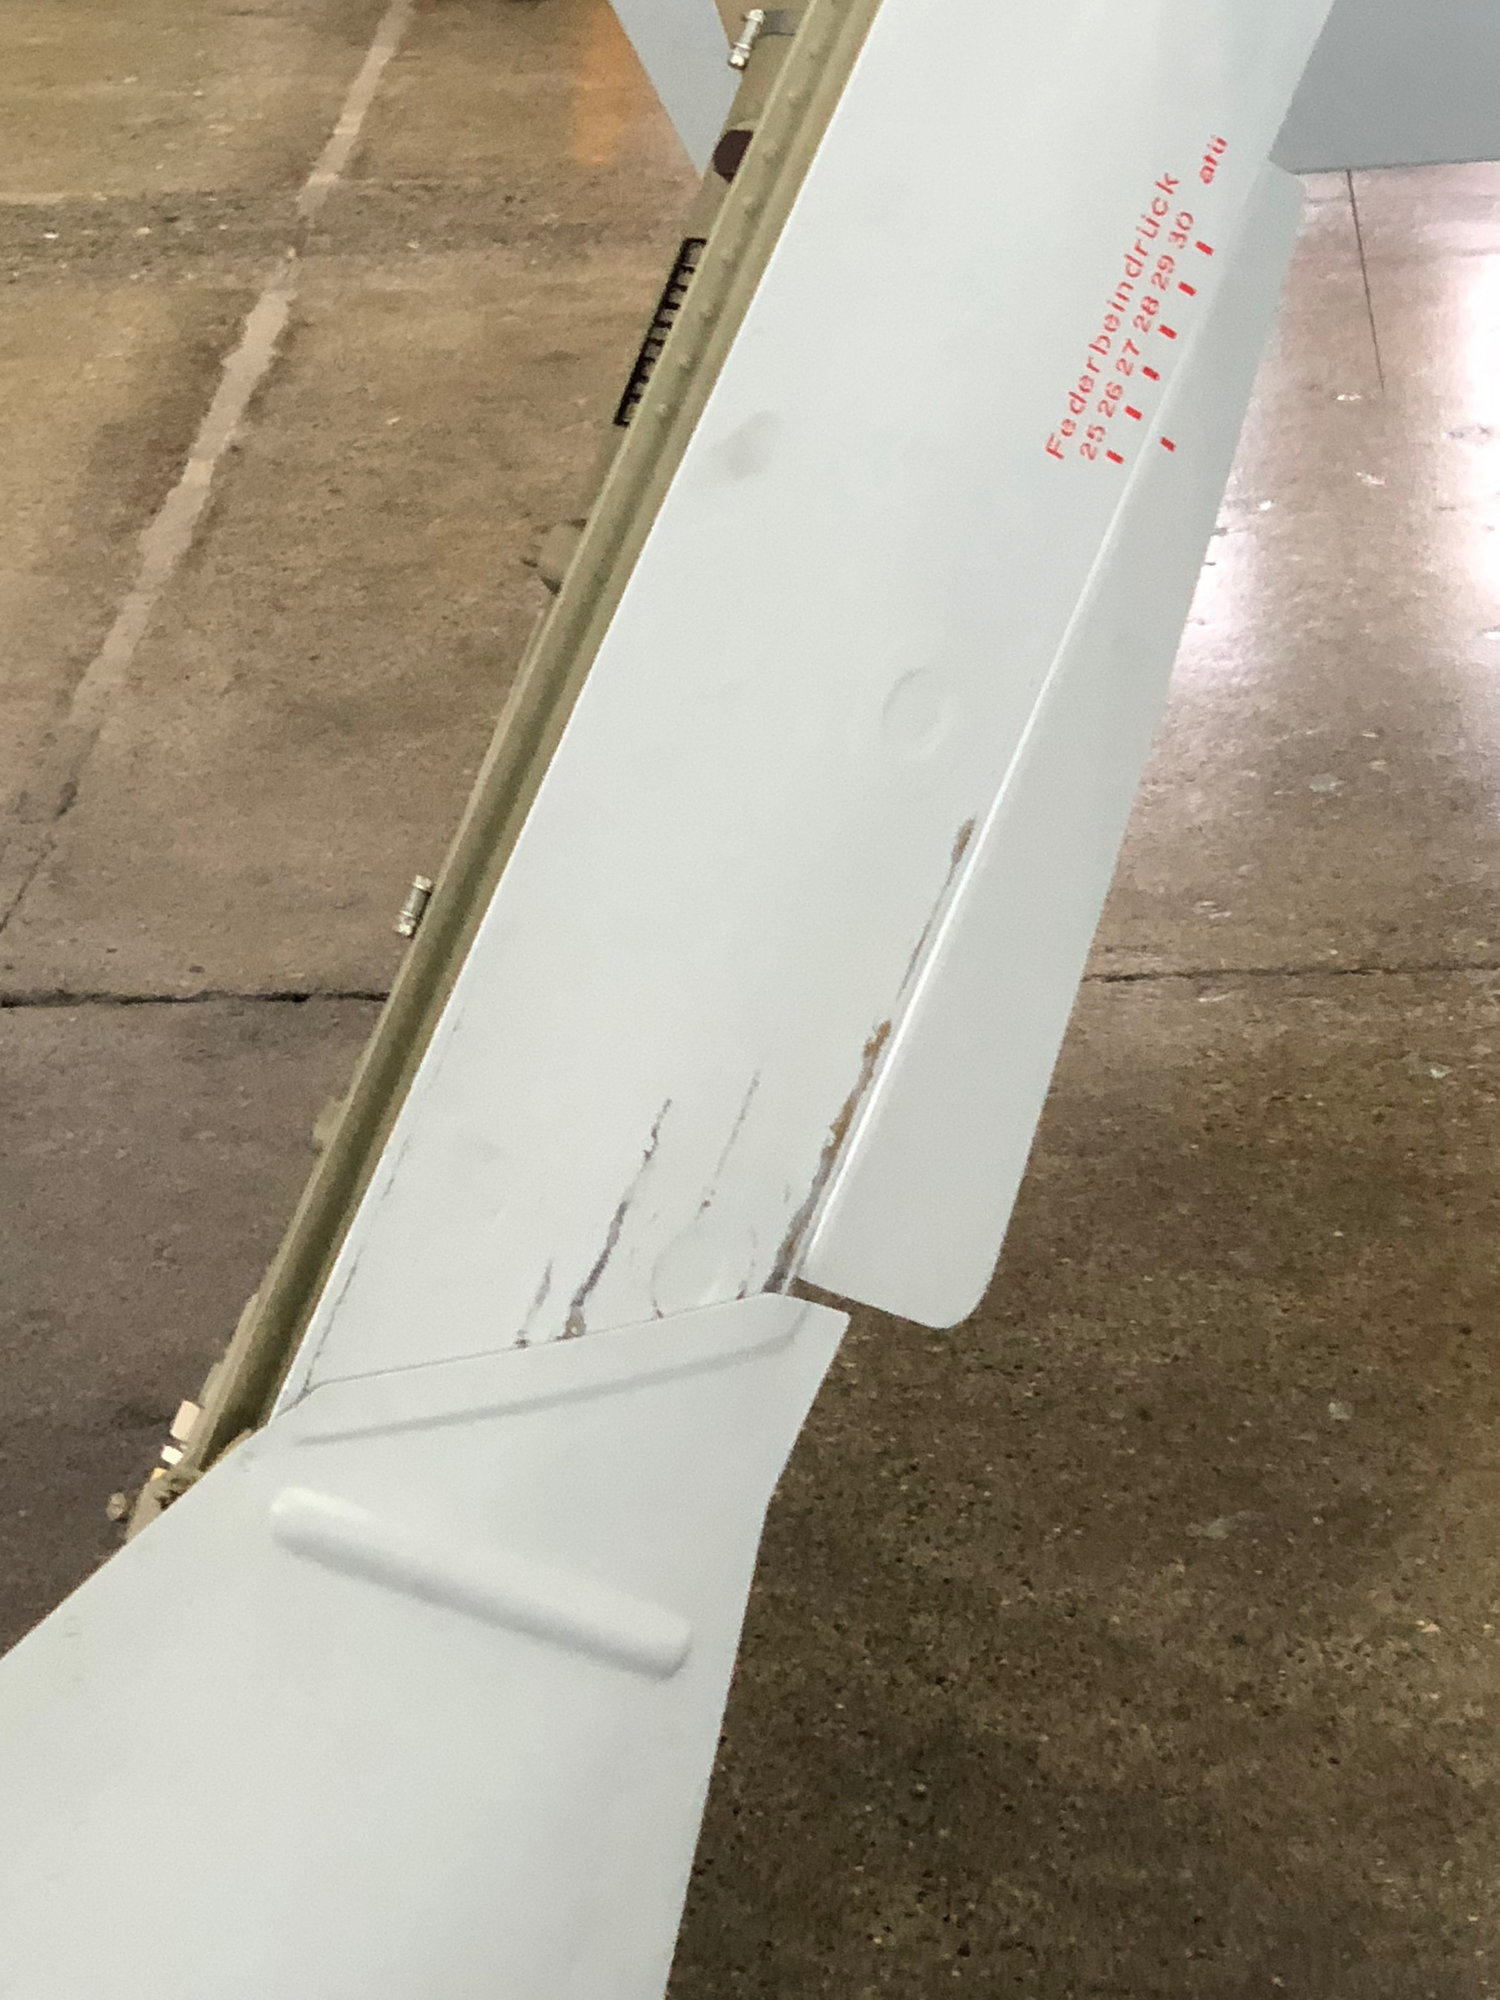
Hi Guys, I highly recommend cutting off the bottom of the gear doors. If not cut, they will either get damaged when the struts compress or cause the model to flip over, especially on a grass field. The factory put marks on the doors to use as cut lines. These are scale marks too. Take a look at 3 view drawings to check for yourself. On the full scale aircraft, the door bottoms flipped up out of the way, best I can tell. This is similar to the Beech Stagger-Wing gear door mechanization. My 2 cents. This is a photo from the FW-190 I am putting together for a friend. Good luck. This is a great model.

The following users liked this post:
gixer47 (08-12-2023)
03-25-2018, 12:59 PM
#154
My Feedback: (49)
I've done a bit more research using the Squadron book. It appears some models used a separate inner gear door. Which means the outer gear door did not have the small appendage on the very bottom. But, as to which models were like this and which were not, I cannot make any definite statement. But, at any rate, unless you split the lower half of the door and tied it to the moving strut (somewhat like the Zero), you will likely have some problems on landing, with the door like it came from Top RC.


The following users liked this post:
mpharry (11-26-2020)


 04-01-2018, 06:41 AM
#158
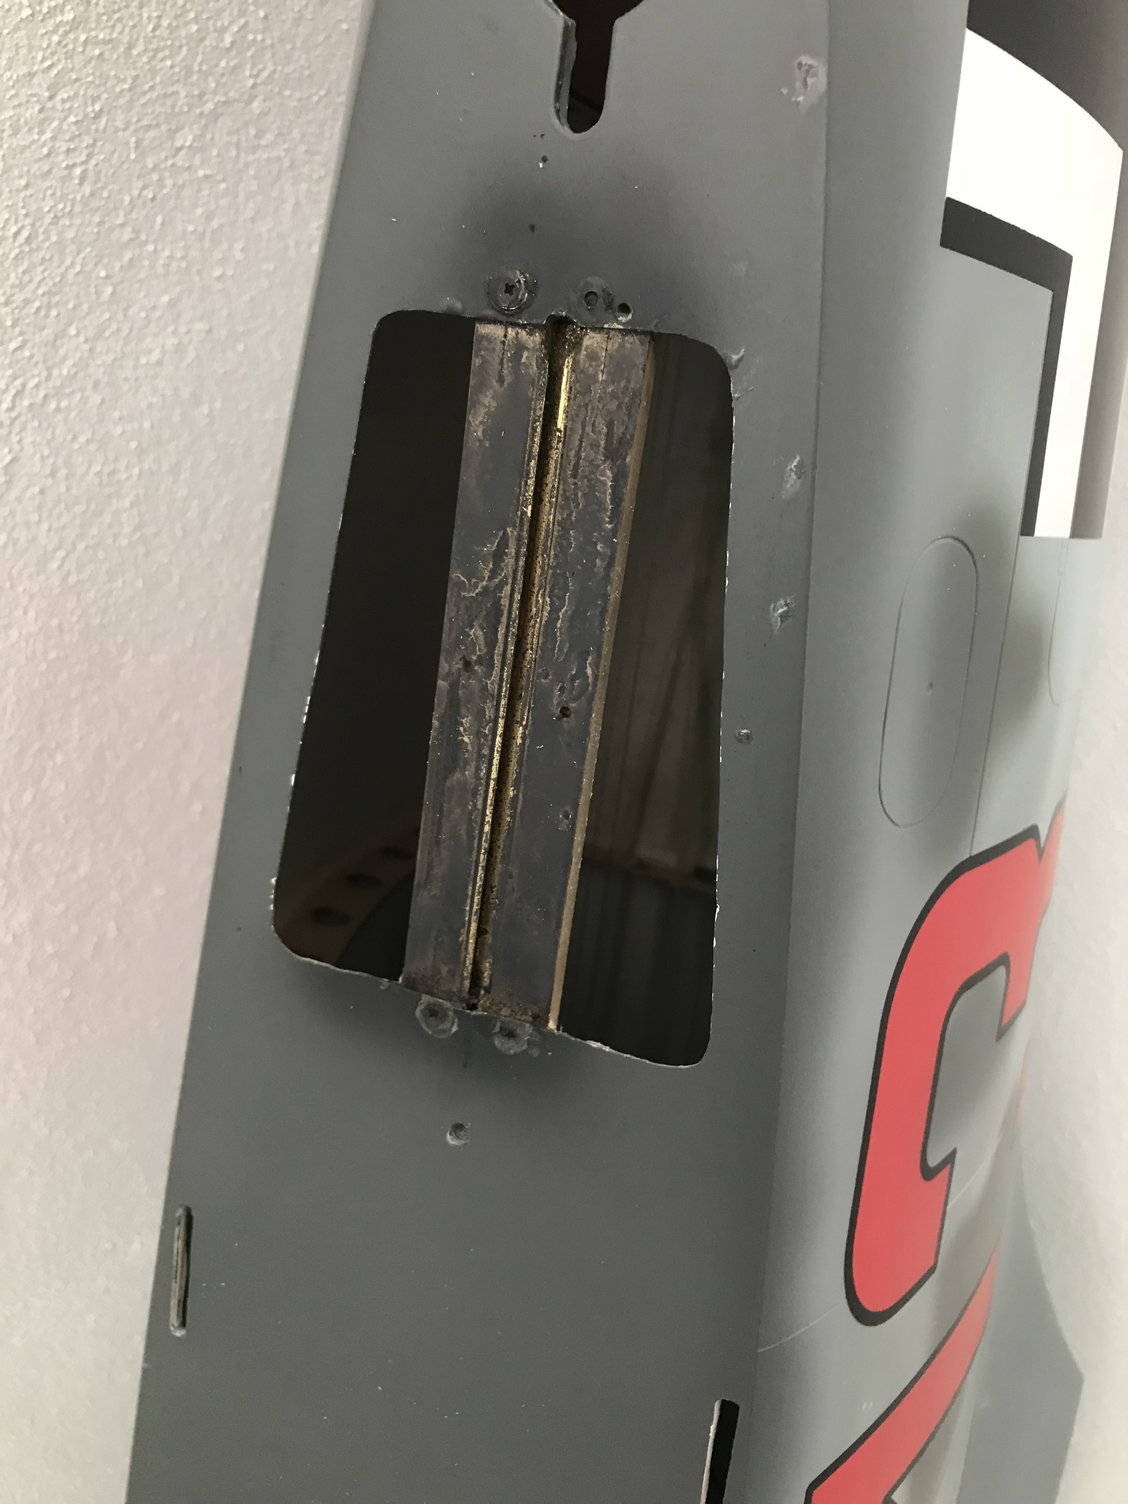
Here is where you can get scale detail parts. I used 1/4 scale. I made all of the guns out of 1/4" carbon tube old pushrod material I had lying around. The cowl guns I used the carbon tube and a nylon bushing. drilled the bushing so the tube would go in then using my shop sander to get the angled profile.
https://www.iflytailies.com/store/in...rcraft/fw-190/
https://www.iflytailies.com/store/in...rcraft/fw-190/
04-01-2018, 12:49 PM
#159
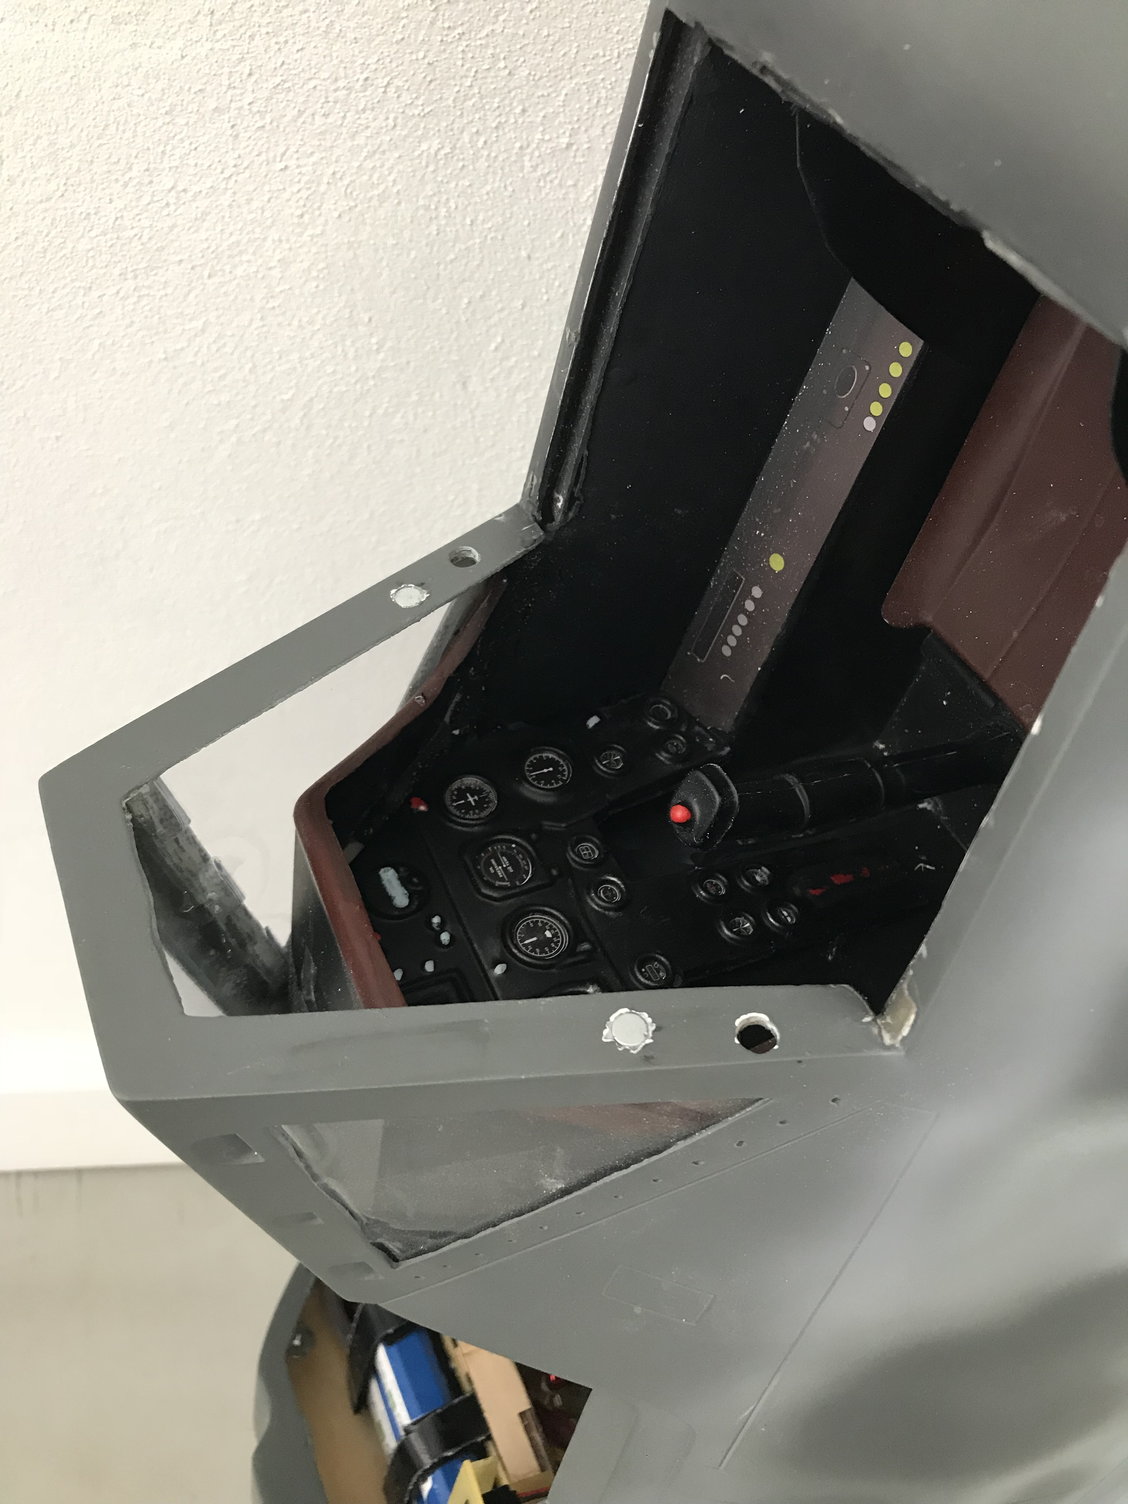
I 3D printed the nose machine guns last night. This is with my filament printer, I will print with SLA and they'll be much cleaner. 15 micron accuracy with the SLA. Also have the antenna mount for the canopy... Gonna make the revi gun sight so that it will just glue on top of the existing hood.
Last edited by DrScoles; 04-01-2018 at 12:51 PM. Reason: photo
04-11-2018, 05:20 PM
#161
Fellow club member here in Washington state has flown his. Power is the EME 70 with auto start. Sierra retracts.
He reports that it's and excellent stable airplane and land easily.
As for mine, I'm still trying to get rid of a nasty cold. I'm flying mine next week even if they have to get me there by an ambulance.
He reports that it's and excellent stable airplane and land easily.
As for mine, I'm still trying to get rid of a nasty cold. I'm flying mine next week even if they have to get me there by an ambulance.
04-12-2018, 05:56 AM
#162
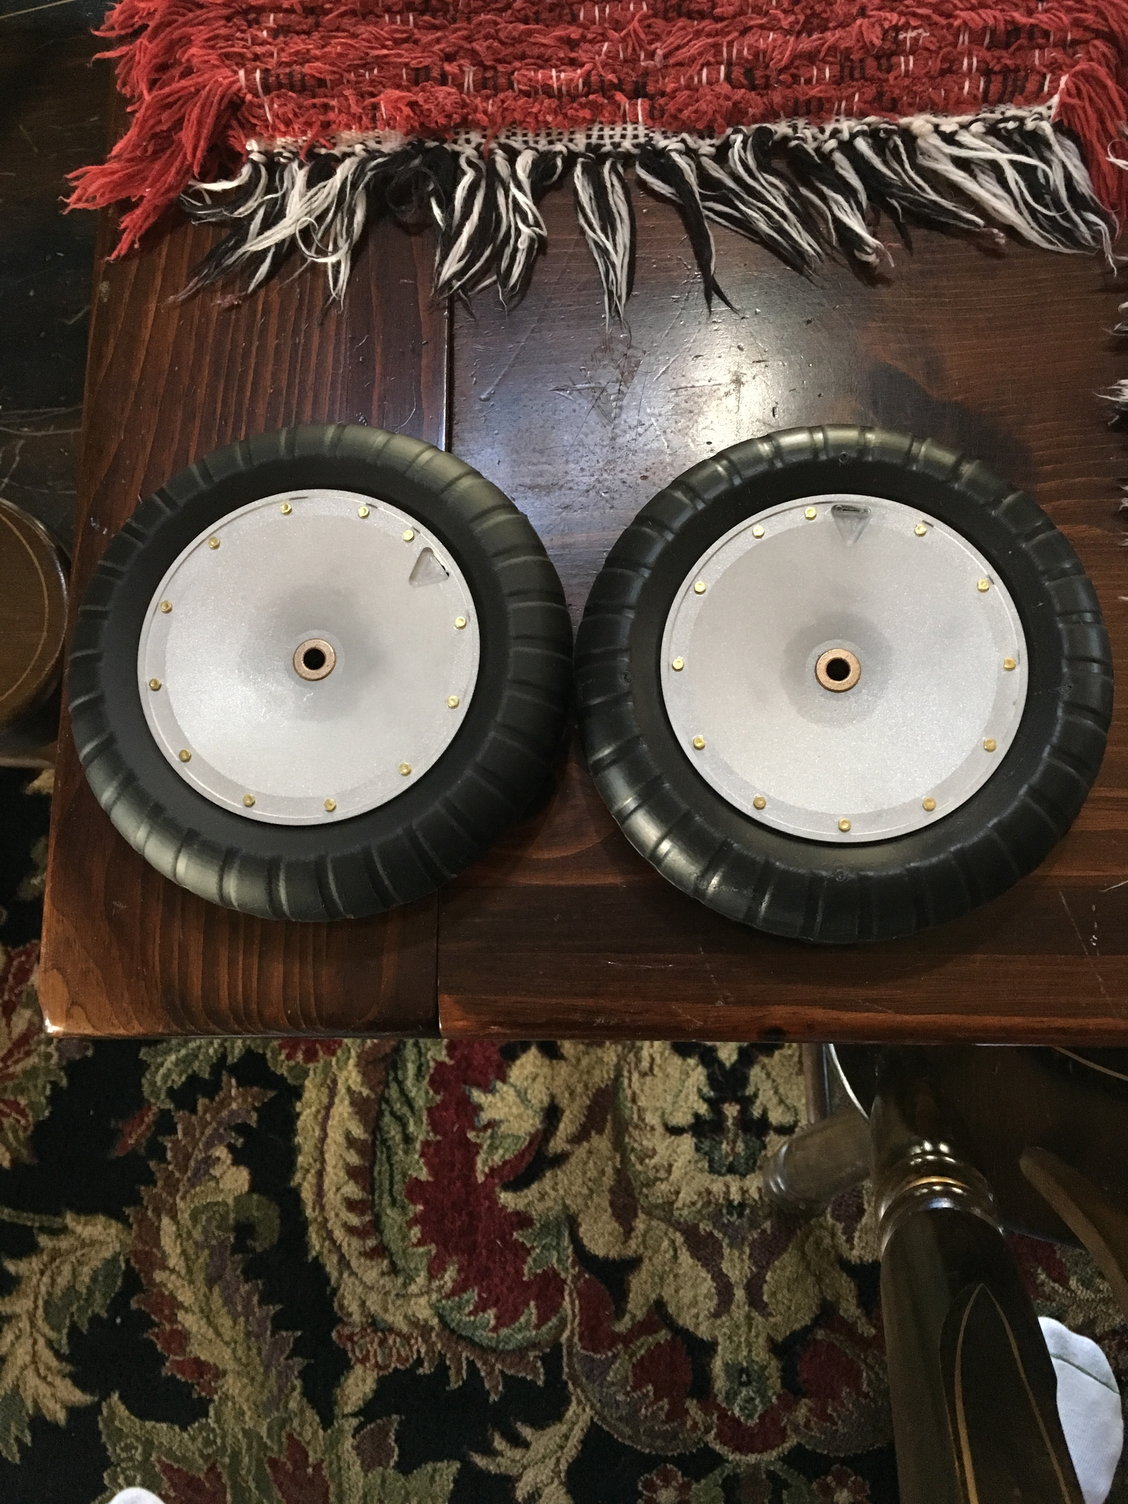
We are actually using our 1/4 Scale FW-190 Retracts for this plane.
They used really long struts just like the Full Scale.
We made a slight Modification to the side plates to make them fit the plane better.
We are starting to ship them this afternoon
Better get your orders in now while we still have a few in stock.
Darrell Tenny
Sierra Giant Scale
They used really long struts just like the Full Scale.
We made a slight Modification to the side plates to make them fit the plane better.
We are starting to ship them this afternoon
Better get your orders in now while we still have a few in stock.
Darrell Tenny
Sierra Giant Scale
John
04-14-2018, 09:21 AM
#163
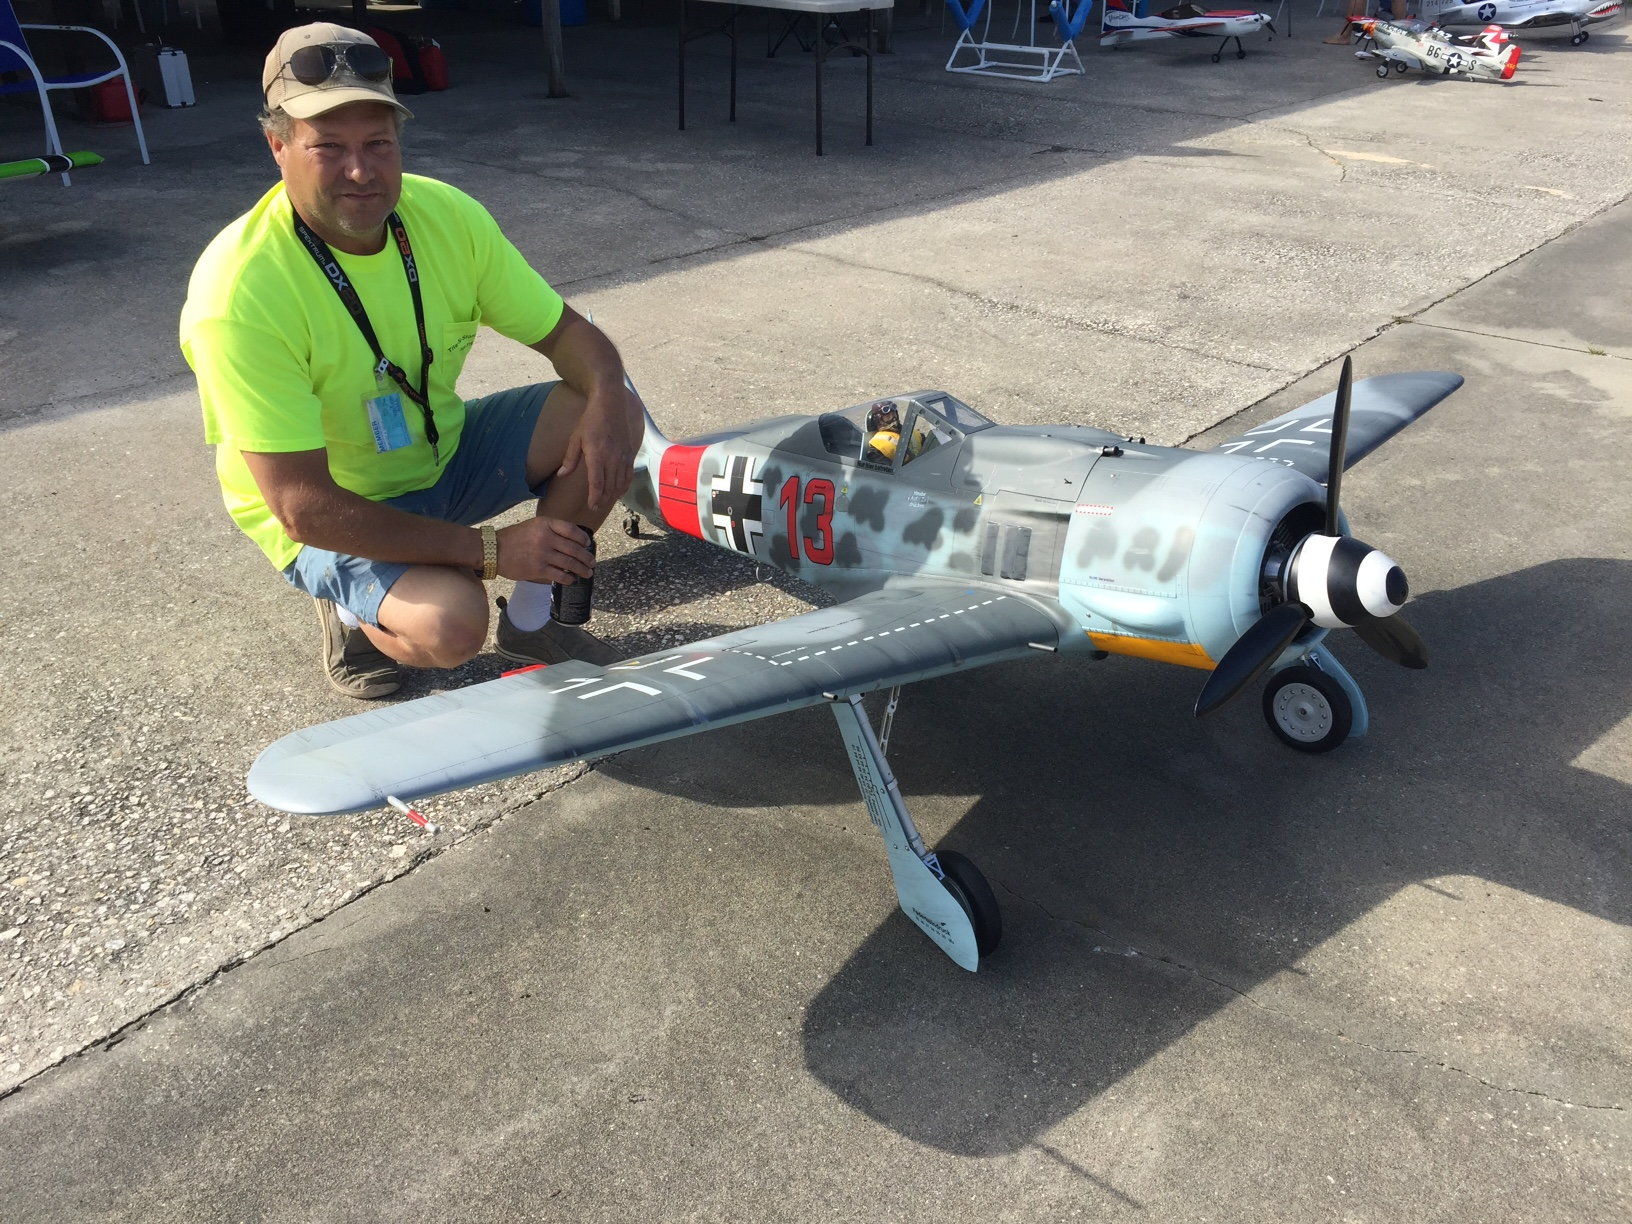
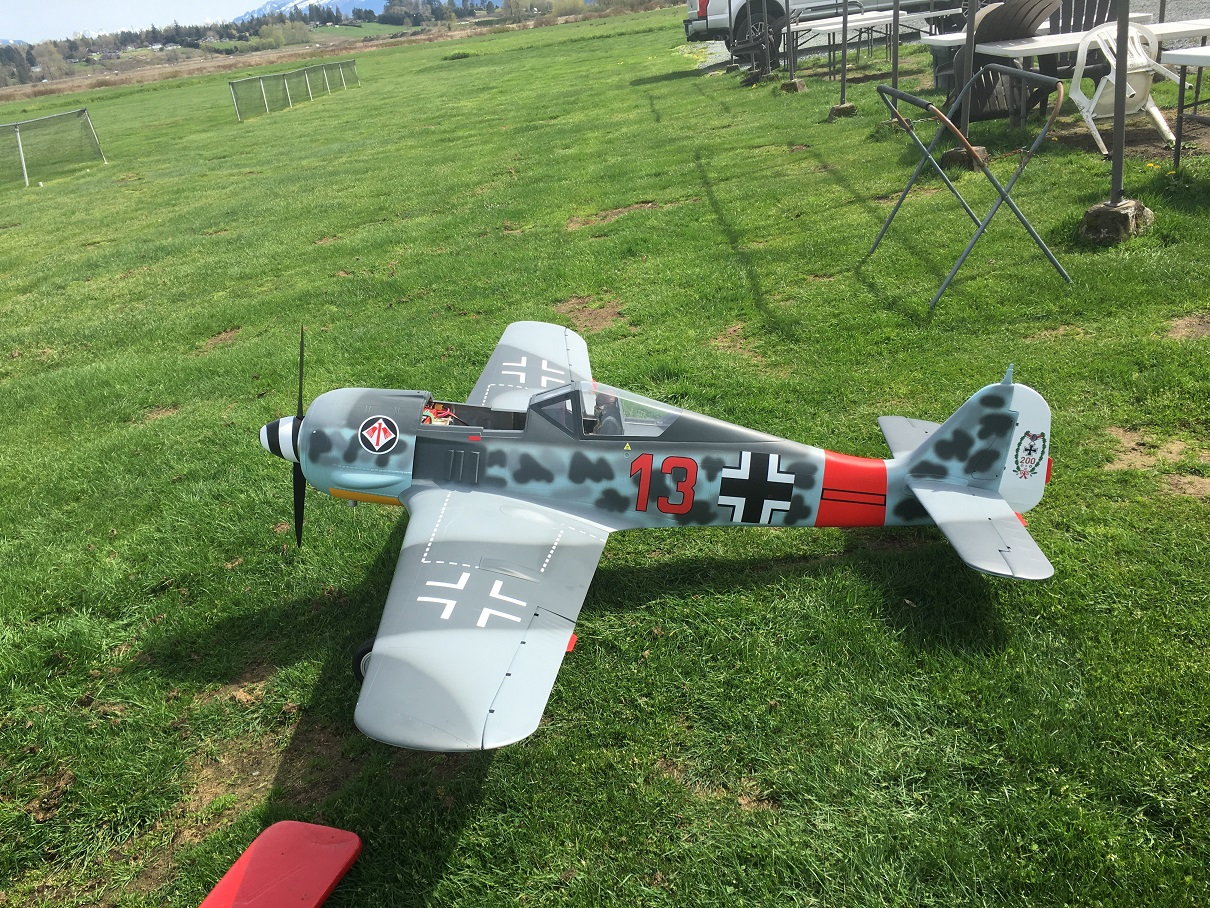
Ok, so finally made it out today with mine . My setup : TopRc gear and Hitec 5645 all around Saito Fa90 Radial Biela 22x12-3blade turning 5300rpm's Weight wet 34lbs.
I opted to not use the Moki 180 and go with the FA90 instead. I have another Zero I will use it on soon. !! I'm a BIG Zero fan !! Love the one I have.
Got out to the field, set up and started to taxi out. Noticed the tail wheel did not want to cooperate. Went back to the pit checked out the problem and I found the tail wheel did not have a flat spot on it at the tiller arm. Not a big problem. I should have checked that earlier during assembly. One of my buddies had a dremel and disc/wheel "problem fixed". Taxi'd back out and powerd it up. The Plane tracked straight and ture even with the long gear. The plane flew to me the same as the Zero. Very stable and predictable. Nice presence in the air and BIG. Easy for me to see, that's good these days. I felt instantly comfortable with no crazy tendencies or habits. I flew for about five min. and I started getting engine over-temp warnings so I landed. At that point my brain just kicked in and landed it, instead of over thinking my final and approach. Amazing what can take the jitters away. Touched down at about 15mph with a 10mph headwind. Actually looked professional.
Upon landing I noticed the tail wheel spinning in circles again so I used quick blasts from the propwash to orientate the plane to the direction I wanted. In the pits after inspection again, the tail wheel tiller arm is made out of a metal that is too soft. The allen bolt's spun the material out (stripped).
CHECK your gear when assembling ! Loctite as needed and put a flat spot on the tail wheel.
All said "

ITS A WINNER"
04-14-2018, 09:34 AM
#164
Congrats on your maiden Tim; now all we need is some videos of these birds.
How did you like the Saito radial; I have been kicking around the idea of getting one for mine instead of the GT-80 I had planned on using; that is of course when the Saitos are available again.
How did you like the Saito radial; I have been kicking around the idea of getting one for mine instead of the GT-80 I had planned on using; that is of course when the Saitos are available again.
04-15-2018, 05:41 AM
#166
The past few years I have been running the Evo 7-77's on this size bird with GREAT success! The Saito is a powerhouse. Strong and responsive, I like it and would say go for it versus the GT80. I have run nothing but Zenoahs in my Warbirds for 25yrs (true work horse) except for these radials.
 04-27-2018, 07:55 AM
#170
I 3D printed the nose machine guns last night. This is with my filament printer, I will print with SLA and they'll be much cleaner. 15 micron accuracy with the SLA. Also have the antenna mount for the canopy... Gonna make the revi gun sight so that it will just glue on top of the existing hood.

 04-30-2018, 09:18 AM
#173
Hi Guys, I highly recommend cutting off the bottom of the gear doors. If not cut, they will either get damaged when the struts compress or cause the model to flip over, especially on a grass field. The factory put marks on the doors to use as cut lines. These are scale marks too. Take a look at 3 view drawings to check for yourself. On the full scale aircraft, the door bottoms flipped up out of the way, best I can tell. This is similar to the Beech Stagger-Wing gear door mechanization. My 2 cents. This is a photo from the FW-190 I am putting together for a friend. Good luck. This is a great model.
 04-30-2018, 09:27 AM
#174
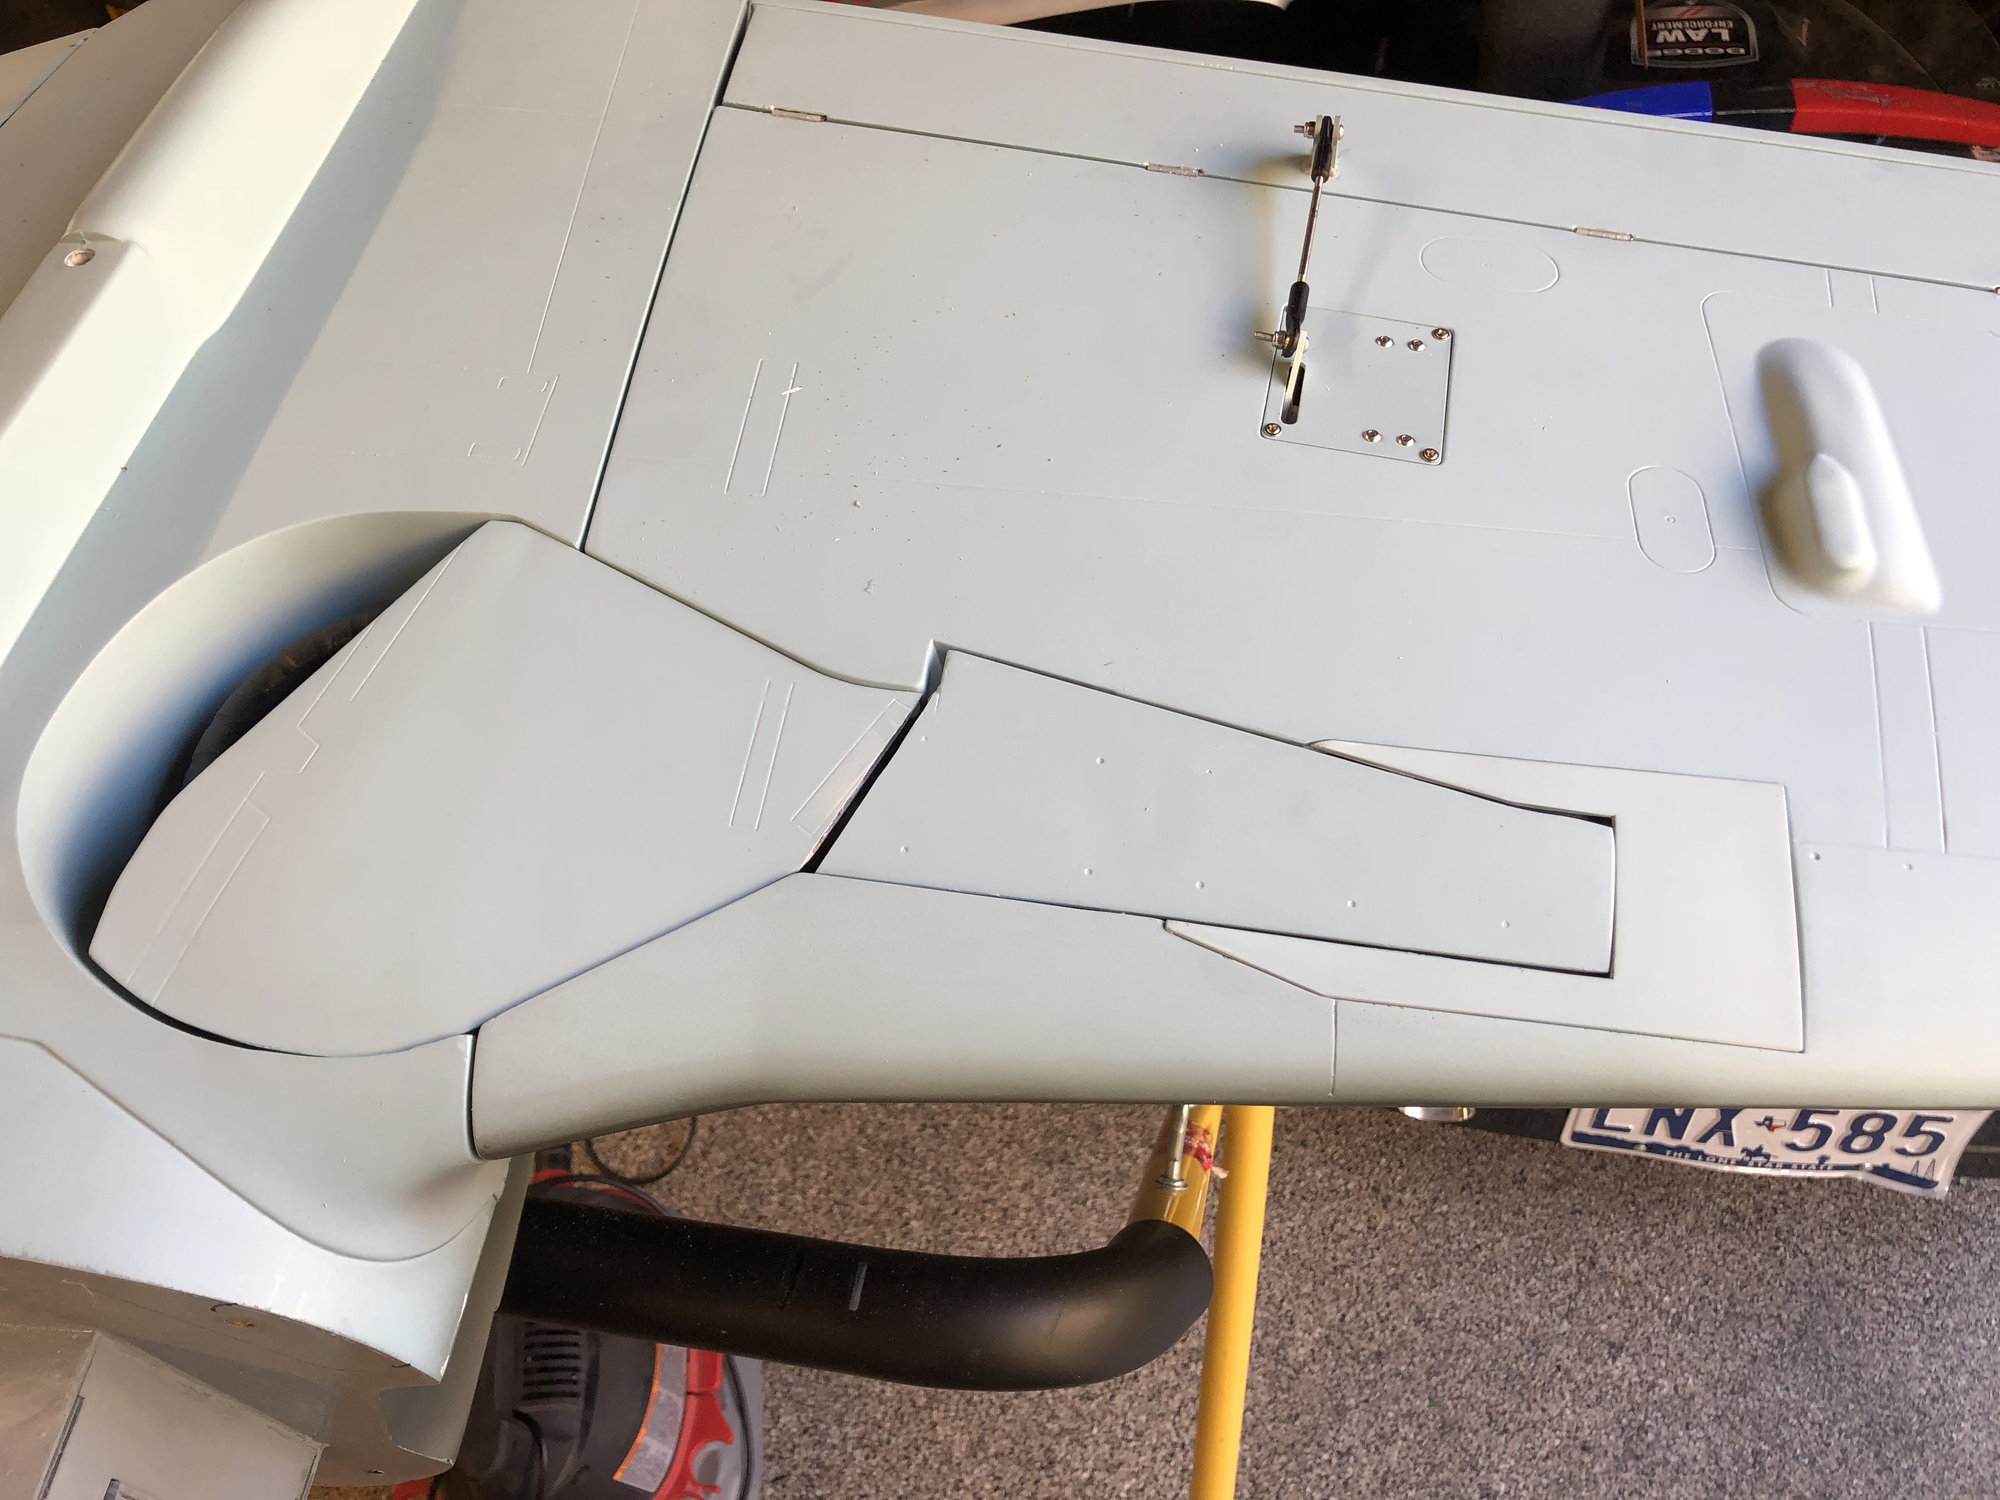
A few other observations that may help others. Don't put masking tape near the decals! Using low stick masking tape, still pulled them up...
I saw that Dave (wingspar) had to do some surgery to get the Sierra tail wheel in, I think Darrell may have changed it??? Mine was easy. Just had to prop up the top attachment on about 3/8ths of ply. It was a pain to run those cables once the tailwheel is mounted! Main gear went in easy as well with a little kit that he sells with it. Way to go Darrell!
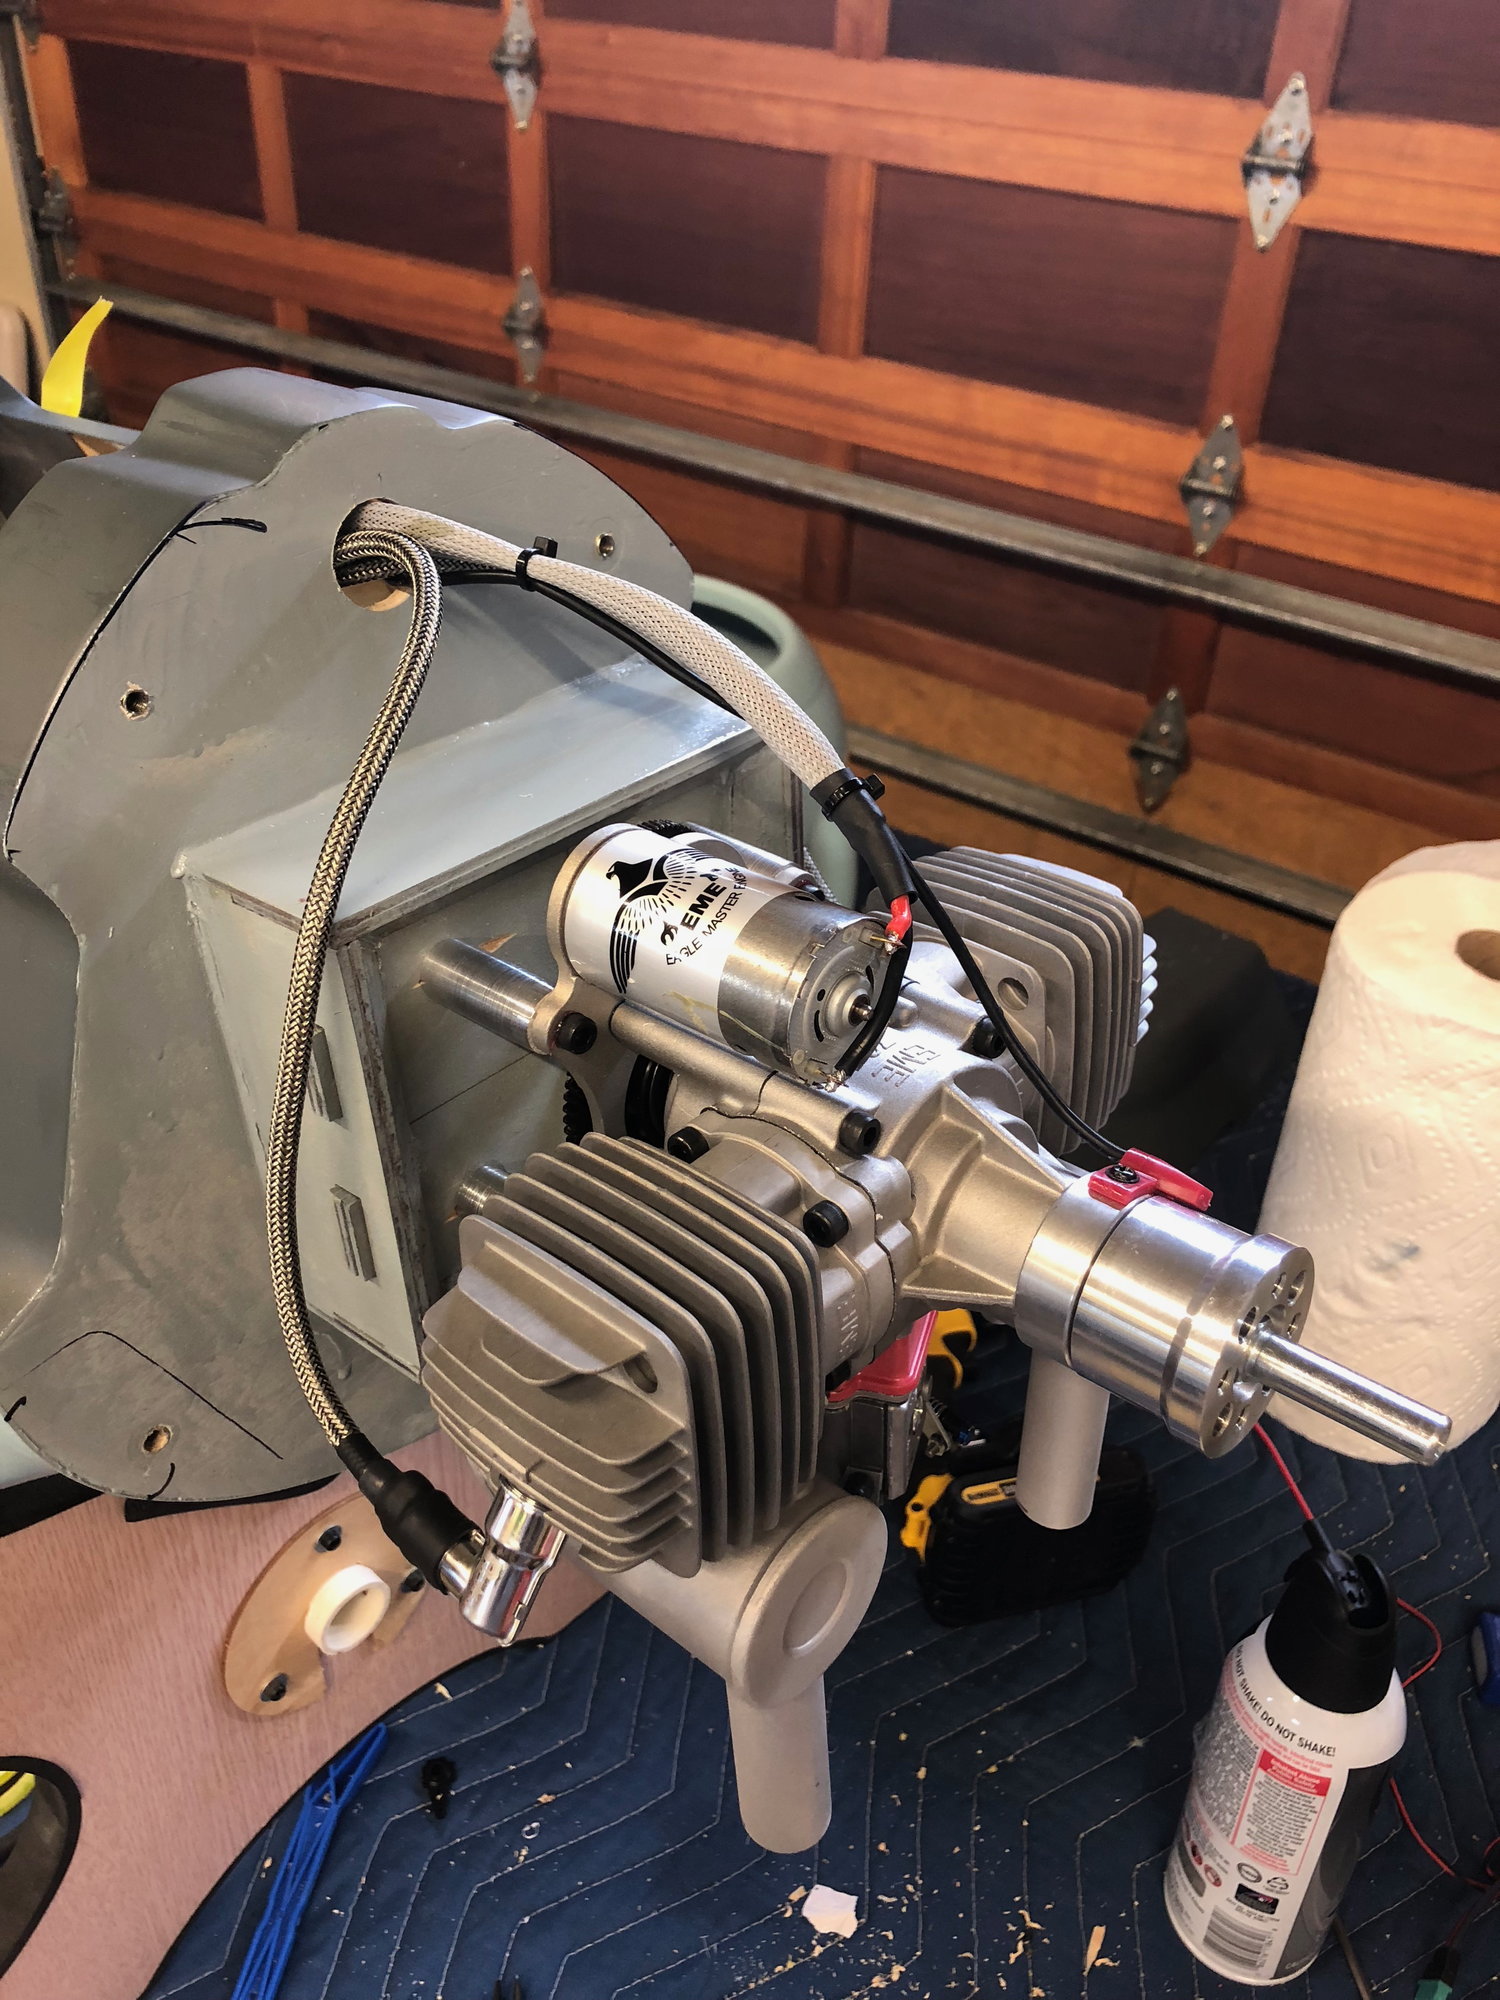
I made spacers to get the prop on the EME 70 about 3/16ths off the edge of the cowl. I just completely spaced the distance, if you need it, I can measure... I think it was 46mm.
My machine guns turned out well. :-).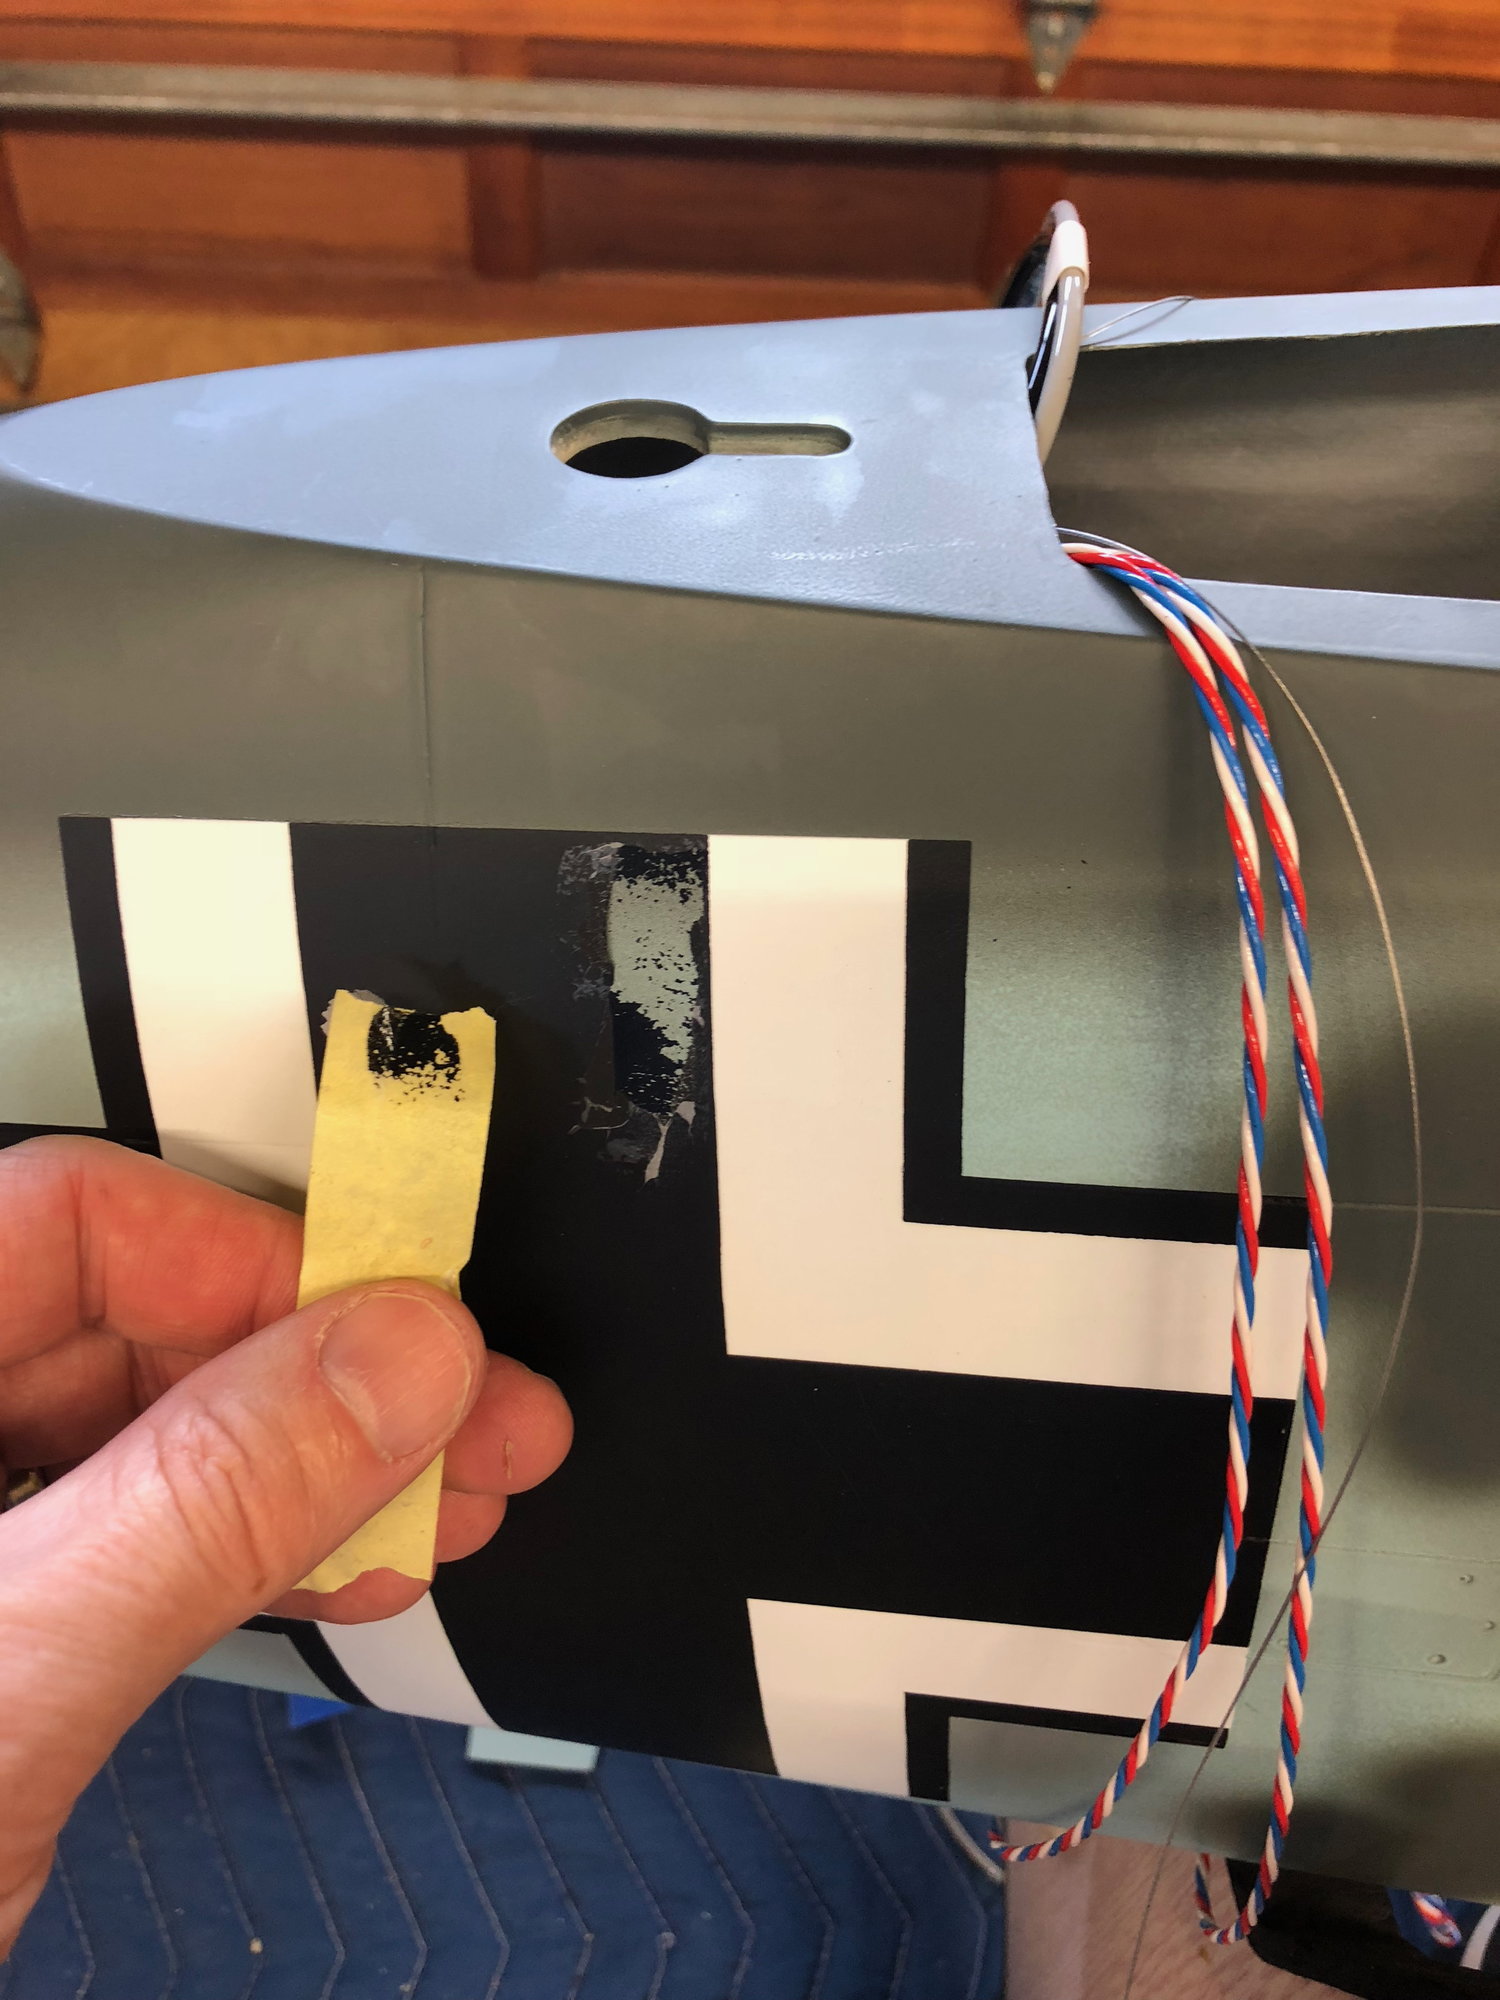
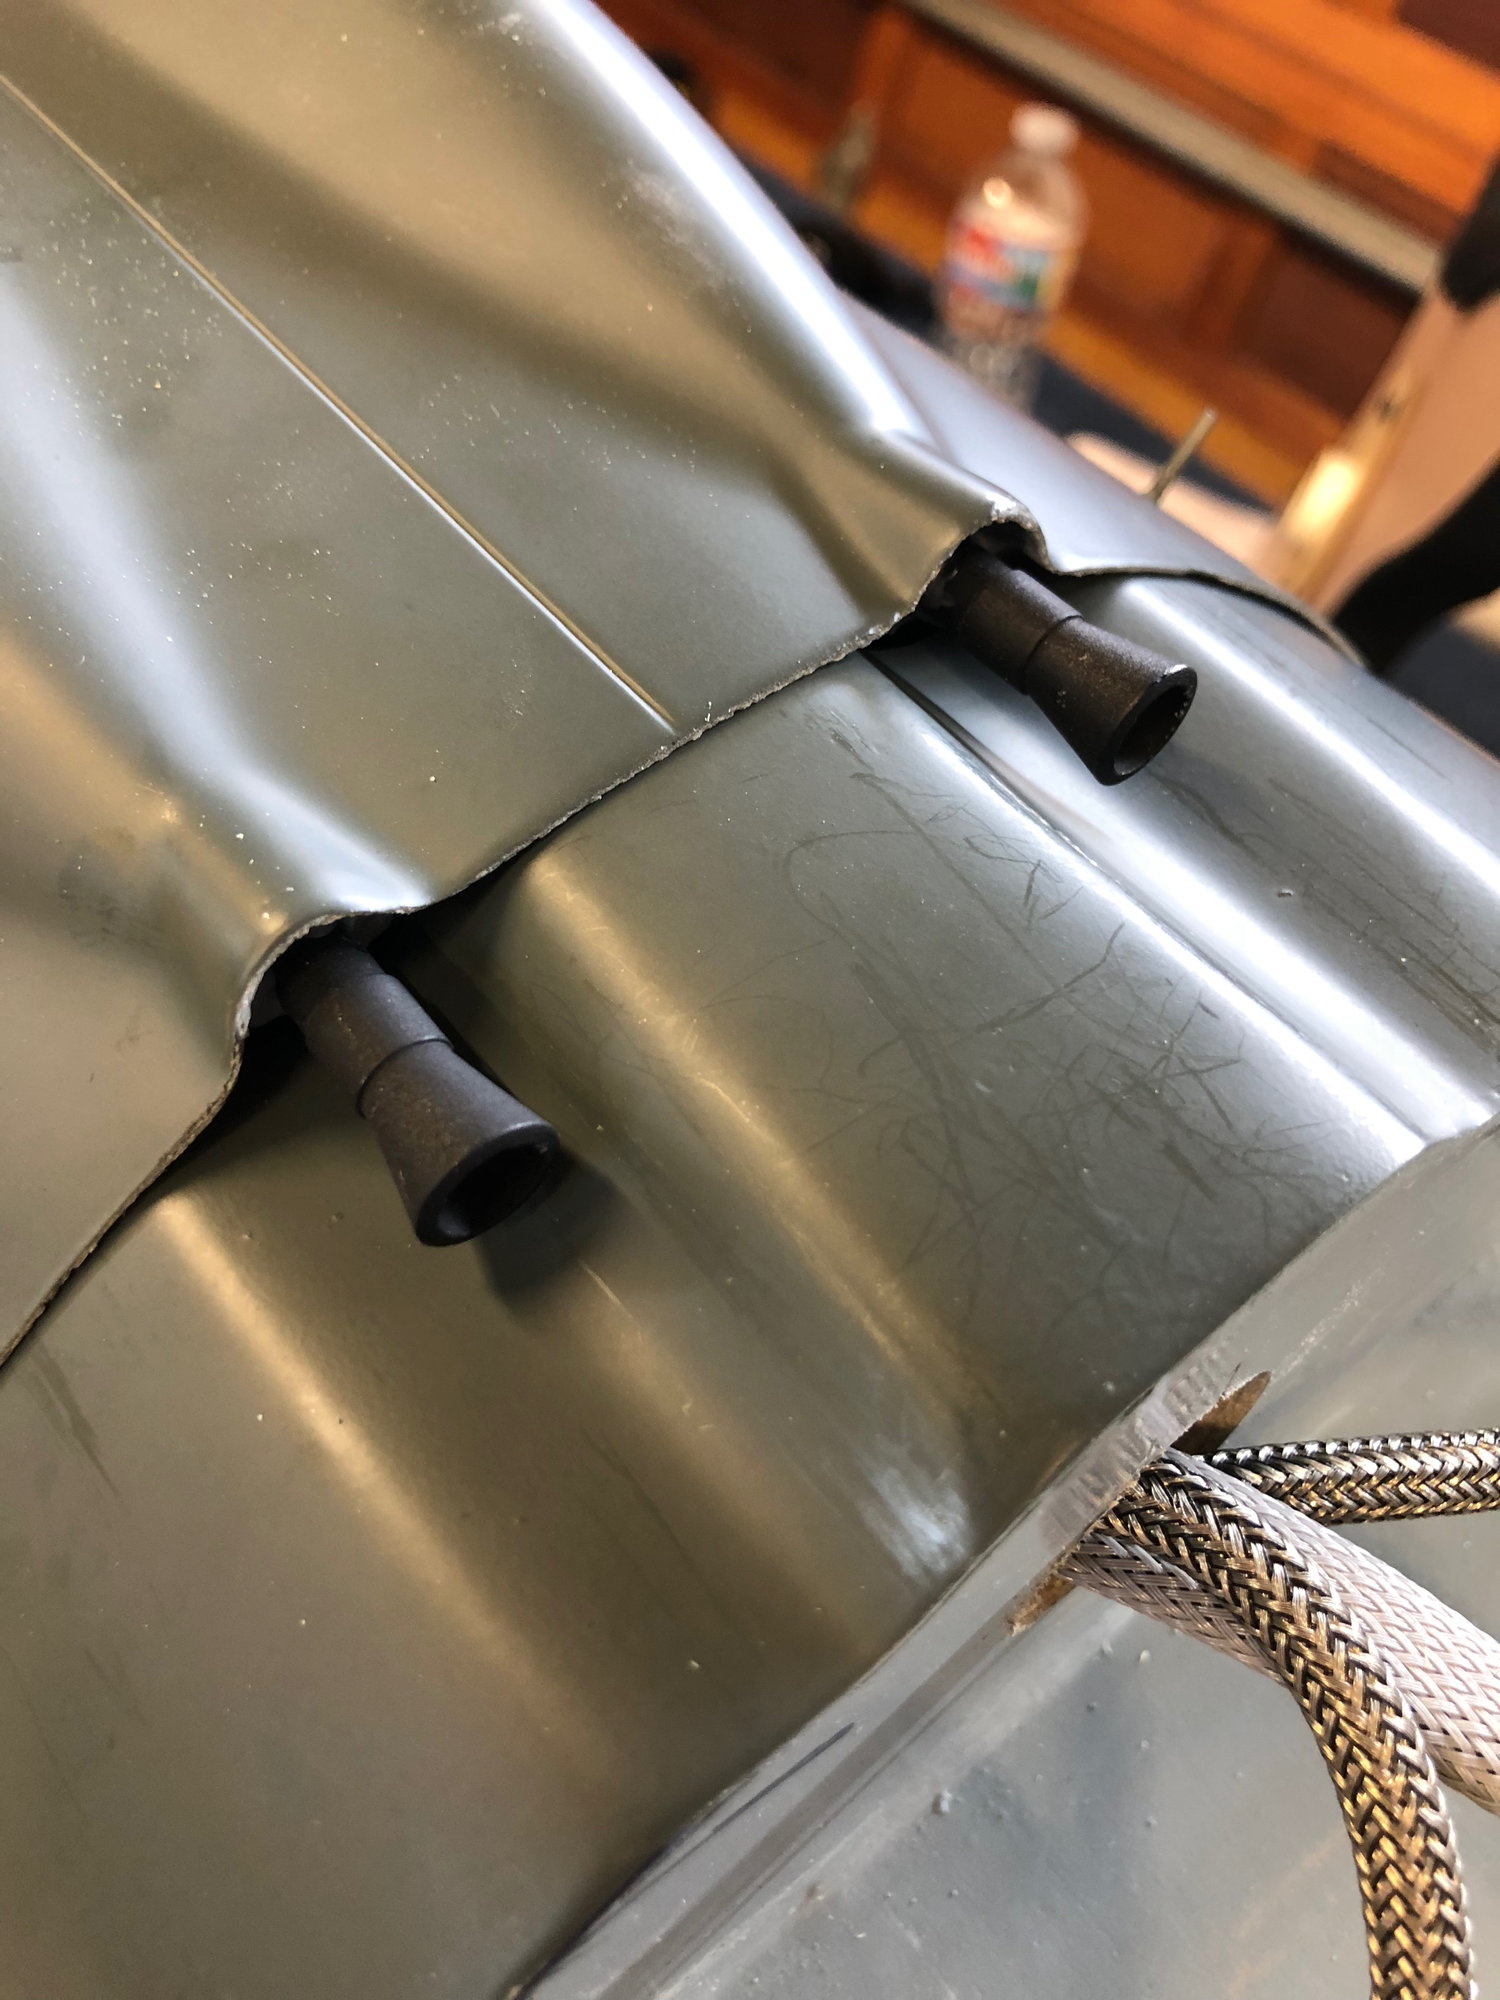
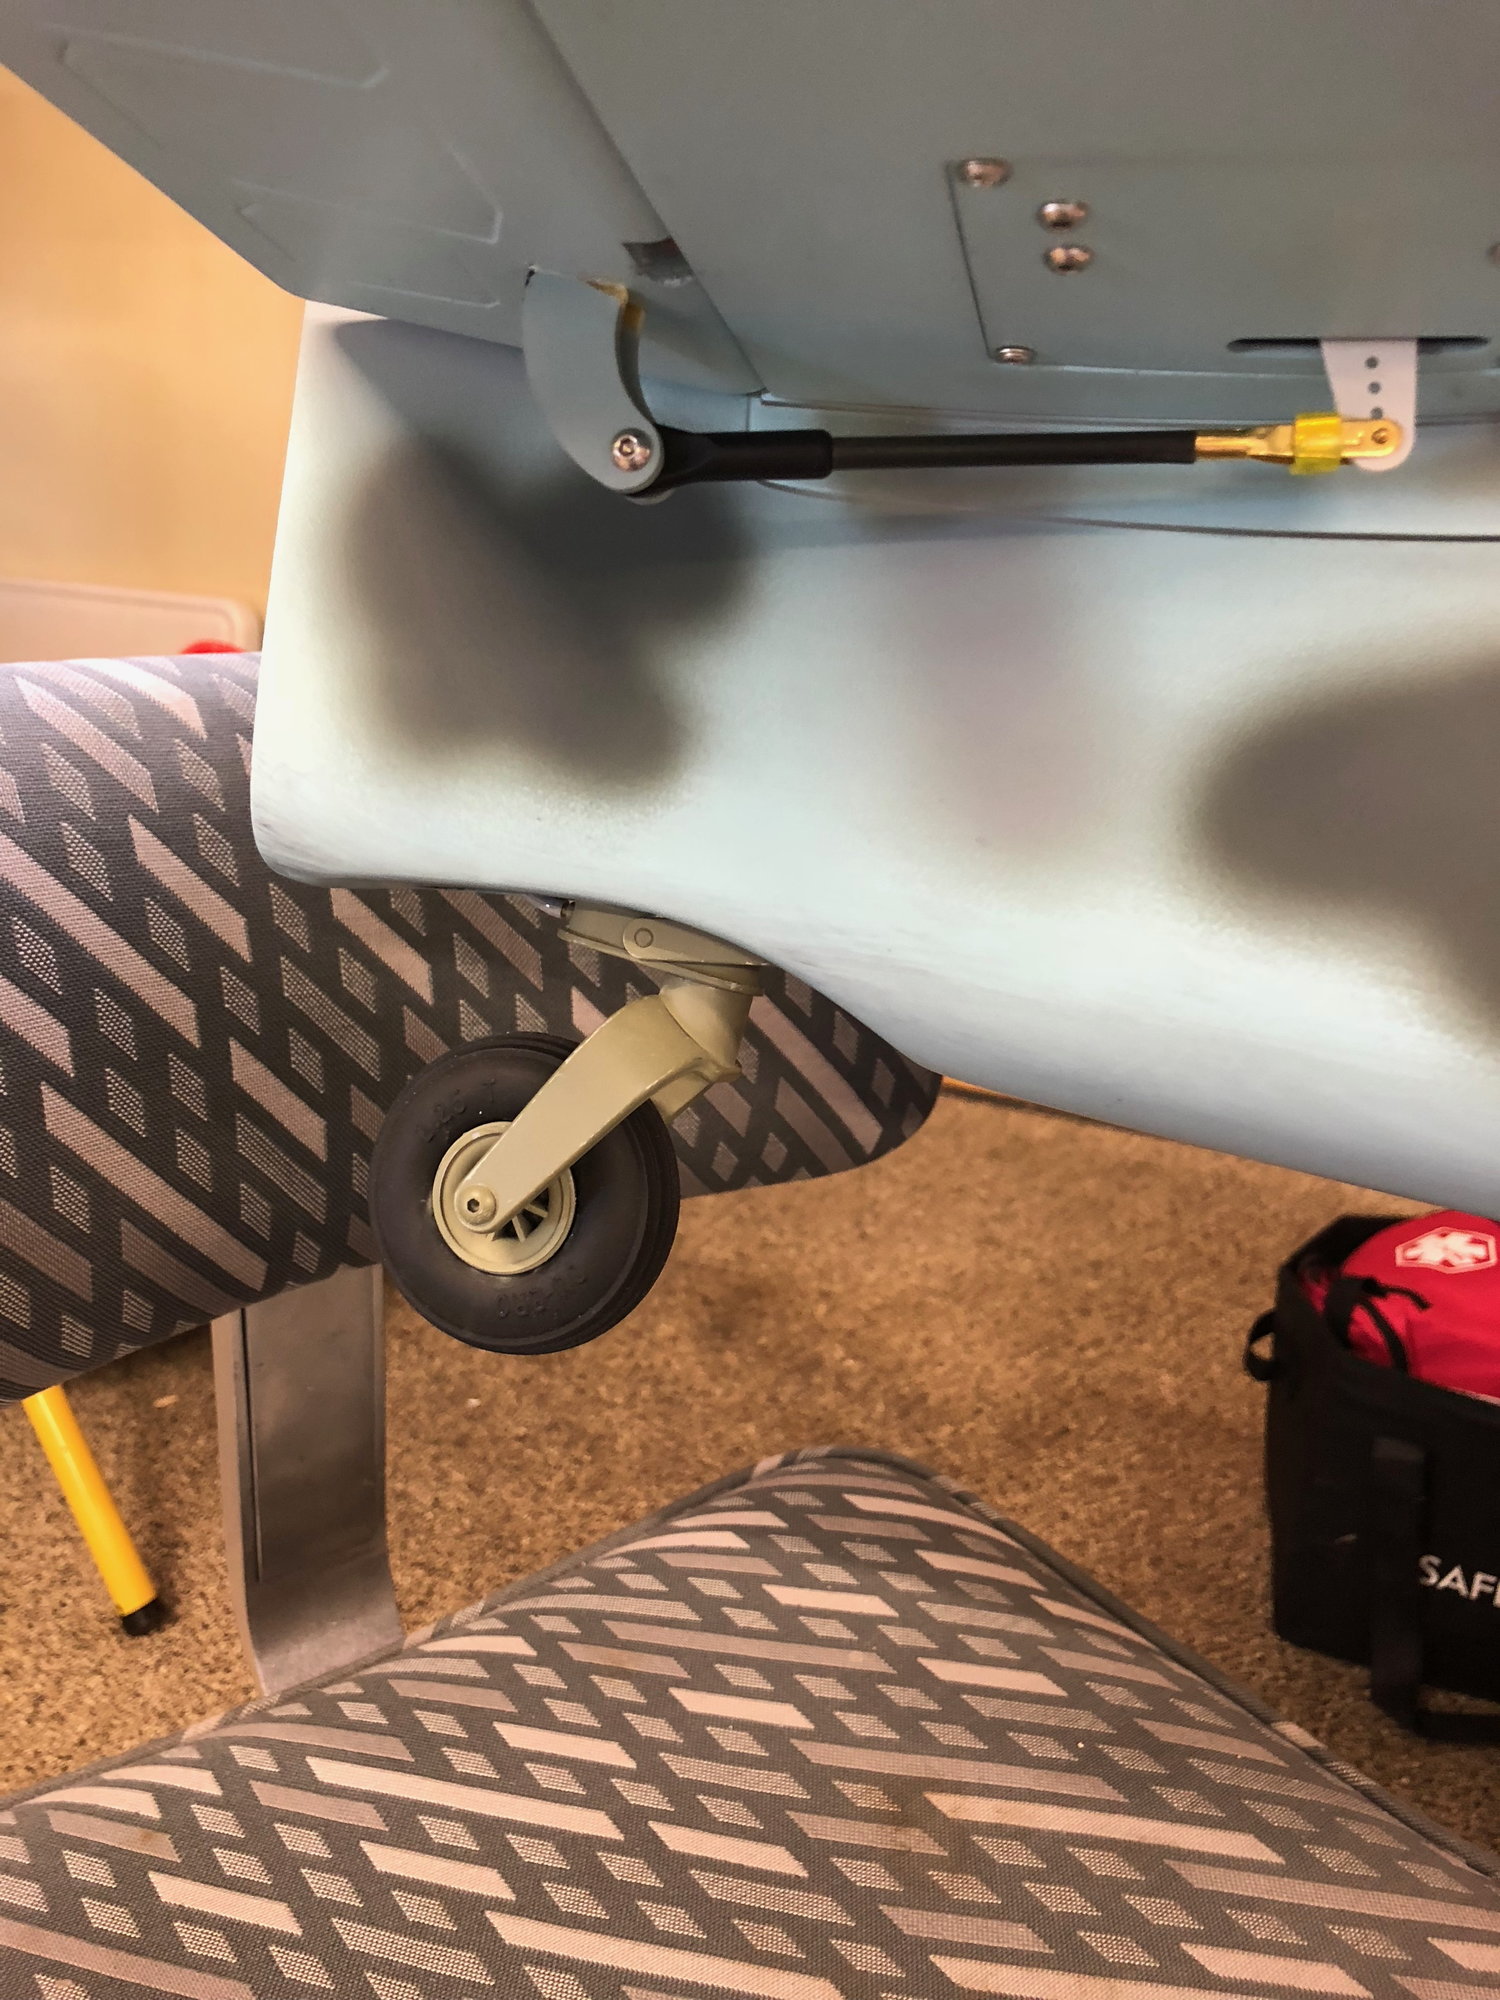
I saw that Dave (wingspar) had to do some surgery to get the Sierra tail wheel in, I think Darrell may have changed it??? Mine was easy. Just had to prop up the top attachment on about 3/8ths of ply. It was a pain to run those cables once the tailwheel is mounted! Main gear went in easy as well with a little kit that he sells with it. Way to go Darrell!
I made spacers to get the prop on the EME 70 about 3/16ths off the edge of the cowl. I just completely spaced the distance, if you need it, I can measure... I think it was 46mm.
My machine guns turned out well. :-).
04-30-2018, 09:42 AM
#175

Join Date: Jul 2012
Location: , PA
Posts: 85
Likes: 0
Received 0 Likes
on
0 Posts