


TopRCModel FW-190

 02-07-2019, 09:53 AM
#327

My Feedback: (45)
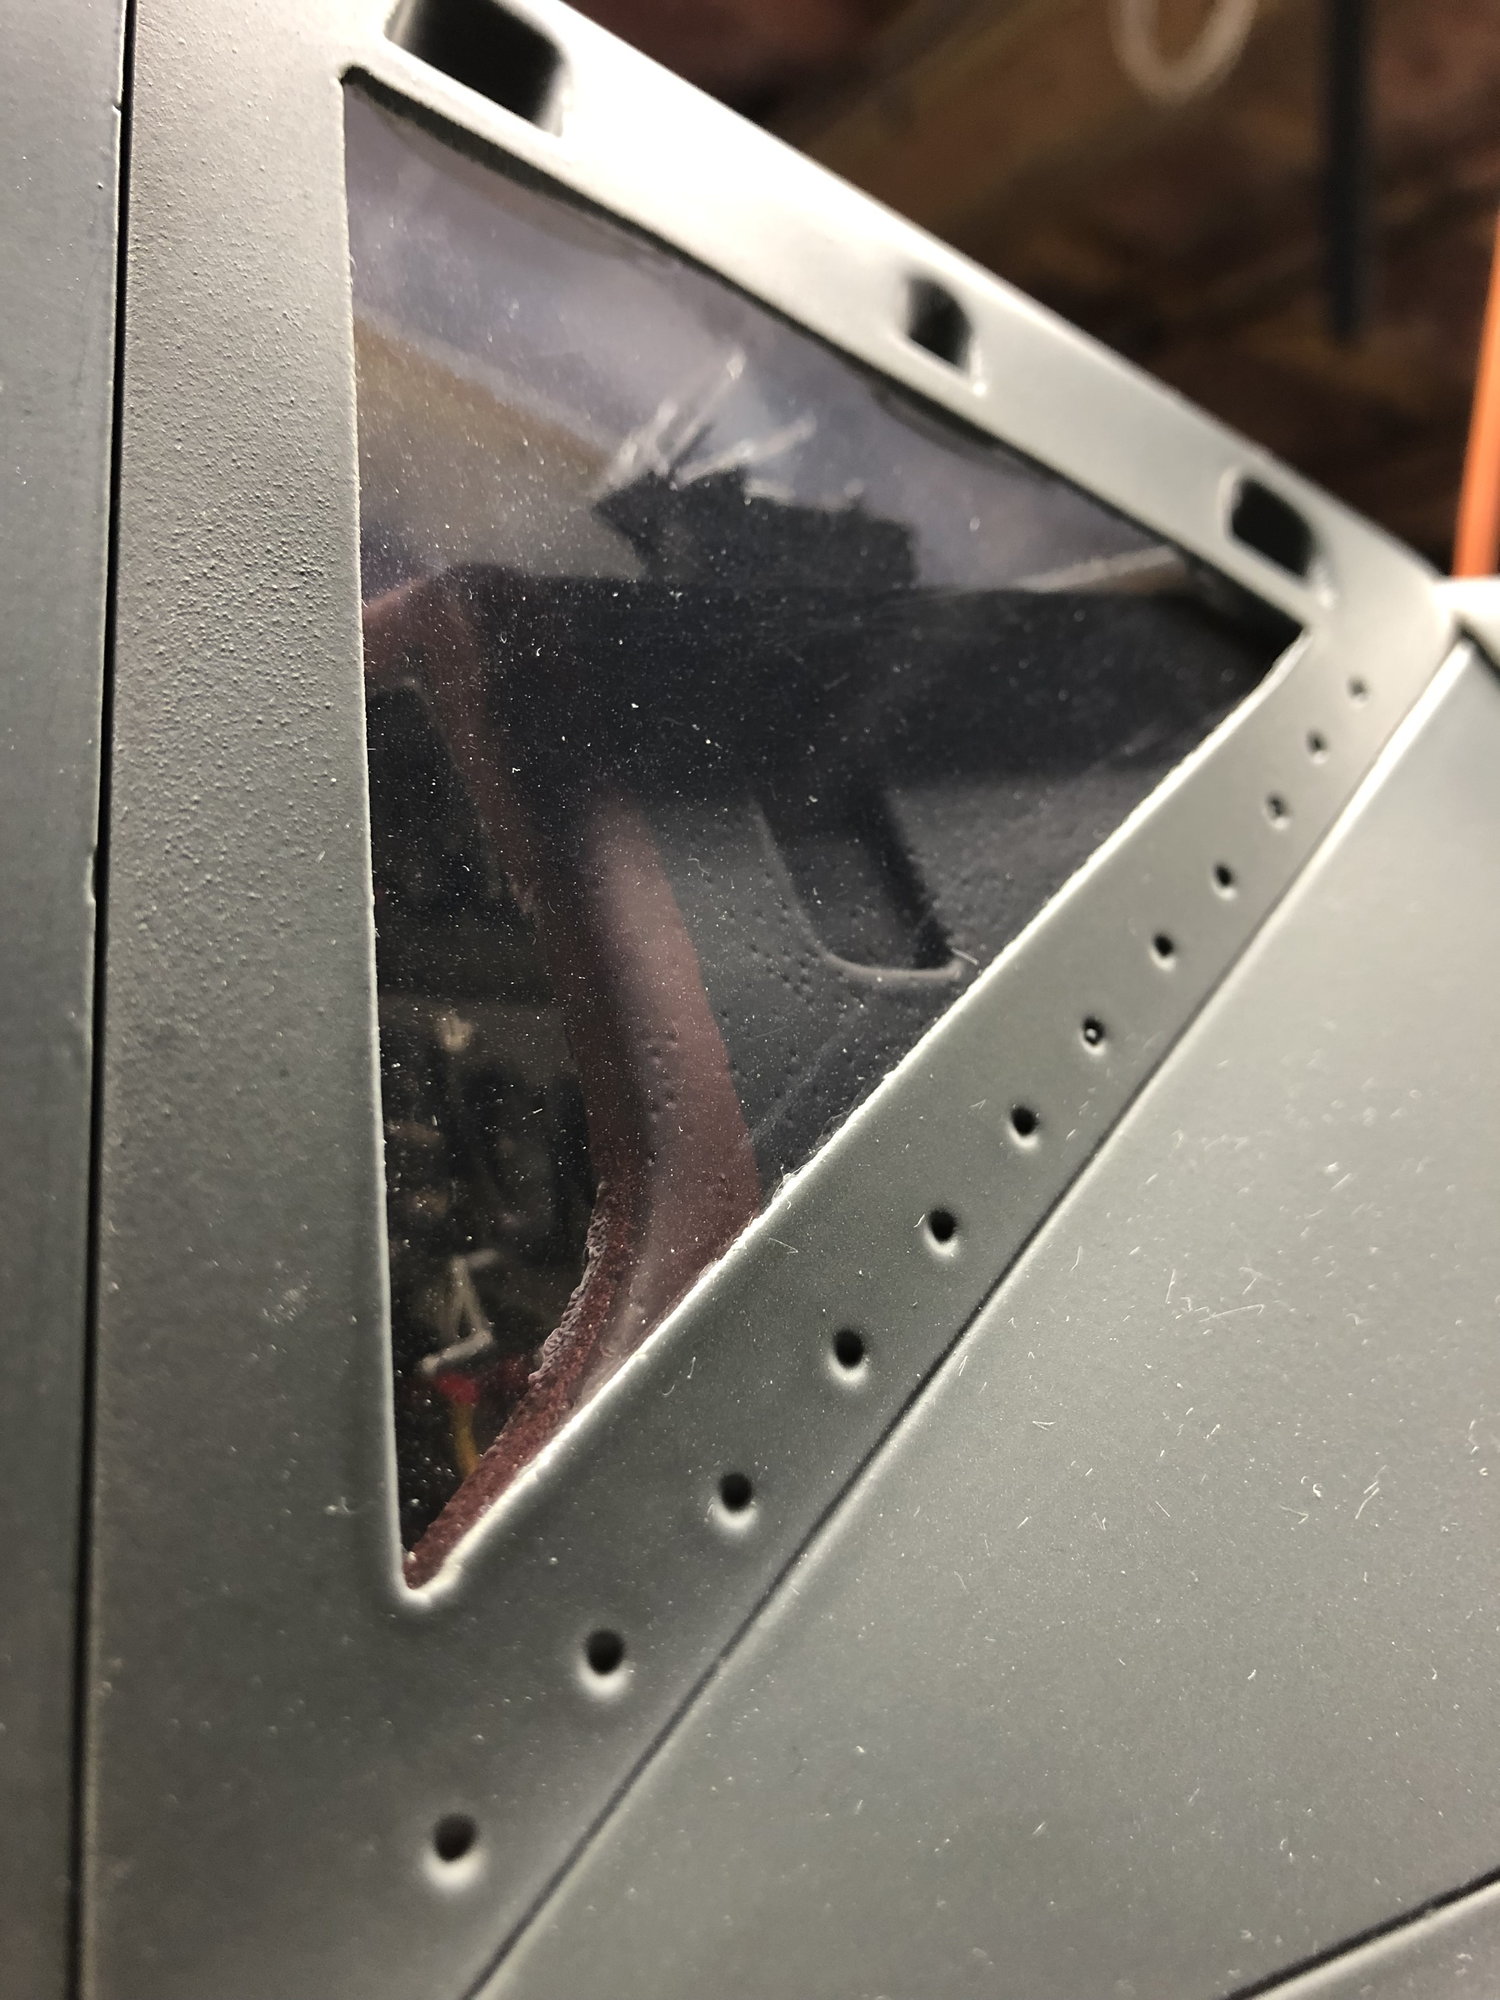
Here�s what I did to make the doors two piece. Did this on my TopFlite FW also and has worked great. Its a bummer that the lower door has to be a little higher, but its quick and easy. I filled in the voids with evercoat which is an almost exact color match.
02-18-2019, 08:25 AM
#328
My Feedback: (2)
I just took one of my stabs into Home Depot and they matched my colors perfectly, $3.20 per 8oz jar. Add 15ml Floetrol and you are good to go. The Floetrol allows the paint to flow better with almost a self leveling property. I get the Behr paint in flat finish. Any type of clear can be used over it just provide at least a week to dry. I typically use an automotive flat clear, it�s expensive and smelly however the finish is of course auto quality and completely fuel proof.

 02-18-2019, 08:51 PM
#332

 02-20-2019, 06:06 PM
#334
02-20-2019, 06:28 PM
#335

Last edited by tevans55; 02-20-2019 at 06:31 PM. Reason: make addition
03-04-2019, 04:18 PM
#336

So a quick question... I have been fooling around with an Idea and it seems to work very well.
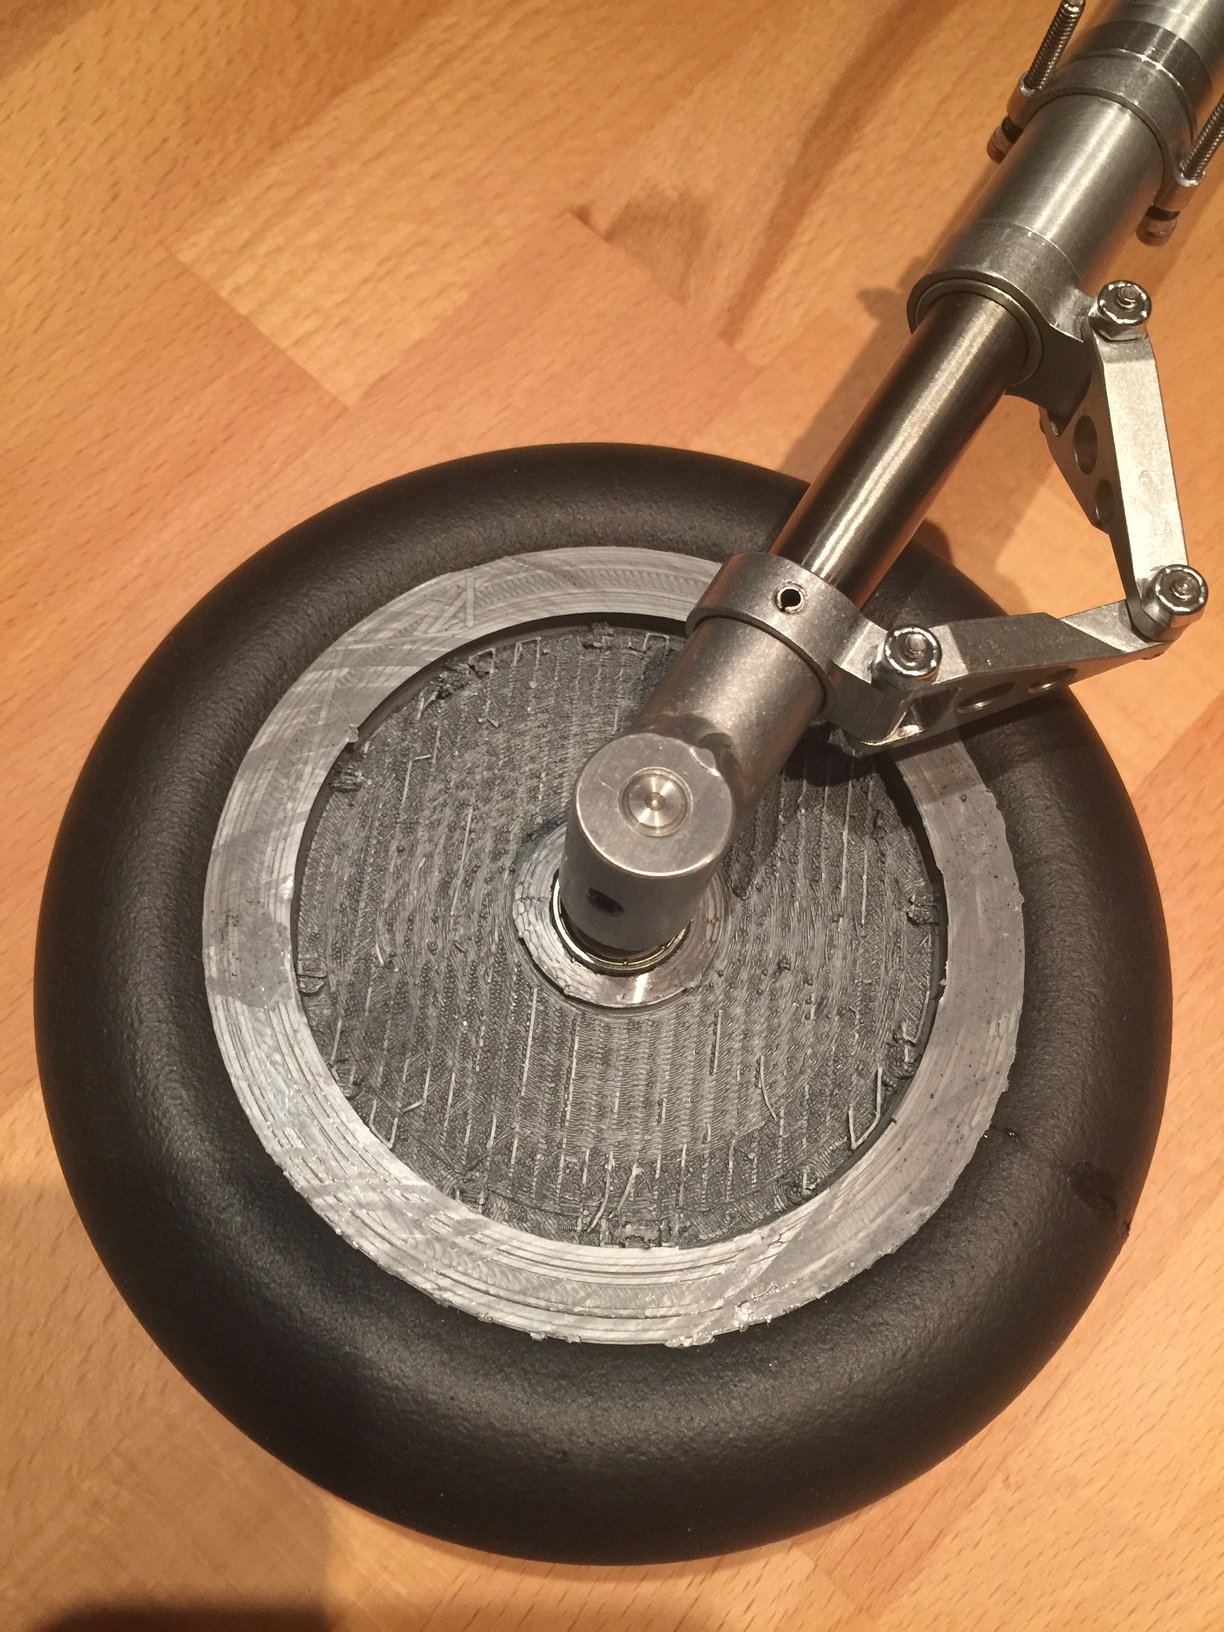
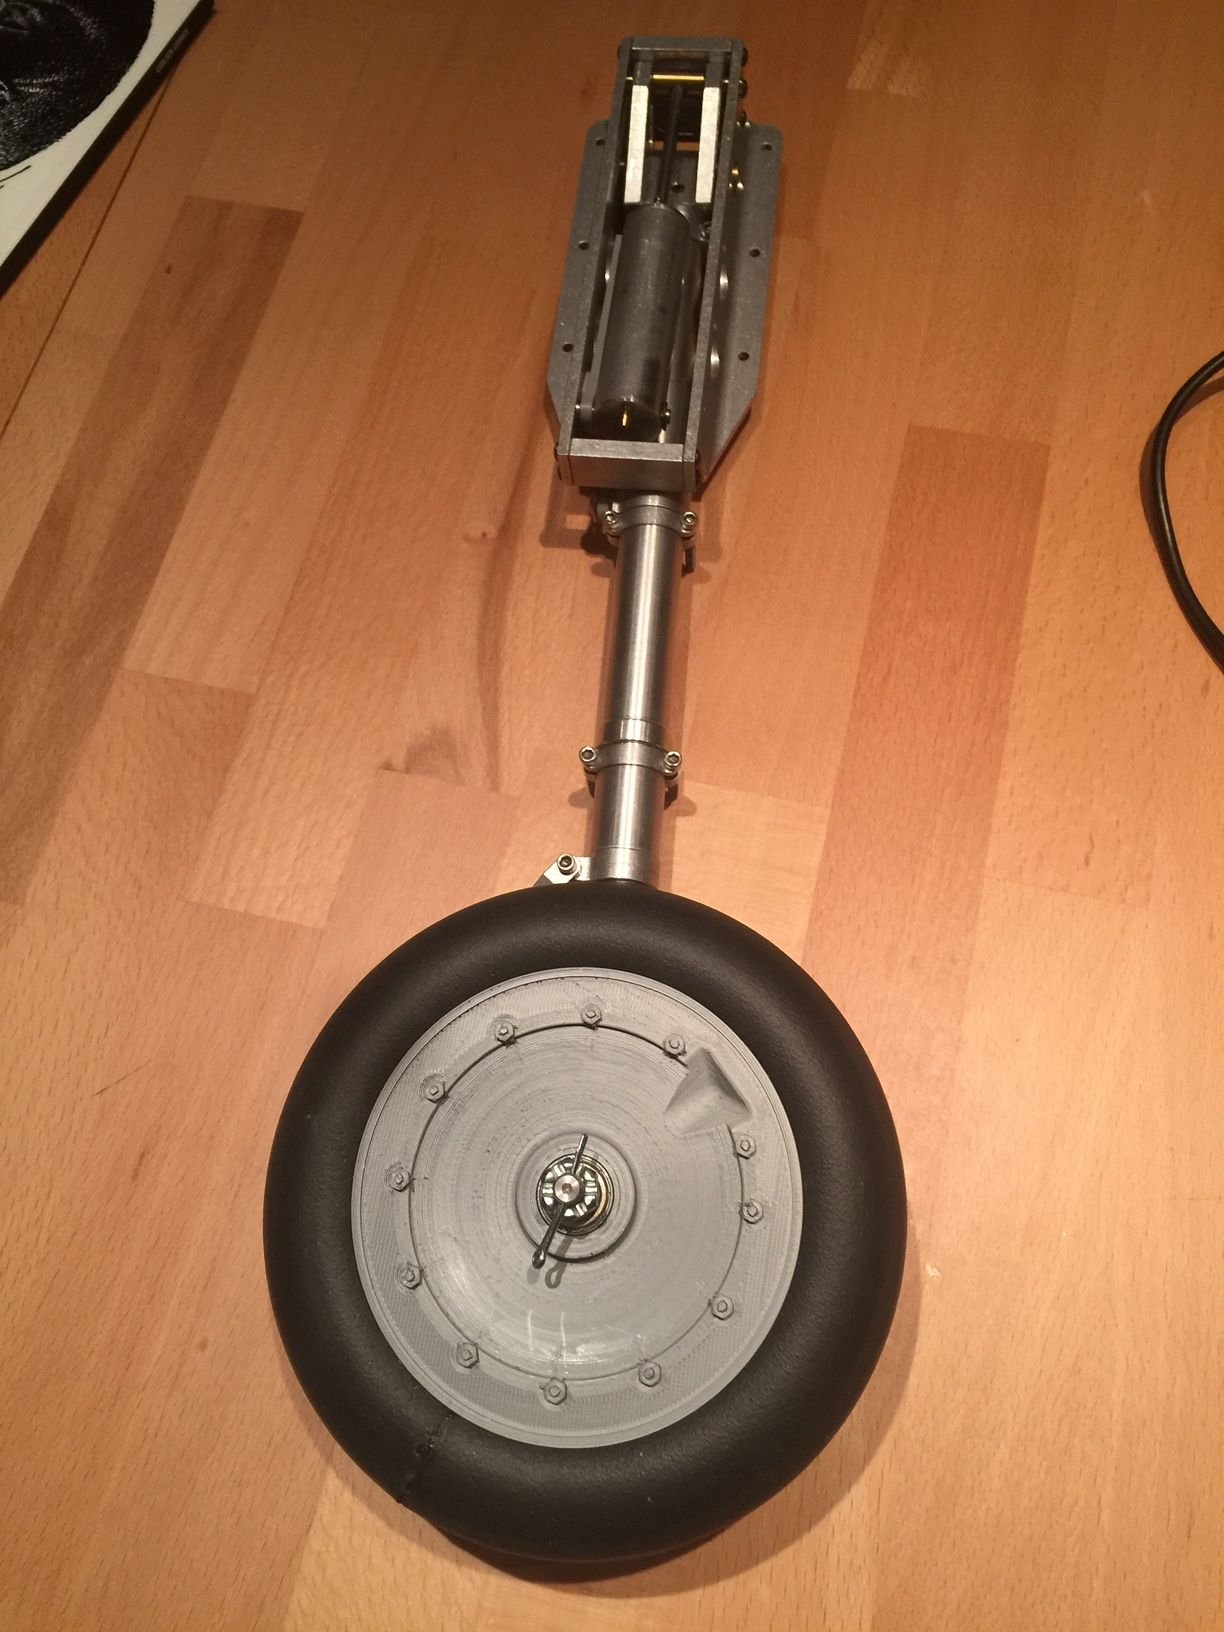
Just curious, is there any requirement for some FW-190 wheels? They are ball raced (for a 1/4in axle), 5,3in in diameter and weigh 6,9oz. Theres still some detail cleaning to do to remove some printing flush (like with plastic model kits).
I can enlarge them to some extent if needed.
I also have an idea on how to get the rear to look a bit nicer but apart from that they are ready to go...
Rev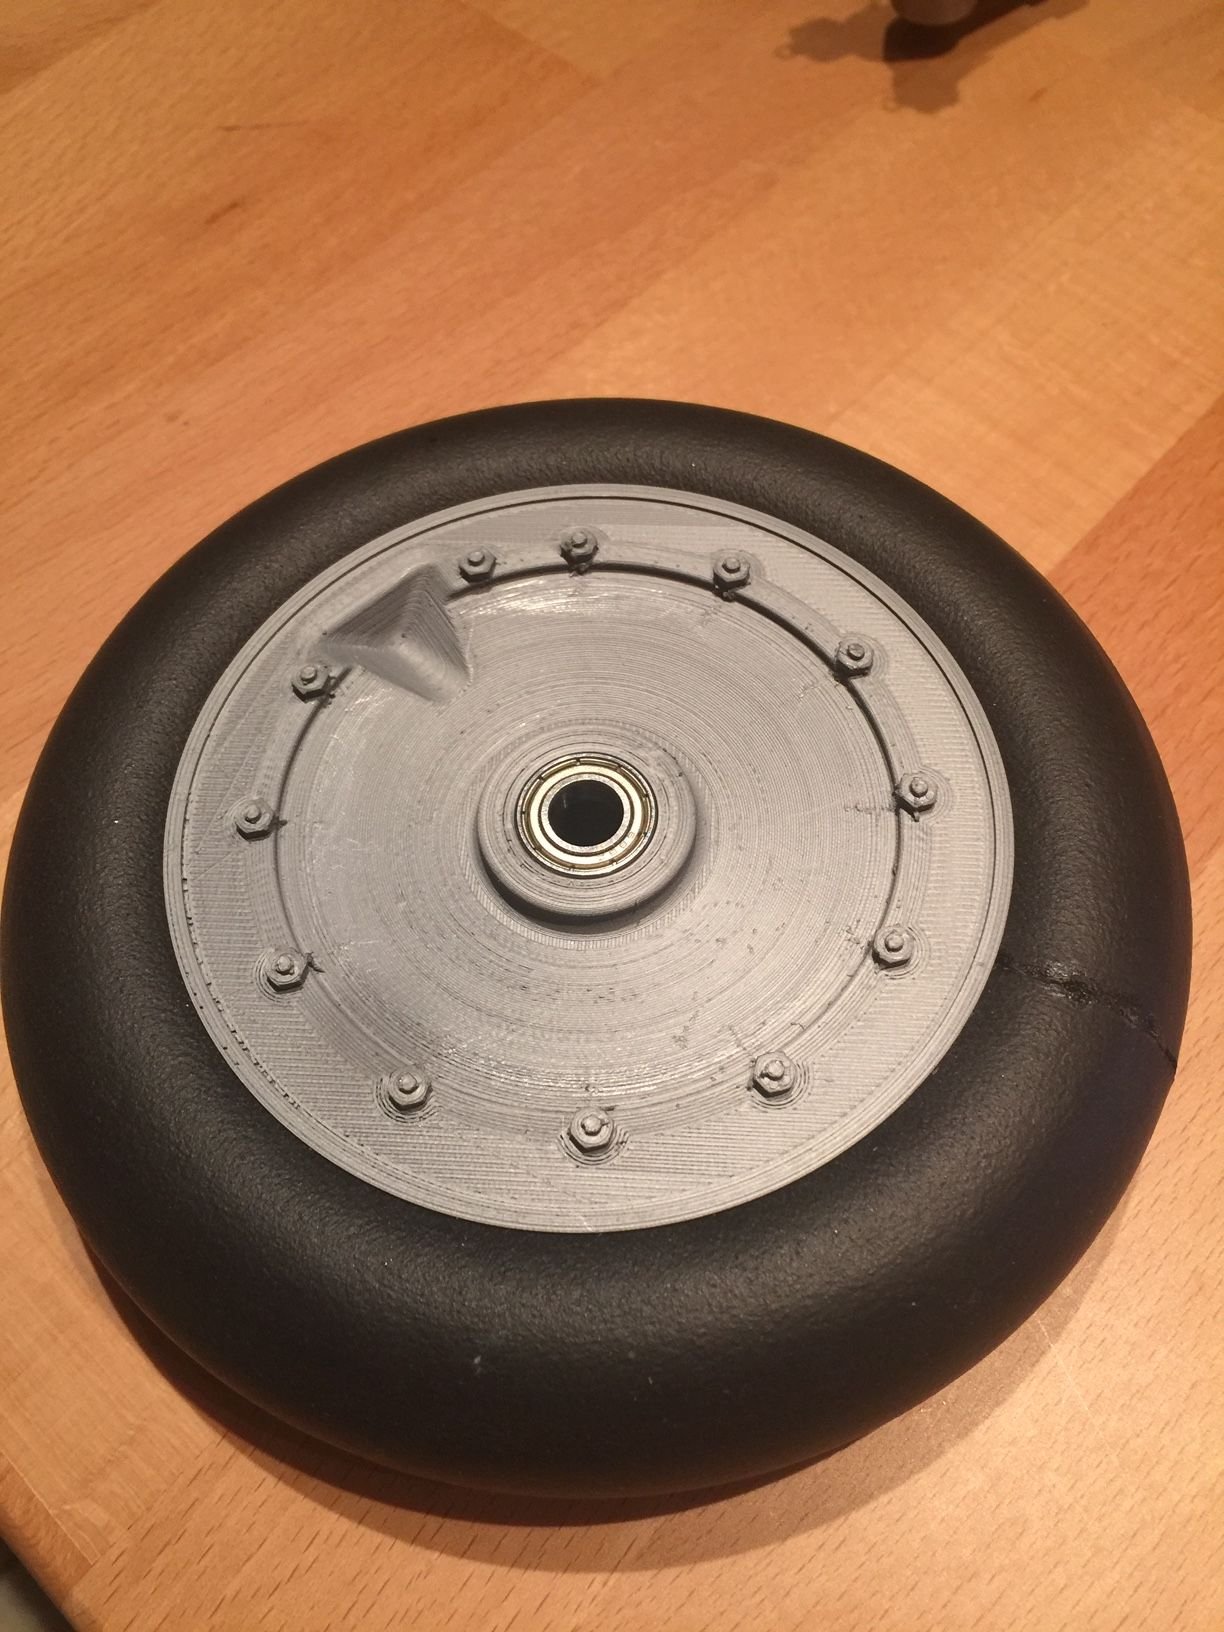
03-05-2019, 12:03 AM
#337
My Feedback: (3)

Join Date: Aug 2003
Location: near Innsbruck, AUSTRIA
Posts: 615
Likes: 0
Received 13 Likes
on
10 Posts
Hi all,
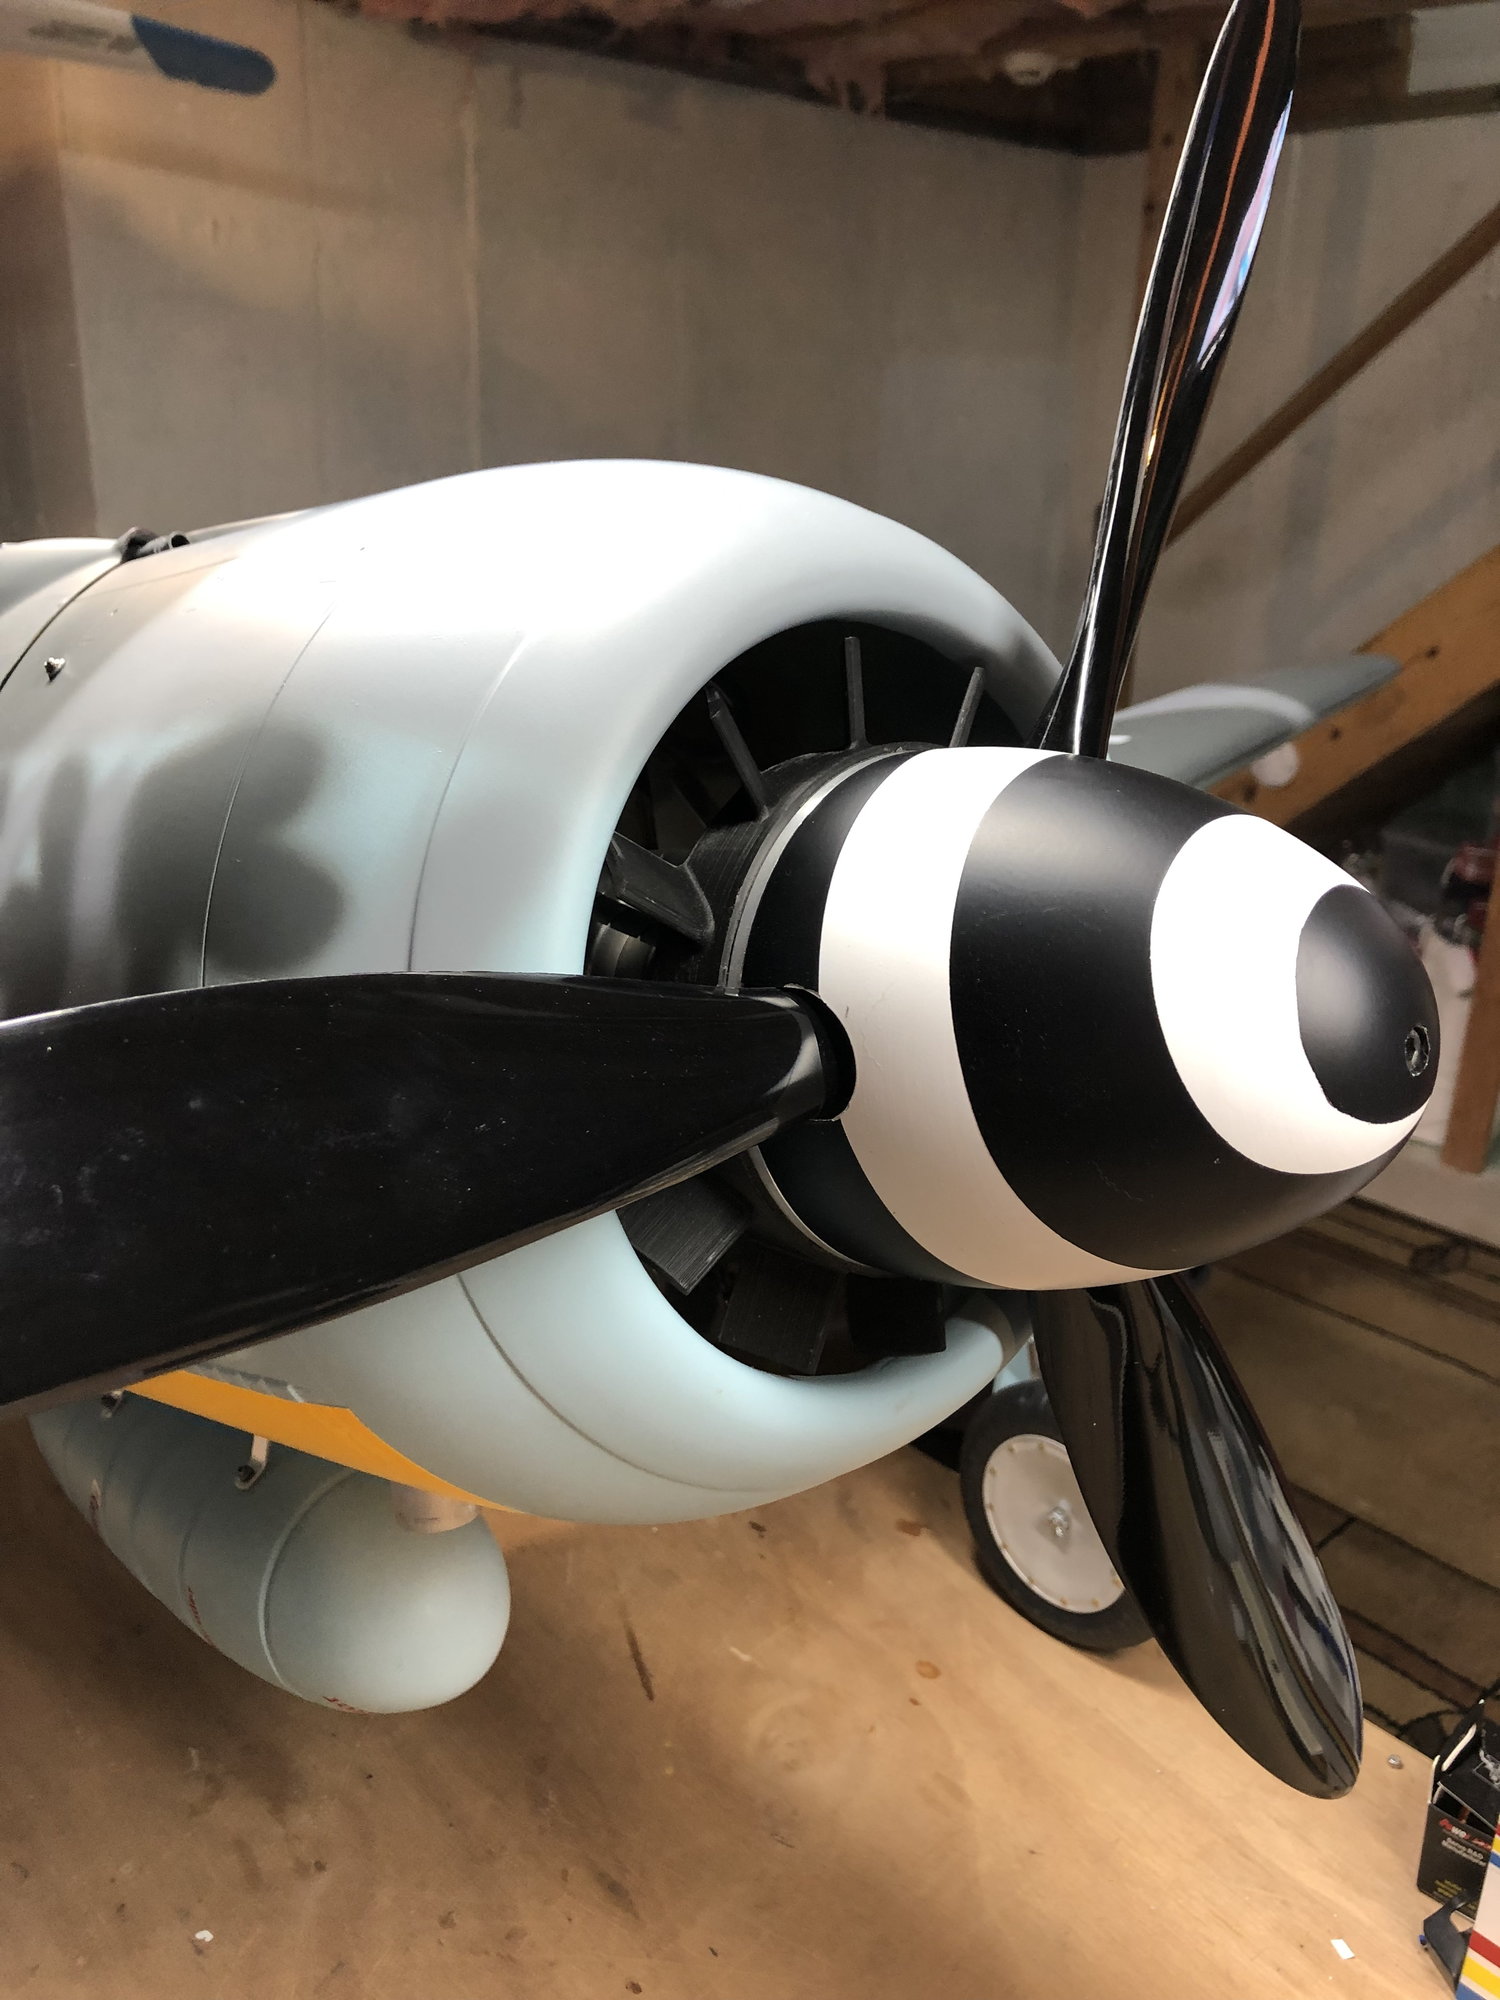
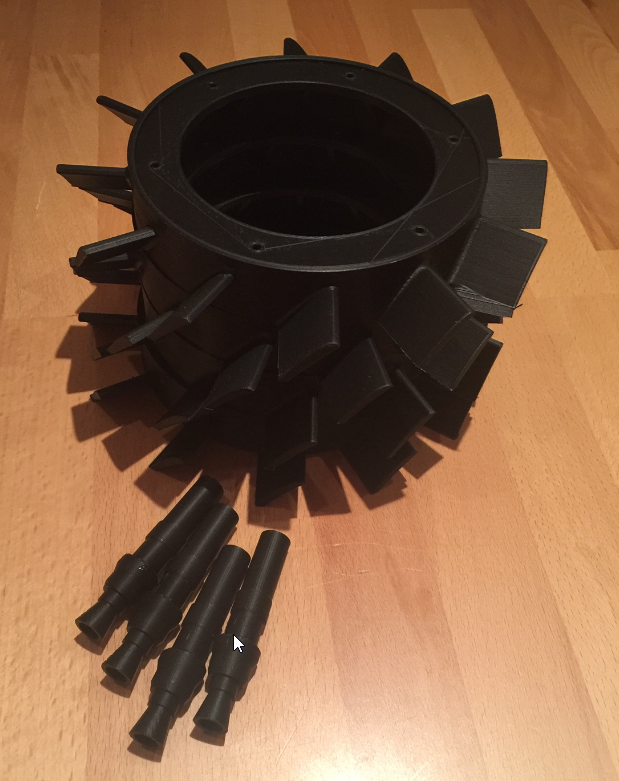
the next batch of fans is ready for shipment. @Victor: No worries, your guns are in the proper scale too. The ones on the picture are 1/2 scale for a french Modeller, just grabbed the wrong ones for the picture.
Just one word: I do these fans in my spare time next to a 60h daytime job so please bear with me if it takes a week or two to make them. I know that can be a long time when you add the shipping time from Austria (5-10 days) but I assure you, you will always receive your fan
Rgds,
Rev
03-05-2019, 05:49 PM
#338
Hi all,
the next batch of fans is ready for shipment. @Victor: No worries, your guns are in the proper scale too. The ones on the picture are 1/2 scale for a french Modeller, just grabbed the wrong ones for the picture.
Just one word: I do these fans in my spare time next to a 60h daytime job so please bear with me if it takes a week or two to make them. I know that can be a long time when you add the shipping time from Austria (5-10 days) but I assure you, you will always receive your fan
Rgds,
Rev
03-05-2019, 08:21 PM
#339
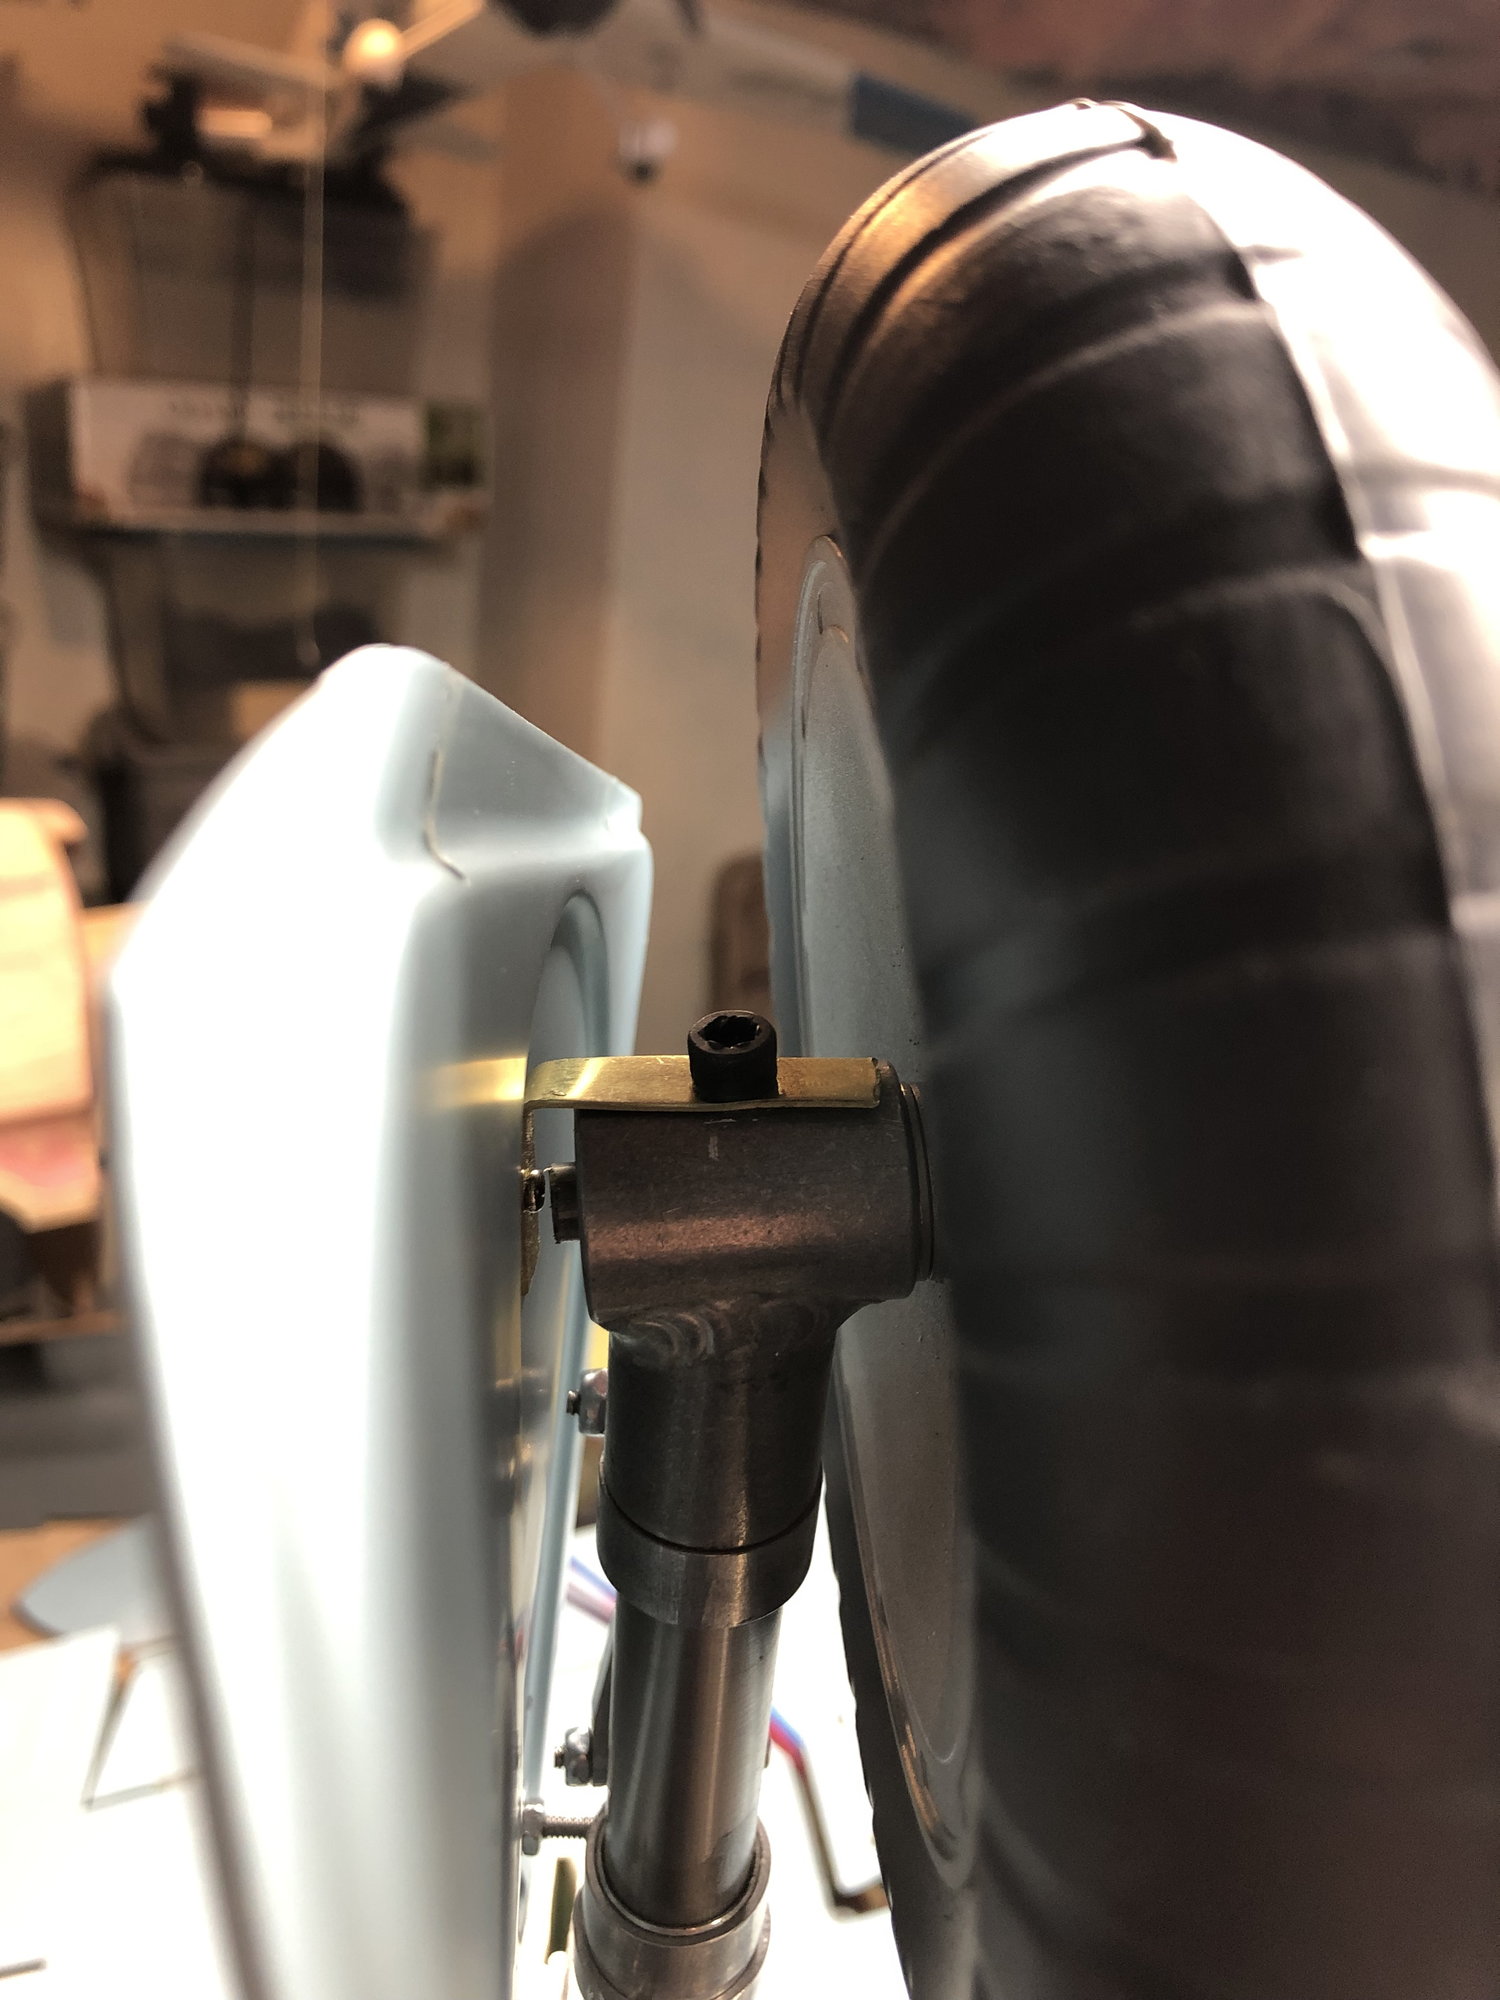
I don't understand. There are two "tabs" that stick out from the former where the "L" brackets on the gear screw onto. (talking about the Toprc gear). Where do you place the holes in relation to these? there is no place above the tabs to put holes and anything below the tabs would not work as the gear articulates in an arc, up back and up. Please clarify because I have had no luck in figuring this out. I have used springs but is seems to make the tail wheel awfully flimsy. Thanks, Dave
03-07-2019, 05:33 PM
#341
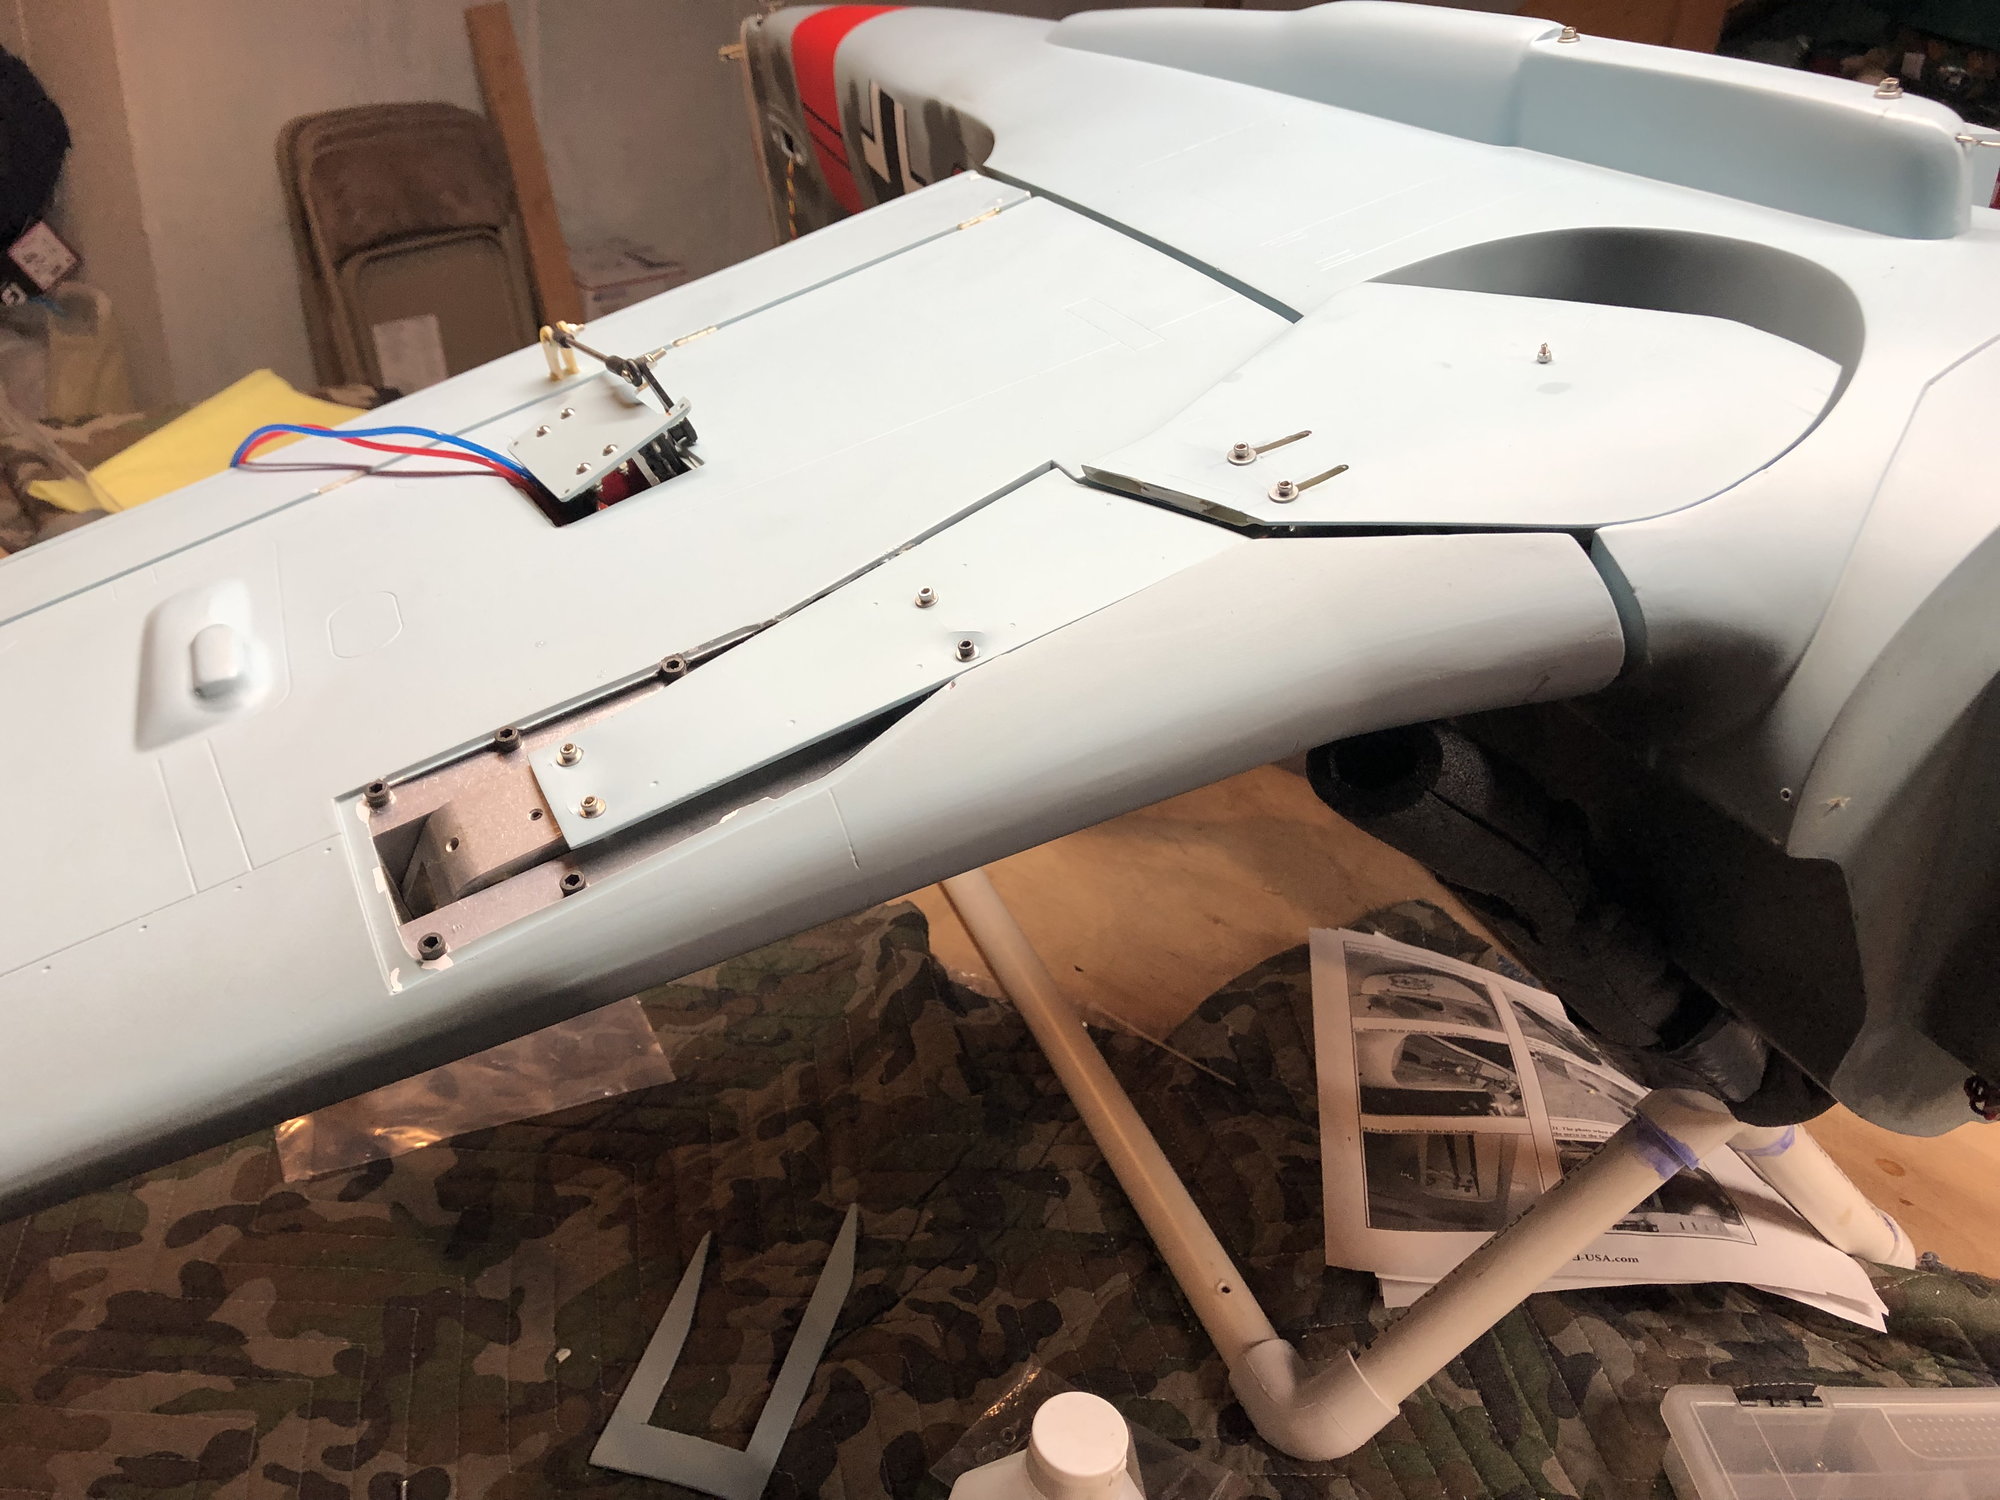
I made mine removable. Two screws on the right are painted red and the ones on the left are not painted. Reminds me to only remove one set and slide the stabs out. One side will have the tubes attached. I can put two planes in my suv no problem.
03-07-2019, 09:08 PM
#343
03-08-2019, 12:22 PM
#345

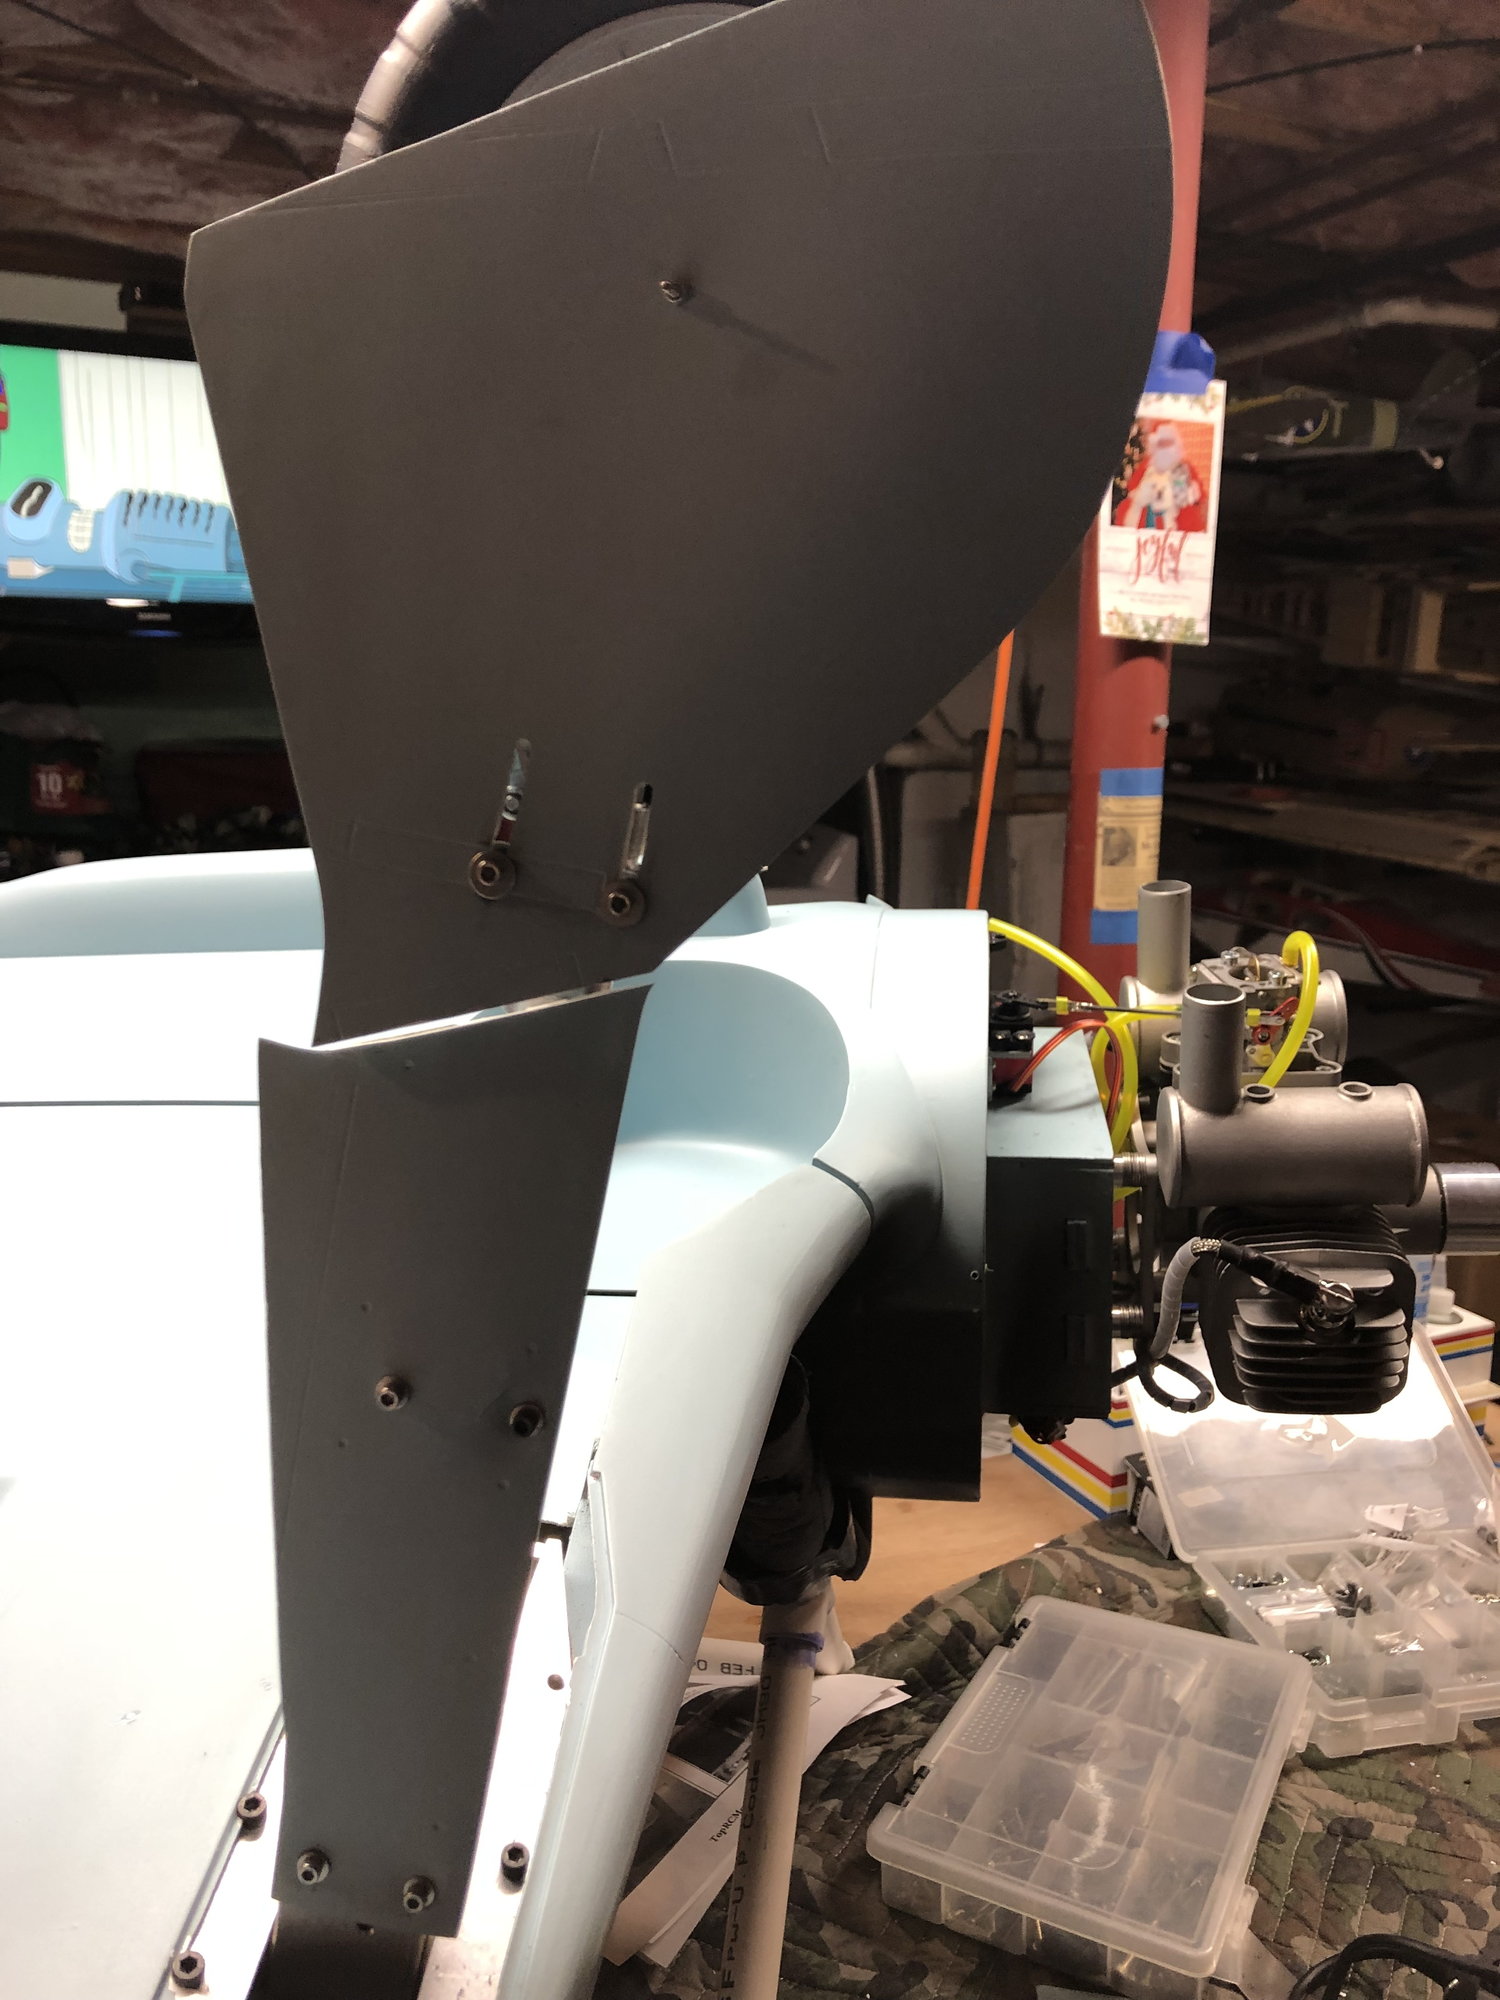
I don't have to glue in the stabs in afterall. The screws broke off one on each side of the stab. There is no way to get them out now and there is no way to remove the stabs too.
The chinese don't know how to make steel. Their screws break off so easily.
The chinese don't know how to make steel. Their screws break off so easily.
The following users liked this post:
apereira (03-24-2022)
03-08-2019, 06:56 PM
#347
Seen this video filmed at the 2018 Scale master's
http://www.youtube.com/watch?v=Hu4a11PUURs
http://www.youtube.com/watch?v=Hu4a11PUURs
03-09-2019, 07:00 AM
#348
My Feedback: (23)
Join Date: Apr 2004
Location: Bedford, TX
Posts: 110
Likes: 0
Received 0 Likes
on
0 Posts
Thank You for posting the video!
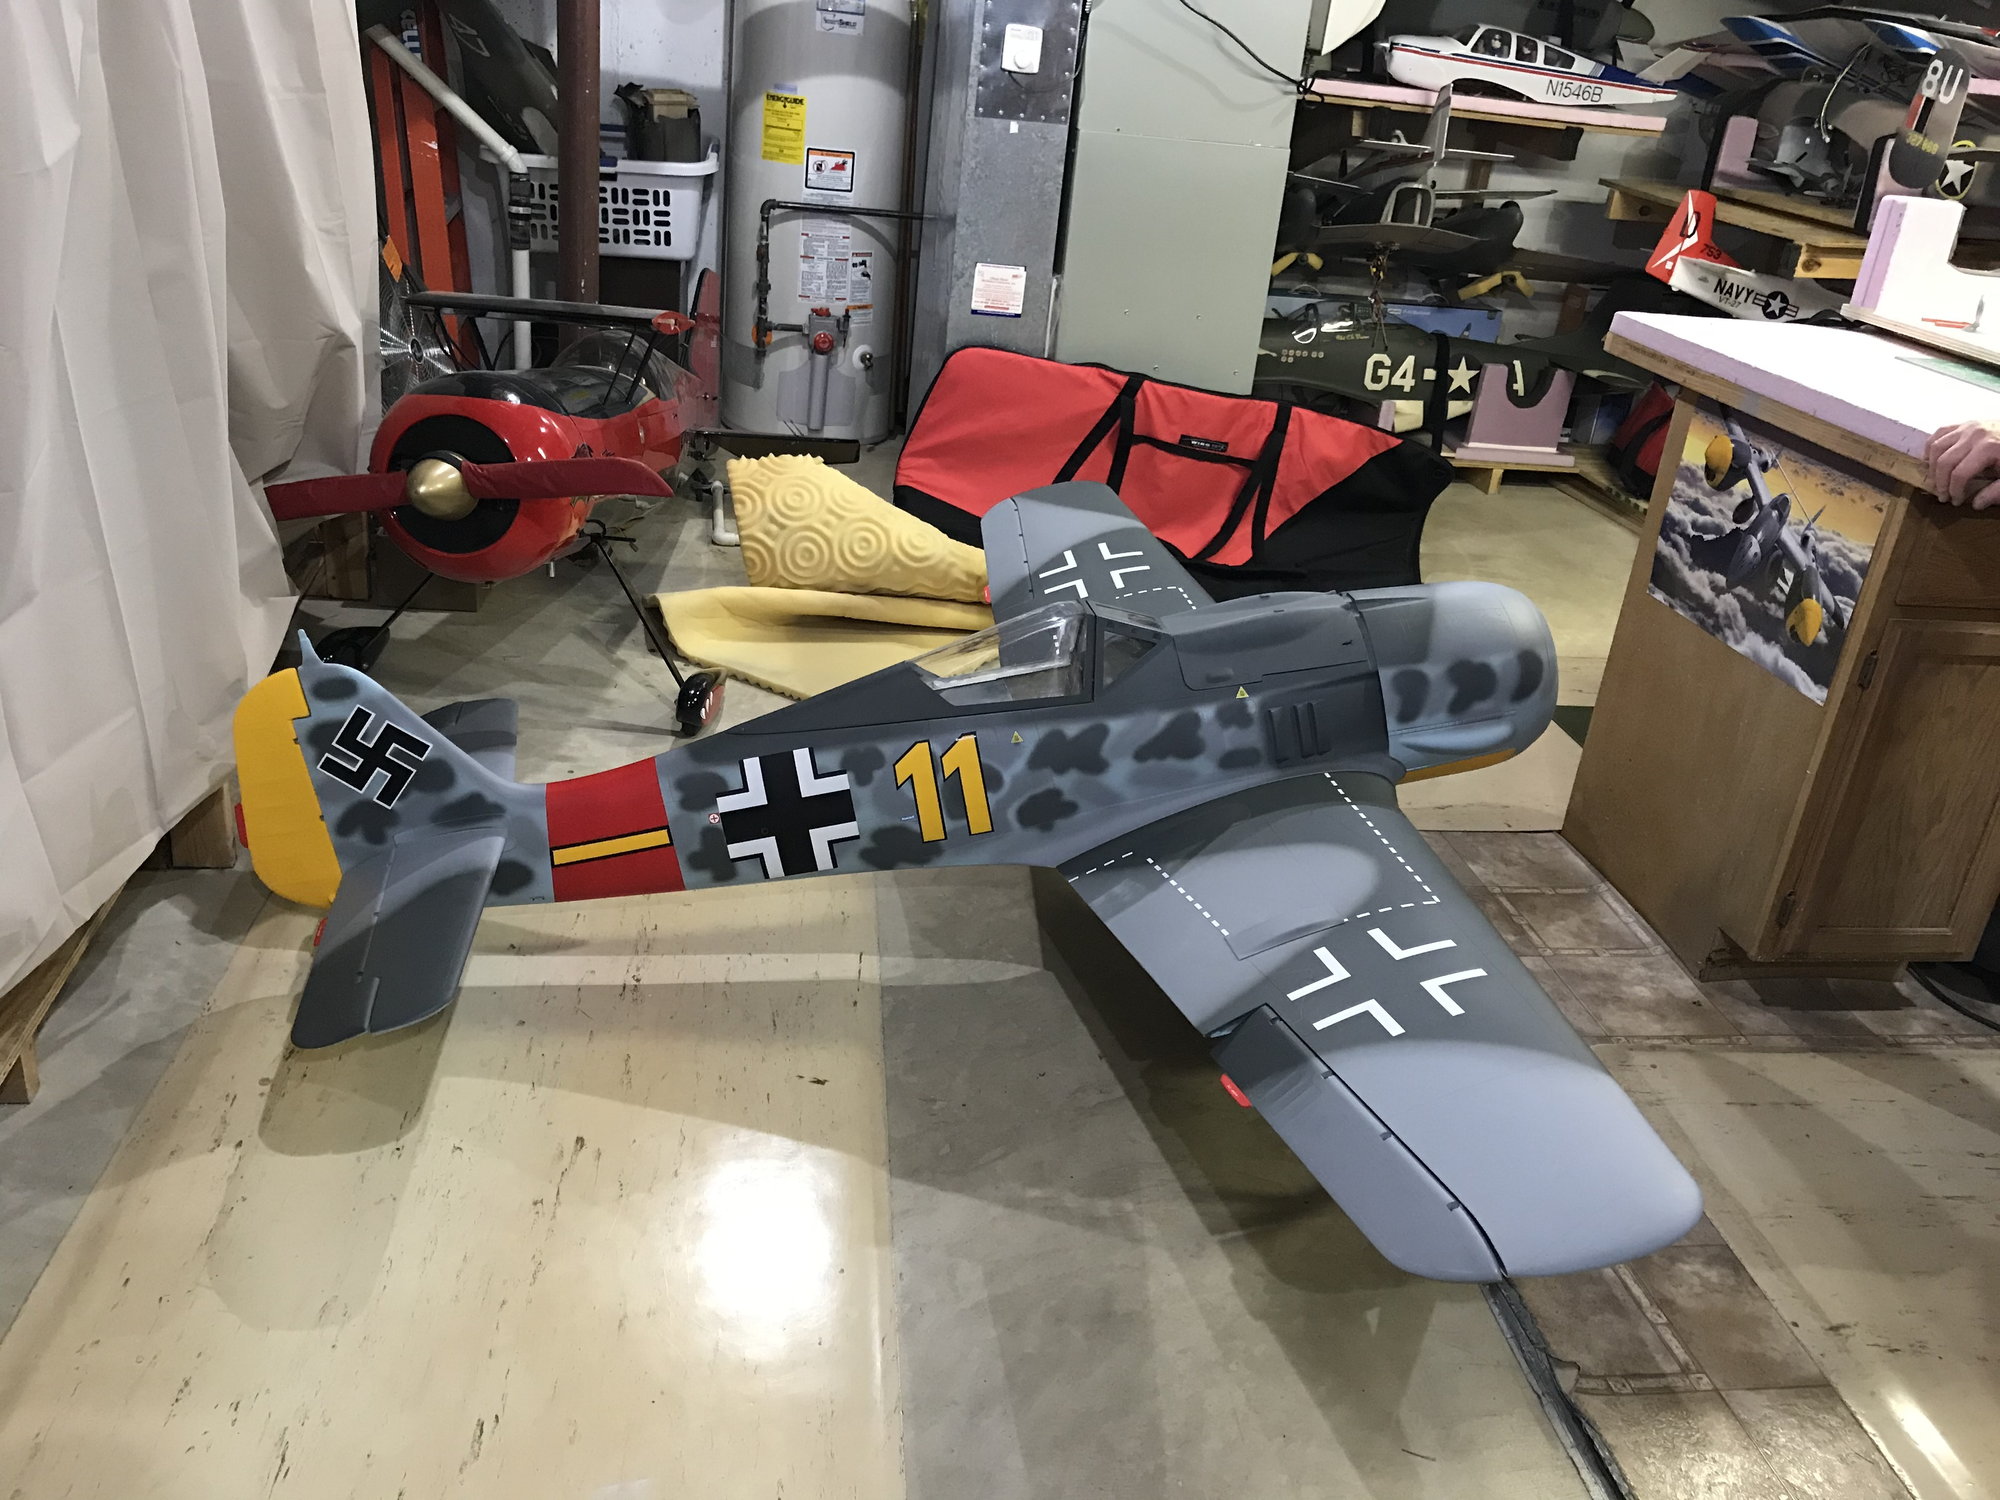
The 190 won her class at the 2018 masters event and was a joy to fly in competition.
Engine: DA70, Sierra Retracts, Futaba Radio.
The original paint scheme was sanded off and repainted by Jack and Dennis Haynes and they did a great job.
There was a crashed plane in the middle of the runway during the round filmed which is why the plane is circling in the beginning as the debris was cleared from the runway.
Sonny Coleman
03-09-2019, 08:14 AM
#349
Thank You for posting the video!
The 190 won her class at the 2018 masters event and was a joy to fly in competition.
Engine: DA70, Sierra Retracts, Futaba Radio.
The original paint scheme was sanded off and repainted by Jack and Dennis Haynes and they did a great job.
There was a crashed plane in the middle of the runway during the round filmed which is why the plane is circling in the beginning as the debris was cleared from the runway.
Sonny Coleman
John
03-10-2019, 06:44 AM
#350
My Feedback: (8)
Looks like Morris James at Morris mini motors has finally released the pre-order for the 5 cylinder 125cc radial. It should be a perfect fit for my 190
https://www.morrisminimotors.com/ums...-ums5-125.html
https://www.morrisminimotors.com/ums...-ums5-125.html