


Meister 1/5 scale P-47


 04-16-2015, 06:28 PM
#2077

The event I went to last week end. A very nice group of guys with a wonderful site and great hospitality.
http://www.youtube.com/watch?v=cK72O...ature=youtu.be
http://www.youtube.com/watch?v=cK72O...ature=youtu.be
06-29-2015, 07:55 PM
#2080
After another hard landing on the left gear, always the left gear, Brian has been working on the repair. This time, my friend Mitch at Down and Locked suggested that he let me modify his new gear body and trunnion to fit the foot print of the ones we have been using for the last 5 years and had to repair every year for bent or tweaked trunnions or worse. He claimed his design was MUCH stronger. Well, I was excited to see what he could do for us. Here are a few pictures of the new frames and pivot. They look much stronger and the pivot is billet not cast. Very strong. Also, it is a new design from the ground up that is dedicated to his electric actuator. It is smooth and powerful. He will be releasing these in a wide range of sizes to accommodate just about any scale aircraft. Pricing will be extremely competitive. Mitch was the pioneer of large scale custom electric retract systems. Now he has his own gear mechanisms to go with his proven systems.


06-30-2015, 12:32 PM
#2084
Here is another video explaining the design of the new Down and Locked landing gear. They were formerly only an electric conversion company, also providing some gear companies with an electric option for there existing gear. The need arose to produce their own gear line for several reasons, and they have met that challenge head on.
The alteration the the gear body you will see in the video was necessary because we are mating CJ struts with this new gear body from Down and Locked. Dedicated gear for this plane from D&L will fit perfectly.
https://www.youtube.com/watch?v=ufEKRykr7po
The alteration the the gear body you will see in the video was necessary because we are mating CJ struts with this new gear body from Down and Locked. Dedicated gear for this plane from D&L will fit perfectly.
https://www.youtube.com/watch?v=ufEKRykr7po
03-13-2016, 09:24 PM
#2085
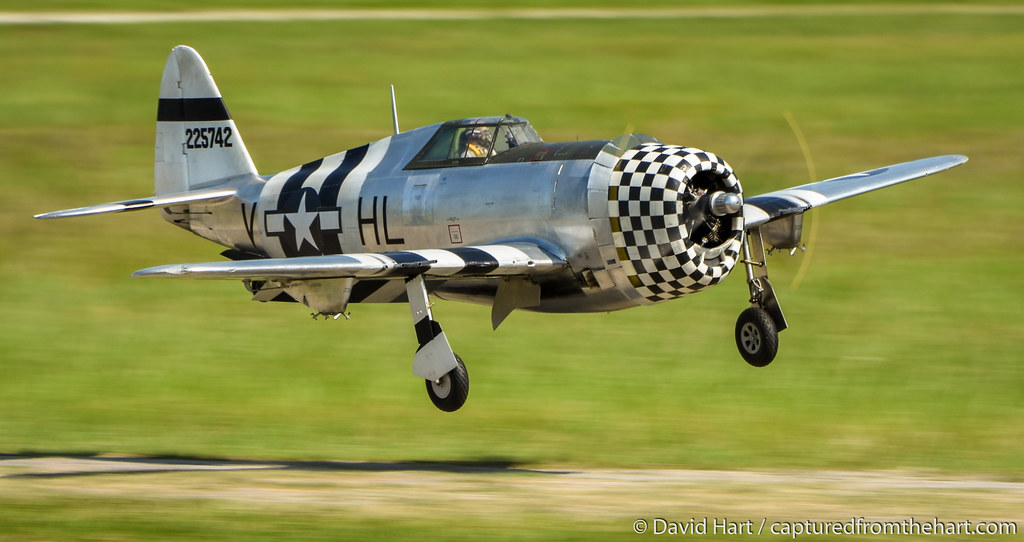
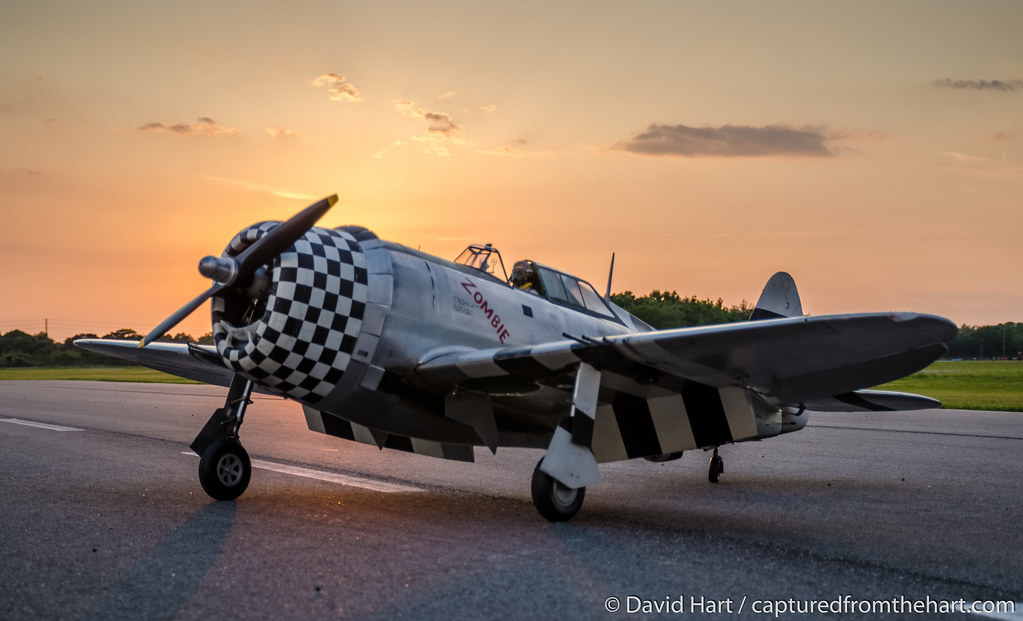
We are preparing Zombie for another season. Engine has been gone through out of frame, wings have been gone through and had some minor maintenance to the gear, and I will be going over the whole air frame with some cosmetic refreshing. The aluminum continues to get better looking every year because we never cleared over it.
I will be taking her to Top Gun this year. Should be fun.
Here are some pictures of the new antenna we made for her. Flipped over in a bog a couple years ago and lost the original one. This began as one of the resin ones that Dino offers through Meister. We modify it to make it removable.


I will be taking her to Top Gun this year. Should be fun.
Here are some pictures of the new antenna we made for her. Flipped over in a bog a couple years ago and lost the original one. This began as one of the resin ones that Dino offers through Meister. We modify it to make it removable.
03-31-2016, 06:26 AM
#2090
The list of what we have done this off season to her and before War Birds Over East Bend next week.
1. repair damaged engine mount
2. reinstall serviced engine (serviced by Julian Mashburn, the best in the business IMO)
3. reinstall newly built replacement antenna
4. repair damage to the bottom nose
5. minor service on the cowl flaps
6.repair hanger rash on the vertical stab
7. refurbish main service hatch
8. minor repair to side vent area from hanger rash
9. fill ABS bucket wheel shroud with expandable foam to prevent further damage. It is solid now and no longer fragile. (Zombie is all wood. this is not an issue with the FG fuse)
10. inspect the entire air frame for loose wood joint (only found 4)
11. install new aluminum gear doors
12. install new Down and Locked gear to replace the original CJ gear we had converted to electric.
13. inspect wings for loose glue joints. (none, we do this all year)
14. minor cosmetic service on the wings (i am leaving all the small dents in the leading edges from the corn stalks, I like the "patina"

15. repair minor scuffs to the bottom of the cowl from the gear up dead stick on the runnway at the Cleveland air show a couple years ago.
16. What I do not do is rub or polish the aluminum any more than a light cleaning. It get better looking every year IMO. This is only possible if you DO NOT CLEAR IT
17. stiffen up the belly pan a bit more. The gorilla glue has done its job during the (3) belly landings over the years. More here is good,
18. CLEAN THE FRICKIN SHOP!!!!!!!!!!!!!!
Last edited by ram3500-RCU; 03-31-2016 at 06:37 AM.
04-03-2016, 06:05 PM
#2091
 04-10-2016, 12:04 AM
#2093


Join Date: Sep 2004
Location: ChelmsfordESSEX, UNITED KINGDOM
Posts: 514
Likes: 0
Received 2 Likes
on
1 Post
Hi guys,
i see see most of you are using control,snakes for your elevator halves, are they just regular Sullivan snakes? Want to do the same in my build to keep the servos out of the tail, what do you recommend?
Thank you,
Dave.
i see see most of you are using control,snakes for your elevator halves, are they just regular Sullivan snakes? Want to do the same in my build to keep the servos out of the tail, what do you recommend?
Thank you,
Dave.
06-29-2016, 10:41 AM
#2094

 06-29-2016, 10:47 AM
#2095

The list of what we have done this off season to her and before War Birds Over East Bend next week.
1. repair damaged engine mount
2. reinstall serviced engine (serviced by Julian Mashburn, the best in the business IMO)
3. reinstall newly built replacement antenna
4. repair damage to the bottom nose
5. minor service on the cowl flaps
6.repair hanger rash on the vertical stab
7. refurbish main service hatch
8. minor repair to side vent area from hanger rash
9. fill ABS bucket wheel shroud with expandable foam to prevent further damage. It is solid now and no longer fragile. (Zombie is all wood. this is not an issue with the FG fuse)
10. inspect the entire air frame for loose wood joint (only found 4)
11. install new aluminum gear doors
12. install new Down and Locked gear to replace the original CJ gear we had converted to electric.
13. inspect wings for loose glue joints. (none, we do this all year)
14. minor cosmetic service on the wings (i am leaving all the small dents in the leading edges from the corn stalks, I like the "patina"
15. repair minor scuffs to the bottom of the cowl from the gear up dead stick on the runnway at the Cleveland air show a couple years ago.
16. What I do not do is rub or polish the aluminum any more than a light cleaning. It get better looking every year IMO. This is only possible if you DO NOT CLEAR IT
17. stiffen up the belly pan a bit more. The gorilla glue has done its job during the (3) belly landings over the years. More here is good,
18. CLEAN THE FRICKIN SHOP!!!!!!!!!!!!!!
Gary, how did you achieve so realistic aluminium look?
06-29-2016, 02:07 PM
#2096
The entire aircraft is covered with actual aluminum. The wings are Flight Metal, and the fuselage is Aerofoil from Meister. It is applied in place of paint, after the air frame is prepped in the same manor as if it was going to be painted.
01-03-2021, 01:54 PM
#2097

I have been researching this kit and I am wondering what the cowl diameter is as all the info is unavailable on the meister website. I see the moki 180 is 255mm diameter. Would the cowl fit a slightly larger engine at 265mm? The sides of the cowl look like it could be close. I am looking at the ums 180 radial.
01-03-2021, 02:27 PM
#2099
I was dreaming of having a radial, but I don't think I would feel too comfortable with such an expensive engine (moki) right now. The UMS is about half the cost and I was kicking the idea around. It sounds like it will be too big. Maybe sometime down the road I can upgrade. Thanks Jeff!
01-03-2021, 09:44 PM
#2100
My Feedback: (16)
I've actually replaced the moki with a quadra 100 on the P 47. Flys the same power wise. I was getting worried about an 11 year old airframe that's been in two crashes over the years. If I lost the plane then I risked losing the engine too. I had another meister 47 with a zenoah GT 80 that was actually my favorite setup, but it was a wood fuse kit that was only 40 pounds. The moki got moved over to a 1/3 scale stearman. I'm currently flying my second 1/4 scale meister 47. Cant go wrong with these 47s, the best out there.
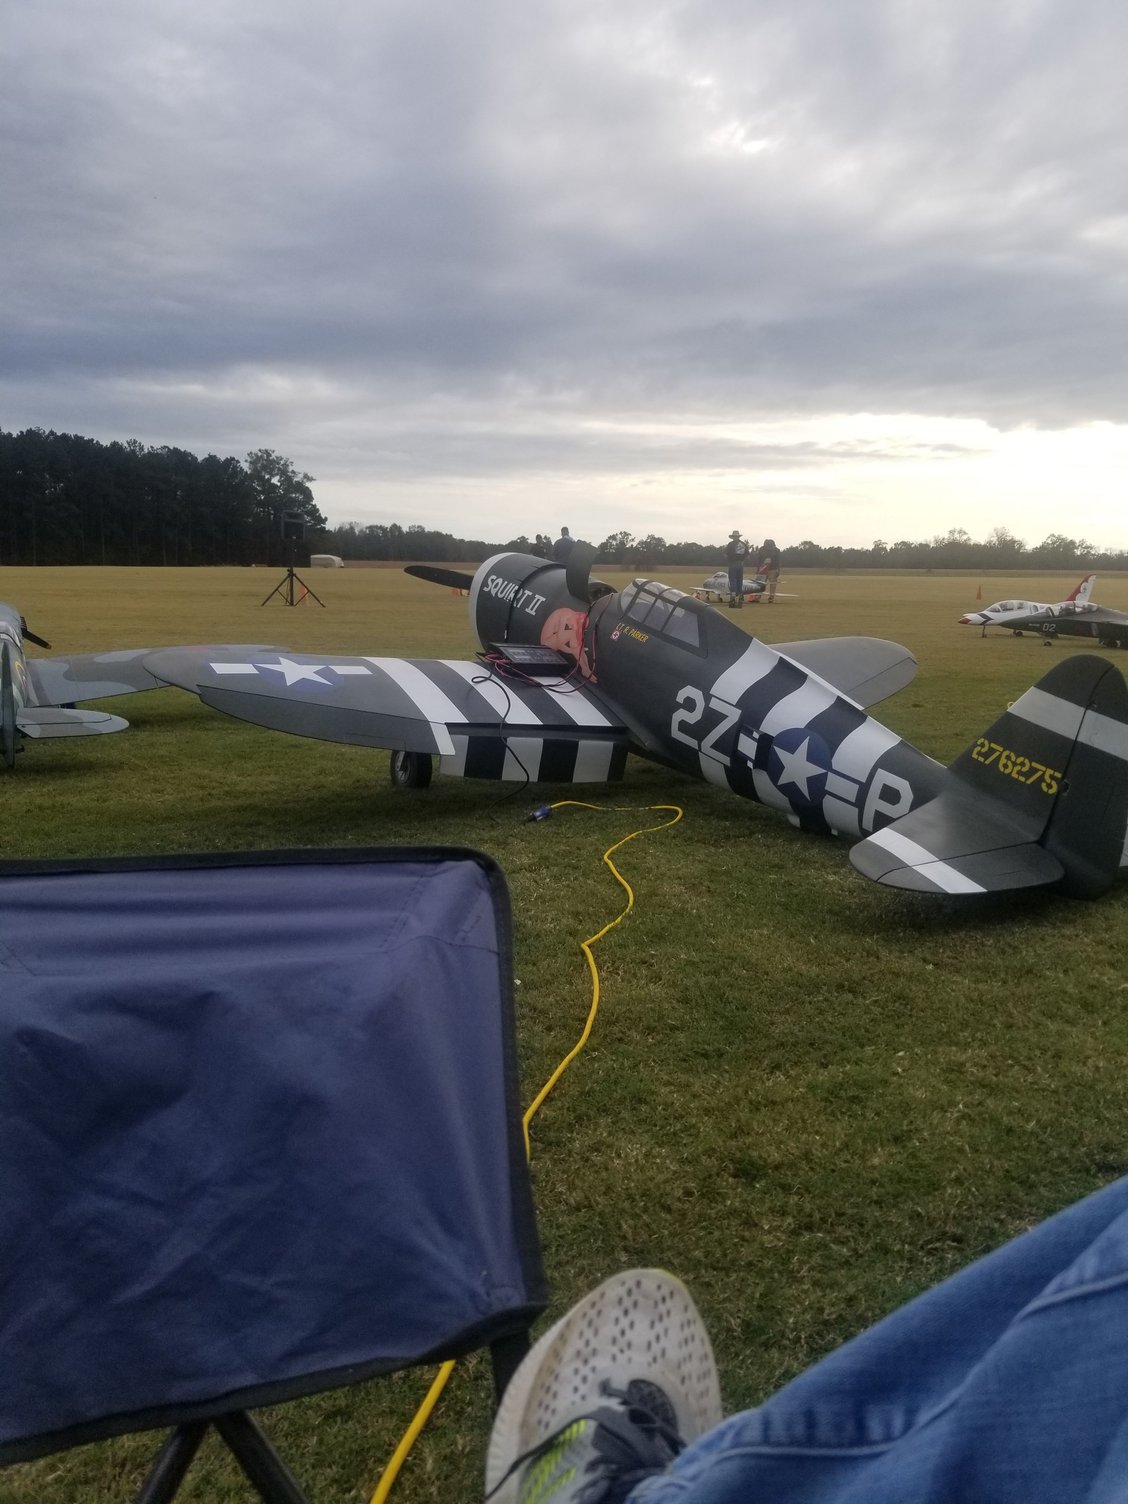
This is the 1/4
This is the 1/4