


T-28 Dave Platt


 10-16-2018, 08:50 AM
#803
Okay guys,
Here is a bit more info.
The first thing I did was to build up a balsa block larger than the canopy frame.
I cut the block to match the angle in front of the canopy frame so it sat flush against the frame and fuselage
I traced the frame outline onto the back of the block for that shape
I then took the side and front profile from the drawing that Platt supplied and drew it so it looked about right
Next I started sanding with 80 grit paper to get the basic shape before moving to 100 and then 120 to get the shape I thought looked good.
I finished with 400 grit and then took 1/16" balsa and cut strips to width that looked good, attached those with wood glue and then cut the curves with an xacto knife to what again looked good to the eye.
Last but not least I gave it 3 or 4 coats of spray polyurethane and then sanded with 400 grit paper and 0000 steel wool.
Wasn't perfect but it was close enough that I was happy with my attempt.
Hope this helps.
Larry
10-16-2018, 10:26 AM
#805
Chic,
didn't attach the block. Held the block, traced the back to the frame and then did the face and sides kind of free hand.
my friend put the plug in a vacuum form frame and formed the windscreen.
I'll see if I can find the YouTube video
didn't attach the block. Held the block, traced the back to the frame and then did the face and sides kind of free hand.
my friend put the plug in a vacuum form frame and formed the windscreen.
I'll see if I can find the YouTube video
10-16-2018, 11:01 AM
#806

Join Date: Dec 2009
Location: Piedmont,
OK
Posts: 429
Likes: 0
Received 0 Likes
on
0 Posts
Larry,
Thanks for the youtube video link. It looks simple enough. I'm sure like may other things it may take some practice.
What was the clear plastic you used and how thick?
Boyd
Thanks for the youtube video link. It looks simple enough. I'm sure like may other things it may take some practice.
What was the clear plastic you used and how thick?
Boyd
10-16-2018, 12:17 PM
#807
Guys,
.030 or .040 PET available from our friends at Amazon. My friend said you could also use poly carbonate if you need it stronger.
Boyd, double check the ones I sent you they may have the thickness marked on them.
Larry
.030 or .040 PET available from our friends at Amazon. My friend said you could also use poly carbonate if you need it stronger.
Boyd, double check the ones I sent you they may have the thickness marked on them.
Larry
11-16-2018, 05:28 AM
#809
Okay guys,
Here's the latest update.
Haven't formed the wing tip lenses but did order a 7 channel receiver which I will pay dearly for when the bill comes in (read sleeping with 1 eye open for the foreseeable future)
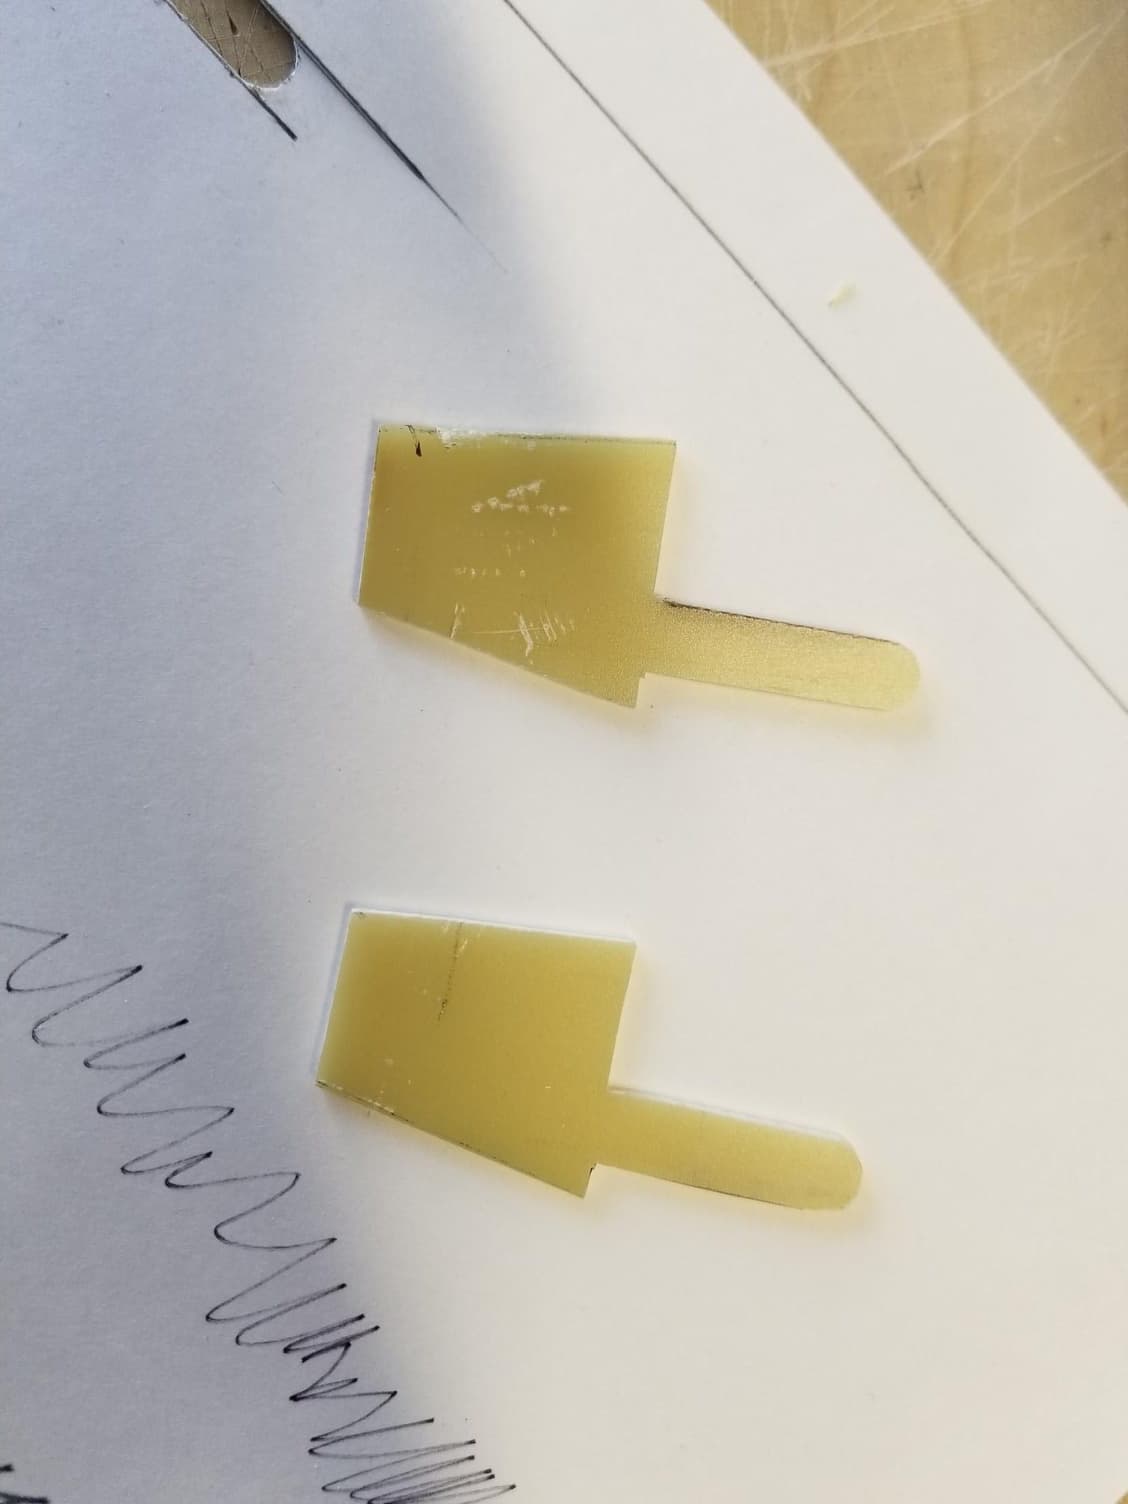
Had to make new flap horns as I can't friggin figure out what I did to the ones already in the flaps.
Temps in the garage are now a comfortable 60 to 70 degrees.
Still haven't cleaned up the wing fairings, hopefully today after I reinstall the flap horns
 11-29-2018, 03:13 PM
#810
Okay guys, looks like success, just need minor adjustment to get them the same up and down. What a PITA.....
Next is to finish up the wing fairing and then onto the wing tip lights, still have to form the lenses
I will email the video
Larry
Next is to finish up the wing fairing and then onto the wing tip lights, still have to form the lenses
I will email the video
Larry
12-01-2018, 10:37 AM
#814
My Feedback: (15)
Join Date: May 2003
Location: Iowa City, Iowa (again!)
Posts: 1,579
Likes: 0
Received 1 Like
on
1 Post
Quick link:
RCU Forums - View Single Post - T-28 Dave Platt
Looking good all around, Larry!
Now that Chic has abandoned us (kidding, Chic), I'm going to have to start checking in here more often!
Noah
RCU Forums - View Single Post - T-28 Dave Platt
Looking good all around, Larry!
Now that Chic has abandoned us (kidding, Chic), I'm going to have to start checking in here more often!
Noah
12-05-2018, 04:53 AM
#819
Boyd,
I have a ? as to where you placed the air valve for the retracts. I'm thinking it was under the cockpit floor along with the recv and battery. Since I am also doing a glow driver I will have 2 batteries to place. Also if I read Dave's instructions right I need to setup (2) 10 ounce tanks side by side and plumb them together with one tank feeding the other and the feed tank being the pressurized one.
Now that I have the flaps and dive brake set it's getting close, just need the wife to pony up for the cockpit
Larry
12-06-2018, 02:50 PM
#823
Join Date: Dec 2009
Location: Piedmont,
OK
Posts: 429
Likes: 0
Received 0 Likes
on
0 Posts
If someone tells me a step by step process I'll try again. I got to the point where I gathered them from my files, but somehow could not get them to load. I don't remember this problem in the past. Must be a new system.
12-13-2018, 03:26 PM
#824
Larry - you got to be more positive and leave a note providing the wife with directions of how and where to purchase that cockpit. Shirley told me, "You need to tell me where to get the stuff you want", I ran to get a roll of toilet paper and began writing my list. Ha, Ha. Stay well out there in that cushy warm climate. Chic
12-13-2018, 04:01 PM
#825
Chic,
so the wife asked me a week ago what I wanted. I told her and she said print it out so she knew where to tell the kids to order it.
when she saw the price she said I'm not telling the kids to spend that much LMAO.
go figure, tell Shirley if your list is too long she can divide it between us 🤣🤣🤣🤣🤣🤣
so the wife asked me a week ago what I wanted. I told her and she said print it out so she knew where to tell the kids to order it.
when she saw the price she said I'm not telling the kids to spend that much LMAO.
go figure, tell Shirley if your list is too long she can divide it between us 🤣🤣🤣🤣🤣🤣