


ESM LA-7 From VQ Warbirds


 07-21-2016, 01:32 PM
#902

My Feedback: (37)
I had an ESM retracts on my LA-7, on its 10th flight I had to replace them. The aluminum parts were just too soft, it was a total waste of time and money and I do not care if it was just 1/2 the cost of Robart's or Sierra's. Eventually it cost me 1 + 1/2 instead. I really do not think it is aluminum they are using. I think they are painting cast plastics in aluminum color, Alumiplastic?. Heck the old Byron plastic retracts were stronger.... LOL....
Last edited by fw190; 07-21-2016 at 01:36 PM.


 07-22-2016, 04:22 AM
#907
Thanks for the kind words guys.
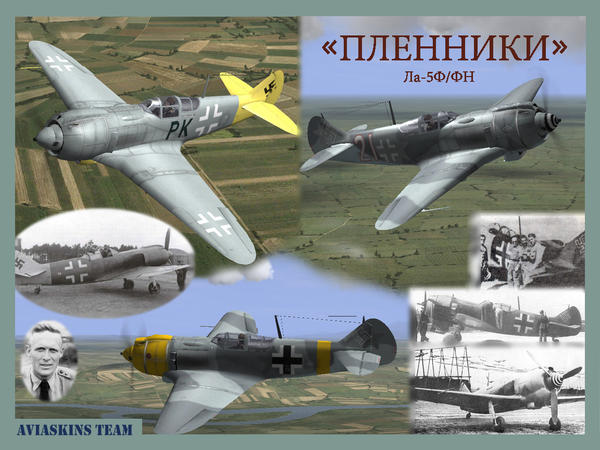
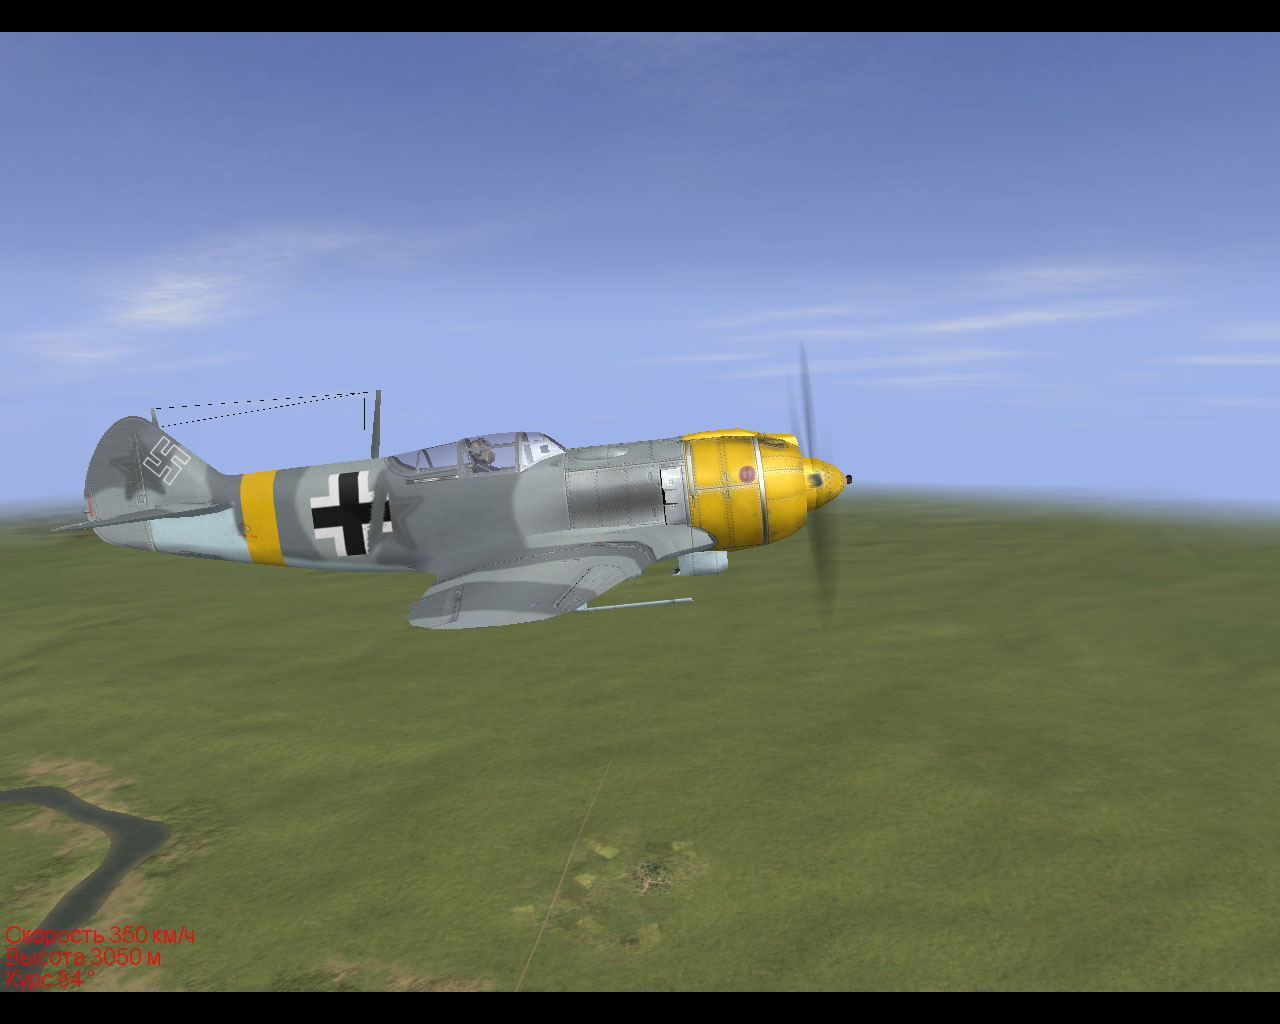
I want to prepare the La-5 F; FN conversion set. It means the oil cooler and air intake. That will be other parts for ESM La-7 to existing fibreglass spinner and sliding canopy frame set.
I want to prepare the La-5 F; FN conversion set. It means the oil cooler and air intake. That will be other parts for ESM La-7 to existing fibreglass spinner and sliding canopy frame set.
07-23-2016, 05:48 AM
#909

Join Date: Dec 2007
Location: Davison, MI
Posts: 548
Likes: 0
Received 0 Likes
on
0 Posts
Thanks Prekin!
I had to download the manual and finally found mine. I needed to confirm the starting point was from the face of the saddle area on the front of the wing. Your pics confirm I am measuring from the correct spot.
What is the diameter of the prop support pad on the backplate of your spinner?
Thanks again for your help.
Joe
07-23-2016, 06:41 AM
#910
You�re welcome Joe.
I use this spinner with 20" prop. I think it�s suitable for 20- 60 cc engines (17"-23" prop). The diameter of the backplate is 100 mm (4"). I make the spinners pre-cut for 2 and 3-blades prop.
I use this spinner with 20" prop. I think it�s suitable for 20- 60 cc engines (17"-23" prop). The diameter of the backplate is 100 mm (4"). I make the spinners pre-cut for 2 and 3-blades prop.
Last edited by Prekin; 07-23-2016 at 06:48 AM.
07-25-2016, 11:21 AM
#914
Join Date: Dec 2007
Location: Davison, MI
Posts: 548
Likes: 0
Received 0 Likes
on
0 Posts
Thanks Prekin,
Never thought about the support pad inside the spinner before but the APC packaging has lots of pictures and circles and arrows and a paragraph or more about supporting their props with full surface mating.
Not wanting to end up on the Group "W" bench, I started measuring what I have and double checking. I have some Menz 20x8 props and it looks like I wont be using APC due to their Warning Label about fully supporting hub aft surface. My APC 20x8 measures 44.2mm in diameter and looks to over hang the support on my current spinner and yours by about 1/8inch.
I goofed up and reamed out the Skyshark Spinner I linked previously too large. Skyshark is moving their operations so I can't replace the one I made the mistake on and your spinner is what's needed. The maiden will happen on a 30cc ESM Spitfire spinner. It's close enough for now. Once I maiden I'll order a 2 and 3 blade spinner from you and stay away from APC props.
This all started when I went to mount the prop/spinner combo on the Laser 300v. It has a 10mm x 1.5 crank shaft. It needs a long prop nut and a way to capture the spinner bolt. Seemed easy till I tried looking for bits with 1.5 threads. Special order.... I have both Dave Brown and TrueTurn adopters on their way. Once I play with the bits, it'll seem easy. But I have to have all the special threaded nuts here to choose.
Thanks again for all your help.
Joe
Last edited by Joespeeder; 07-25-2016 at 11:24 AM.
07-27-2016, 01:03 PM
#915
Join Date: Dec 2007
Location: Davison, MI
Posts: 548
Likes: 0
Received 0 Likes
on
0 Posts
Hey Guys,
I sprayed the top coat of Klass Kote clear today and put the La-5 in the sun to bake for a while. Looks pretty good but I need to detail some bits. THe canopy rails and a wheel well mod will be painted by hand tomorrow. I'd like to mix up some really flat Klass Kote clear to go over my exhaust stains and mist the fuse in areas to give life to the overall look. I did mix in some flattener so the paint is not semi gloss but it's not real flat either.
But the plane is sealed and flyable with glow.
As promised I uploaded some pics I had on my iPhone since the change over to a La-5 and the Laser 300v install.
Looks like I'm on track to have all major work done by this Saturday. But I may add one more week to let it cure and not rush the maiden.
Joe
07-28-2016, 11:58 AM
#917
Join Date: Dec 2007
Location: Davison, MI
Posts: 548
Likes: 0
Received 0 Likes
on
0 Posts
Hey Guys,
Clear coat work is done..... I texture my models with the clear coat.
I sprayed the clear in varying mixes of flatness to give life to the model. All of it is Klas Kote clear satin. Yesterday I mixed in a little flattener to take the edge off the standard stain and covered the entire plane to seal it for glow. Today I taped up all the German repaints with tape, the big hatch on the bottom, and the cockpit. Then resprayed the Russian paint and cowl with flattened satin that was mixed to about 1/2+ strength as list on the can. I've done full mixes but they seem too much and you can always add more if needed.... I spray in vary random patterns at first at very varied heights away from the surface. To give the surface varied depths of flatness in as random a patter as I can..... Then I go back over in a VERY sloppy pattern that resembles the spray pattern it would take to field paint the plane. But not so heavy that it erases the first pattern. I never flood the plane with paint so that it would allow the surfaces to even out.
Then I pulled the tape off and mix in a good amount of flattener in a small airbrush. I respray over the exhaust stains with this very flat paint. and dust around the German markings in a very loose pattern and lightly dust the are from about 1 1/2 feet away. This gives texture but the marking are still way different from the fuse. The exhaust is very flat on the background of the metal panel which is satin and the paint around it is the light flat of the first mix today.
Not sure if all this shows up in the pics but the plane looks much more real in person than if I had just one coat of clear. I hand painted the canopy rails and they look great that way. It's as if it was brushed on in the field.
Oh yea.... When I got to the cockpit area of the fuse I sprayed the flattened satin in the deeper parts of the fuse but not too much or at all on the bulge of the widest part of the fuse and left the walkways less flat. It feathers in as you spray but it looks like those areas are slightly buffed do to crew leaning on the fuse. I also spray downward onto the bulges on the top of the fuse with the flattened satin so that the area below the bulges didn't get as much flat clear. As if the sun had flattened the exposed part of the bulge and below its slightly more shiny.
All of this is VERY subtle but I like the result.
Here are the shots of the plane baking in the sun. So final balance, a good once over for systems set ups, and tightness checks on all hardware and then I'll play with the engine in the plane for the first time. I wanted to fly it Saturday to get it ready for an Event a week from then. But Prekin is right, I'll fly it when its the right time. Won't be too much longer.
Joe
Last edited by Joespeeder; 07-28-2016 at 12:42 PM.
07-28-2016, 04:16 PM
#918
Join Date: Dec 2007
Location: Davison, MI
Posts: 548
Likes: 0
Received 0 Likes
on
0 Posts
Hey Guys,
What throws are you using for elevator and aileron? At the 150-155mm CG?
I did a quick search so I can confirm my set up and everyone says less than manual on elevator but I can't find an actual measurement. Sounds like about 30% expo on the elevator. Once I have a spec for the throw I can dial in the expo by feel before the maidan and adjust after its flight.
Same with ailerons, what throws are you using?
Flaps and Rudder are pretty well covered. Lots of rudder and up to 80 degrees of flap. Cool...
Thanks.
Joe
Last edited by Joespeeder; 07-28-2016 at 04:30 PM.
08-01-2016, 09:52 AM
#921
Join Date: Dec 2007
Location: Davison, MI
Posts: 548
Likes: 0
Received 0 Likes
on
0 Posts
Hey Guys,
Forgive a dumb question...... I have the La-5 balanced just slightly nose down at 150mm, It took 6 ounces of lead with the 300v. I am using a Menz 20x8 which is 3oz's lighter than the 20x8 APC. That difference of weight at the nose meant I needed 6oz's on the firewall.
So I'm balanced nicely at 150mm.
However, I have 2 - 16oz tanks for the 300v stuffed in there. That's more fuel than I've ever put in a plane and I'm wondering about CG.
The tanks are about an inch behind the firewall and pretty much are located centered below the wheel wells. I'm thinking they are closer to the CG than not and maybe it won't be a huge deal there.
But I wanted to check with you guys. I can remove weight after I fly it and probably end up closer to Prekin's 152mm.
Unless, you guys think I'm way off I'll start at the 150mm dry, with a slight nose down, and move back after the maiden(fingers crossed...)
Joe
08-01-2016, 10:36 AM
#922
Joe, everytime I try to put fuel tank too close to CG as it is possible. Here are shots from my Lavochkin and Spitfire. I don�t think about heavy nose with full tank or light nose if it is empty.
If I were you, I would balance the plane with half of the fuel.
If I were you, I would balance the plane with half of the fuel.
08-03-2016, 07:49 AM
#925
Join Date: Dec 2007
Location: Davison, MI
Posts: 548
Likes: 0
Received 0 Likes
on
0 Posts
Thanks Guys,
Yup I wish I could put my tanks that far back it would make this much more simple..... I have the full cockpit and am returning to this plane after I got disgusted with the retract situation. The radio gear placement is pretty well set.
So I went back through this thread and others like the YT thread on the La-7 and reviewed everything I could on peoples notes about CG and feelings about how it flew.
Then I had a long internal argument/discussion with myself while playing with the plane on the CG stand. I thunk and thunk and argued.... All the voices in my head seem to agree to move my dry CG to 152.5. Lot's of La-7's have flow well at 160mm but the conciseness is they feel better closer to 150mm and good reports at 150mm. Since I don't plan to fly till I'm out of fuel I should be landing at about 150mm +. If I did run out I would be at 152-153mm which is still better than the 160mm that is known to be flyable.
After the maiden I will know a lot better if I need to move the dry CG backwards more. But for now all the voices in my head agree I'll be in a safe zone to reduce any surprises on maiden.
I removed 1.5oz's from the firewall and the La-5 balances perfectly, slightly nose down. I set the CG machine to 152.5 and took extra care to align the measuring arms.
So there it is..... I've set it up as carefully as I can and it's getting close to maiden. I have an event this weekend and need to play with my L-4 tow plane plus some maintenance on other daily flyers before the event. So the La-5 will fly next week sometime when i can get up to a club with wide open space and no trees. Where I normally fly we have a terrific field but we are surrounded by trees so you need to drop in to land. I'd rather relax the first few flights....
Thanks again for all the help !! I'll post as I go....
Joe