


Flite Metal or Aero Foil?
 03-08-2018, 05:45 PM
#51

Join Date: Dec 2015
Location: San Juan Island,Washington
Posts: 90
Likes: 0
Received 2 Likes
on
2 Posts
Hey big fred, got the tape today in the mail along with the litho material and the clear ruler to boot! Thank you so much. I live on an island off the coast of Washington state and it's a 2 hour ferry ride to get access to things like art supply stores etc.so your care package is very handy. Let me know what I owe you and I'll send you a check or money order. I've already tried putting down one piece on a scrap of lexan and I can see already that this material is easier to work with than the flite metal. Still see the orange peel using the fiber rods supplied by FM but noticed that goes away largely by using a popsicle stick or similar to burnish the tape into the surface. Still haven't gotten the maroon scufffing pad but will pick one up this weekend. Let me know if there are any other tips that would help with the process.
Thanks again,Brad
Thanks again,Brad
 03-11-2018, 04:44 PM
#53
Join Date: Dec 2015
Location: San Juan Island,Washington
Posts: 90
Likes: 0
Received 2 Likes
on
2 Posts
Thanks big fred. It's going to probably be next winter before I get to the covering/painting stage but I will certainly send you picks and maybe even some video when the time comes.
Thanks again my friend, Brad
Thanks again my friend, Brad
Last edited by downwind leg; 03-11-2018 at 04:51 PM.
03-13-2018, 11:53 AM
#54
Join Date: Dec 2015
Location: San Juan Island,Washington
Posts: 90
Likes: 0
Received 2 Likes
on
2 Posts
Wow, I just went to the post office and got a care package from big fred. He has been generous enough to send me a custom made riveting tool for standard rivets and dzus type fasteners as well as the maroon 3M sanding pads and a piece of the aluminum litho plate for hatches etc. Thank you so much Fred. Truly an act of kindness. I will put it all to good use.
Brad
Brad
03-15-2018, 09:29 AM
#55
Member

Join Date: Dec 2002
Location: Houston,
TX
Posts: 78
Likes: 0
Received 0 Likes
on
0 Posts
Brad...and anyone else confused about preparation of the surface of raw  prior to application
to the model surface. The following is explained on our web site and has been the common procedure for almost ten
years and on YouTube as well: https://www.youtube.com/watch?v=a0_V...ature=youtu.be Free samples
of are available for your personal inspection, for only the cost of postage to your destination.
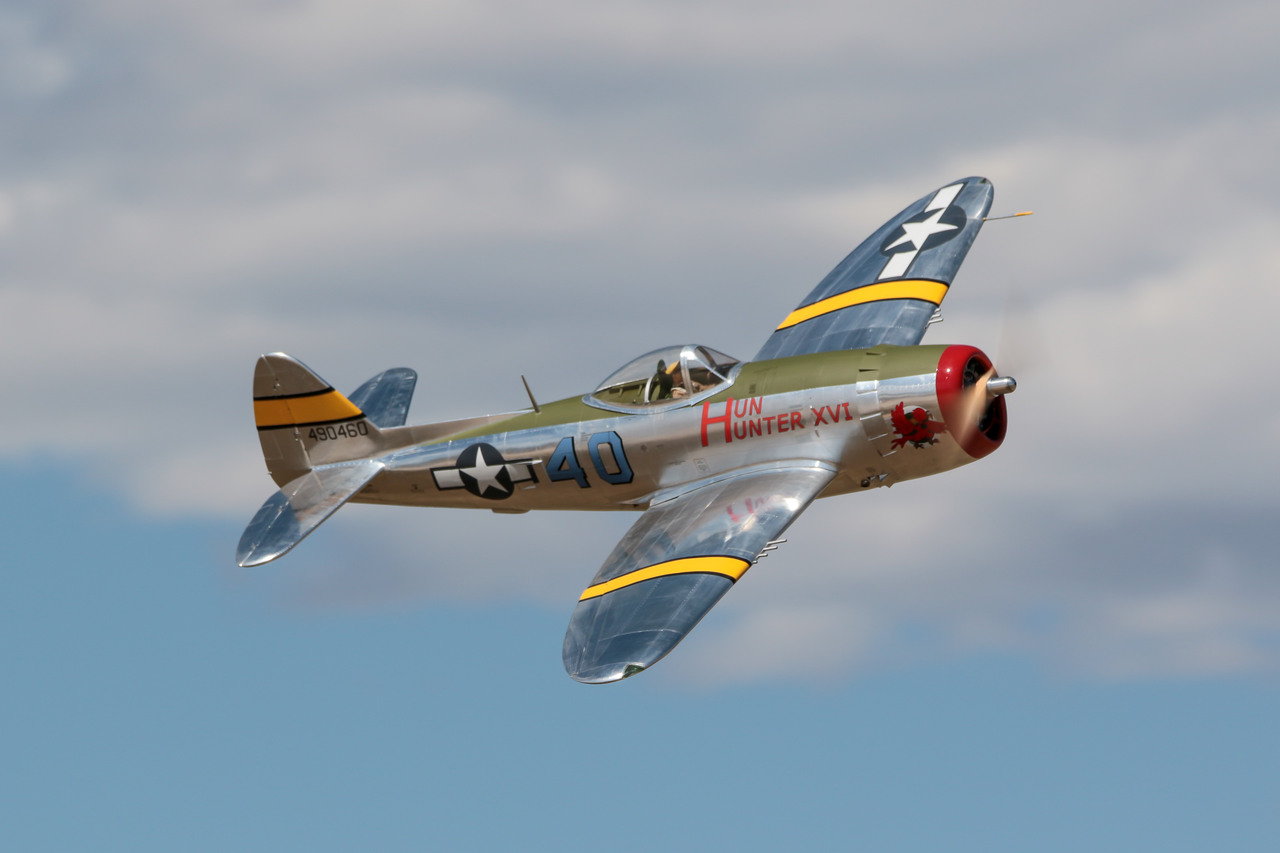
Rod Snyder from Piney Flats, Tennessee was awarded 7th place at the prestigious World Jet Meet with a BVM F-100
finished with "directly off the roll, exactly as it comes"... With respect to finishing, the only thing
was 000 steel wooling and application of BVM "Hot Section Paint" to rear of the fuselage titanium section.
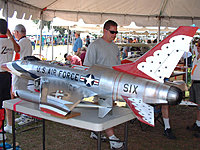
Admired by a fellow competitor at Top Gun, Rod's BVM F-100 sits awaiting another flight round.


Hobby knives, aka Exacto blades can collect adhesive residue during the cutting process as well as become dull from
unlubricated contact with the aluminum during the panel trimming process. Instead of using hundreds of blades your
pocket book will be fatter by placing a cotton ball saturated in mineral spirits, aka turpentine, in a peanut butter jar
top sitting within arms reach during your application of.
After a few perimeter cuts with a blade swipe its sharpened edge through the cotton ball which instantly cleans and
"lubricates" the blade. You will be thrilled when you finish a wing surface using a single #14 Exacto semitar blade. If
you experience issues covering with always consult frequently asked questions (FAQ) section of
our web site...or email me for fast assistance.
to the model surface. The following is explained on our web site and has been the common procedure for almost ten
years and on YouTube as well: https://www.youtube.com/watch?v=a0_V...ature=youtu.be Free samples
of
Rod Snyder from Piney Flats, Tennessee was awarded 7th place at the prestigious World Jet Meet with a BVM F-100
finished with "directly off the roll,
was 000 steel wooling and application of BVM "Hot Section Paint" to rear of the fuselage titanium section.
Admired by a fellow competitor at Top Gun, Rod's BVM F-100 sits awaiting another flight round.
Hobby knives, aka Exacto blades can collect adhesive residue during the cutting process as well as become dull from
unlubricated contact with the aluminum during the panel trimming process. Instead of using hundreds of blades your
pocket book will be fatter by placing a cotton ball saturated in mineral spirits, aka turpentine, in a peanut butter jar
top sitting within arms reach during your application of
After a few perimeter cuts with a blade swipe its sharpened edge through the cotton ball which instantly cleans and
"lubricates" the blade. You will be thrilled when you finish a wing surface using a single #14 Exacto semitar blade. If
you experience issues covering with
our web site...or email me for fast assistance.
Last edited by ScaleAero; 03-16-2018 at 09:17 AM. Reason: Added Hobby Knife Blade Cleaning How-To
03-17-2018, 08:27 AM
#57

Hi Warren,
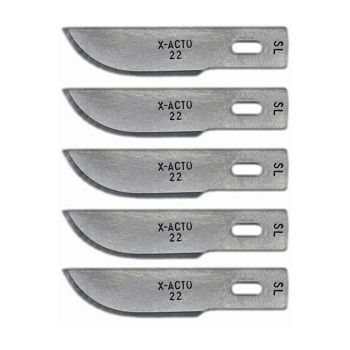
Exacto #22
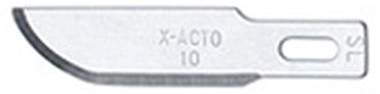
Exacto #10
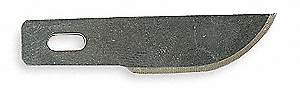
Exacto #23
Exacto #25
You are correct, I posted #14 when it should have been Exacto #10, #22, #23, or #25. By brand the blades may not be identified
with like #'s. I do not recommend surgical blades because they are too fine, dangerous, and loose their edge faster. In all cases,
pouring a small amount of mineral spirits on a cotton ball in a peanut butter jar top...(only peanut nut butter jar top) and passing
the blade edge through it will permit your hobby knife, regardless of its type, to stay both cleaner and last much, much longer.
Exacto #22
Exacto #10
Exacto #23
Exacto #25
You are correct, I posted #14 when it should have been Exacto #10, #22, #23, or #25. By brand the blades may not be identified
with like #'s. I do not recommend surgical blades because they are too fine, dangerous, and loose their edge faster. In all cases,
pouring a small amount of mineral spirits on a cotton ball in a peanut butter jar top...(only peanut nut butter jar top) and passing
the blade edge through it will permit your hobby knife, regardless of its type, to stay both cleaner and last much, much longer.
Last edited by FliteMetal; 03-17-2018 at 08:32 AM.
03-17-2018, 11:47 AM
#58

Thanks Ed.
The curved blade probably holds up longer and enables more control of cut depth. Interestingly enough, I see use of the sharp pointed, but cheaper, #11 in how-to videos.
Warren
The curved blade probably holds up longer and enables more control of cut depth. Interestingly enough, I see use of the sharp pointed, but cheaper, #11 in how-to videos.
Warren
 04-18-2018, 05:00 PM
#60
Join Date: Dec 2015
Location: San Juan Island,Washington
Posts: 90
Likes: 0
Received 2 Likes
on
2 Posts
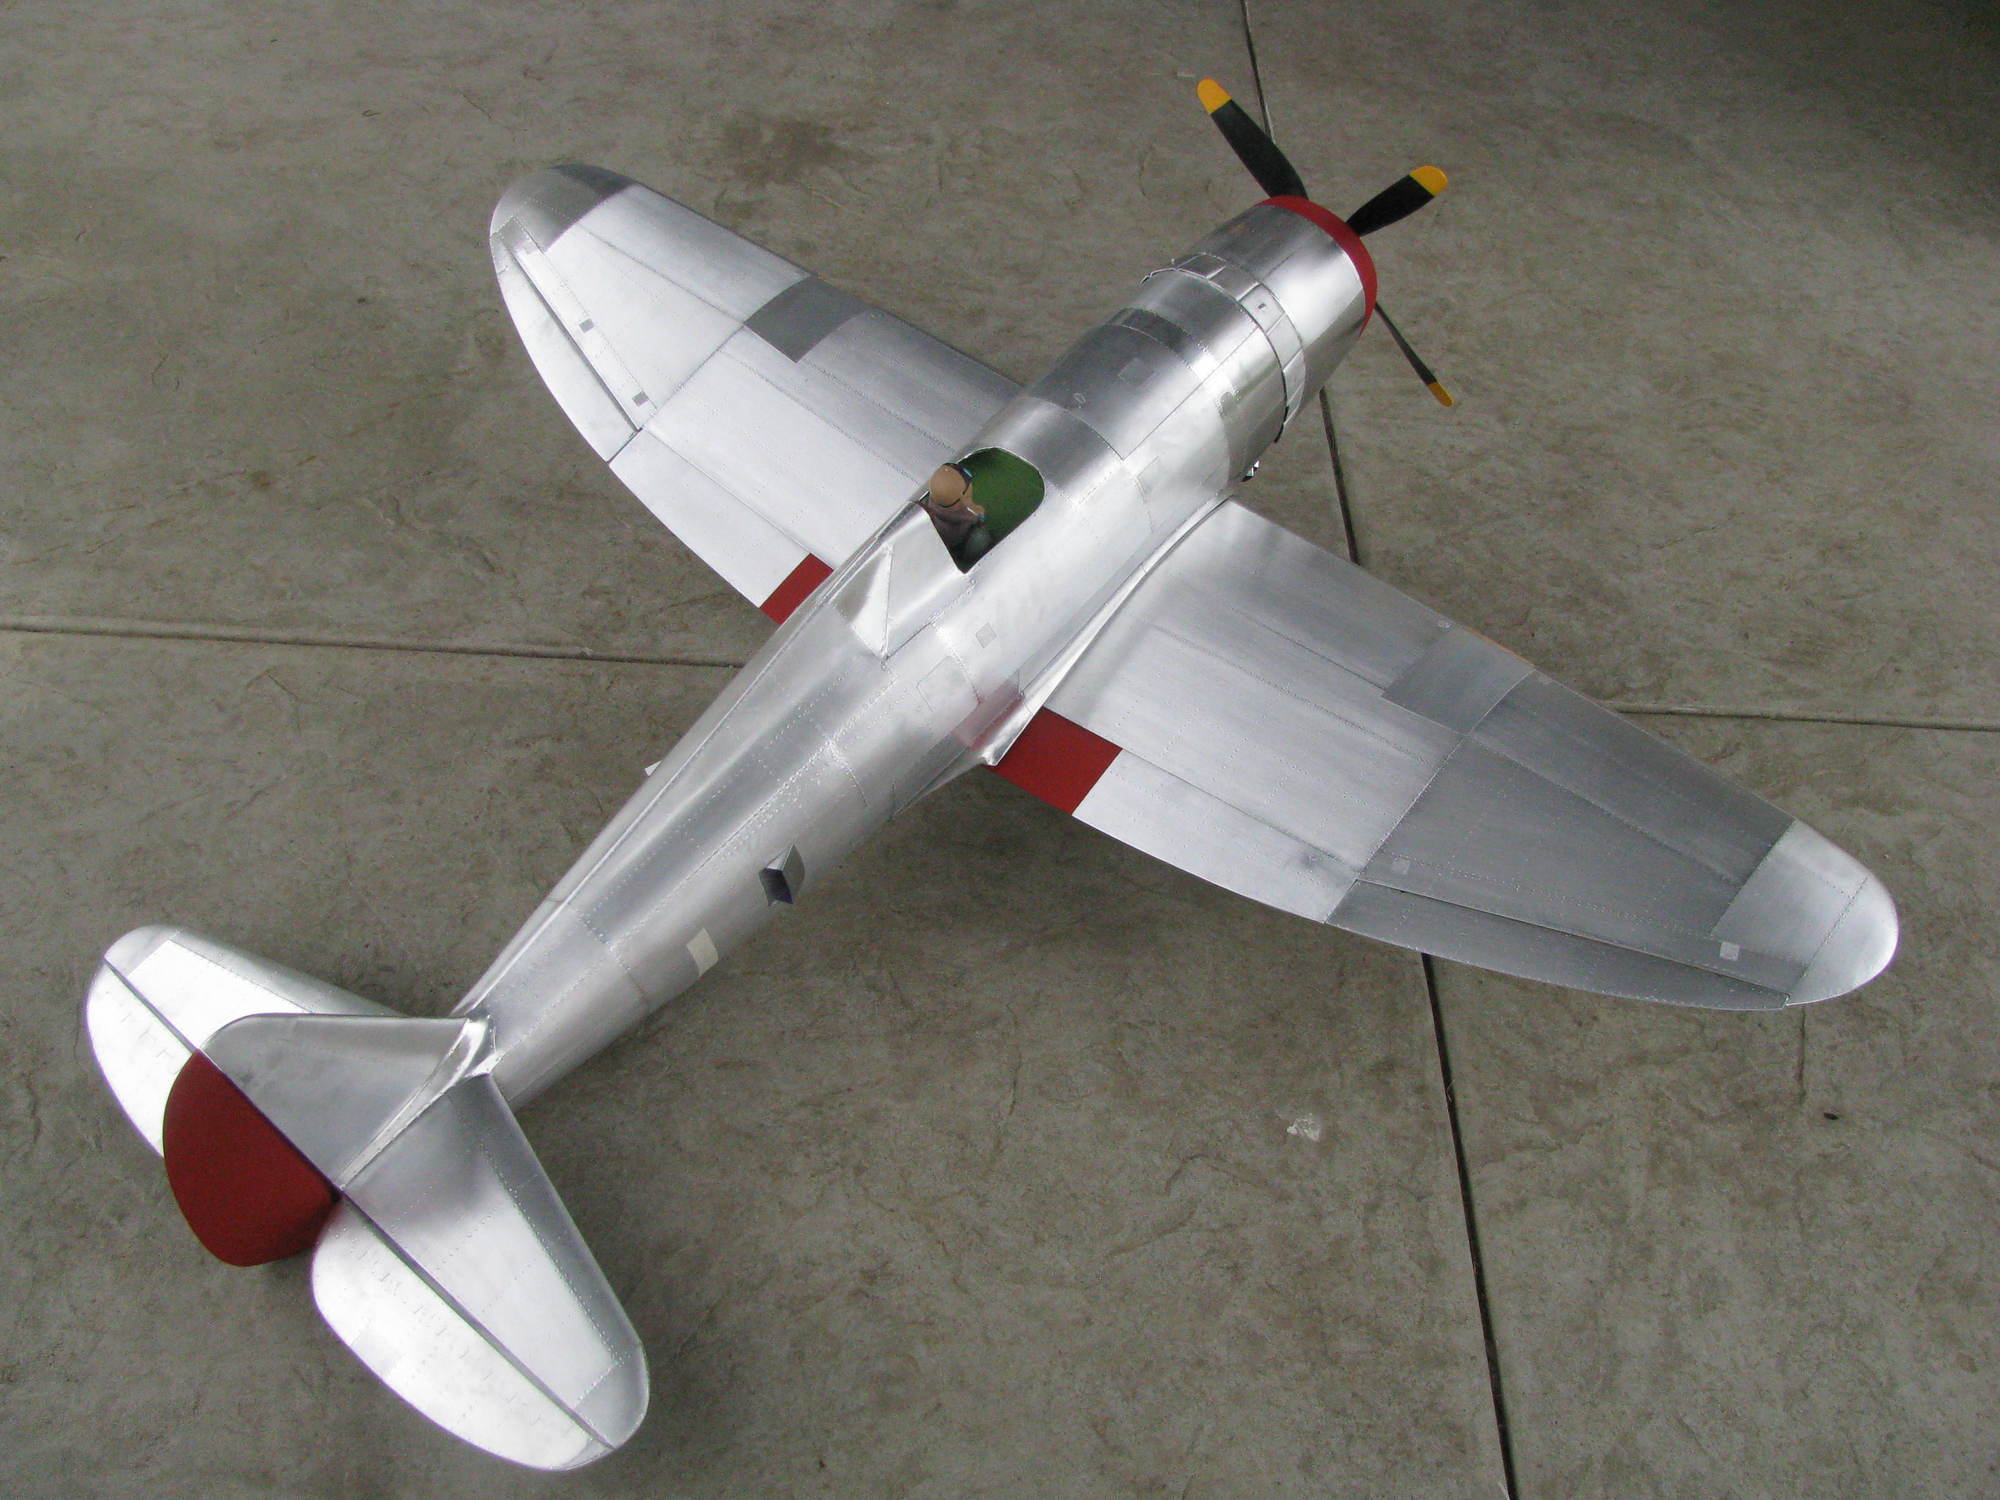
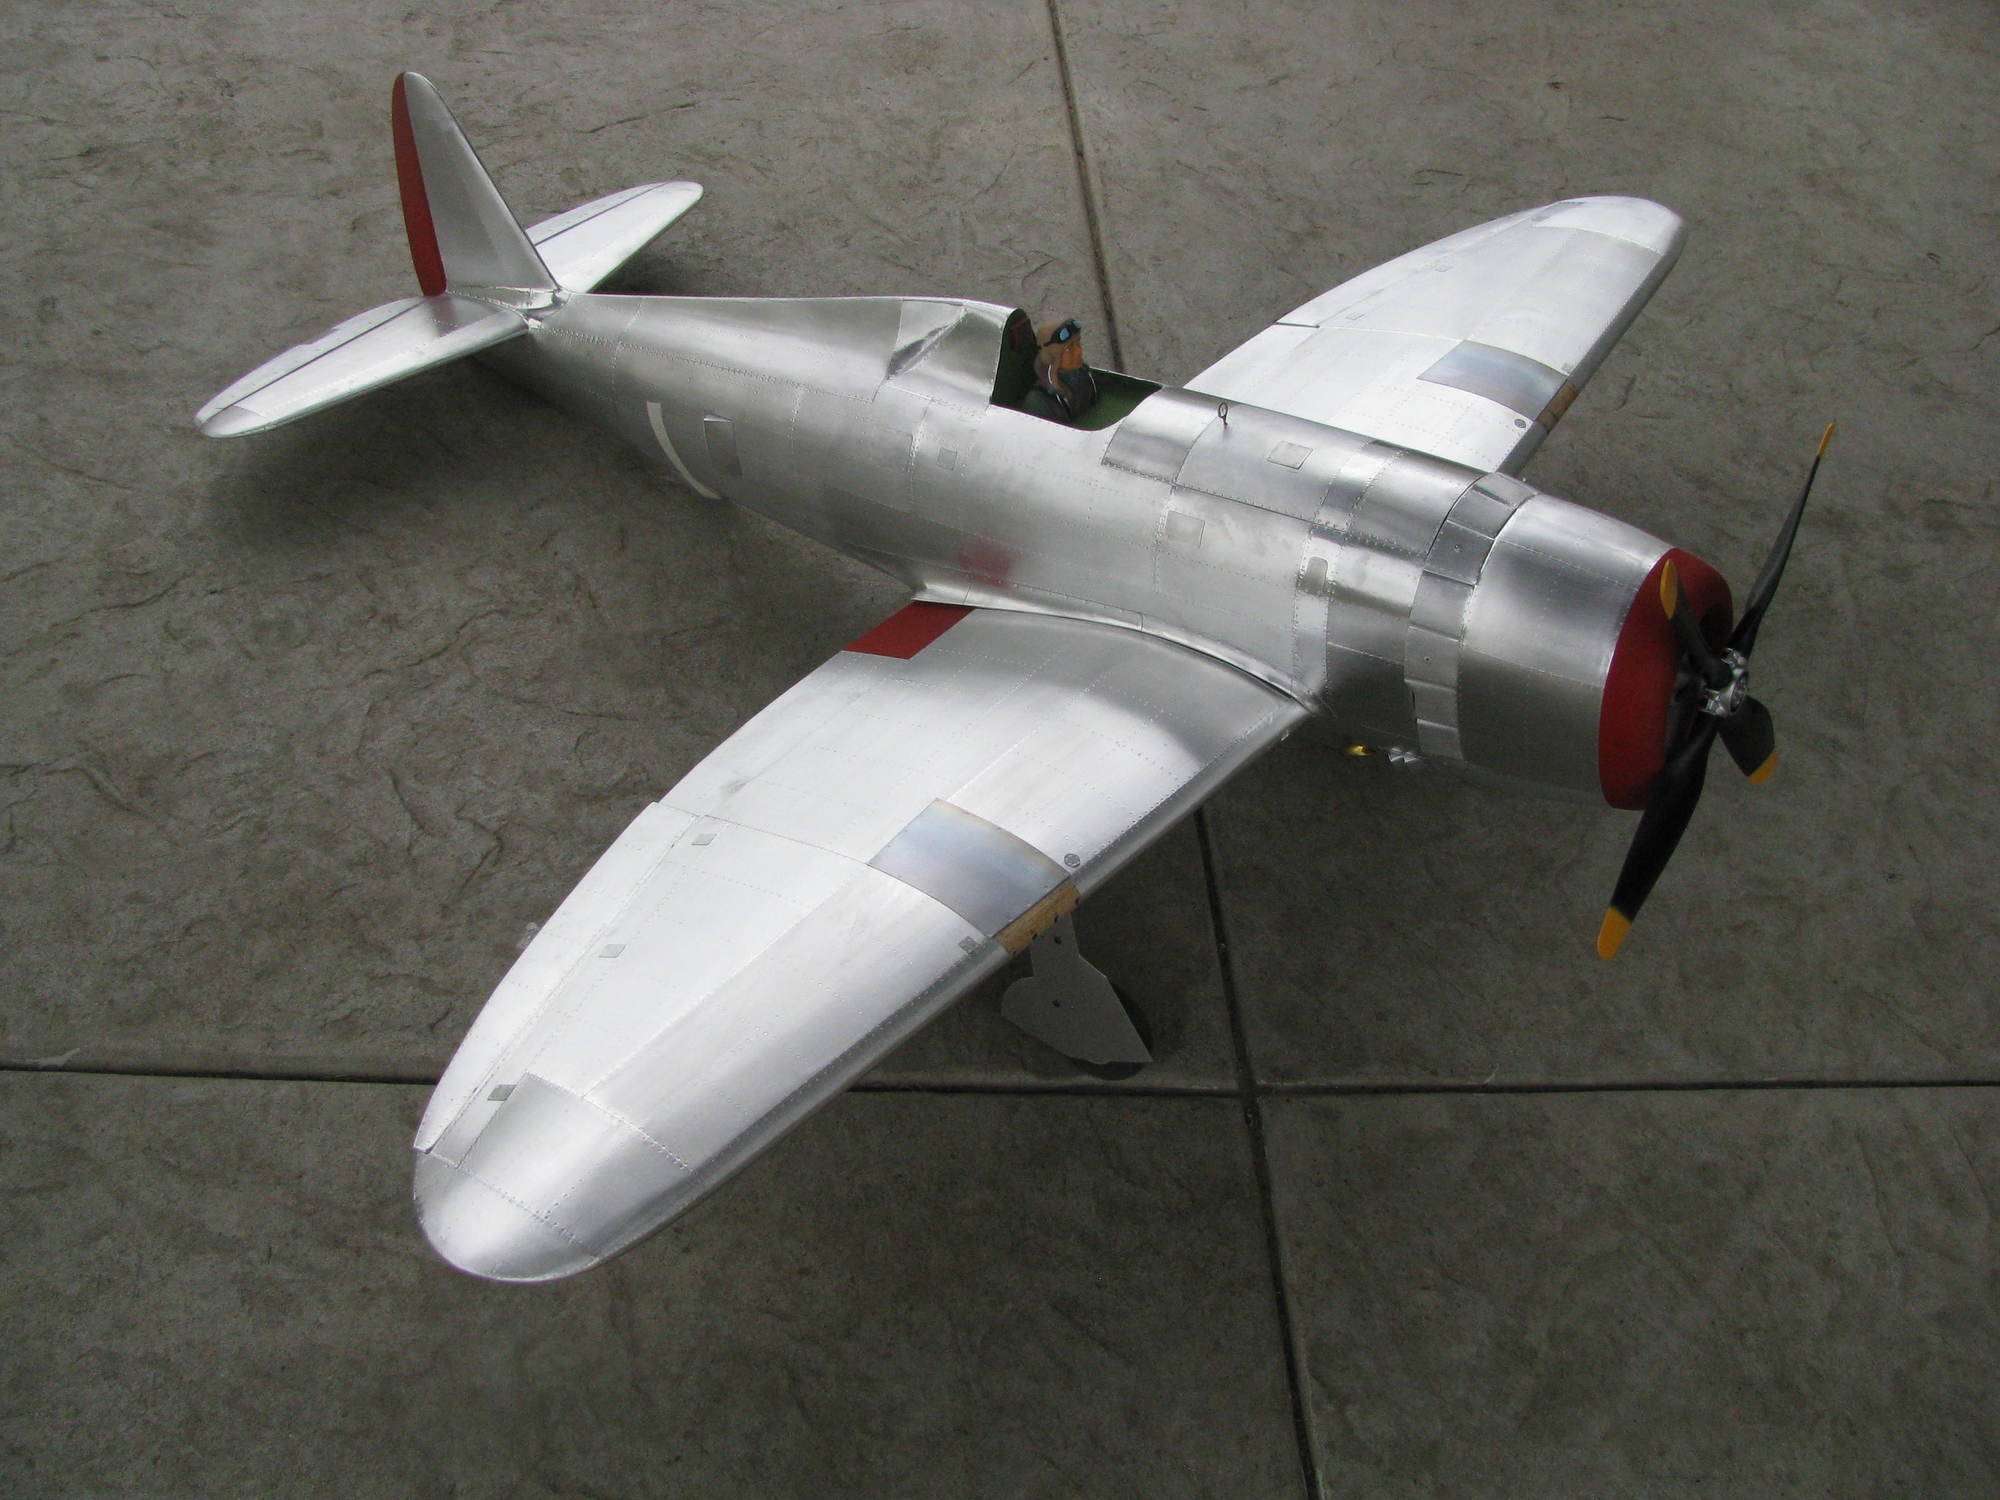
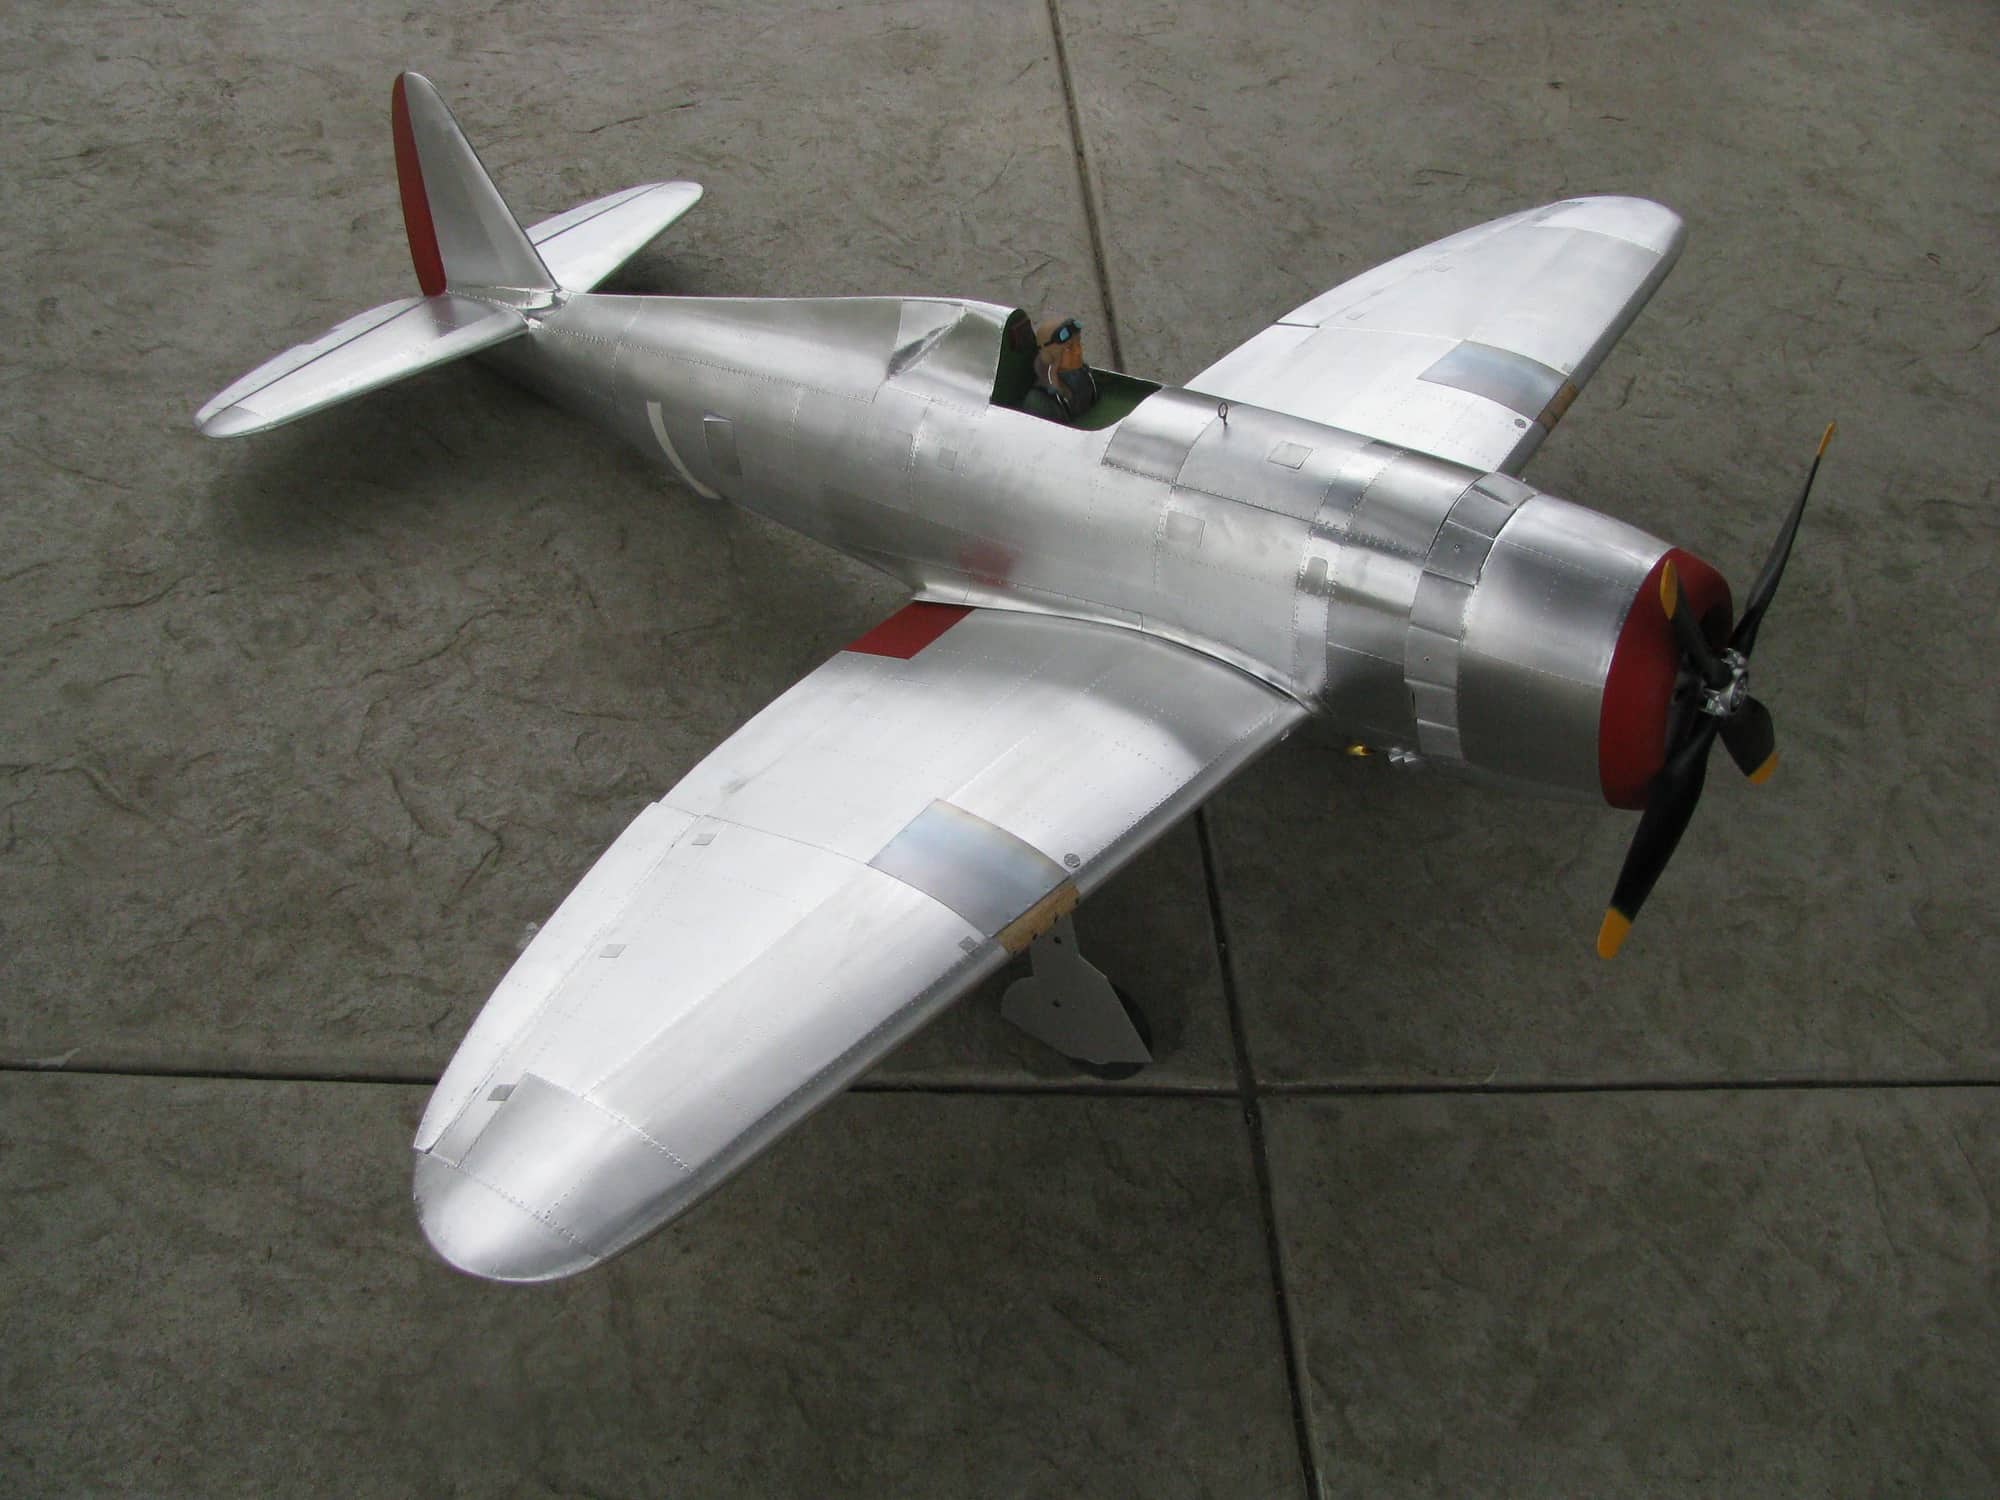
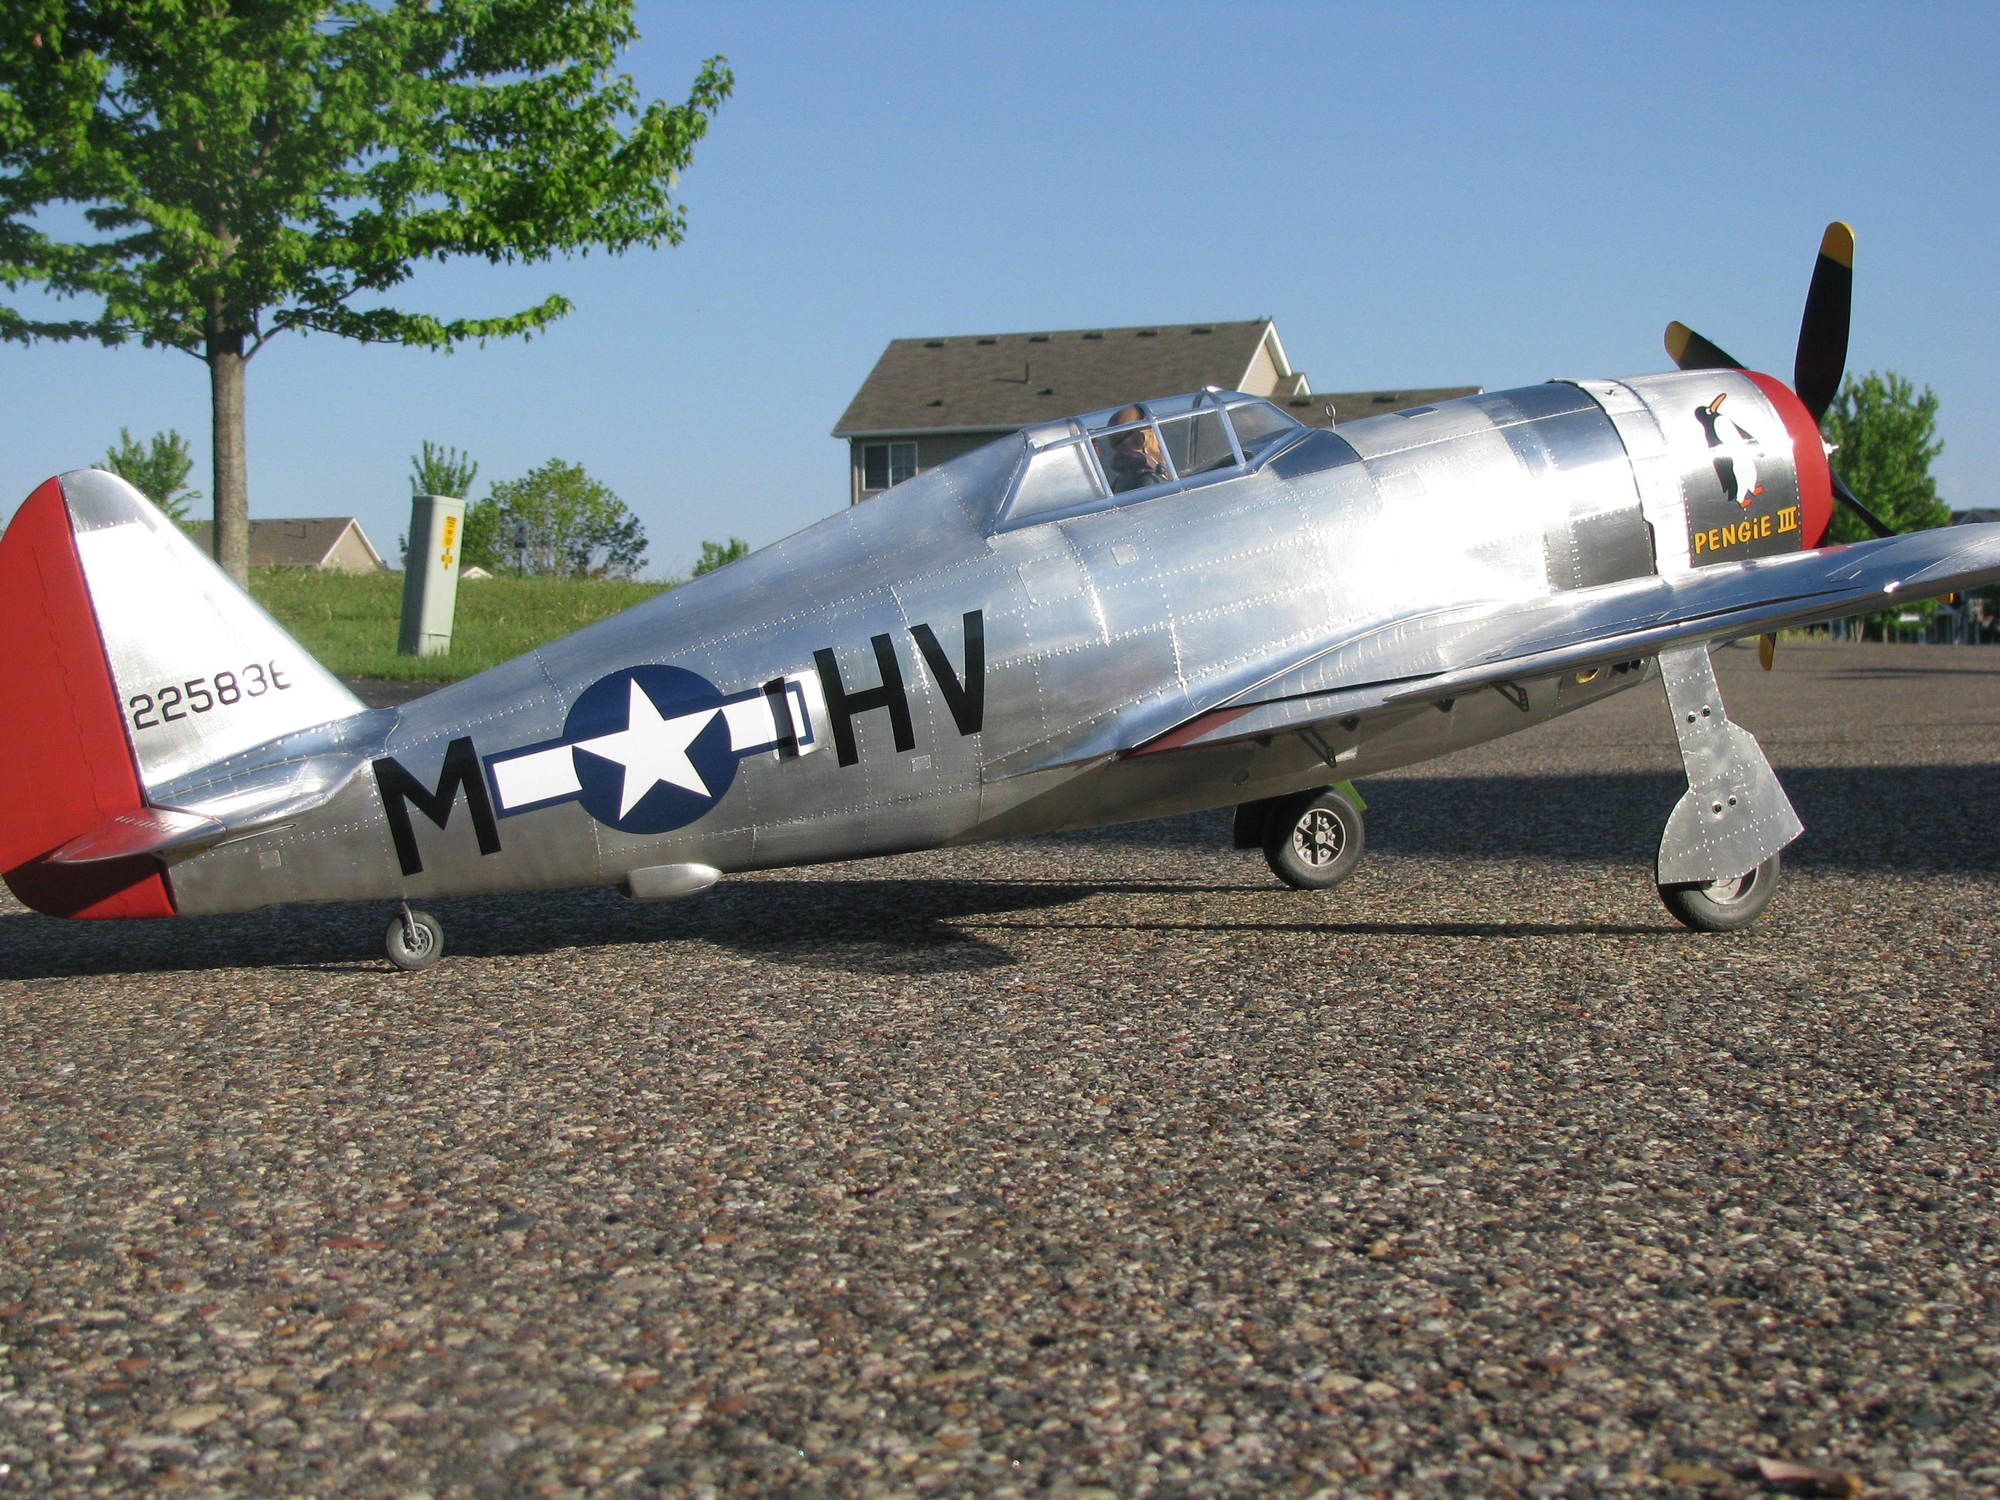
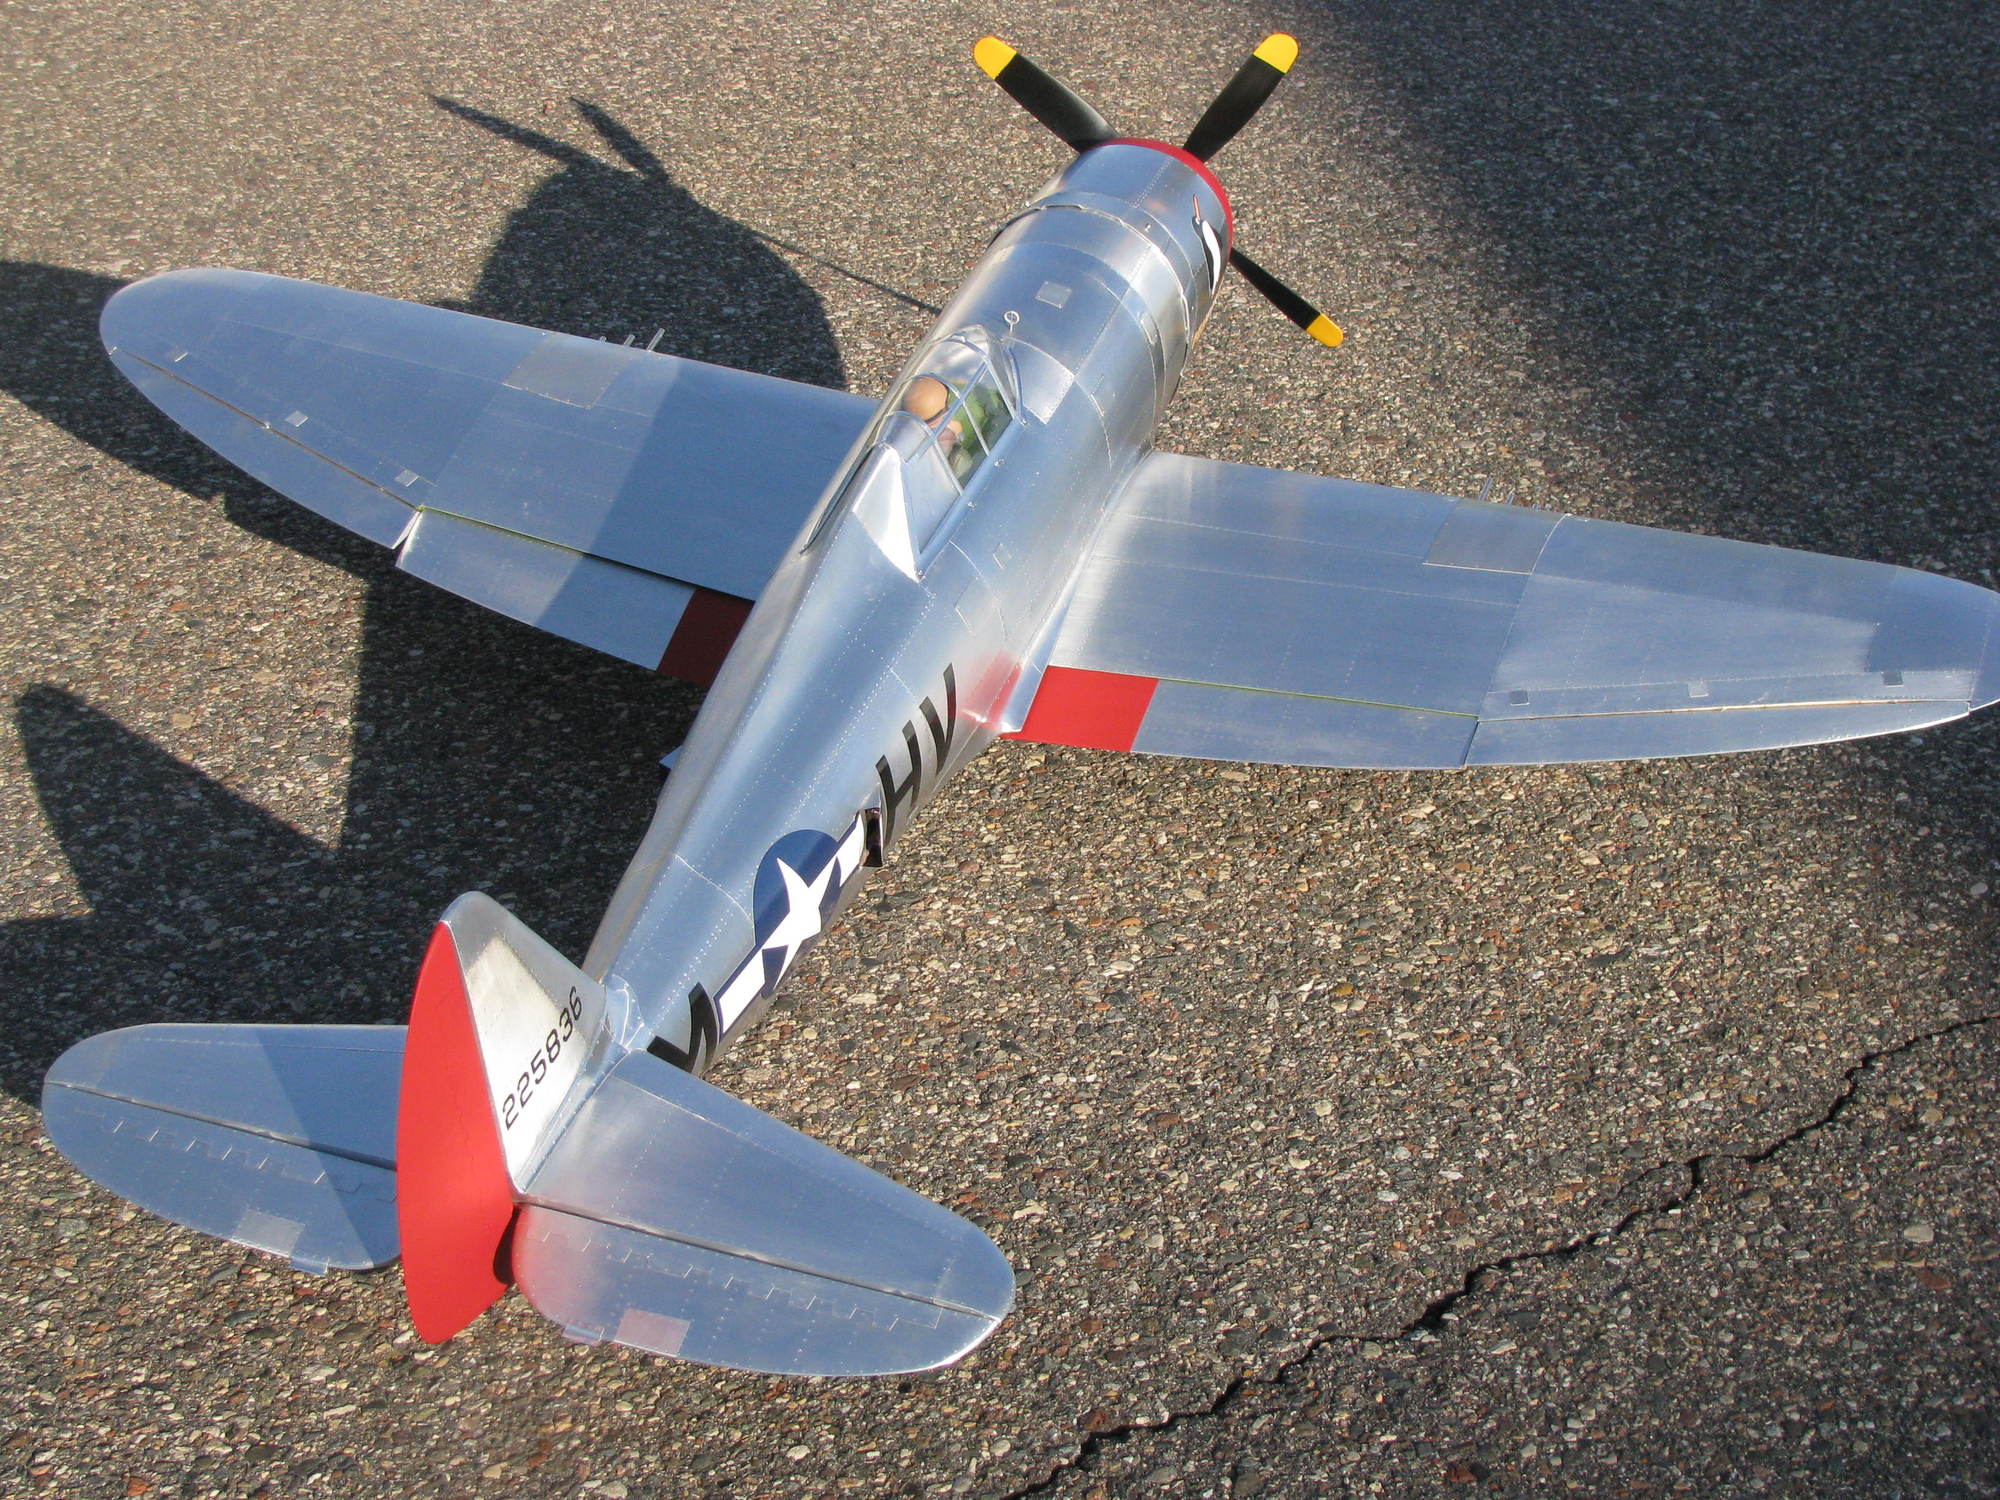
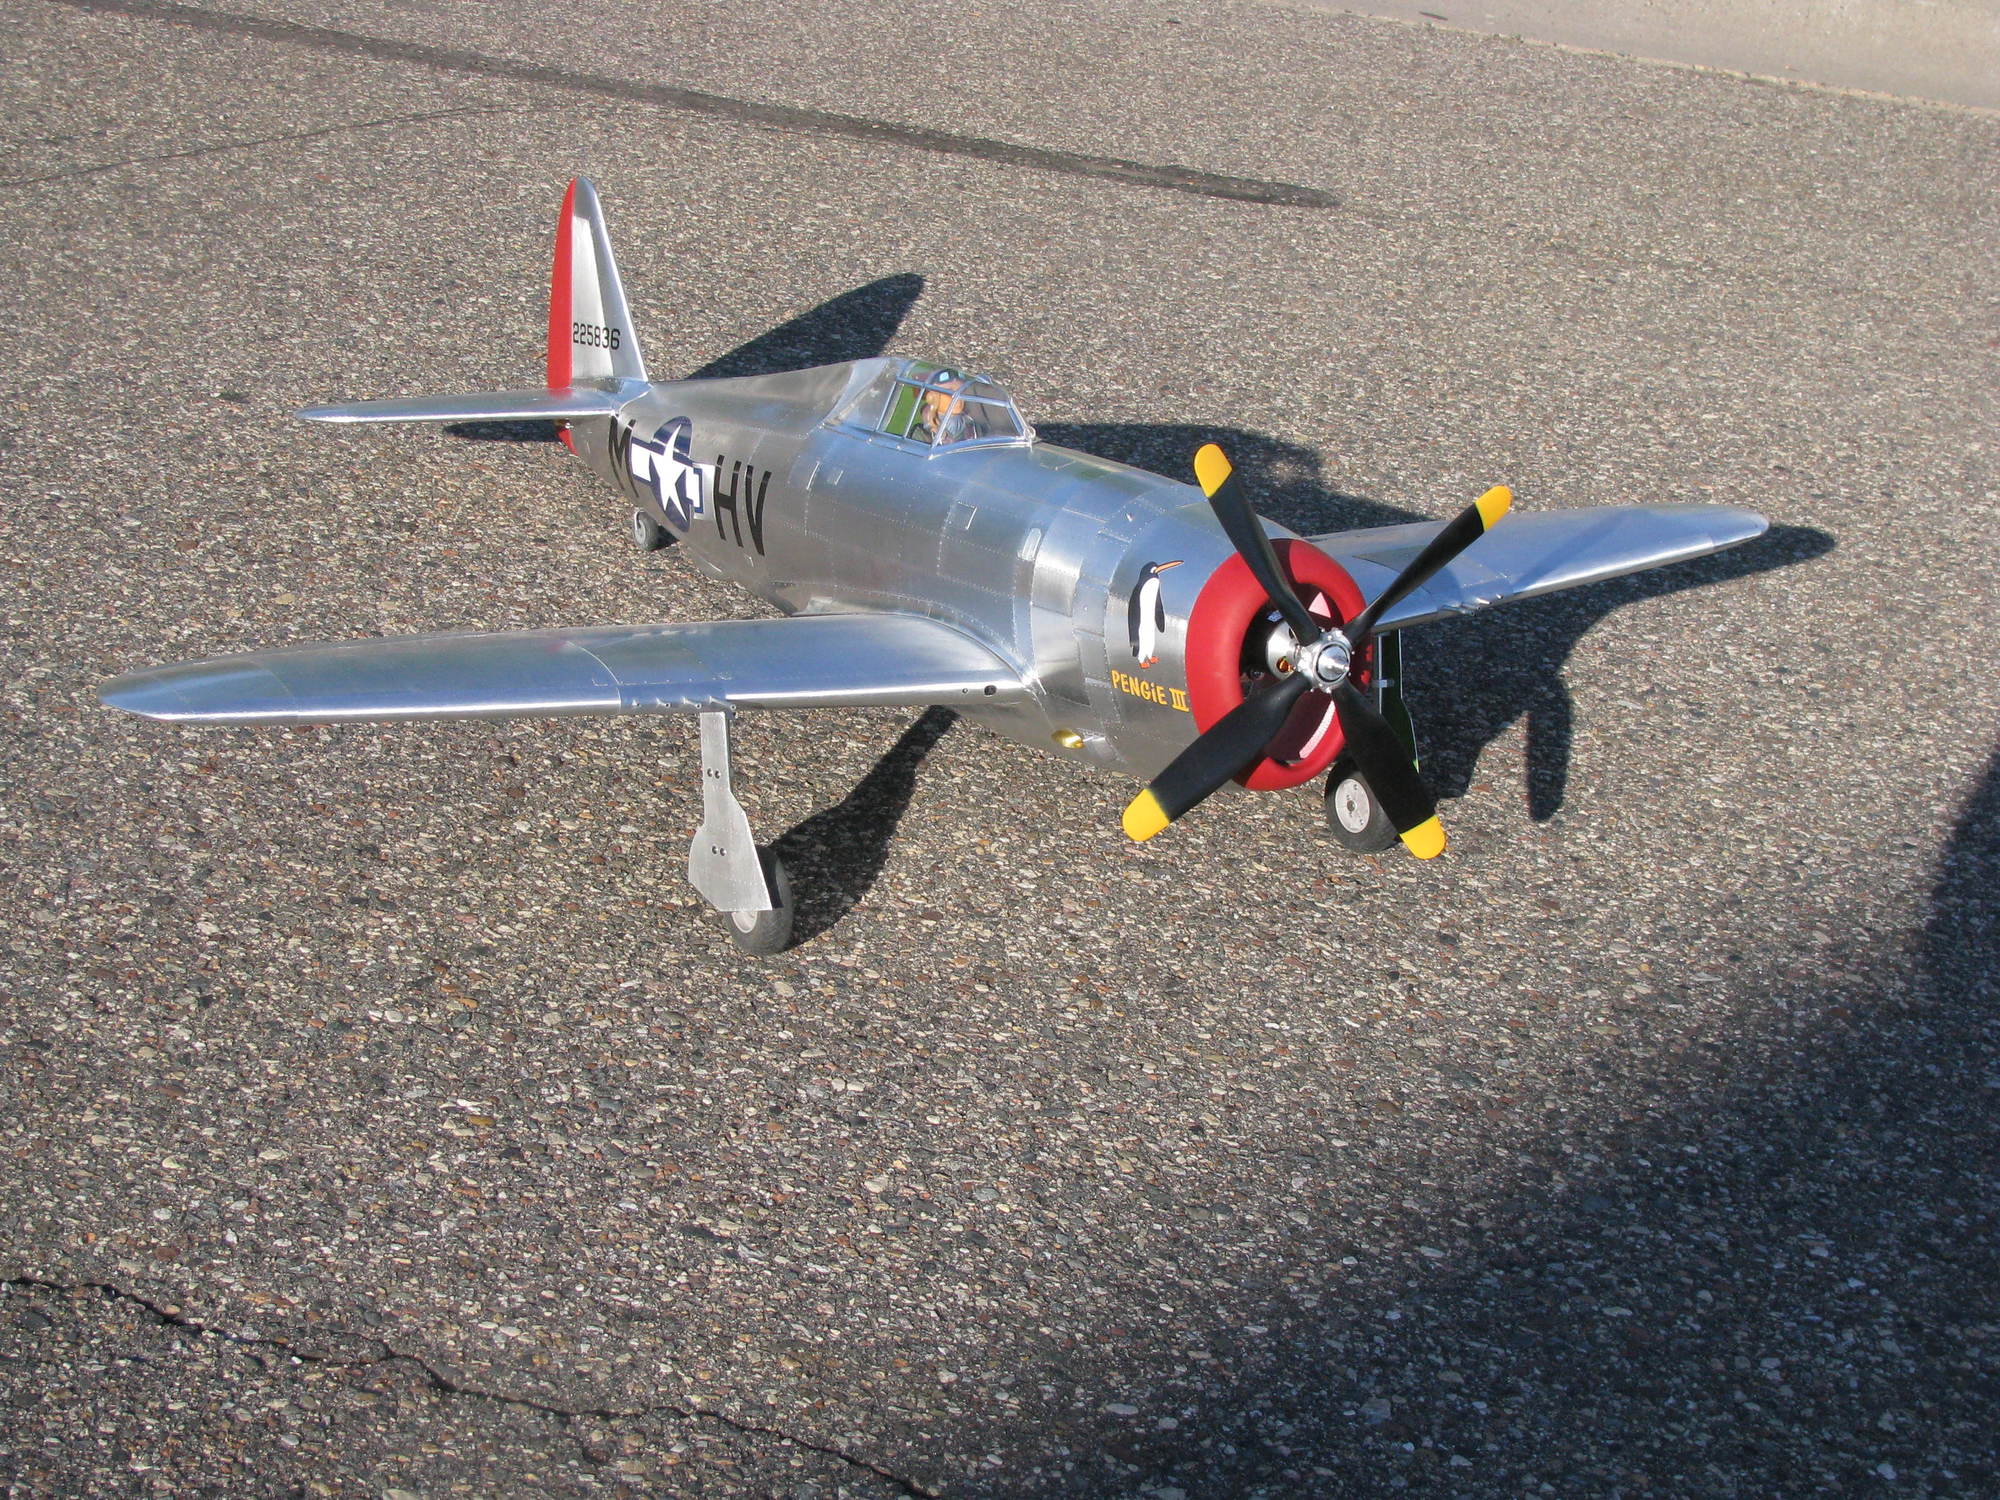
Hey guys, just starting out with FM. I've done lots of practice pieces on scrap Lexan and have covered the elevator and ailerons for a Yellow P-38. However, I just couldn't get those long narrow ailerons done without wrinkles and even a tear. It distorts too much. Tried both directions and wound up with a redo. I was able to do it in three sections O.K. but there are no panel lines in a P-38 aileron. Thought about trying from the middle out but looking for input on the best approach. Please advise,Brad
04-21-2018, 04:37 PM
#62
Join Date: Nov 2013
Posts: 78
Likes: 0
Received 0 Likes
on
0 Posts
Hey Brad, try starting at just one end with only enough of the backing pulled off to stick it down. Fold the backing under itself and peel towards the opposite end while you burnish it down. I have done it like that before and also done start at one end and with all backing pulled off, kind of stretch it with fingers and hold aileron down with same hand. Does that make sense?
Fred
Fred
04-23-2018, 08:53 PM
#63
Join Date: Dec 2015
Location: San Juan Island,Washington
Posts: 90
Likes: 0
Received 2 Likes
on
2 Posts
Hi Fred, yes that makes sense. The distortion has been giving me fits and have tried many different ways and had to remove it twice now. It may be different with the FM vs your tape. Today, I stumbled on a different method with the burnish tool and worked much better. All the input said use the pointed end of the burnishing tool to work it down going back and forth and that was what was causing the distortion. I used a hagen das stick rounded and smoothed to seperate the backing from the foil in the middle of the strip for the aileron so I could start in the middle to minimize the distortion. After all this trial and error, I tried the side of the tappered burnishing tool instead of the semi pointed end and that made all the difference. Kind of like rolling out a pie crust with a rolling pin instead of a golf ball. The wider pressure caused less distortion and it came out much smoother. I will post pictures of the two results tommorrow. I am very pleased with the results and wondering why this method wasn't put out there before.
Brad
wi
Brad
wi
04-24-2018, 06:10 AM
#64
Brad,
Applying �
�
A couple of things are causing your issue. In all cases follow the instructions which come with our product. Though they
may initially appear to take you through some extra steps...be assured in the end they are the fastest, error free methods.
Applying� at right angles to the mean concave~convex line of each panel makes covering "any"
panel faster with less effort. For a graphical illustration of how this is done click here: How To Apply Flite-Metal
Applying� will always be easier and quicker if the carrier sheet (backing) has been totally removed
from the to-be-applied�. Why? Because as the aluminum is applied to the concave~convex surface
it automatically establishes multiple planes of adhesion. Aluminum stretches, it does not shrink appreciably, therefore once
stretch is induced, the overall dim changes...it enlarges. When it enlarges after adhesion...well it simply wrinkles or cracks.
We like to think in the terms..."stretching" is best "induced" by the person applying� than letting it
occur uncontrolled or anticipated. There are explicit differences in adhesive backed aluminum. The calendered thickness is
one component, alloy composition is the other which directly effects the % of stretch the foil is "capable of achieving" if it is
rendered properly...geometrically compliant. So much for technical terms Aluminum takes on the dims of what ever it has
been adhered to...within limits. These limits are expressed in tensil and load bearing across the surface being applied to.
Instead of getting all wrapped up in technical gobbly-goop when considering the use of an aluminum laminate. Established
products proven to provide the exact performance you expect is the best decision you can make as far as technical specs.
I hope this has explained why the� application and finishing instructions provide answers and the
best How2. Don't do what some people do and throw our four page instructions away when opening the packaging. By the
way... have you viewed this time and energy saving video? Obtaining The Most Scale Aluminum Finish Quickly
Applying
A couple of things are causing your issue. In all cases follow the instructions which come with our product. Though they
may initially appear to take you through some extra steps...be assured in the end they are the fastest, error free methods.
Applying
panel faster with less effort. For a graphical illustration of how this is done click here: How To Apply Flite-Metal
Applying
from the to-be-applied
it automatically establishes multiple planes of adhesion. Aluminum stretches, it does not shrink appreciably, therefore once
stretch is induced, the overall dim changes...it enlarges. When it enlarges after adhesion...well it simply wrinkles or cracks.
We like to think in the terms..."stretching" is best "induced" by the person applying
occur uncontrolled or anticipated. There are explicit differences in adhesive backed aluminum. The calendered thickness is
one component, alloy composition is the other which directly effects the % of stretch the foil is "capable of achieving" if it is
rendered properly...geometrically compliant. So much for technical terms
Aluminum takes on the dims of what ever it hasbeen adhered to...within limits. These limits are expressed in tensil and load bearing across the surface being applied to.
Instead of getting all wrapped up in technical gobbly-goop when considering the use of an aluminum laminate. Established
products proven to provide the exact performance you expect is the best decision you can make as far as technical specs.
I hope this has explained why the
best How2. Don't do what some people do and throw our four page instructions away when opening the packaging. By the
way... have you viewed this time and energy saving video? Obtaining The Most Scale Aluminum Finish Quickly
04-24-2018, 06:27 PM
#65
Join Date: Nov 2013
Posts: 78
Likes: 0
Received 0 Likes
on
0 Posts
Hi Brad, that is great. Glad you are getting the hang of it. I did my first one over 23 years ago and guess I have probably forgotten what the learning curve was like. All I can say is do what works best for you. If I can help in any way, let me know. Oh and by the way, I have even used the tape from home depot and have gotten great results from that really cheap stuff. The best I ever used was 3M brand, but also the most expensive. Fred.
 12-23-2022, 05:19 PM
#70
To anybody who reads this old post. I have direct experience with both Flite-Metal and Aerofoil. I can tell you that the Aerofoil s too thin. You can't peel the backing off wothout getting wrinkles. The wrinkles don't smooth out when applying and rubbing out. I tried it twice on relatively flat surface that is perfectly smooth. Glassed, second coat of resin and primer sanded off.
I did a 1/5 scale P-51 and had not had as much trouble as I did with Aerofoil. I'll never buy it again.
I'll remove it with a heat gun and get some Flite Metal. Pictures available upon request.
I did a 1/5 scale P-51 and had not had as much trouble as I did with Aerofoil. I'll never buy it again.
I'll remove it with a heat gun and get some Flite Metal. Pictures available upon request.
