


Scratchbuild a Curtiss Hawk III (BF2C-1) in 1/4.5
 03-29-2017, 12:48 PM
#1

Thread Starter

Join Date: Jan 2014
Location: Eppendorf, Saxonia, Germany
Posts: 129
Likes: 0
Received 7 Likes
on
7 Posts
of course it is a milling maschine, not a drilling maschine
Last edited by thomasmuckus; 05-24-2017 at 01:01 PM.
 03-29-2017, 11:37 PM
#3
Thread Starter
Join Date: Jan 2014
Location: Eppendorf, Saxonia, Germany
Posts: 129
Likes: 0
Received 7 Likes
on
7 Posts
second attempt:
After finish the Ryan I promised in the “SIG Ryan STA special kit by Maxy Hester” thread (post 277) (http://www.rcuniverse.com/forum/kit-...hester-12.html) about the beauty from jwharkinz to start my own thread about building the Curtiss Hawk.
Sorry for the poor English, I`m german. And this is the second reason for me to do this thread. I need to improve my English skills; especially grammar. There is an exam in the late summer…. So please feel free to dip my nose on every mistake, it would be helpful.
Why this aircraft? At first, I love biplanes. Than the challenge, a biplane with retractable gear. Many people started to build a model of this very interesting aircraft, last attempt here was this:
http://www.rcuniverse.com/forum/rc-w...ort-bf2c1.html in other forums is the same.
I believe the mayor problem is the retractable gear, this was also the second problem by the original aircraft, and it was to smooth. So I decided to start building with the gear otherwise, if this fails I would cancel the project too. And, at least, it is a biplane.
It started with this, a birthday present, the Hasegawa kit from the BF2C-1 and it was love at first sight.

Now something about the aircraft. The BF2C-1 is the aircraft with one of the shortest career in Navy service ever. Developed as a carrier-based fighter for the new carrier USS “Ranger” it started with any problems. The BF2C-1 was a with retractable gear upgraded F11-C, but, the natural vibration of the metal wing harmonised with the vibrations of the new engine, unfortunately at cruising speed. Curtiss found no other solution than to offer a replacement to wooden wings but this was for the Navy to expensive and Curtiss was out of the race for years.
With the wooden wing the aircraft was successful exported to China, Thailand and Argentina, the last one you can see in the museum of the Royal Thai Airforce in Bangkok.

At the beginning was the designing of the gear. It looks very simple; a retracting screw pulls the leg into the hull, done. Nuts, the hull was not high enough. I took me close to a year to find out the principle. After contacting the museum in Bangkok I got some real pics from the gear.


Actually I collected over 500 pics, drawings and a littel chinese video too. One of my buddy`s visited the museum and I got more pics, also from the interior

The small strut behind the leg compresses the shock-absorber and then it works. I`ve made a wooden model for this


The next was some soldering works


My wife pushes my motivation on Christmas 2015
While waiting for the custom made shock absorbers (http://www.hawe-modellbau.de/)
I`ve done the construction work for the fuselage, the wings and the tail. I use DevWing and DevFus, great tools. They are very easy to use and not so expensive than other software.


One of my buddy’s owns a CNC milling machine, the software outputs the fitting files and so I got the first parts


to be continoued........
After finish the Ryan I promised in the “SIG Ryan STA special kit by Maxy Hester” thread (post 277) (http://www.rcuniverse.com/forum/kit-...hester-12.html) about the beauty from jwharkinz to start my own thread about building the Curtiss Hawk.
Sorry for the poor English, I`m german. And this is the second reason for me to do this thread. I need to improve my English skills; especially grammar. There is an exam in the late summer…. So please feel free to dip my nose on every mistake, it would be helpful.
Why this aircraft? At first, I love biplanes. Than the challenge, a biplane with retractable gear. Many people started to build a model of this very interesting aircraft, last attempt here was this:
http://www.rcuniverse.com/forum/rc-w...ort-bf2c1.html in other forums is the same.
I believe the mayor problem is the retractable gear, this was also the second problem by the original aircraft, and it was to smooth. So I decided to start building with the gear otherwise, if this fails I would cancel the project too. And, at least, it is a biplane.
It started with this, a birthday present, the Hasegawa kit from the BF2C-1 and it was love at first sight.
Now something about the aircraft. The BF2C-1 is the aircraft with one of the shortest career in Navy service ever. Developed as a carrier-based fighter for the new carrier USS “Ranger” it started with any problems. The BF2C-1 was a with retractable gear upgraded F11-C, but, the natural vibration of the metal wing harmonised with the vibrations of the new engine, unfortunately at cruising speed. Curtiss found no other solution than to offer a replacement to wooden wings but this was for the Navy to expensive and Curtiss was out of the race for years.
With the wooden wing the aircraft was successful exported to China, Thailand and Argentina, the last one you can see in the museum of the Royal Thai Airforce in Bangkok.
At the beginning was the designing of the gear. It looks very simple; a retracting screw pulls the leg into the hull, done. Nuts, the hull was not high enough. I took me close to a year to find out the principle. After contacting the museum in Bangkok I got some real pics from the gear.
Actually I collected over 500 pics, drawings and a littel chinese video too. One of my buddy`s visited the museum and I got more pics, also from the interior
The small strut behind the leg compresses the shock-absorber and then it works. I`ve made a wooden model for this
The next was some soldering works
My wife pushes my motivation on Christmas 2015
While waiting for the custom made shock absorbers (http://www.hawe-modellbau.de/)
I`ve done the construction work for the fuselage, the wings and the tail. I use DevWing and DevFus, great tools. They are very easy to use and not so expensive than other software.
One of my buddy’s owns a CNC milling machine, the software outputs the fitting files and so I got the first parts
to be continoued........
Last edited by thomasmuckus; 07-06-2017 at 01:57 AM.
 03-30-2017, 09:21 AM
#6
Thread Starter
Join Date: Jan 2014
Location: Eppendorf, Saxonia, Germany
Posts: 129
Likes: 0
Received 7 Likes
on
7 Posts
for the next I printed some drawings, very easy to do with DevWing

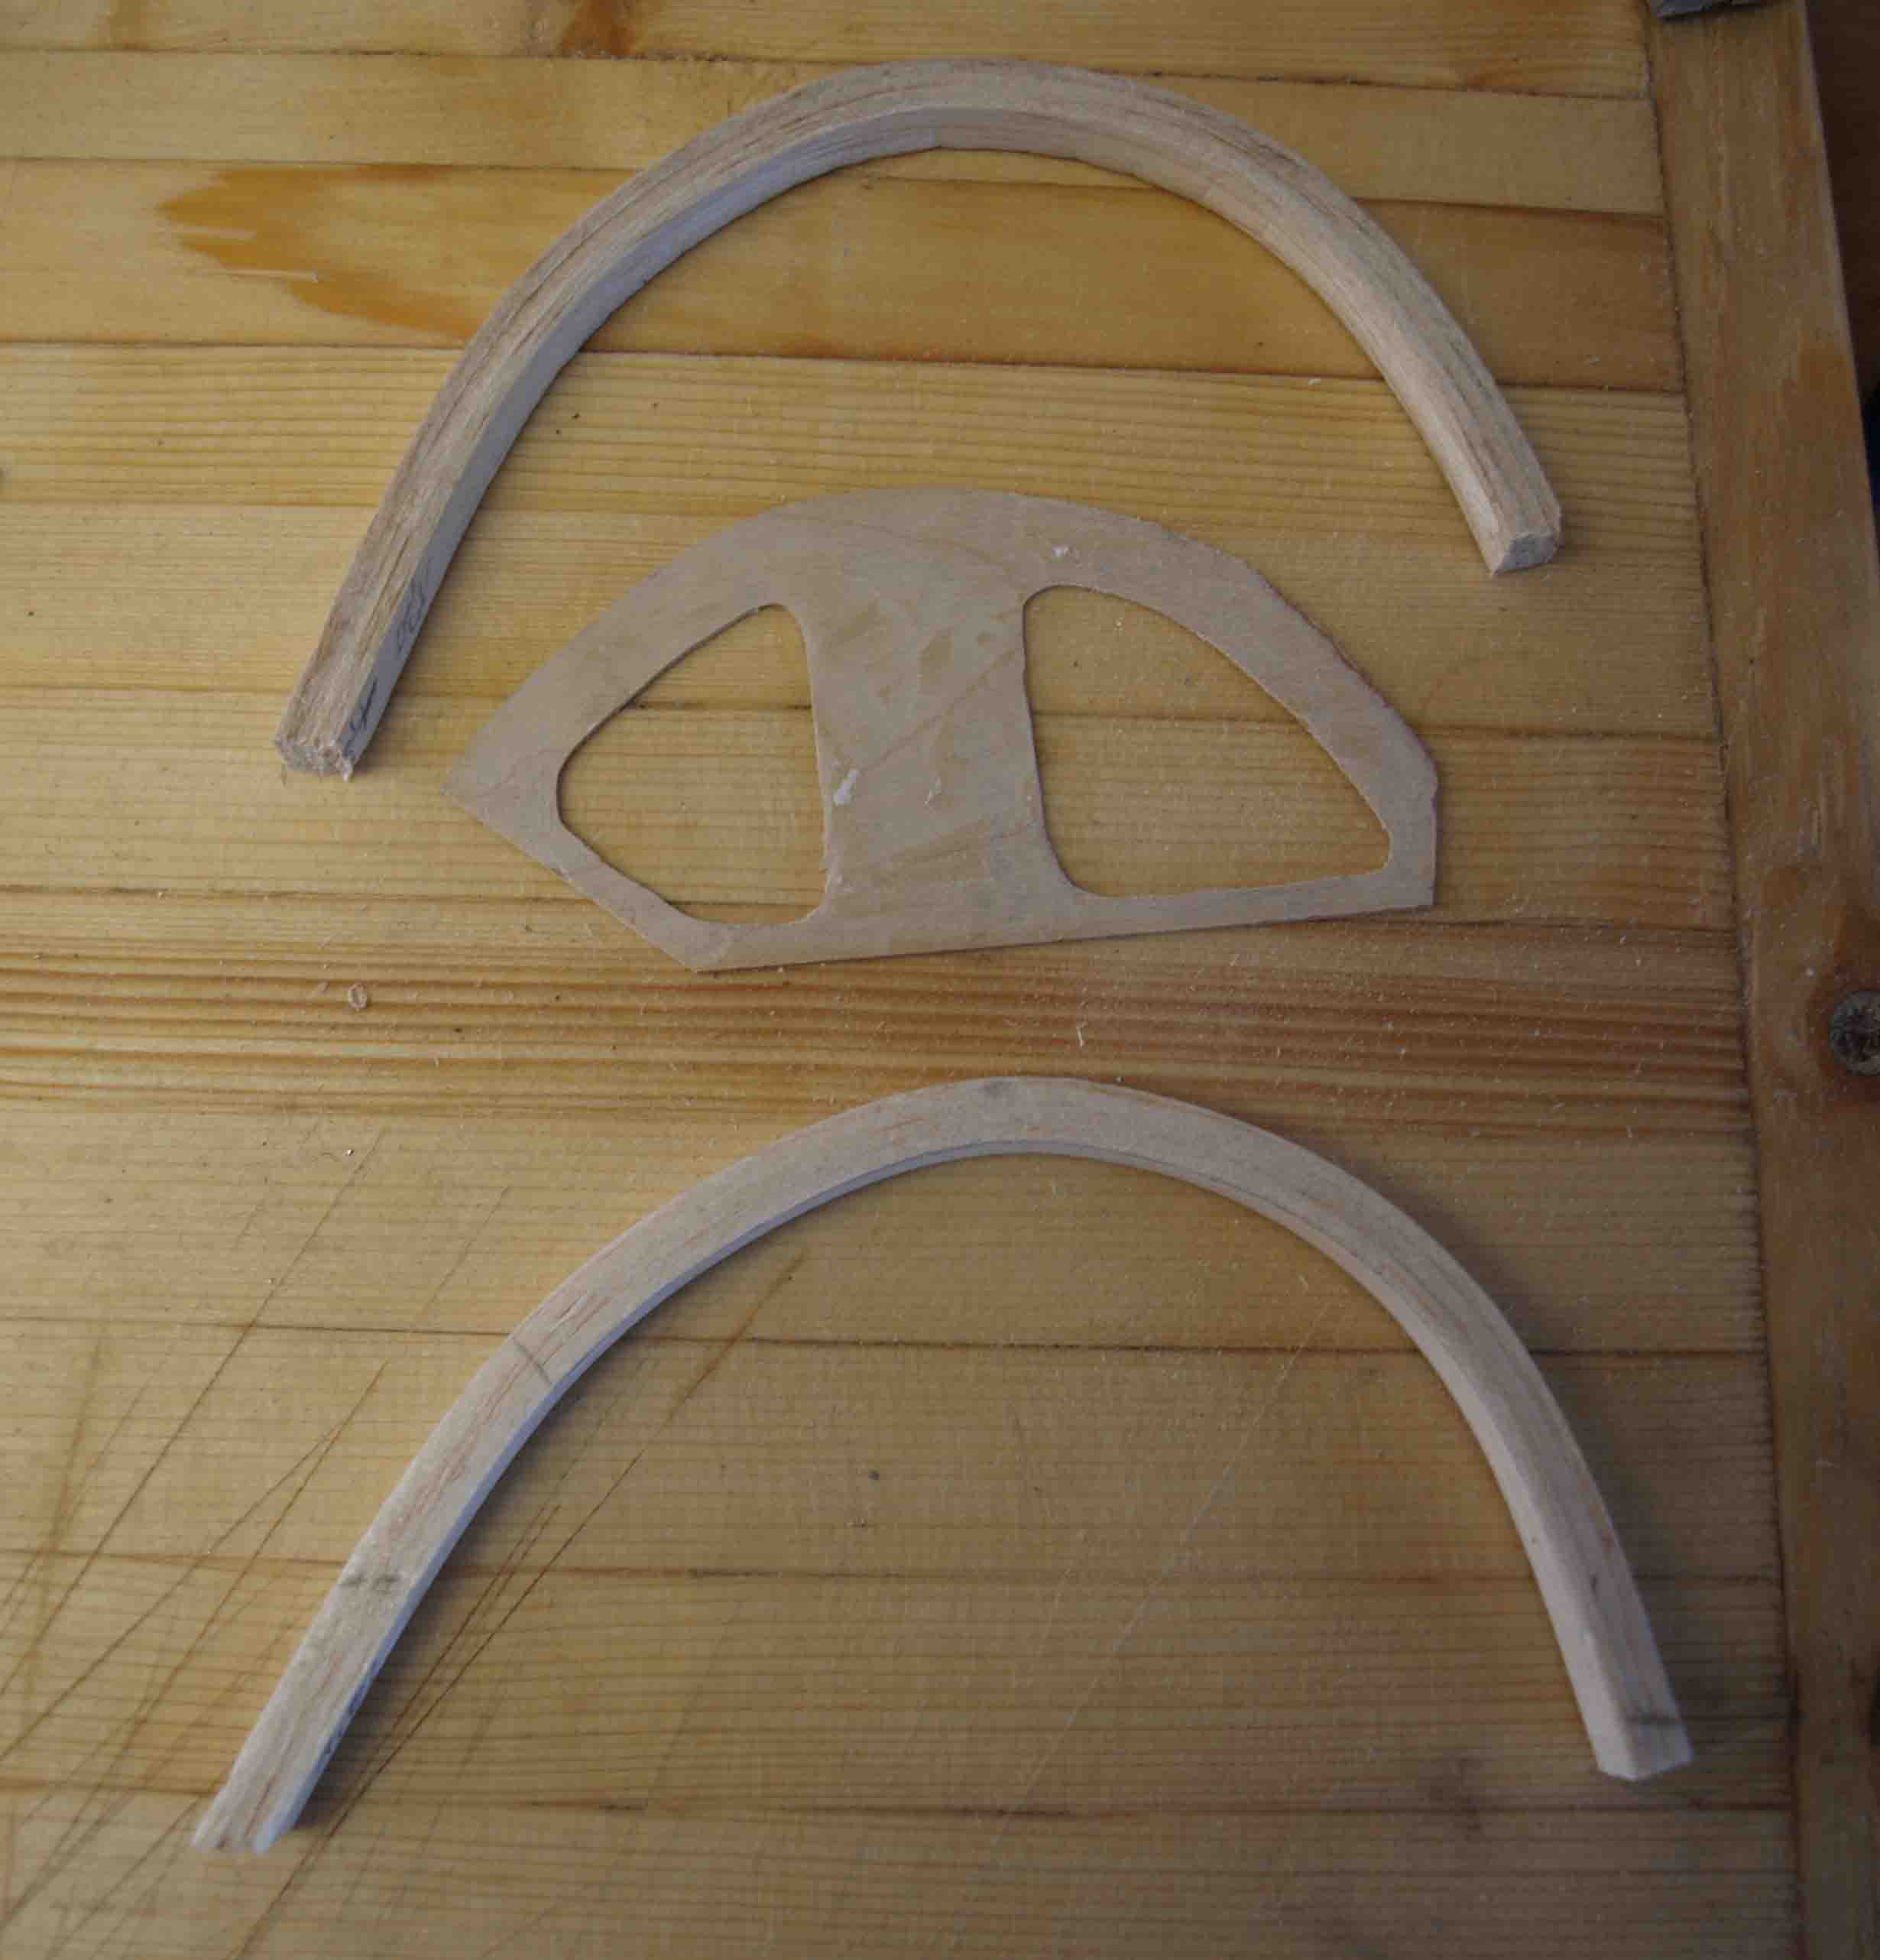
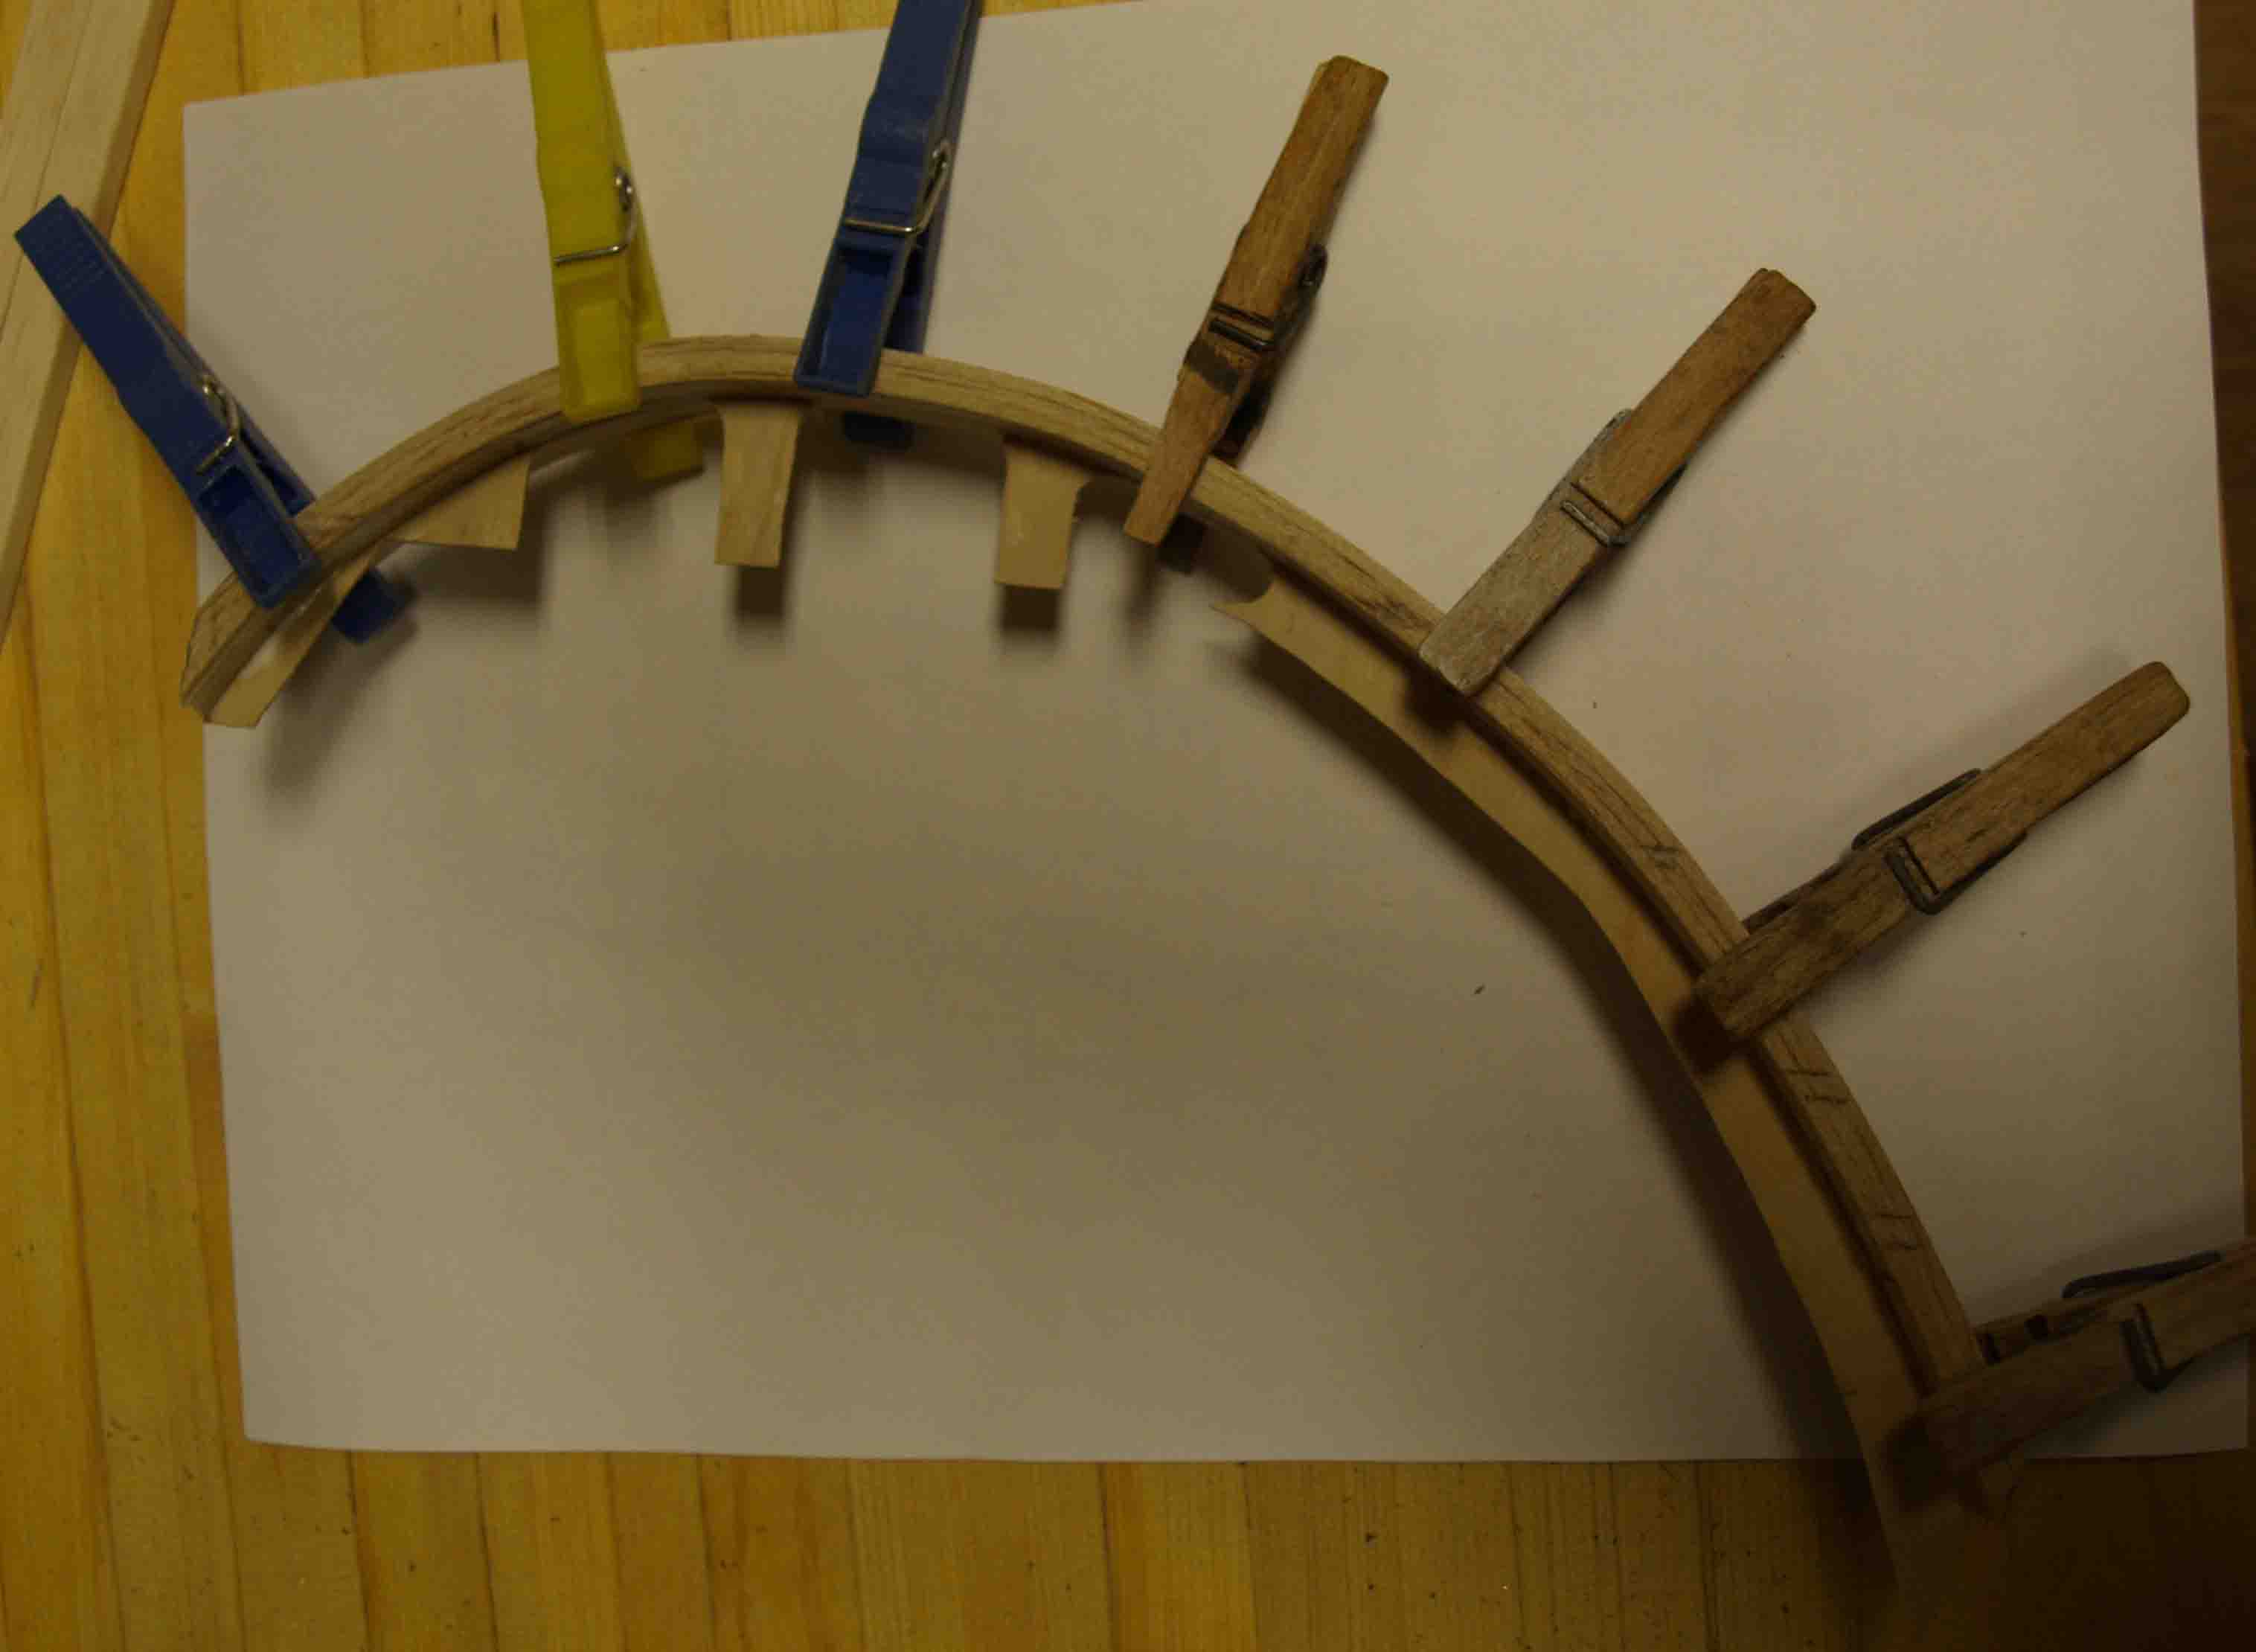
The first parts I `ve done for the tail and the wings were the wingtips. With the help from some templates it was a very simple job.


I started with the Rudder. I always tryed to take over the original structure.


The complete rudder is lesser than 70 gramm (69,71) I`m very satisfied.
Here are the upper and lower wingjoiners. They are made from 2,5 mm five layered birch plywood, covered with carbonfiber. I made a little "mould" and pressed them with screw clambs


The boxes for the wingjoiner are made from thin sheet metal and tin soldered.
For now I work on the elevator.


The next few days I`m on vacation, I hope I contiue next week
The first parts I `ve done for the tail and the wings were the wingtips. With the help from some templates it was a very simple job.
I started with the Rudder. I always tryed to take over the original structure.
The complete rudder is lesser than 70 gramm (69,71
) I`m very satisfied.Here are the upper and lower wingjoiners. They are made from 2,5 mm five layered birch plywood, covered with carbonfiber. I made a little "mould" and pressed them with screw clambs
The boxes for the wingjoiner are made from thin sheet metal and tin soldered.
For now I work on the elevator.
The next few days I`m on vacation, I hope I contiue next week
Last edited by thomasmuckus; 03-30-2017 at 09:24 AM.

 04-07-2017, 12:39 PM
#8
Thread Starter
Join Date: Jan 2014
Location: Eppendorf, Saxonia, Germany
Posts: 129
Likes: 0
Received 7 Likes
on
7 Posts
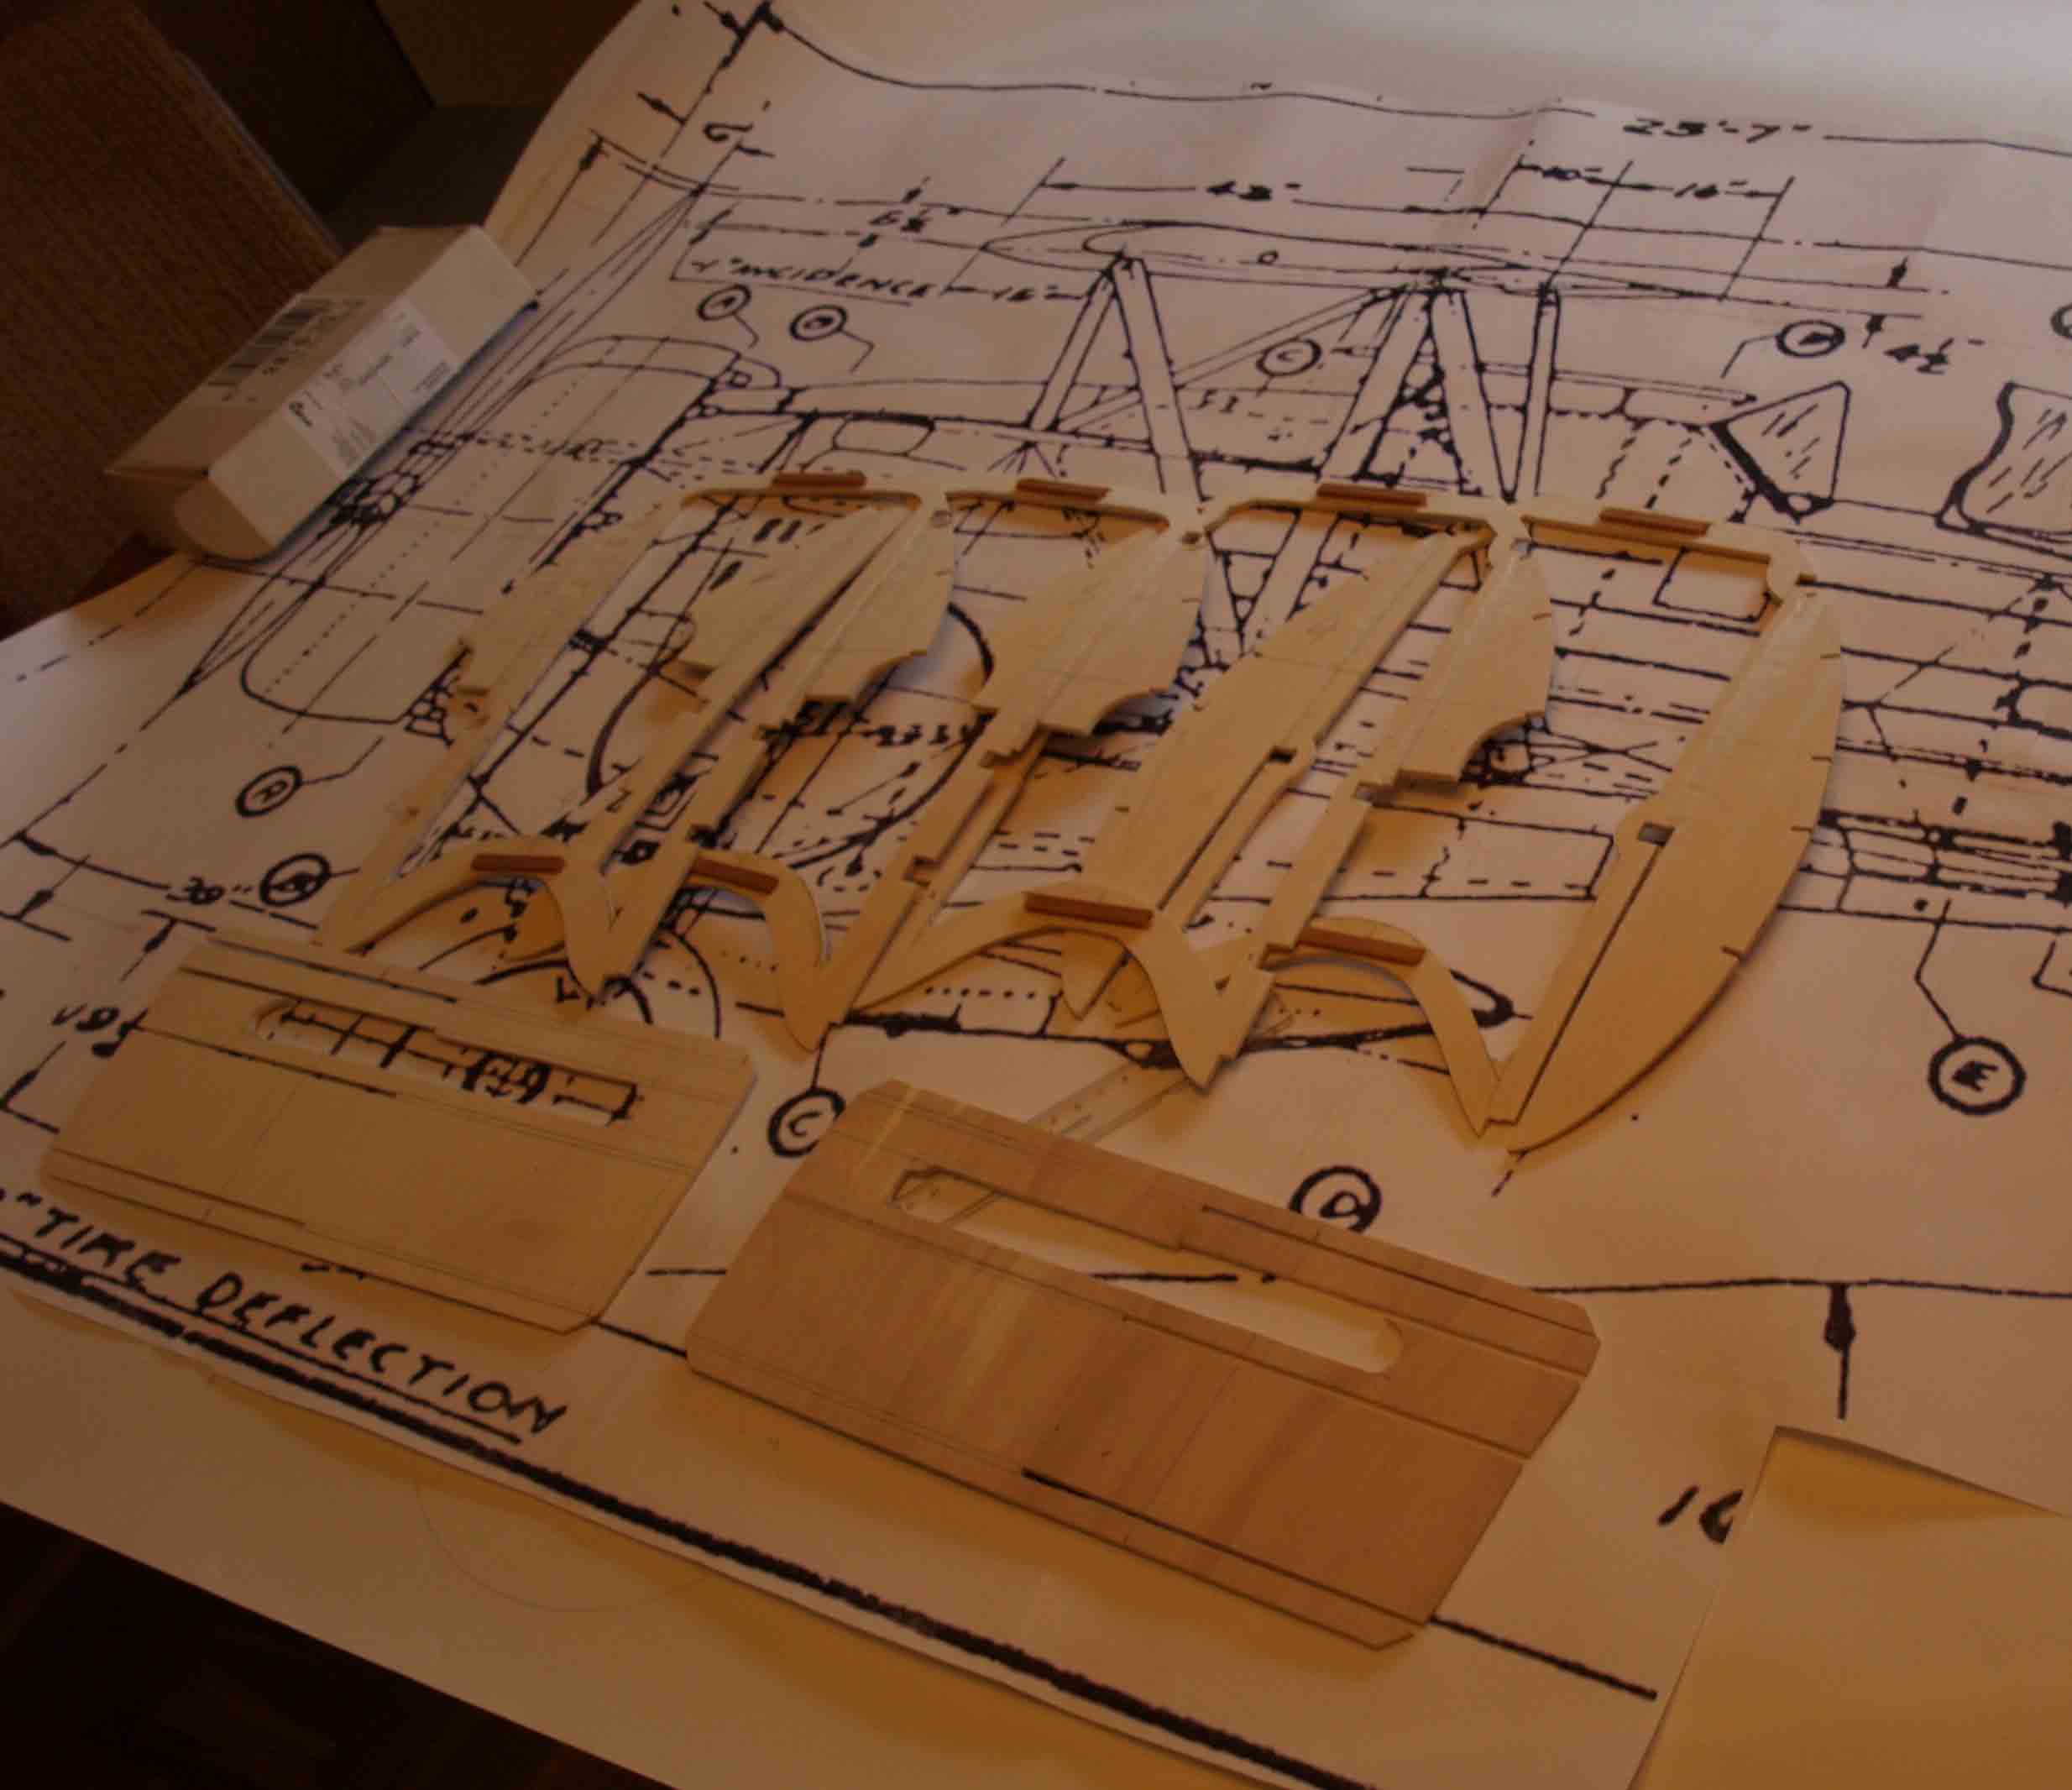
o.k, I seperated the elevator yesterday. The hinges are also finished.

Today was a very good day,the first ribs for the center piece of the upper wing arrived and they looks great.

One of the challenges in buildig this aircratf is to stay below 12 kg. One rib with lightening holes has a wight of 7,5 g, for comparison a rib without holes > 17,5 g, 10 g, I save 10 g each, and there are 104 pieces, I safe a lot.


Today was a very good day,the first ribs for the center piece of the upper wing arrived and they looks great.
One of the challenges in buildig this aircratf is to stay below 12 kg. One rib with lightening holes has a wight of 7,5 g, for comparison a rib without holes > 17,5 g, 10 g, I save 10 g each, and there are 104 pieces, I safe a lot.
Last edited by thomasmuckus; 05-25-2017 at 12:19 AM.
04-08-2017, 01:29 PM
#9
Thread Starter
Join Date: Jan 2014
Location: Eppendorf, Saxonia, Germany
Posts: 129
Likes: 0
Received 7 Likes
on
7 Posts
I started to build the centerpiece of the upper wing. At first I only glued with white glue the wooden parts, after its dry, tomorrow, I glue the wingjoinerbox with epoxyglue.


05-24-2017, 11:15 AM
#10
Thread Starter
Join Date: Jan 2014
Location: Eppendorf, Saxonia, Germany
Posts: 129
Likes: 0
Received 7 Likes
on
7 Posts
After a break (I wasn`t able to ad pictures?????) it`s going on there. Fortunately they changed the rules to manage attachments back. I don`t like those clouds or other modern stuff, for me it is easier to upload pics in the direct way.
So I continouded with the elevator.

The hinges are added


The leading edge fromthe rudder needs a little shaping

I failed my goal (150g) very close but actually I can live with this 167.44 g. The plan is, make the elevator removable and, just like the original, I want to make the setting angle adjustable.

So I continouded with the elevator.
The hinges are added
The leading edge fromthe rudder needs a little shaping
I failed my goal (150g) very close but actually I can live with this 167.44 g. The plan is, make the elevator removable and, just like the original, I want to make the setting angle adjustable.
Last edited by thomasmuckus; 05-25-2017 at 12:21 AM.
05-24-2017, 11:21 AM
#11
Thread Starter
Join Date: Jan 2014
Location: Eppendorf, Saxonia, Germany
Posts: 129
Likes: 0
Received 7 Likes
on
7 Posts
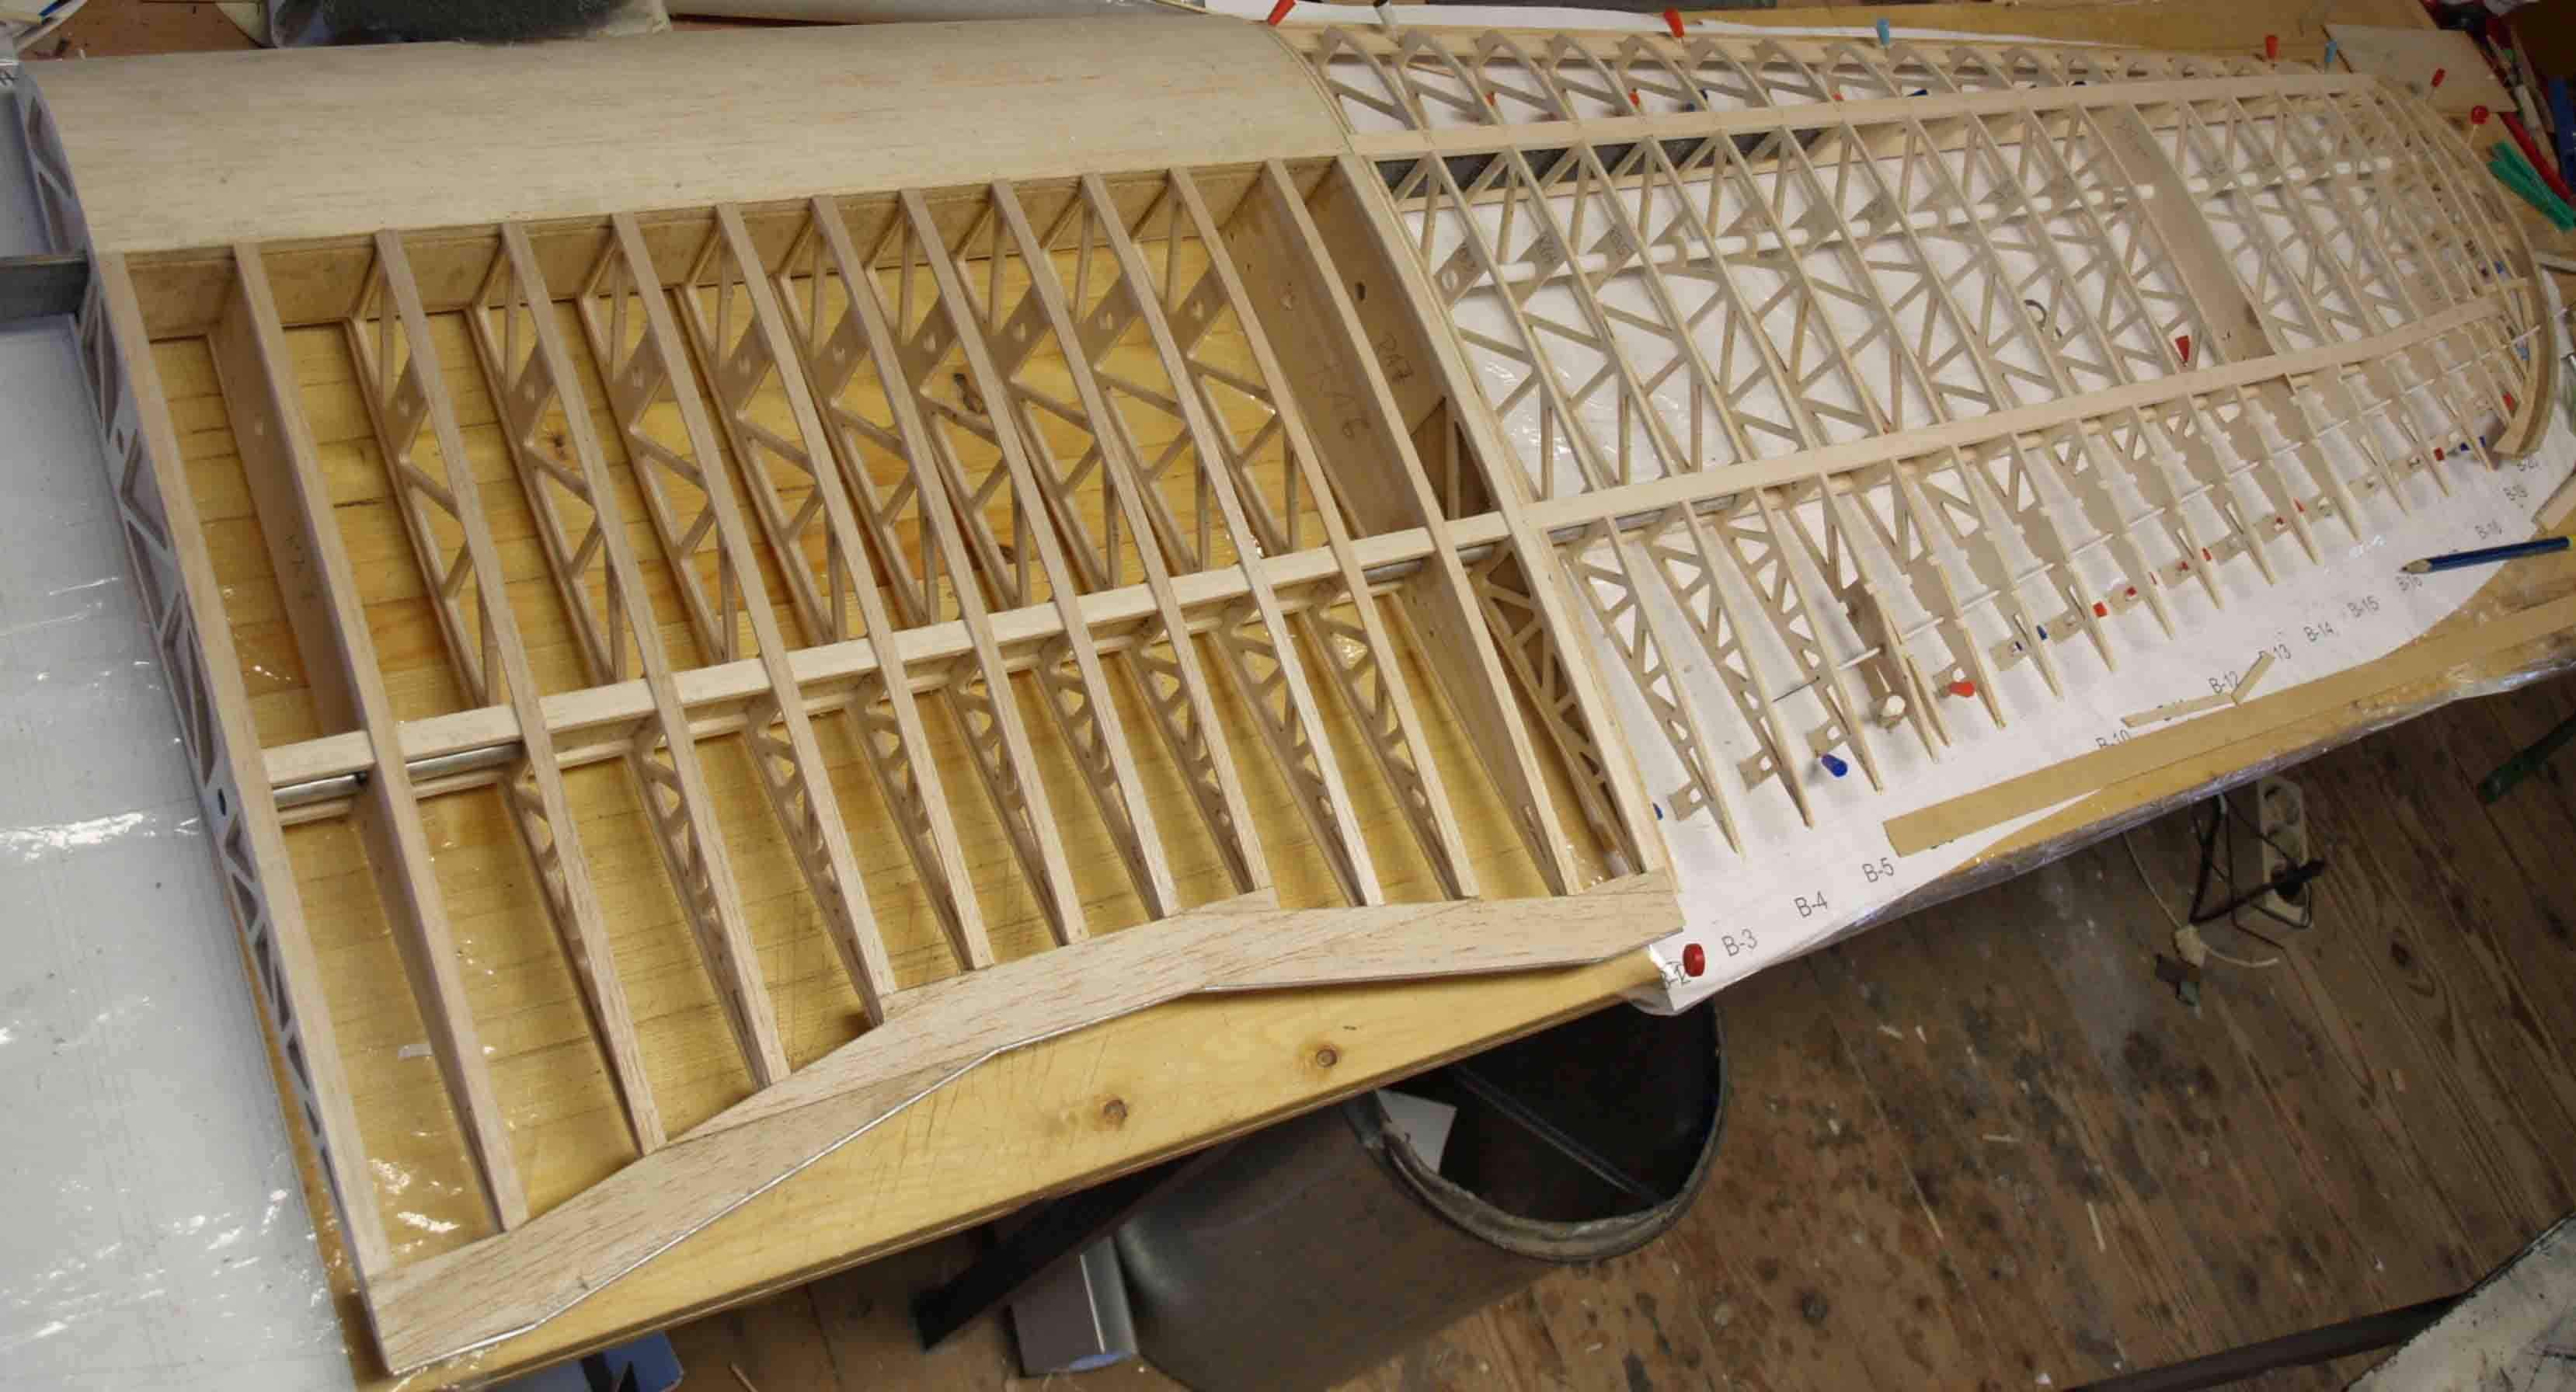
After finishing the tail, I finished the shell construktion of the centerpiece from the upper wing.
I`m sure the pics will speak for themself

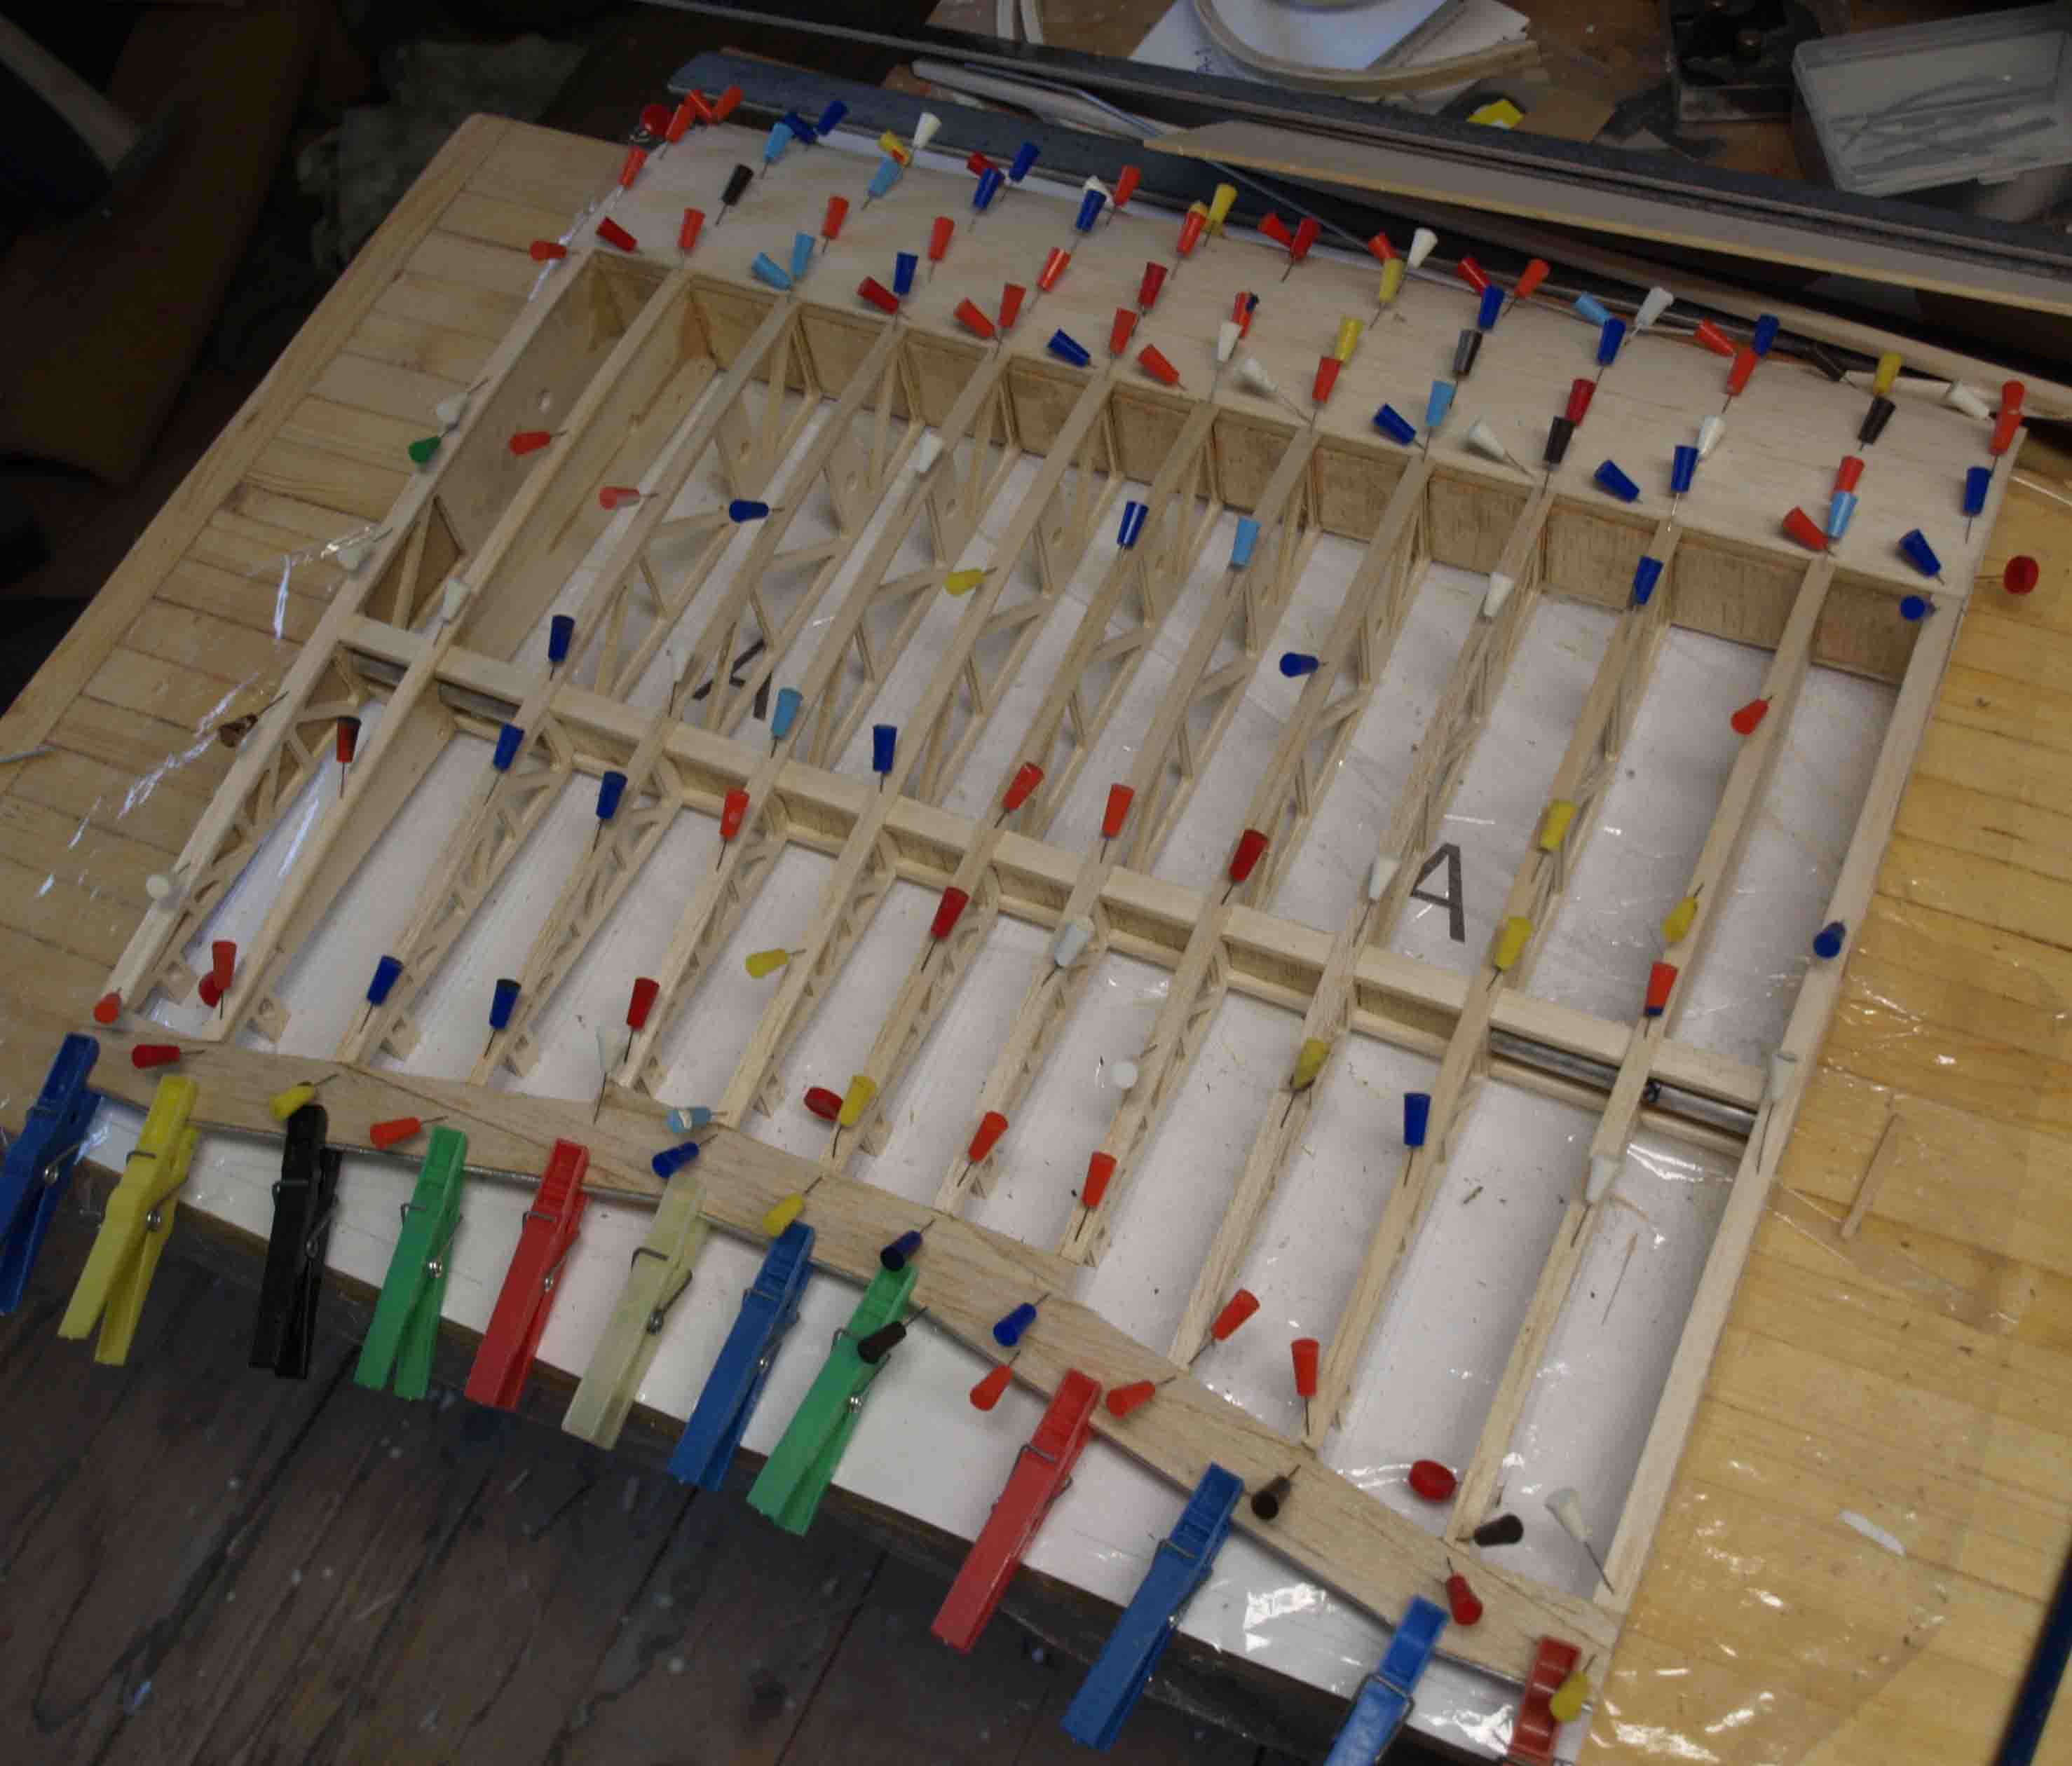 the closing part of the trailing edge is a aluminiumtube (2 mm diameter).It imitates the steelwire at the original wing.
I`m sure the pics will speak for themself
Last edited by thomasmuckus; 05-24-2017 at 01:09 PM.
05-24-2017, 11:41 AM
#12
Thread Starter
Join Date: Jan 2014
Location: Eppendorf, Saxonia, Germany
Posts: 129
Likes: 0
Received 7 Likes
on
7 Posts
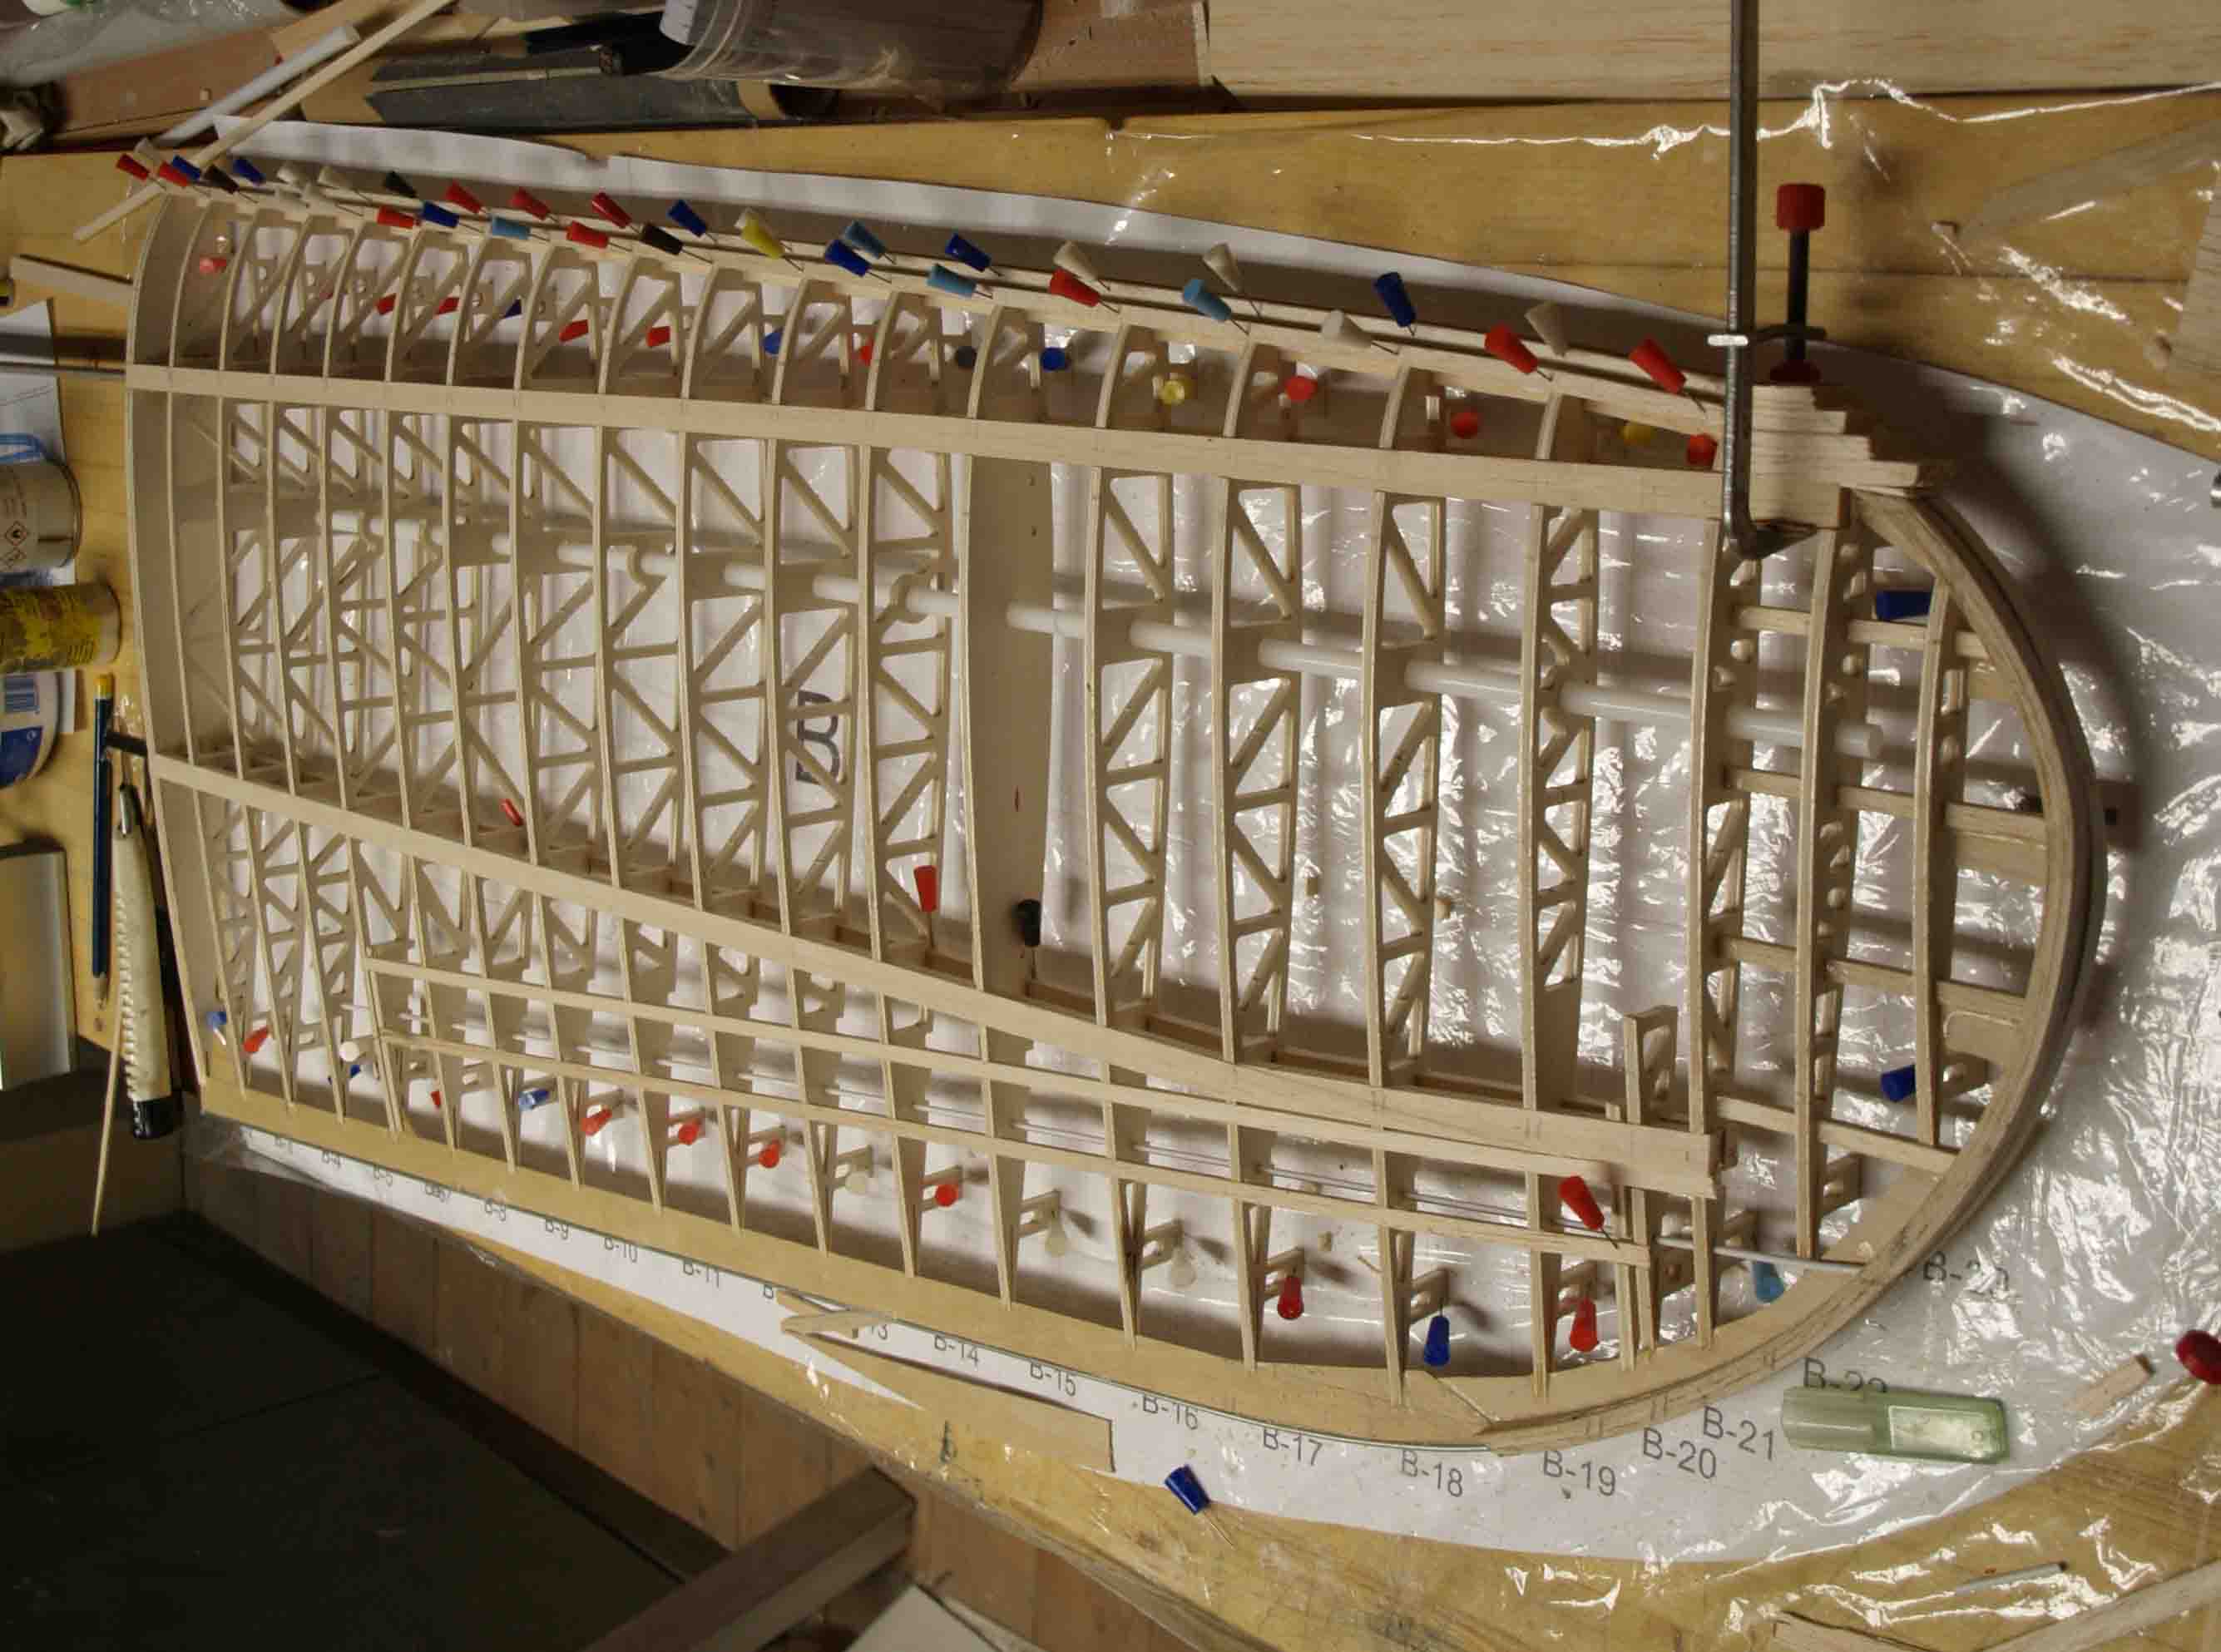
Last weekend I got the ribs for the upper wing and so I started building the right half of the upperwing. At first, I counted the ribs, and, we forgot making number 13 !

No problem, Dieter milled them.
The wingbuilding started with gluing the spars and with the rootribs, I had to double them.


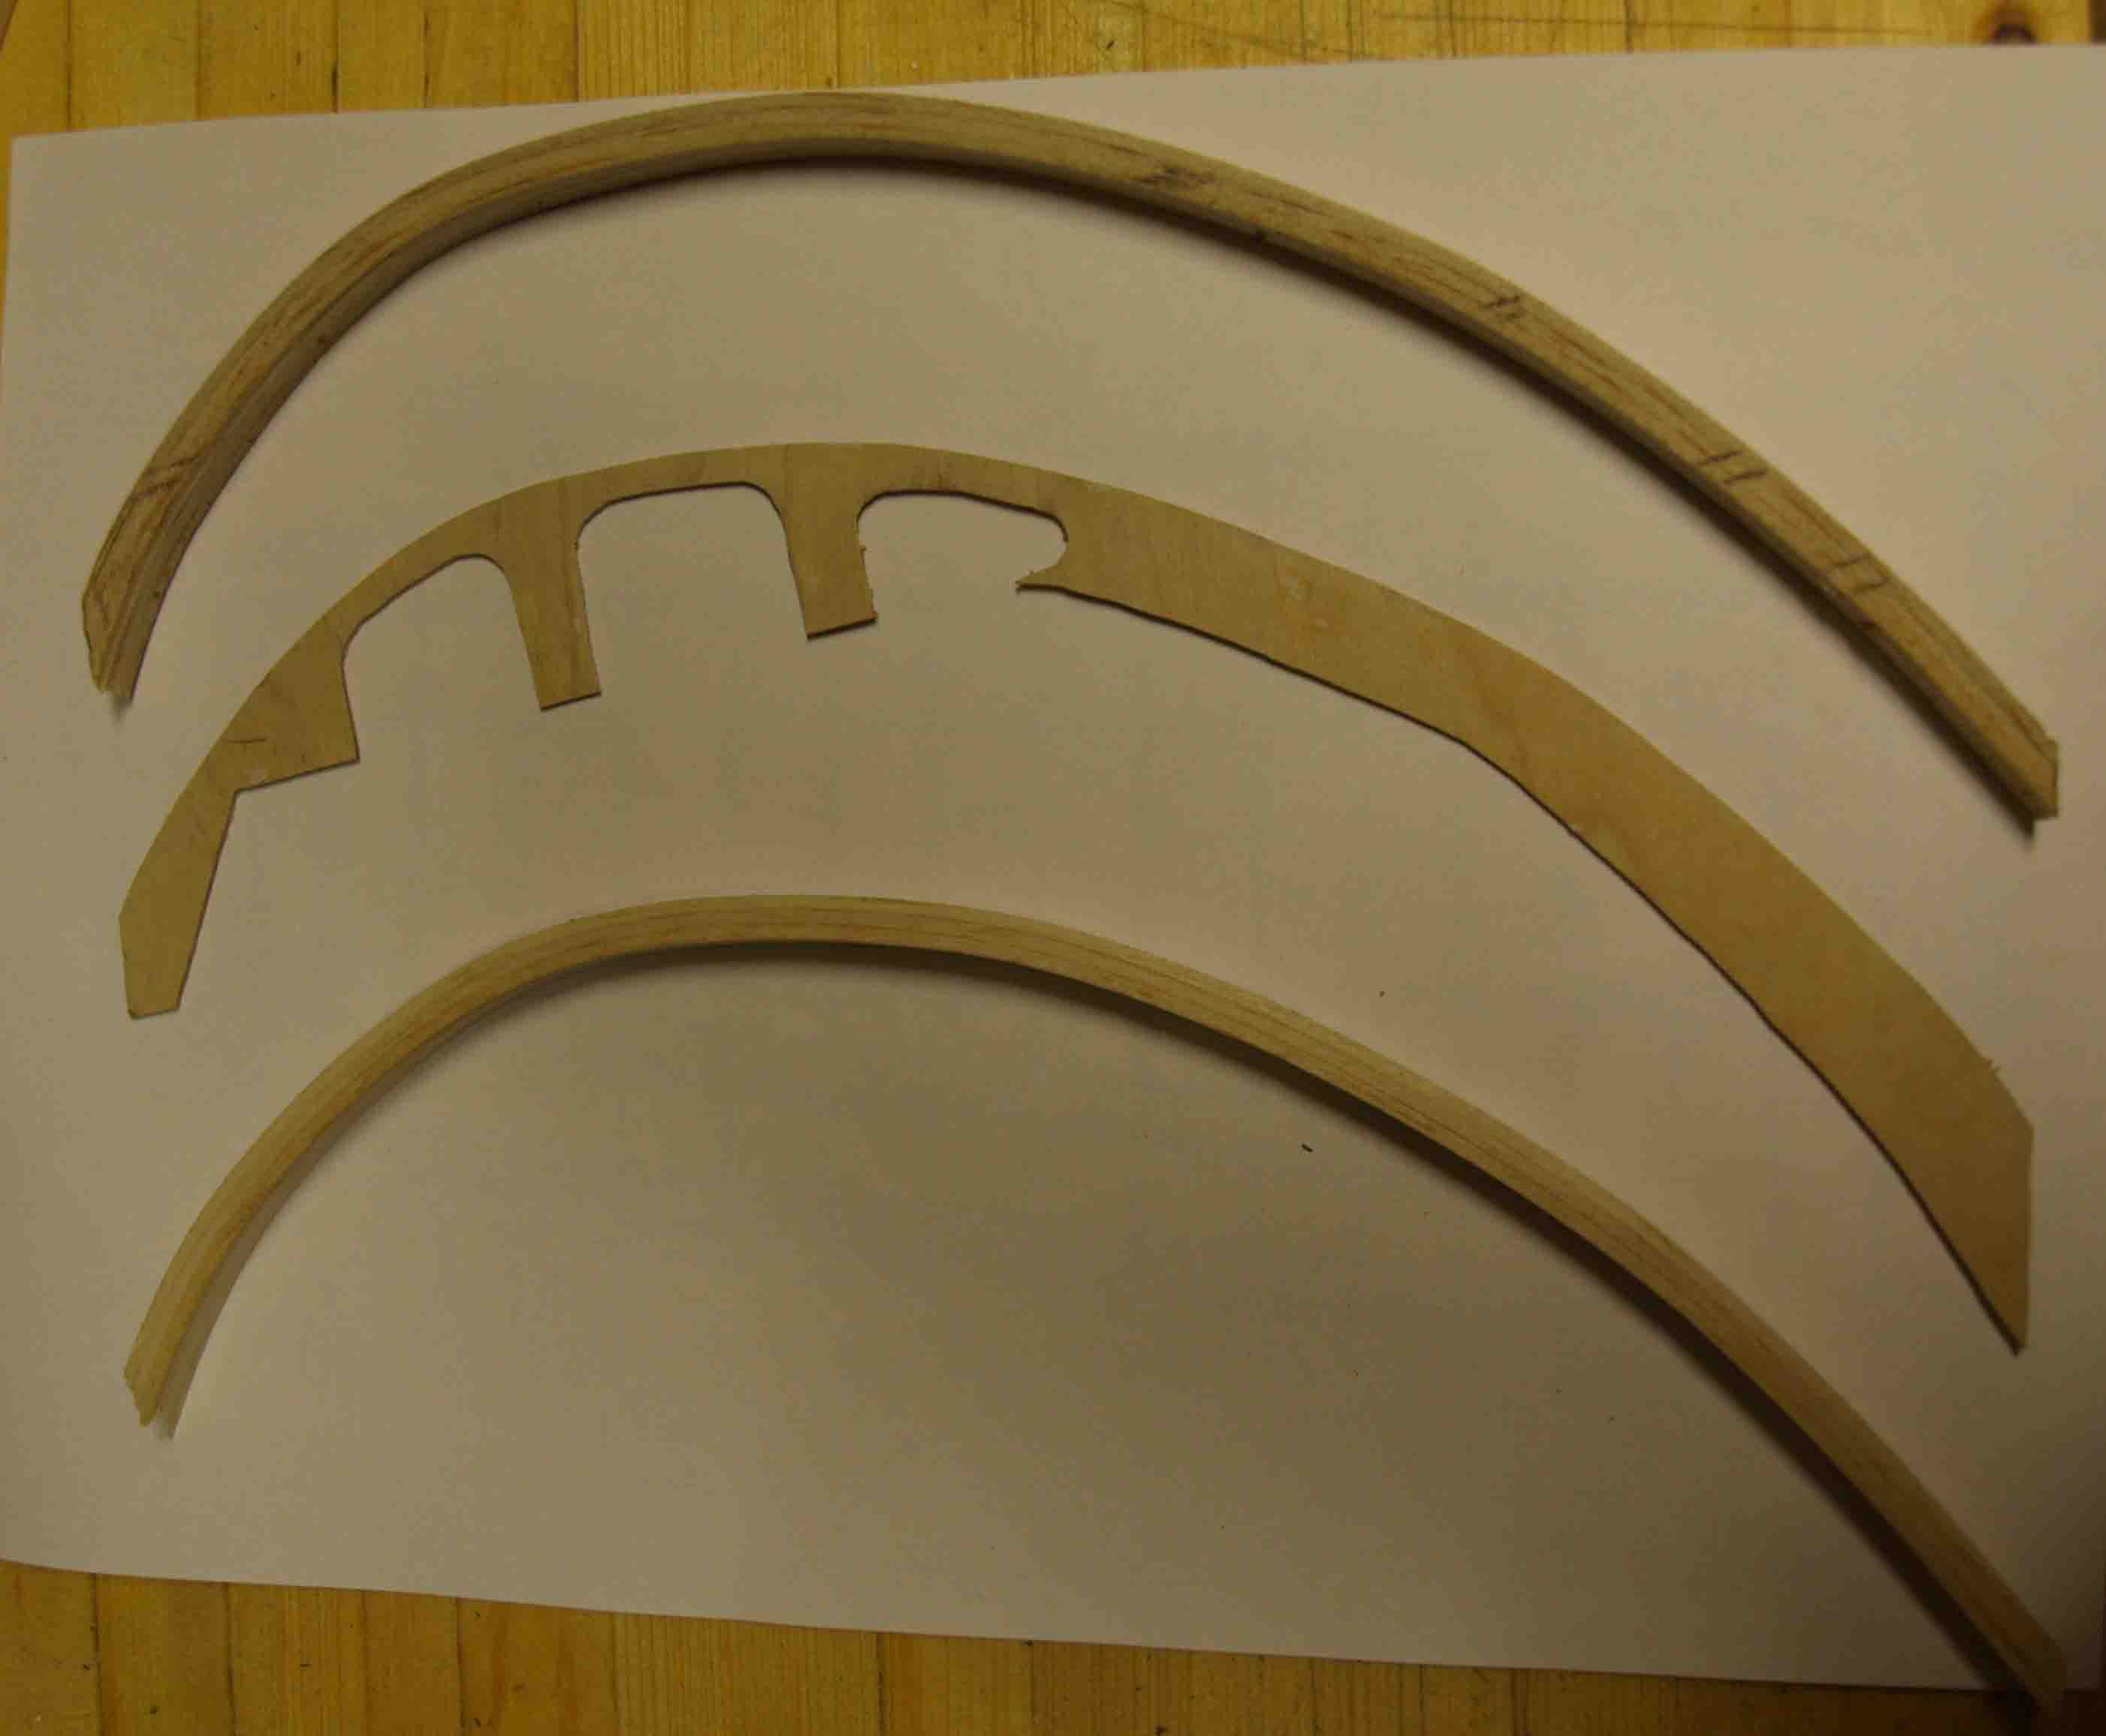
I also builded the wingtips, laminated from 2mm Bals-strips, in the middle there is a layer made from 0,75 mm birch-plywood. The result is a very, very light but strong constuction.

The rest is simple,not really special.


For checking the exact dihedral I added the centerpiece to the wing.
Actually I`m very satified, it works like I`d wished it

No problem, Dieter milled them.
The wingbuilding started with gluing the spars and with the rootribs, I had to double them.
I also builded the wingtips, laminated from 2mm Bals-strips, in the middle there is a layer made from 0,75 mm birch-plywood. The result is a very, very light but strong constuction.
The rest is simple,not really special.
For checking the exact dihedral I added the centerpiece to the wing.
Actually I`m very satified, it works like I`d wished it
Last edited by thomasmuckus; 05-25-2017 at 12:23 AM.
06-24-2017, 12:15 AM
#13
Thread Starter
Join Date: Jan 2014
Location: Eppendorf, Saxonia, Germany
Posts: 129
Likes: 0
Received 7 Likes
on
7 Posts
In the last days I finished the second half of the upper wing, Doesn’t looks spectacular, see the pics.


The structure of the wingtips seems a little bit shakily and fleecy, but is is the original structure and, when glued together it is pretty light and very strong


now the complete halfwing

now a little puzzle, what will this become?

the srew-joint. At first, I was going to built it also in the original structure (loop and bolt), but it seems to considerable and to heavy so I decidet to make it simple (and lighter)


I proudly present > the upper wing

Its current weight is 1065 g, devWing allows me 1259 g, means it gives a competitive edge in whigt. I`m sure I`ll add in future so many details, I will need it. I`m very glad, the weight-difference between the two halfwings is only 5 g. I`m very satisfied with this.
The structure of the wingtips seems a little bit shakily and fleecy, but is is the original structure and, when glued together it is pretty light and very strong
now the complete halfwing
now a little puzzle, what will this become?
the srew-joint. At first, I was going to built it also in the original structure (loop and bolt), but it seems to considerable and to heavy so I decidet to make it simple (and lighter)
I proudly present > the upper wing
Its current weight is 1065 g, devWing allows me 1259 g, means it gives a competitive edge in whigt. I`m sure I`ll add in future so many details, I will need it. I`m very glad, the weight-difference between the two halfwings is only 5 g. I`m very satisfied with this.
Last edited by thomasmuckus; 07-07-2017 at 11:07 AM.
 07-07-2017, 09:50 AM
#15
Thread Starter
Join Date: Jan 2014
Location: Eppendorf, Saxonia, Germany
Posts: 129
Likes: 0
Received 7 Likes
on
7 Posts
Now I started to buld the lower wing. At first, there was a decision to do > on the lower wing are bomb racks, two on each side.

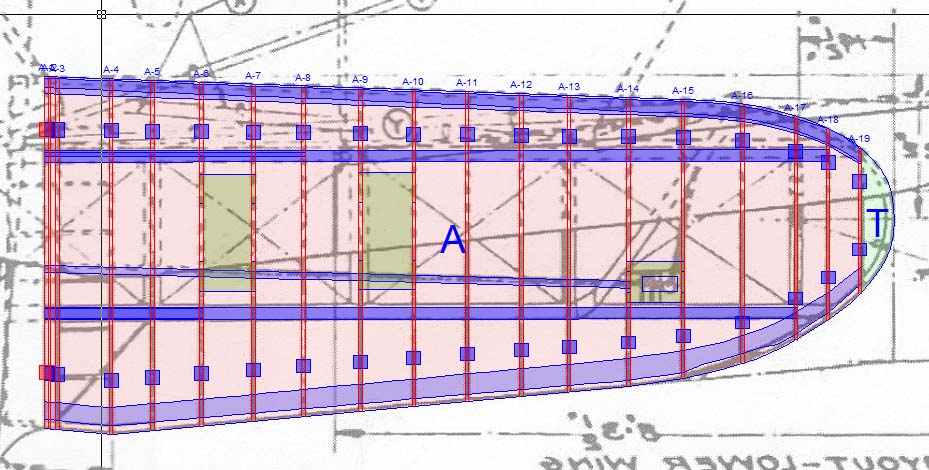
At first I wanted to make the bombs for casting off. I was talking about this with some of my friends and at the end, I canceled this idea. At first, I will add to much weight. At second, it looks not really good, and so I decided to add the bombs with screws under the wing. The screenshoot from devWing shoes the position (the green areas)
The next stepp was to build the bell crank unit for the aileron pushrod. My buddy had done really good pics from the bell crank house so I`ve done a little drawing, my friend with the milling machine done a good job and so I was able to built that things.


The leading edge and the trailing egdes needed a little preparation, I added a pinewood to the leading edge to make it stronger and a small alu-tube to the tailing edge.


the rest is very simple, a pure diligence work.


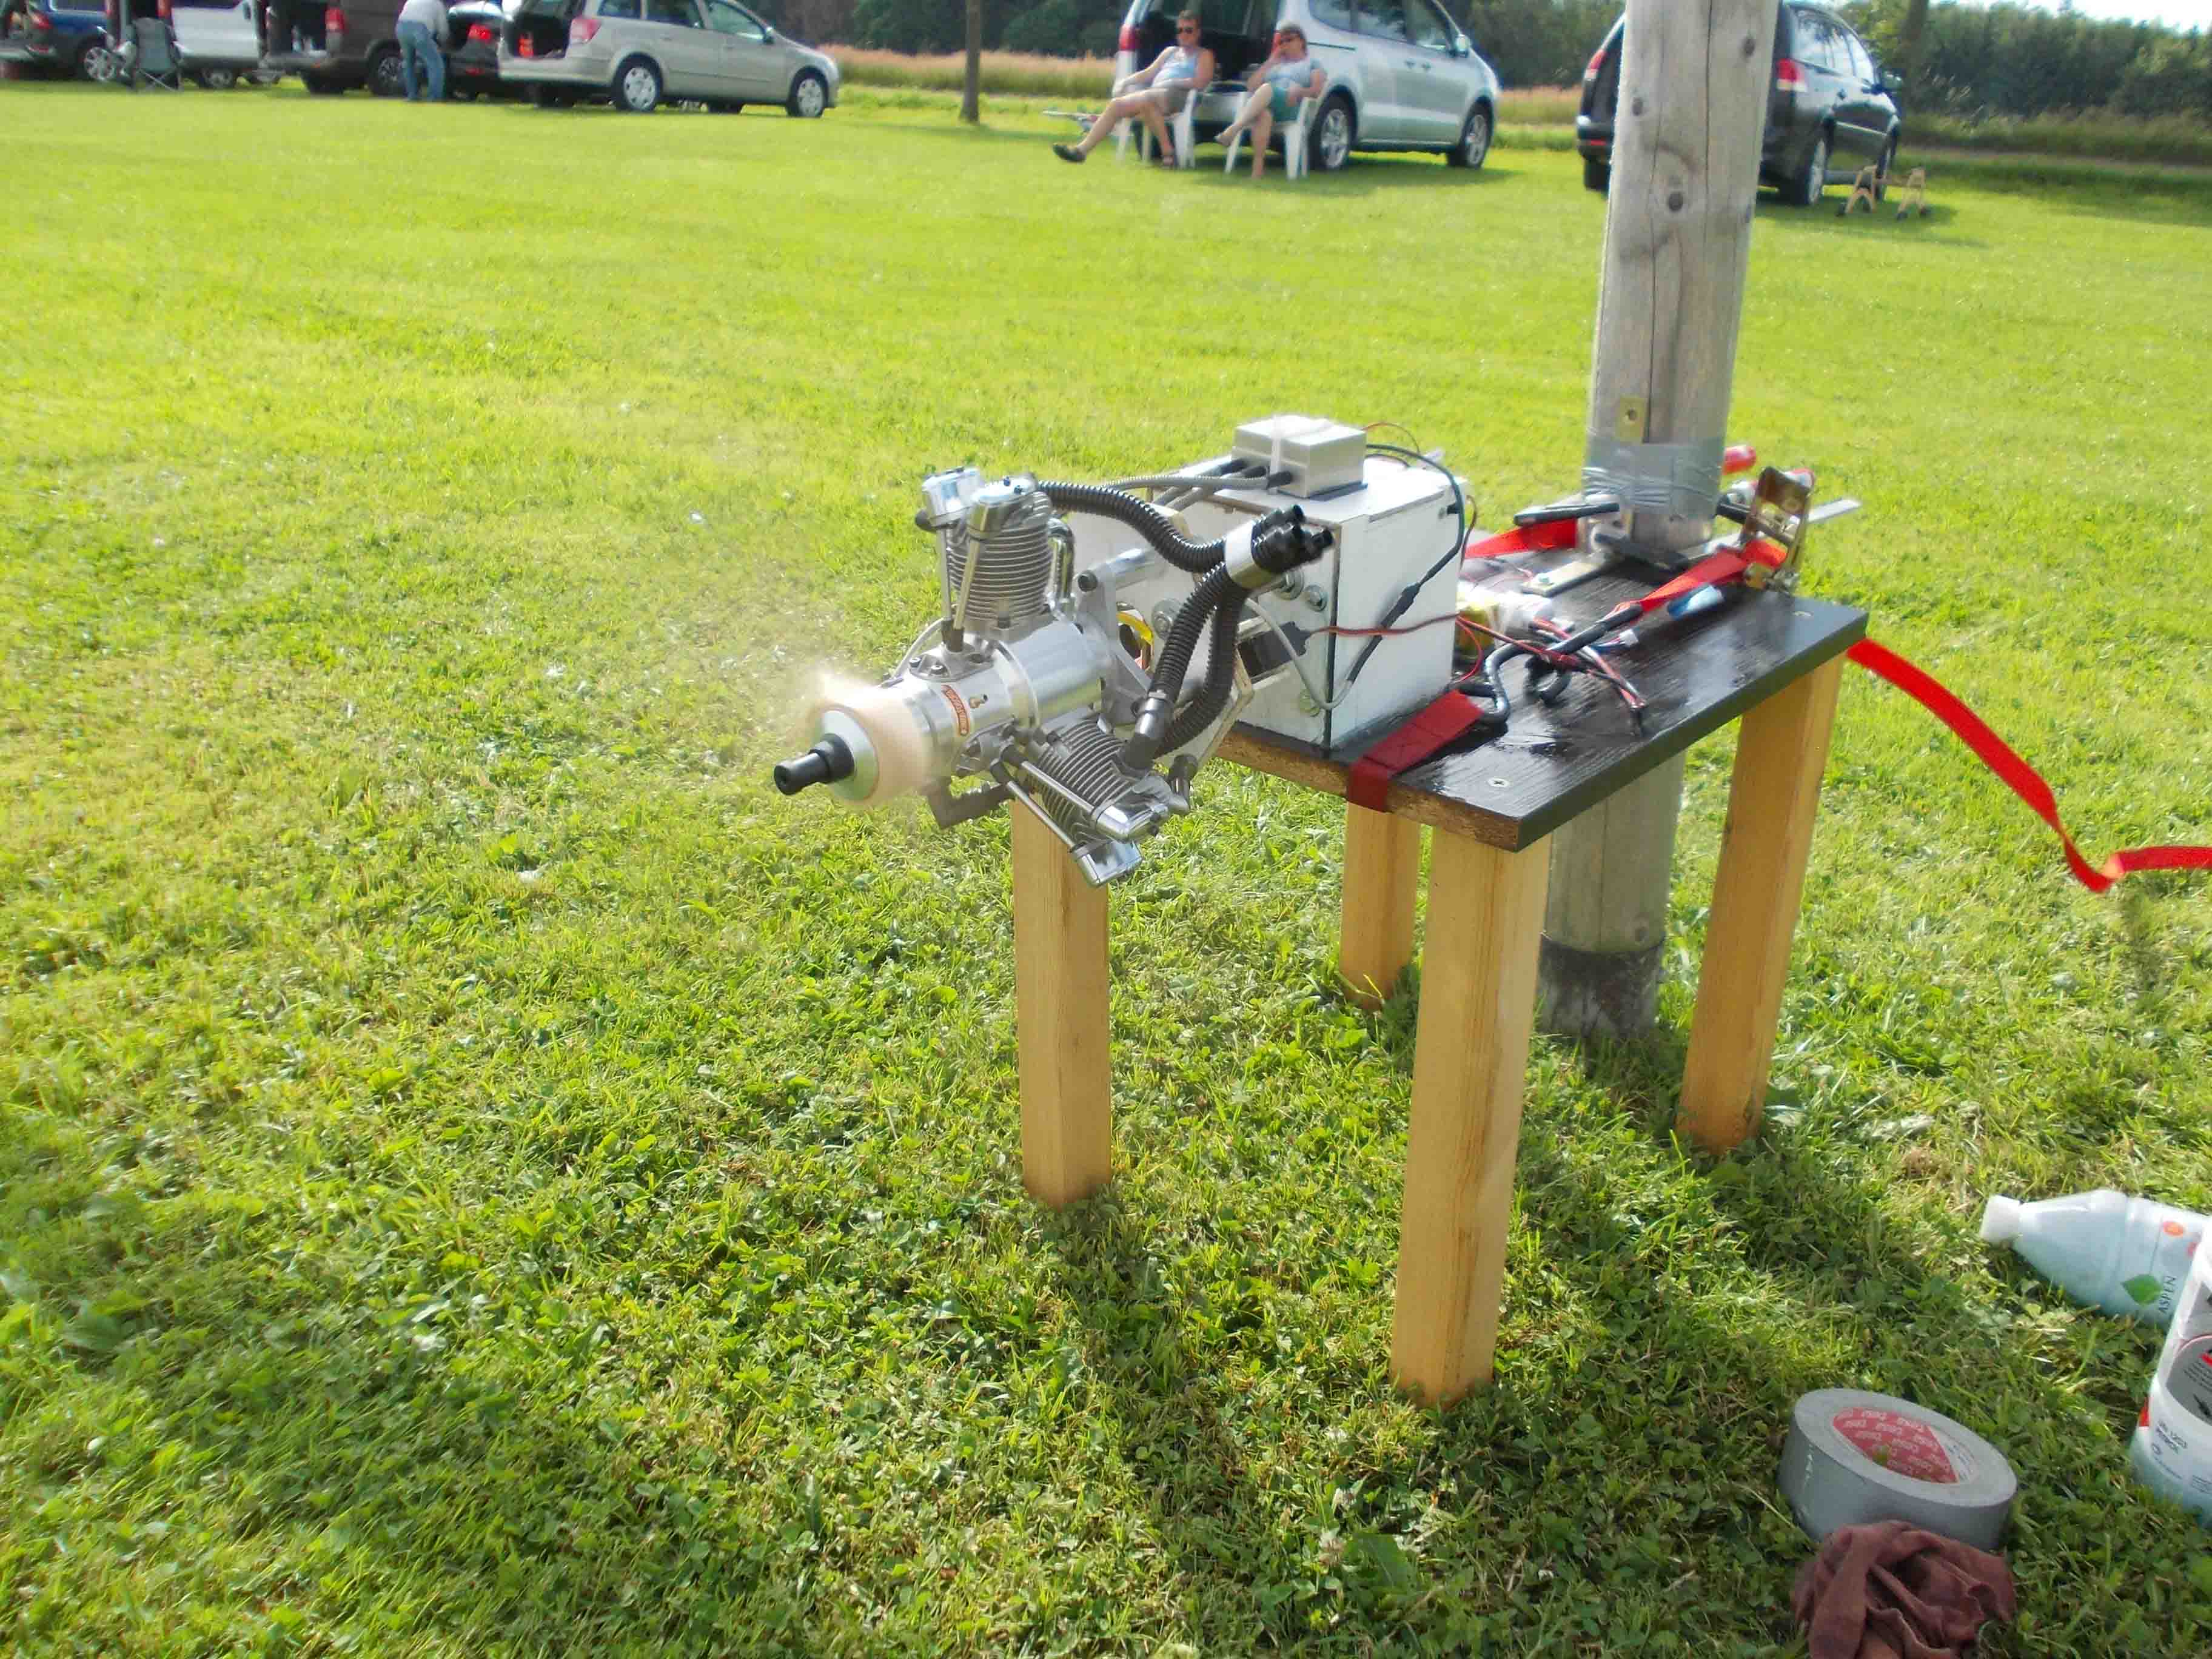
at last for today, one of my buddys wasn`t sure if the SAITO would give enough power for that biplane after he saw the big upper wing. At the pic below I will show you the wings in comparison. The lower wing is so much smaller, I`m sure the power will be enough. If I`m able to manage my goal with 11-12 kg, the wing loading will be close to 100g/dm�, a good value

At first I wanted to make the bombs for casting off. I was talking about this with some of my friends and at the end, I canceled this idea. At first, I will add to much weight. At second, it looks not really good, and so I decided to add the bombs with screws under the wing. The screenshoot from devWing shoes the position (the green areas)
The next stepp was to build the bell crank unit for the aileron pushrod. My buddy had done really good pics from the bell crank house so I`ve done a little drawing, my friend with the milling machine done a good job and so I was able to built that things.
The leading edge and the trailing egdes needed a little preparation, I added a pinewood to the leading edge to make it stronger and a small alu-tube to the tailing edge.
the rest is very simple, a pure diligence work.
at last for today, one of my buddys wasn`t sure if the SAITO would give enough power for that biplane after he saw the big upper wing. At the pic below I will show you the wings in comparison. The lower wing is so much smaller, I`m sure the power will be enough. If I`m able to manage my goal with 11-12 kg, the wing loading will be close to 100g/dm�, a good value
Last edited by thomasmuckus; 07-11-2017 at 06:10 AM.
 07-13-2017, 08:26 AM
#17
Thread Starter
Join Date: Jan 2014
Location: Eppendorf, Saxonia, Germany
Posts: 129
Likes: 0
Received 7 Likes
on
7 Posts
thanks a lot my friend.
Currently I`m working on the other half of the lower wing, I don`t do any pics from this because it is still the same game like the first one.
Today had a call with the company who had to build the legs from the landing gear. Bad news, the guy had broken his hand and there is a big delay. I (we) hope that he is able to make them into the next two months, this will be the time when I try to start building the hull. We will see, actually I`m very relaxed, there is a lot of work to do with the wings.
07-13-2017, 08:43 AM
#18
It's a shame a standard straight oleo strut can't be modified to be used as the shock absorber for your gear. I hope his hand heals fast!
Eppendorf, isn't that part of Hamburg? My son and his wife spent a lot of time in Hamburg when they lived over there. They both attended Georg-August Universitat in Gottingen. Him from the USA and her from Poland.
Mike
Eppendorf, isn't that part of Hamburg? My son and his wife spent a lot of time in Hamburg when they lived over there. They both attended Georg-August Universitat in Gottingen. Him from the USA and her from Poland.
Mike
07-13-2017, 09:22 AM
#19
Thread Starter
Join Date: Jan 2014
Location: Eppendorf, Saxonia, Germany
Posts: 129
Likes: 0
Received 7 Likes
on
7 Posts
May be that it would be possible to do but I think, the gear is a such outstandig part of the aircraft so that all "no-scale" things would be wrong. This gear makes it difference to all other ordinary biplanes. I own a lathe, but Bernd Lieseke from HAWE-Modellsport is one of the most experienced people in this business. He`s making not only the leg, he also build the small retracting strut too.
My Eppendorf is not the part of Hamburg, it is a small village close to Chemnitz in Saxonia. You can locate it when you search with the zip code 09575 at googlemaps.
My Eppendorf is not the part of Hamburg, it is a small village close to Chemnitz in Saxonia. You can locate it when you search with the zip code 09575 at googlemaps.
Last edited by thomasmuckus; 07-13-2017 at 09:25 AM.
07-13-2017, 09:31 AM
#20
Ah! I know where you are now you are west of Dresden! My wife and I recently restored an old photo album for her cousin that belonged to their grandfather. His branch of the family was from the Dresden area. In the album was pictures of Dresden in 1914, a great uncle in his 1915 army uniform, and pictures on the funeral of King Frederick Augustus III in 1932.
07-30-2017, 12:24 AM
#21
Thread Starter
Join Date: Jan 2014
Location: Eppendorf, Saxonia, Germany
Posts: 129
Likes: 0
Received 7 Likes
on
7 Posts
Hi Mike,
If your live would bring you to Dresden, give me a sign, it would be a great idea to meet.
I finished the second lower wing yesterday. I `m proud again, the wight difference between the wings is only 2 gramms, the intensive use of the letter weight device was worth it.
It seems the aircraft is close to finish. After shaping and covering > the wings and the tail are ready, I have an engine > what needs an aircraft more?


Hull, gear and the other scale stuff is only harmful air resistance . O.K., I have to adjust the wings and the tail but as a matter of principle > it`s an aircraft
If your live would bring you to Dresden, give me a sign, it would be a great idea to meet
.I finished the second lower wing yesterday. I `m proud again, the wight difference between the wings is only 2 gramms, the intensive use of the letter weight device was worth it.
It seems the aircraft is close to finish. After shaping and covering > the wings and the tail are ready, I have an engine > what needs an aircraft more?
Hull, gear and the other scale stuff is only harmful air resistance
. O.K., I have to adjust the wings and the tail but as a matter of principle > it`s an aircraft
Last edited by thomasmuckus; 07-30-2017 at 12:32 AM.

 01-07-2018, 06:48 AM
#24
Thread Starter
Join Date: Jan 2014
Location: Eppendorf, Saxonia, Germany
Posts: 129
Likes: 0
Received 7 Likes
on
7 Posts
Hi guys,
yes, I`m alive.
Sorry, it was a really long break, but, only in writing, not in building. I became a grandpa and so there any other importantthings in my life.
Now it`s going straight on there.
I have continued the wings, wth the ailerons. The had to cutteed out andtheaxle (1mm steel whire) was added.


after that, i boxed them aso to get a leading edge for the ailerons.
 Yes. I`ve done two of them


to make a fillet, I added some balsa strips.

yes, I`m alive.
Sorry, it was a really long break, but, only in writing, not in building. I became a grandpa and so there any other importantthings in my life.
Now it`s going straight on there.
I have continued the wings, wth the ailerons. The had to cutteed out andtheaxle (1mm steel whire) was added.
after that, i boxed them aso to get a leading edge for the ailerons.
to make a fillet, I added some balsa strips.
Last edited by thomasmuckus; 01-07-2018 at 06:50 AM.
01-07-2018, 07:40 AM
#25
Thread Starter
Join Date: Jan 2014
Location: Eppendorf, Saxonia, Germany
Posts: 129
Likes: 0
Received 7 Likes
on
7 Posts
Now back to the landing gear.
By surfing in the www I found a guy named Chuck Graves , the owner ofhttp://www.warbirdcolors.com
Authentic Colors For Your Scale Warbird he also sells Vance Mosher-Plans and he was so friendly to send the plan of the gear from Curtiss Helldiver SBC-4 . Not the same aircraft, but the same gear-principle. So I reworked the gear-drive complete, from two engines to one, central. To check if it works, I decided to build a "dummy-hull" in scale 1/1.
At first, the DevFus-Work

You can make nice games with this

This was the tun of my friend with the milling machine
stick a little

By surfing in the www I found a guy named Chuck Graves , the owner ofhttp://www.warbirdcolors.com
Authentic Colors For Your Scale Warbird he also sells Vance Mosher-Plans and he was so friendly to send the plan of the gear from Curtiss Helldiver SBC-4 . Not the same aircraft, but the same gear-principle. So I reworked the gear-drive complete, from two engines to one, central. To check if it works, I decided to build a "dummy-hull" in scale 1/1.
At first, the DevFus-Work
You can make nice games with this
This was the tun of my friend with the milling machine
stick a little