


New F1 tunnel build
 12-14-2013, 04:59 AM
#1

Thread Starter

Join Date: Sep 2010
Location: Staffs, UNITED KINGDOM
Posts: 895
Likes: 0
Received 0 Likes
on
0 Posts
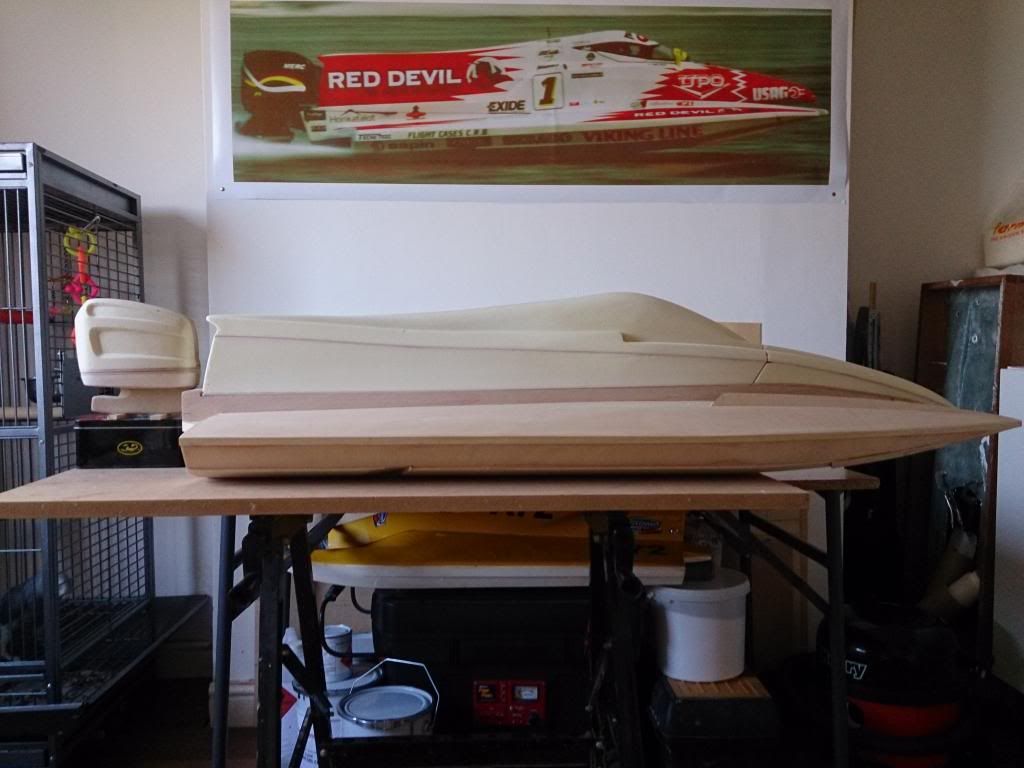
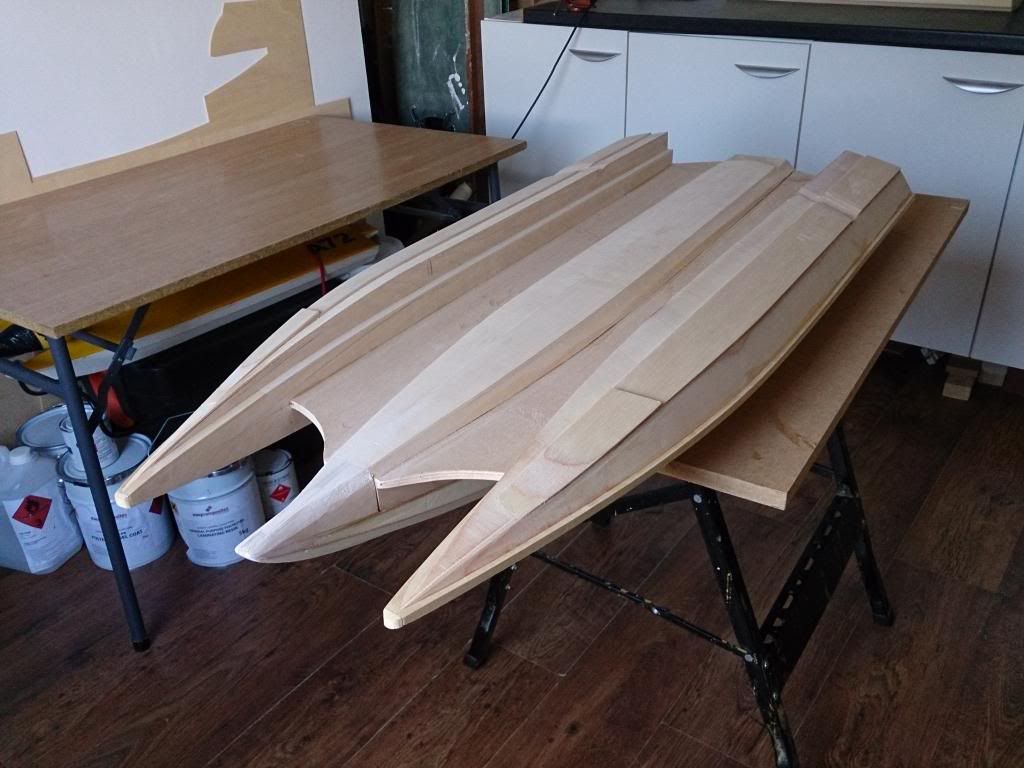
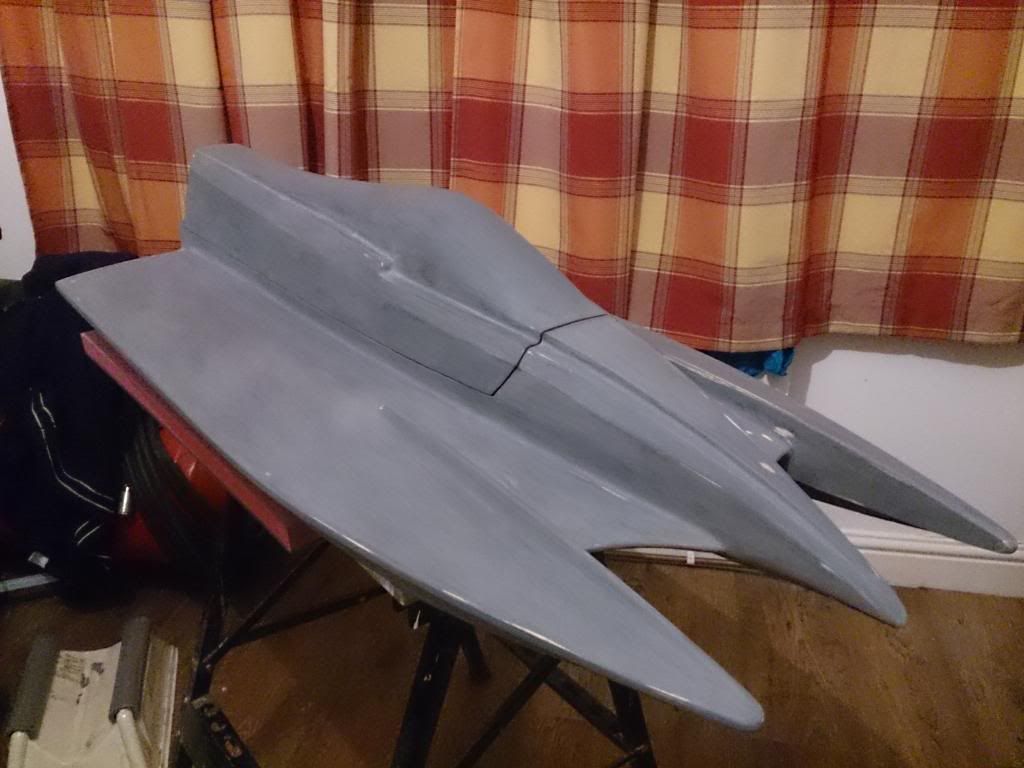
This is my latest project 44" F1 inboard
Based around previous design with some minor changes and all new looks and new fake OB aswell ,improved center pod and canopy not just for looks but for improved room around the engine and airflow and easier to install and work on
Some hydro and aero dynamics changes have been made for improved handling and more stable flight when at full throttle and rougher windier and rougher conditions
Hull and OB constructed


 12-14-2013, 12:10 PM
#3
Thread Starter
Join Date: Sep 2010
Location: Staffs, UNITED KINGDOM
Posts: 895
Likes: 0
Received 0 Likes
on
0 Posts
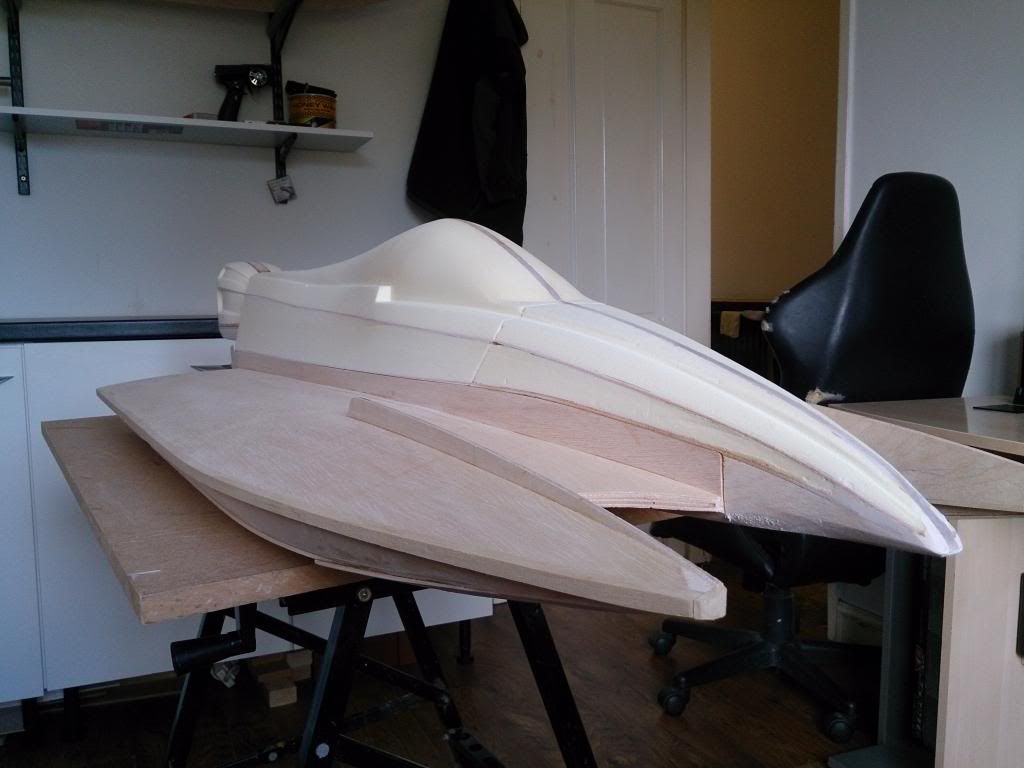
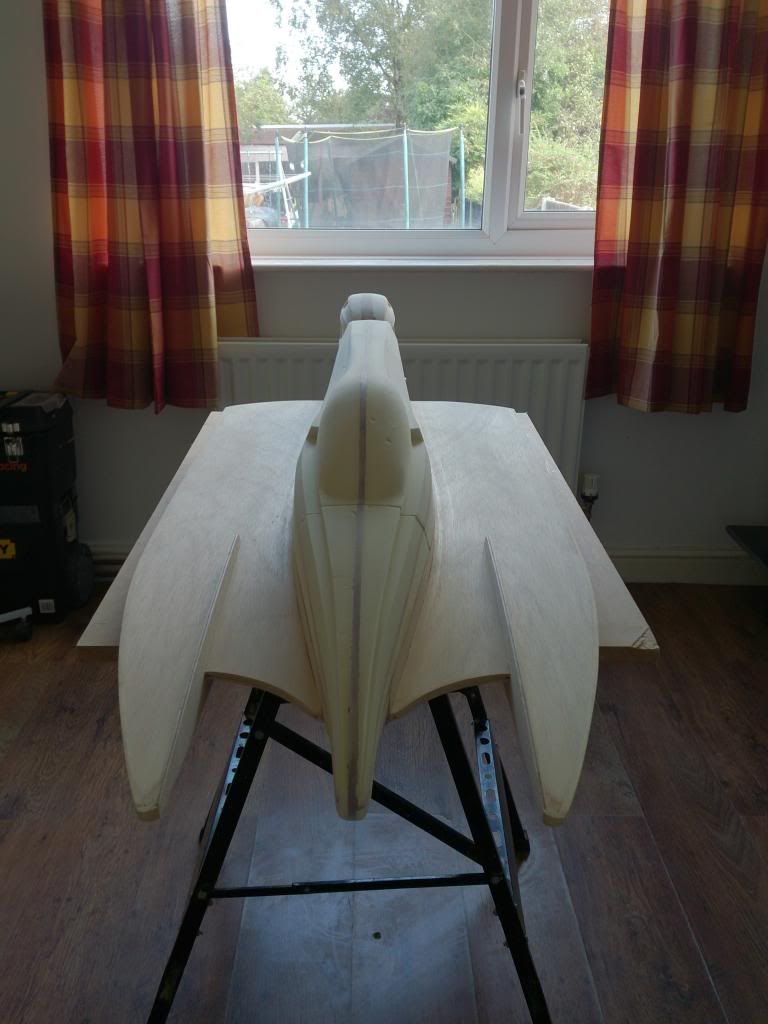
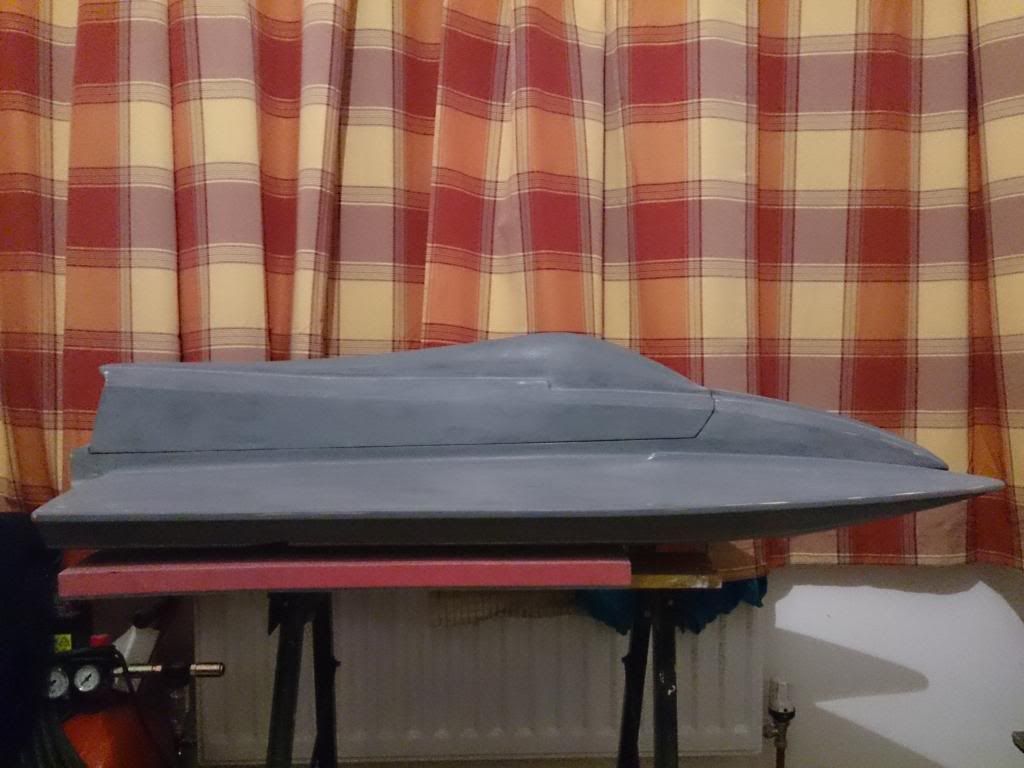
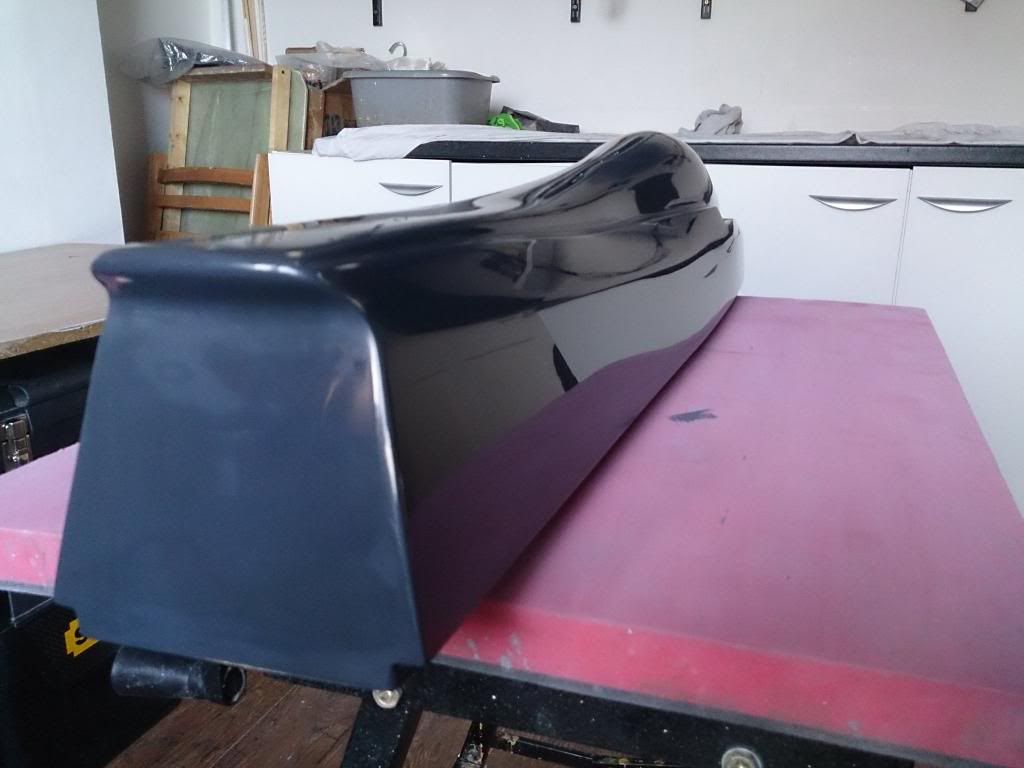
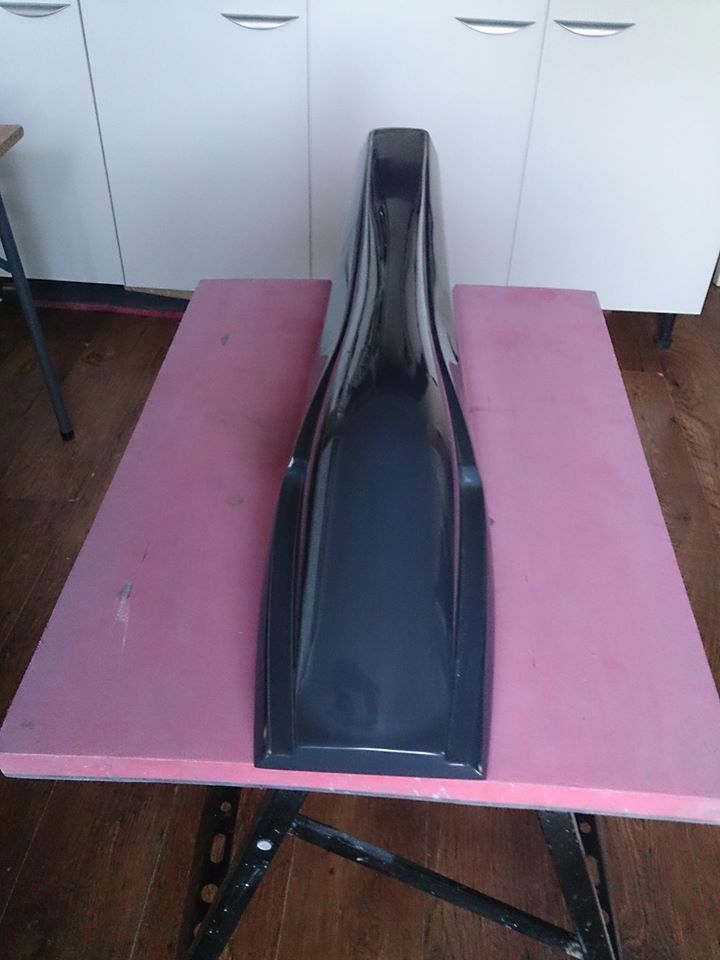
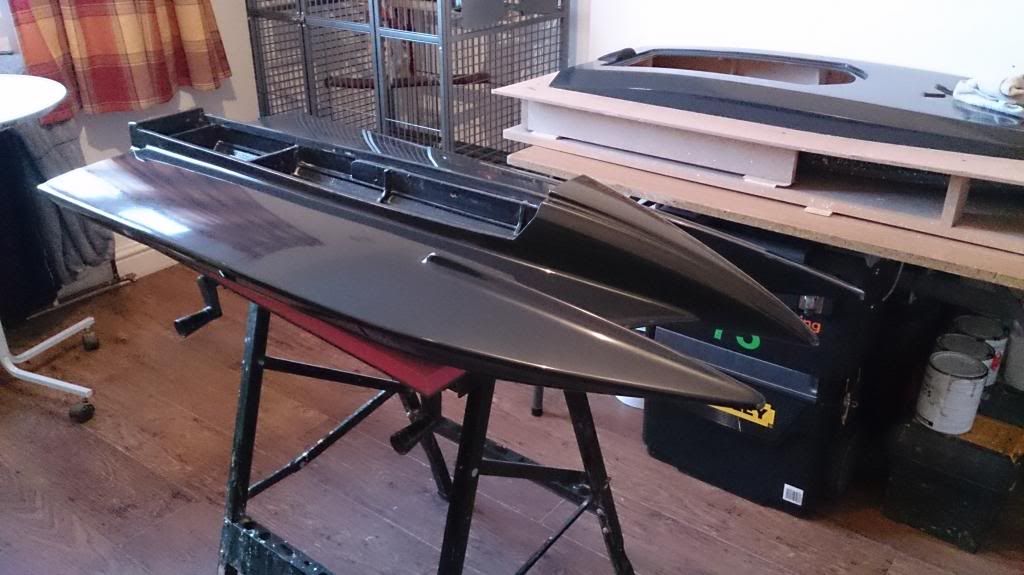
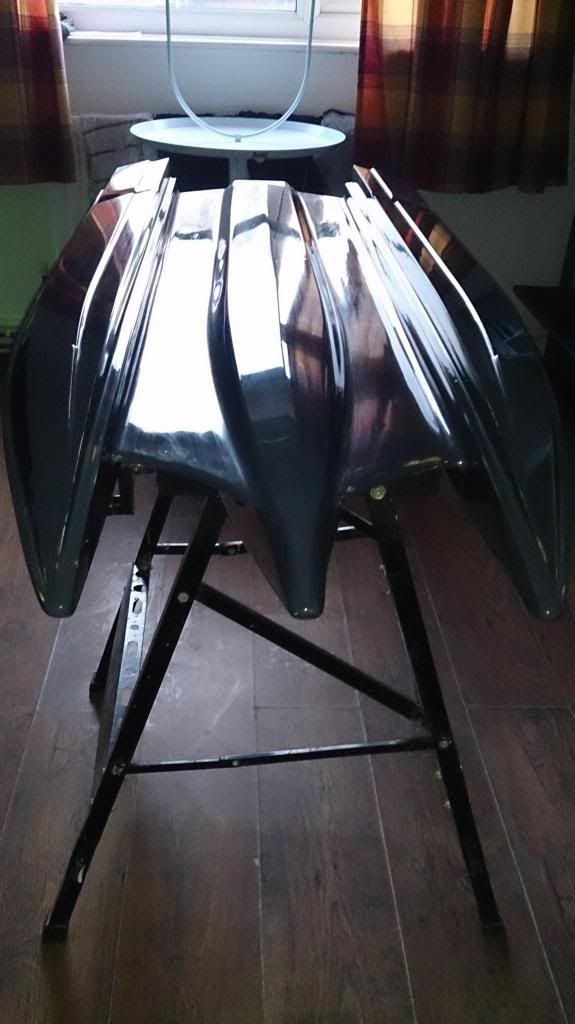
pics of 1st pattern coat on bottom of hull ,sanded and ready for 2nd coat
2nd coat on top deck and canopy awaiting final pattern coat
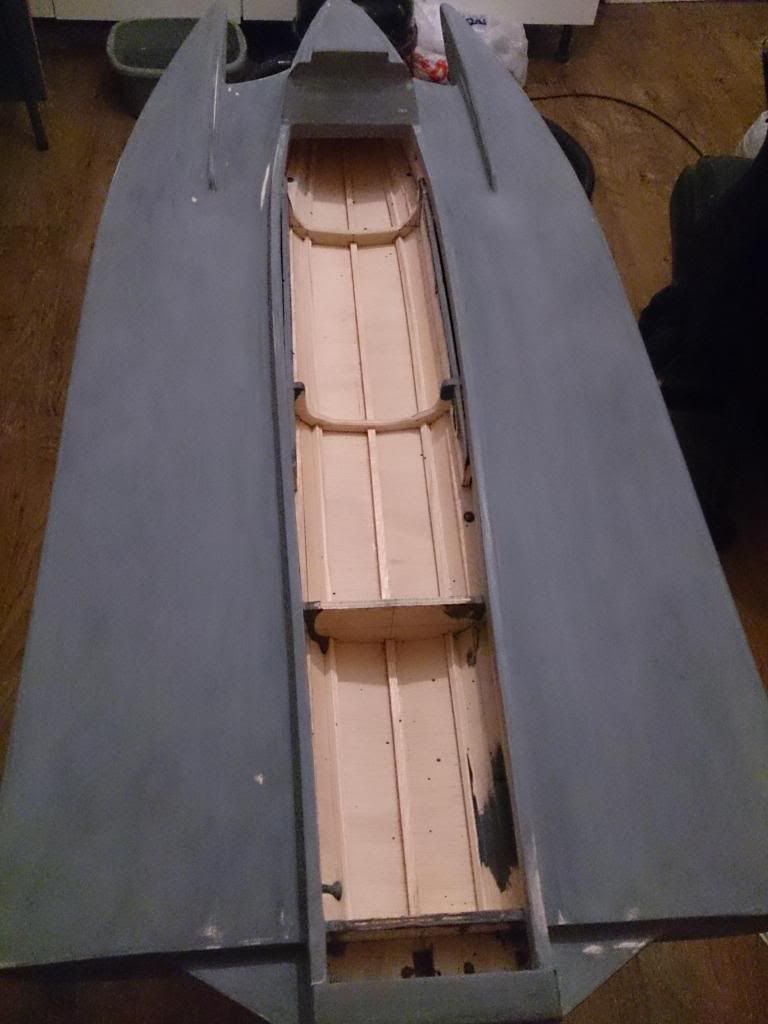
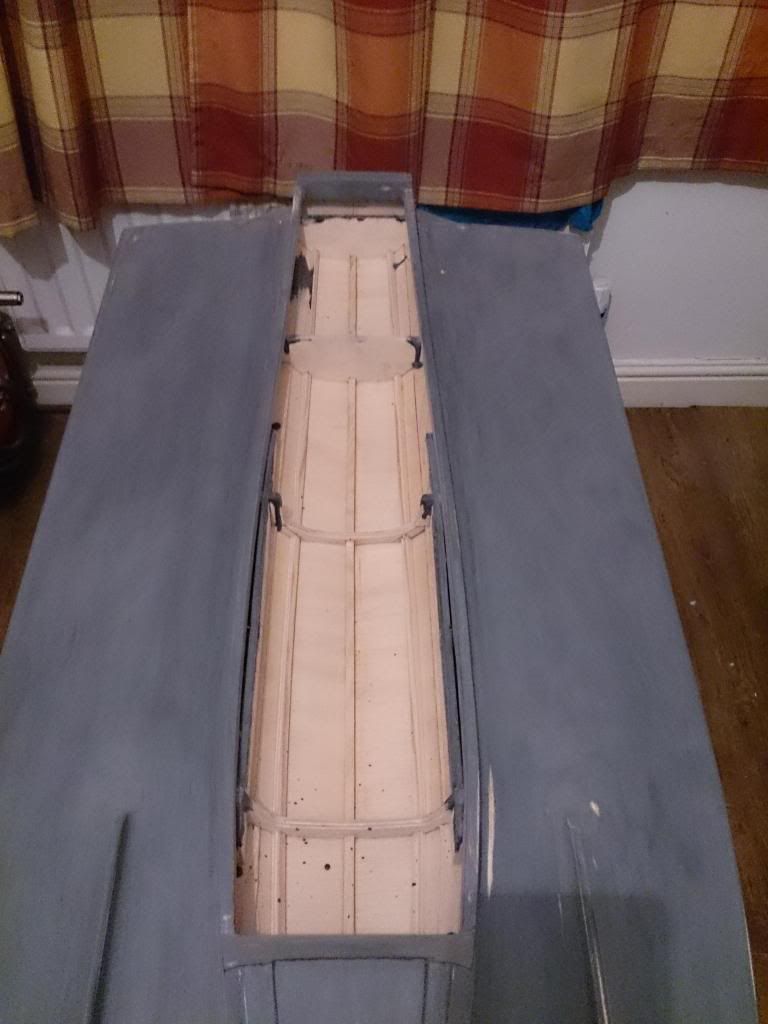
couple of internal shots


2nd coat on top deck and canopy awaiting final pattern coat


couple of internal shots

 12-19-2013, 12:18 AM
#5
Thread Starter
Join Date: Sep 2010
Location: Staffs, UNITED KINGDOM
Posts: 895
Likes: 0
Received 0 Likes
on
0 Posts
Cheers Chris
Its getting there slowly just busy with all builds but really can't wait for it to hit the water and races next yr
Main thing is finishing the pattern coat stage and start on the parting boards for ssplit moulds as there alot on this 1
Its getting there slowly just busy with all builds but really can't wait for it to hit the water and races next yr
Main thing is finishing the pattern coat stage and start on the parting boards for ssplit moulds as there alot on this 1
01-05-2014, 06:52 AM
#7
Thread Starter
Join Date: Sep 2010
Location: Staffs, UNITED KINGDOM
Posts: 895
Likes: 0
Received 0 Likes
on
0 Posts
Hi Nitrohunter thanks bud
I use
6mm birch ply for bulkheads
9mm birch ply for spray rails
4mm birch ply for inner sponsons & stringers
12mm birch ply for transom
The rest is 3mm lite-ply used for aeroplanes
i find this makes a strong yet lite hull
hope this helps bud
I use
6mm birch ply for bulkheads
9mm birch ply for spray rails
4mm birch ply for inner sponsons & stringers
12mm birch ply for transom
The rest is 3mm lite-ply used for aeroplanes
i find this makes a strong yet lite hull
hope this helps bud
01-05-2014, 07:38 AM
#8
Thread Starter
Join Date: Sep 2010
Location: Staffs, UNITED KINGDOM
Posts: 895
Likes: 0
Received 0 Likes
on
0 Posts
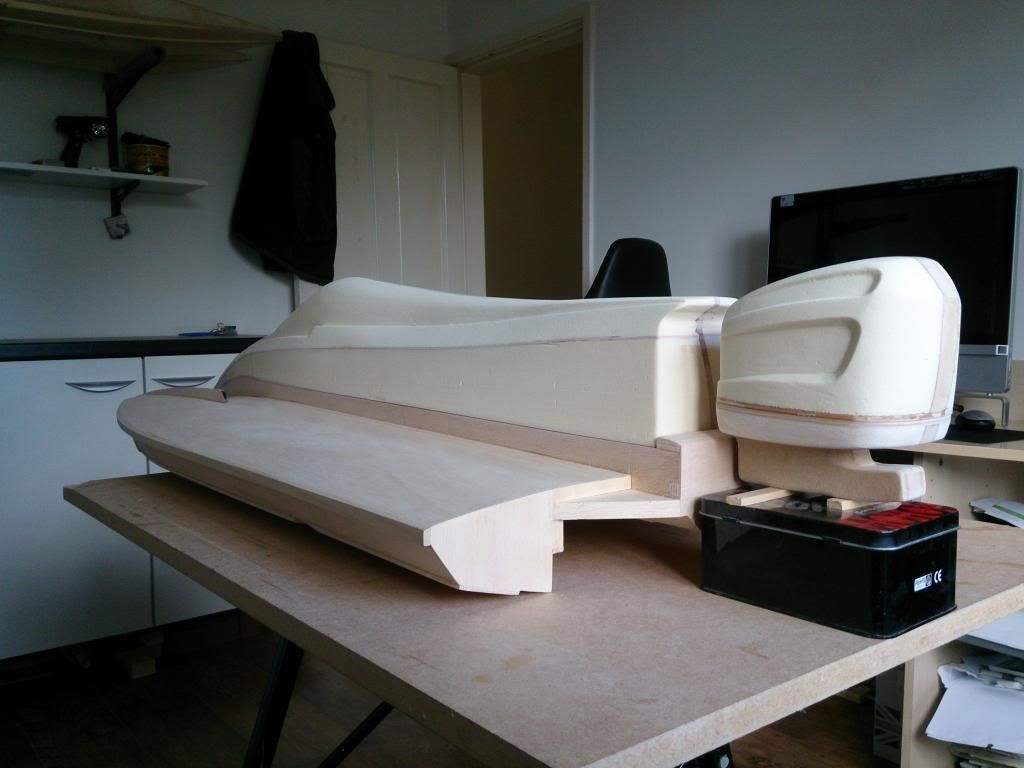
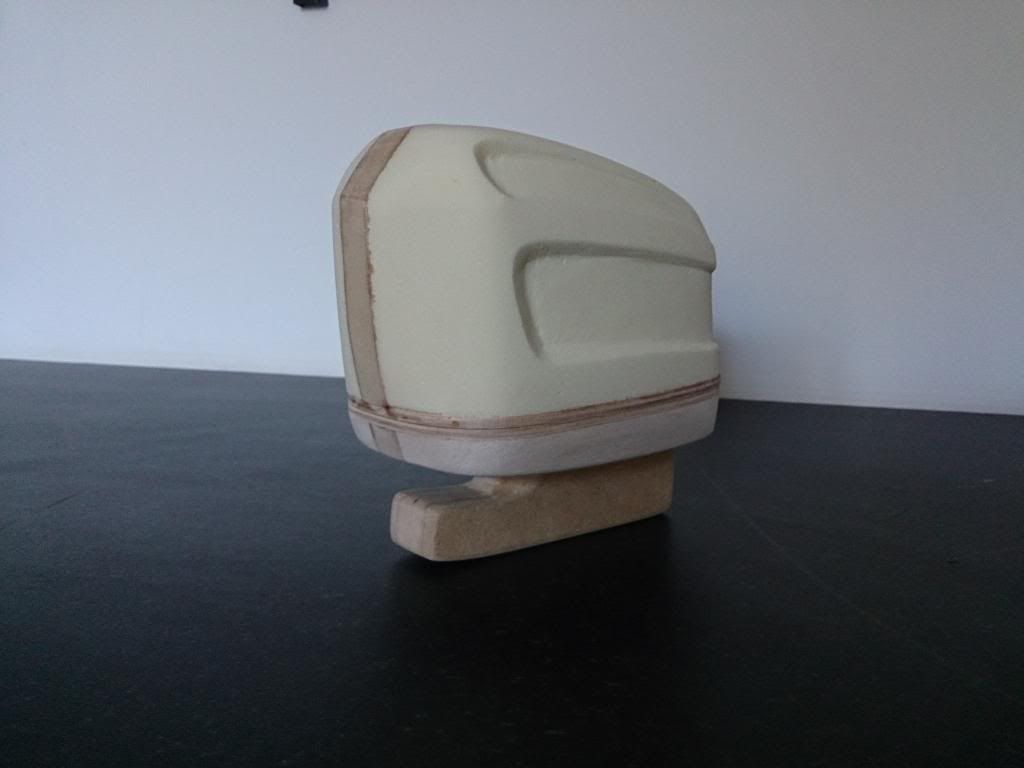
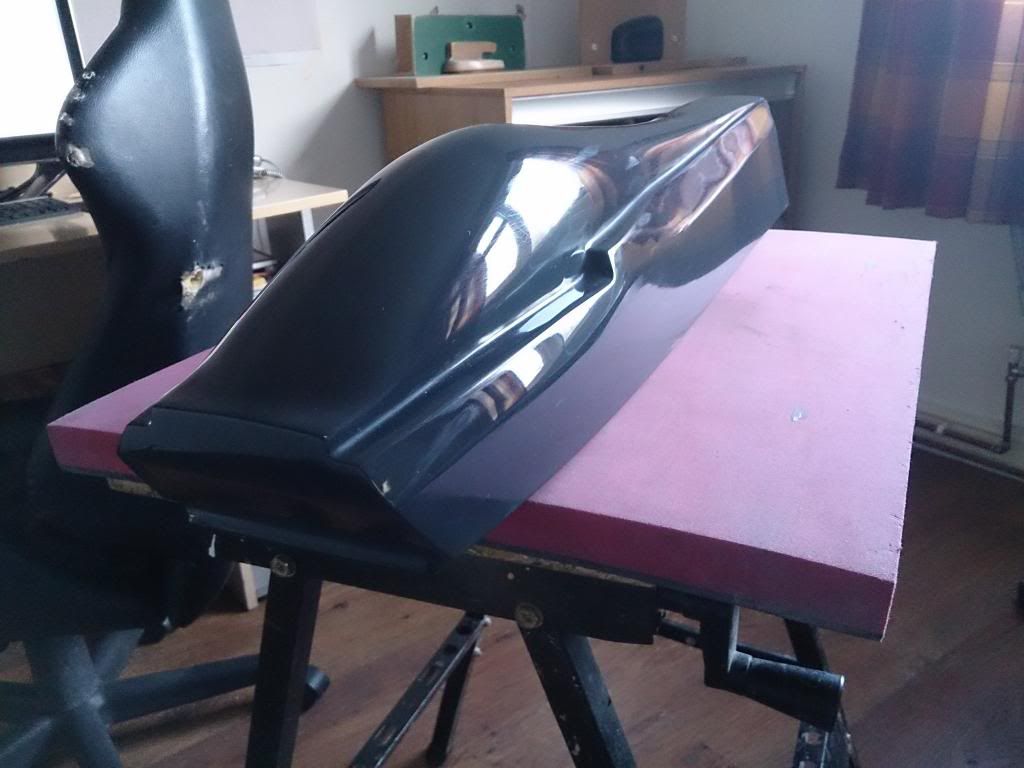
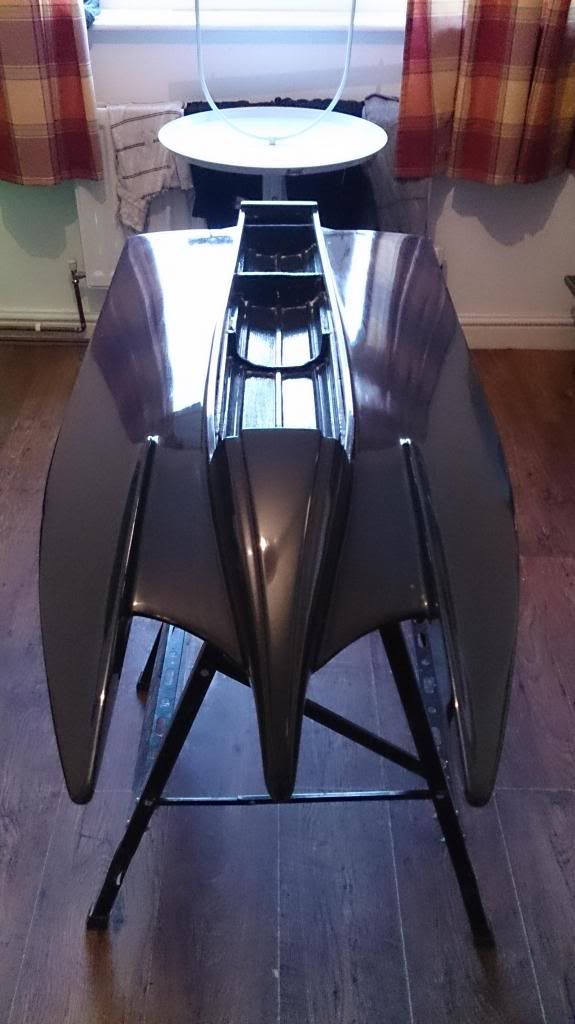
F1 canopy wetsanded and polished up looks good just needs split board making and mounting on flange ready for 2 part moulding
Gonna finish sanding the main hull now ready for another pattern coat
Gonna finish sanding the main hull now ready for another pattern coat


 01-06-2014, 02:08 PM
#10
Member
Join Date: Dec 2010
Location: spring,
TX
Posts: 58
Likes: 0
Received 0 Likes
on
0 Posts
Wow, that looks very astonishing. I am very excited to see the final stage of your build. THank you for the information as i would be using this to build my own boat. As another question would arise where can i get information regarding how you are doing the overall painting on your hull. It looks marvelous. Thank you for your help. Keep the awesome work going!
01-07-2014, 03:29 AM
#11
Thread Starter
Join Date: Sep 2010
Location: Staffs, UNITED KINGDOM
Posts: 895
Likes: 0
Received 0 Likes
on
0 Posts
Thanks N
Im looking forward to finishing it and getting it on the water
The finish is pattern coat primer and gloss coat takes 3-4 coats of primer dry sanding inbetween with 120g the final sanding of primer is with 180g then 1-2 coats of gloss coat wetsanding with 400g,800g,1200g and finally 1500g then polished to a high shine finish using cutting compounds either by hand or polisher
This is best used if you plan on moulding
If you gonna use the hull as its built then best option would be seal the wood then us automotive paints to complete the finish

 01-08-2014, 02:27 PM
#15
Member
Join Date: Dec 2010
Location: spring,
TX
Posts: 58
Likes: 0
Received 0 Likes
on
0 Posts
What engine would you be using on this boat craft? On your overall build did you get specific instruction or did you build this on your own? Keep it up, I bet she weighs a couple pound.
01-08-2014, 02:42 PM
#16
Thread Starter
Join Date: Sep 2010
Location: Staffs, UNITED KINGDOM
Posts: 895
Likes: 0
Received 0 Likes
on
0 Posts
Hey bud ill be running my self modded RCMK K30 rear exhaust
Vid of previous build ill be running same running gear and engine setup in this 1
http://youtu.be/wgBhiieJF3w I designed and built this hull from scratch i do a simple drawing of how i want it too look then go from there
main hull weighs 8lbs
Canopy weighs 4lbs but this due the wood shaping guides and plank its mounted so will easily half it
so not as heavy as you think


 01-24-2014, 04:56 AM
#20
Thread Starter
Join Date: Sep 2010
Location: Staffs, UNITED KINGDOM
Posts: 895
Likes: 0
Received 0 Likes
on
0 Posts
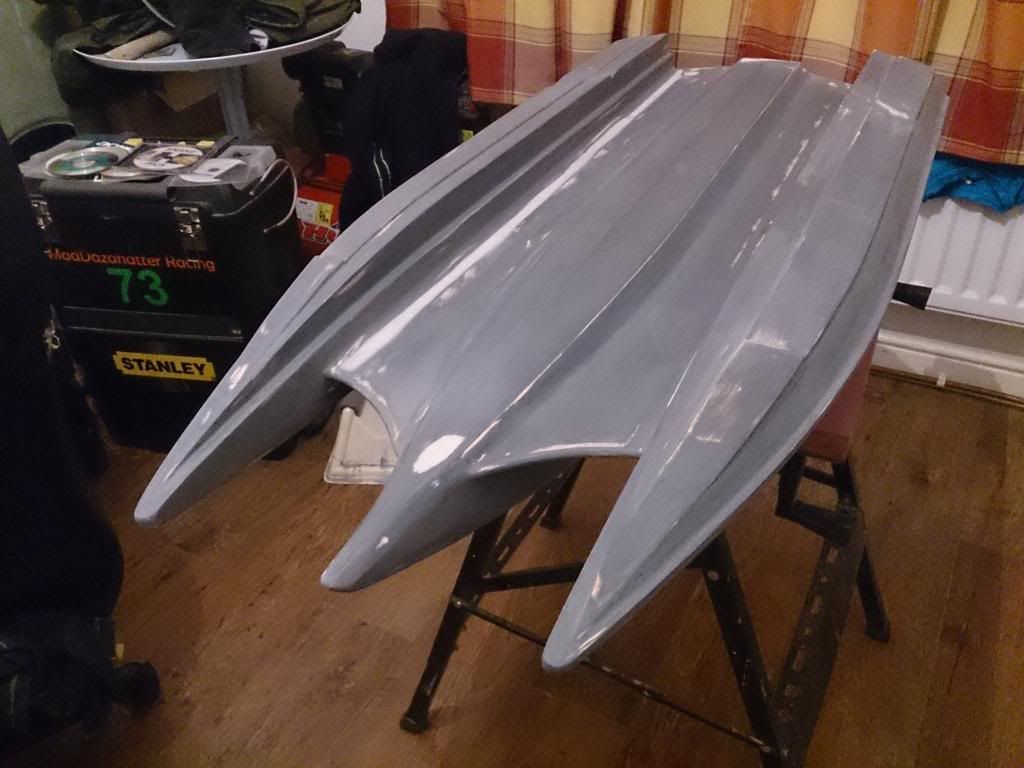
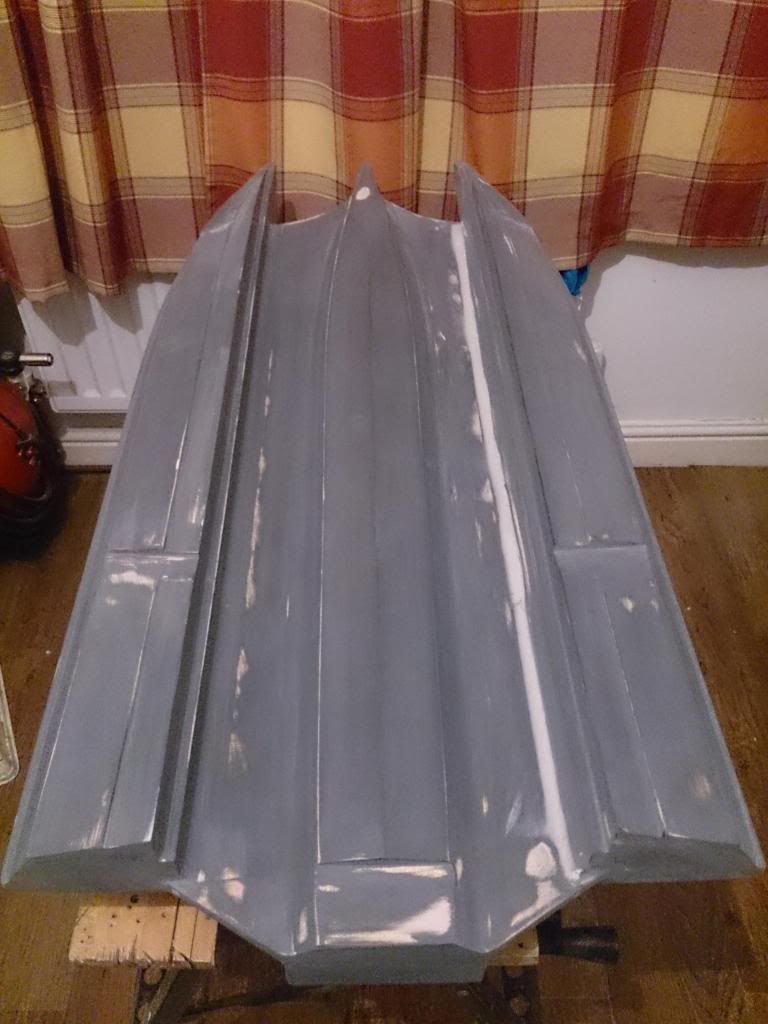
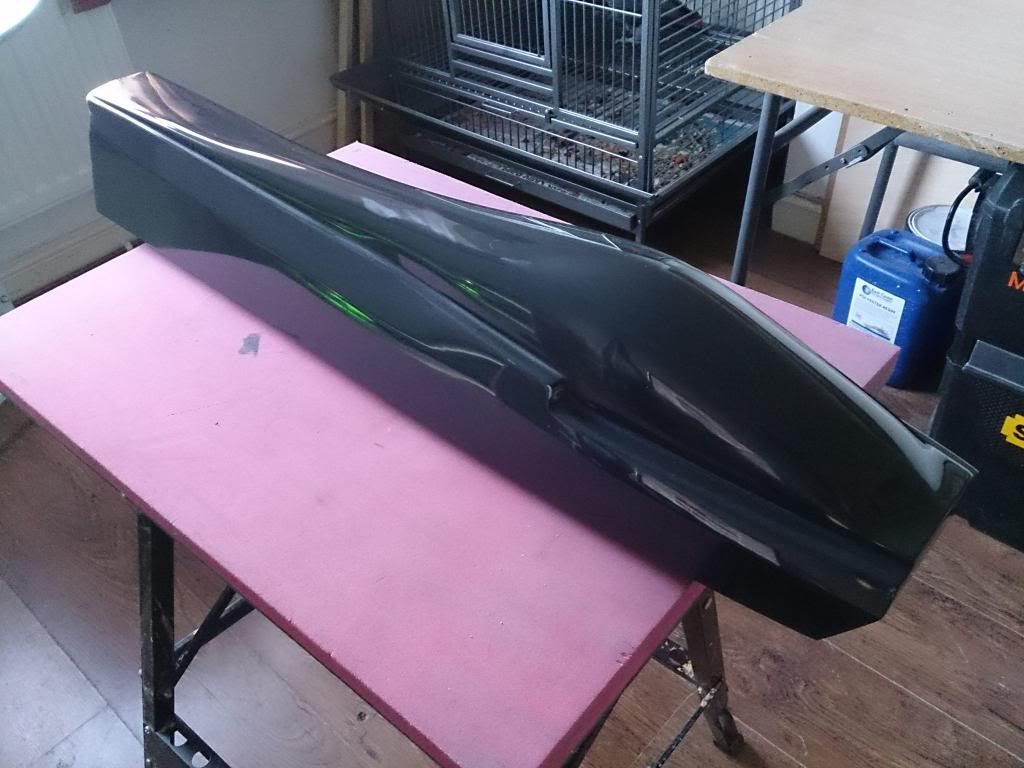
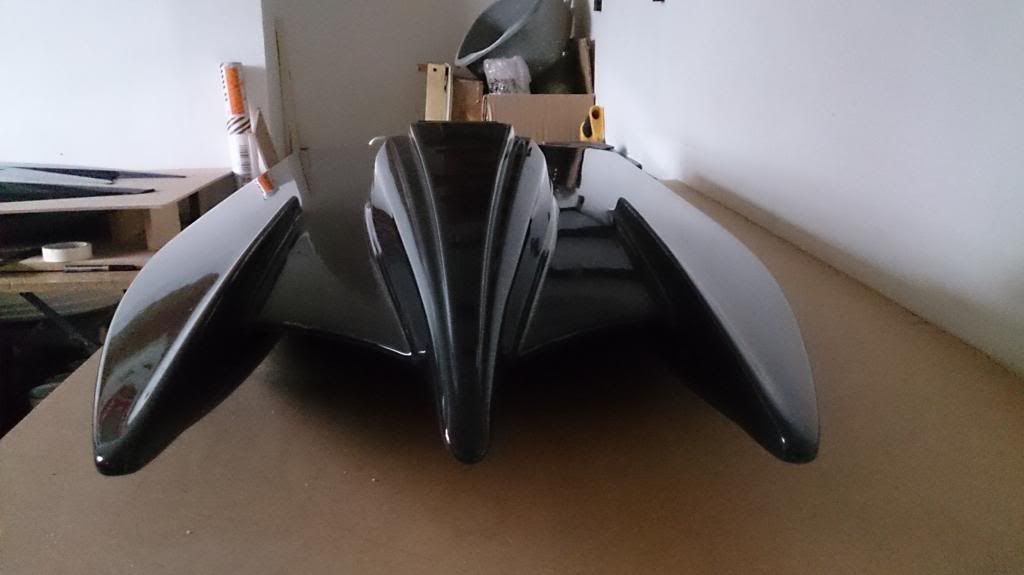
Main hull now gloss coated,wetsanded and polished up
Gotta start on parting board and getting it ready for moulding process which theres lots of on this build LOL
Gotta start on parting board and getting it ready for moulding process which theres lots of on this build LOL


 01-26-2014, 08:43 AM
#23
Thread Starter
Join Date: Sep 2010
Location: Staffs, UNITED KINGDOM
Posts: 895
Likes: 0
Received 0 Likes
on
0 Posts
Cheers guys
Ill making fibreglass moulds of it so i can produce a number of either fibreglass,carbon fibre,carbon kevlar hulls either for myself or for who ever wants 1
Ill making fibreglass moulds of it so i can produce a number of either fibreglass,carbon fibre,carbon kevlar hulls either for myself or for who ever wants 1
02-21-2014, 10:18 AM
#24
Thread Starter
Join Date: Sep 2010
Location: Staffs, UNITED KINGDOM
Posts: 895
Likes: 0
Received 0 Likes
on
0 Posts
Started moulding this project now and so far so good but theres alot of moulds to this builds ,there will be 9 in total
1st half of OB top
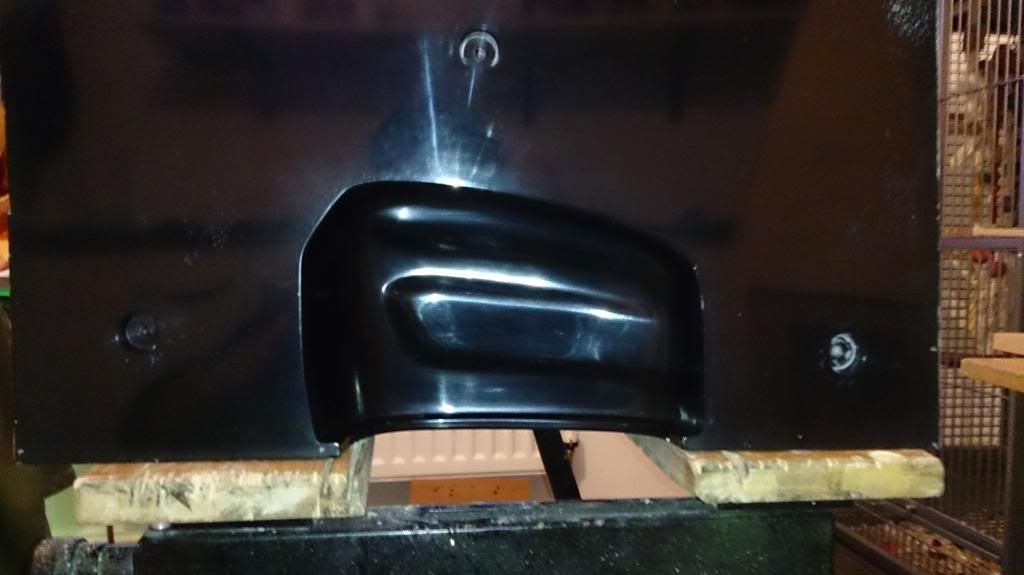
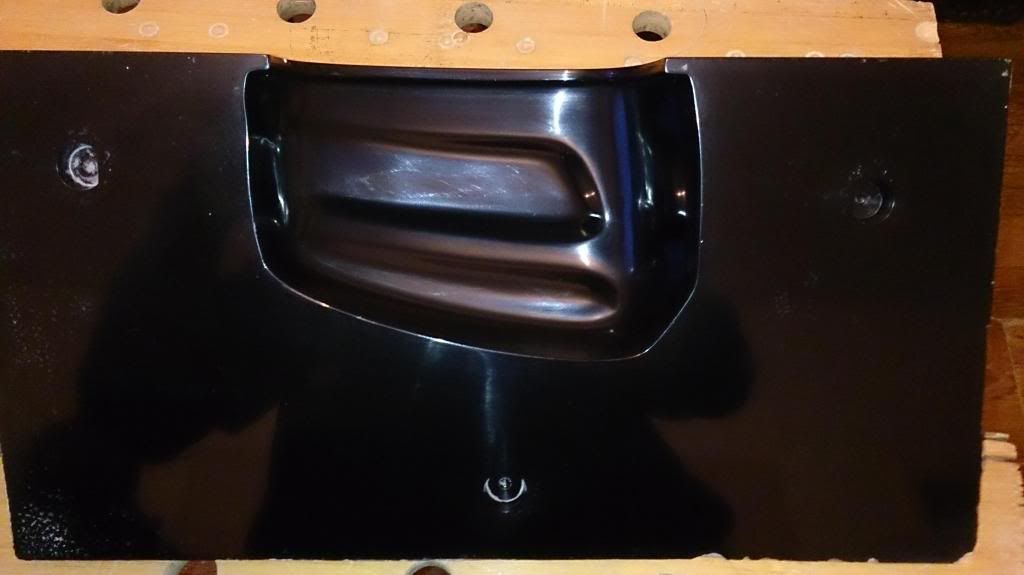
1st half of Hatch
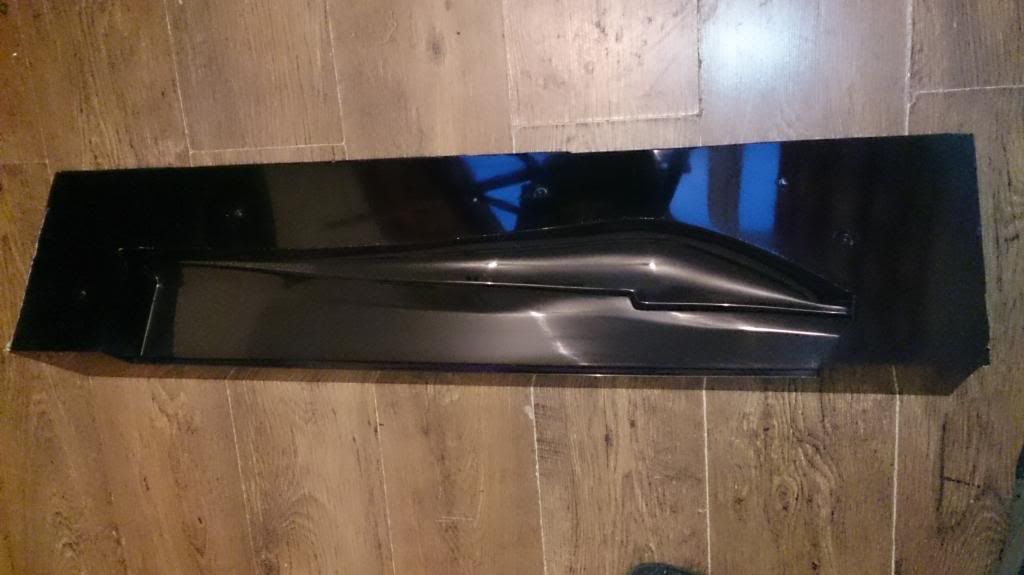
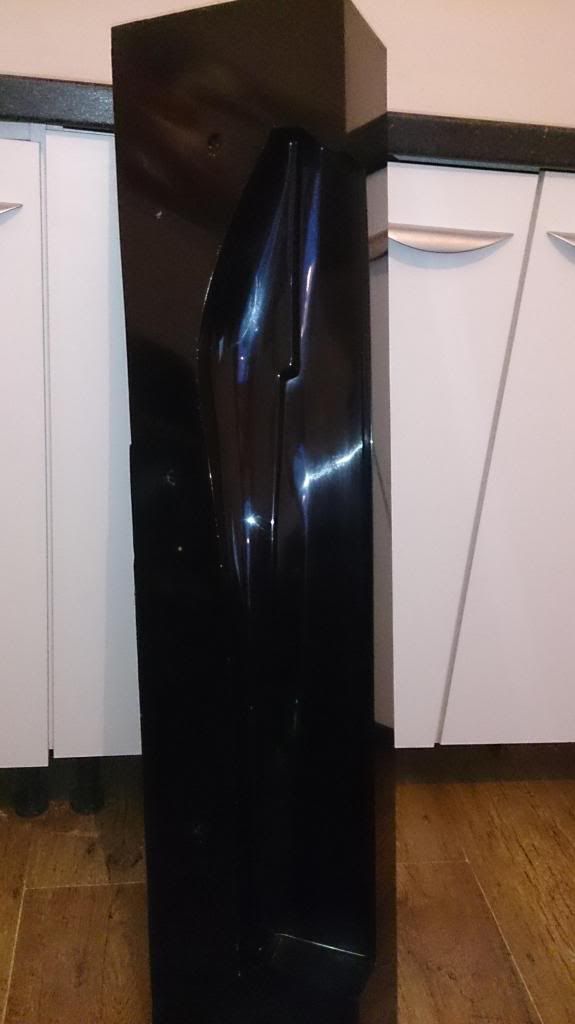
still lots to do LOL
1st half of OB top


1st half of Hatch


still lots to do LOL