Go Back  RCU Forums > RC Boats > Speed - RC Gas Boats
Reload this Page >

Lauterbach build.......

Notices
Speed - RC Gas Boats Discuss gas RC boats right here!

Lauterbach build.......

Old 02-08-2015, 07:45 PM
  #126  
zen40
Thread Starter
 
Join Date: Dec 2003
Location: christchurchnot aplicable, NEW ZEALAND
Posts: 183
Likes: 0
Received 0 Likes on 0 Posts
Default

Attached Thumbnails Click image for larger version

Name:	image.jpg
Views:	291
Size:	655.5 KB
ID:	2071580  
Old 02-10-2015, 05:57 AM
  #127  
corky051
Junior Member
 
Join Date: Feb 2013
Location: Canton, MI
Posts: 22
Likes: 0
Received 0 Likes on 0 Posts
Default

The drivers appearance is flawless. From the photos, it appears even the red stripe on the sleeve cuffs is color keyed to match the paint scheme colors. The detailed work with the uniform and safety equipment is outstanding!! My sincere compliments to the seamstress and the builder.
Old 02-26-2015, 07:28 PM
  #128  
wdgreen
My Feedback: (1)
 
Join Date: May 2002
Location: Windsor, ON, CANADA
Posts: 76
Likes: 0
Received 0 Likes on 0 Posts
Default

Awesome boat. I just finished my Lauterbach. Ready to test when the pond melts here in canada.
Attached Thumbnails Click image for larger version

Name:	PC190021.JPG
Views:	327
Size:	1.40 MB
ID:	2076801   Click image for larger version

Name:	PC190023.JPG
Views:	357
Size:	1.51 MB
ID:	2076802   Click image for larger version

Name:	PC190024.JPG
Views:	323
Size:	1.50 MB
ID:	2076803   Click image for larger version

Name:	PC190025.JPG
Views:	366
Size:	1.59 MB
ID:	2076804   Click image for larger version

Name:	PC190028.JPG
Views:	312
Size:	1.77 MB
ID:	2076805  
Old 02-26-2015, 07:31 PM
  #129  
wdgreen
My Feedback: (1)
 
Join Date: May 2002
Location: Windsor, ON, CANADA
Posts: 76
Likes: 0
Received 0 Likes on 0 Posts
Default

One shot of the boat I copied
Attached Thumbnails Click image for larger version

Name:	DeepwaterSpecial.jpg
Views:	285
Size:	181.3 KB
ID:	2076806  
Old 03-21-2015, 03:30 PM
  #130  
zen40
Thread Starter
 
Join Date: Dec 2003
Location: christchurchnot aplicable, NEW ZEALAND
Posts: 183
Likes: 0
Received 0 Likes on 0 Posts
Default

Very nice we green, where did you get the instruments for the dash, very cool.
Old 03-21-2015, 05:51 PM
  #131  
wdgreen
My Feedback: (1)
 
Join Date: May 2002
Location: Windsor, ON, CANADA
Posts: 76
Likes: 0
Received 0 Likes on 0 Posts
Default

Originally Posted by zen40
Very nice we green, where did you get the instruments for the dash, very cool.
Home made. Aluminum bezels on the lathe, Gauges printed on photo paper, plastic covers punched out from plastic sheet. I made all the parts.
Old 03-21-2015, 08:20 PM
  #132  
zen40
Thread Starter
 
Join Date: Dec 2003
Location: christchurchnot aplicable, NEW ZEALAND
Posts: 183
Likes: 0
Received 0 Likes on 0 Posts
Default

Great job, I've made some bezels as well, struggling to find pritable faces this size.
Old 03-22-2015, 03:58 AM
  #133  
wdgreen
My Feedback: (1)
 
Join Date: May 2002
Location: Windsor, ON, CANADA
Posts: 76
Likes: 0
Received 0 Likes on 0 Posts
Default

Originally Posted by zen40
Great job, I've made some bezels as well, struggling to find pritable faces this size.
I just googled gauge faces, found some I liked then resized in a photo program, or Microsoft word.
Old 03-22-2015, 10:30 AM
  #134  
zen40
Thread Starter
 
Join Date: Dec 2003
Location: christchurchnot aplicable, NEW ZEALAND
Posts: 183
Likes: 0
Received 0 Likes on 0 Posts
Default

Have nearly finished the radio install, I went with firm braided cable on the throttle and did remove the return spring on the carb and used 4/40 rod with a carbon sleeve on the rudder.
next job is to make the radio box lid remove able but watertight.
Attached Thumbnails Click image for larger version

Name:	image.jpg
Views:	301
Size:	1.04 MB
ID:	2083194   Click image for larger version

Name:	image.jpg
Views:	311
Size:	1.28 MB
ID:	2083195   Click image for larger version

Name:	image.jpg
Views:	313
Size:	1,022.0 KB
ID:	2083197  
Old 08-01-2015, 12:51 AM
  #135  
zen40
Thread Starter
 
Join Date: Dec 2003
Location: christchurchnot aplicable, NEW ZEALAND
Posts: 183
Likes: 0
Received 0 Likes on 0 Posts
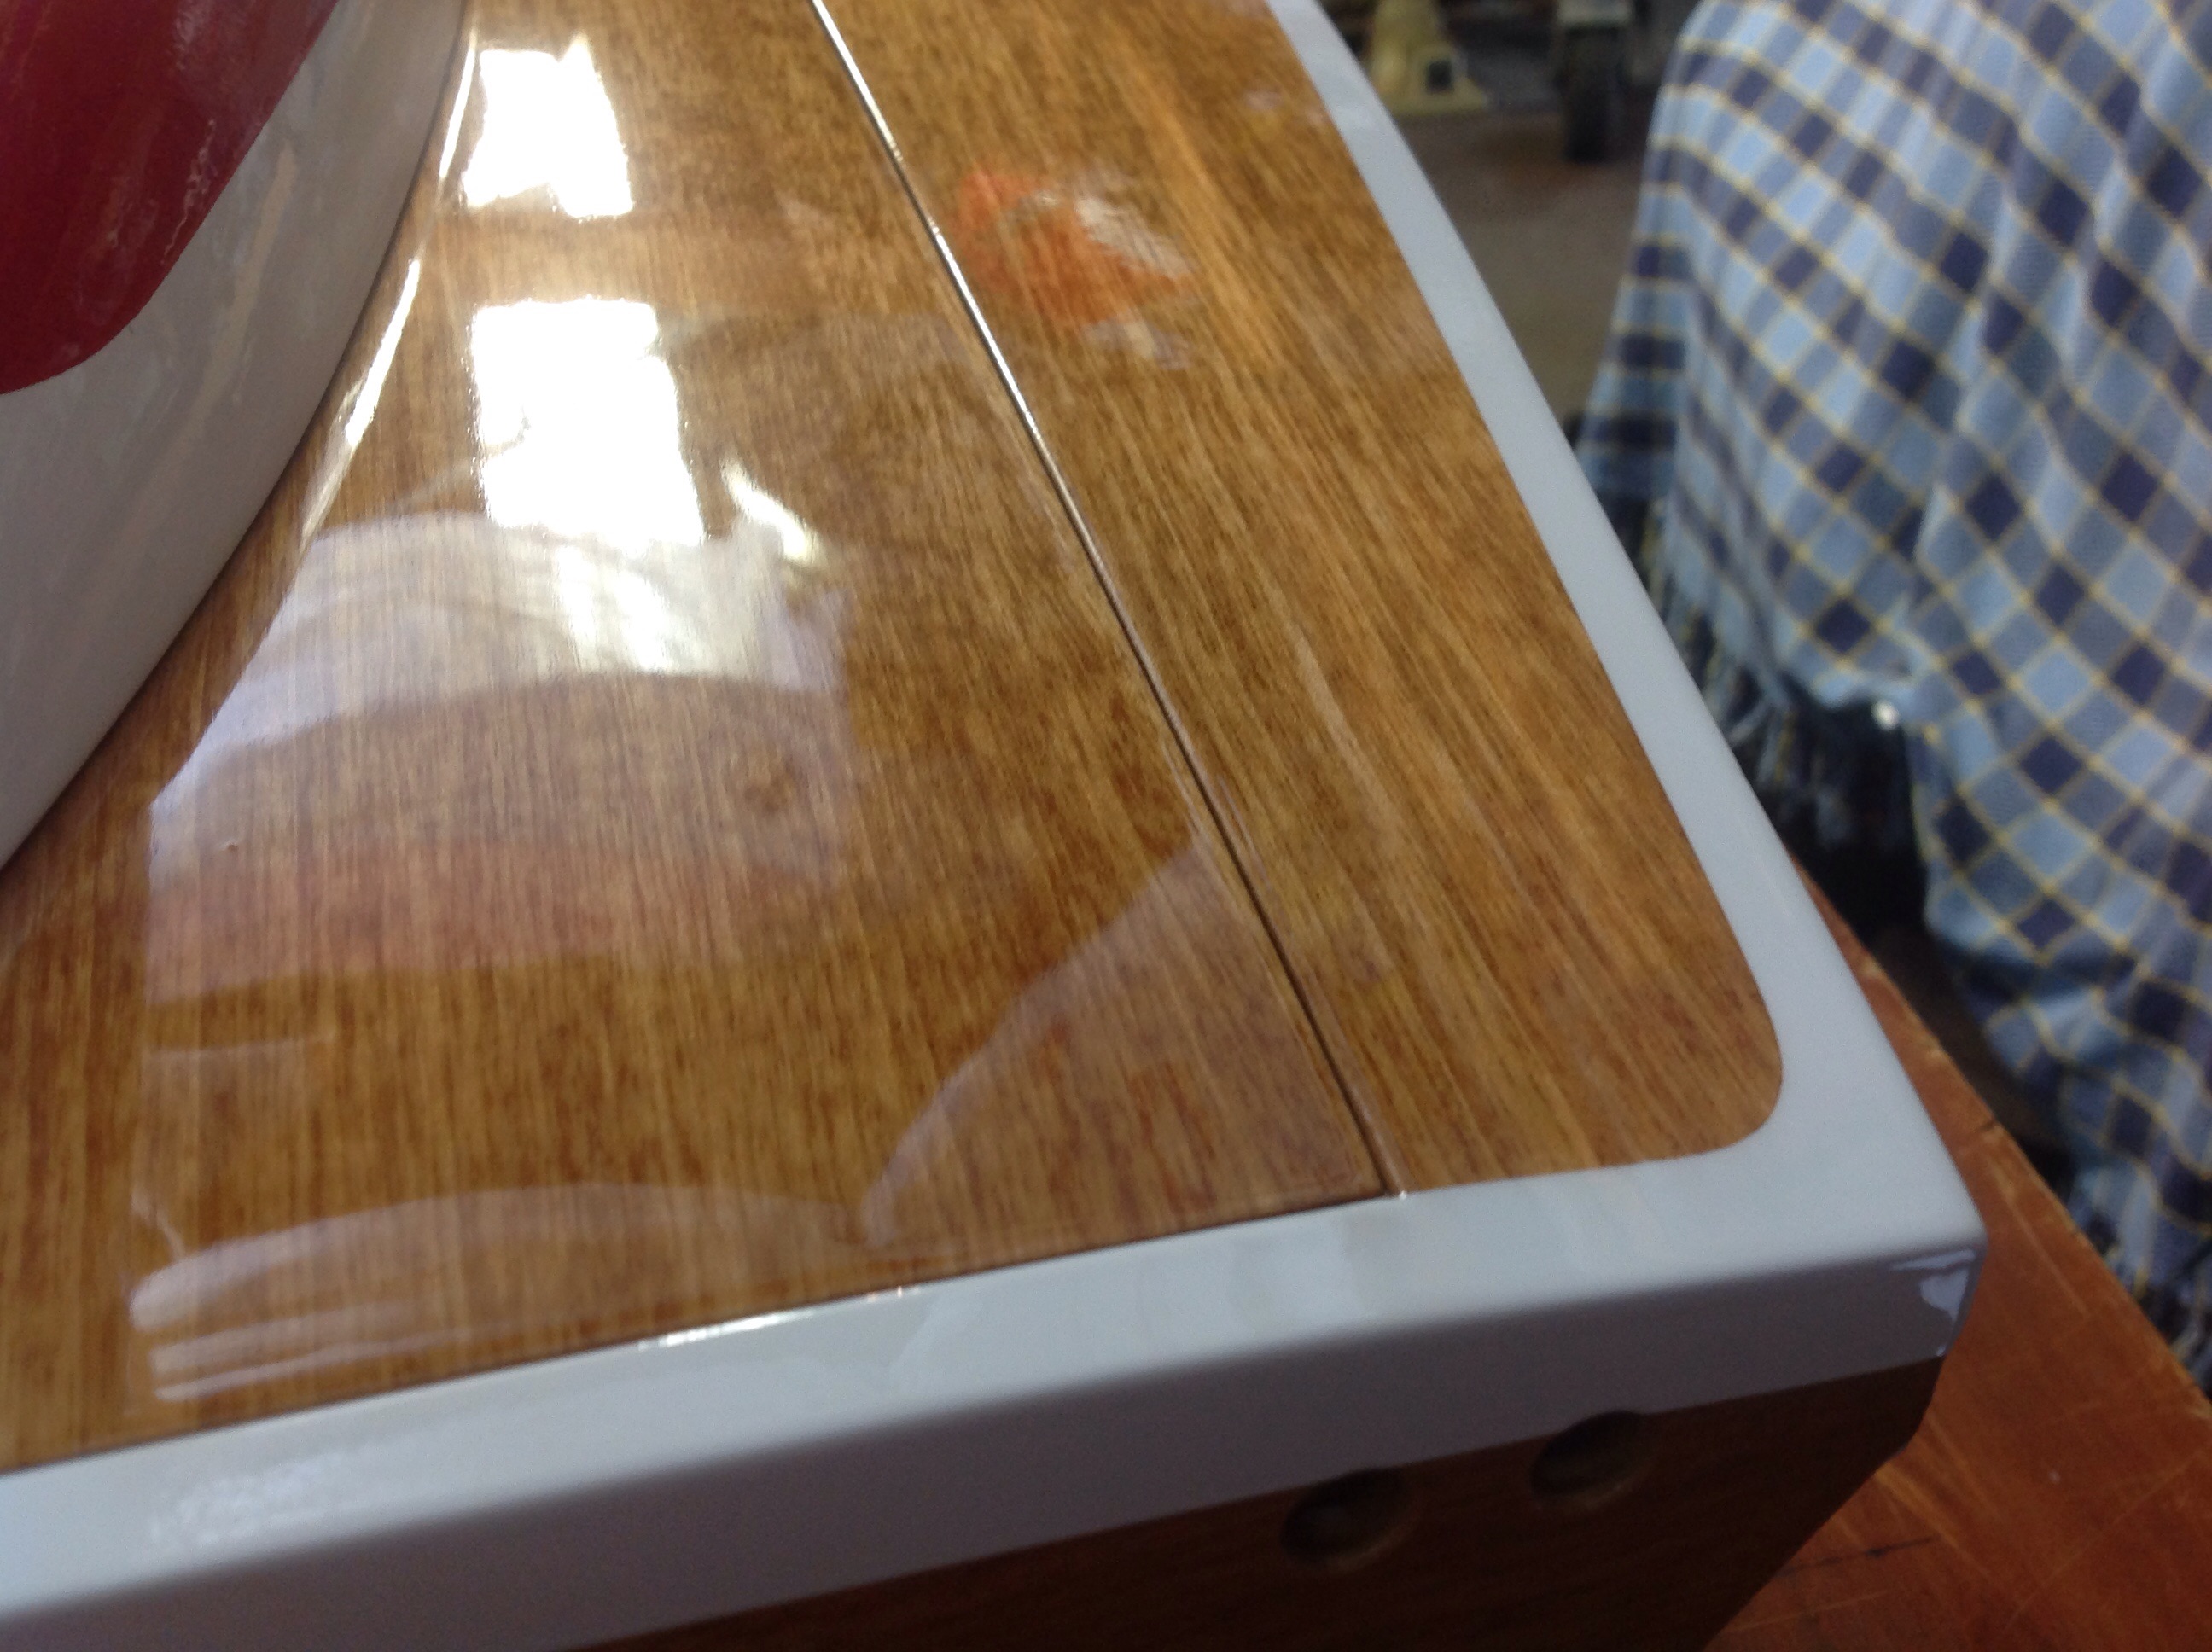
Default Paint pretty much done, I've been busy but got this done over the last few months.

Paint nearly done, really happy with the result from a lot of frustration and effort. Ready to start on the fit out of running gear.
Attached Thumbnails Click image for larger version

Name:	image.jpg
Views:	259
Size:	832.4 KB
ID:	2112172   Click image for larger version

Name:	image.jpg
Views:	282
Size:	851.5 KB
ID:	2112173   Click image for larger version

Name:	image.jpg
Views:	289
Size:	864.5 KB
ID:	2112174   Click image for larger version

Name:	image.jpg
Views:	265
Size:	1.56 MB
ID:	2112175   Click image for larger version

Name:	image.jpg
Views:	269
Size:	833.4 KB
ID:	2112176   Click image for larger version

Name:	image.jpg
Views:	291
Size:	879.2 KB
ID:	2112177   Click image for larger version

Name:	image.jpg
Views:	266
Size:	1.61 MB
ID:	2112178  
Old 08-01-2015, 12:58 AM
  #136  
zen40
Thread Starter
 
Join Date: Dec 2003
Location: christchurchnot aplicable, NEW ZEALAND
Posts: 183
Likes: 0
Received 0 Likes on 0 Posts
Default

Attached Thumbnails Click image for larger version

Name:	image.jpg
Views:	266
Size:	962.2 KB
ID:	2112179   Click image for larger version

Name:	image.jpg
Views:	275
Size:	1.48 MB
ID:	2112180   Click image for larger version

Name:	image.jpg
Views:	249
Size:	1.13 MB
ID:	2112181  
Old 08-01-2015, 04:14 AM
  #137  
wdgreen
My Feedback: (1)
 
Join Date: May 2002
Location: Windsor, ON, CANADA
Posts: 76
Likes: 0
Received 0 Likes on 0 Posts
Default

Very nice, Do you plan on racing it?
Old 08-01-2015, 01:07 PM
  #138  
zen40
Thread Starter
 
Join Date: Dec 2003
Location: christchurchnot aplicable, NEW ZEALAND
Posts: 183
Likes: 0
Received 0 Likes on 0 Posts
Default

Wdgreen, cheers man, I hope to do a few demo runs and see how it goes.
Old 08-02-2015, 10:49 PM
  #139  
zen40
Thread Starter
 
Join Date: Dec 2003
Location: christchurchnot aplicable, NEW ZEALAND
Posts: 183
Likes: 0
Received 0 Likes on 0 Posts
Default

Rudder, strut, inlets and exhaust outlet.a better top side shot,
Attached Thumbnails Click image for larger version

Name:	image.jpg
Views:	264
Size:	736.3 KB
ID:	2112628   Click image for larger version

Name:	image.jpg
Views:	272
Size:	915.4 KB
ID:	2112629  
Old 08-19-2015, 09:42 PM
  #140  
cmsrp
 
Join Date: Jun 2002
Location: StrathdaleVictoria, AUSTRALIA
Posts: 234
Likes: 0
Received 0 Likes on 0 Posts
Default

Fantastic job Zen. My favourite boat too!!!
Old 08-20-2015, 02:30 AM
  #141  
zen40
Thread Starter
 
Join Date: Dec 2003
Location: christchurchnot aplicable, NEW ZEALAND
Posts: 183
Likes: 0
Received 0 Likes on 0 Posts
Default

Thanks very much cmsrp, still all the small finishing bits now, the windscreen is my nest job along with gauges, steering wheel, turn fin and final engine and radio install, coming along slowly.
Old 10-16-2015, 12:28 PM
  #142  
zen40
Thread Starter
 
Join Date: Dec 2003
Location: christchurchnot aplicable, NEW ZEALAND
Posts: 183
Likes: 0
Received 0 Likes on 0 Posts
Default

Hi all, i just about to fit the turn fin and bracket, a couple of questions for those in the know.
When fitting the mounting bracket to the sponson do I set it up at dead square on the verticle plane and adjust any trimming with the slotted hole in the top of the bracket or is there a preferred angle to bolt it to the trailing edge of the sponson? I have glued a 8mm thick plate alloy mount on the inside of the sponsons trailing edge during construction and will drill and tap the 2 x 5mm holes into it through the back of the sponson, I want to get this spot on as you don't get a second chance. Thanks in advance.
Old 10-16-2015, 12:43 PM
  #143  
wdgreen
My Feedback: (1)
 
Join Date: May 2002
Location: Windsor, ON, CANADA
Posts: 76
Likes: 0
Received 0 Likes on 0 Posts
Default

Mount the bracket 5/16 up from the bottom of the sponson and perpendicular to it, The outside edge of the mount should be lined up with the outside edge of the sponson pad.
Start with the fin level. Up down and left right can be adjusted as needed after running. You want to be able to rotate the bottom of the fin towards the boat if needed.
Old 10-16-2015, 12:47 PM
  #144  
zen40
Thread Starter
 
Join Date: Dec 2003
Location: christchurchnot aplicable, NEW ZEALAND
Posts: 183
Likes: 0
Received 0 Likes on 0 Posts
Default

Thanks very much wdgreen, most appreciated.
Old 10-17-2015, 12:01 PM
  #145  
zen40
Thread Starter
 
Join Date: Dec 2003
Location: christchurchnot aplicable, NEW ZEALAND
Posts: 183
Likes: 0
Received 0 Likes on 0 Posts
Default

Turn fin and bracket all done.
Attached Thumbnails Click image for larger version

Name:	image.jpeg
Views:	249
Size:	1.04 MB
ID:	2125858   Click image for larger version

Name:	image.jpeg
Views:	244
Size:	1,008.2 KB
ID:	2125859  
Old 10-22-2015, 07:29 AM
  #146  
corky051
Junior Member
 
Join Date: Feb 2013
Location: Canton, MI
Posts: 22
Likes: 0
Received 0 Likes on 0 Posts
Default

Beautiful boat! Outstanding quality and workmanship !I've followed this project from concept to completion, and it's been worth the wait! I hope you will not mind one more suggestion. Food for thought; My concern is potential throttle control (idle speed) failure possibility. My suggestion is to re-install the carburetor throttle return spring. (Very little torque is required to overcome its function) In the event of a failure of any of multiple elements that control the throttle, the carb return spring is the only thing remaining to shut down the engine. Failsafe systems work very well, but only if everything mechanical, and electrical is intact. Best of luck with this beautiful boat. I'm sure you will enjoy it.
Old 10-22-2015, 03:02 PM
  #147  
wdgreen
My Feedback: (1)
 
Join Date: May 2002
Location: Windsor, ON, CANADA
Posts: 76
Likes: 0
Received 0 Likes on 0 Posts
Default

The spring also keeps the carb shaft in place, so less vibration on butterfly and less likely to jamb the butterfly.
Old 10-23-2015, 05:37 AM
  #148  
expresscraft
 
Join Date: Dec 2008
Location: COCOA, FL
Posts: 723
Likes: 0
Received 4 Likes on 4 Posts
Default

very nice build and boat.
Old 10-30-2015, 02:39 PM
  #149  
zen40
Thread Starter
 
Join Date: Dec 2003
Location: christchurchnot aplicable, NEW ZEALAND
Posts: 183
Likes: 0
Received 0 Likes on 0 Posts
Default

Just wondering if anyone on here knows where I can get external Spring coils for supporting the water cooling fees tubes from the rudder to the transom, I have seen them somewhere but can't recall where. I think they look pretty good and add shape and support to the pickup lines.
thanks in advance.
Old 11-28-2015, 01:57 AM
  #150  
zen40
Thread Starter
 
Join Date: Dec 2003
Location: christchurchnot aplicable, NEW ZEALAND
Posts: 183
Likes: 0
Received 0 Likes on 0 Posts
Default

For those that have built and drive these hulls I'm setting up the radio gear and wonder what settings work well or best on the rudder, like in end point adjustment, speed of servo and expo.
thanks.

Thread Tools
Search this Thread

Contact Us - Archive - Advertising - Cookie Policy - Privacy Statement - Terms of Service -

Copyright © 2024 MH Sub I, LLC dba Internet Brands. All rights reserved. Use of this site indicates your consent to the Terms of Use.