Experienced help.
 03-19-2015, 07:53 AM
#1

Thread Starter
Join Date: Jan 2008
Location: Rio de Janeiro, BRAZIL
Posts: 383
Likes: 0
Received 8 Likes
on
8 Posts
For the same hull (MONO), which the existing CG difference:
Submerged propeller and propeller surface or propeller subsurface
I believe that the 30% GC should be varied from thepropeller and not towards the stern.
Am I right or wrong in my consideration?


Submerged propeller and propeller surface or propeller subsurface
I believe that the 30% GC should be varied from thepropeller and not towards the stern.
Am I right or wrong in my consideration?
 03-21-2015, 06:44 AM
#2
Thread Starter
Join Date: Jan 2008
Location: Rio de Janeiro, BRAZIL
Posts: 383
Likes: 0
Received 8 Likes
on
8 Posts
Then,
The speedboat that I built, with submerged propeller, has:
Total length = 47.3 "
Centre of gravity "C.G." = 23 "from the stern of the boat.
I believe the operation is fine, but CG is 48.6%.
Does someone more experienced can help?
https://www.youtube.com/watch?v=z_L2ej3No7Q
The speedboat that I built, with submerged propeller, has:
Total length = 47.3 "
Centre of gravity "C.G." = 23 "from the stern of the boat.
I believe the operation is fine, but CG is 48.6%.
Does someone more experienced can help?
https://www.youtube.com/watch?v=z_L2ej3No7Q
 03-30-2015, 04:14 AM
#4
Thread Starter
Join Date: Jan 2008
Location: Rio de Janeiro, BRAZIL
Posts: 383
Likes: 0
Received 8 Likes
on
8 Posts
then
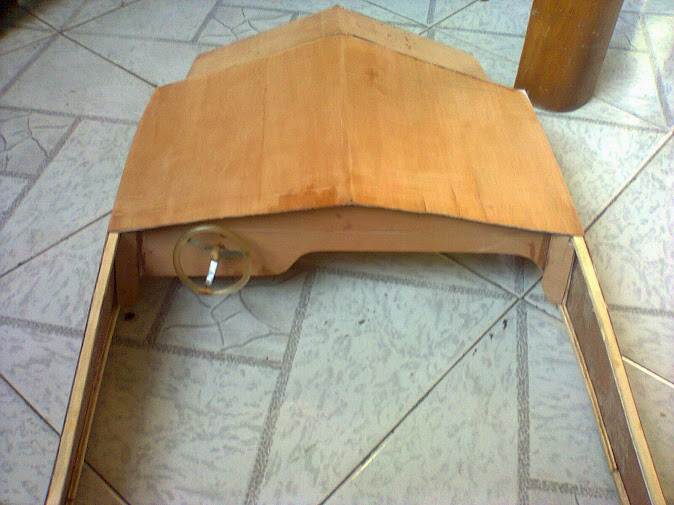
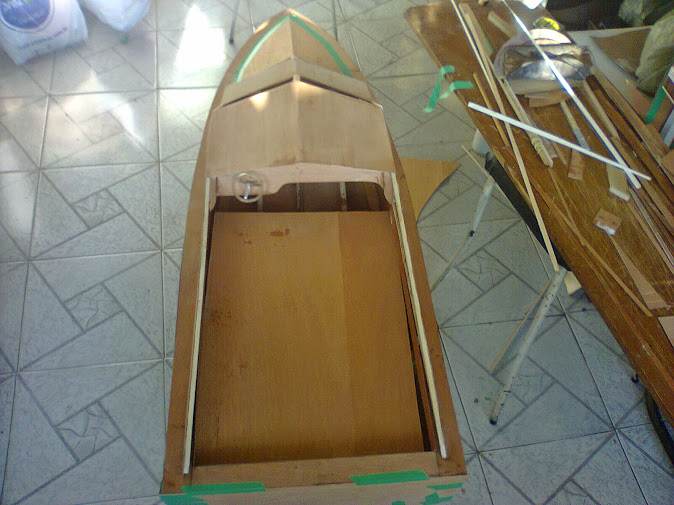
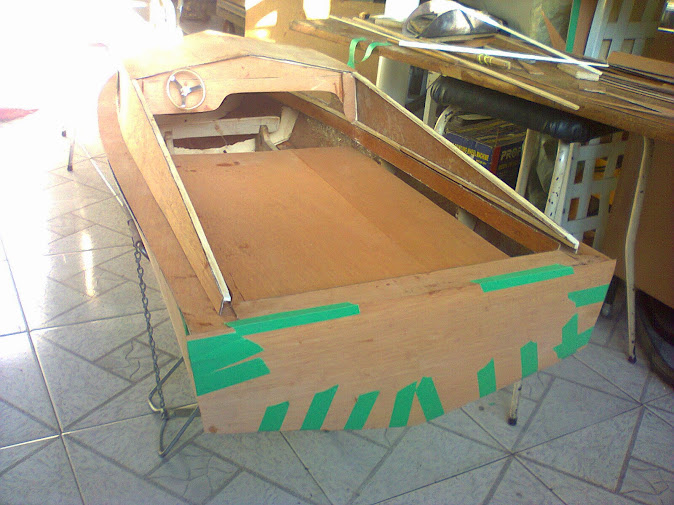
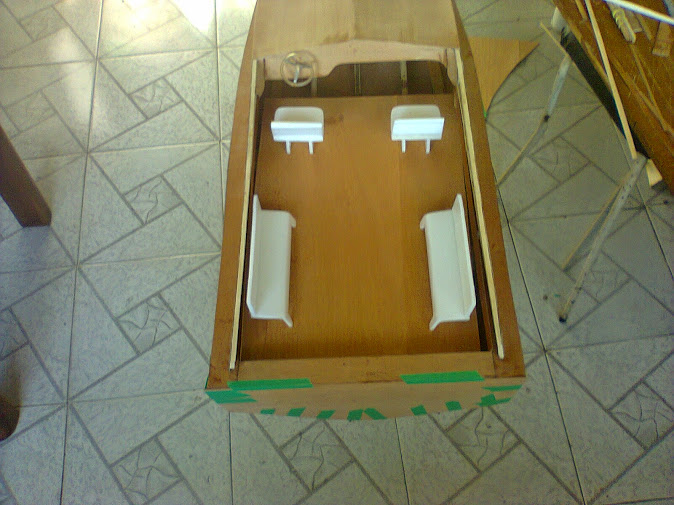
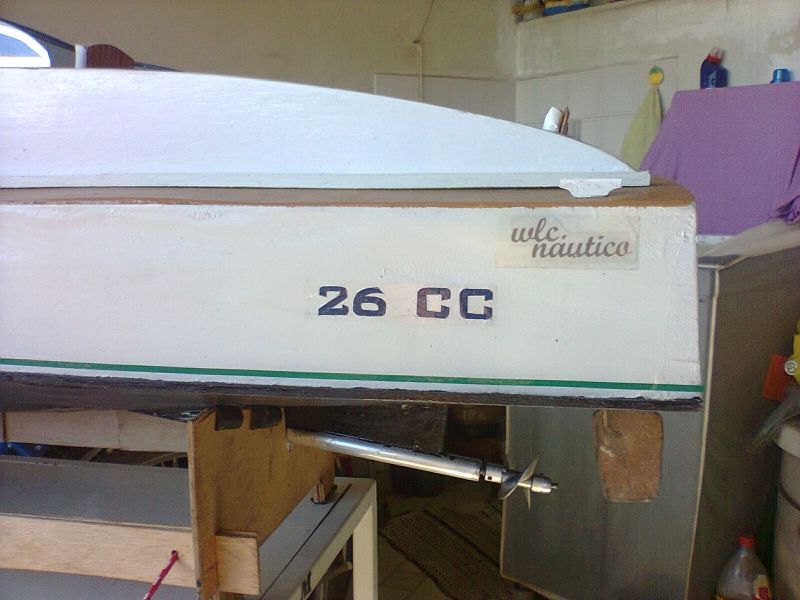
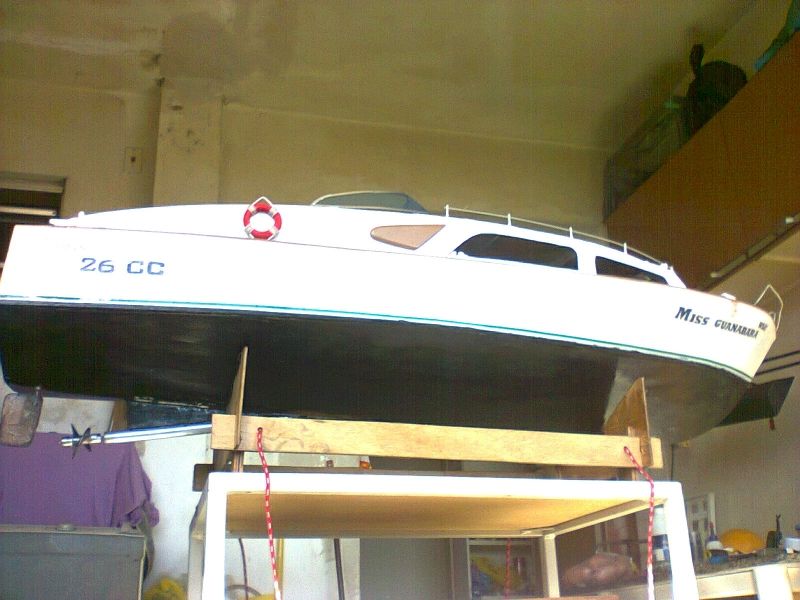
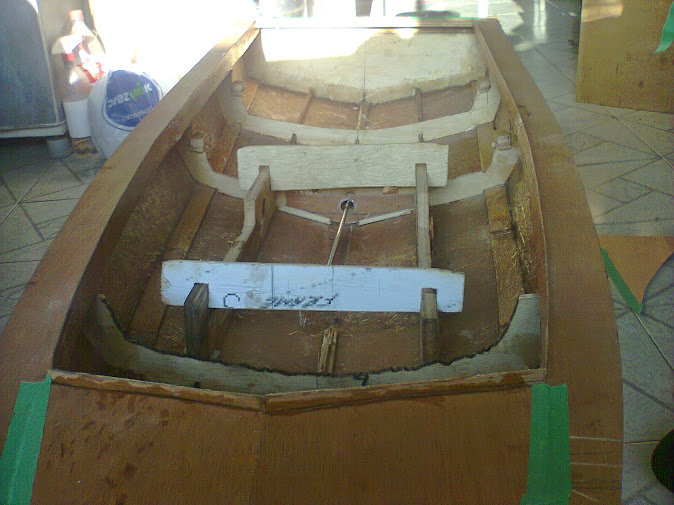
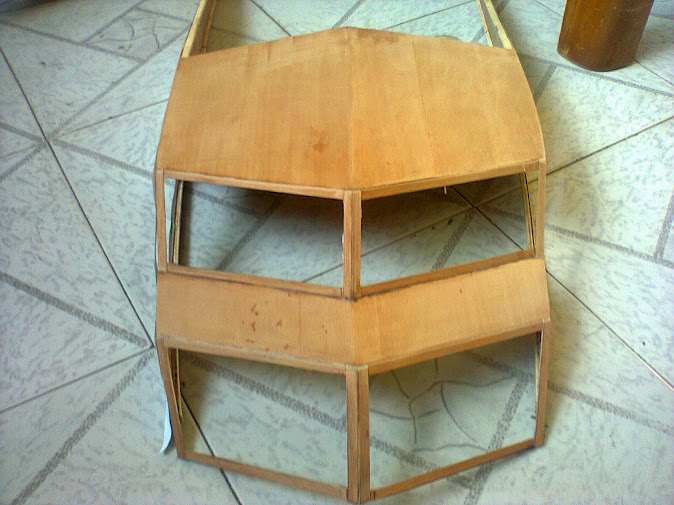
I believe in building a boat with 1200mm long, 26cc engine, rigid axle with submerged propeller.
The problem is that I do not know where to position the engine.
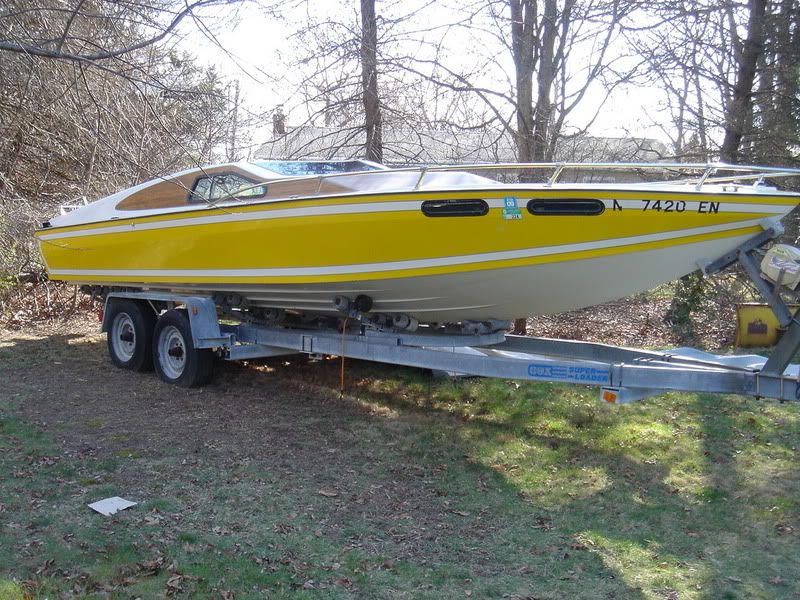
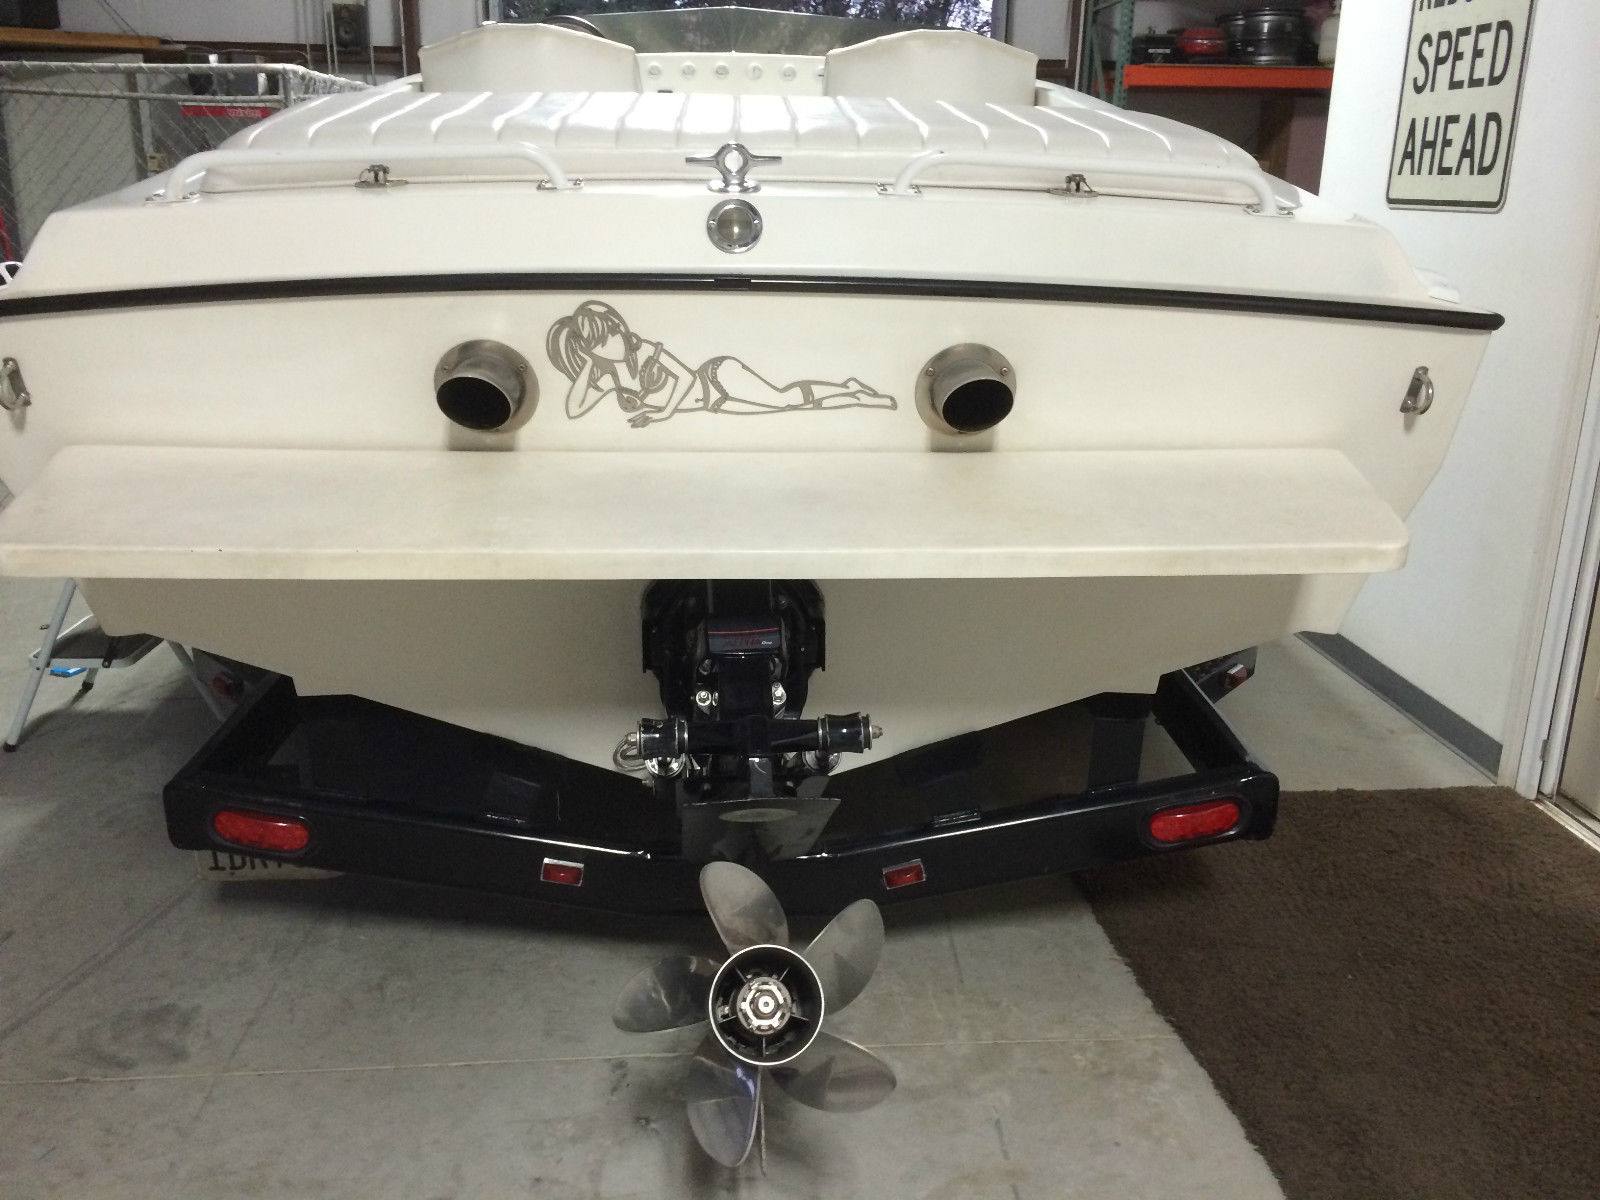
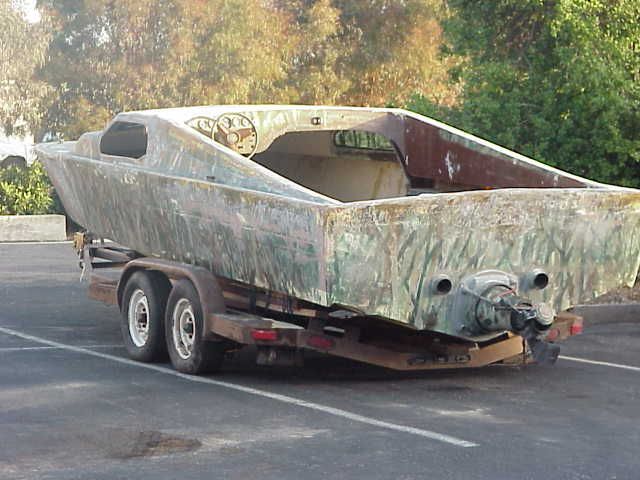
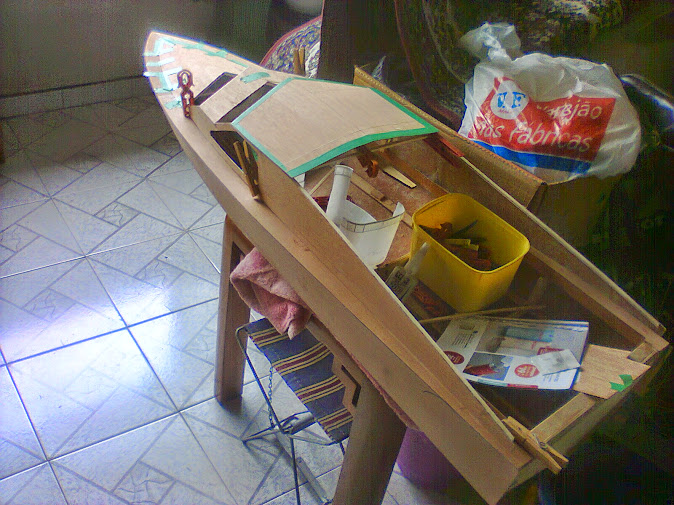
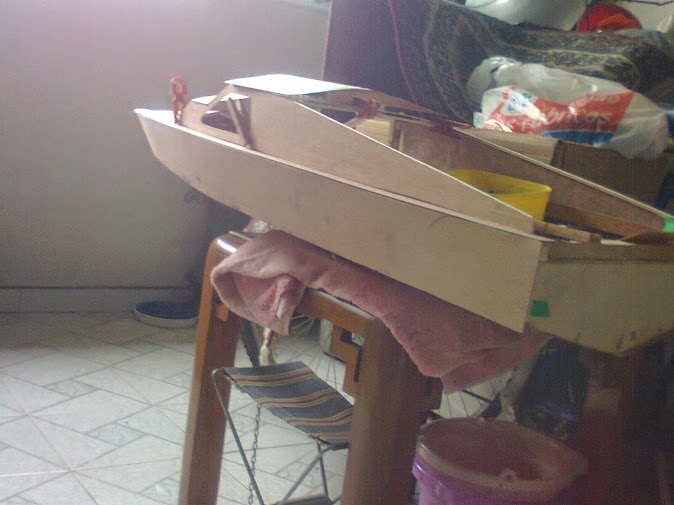
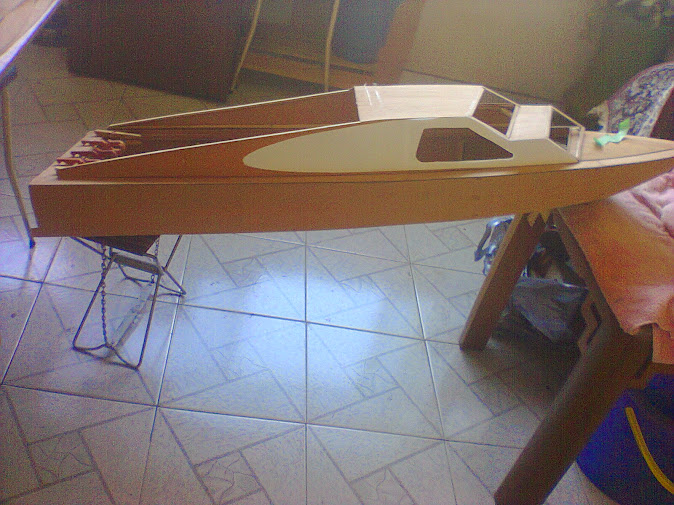
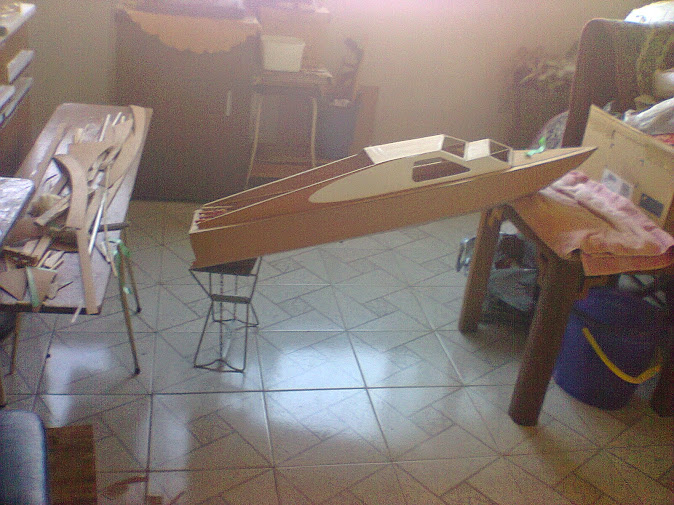
The launch, I intend to build, is similar as the pictures below
We can see that the output of the transmission is different.
Any help, and information exchange, is welcome


I believe in building a boat with 1200mm long, 26cc engine, rigid axle with submerged propeller.
The problem is that I do not know where to position the engine.
The launch, I intend to build, is similar as the pictures below
We can see that the output of the transmission is different.
Any help, and information exchange, is welcome


 06-07-2015, 01:33 PM
#10


The CG on any hull is going to affect the ride no matter where the prop is at. Too far forward and it won't get the nose up. Too far aft and it would ride level. With it being a scale model you're going to want to find the happy spot for proper ride attitude.
Build it as much as possible before finding the right place to mount the heaviest part, the engine.
Build it as much as possible before finding the right place to mount the heaviest part, the engine.
06-08-2015, 03:08 AM
#11
Thread Starter
Join Date: Jan 2008
Location: Rio de Janeiro, BRAZIL
Posts: 383
Likes: 0
Received 8 Likes
on
8 Posts
Then Ron Olson
No matter where the support is at , but the fact of being submerged or surface propeller believe changes.
Exemple:
diva
Length = 800mm
CG aft = 350mm
% = 43.75%

https://www.youtube.com/watch?v=e29mzmDPb2c
This boat:
Length = 800mm
CG aft = 360mm
% = 45,0%

https://www.youtube.com/watch?v=Sh2zxi_7kUM&feature=youtu.be
The videos were the first test, the first with an asp 21m and the second with a Turnigy 2836 1100kv
The engine installation I'll leave it to the end and try something around 40%.
No matter where the support is at , but the fact of being submerged or surface propeller believe changes.
Exemple:
diva
Length = 800mm
CG aft = 350mm
% = 43.75%
https://www.youtube.com/watch?v=e29mzmDPb2c
This boat:
Length = 800mm
CG aft = 360mm
% = 45,0%
https://www.youtube.com/watch?v=Sh2zxi_7kUM&feature=youtu.be
The videos were the first test, the first with an asp 21m and the second with a Turnigy 2836 1100kv
The engine installation I'll leave it to the end and try something around 40%.
Last edited by carlosam; 06-08-2015 at 04:12 AM.


 06-16-2015, 04:37 AM
#14
Thread Starter
Join Date: Jan 2008
Location: Rio de Janeiro, BRAZIL
Posts: 383
Likes: 0
Received 8 Likes
on
8 Posts
Then,
I doubt to use fuel tank bag type
My HOMELITE engine has two inlet tubes in fuel tank.
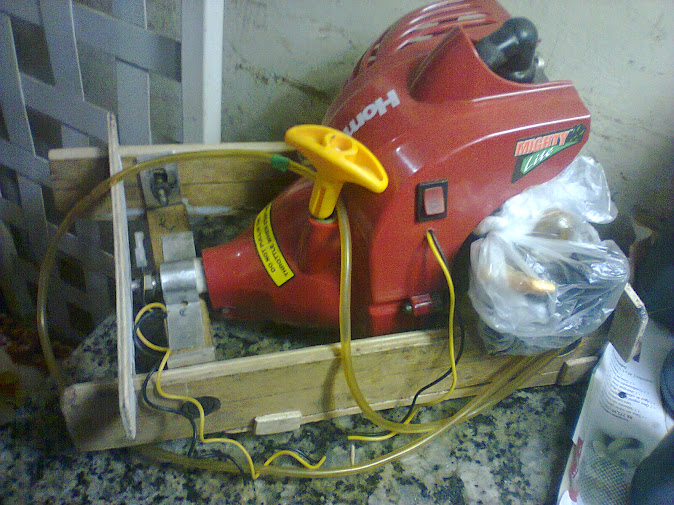
I've seen the funrc site that uses exchange, or tank as pictured below.


My engine with two tubes, can I use the "tank type bag"
I'll have to use both motor tubes in the bag, or will be just one, to shrink the bag as the fuel is consumed.


I doubt to use fuel tank bag type
My HOMELITE engine has two inlet tubes in fuel tank.
I've seen the funrc site that uses exchange, or tank as pictured below.
My engine with two tubes, can I use the "tank type bag"
I'll have to use both motor tubes in the bag, or will be just one, to shrink the bag as the fuel is consumed.
06-16-2015, 02:55 PM
#15
You don't have 2 fuel inlets to the carb, one is a fuel line that connect to the fuel barb on the bottom and the top one is a fuel return line, the one by the primer that really doesn't do much of anything as only a small amount would come out anyway under normal circumstances. With an IV bag setup that would mostly pump air into the bag, you don't want that.
Once you fill an IV bag you don't want an air bubble in it otherwise the bag can harden. Never completely empty it but leave some fuel inside or again, it will harden. When it hardens it will make it difficult for the bag to collapse.
I use the 500ml Baxter IV bags currently in my boats but have been trying out some being produced by Zippkits. They are heavier and shaped a little differently to fit better inside the hulls. I'm waiting now to see if they will outlast the Baxter's.
With your boat and the size of it, flipping the boat is unlikely so you can stay with the stock Homelite fuel tank and mount it elsewhere in the hull if you wish to.
Last edited by Ron Olson; 06-16-2015 at 03:00 PM.
06-17-2015, 04:11 AM
#16
Thread Starter
Join Date: Jan 2008
Location: Rio de Janeiro, BRAZIL
Posts: 383
Likes: 0
Received 8 Likes
on
8 Posts
Then Ron Olson Thank you, you always ready to help.
You were pretty straightforward and could understand the bag tank. Really, I have space to use the original tank.
This is the second boat gasoline that I build, and with rigid axle.
I have been studying a deep vee for maybe next year and shaft flex's own mowing.
Here parts are very expensive, revenue takes more than four months to release and charge in the range of 60% of including freto, then the business is to manufacture the most part home.
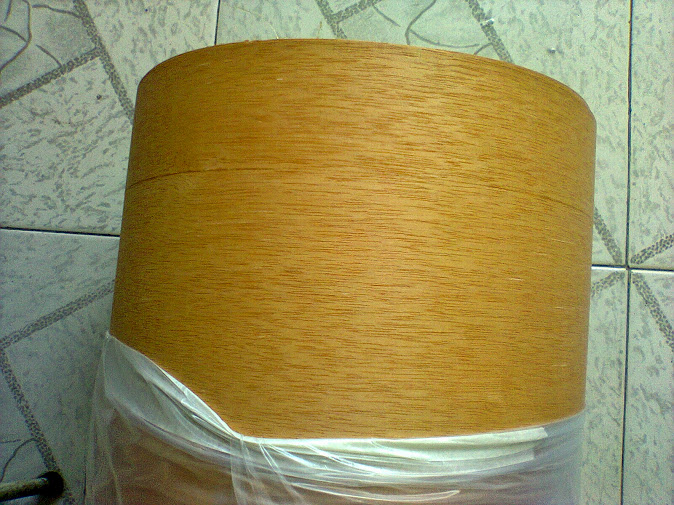
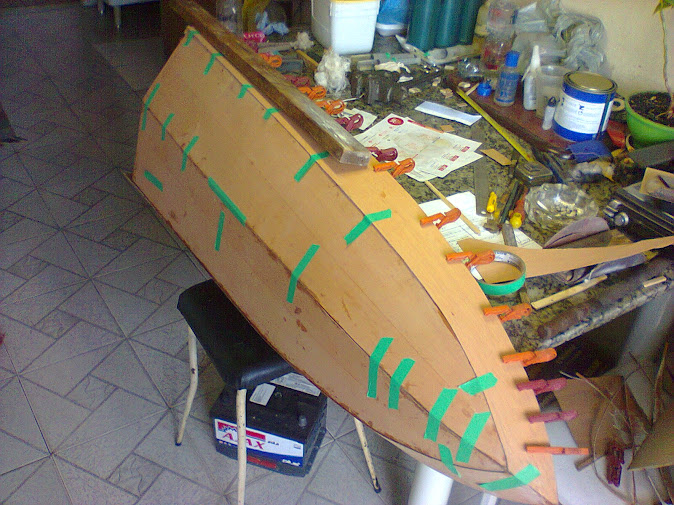
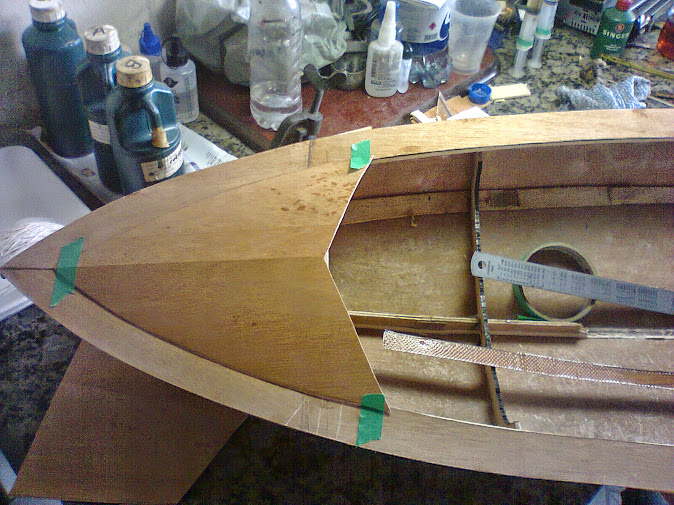
I do not know if observed the way I build the hull, cedar leaf and fiberglass.
I observed that for submerged propeller made error in using 70mm propellant.
You were pretty straightforward and could understand the bag tank. Really, I have space to use the original tank.
This is the second boat gasoline that I build, and with rigid axle.
I have been studying a deep vee for maybe next year and shaft flex's own mowing.
Here parts are very expensive, revenue takes more than four months to release and charge in the range of 60% of including freto, then the business is to manufacture the most part home.
I do not know if observed the way I build the hull, cedar leaf and fiberglass.
I observed that for submerged propeller made error in using 70mm propellant.
Last edited by carlosam; 06-17-2015 at 04:13 AM.