


My Screamin Demon project
 04-24-2009, 05:37 AM
#1
Senior Member
Thread Starter

Join Date: Apr 2007
Location: Wells,
VT
Posts: 475
Likes: 0
Received 0 Likes
on
0 Posts
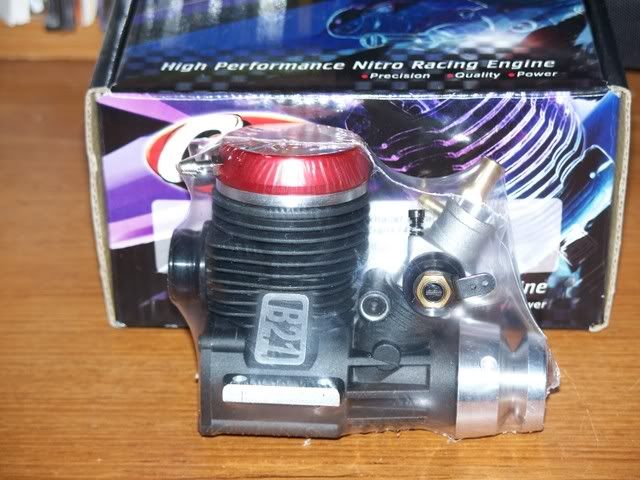
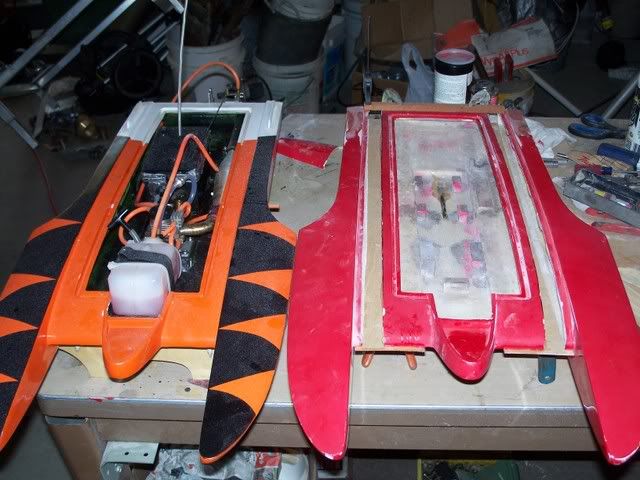
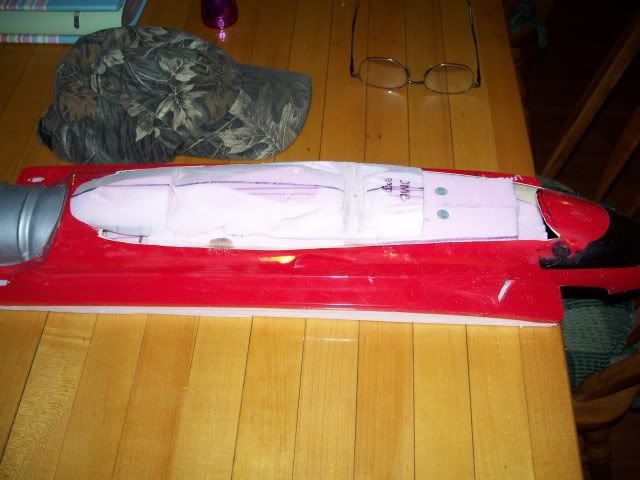
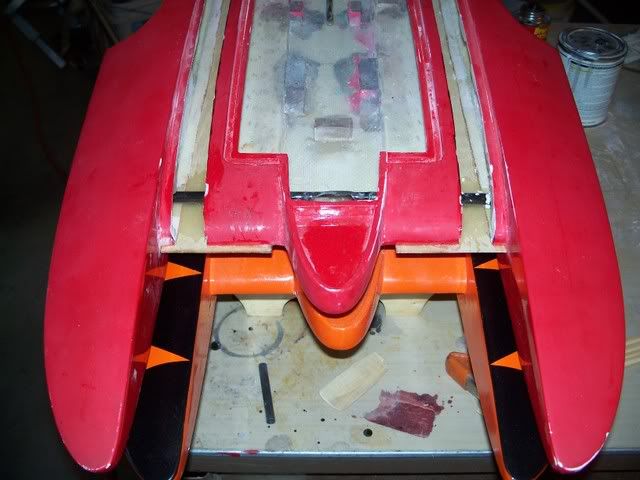
I thought I would share the build of my Screamin Demon project I did over the winter. I took a used Vegas hull and widened it by 1 3/4" and stuffed a Go-Engine .21 pro rear exhaust monster in it.
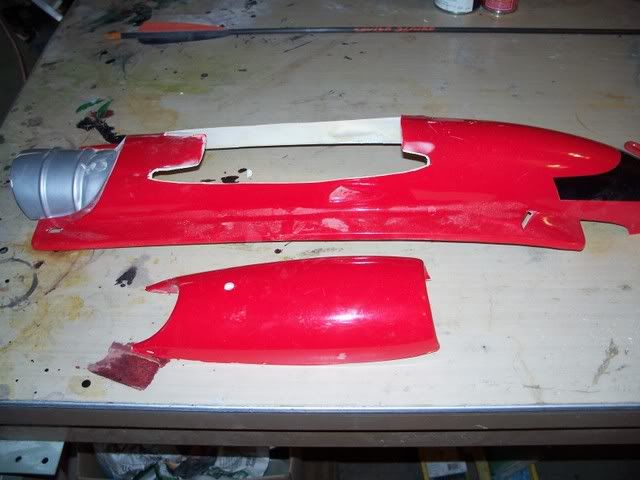
I preped the hull for surgery and marked the center section so when it was cut the stringers remained in the middle.
You can see how I prep the surface so the epoxy will get a good bite.
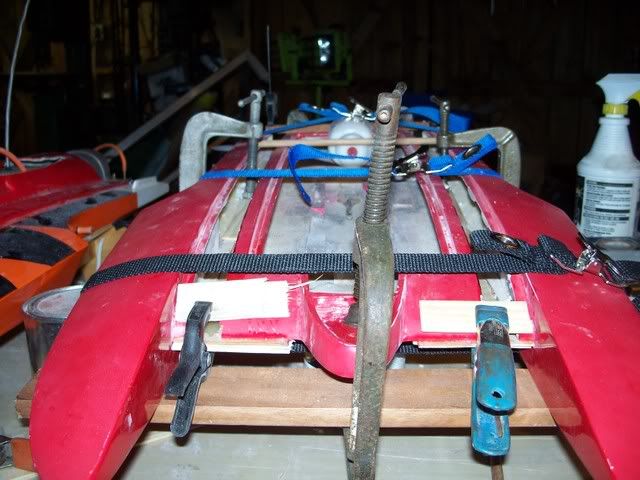
Now I cut two strips of 1/16th aircraft ply and adheared them to the center section only with west systems slo cure epoxy.
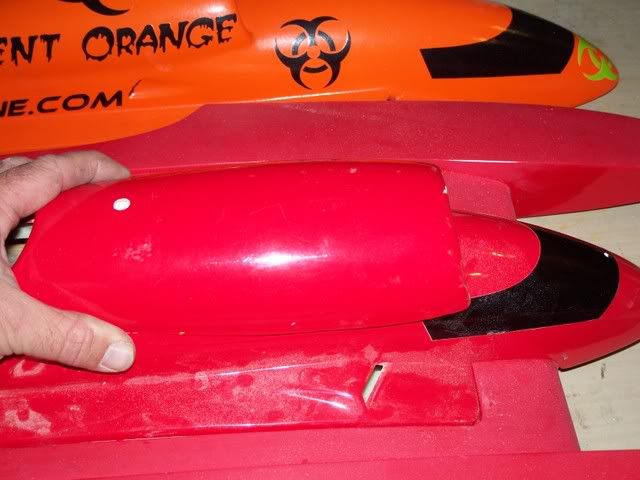
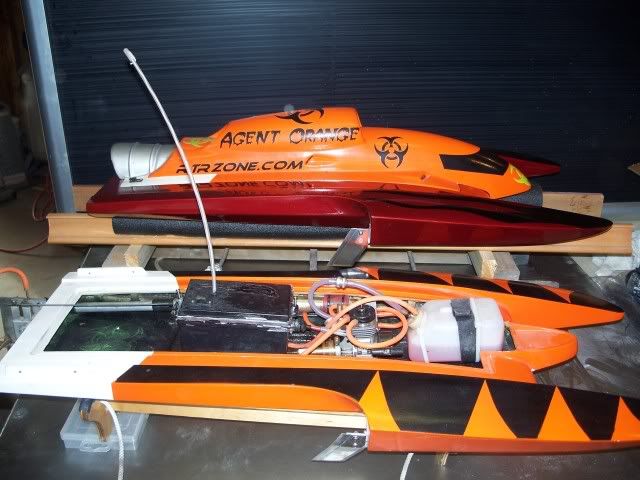
here we have a side by side comparison to show what the overall difference will be. ( The Demon was not glued at this point)
Now the time of judgement was at hand behold the inquisition!
I preped the hull for surgery and marked the center section so when it was cut the stringers remained in the middle.
You can see how I prep the surface so the epoxy will get a good bite.
Now I cut two strips of 1/16th aircraft ply and adheared them to the center section only with west systems slo cure epoxy.
here we have a side by side comparison to show what the overall difference will be. ( The Demon was not glued at this point)
Now the time of judgement was at hand behold the inquisition!
 04-24-2009, 05:52 AM
#2
Senior Member
Thread Starter
Join Date: Apr 2007
Location: Wells,
VT
Posts: 475
Likes: 0
Received 0 Likes
on
0 Posts
continuing on
As long as I was modifing the hull I couldn't see leaving the canopy stock so out comes the dremel.
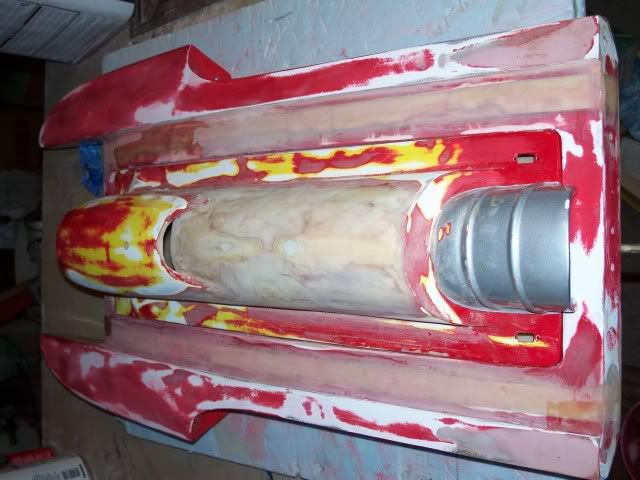
ok back to the hull, I epoxied in a carbon fiber tube (arrow shaft) into the nose to help stiffen things up without adding a bunch of wieght, this also a good idea even if you don't widen your Vegas.
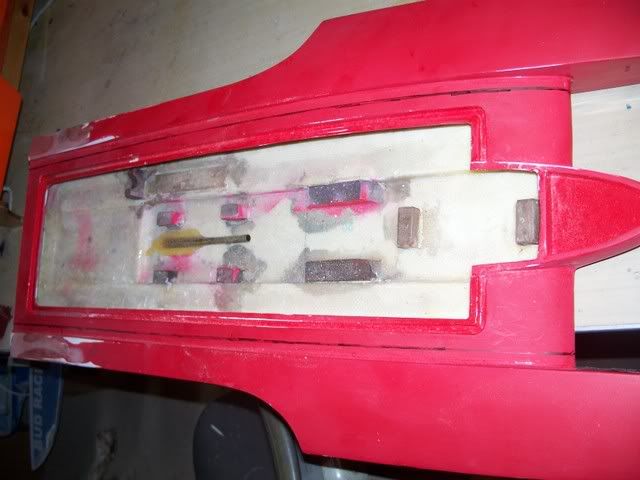
time to fill in the slots, I cut strips of pinkboard foam and epoxied them in, this does two things. One it adds flotation becuase I ripped out the white crumble foam, and two it adds to the strength of the build because it is epoxied in on all sides.
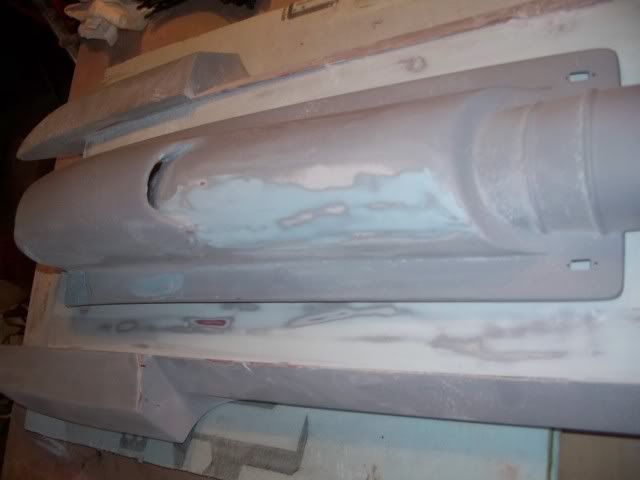
again I cut a couple of strips of the aircraft ply to fill the gap and bring the surface level so minimal filling is required. This helps on keeping the overall weight down.
here it is in the very rough stages before sanding and filling
As long as I was modifing the hull I couldn't see leaving the canopy stock so out comes the dremel.
ok back to the hull, I epoxied in a carbon fiber tube (arrow shaft) into the nose to help stiffen things up without adding a bunch of wieght, this also a good idea even if you don't widen your Vegas.
time to fill in the slots, I cut strips of pinkboard foam and epoxied them in, this does two things. One it adds flotation becuase I ripped out the white crumble foam, and two it adds to the strength of the build because it is epoxied in on all sides.
again I cut a couple of strips of the aircraft ply to fill the gap and bring the surface level so minimal filling is required. This helps on keeping the overall weight down.
here it is in the very rough stages before sanding and filling
04-24-2009, 05:56 AM
#3
Senior Member
Thread Starter
Join Date: Apr 2007
Location: Wells,
VT
Posts: 475
Likes: 0
Received 0 Likes
on
0 Posts
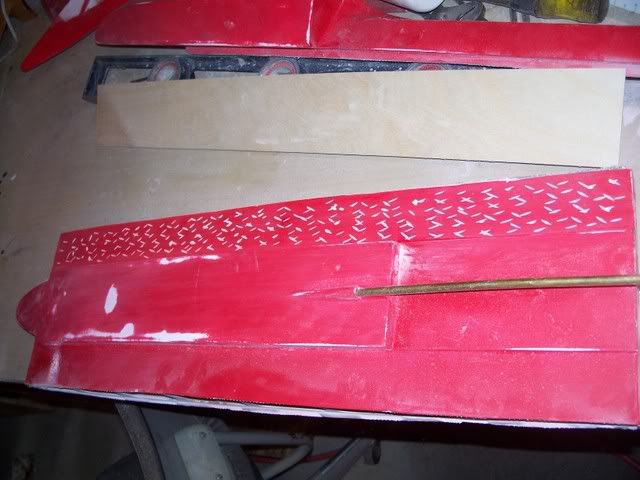
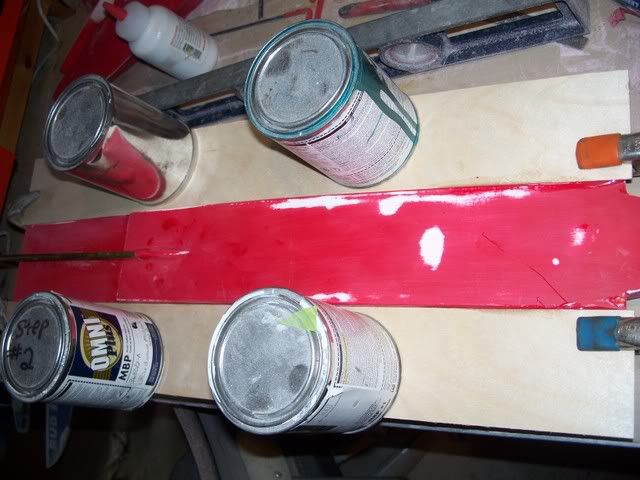
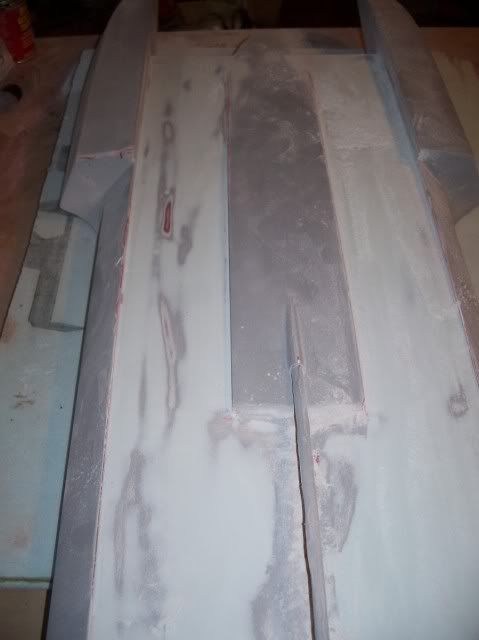
moving right along after spending countless hours of sanding and filling using epoxy mixed with micro balloons I was ready for primer.
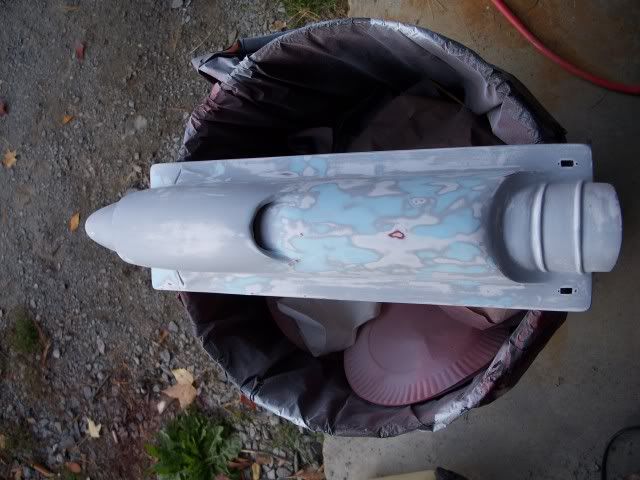
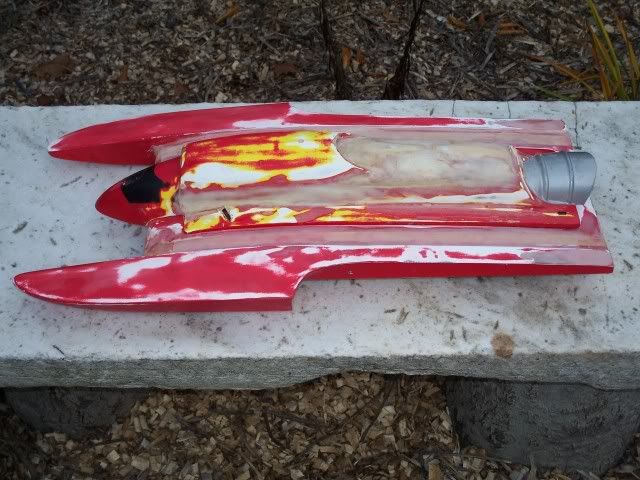
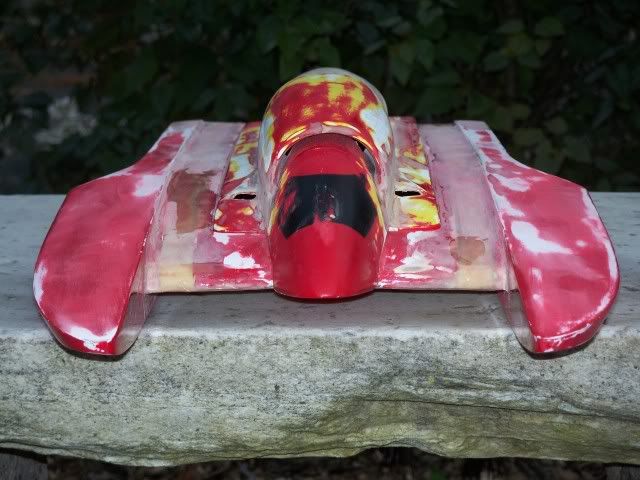
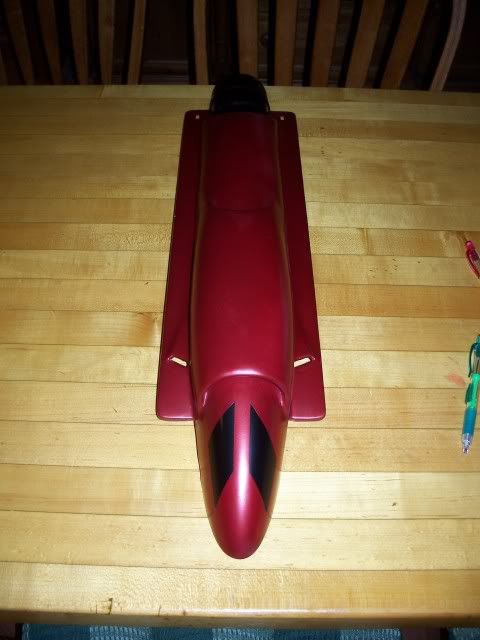
first coat of final color

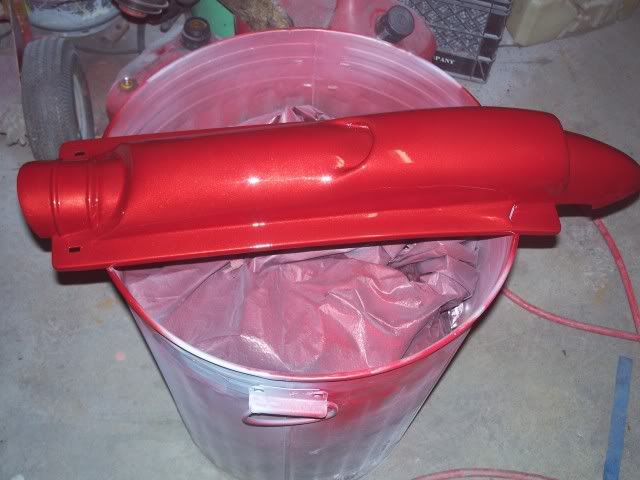
first coat of final color
 04-24-2009, 06:10 AM
#5
Senior Member
Thread Starter
Join Date: Apr 2007
Location: Wells,
VT
Posts: 475
Likes: 0
Received 0 Likes
on
0 Posts
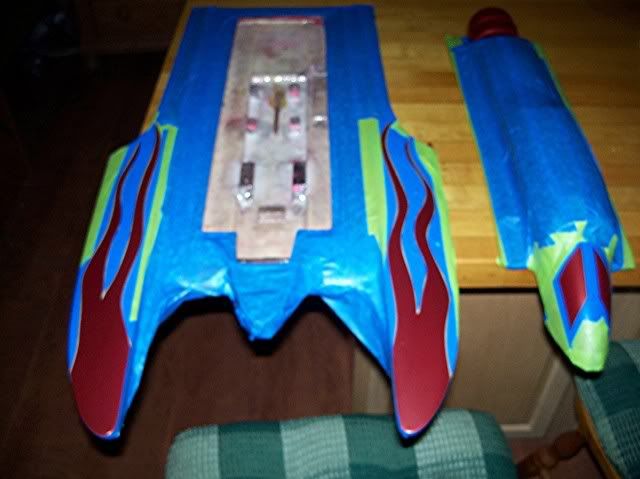
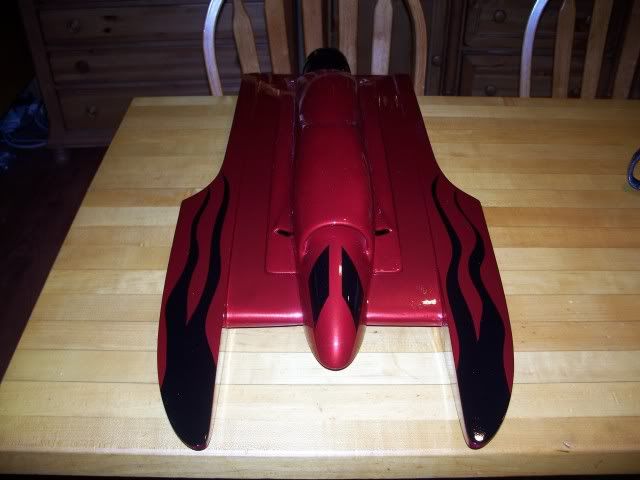
were getting into some good stuff now, I made my own vinyl graphics by using my wifes cricut machine and downloading some fonts from the web.
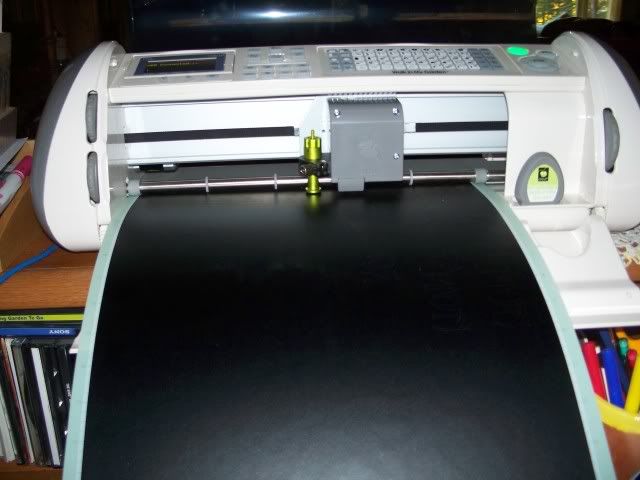
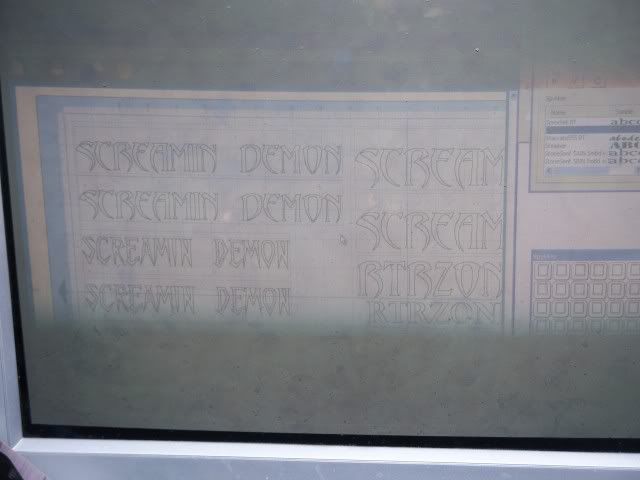
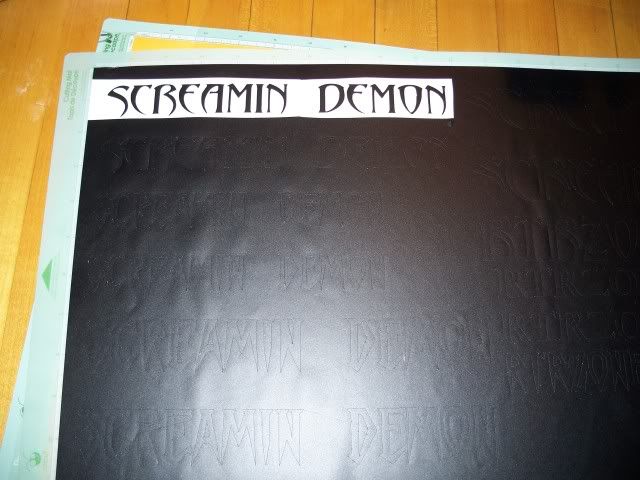
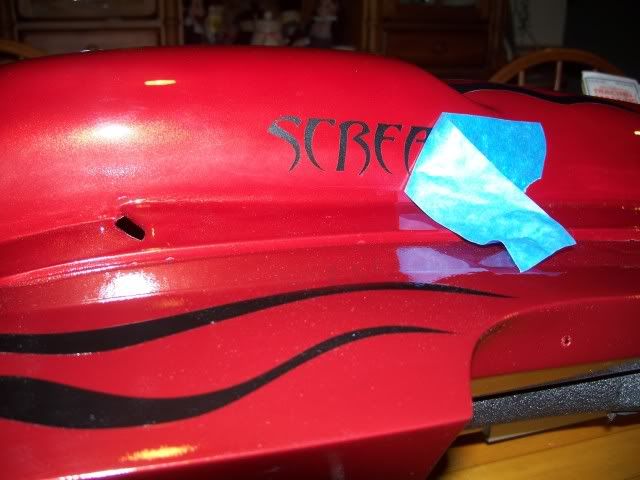
more to come
more to come
04-24-2009, 11:31 AM
#6
Senior Member
Join Date: Jul 2006
Location: stmarys,
OH
Posts: 2,925
Likes: 0
Received 0 Likes
on
0 Posts
I hate to see how much that boat hull weighs now with the extra glass and reson added to it..I hope it goes well for you..[&:] These smaller hulls are very censitive to added weight..My dave frank sport20 is 1" wider then the vegas.. Both hull are very close to eachother in design..
04-24-2009, 03:35 PM
#7
Senior Member
Thread Starter
Join Date: Apr 2007
Location: Wells,
VT
Posts: 475
Likes: 0
Received 0 Likes
on
0 Posts
It really didn't add that much weight, as I was careful to sand each time leaving a uniform thickness. the weight difference isn't any more than when one does the sponson mod everybody seems to love.  Ok if you want to be picky that and flattening out the bottom. After having my stock vegas on the raged edge with just an mod os.18cvrmx I can see this hull could stand to have a little extra weight especially after widening the footprint. Hull as it was when trimmed out would dance on small ripple never mind race chop. Time will tell as it hasn't seen water yet but I'll henge my bet that it will do just fine.
Anyone feel free to comment or ask questions, it was a fun project.
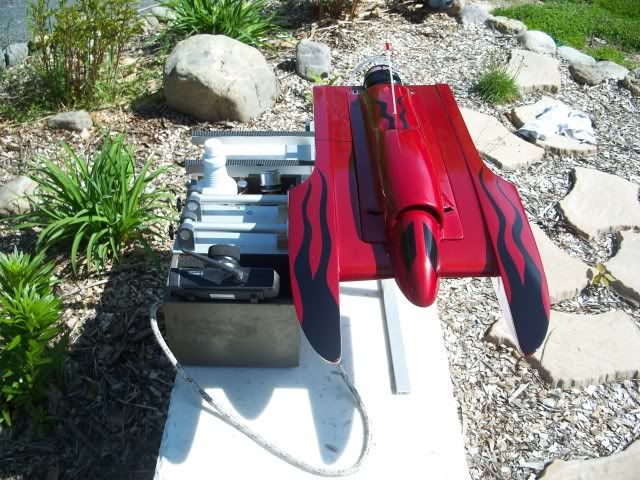
Time for some pics
Oh ya the stock canopy still fits
Ok if you want to be picky that and flattening out the bottom. After having my stock vegas on the raged edge with just an mod os.18cvrmx I can see this hull could stand to have a little extra weight especially after widening the footprint. Hull as it was when trimmed out would dance on small ripple never mind race chop. Time will tell as it hasn't seen water yet but I'll henge my bet that it will do just fine. Anyone feel free to comment or ask questions, it was a fun project.
Time for some pics
Oh ya the stock canopy still fits
04-25-2009, 05:41 AM
#8
Senior Member
Thread Starter
Join Date: Apr 2007
Location: Wells,
VT
Posts: 475
Likes: 0
Received 0 Likes
on
0 Posts
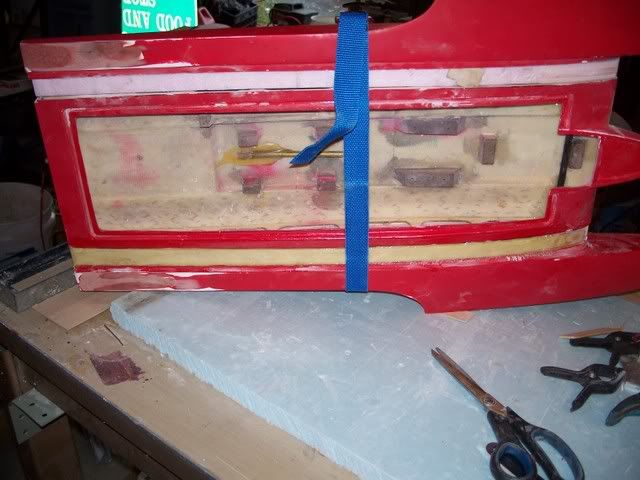
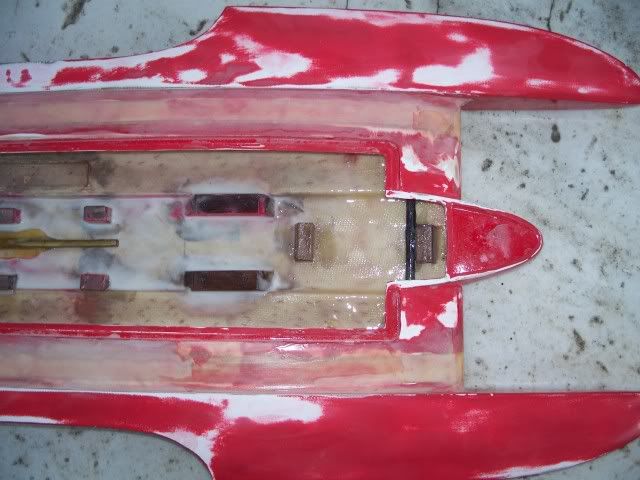
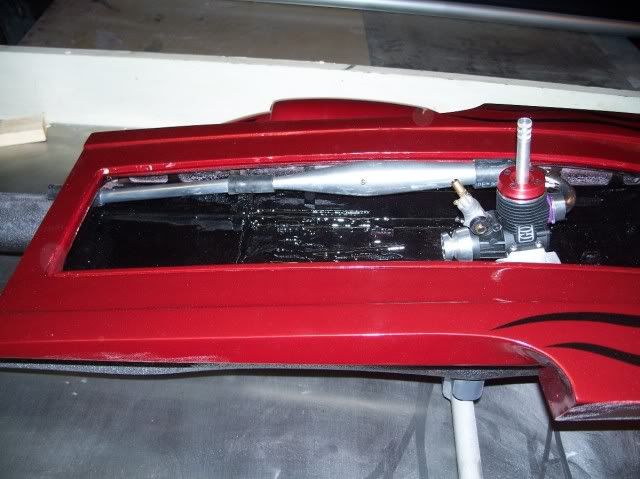
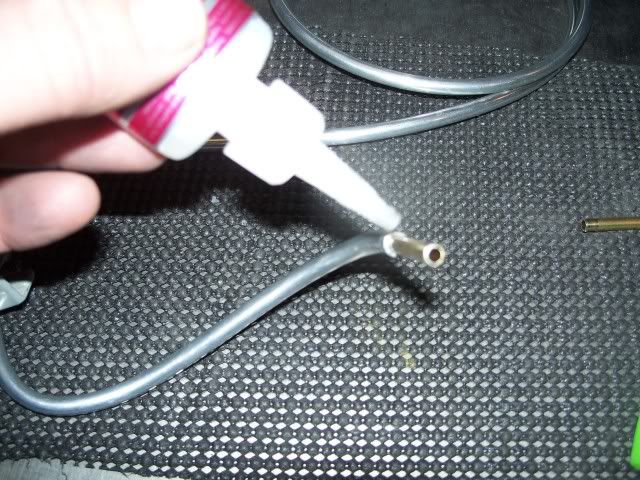
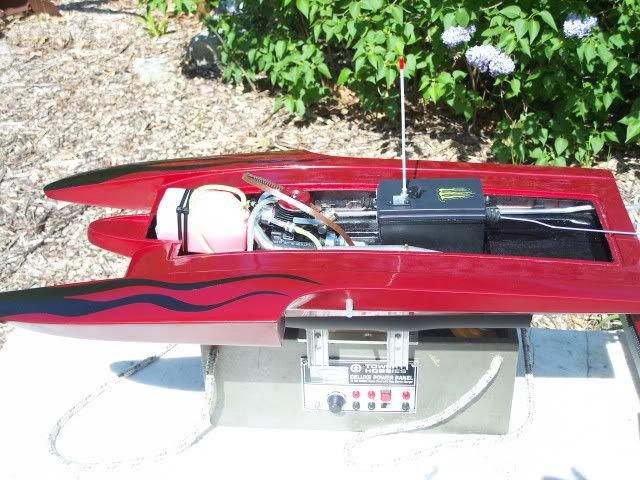
I had set up the hull and plumbed it using standard lines for cooling and fuel but it looked to messy, so I decided to make my own hardlines for the cooling. I did this by using 1/4 od aluminum tubing (gas pilot tubing for you hvac guys out there) and drilling out the end to accept the brass insert.
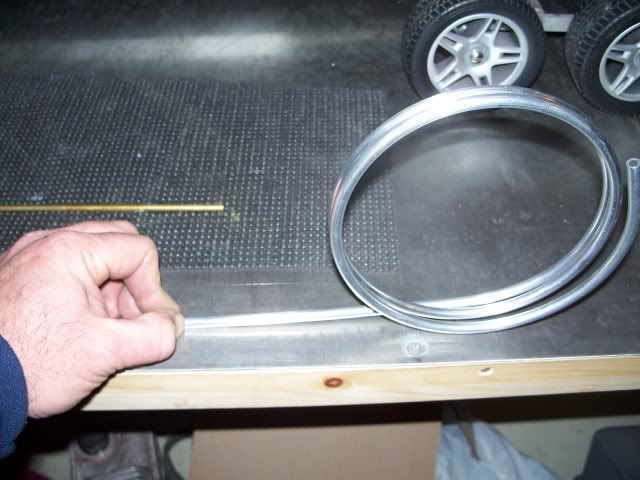

Using thick ca and after test fitting I inserted my brass stub into the hardline being sure to twist it to insure a good seal.
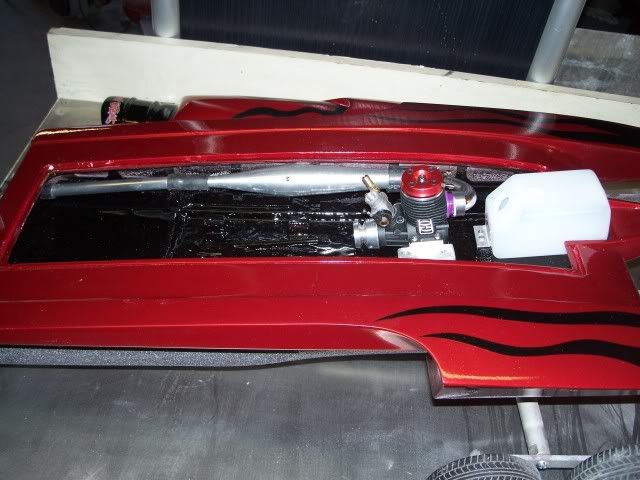
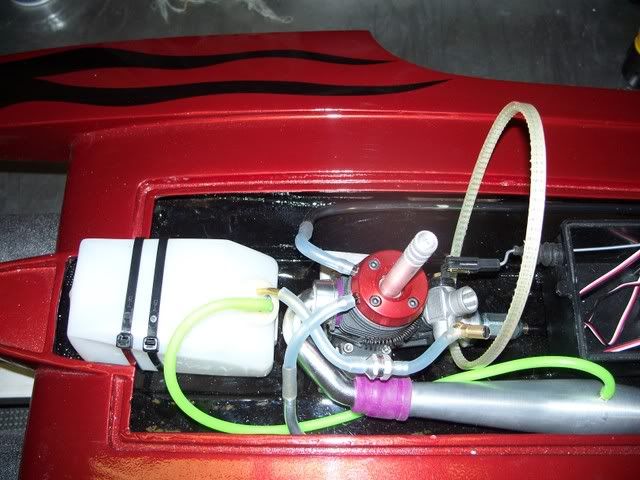
when all was said and done it went from looking like this
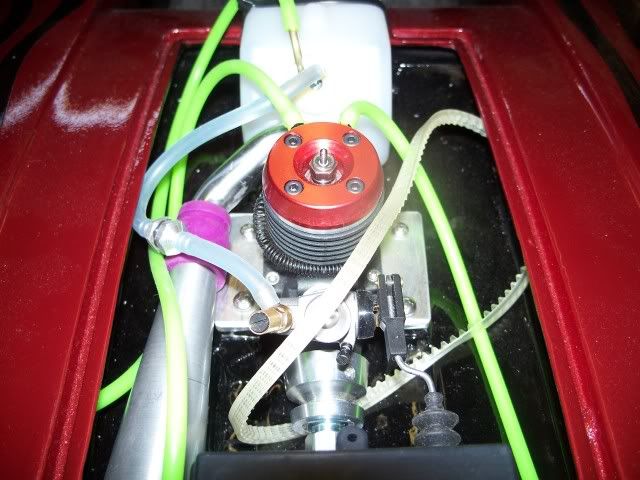
to this
Using thick ca and after test fitting I inserted my brass stub into the hardline being sure to twist it to insure a good seal.
when all was said and done it went from looking like this
to this
 04-25-2009, 09:50 PM
#11
Senior Member
Thread Starter
Join Date: Apr 2007
Location: Wells,
VT
Posts: 475
Likes: 0
Received 0 Likes
on
0 Posts
Thanks guys, I plan on having the maiden voyage next weekend. The boys and I will be putting in the docks and testing the turtle factor of the lake, water is still only 42 deg.[sm=drowning.gif] I don't know about you but where I come from that's dam cold yet. I have run about 3 tanks through it running it until it reaches temp for a bit and then allowing a total cool down. It's about ready for some serious break in now.
here is a little video I made
[youtube]http://www.youtube.com/watch?v=XLhPvO0ZNes[/youtube]
here is a little video I made
[youtube]http://www.youtube.com/watch?v=XLhPvO0ZNes[/youtube]
05-19-2009, 03:23 PM
#13
Senior Member
Thread Starter
Join Date: Apr 2007
Location: Wells,
VT
Posts: 475
Likes: 0
Received 0 Likes
on
0 Posts
I did Wurster, It ran great, still needs more breaking in before I can realy push it. I found a couple of minor things I need to address before the next outting but all in all I was quite happy with it.
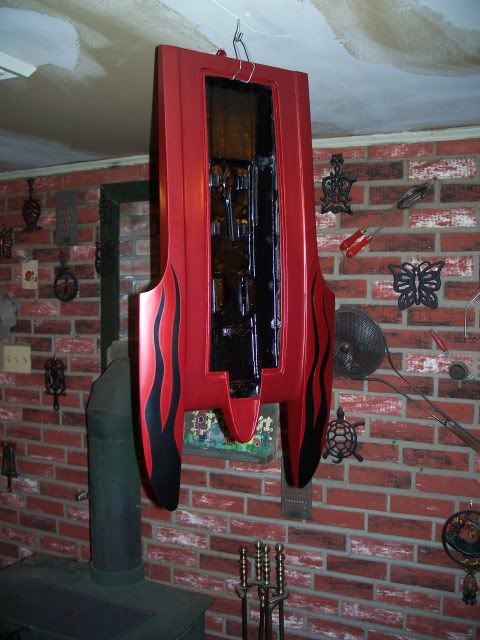
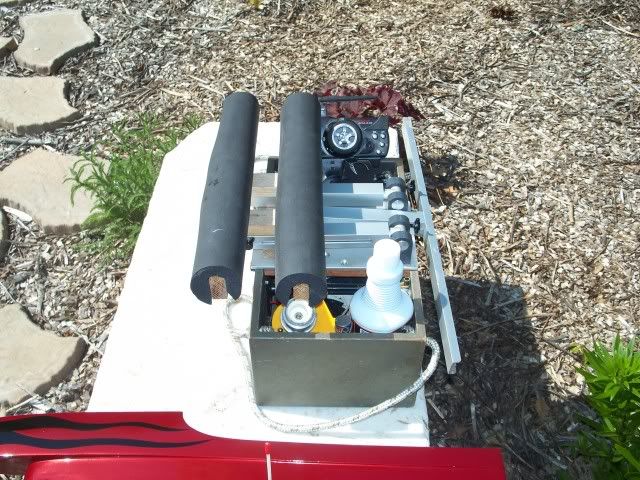
I took the time to make myself a field/pond box to make things easier when I go out to play. I can use it forbothmy boats and for my planes.
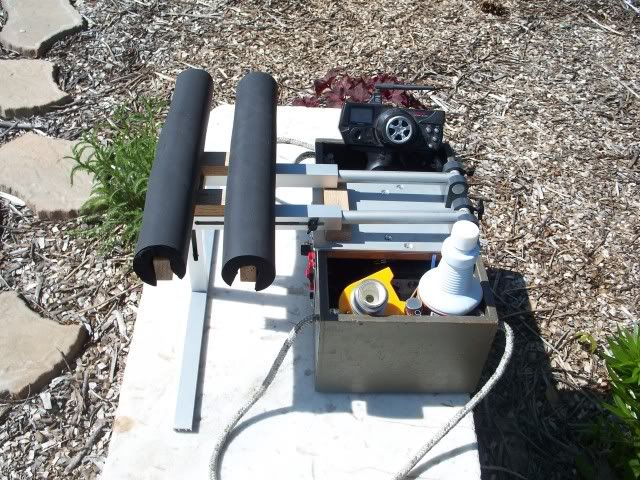
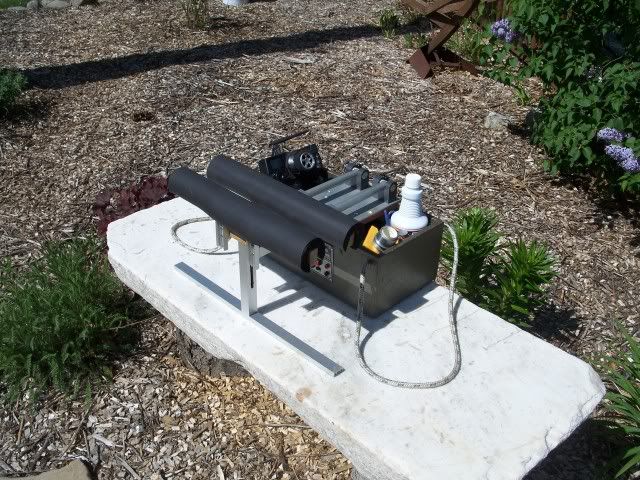
I took the time to make myself a field/pond box to make things easier when I go out to play. I can use it forbothmy boats and for my planes.
05-20-2009, 01:13 AM
#15
Senior Member
Join Date: Apr 2007
Location: Cape Town, , SOUTH AFRICA
Posts: 822
Likes: 0
Received 0 Likes
on
0 Posts
Looks great/ Any video of how she's running. Busy working on mounting a Go .21 on a OS outboard leg to see how that would run. HP of Go is much more than OS-XM so I think that would move. Like to see yours running.
Cobus
Cobus
 05-20-2009, 08:50 AM
#17

Join Date: Apr 2006
Location: Augusta,
KS
Posts: 1,983
Likes: 0
Received 0 Likes
on
0 Posts
You and bill ever get any video of the 40 mono gas conversion?<input id="gwProxy" type="hidden"></input><input onclick="jsCall();" id="jsProxy" type="hidden"/>
