


Pilot RC CF gear for 50cc Slipstream SBach 342
 05-28-2014, 08:23 AM
#1
Senior Member
Thread Starter

When I bought my 29% Slipstream SBach 342, the gear had been damaged and bent back into shape. Add a few earth-wallops of my own and it was time to replace that sad and twisted piece of aluminum. I cast around for a replacement, settling on a carbon fibre unit from Pilot RC for their own 50cc SBach. I called Aircraft Modelers Research (AMR) in Montreal and asked about it. I was told that it should fit and if the mounting holes were in the wrong location, JB Weld was the answer. Good to go!
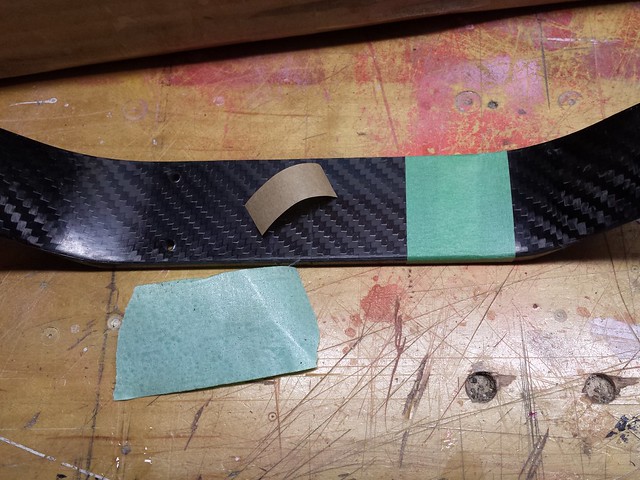
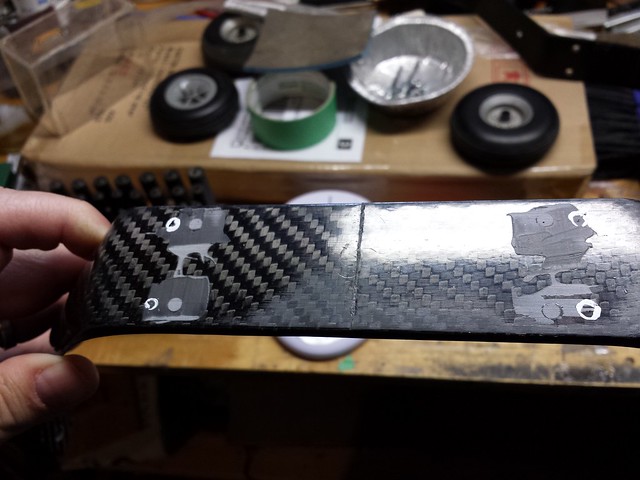
It took less than a week for the gear to arrive via Canada post. A quick look confirmed that the mounting holes did not match.

Before filling the holes I added some backing.
JB Weld in.
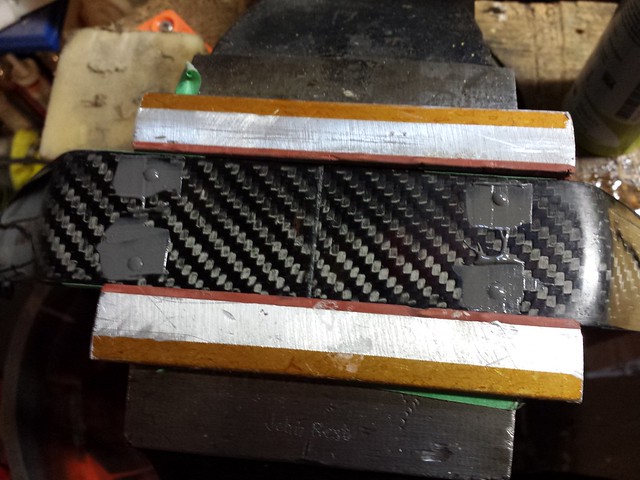
Next day - backing off.
It took less than a week for the gear to arrive via Canada post. A quick look confirmed that the mounting holes did not match.
Before filling the holes I added some backing.
JB Weld in.
Next day - backing off.
 05-28-2014, 08:32 AM
#2
Senior Member
Thread Starter
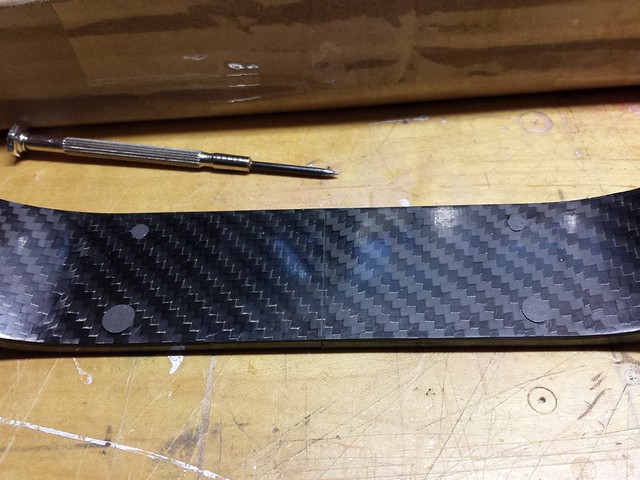
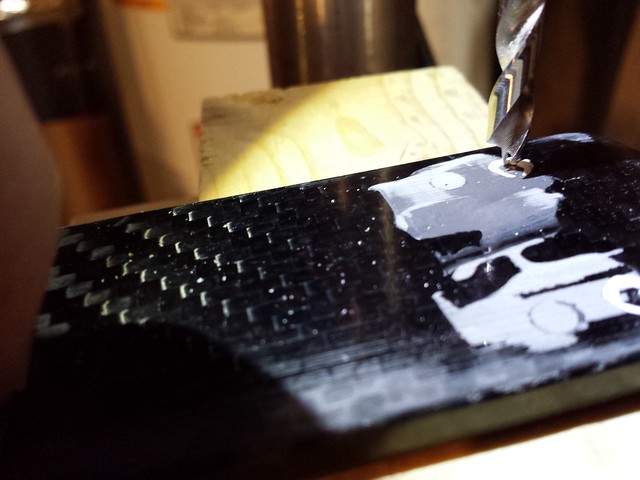
I scraped the excess off the bottom with a small utility knife and gently sanded the top to bring it pretty close to flush.
I weighed the gear before drilling the new holes and found I'll be taking 92 g (about 3.25 oz) out of the plane.
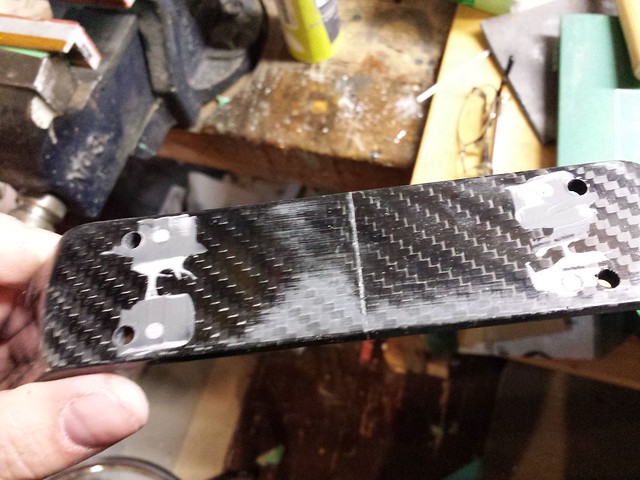
There's already a center line marked on the new gear; I measured and marked one on the old, aligned the two and gently clamped them together. Then I used a transfer punch to mark the location of the holes on the new gear. They're circled to make them easier to find.
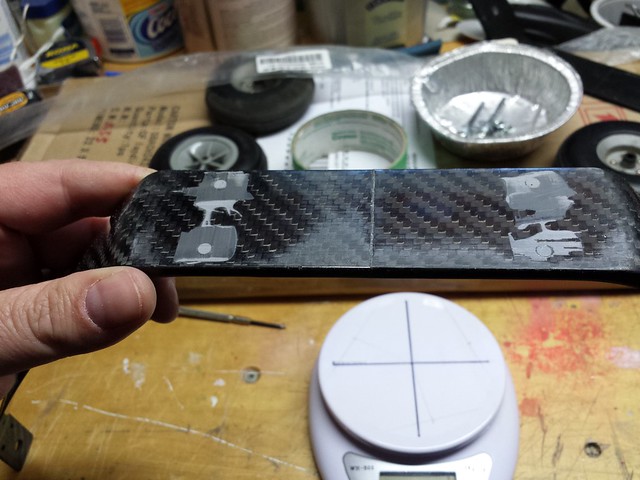
To the drill press. I chucked a 13/64" brad point bit and set the gear on a block of wood.
Holes drilled.
I weighed the gear before drilling the new holes and found I'll be taking 92 g (about 3.25 oz) out of the plane.
There's already a center line marked on the new gear; I measured and marked one on the old, aligned the two and gently clamped them together. Then I used a transfer punch to mark the location of the holes on the new gear. They're circled to make them easier to find.
To the drill press. I chucked a 13/64" brad point bit and set the gear on a block of wood.
Holes drilled.
Last edited by grosbeak; 05-28-2014 at 08:51 AM.
05-28-2014, 08:43 AM
#3
Senior Member
Thread Starter
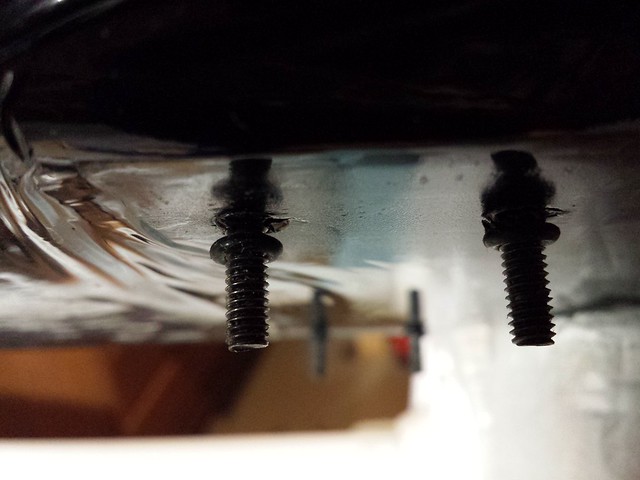
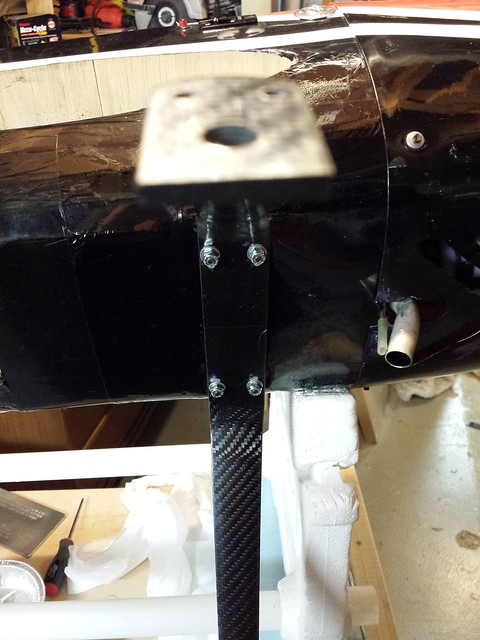
The gear bolts are hard to get at and I didn't want them to fall out, so I held them in place with some O-rings after I took the old gear off (and yes, I have tightened up the covering since I took this photo - :P).
O-rings off, I eased the new gear onto the bolts and tightened them up.
Time for the new wheels. I saved about 40 g (about 1.25 oz) compared to the old ones.
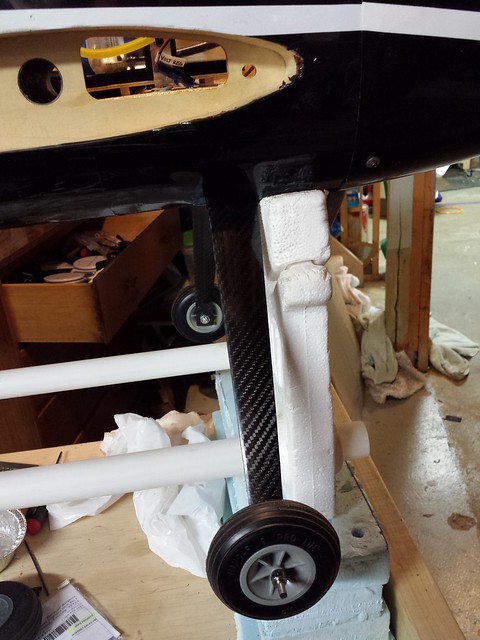
I put O-rings on either side of the wheel and pushed the collar in while I tightened it. This give a slight braking effect, enough to keep the plane from rolling at idle but not nearly enough to cause a noseover. Might help slow the landing rollout too.
O-rings off, I eased the new gear onto the bolts and tightened them up.
Time for the new wheels. I saved about 40 g (about 1.25 oz) compared to the old ones.
I put O-rings on either side of the wheel and pushed the collar in while I tightened it. This give a slight braking effect, enough to keep the plane from rolling at idle but not nearly enough to cause a noseover. Might help slow the landing rollout too.
05-28-2014, 08:48 AM
#5
Senior Member
Thread Starter
In a reversal of my usual method I put this write-up on my website before the forums. Check it out at http://www.grosbeakrc.ca/aircraft/sb...placement.html
05-31-2014, 07:49 AM
#6


Nice install, I'm glad that the original screw holes are inside the new ones. If it were the other way around it could have been an issue. Just an FYI, your JB weld is pretty much for decoration as it is not adding any strength. Once a hole is drilled in CF there is really nothing that can be done to fill the hole and add any real strength back to it. With your installation no need to worry about it though.
08-25-2014, 04:20 AM
#7
Senior Member
Thread Starter
Nice install, I'm glad that the original screw holes are inside the new ones. If it were the other way around it could have been an issue. Just an FYI, your JB weld is pretty much for decoration as it is not adding any strength. Once a hole is drilled in CF there is really nothing that can be done to fill the hole and add any real strength back to it. With your installation no need to worry about it though.
