Onto the next part of the hurricane build. Place the centre section of the wing onto the fuse. Place a piece of plastic paper between the wing and fuse. We then take the 2 triangle pieces of lite ply which will support the rear of the fairing. These you bond to the fuse sides.
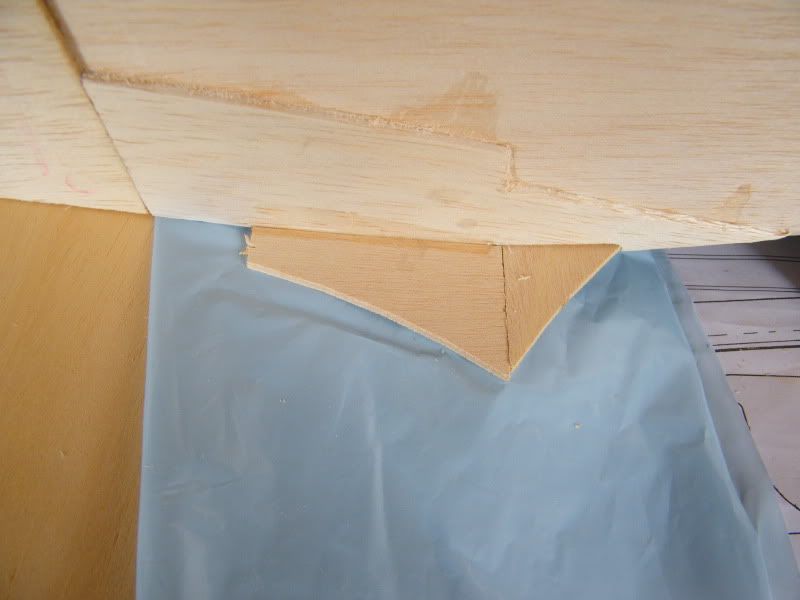
Once this is dry. Loosen the wing and then slide some plastic paper again between the fuse and wing on top. Ok measure the piece of triangle stock that comes with the kit.
I soaked my piece of triangle with water. Then used cyano. (Which will glue wet wood) and pushed the piece of triangle into place and shape. Held it for a few minutes until bonded. Do this both sides.
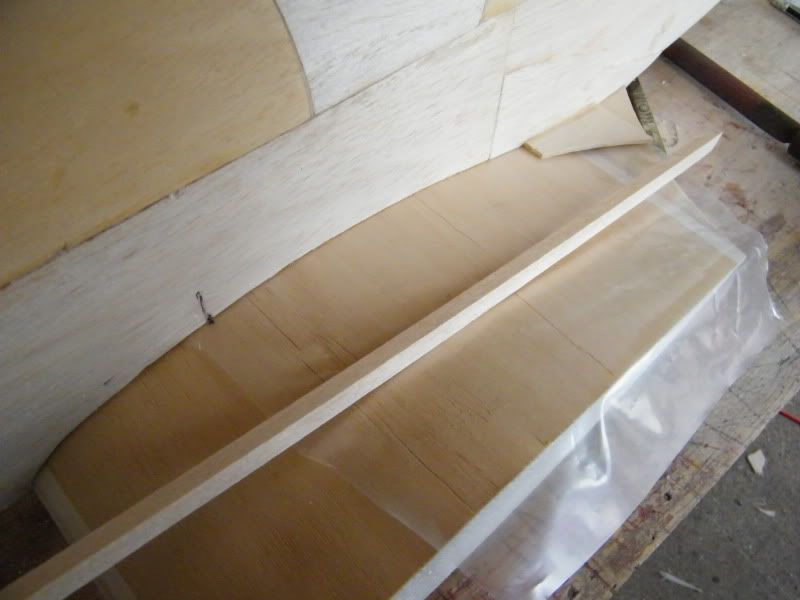
Next cut out the two front wing fairings from the plastic pressed sheet supplied.
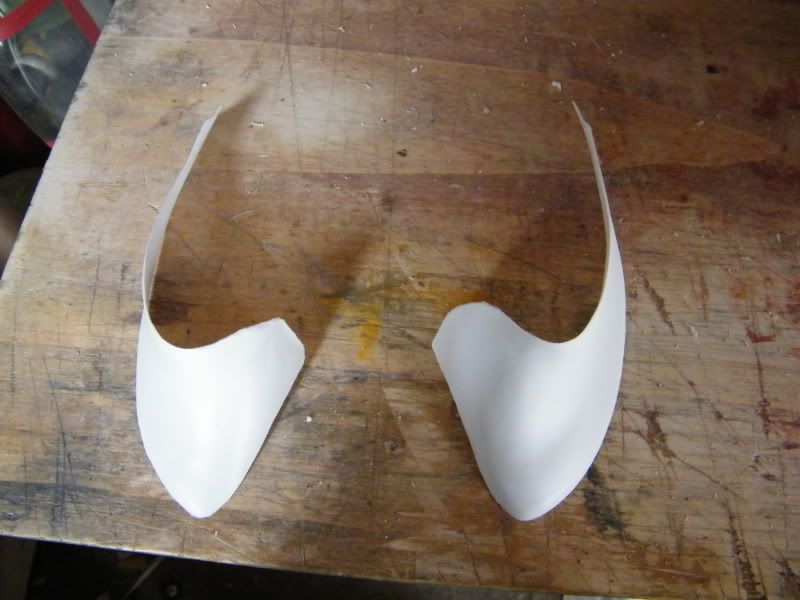
These we glue on at the front, note there will be a gap where the front pass’s where the rear of the cowling will slide in.
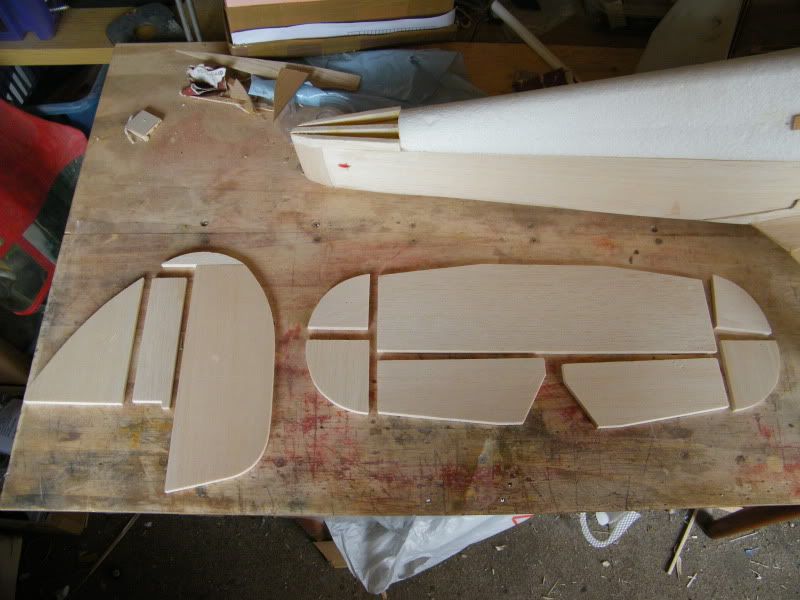
Now ive set out the tail plain sections ready to glue them together. Again lay a plastic sheet on your desk to avoid bonding them to it.
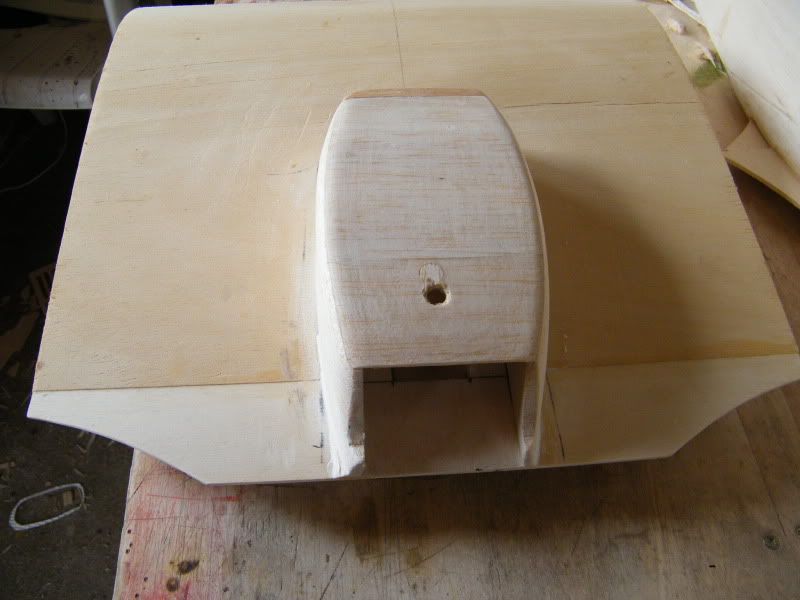
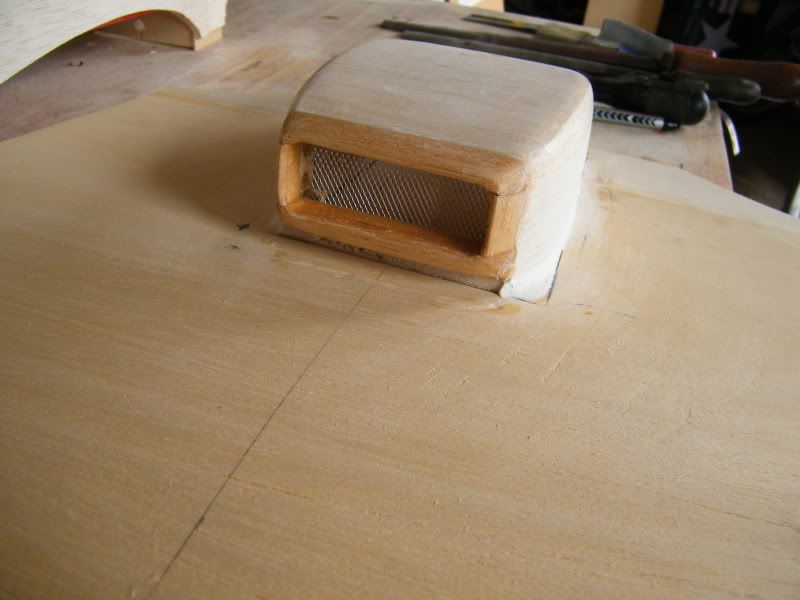
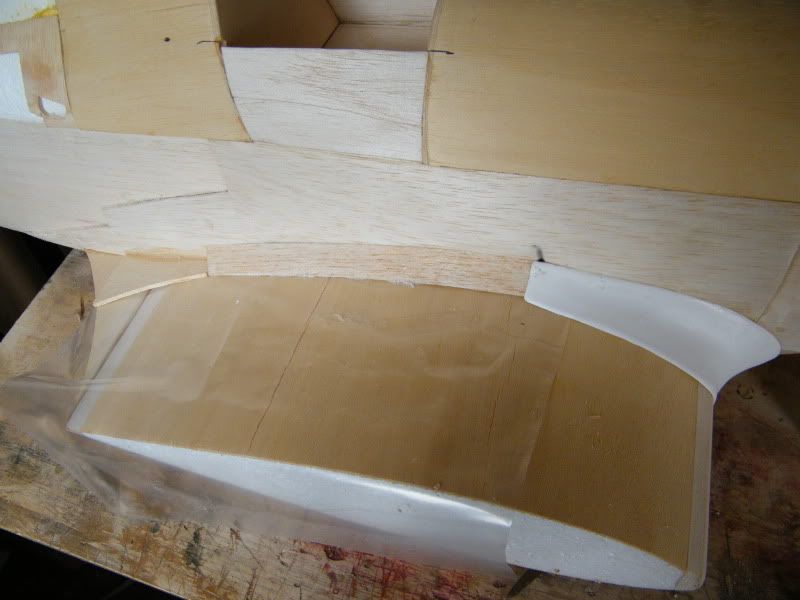
While they were drying I set about fitting the under wing radiator. This consists of a balsa sheet plate that you bond onto the bottom of the wing. Then two very wide side pieces that cut for you are then bonded on top. Next you balsa sheet the top. Once this is done I took my small sander and sanded the rad into shape, in the kit on the pressed plastic sheet is a mouth to the rad. I chose not to use that. I put alloy grill in the front of my rad. Then bonded on a nice piece of hard wood and again sanded that to shape. So here is the rad.
Note. The small hole in bottom of the rad is for the screwdriver to work the wing bolt.