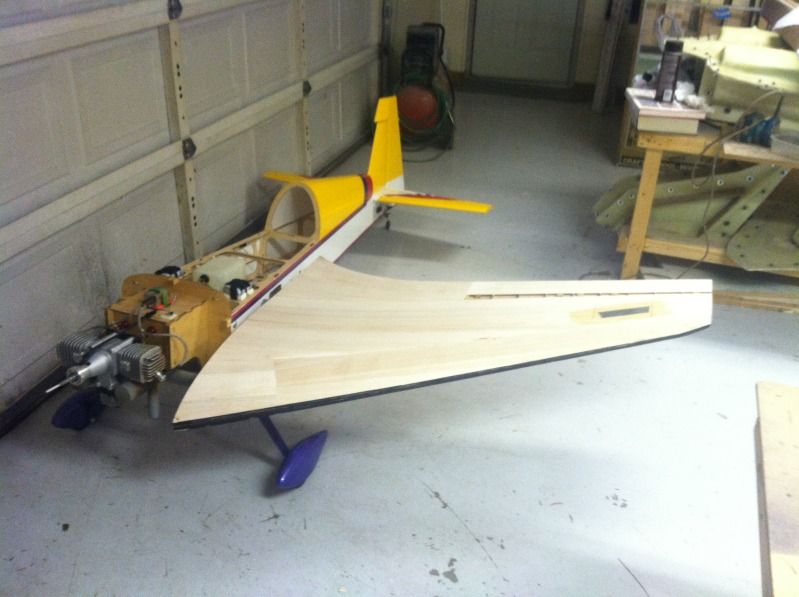
Well after a day or 2 of building a plug, molding and then trimming and fitting a cooling baffle on my 35% Extra 260, And doing some maintenance / fine tuning on other airplanes in the fleet, I have finally gotten back onto the HO-229.
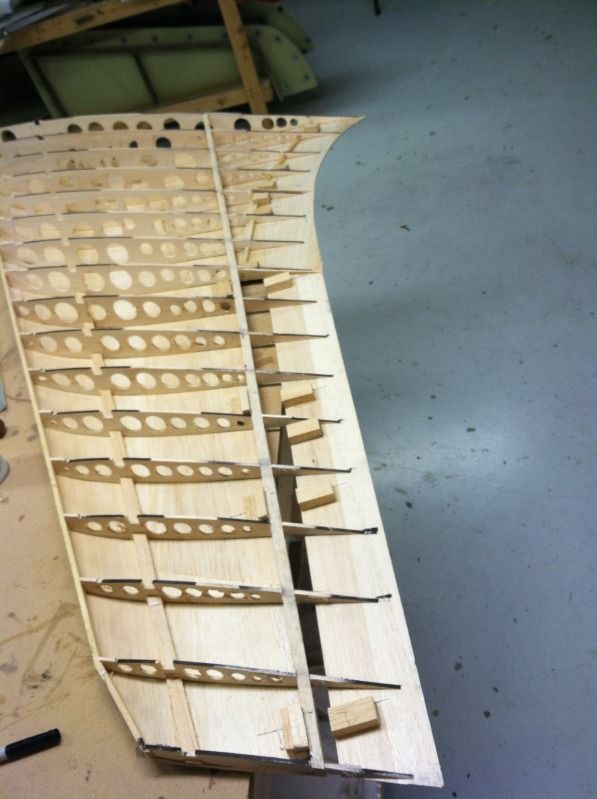
I started working on this thing about 3-4pm today. It is amazing how much faster the second wing progress' after you have learned it all on the first wing. So, the second wing panel is nearly ready for sheeting. All that is left, is to do the elevon hinging holes, profile the leading edge of the ribs and the sub leading edge, install the drag rudders and the servo mounting plate for the drag/elevon servo.
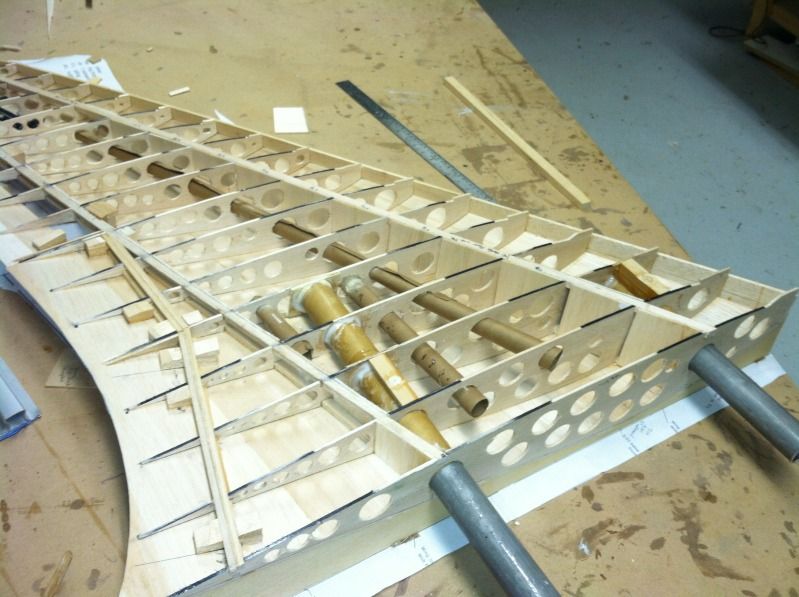
First up, install the hinge hard points:
Then attach the sheeting jigs to the table and then the wing to the jig:
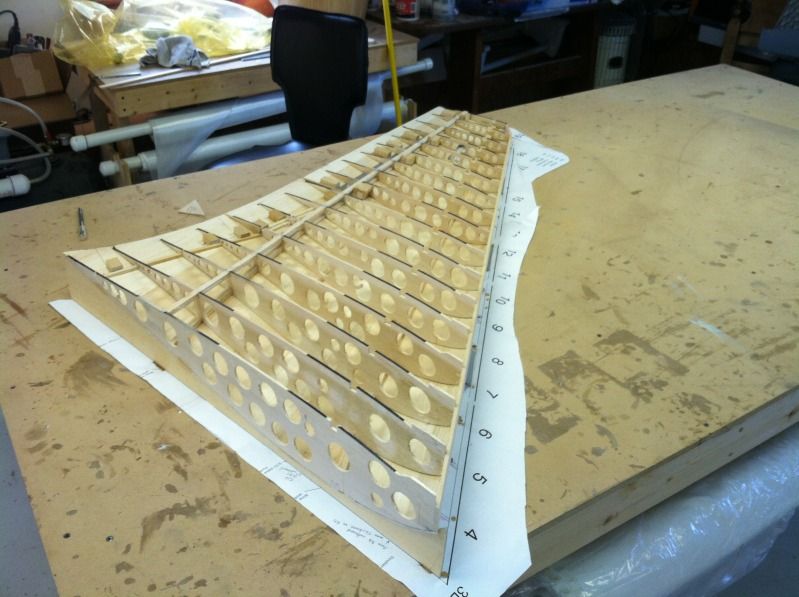
Then Main spars, shear webbing, servo conduits, and more hinge hard points:
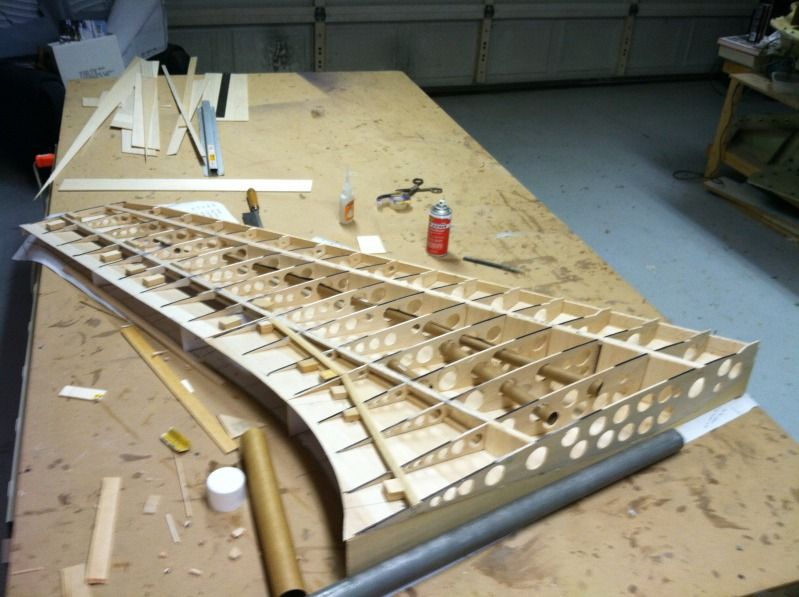
Then align and glue in the wing tube sockets. The white paste you see is epoxy and cotton flock mixture. This makes a very strong and light glue, plus you can make it as thick or runny as you need it:
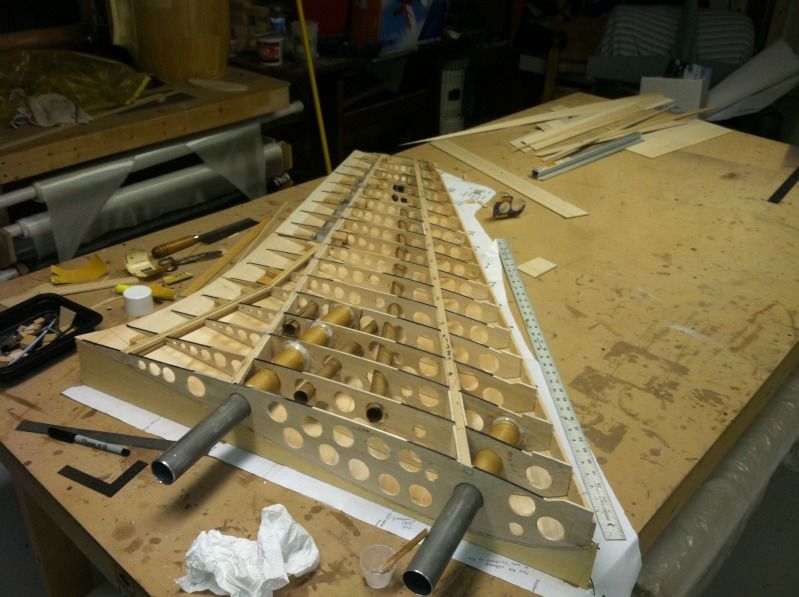
And then the wing tube anti-rotation/attachment bolt blocks and hardpoint (1/2" hardwood dowel inset into the hard balsa blocks) are epoxied to the wing tubes:
And, I had a wild hair and thought, what the heck.. thats the inspiration for this photo!
So, a couple of hints for the guys building these things:
1. Do NOT install the lower forward wing spar when you are initially framing up the wing. If you do, you will have to remove it later in order to set the correct washout in the sheeting jigs.
2. When you install the Flap sub-spars, install them per the plans. THEN install another pair that is butted up against the TE side of the first set. Don't glue the two sub-spars together though. Actually, better yet, would be to install the upper one about 1/4-3/8" aft of the top sub spar, and the bottom ones about 1/8" aft. Reason for this, is it gives you a more robust edge, so when you go to separate the flaps from the wings, if gives you a known edge to cut to AND gives the flaps some more structure.
3. Use the dubro "snap on" style ball-links for the drag rudders instead of the Z bends like what I show in this build. The ball-links will give you a straighter linkage, and will be easier to remove/install if you ever have to remove/replace the drag rudder servo.
4. I'll add more later, but the above three are pretty much the major ones.