Yeah I like Kevlar, great stuff. I used it extensively in the wing & as you'll see, I'm also using it in the fuselage.
Yeah colmo, I'd considered permanently mounting the pylon to the wing. It slots so nicely into my fuselage, that'd be a great way to do things except as you guessed, it'd mean taring the wing apart. If I'd know I was going to do something like this when I was building the wing, then yeah I'd have probably done things the other way around. Something to consider if/when I make the plans available.
Hurricanes are zero fun!
Six days without power! Yeah that sucked but I can't complain. Lots of folks in my area don't even have houses anymore. Other than losing everything in the refrigerator there's no real damage at my place. The power finally came on a few days ago so I'm back in my workshop futzing with my airplane again.
Okay fine
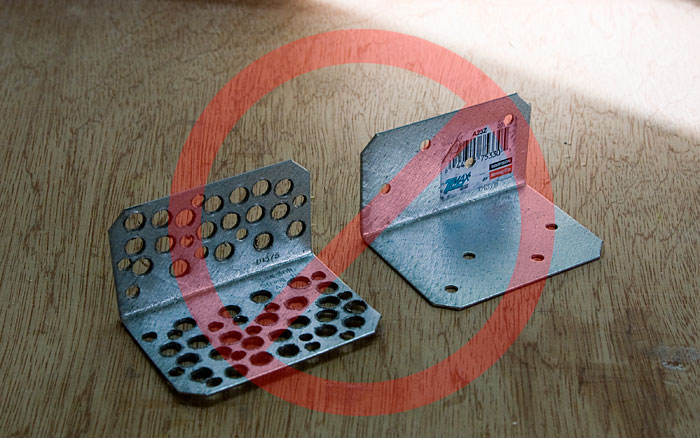
I still feel these metal brackets would have been an elegant, effective, simple & strong solution for attaching the wing to the pylon but enough of you have grunted & grumbled about them that I've decided to go with a more traditional plywood/glass approach...
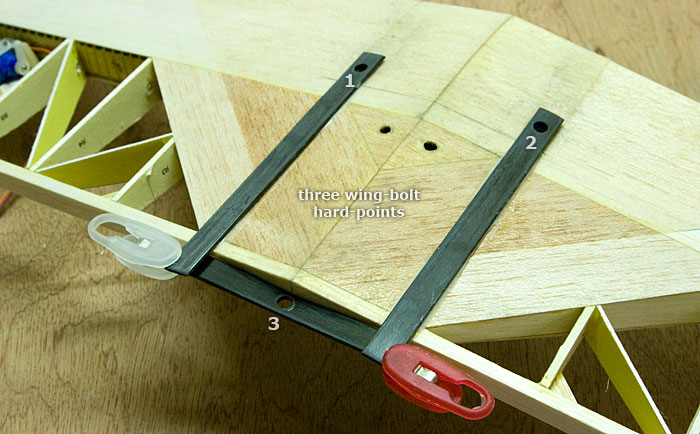
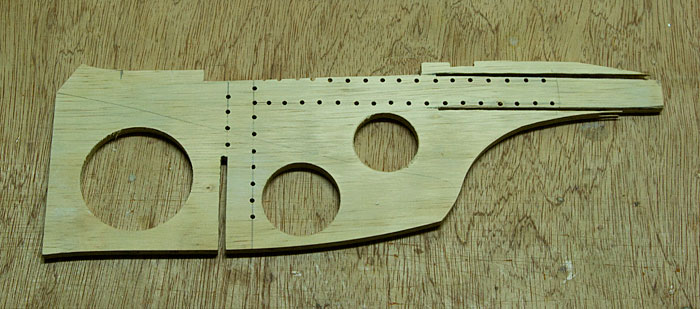
Before I can even start building the wing-saddle though, I need to figure out my wing-bolt system. I chose to install three hard-points on the wing, two right at the spar & one buried in the trailing-edge...
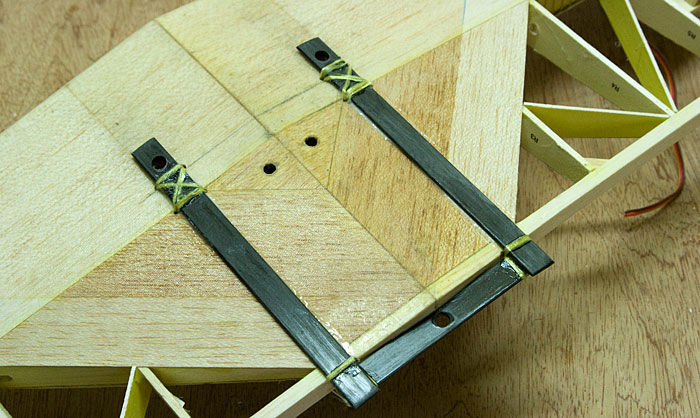
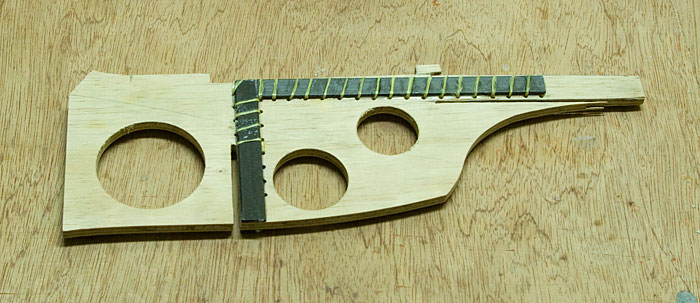
The carbon-bars are firmly attached to the structure using epoxy & Kevlar thread. This all looks a bit ugly right now but it'll get pretty again once its integrated into the wing-saddle...
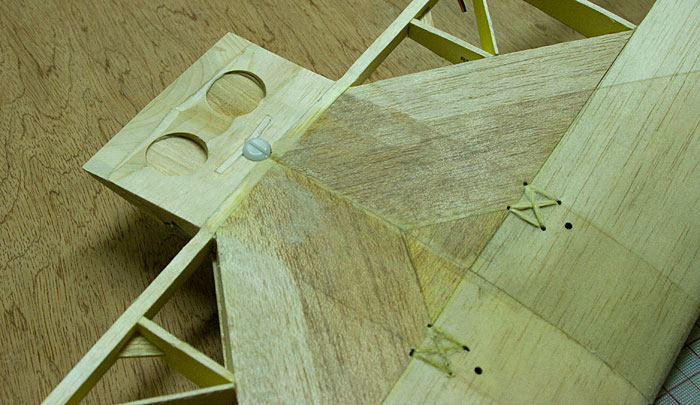
Added the trailing edge & test fitted the rear wing-bolt. In this top view you can still see how the Kevlar is wrapped around the main-spar...
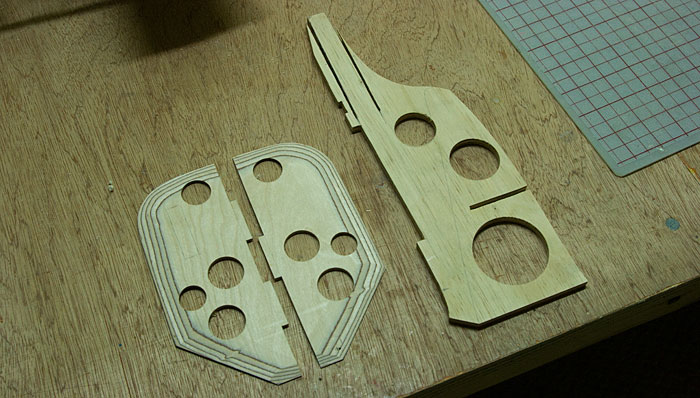
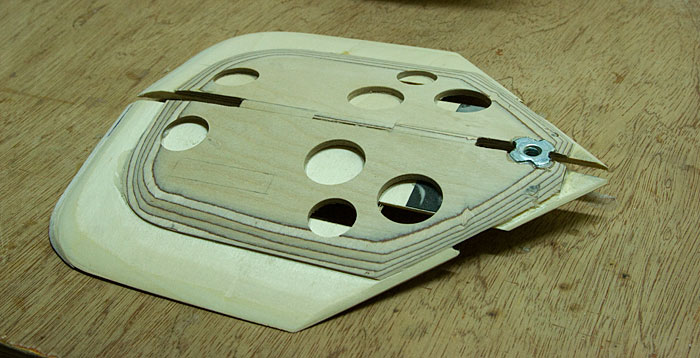
Wing Saddle
With my mounting system in place it was time to turn my attention towards the wing-saddle...
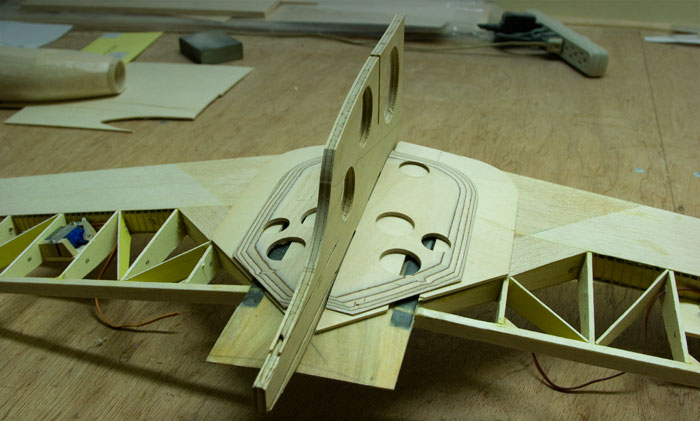
Testing fitting...
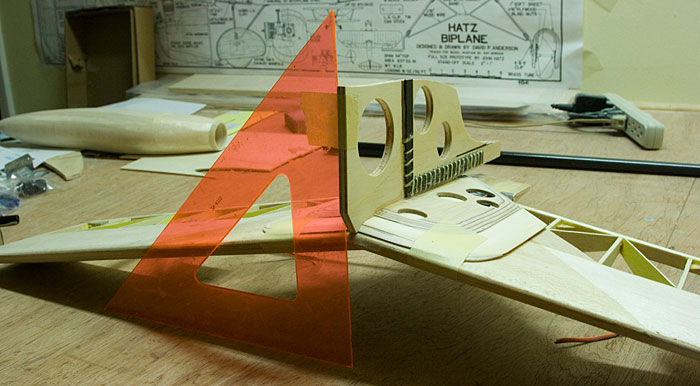
Before I can start adding fillets & glass, I need to get the tail-boom mounted. I'm using a double slot technique here which has worked nicely for me in the past...
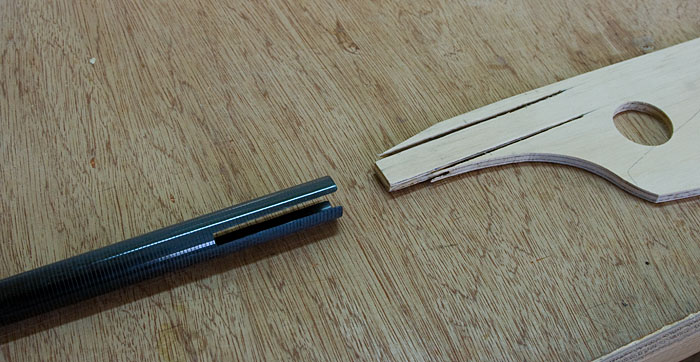
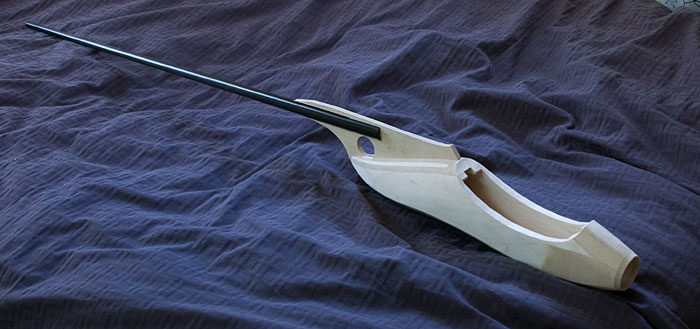
Here's how she looks with a Bubble Dancer tail-boom attached...
Lets make this chunk of wood even more complicated...
Added some Kevlar wrapped carbon-fiber. The horizontal one to reinforce where the tail boom mounts, the vertical one to give the pylon some added support...
Here's how the wing-saddle is looking...
Gluing the pylon to the saddle...
The next step is to lay down some fiber-glass. Then I'll add some 1/2" balsa either side of the pylon & do some shaping. Will post more soon.