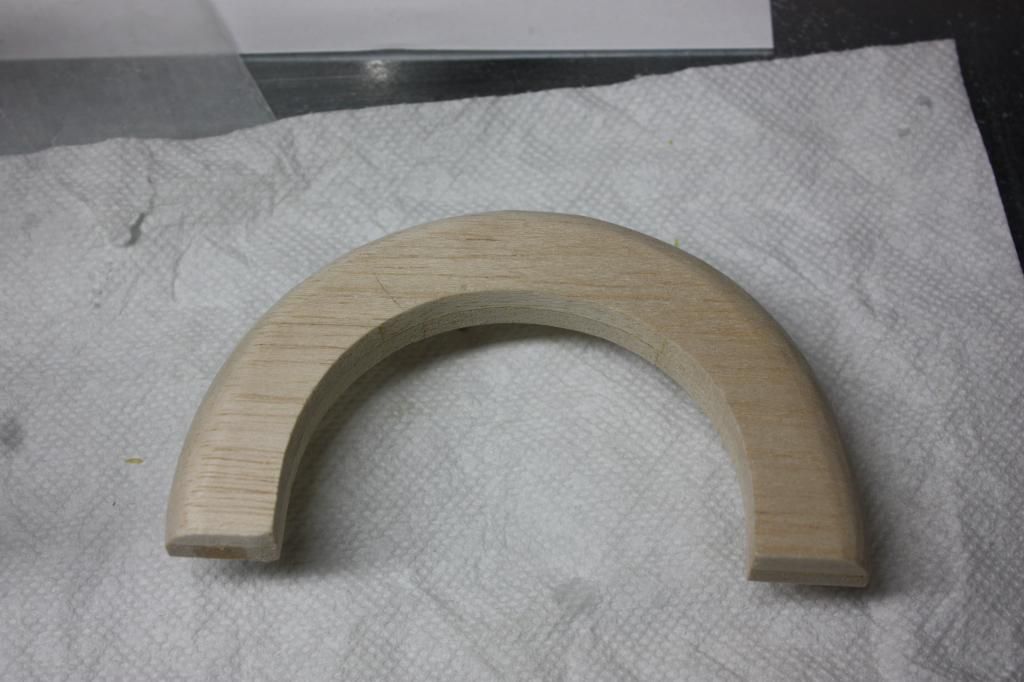
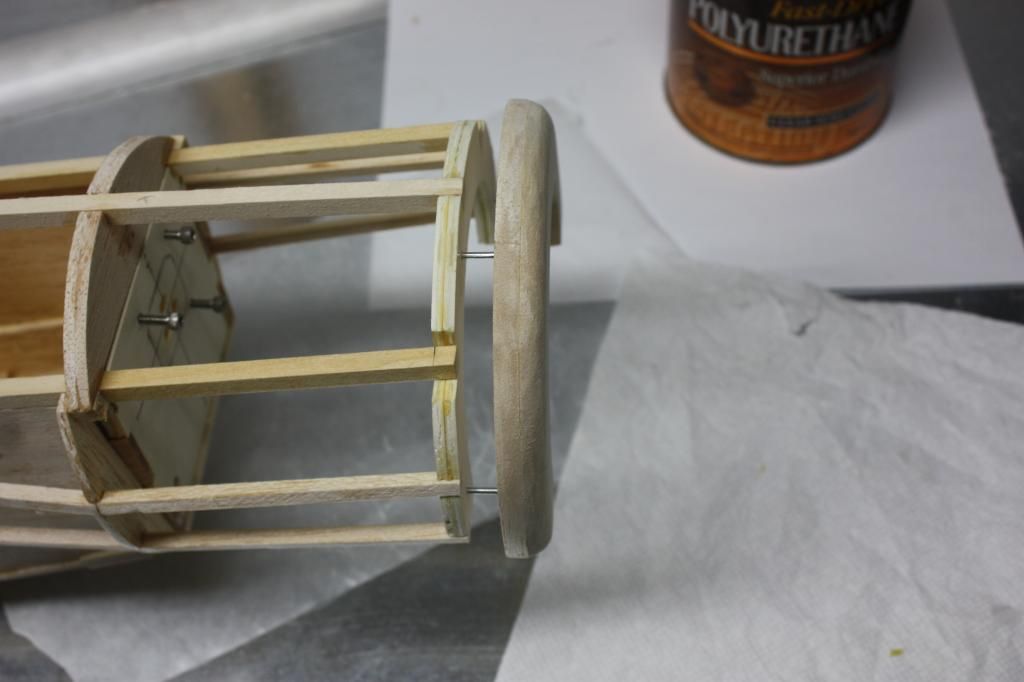
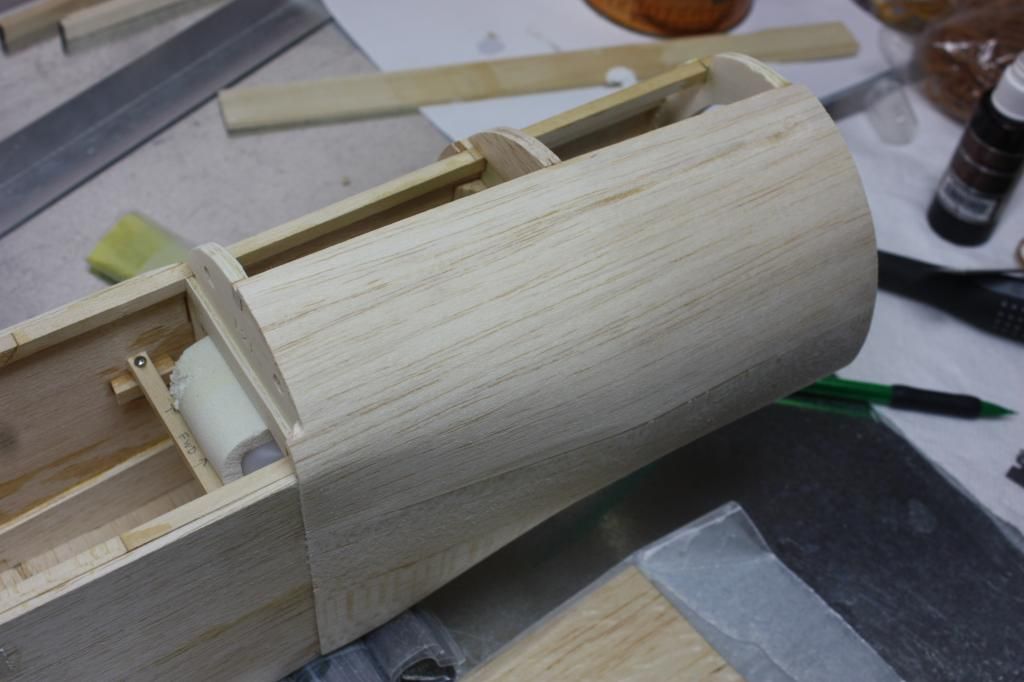
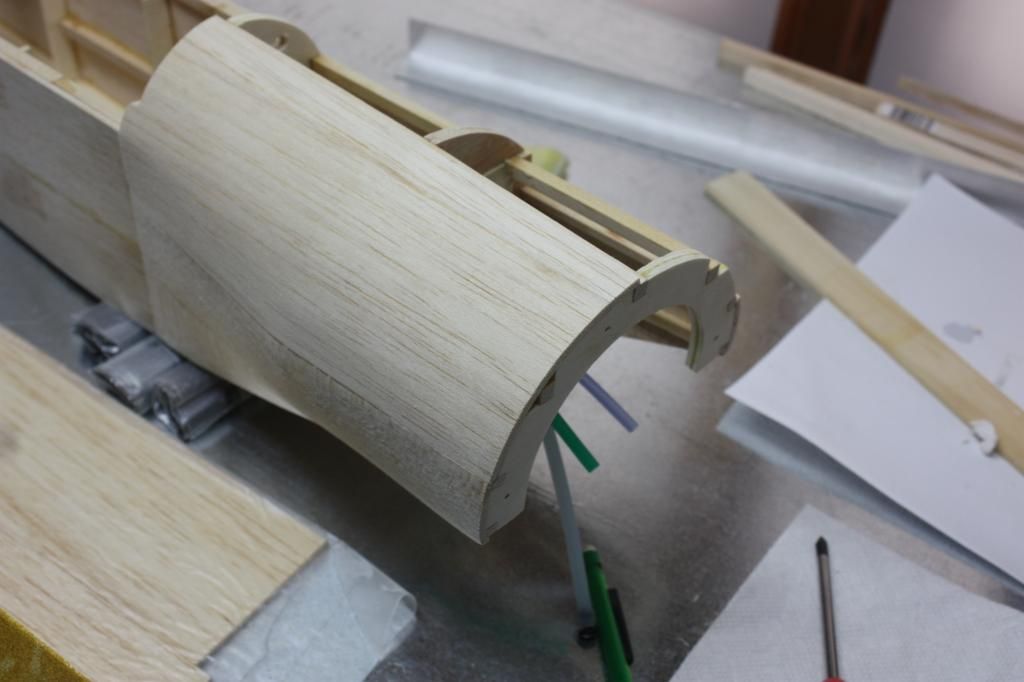
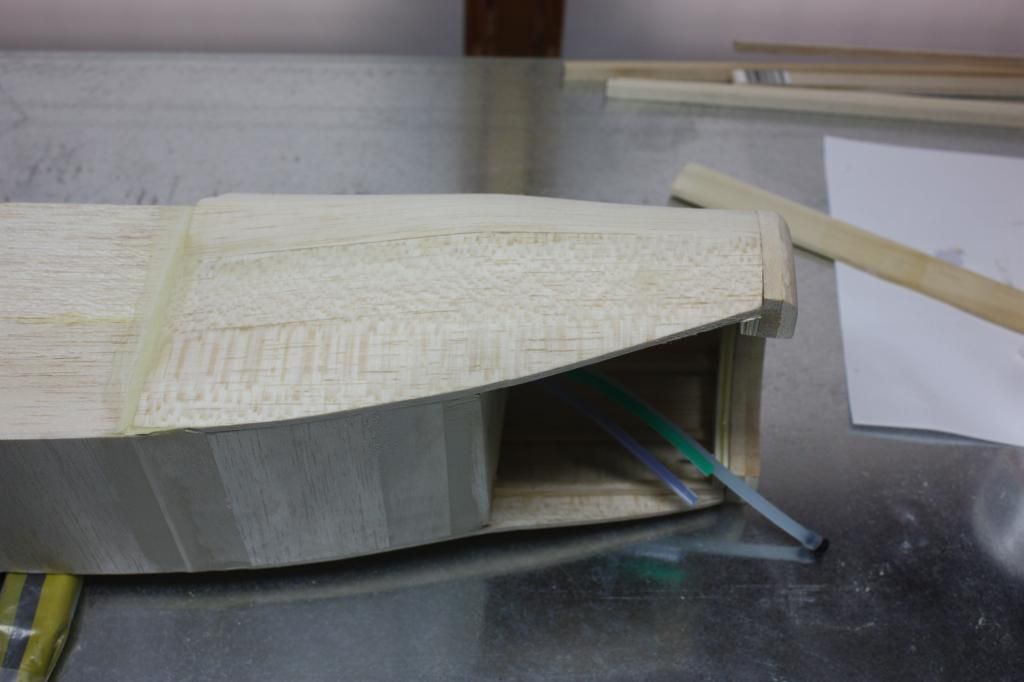
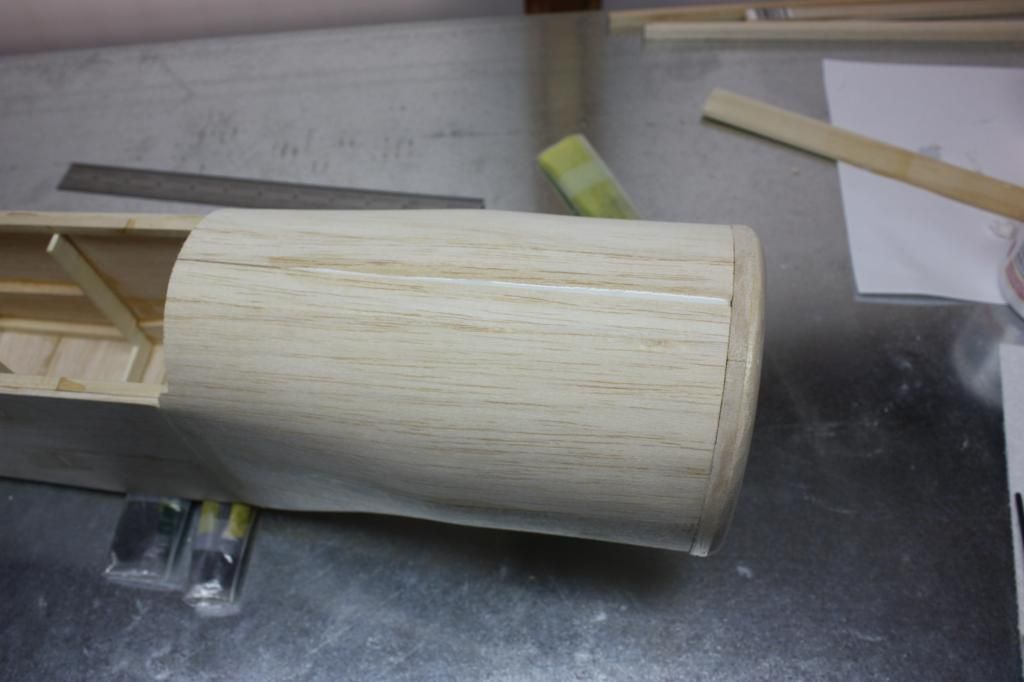
Now for the fun part (he says jokingly). Sheeting the cowl. All I can say is this part is a real PITA! But I did learn a few things while getting this done. I had read earlier in this thread where the builder did not like the flat nose as designed. I agree. No cowling should be flat like that. I took a slightly different approach. I moved the nose former back 1/2". Then I cut out a 1/2" balsa nose ring and clamped it to the kit nose ring. I drilled (3) 1/16" holes through the plywood and into the balsa nose. Then I tack glued 3 short pins into the nose piece so I can easily put it back in place. I don't know yet if I'm going to cover that piece in a different color and I figured it would be easier to do as a separate part. Edit: I also sealed any gaps between the firewall and the cowl formers with epoxy and microballoons.
Other things:
1) Buy some extra 1/8" balsa sheet before you begin in case of an Oh SH*T! (Ask me about that).
2) Maybe it's just me, but 50% isopropyl alcohol seem to work better that 70%.
3) I found that soaking it in the alcohol and wrapping it in wax paper (keeps the evaporation to a minimum) for at least 10 minutes made a big difference.
4) I formed it around the fuselage bit by bit without gluing anything until It would start to keep the shape I wanted. I had beveled my pieces so they overlapped the fuselage side by about 3/8". That gave me a strong bonding area at the rear.
5) I did find that the accelerator did come in hand at times, but you have to be careful not to get it on the areas you haven't done yet or you may be in for an unpleasant surprise.
6)Patience, patience, patience. There's probably a cold beer ready for when you get through this.