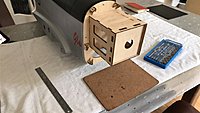
Getting back to my build log, I have more to do on the wings but the Roto motor is calling me so I decided to do some work on the engine mounting. First point of call then is fitting the cowl. The mounting system is bolts through the cowl in to preset captive nuts. The kit comes with a detachable plate, which I carefully lined up with the body and then screwed in to place. The accuracy here is not perfect (mine or the factories), so I also ran around the plate with a sanding drum to get it as close to 100% as possible. What I then noticed was that the cowl was an extremely tight fit and even started to split in some places. So again out with the Dremel sanding drum and running around the face of the mounting surface I was able to eliminate some high spots (and inside the cowl also) and then the cowl would slip on and off with a nice yet still tight fit.
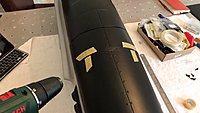
In order to drill the cowl then I put marking tape on the fueslage, drew a straight line to each captive nut, made a measuring mark and noted the distance (in my case 40mm).
It's then just a matter of drilling the hole with the appropriate drill bit and then using the kit supplied fixings. Unfortunately 4 of my captive nuts had some glue inside the thread so I had to clean that out with a tap and die set, but with that little inconvenience aside everything else worked well.
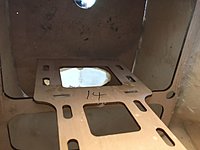
An additional issue did turn up though, after sanding down the cowl mounting surface it left some areas that needed filling because there wasnt a lot of glue in place for the firewall. After checking on the inside of the model you can see that there's not a lot of glue there (on my kit anyway):
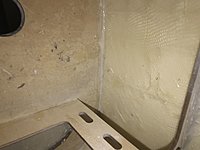
So I mixed up some aeropoxy, and using a syringe pumped it in to the joint to get a nice thick seam
..