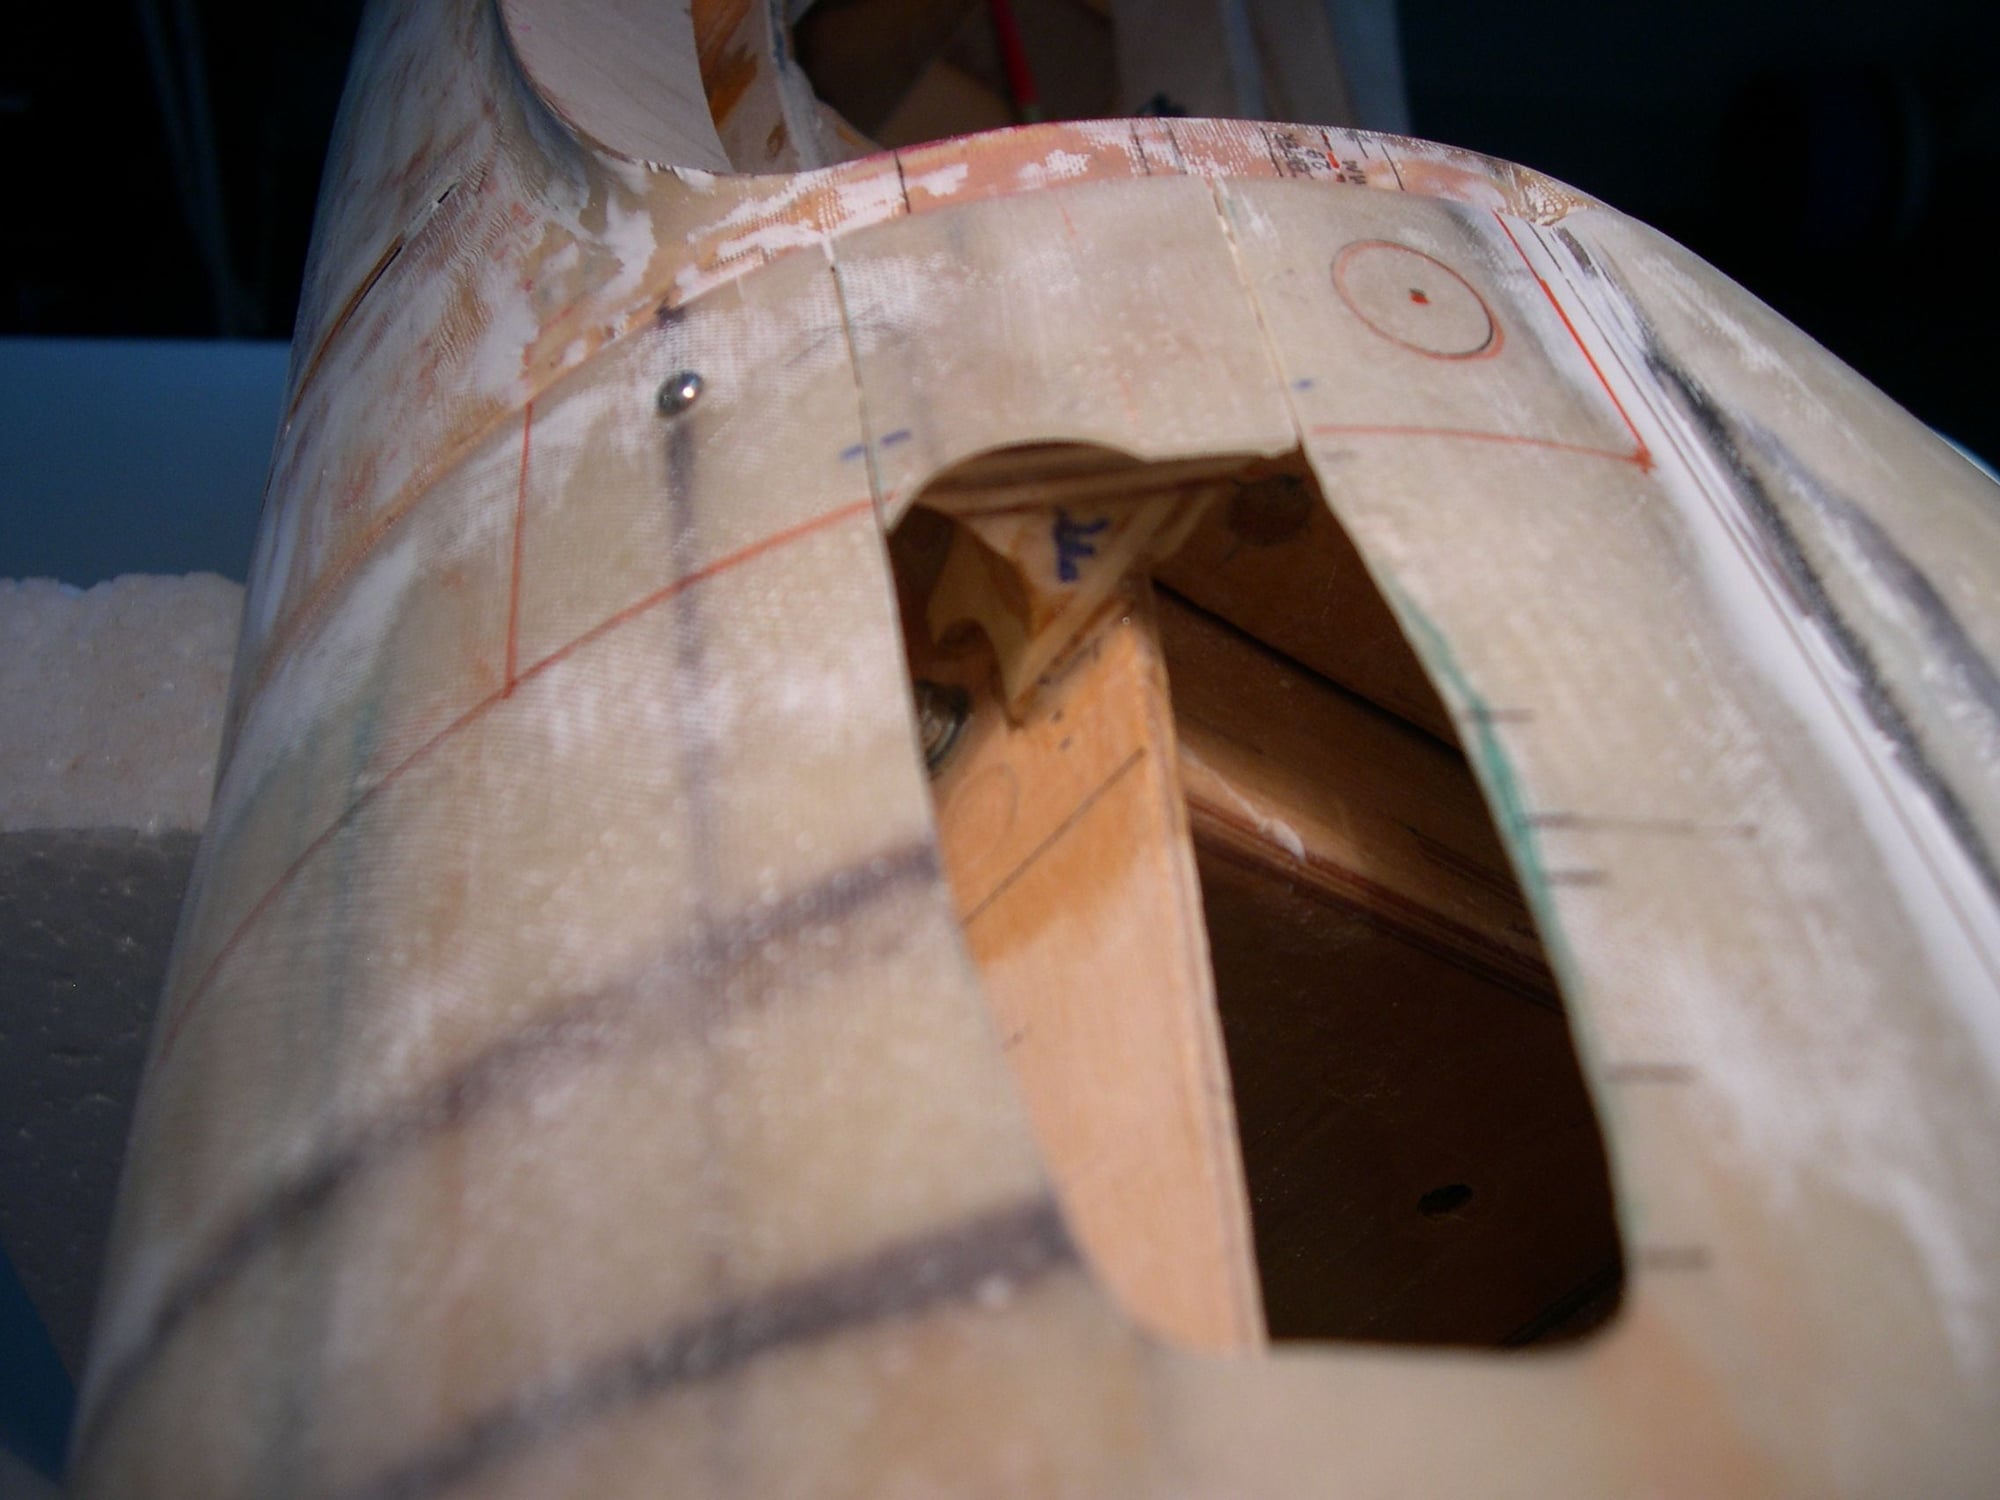
 After a lot of measuring, a cut-out was made to the end of the cowl flap to slide the cowl straight in.
 The aft piece was saved and I temp-glued a balsa "holder" to facilitate measuring, etc.
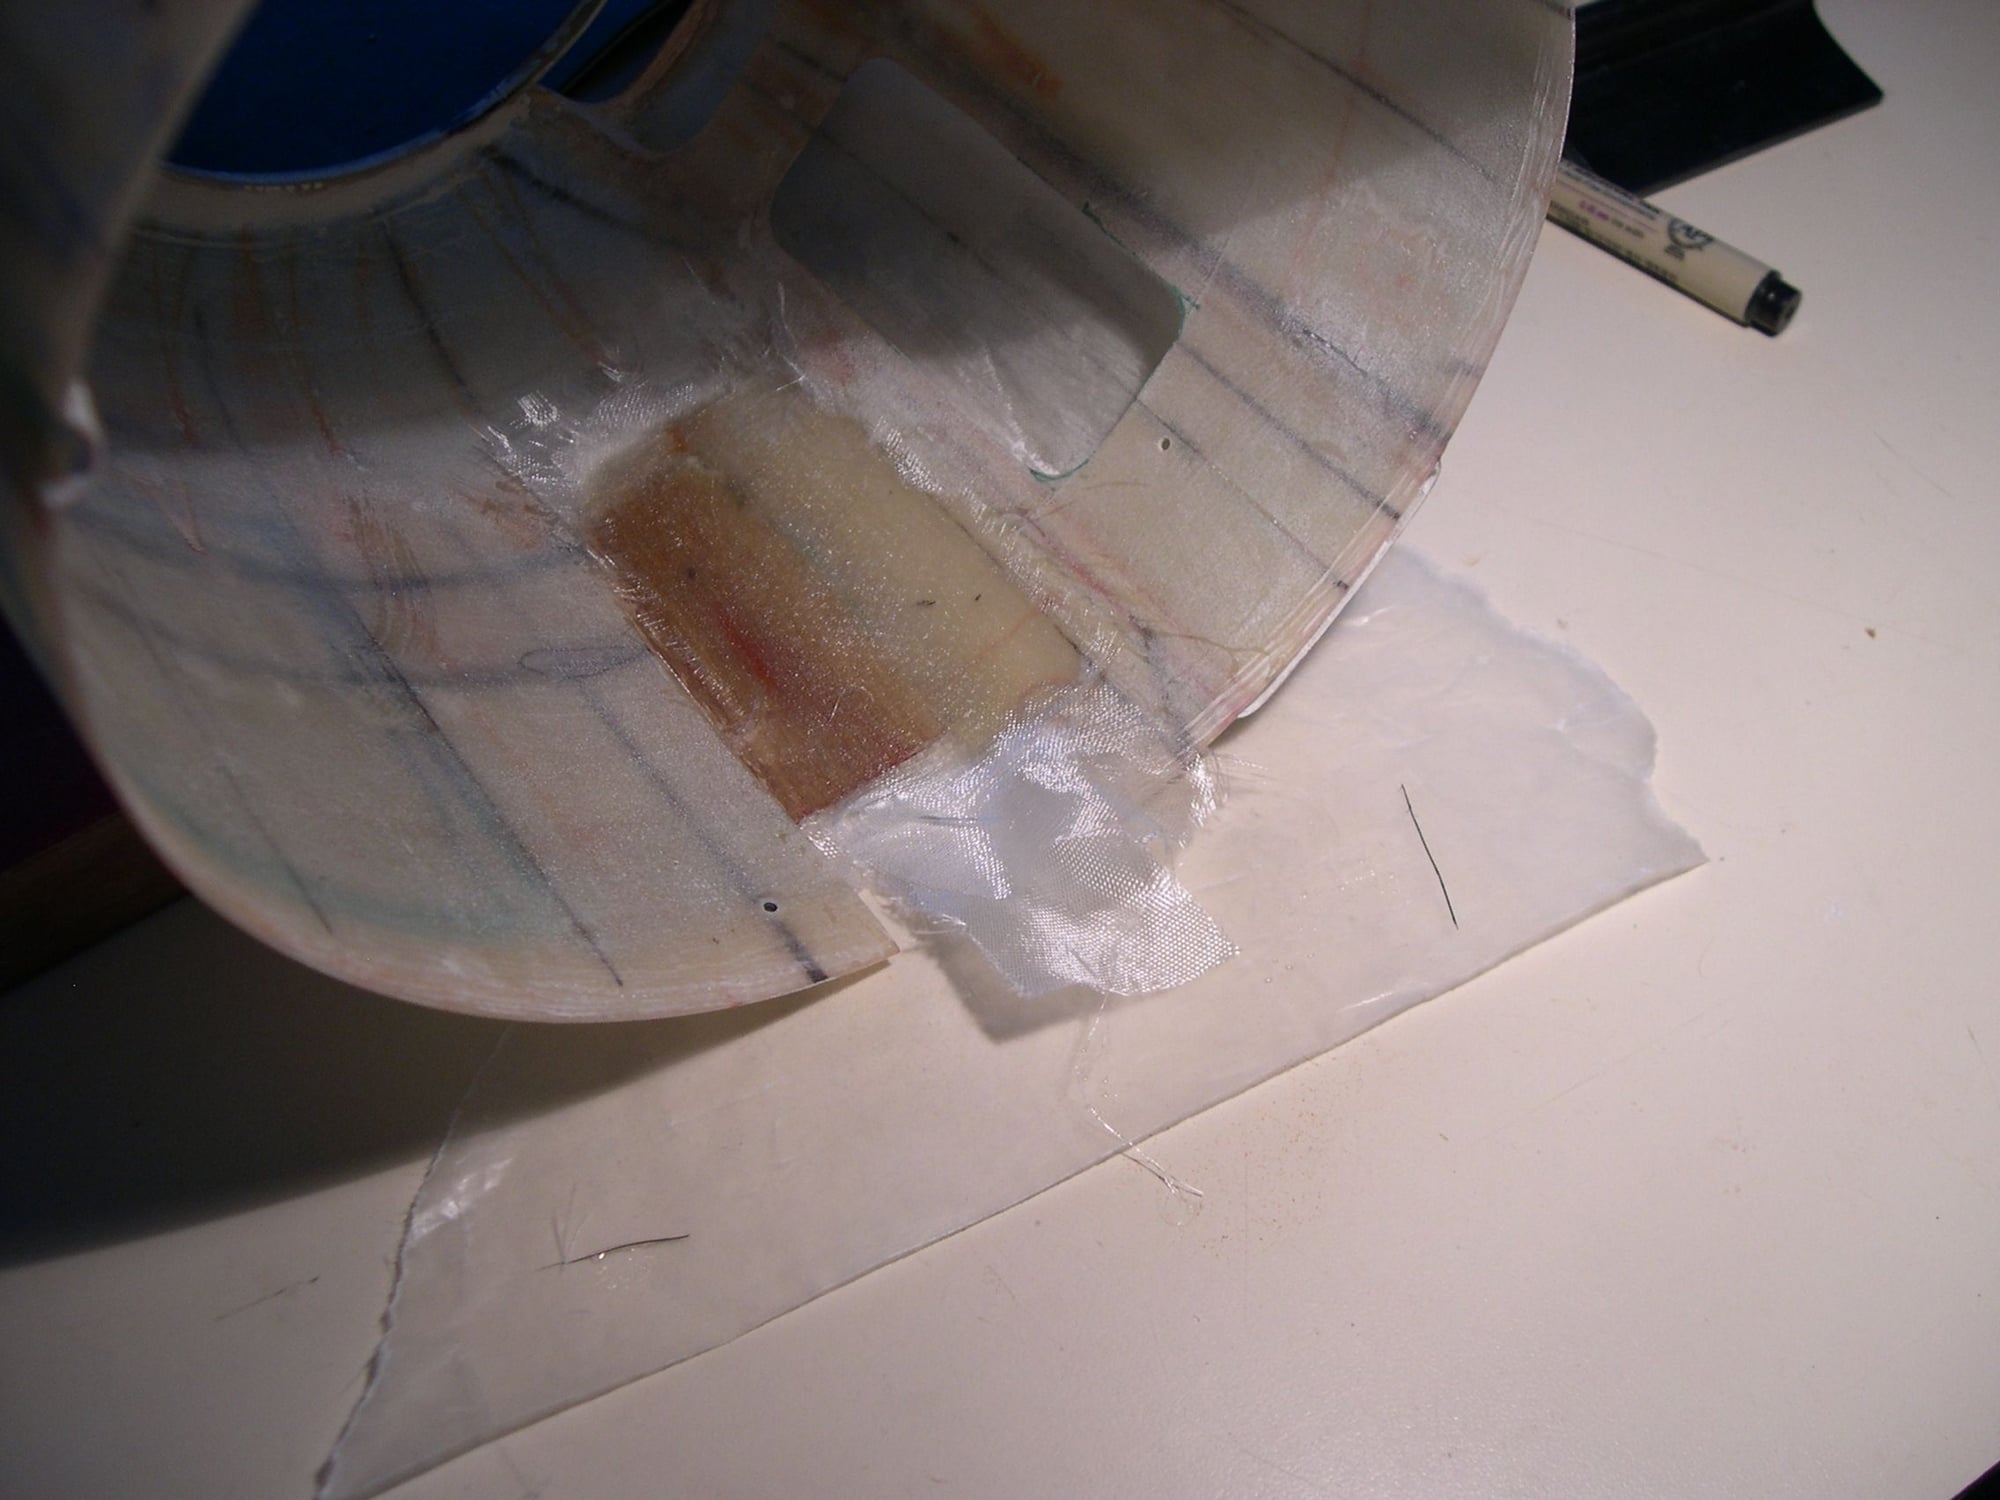
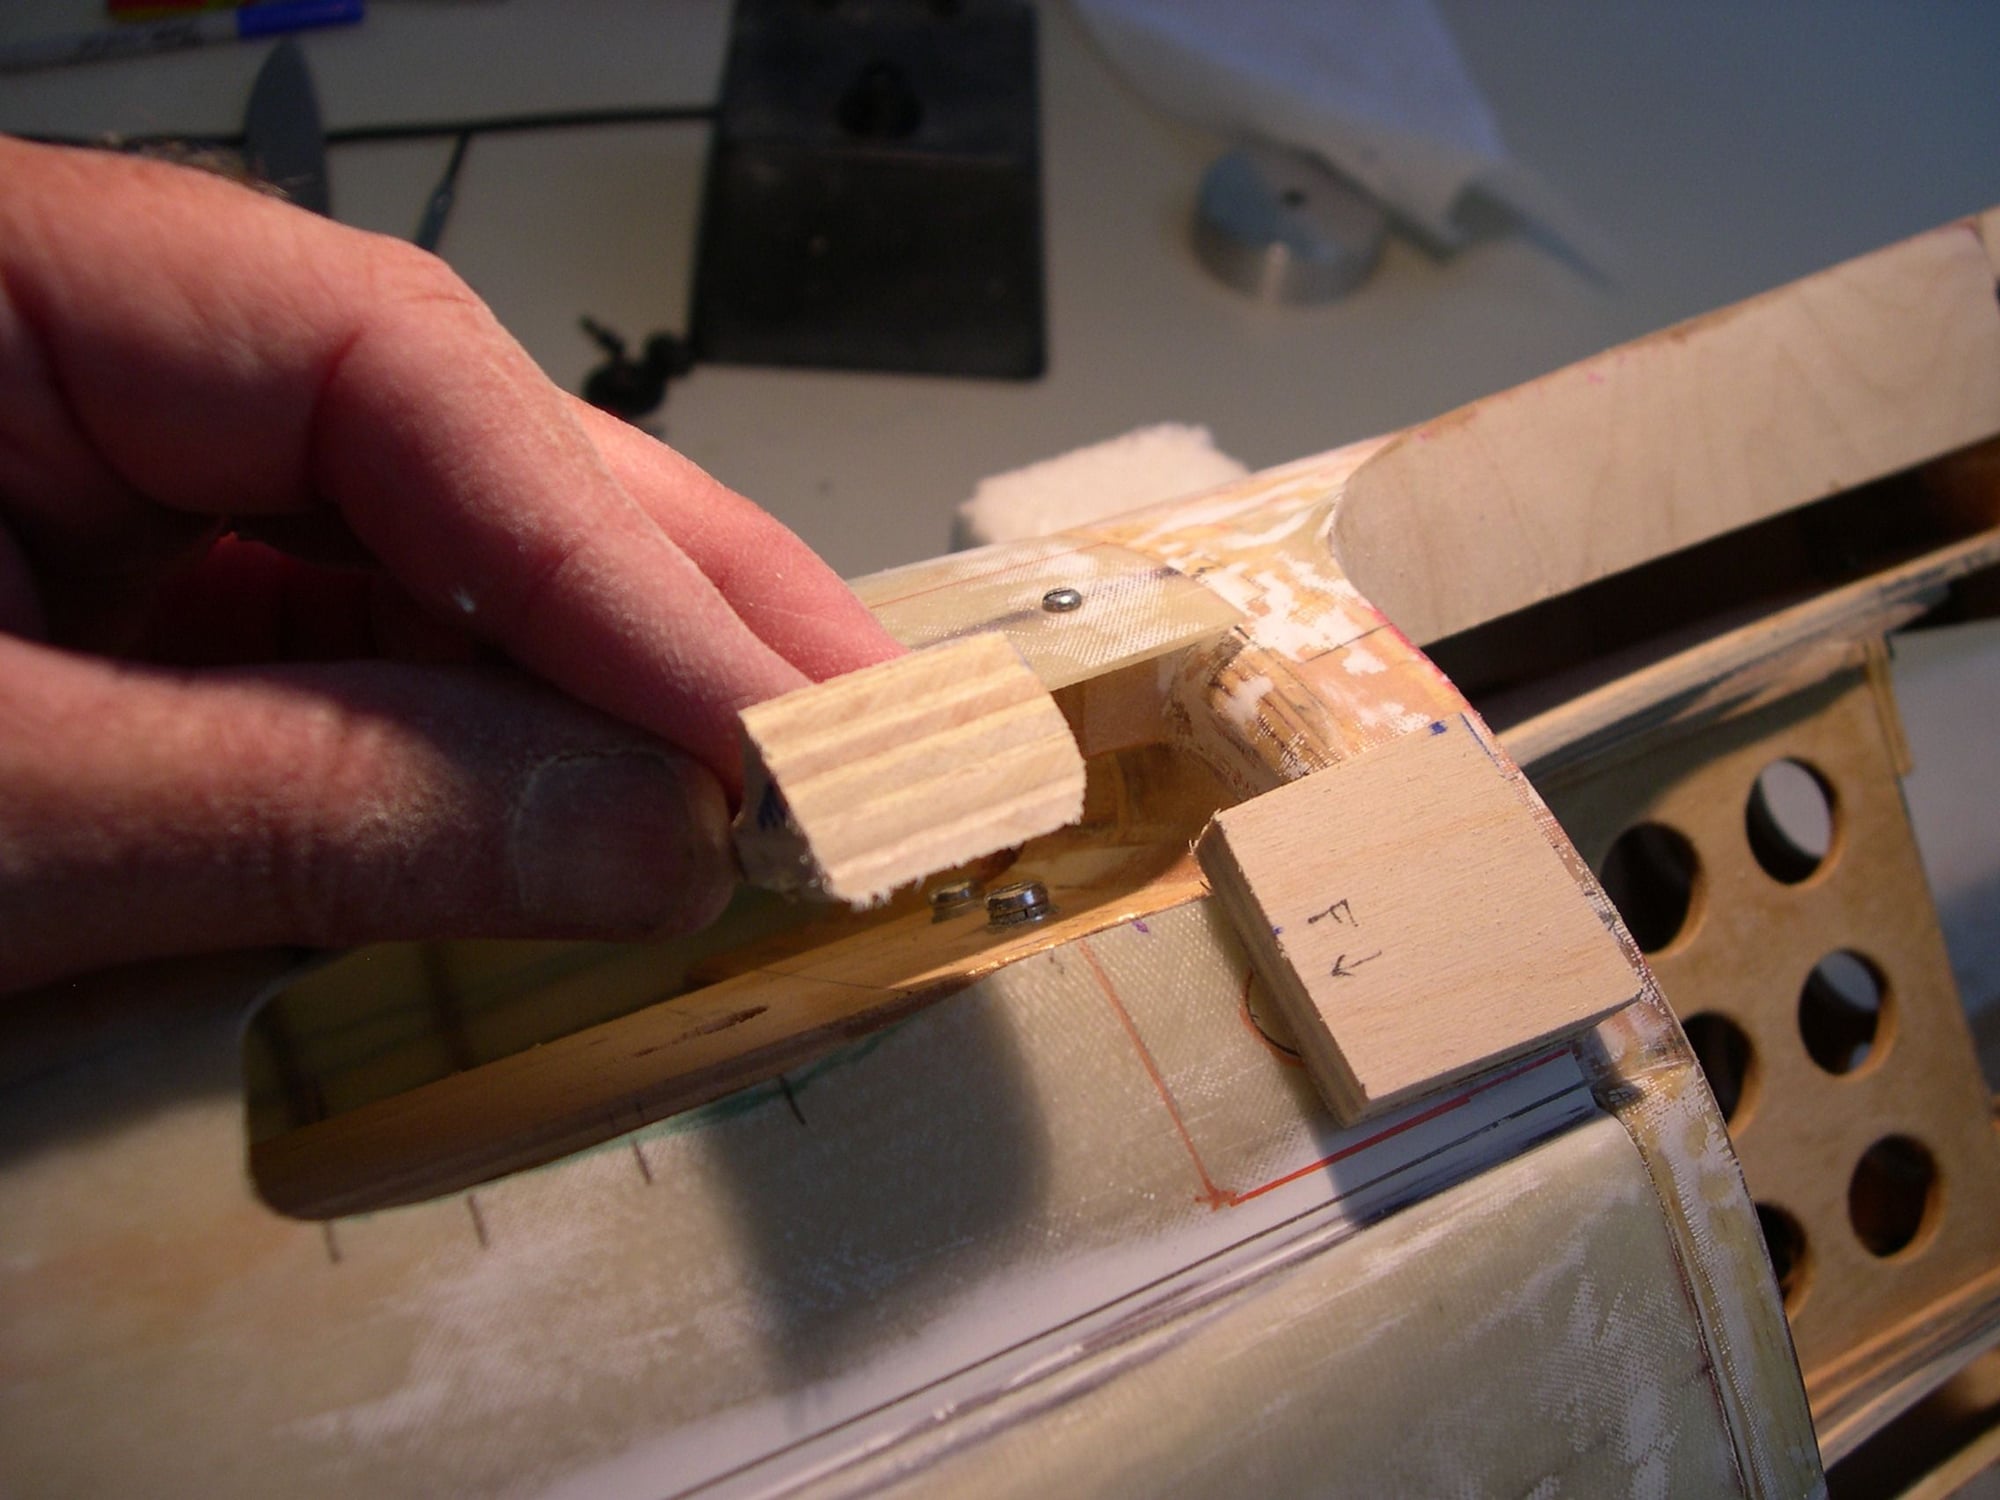 A support piece was crafted to have a glueing the aft fixed piece of the cowl.
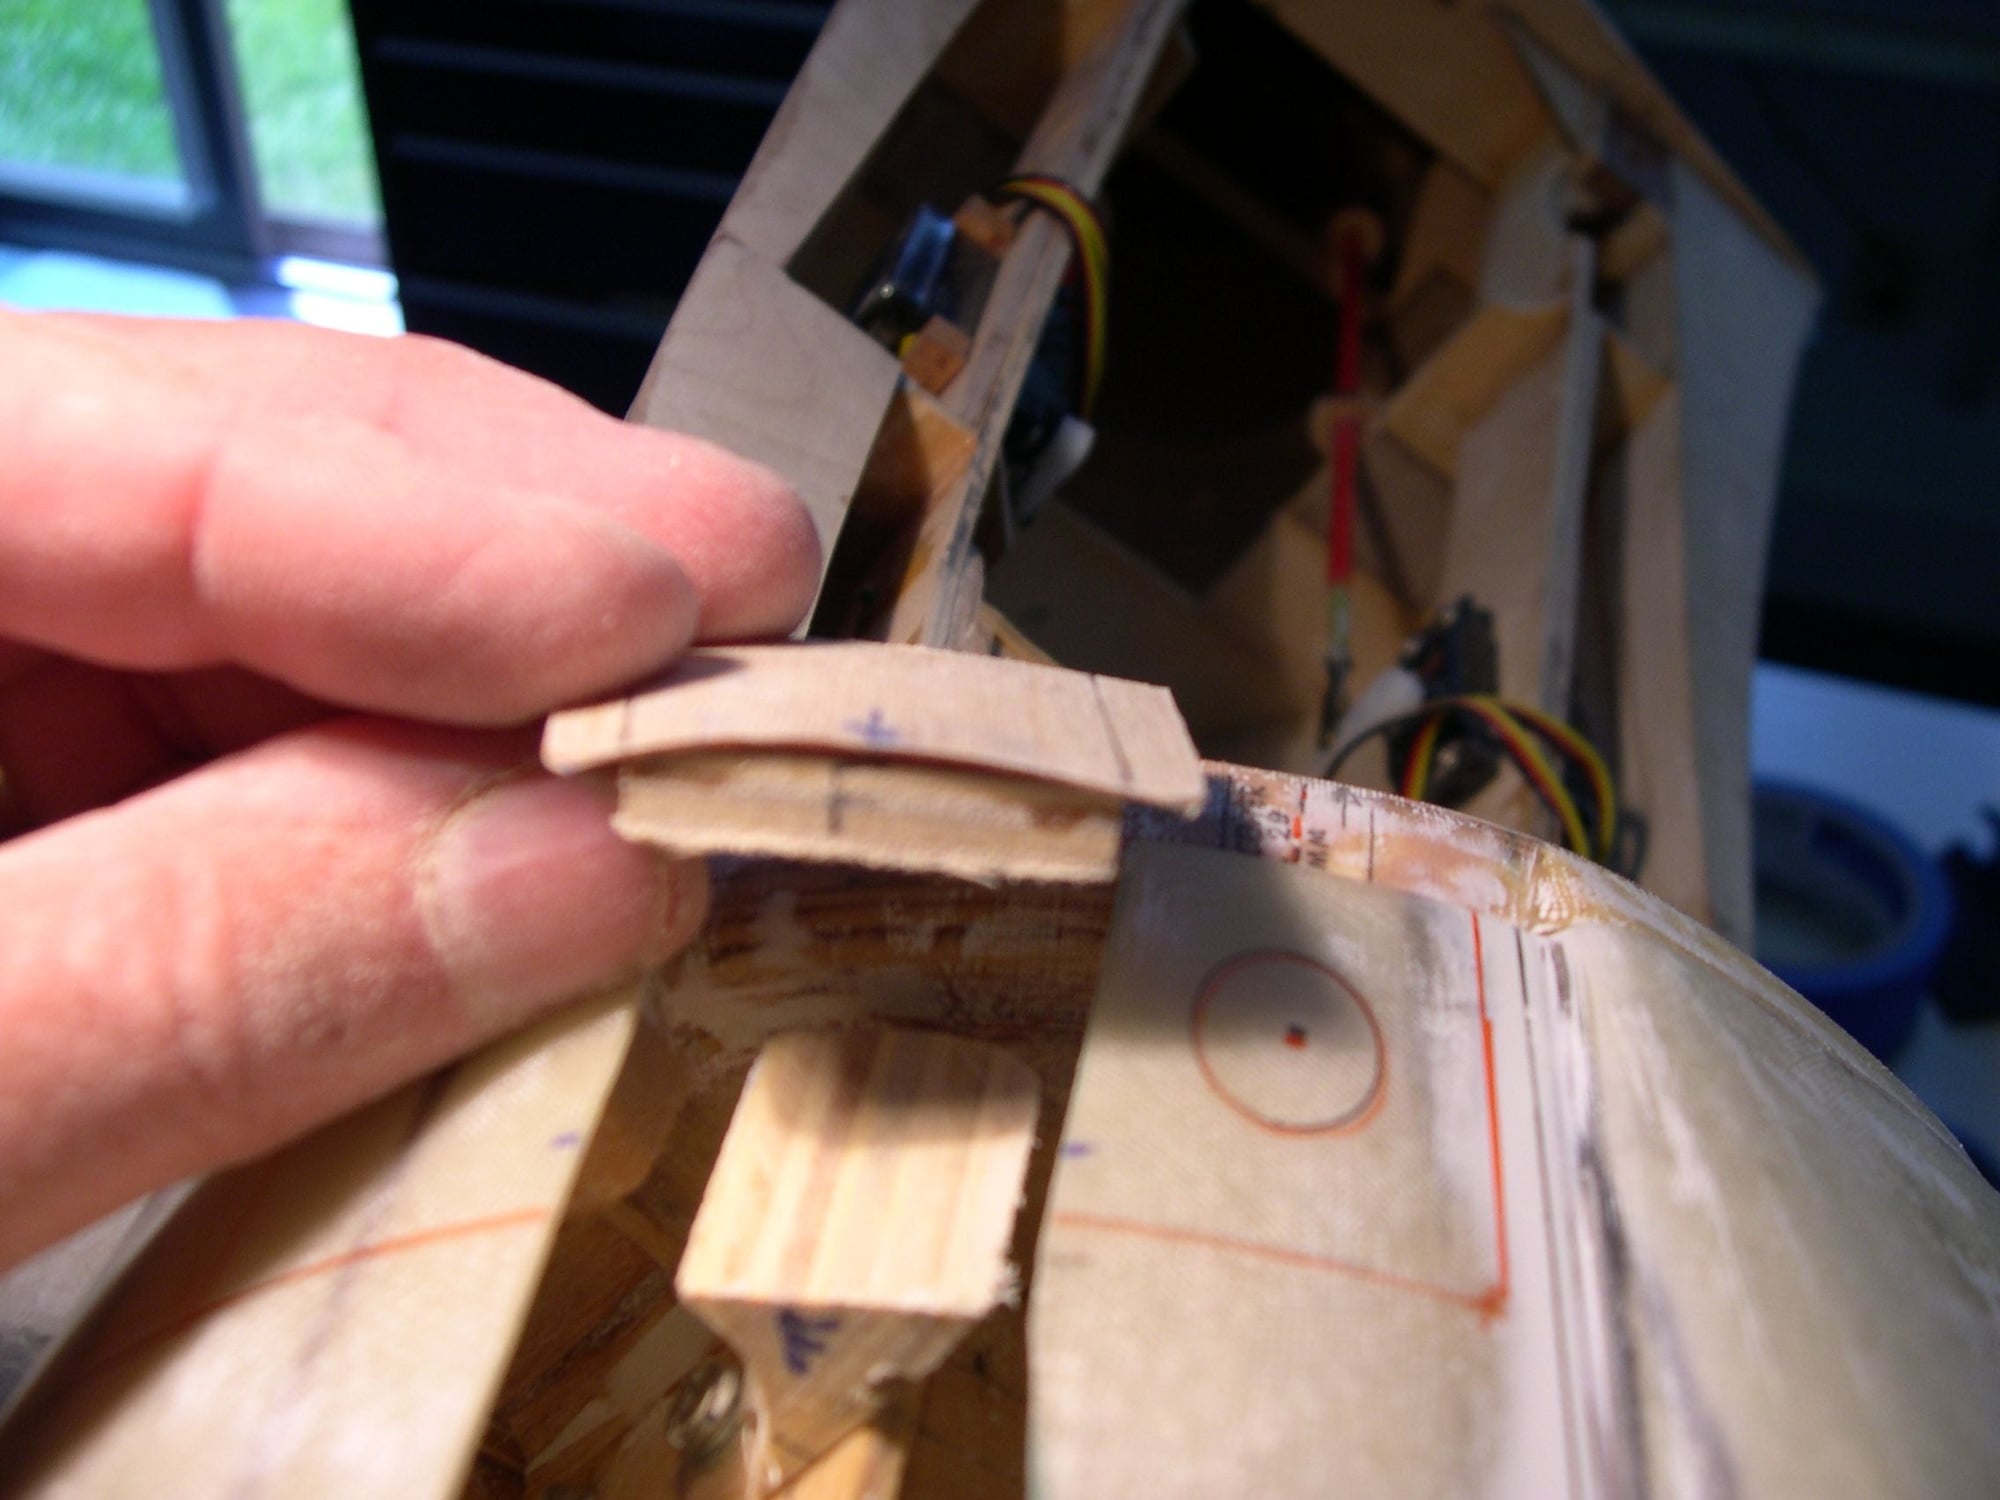 Outer face assembly about to be glued.
 At this point, 1/64th ply gets glued to the 1/4" support plate. The sub-mount that the screw driver is touching gets cemented in place.
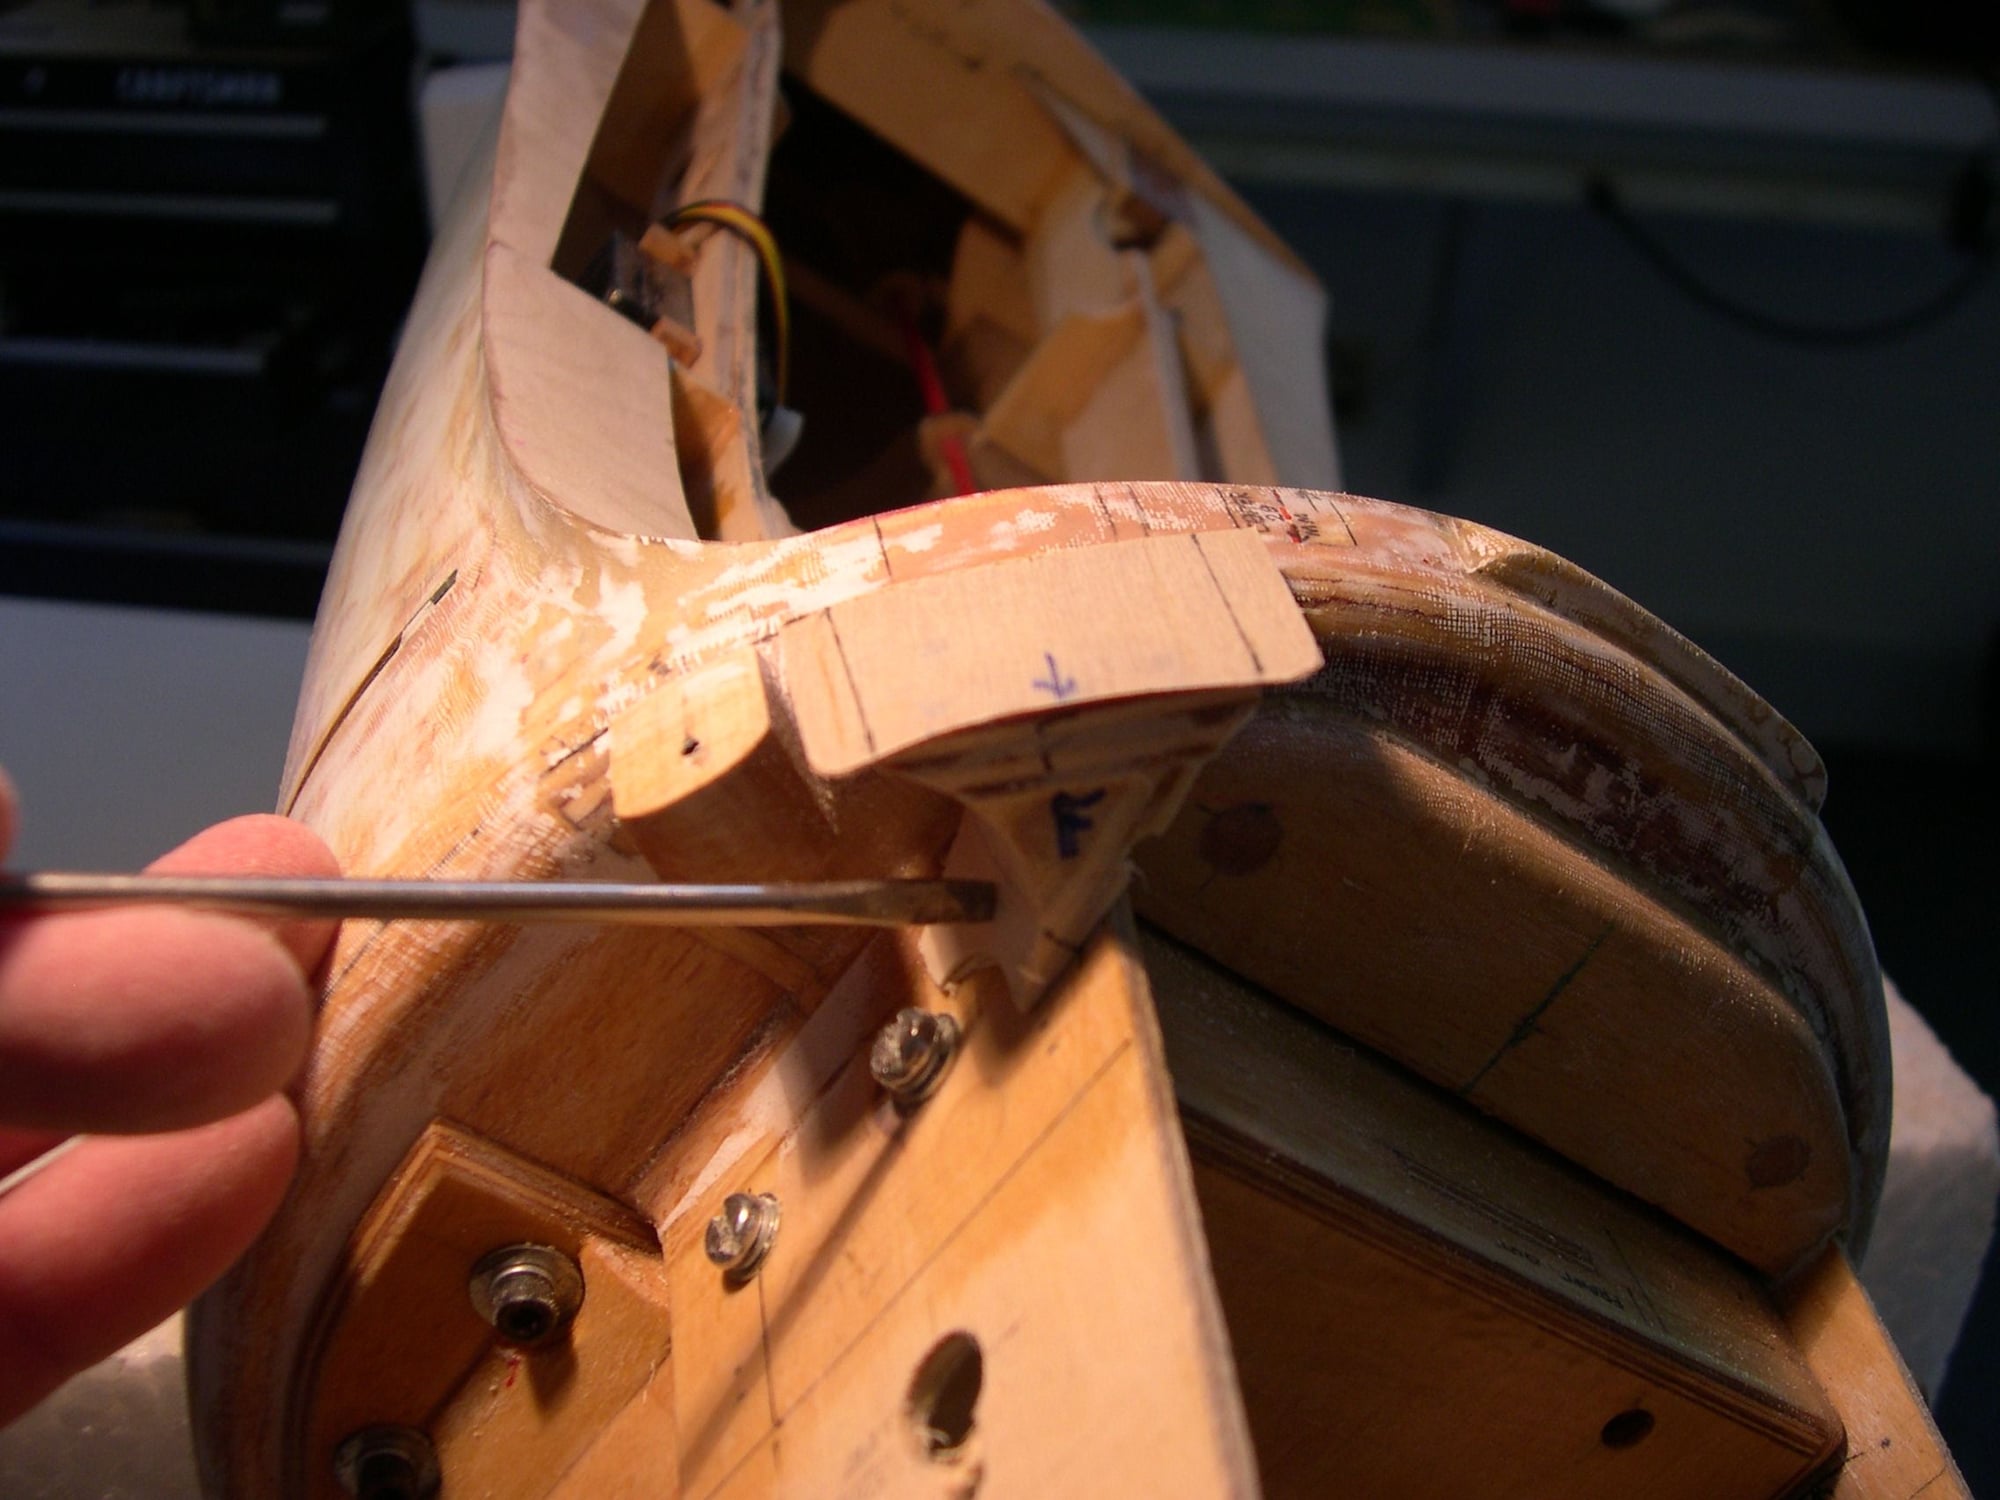
 With cowl in place, the support assembly for the stationary aft cowl flap.
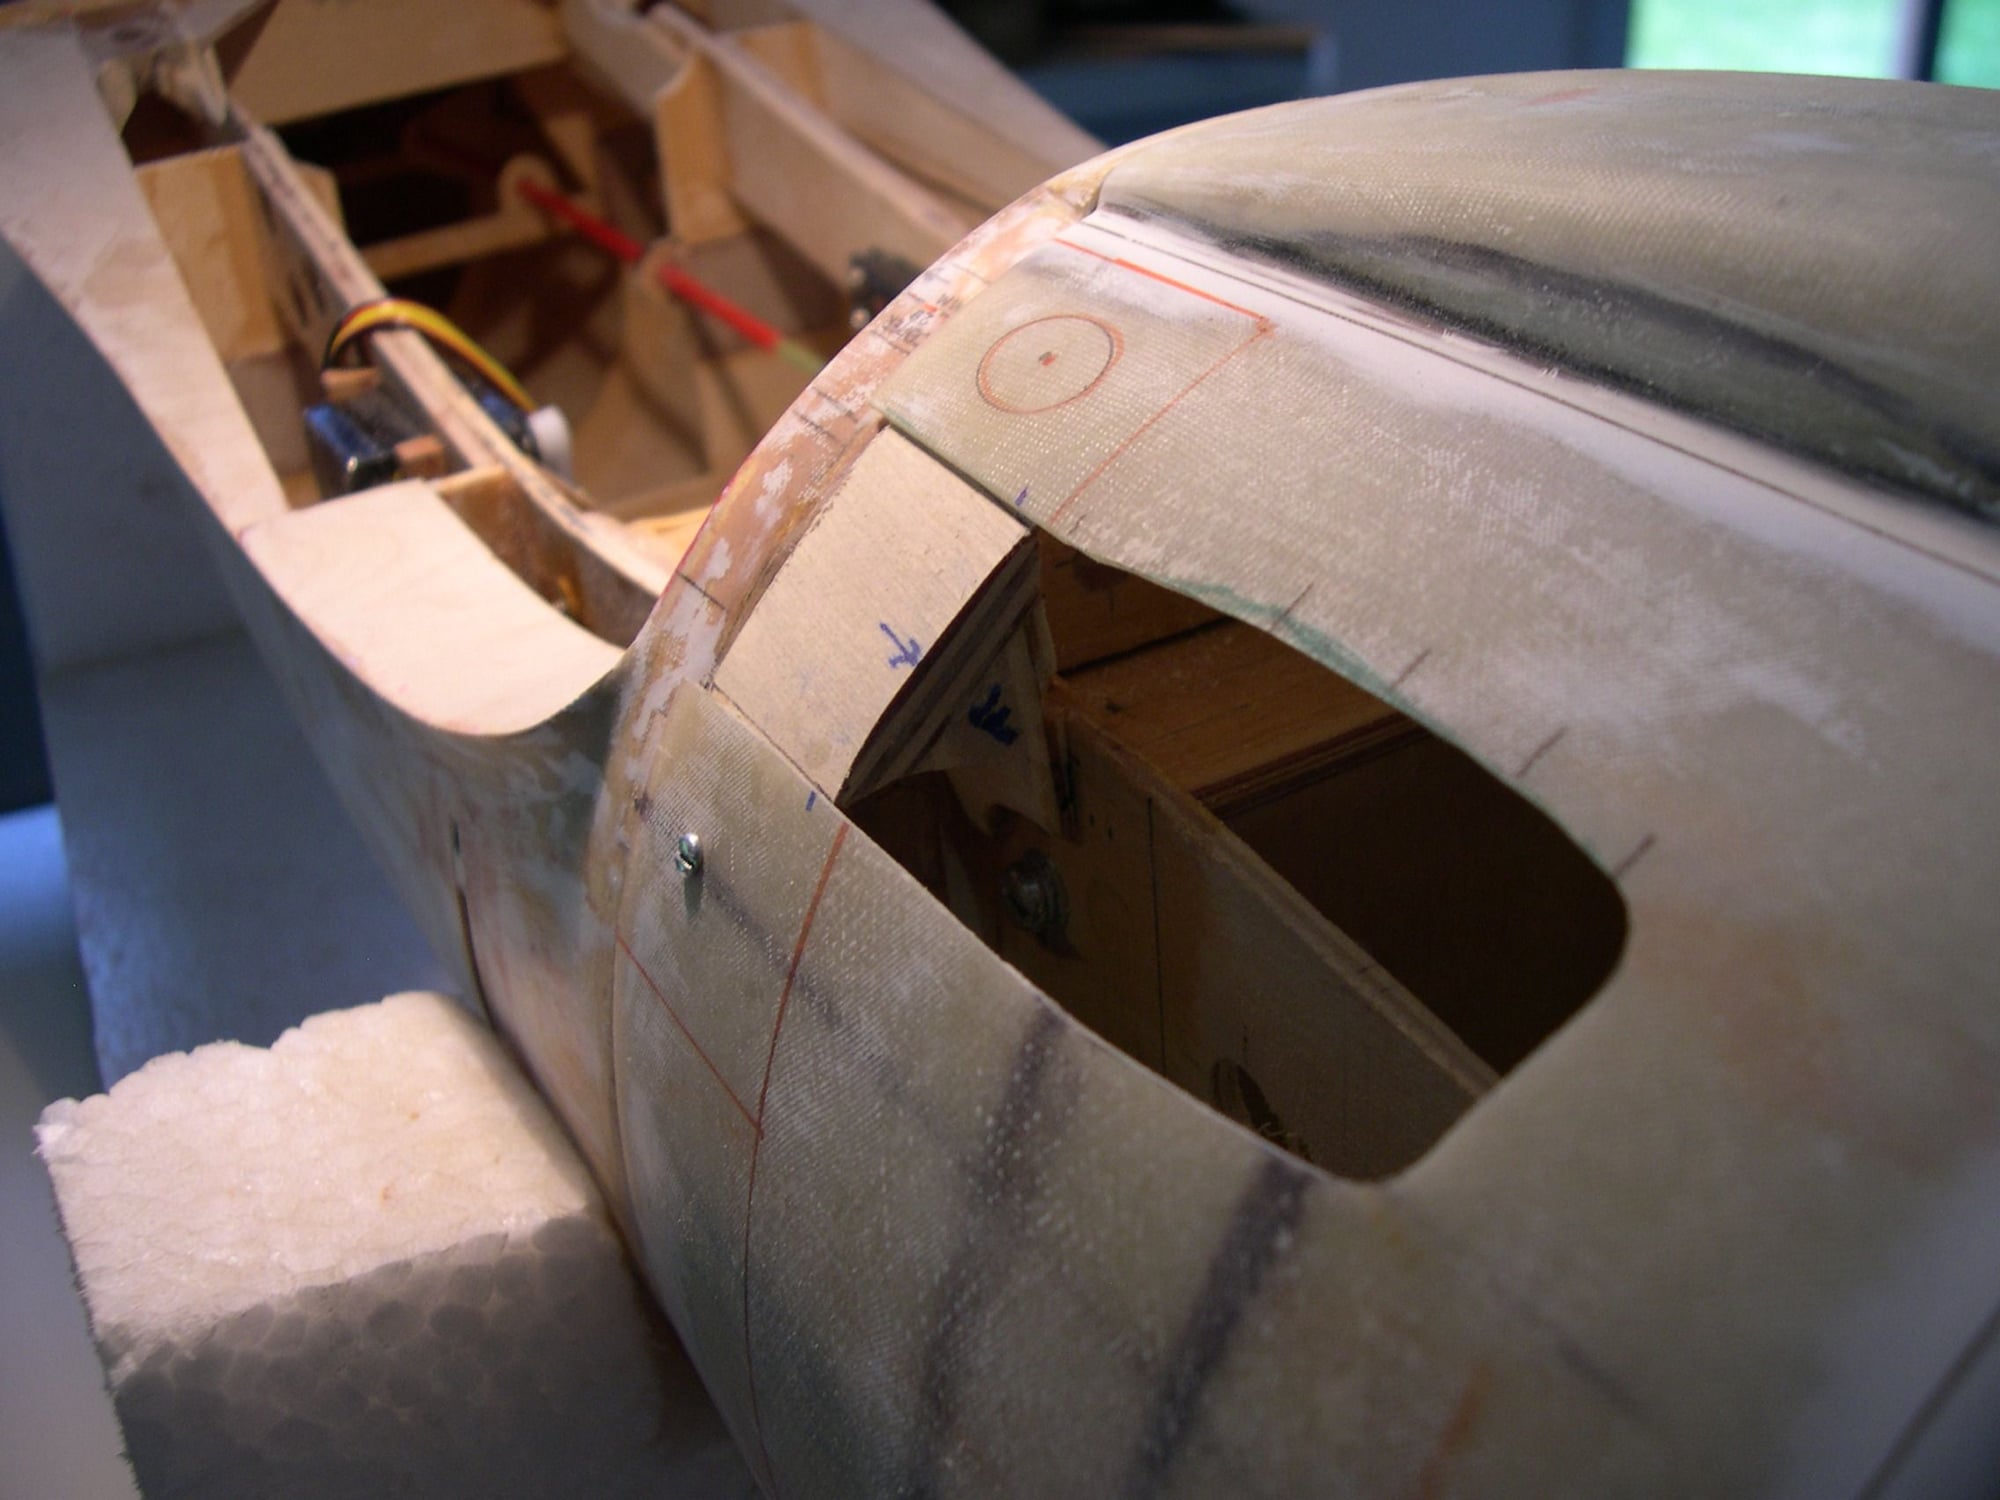
 ......And there it is.
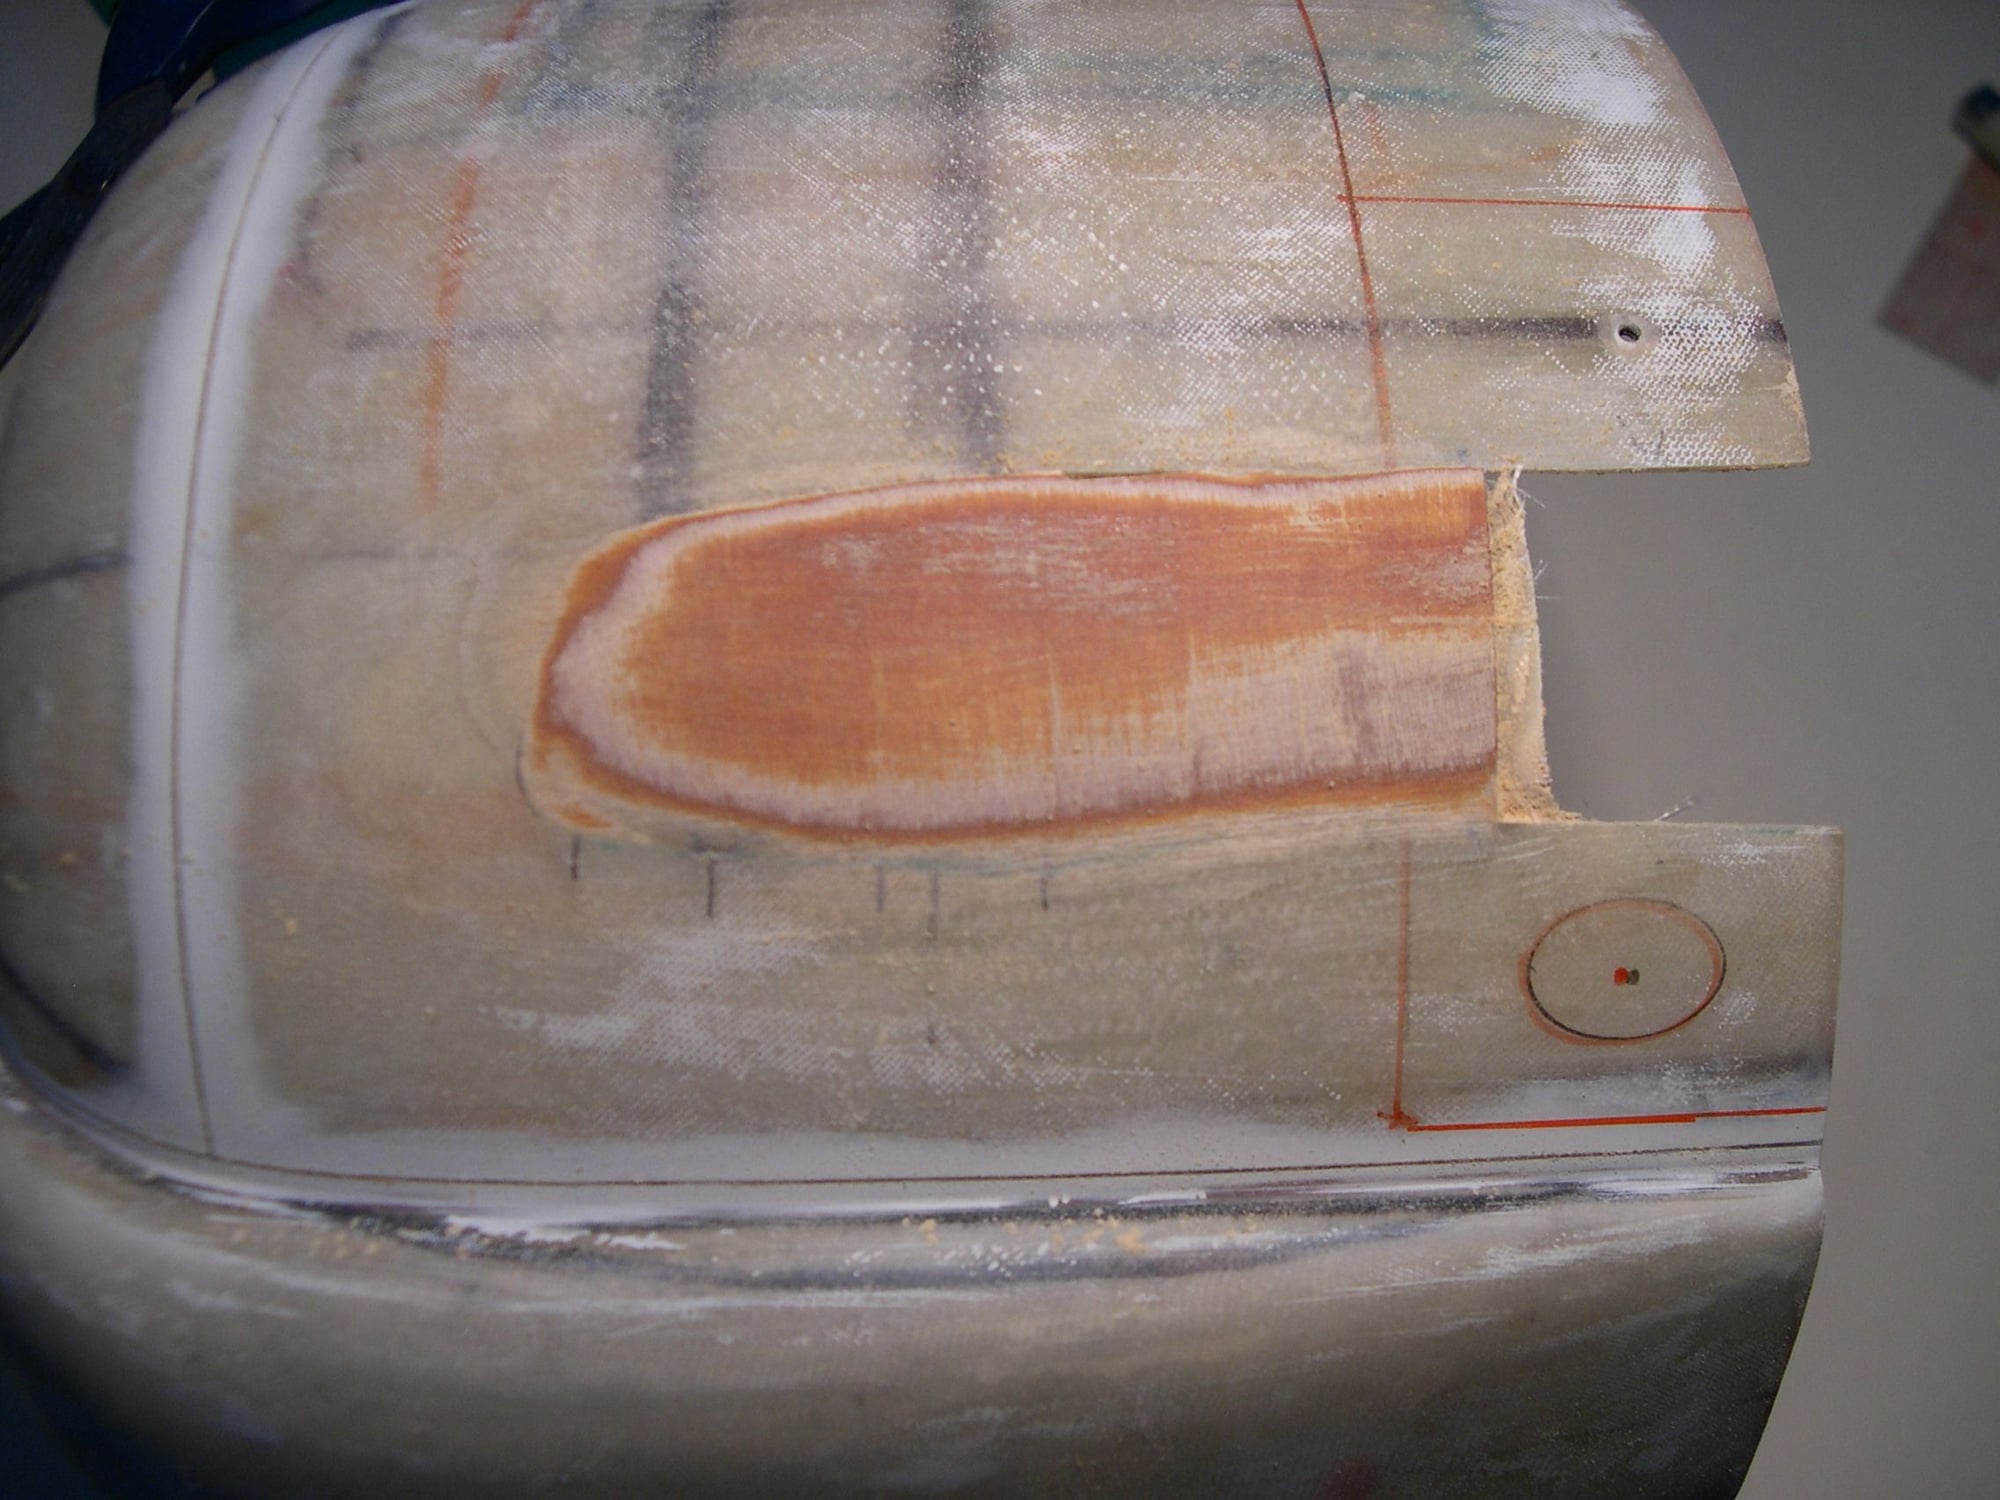
 The lower portion of the cut-out needed to be filled in as too much was unfortunately cut away. 64th" ply glued in place to make a back-stop for the fill area.
 Milled fiberglass & resin was trowelled in place, Gorilla-taped wax paper in place over the uncured resin and everything pressed down and allowed to dry.
 At this point, several layers of fiberglass get applied over the works to add strength to solidify everything for the next step.
 Outer 64th ply gets sanded and blended into cowl's outer curvature. Not shown: Upper portion of ply removed to cowls inside edge. Remaining lower portion carefully shaped.
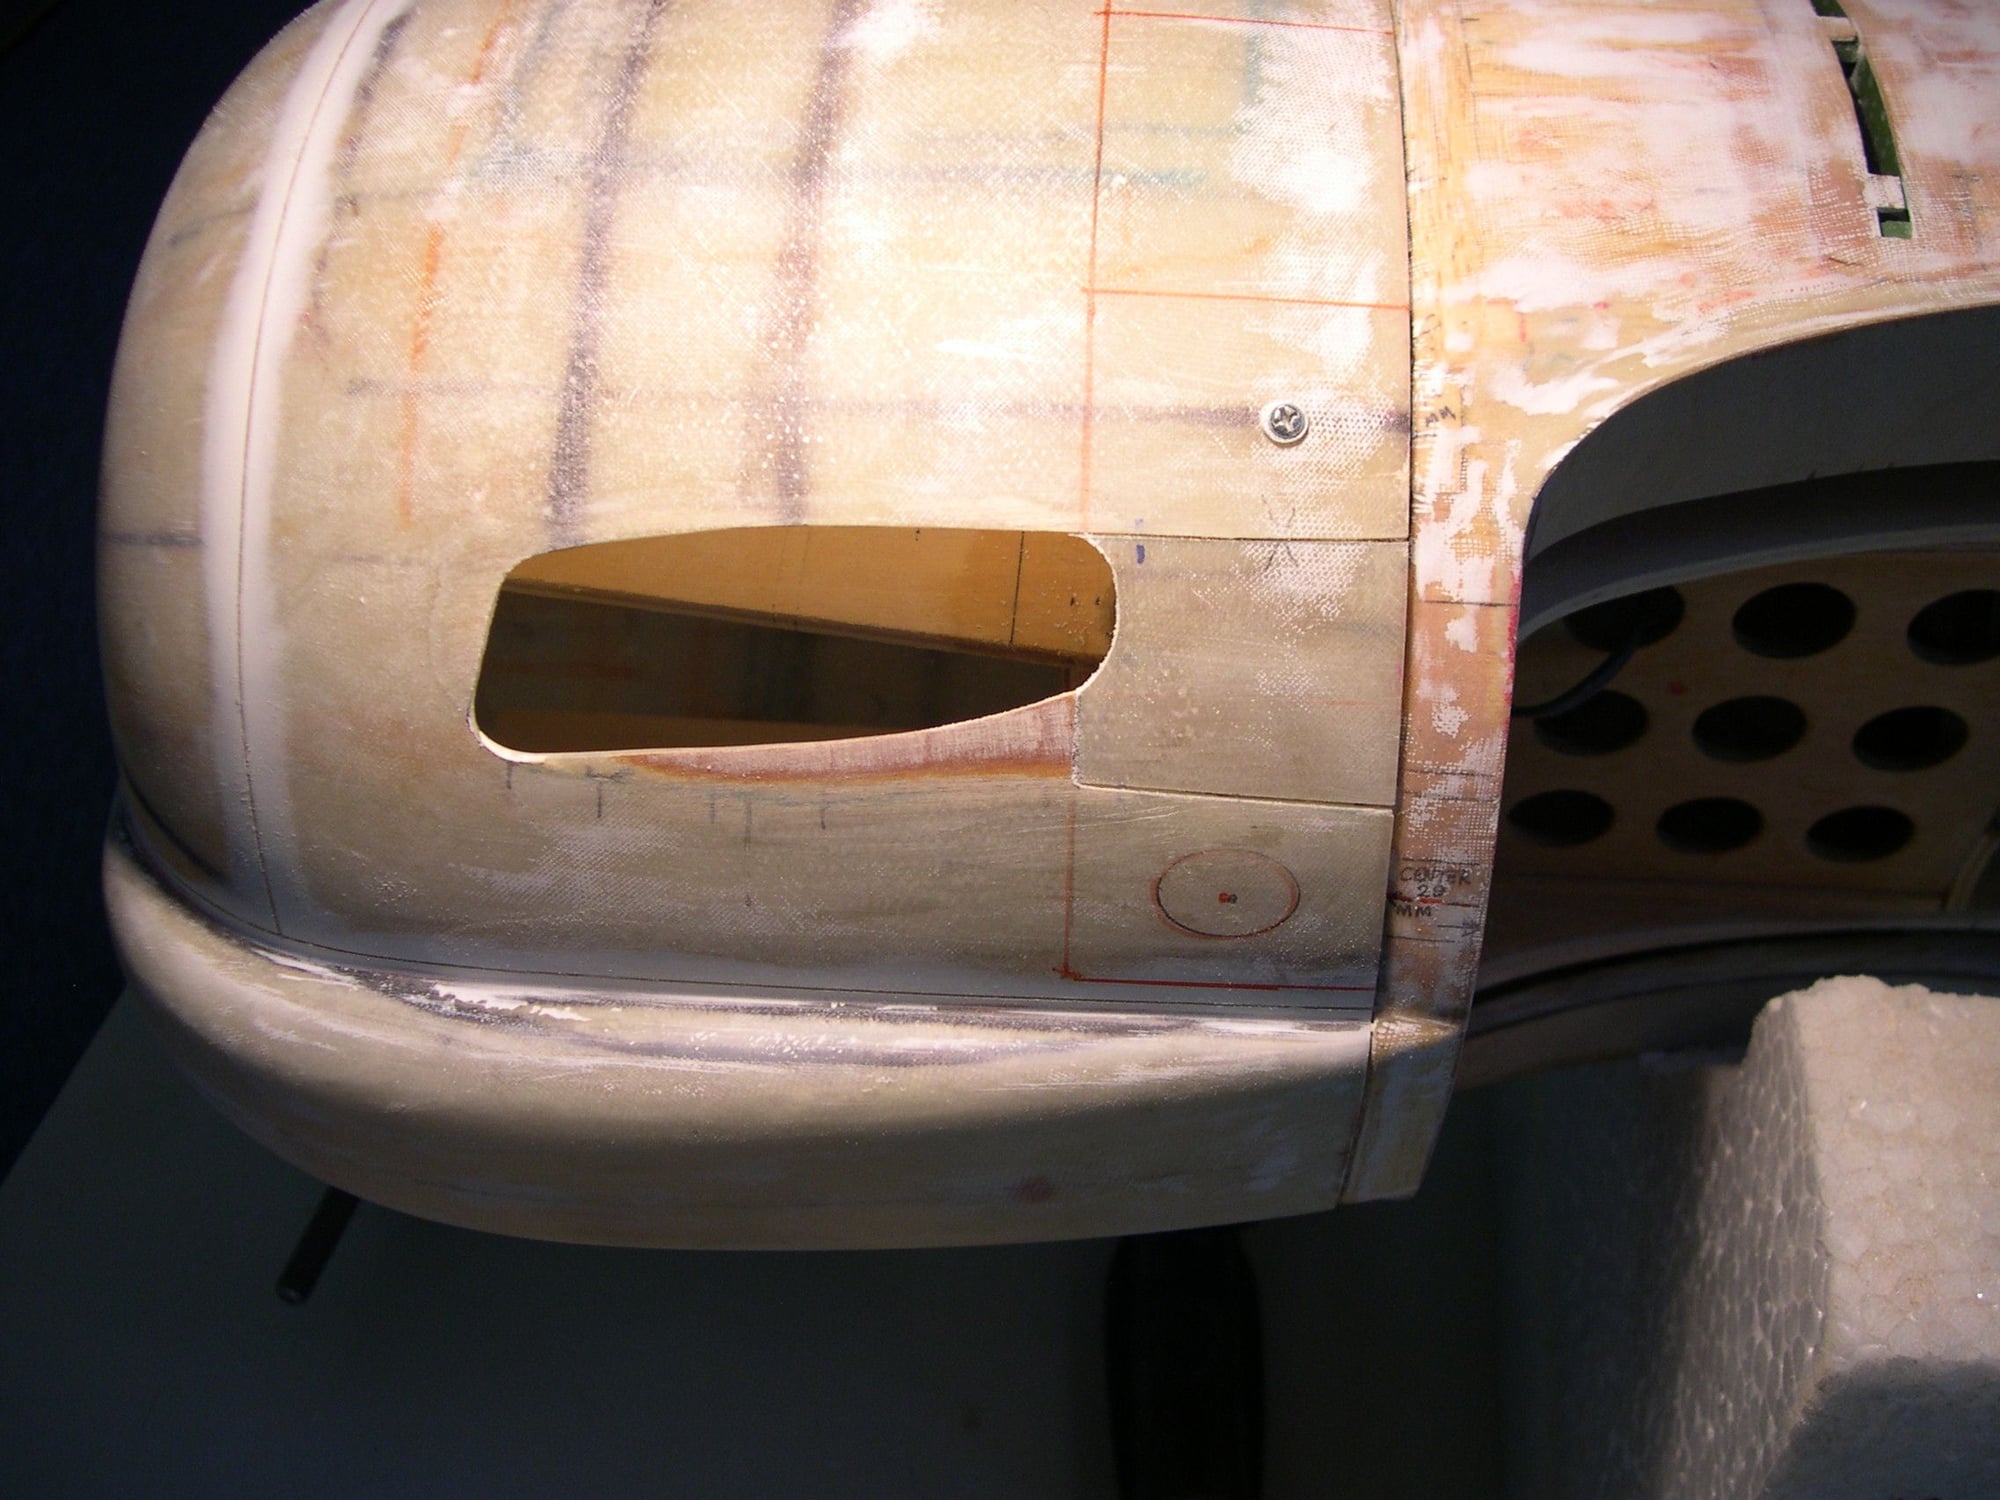 With cowl slid back on, more fitting was done until a decent fit to the rear fixed flap was achieved.
 A tidy, clean fit all around.
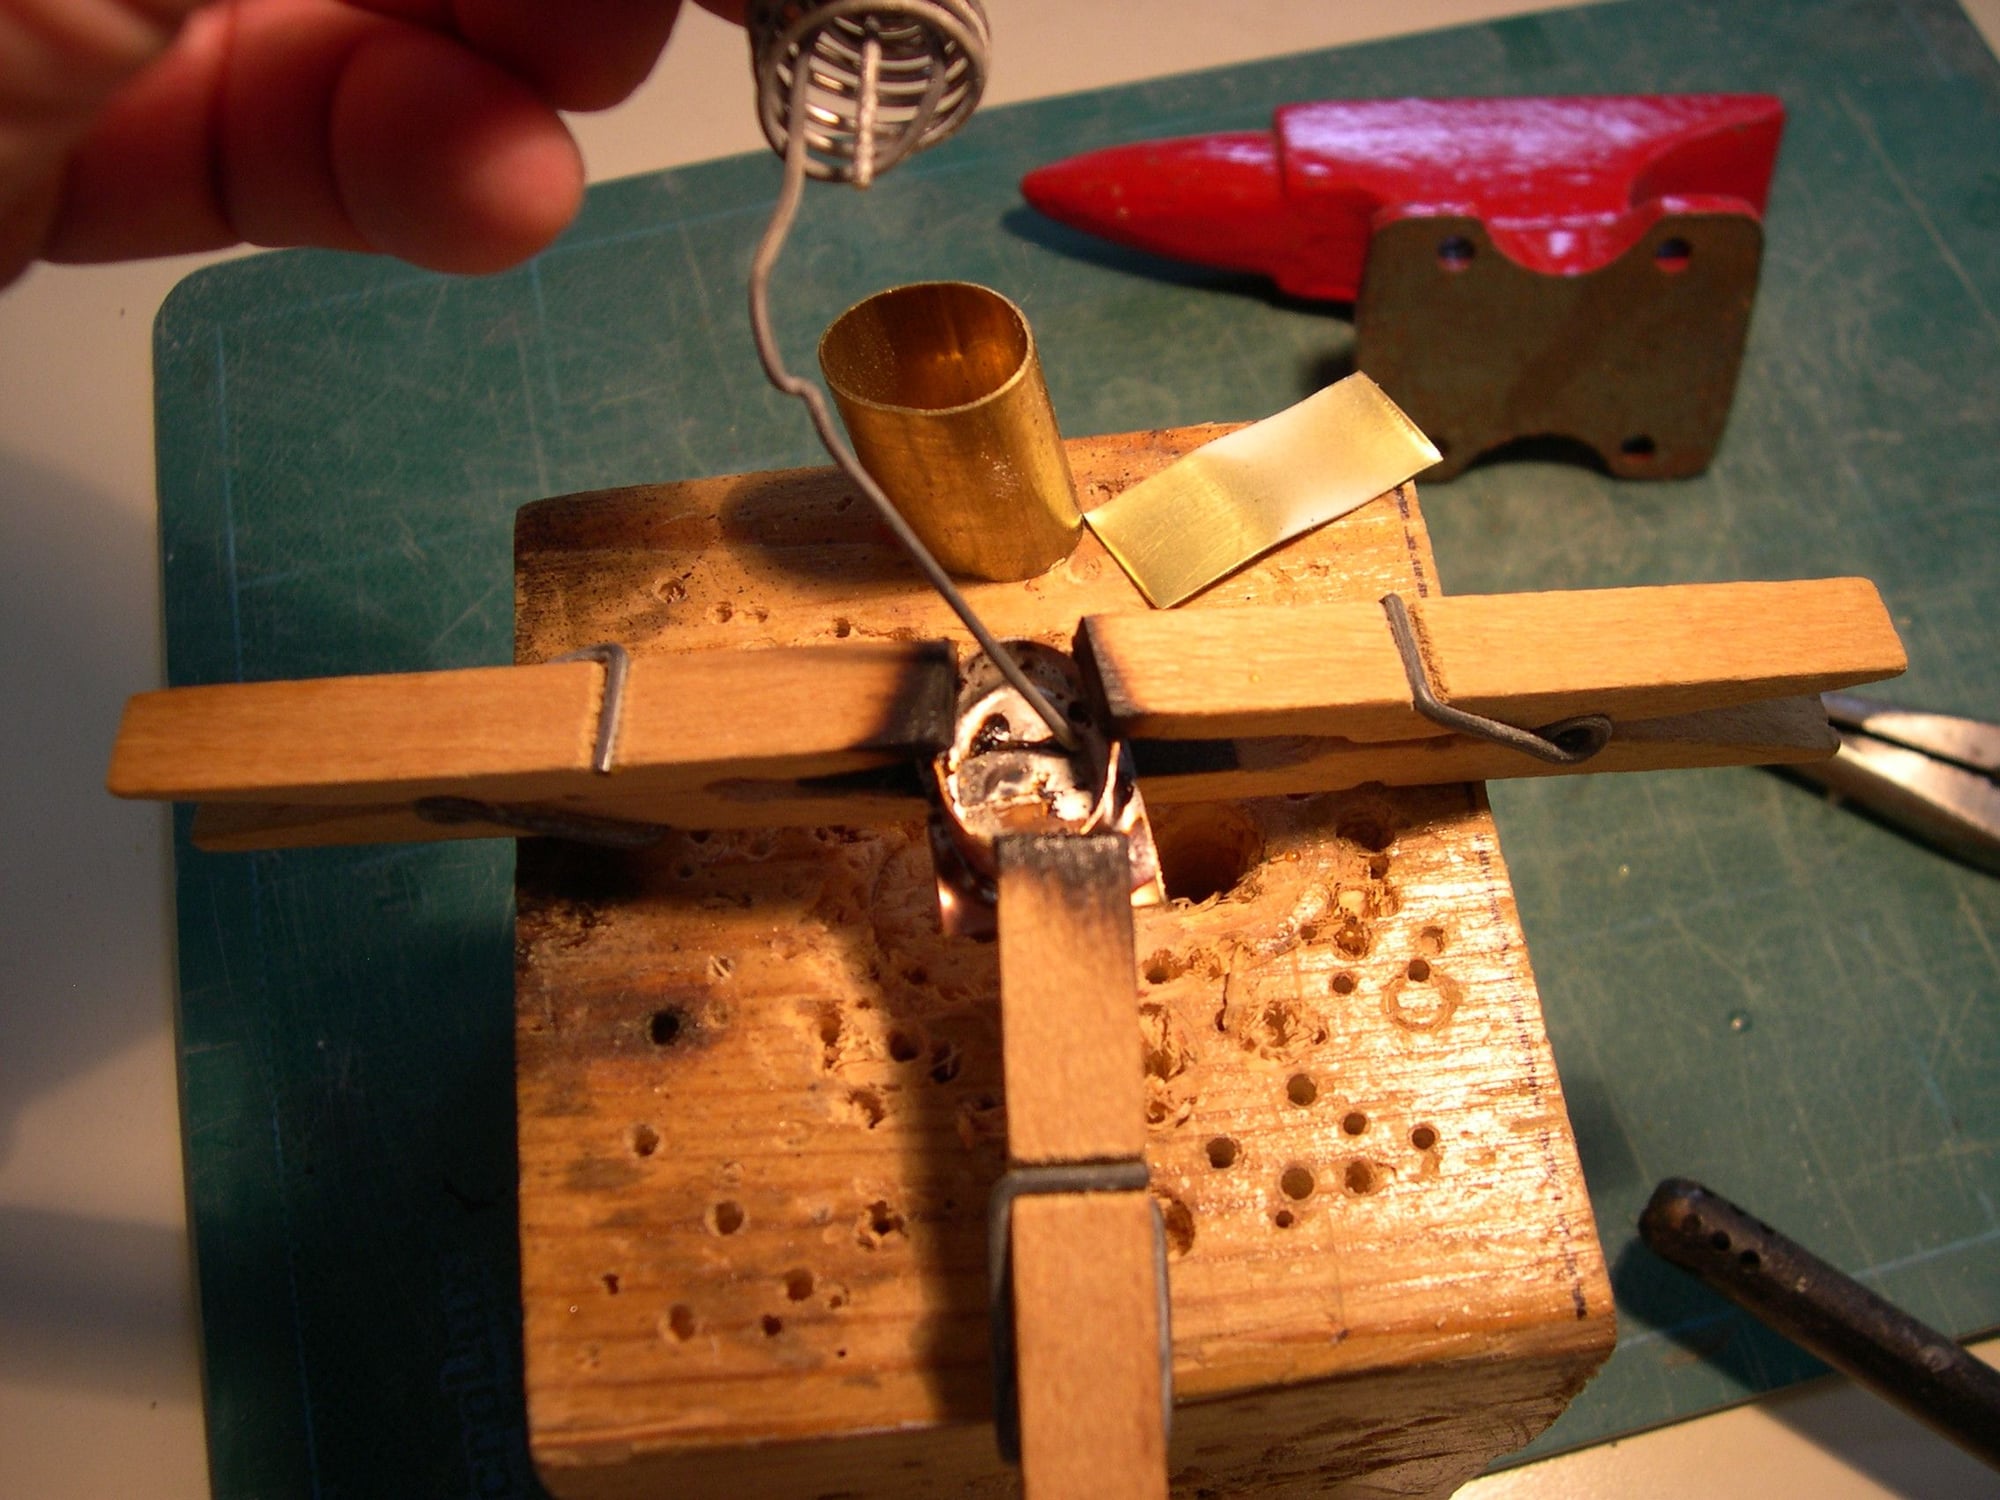 Round brass tubing, compressed into an oval, getting silver soldered to a brass backplate.
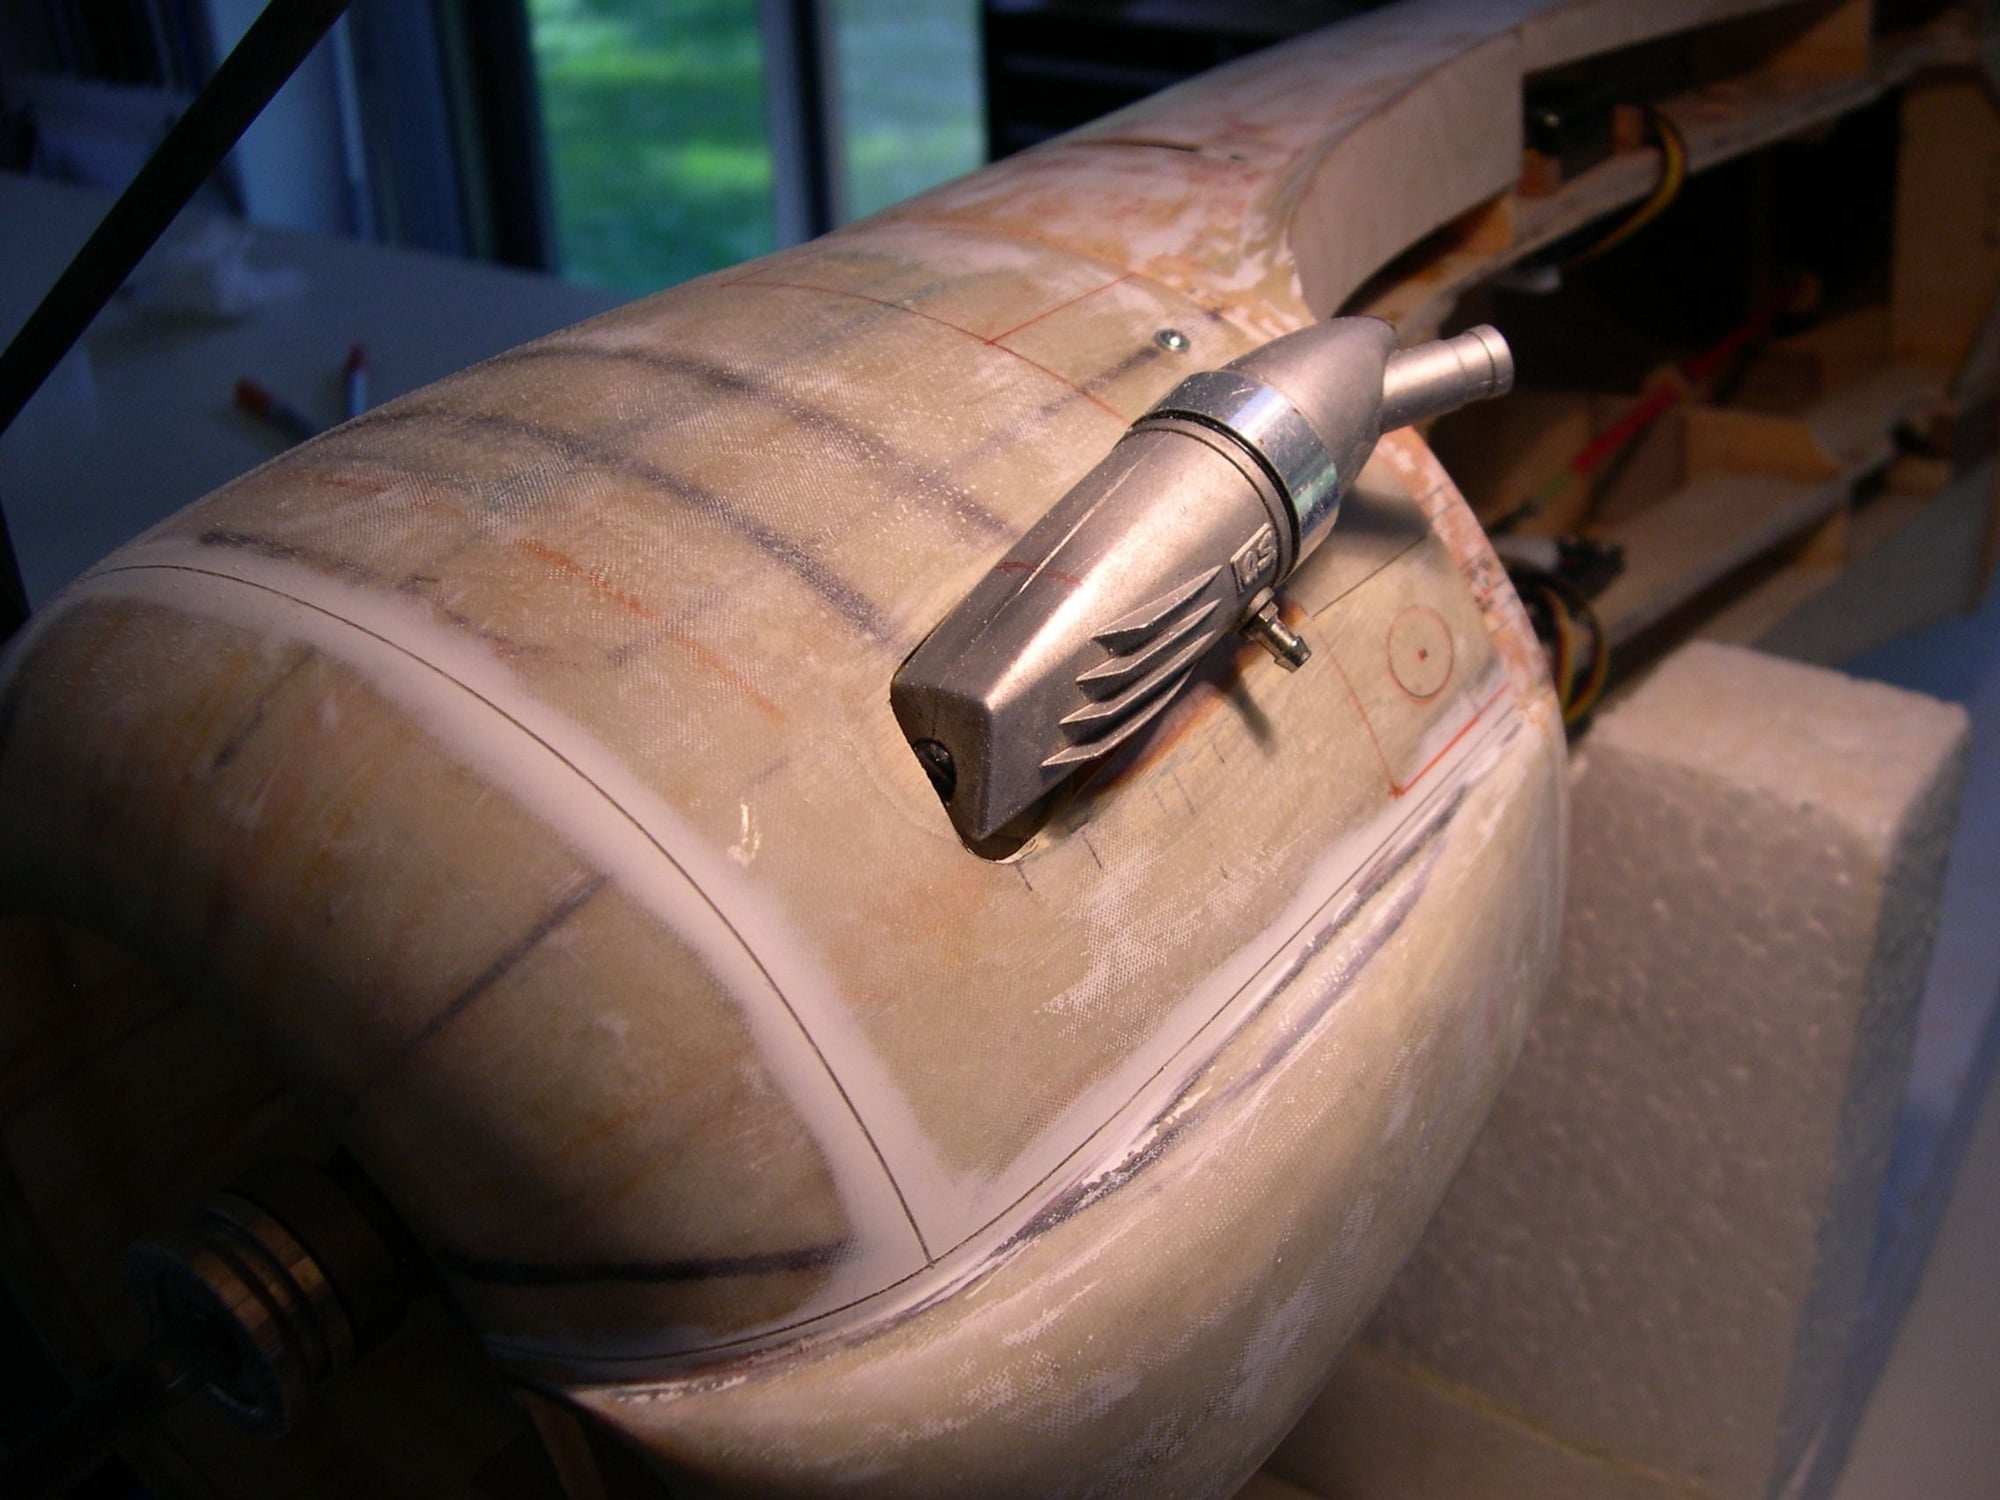
 Side view of finished product, shown along the cut-out on the opposite ( starboard )side of the fuselage from where the stack in hand will be installed.
 Port exhaust stack, drilled and glued in place on a hardwood mount installed beneath. Stack serves as double duty in hiding screw head.
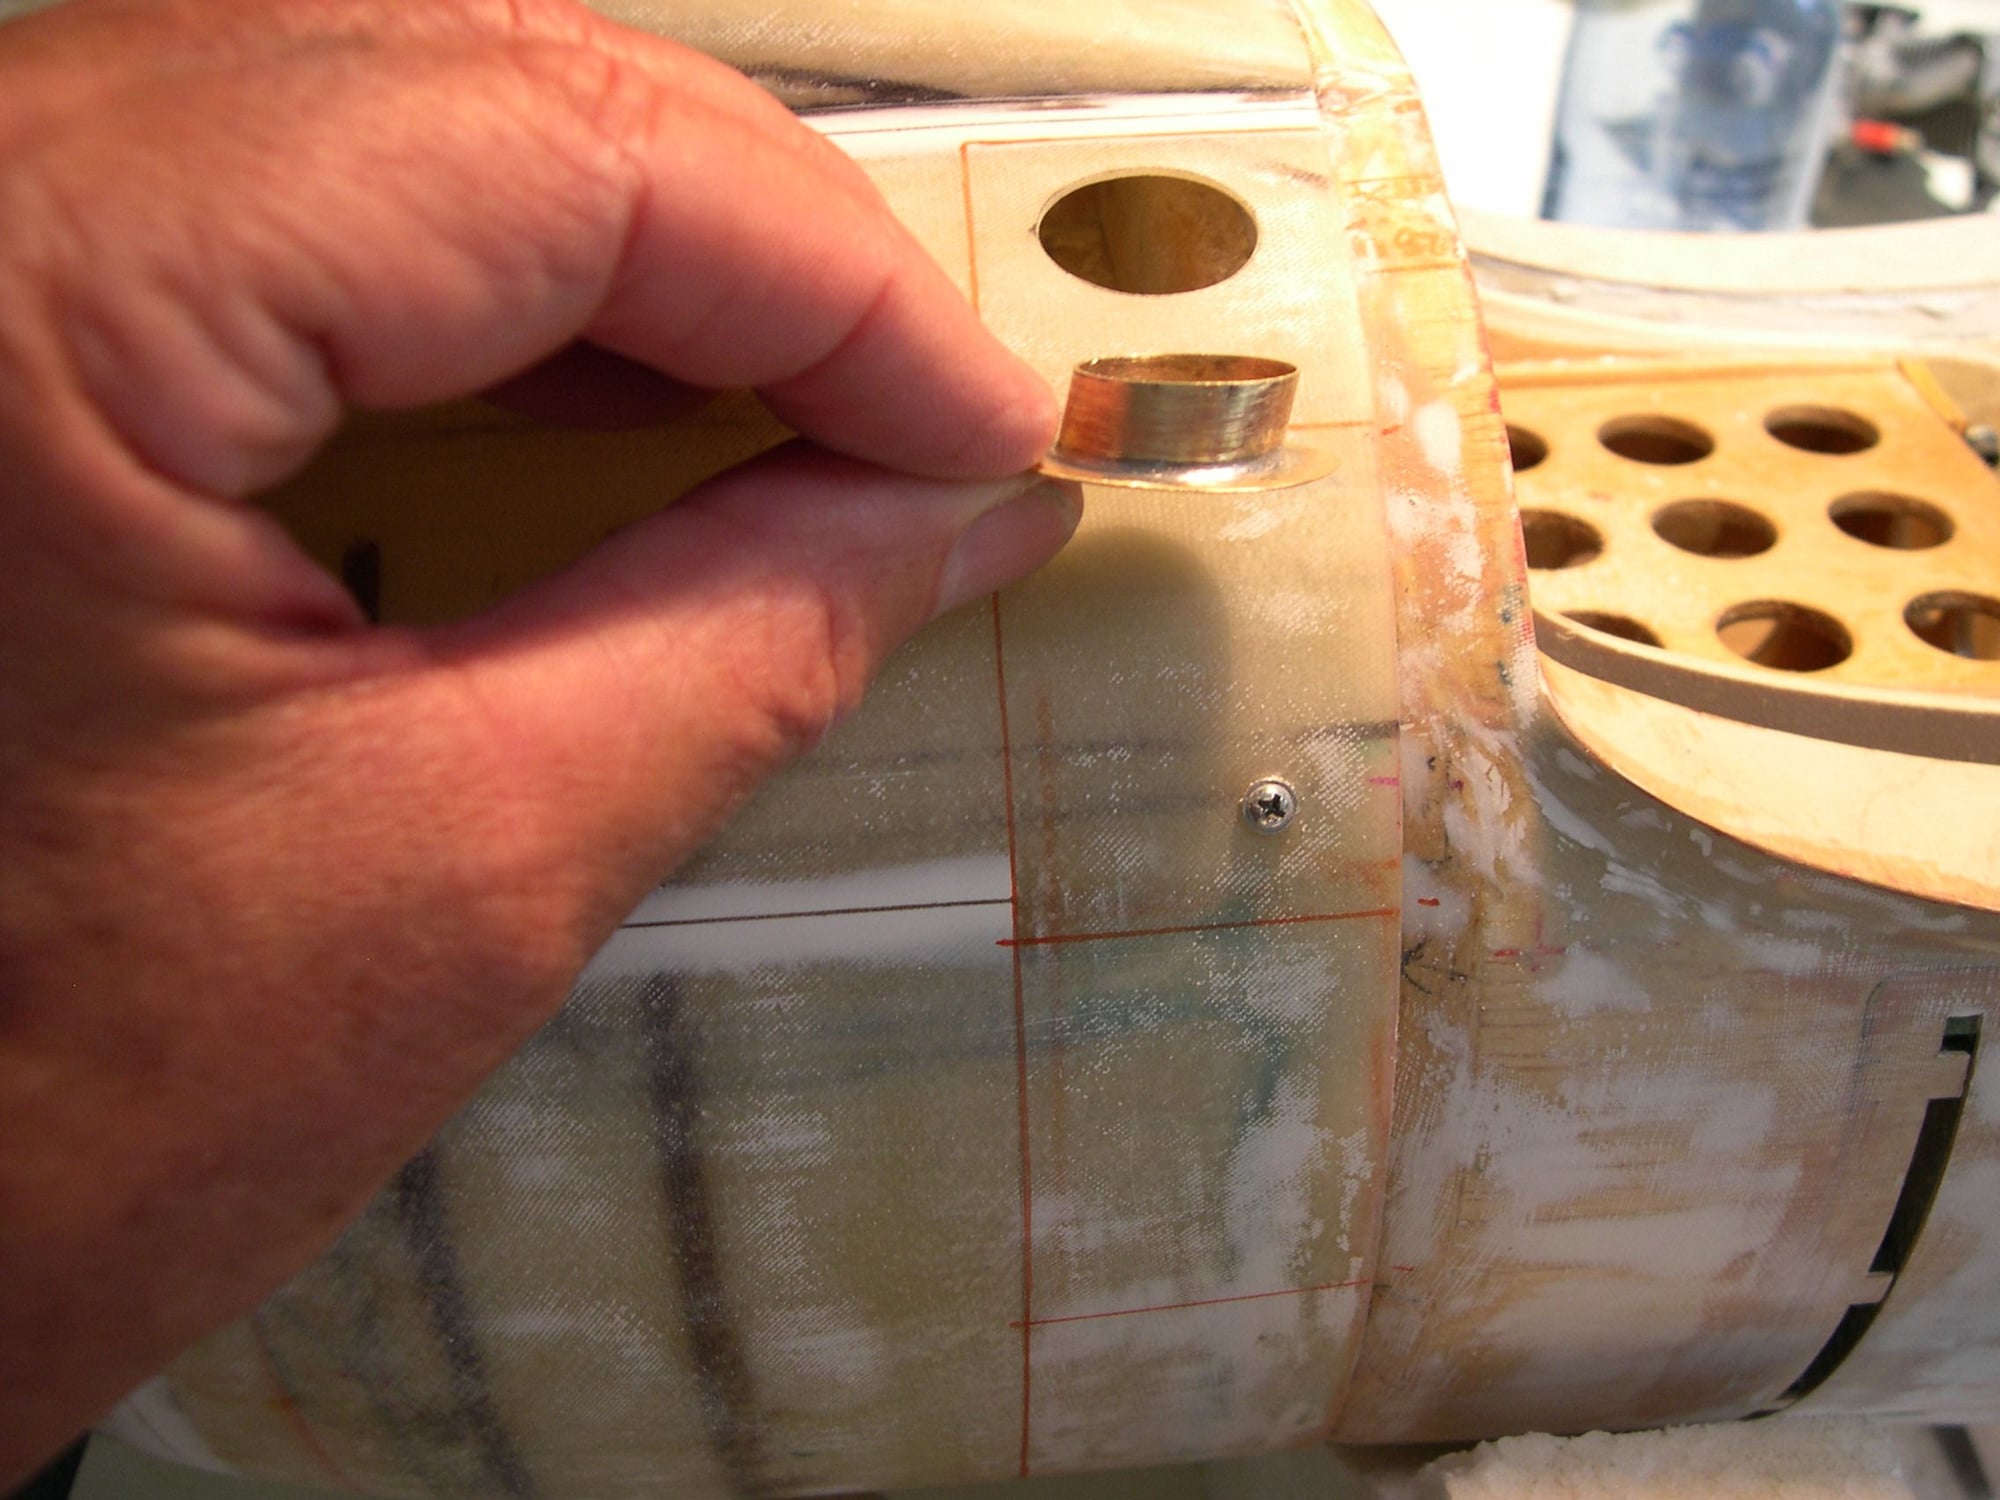
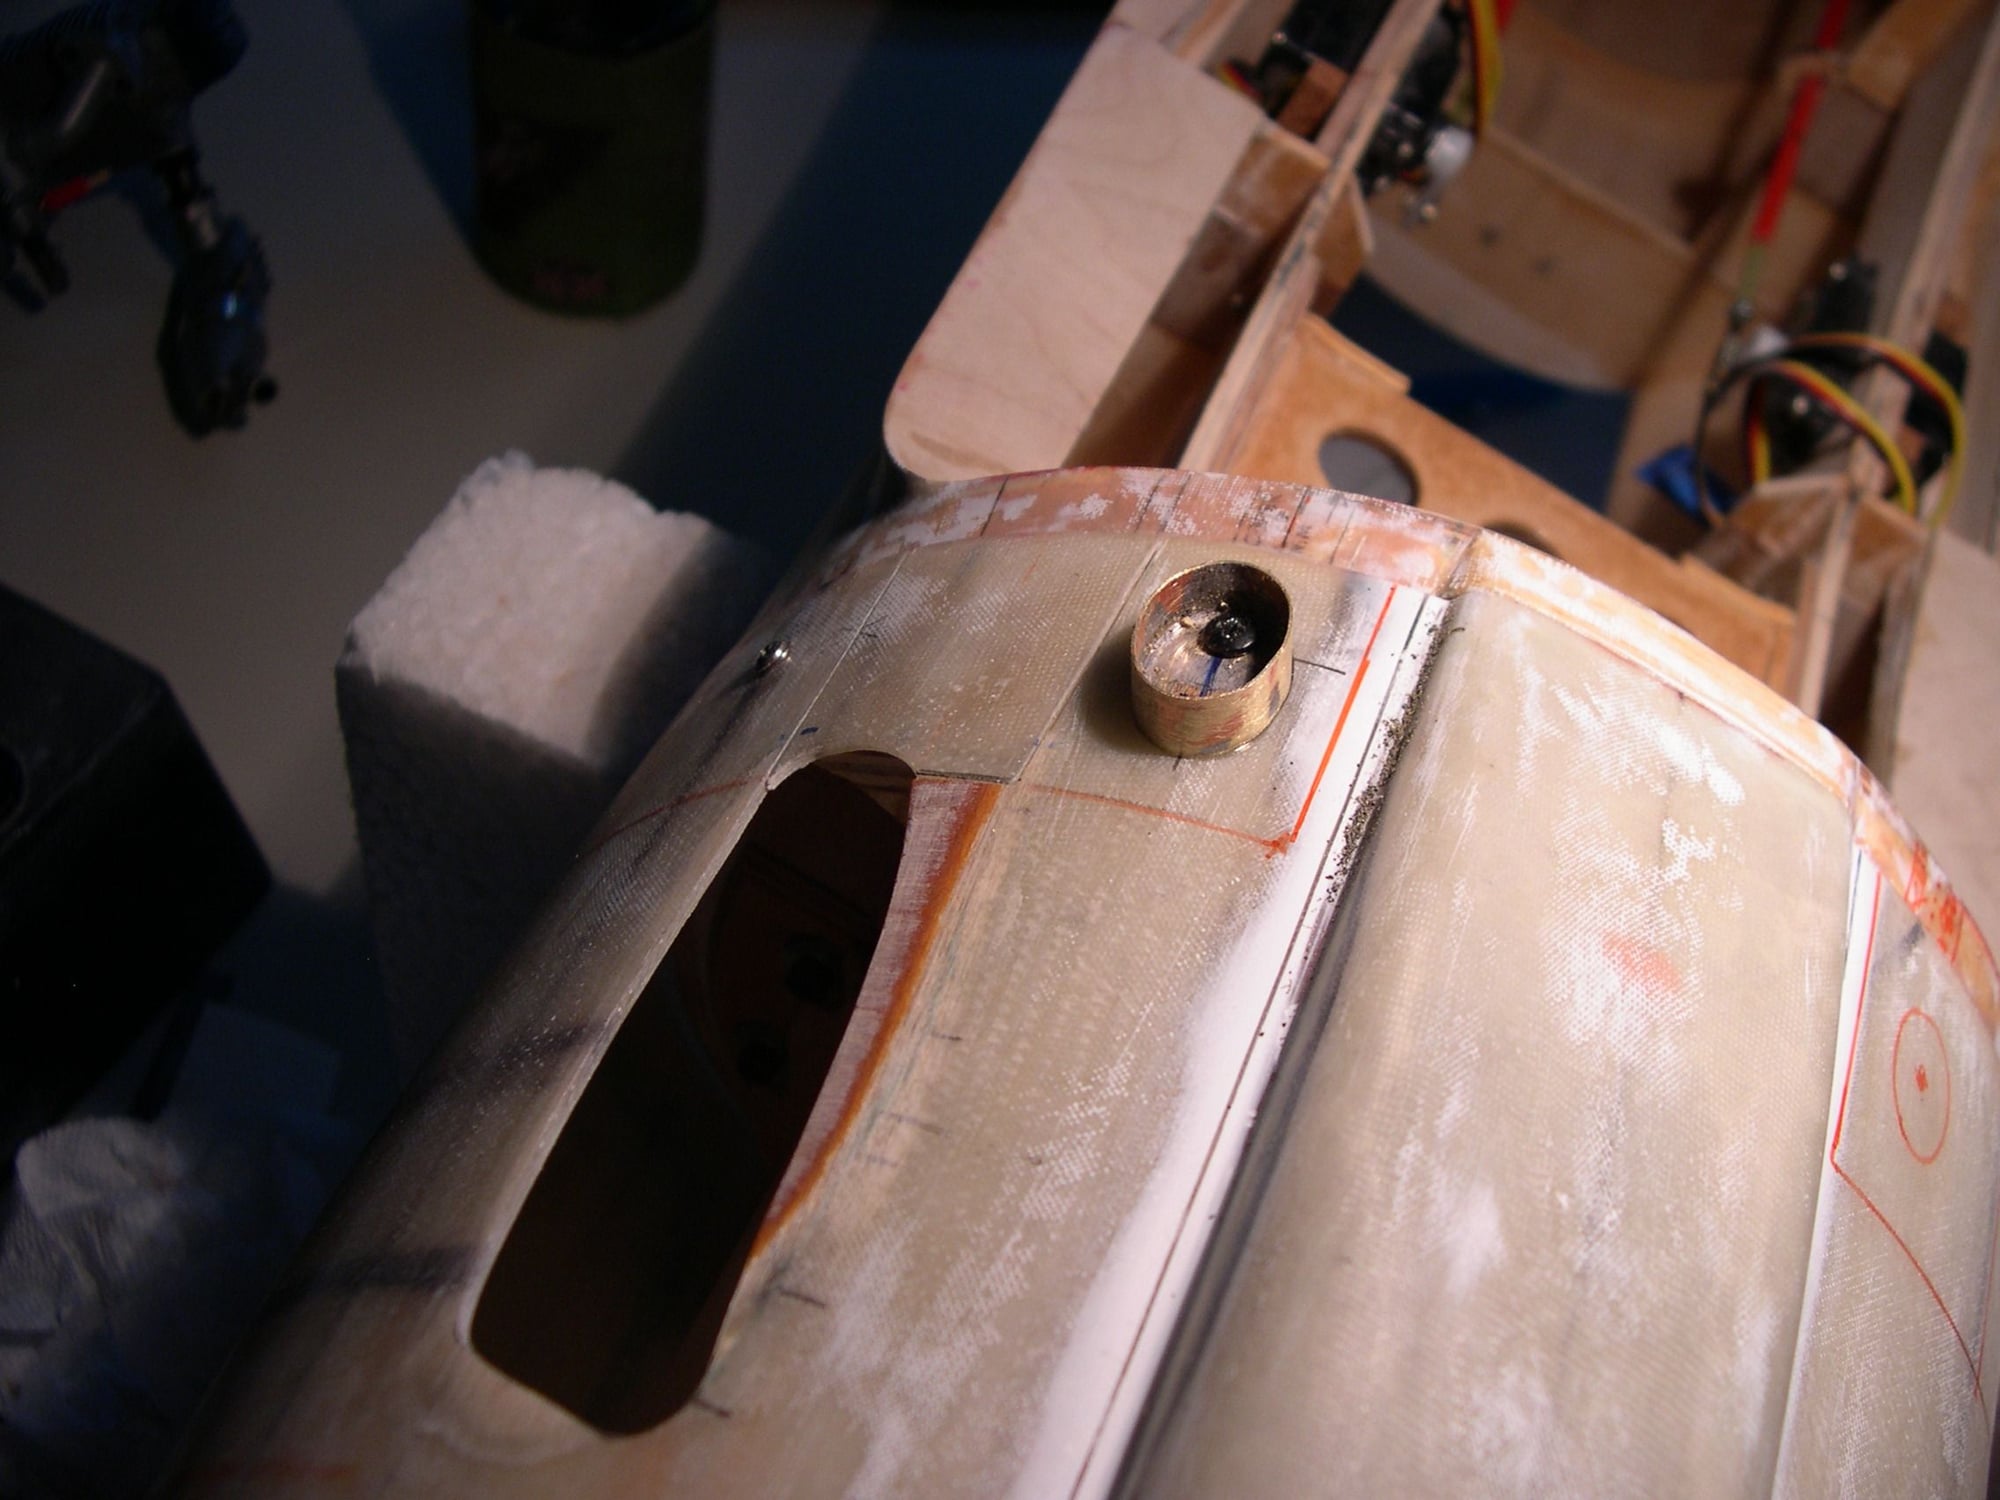
 Starboard side of cowling, which had cut-out made, shows opposite stack, made with a larger base flange, glues in from behind, getting epoxied in place, held with clamps.
Trying one more time to post recent progress... wish me luck!!! G.