Well more than a month has passed since I last posted anything here and what a month it has been!Well I have been back at it on the SSYMS, the lock down hasn�t changed my situation much, as I have been working from home for a couple of years now.
In fact we got a flurry of orders for the streaming systems we sell, since many have to stream to their clients, students and congregations. I�ve been busy building systems, so no additional free time, but some additional funds for the cause.
Anyway back to the SSYMS, I decided to recreate a more prototypical track mounting plate as the original one I downloaded with the track were a bit oversized and looked kind of chunky. So I redesigned the track mounting plates to resemble some I had seen in some photos. So I designed them to match the track I had already printed.
After looking at the RR tracks I had printed they looked a bit large for 1/16th scale, So I resized them as close to scale as I could get away with, my main consideration was that I needed to have them big enough to have the mounting plates large enough to print.
I found that the track plates were difficult to print at exact 1/16th scale. BTW In researching I found there are about as many sizes and profiles of Railroad track as there are countries on earth, finding the proper profile and size they used back in Germany in the 30's and 40's was no easy task. The track varied depending on where it was located, between large cities with a lot of traffic it was a more heavy duty track than elsewhere.
I am sure model railroading guys are rolling their eyes as this information is probably obvious to them.
Consequently I stuck with the profile I was already using and just scaled it as close as I could to 1/16th and what would allow the mounting plates to be printed properly. I think I got it pretty close.
The pictures shows the original size on the left and the new smaller one on the right I reduced the track by about 3mm in height and 3mm in width from the larger size. The picture of the printed parts shows them in reverse with the resized track on the left and the original on the right. I also designed some printable railroad Ties with a wood grain texture on the top surface as well.

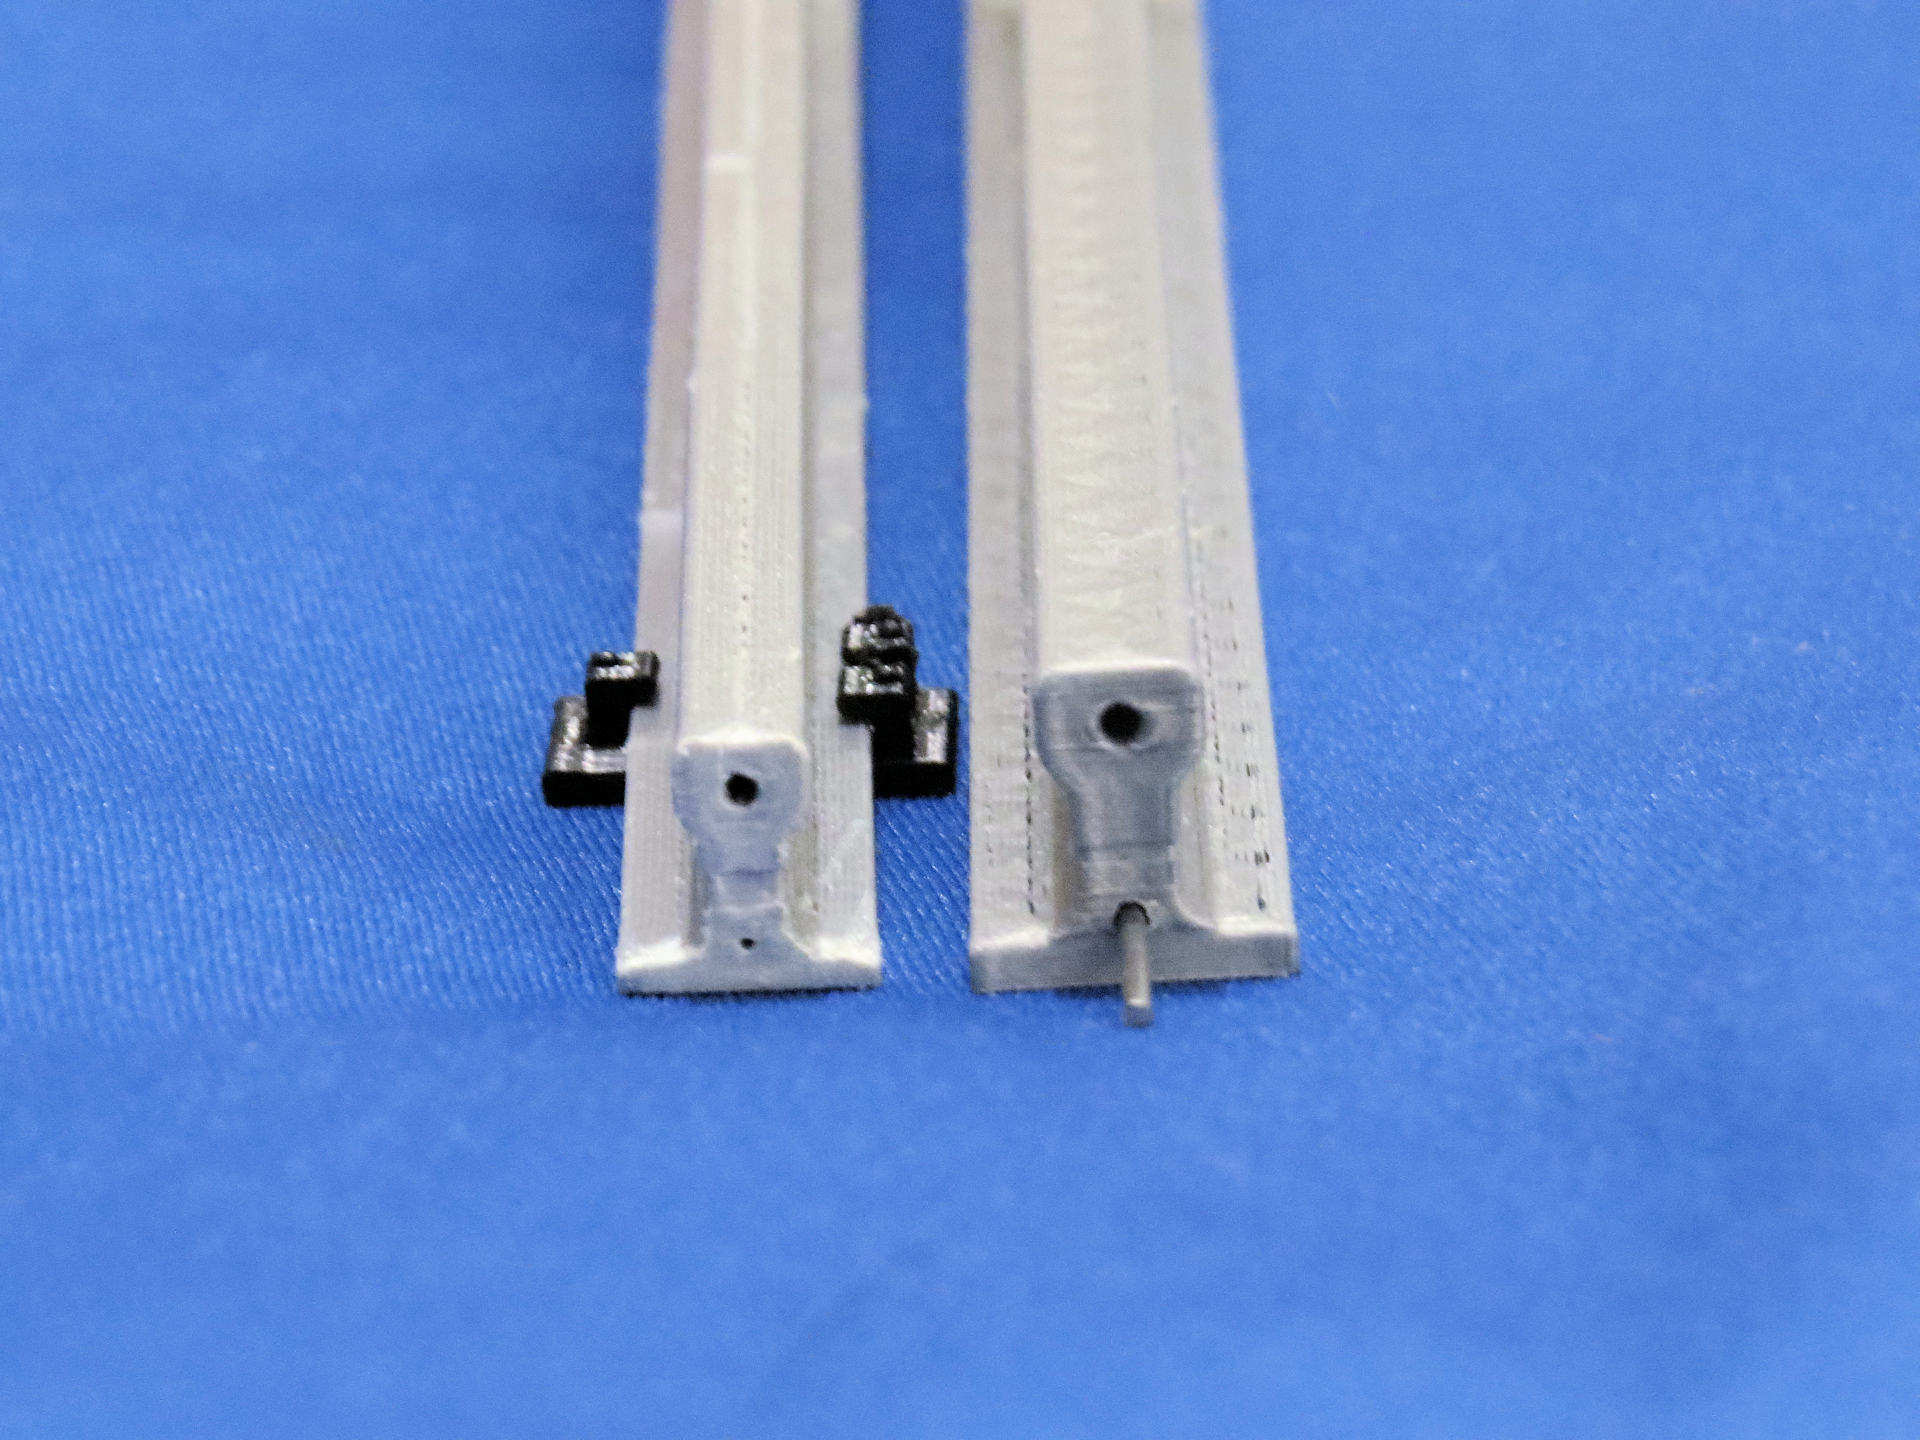 Track Comparison printed
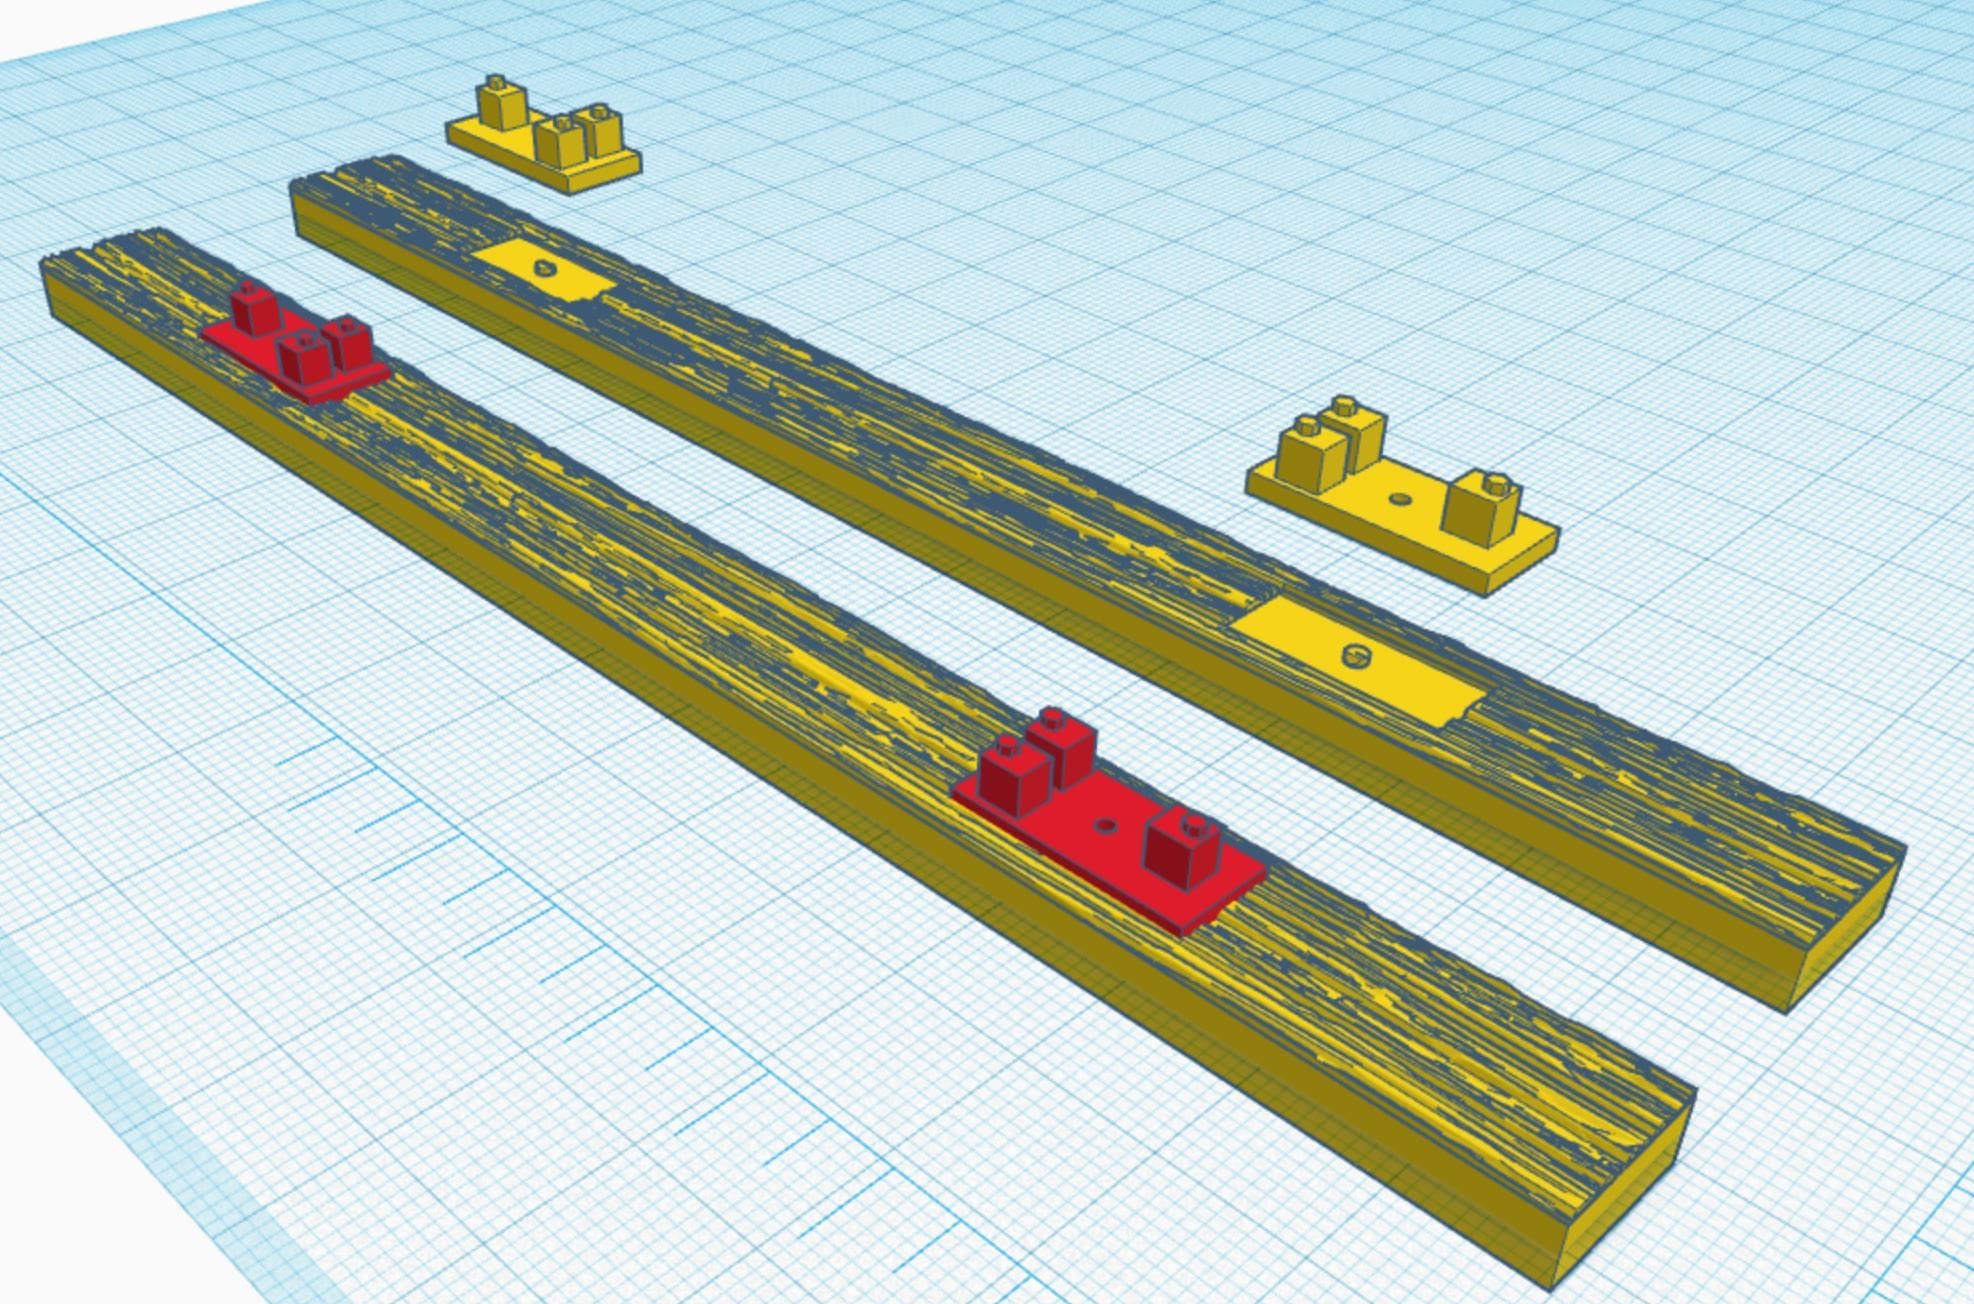 Railroad Ties with mounting plates
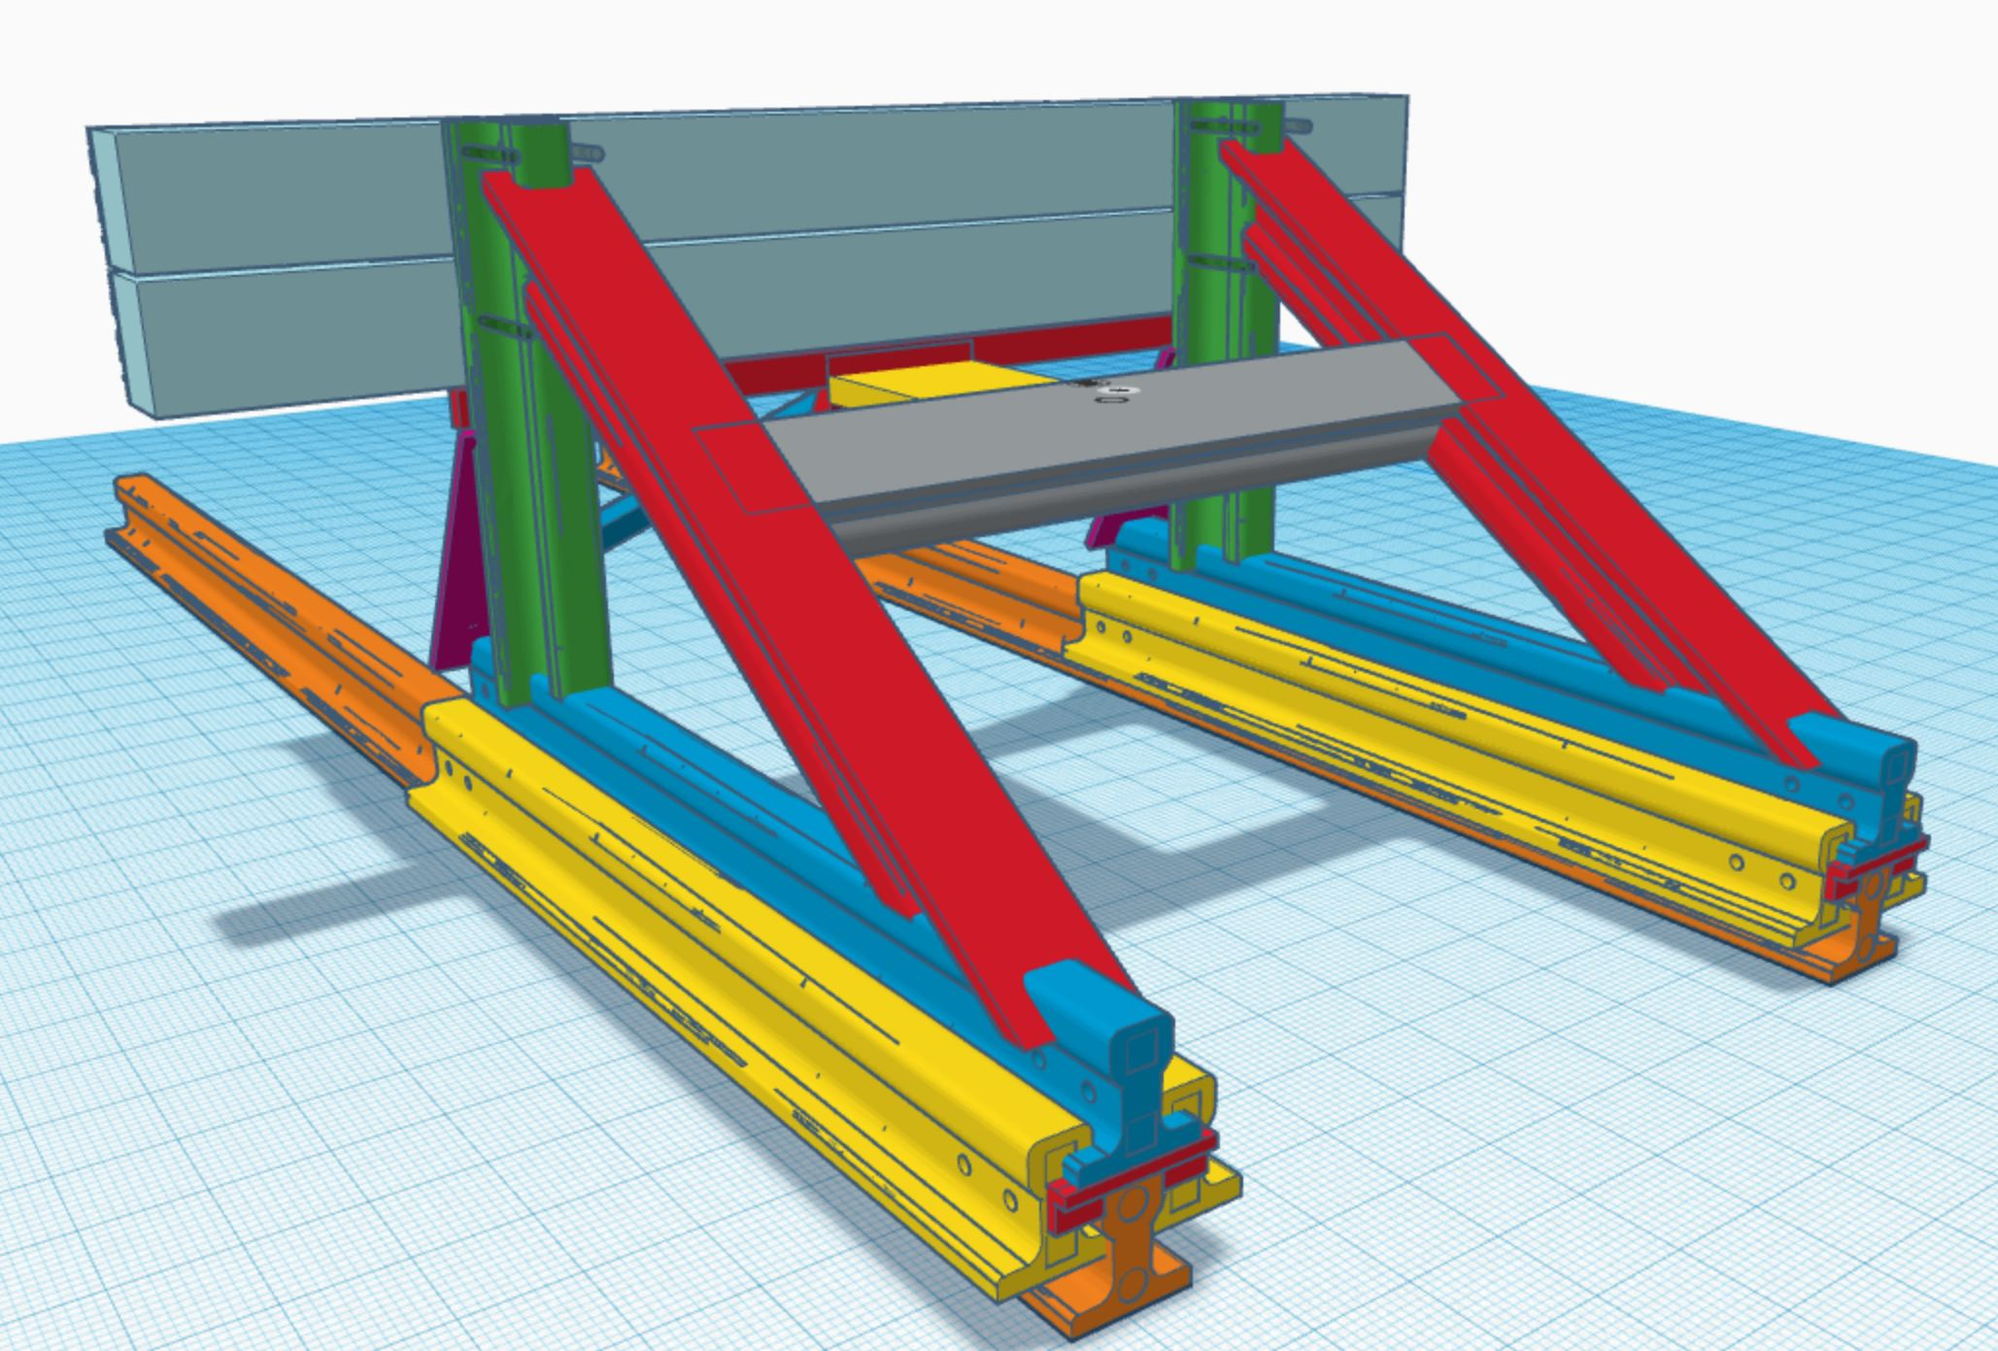
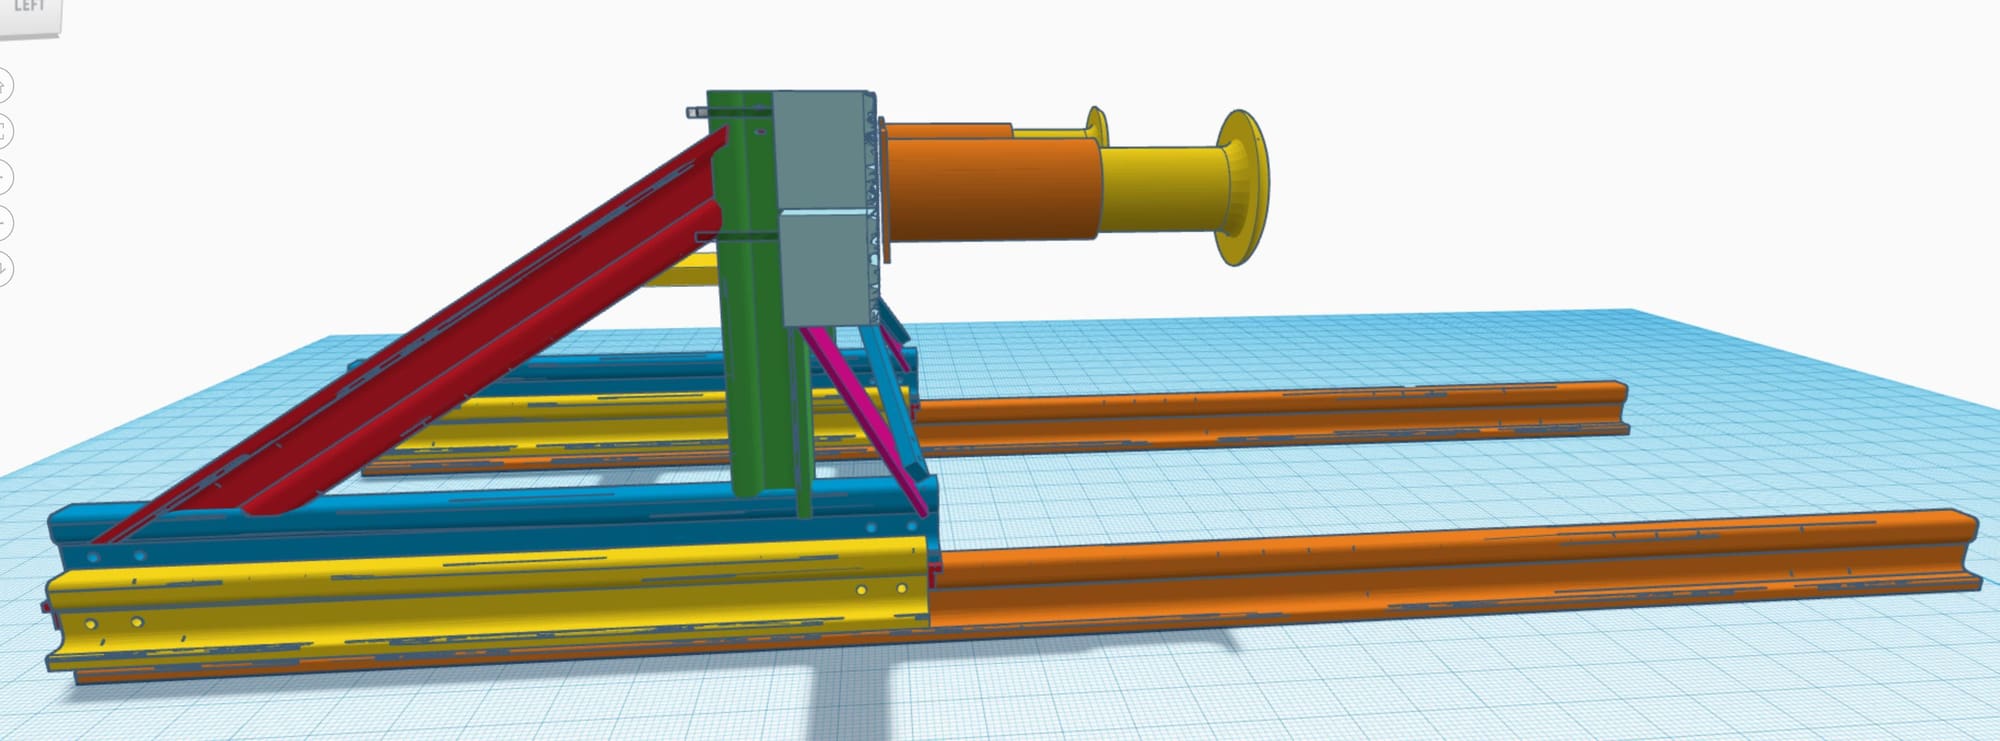
Since I was working with the new track I decided to engineer a Railroad Buffer End Stop, you have probably seen these almost every siding has one of these or at least something similar.
After looking at some pictures on line I designed mine to resemble some of them. Mine is engineered so that it is almost entirely built using short track pieces cut to fit together.
It seemed that this would be common practice back in the day, as it would be an inexpensive expedient to getting one which had been manufactured .
 End Stop Buffer 3/4 view
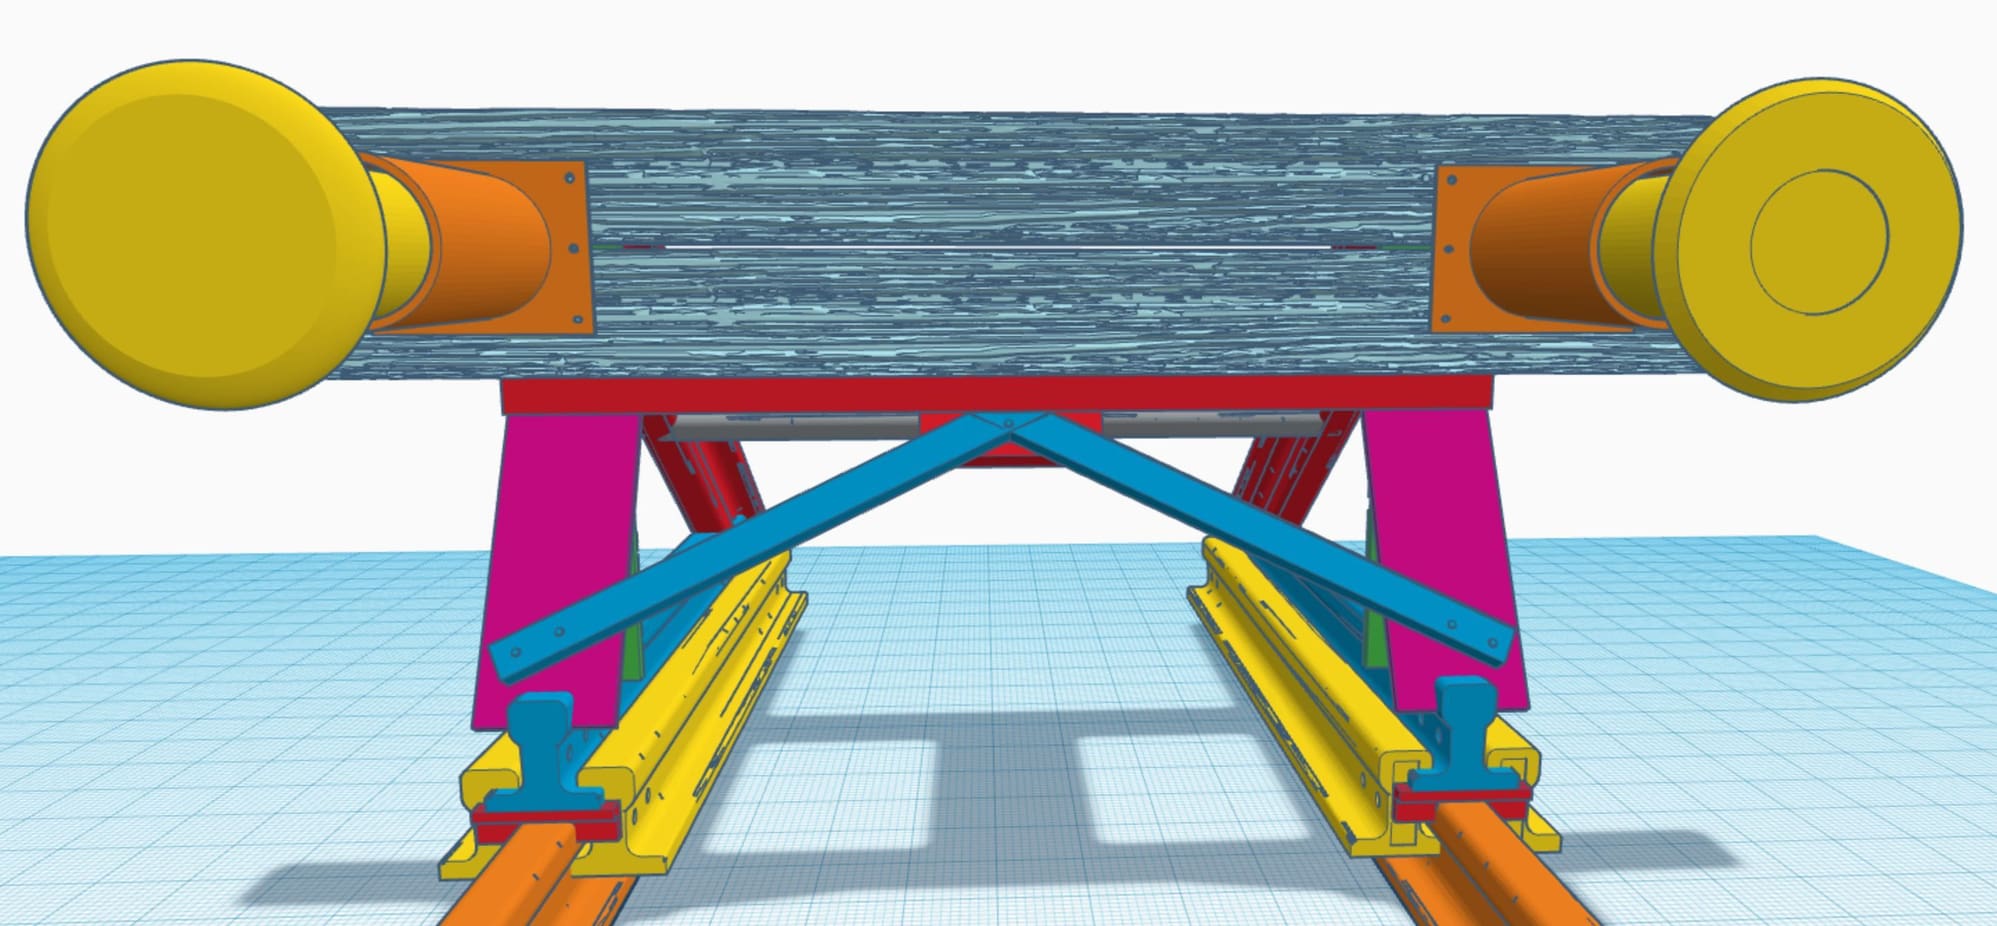 End Stop Buffer front view
 End Stop Buffer rear view
 End Stop Buffer side view
 End Stop Buffer top view
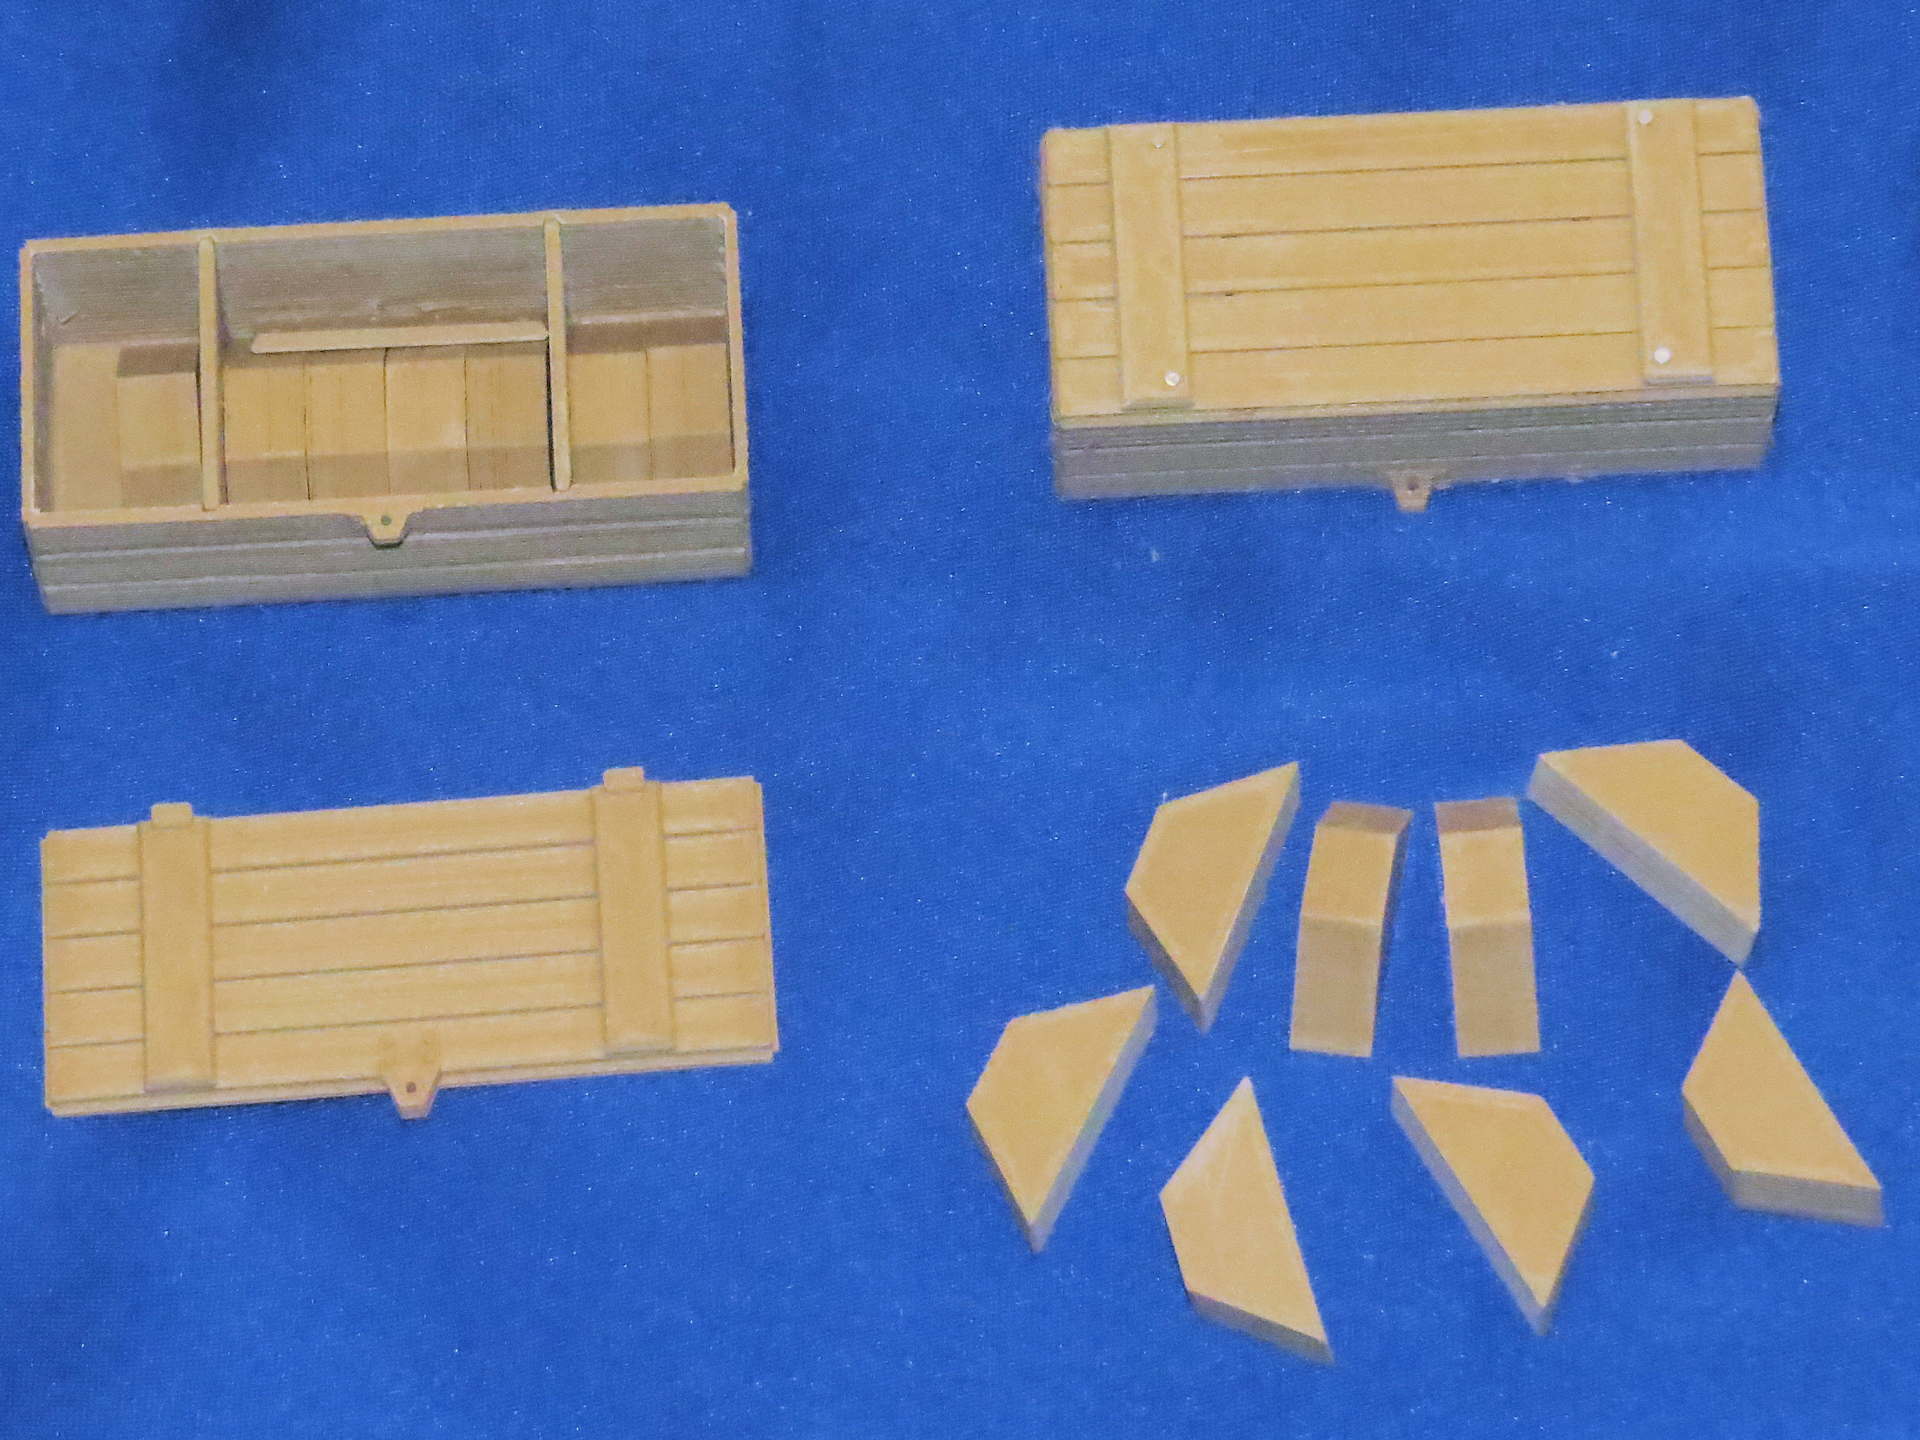
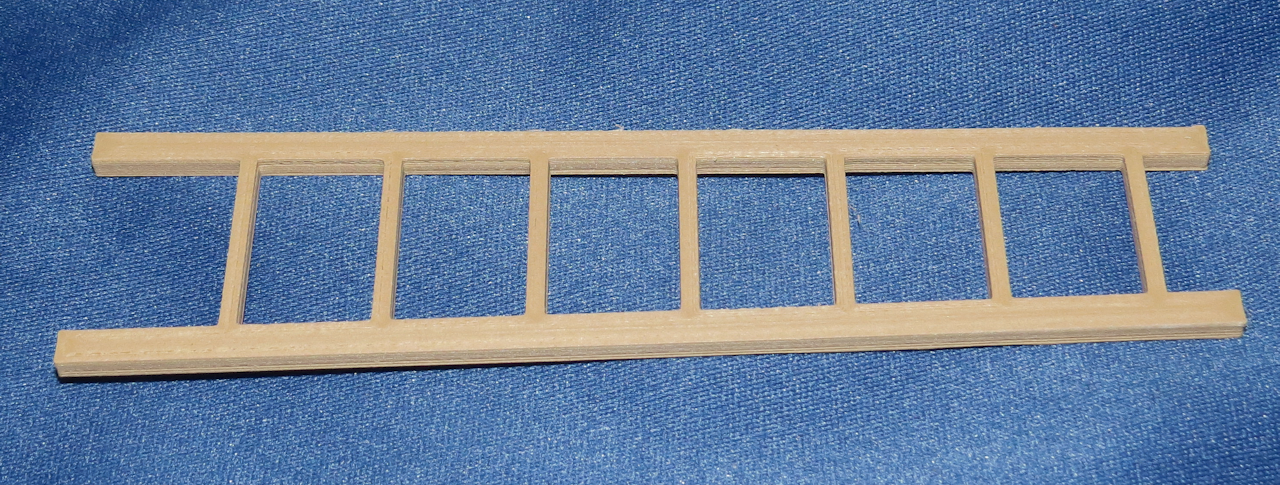
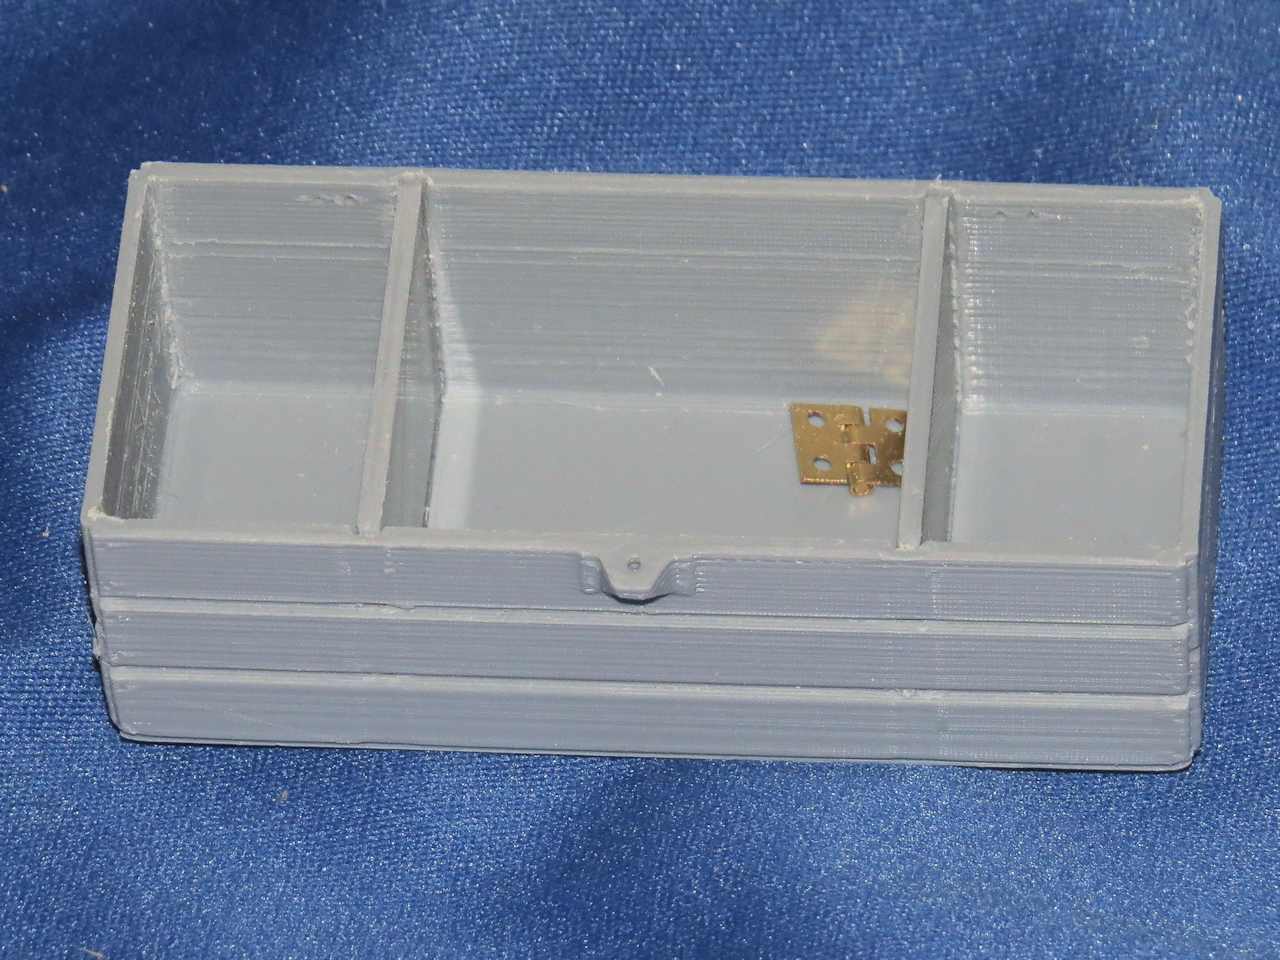
I recently printed out the wooden parts I had created, the ladder the crates and the chocks. I also had to create hinges for the crate lid which are quite small. I was able to print them, we'll see if I can make them functional at the miniscule size I had to print them at, I hedged my bets and printed some static versions to use if the crates need to remain closed.
I am not exactly sure what the crates were used for maybe storing tarps (Zeltbahns) and ropes to be used to cover the tanks once loaded. Surprisingly the eight wheel (track) chocks fit inside the crates
perfectly, so those may have been stored in there as well.
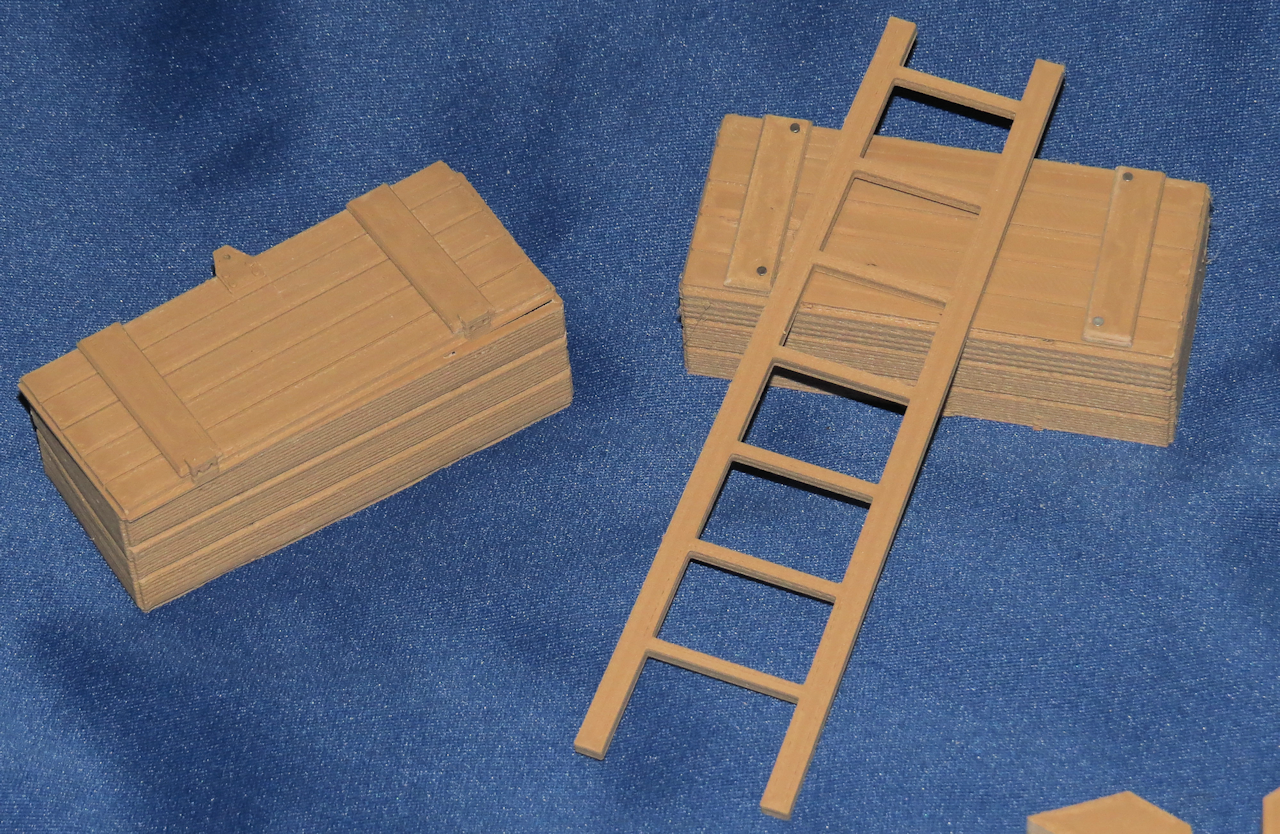
I also did one in Gray
Anyway that is all for now.
I had to purchase a disc sander to finish the mating joints on the different parts, doing it manually would be way too time consuming, especially since I now have two of them to assemble and finish. Once the sander arrives I can get to work on the parts and doing some assembly.
Steve