No worries Gary

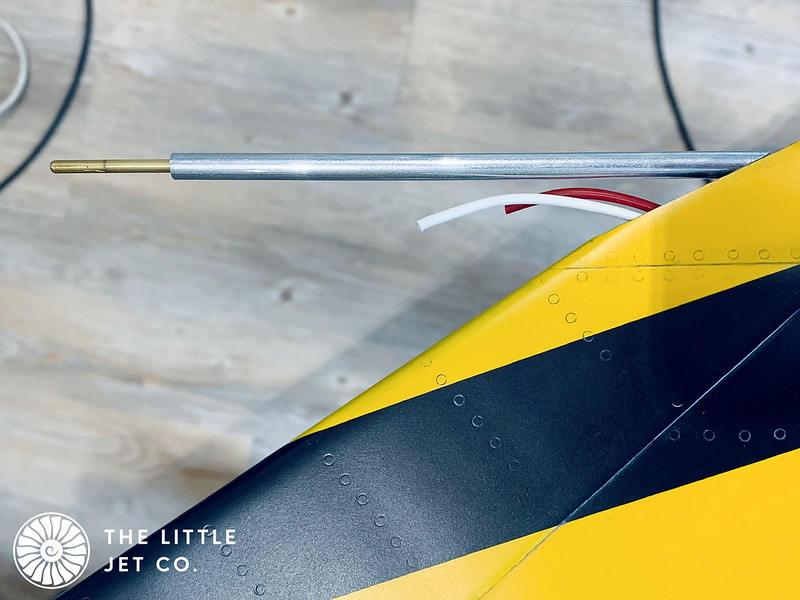
I’ve been putting off doing the Pitot for ages as it was one of those jobs that had the potential to cause some damage if I got it wrong. I started by making a hole in the top of the vertical stabiliser which had to be exactly in line and 35mm deep to allow the pitot to have a snug push fit into the stabiliser. This took me a long time!

<script async src="//embedr.flickr.com/assets/client-code.
js" charset="utf-8"></script>
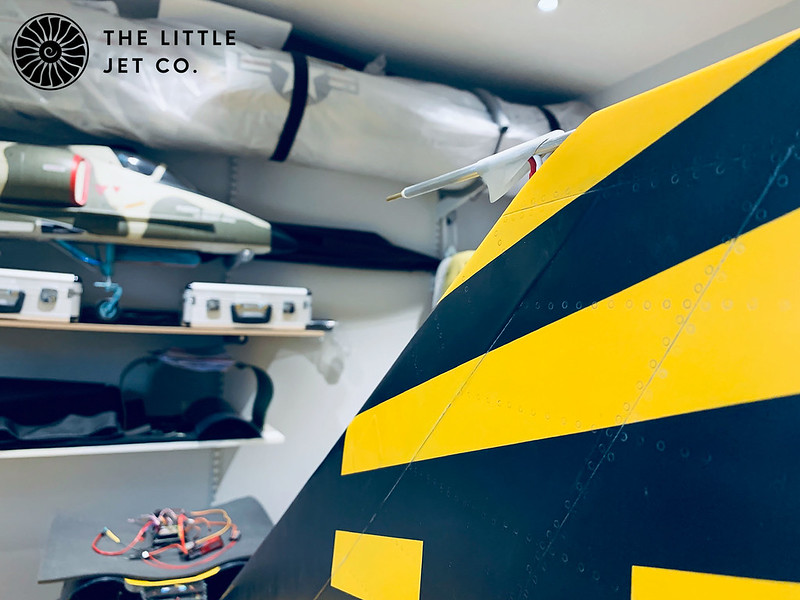
Once complete I used aluminium tube which will form the base structure of the probe. With the whole made (Phew!) and a straight cut along the stabiliser to mount the probe I traced the outline scanned this into CAD and started making a the fairing. This was printed using SLA allowing me to get a nice finish on the component. A Jeti Pitot is mounted in the end and everything bonded together and painted I now have a push working scale Pitot. If you don’t make these things removable they won’t last 5 minutes before being broken off.

<script async src="//embedr.flickr.com/assets/client-code.
js" charset="utf-8"></script>
<script async src="//embedr.flickr.com/assets/client-code.
js" charset="utf-8"></script>
<script async src="//embedr.flickr.com/assets/client-code.
js" charset="utf-8"></script>

<script async src="//embedr.flickr.com/assets/client-code.
js" charset="utf-8"></script>
Just the end to paint silver to complete the scale look and being removable it stands less chance of being broken off.