Some of the add-on bits of the aircraft caused a bit of head-scratching. I needed a pair of light dummy engine nacelles, preferably hollow to reduce drag, a fairing around the tailplane on the top of the fin, and a sort of rounded lump where the APU is mounted below the rudder. Balsa planking was not an attractive option, so what could I do with a hot wire on foam?
I cut two semi-cylinders out of blue foam, the closed cell type used for floor insulation. One was 2.5" diameter, the other 1.5". I glued two of these together to make a cylinder.
In the larger ones I cut a groove before joining the halves, then I cut lengths of the cylinder to the size of an engine nacelle.
I cut narrow circles from 1/8 birchply for the intake and exit holes and epoxied them on the ends
I used my belt-sander to shape the foam to the form of an engine cowling, finished them off with a sanding block, a bit of filler to correct errors, more fine sanding to get a smooth surface.
 Two halves make a whole (cylinder).
 Having a spare sometimes avoids having to scrap one and start again.
Then I glassed the outside with 25 gram (1 oz) glasscloth. When that was cured and trimmed, I fed the wire of my single handed hot wire cutter along the slot, reconnected it, and used it to hollow out the inside.
 Glassed, then hollowed.
 They're hung on the back so need to be light.
The smaller blue-foam cylinder was tapered at both ends, smoothed and glassed to be the fin-top bullet. An offcut was shaped to represent the APU housing, and more blue foam was made into a rudder.
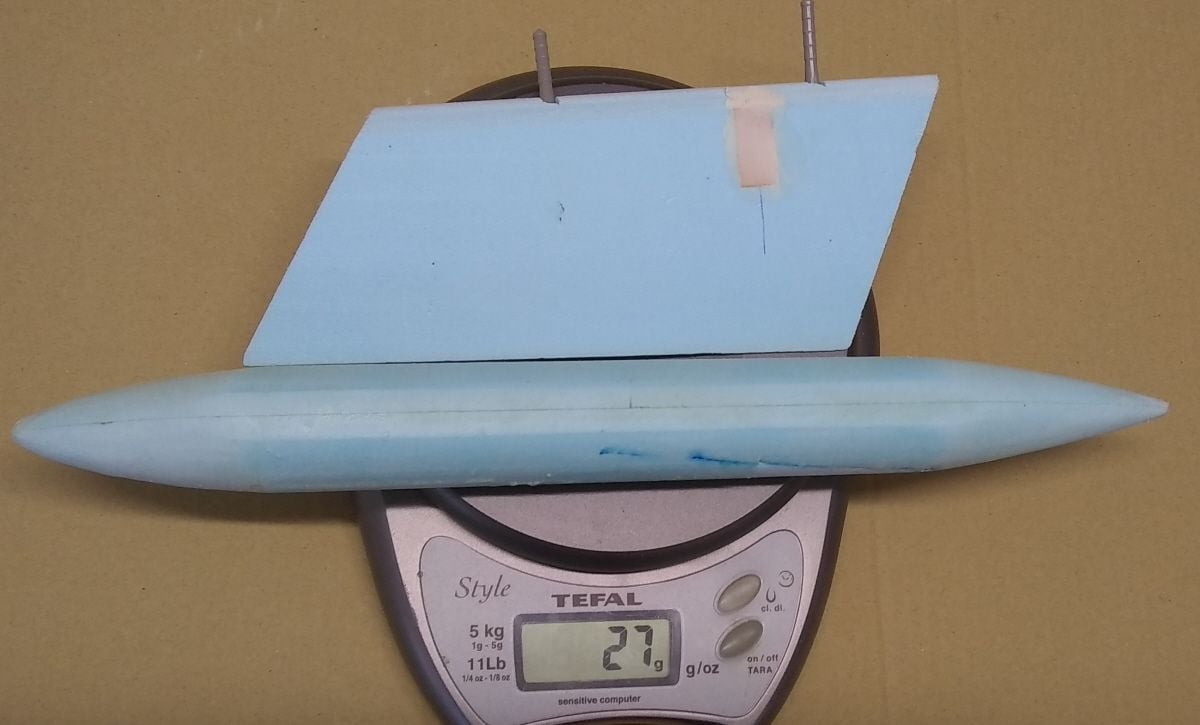 The finished bullet fairing for the tail/rudder join, and the rudder (not yet glassed).