Instead of progressong on the main gear, I ended up spending most of the day fixing the crapy paint on the cowl as well as the underside hatch immediately behind the cowl. The clear coat peeled on the cowl, even with low tack, same on the canopy (yet to be fixed) and, if you all rememember, that hatch peeled voth the silver and the clear.
If you run into this issue you can try, as I have done, to fix the clearcoat, or strip it all the way diwn and repaint from scratch. I'm going to end up doing the latter to the cowl. Whatever paint they used does not play nicely with tamiya paints.

It cracks and peels as soon as the tamiya hits it. Not ideal. Be ok from a distance, but up close...eww.
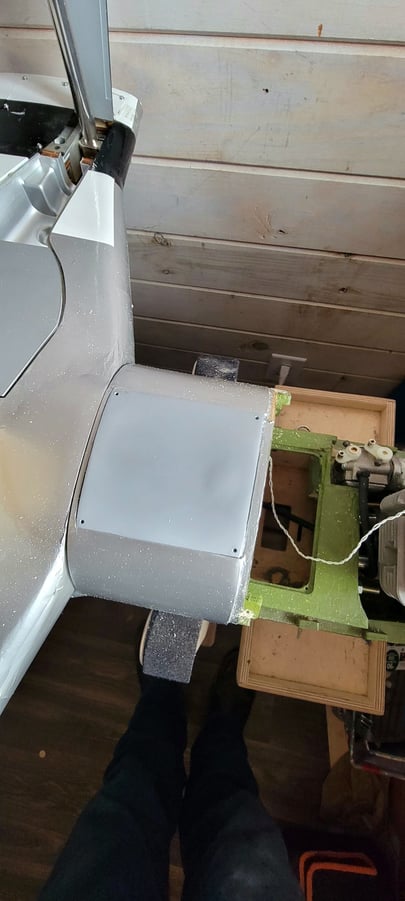
This hatch was stripped to the white plastic, the result is much better. 3 coats of Tamiya TS 76 and three coats Tamiya Satin clear after properly prepping the surface for adhesion. You can see the difference between bottom of cowl and the hatch..its night and day. So, bottom line, if its H9 stock paint, even if it would normally be just a touch up, best strip it bare and start off with your paints of choice all throughout. I dunno what they used, but its either a water-base or a latex and it immediaetle cracked and shriveled when hit with Tamiya.