While glued dried on another project, I dragged the Flitfire out to put some markings on.
First, an extra-large thank you to my friend, Greg, who found the fonts, designed the layout, and cut the vinyl. He jumped in with both feet to help when he found out this effort was to accumulate food and money to pass on to Second Harvest Food Bank of Northwest North Carolina.
Speaking of which, the raffle for this beast will occur September 10 during the Hobby Park RC Aircraft Club annual Winston-Salem Miniature Air Show. We can only sell tickets the day of the raffle, so you need to be there to buy them. But you need not be present to win. We will get the Flitfire to you.
You probably use the same method I do to install vinyl markings, but I’ll run through it anyway, assisted by pictures.
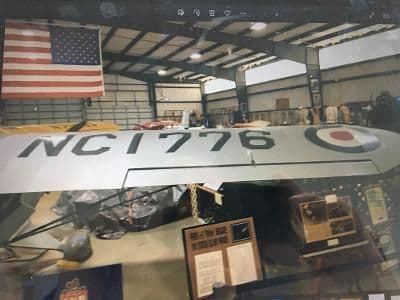 Here are the wing markings on the full-scale Flitfire at the NC Aviation museum.
First, thoroughly clean the area where the markings will end up. I use Windex followed by a solvent if necessary.
Next, position the vinyl with the carrier still attached. I usually use masking tape and make registration marks on both it and the transfer tape on the decal.

Spray and smear the area with a soapy solution. Again, I use Windex here.
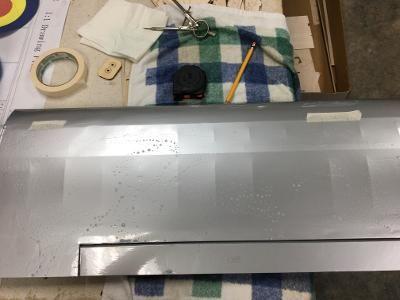
Remove the carrier from the vinyl, not the other way around. That is, keep the transfer tape on your workbench and peel the carrier upward. This way, your markings stay flat.
Now, if you haven’t taken a two-hour nap, the application area should still be wet. Carefully line up the registration marks you made previously and gently lay the decal sheet on the surface. If you miss by a little, the soapy solution will allow you to reposition the marking easily.

Once satisfied with the placement of the markings, rub them through the transfer tape. I use a wadded paper towel to squeeze as much liquid out as I can at this stage. Now take a 20- to 30-minute break.
Gently lift one corner of the transfer tape and fold it over on itself. With one hand, pull the transfer tape while using a paper towel to sop up the inevitable extra liquid. Because you waited a little bit, the vinyl should have started adhering to the surface. If the decal does lift, you can just hold it down with the paper towel. As long as you keep pulling the transfer tape parallel to the surface, no harm will come.
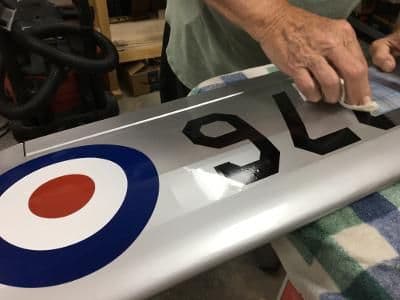
 Here I am simultaneously peeling the transfer tape and wiping the "1" in the registration markings. One thing's for certain: I'll never be a hand model.
Once you have removed all the transfer tape, use a paper towel to move as much liquid from under the markings as you can. I do not recommend using a squeegee, even one made from balsa, because it tends to cause gouges, especially on plastic coated balsa.
Most of the time, this process leaves so few and such tiny bubbles they are unnoticeable from a few feet away. If an unsightly blister still remains, lance it with a fine sewing needle and wipe away the liquid with another paper towel.
 The Flitfire is one step closer to completion.
If you have a method that you think produces better results, please share it with us. That’s what these forums are about, isn’t it?