The last elements to install on the dummy engine were the air-cooling shrouds, called "eyebrows" by some. They came with the 3D printed kit, but needed to be trimmed to fit against the cowl's exterior.
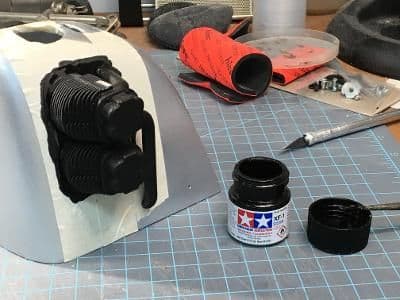
Before cutting, however, I painted the area on the cowl adjacent to the cylinders flat black, using the tape I had installed as a guide as a mask.
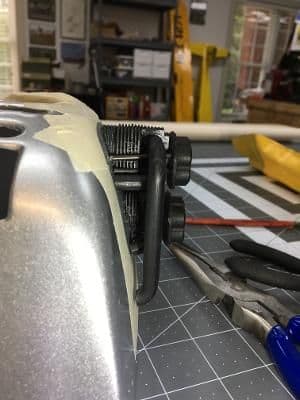
Then, I installed the pushrod tubes. I had previously drilled holes in the underside of the valve platform. For the tubes I used 1/16" wire that had already been painted black.
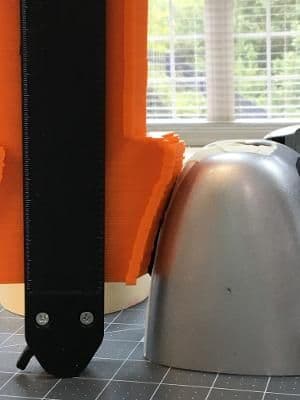
Whereas I shaped the cylinder banks completely by trial and error, I decided to use a different approach for the shrouds. The device shown above is a Super Gauge (TM) designed to copy contours of irregularly shaped objects. Although intended for large, inflexible things, with dexterous manipulation, it can be made to work on small, flimsy items like this cowl. I'm still trying to figure out how
I got it to work.
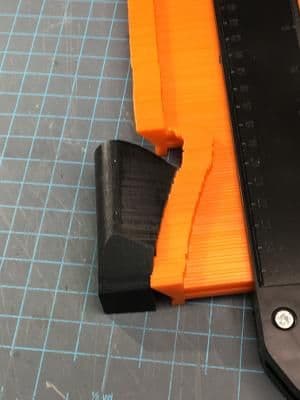
Regardless, I transferred the cowl shape to the shroud and cut along the trace mark with a band saw. It took only one trip to the spindle sander the get a perfect fit.
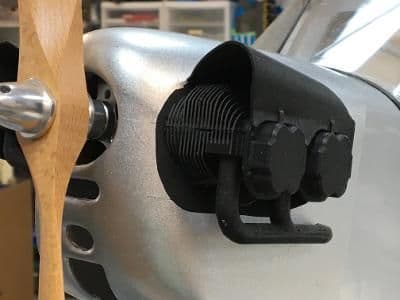
The dummy engine installation was complete. It turned out better than I had anticipated, thanks to that 3D printed kit.
Two days to go.