Got a lot done yesterday. As I said before, the plans say "glue the strut fittings to the struts with the struts in place" or words to that effect. This is absolutely necessary but how to do it? After much thought this is what I did:
As you'll find out once you get here, the cabanes are the core foundation of the load structure on this aircraft. Everything starts with them. And their cross wires are the key. In the previous steps I got them fitted PERFECTLY but during the glue up how can you pin the wires in place when they are already tensioned? Answer: by having the bottom cabane bolts very loose. But in order to be able to apply glue to all the fittings and strut pockets you have to have the bottom brackets tight with the struts sticking up. Then you can drop the center section - with its brackets, already smothered with glue - down into them. See the problem here? I had to practiced this process several times without glue (very time consuming) to find a way to get it all to come together. It went something like this:
1) I cleaned all the brackets thoroughly then scuffed them up with scotchbrite.
2) I bolted the bottom brackets (with the cross wires loosely hanging in place of course) to the fuselage snugly and the top brackets to the wing center section somewhat loosely.
3) I applied Hysol to all the pockets and fittings. You MUST use an epoxy that is slow cure because this process is going to take almost an hour once you mix your glue. (God forbid you get interrupted in the middle for any reason and can't finish! You would be in real trouble!!)
4) It gets tricky here: apply glue to all fittings and pockets then drop the center section down on the struts as best as you can on both sides. They will NOT go all the way into place because the struts are tight. Then loosen the bottom bolts on one side as loose as possible so you can drop the fittings in further. Retighten then do the same on the other side. The gooped up epoxy will help to loosely hold things together enough for you to sneak the fittings all the way into place. I systematically snugged/loosened the bottom bolts to keep the whole mess from falling apart during the process. It sounds complicated because it WAS complicated.

5) Now the fun part: pinning/tensioning the wires. I used 4 short 3mm bolts instead of the little pins because they'd be easier to work with. At this stage the bottom brackets are retightened on both sides to keep the whole mess from falling apart. So: loosen one side, install the wire pins then do the same on the other side. Once the pins are installed and both side bottom brackets are tightened the wires will tension (which pulls everything together) and the assembly is done. You will have to perfect your process through (dry) practice.
At this point the whole assembly is not yet constrained if you move the center section in a forward direction - at least not until the glue cures in the diagonal struts. So you will see in the pictures I roped/bungied the center section to the rear for cure up.
See, that wasn't so hard, was it. . . . . . .?

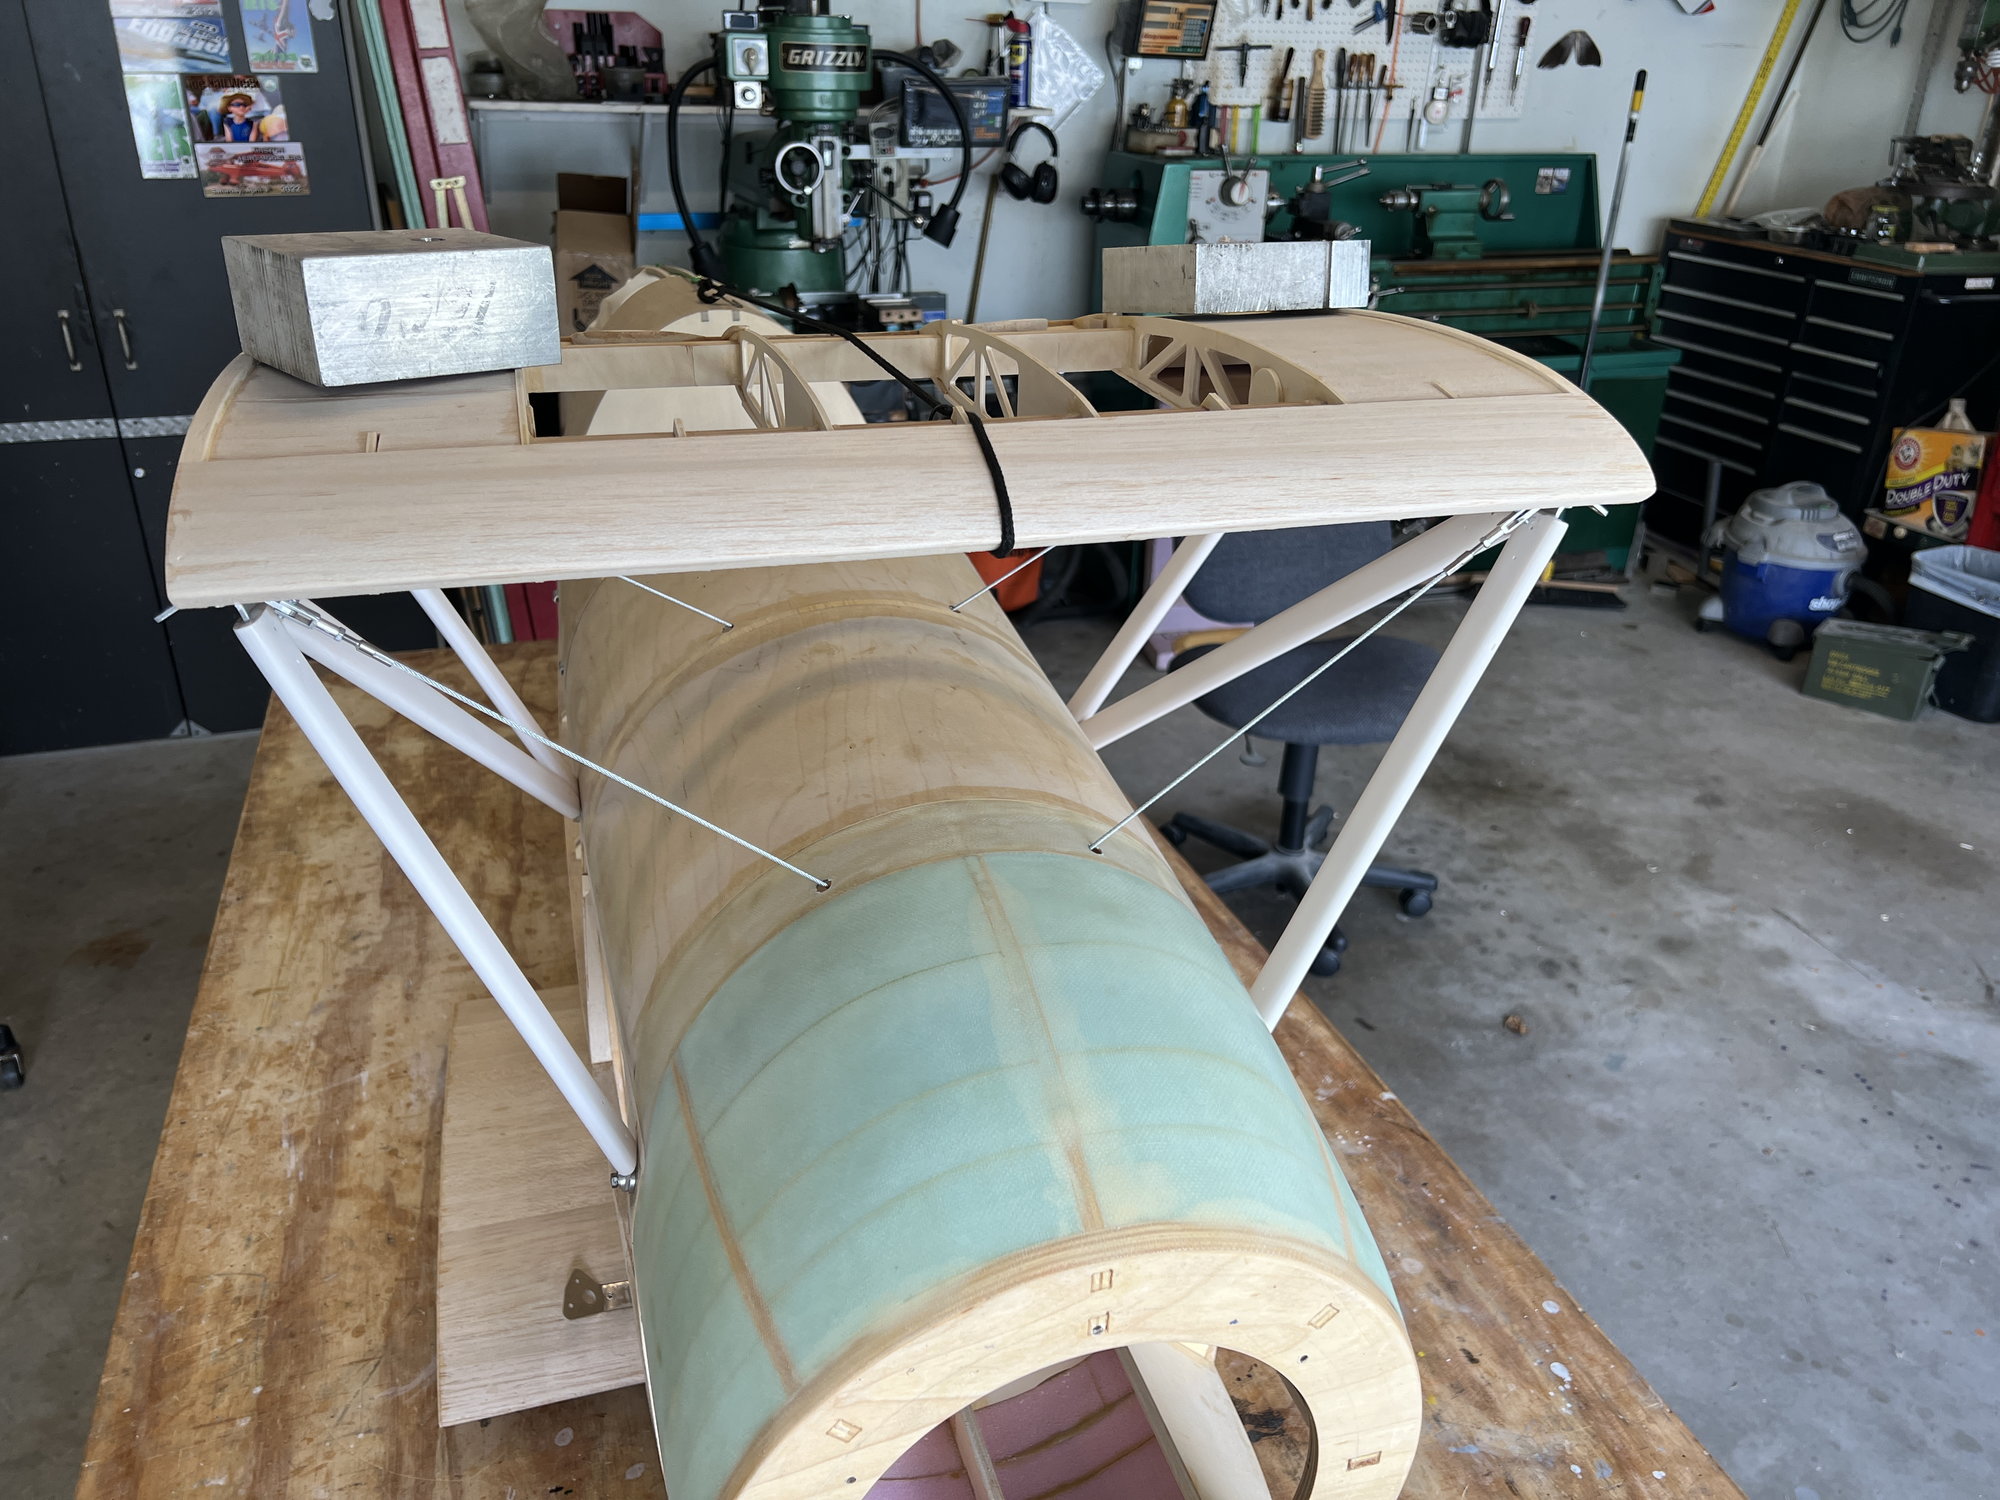 The weights on top are redundant but seemed like a good idea anyway. I remeasured everything for plumb (it's perfect), but there really wasn't anything to be done about it at this point!
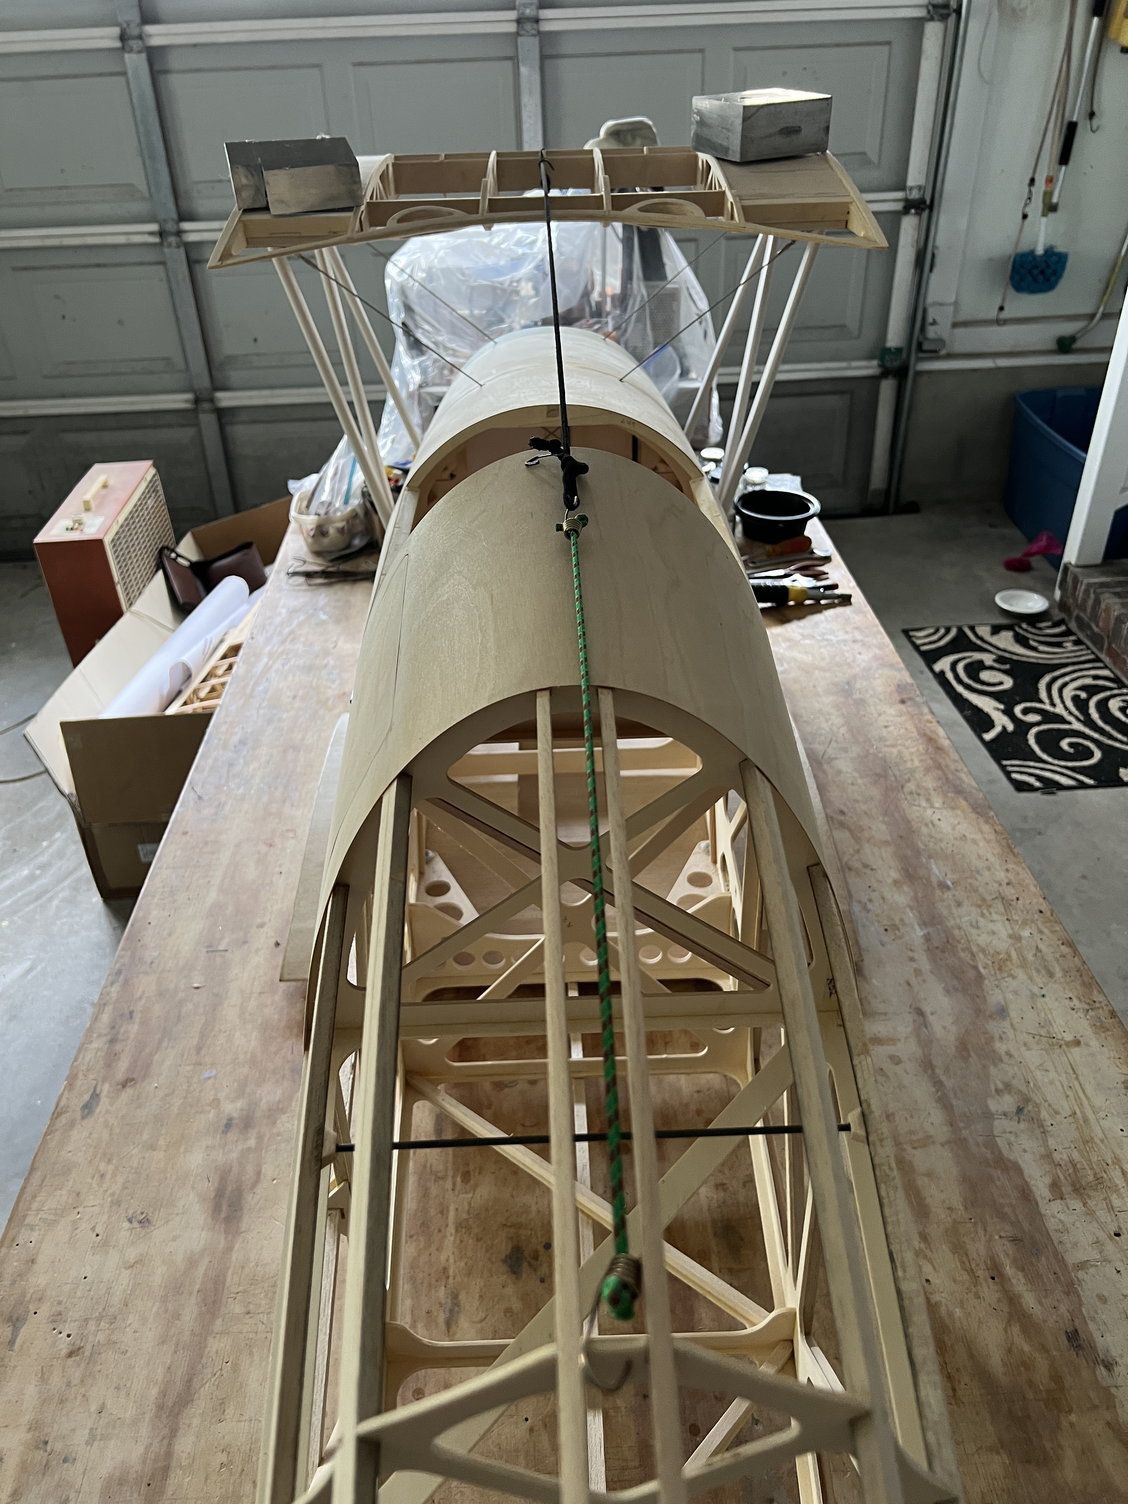 Here's a good pic of the rope/bungee pulling aft.