Originally Posted by
JeeSib

By any chance, do you have a link to a instruction video how to solder metal like you do?
I am just curious how you do it.
Im sorry...I don't. I have no way of holding the phone and am using both hands to get things done. The one time I did try it I got burned and the flame tends to be way to close to the phone as well. For soft solder its exactly the same as for photoetch or brass or whatever. Silver solder videos are all over youtube so you can see them there.
I moved onto the upper hull....the casement is relatively complex and the gun assembly is a bit awkward.
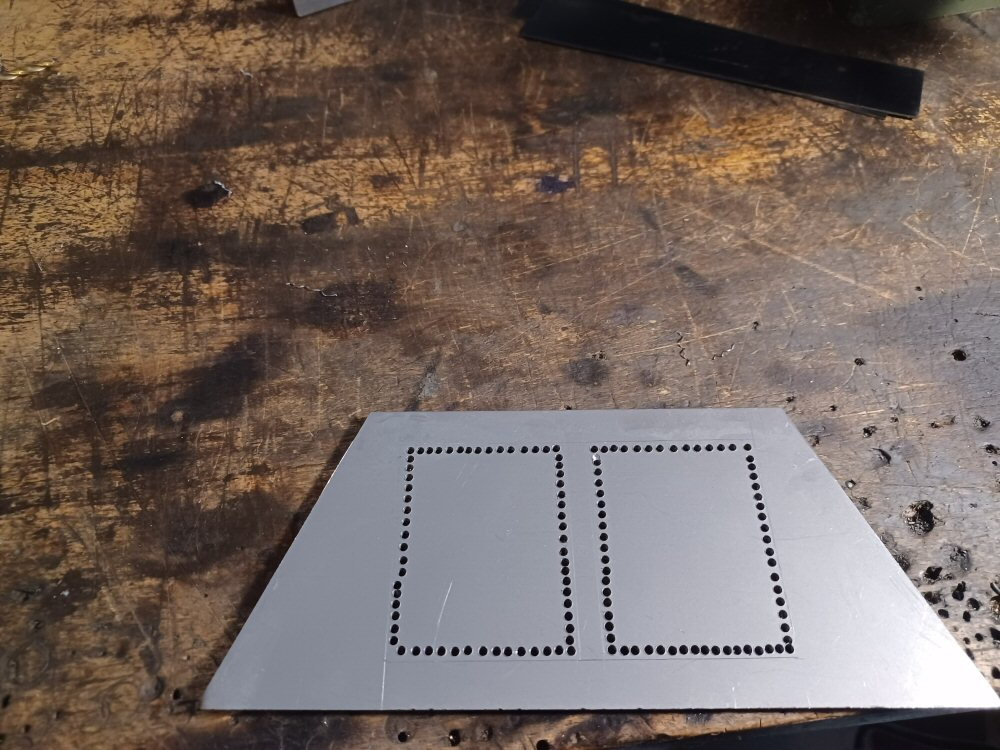
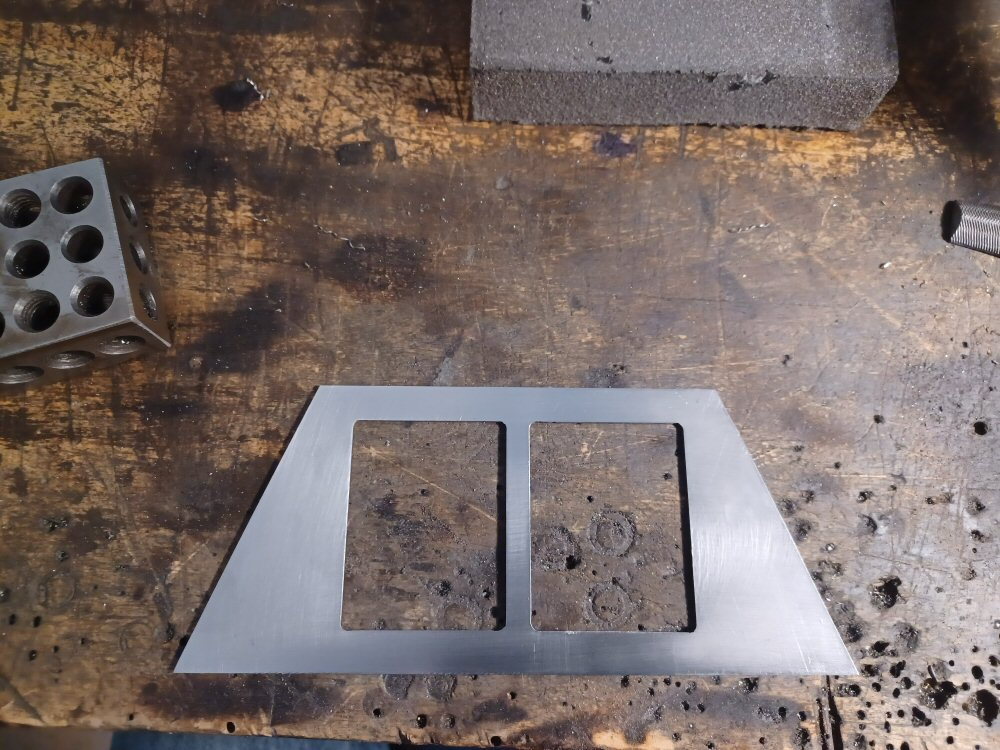
Making the upper hull is annoying as it needs a giant hole over which the casement sits. So I chain drilled it out and then deafened the neighbours with the screeching of the metal as I filed it down.
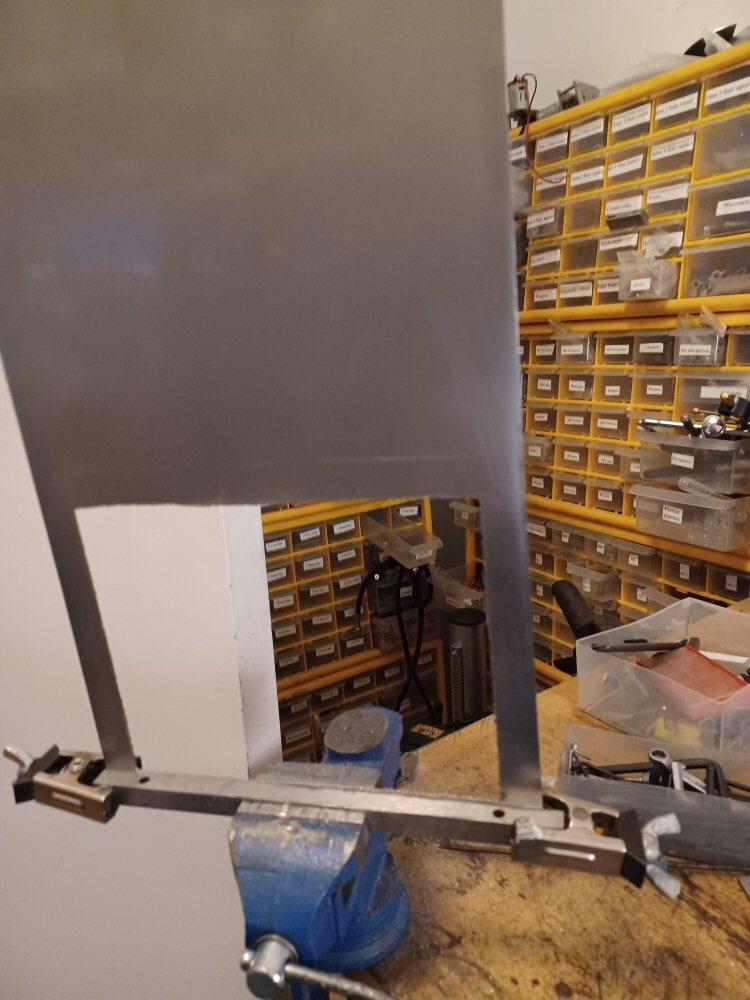
I was definitely at the limits of what is possible with this size vice and a hand file...
Then I did the same of the rear plate of the casement where I need two doors. Chain drilling and filing out...
Then I assembled the most of the casement. Im sorry for the quality but it didn't look so bad on the phone and then did when I put it on the pc...
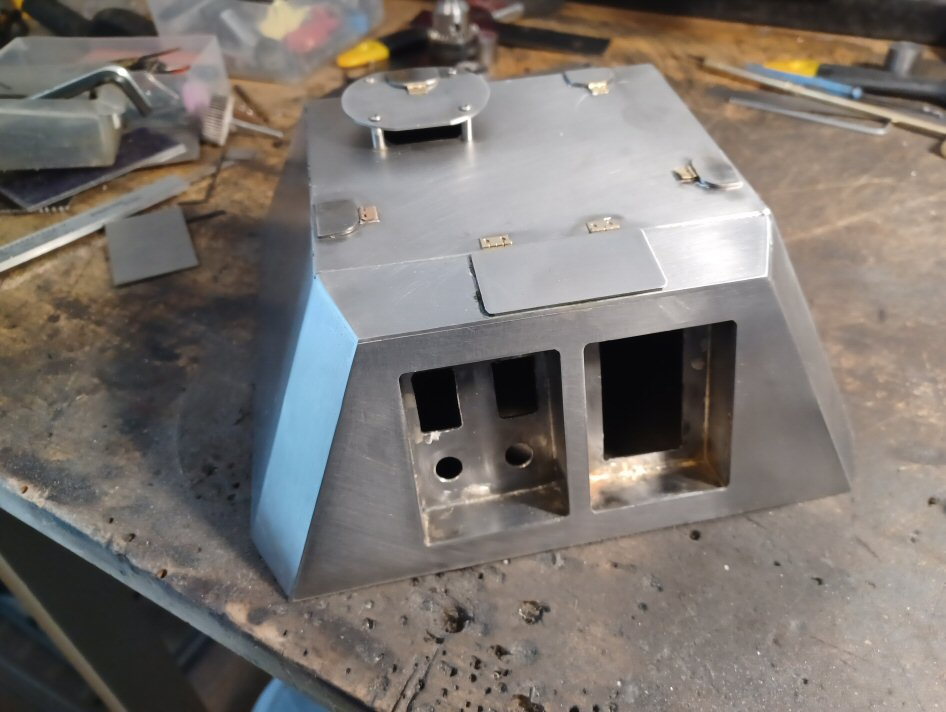
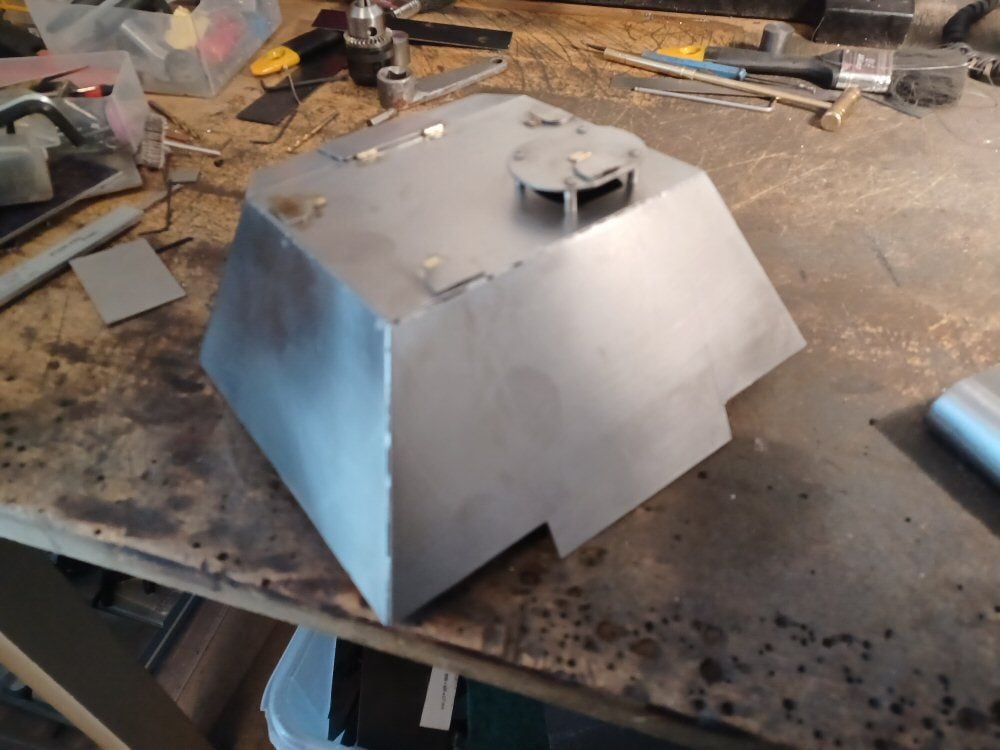
The seams need a lot of bondo but the whole tank will be getting body work before painting. The cutouts behind the doors will be for charging ports, switches and a voltmeter/ammeter. Hopefully all hidden behind opening doors.
The next tricky bit was the rear bit of the gun (recoil assembly?). It has two curves - one top, one bottom and the sides taper up to the smaller curve on the top.
I have no mill or access to one and even if I did , this would be a problem as you eventually run out of flat surfaces to hold the piece.
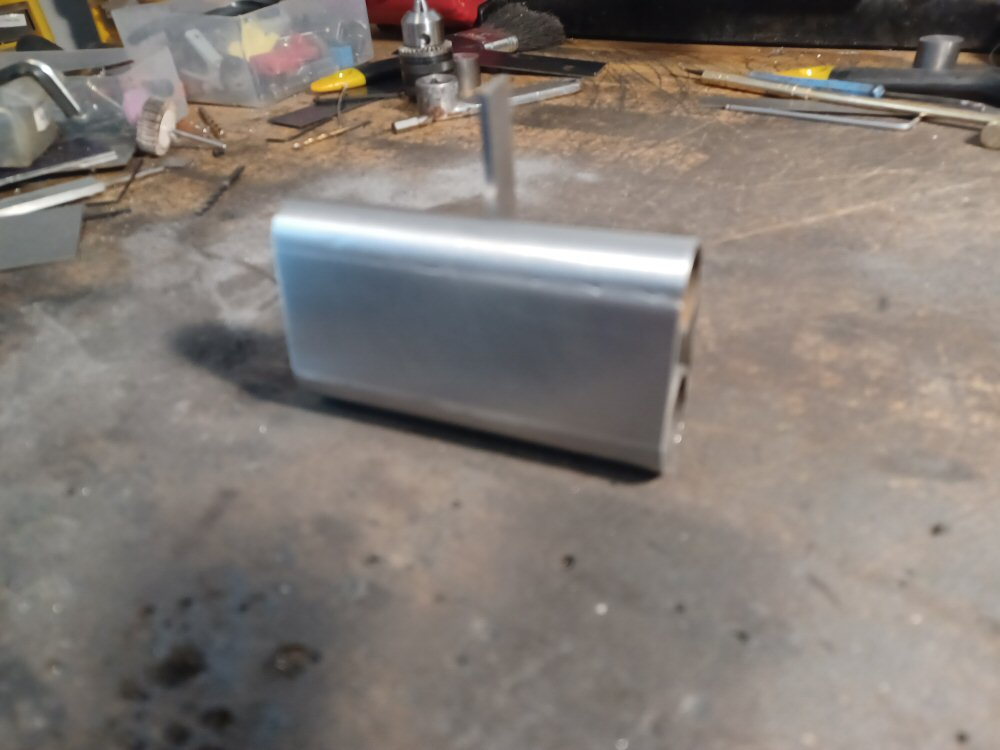
I got two steel tubes, one 20 and the other 25 mm in diameter. Then I joined them with some spaces and silver solder-
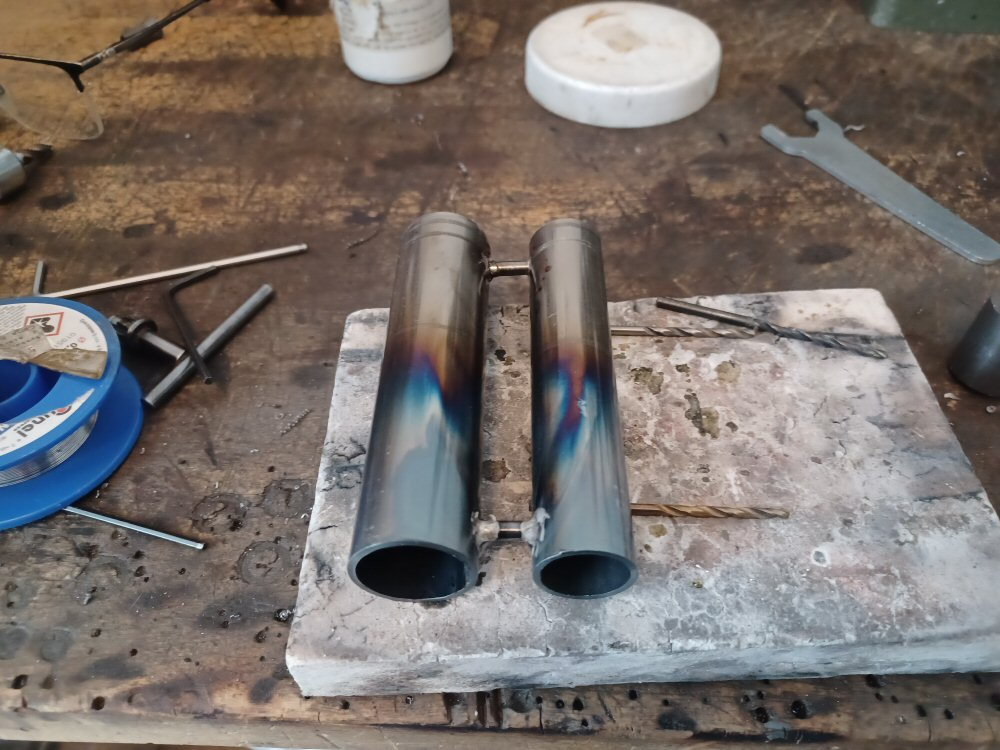
They look really rough so I cleaned them a bit. It doesn't matter as they will be invisible.
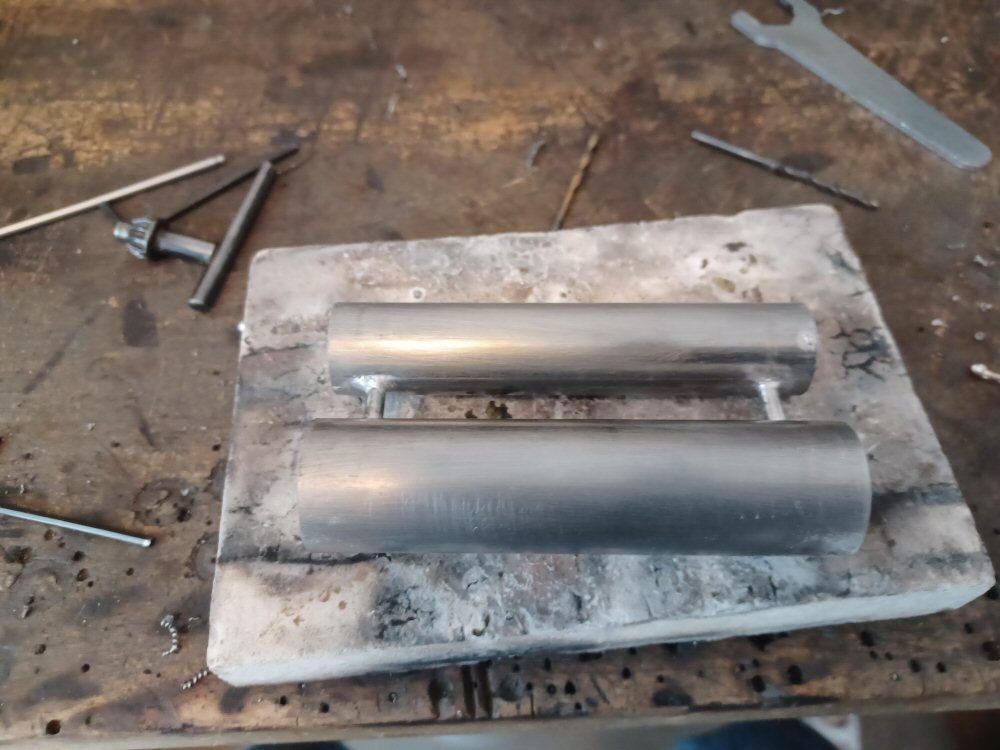
I then ground a series of flats along the lengths of each cylinder on both sides using a dremel wheel mounted in the chuck of my proxxon.
Then one each side I soldered some flat panels to reproduce the shape of the real life item.
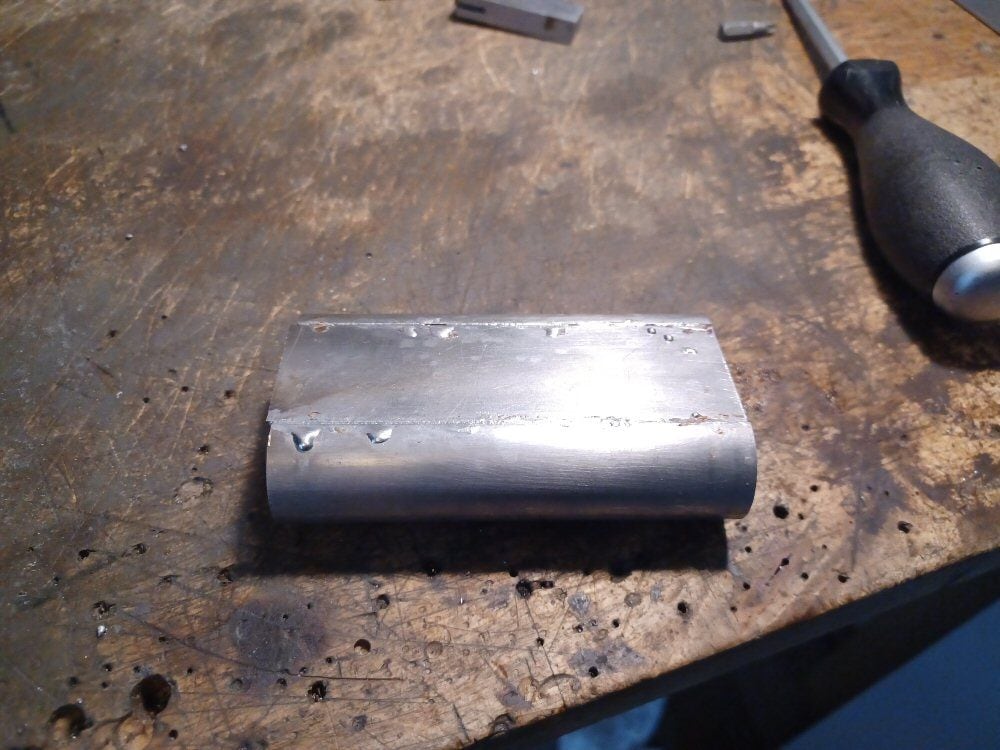
Looked rough but a quick going over with a sander and scotch brite cleaned up the blobs nicely.

There are obviously a set of profiles on either end but I will cross that bridge when I get to it.
O also think the bottom of the lower curve on this assemble is flattened out but I can deal with that with a file later.
P