


YAK 54 Carbon Z Landing Gear Hopup
 07-15-2018, 05:32 AM
#1

Thread Starter
I have had two of the E-Flight Carbon Z planes. The first generation blue with the plastic hinged control surfaces and 2nd generation with the AR635 6-Channel AS3X receiver.
A few years ago I lost the first one due to a receiver failure and it was beyond repair so I opted to get the 2nd generation.
They both suffered from very poor landing gear.
I live in an area where I can fly this one at my home. I have a paved driveway that I use for a runway and because I can fly at my home I fly a lot and put a lot of flights on this plane. It is one of my favorite electric planes out all electrics I currently own.
I fly in all sorts of weather and therefore I have some hard landings. Some are like carrier type landings. Hard!!!
The wire landing legs are just too lite and flex and bend too much so I decided to see if I could make it better.
I added carbon fiber landing legs. What a change and a great flying plane is now even better at landing and taking off.
I even think the airfoil shape of the landing gear adds additional stability to the yaw of the airplane. (It appears to have less tail wag).
What you need to do this:
Dremel with a cutoff bit or something like it
Coping Saw
A way to melt styrofoam (I use a soldering gun with a nice fat flat tip.
30 minute epoxy
4 1/4 - 20 bolts and blind nuts.
sheet of 1/4 birch plywood
scrap basswood 3/32 or so.
Carbon fiber landing gear from Hobbyking (I don't have the part number but the measurements are as follows)
Approximate in inches:
And some larger tiers (I used 3 inch foam ultra lite)
I think this is the gear I ordered. The measurements are close and it looks the same.
HobbyKing
Specs:
Fuselage Width: 110mm
Height: 160mm
Wheel Track: 320mm
Weight: 53g
Mask the area to cut by measuring the landing gear mounting surface and masking the area to cut.
Cut the area with the dremel cut off tool. I cut it with about a 80 degree V cut so I could more easily fit the gear and basswood into the space.
I used the coping saw to cut the bottom of the dremel cut and made sure it was even.
I cleaned the area with a file and an orbital sander.
I then used my soldering gun with the flat tip to extend the cut under the foam about 1/4 of an inch on both sides.
I measured the space and cut the base to fit the entire space with an additional 1/2 inch to add additional support. I centered the landing legs on the base and drilled the holes for the blind nuts.
I then cut another plywood part that has the width of the landing gear base plus the thickness of the basswood and that will lay over the base plywood.
after fitting the parts and because the base plywood is 1/2 inch wider (1/4 on both sides) then the space I created in the fuse I cut the base plywood down the middle so it will fit the space in two parts. The other plywood is to overlay the base and to cover and support the cut to improve the strength. The landing gear bolts through the cover plywood and into the base.
I then test fit the base and cover plywood to the landing gear with the blind nuts installed in the base.
I filled the space with 30 minute epoxy and fit the two part base into place, the cover plate glued over the base and the landing gear on top and screwed in place to dry. Once it was all dry I removed the gear and took the basswood and glued it into place.
Once that was dry I sanded the basswood to the shape of the fuse and painted it black.
Once the paint was dry I screwed the landing gear into place.
I used epoxy because it needs to be really secured into the fuse.
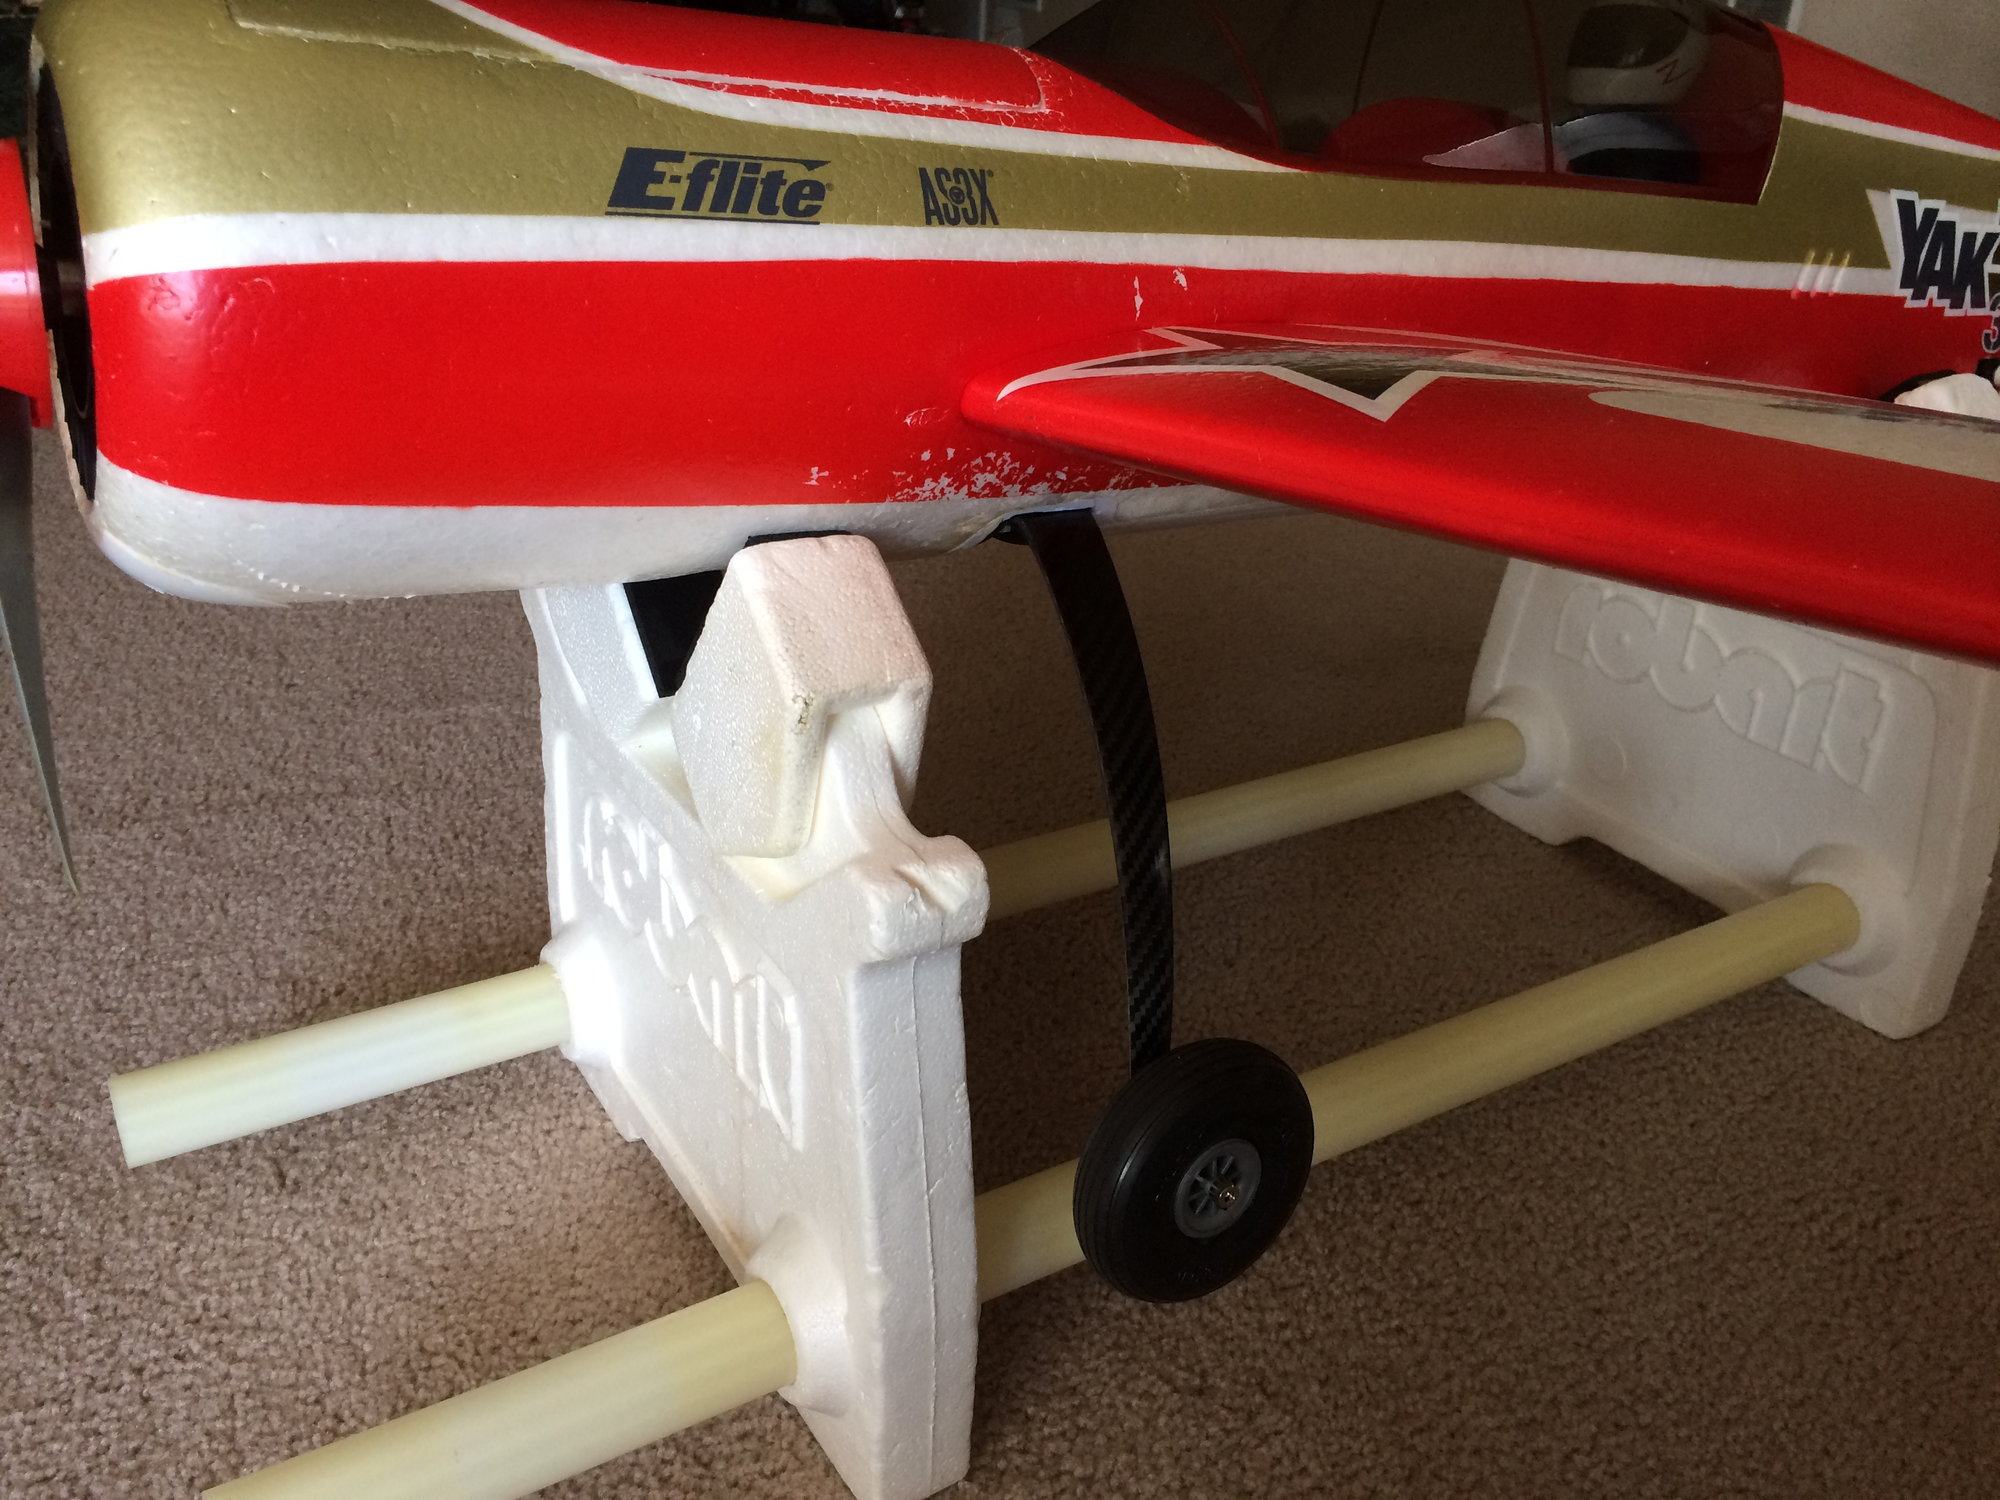
All done. The gear is solid in the fuse.
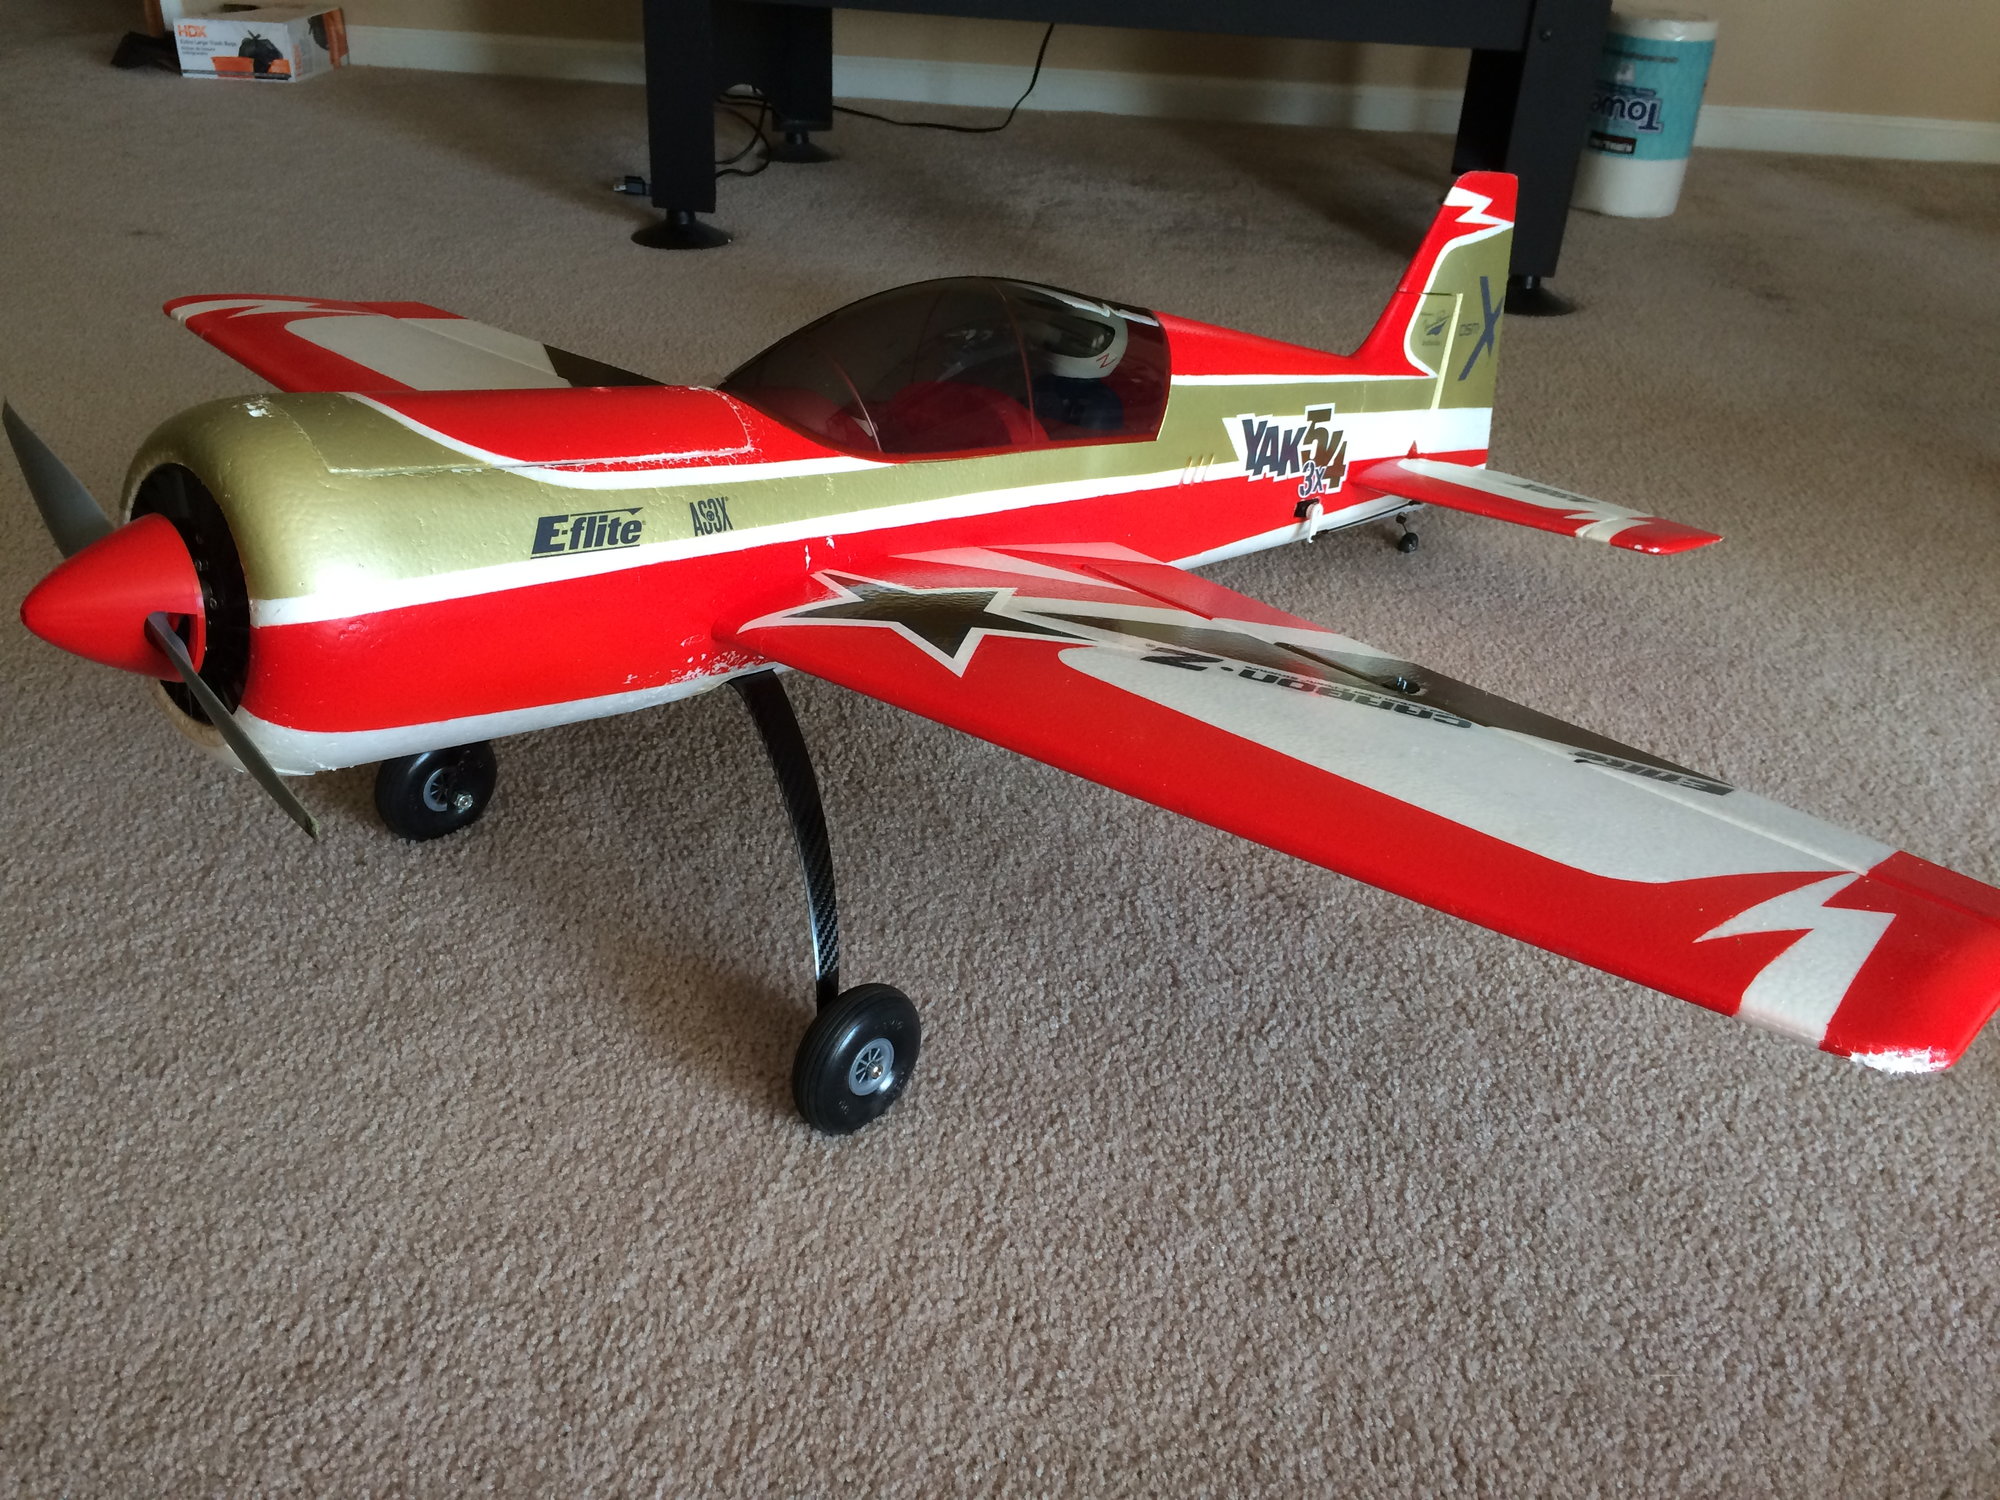
Carbon Z Yak 54 with new legs.


The base and top plywood cut to size and drilled to secure the gear.
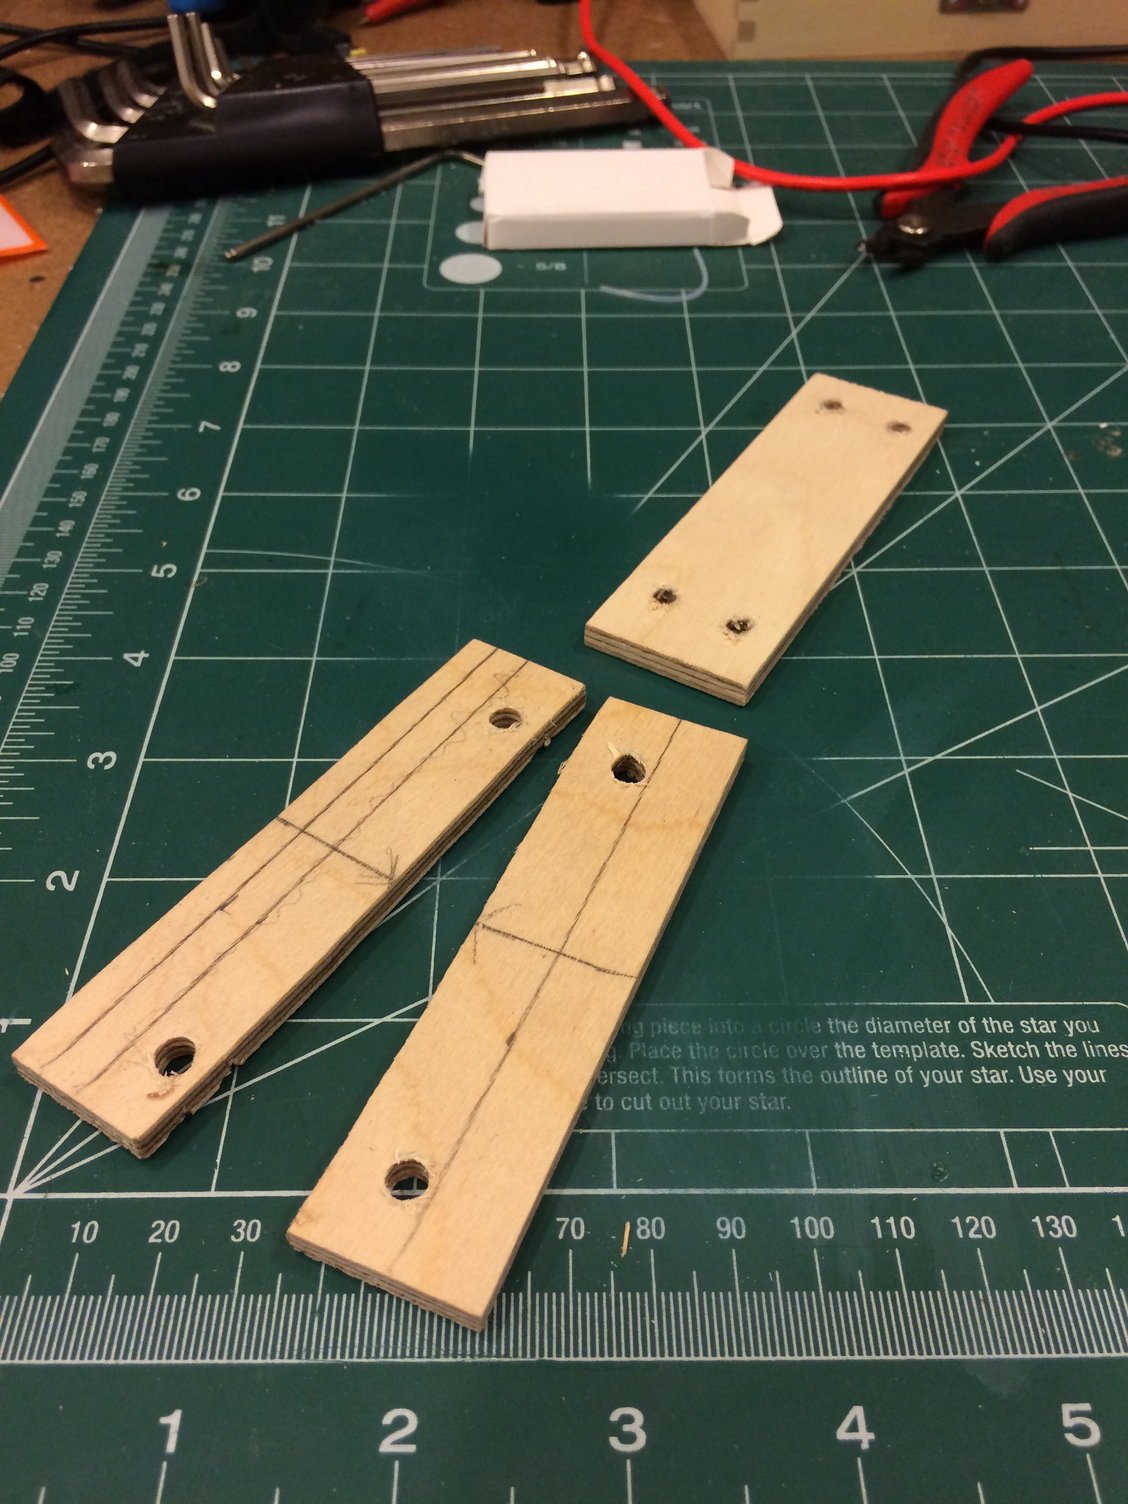
Here are the two plywood plates. I cut the bottom one into two parts after I fit the top plate and gear. This way I can fit the base into it's space and the 1/4 inch overlap will be secured into the fuse.
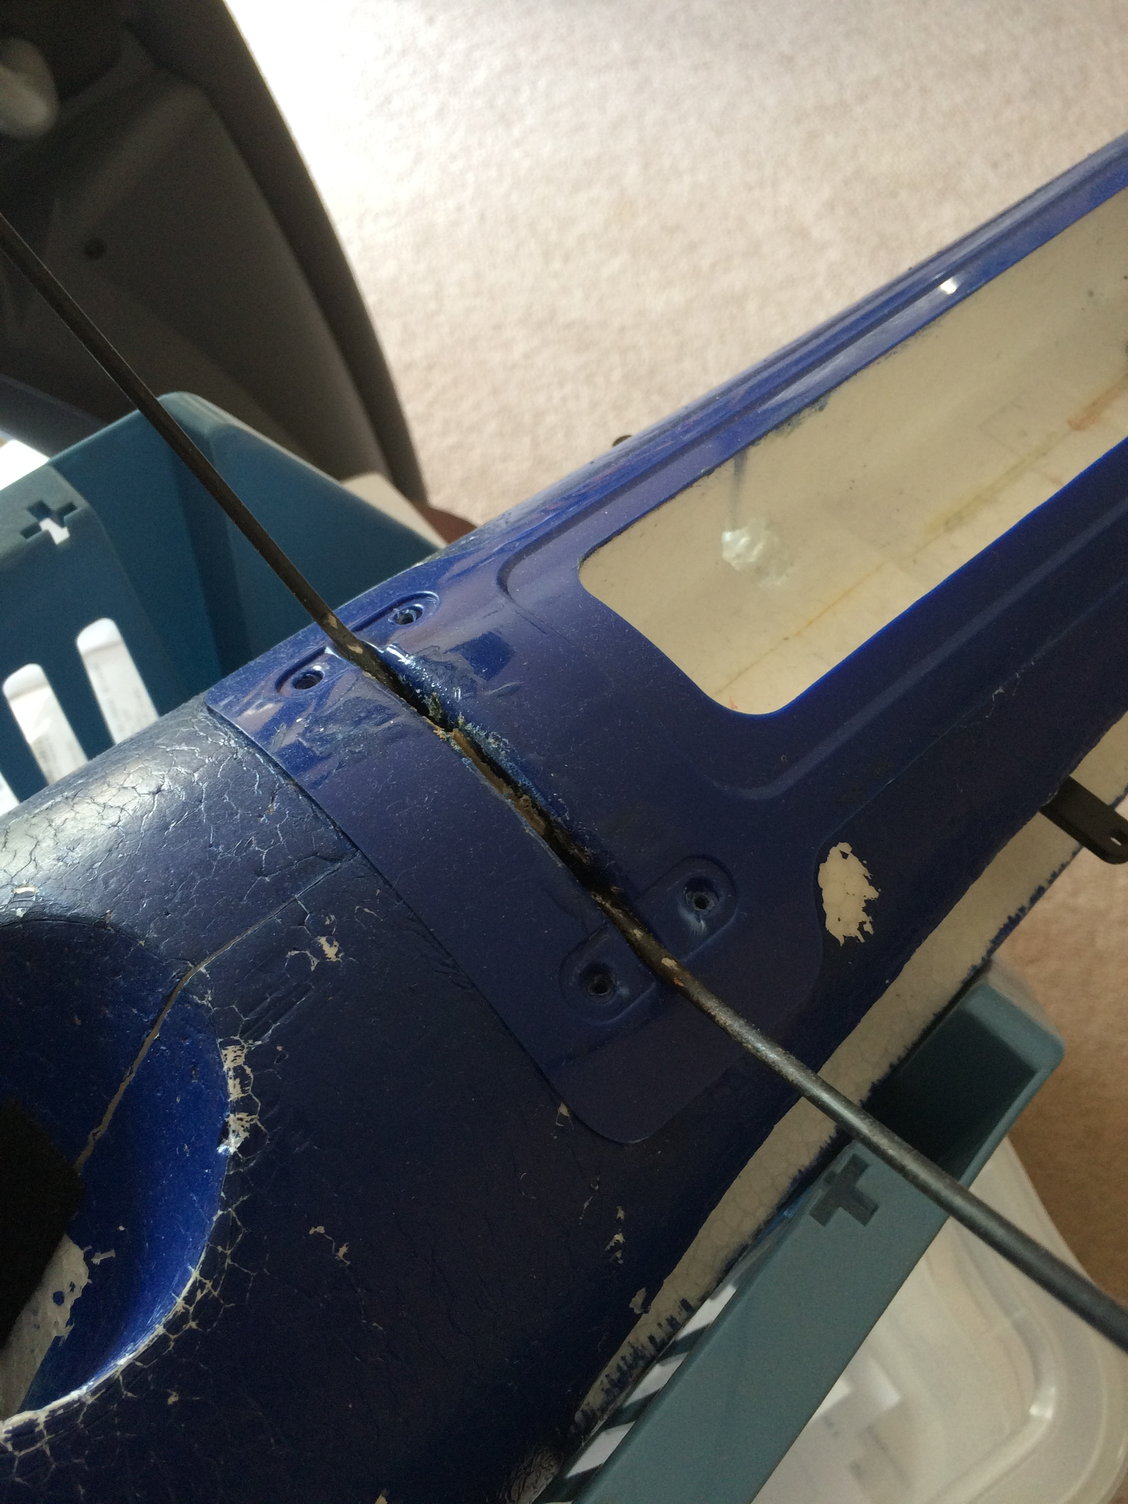
Showing the older model with the wire legs. Both planes have the same landing gear configuration. I just cut out the plastic and glued in the plywood and bolted on the new legs.

A few years ago I lost the first one due to a receiver failure and it was beyond repair so I opted to get the 2nd generation.
They both suffered from very poor landing gear.
I live in an area where I can fly this one at my home. I have a paved driveway that I use for a runway and because I can fly at my home I fly a lot and put a lot of flights on this plane. It is one of my favorite electric planes out all electrics I currently own.
I fly in all sorts of weather and therefore I have some hard landings. Some are like carrier type landings. Hard!!!
The wire landing legs are just too lite and flex and bend too much so I decided to see if I could make it better.
I added carbon fiber landing legs. What a change and a great flying plane is now even better at landing and taking off.
I even think the airfoil shape of the landing gear adds additional stability to the yaw of the airplane. (It appears to have less tail wag).
What you need to do this:
Dremel with a cutoff bit or something like it
Coping Saw
A way to melt styrofoam (I use a soldering gun with a nice fat flat tip.
30 minute epoxy
4 1/4 - 20 bolts and blind nuts.
sheet of 1/4 birch plywood
scrap basswood 3/32 or so.
Carbon fiber landing gear from Hobbyking (I don't have the part number but the measurements are as follows)
Approximate in inches:
Width Wheel to Wheel 12 3/4 inches
Height 6 inches
mounting base length 4 1/2 inches
mounting base width 1 1/8 inches
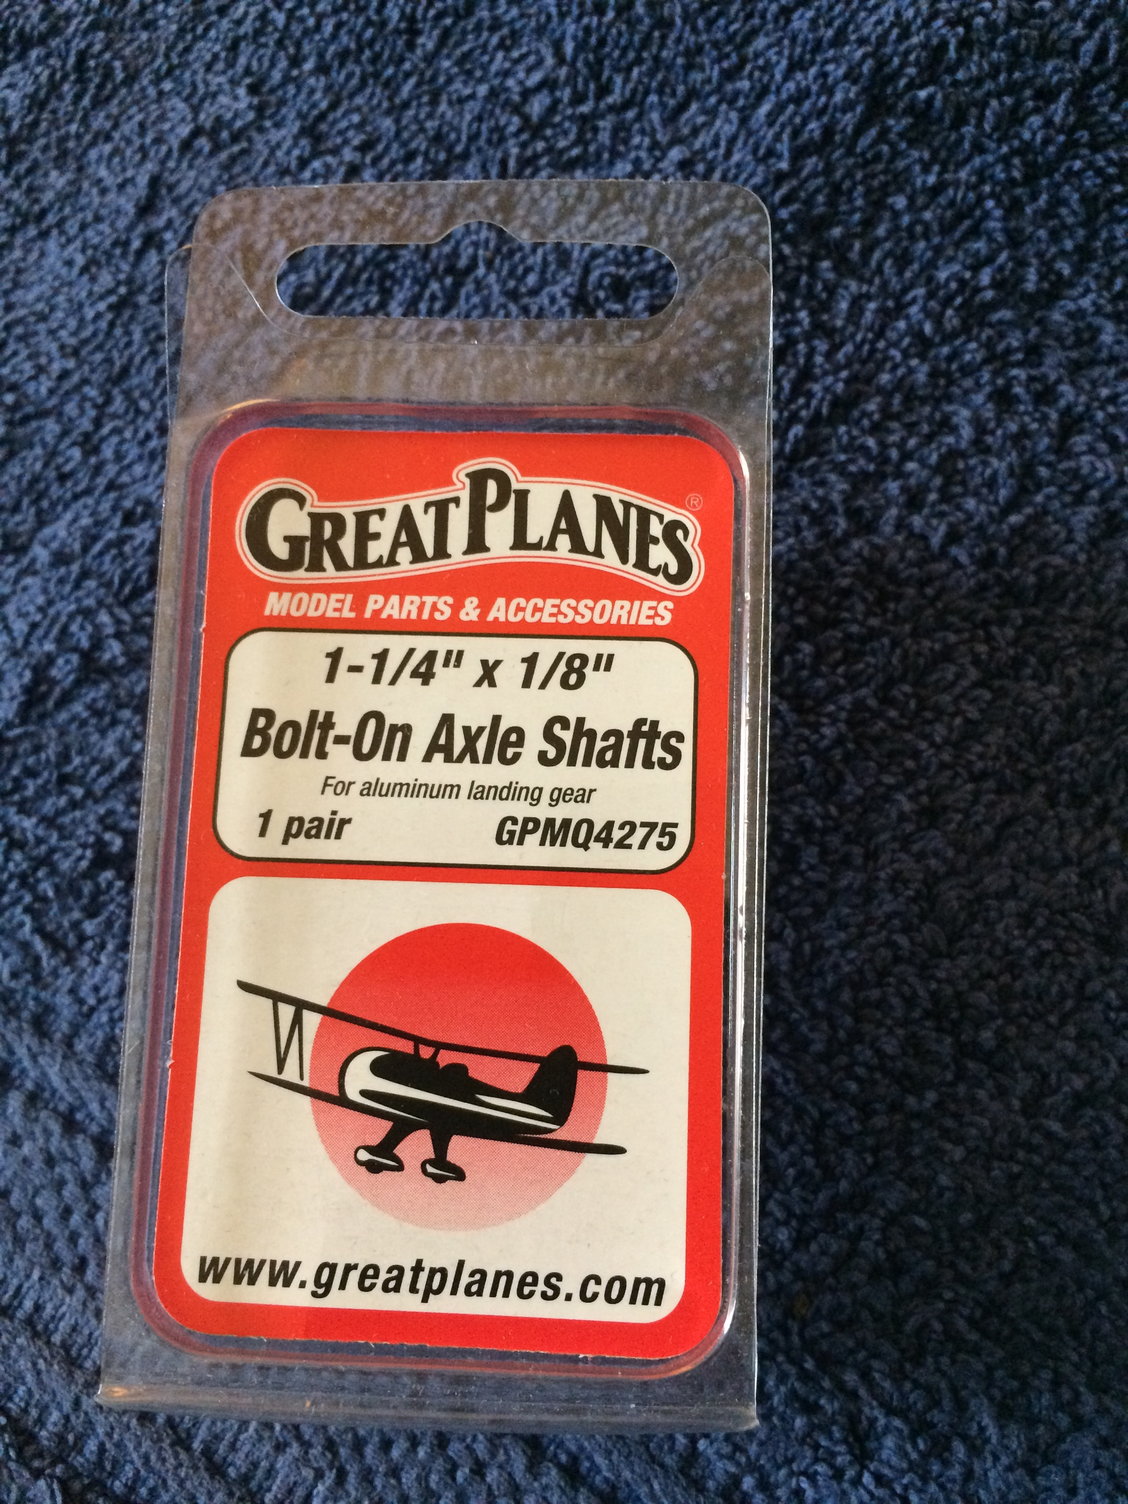
Bolt-On Axel Shaft Great Planes 1-1/4X 1/8 GPMQ4275Height 6 inches
mounting base length 4 1/2 inches
mounting base width 1 1/8 inches
And some larger tiers (I used 3 inch foam ultra lite)
I think this is the gear I ordered. The measurements are close and it looks the same.
HobbyKing
Specs:
Fuselage Width: 110mm
Height: 160mm
Wheel Track: 320mm
Weight: 53g
Here is how I did it:
Mask the area to cut by measuring the landing gear mounting surface and masking the area to cut.
Cut the area with the dremel cut off tool. I cut it with about a 80 degree V cut so I could more easily fit the gear and basswood into the space.
I used the coping saw to cut the bottom of the dremel cut and made sure it was even.
I cleaned the area with a file and an orbital sander.
I then used my soldering gun with the flat tip to extend the cut under the foam about 1/4 of an inch on both sides.
I measured the space and cut the base to fit the entire space with an additional 1/2 inch to add additional support. I centered the landing legs on the base and drilled the holes for the blind nuts.
I then cut another plywood part that has the width of the landing gear base plus the thickness of the basswood and that will lay over the base plywood.
after fitting the parts and because the base plywood is 1/2 inch wider (1/4 on both sides) then the space I created in the fuse I cut the base plywood down the middle so it will fit the space in two parts. The other plywood is to overlay the base and to cover and support the cut to improve the strength. The landing gear bolts through the cover plywood and into the base.
I then test fit the base and cover plywood to the landing gear with the blind nuts installed in the base.
I filled the space with 30 minute epoxy and fit the two part base into place, the cover plate glued over the base and the landing gear on top and screwed in place to dry. Once it was all dry I removed the gear and took the basswood and glued it into place.
Once that was dry I sanded the basswood to the shape of the fuse and painted it black.
Once the paint was dry I screwed the landing gear into place.
I used epoxy because it needs to be really secured into the fuse.
All done. The gear is solid in the fuse.
Carbon Z Yak 54 with new legs.
The base and top plywood cut to size and drilled to secure the gear.
Here are the two plywood plates. I cut the bottom one into two parts after I fit the top plate and gear. This way I can fit the base into it's space and the 1/4 inch overlap will be secured into the fuse.
Showing the older model with the wire legs. Both planes have the same landing gear configuration. I just cut out the plastic and glued in the plywood and bolted on the new legs.
Last edited by esmithga; 07-15-2018 at 12:21 PM.

