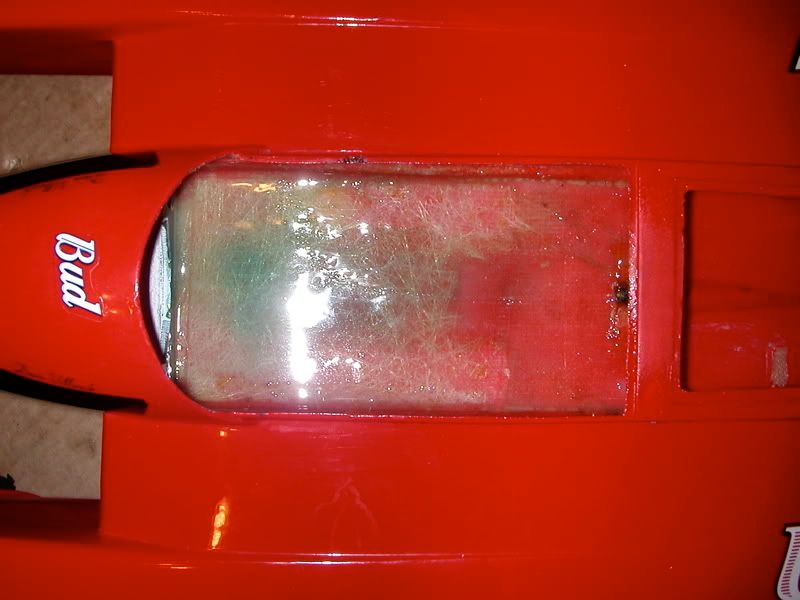
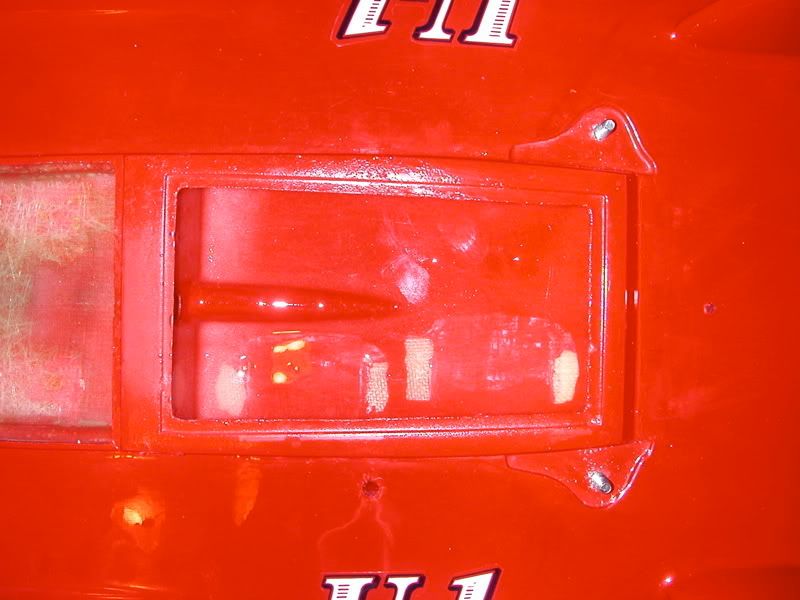
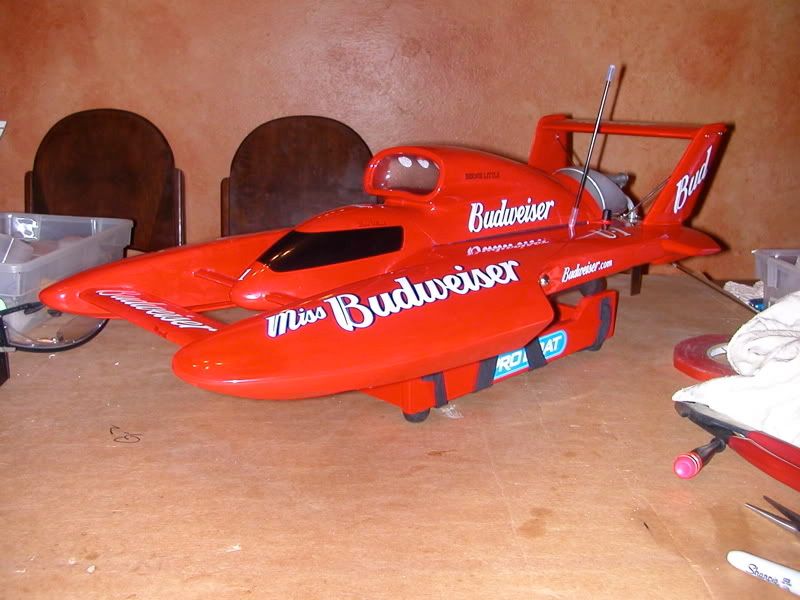
hey guys, i got a really decent first generation miss bud. i thought it would be a fun project to do, change it up a bit, add some stuff, take away some stuff, and see what i could come up with. i know these are not as desirable as the second gens, but i wanted to do something different, with a first gen. so, she's all done, i am going to break her in real soon, and i'll let you guys know how it's going...... here are some details about the buildup.....
first off, i had to break one motor mount out due to a spun insert. at this point, i had an idea to change it to the later style mounts, so me and my friends could easily swap motors if we want, and i thought it would be better for maintenance as well. here is a shot of it cleaned up and epoxied.....
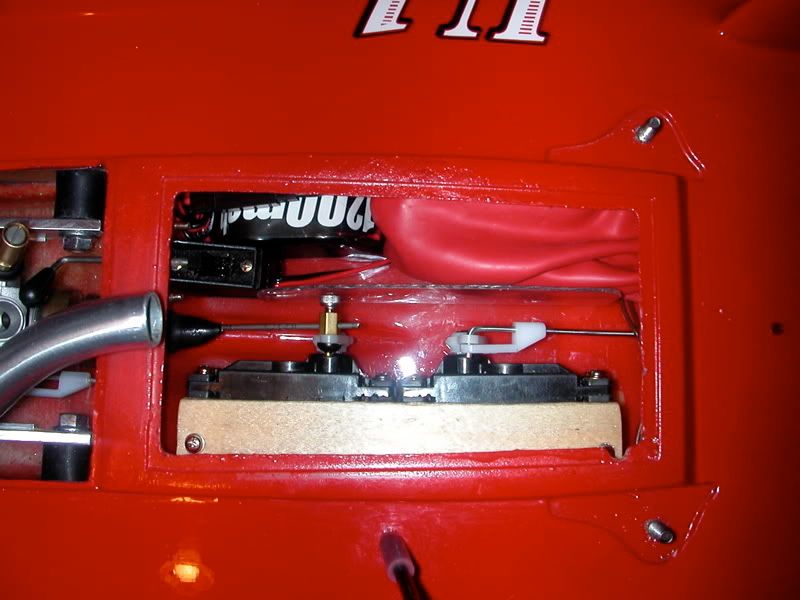
next, was the radio box, it got epoxied, and i sealed it up all around the top where it meets the upper layer of the hull. it is tight as a drum now, no air leaks at all, a far cry from what it originally was....
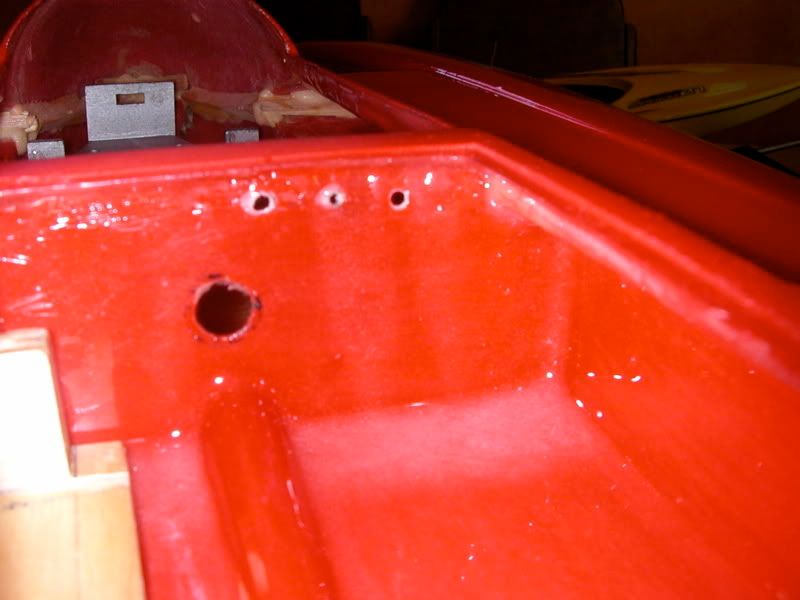
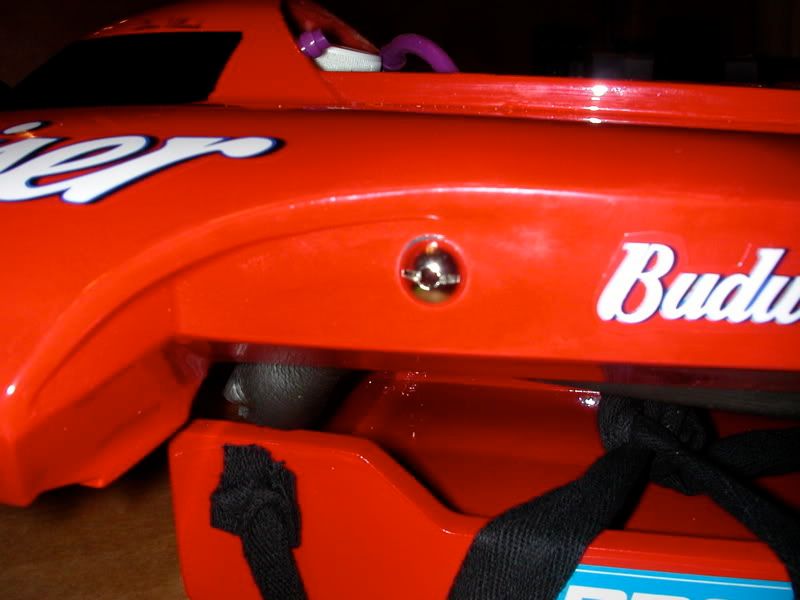
here is the new holes for a second gen switch....
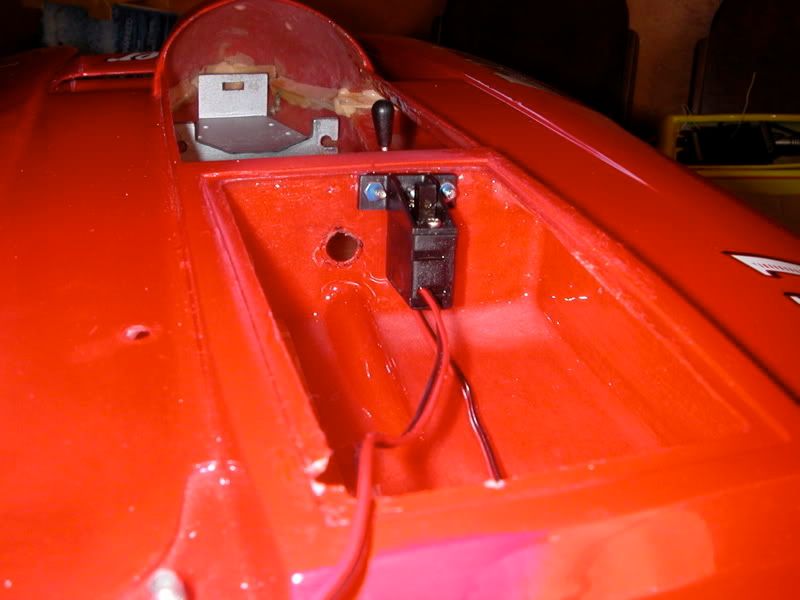
and the switch installed......
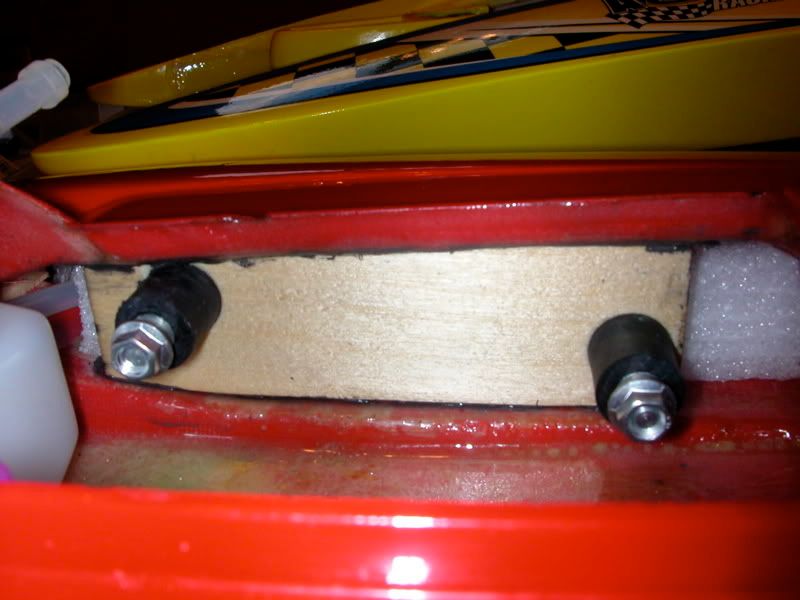
the way the servos are mounted in these things is ridiculous. so, i made a two piece mount, the servos mount in the top section, while the lower section is held into the radio box with rtv silicone. then, with teh removal of two screws, the whole servo section comes out as one, none of that glued in permanently business....
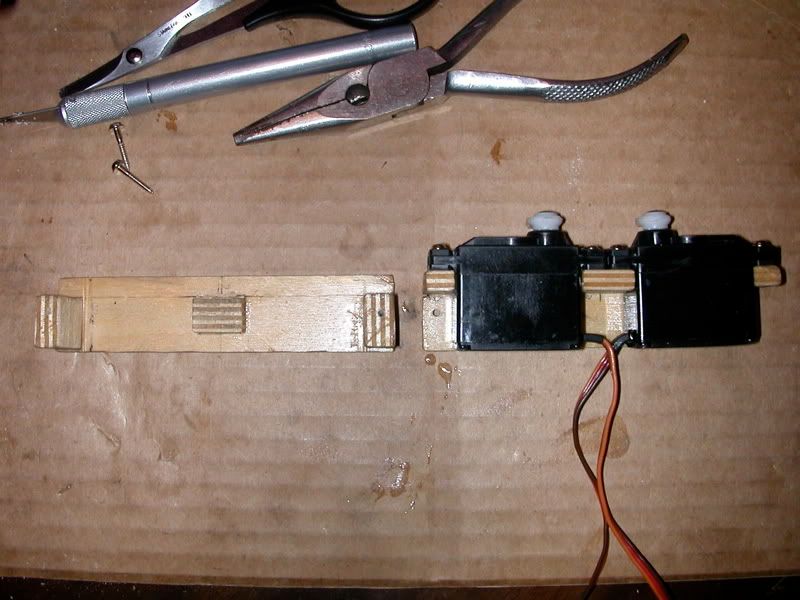
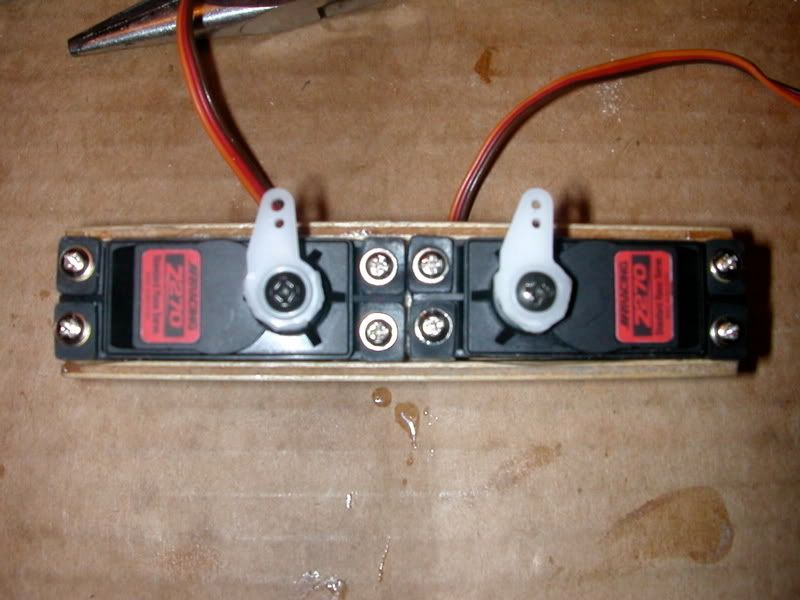
here is the radio box being mocked up, i made all the linkages out of stainless steel weld filler wire, worked out great............
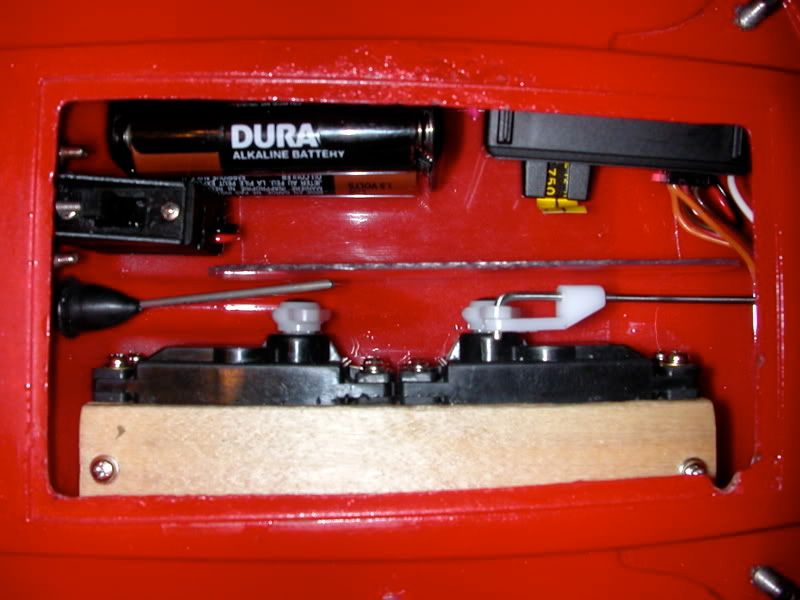
and here it is complete. there is a rechargeable pack in there now, as well as a lexan L shaped piece of plastic, to keep each side separate, and to keep the linkage off things just in case.....
grim turn fin going on.......
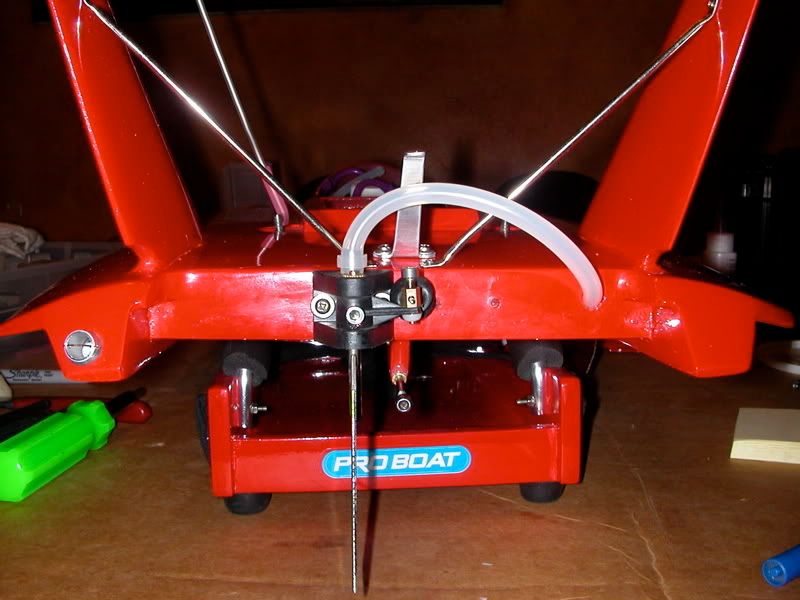
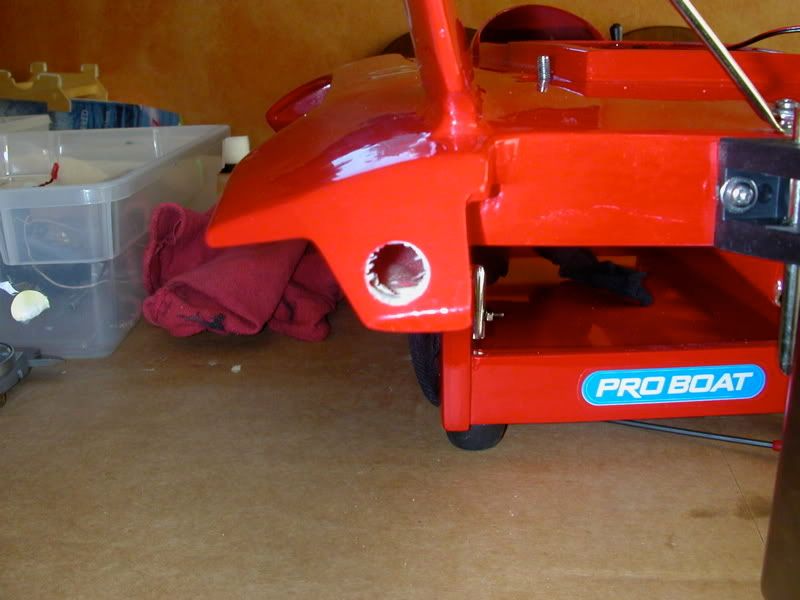
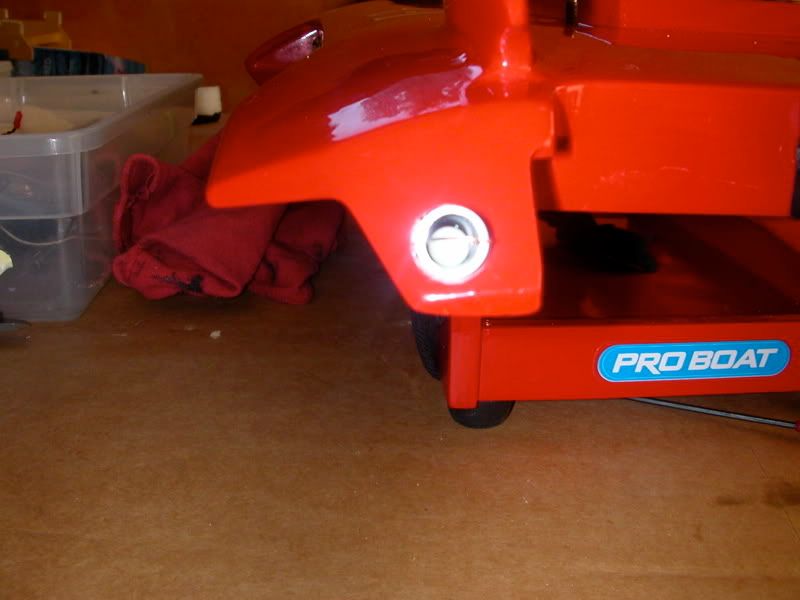
new metal water outlet installed, instead of a piece of hose hanging out......
i moved the rudder to the left, not sure why, just thought i would, since it's that way on alot of hydros.....
here is the hull ready for the new motor mounts.....
here are the mounts installed, worked out perfect........
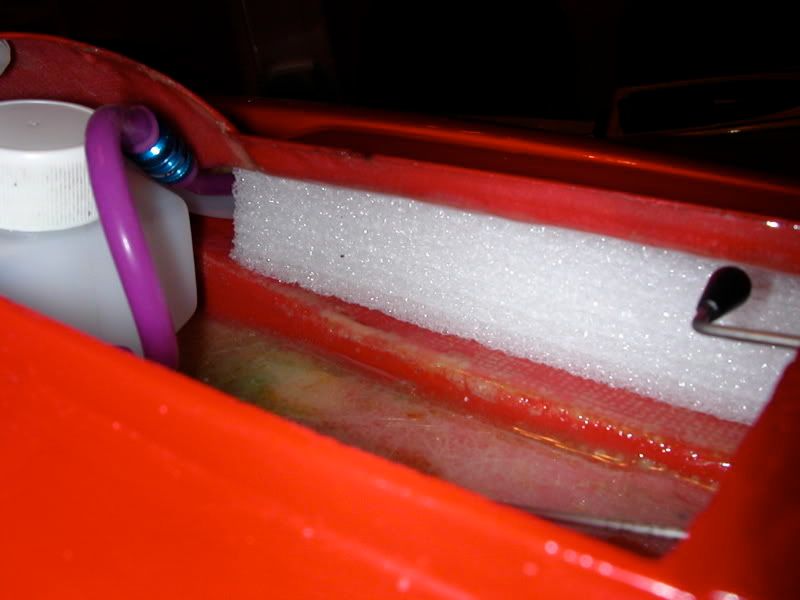
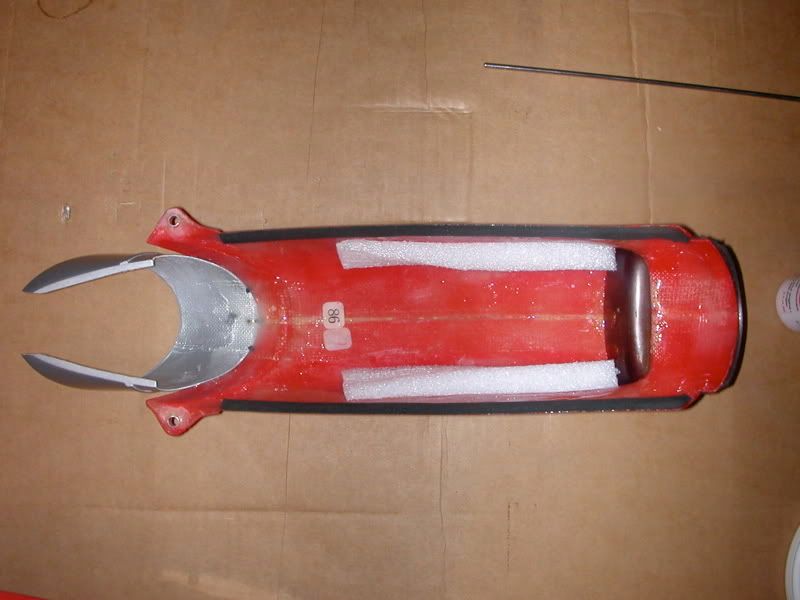
oh, here is the new foam installed front to back, before i installed the motor mounts...
ouch, it hurt putting a huge hole in a perfectly good boat...........
but, this is a nice thing to have on these.....
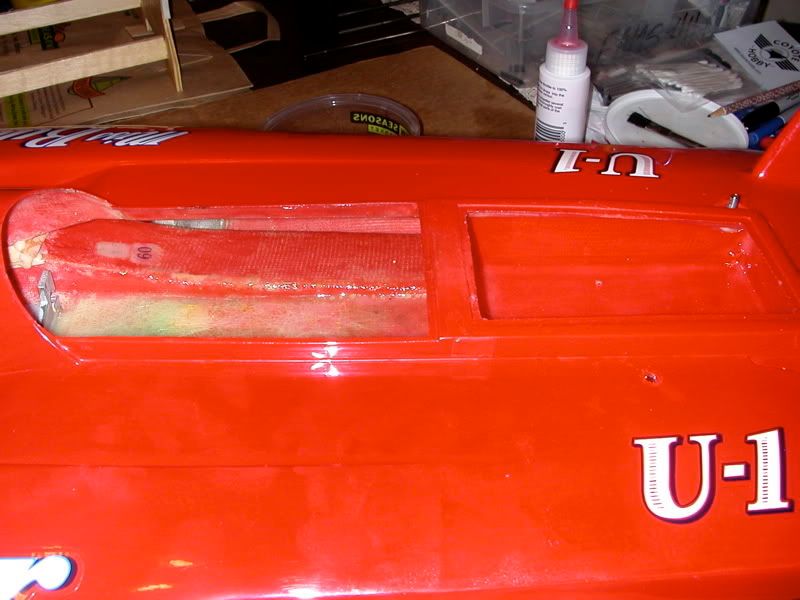
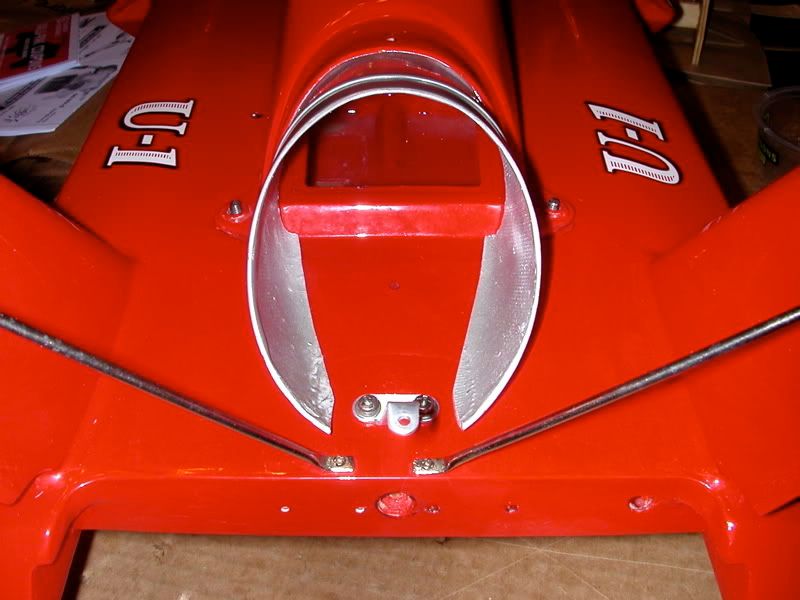
i wanted the cowl to be one piece, ala miss vegas, and not have the turbine section in my way when the cowl was off. so, i cut out the bottom of the turbine section, and epoxied it to the cowl section, also epoxying the entire cowl for strength, added flotation, foam weather stripping on the front edge, and sides. now, its a nice sealed one piece floating cowl!
a rear shot of the modded cowl.....
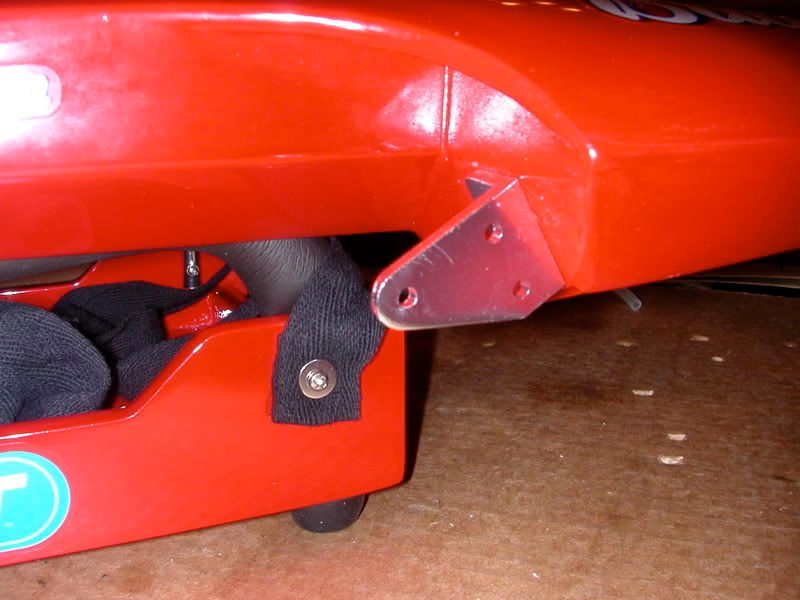
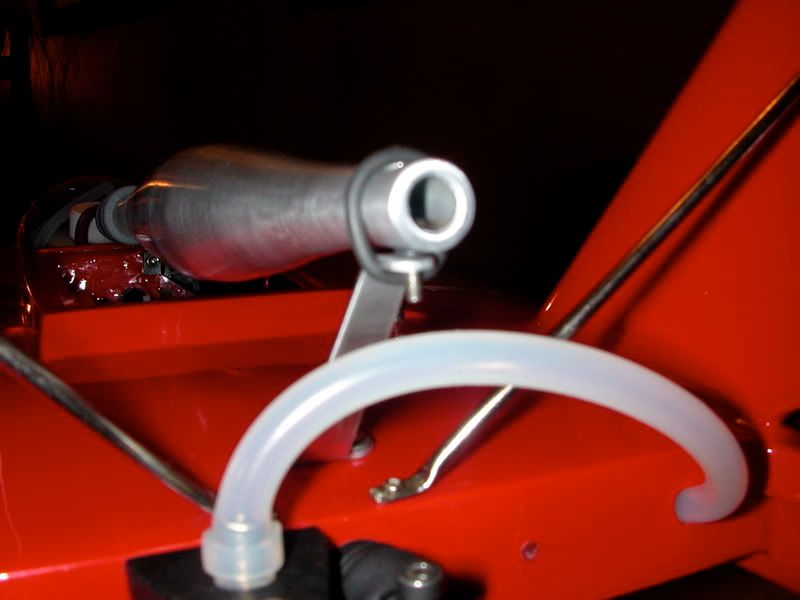
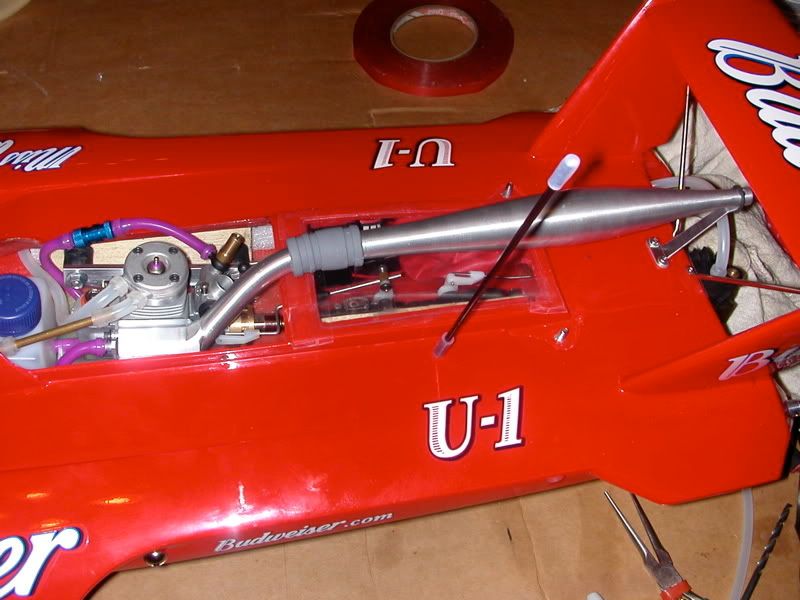
i didn't like the way the pipe had to be unscrewed to be moved out of the way of the radio box, etc. so, i made it a quick release deal, by leaving the mount screw, but fastening it with an o-ring, and a small o-ring insulator. now, it pulls off in seconds......

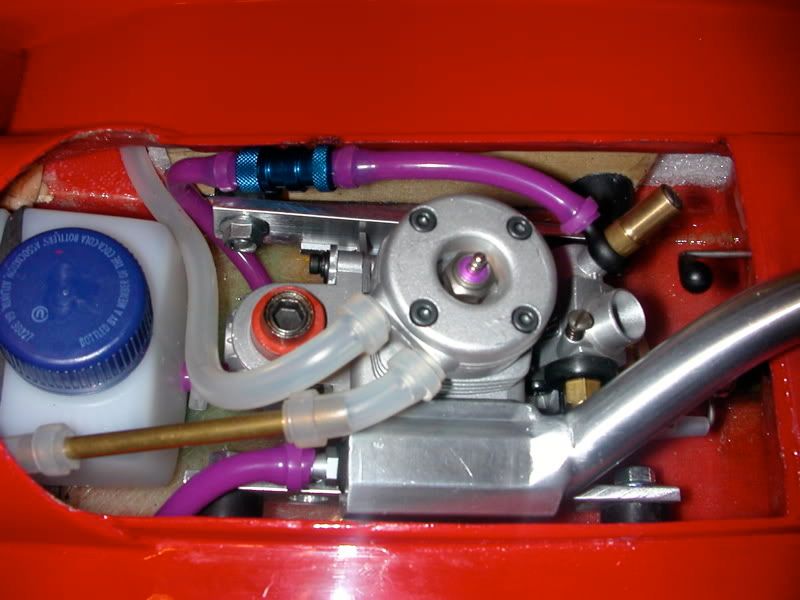
mocking up the engine placement, had to be very exact, due to the shaft coupler......
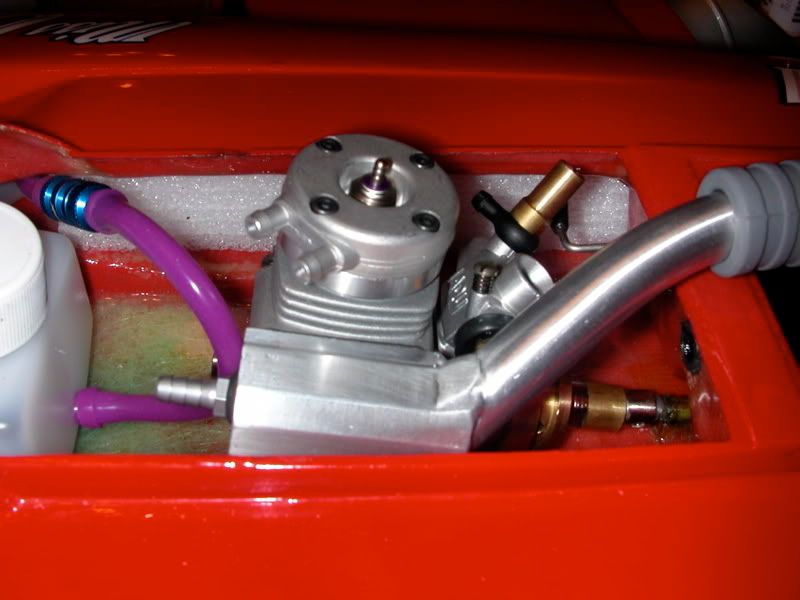
mounts, foam, all installed, ready for the aquacraft .18 mill.............
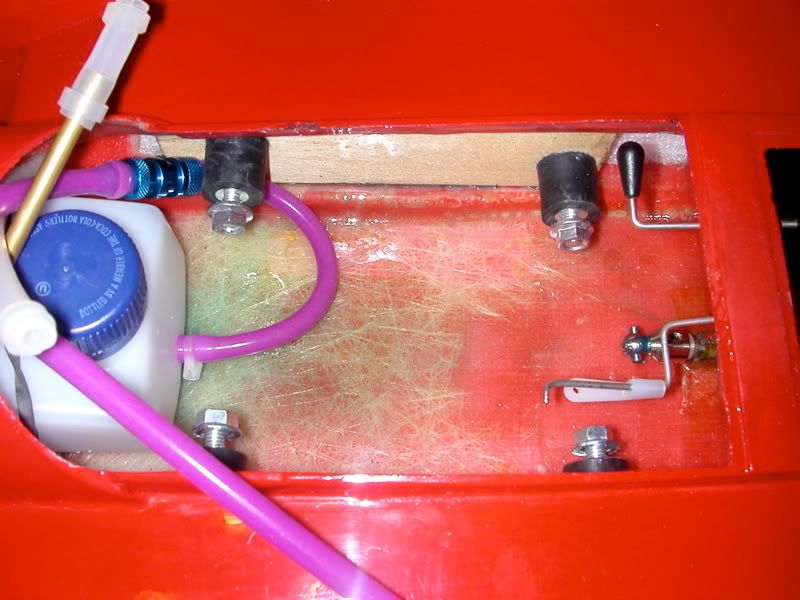
engine and goods all installed, worked out great!!! oh, i made the water cooling outlet tubing too short, i didn't take into account it had to travel around the wood mounts, so i had to add the piece or brass tubing(thank you miss vegas extra parts...) to make the run.....
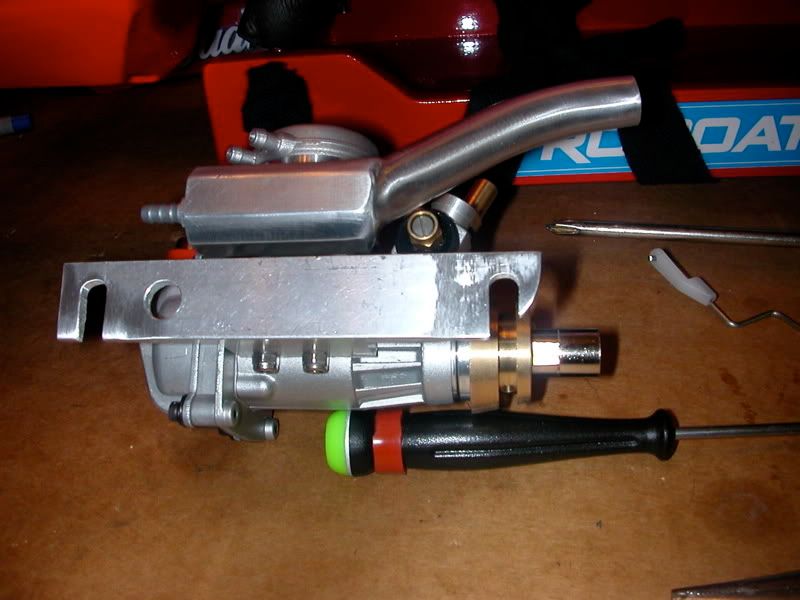
here are my second gen mounts, i had to taper the end sections, to make the drop into the coupler easier....
all the guts are in, and ready to go. oh, and i made an antenna mount from a piece of fuel tubing, the antenna just slips into it, and it and the tubing slip into the hull an inch or so, nice and flexible, and water tight......
here she is, all complete, i'll let you all know how it's maiden voyage goes, wish me luck!!!
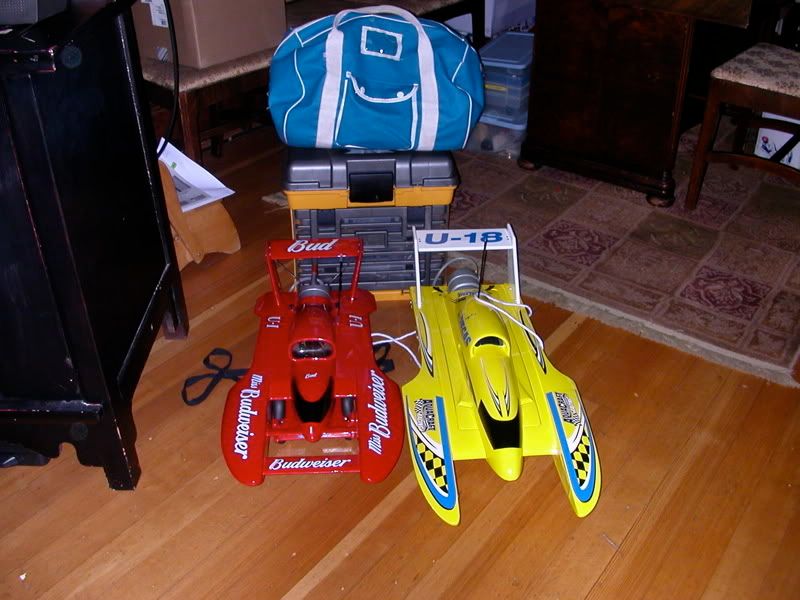
here are the boats ready to go out..........
thanks to everyone on here, i got alot of great ideas here, i love my new hobby......
davey