Go Back  RCU Forums > RC Airplanes > ARF or RTF
Reload this Page >

Tower Hobbies Vista Grande build thread

Community
Search
Notices
ARF or RTF Discuss ARF (Almost Ready to Fly) radio control airplanes here.

Tower Hobbies Vista Grande build thread

Thread Tools
 
Search this Thread
 
Old 05-15-2019, 06:04 PM
  #26  
Sportflyr
Banned
Thread Starter
My Feedback: (1)
 
Join Date: Dec 2004
Posts: 378
Received 0 Likes on 0 Posts
Default


Prepping for the tail feathers. Note the alignment tabs for the horizontal stabilizer, nice touch!
Old 05-15-2019, 06:11 PM
  #27  
Sportflyr
Banned
Thread Starter
My Feedback: (1)
 
Join Date: Dec 2004
Posts: 378
Received 0 Likes on 0 Posts
Default


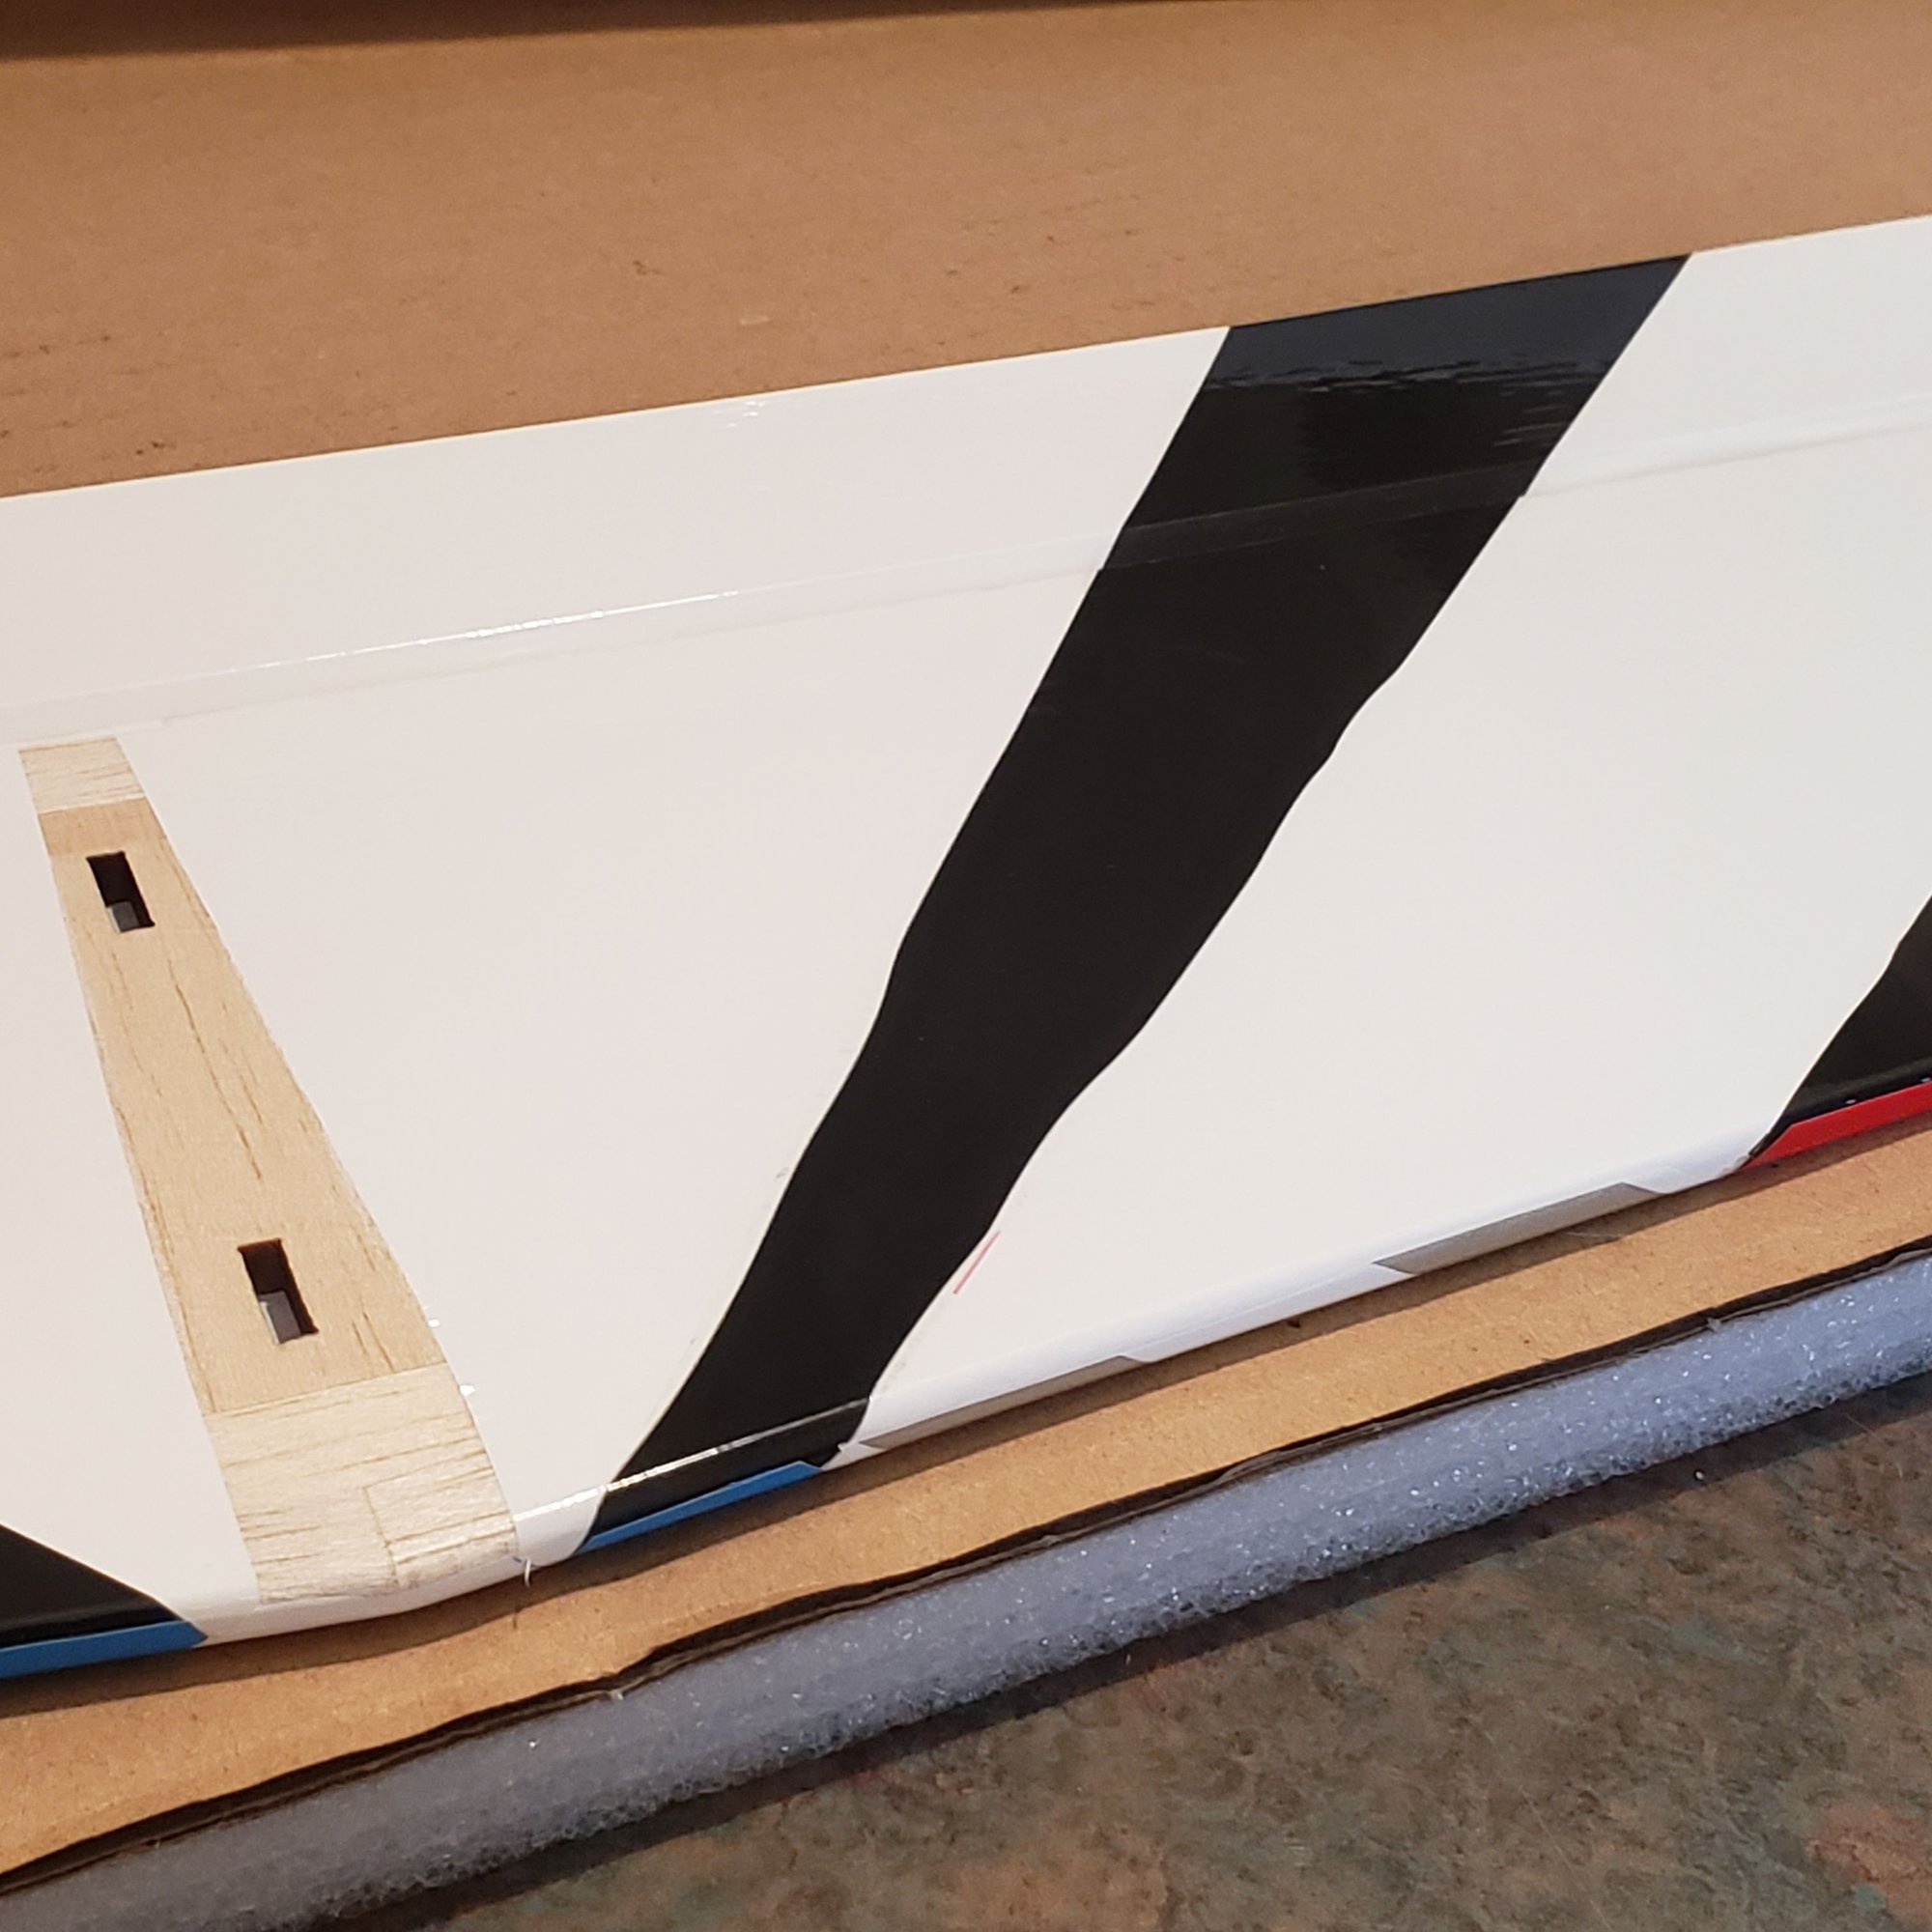
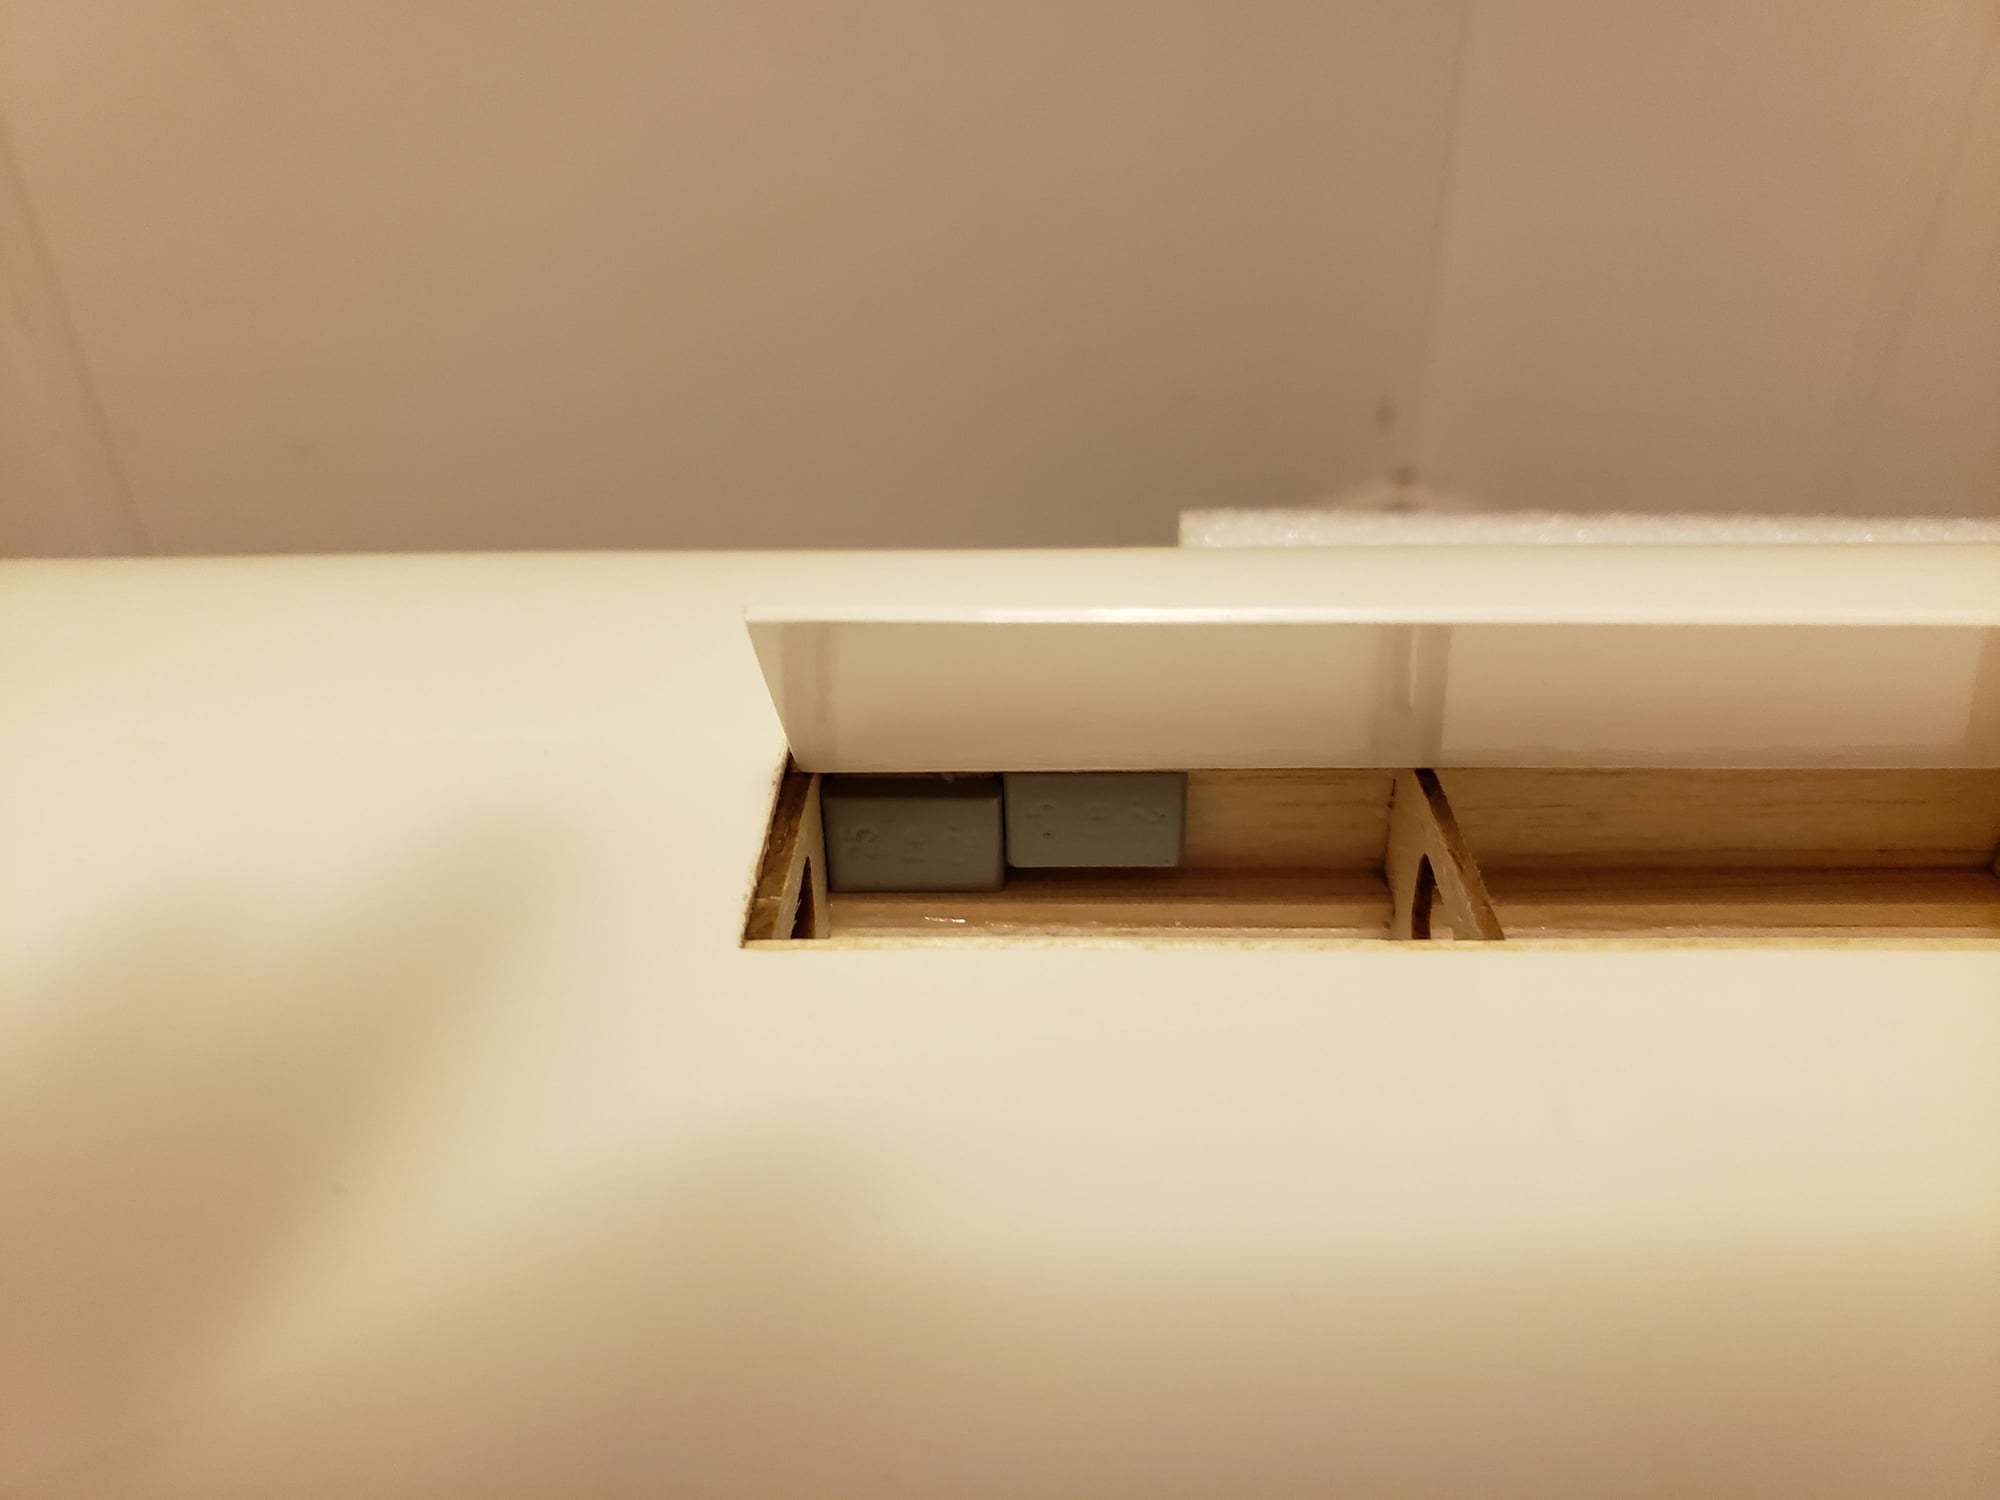
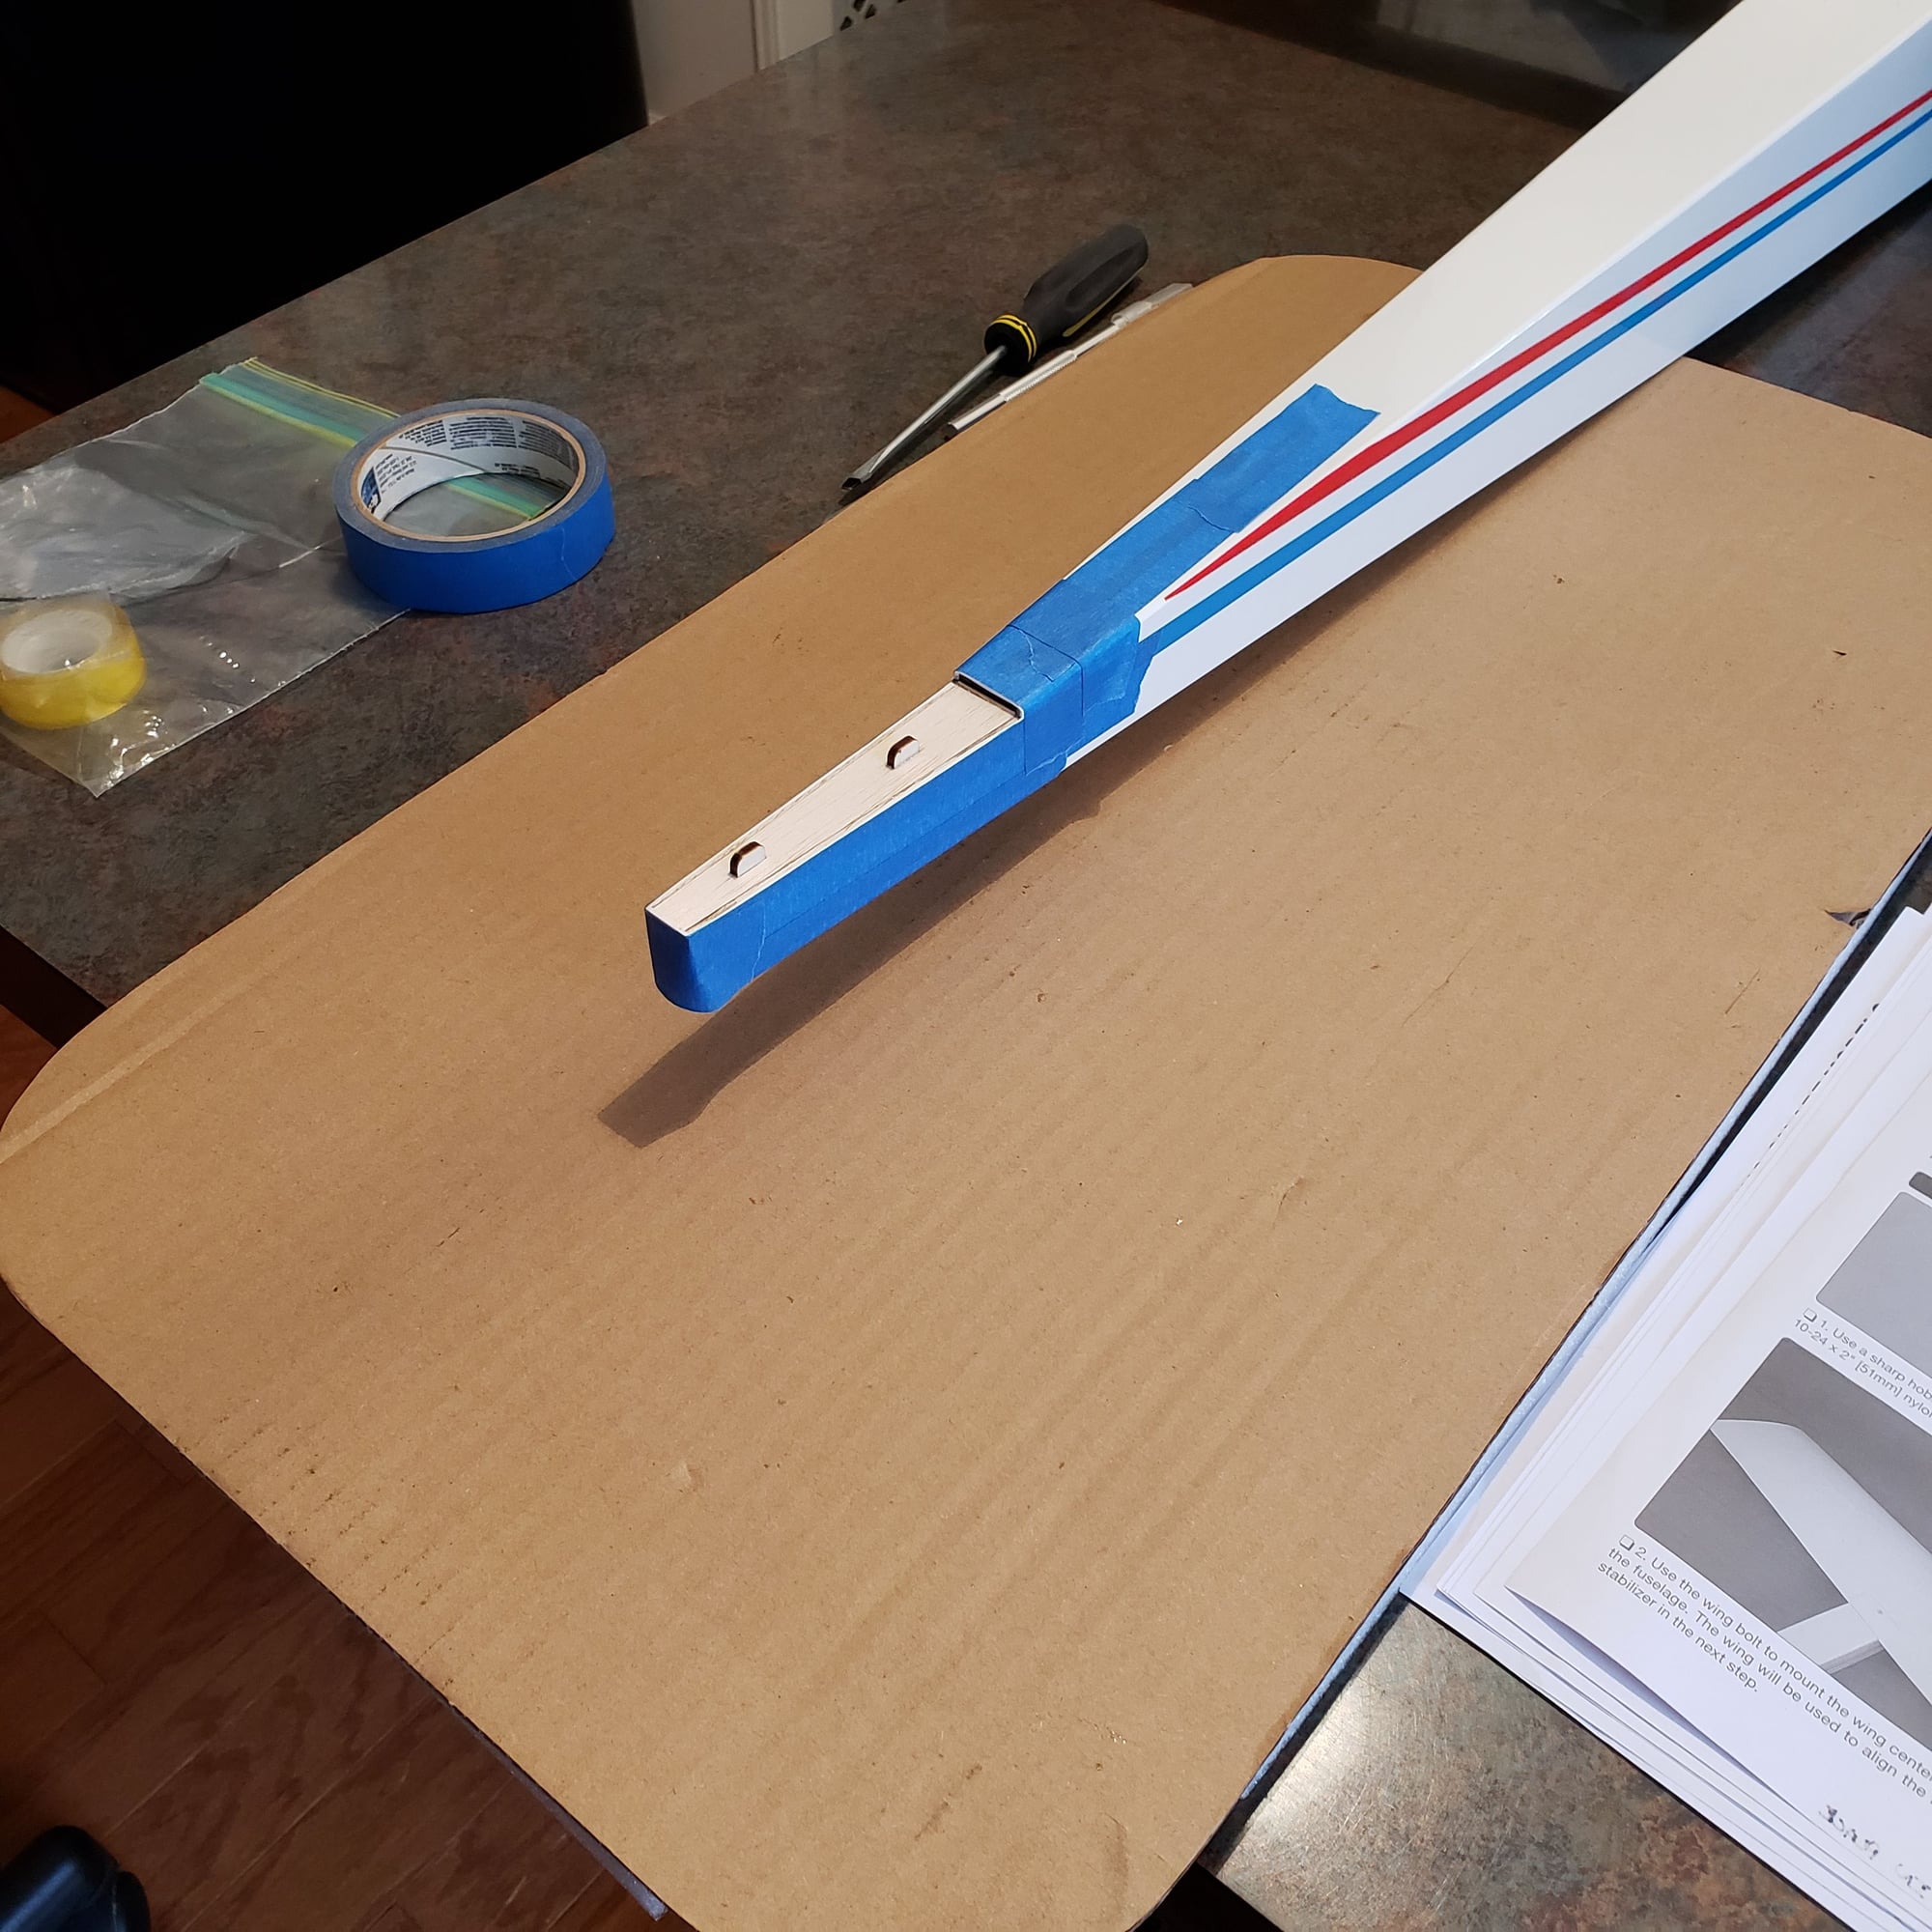
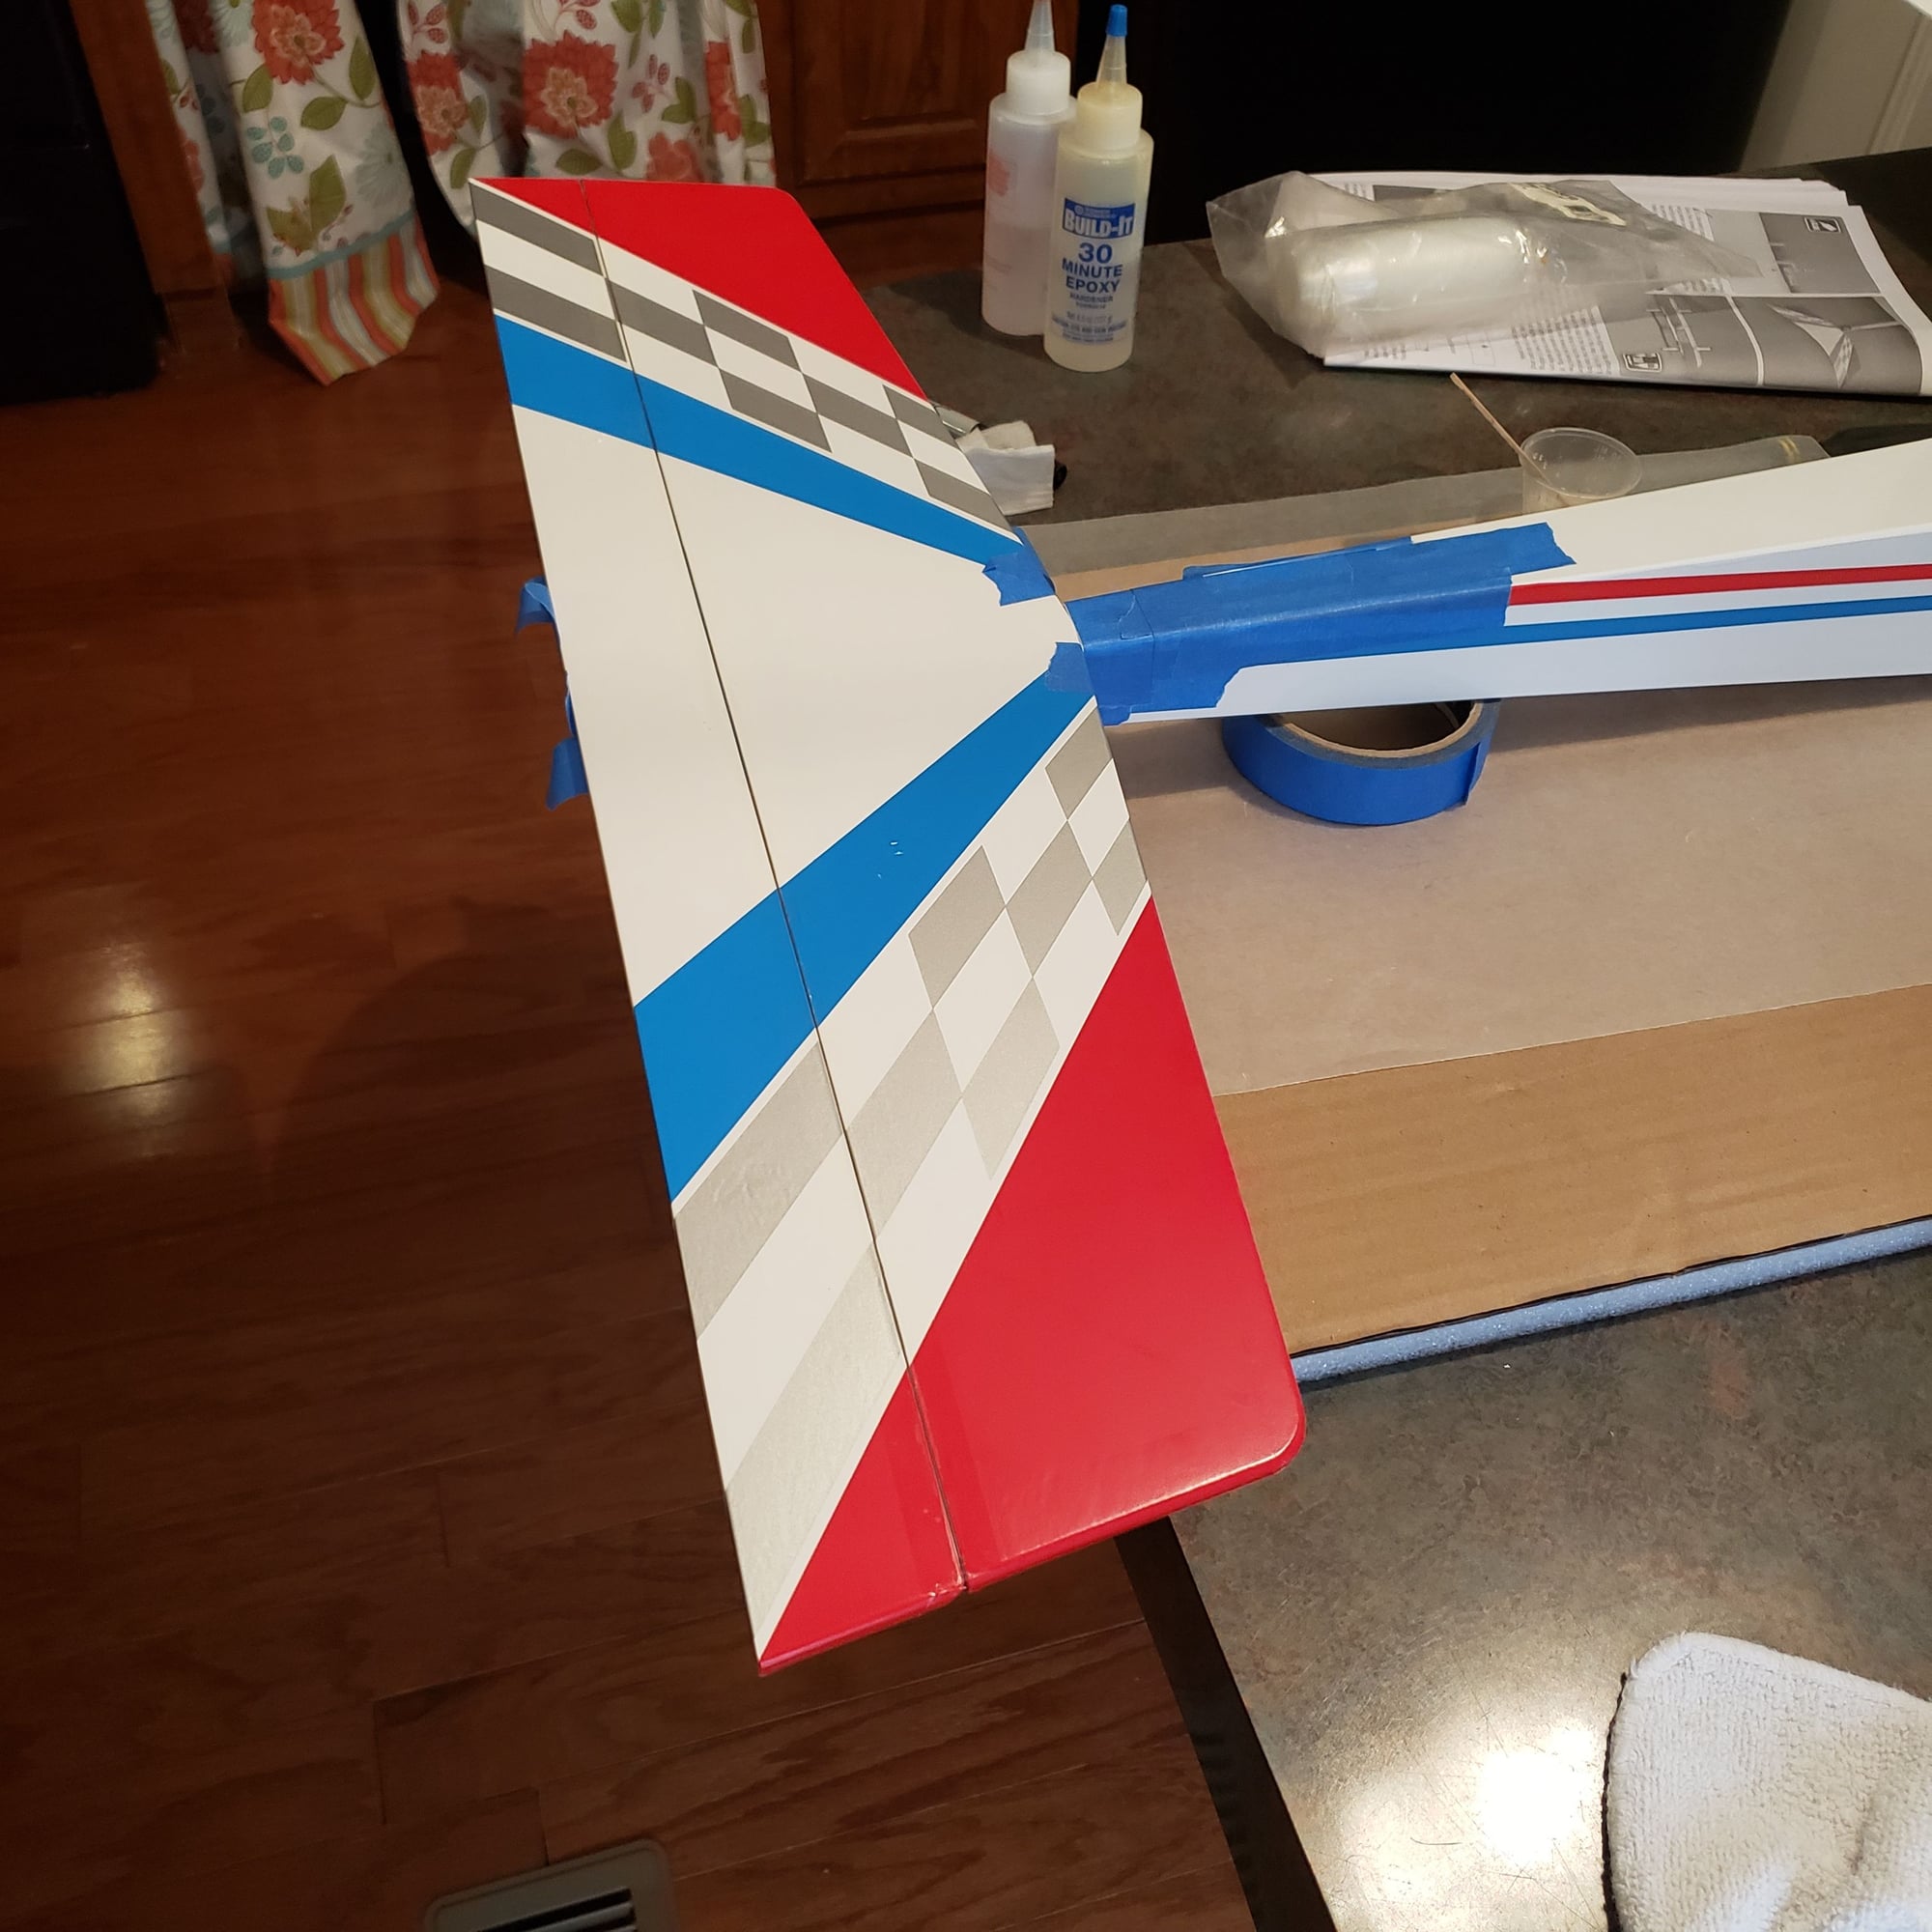
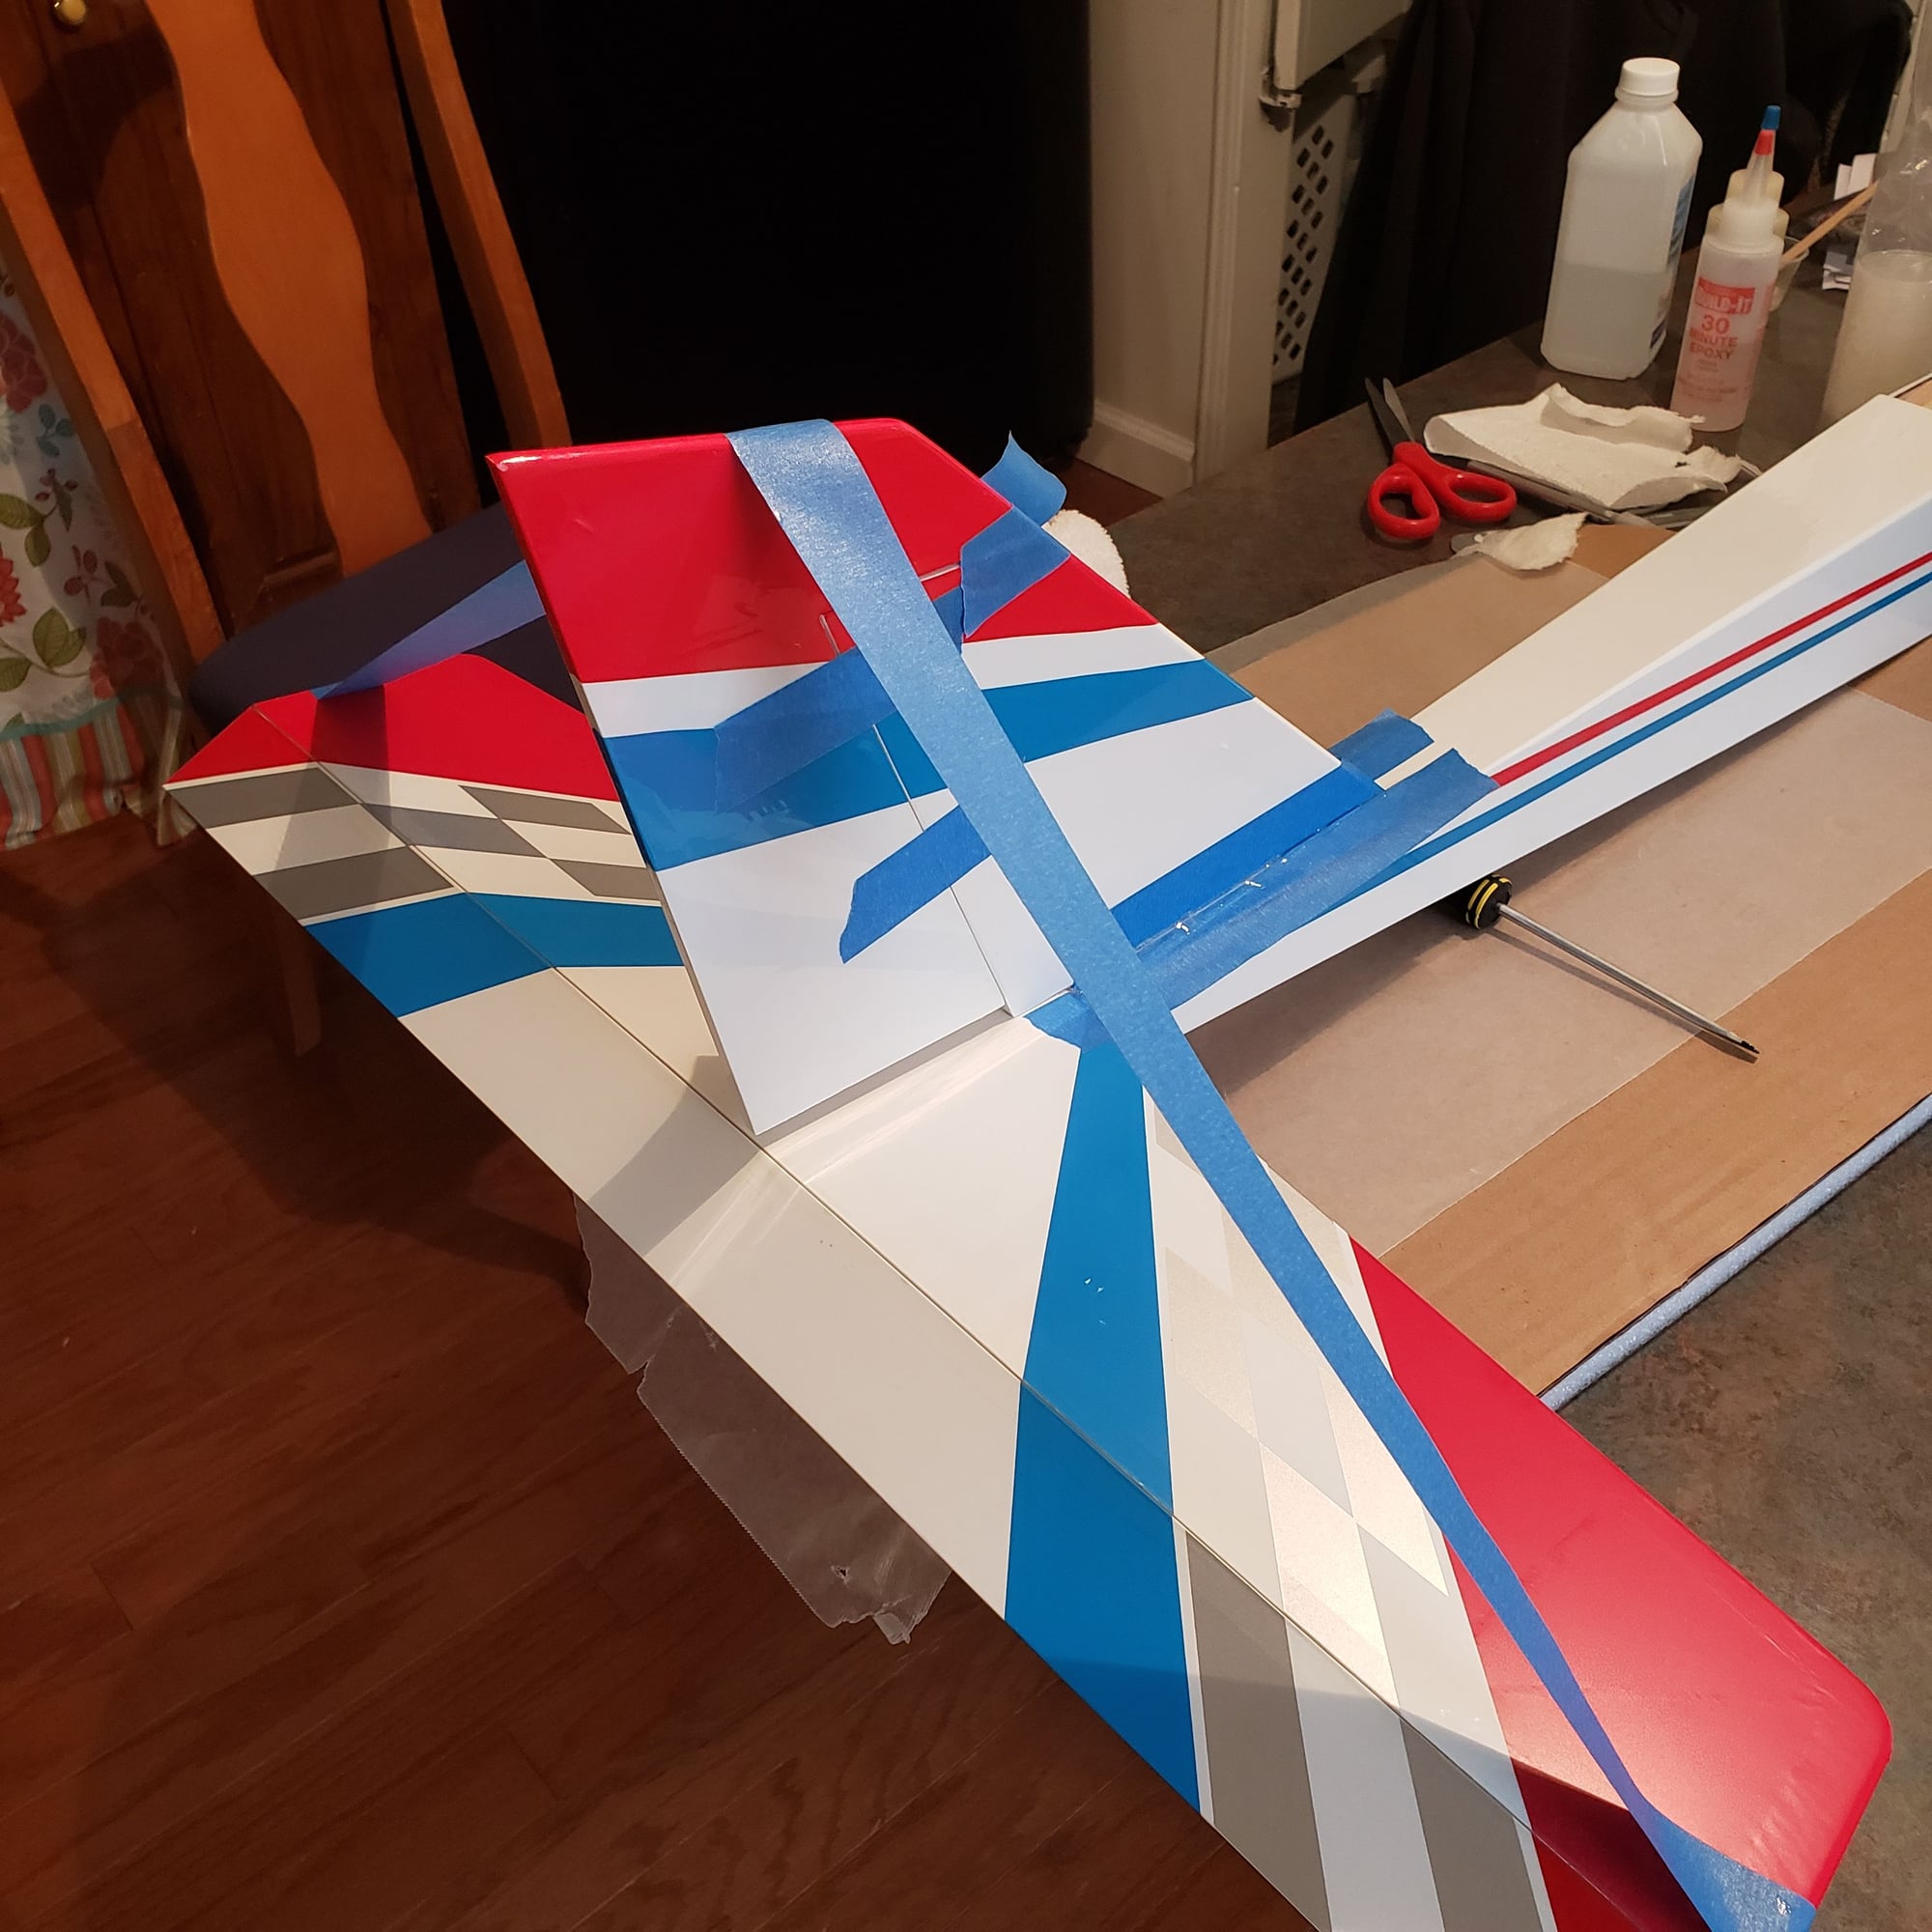
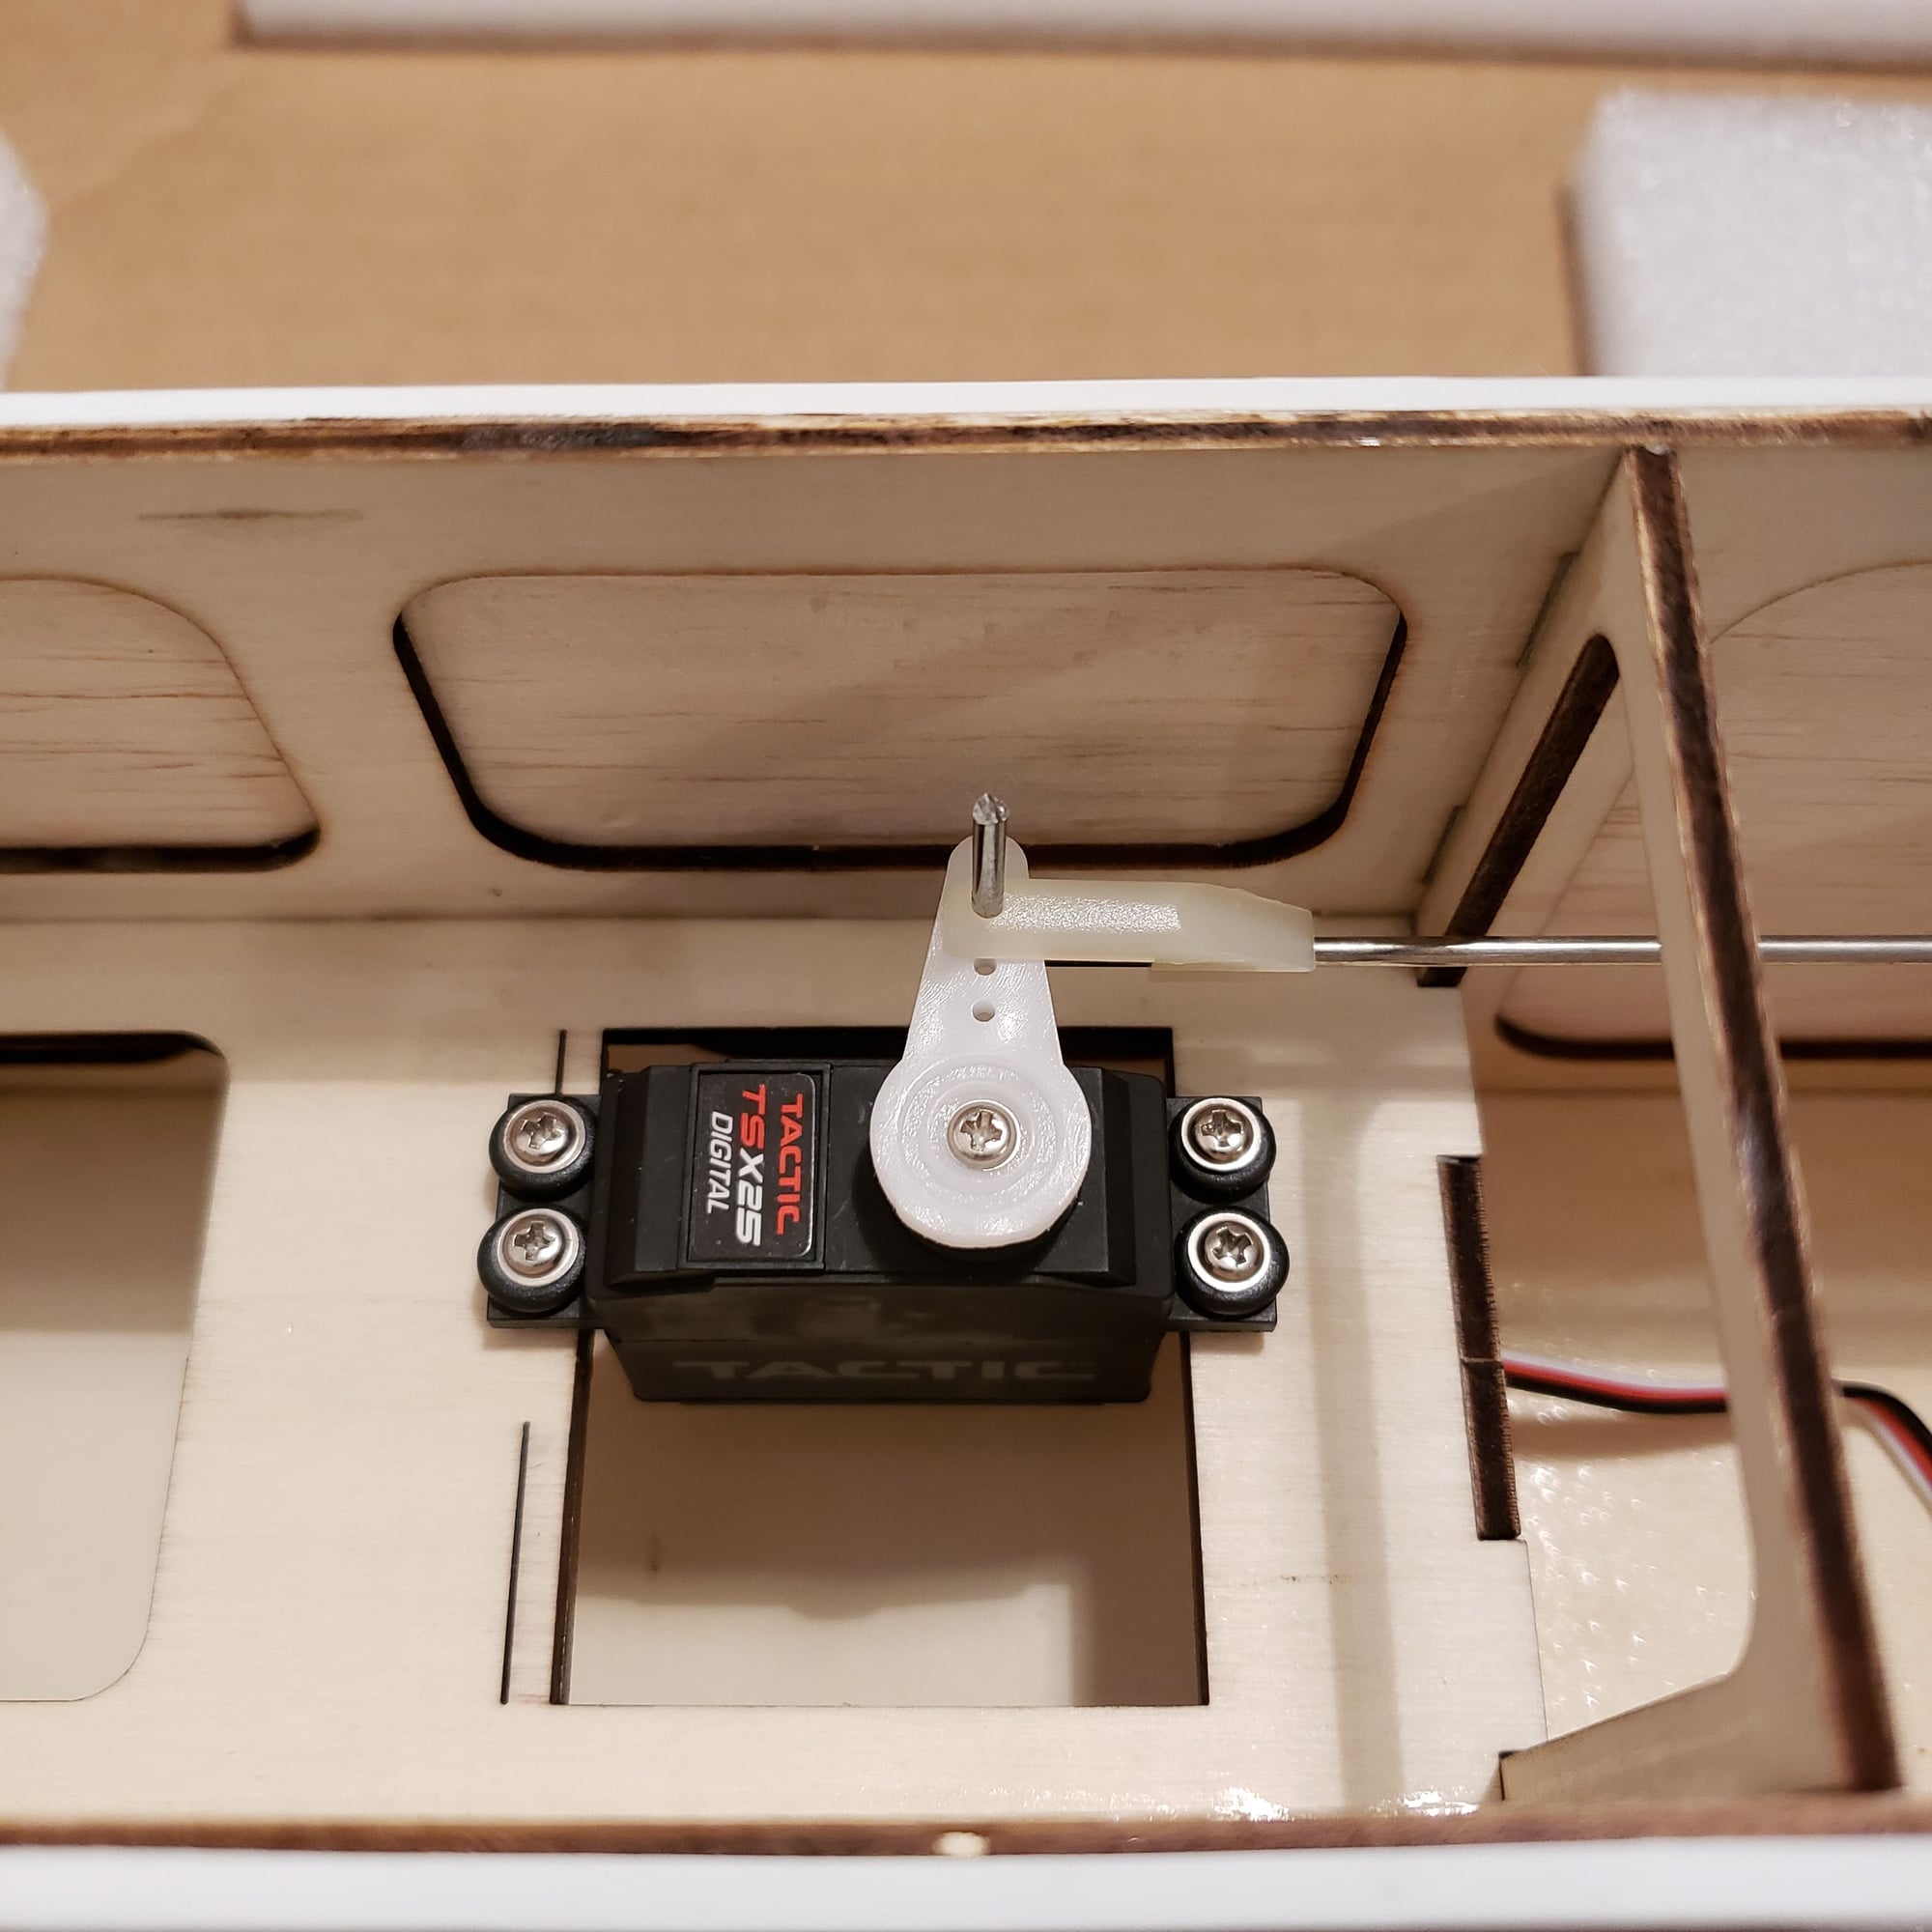
The covering is even cut away for the seating area of the stab. Note my covering expertise on the black stripes while trying to do some last minute tightening on the Monokote. Apparently the black stripes on the bottoms of the HS and wing are actually layered on with black monokote as are the trim stripes on the fuse and not molded in like the rest of the model. OOPS! I'll have to fix that later!
Old 05-15-2019, 06:15 PM
  #28  
Sportflyr
Banned
Thread Starter
My Feedback: (1)
 
Join Date: Dec 2004
Posts: 378
Received 0 Likes on 0 Posts
Default


HS set with 30minute epoxy.
Old 05-15-2019, 06:18 PM
  #29  
Sportflyr
Banned
Thread Starter
My Feedback: (1)
 
Join Date: Dec 2004
Posts: 378
Received 0 Likes on 0 Posts
Default


Vertical stab prep.
Old 05-15-2019, 06:20 PM
  #30  
Sportflyr
Banned
Thread Starter
My Feedback: (1)
 
Join Date: Dec 2004
Posts: 378
Received 0 Likes on 0 Posts
Default


Vertical stab squared up and setting, again 30 min. epoxy was used.
Old 05-15-2019, 06:28 PM
  #31  
Sportflyr
Banned
Thread Starter
My Feedback: (1)
 
Join Date: Dec 2004
Posts: 378
Received 0 Likes on 0 Posts
Default


Test fitting vertical fin gussets then set with medium CA after some light sanding and shaping. Here you do have to remove your own covering and it's a challenge to make pretty.
Old 05-15-2019, 06:35 PM
  #32  
Sportflyr
Banned
Thread Starter
My Feedback: (1)
 
Join Date: Dec 2004
Posts: 378
Received 0 Likes on 0 Posts
Default


You'll want to put a thin layer of epoxy thinned with rubbing alcohol in the battery compartment and behind servo tray to allow better adherence of the hook and loop material to the ply.
Old 05-15-2019, 06:37 PM
  #33  
Sportflyr
Banned
Thread Starter
My Feedback: (1)
 
Join Date: Dec 2004
Posts: 378
Received 0 Likes on 0 Posts
Default


Epoxy here...
Old 05-15-2019, 06:38 PM
  #34  
Sportflyr
Banned
Thread Starter
My Feedback: (1)
 
Join Date: Dec 2004
Posts: 378
Received 0 Likes on 0 Posts
Default


...and here.
Old 05-15-2019, 06:41 PM
  #35  
Sportflyr
Banned
Thread Starter
My Feedback: (1)
 
Join Date: Dec 2004
Posts: 378
Received 0 Likes on 0 Posts
Default


Rudder servo set and linkage complete.
Old 05-15-2019, 06:47 PM
  #36  
Sportflyr
Banned
Thread Starter
My Feedback: (1)
 
Join Date: Dec 2004
Posts: 378
Received 0 Likes on 0 Posts
Default


Elevator servo set and linkage completed. Uses a way smaller servo arm and throw profile!!! I never thought it would be enough but it's plenty. Even for dual rates.
Old 05-15-2019, 06:54 PM
  #37  
Sportflyr
Banned
Thread Starter
My Feedback: (1)
 
Join Date: Dec 2004
Posts: 378
Received 0 Likes on 0 Posts
Default


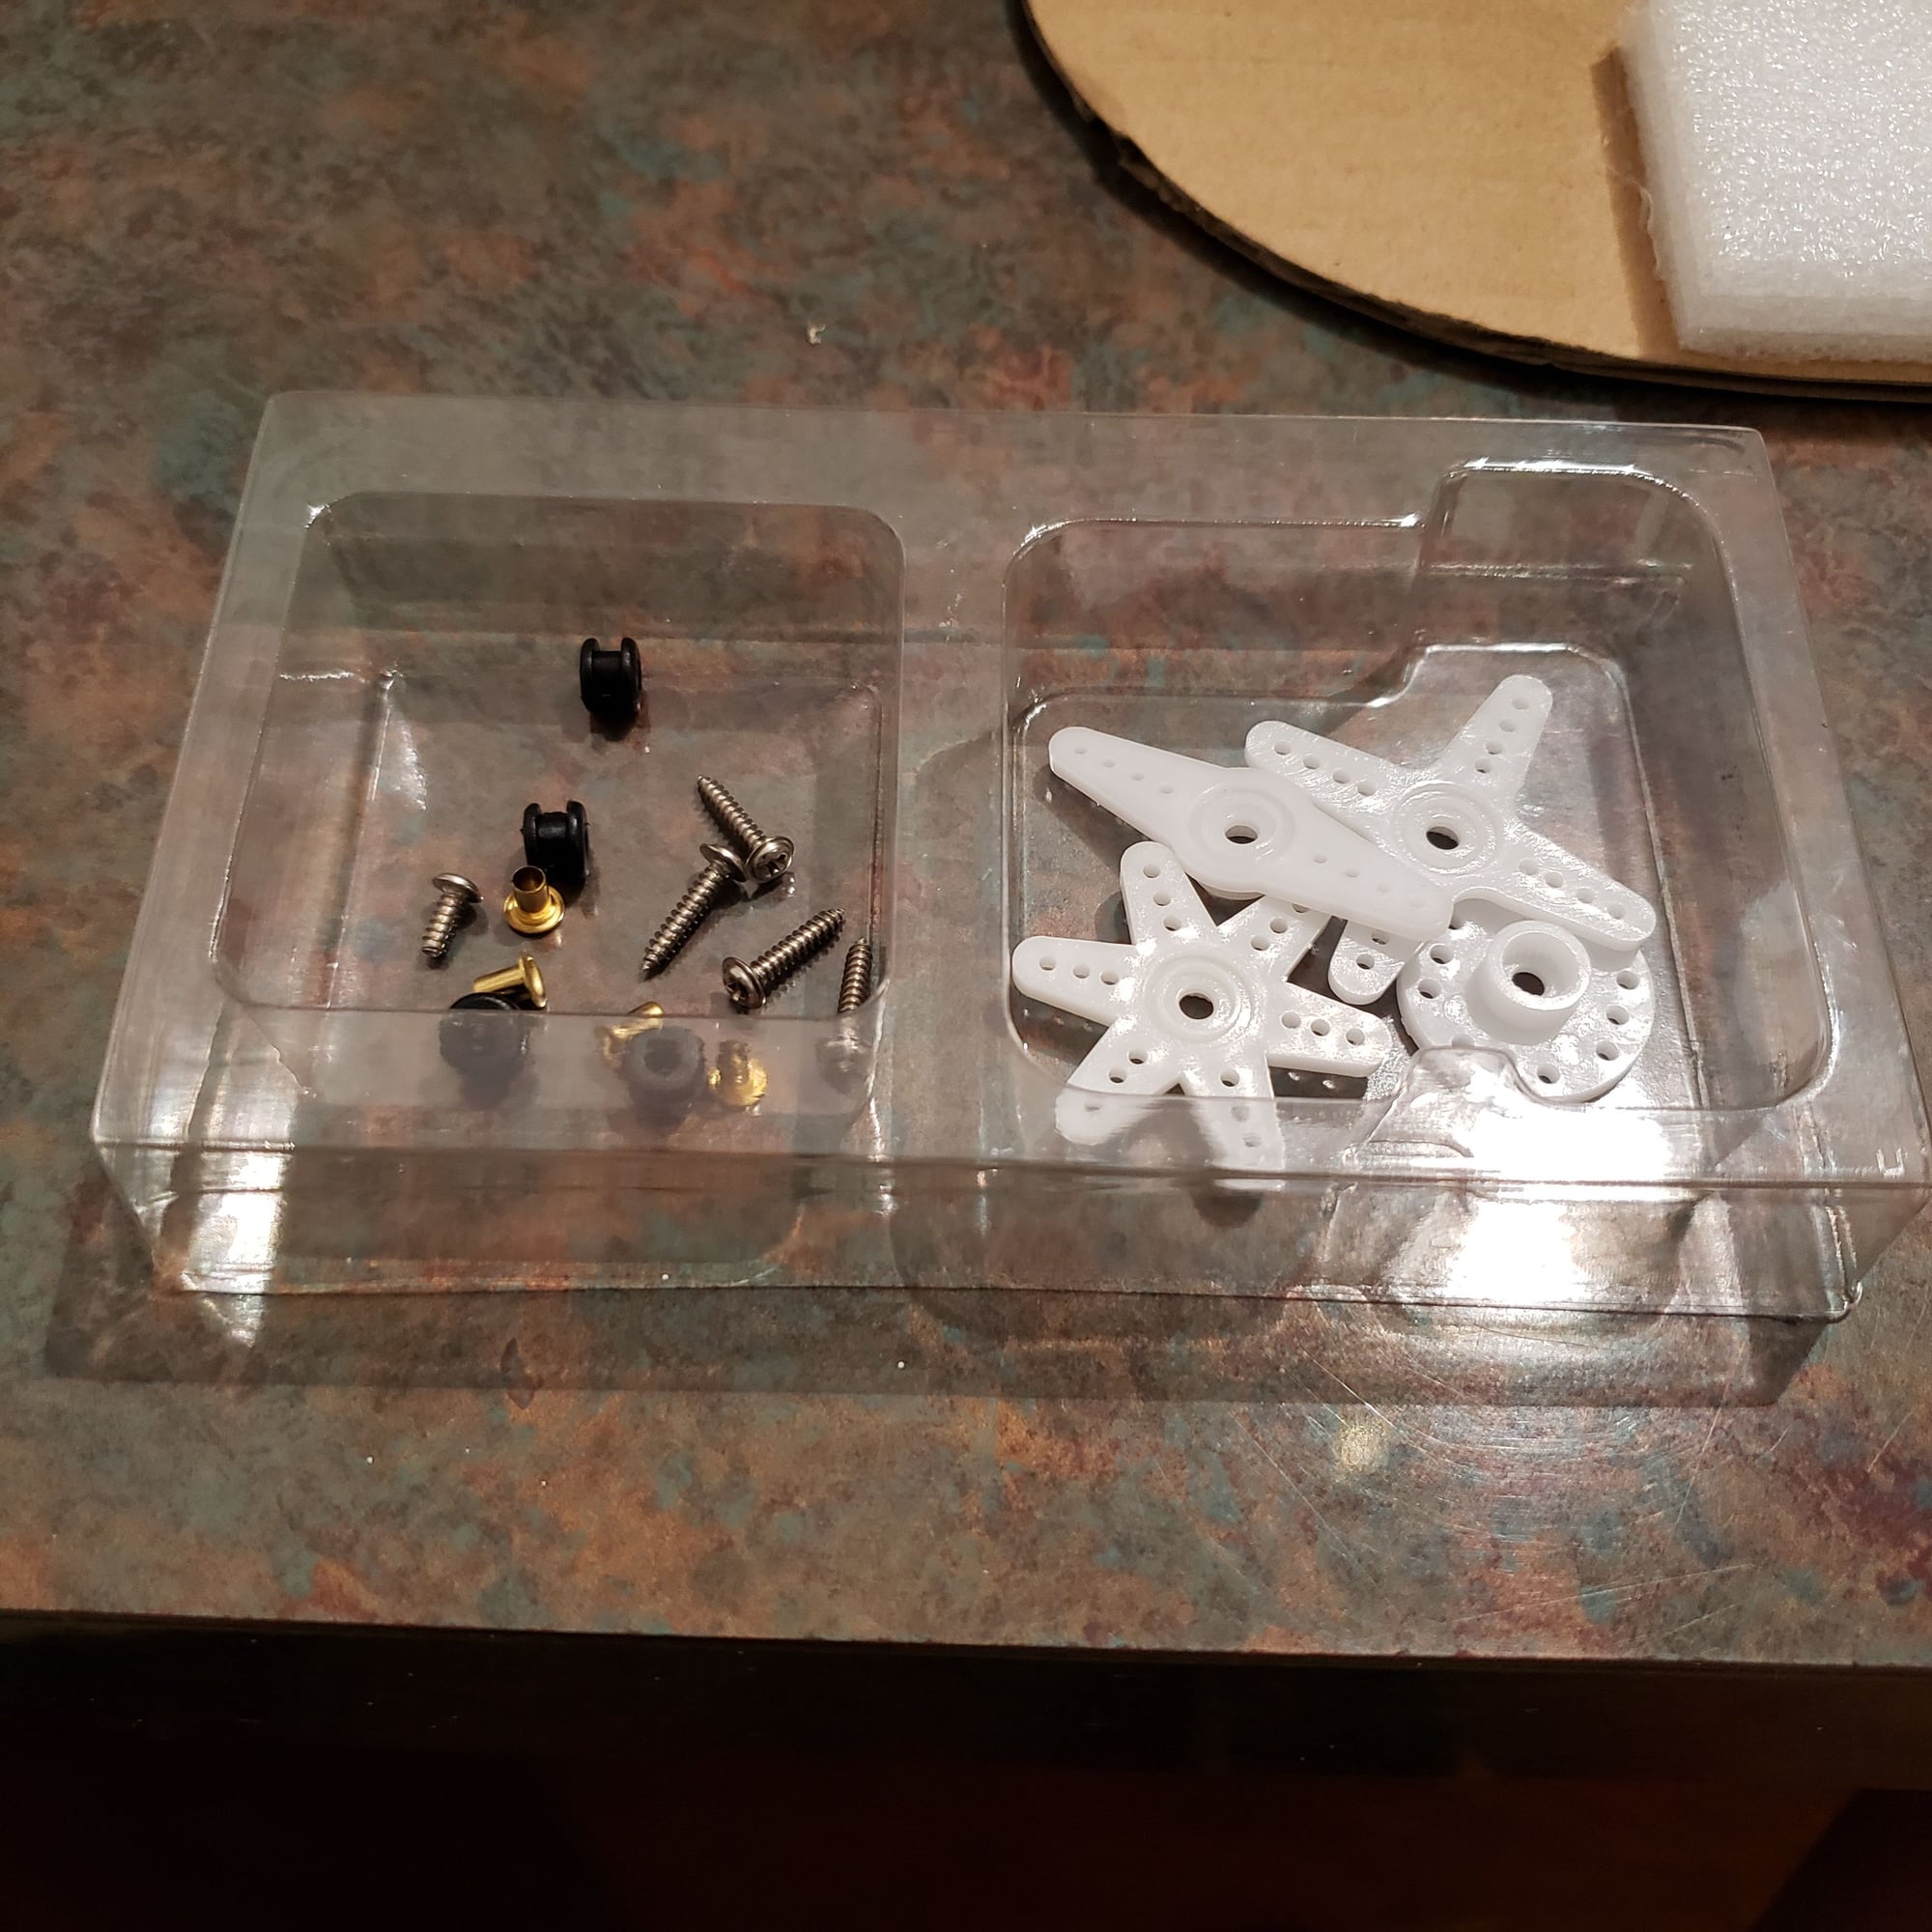
Just wanted to state my appreciation on the the utterly complete hardware package that is included with these Tactic servos. Many arm sizes and spline choices to get it done right. Oh and LOVE the tray to hold everything from getting lost. These are mini coreless digitals for a couple dollars more than the analogs and they are quicker, stronger and lighter with twice the resolution. Only drawback, no replacement gear sets available. Oh well , cheap enough to just replace when needed. I've never used anything but Futaba servos until I came across these.

Last edited by Sportflyr; 05-16-2019 at 02:13 PM.
Old 05-16-2019, 02:21 PM
  #38  
Sportflyr
Banned
Thread Starter
My Feedback: (1)
 
Join Date: Dec 2004
Posts: 378
Received 0 Likes on 0 Posts
Default


All done! Rx installed. Now for some balancing which will be completely up to your model and setup.
Old 05-16-2019, 02:25 PM
  #39  
Sportflyr
Banned
Thread Starter
My Feedback: (1)
 
Join Date: Dec 2004
Posts: 378
Received 0 Likes on 0 Posts
Default


Needed 1/2 OZ here...


1/4 OZ here. I will eventually hide this.

Last edited by Sportflyr; 05-17-2019 at 03:05 AM.
Old 05-17-2019, 03:07 AM
  #40  
Sportflyr
Banned
Thread Starter
My Feedback: (1)
 
Join Date: Dec 2004
Posts: 378
Received 0 Likes on 0 Posts
Default


All Done. Fairly straightforward assembly. Posing time.


Last edited by Sportflyr; 05-17-2019 at 06:49 PM.
Old 05-17-2019, 03:08 AM
  #41  
Sportflyr
Banned
Thread Starter
My Feedback: (1)
 
Join Date: Dec 2004
Posts: 378
Received 0 Likes on 0 Posts
Default


Old 05-17-2019, 03:10 AM
  #42  
Sportflyr
Banned
Thread Starter
My Feedback: (1)
 
Join Date: Dec 2004
Posts: 378
Received 0 Likes on 0 Posts
Default

Hope this helps, Be back with some flight reports. Cheers,
Sportflyr

Posting Rules
You may not post new threads
You may not post replies
You may not post attachments
You may not edit your posts

BB code is On
Smilies are On
[IMG] code is On
HTML code is Off


Contact Us - Archive - Advertising - Cookie Policy - Privacy Statement - Terms of Service -

Copyright © 2024 MH Sub I, LLC dba Internet Brands. All rights reserved. Use of this site indicates your consent to the Terms of Use.