


Eflite Maule unboxing disappointment.
 06-12-2020, 09:11 AM
#1

Thread Starter

Join Date: Jan 2009
Location: Watertown, NY
Posts: 312
Likes: 0
Received 0 Likes
on
0 Posts
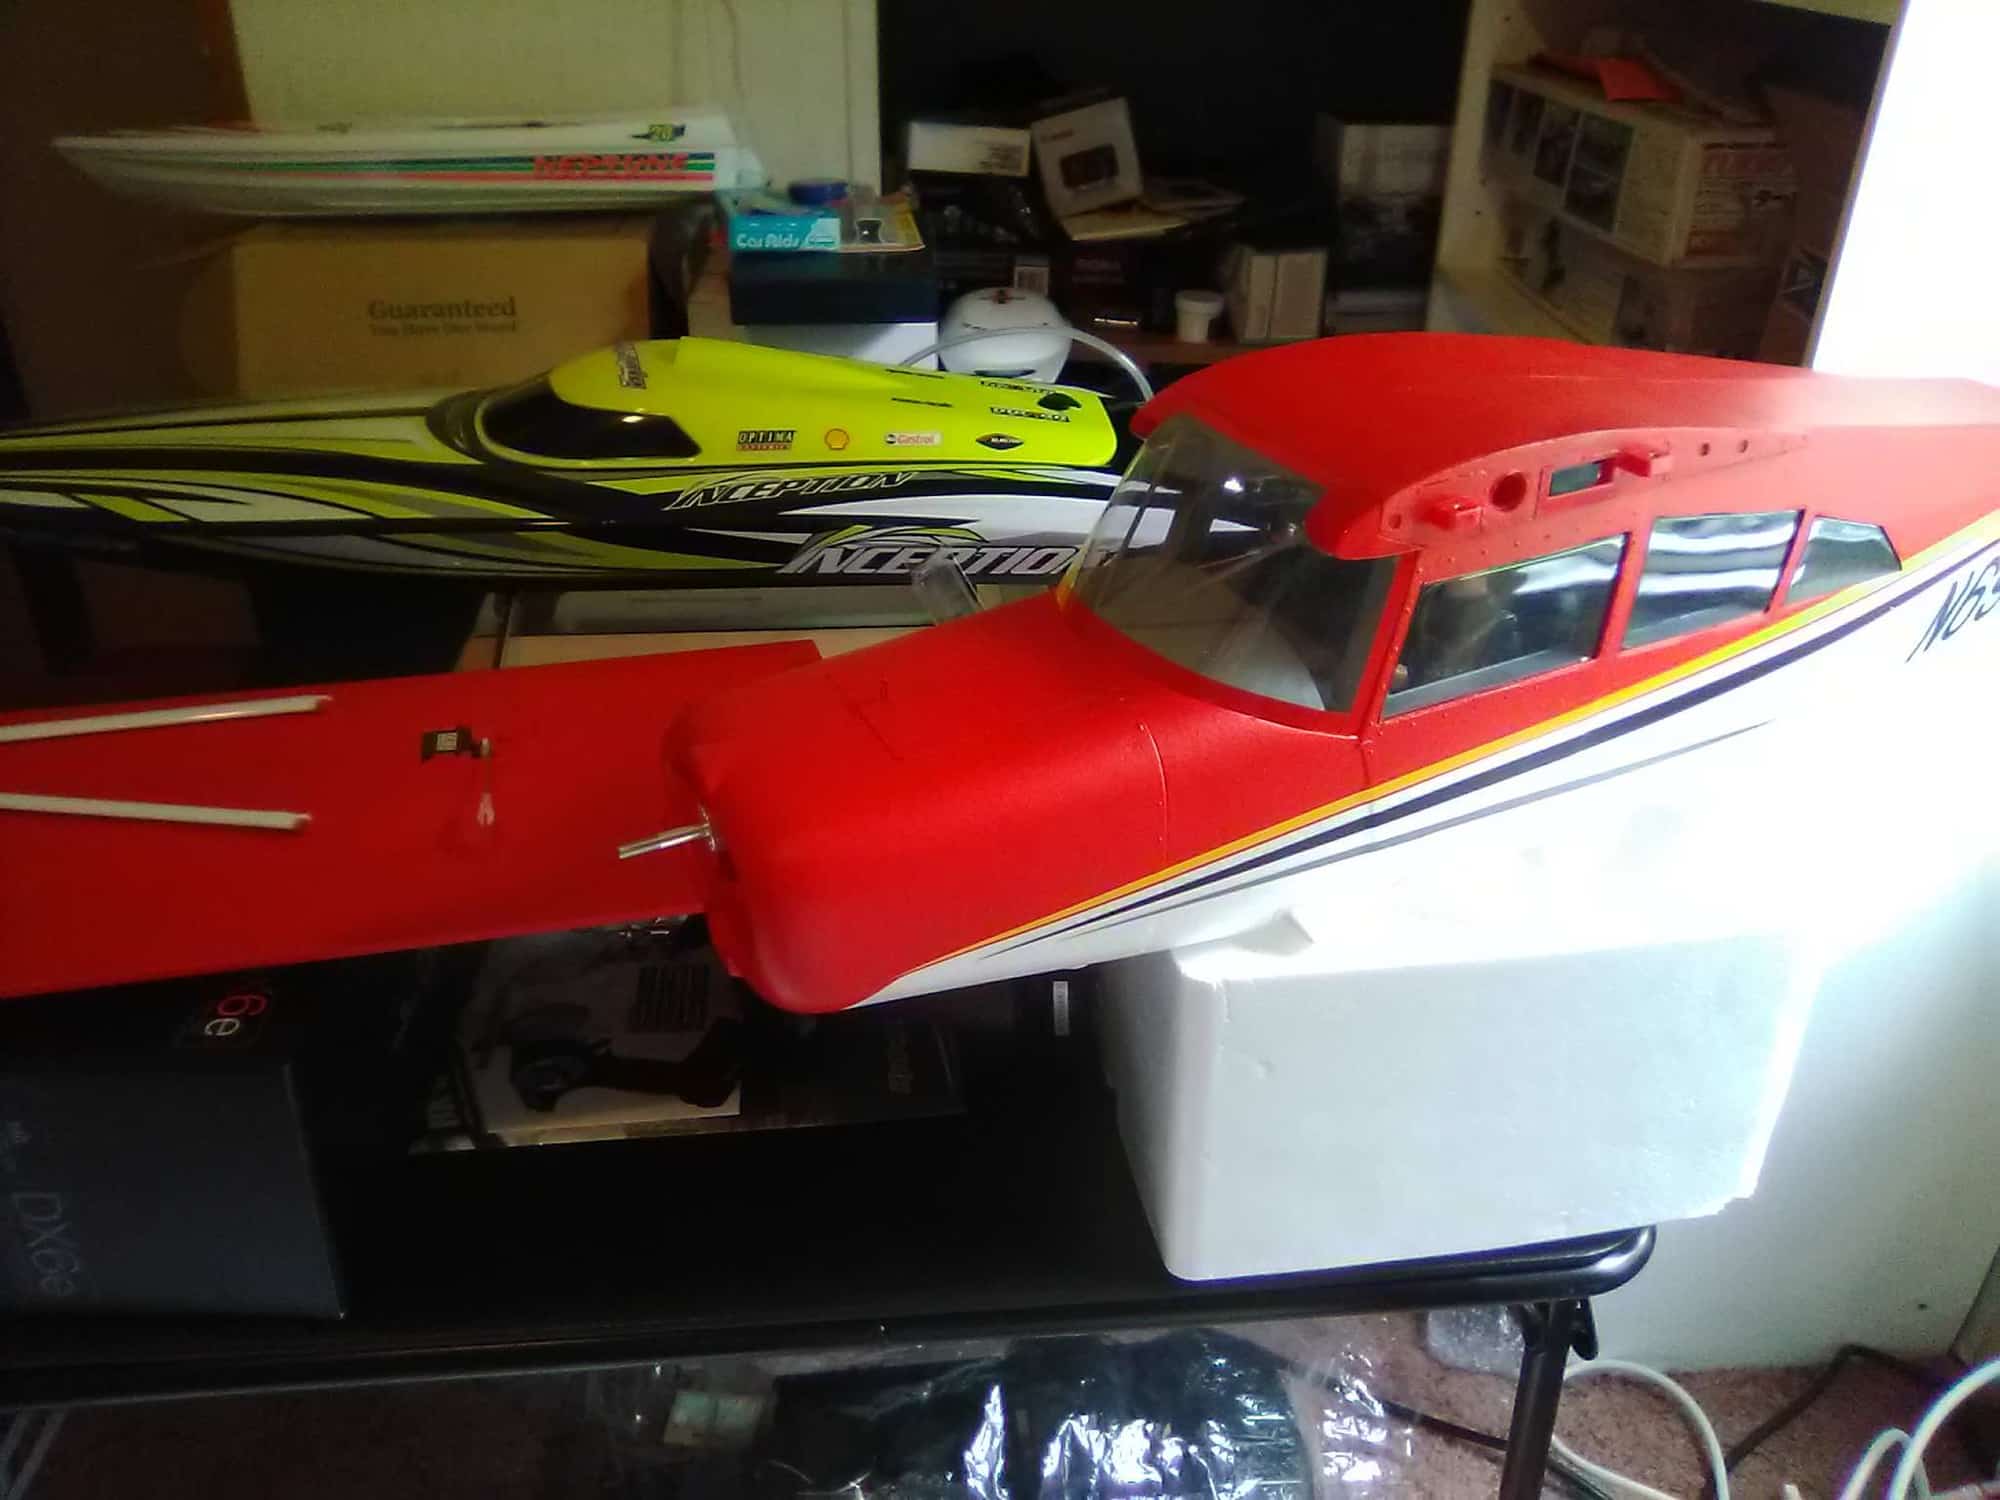
Finally got around to getting my Maule together, unboxed everything and two issues. Can't find the screws or binding plug, anyplace is there a secret location I'm not seeing? Other issue is the motor. The shaft has an obvious cock to the right when looking above the cowl. I've always know the shaft to be straight ahead and 90 degrees from the cowl. Is it suppose to be like that?
Something tells me this kit was ravaged for parts, the box was obviously opened up before and now missing screws... Man, what a let-down.
Something tells me this kit was ravaged for parts, the box was obviously opened up before and now missing screws... Man, what a let-down.
Last edited by Pilot_Guy; 06-12-2020 at 09:16 AM.
 06-12-2020, 09:49 AM
#2
Thread Starter
Join Date: Jan 2009
Location: Watertown, NY
Posts: 312
Likes: 0
Received 0 Likes
on
0 Posts
Wow, even the fake antennas are missing.
Crooked motor shaft/motor? No hardware, no bind plug, no fake antennas, all missing. This little project went to hell fast, lol. I'm now looking to part it out and try and recover at least 3/4 of my investment. This is the BnF version, so I have all the receiver and everything, all brand new.
Crooked motor shaft/motor? No hardware, no bind plug, no fake antennas, all missing. This little project went to hell fast, lol. I'm now looking to part it out and try and recover at least 3/4 of my investment. This is the BnF version, so I have all the receiver and everything, all brand new.

 06-12-2020, 11:18 AM
#4
Thread Starter
Join Date: Jan 2009
Location: Watertown, NY
Posts: 312
Likes: 0
Received 0 Likes
on
0 Posts
I checked every corner for the hardware/bind plug/control rods. I have never seen an offset for p factor like that in all the planes I've had. Always dead ahead and straight. Oh well, was looking forward to getting it all built tonight and set up tomorrow. IT is what it is.
06-12-2020, 06:49 PM
#5
Thread Starter
Join Date: Jan 2009
Location: Watertown, NY
Posts: 312
Likes: 0
Received 0 Likes
on
0 Posts
This p.o.s finally made it into the trash I can't deal with such poor workmanship. One of the tiny plugs fell into my hands from a mere tug to get it out of the wing, are you kidding me. I got to my boiling point and well the rest isn't pretty. I'll just say there isn't any point in trying to return this. Oh well.
06-19-2020, 02:55 PM
#6
1. You can use any bind plug, it just shorts the signal line to ground line. Since every plane or receiver comes with one, you probably have some spare laying around? I have one or two in my flight box, I don't bother to keep every one that came with every plane, I just toss them.
2. Pretty much every plane has motor shaft facing down and to the right. Otherwise the plane climbs and turns left with throttle. The amount depends on the plane and the motor.
2. Pretty much every plane has motor shaft facing down and to the right. Otherwise the plane climbs and turns left with throttle. The amount depends on the plane and the motor.
06-20-2020, 05:17 AM
#7
Thread Starter
Join Date: Jan 2009
Location: Watertown, NY
Posts: 312
Likes: 0
Received 0 Likes
on
0 Posts
1. You can use any bind plug, it just shorts the signal line to ground line. Since every plane or receiver comes with one, you probably have some spare laying around? I have one or two in my flight box, I don't bother to keep every one that came with every plane, I just toss them.
2. Pretty much every plane has motor shaft facing down and to the right. Otherwise the plane climbs and turns left with throttle. The amount depends on the plane and the motor.
2. Pretty much every plane has motor shaft facing down and to the right. Otherwise the plane climbs and turns left with throttle. The amount depends on the plane and the motor.
06-20-2020, 06:01 AM
#8
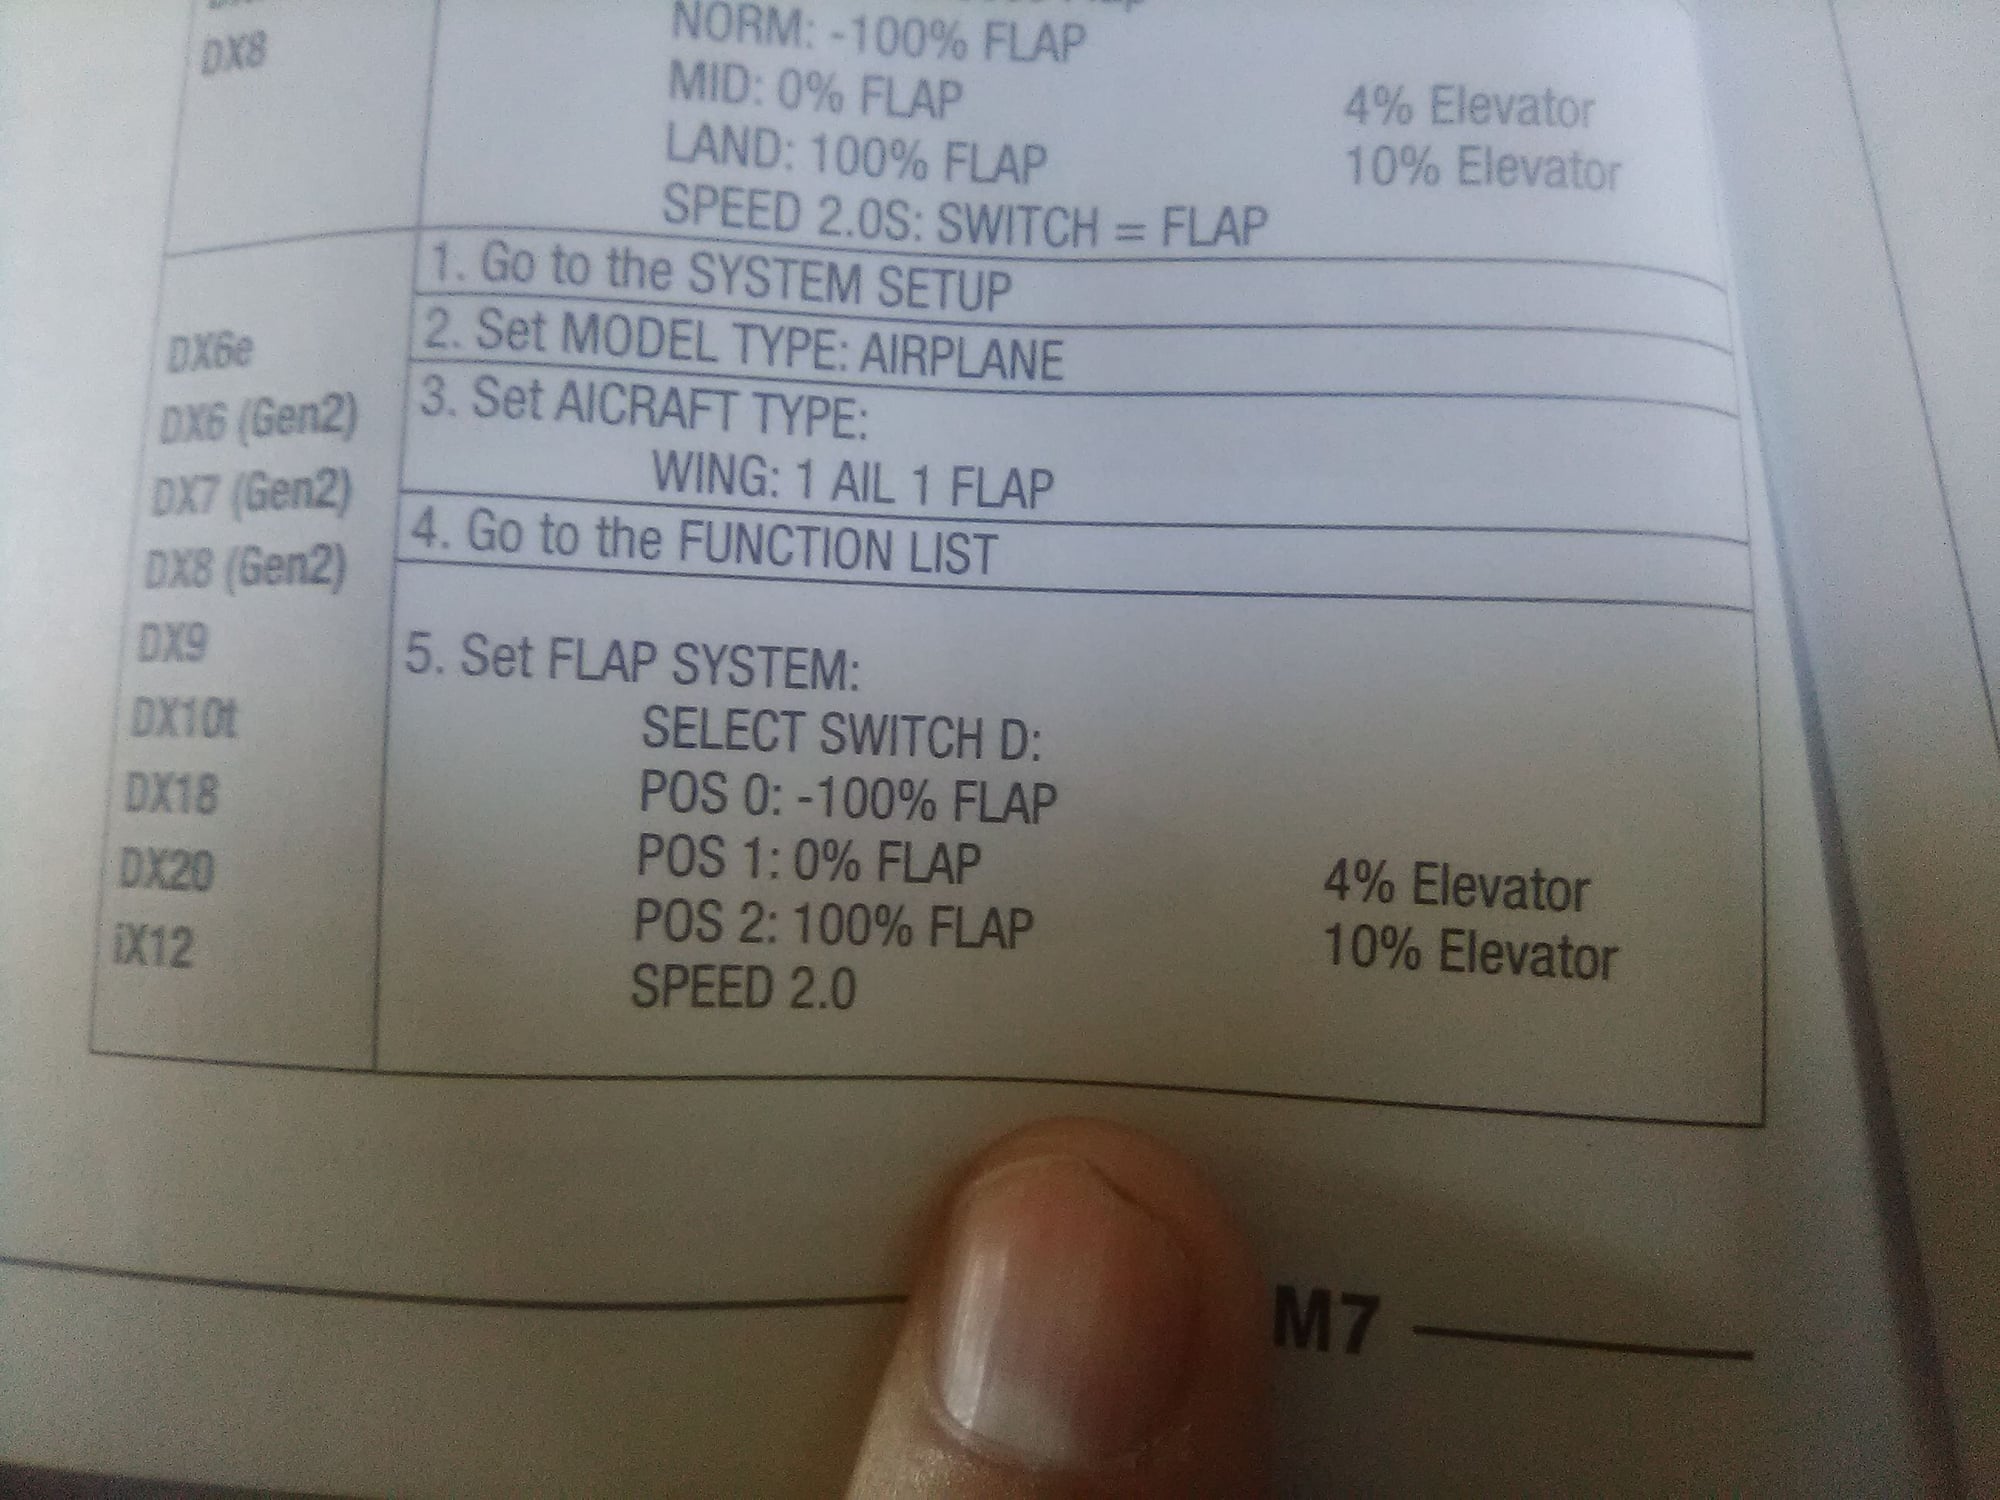
I did the bind last night and I now have control, but I see my flaps do not go all the way up. I adjusted the flaps according to the manual for switch D and it says 0 position 100% 1 position 4% and 3 position 100% It's a DX6e radio. I'm not sure if the manual is correct or not so I don't know what is going on. All the rest of the controls work however SAFE select doesn't seem to be on, even though I bound the reciever with the SAFE ON method. I assume if you tip the plane side to side, SAFE should move the surfaces to compensate? It does nothing. Please excuse me I'm new to these modern computer radios....it's been a long while.
I think you are right that if SAFE is on, then holding the plane at a tilt should result in some control surface deflection. I notice in the manual the following indication also: "Every time the receiver is powered ON the surfaces will cycle back and forth twice with a slight pause at neutral position to indicate that SAFE Select is switched ON." If SAFE is off the surfaces will only cycle once instead of twice.
06-20-2020, 07:49 AM
#9
Thread Starter
Join Date: Jan 2009
Location: Watertown, NY
Posts: 312
Likes: 0
Received 0 Likes
on
0 Posts
I looked up Maule manual....it suggested flap position 1 should be 0% flap and 4% elevator, and position 2 should be 100% flap and 10% elevator. It is normal to mix some down elevator with the flaps, because deploying flaps will cause the plane to climb otherwise. If it is set up right, you should be able to see the elevator go down just a mm or less when flaps go down. If the flaps don't go all the way up when Switch D is selecting 0% flaps, then I wonder if you can fix that with "subtrim" menu on the DX6e. It does have subtrim, right? I never had a DX6e.
I think you are right that if SAFE is on, then holding the plane at a tilt should result in some control surface deflection. I notice in the manual the following indication also: "Every time the receiver is powered ON the surfaces will cycle back and forth twice with a slight pause at neutral position to indicate that SAFE Select is switched ON." If SAFE is off the surfaces will only cycle once instead of twice.
I think you are right that if SAFE is on, then holding the plane at a tilt should result in some control surface deflection. I notice in the manual the following indication also: "Every time the receiver is powered ON the surfaces will cycle back and forth twice with a slight pause at neutral position to indicate that SAFE Select is switched ON." If SAFE is off the surfaces will only cycle once instead of twice.
 06-20-2020, 07:54 AM
#10
Thread Starter
Join Date: Jan 2009
Location: Watertown, NY
Posts: 312
Likes: 0
Received 0 Likes
on
0 Posts
This little plane is starting to grow on me, since I'm slowly figuring out how it works and watch it progress. A bit more tuning and learning and some balancing, I'll be r
eady to take out on the pavement and do some taxi runs....no flight quite yet lol
eady to take out on the pavement and do some taxi runs....no flight quite yet lol
06-20-2020, 07:57 AM
#11
Oh that totally makes sense now - I missed that also. I was wondering why it went 100,0,100, that makes no sense. OK, so they suggest 0 = no flaps, 1 = takeoff flaps, 2 = landing flap. That is very normal.
If the servos are buzzing with full up, you should be able to click on the -100 and back it off until it stops buzzing, like perhaps -95 or something. I agree, it is burning current and wearing the servo if it is constantly pushing hard against a dead end.
If the servos are buzzing with full up, you should be able to click on the -100 and back it off until it stops buzzing, like perhaps -95 or something. I agree, it is burning current and wearing the servo if it is constantly pushing hard against a dead end.
06-20-2020, 09:05 AM
#13
Thread Starter
Join Date: Jan 2009
Location: Watertown, NY
Posts: 312
Likes: 0
Received 0 Likes
on
0 Posts
Oh that totally makes sense now - I missed that also. I was wondering why it went 100,0,100, that makes no sense. OK, so they suggest 0 = no flaps, 1 = takeoff flaps, 2 = landing flap. That is very normal.
If the servos are buzzing with full up, you should be able to click on the -100 and back it off until it stops buzzing, like perhaps -95 or something. I agree, it is burning current and wearing the servo if it is constantly pushing hard against a dead end.
If the servos are buzzing with full up, you should be able to click on the -100 and back it off until it stops buzzing, like perhaps -95 or something. I agree, it is burning current and wearing the servo if it is constantly pushing hard against a dead end.
06-20-2020, 09:08 AM
#14
Thread Starter
Join Date: Jan 2009
Location: Watertown, NY
Posts: 312
Likes: 0
Received 0 Likes
on
0 Posts
Yepp I just figured that out like an hour ago. I also learned you have to assign a switch before SAFE works too. I thought SAFE just worked no matter if you had a switch or not. I like the switch.... I guess SAFE won't let you do rolls and things, but I don't plan to use it for long...just until I get the hang of all the systems and flying of the plane. I never had a computer radio like this with all these functions....so I'm learning.
06-20-2020, 12:58 PM
#15
Yepp I just figured that out like an hour ago. I also learned you have to assign a switch before SAFE works too. I thought SAFE just worked no matter if you had a switch or not. I like the switch.... I guess SAFE won't let you do rolls and things, but I don't plan to use it for long...just until I get the hang of all the systems and flying of the plane. I never had a computer radio like this with all these functions....so I'm learning.
06-20-2020, 01:49 PM
#16
Thread Starter
Join Date: Jan 2009
Location: Watertown, NY
Posts: 312
Likes: 0
Received 0 Likes
on
0 Posts
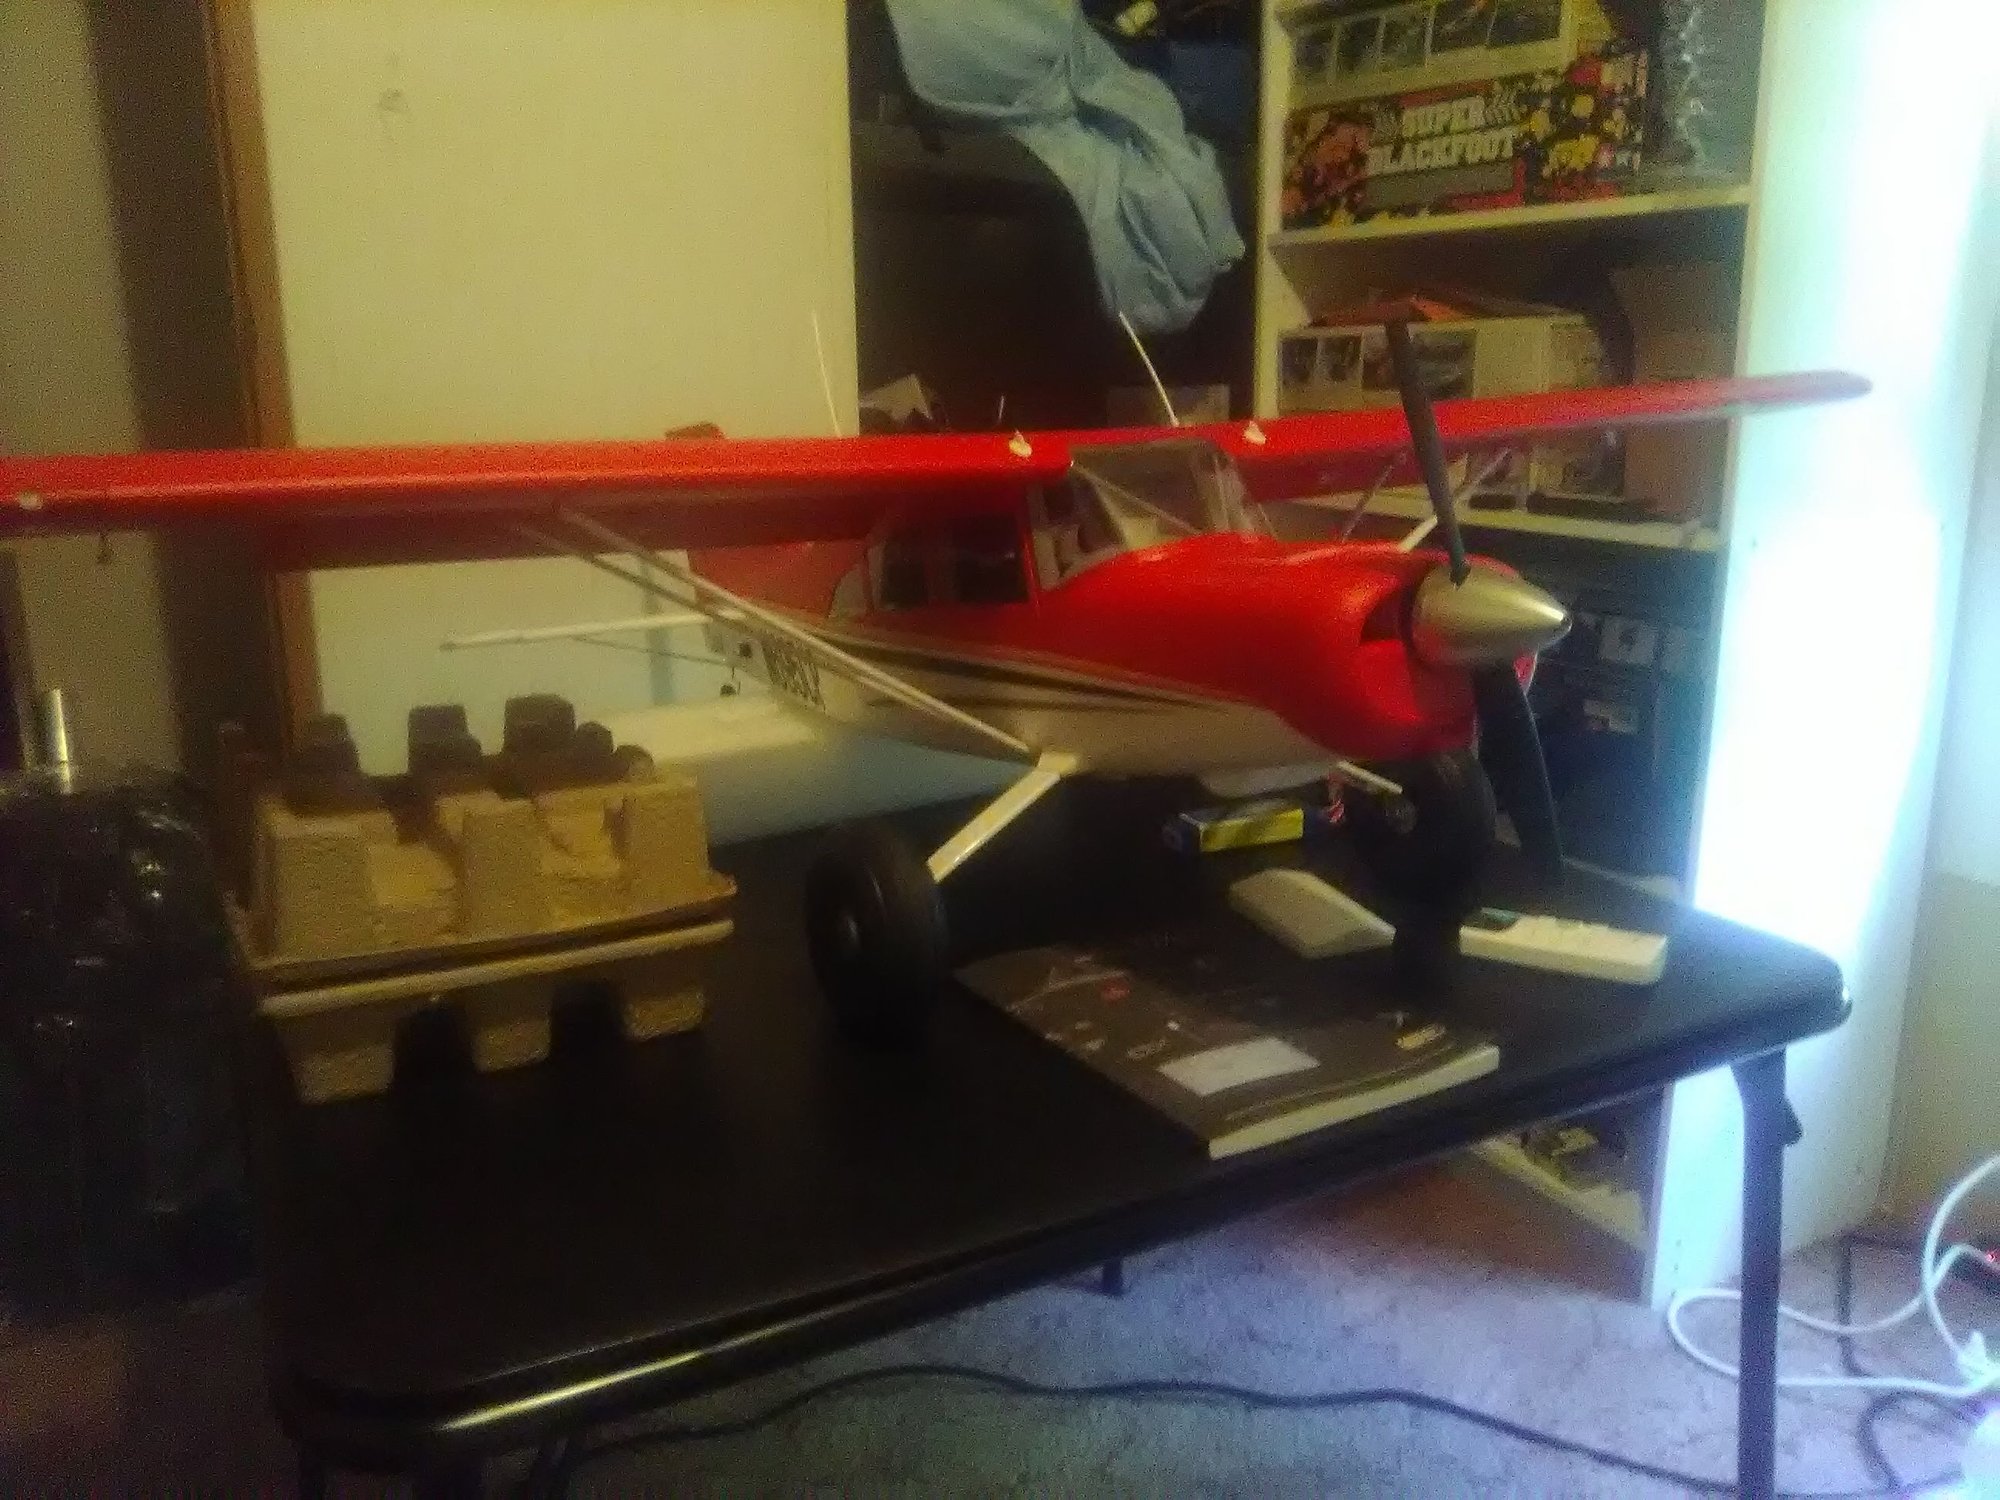
Yepp, it's a nice feature. I'm going over the entire plane tonight and going back step by step making sure all screws are in place, make sure all control surfaces are leveled and the right deflection, plus general operation. I did get a little ballsy today and took it outside for a short roll around the driveway on pavement. Just a little shake-down watching for stutters and glitches. It went great, very smooth operation and no quirks. This is my first electric plane, as my others are nitro and haven't flown in 10 years. Will be nice to just throw a battery in and go flying.
06-20-2020, 06:55 PM
#17
Thread Starter
Join Date: Jan 2009
Location: Watertown, NY
Posts: 312
Likes: 0
Received 0 Likes
on
0 Posts
I ended up disconnecting all the control rods from the control surfaces and putting all the trims and subs to zero. Then taped the surfaces perfect centered and adjusted everything to fit the horns. All hooked back up and surfaces still centered level. The buzzing in the flap servos are gone, so I'm satisfied. Now a prop balance and get cg right. I'm just going to do the finger tests for cg, at around 63 mm(half way between the suggested measurements and see how that turns out. Hopefully just have to move the battery back or forwards. Other than that, I think I'm a day from maiden.
08-18-2020, 05:57 AM
#18
Junior Member
Nice to see you have gotten a lot sorted out.
Where are you flying there? The landscape is nice and flat around the area. I used to work up that way a long time ago.
I wasn�t into RC then but now that I am I remember some places, there is a former (paved!) private strip outside of Alexandria Bay that might be ideal if you can get permission. Maxon field if my memory serves.
If you are Army maybe you can get permission to fly on the old auxillary strip on the north end of post. I think it is the parachute drop zone on the maps and there is a newer mout village just east of it.
wish I had the wide open spaces that you have up there.
