


Hangar-9 Sopwith Camel Build Thread
 02-01-2016, 05:27 PM
#1401

My Feedback: (1)

Join Date: Mar 2008
Location: Broadlands, VA
Posts: 18
Likes: 0
Received 0 Likes
on
0 Posts
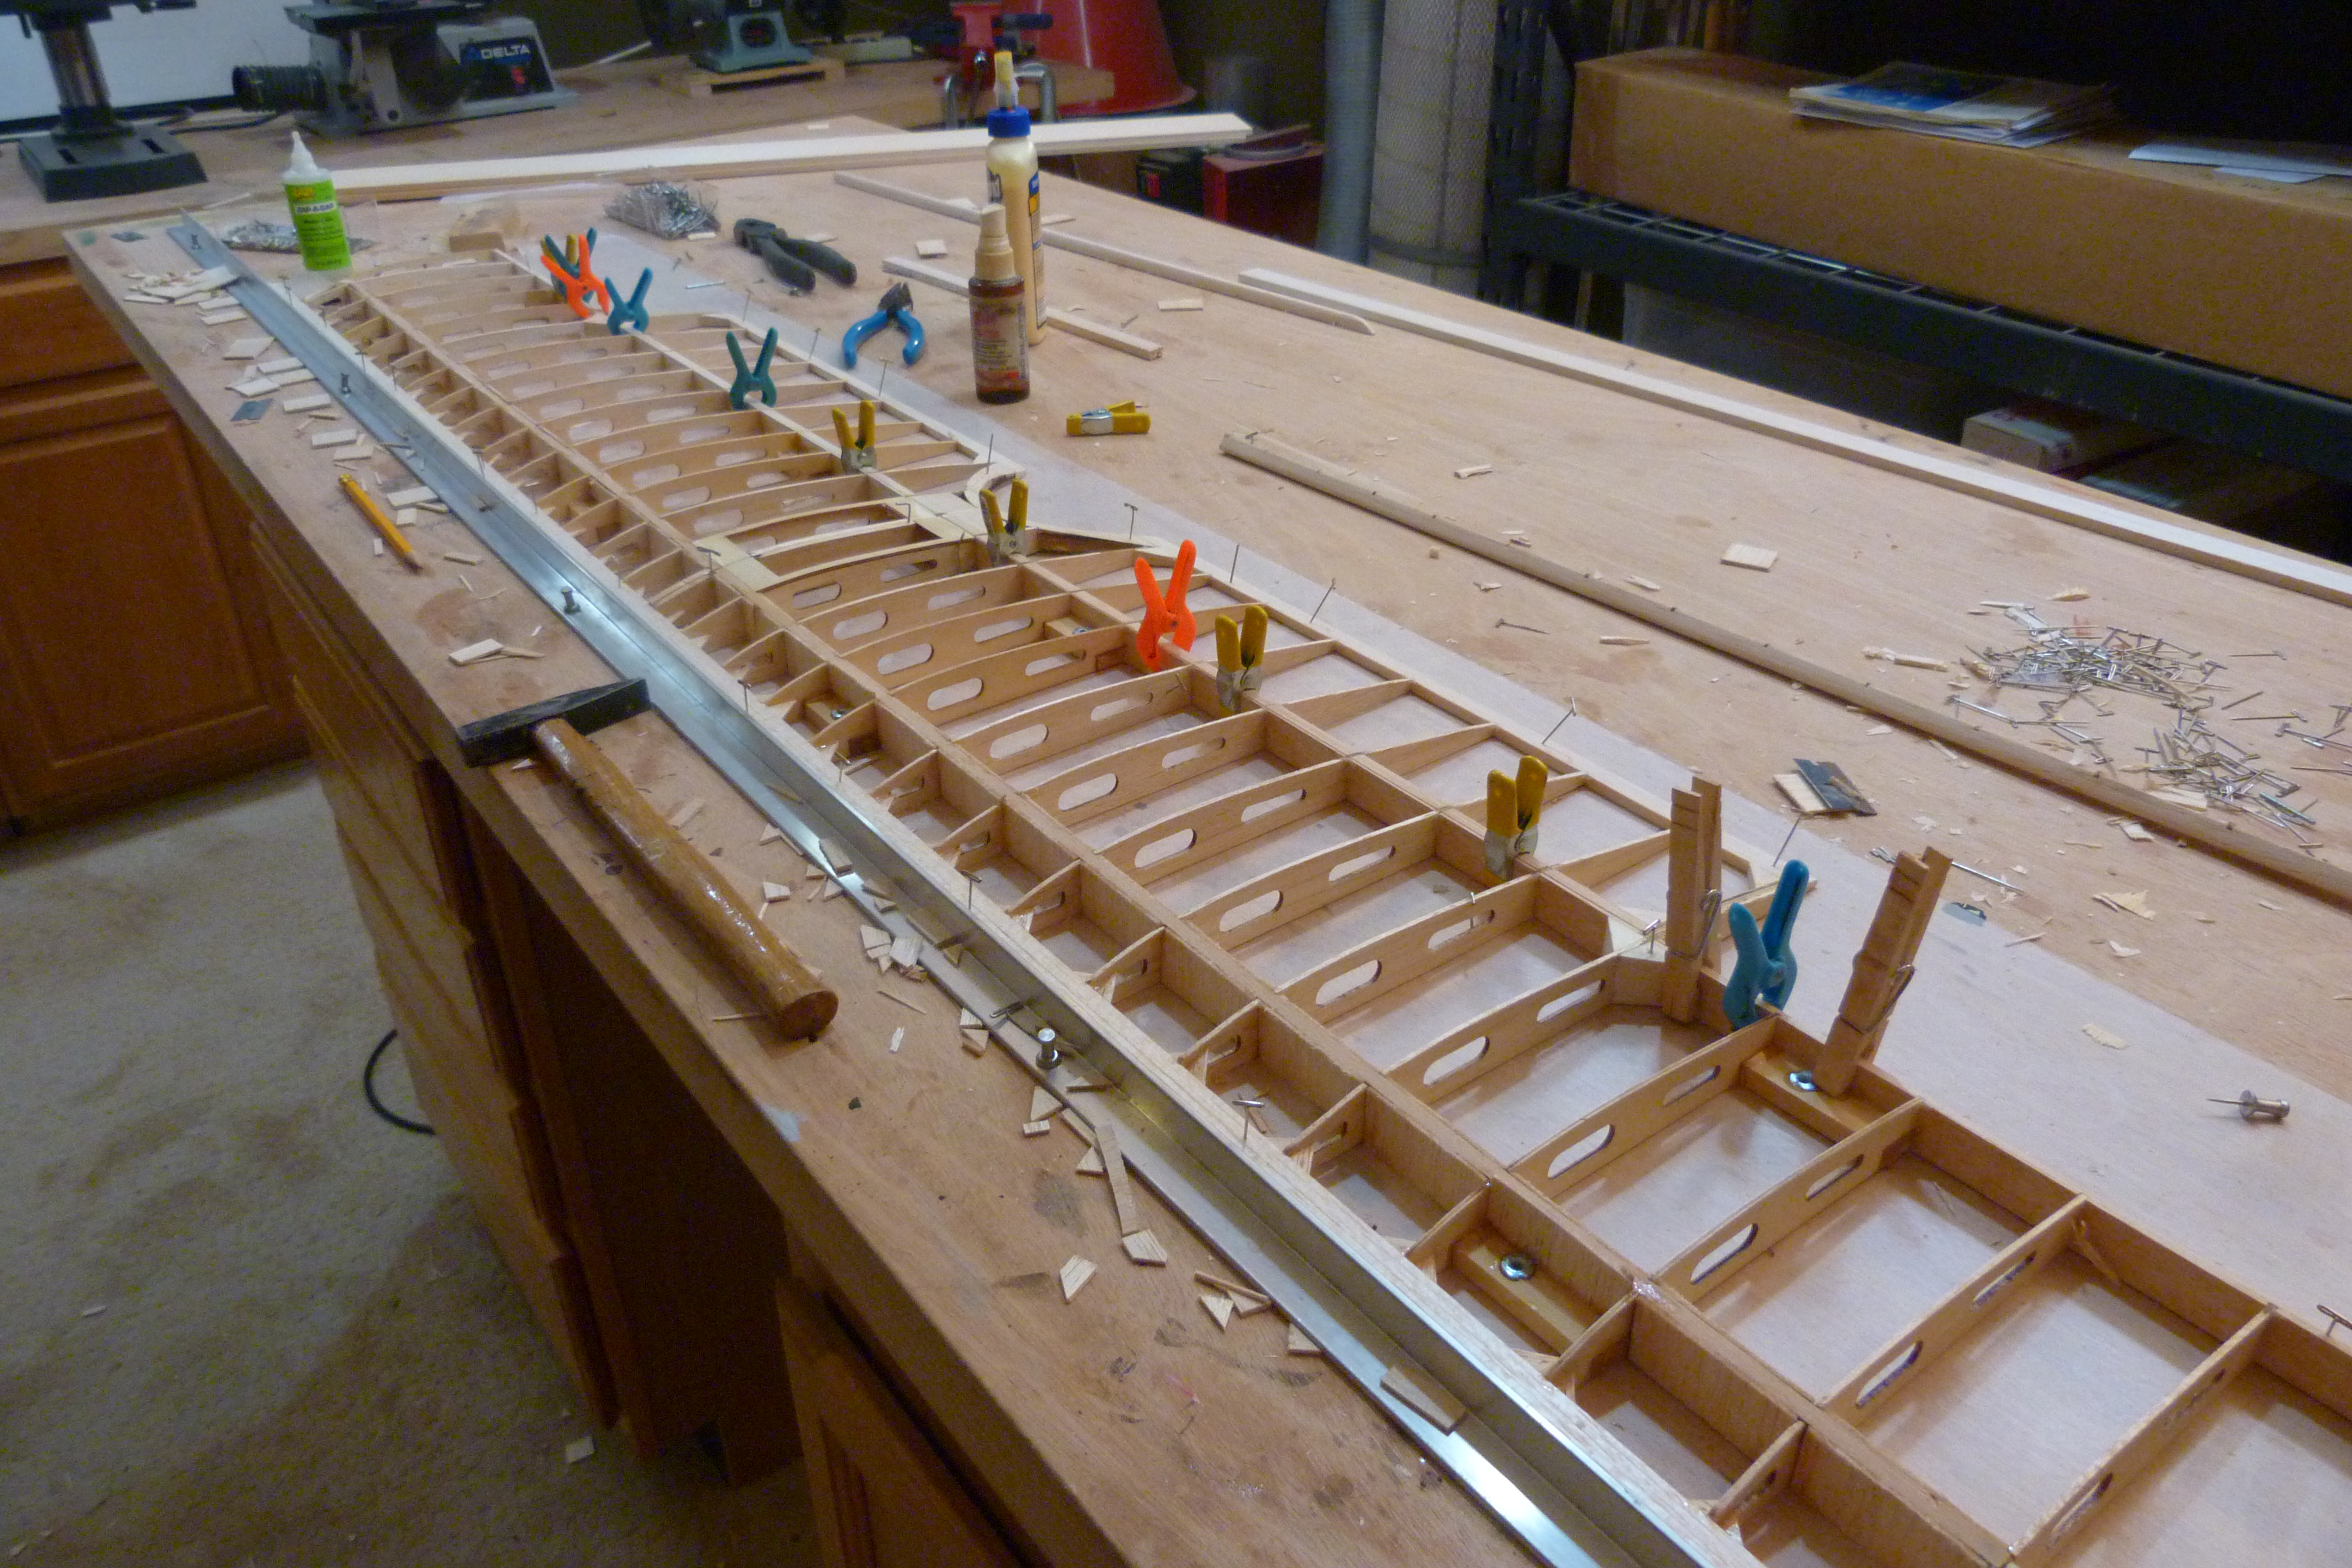
So, I cut the wing lengthwise at the aileron cutout, cut off the leading edge at the ribs, removed all the shear webs and nailed the whole wing flat to the board. Replaced the LE with laminated 1/4" stock, added LE gussets on each rib, replaced the shear webs, added a second set to the front of the spars, and re-glued the trailing section. Sanded the top smooth, unpinned it from the board and - and it's still bowed. Less, but still there. Next up - surgical removal and replacement of the main spars by running the wing down lengthwise down the table saw. Here it is while still pinned down.
Last edited by WW1 Flying Ace; 02-01-2016 at 05:30 PM.
 03-23-2016, 08:21 AM
#1402
My Feedback: (1)
Join Date: Mar 2008
Location: Broadlands, VA
Posts: 18
Likes: 0
Received 0 Likes
on
0 Posts
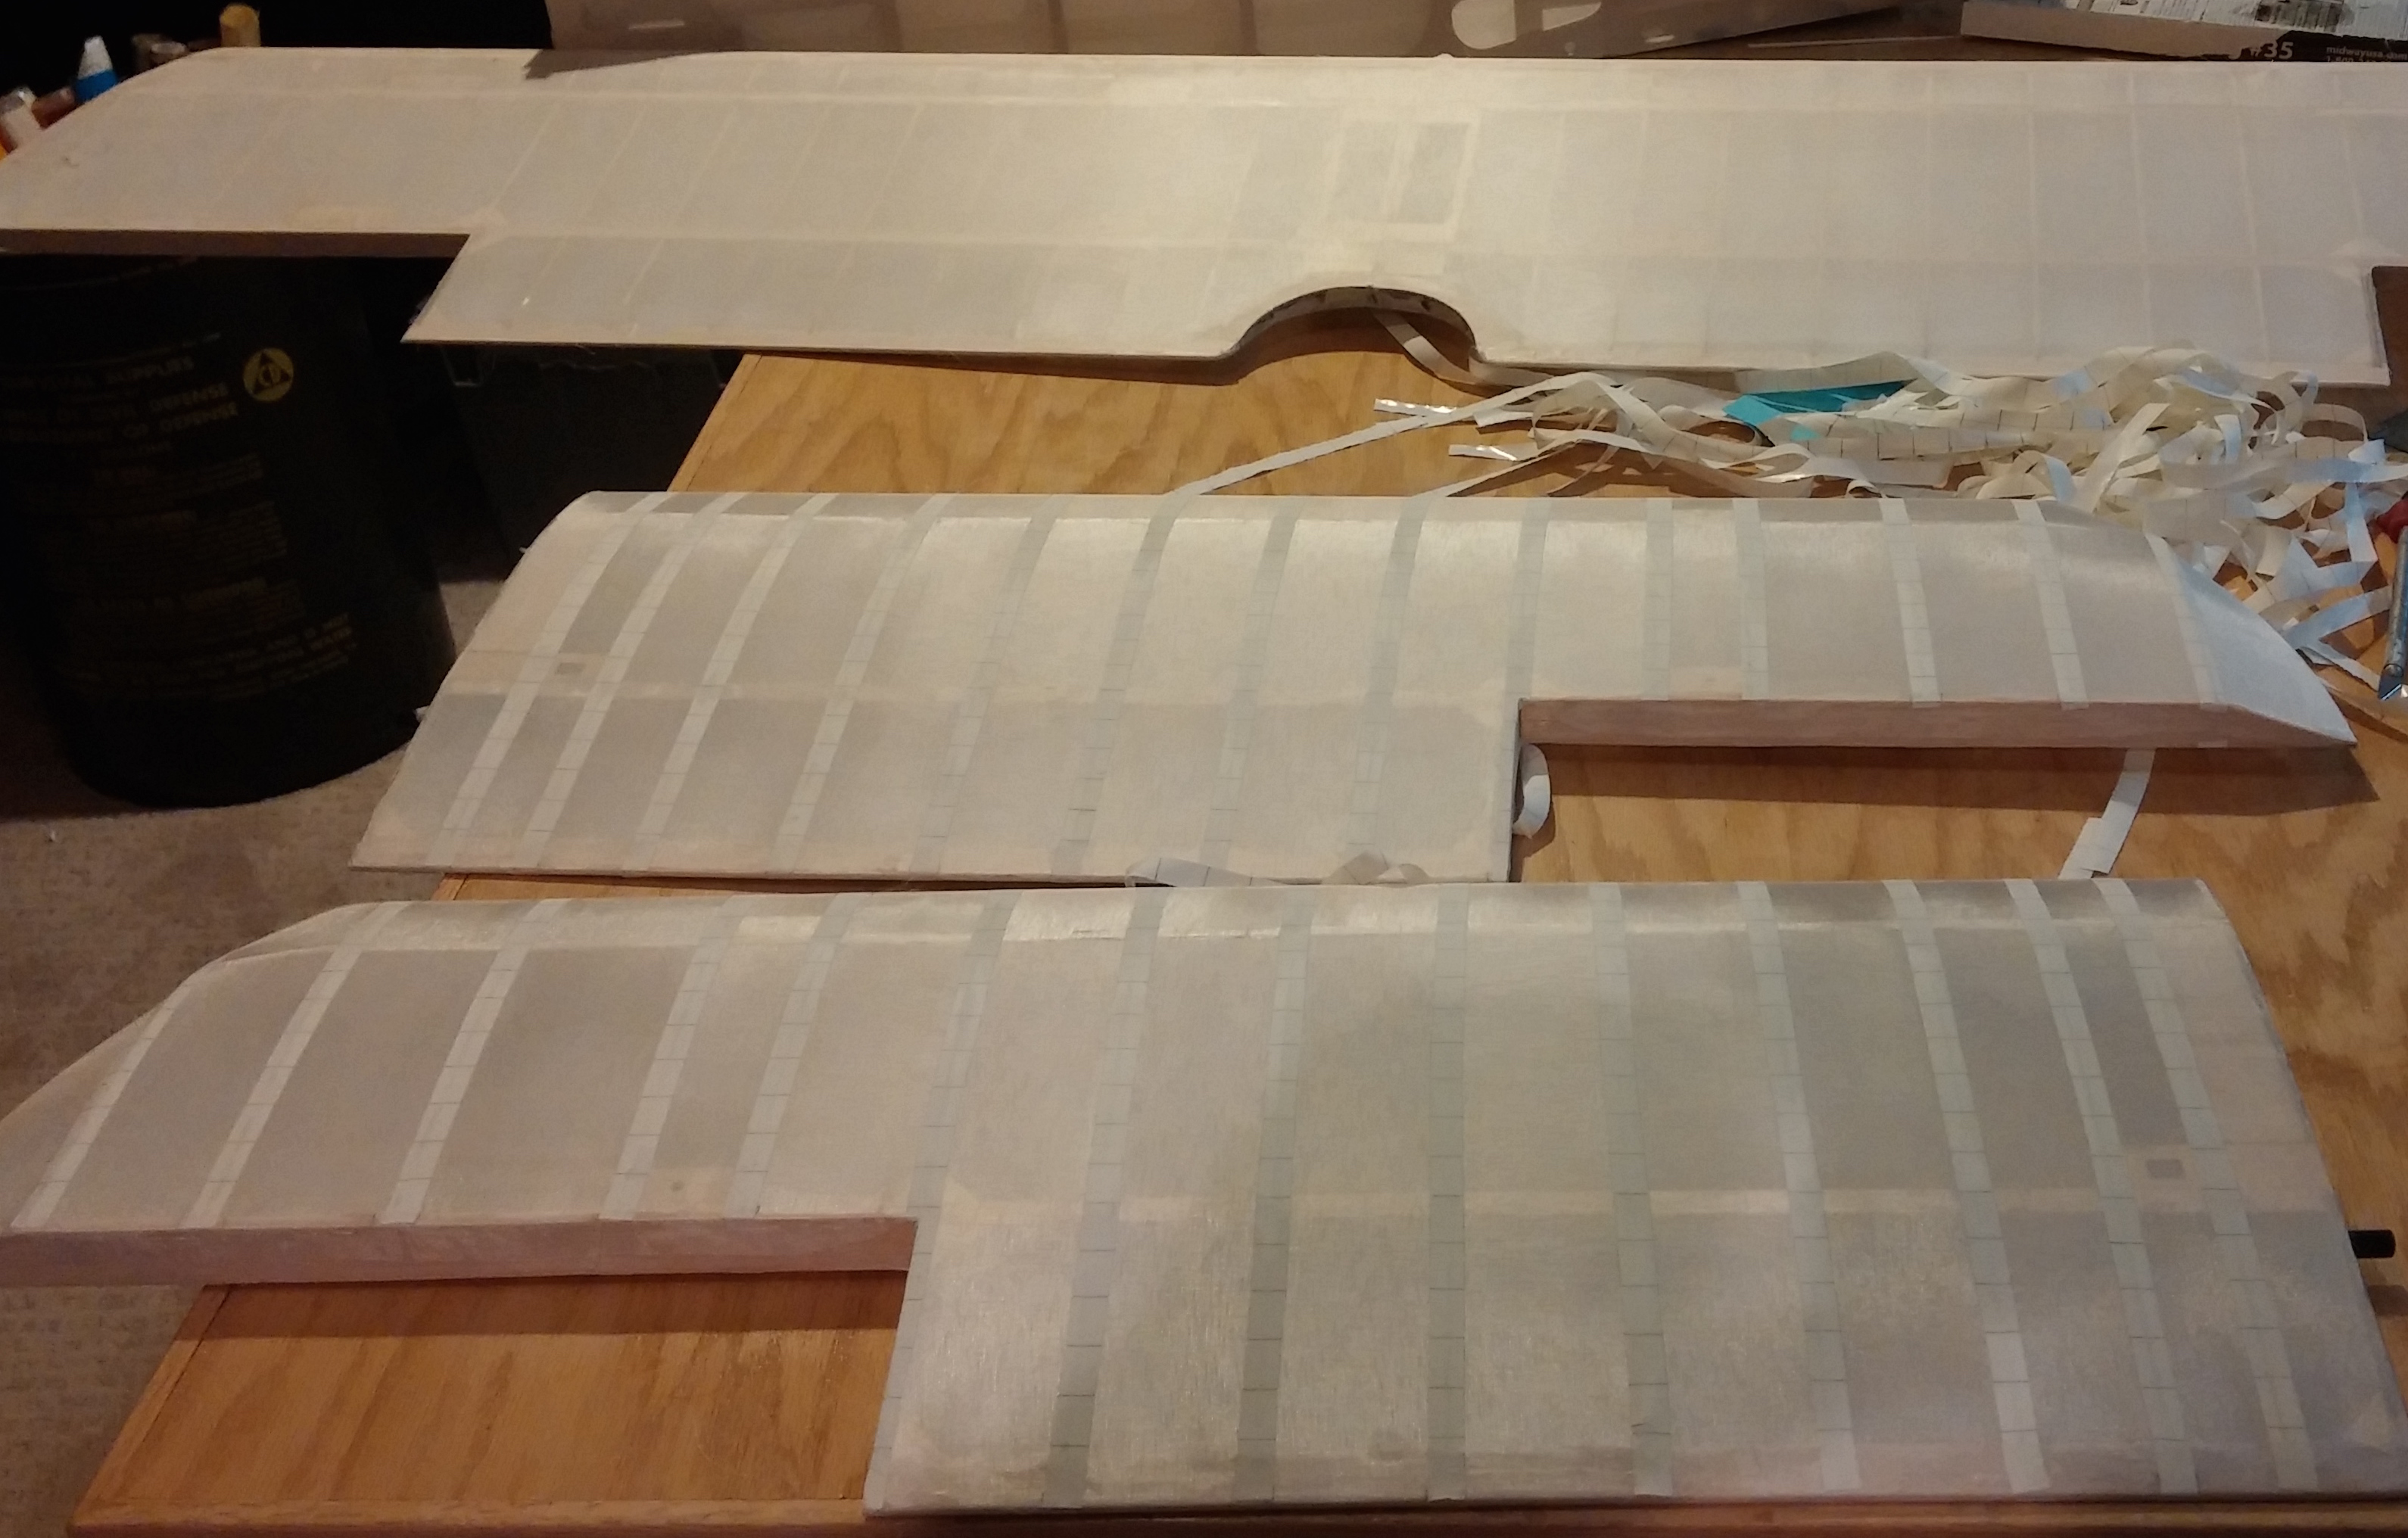
Ran all three panels (upper and two lowers) through the table saw as described and replaced all the main spars. Worked ok. Covered with Koverall, and am adding the rib tapes now. They are pencil marked with the stitch points, torn from Solartex and ironed on. Will add blobs of RC-56 when complete, then nitrate dope.
03-23-2016, 09:41 AM
#1404
My Feedback: (1)
Join Date: Mar 2008
Location: Broadlands, VA
Posts: 18
Likes: 0
Received 0 Likes
on
0 Posts
Well, all the assemblage is done for you, and I didn't like the monokote covering - which was the wrong colors (gray on the bottom) anyway. My only concern will be how heavy this comes out on this sized airframe. But, for me, having all the strut and LG fittings built and fitted, the control runs, etc will save a lot of time. I plan on adding some scale detail to the cockpit area and hatch too.


