


Model Aircraft Starting Bench (GSWAM Style)
 01-11-2015, 10:20 AM
#51
Junior Member
My Feedback: (3)
Join Date: Mar 2013
Location: Grundy, VA
Posts: 10
Likes: 0
Received 0 Likes
on
0 Posts
Joy Stick, I would like to thank you for taking the time to put all this together, that alone took time and patience . I like the Design , and will be building one of these for our club . Again your time and effort is much appreciate by many . There will always be complainers mostly people with too much time on their hands. . Thank you and have a good day Sir.
Ray.
Ray.
 01-11-2015, 12:30 PM
#52

Thread Starter

Joy Stick, I would like to thank you for taking the time to put all this together, that alone took time and patience . I like the Design , and will be building one of these for our club . Again your time and effort is much appreciate by many . There will always be complainers mostly people with too much time on their hands. . Thank you and have a good day Sir.
Ray.
Ray.
Thank you for the kind words.
Post #43 has the latest update to the design.
I can't take all the credit for the design, I incorporated many suggestions from a lot of club members at my club, and others, in order to come up with what I thought fit the most of the requirements. Some clubs were using modified card tables, picnic tables, telephone line spools, Meroke benches, and all sorts of metal plastic and wood hold-down devices.
This design was my best shot and probably my last.
I am always happy to hear about mods, or suggestions that anyone has on the design. With almost any design, changes can cause "unintended consequences" and I would be happy to discuss any ideas before they are implemented in order to potentially save someone time, effort, money, or in the worst case, safety. I can be reached here or you can PM me and get my phone number.
01-16-2015, 04:15 AM
#53
Thread Starter
Some of you keep posting the old Meroke style bench pictures and comments here and you may not realize that this forum is based on a new bench style designed to overcome some of the shortcomings of the old bench style. Most notably, the tendency for the bench to tip forward when it is made from lightweight wood. Also, the flight box position on the arms of the Meroke bench can cause additional problems. Only one style of flight box can be used on the arms designed for that purpose. Many of our members put flight boxes of different styles on top of the arms which caused additional center-of-gravity shifts and increased the pitching forward problem. Also, due to the narrow arms extending from each side of the top, transmitters and flight boxes were frequently falling off onto the ground. Most clubs have come up with modifications to hold the transmitters, starters, etc. and provide more room on the top.
The new bench design provides a great deal more room on the top to hold all the stuff we normally use to start and maintain our planes. The "Design Goals" file, listed in earlier posts, provides a list of other items and features which were used to overcome some of the other issues with the Meroke style bench as well as other bench styles.
Attached is a drawing of the Meroke style bench and the new bench design which shows the relative difference in thrust required to tip the benches forward. It also shows how the position of the flight box changes the center-of-gravity of the bench. The heavier the flight box, the more tendency there will be for the Meroke bench to tip forward, the opposite is true, with the new bench design, because the weight of the box will be behind the front leg of the bench instead of in front of it.
[ATTACH]2064142[/IMG]
I know many of you love the Meroke bench and it was featured in MAN several years ago, but that was not an indorsement of it by the AMA, nor is it the only "authorized" bench allowed at a flying field. The GSWAM bench has also been featured in MAN in the Safety Column. Hopefully, this will slow down the emails, phone calls and PM's that I get that are telling me that the GSWAM bench is not "approved." Neither bench is "approved" by any organization, their use is up to the builder and users to follow safe practices and you use them at your own risk.
If anyone has any comments about some features that the Meroke bench design has that make it better than the GSWAM style and you think they need to be incorporated in the GSWAM design to make it better, I would like to hear about them. If they have merit, I will try to incorporate them in a future revision.
P.S. Changing the design to three legs has been suggested over 100 times, it is not better. Rationale - If it ain't broke don't fix it. The four leg design has not been an issue on rough grass fields. You can see the pictures of both benches on our field if you click on the "My Gallery" option on the left side of the screen.
Last edited by Joystick TX; 01-17-2015 at 10:04 PM.
06-24-2015, 05:15 PM
#54
Thread Starter
The old large bench at our club recently fell apart so we had to build a new one.
That gave me a chance to test the accuracy of the plans. I found some errors and corrected them in this revision. Part number 3 on the old plans had the wrong cutting dimension and there were some other minor errors.
The photos show a Giant Super Sportster with an 82" wingspan to give you an idea of the size of the bench. Of course, the bench is designed for a much larger type of plane.
Last edited by Joystick TX; 06-24-2015 at 05:18 PM.
06-27-2015, 01:58 PM
#55
Thread Starter
I never put wheels on the small benches because they could be moved fairly easily and the cost involved.
The big bench is harder to move and can use some wheels when sitting on grass.
I found some cheap plastic wheels, with a 150 lbs max load, at Harbor Freight for about $8 each. The cost, for the wheels and hardware came to about $32.
The total cost for the bench was around $125.
I added a pad to the rear of the bench. Some of the big birds may hang over the back, this will give some protection to the bottom of the plane in case the tailwheel is not resting on the wood.
Last edited by Joystick TX; 07-17-2015 at 09:22 AM.
08-28-2015, 10:46 AM
#56

Join Date: Dec 2011
Location: fernandina beach, fl
Posts: 15
Likes: 0
Received 0 Likes
on
0 Posts
Just finished building two of the benches from the plans. Followed the plans exactly. Wow, what an easy build. I sincerely appreciate the effort that was put into designing the bench and the parts layout.
Some Club members would prefer a "flat top" bench/table as well. Rather then slap a 4' x 8' piece of plywood on a frame, does anyone have an alternative design that may be more functional? Also, we are based in southeast Georgia close to the Florida state line, plywood does not hold up well.
Once again, great job with the Bench Plans!!!!!
06-23-2017, 11:30 AM
#57
Thread Starter
I'm still getting questions about adding wheels.
They can be added if the goal is to move the bench around a lot. It adds quite a bit to the cost, usually $20 to $30. The large bench has the information on the wheels, because it makes more sense for it since it is very heavy.
A lot of people have said the bench is hard to move when mowing the grass. That is true, the best solution is to NOT move it by dragging it in any direction, it is not designed to be drug. The simple way to get it out of the way for mowing is to just grab it by the tail, lift it up and roll it forward until it is upside down, then mow behind it. When done mowing, just reverse the process, then mow in front of it. The attached picture shows what the bench looks like when it is in the "forward" position.
Last edited by Joystick TX; 06-23-2017 at 11:35 AM.
07-01-2017, 05:02 AM
#58

Good thread and useful information. A few years back I got back into RC. I prepared a runway at home. I did research on starting benches and found many pictures plus the plans. The plans may have been from this thread, not sure. I built a rather small stand. I needed it for use on the ground and on the trailer to use at the runway. It served me well but was not the best just a T type affair. Recently I got around to building another stand.
This is one is larger and will hold large size airplanes. I made the front area longer to support trigear airplanes although I only build tail draggers for now. It has good work space in case of minor needed repairs. I still have to add a TX holder. The starter goes under the stand. I have a Velcro strap to hold the airplane tail down. The stand is tied down to the trailer. It has wheels and I move it wheel barrow style. Use it on the ground and in the trailer. Still getting use to it but liking it a lot. I've had it in the sun drying out before I decide on the finish. It should last as it will be under cover when not in use.
This is one is larger and will hold large size airplanes. I made the front area longer to support trigear airplanes although I only build tail draggers for now. It has good work space in case of minor needed repairs. I still have to add a TX holder. The starter goes under the stand. I have a Velcro strap to hold the airplane tail down. The stand is tied down to the trailer. It has wheels and I move it wheel barrow style. Use it on the ground and in the trailer. Still getting use to it but liking it a lot. I've had it in the sun drying out before I decide on the finish. It should last as it will be under cover when not in use.
07-01-2017, 06:59 AM
#60
Thread Starter
For those of you who don't want to read through the entire thread to find the latest updates to the GSWAM bench plans, this should help you out.
For the Regular Sized bench Revision 8, see post #45.
For the Large Sized bench Revision 3, see post #54. For the design with wheels, see post #55
The reason for the design and goals, see posts #53 and #54.
For the Regular Sized bench Revision 8, see post #45.
For the Large Sized bench Revision 3, see post #54. For the design with wheels, see post #55
The reason for the design and goals, see posts #53 and #54.
05-19-2018, 03:08 AM
#63
Join Date: Sep 2006
Location: churchbridge, SK, CANADA
Posts: 54
Likes: 0
Received 0 Likes
on
0 Posts
Found this topic, and laffed at some of the comments about who wouldn't like these. Well, as it turns out, the former president of our club decided that they were " Lawn furniture", along with the new picnic table and convertible benches I had built, and didn't like them because they needed to be moved for mowing. And he felt they cluttered up " HIS" field. Hmmm, might explain where he is now the "former president" of our club. lol.
The tipping issue with the original 3 leg version was solved by making a simple T handle anchor that goes through the back leg at an angle into the ground. And the bench is on wheels. Pull the anchor, move the bench, mow, put it back, push anchor back in. Done deal.
The tipping issue with the original 3 leg version was solved by making a simple T handle anchor that goes through the back leg at an angle into the ground. And the bench is on wheels. Pull the anchor, move the bench, mow, put it back, push anchor back in. Done deal.
10-11-2019, 07:04 AM
#64
Thread Starter
One of the builders of the Large Bench noticed an error in the location of PN3s three on the diagrams shown on page two and three. PN3 should be located to the outside of PN4. None of the dimensions change. The assembly instructions are correct.
I'll correct the drawings later this month to show the right location.
I'll correct the drawings later this month to show the right location.
10-11-2019, 07:23 AM
#65

One note on the finish for a bench. Any normal paint or clear coat is not intended for direct contact with gas or nitro and on top of that the sun takes its toll. I have found the absolute best paint is an industrial machine paint with high solids and solvent based. I have built and painted outside wood with this paint and it lasts the longest, is high gloss and cleans easily. I found this out when I built my first compost box out of pressure treated 2 by 10s and it lasted about 7 to 8 years filled with compost before rot appeared. 15 years ago I built a new one and painted the thing with grey machine paint. It took 2 coats and a few days to dry and it stunk to high heaven while drying. Its still looks like it was just built and no sign of rot. I also use the paint to paint steel and anything else that weathers outside and it just lasts and lasts. The only thing is its available in a limited amount of colors.
Dennis
Dennis
10-14-2019, 10:37 AM
#66

Just a quick note to post a photo of our new Start Bench.
I'm going to send a couple of little corrections/suggestions to help clean up these already great plans.
The guys loved the bench and even said they can't wait to get their bigger planes out to the field now.
Steve, Thanks again..
Blue Skies, Tom
I'm going to send a couple of little corrections/suggestions to help clean up these already great plans.
The guys loved the bench and even said they can't wait to get their bigger planes out to the field now.
Steve, Thanks again..
Blue Skies, Tom
Last edited by TEBerg; 10-14-2019 at 10:42 AM.
The following users liked this post:
carapis (10-27-2021)
11-19-2019, 05:11 AM
#71
Thread Starter
Let me know if you have any nose wheel problems on the large bench. If you do, I'd like to know what model won't fit.


The following users liked this post:
carapis (10-25-2023)
10-27-2021, 07:10 AM
#75
Hi Steve
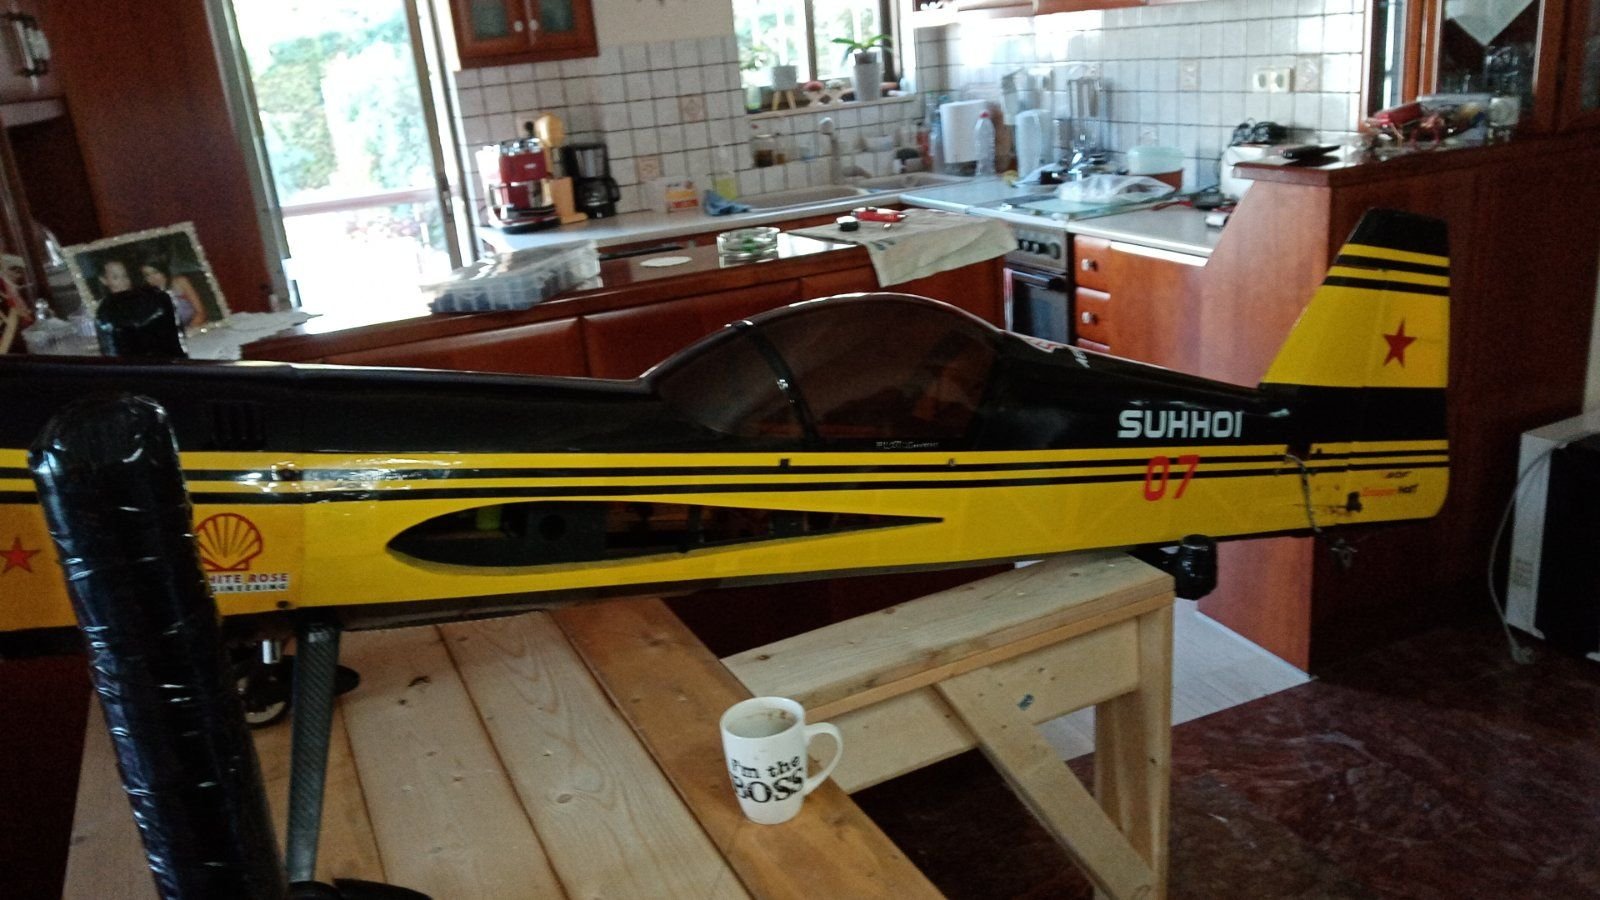
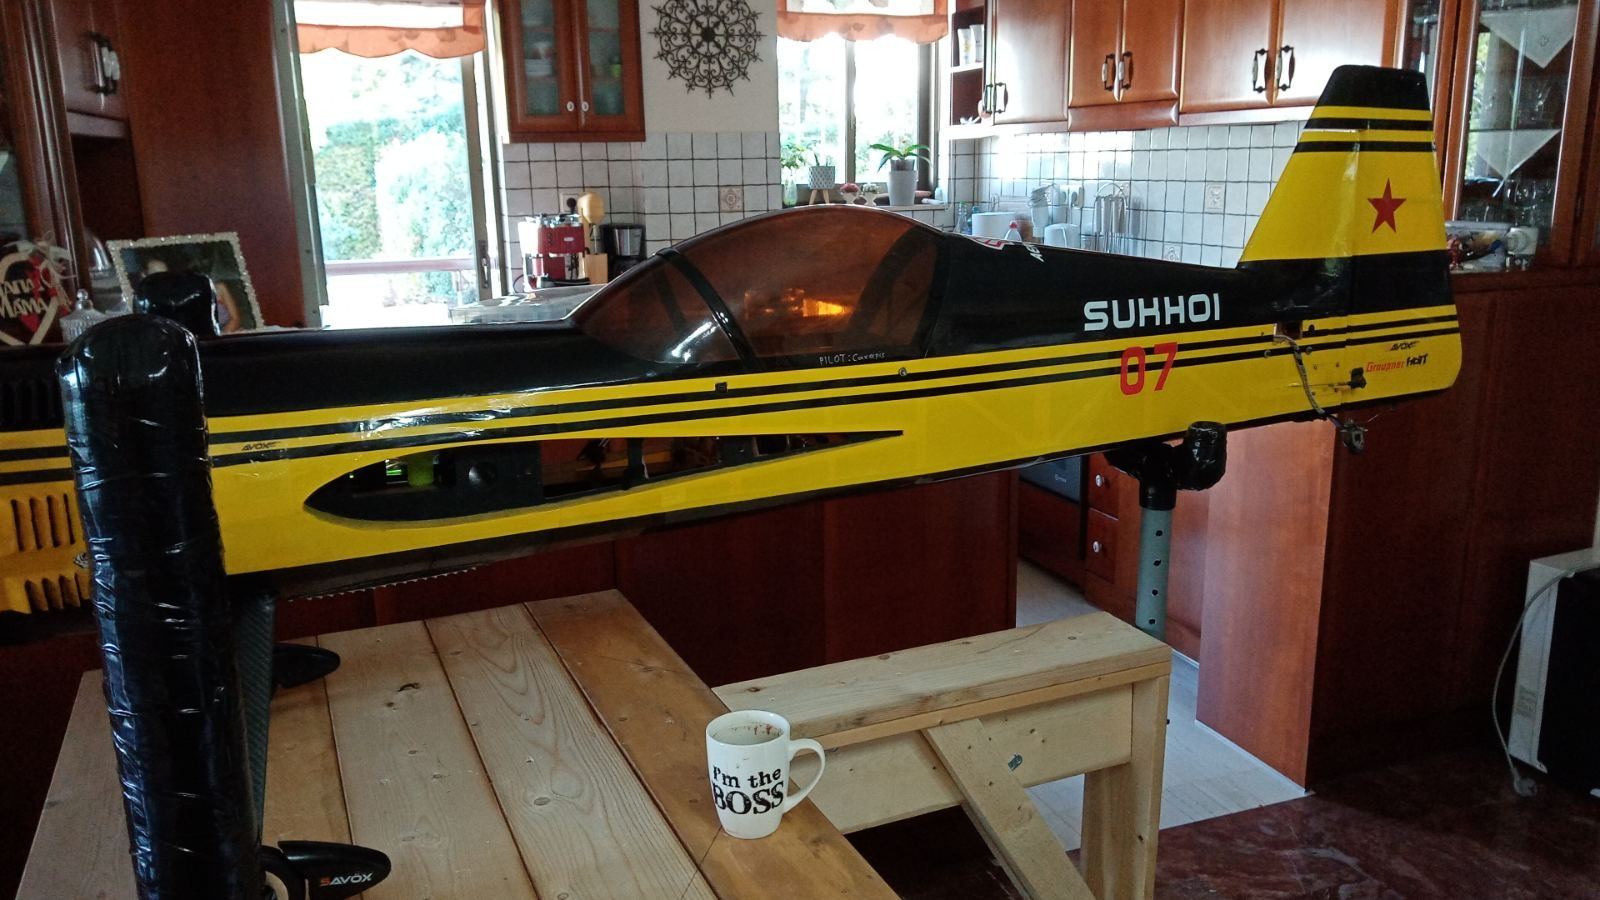
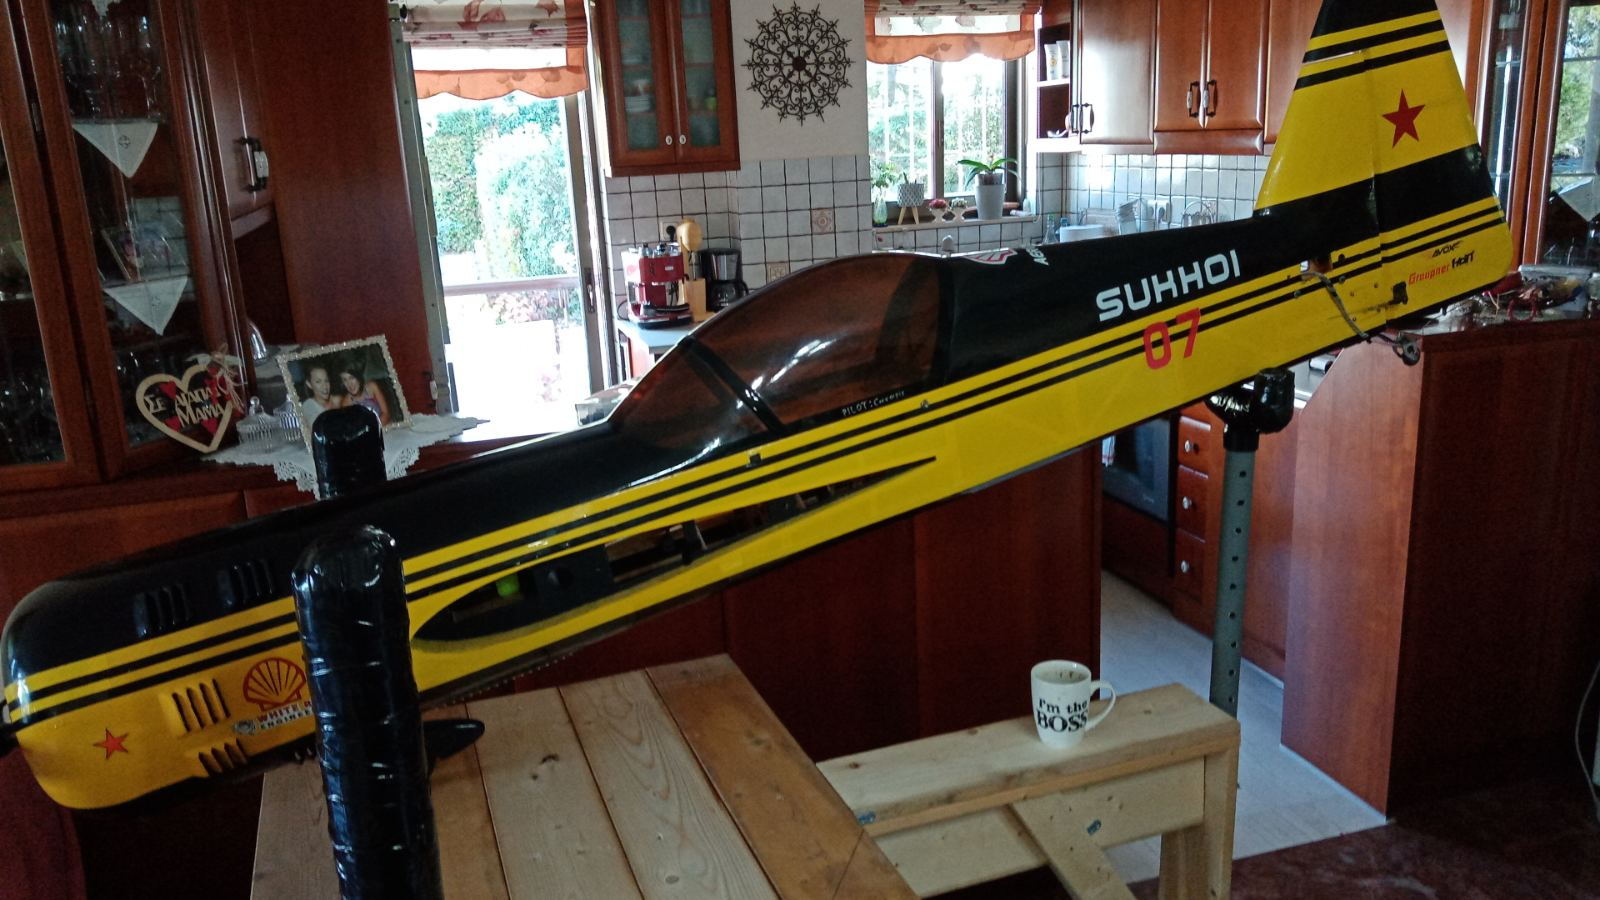
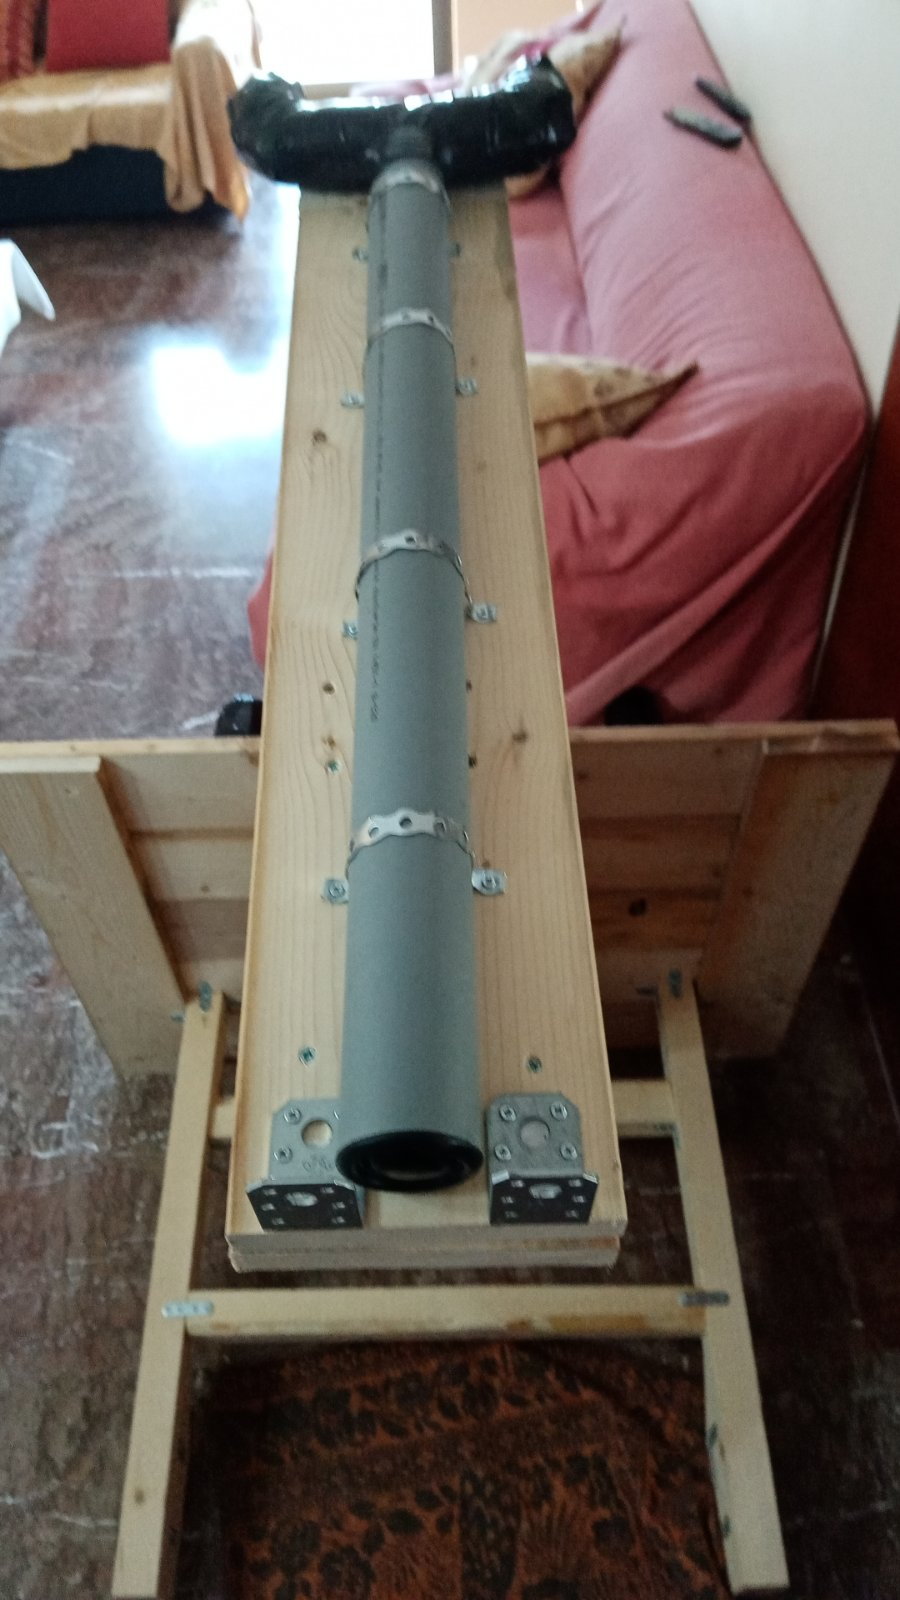
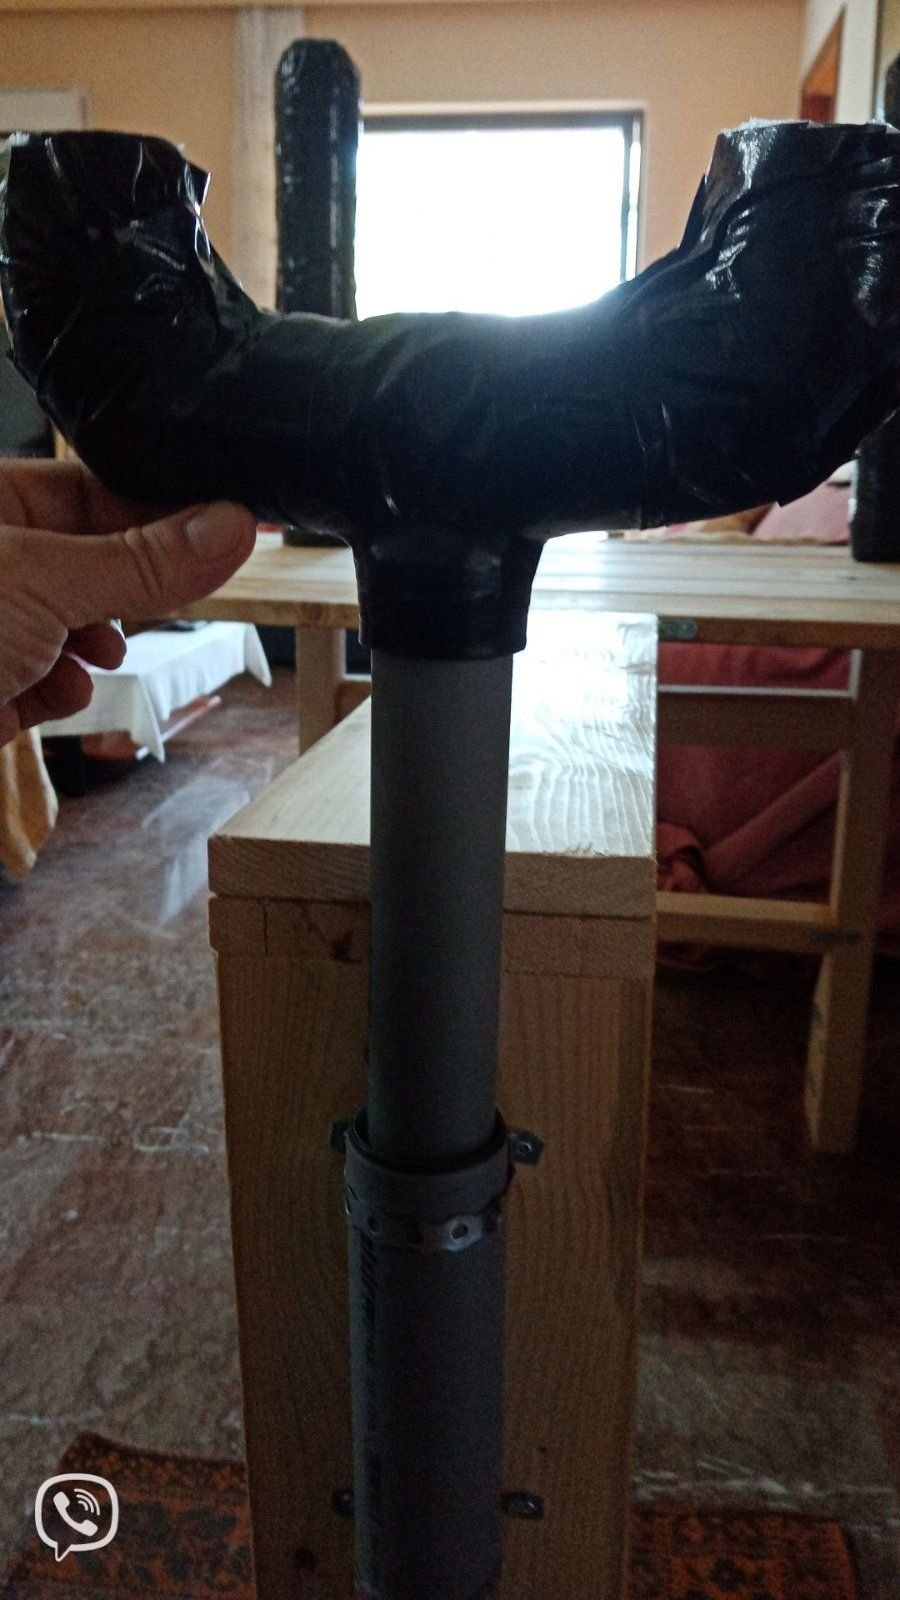
The rear adjustable leg was a flash as I was pushing it and I was thinking how can I make it serve larger planes as well.
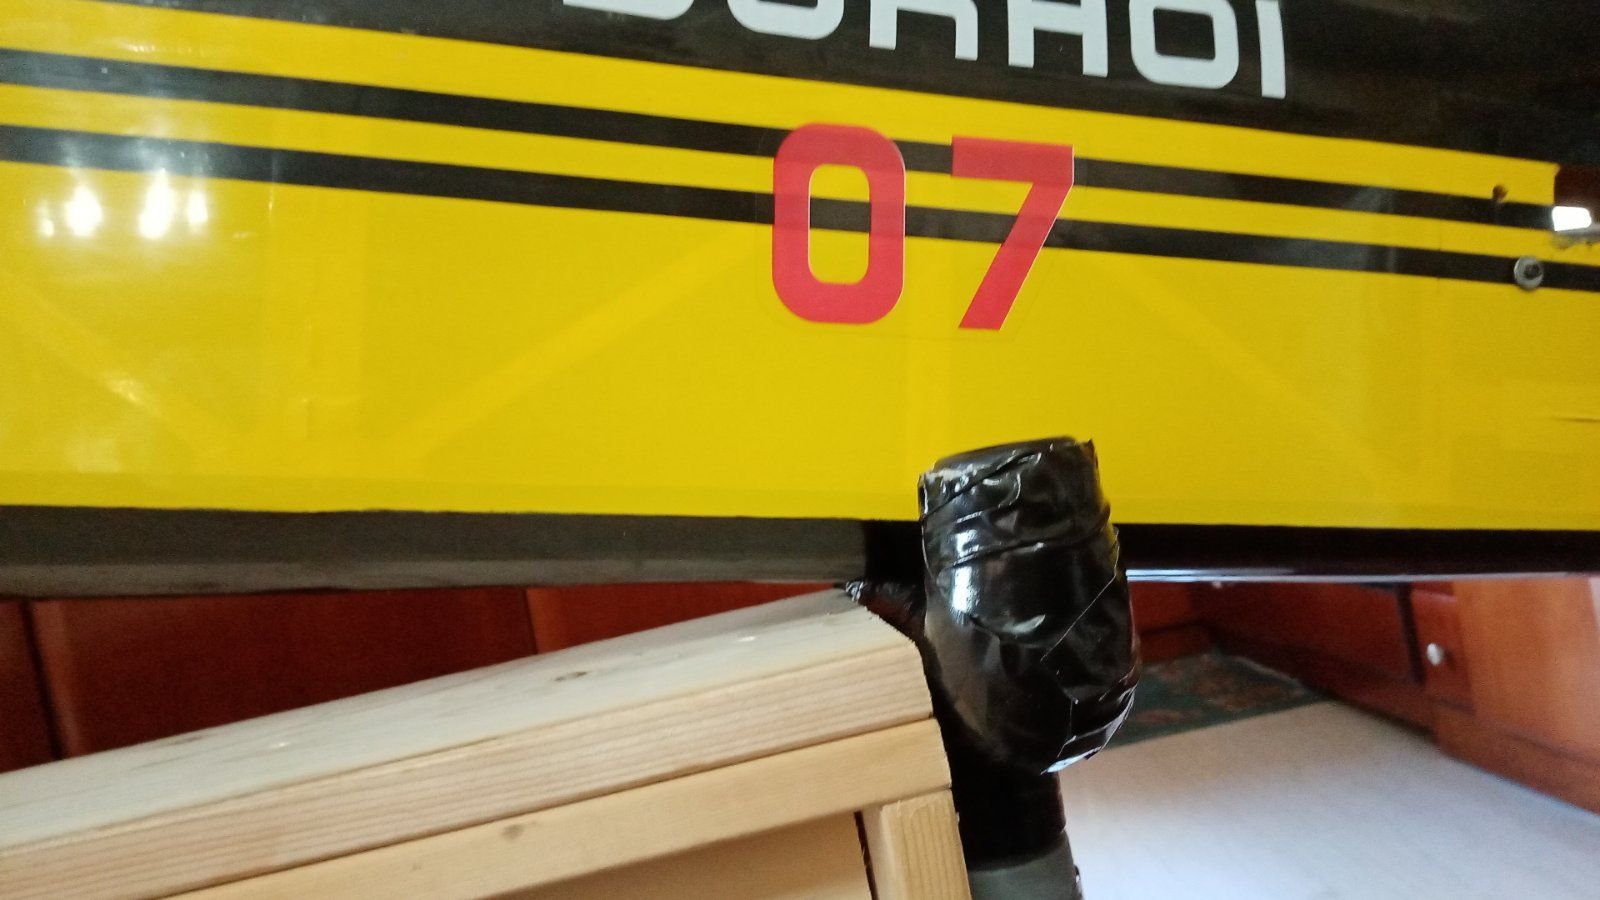
My initial thought was to make it as light and strong as possible and so I came up with this size and thickness of wood that I used. It is not finished yet, it needs impregnation with wood varnish and maybe a darker color in the shade of oak maybe.
What I can tell you is that you can sit on it in all places and not hear the slightest crack (I am 80 kg body weight) Finally, I hope that the large 50cc-100cc aircraft can work on it without any risk of being diverted.
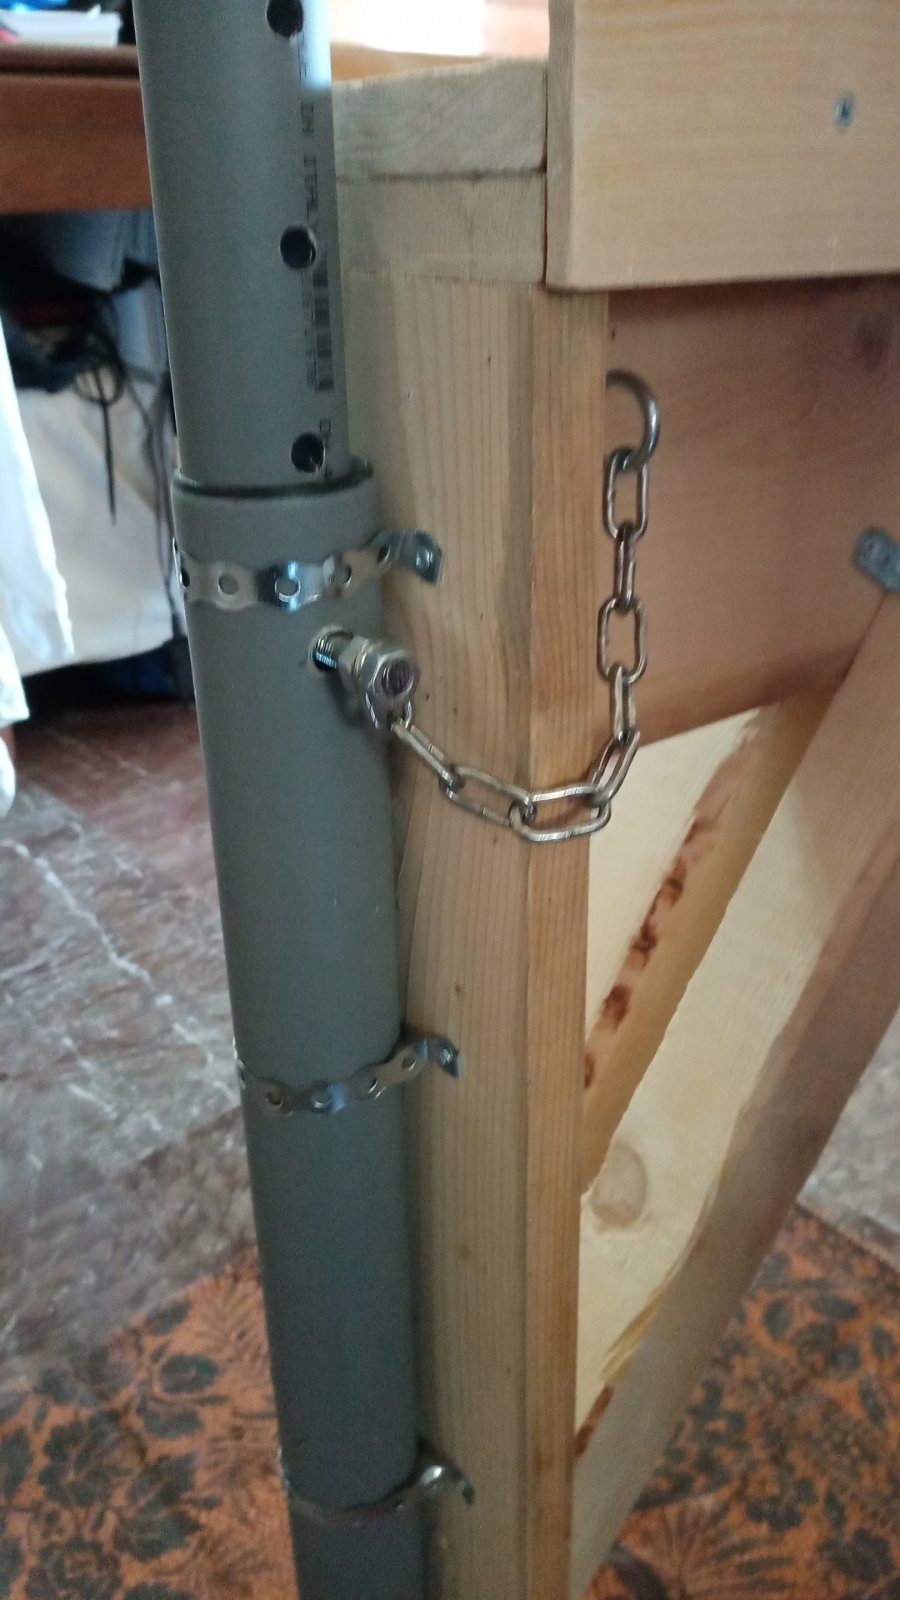
For this reason I have the two mounting angles behind and below the adjustable foot so that it can be nailed on the ground and there is no case of it bouncing in front due to thrust force.
A small diagonal shake-distortion of the back, up high at the corner of the joint, I will face it by putting down on the back leg on both outer sides, extensions as I have on the front legs and I think it will be motionless and stable like a rock.
PS
xaxaxaxaaa, I can claim the originalty for the rear adjustable foot-leg
T-U for your positve thoughts...

Chris
Last edited by carapis; 10-27-2021 at 07:22 AM.

