Divergent kits
 11-28-2019, 11:38 AM
#51


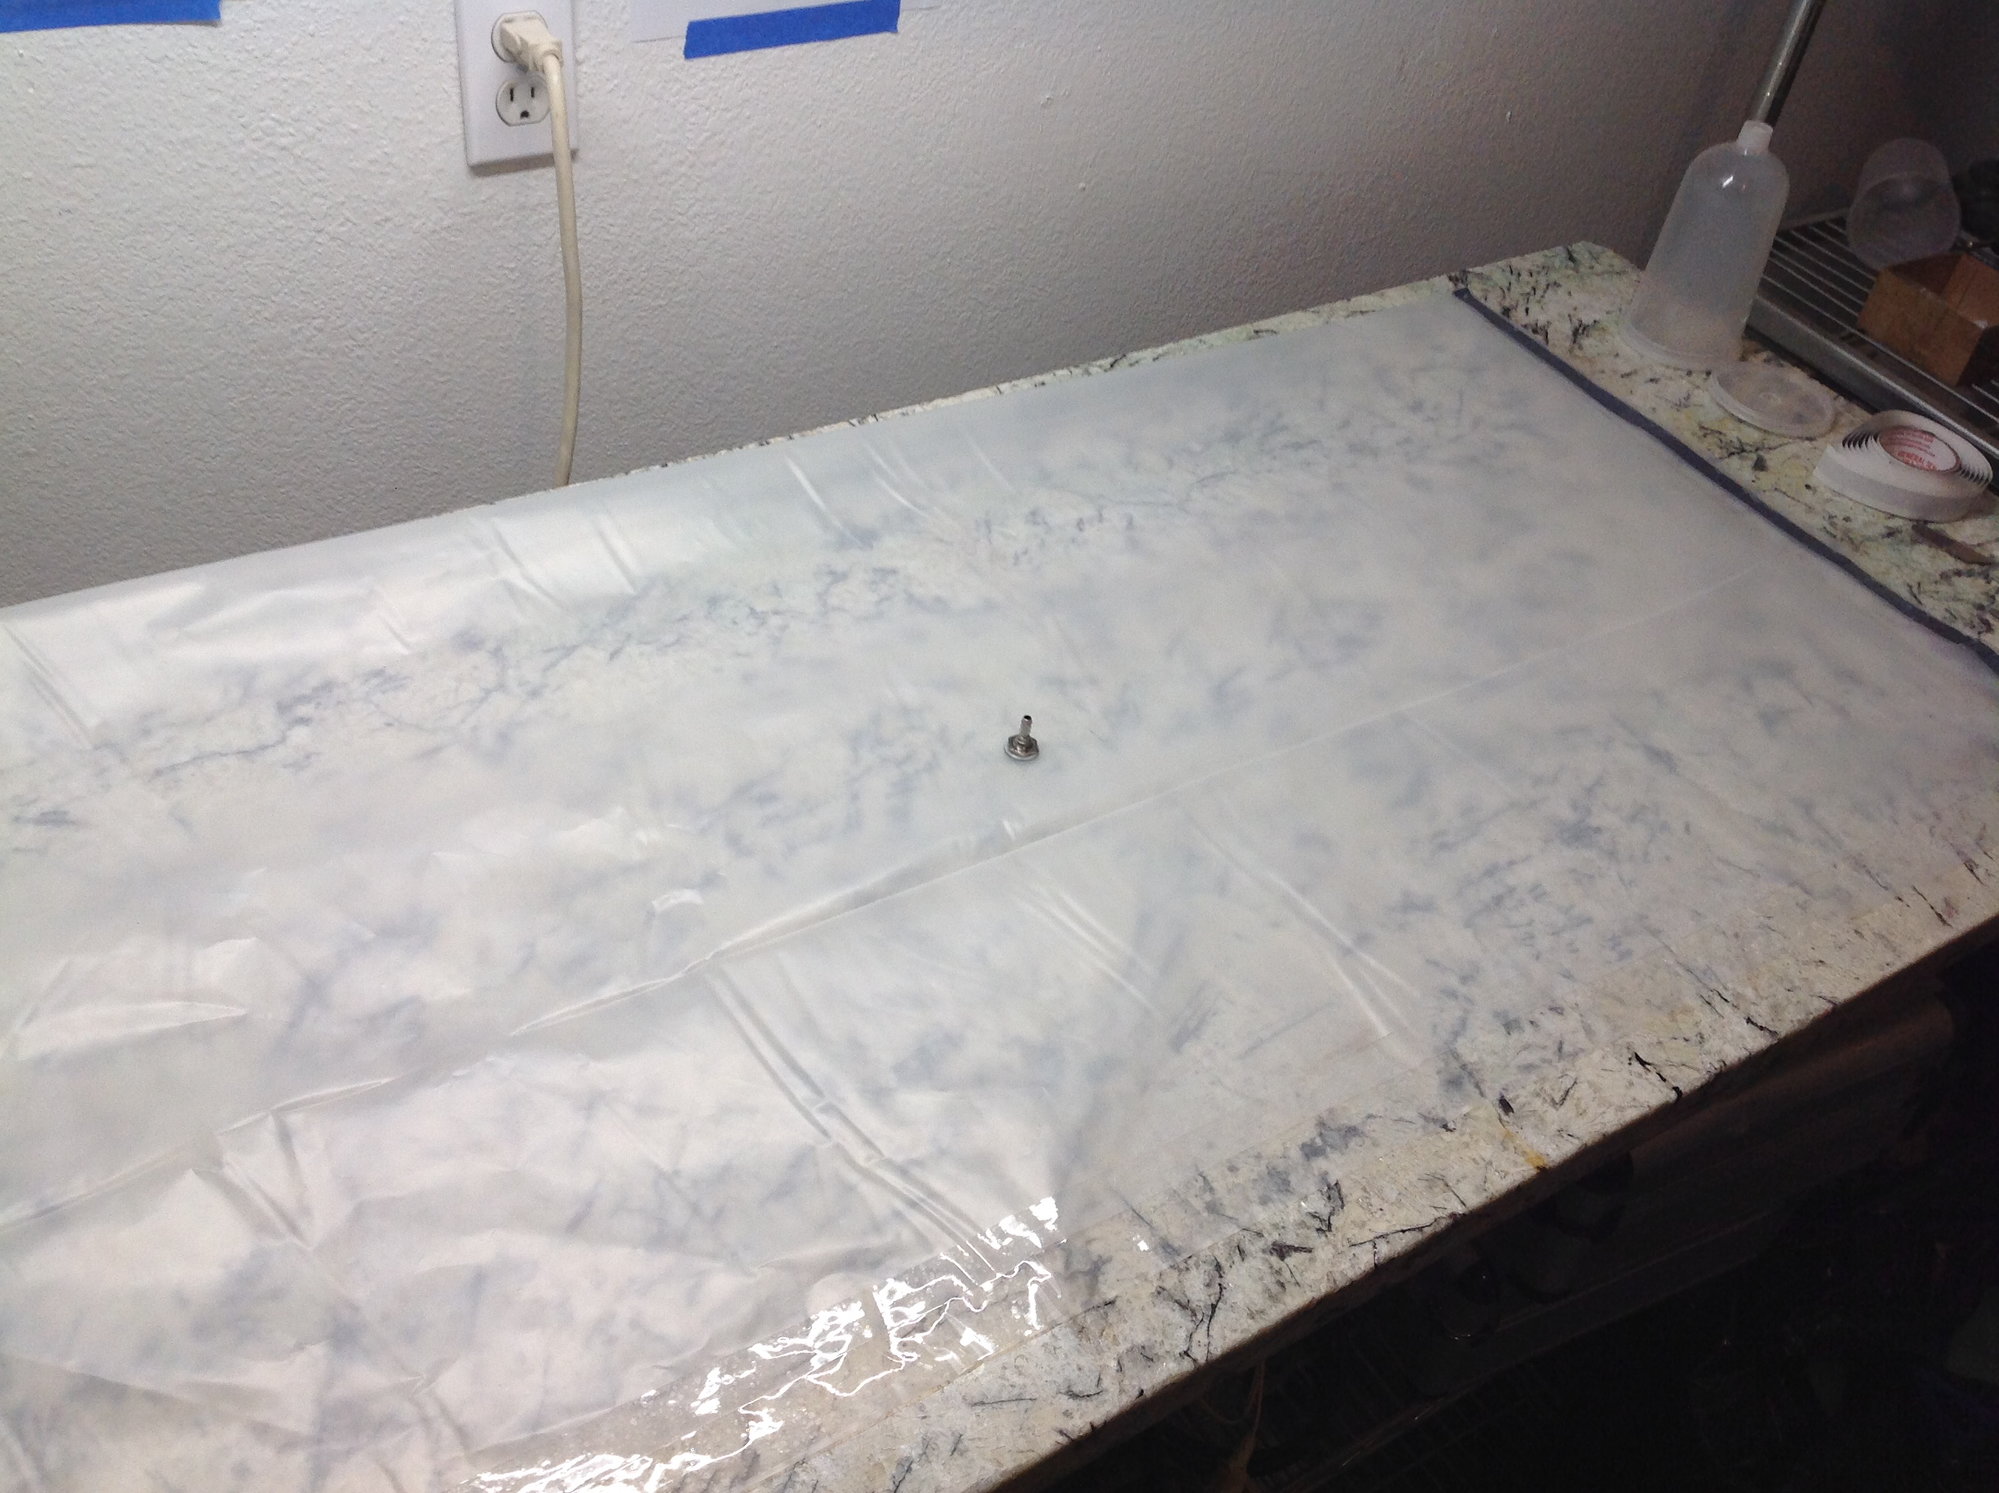
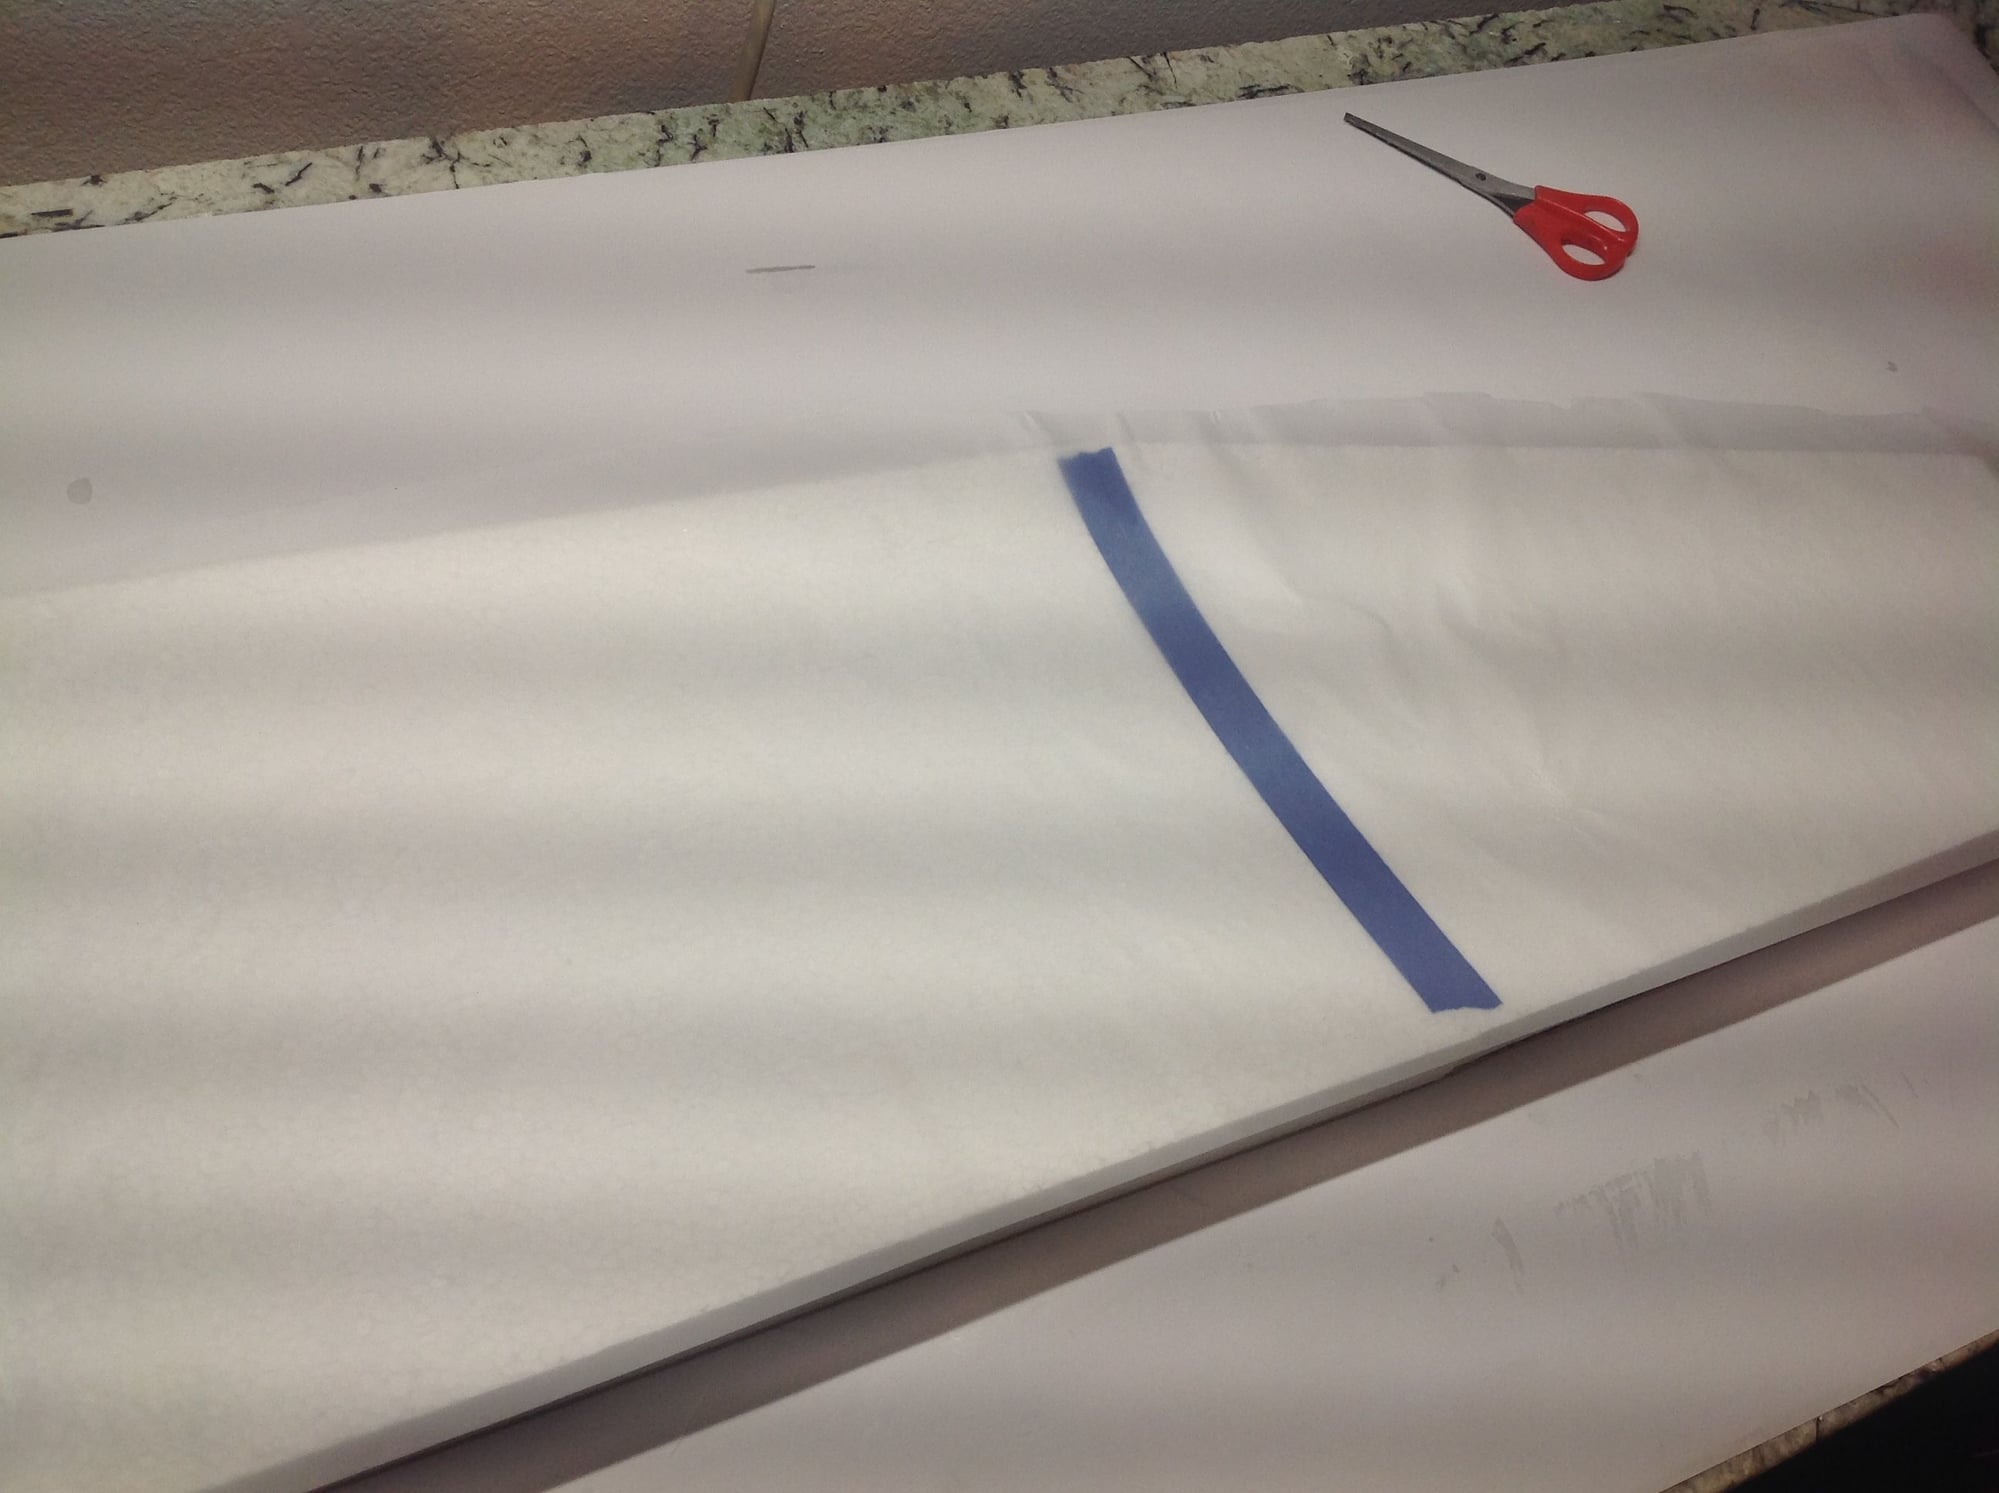
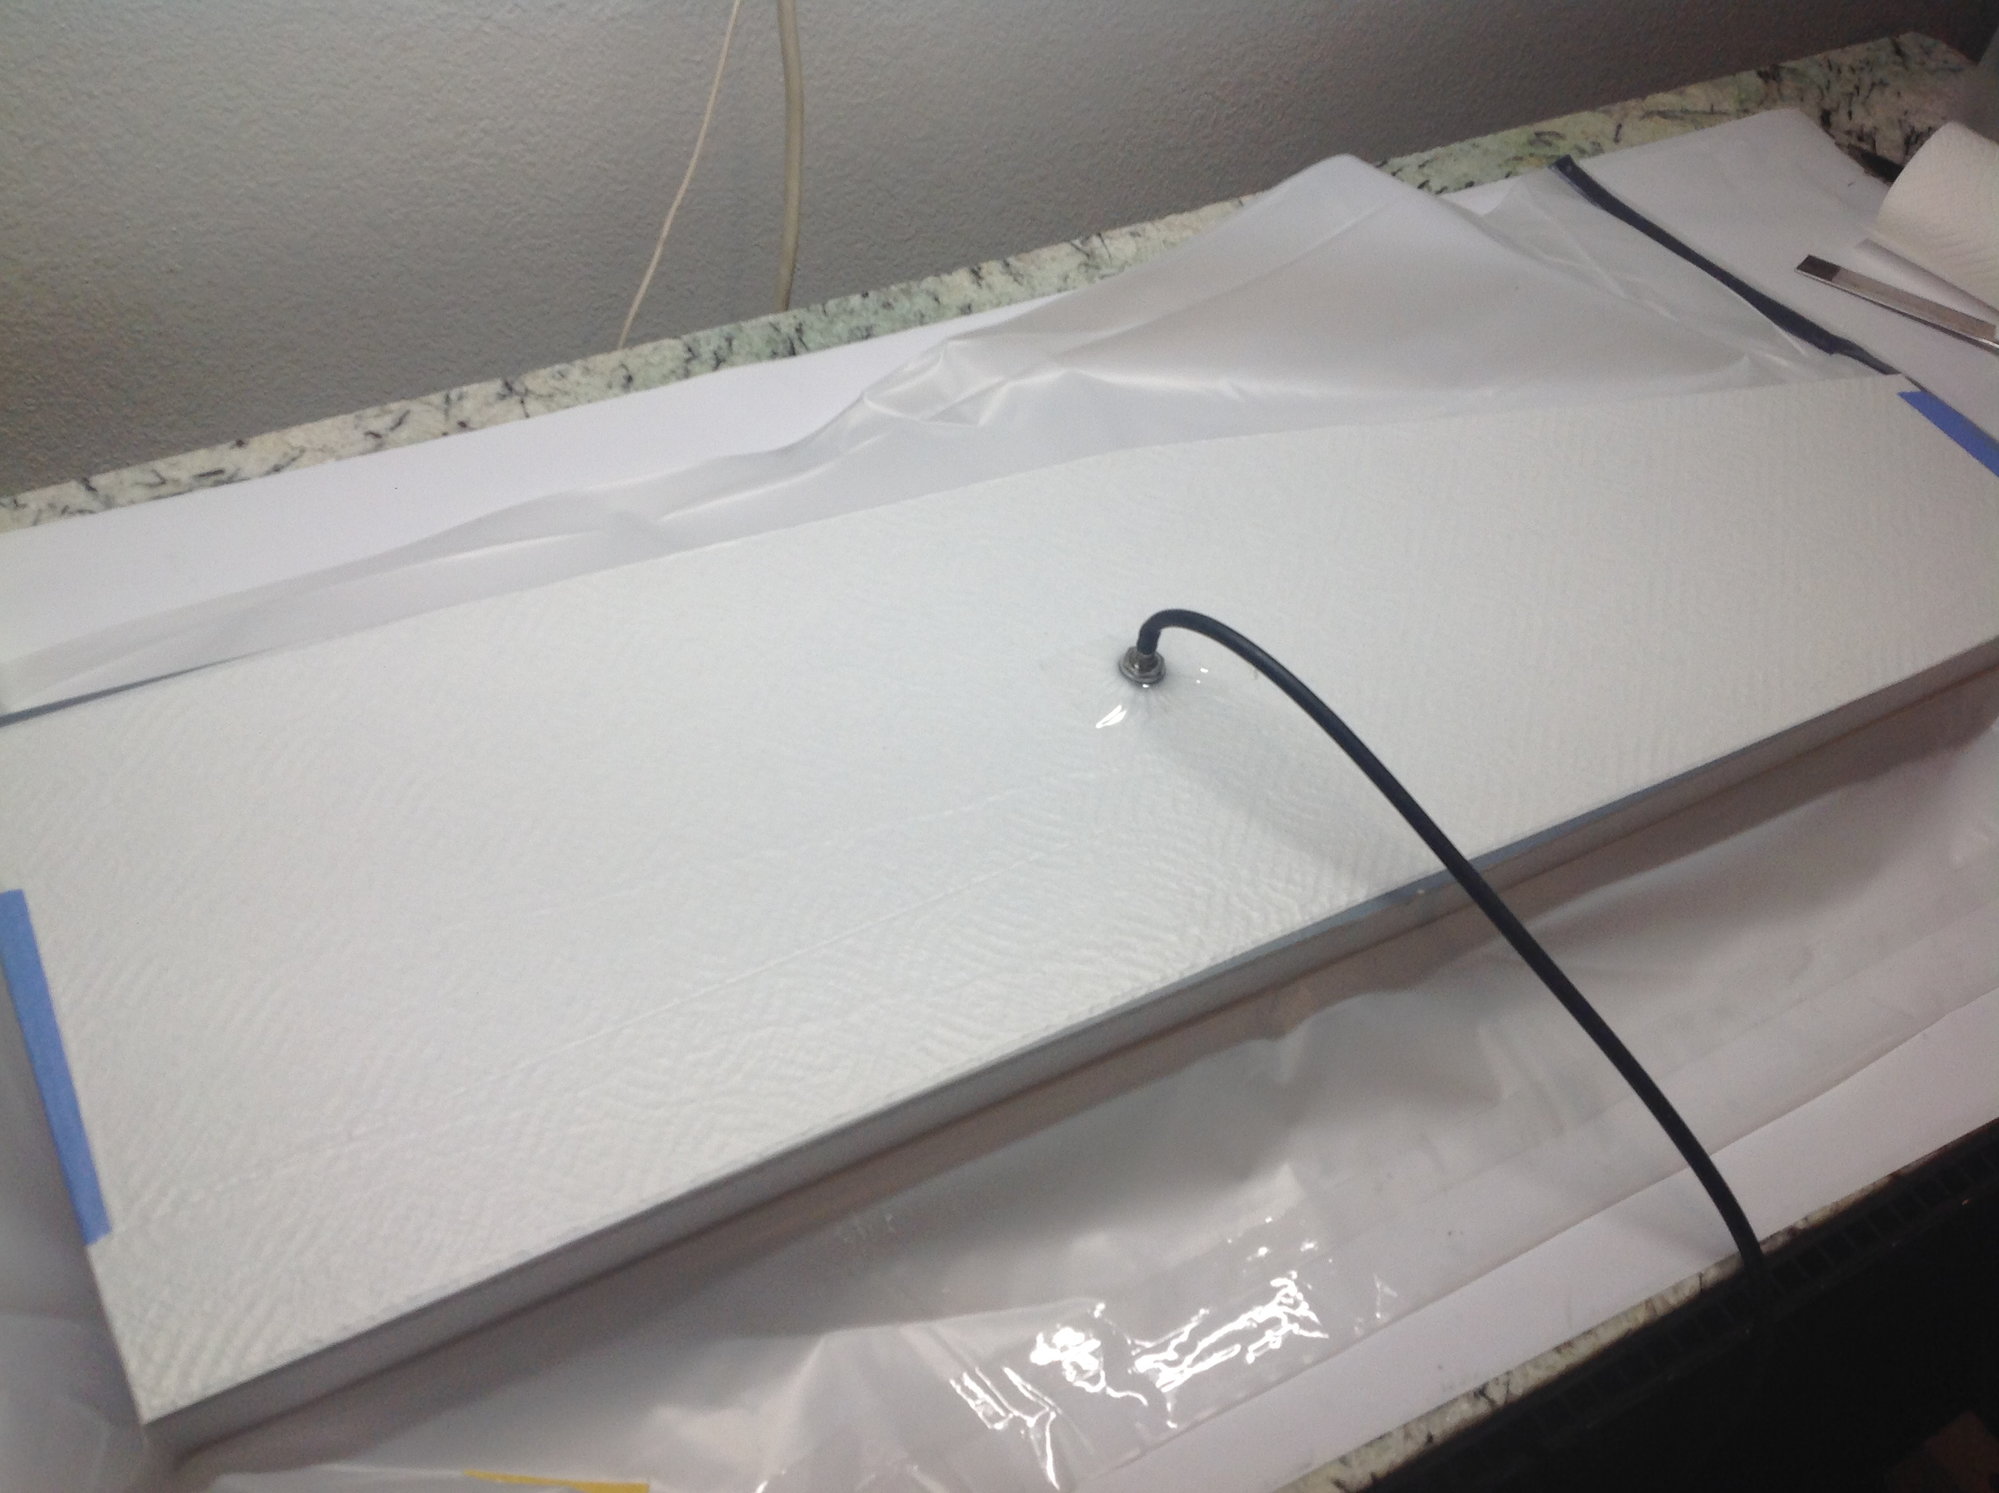
Bag made from 7mil plastic
Since I have a 4 day weekend, I can get pretty far with the wing sheeting. The method I like to use is vacuum bagging. I truly beleive this is the easiest method and most accurate way to sheet wings. I also feel it is the lightest method. There is no real need to go out and buy expensive equipment. There are a few places such as ACP and CST that offer a little device called EZ Vac. It is a continuous running pump that is inexpensive and works great for sheeting wings. The bagging sleeves and clamps are available from the same sources. I have loaned those items out so I will be using 7mil plastic tarp material and sealing tape for my bag and the same vacuum pump that I use for fuselage production just dialed down a bit.

 11-28-2019, 11:50 AM
#54
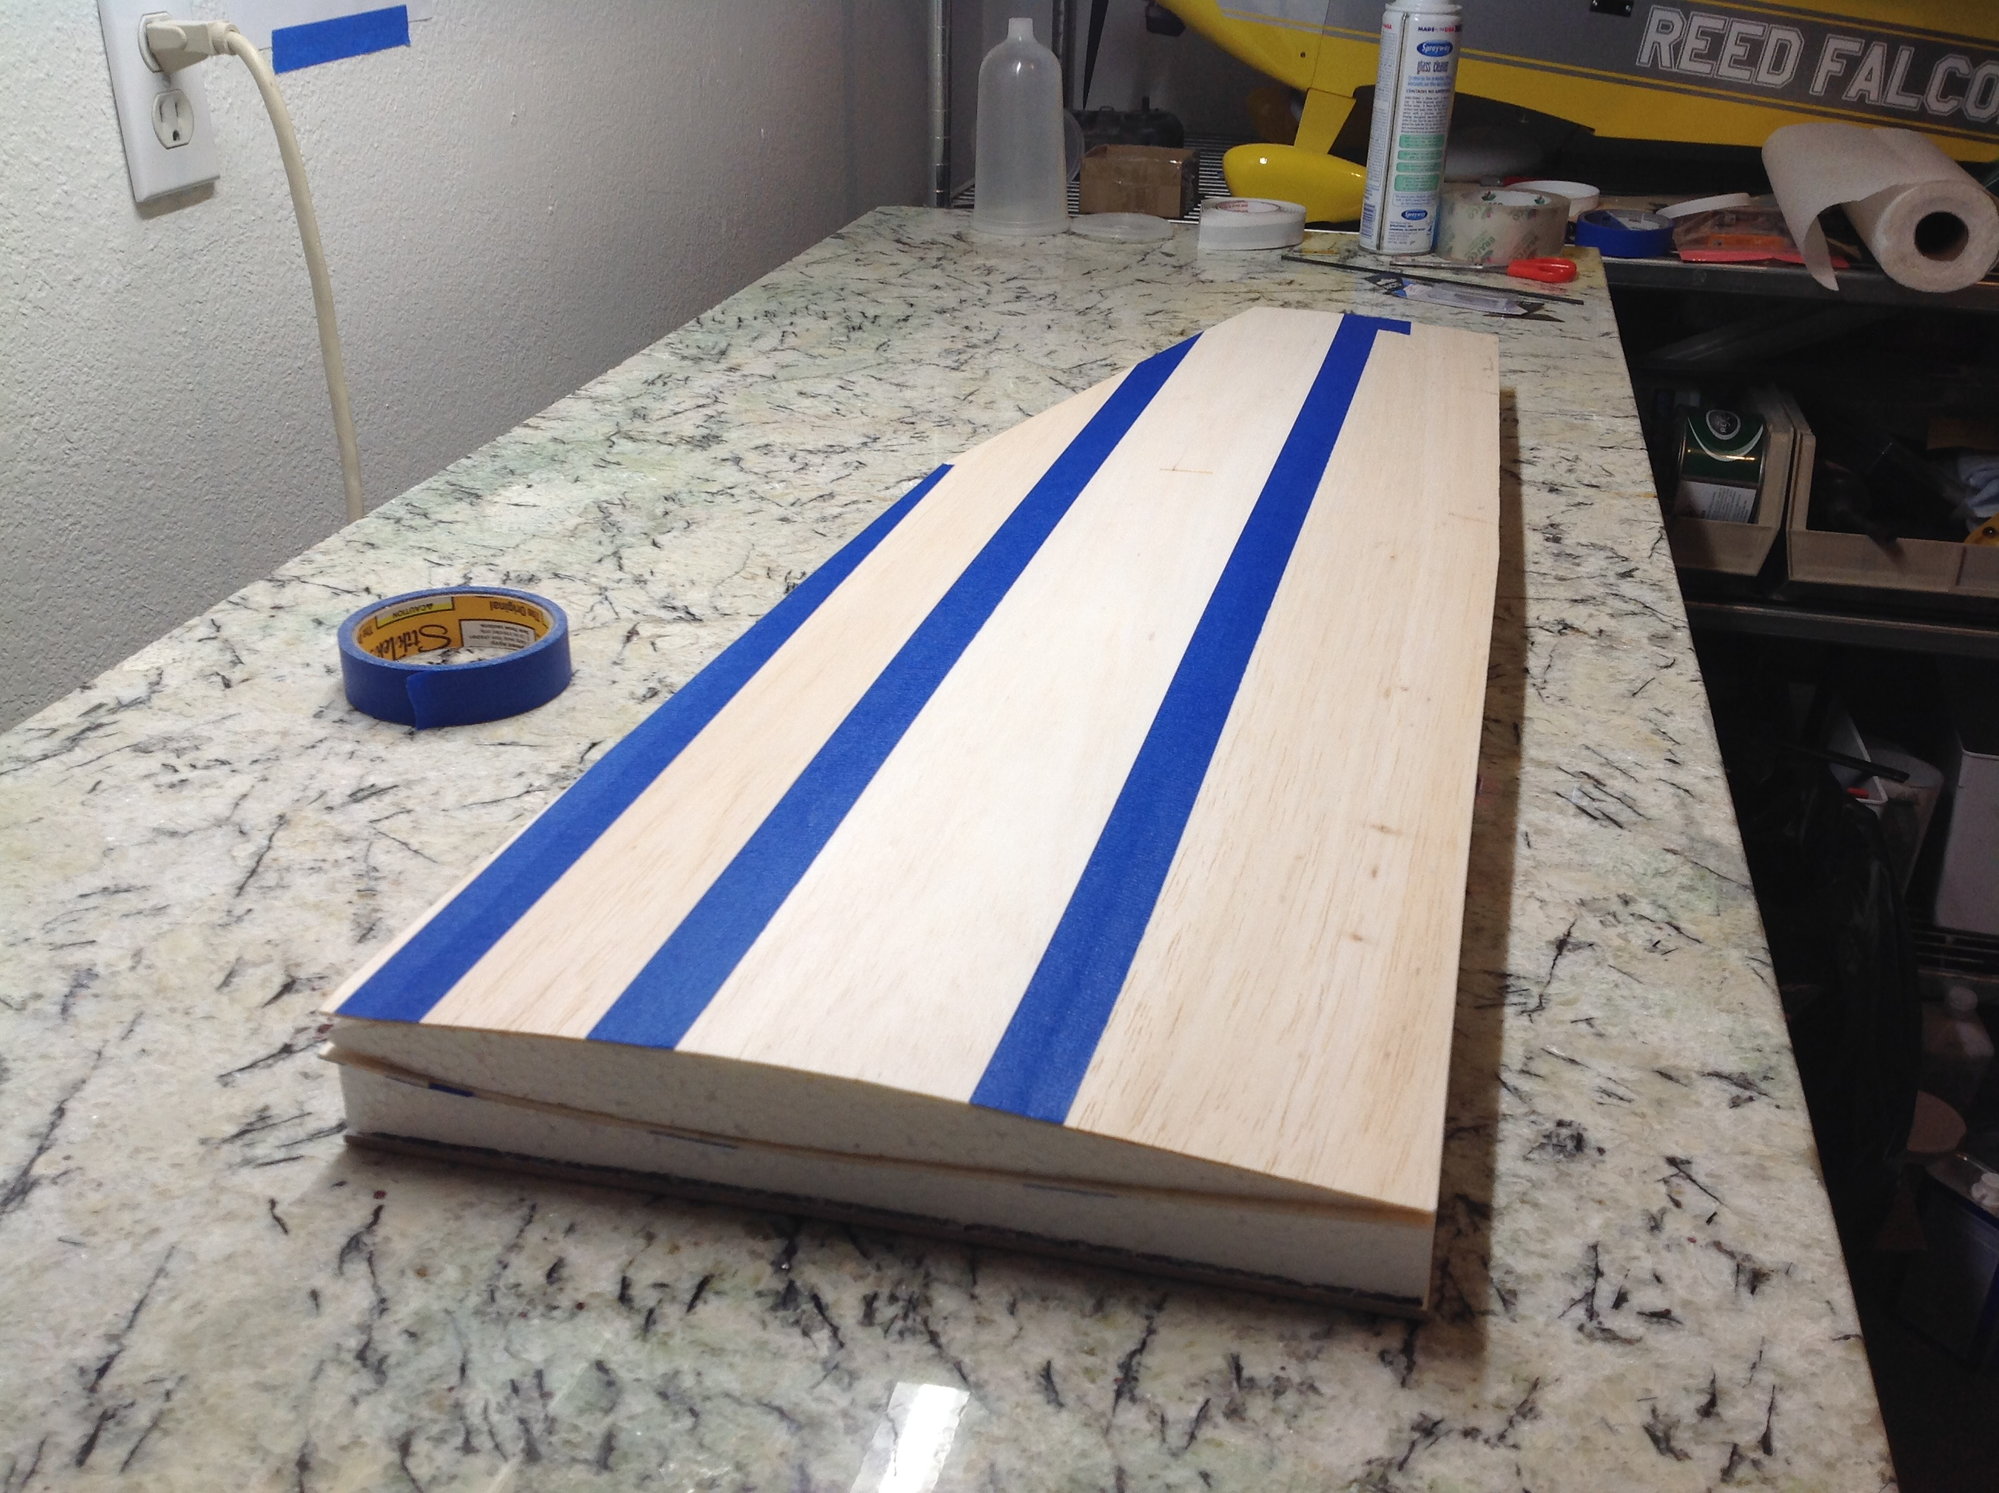
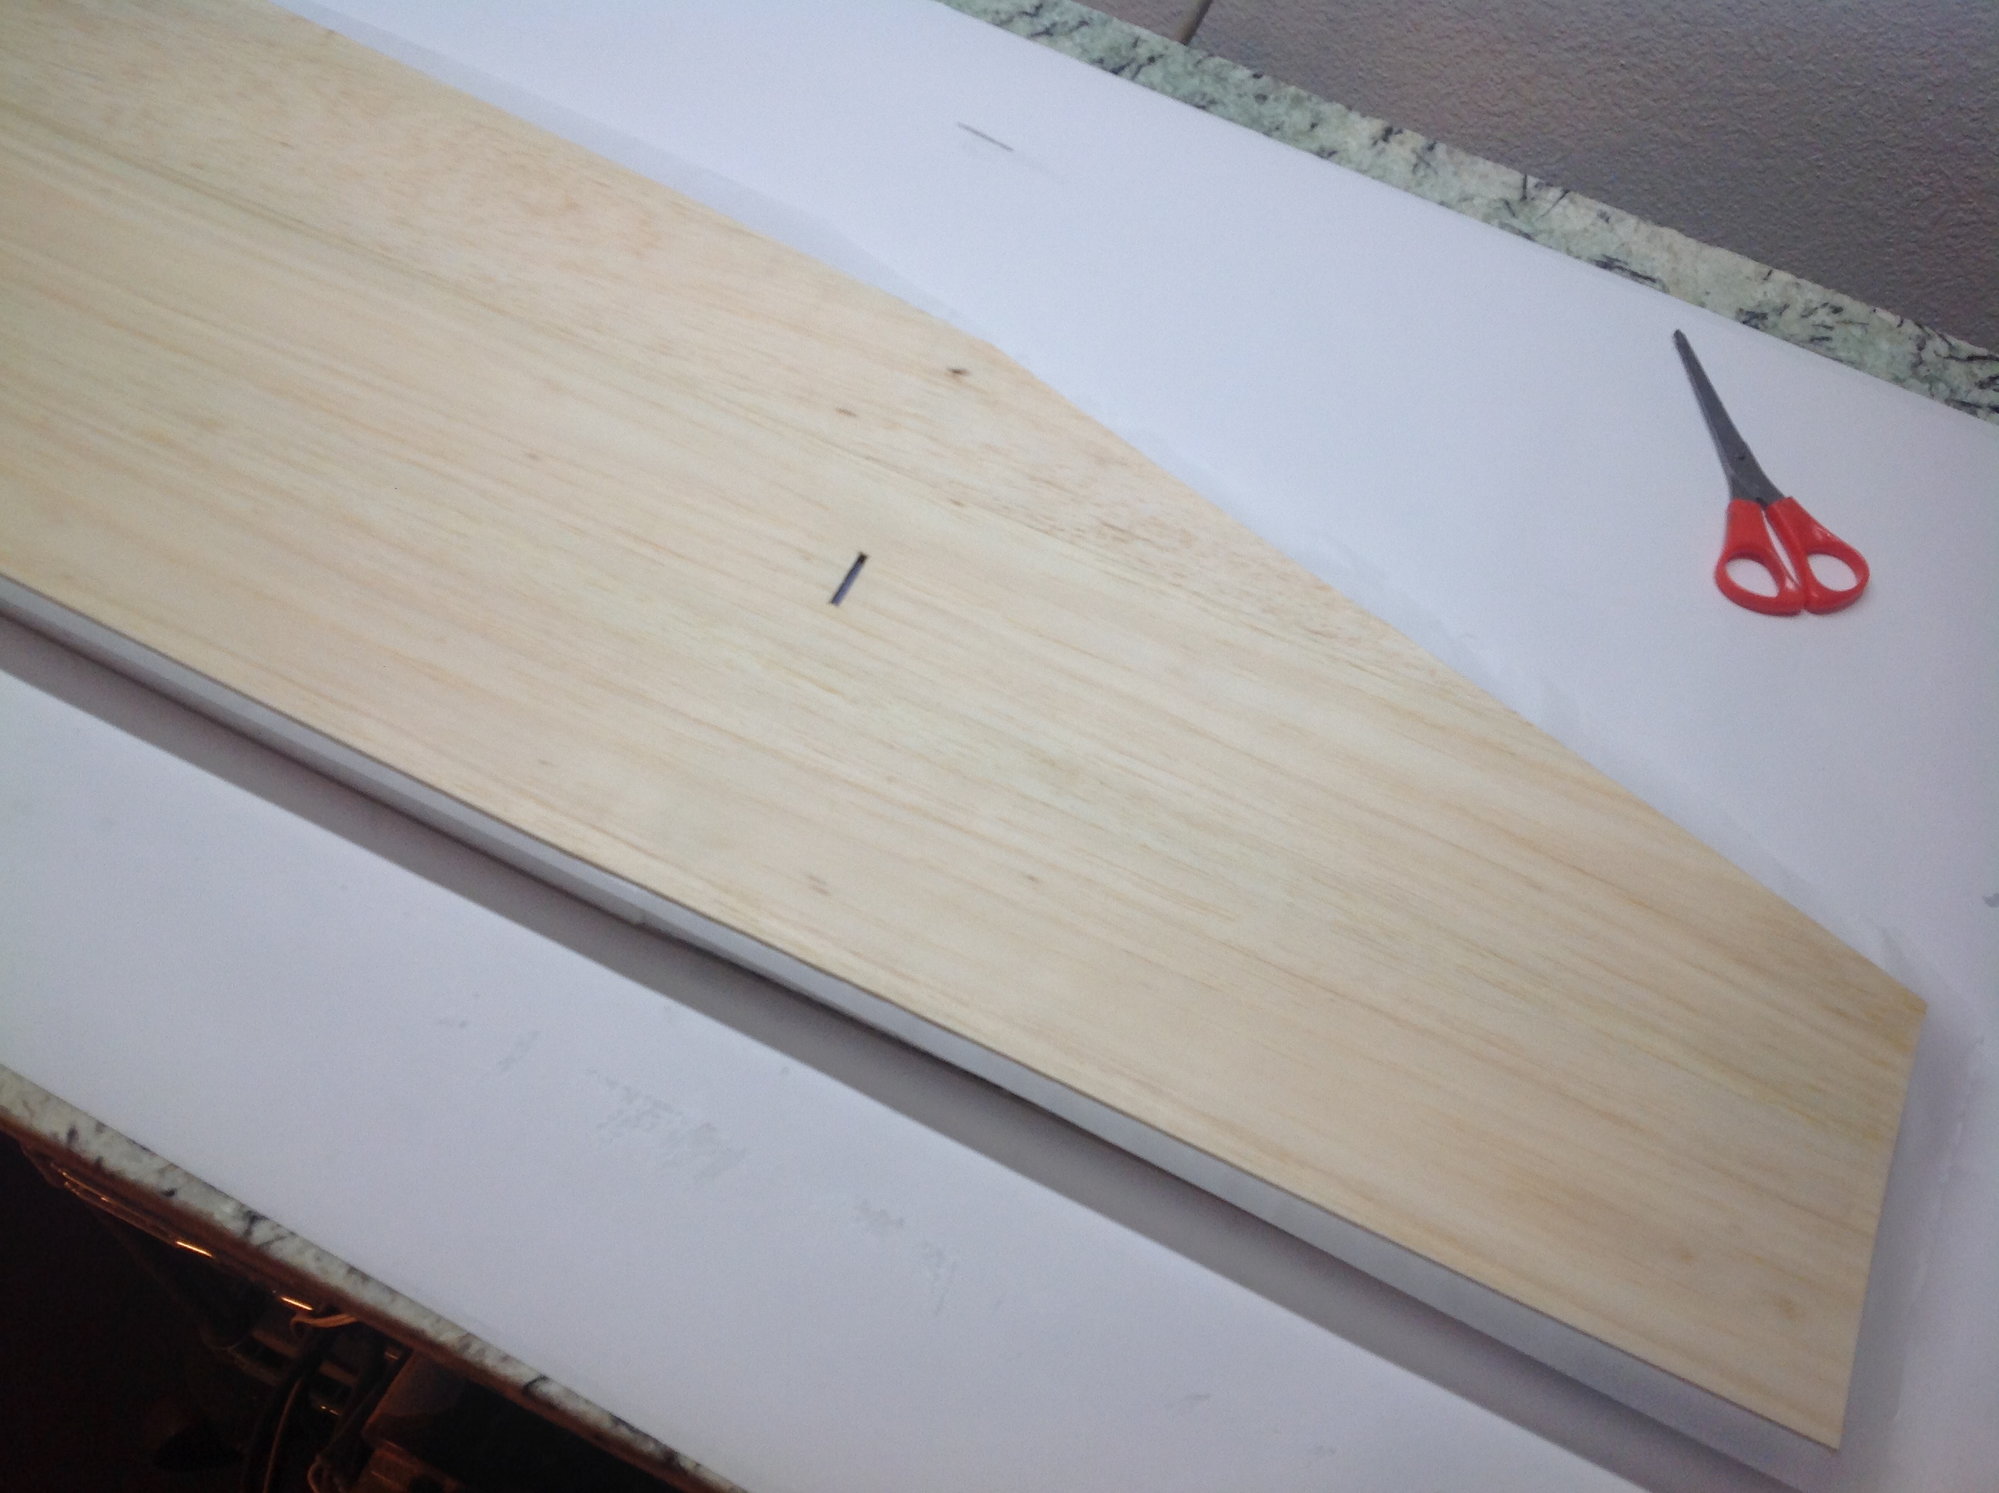
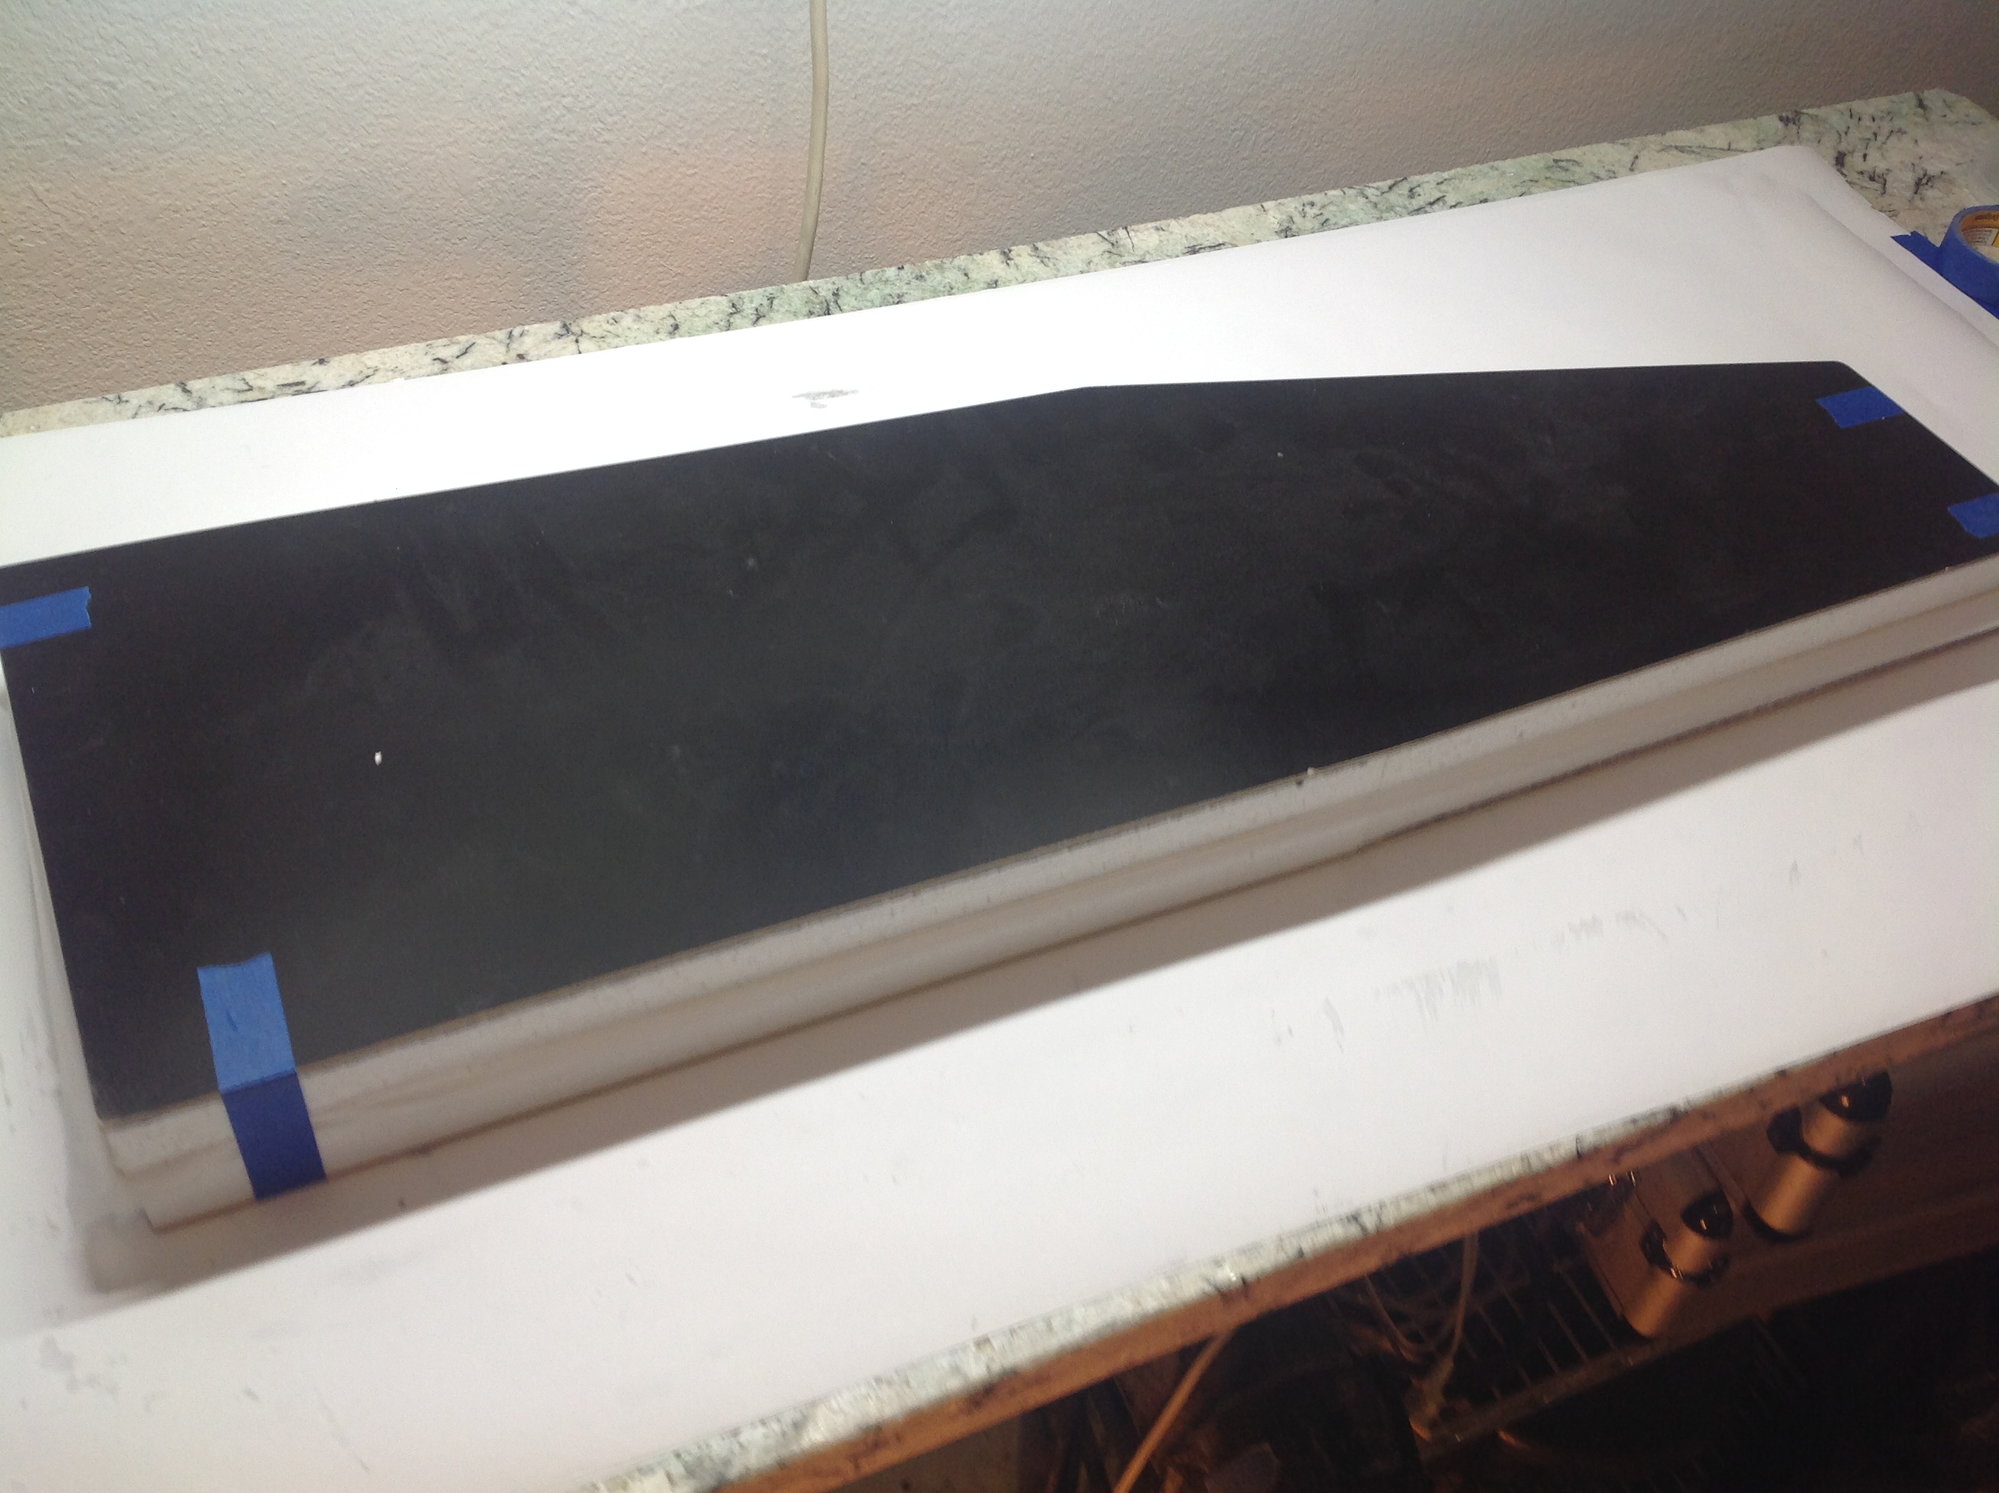
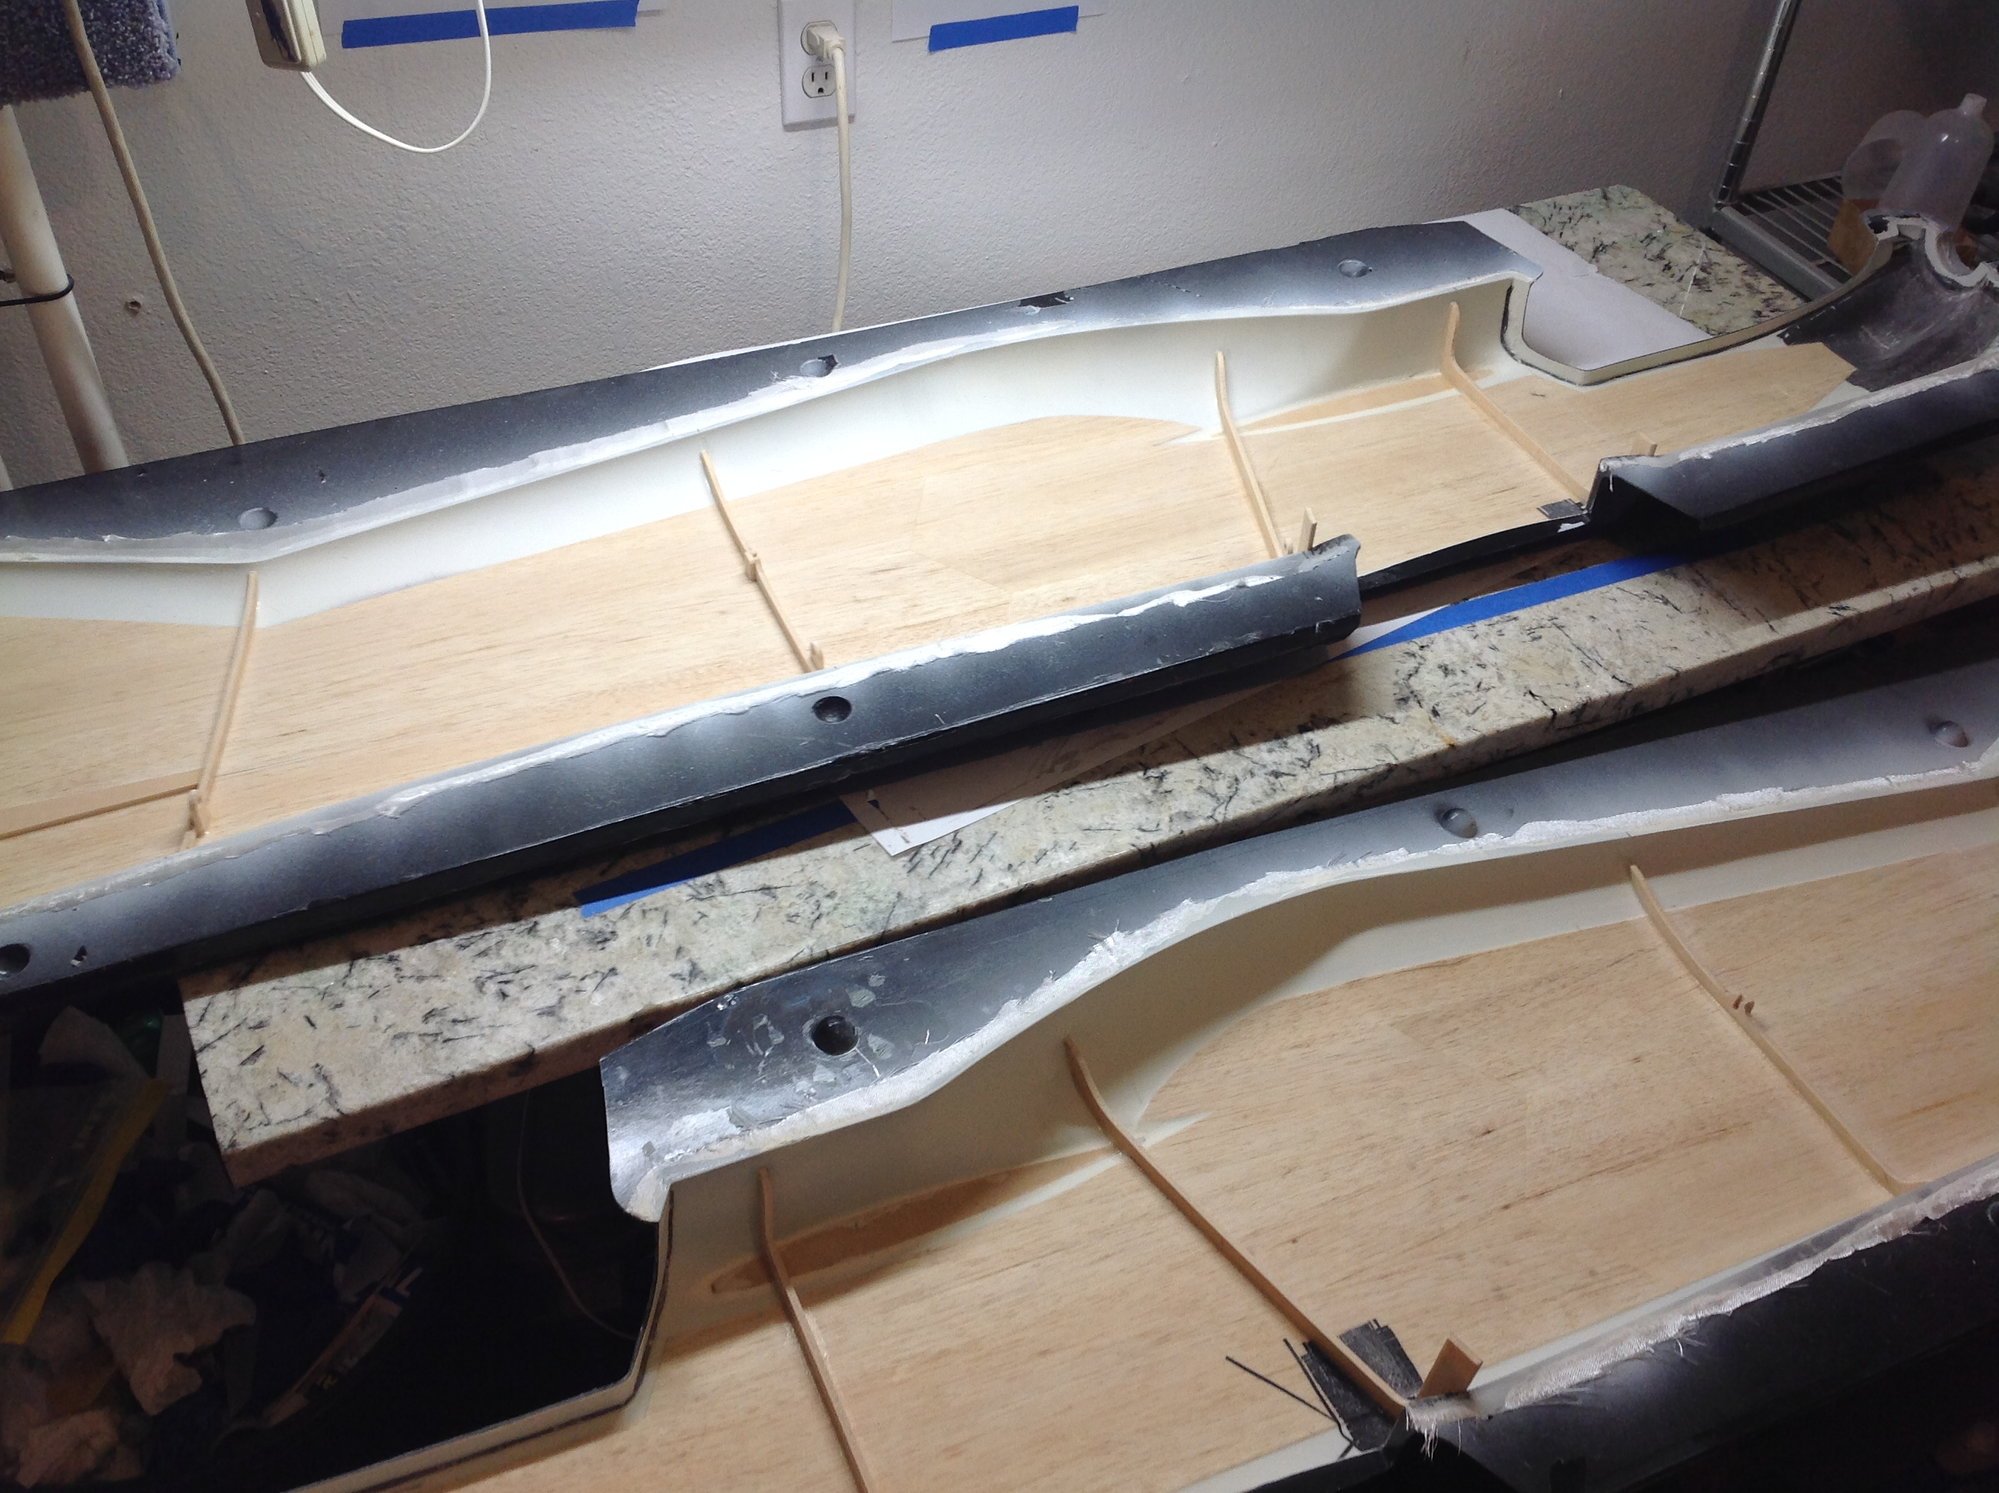
Check fit to make sure everything lines up.
The stack up that will get placed into the vacuum bag less the 1 mil plastic sheeting that will go between the shuck and wing sheeting. This is a preventative step to make sure the wing does not accidentally get glued to the shucks. Keep in mind that these are the master shucks and will need to be used 4 sheeting cycles.
 11-29-2019, 02:52 PM
#58
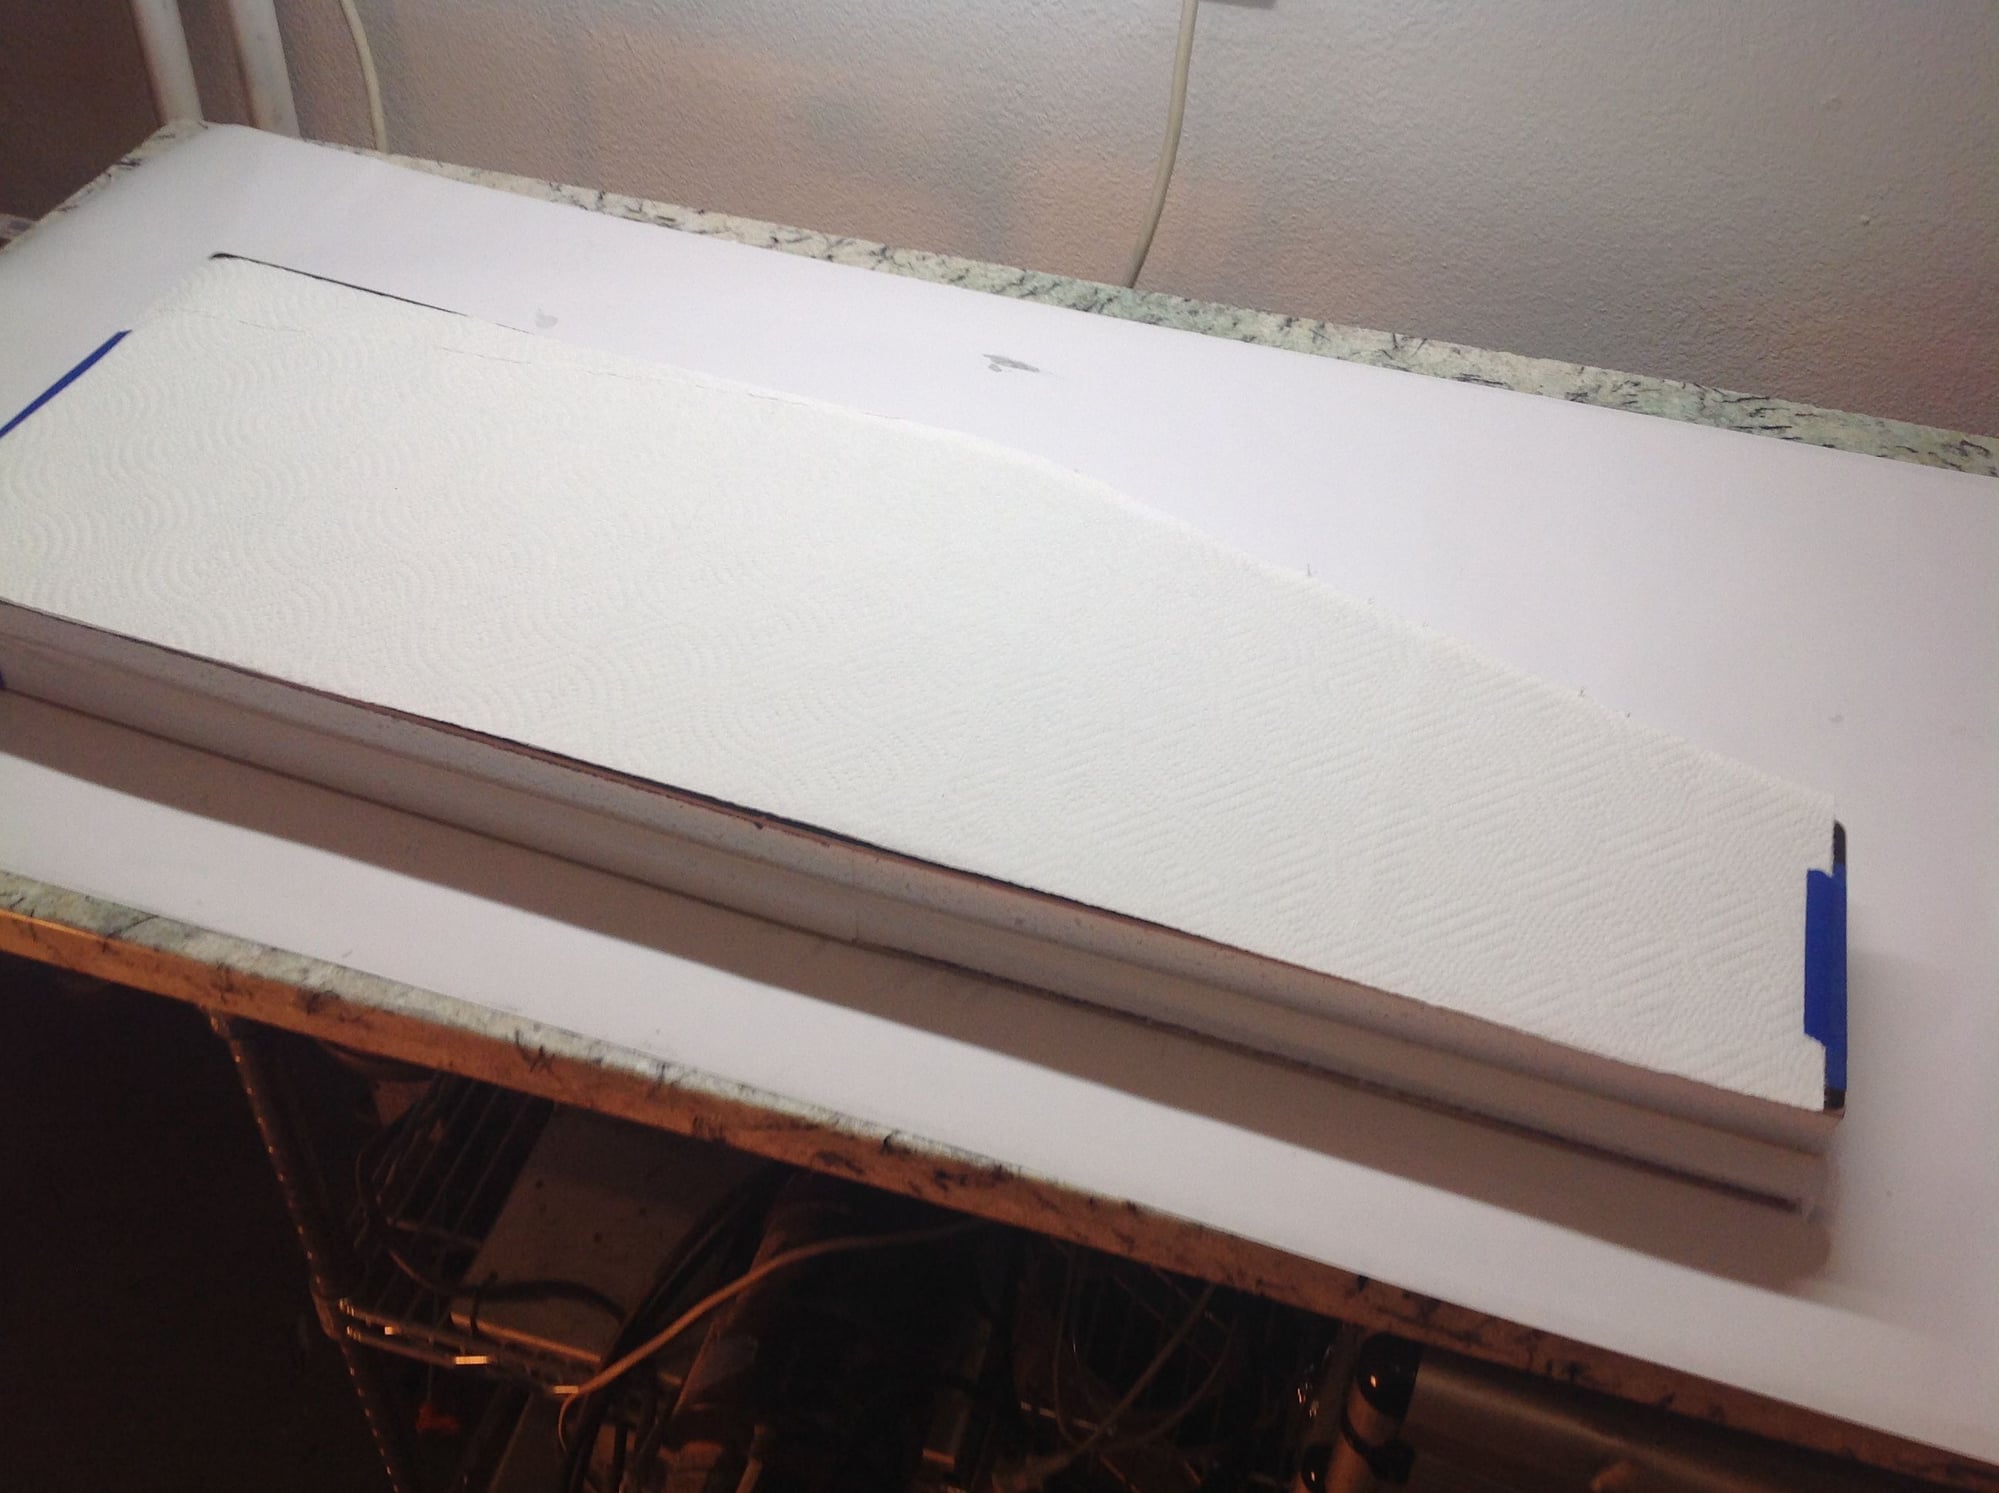
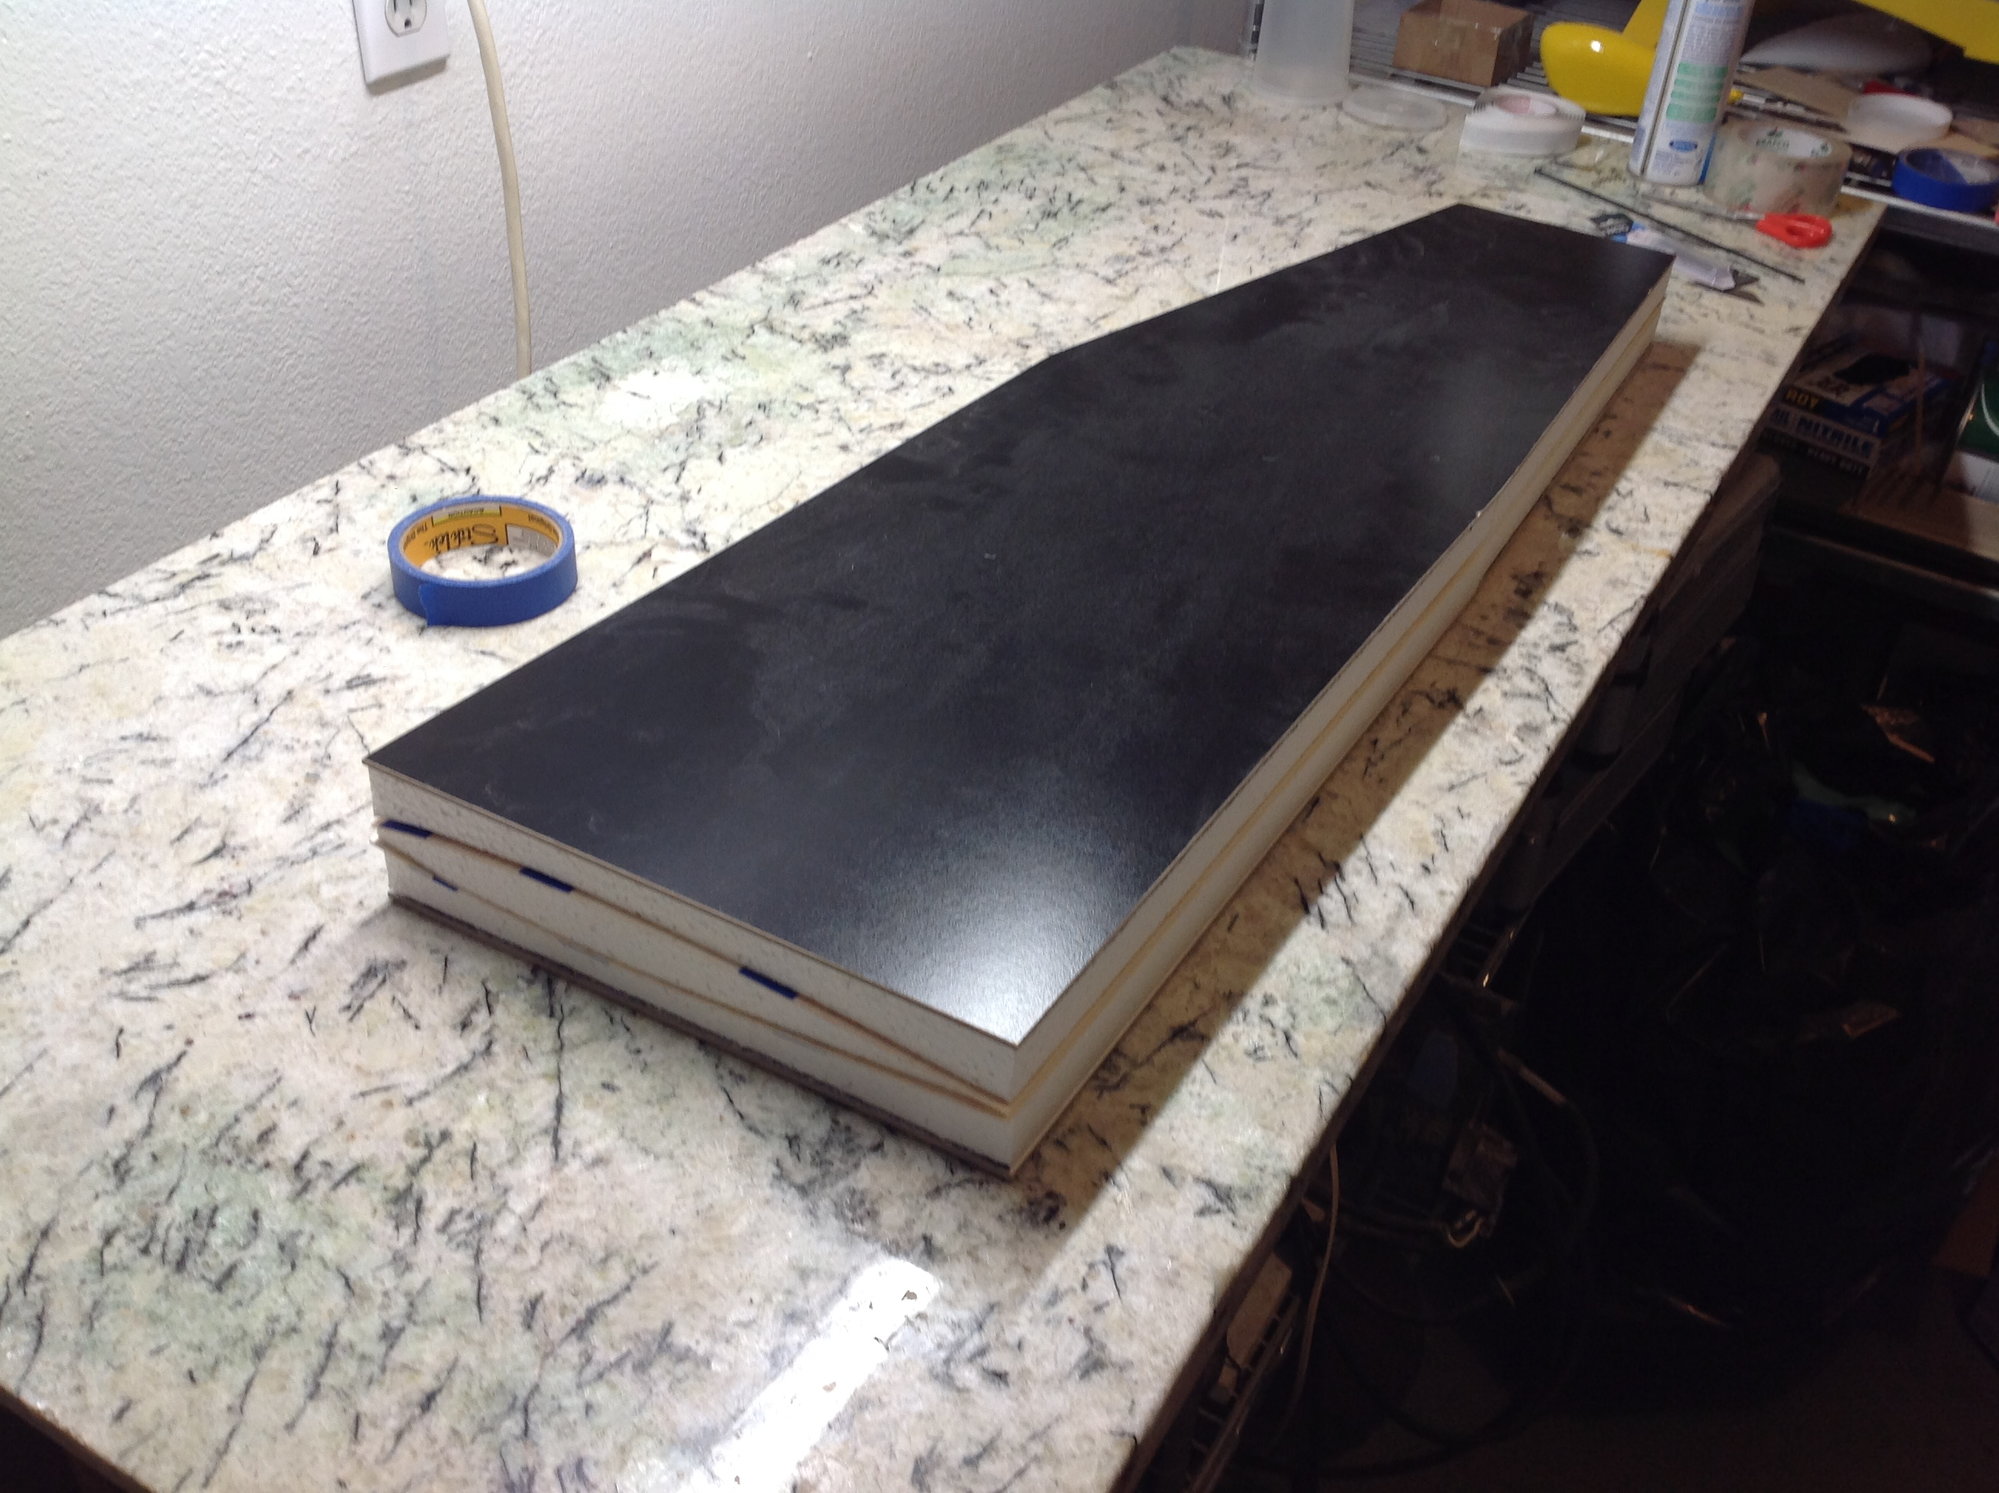
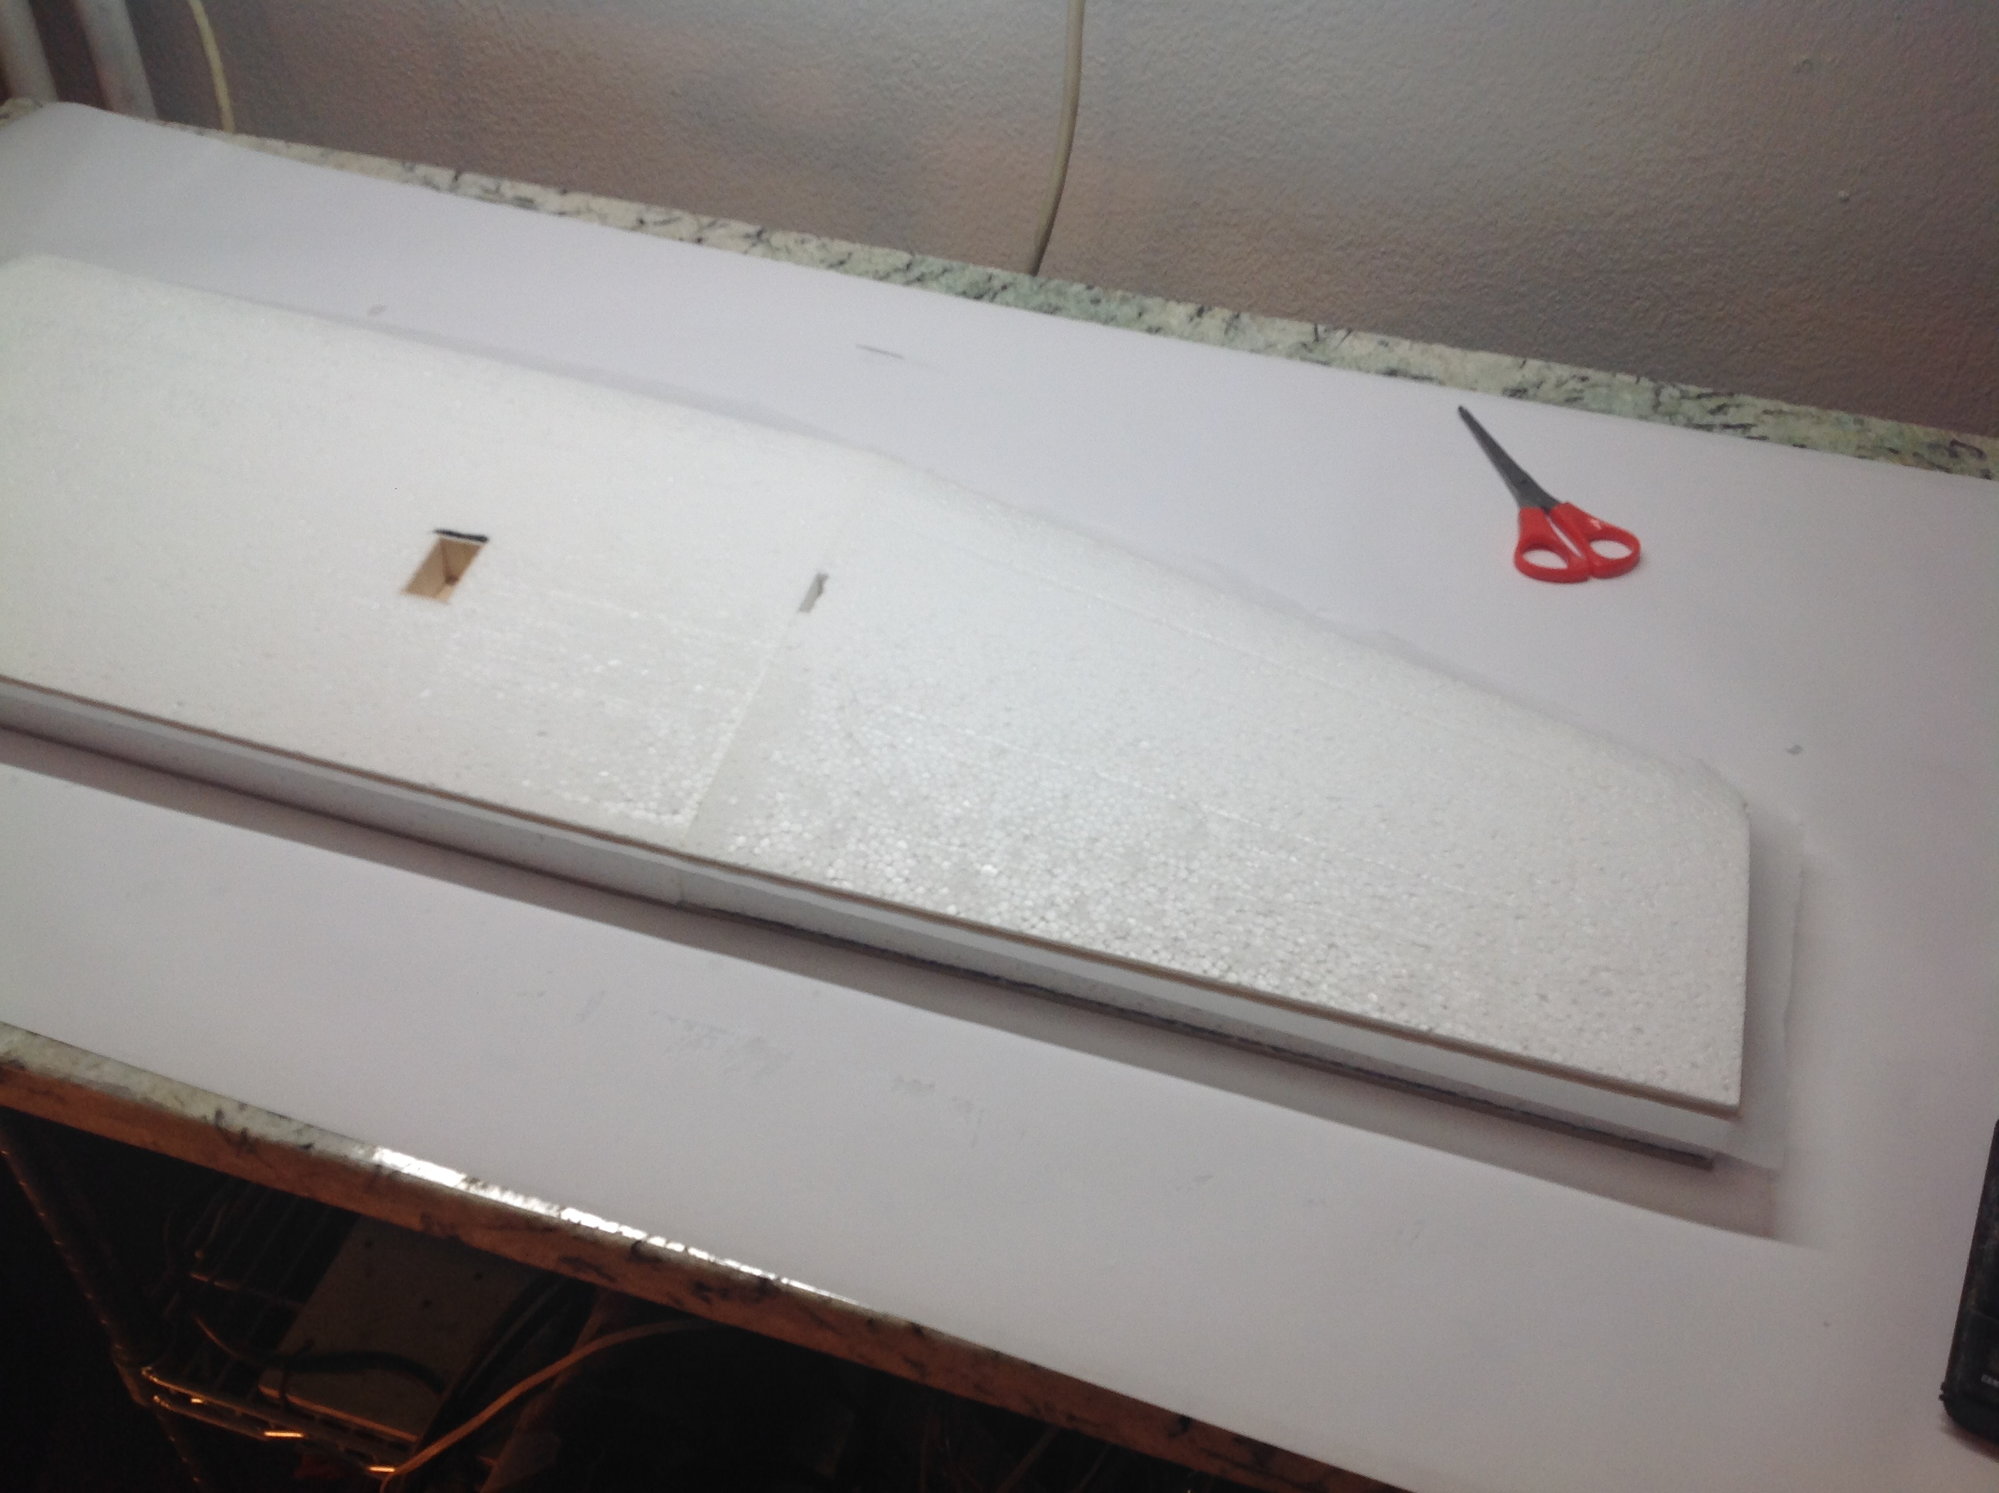
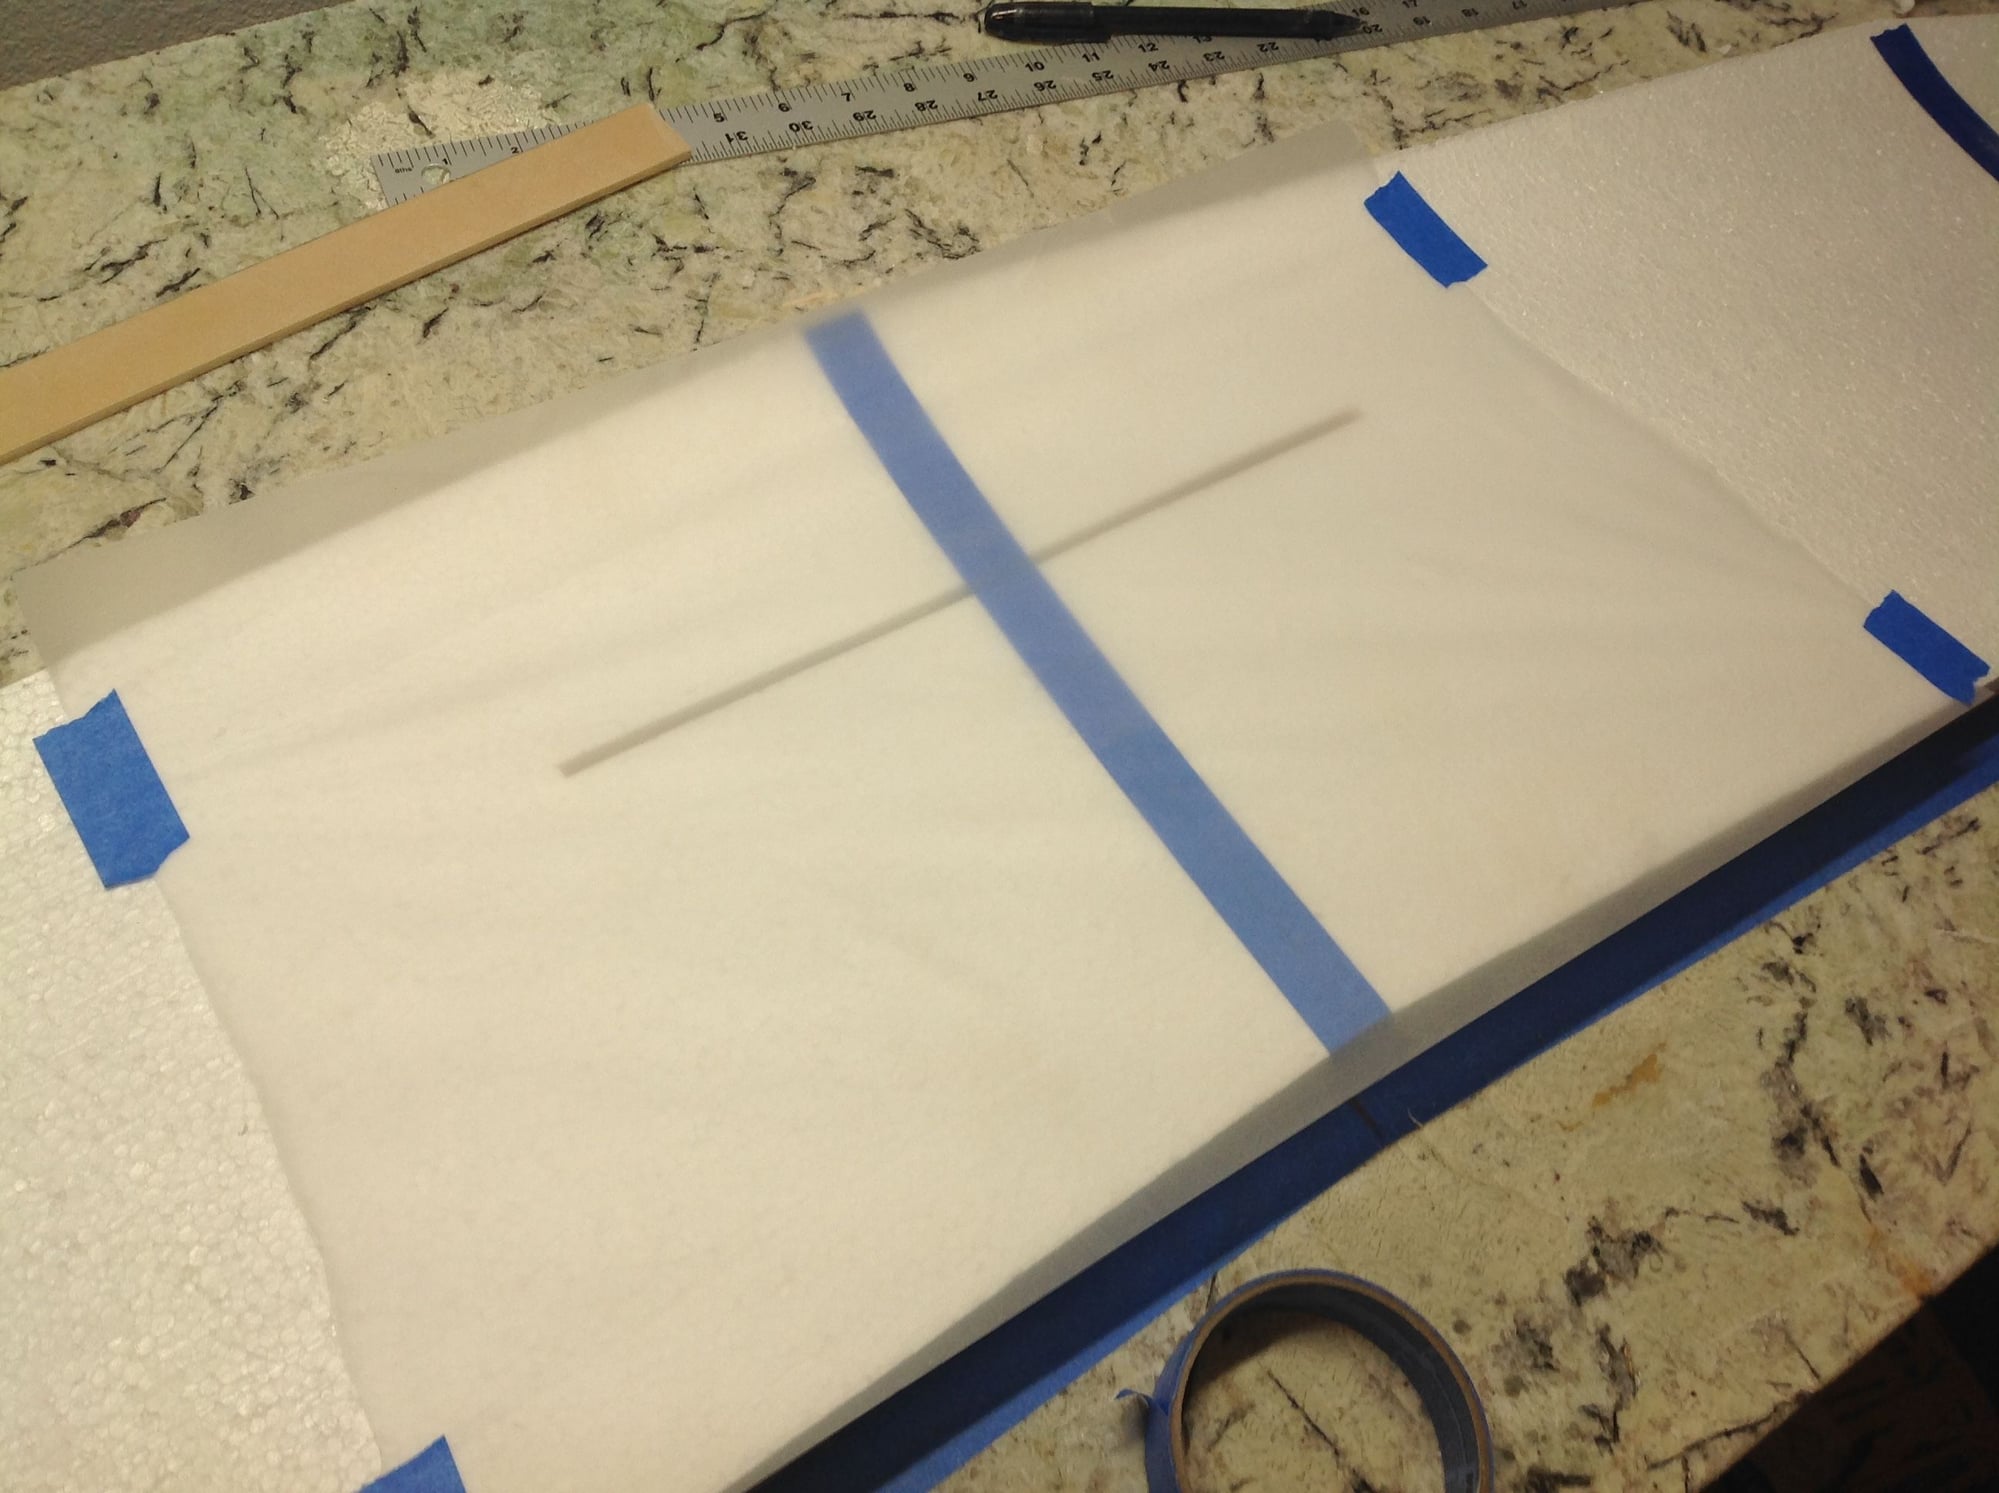
Two layers of paper towel as breather cloth is taped on top.
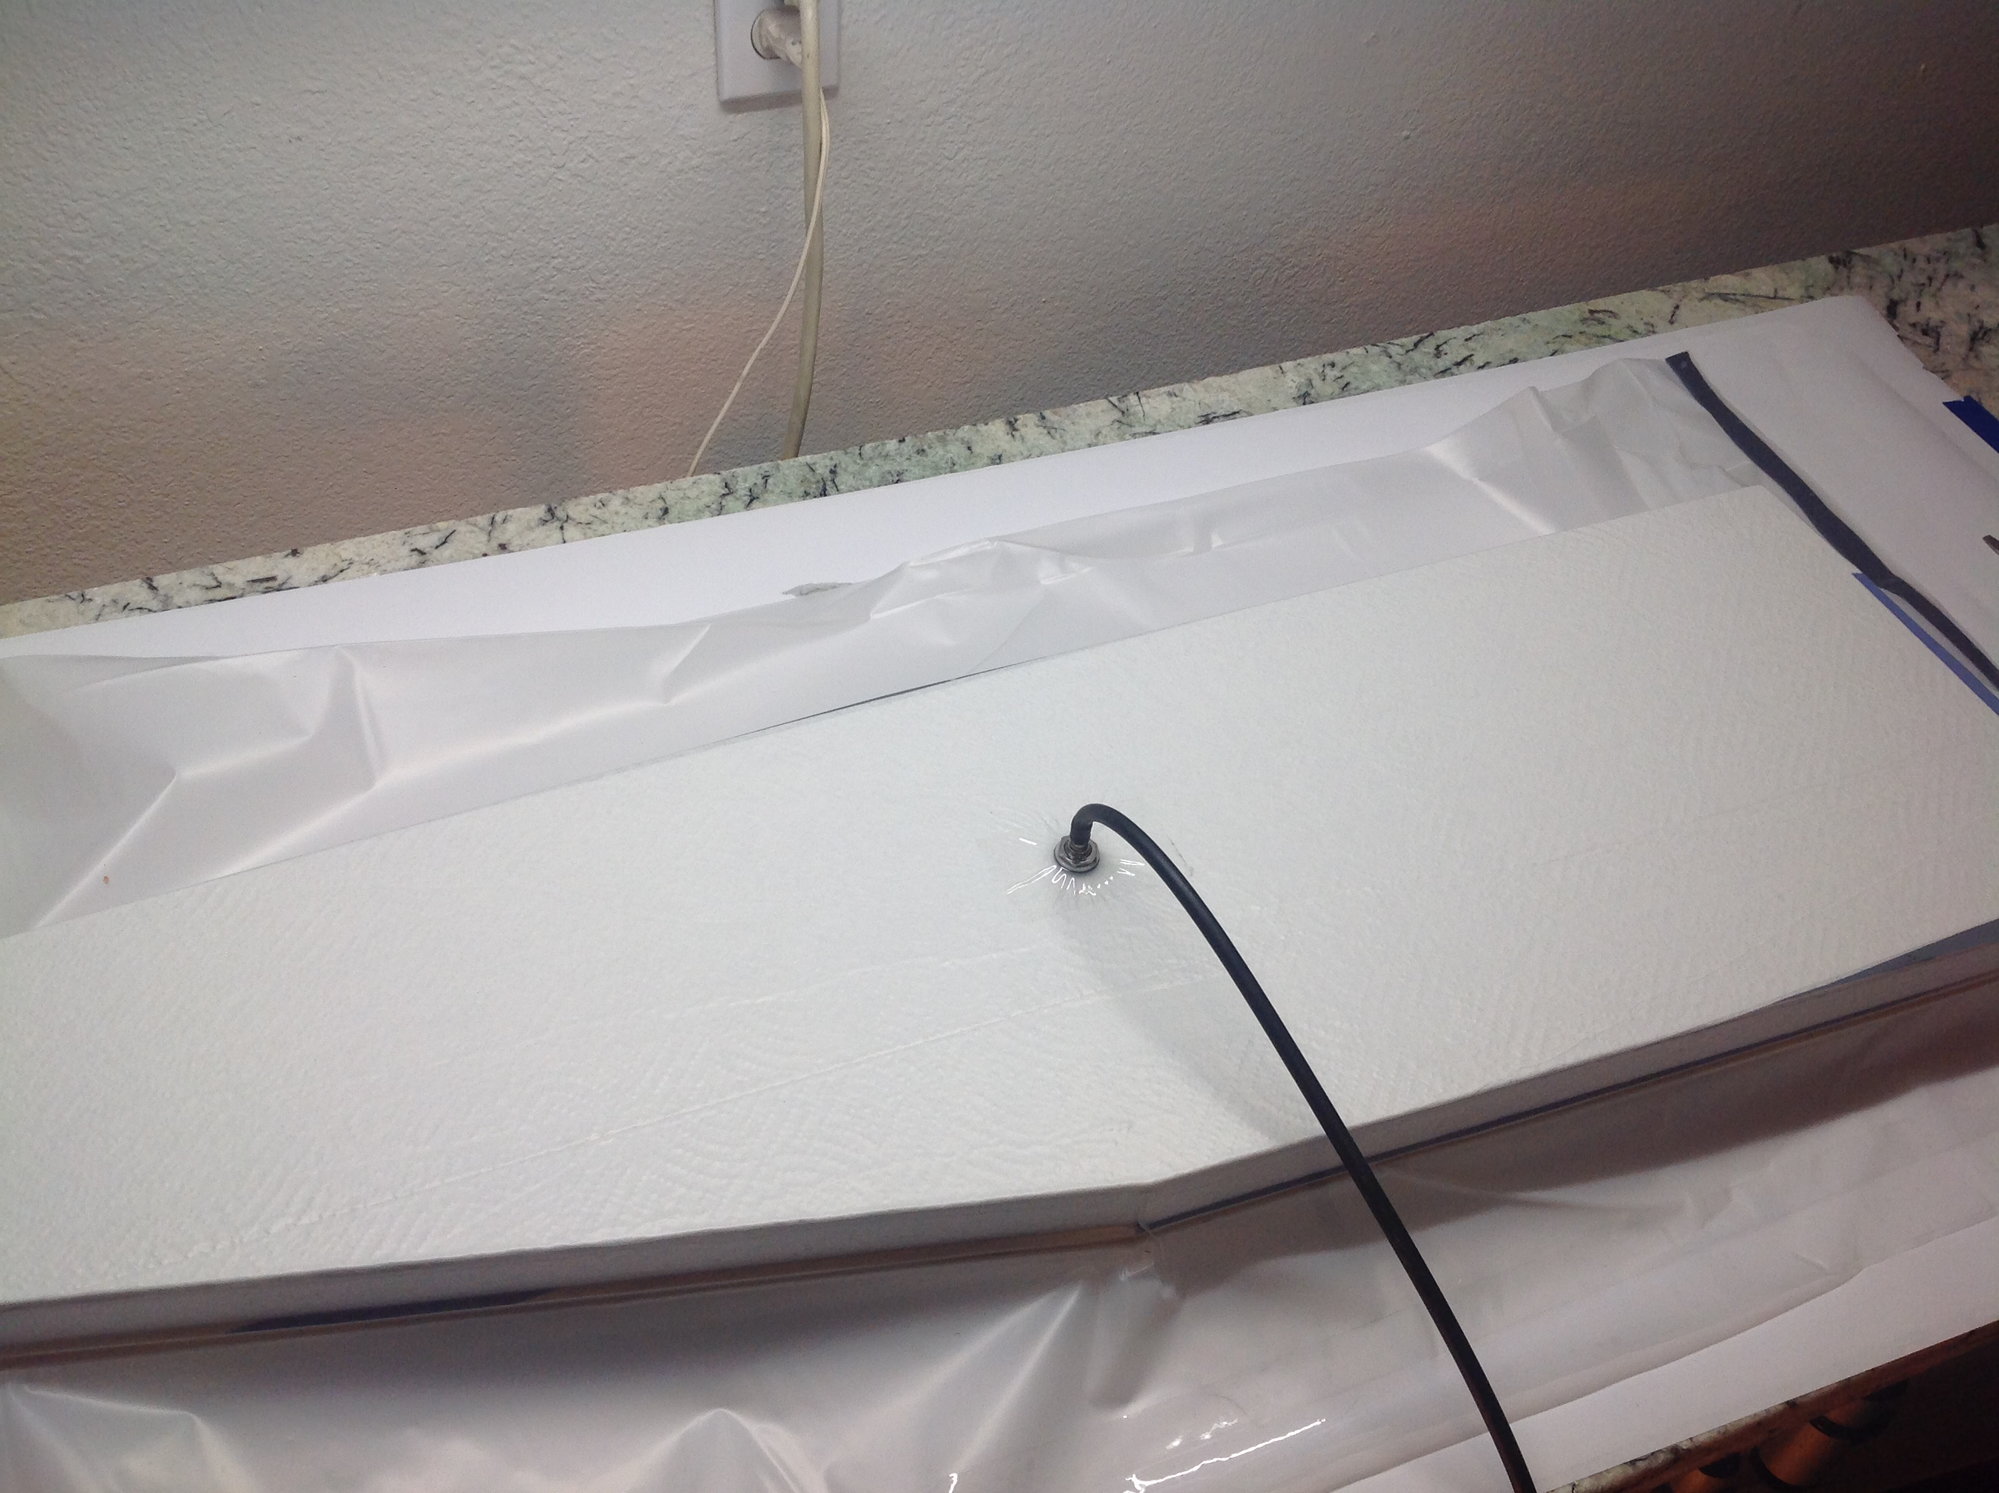
The whole stack up is put into the bag and 5 inches of vacuum is pulled. A straight edge is placed on top to verify straightness. The wing will be kept under vacuum for a minimum of 12 hours. I typically like 20 hours better.
 12-01-2019, 09:23 AM
#66

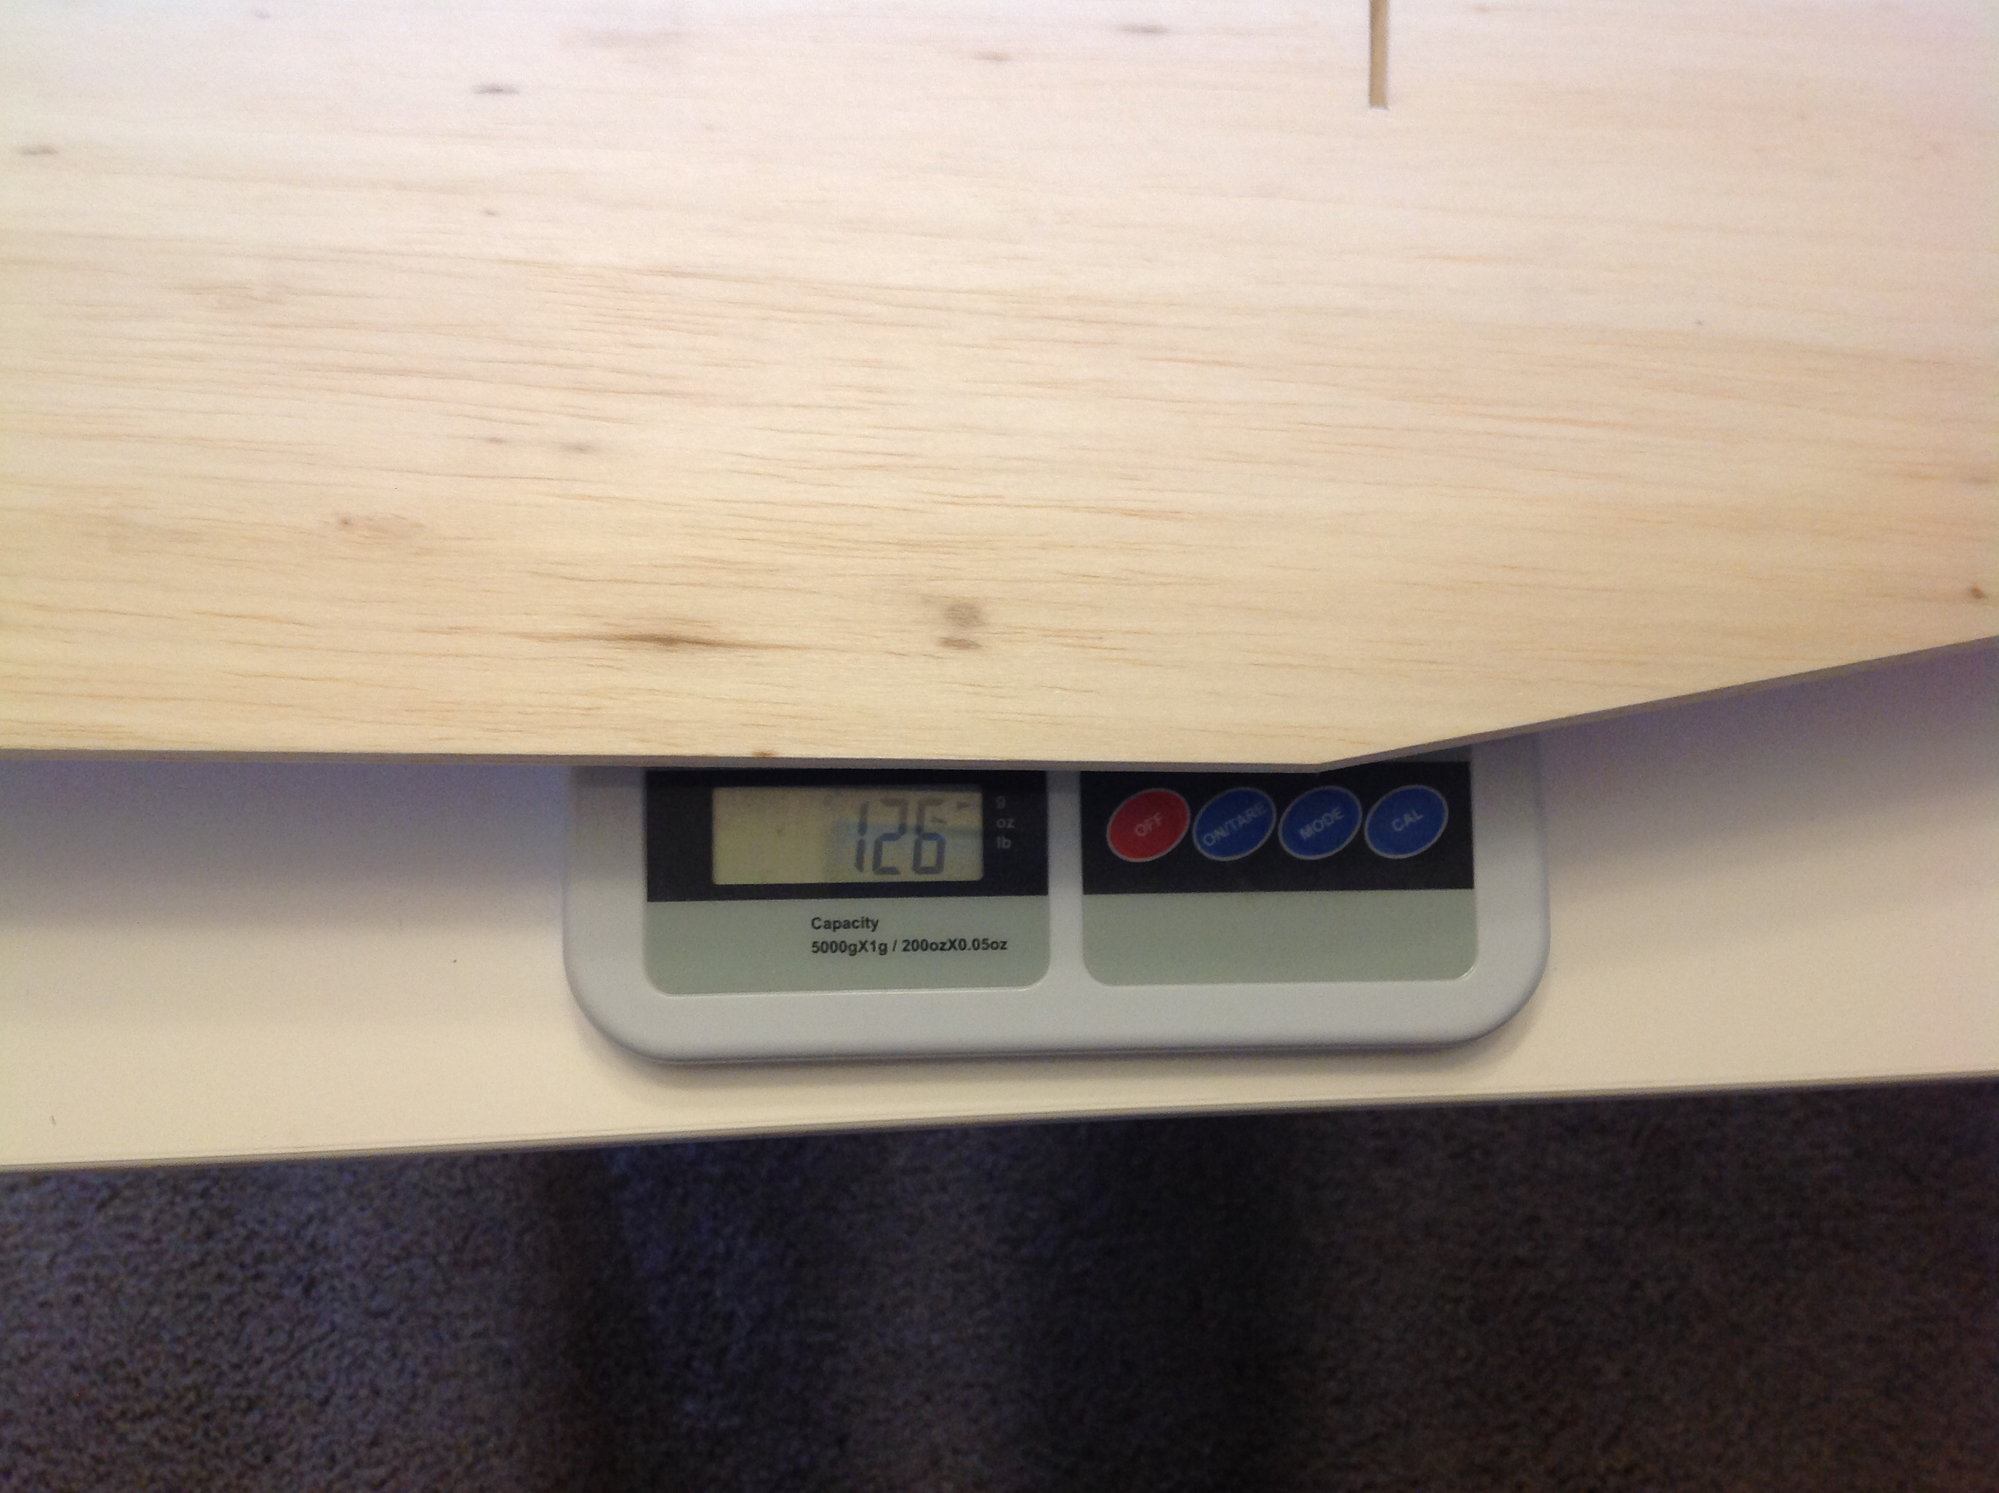
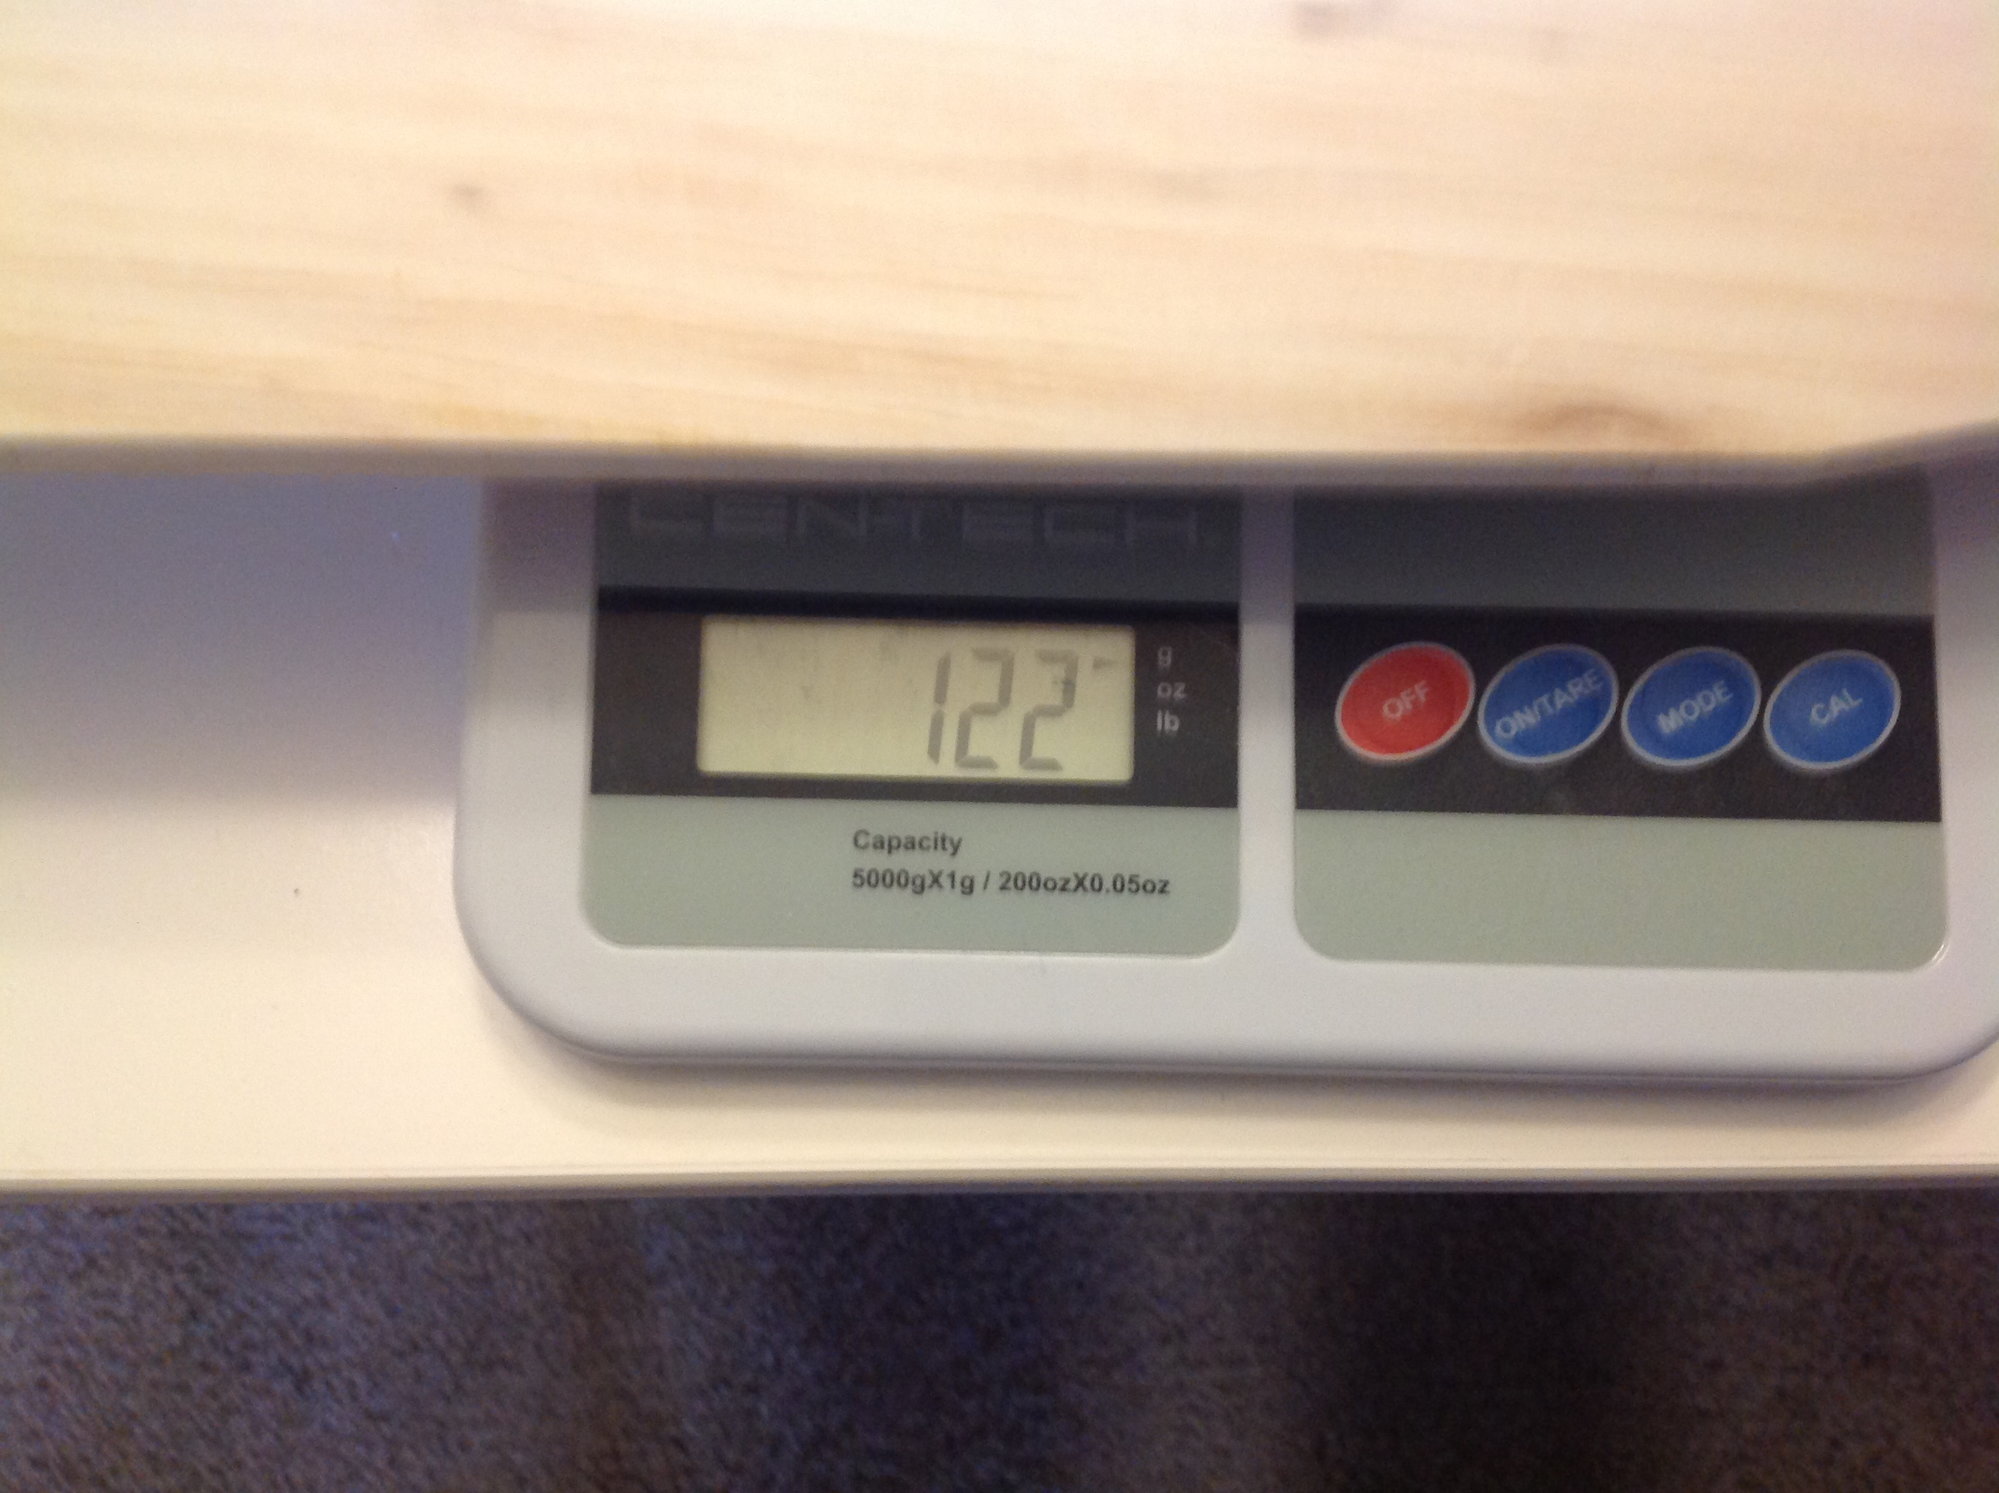
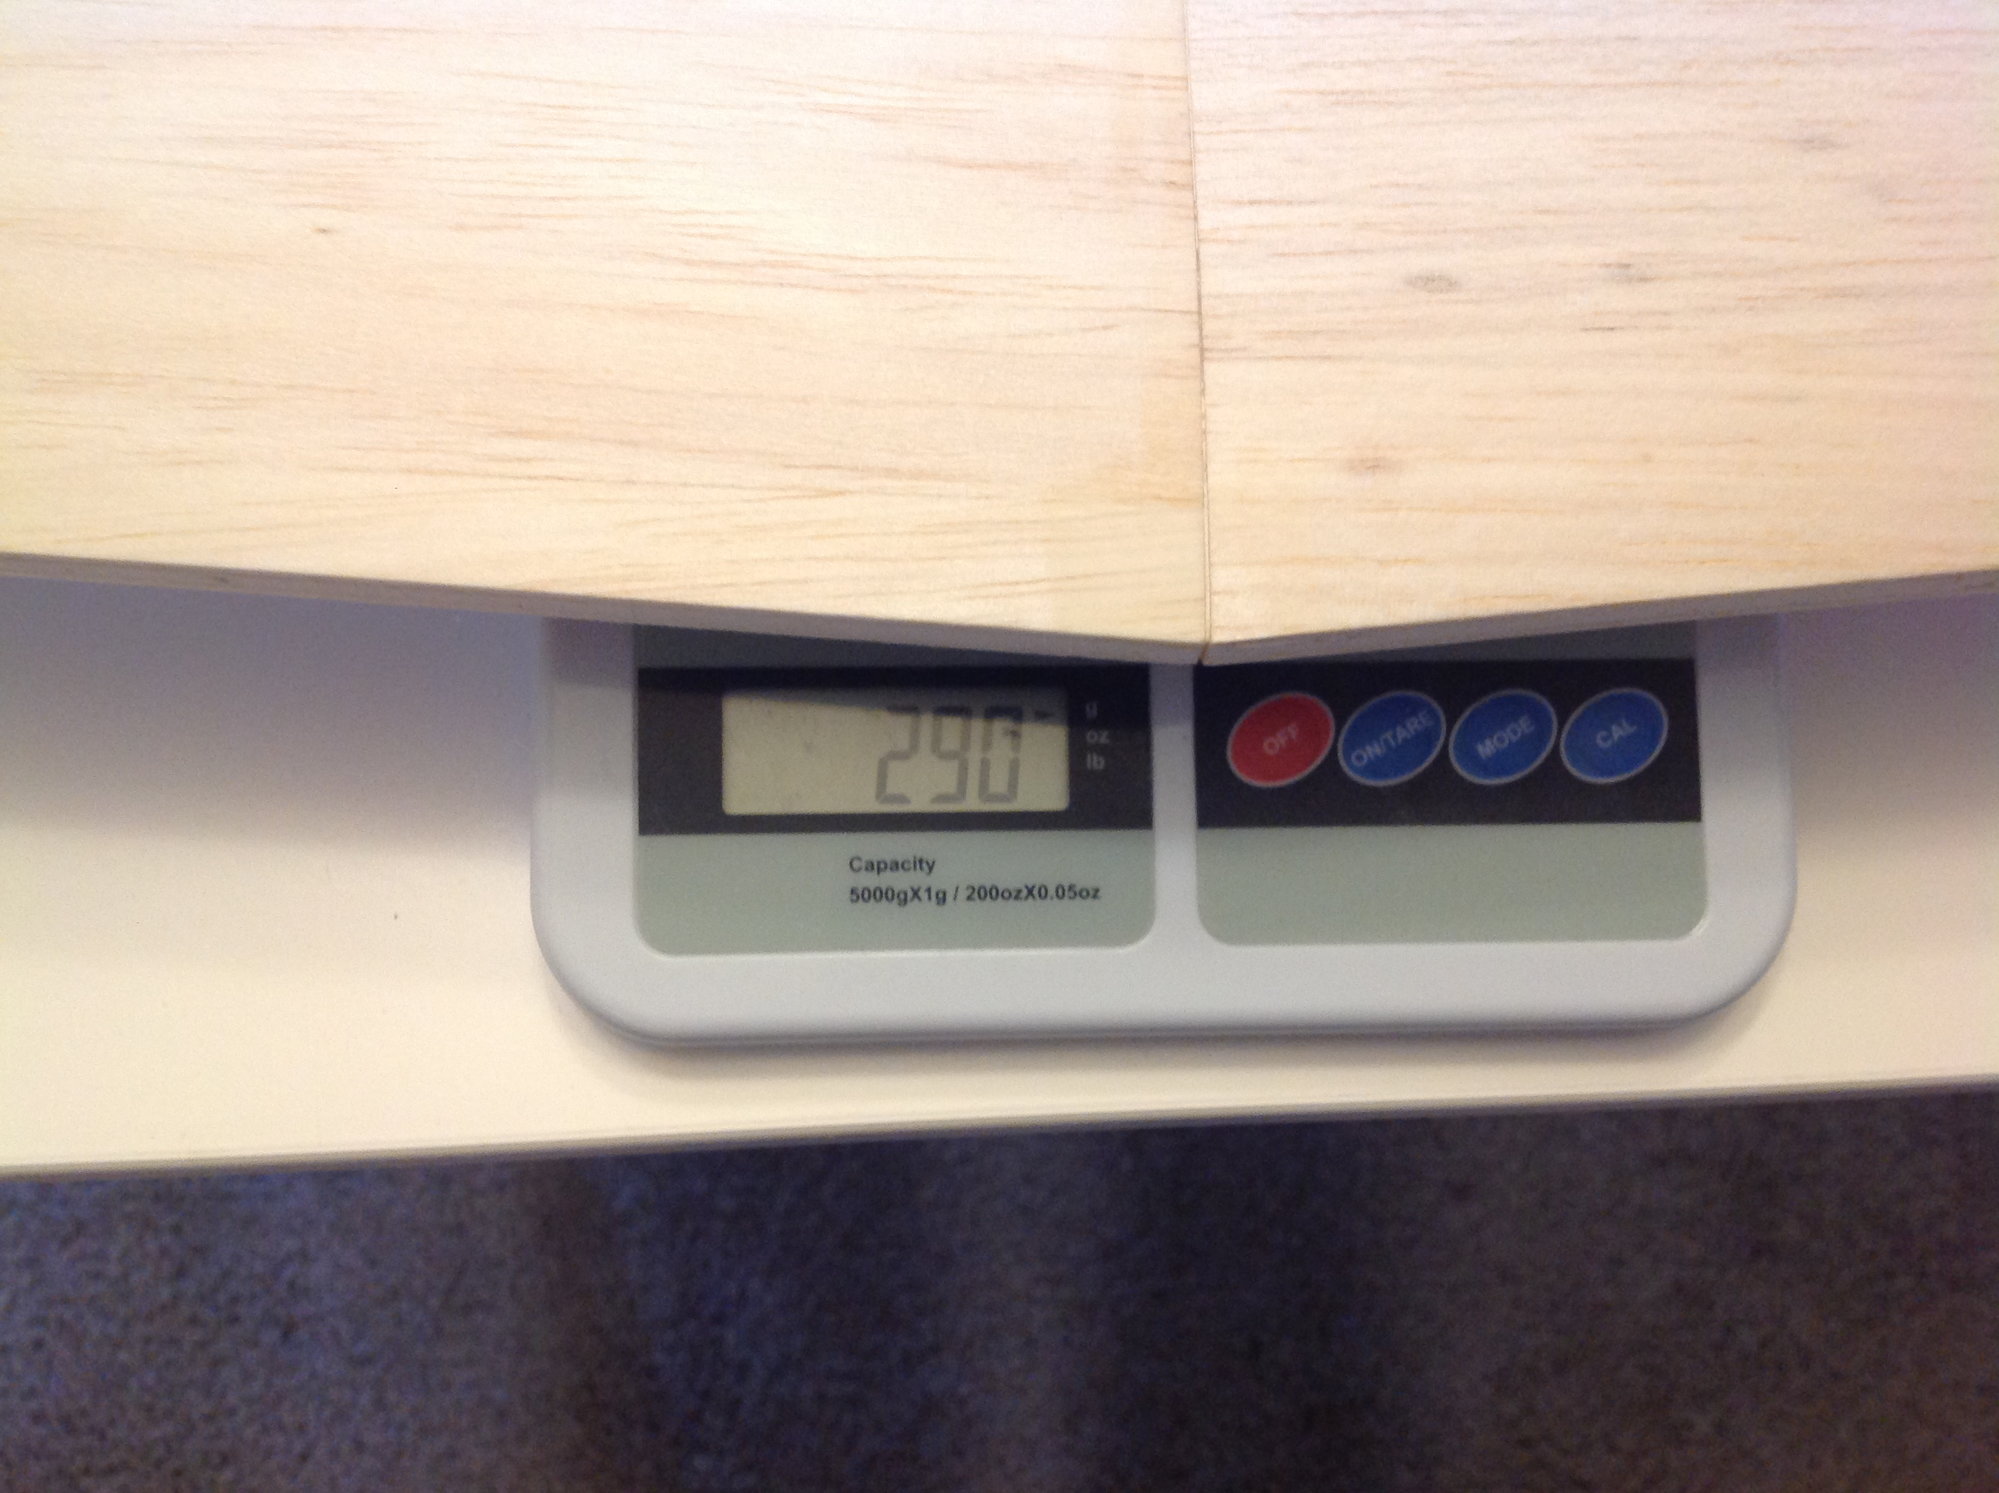
Jester, these wings are quite thin. The toot thickness is only 1 3/16". It becomes a case of not enough juice for the squeeze. I may at best be able to save 10 grams and then the wings would be too delicate IMO. They would handle flight loads just fine but would have to be handled with a light touch and the honeycomb pattern would be visible on the outter skin. I had one airplane a few years ago with honeycombed wings and hated it. The lower wing panel I just sheeted come out at 4.9 oz. Quite happy with that.
Last edited by speedracerntrixie; 12-01-2019 at 09:32 AM.
12-03-2019, 05:49 PM
#68
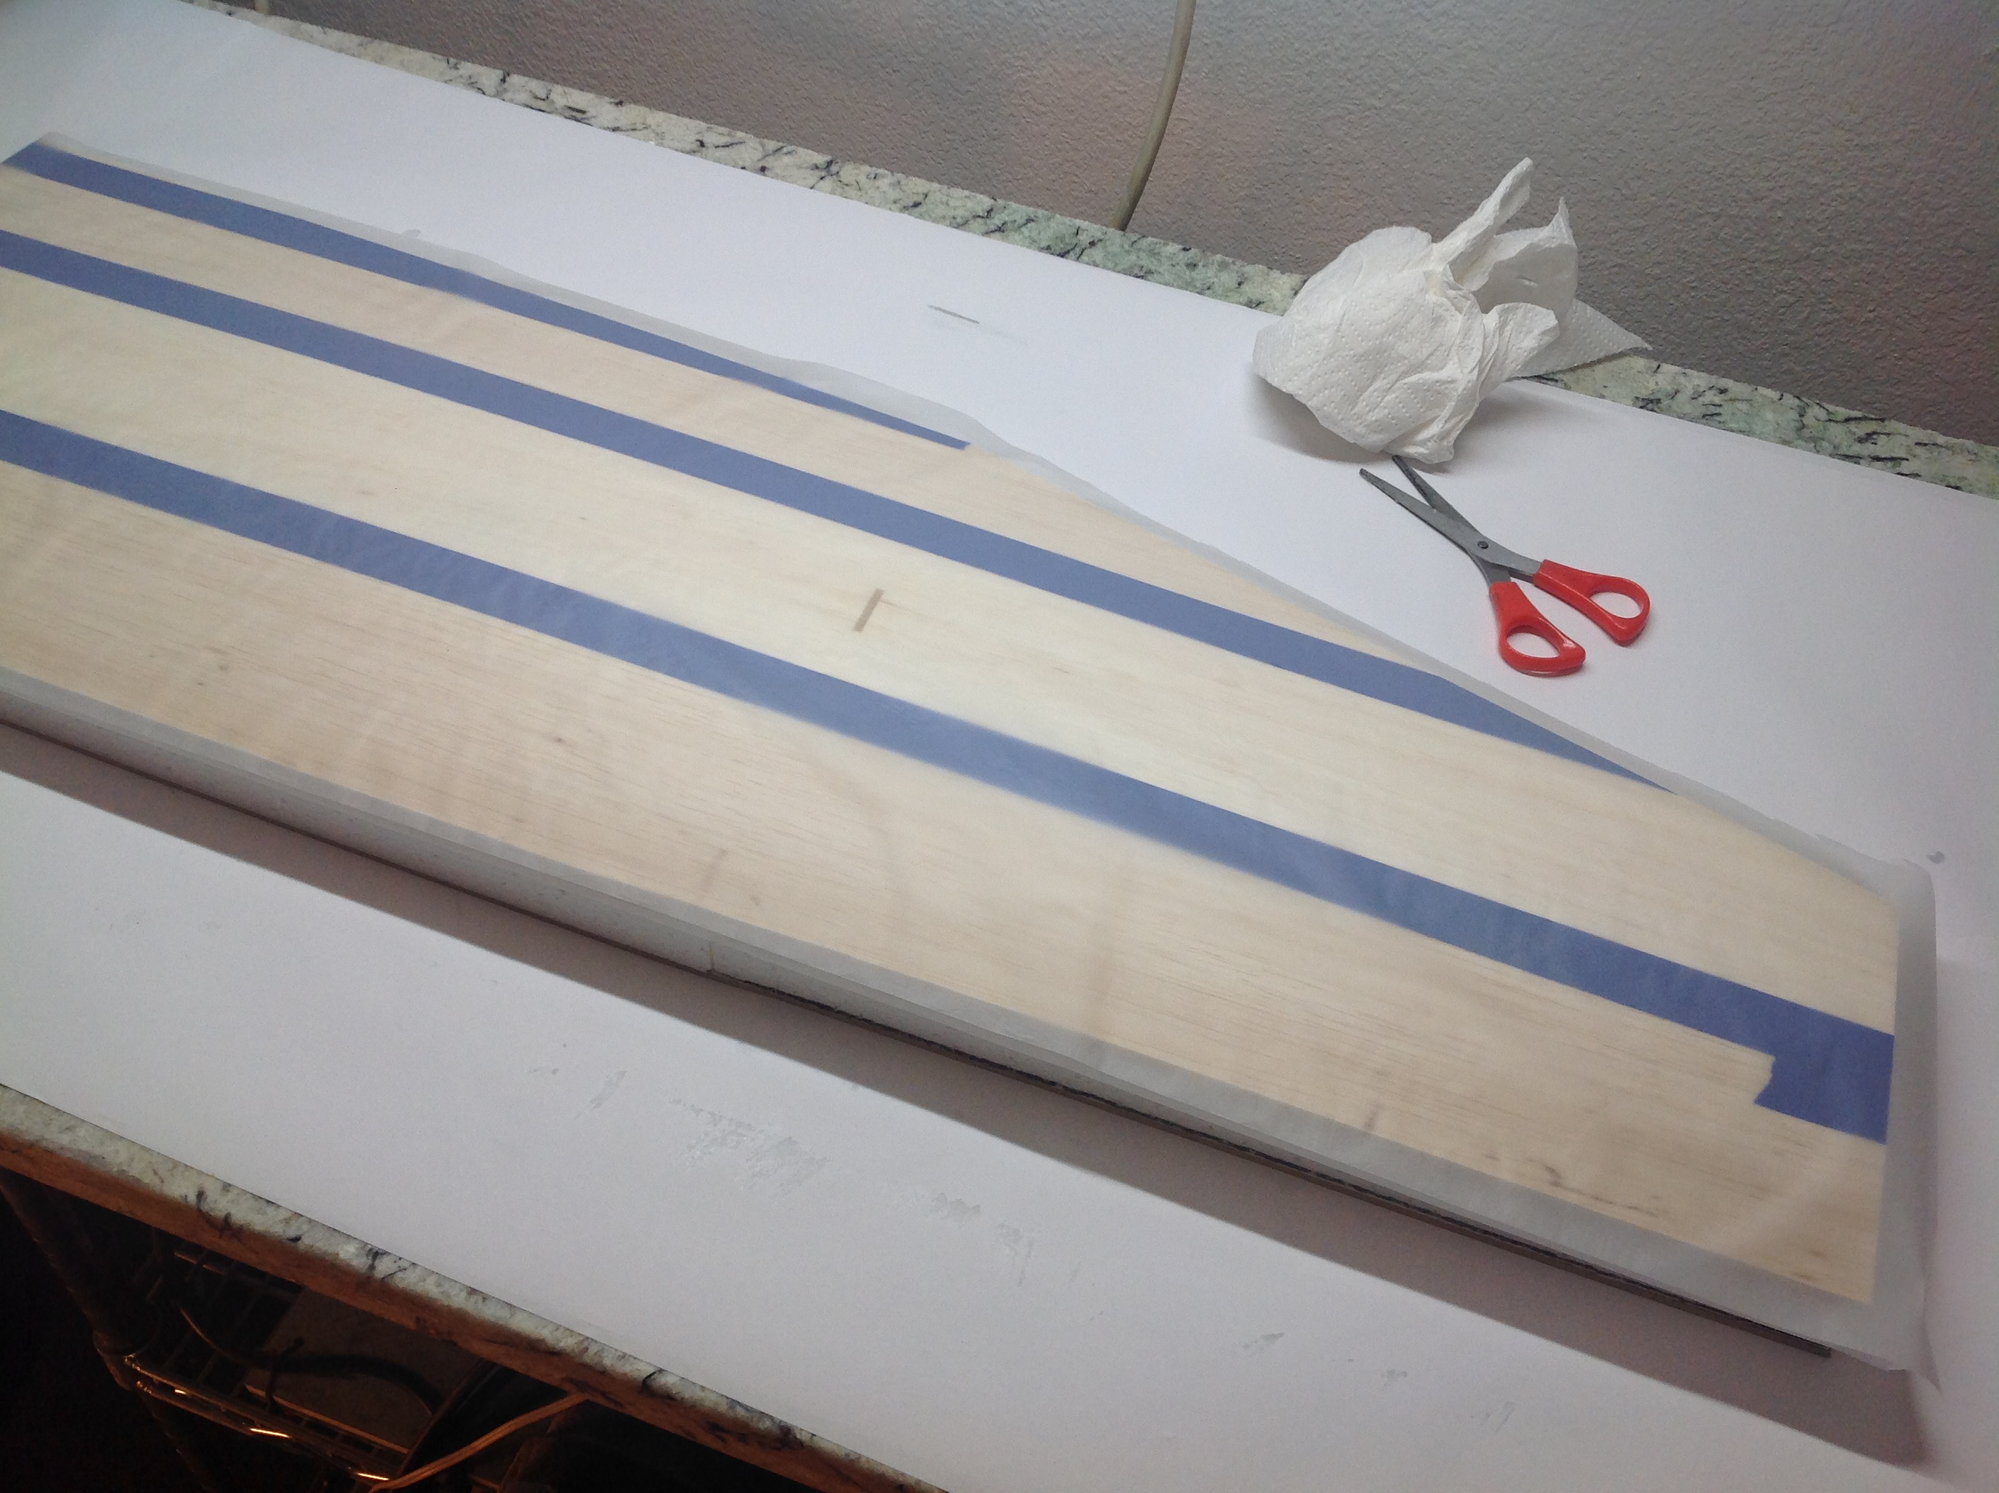
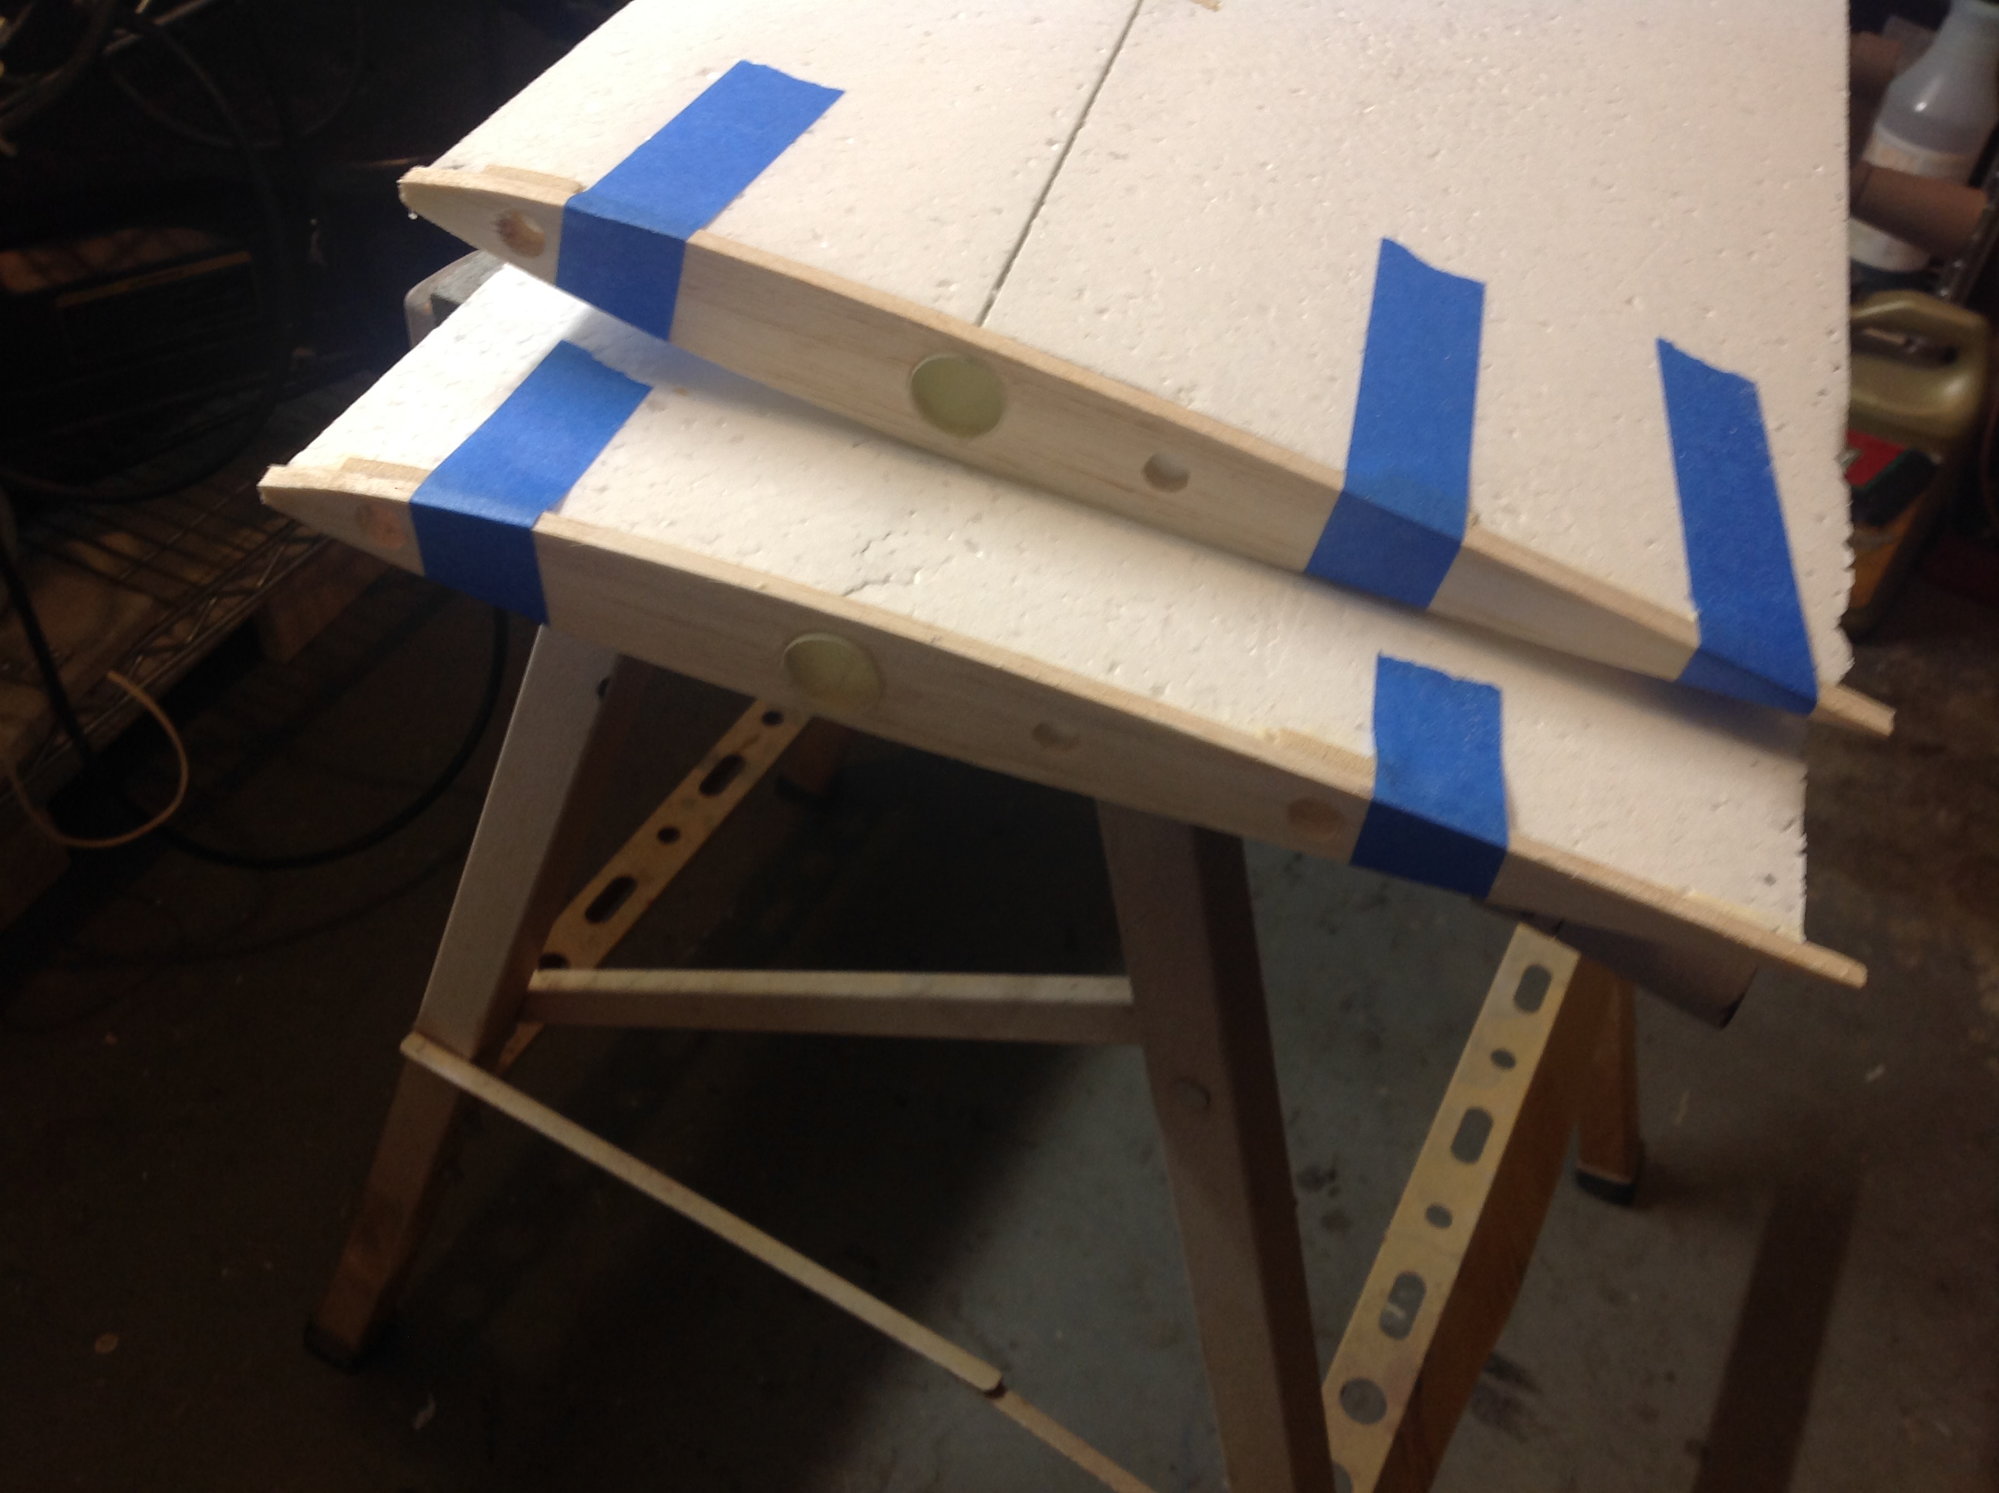
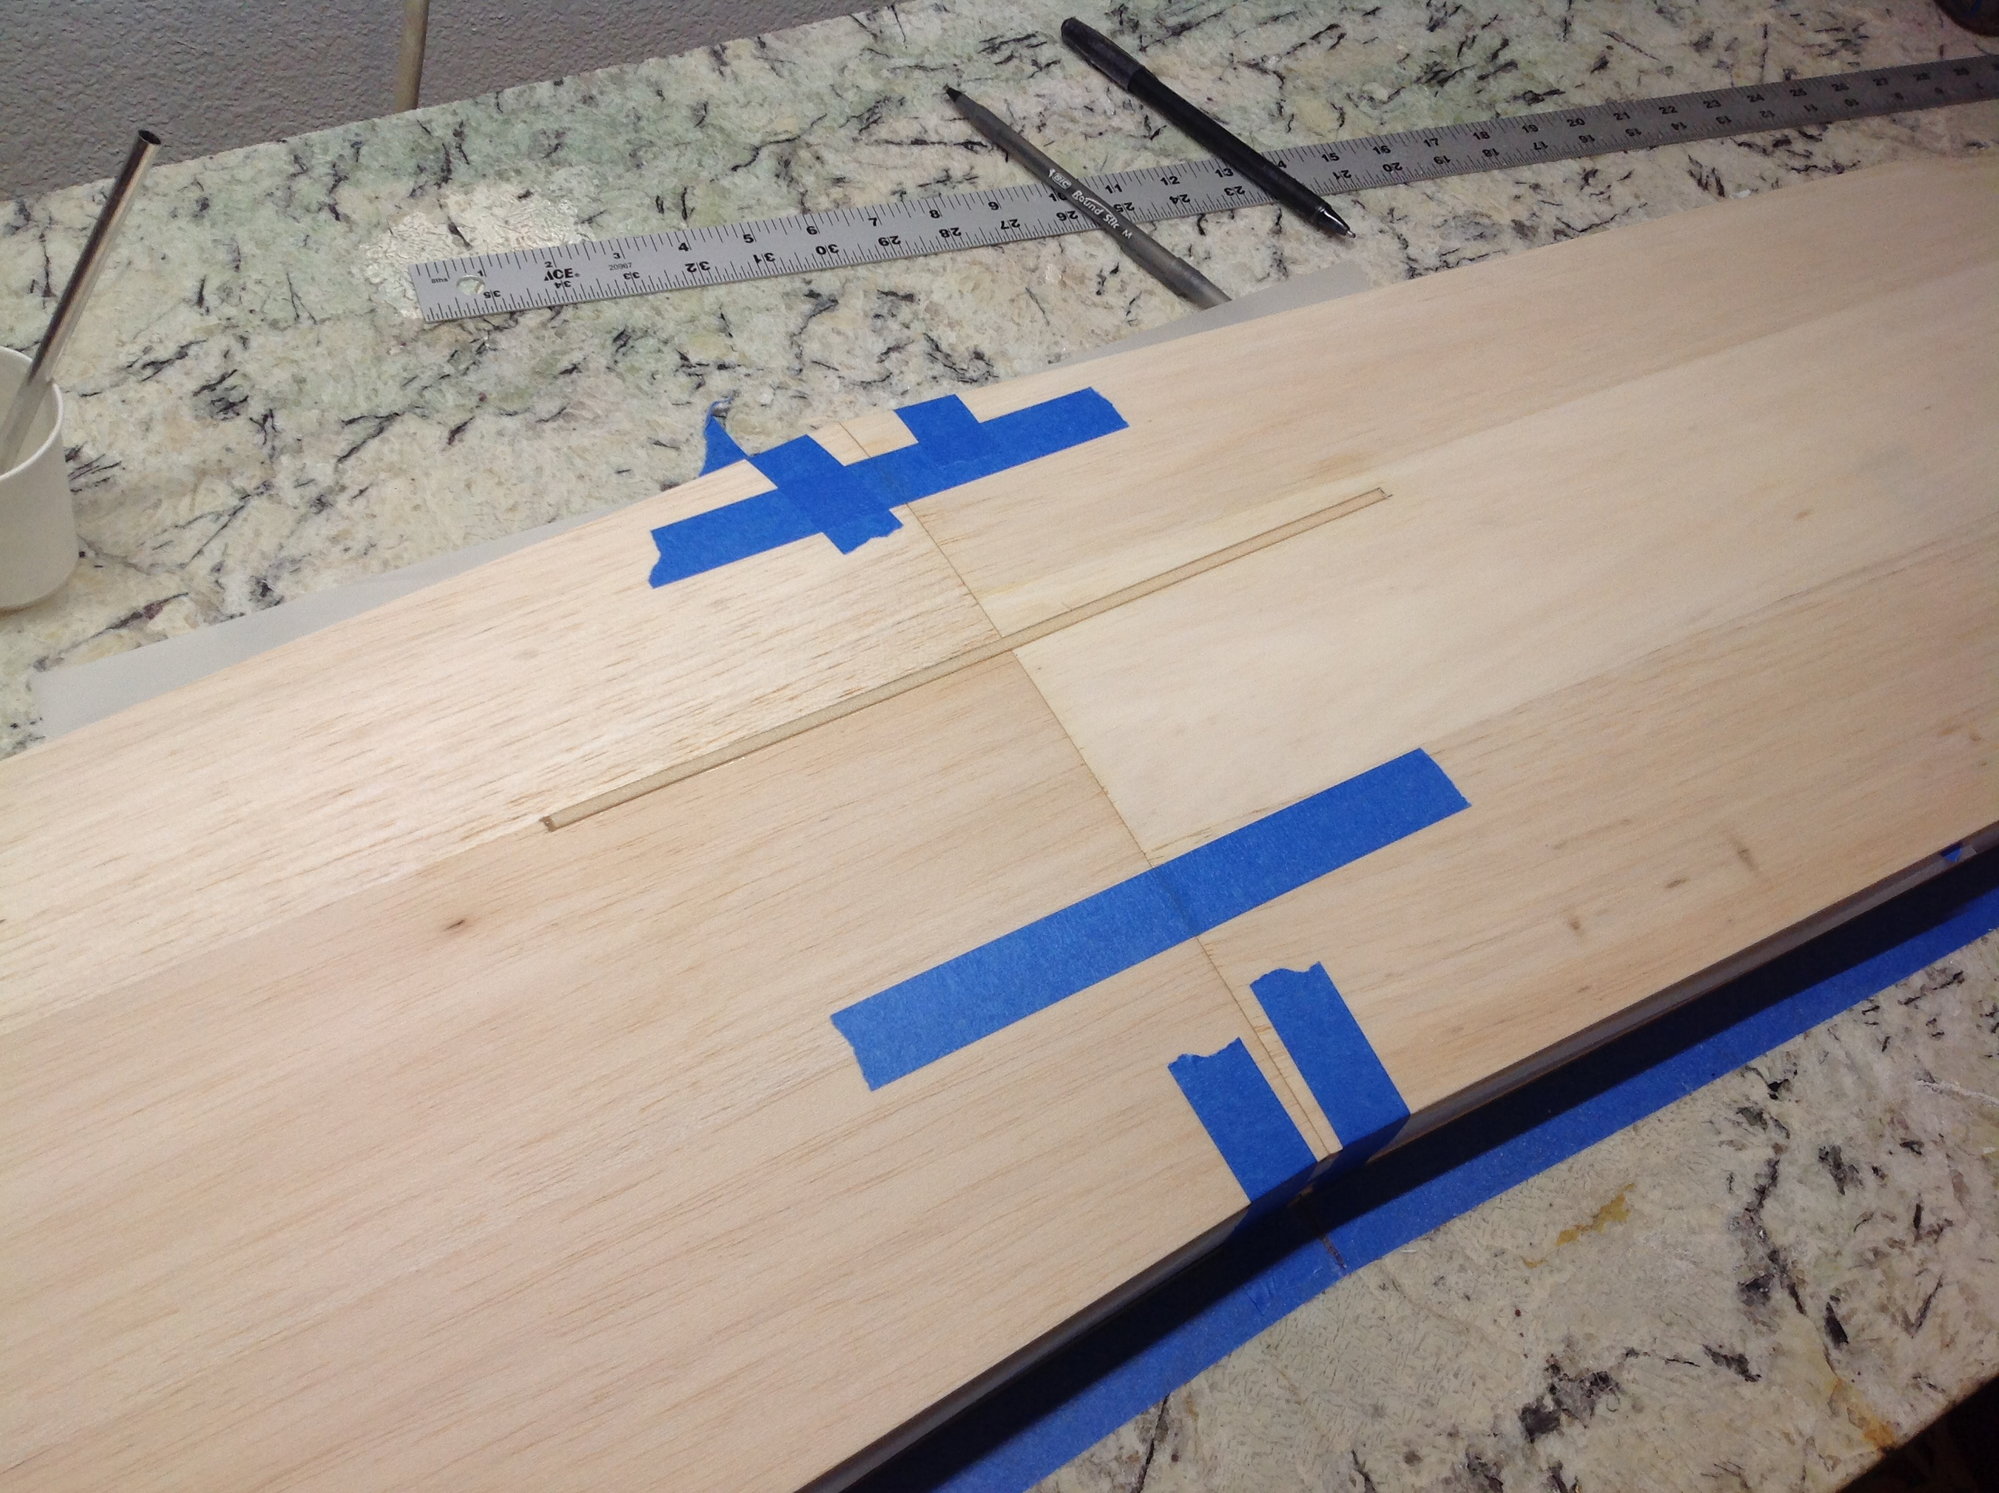
Joining the lower wing halfs begins with laying the upper wings into the master shucks with the wing tube inserted. The sweep angle is already eastablished in the upper wing, this step gets the master shucks in the correct sweep for the bottom wing.
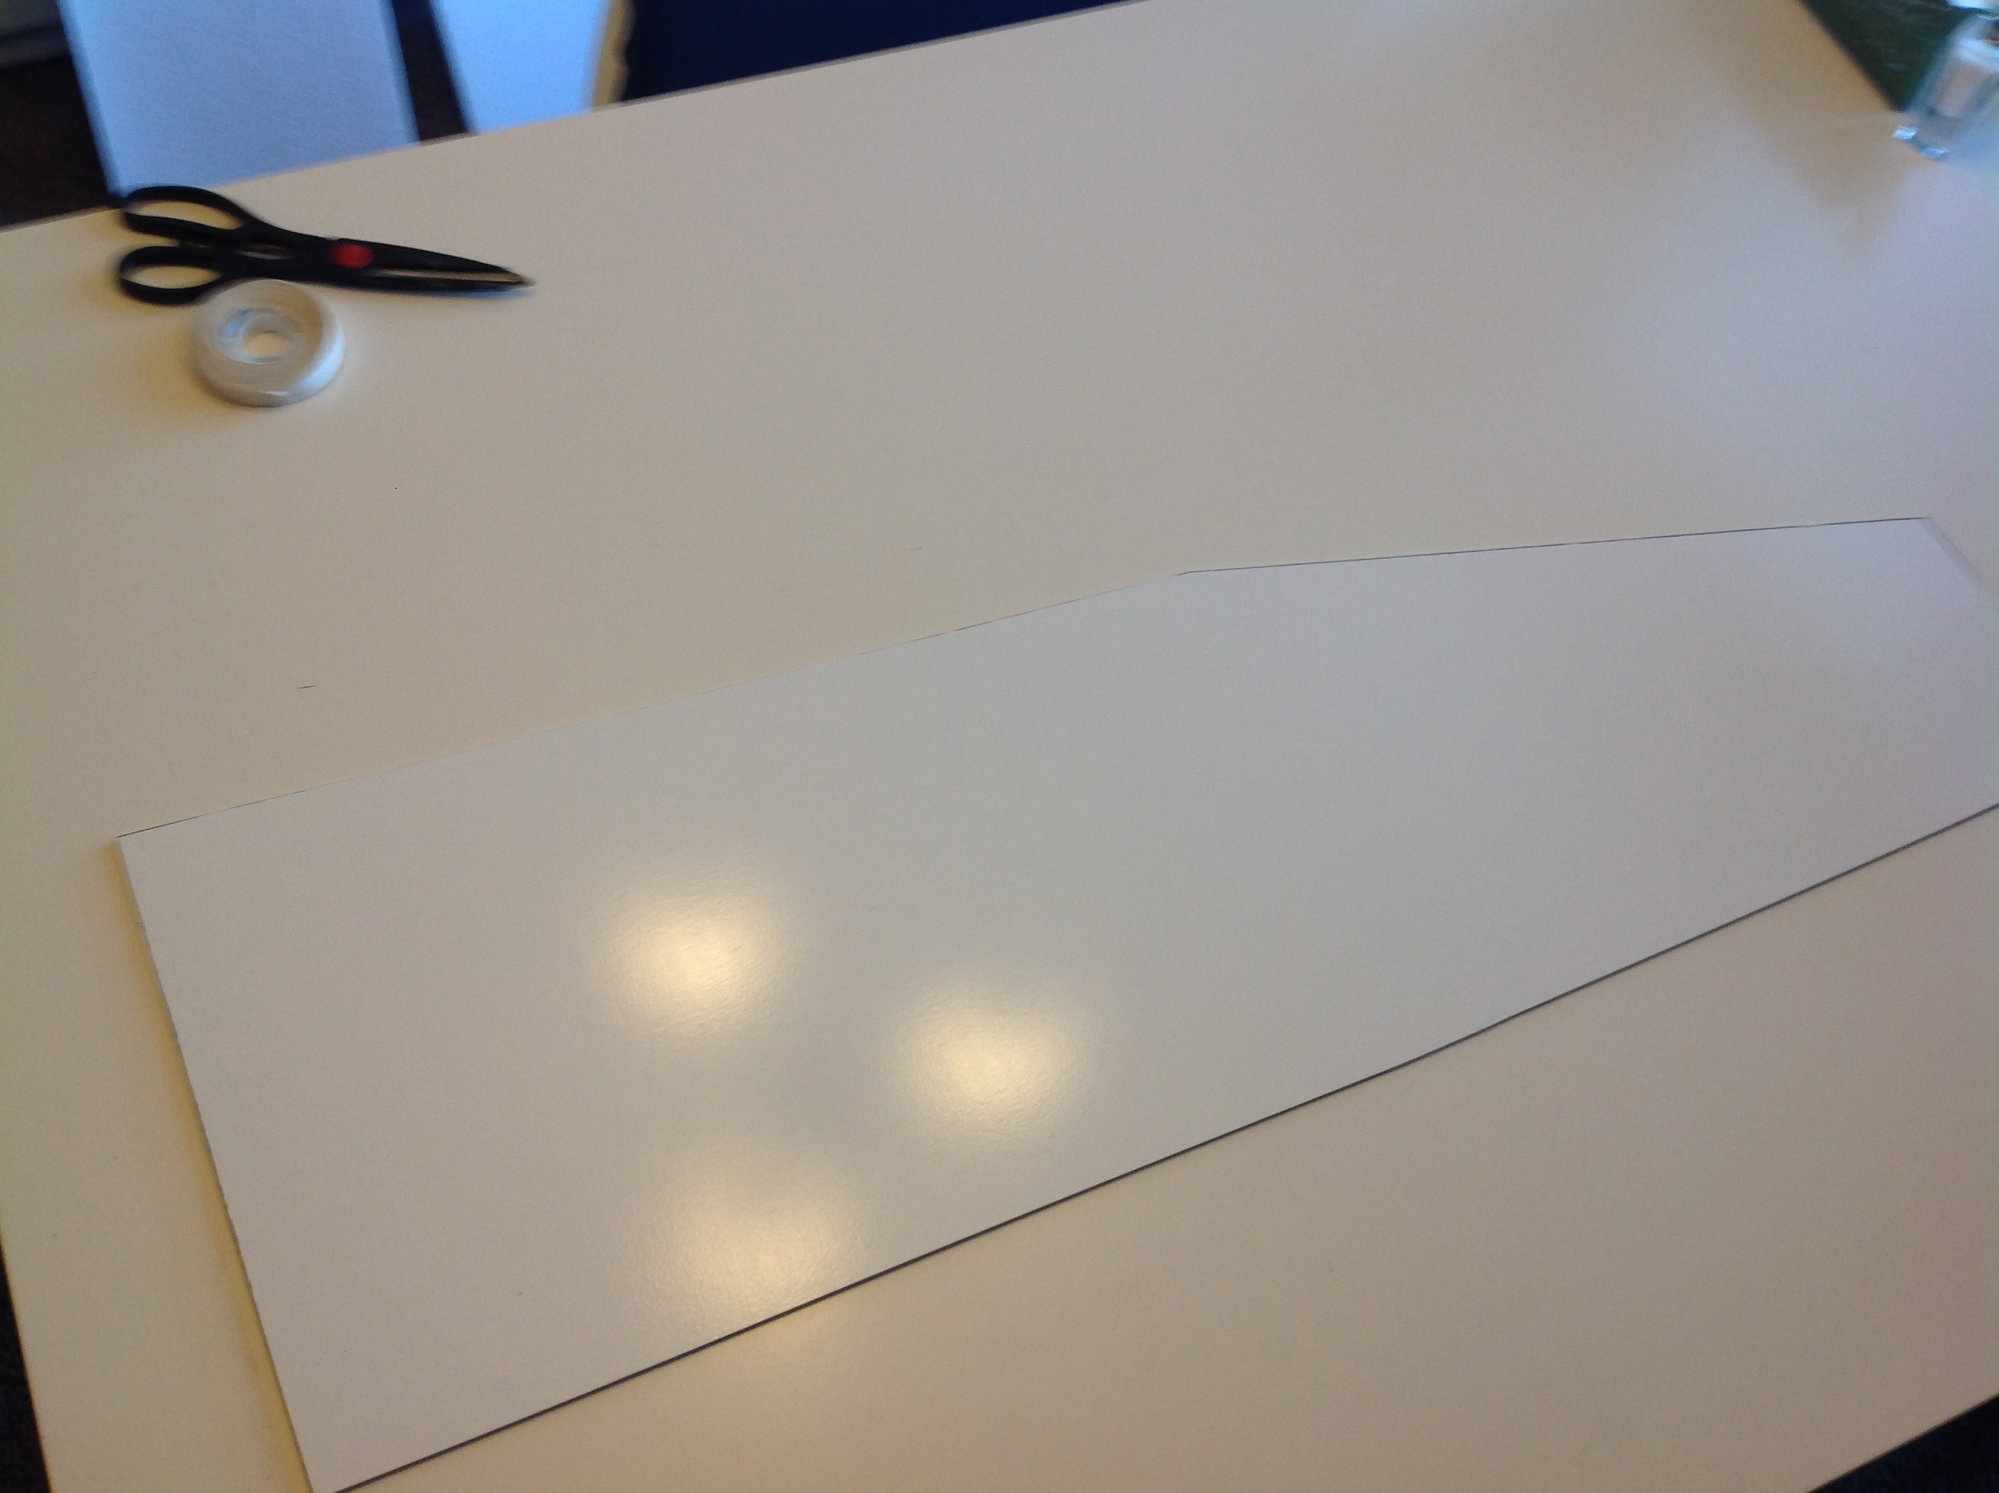
Tape is placed on the table as alignment marks to duplicate the sweep angle later.
12-03-2019, 05:54 PM
#69

The wings are secured to the master shucks with tape, lined up with the tape marks and a 12" slot is drawn out on the wings and cut out on a scroll saw.
The wings were removed and the master shucks were taped together in correct alignment/sweep.
12-03-2019, 05:59 PM
#70
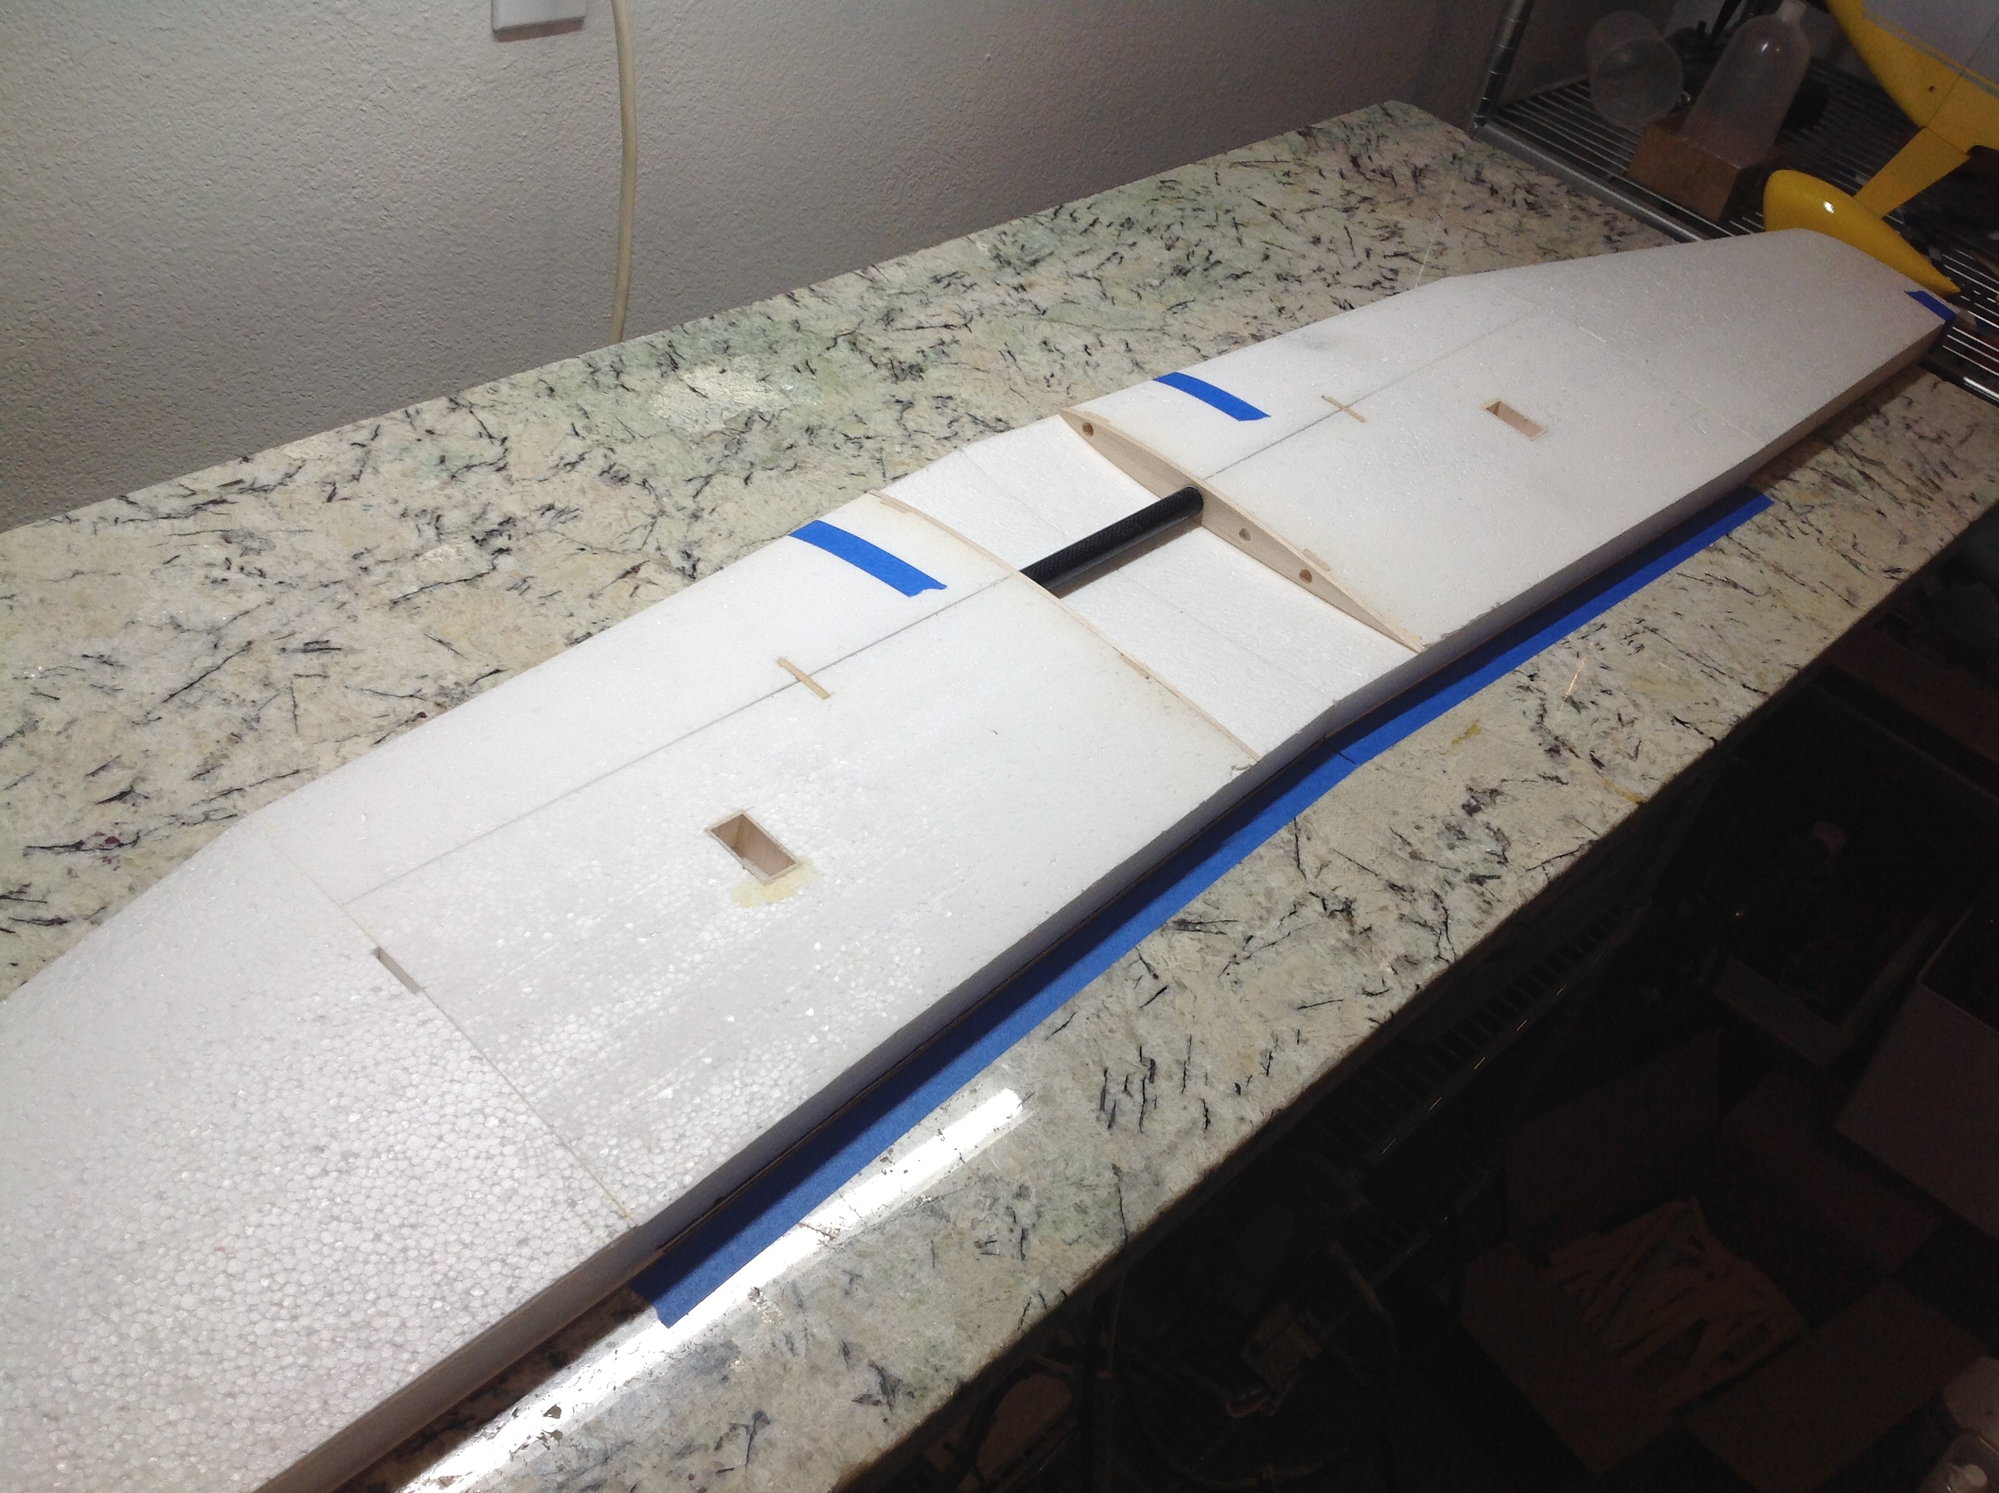
Protective plastic sheeting was put down on the center of the master shucks.
Epoxy was spread in the slot and wing roots, the wings were then taped together and to the master shucks. Epoxy was brushed on the wing joiner which is made from 1/8" lite ply and the joiner is slid into place.
12-07-2019, 12:31 PM
#71
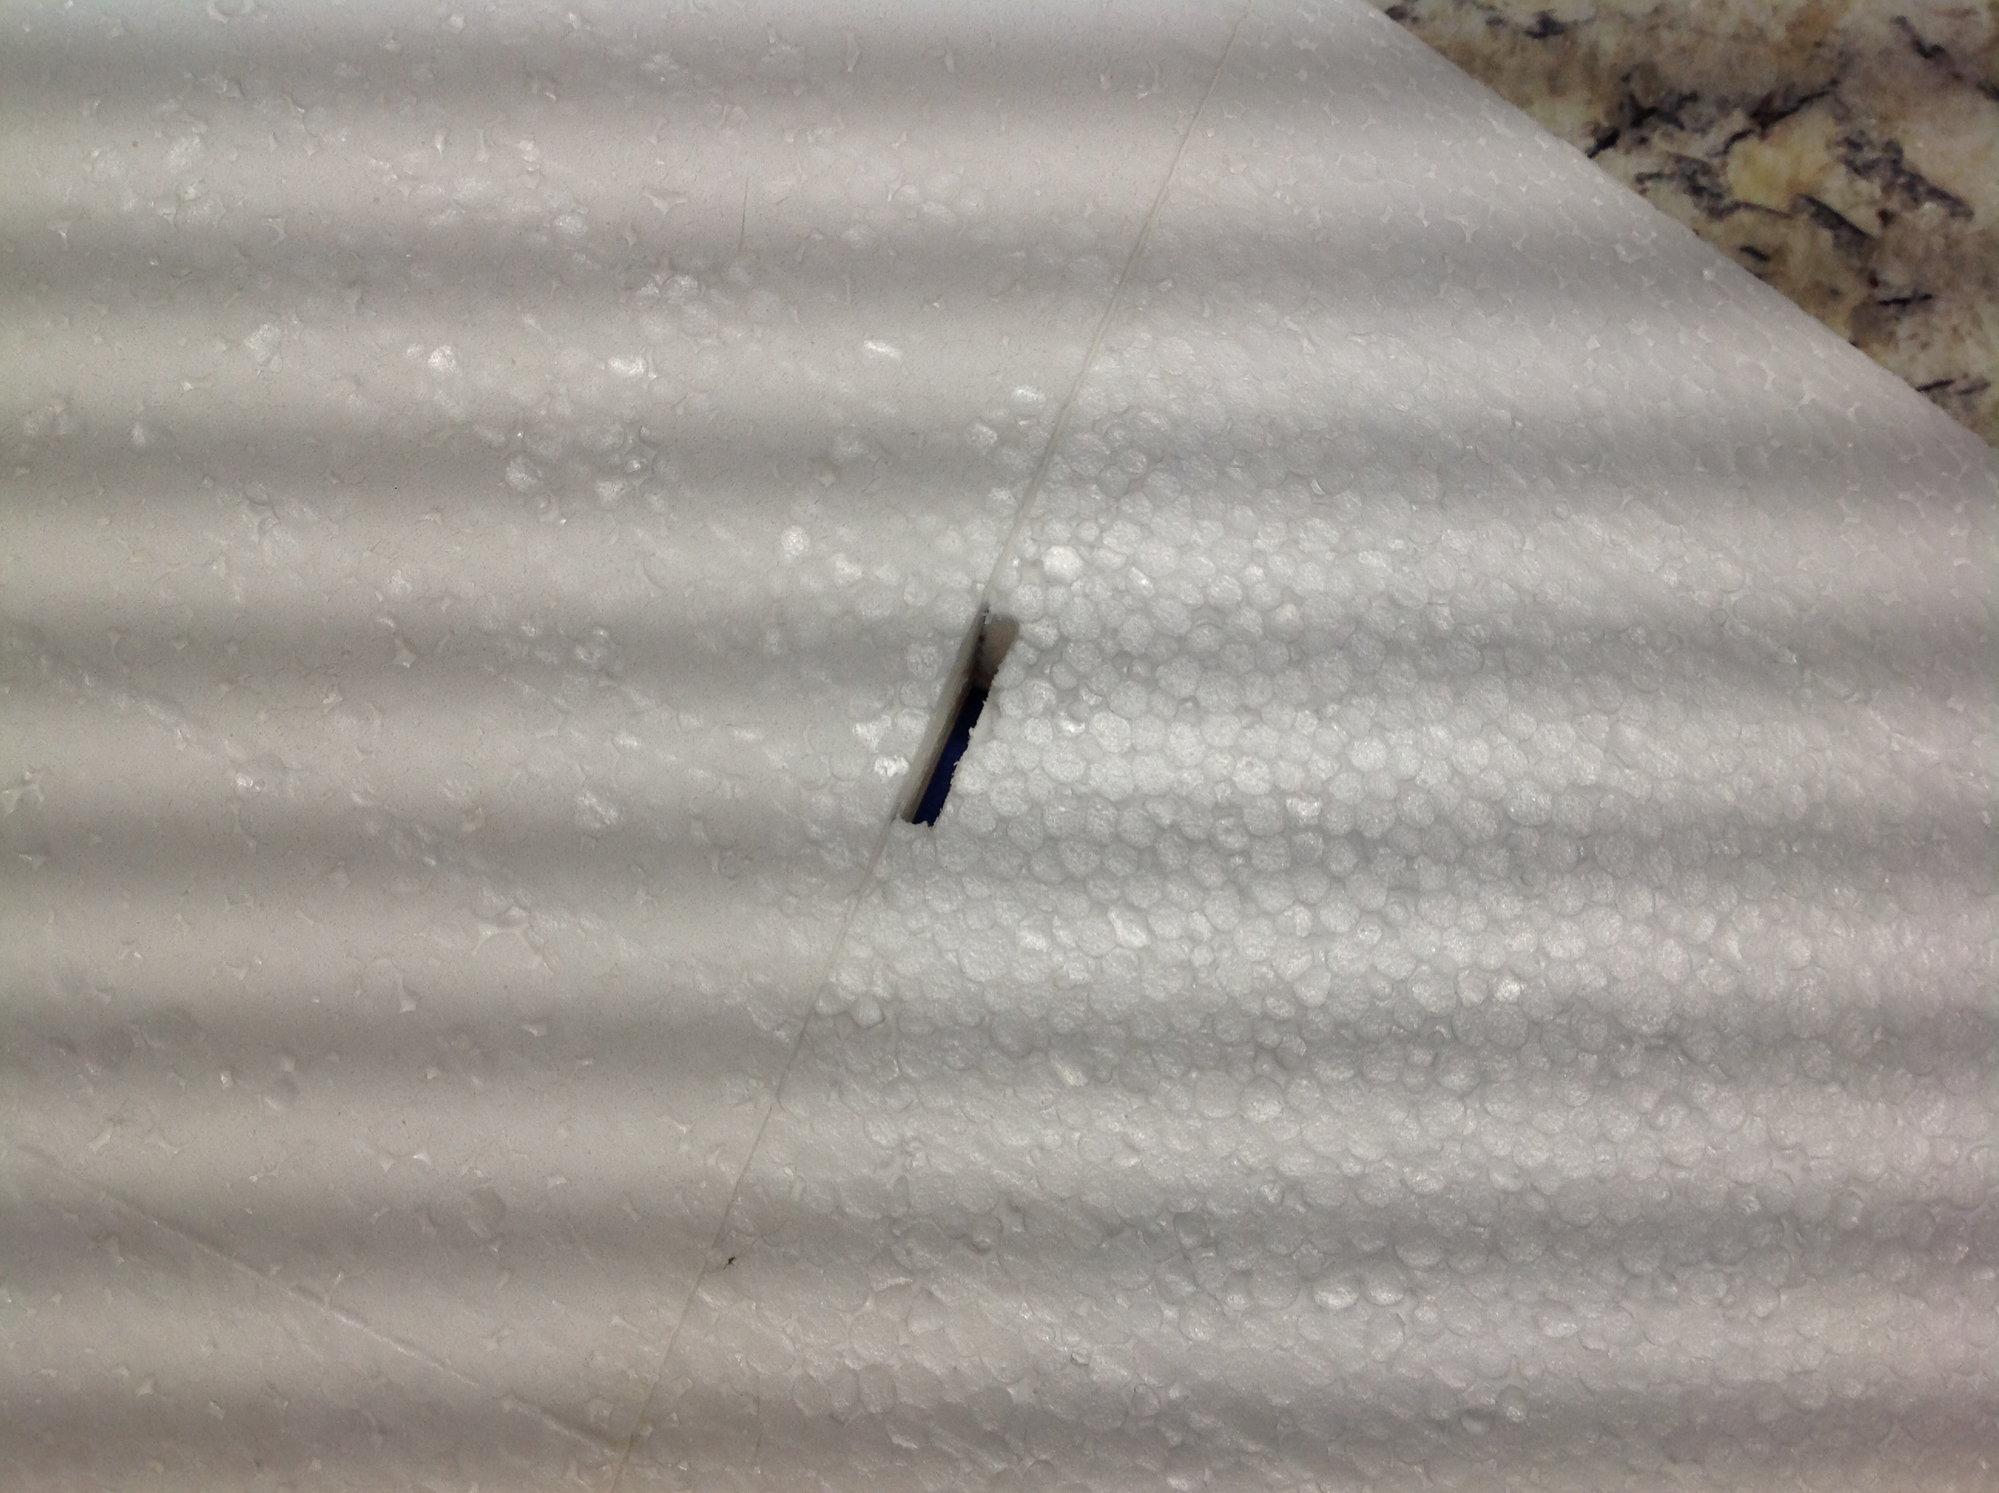
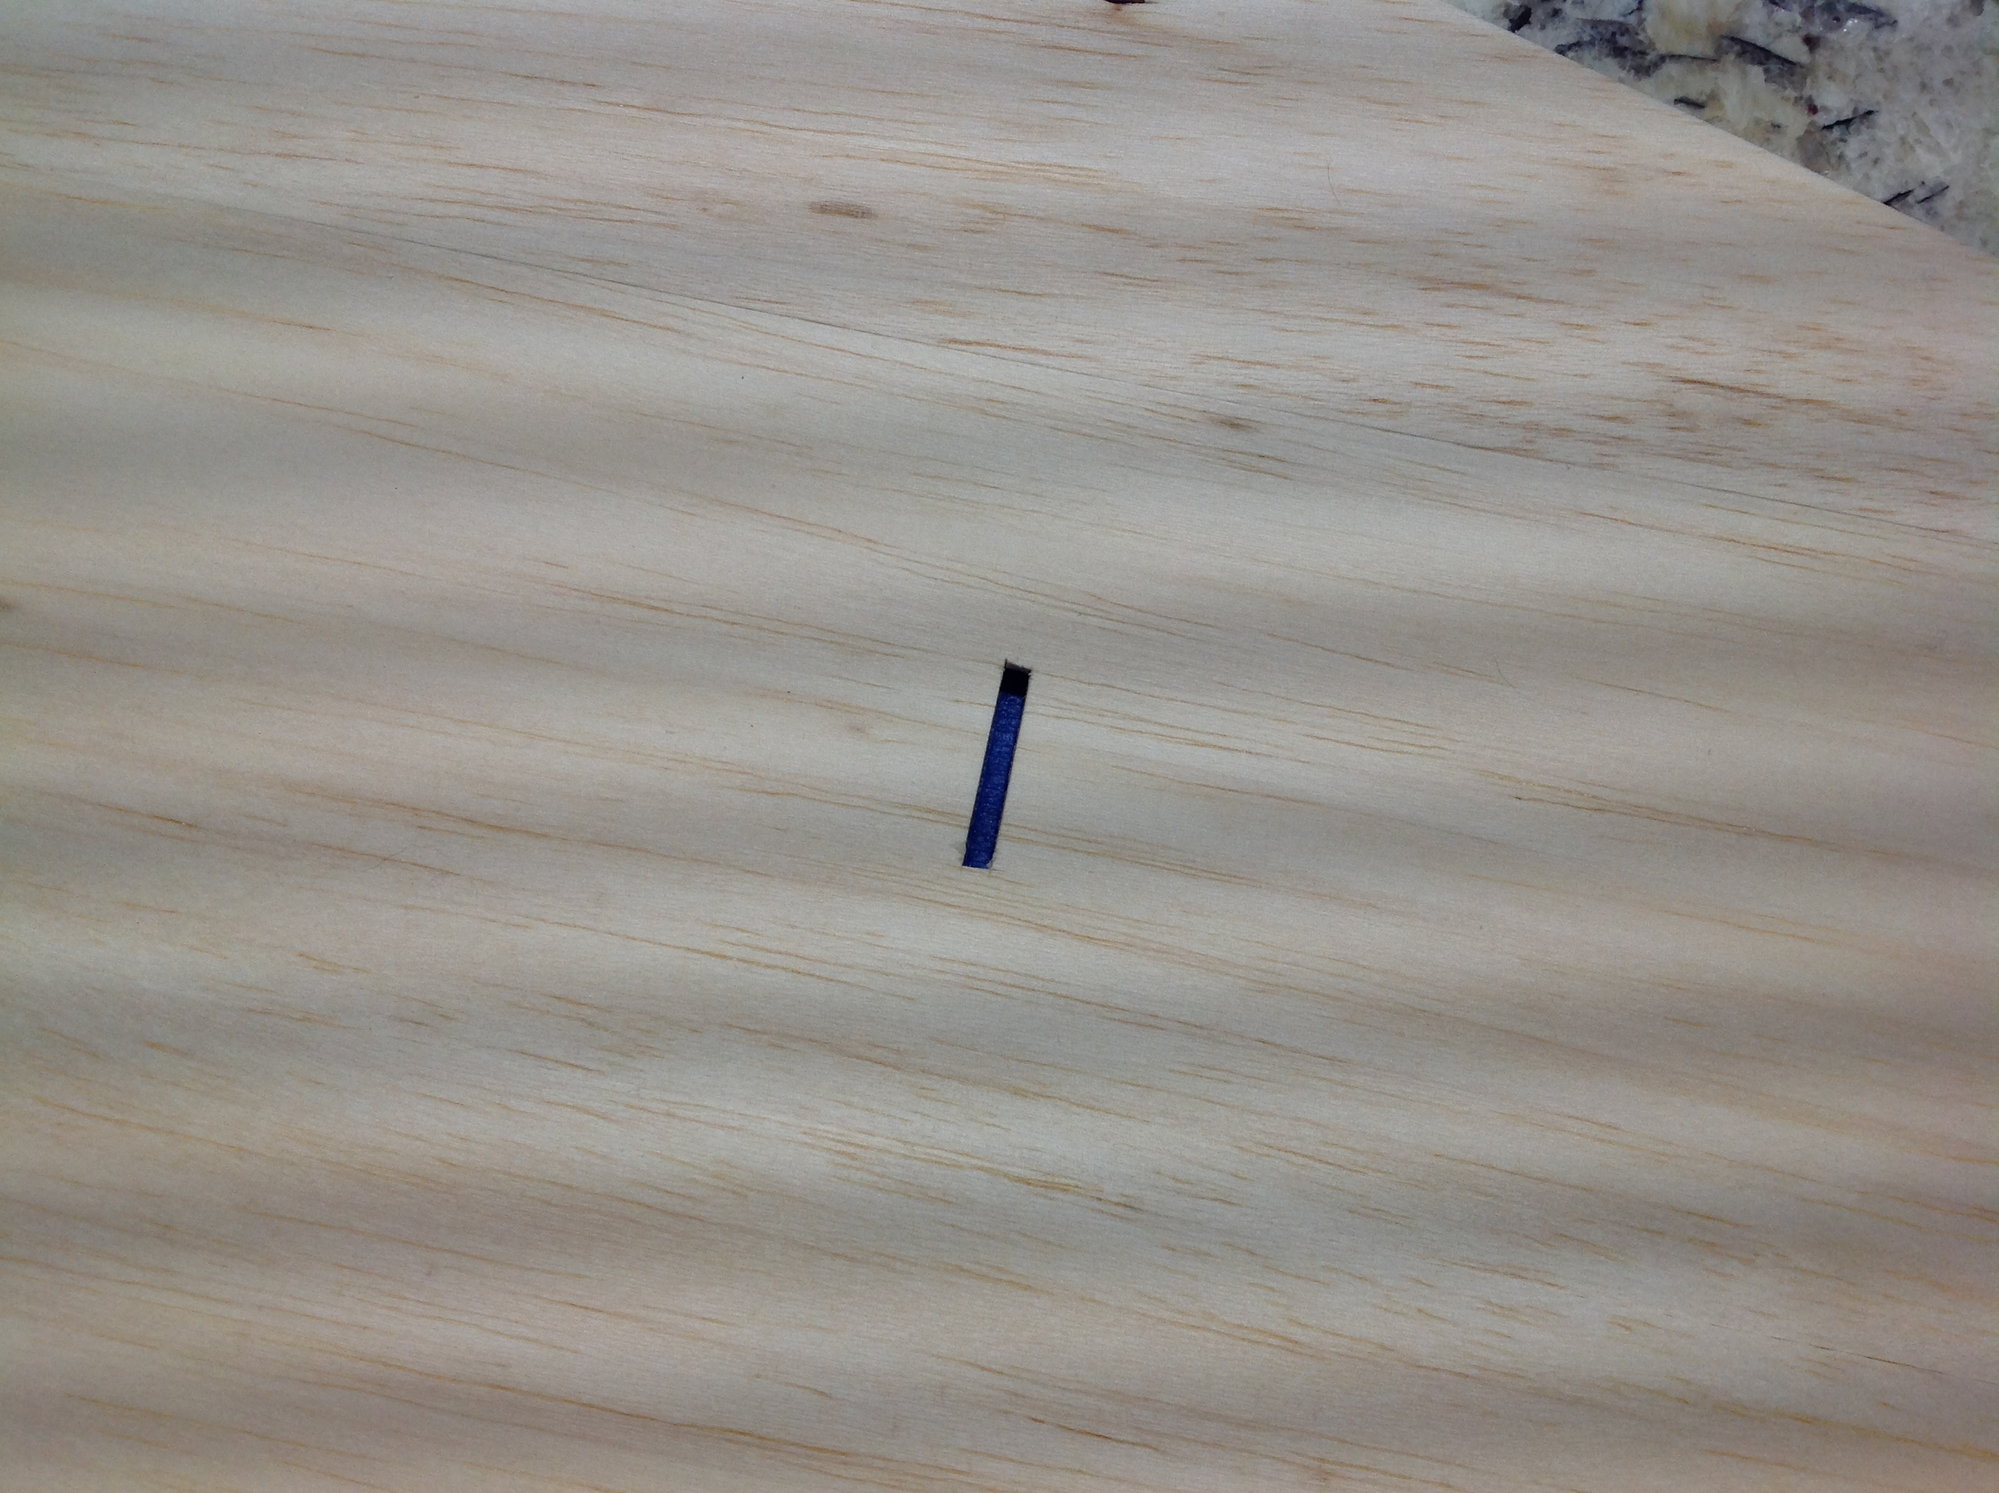
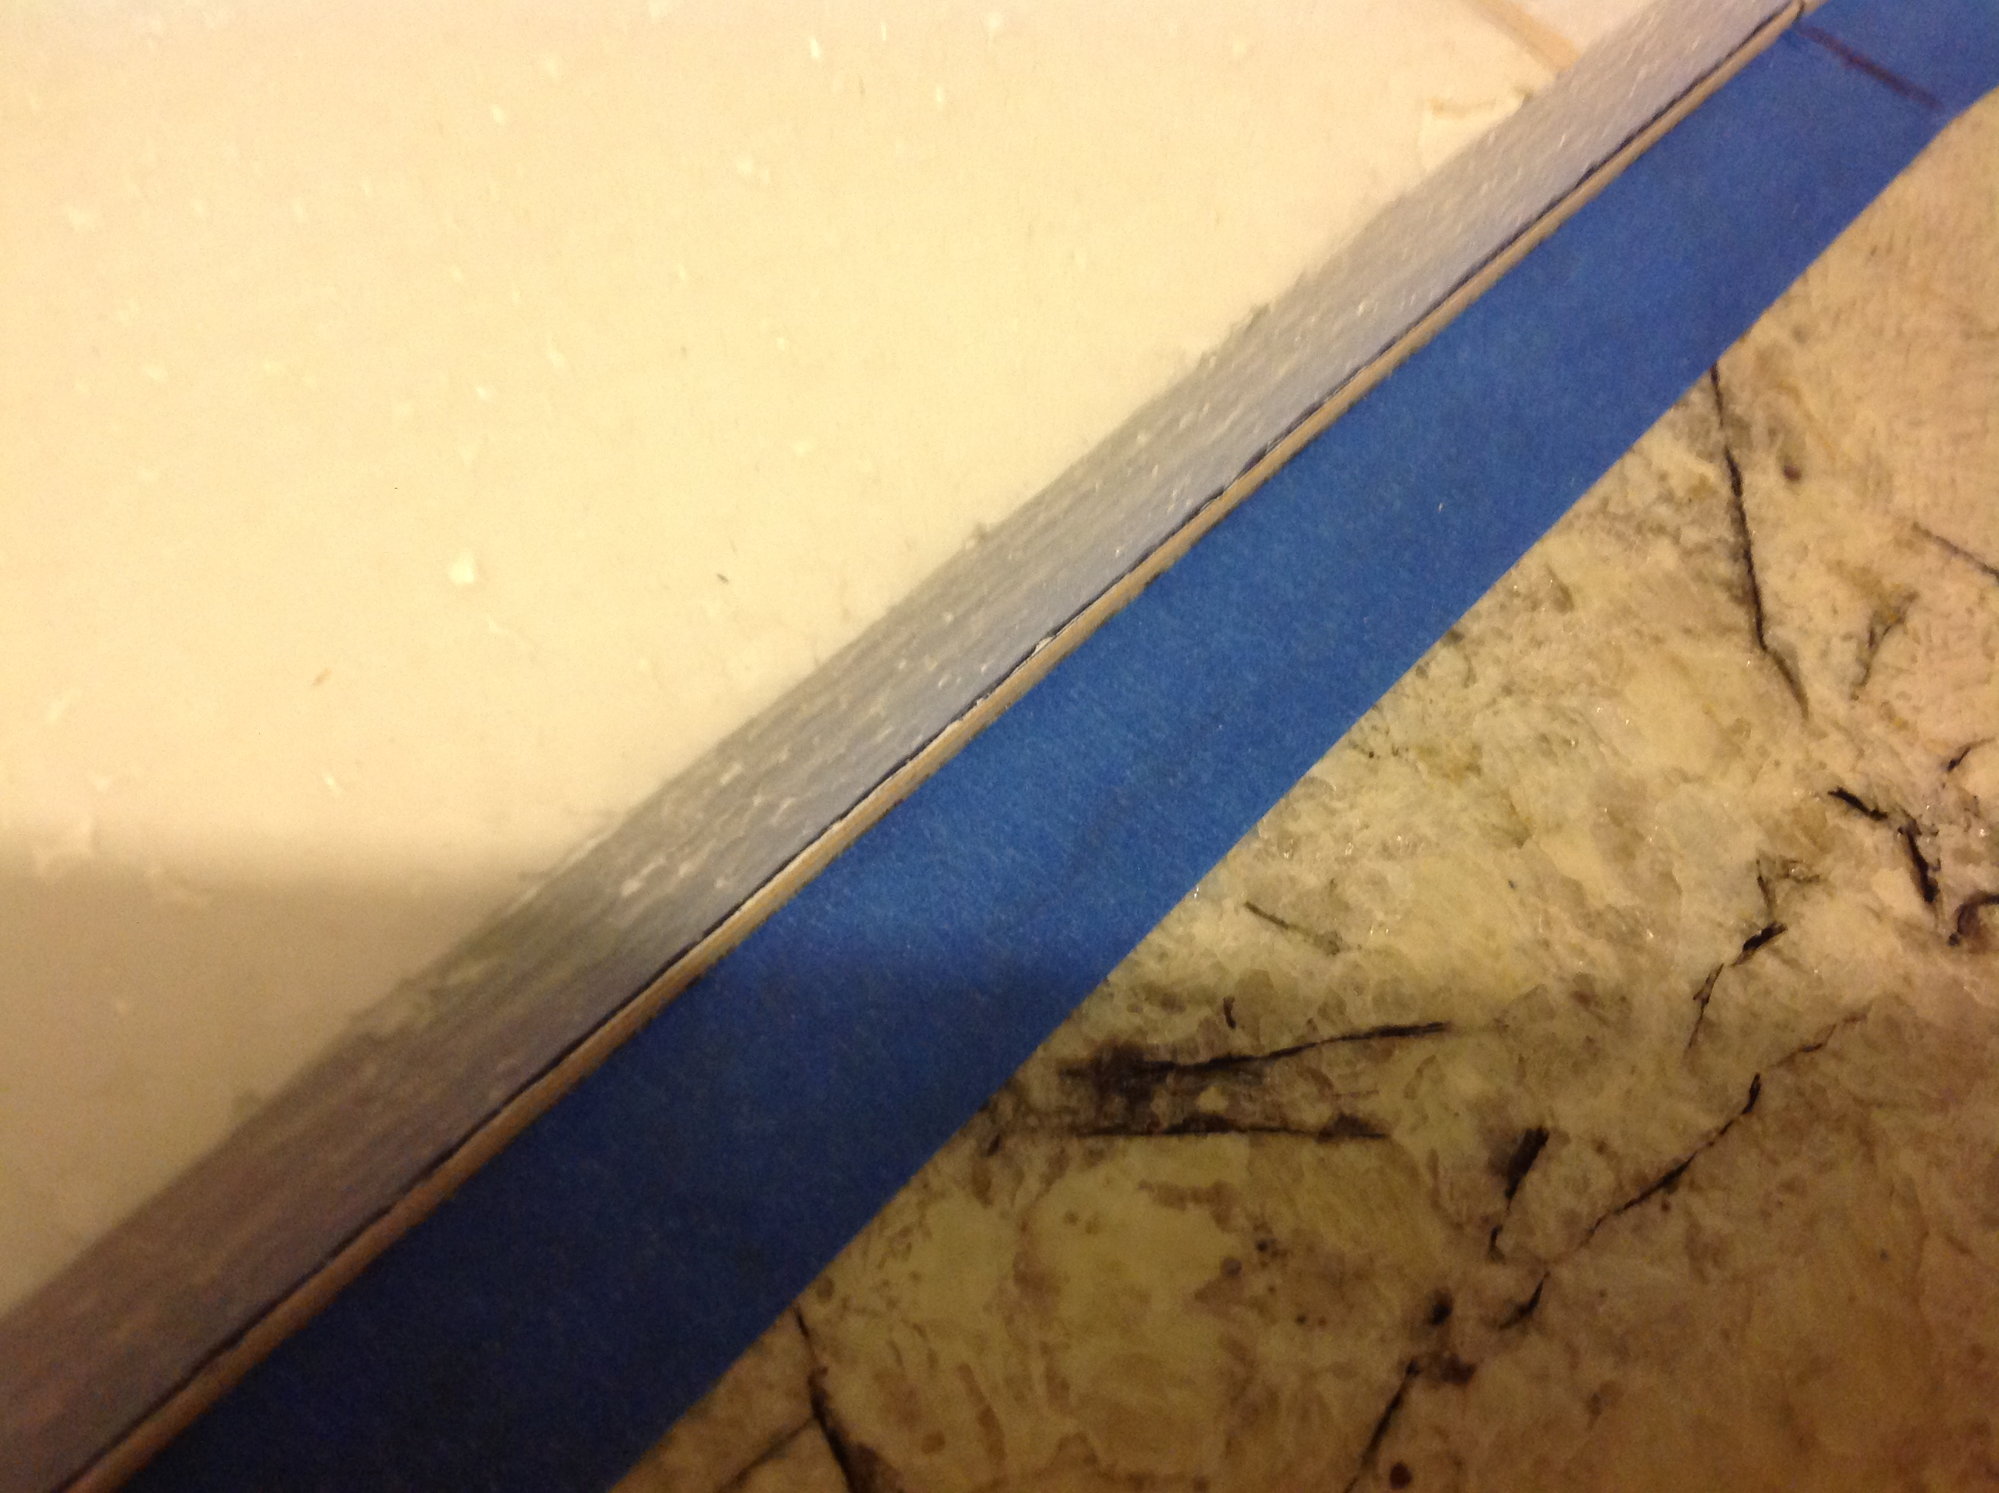
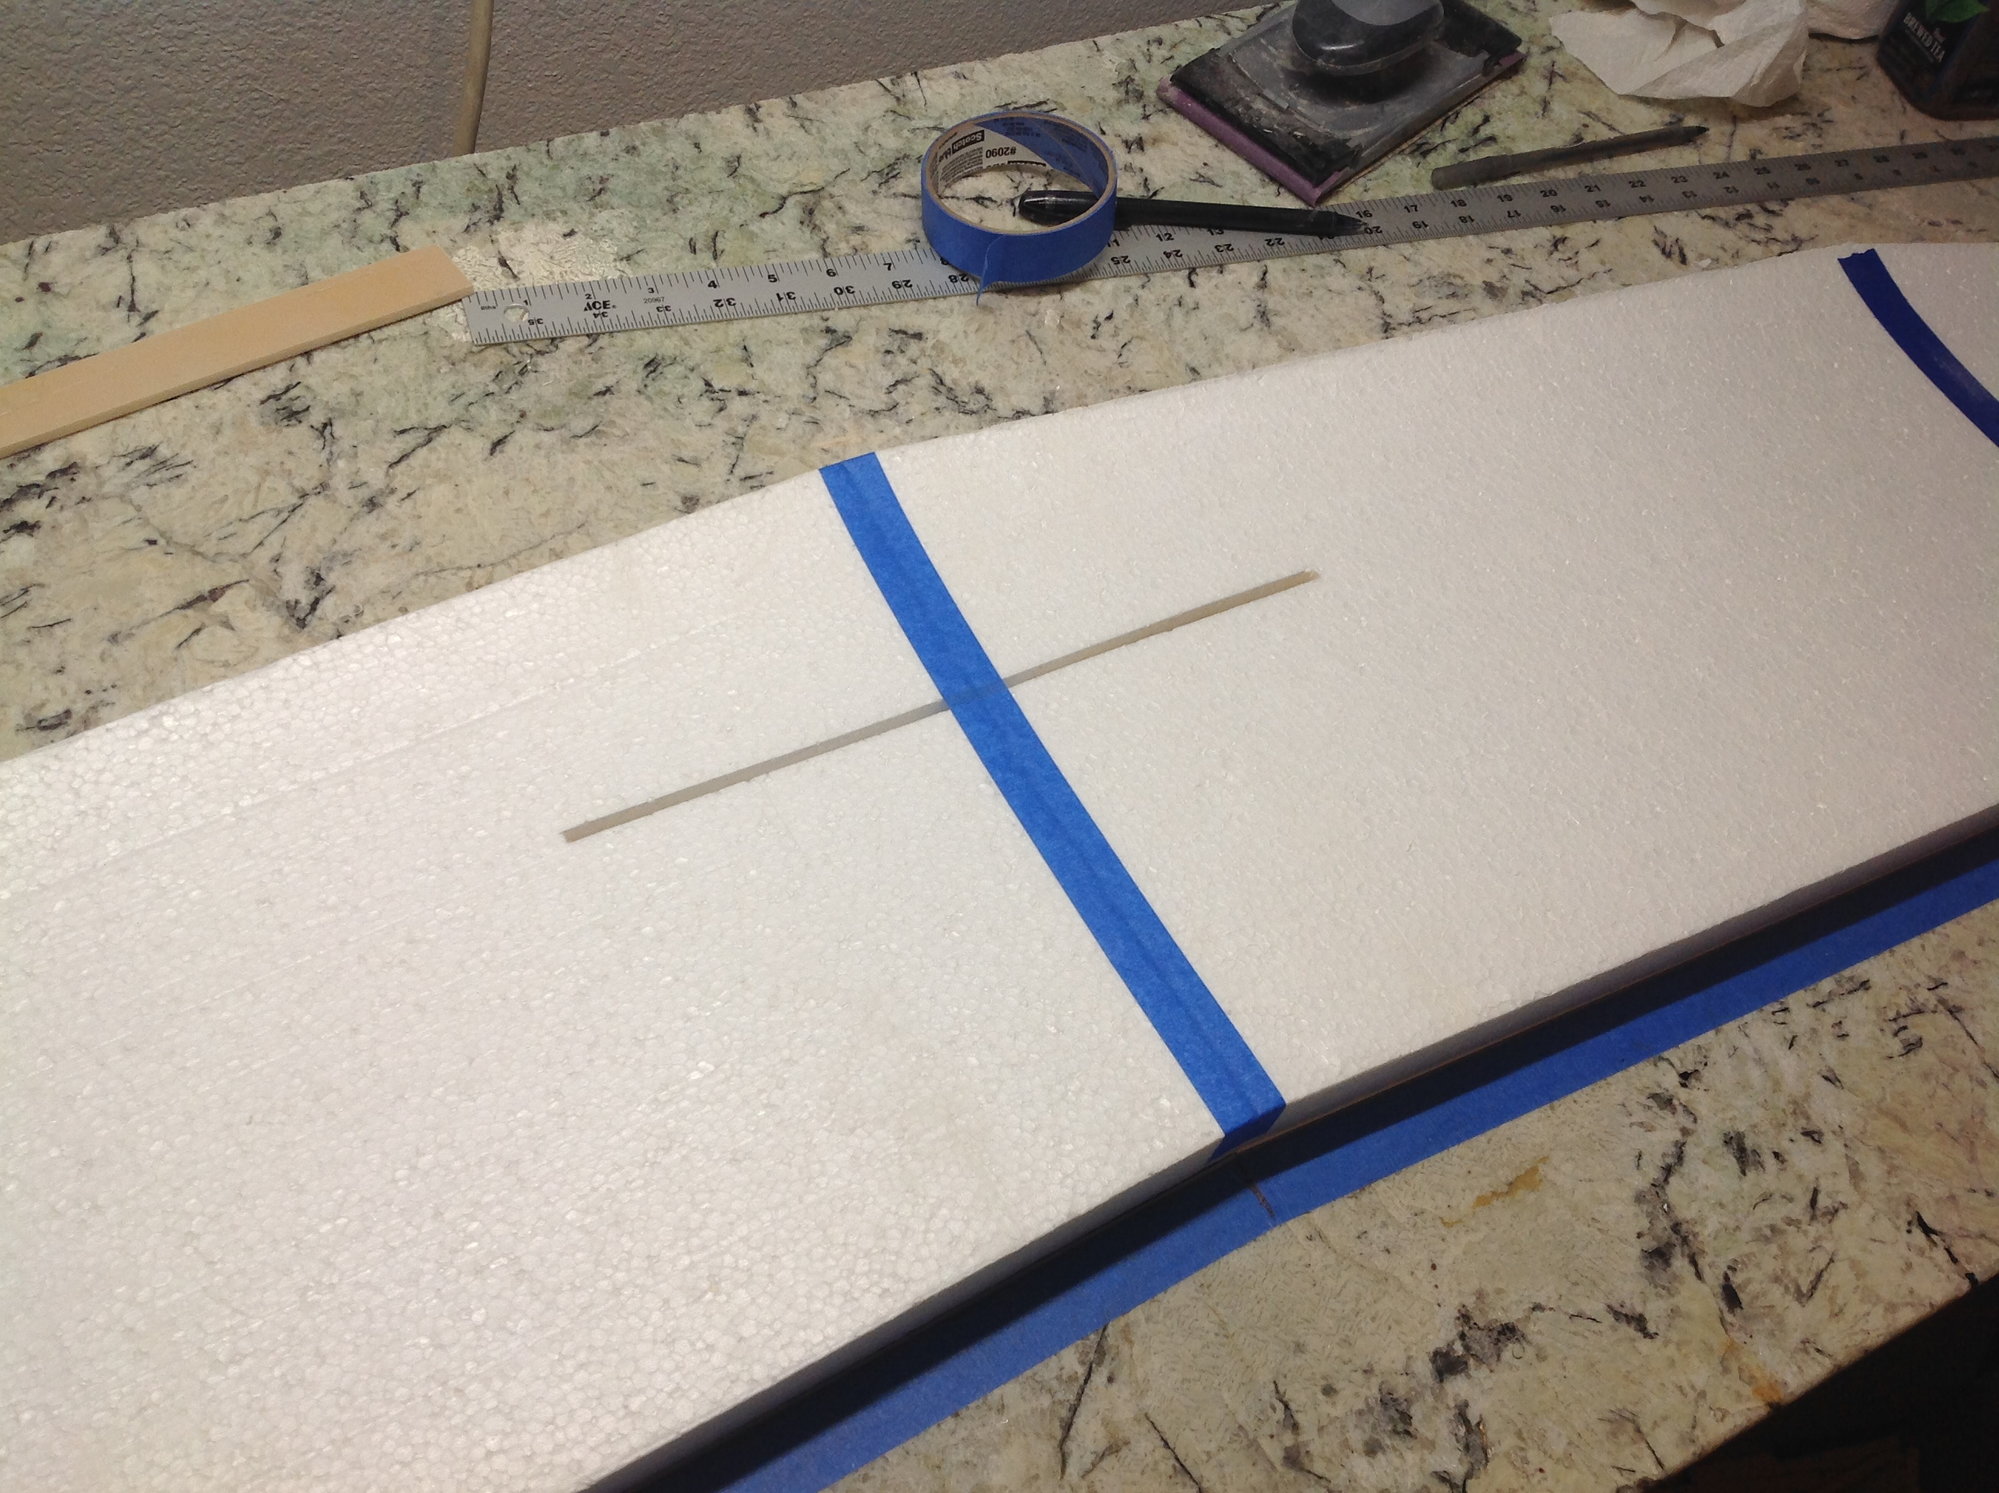
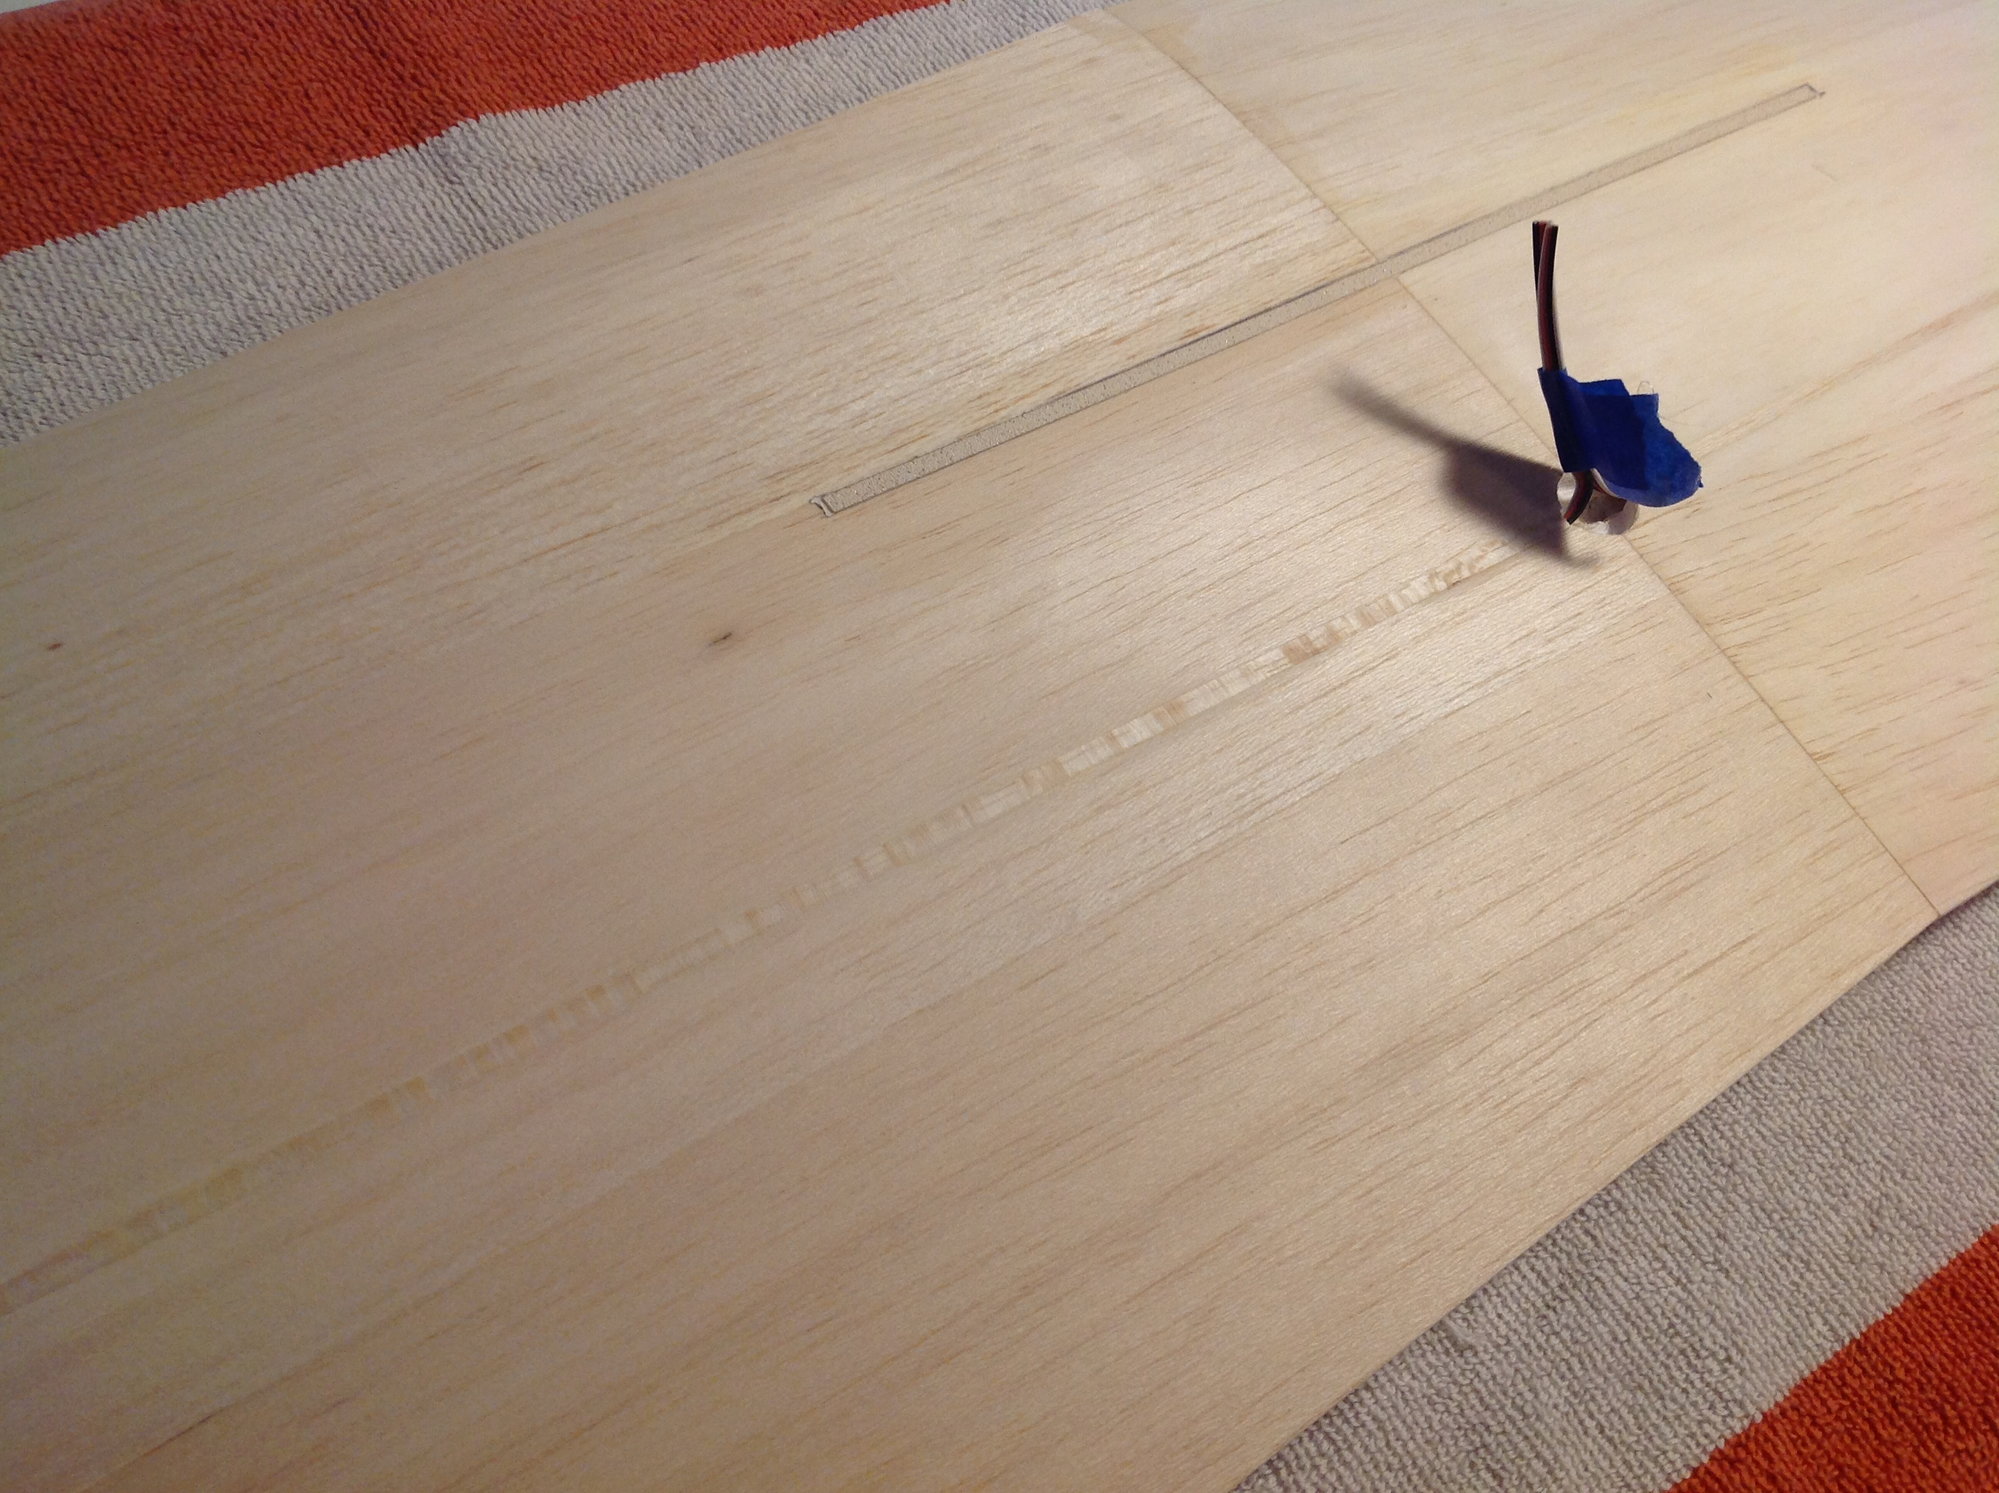
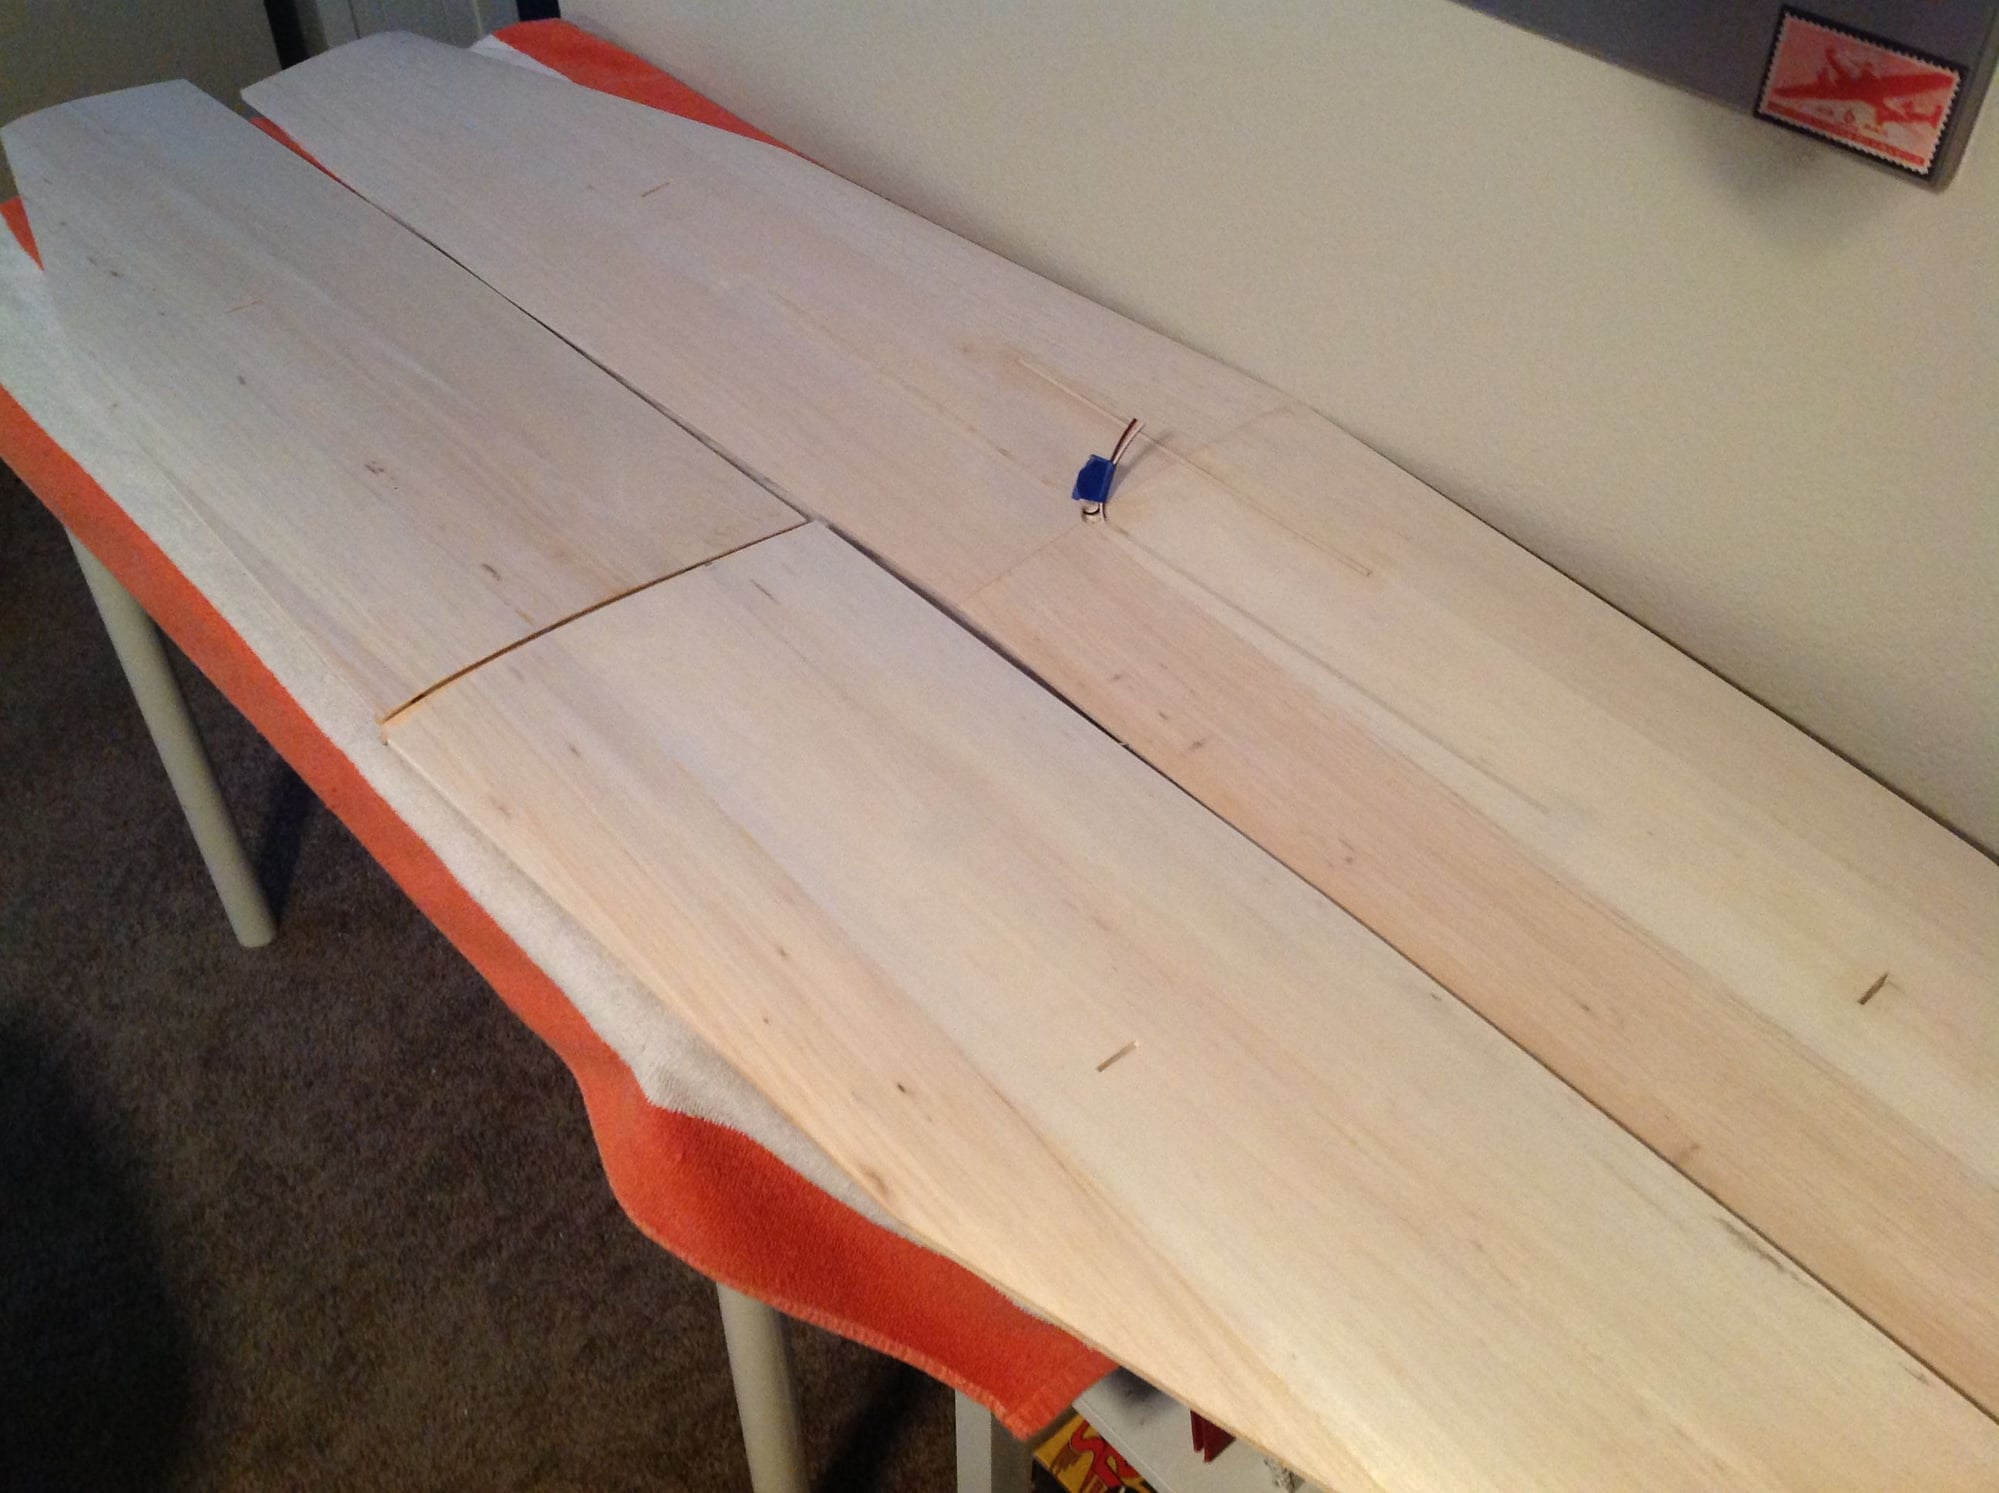
I'm wondering if anyone has picked up on the mistake I made before joining the wing halves? Serves me right for trying to work on an airplane with a severe cold and whil on cold meds. I forgot to make the channels to run the servo wires. Duh....... the fix is an easy one but it should have been done before. I simply removed a 3/16 wide strip out of the wing sheeting, used a hot peice of music wire to melt away some foam, laid the servo wire into the slot and then filled the slot with 3/16x1/8" balsa. When the Titebond dried I sanded flush.
 12-07-2019, 12:37 PM
#73
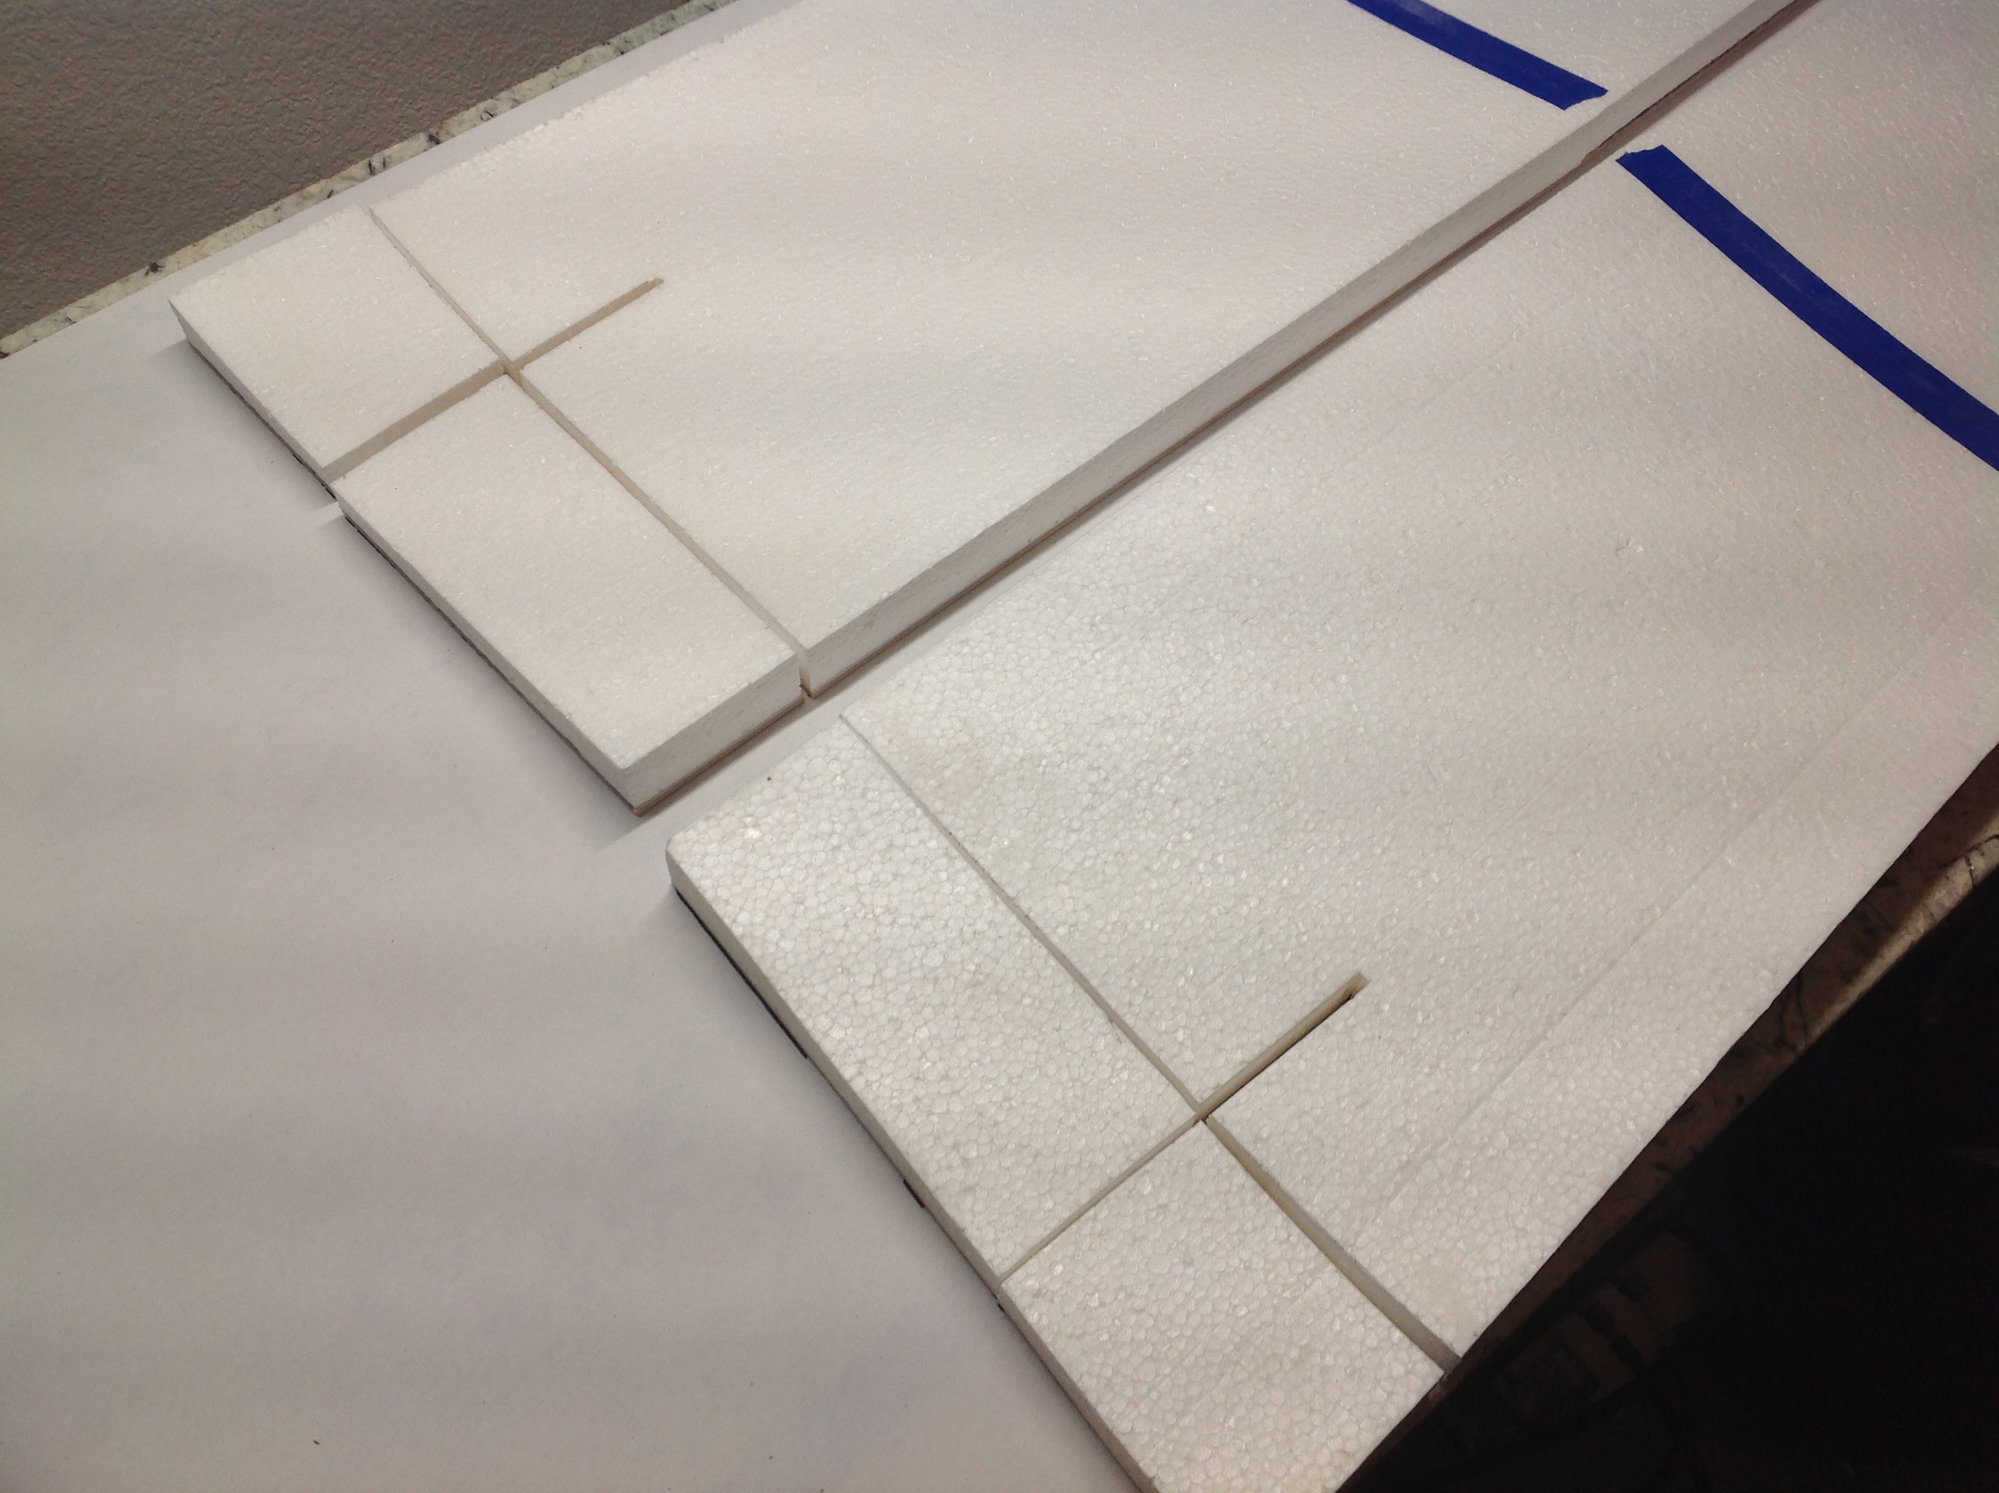
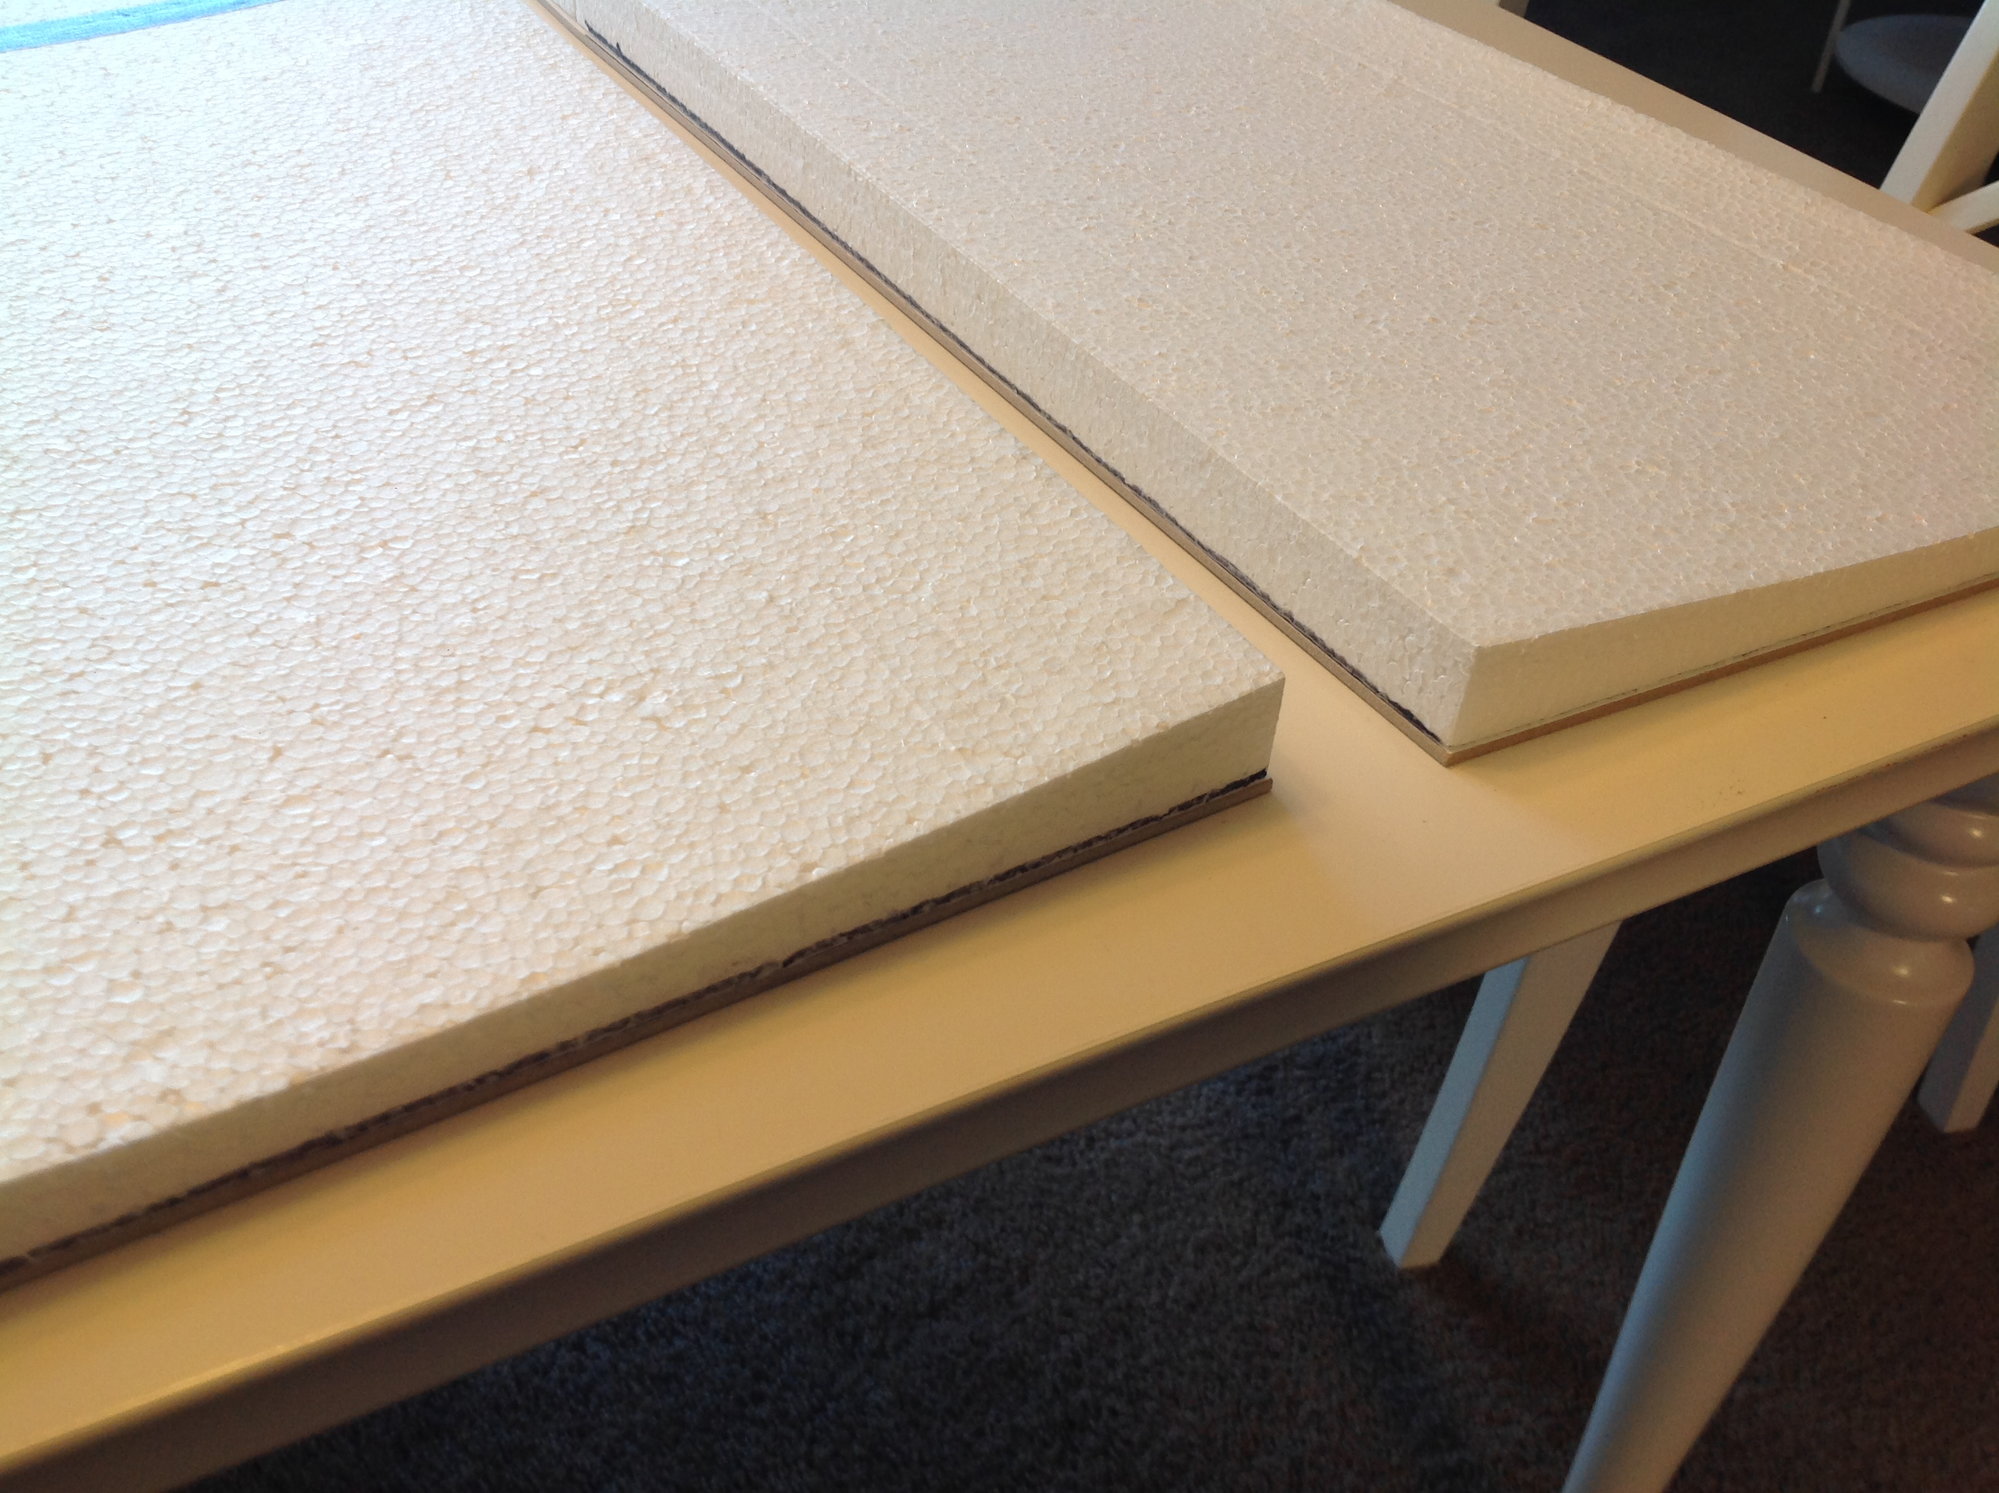
Moving onto sheeting the upper wing panels. This requires cutting the master cores down to the same span as the upper wing cores. I'm all set up to proceed with the sheeting/bagging but will hold off a few days. Just this little bit of work with some balsa dust has really aggravated my chest cold and I thought I was going to cough up a lung.
12-14-2019, 04:01 PM
#74
Now that I am feeling a bit better I finished up on the wing sheeting and installed the formers in the fuselage shells.
Fuselage shells with formers installed, next step is to seam the shells together.
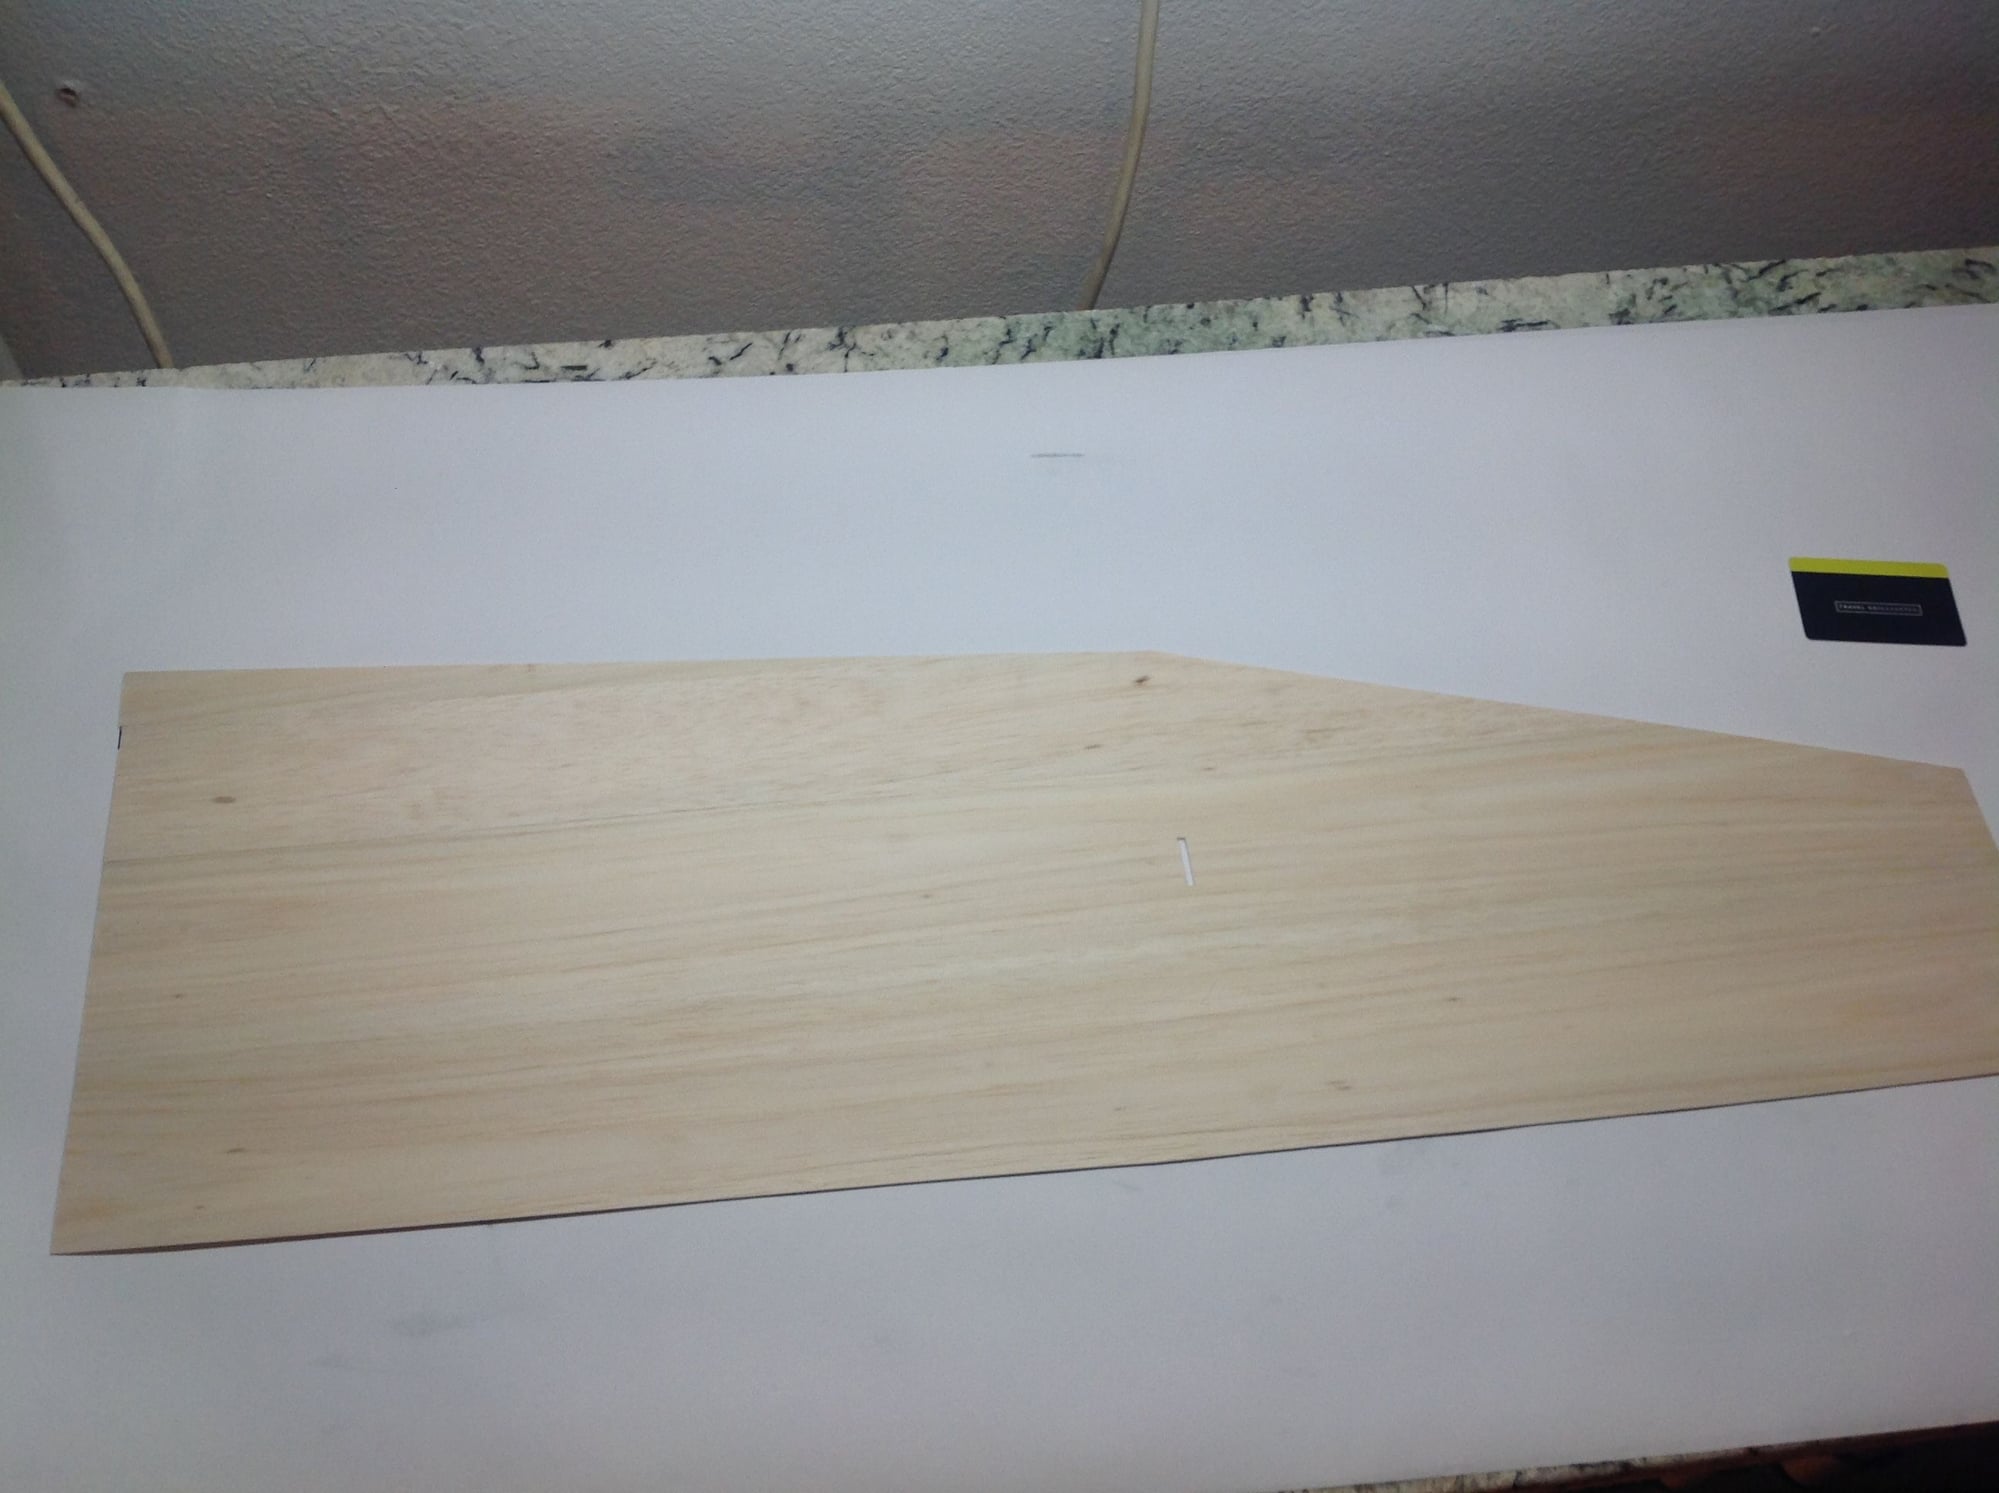
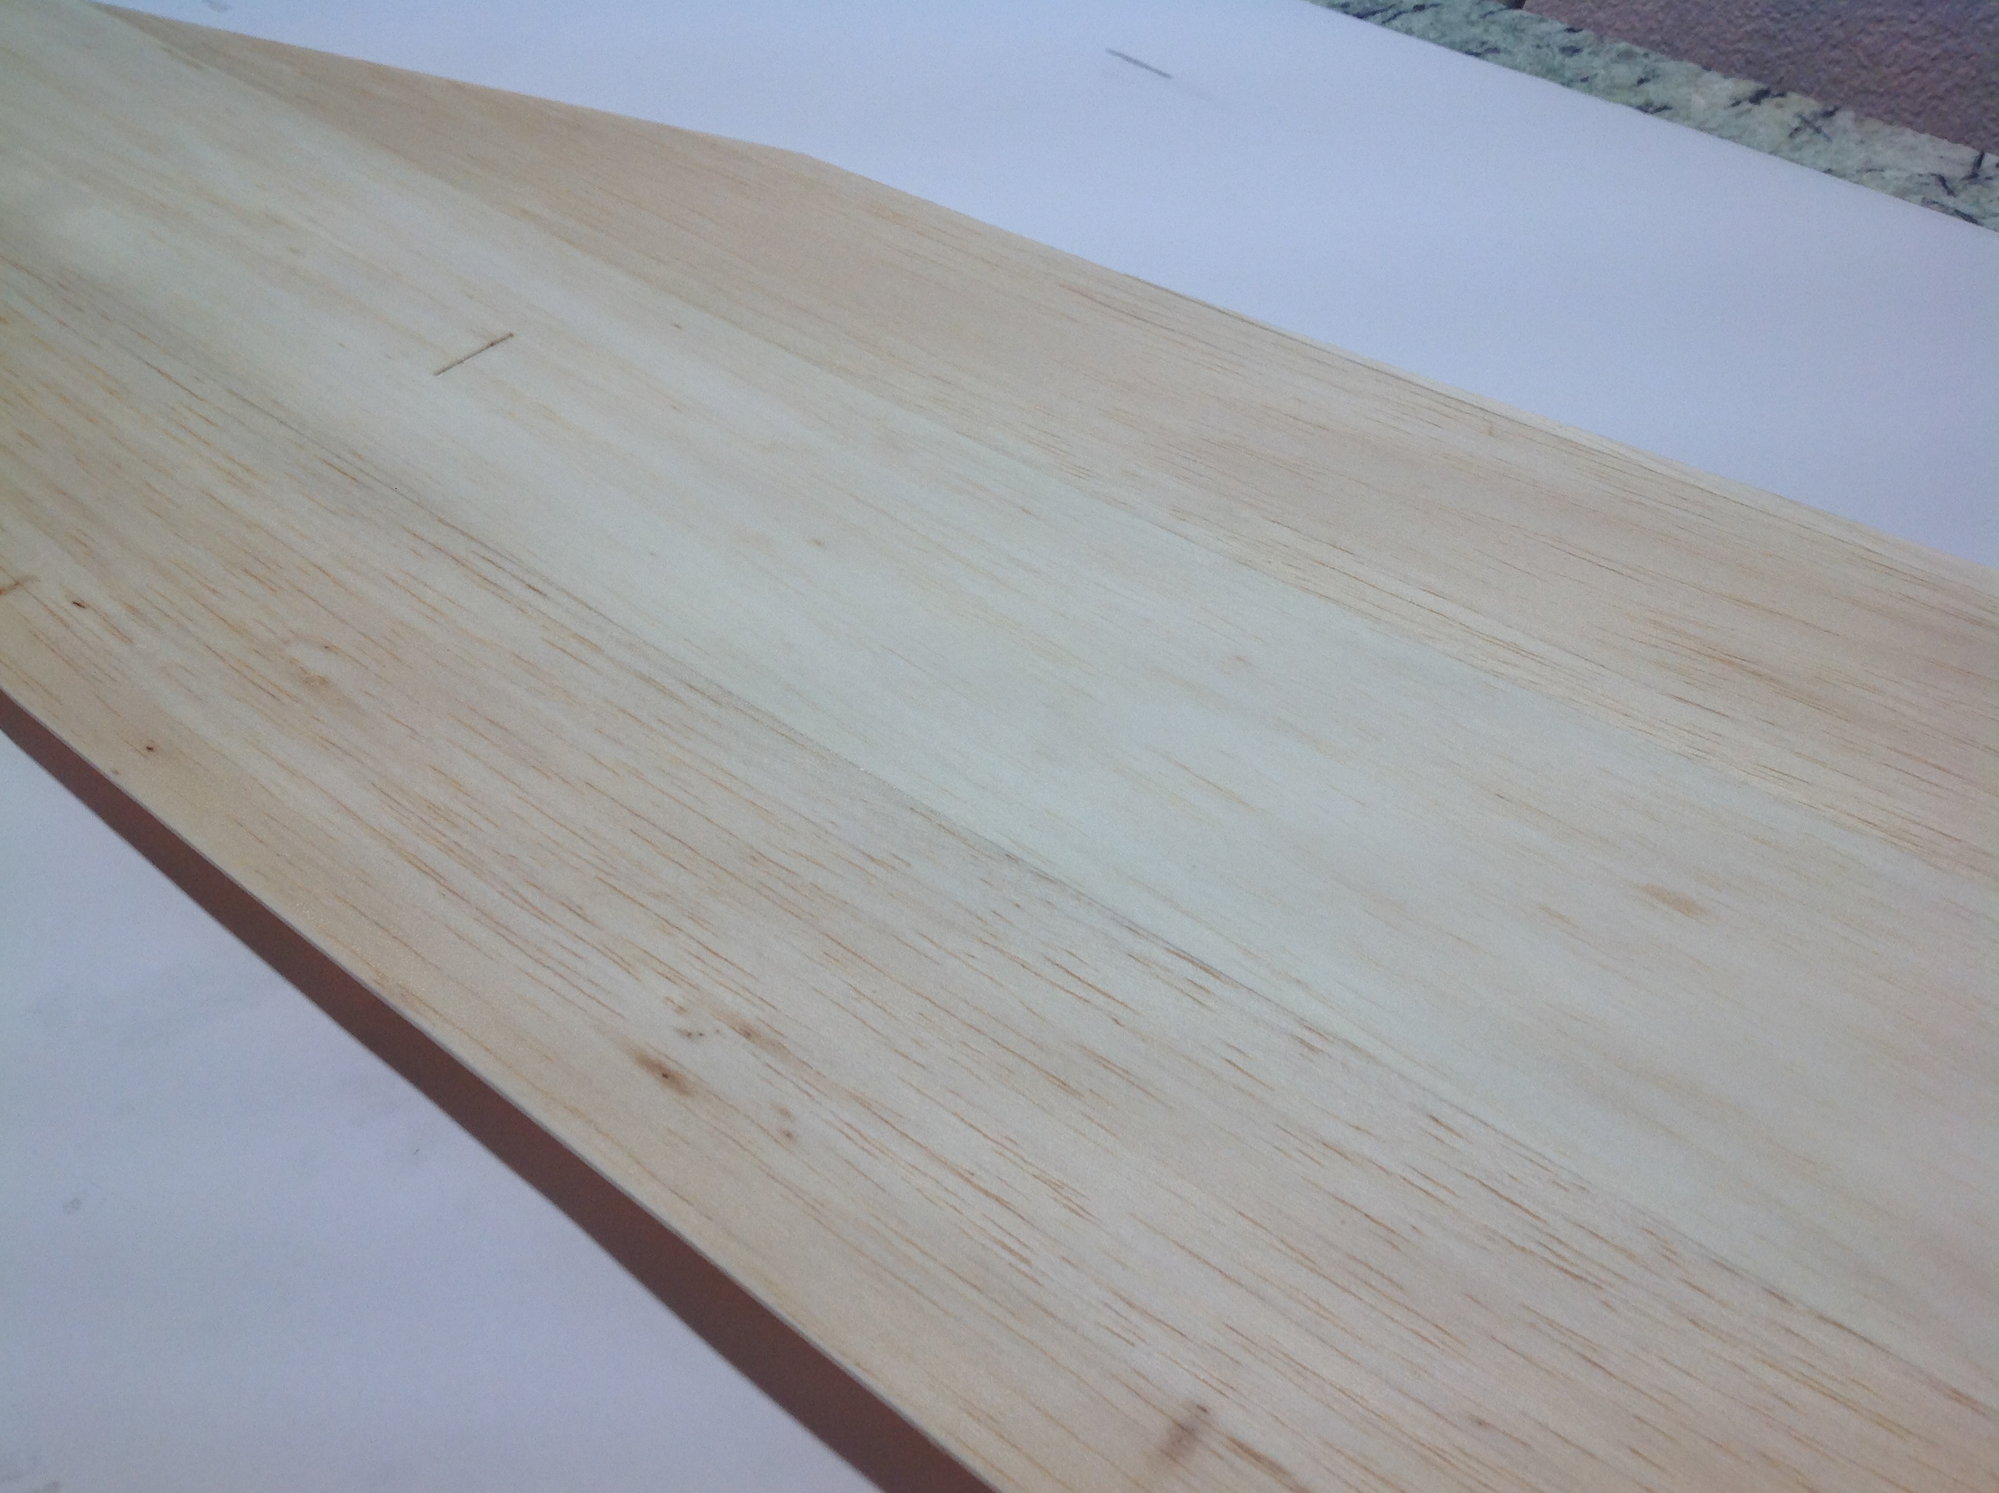
All wing panels waiting for leading edge and tip blocks
Fuselage shells with formers installed, next step is to seam the shells together.
All wing panels waiting for leading edge and tip blocks