


JW Büker Jungmeister build


 01-22-2023, 04:01 AM
#303
So there are some great points to using Stewart Systems and some not so great points. The real deal-maker is lack of toxic fumes. After all these years of torturing my lungs with nasty chemicals, it's worth the down sides.
The down side is that once you paint on the initial coat of EcoBOND (same green stuff used as the adhesive to glue the fabric on) to fill the weave, the surfaces can no longer be sanded in anyway. EcoBOND is basically a water-based rubber contact cement that once cured is completely waterproof. That is why Stewart systems recommends it. The subsequent coats of EcoFILL will complete the filling process and give you a surface ready to paint, HOWEVER EcoFILL is NOT waterproof. So unless you apply the base coat of EcoBOND your paint job will not be waterproof from the INSIDE.
I was introduced to this paint process by a friend and he did not know about this characteristic and used EcoFILL as the initial weave fill and has had great success with his paint jobs. Of course once you paint the Ecofill with latex or epoxy the outer surface is waterproof and in almost all cases this will be just fine for our RC purposes. However, for this giant beast I'm building I wanted it to be a sealed paint job inside and out so hence the green initial coating.
Now back to the down side of not being able to sand the green stuff. There are times when you would definitely want to sand that initial coating. At the seams there are always loose cut end and stray fibers that you could normally sand off if the fabric is initially coated with a sandable coating like the EcoFILL is. However, all is not lost: I discovered that once it's completely cured you can go back over all the seams and iron all the ragged edges smoothly down. The EcoBOND will melt/smear down to the surface and re-cure to a (mostly) smooth surface. The subsequent coating of the EcoFILL filler will be completely sandable and help to further smooth the seams. However, my friend that has been using this process says that the EcoFILL will not hide very much so we will see how all my seems turn out. Fingers crossed!!
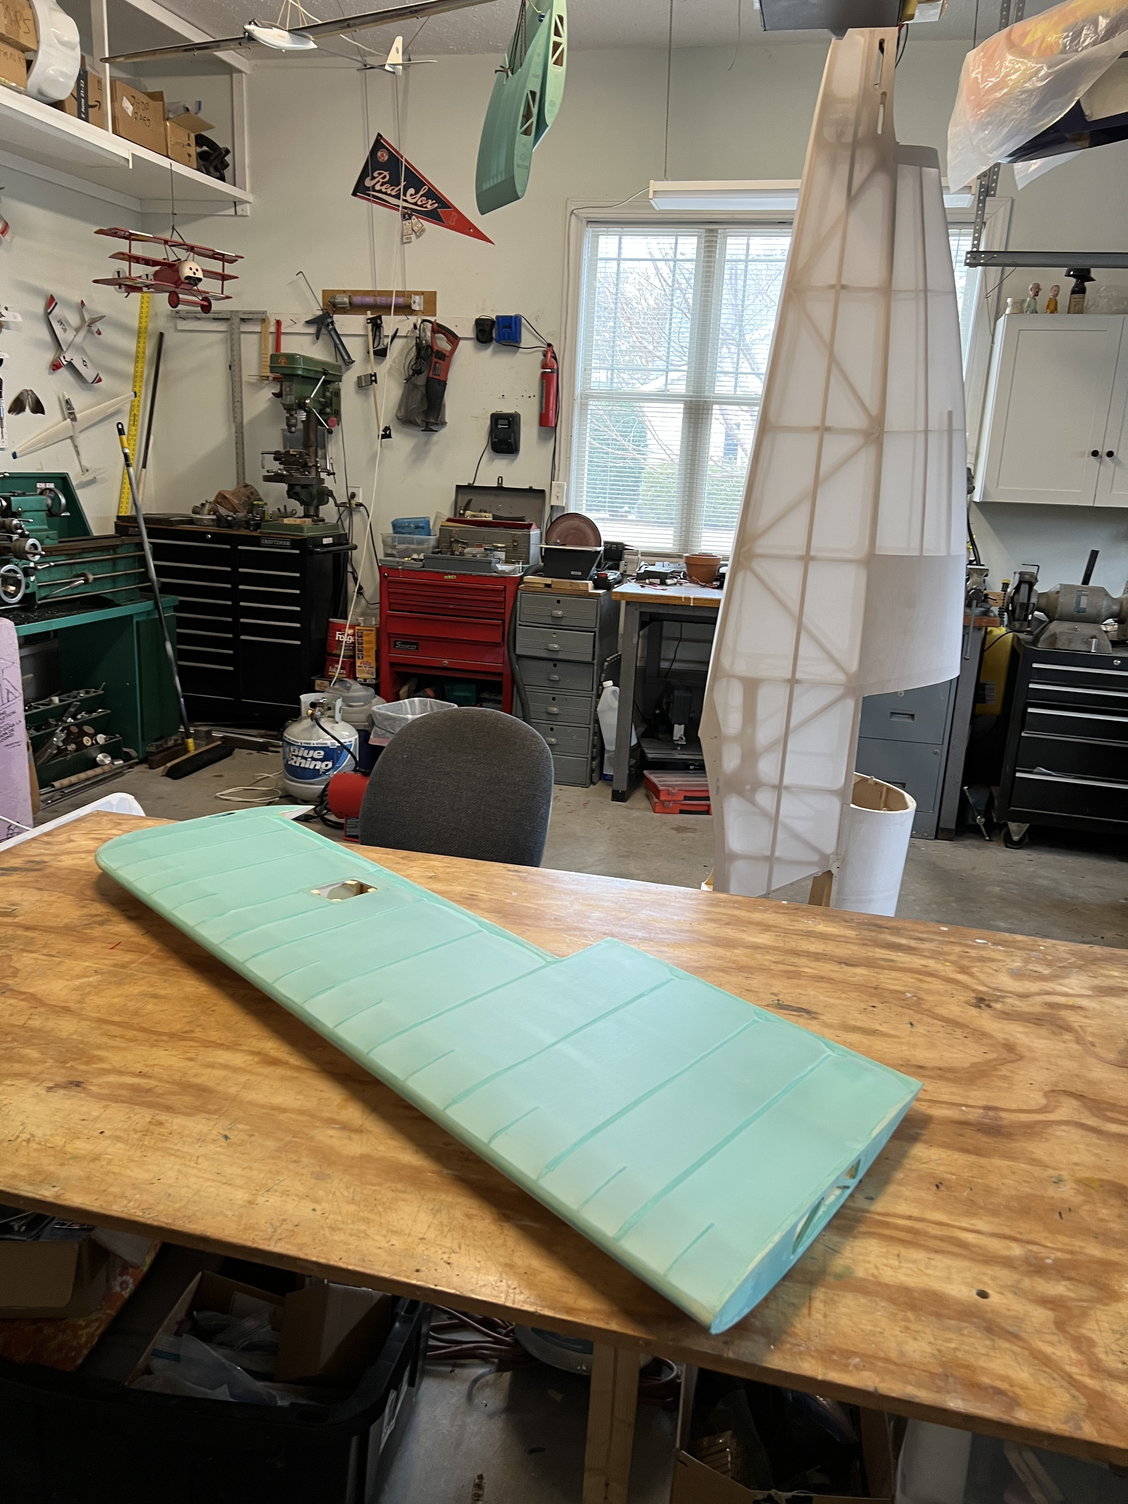
Green = waterproof. And also unsandable!
By the way: EcoBOND comes in two colors: one is cream colored for see-thru paint jobs. I happen to have some of that to start and that is why my fuselage and other surfaces did not show the green adhesive under the cloth.
The down side is that once you paint on the initial coat of EcoBOND (same green stuff used as the adhesive to glue the fabric on) to fill the weave, the surfaces can no longer be sanded in anyway. EcoBOND is basically a water-based rubber contact cement that once cured is completely waterproof. That is why Stewart systems recommends it. The subsequent coats of EcoFILL will complete the filling process and give you a surface ready to paint, HOWEVER EcoFILL is NOT waterproof. So unless you apply the base coat of EcoBOND your paint job will not be waterproof from the INSIDE.
I was introduced to this paint process by a friend and he did not know about this characteristic and used EcoFILL as the initial weave fill and has had great success with his paint jobs. Of course once you paint the Ecofill with latex or epoxy the outer surface is waterproof and in almost all cases this will be just fine for our RC purposes. However, for this giant beast I'm building I wanted it to be a sealed paint job inside and out so hence the green initial coating.
Now back to the down side of not being able to sand the green stuff. There are times when you would definitely want to sand that initial coating. At the seams there are always loose cut end and stray fibers that you could normally sand off if the fabric is initially coated with a sandable coating like the EcoFILL is. However, all is not lost: I discovered that once it's completely cured you can go back over all the seams and iron all the ragged edges smoothly down. The EcoBOND will melt/smear down to the surface and re-cure to a (mostly) smooth surface. The subsequent coating of the EcoFILL filler will be completely sandable and help to further smooth the seams. However, my friend that has been using this process says that the EcoFILL will not hide very much so we will see how all my seems turn out. Fingers crossed!!
Green = waterproof. And also unsandable!
By the way: EcoBOND comes in two colors: one is cream colored for see-thru paint jobs. I happen to have some of that to start and that is why my fuselage and other surfaces did not show the green adhesive under the cloth.
Last edited by mitchilito; 01-22-2023 at 04:08 AM.

The following users liked this post:
mitchilito (01-23-2023)
02-07-2023, 12:26 AM
#306


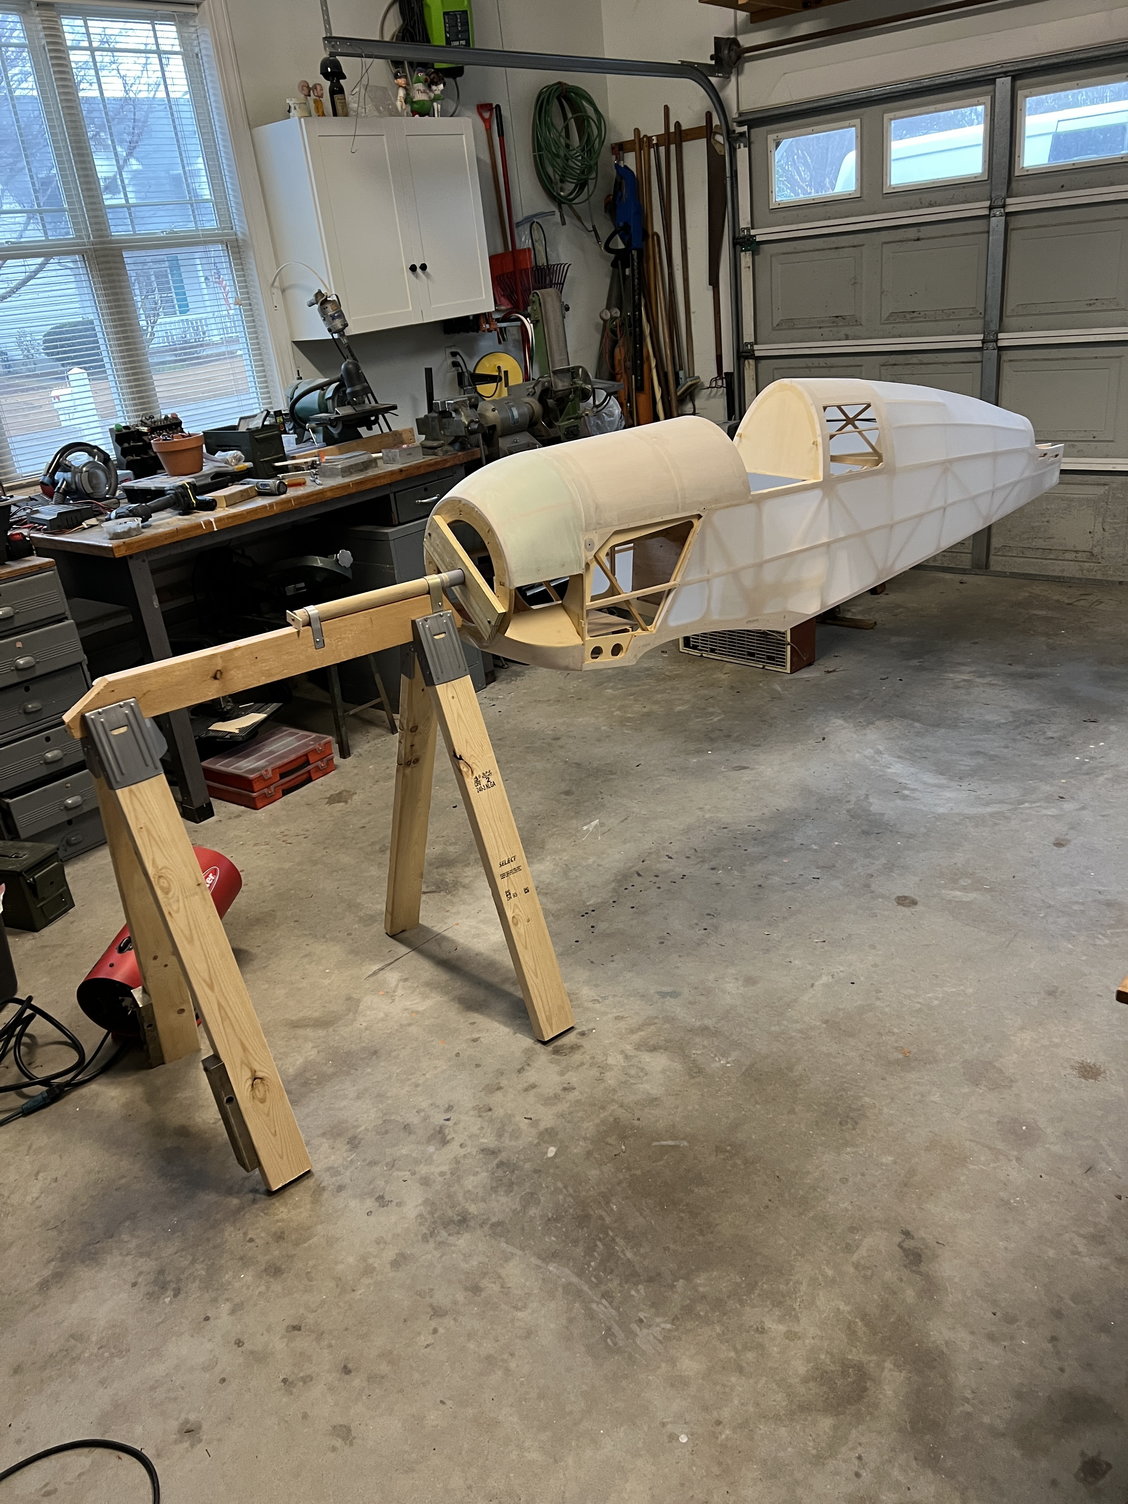
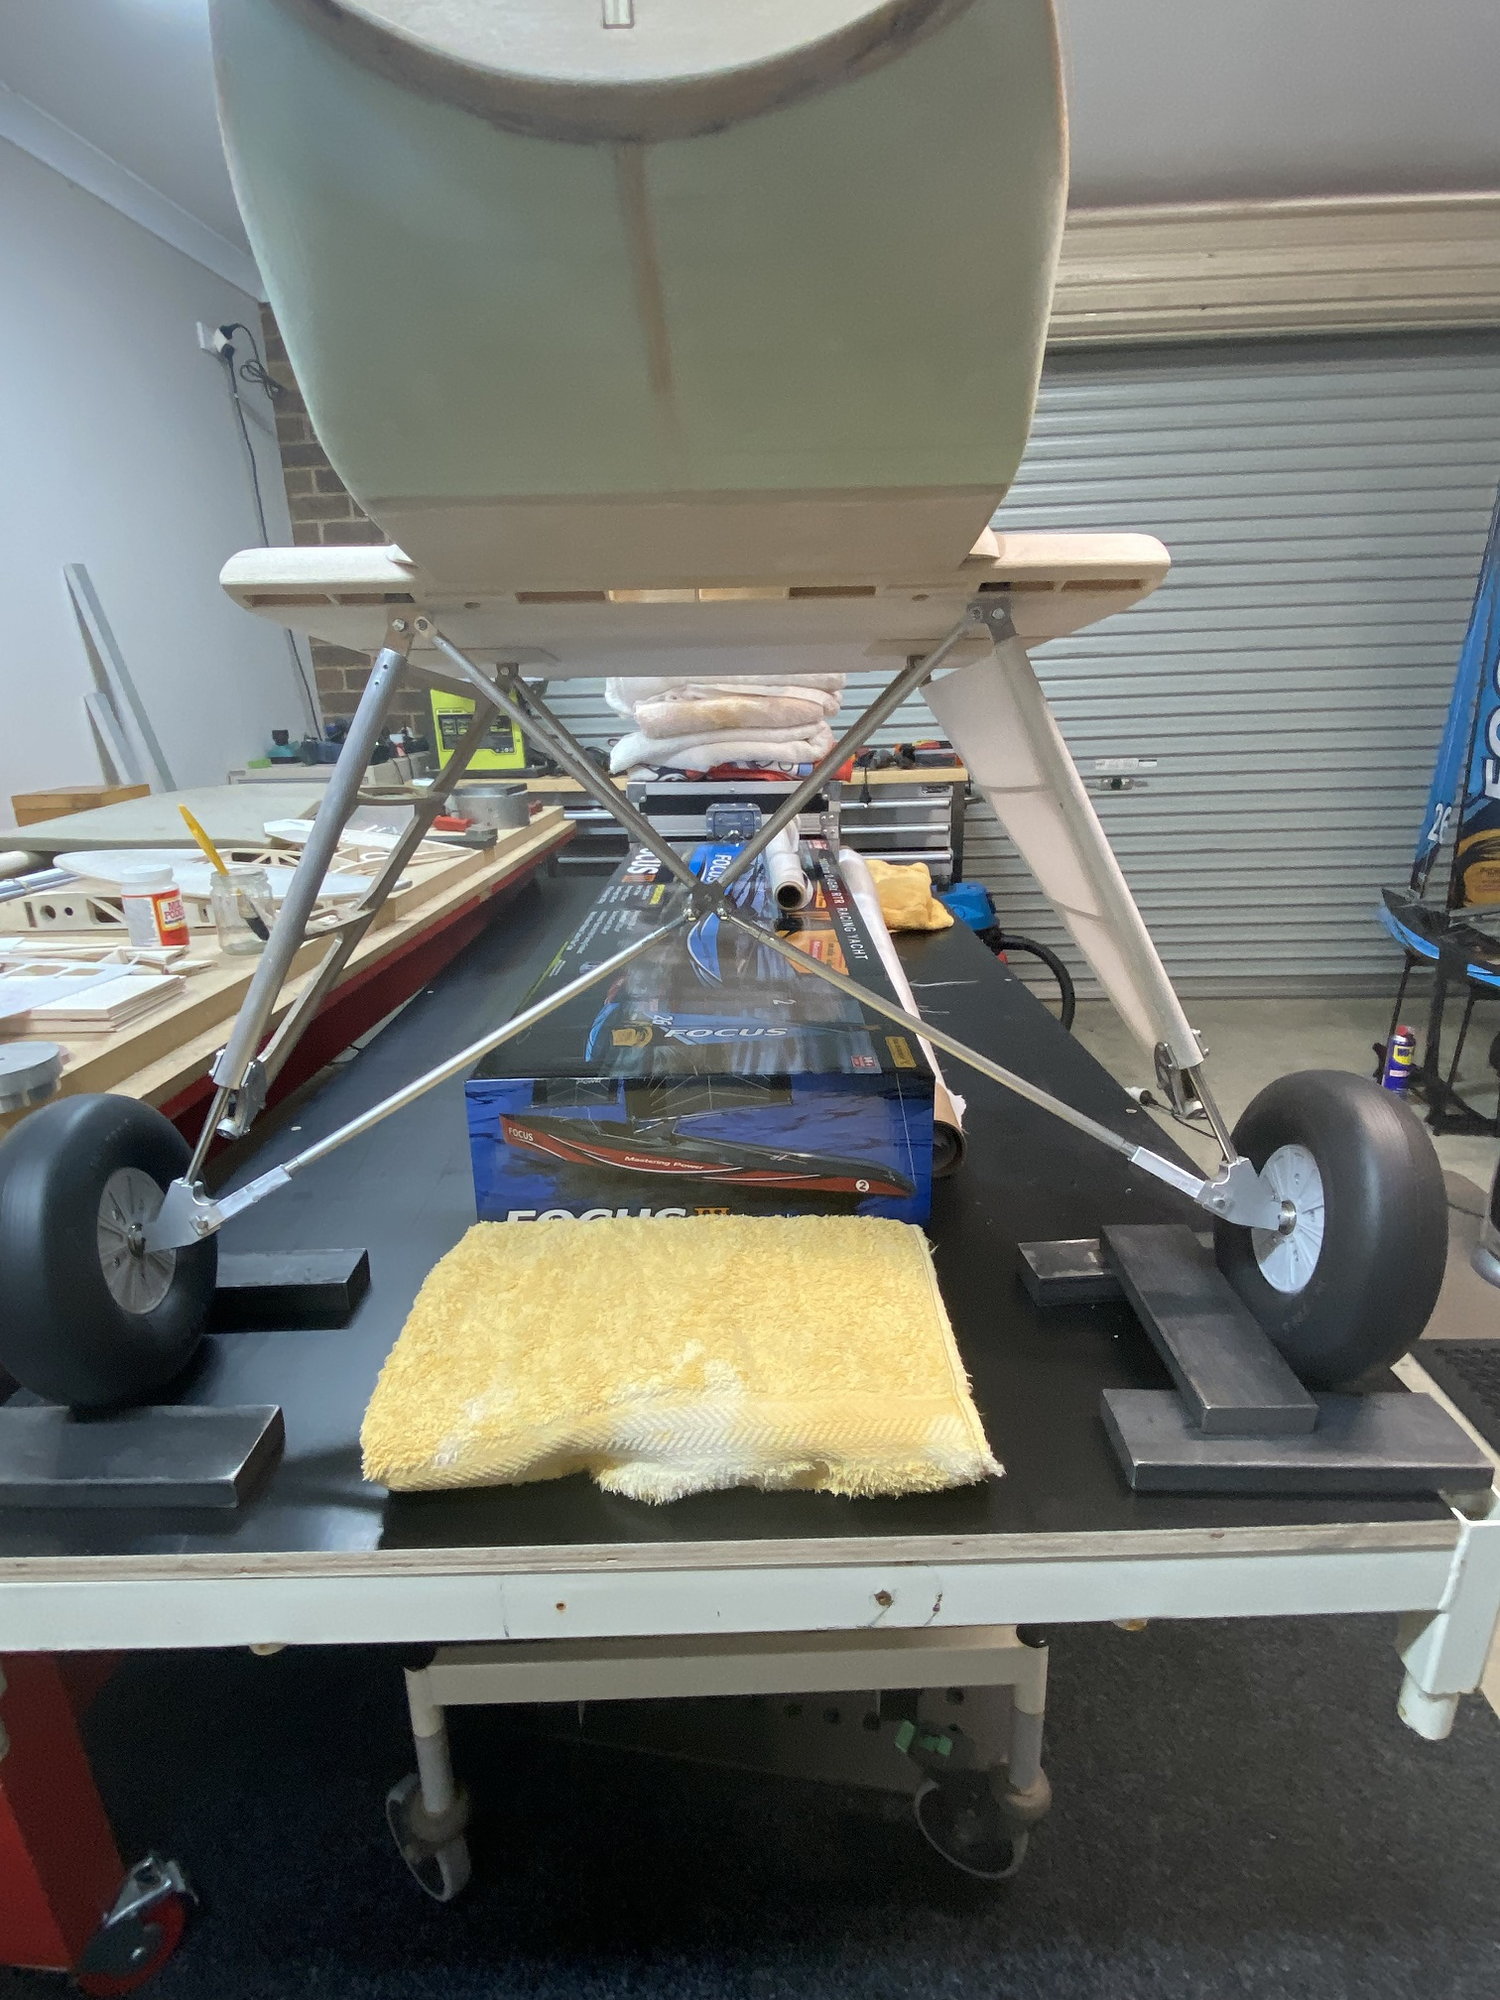
Mitch I have a question, when you bolt the landing gear to the bottom of the bottom wing centre section do you tighten the 4 x 5mm bolts up tight or do they need to be left loose enough to allow the gear to flex?
How is the covering coming along?
How is the covering coming along?
02-08-2023, 02:41 AM
#307
It has been FREEZING cold here (opposite of you, right?) and even though I've got plenty of heaters it's still not fun to go out in the shop. Plus, painting in freezing temps is not ideal to say the least. However, spring is about to arrive and that's the perfect time to spray paint.
But you don't have to feel bad for me. I've been keeping busy with my bourbon collecting hobby. . . . . .
02-08-2023, 04:09 PM
#308
Thanks Mitch I thought that may have been the case, can't wait to see just how the whole undercarriage works.
Do hope you are just collecting all that BOURBON and not consuming the majority!!!
Do hope you are just collecting all that BOURBON and not consuming the majority!!!
The following users liked this post:
mitchilito (02-09-2023)

 04-09-2023, 02:29 AM
#311
I kind of stalled for a couple other projects I've been working on. Plus, ALL my spray painting equipment including my compressor needed replacement so I revamped that whole part of my operation. The good news is, now I'm finally ready to start spraying the primer. You all should see some pics soon.
05-25-2023, 03:01 PM
#312
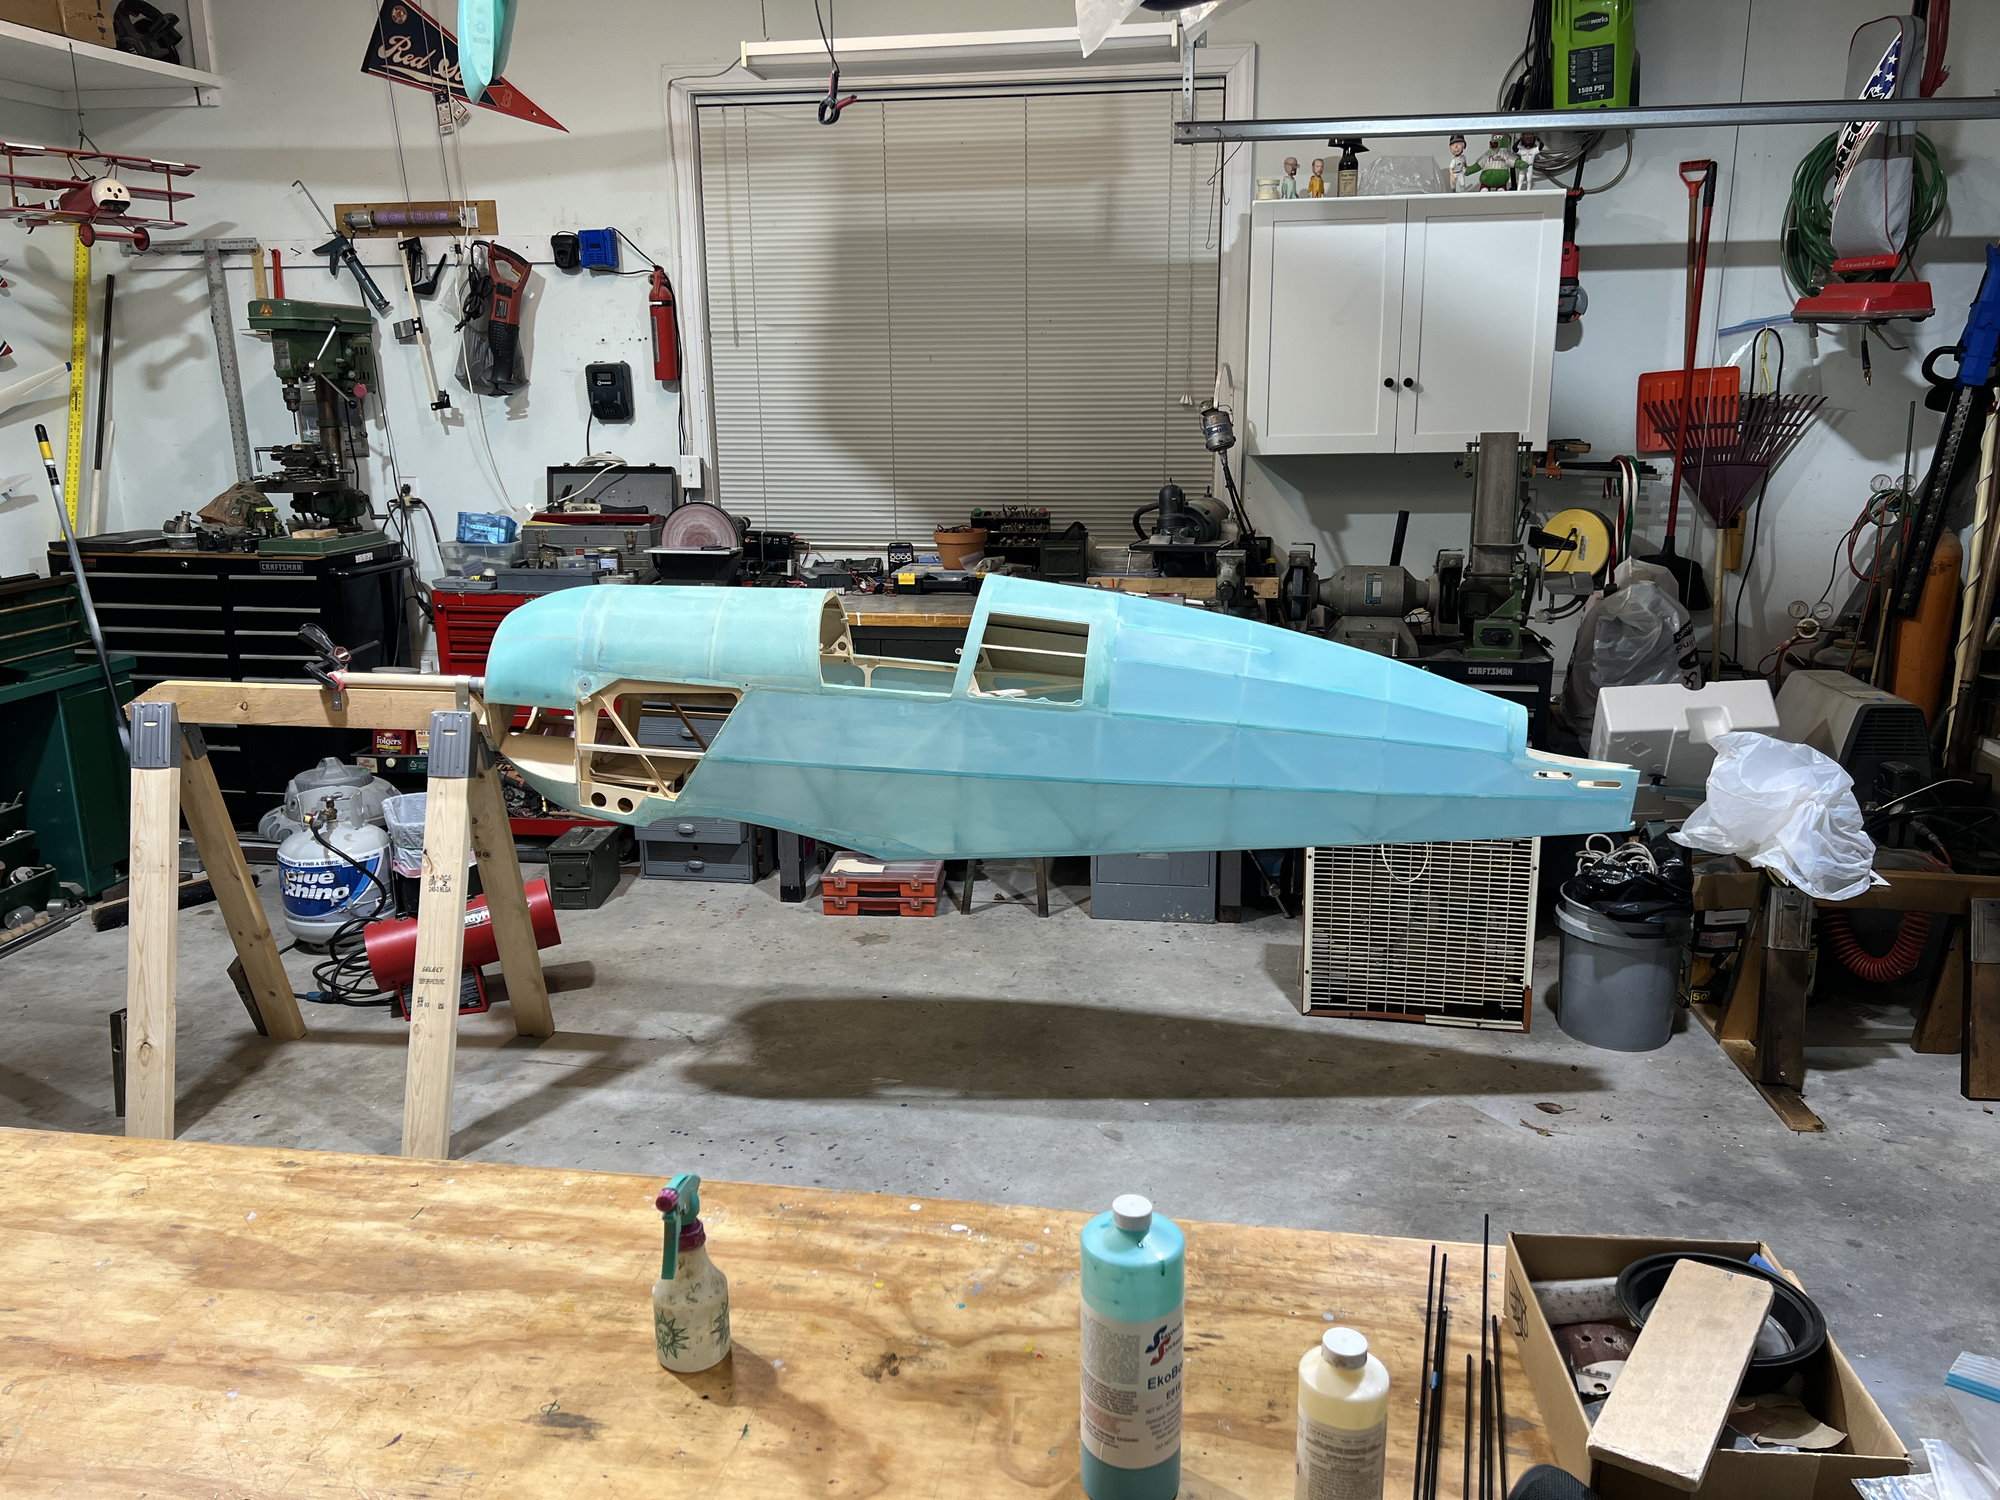
Terrible news, folks! I went and sold the Bücker! Why? The simple reason is that I'm just DYING to get back to work on my 3W Rare Bear. The other reason is once I got the beast assembled I realized it was just bigger that I wanted to deal with.
I want to thank all of you guys that joined in and even encouraged me along the way. If you want to see what I'm up to now go to my Rare Bear build here:
3W Bearcat with Moki 300
If the link doesn't work just search "3W Bearcat with Moki 300". My part of the thread starts at post #166.
Terry: keep updating us with your progress PLEASE! Maybe at least I'll get to see yours fly!
Last edited by mitchilito; 05-26-2023 at 01:42 AM.
05-25-2023, 08:50 PM
#313
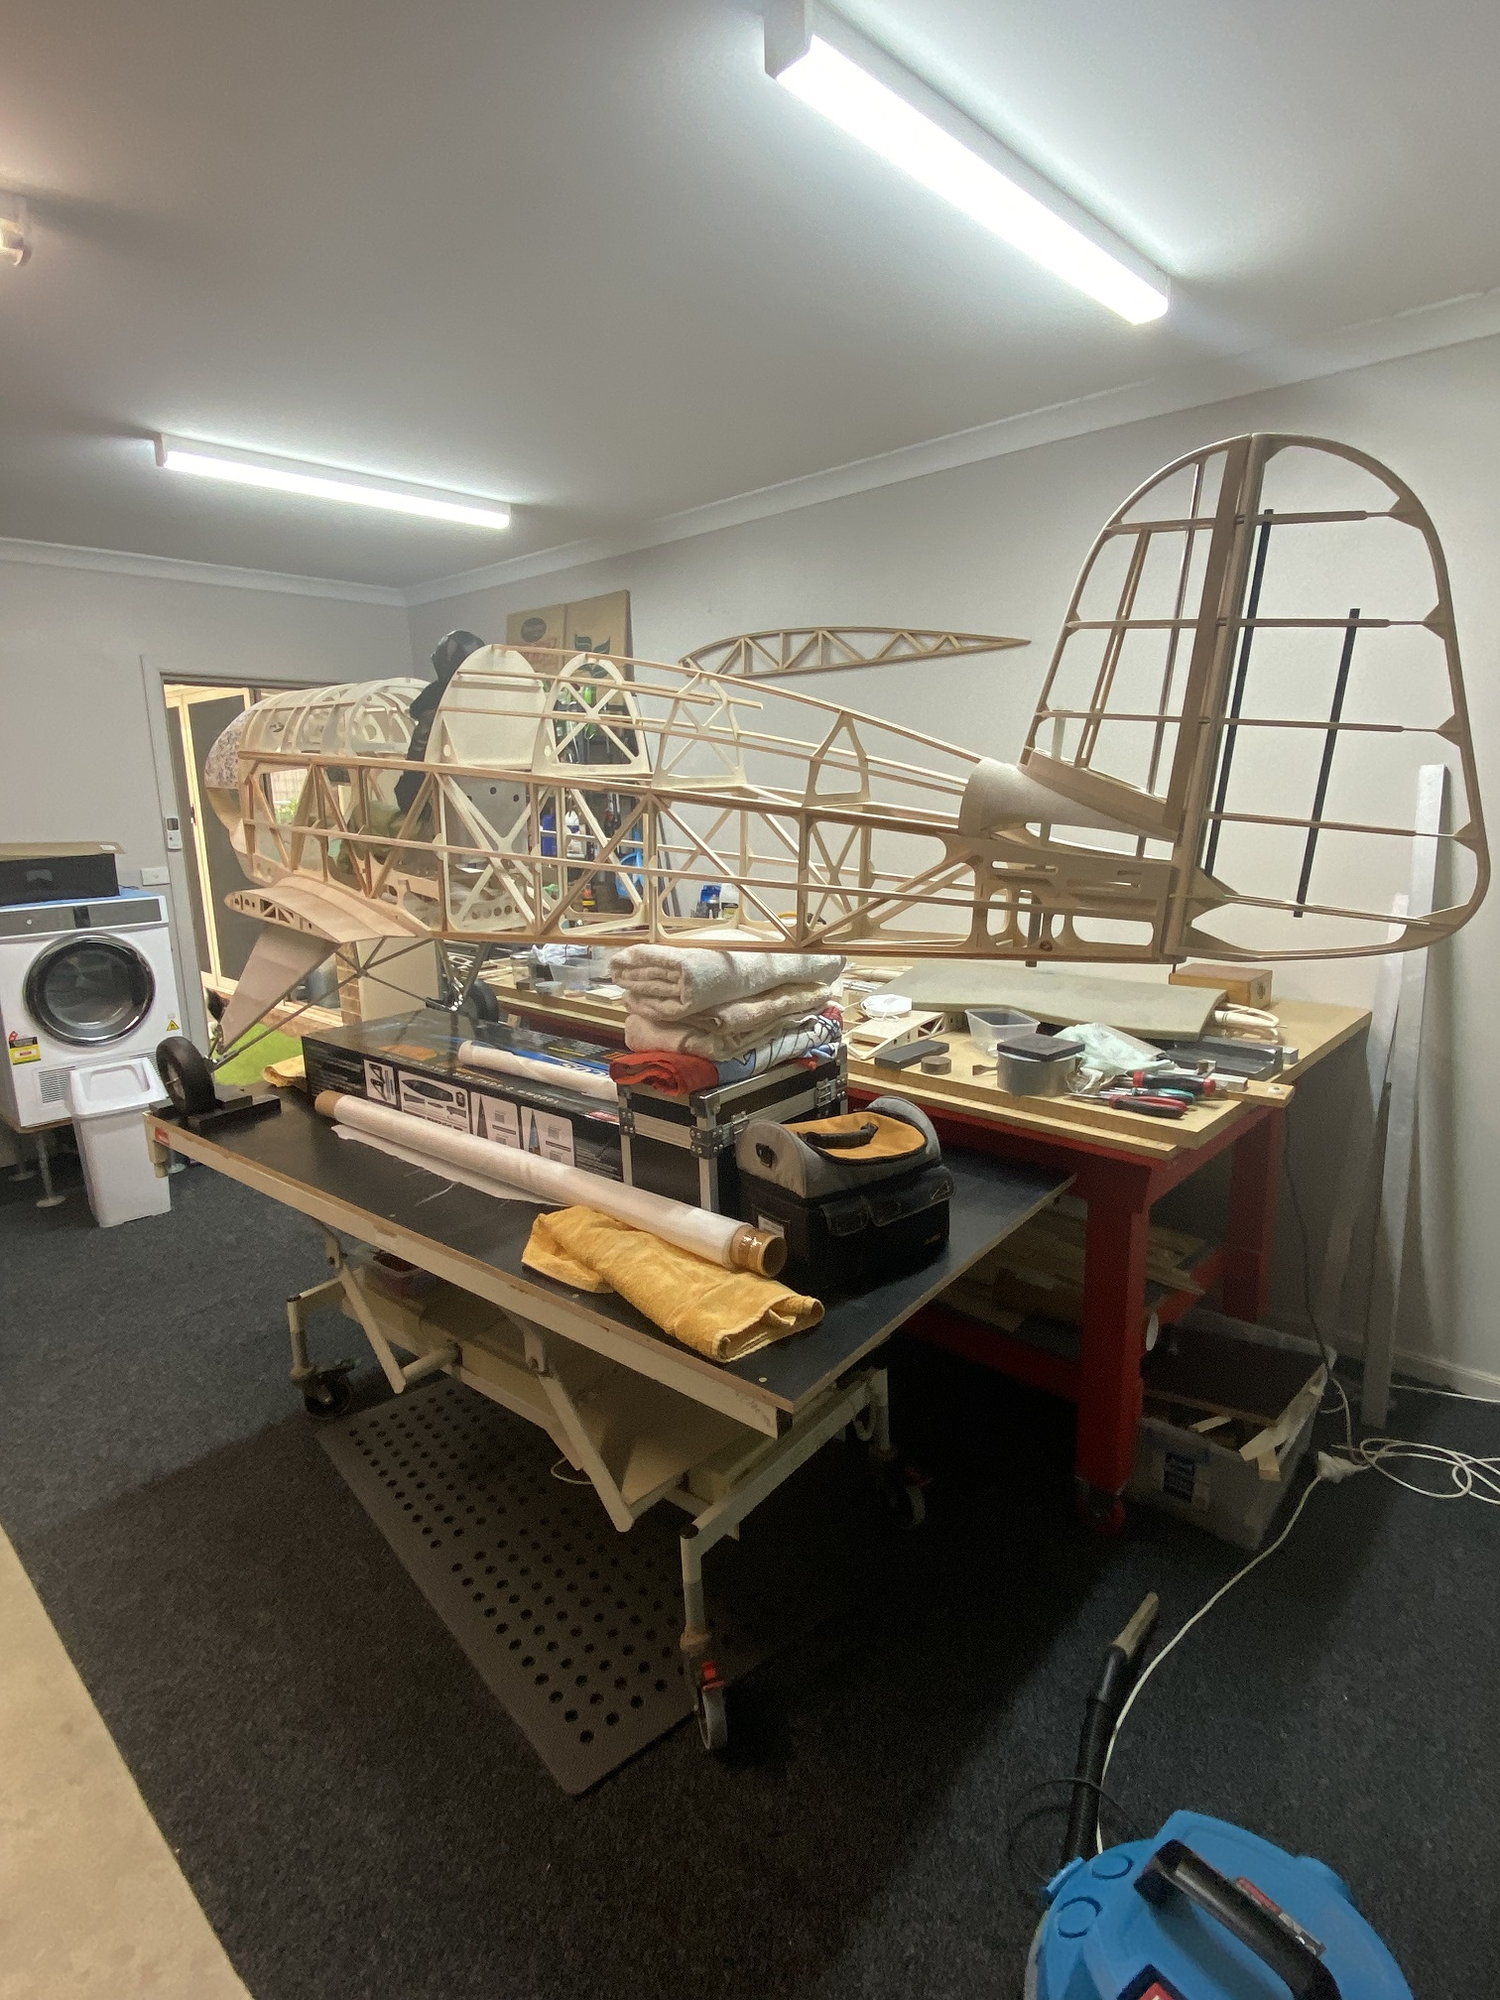
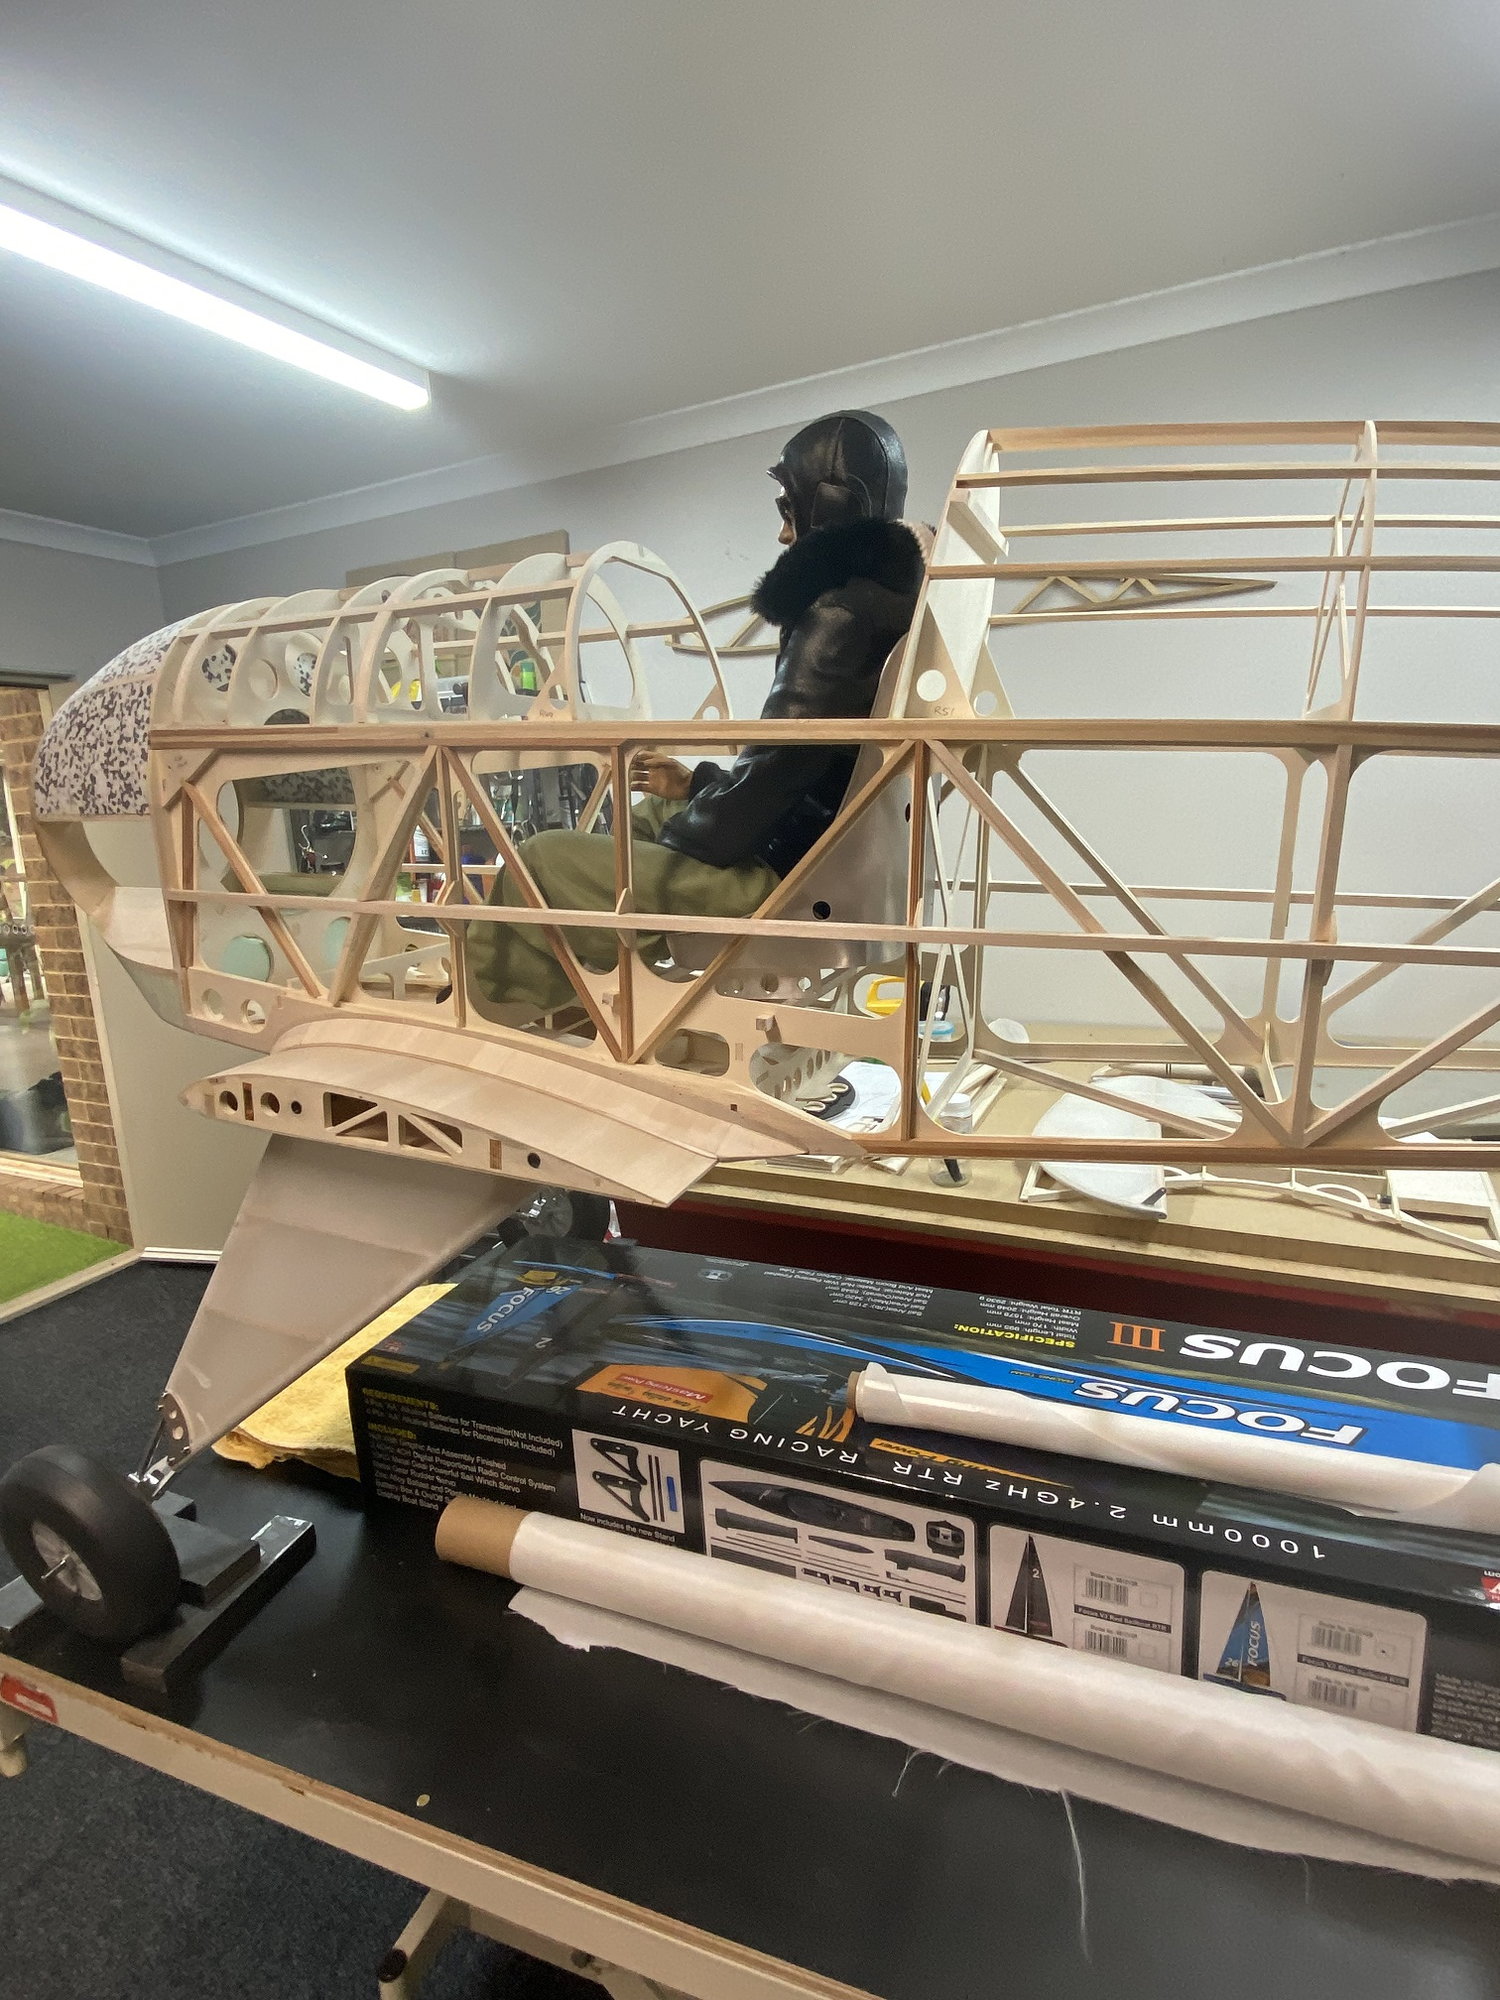
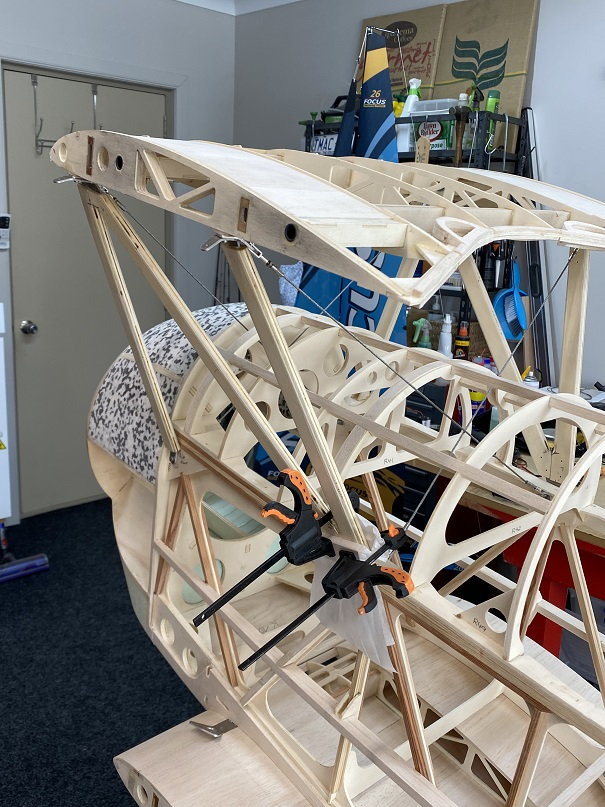
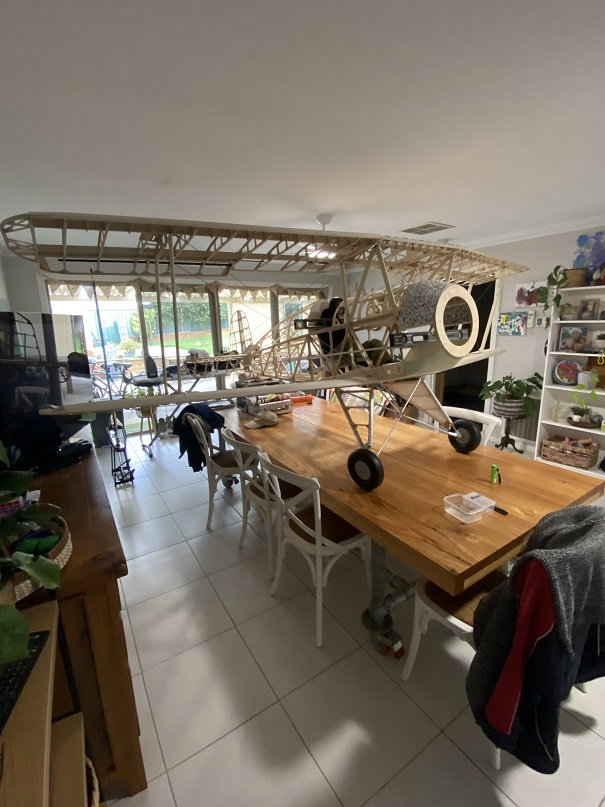
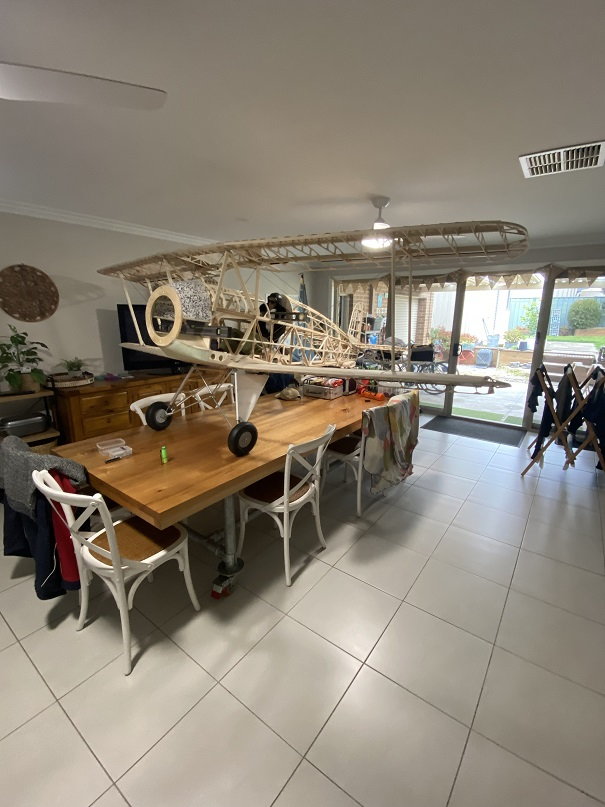
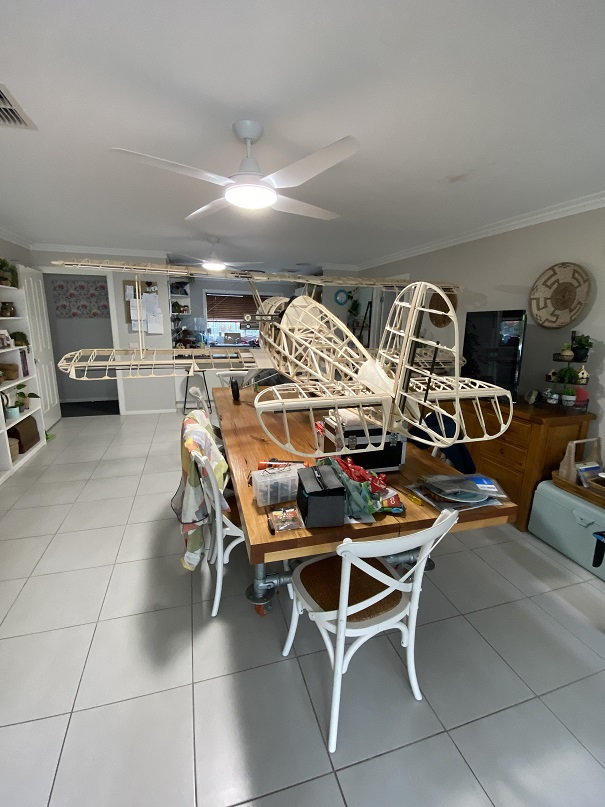
Well mitch, sorry to hear that you have moved the Bucker on! I'll just have to fumble on with my build In saying all that I know how it is after selling my last 1/3 scale Waco 3/4 built so I could get into the Bucker. Will post a couple of pics of my build to sign off.
In saying all that I know how it is after selling my last 1/3 scale Waco 3/4 built so I could get into the Bucker. Will post a couple of pics of my build to sign off.
The following users liked this post:
Steve (05-26-2023)
05-26-2023, 06:52 AM
#315
The following users liked this post:
mitchilito (05-27-2023)
07-19-2023, 02:15 AM
#317
I just wanted to drop a final post here to say that I'm not checking in with this thread much anymore (too busy with my Rare Bear!) so if you have a question send me a message to let me know you posted here. As a reminder, here is what stole me away from the bucker project:
3W Bearcat with Moki 300
3W Bearcat with Moki 300
