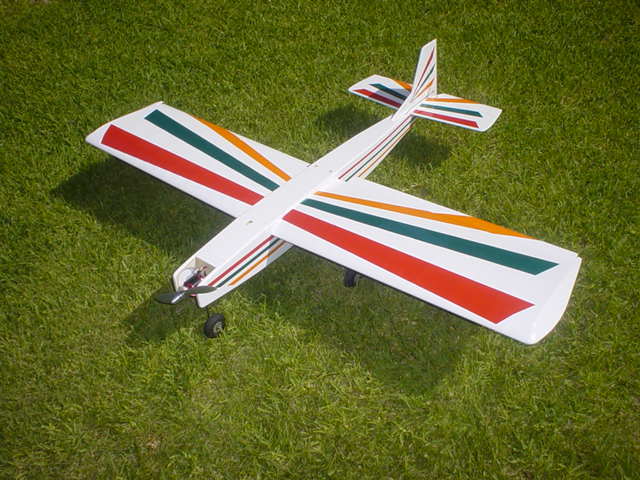
Great Planes Easy Sport 40 electric conversion
 03-24-2022, 07:39 AM
#1
I bought an Easy Sport 40 kit from a seller on "that big online auction site" The seller admitted the kit might be incomplete.
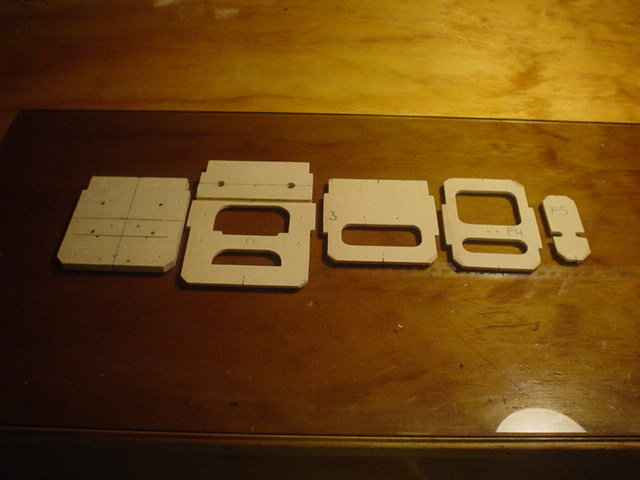
They were right. Most of the fuselage balsa was missing, but the important plywood pieces were there.
Since I am converting the kit to electric, I substituted from my balsa supply and have been making modifications along the way.
The front light ply sides were in the kit, but I substituted 1/8" balsa for the rear fuselage sides with 1/16" vertical grain balsa for strength.
I have moved the firewall foreword for balance, and to allow for a bigger battery hatch. I also removed the curve on the fuselage side on top of the hatch area.
Borrowing from previous model construction techniques, I have put 1/4" triangle stock along the edges and relieved the formers accordingly.
 04-05-2022, 12:44 PM
#2
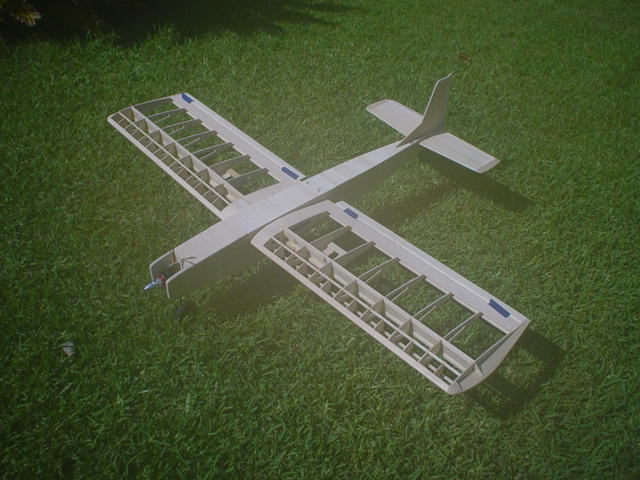
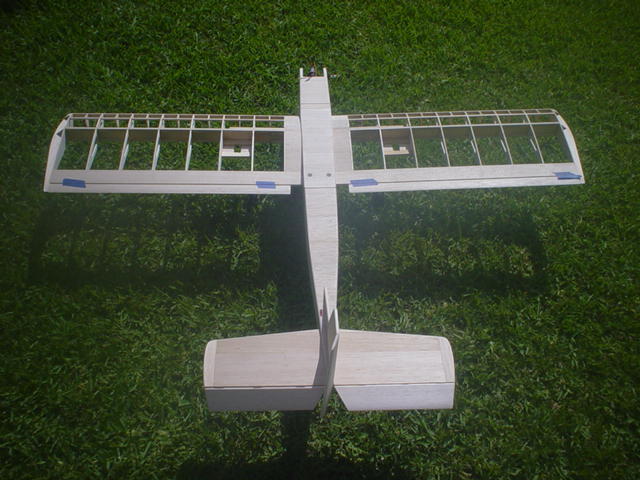
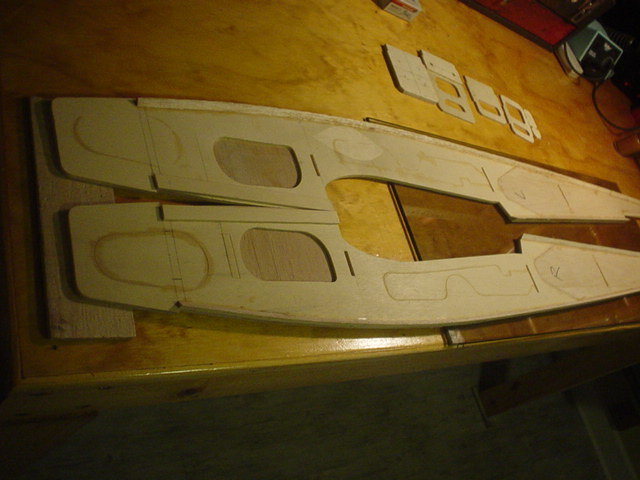
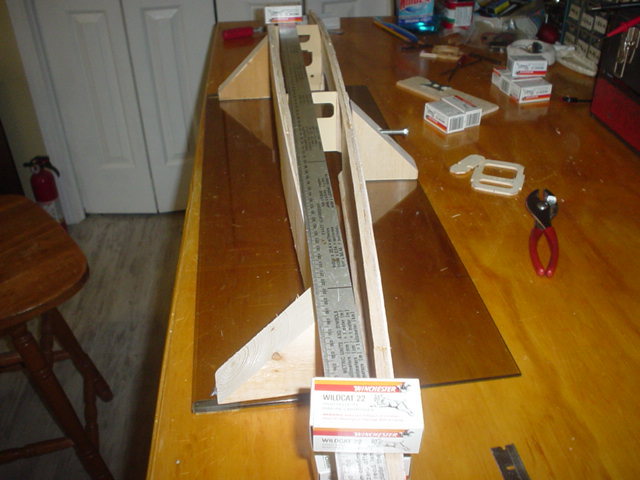
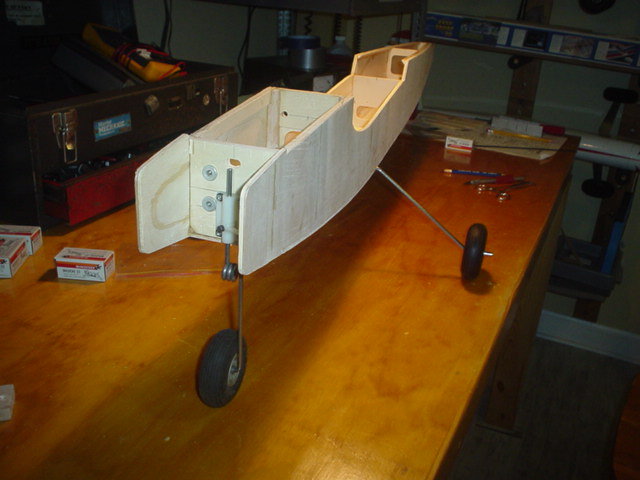
The electric conversion is coming along nicely. I have the fuselage almost completed, and it's on its gear for the first test fit up.
I made an adjustable jig to force the fuselage into perfect alignment. The jig held it in place while I sheeted the bottom. I made
"witness marks" on the former centers to aid in alignment. The building surface is 1/4" plate glass.

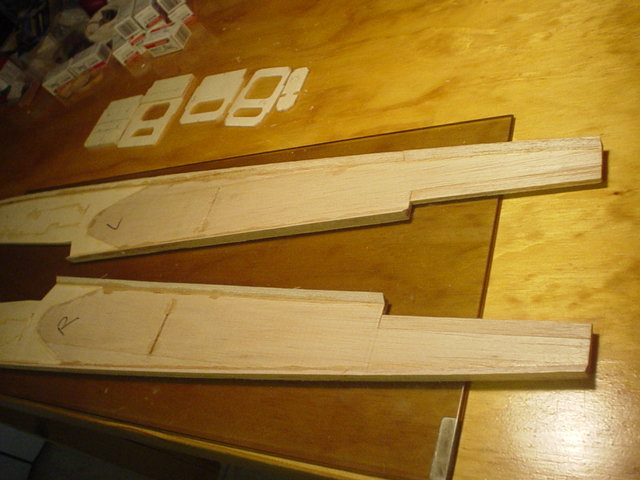
Right now, it appears that it is going to be nose heavy, but only time will tell. I am going to make the tail feathers from 1/4" solid
balsa sheet. I have never been a fan of stick-built tails, and I have some nice 1/4" sheet in my stash.
I made an adjustable jig to force the fuselage into perfect alignment. The jig held it in place while I sheeted the bottom. I made
"witness marks" on the former centers to aid in alignment. The building surface is 1/4" plate glass.
Right now, it appears that it is going to be nose heavy, but only time will tell. I am going to make the tail feathers from 1/4" solid
balsa sheet. I have never been a fan of stick-built tails, and I have some nice 1/4" sheet in my stash.
04-11-2022, 06:33 AM
#3
Work continues on the conversion of a glow kit (Easy sport 40) to electric power.
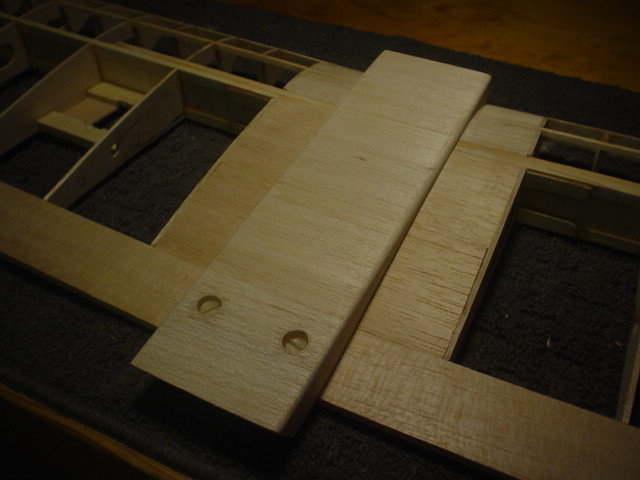
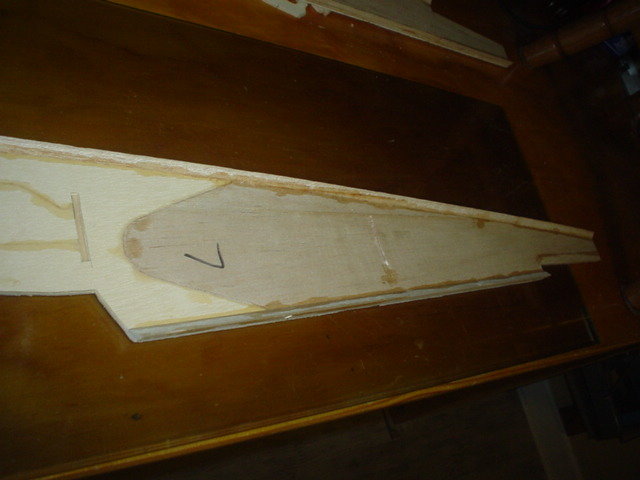
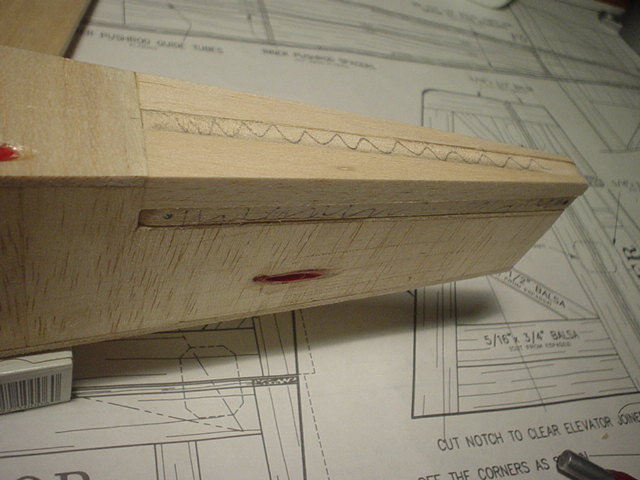
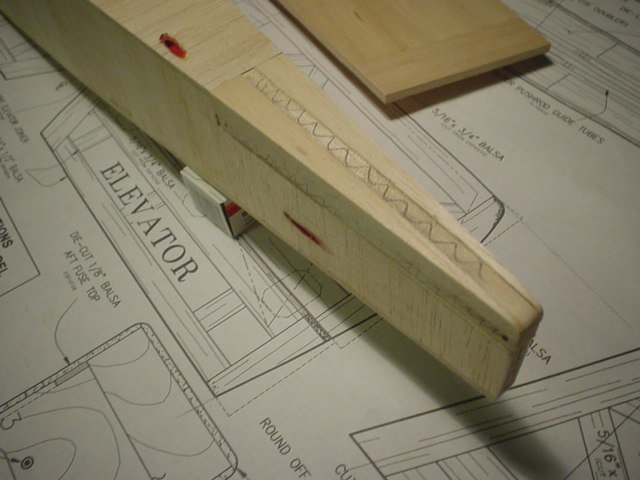
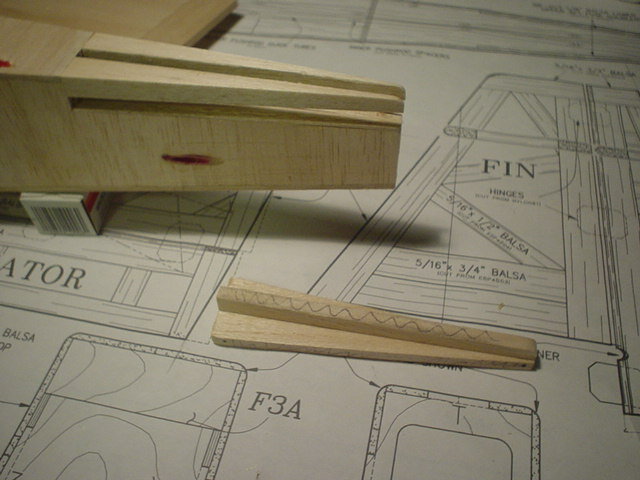
I make a filler from the same size balsa as the stab and vertical fin.
It is very lightly "tack" glued into place, and then removed. When covering time is here, I put it back in, and cover it along with the fuselage.
It is cutout again, and the covering is seamless at the joint of the filler strips. Then glue in the stab and vertical fin as usual.
I have been using this trick for years, and it seem's to give good results.
04-28-2022, 01:08 PM
#4
Just a couple of pictures to amuse you.
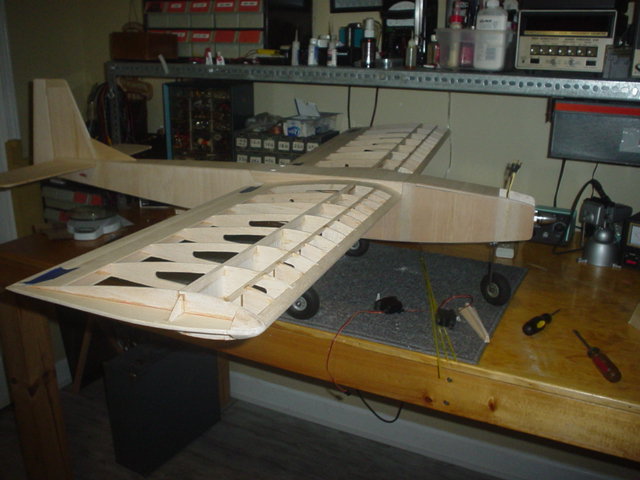
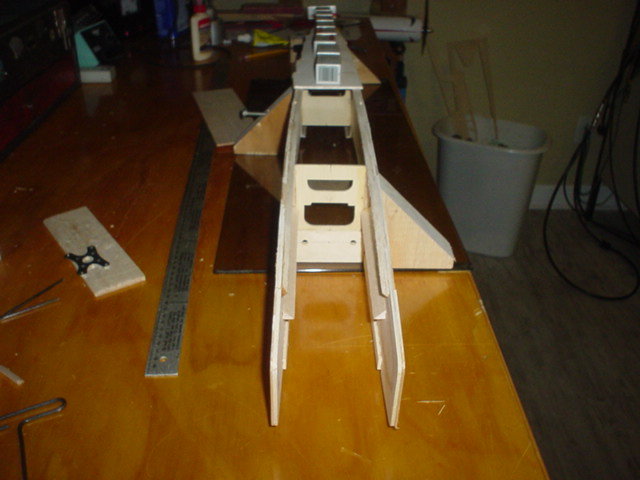
Seen here, the fuselage is mostly completed and rough sanded. I cant add the front top hatch until I drill the 1/4" holes in the wing leading edge for the hold down dowl pin's.
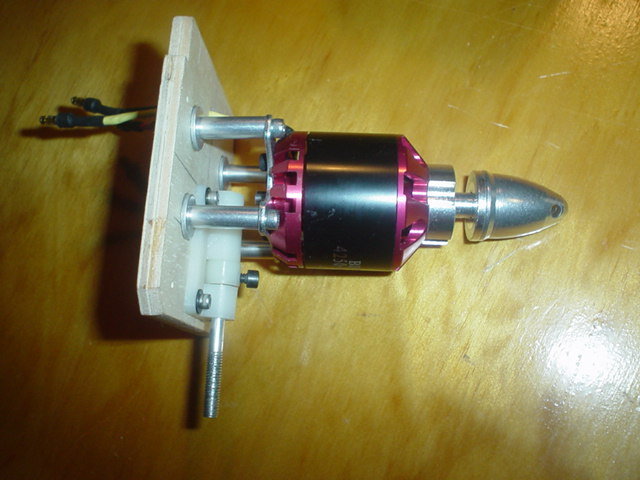
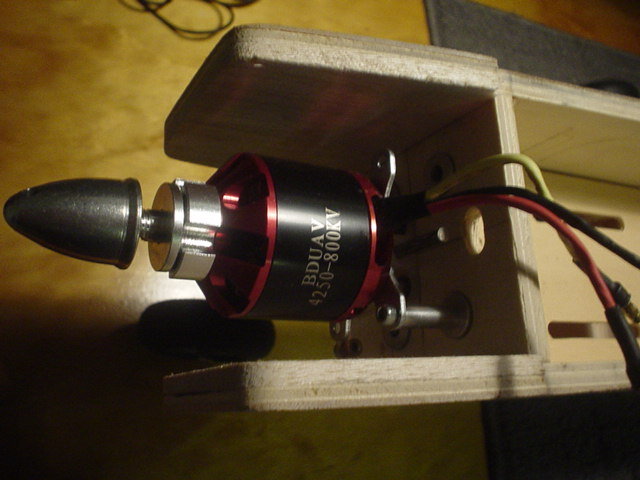
The brushless motor will produce over 1000 watts, if needed !!
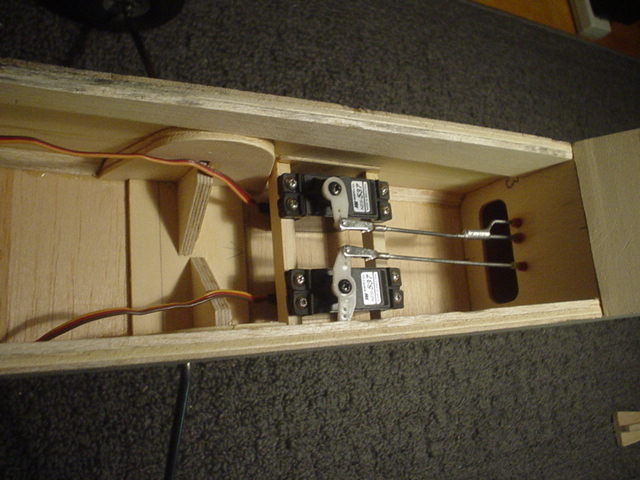
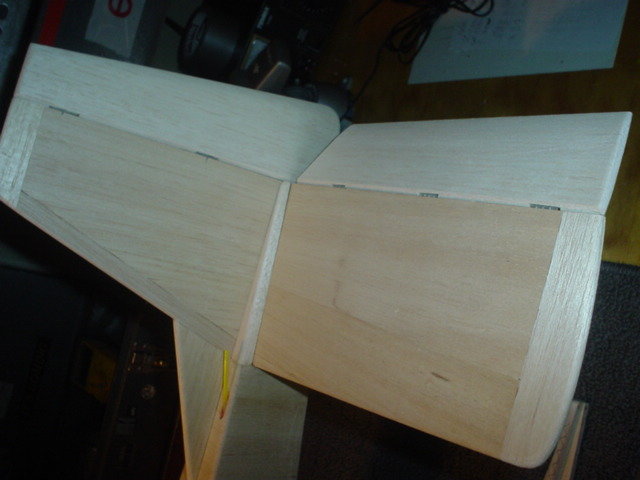
The elevator and rudder servo's are in place, with dual pushrod's for the elevator half's.
I don't like using a single pushrod to one side of the elevator, and joining the two elevator sides with a wire. Each side is driven directly by it's own pushrod.
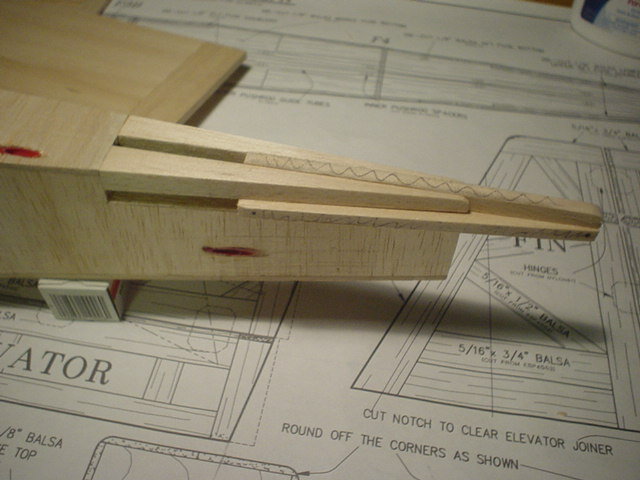
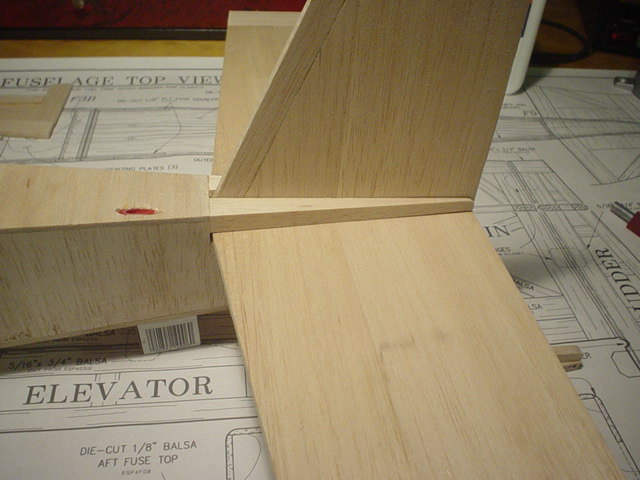
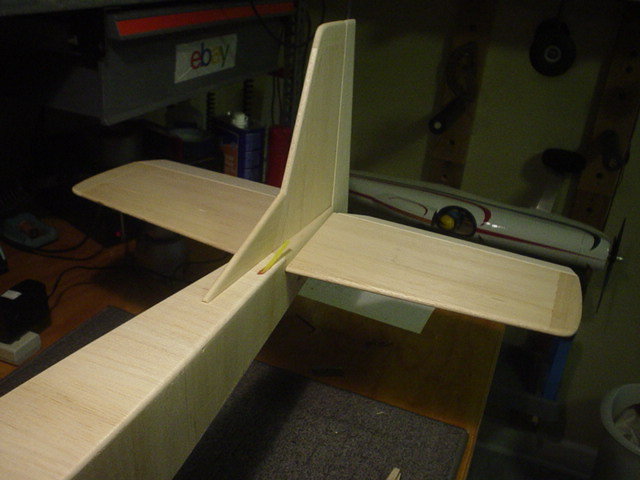
The vertical fin, rudder, and stabilizer, elevator fairing is sanded to shape, and fitted.
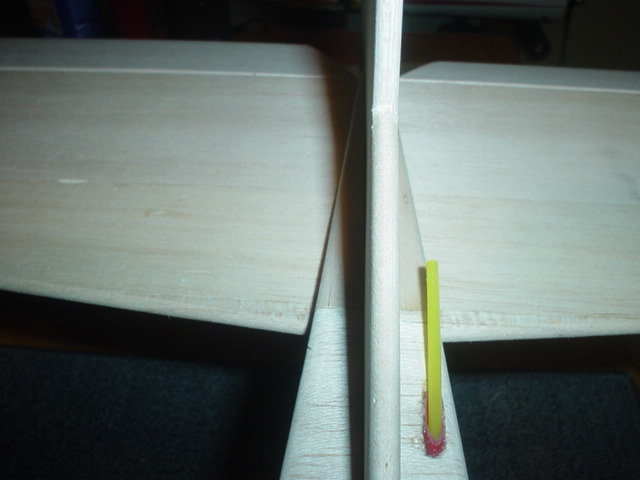
My "0" tolerance hinge gap technique.
Weight at this stage is 2lb 12oz. Just about on target..
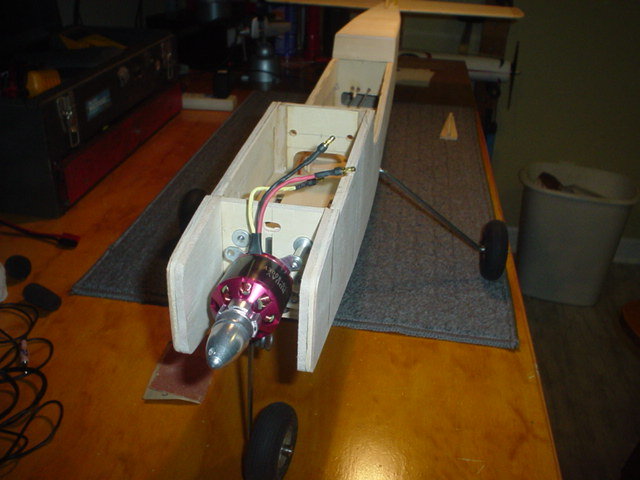

Seen here, the fuselage is mostly completed and rough sanded. I cant add the front top hatch until I drill the 1/4" holes in the wing leading edge for the hold down dowl pin's.
The brushless motor will produce over 1000 watts, if needed !!
The elevator and rudder servo's are in place, with dual pushrod's for the elevator half's.
I don't like using a single pushrod to one side of the elevator, and joining the two elevator sides with a wire. Each side is driven directly by it's own pushrod.
The vertical fin, rudder, and stabilizer, elevator fairing is sanded to shape, and fitted.
My "0" tolerance hinge gap technique.
Weight at this stage is 2lb 12oz. Just about on target..
07-07-2022, 05:40 AM
#5
Got the woodwork finished. Ready for covering. Looks like it's going to be a bit heavy in the nose. Will have to check with the covering applied. Oh Well! It will take less weight in the tail to balance than in the nose. I modified the wing mounting to have the screws on top of the wing for better access.