


Balsa USA Stingray 120 detailed build

 11-03-2016, 07:00 AM
#30

Thread Starter
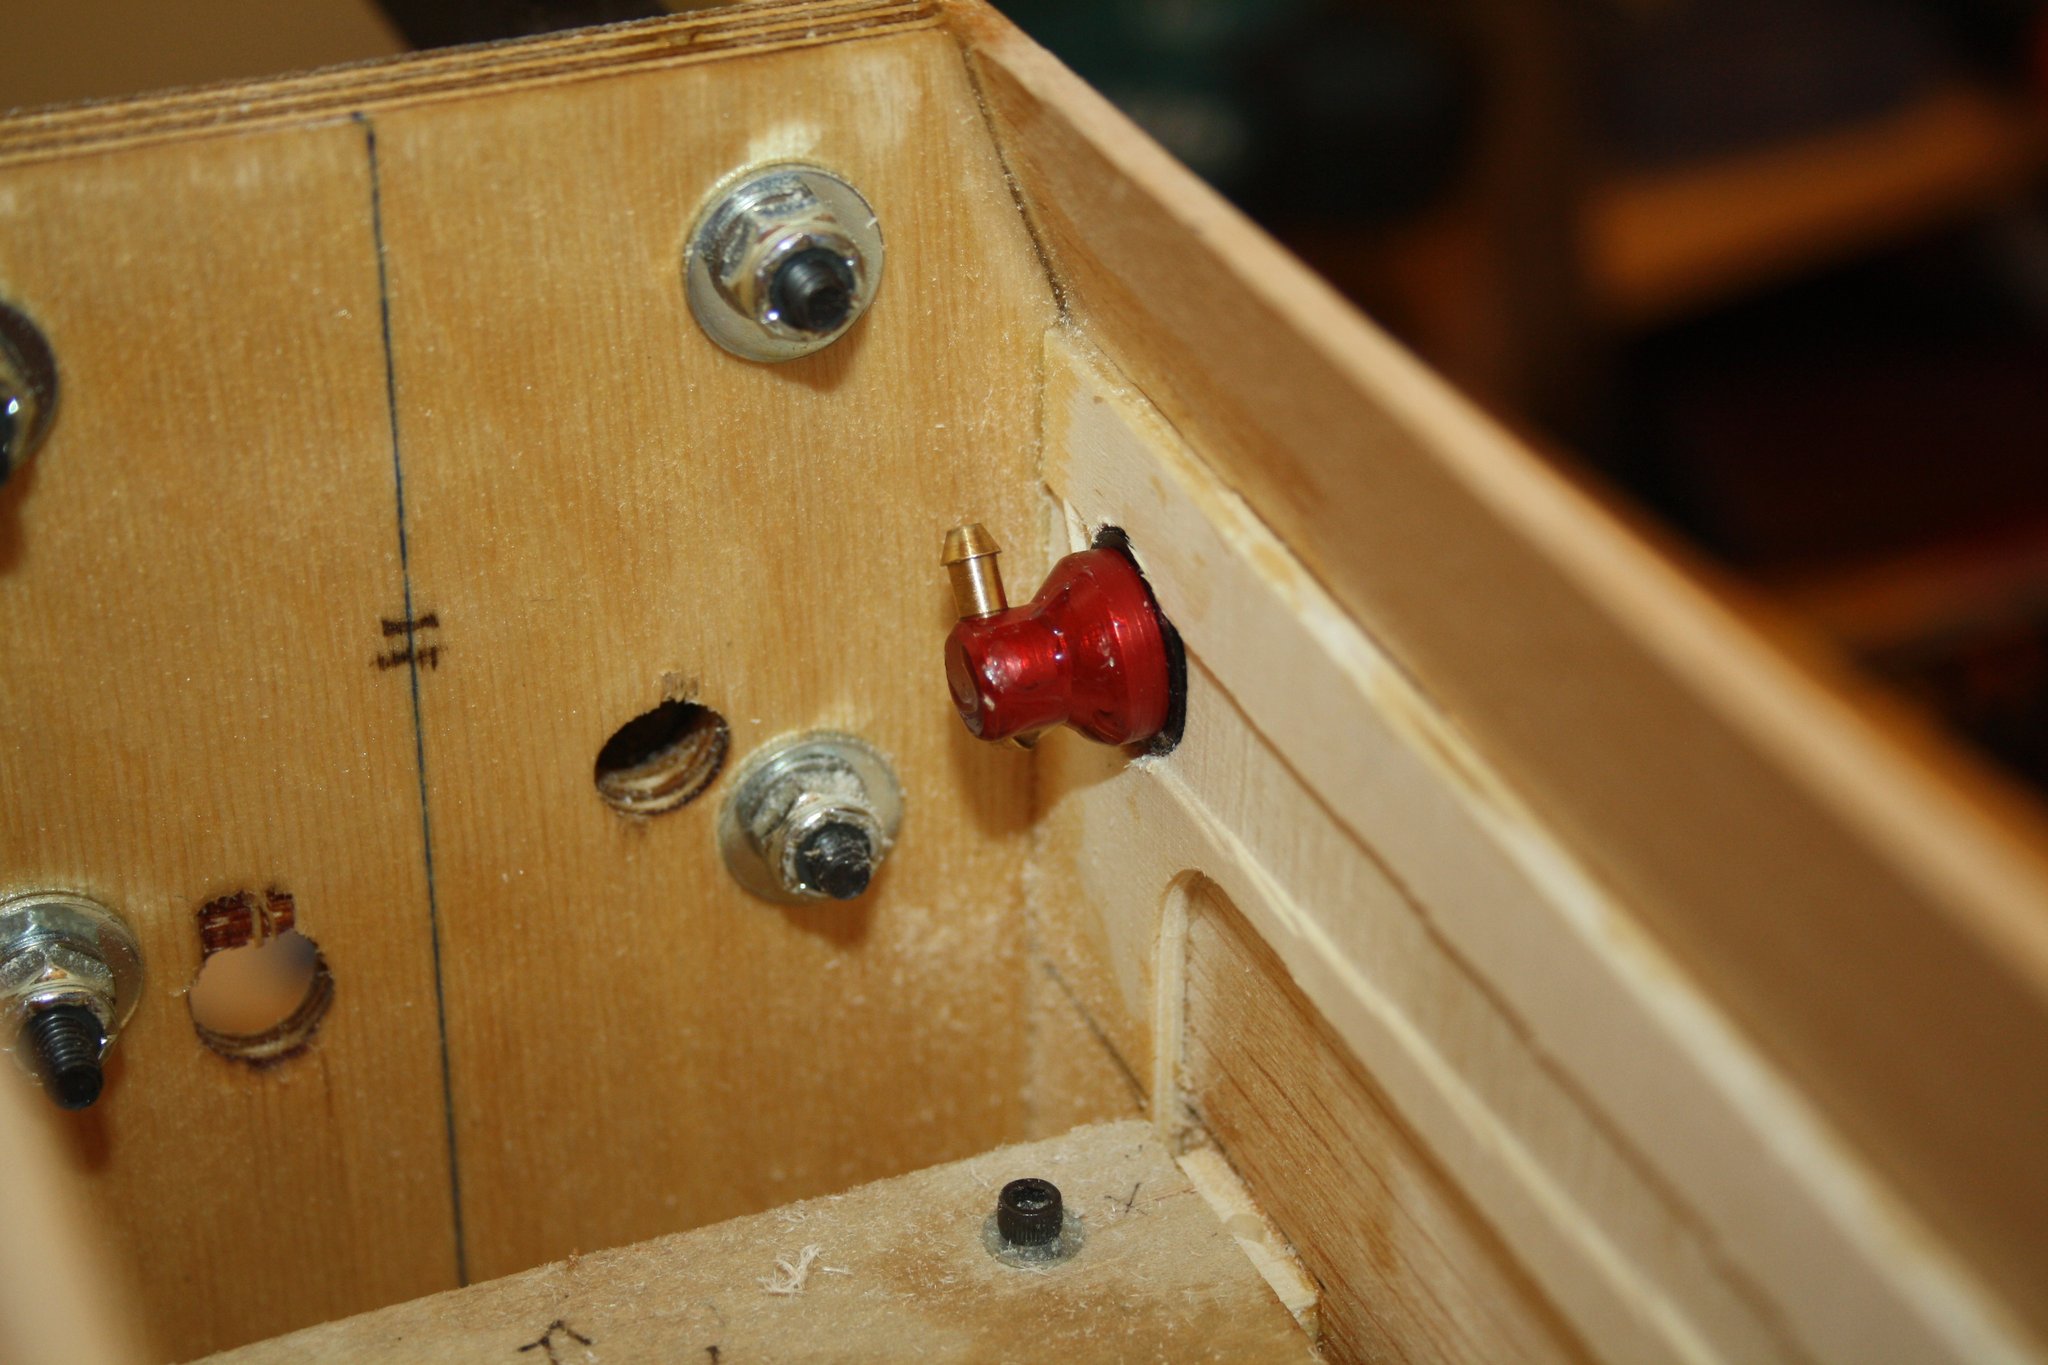
The Dubro Kwik-Fill was taken from another aeroplane. In the process of taking it off, I broke the mount. Also shown below is the sheeting from the landing gear mount to the firewall.


11-03-2016, 07:11 AM
#33
Thread Starter
Covering the fuselage


Post was edited due to selection of wrong photos as seen in the "attached Thumbnails" below. I cannot find a way to delete this post and start a clean one.
Post was edited due to selection of wrong photos as seen in the "attached Thumbnails" below. I cannot find a way to delete this post and start a clean one.
Last edited by erans; 11-03-2016 at 07:21 AM.
11-04-2016, 04:05 PM
#35
Thread Starter
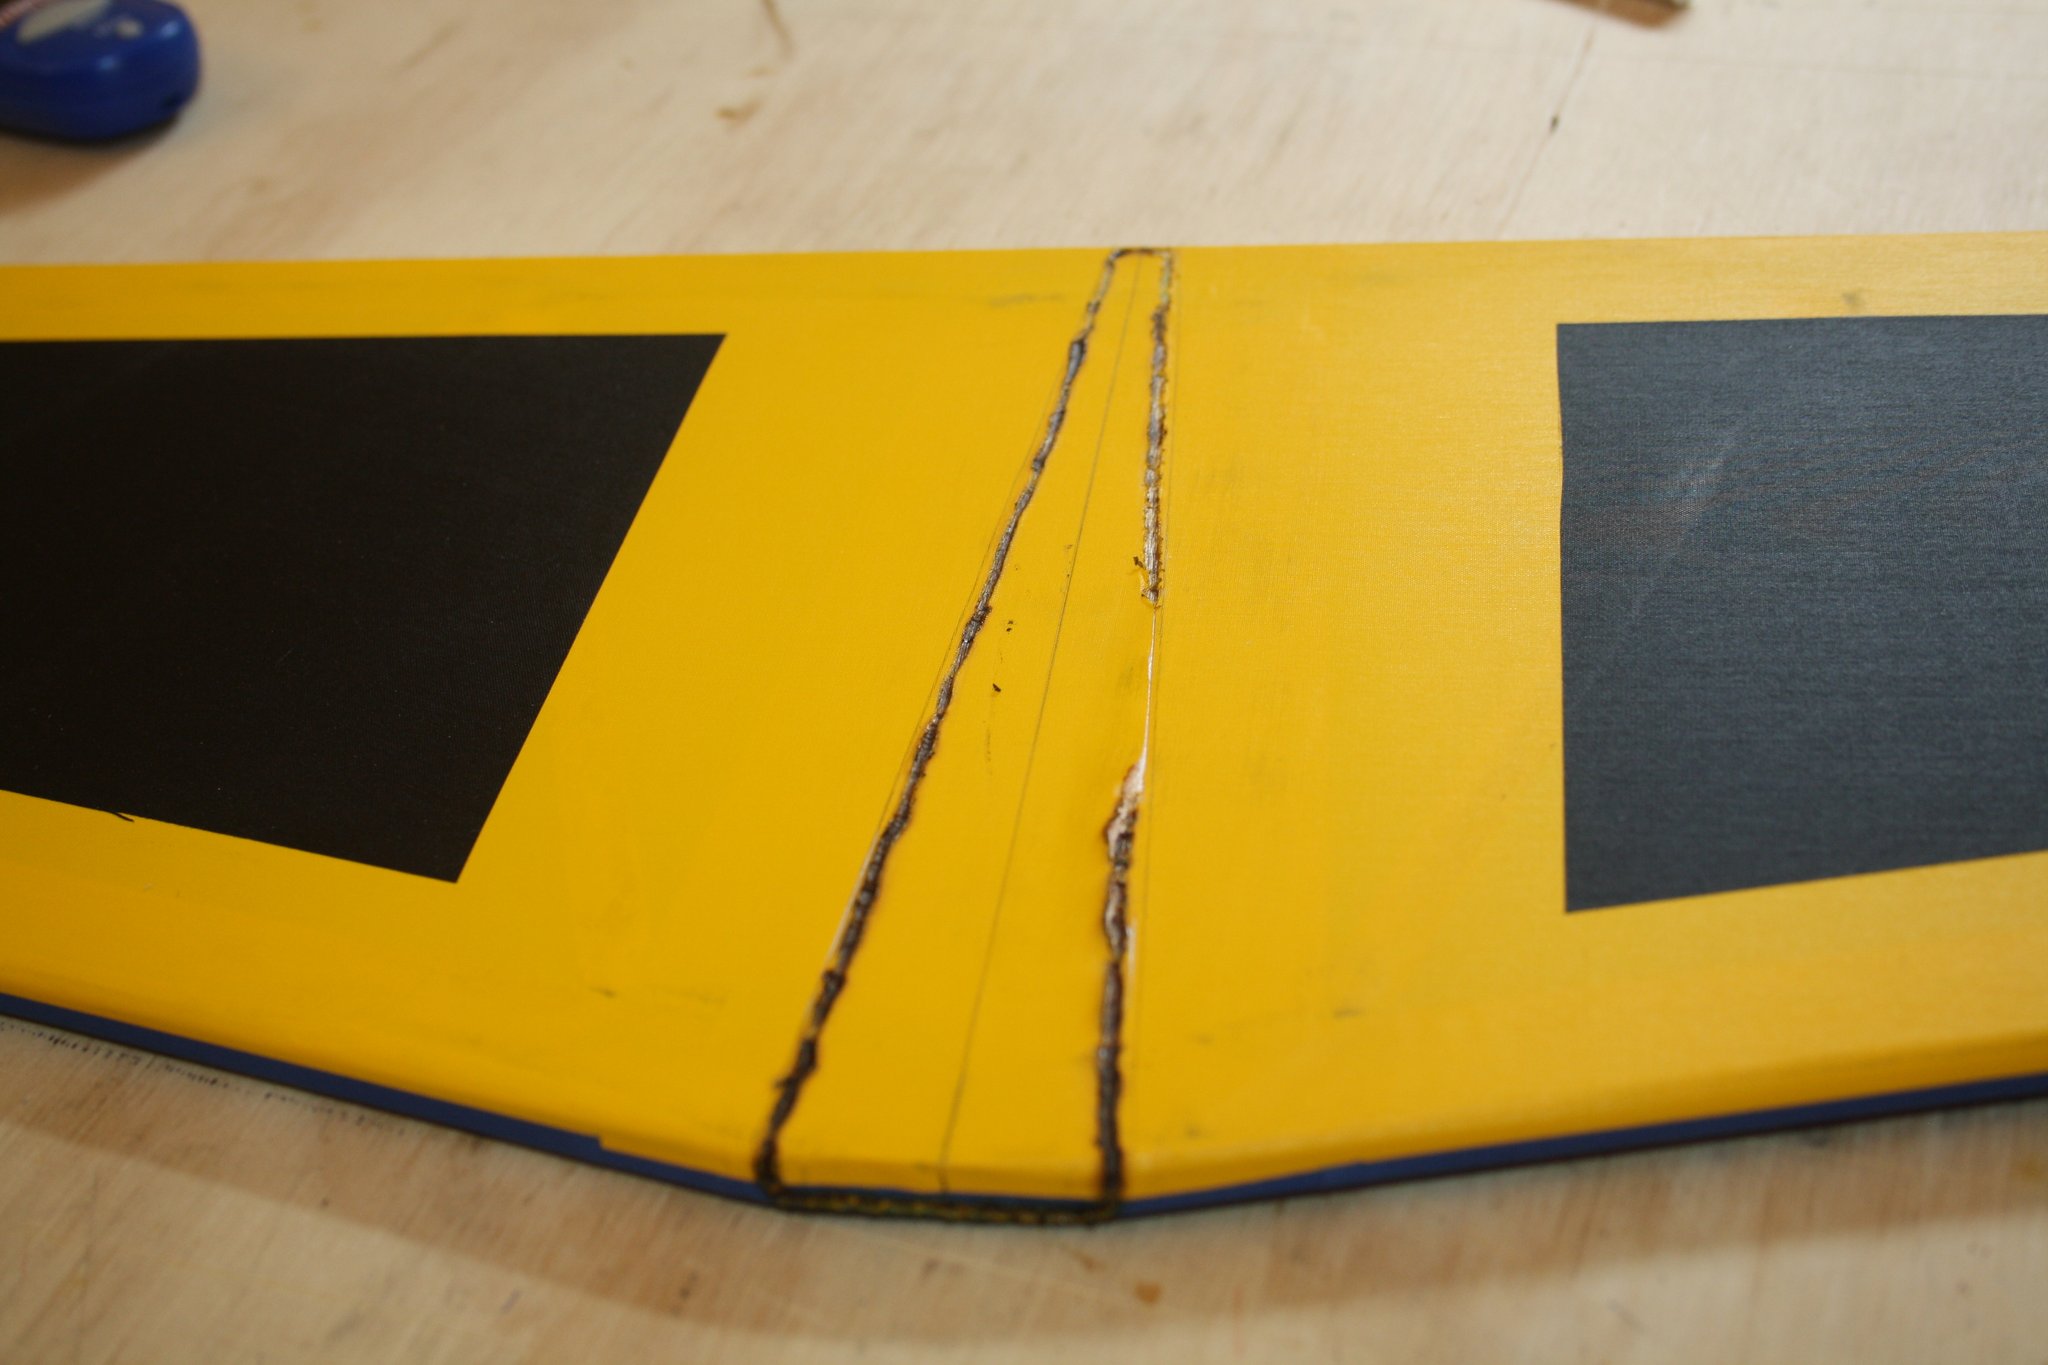
Covering the bottom of the wing with the black trim.
After doing one side, I found out that I could not see the servo hatch through the black and had a tough time cutting it out. On the other side, I cut out the servo hatch while still covered only in yellow, and then covered it separately, which worked much better.


After doing one side, I found out that I could not see the servo hatch through the black and had a tough time cutting it out. On the other side, I cut out the servo hatch while still covered only in yellow, and then covered it separately, which worked much better.
11-04-2016, 04:09 PM
#36
Thread Starter
Black trim was also applied to the bottom of the horizontal stabilizer, and the cockpit area. Note that the the covering applied in the forth photo was not required (a brain fade moment) as this is where the wing saddle meets the fuselage, and this was removed later.


11-04-2016, 06:49 PM
#38
Thread Starter
Horizontal stabilizer top blue trim covering, test fit and glue into place. Please note removal of covering from glue area using soldering iron.
Side note, I hate the editing on this website, leaving deleted images as thumbnails... If there is a way to delete properly please let me know...


Side note, I hate the editing on this website, leaving deleted images as thumbnails... If there is a way to delete properly please let me know...
11-04-2016, 06:55 PM
#39
Thread Starter
BBQ skewers were used to strengthen the vertical fin contact with the fuselage. "Second attempt" tail wheel assembly (basswood and plywood construction) glued into place.


11-07-2016, 07:36 PM
#44
Thread Starter
Temporary installation of the engine enabled installation of fuel tank and fuel lines, and figuring the route for the throttle link. Throttle servo mount was then constructed from scratch.


11-08-2016, 01:10 AM
#46
Thread Starter
Landing gear installed, and it is time to figure out where the ignition goes. A small hatch was made to allow the spark plug cup to exit from the bottom.


11-08-2016, 01:20 AM
#49
Thread Starter
Data / Bind plug is available through the fuselage, Ignition battery was installed as far forward as possible in the main compartment to assist with balance. Engine is now fully installed with muffler in place.


