


TF Beechcraft Bonanza F33A Build
 03-21-2020, 06:02 PM
#976

Very nice attention to detail and I can appreciate all that's being done and in a timely manner (unlike the way I tend to do things). My appreciation stems in part from the fact that I owned a body shop and that I fly full scale, so I have some clue about workmanship and have an equally good idea of what real airplanes look like.
Since everything has worked out so well, especially the corrugations and the wing nav lights in my opinion, I hope I'm not out of place by pointing out that the red/green position lights seem to be aimed primarily outward or to the side of the aircraft and not so much (if at all) in the forward direction as they would need to be in full scale. Of course, I doubt if anyone (except maybe an idiot like myself) would notice, but in the presence of such careful attention to detail as you've displayed, I couldn't help but mention it.
Magnificent work so far and I only wish there were far more folks who would even make the attempt to bring up their work to your standards. It's a pleasure to watch your project unfold!!!
 03-21-2020, 08:48 PM
#977


Join Date: May 2008
Location: Ruralarea,
AZ
Posts: 408
Likes: 0
Received 0 Likes
on
0 Posts
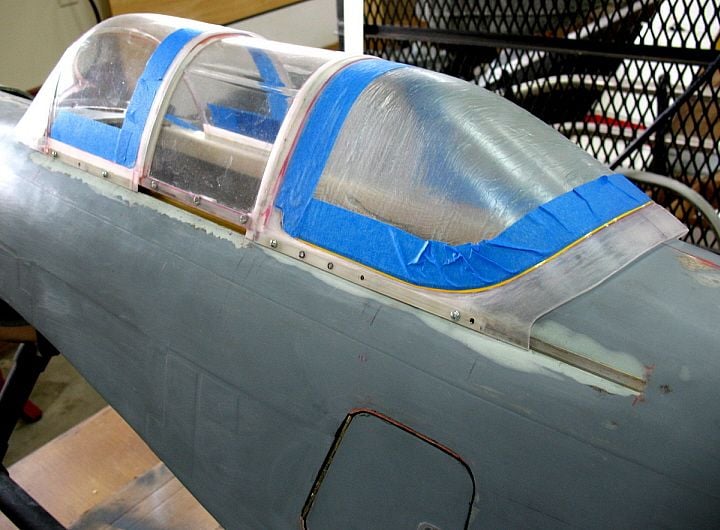
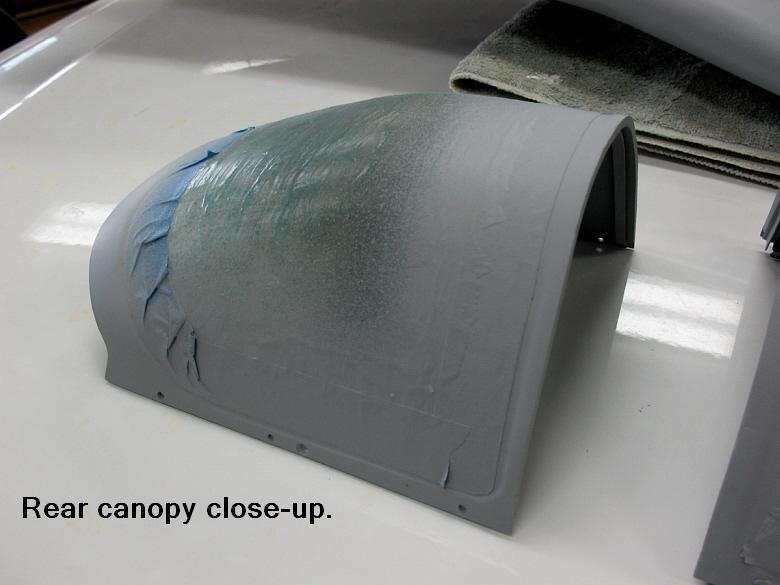
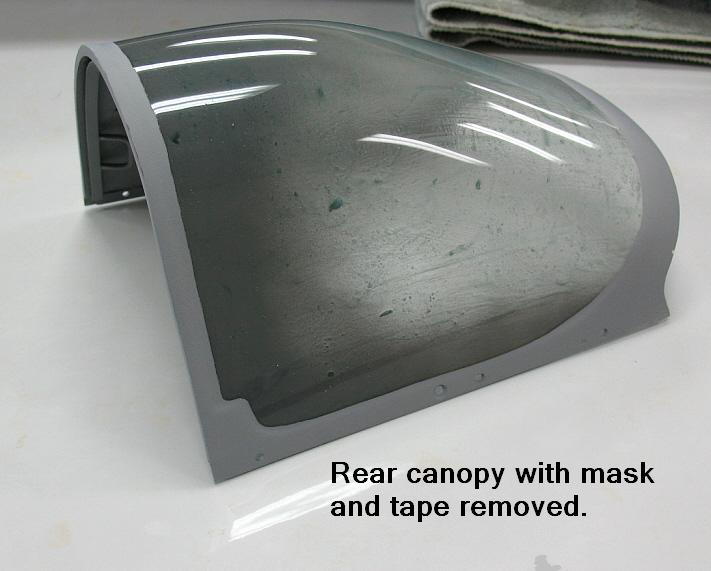
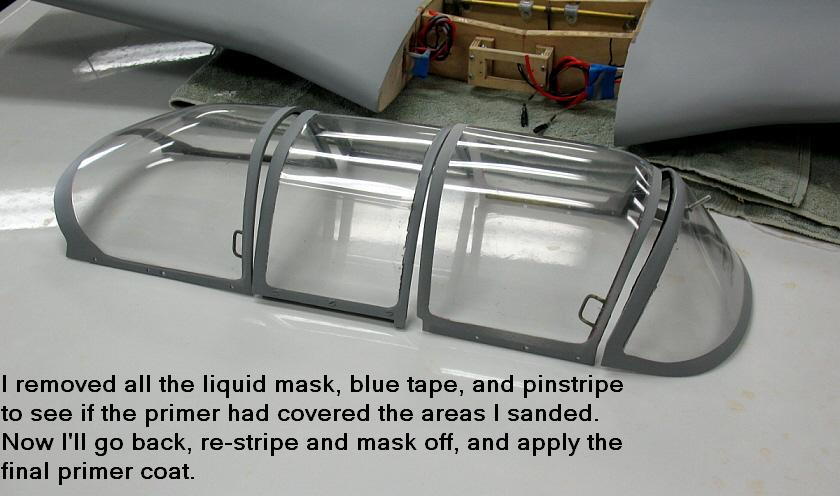
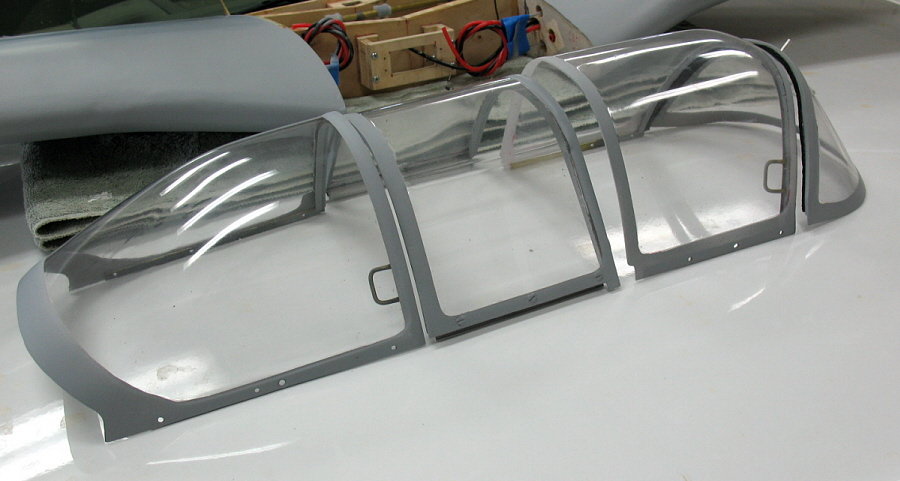
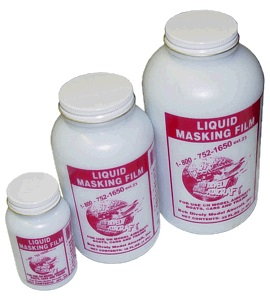
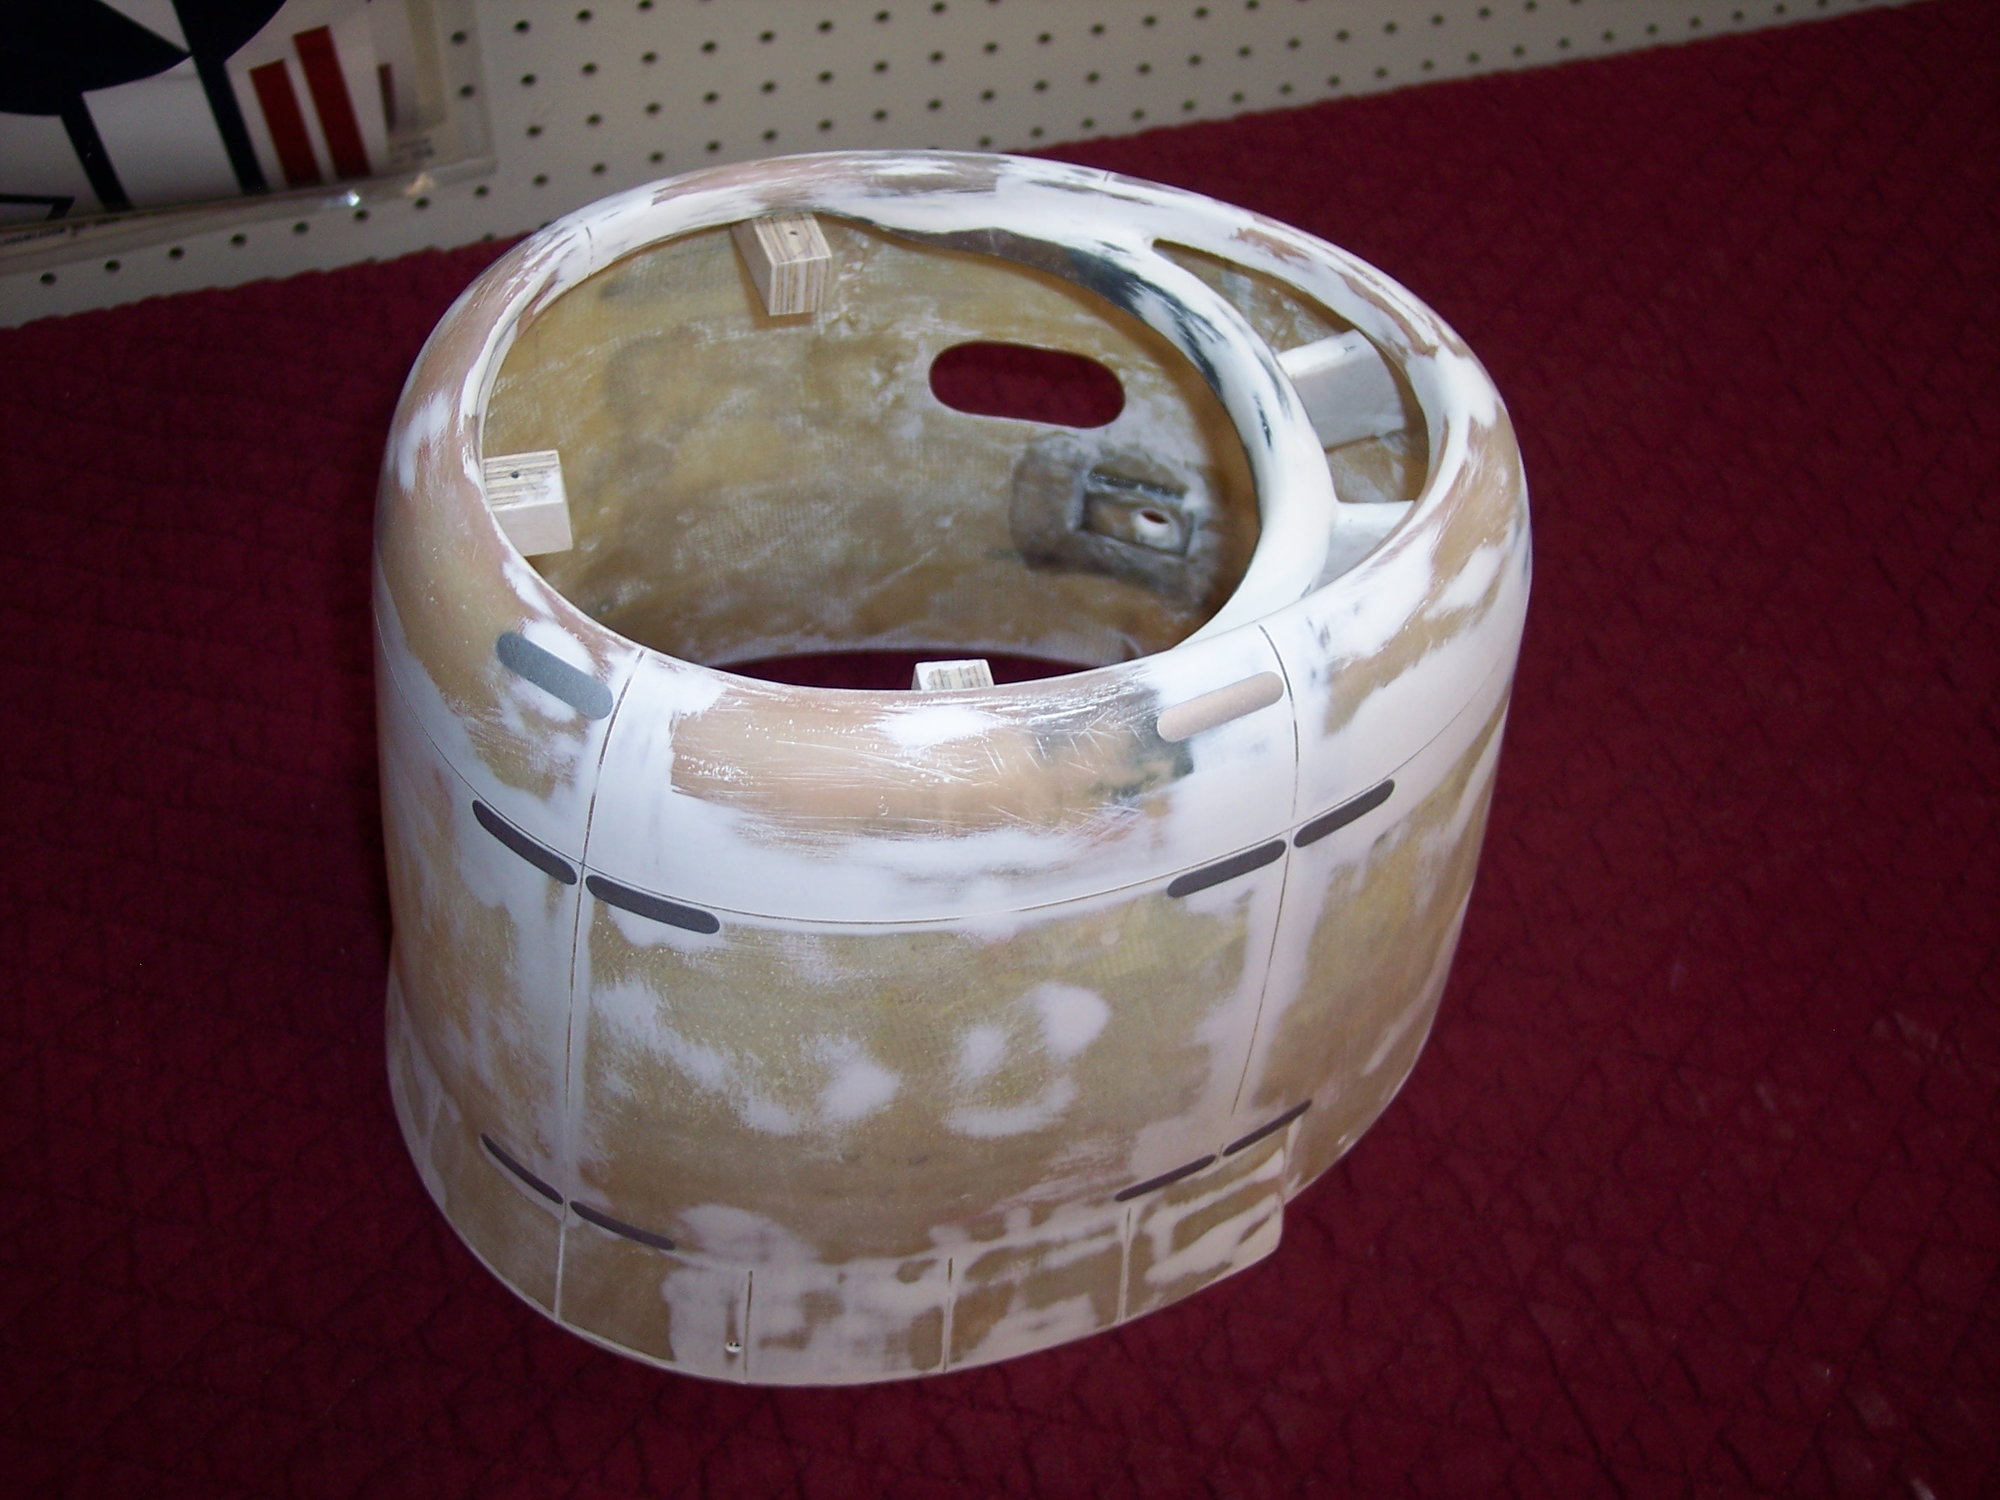
Liquid mask is the BOMB! Yes, peels off clean and saves on masking tape but I still outlined with the tapes you see in the pictures. The Tamiya is THEE best product I have EVER used for keeping spray where you don't want it to go and the blue vinyl tape for sharp paint "lines." Using the vinyl first, then an overlay of the Tamiya 10mm half on the blue vinyl, then using a 1" brush "paint" the liquid mask right up to it and over the Tamiya edge. Or use the blue medium masking like in my pics, then the liquid mask. I bought it online. Looks like milk, dries milky clear. SHAKE WELL BEFORE USING. Peels right off but....use THREE (3) coats letting each dry to the touch between coats. Just slather it on. Try it, you'll LOVE it. Saves tape. T H R E E C O A T S!
Make sure to brush it on INSIDE and OUTSIDE. Anywhere you want to keep primer/paint off the canopy, windscreen, windows, etc. I attached a lot of pics so that you can see the primer all over the liquid mask and the results after its peeled off.


 03-21-2020, 09:11 PM
#978
Join Date: May 2008
Location: Ruralarea,
AZ
Posts: 408
Likes: 0
Received 0 Likes
on
0 Posts
Vince,
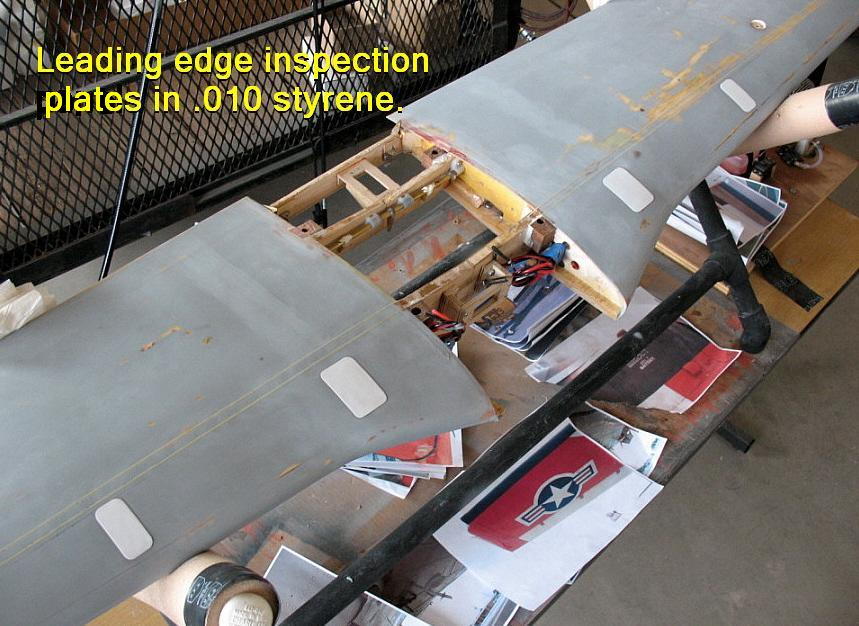
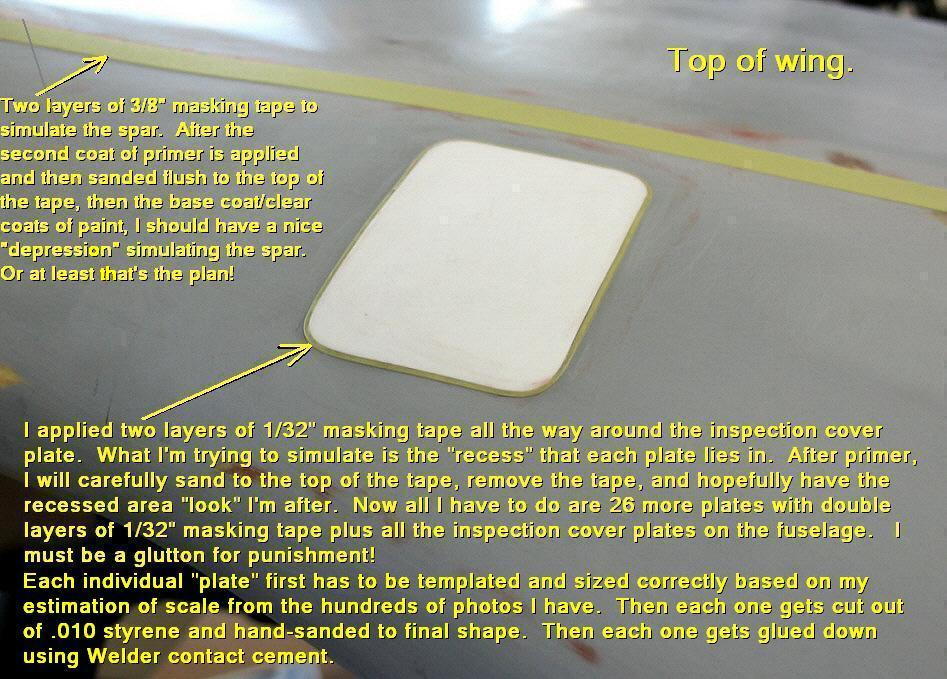
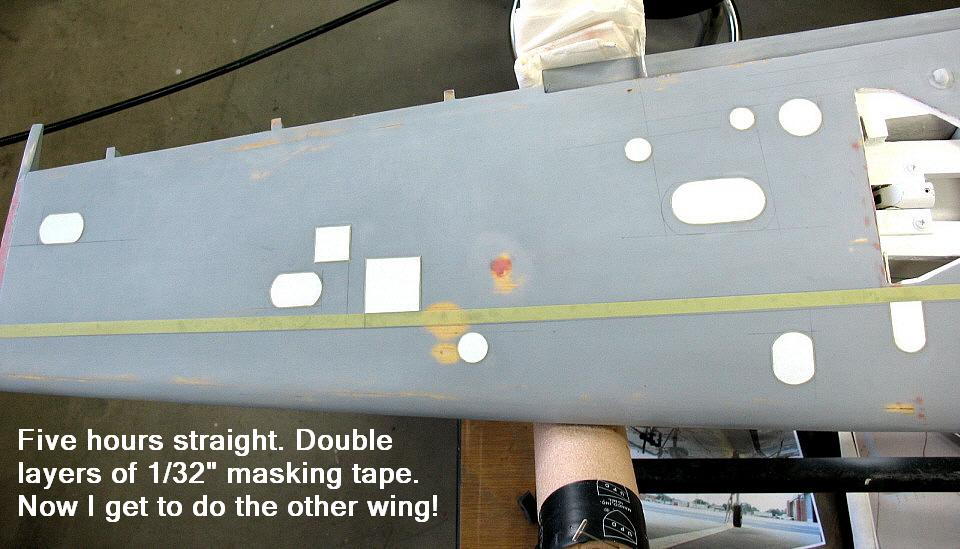
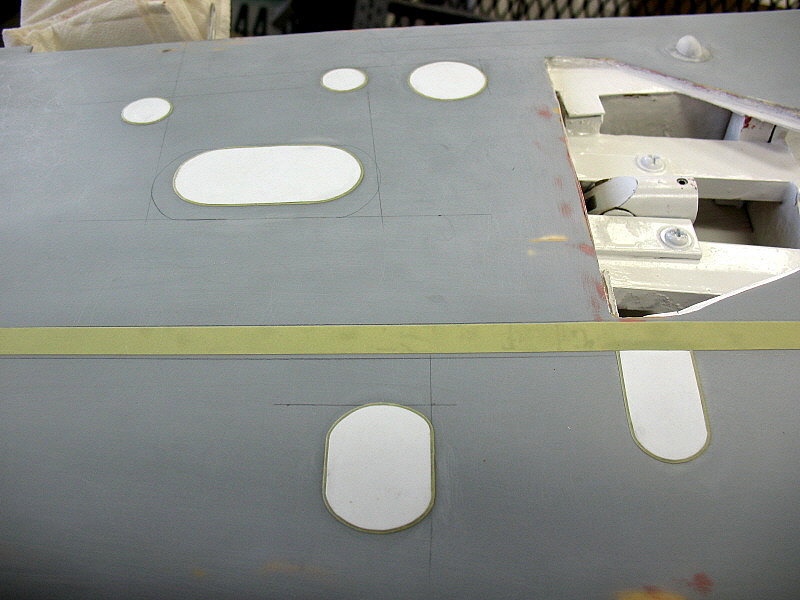
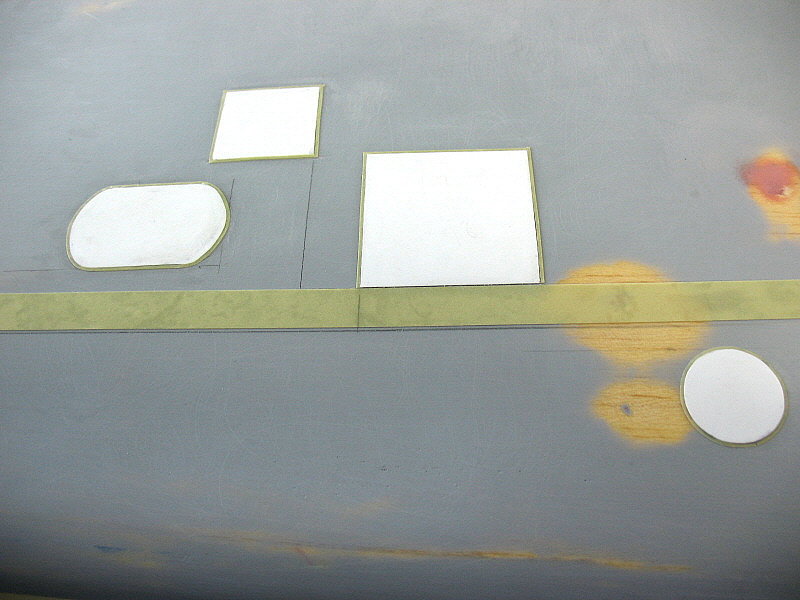
I also used the Chartpak tape on my T34C primarily around the faux styrene "inspection/cover plates" on the wing and airframe. Gave a bit more depth
using two layers (TEDIOUS and MIND-NUMBING) of the 1/32" tape. The 1/64" is just too darn fine.
I also used the Chartpak tape on my T34C primarily around the faux styrene "inspection/cover plates" on the wing and airframe. Gave a bit more depth
using two layers (TEDIOUS and MIND-NUMBING) of the 1/32" tape. The 1/64" is just too darn fine.
03-22-2020, 06:35 AM
#980
Thread Starter

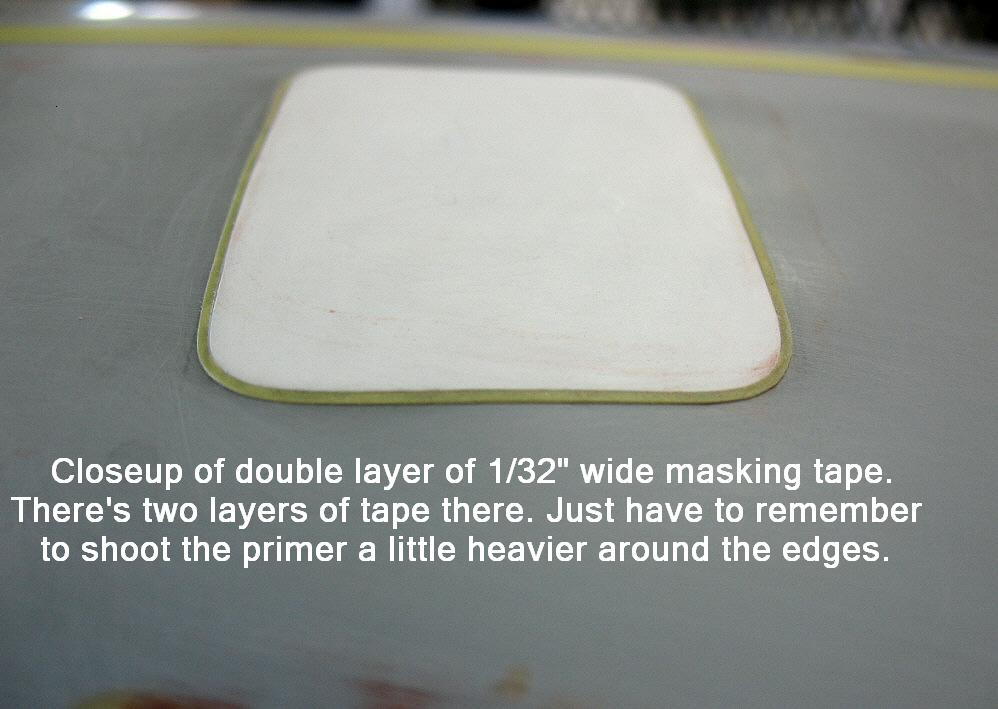
The secret to getting nice sharp edges is to lightly sand the top of the tape before you remove it.
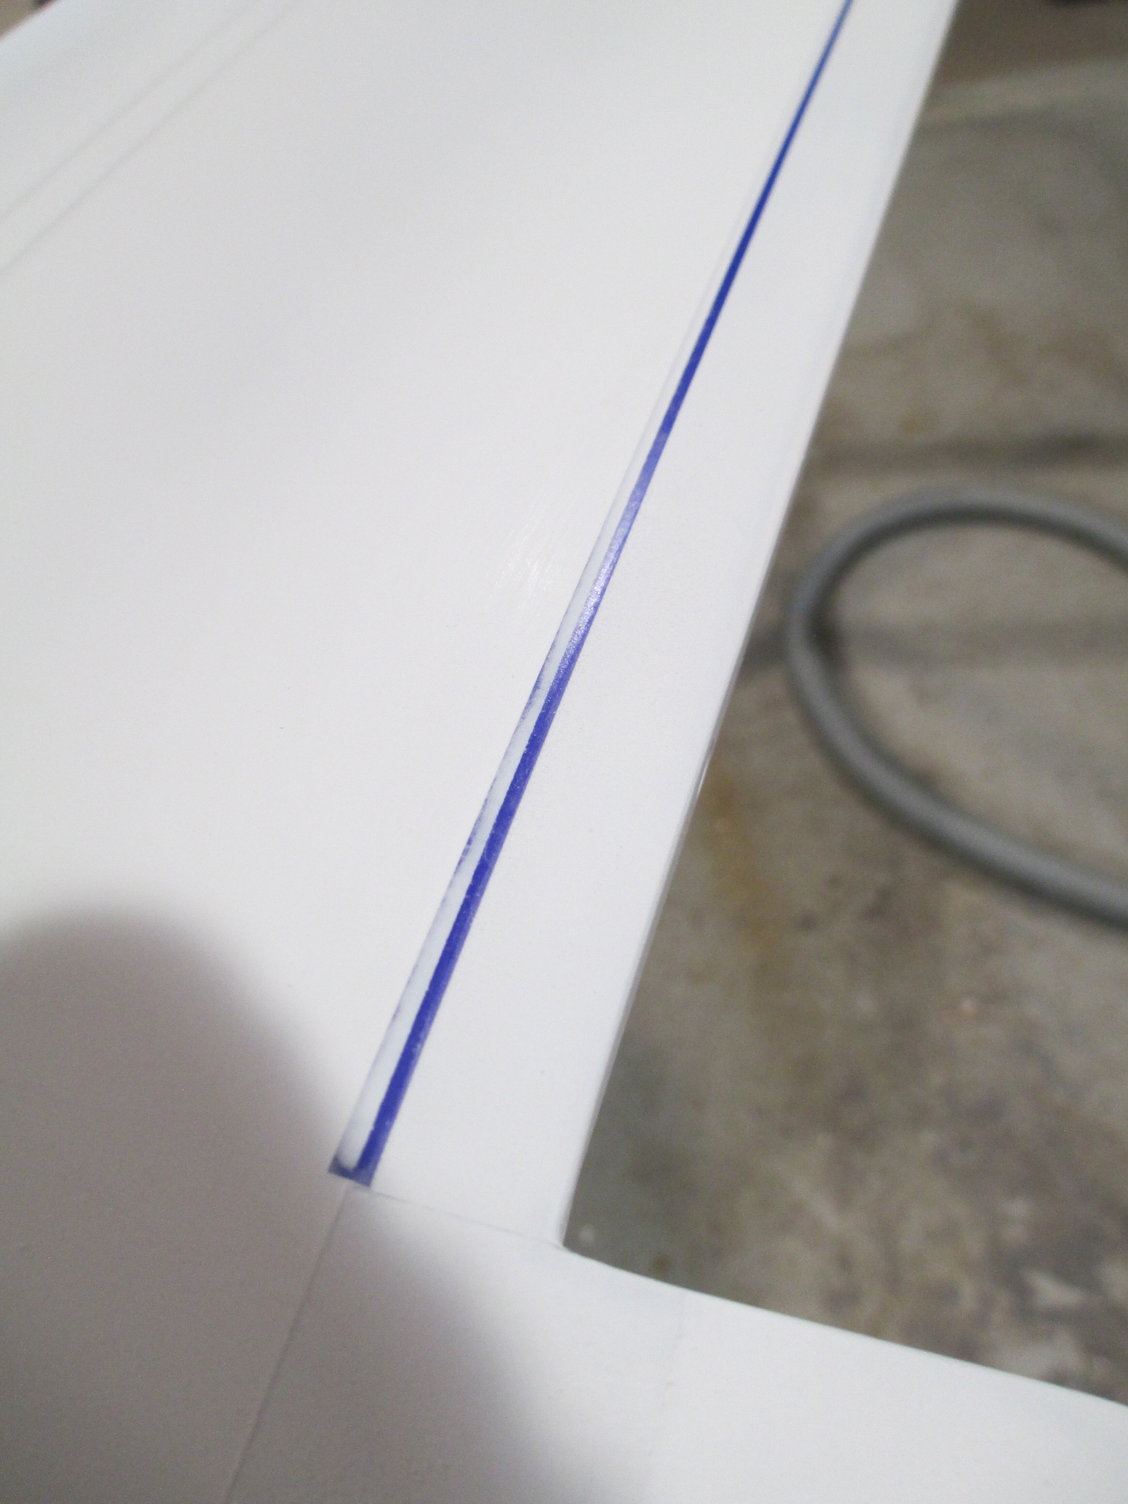
It won't take much. Just sand down so you can see the top edge just showing.
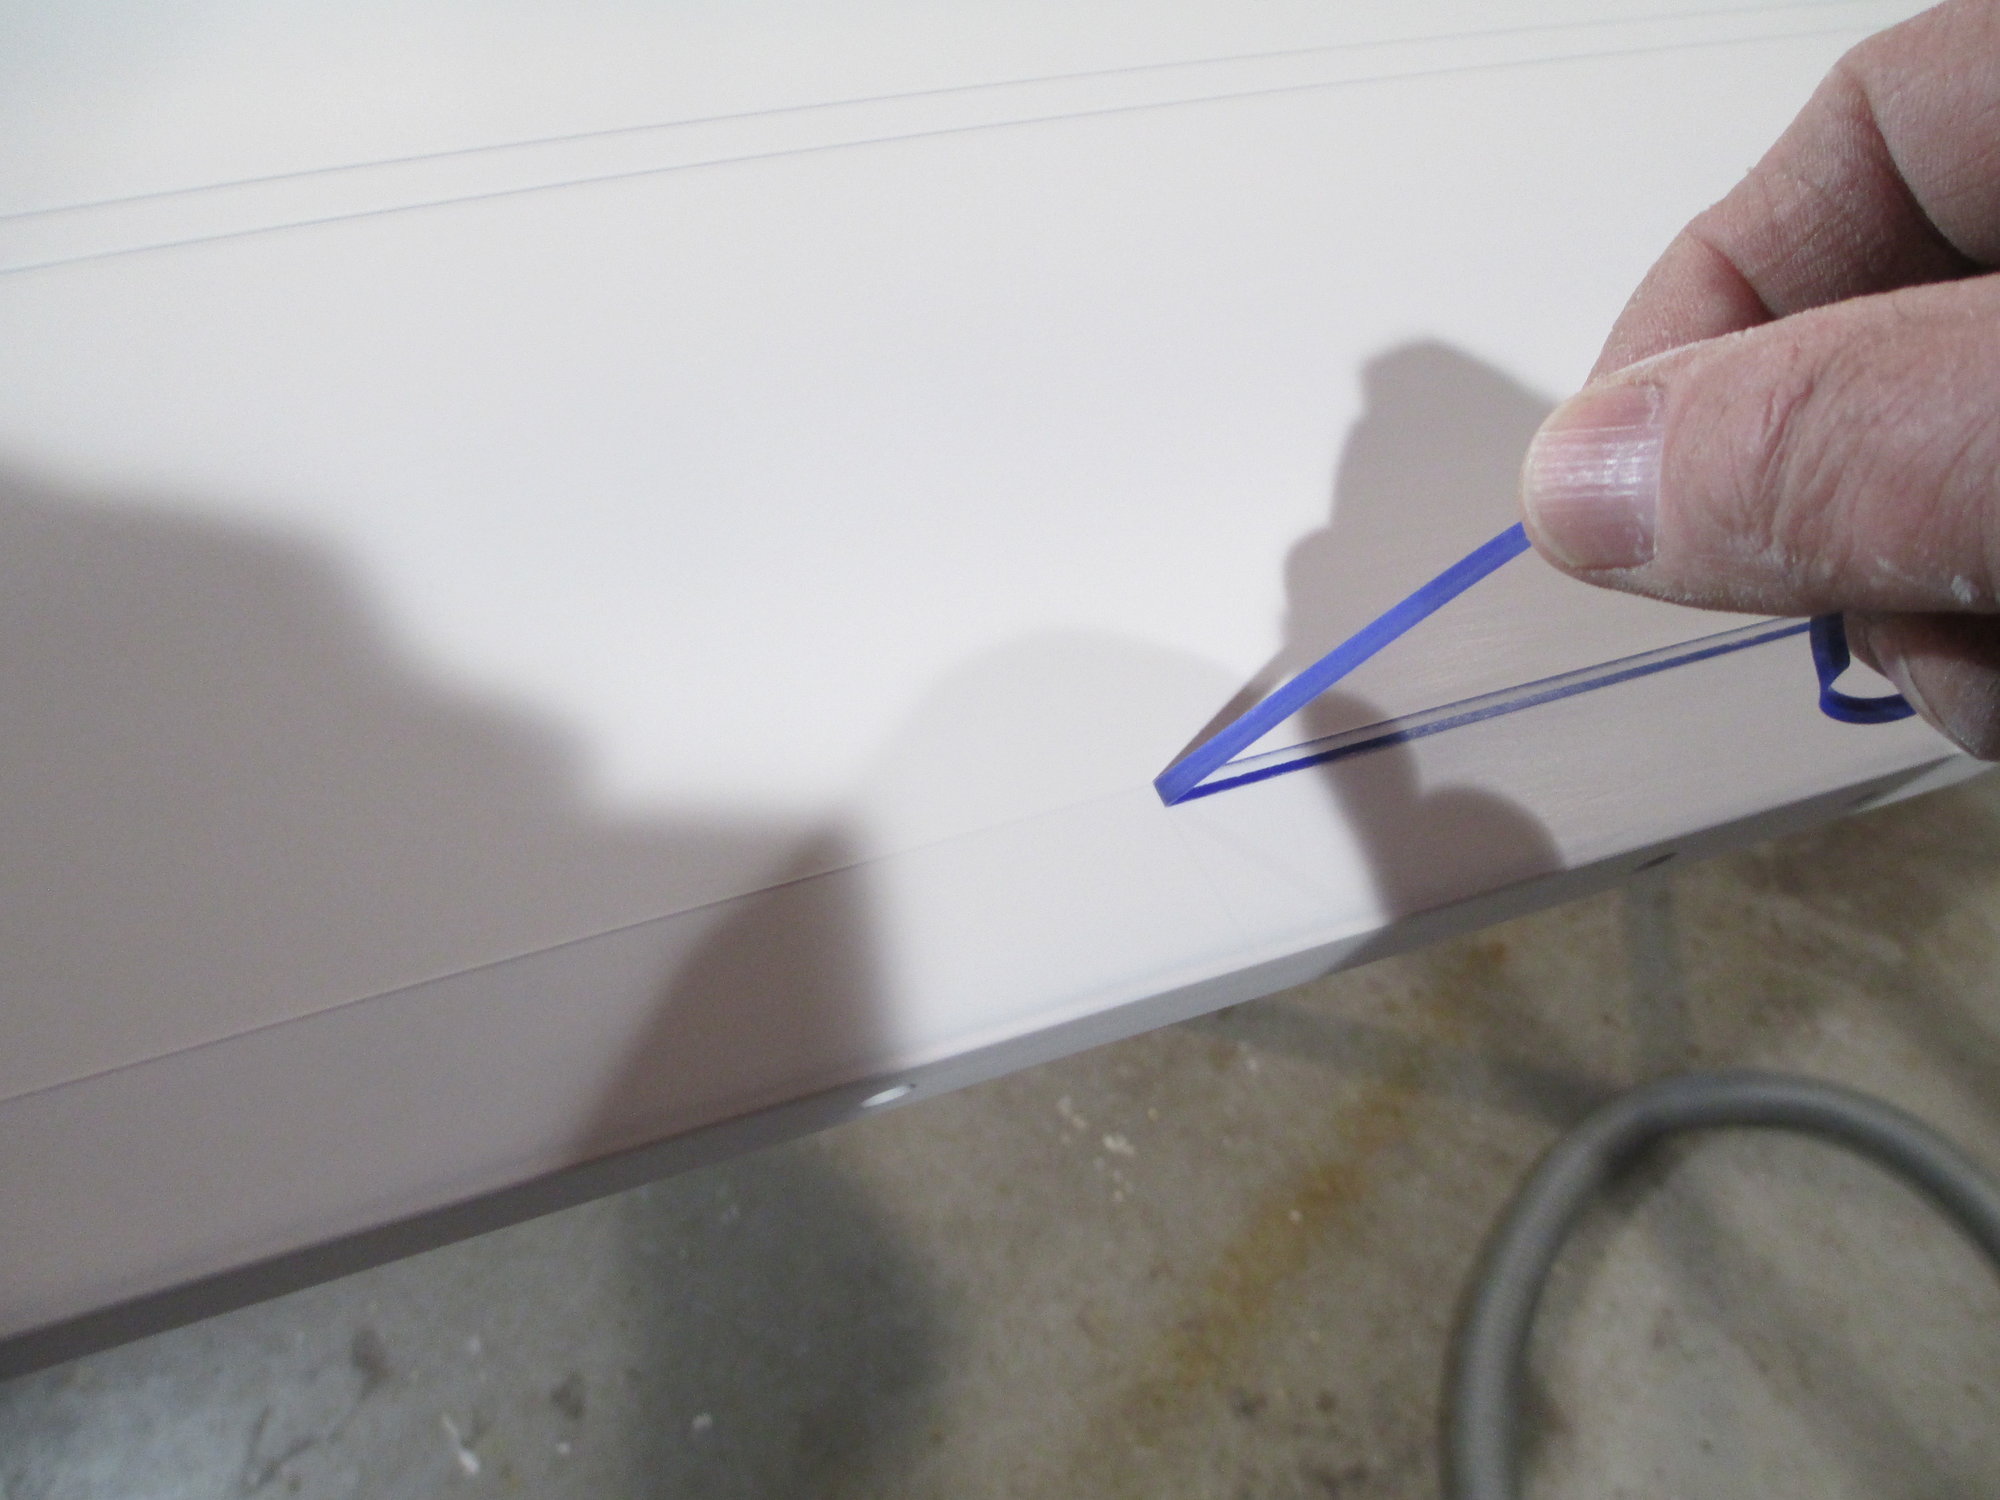
Then peel back the tape.
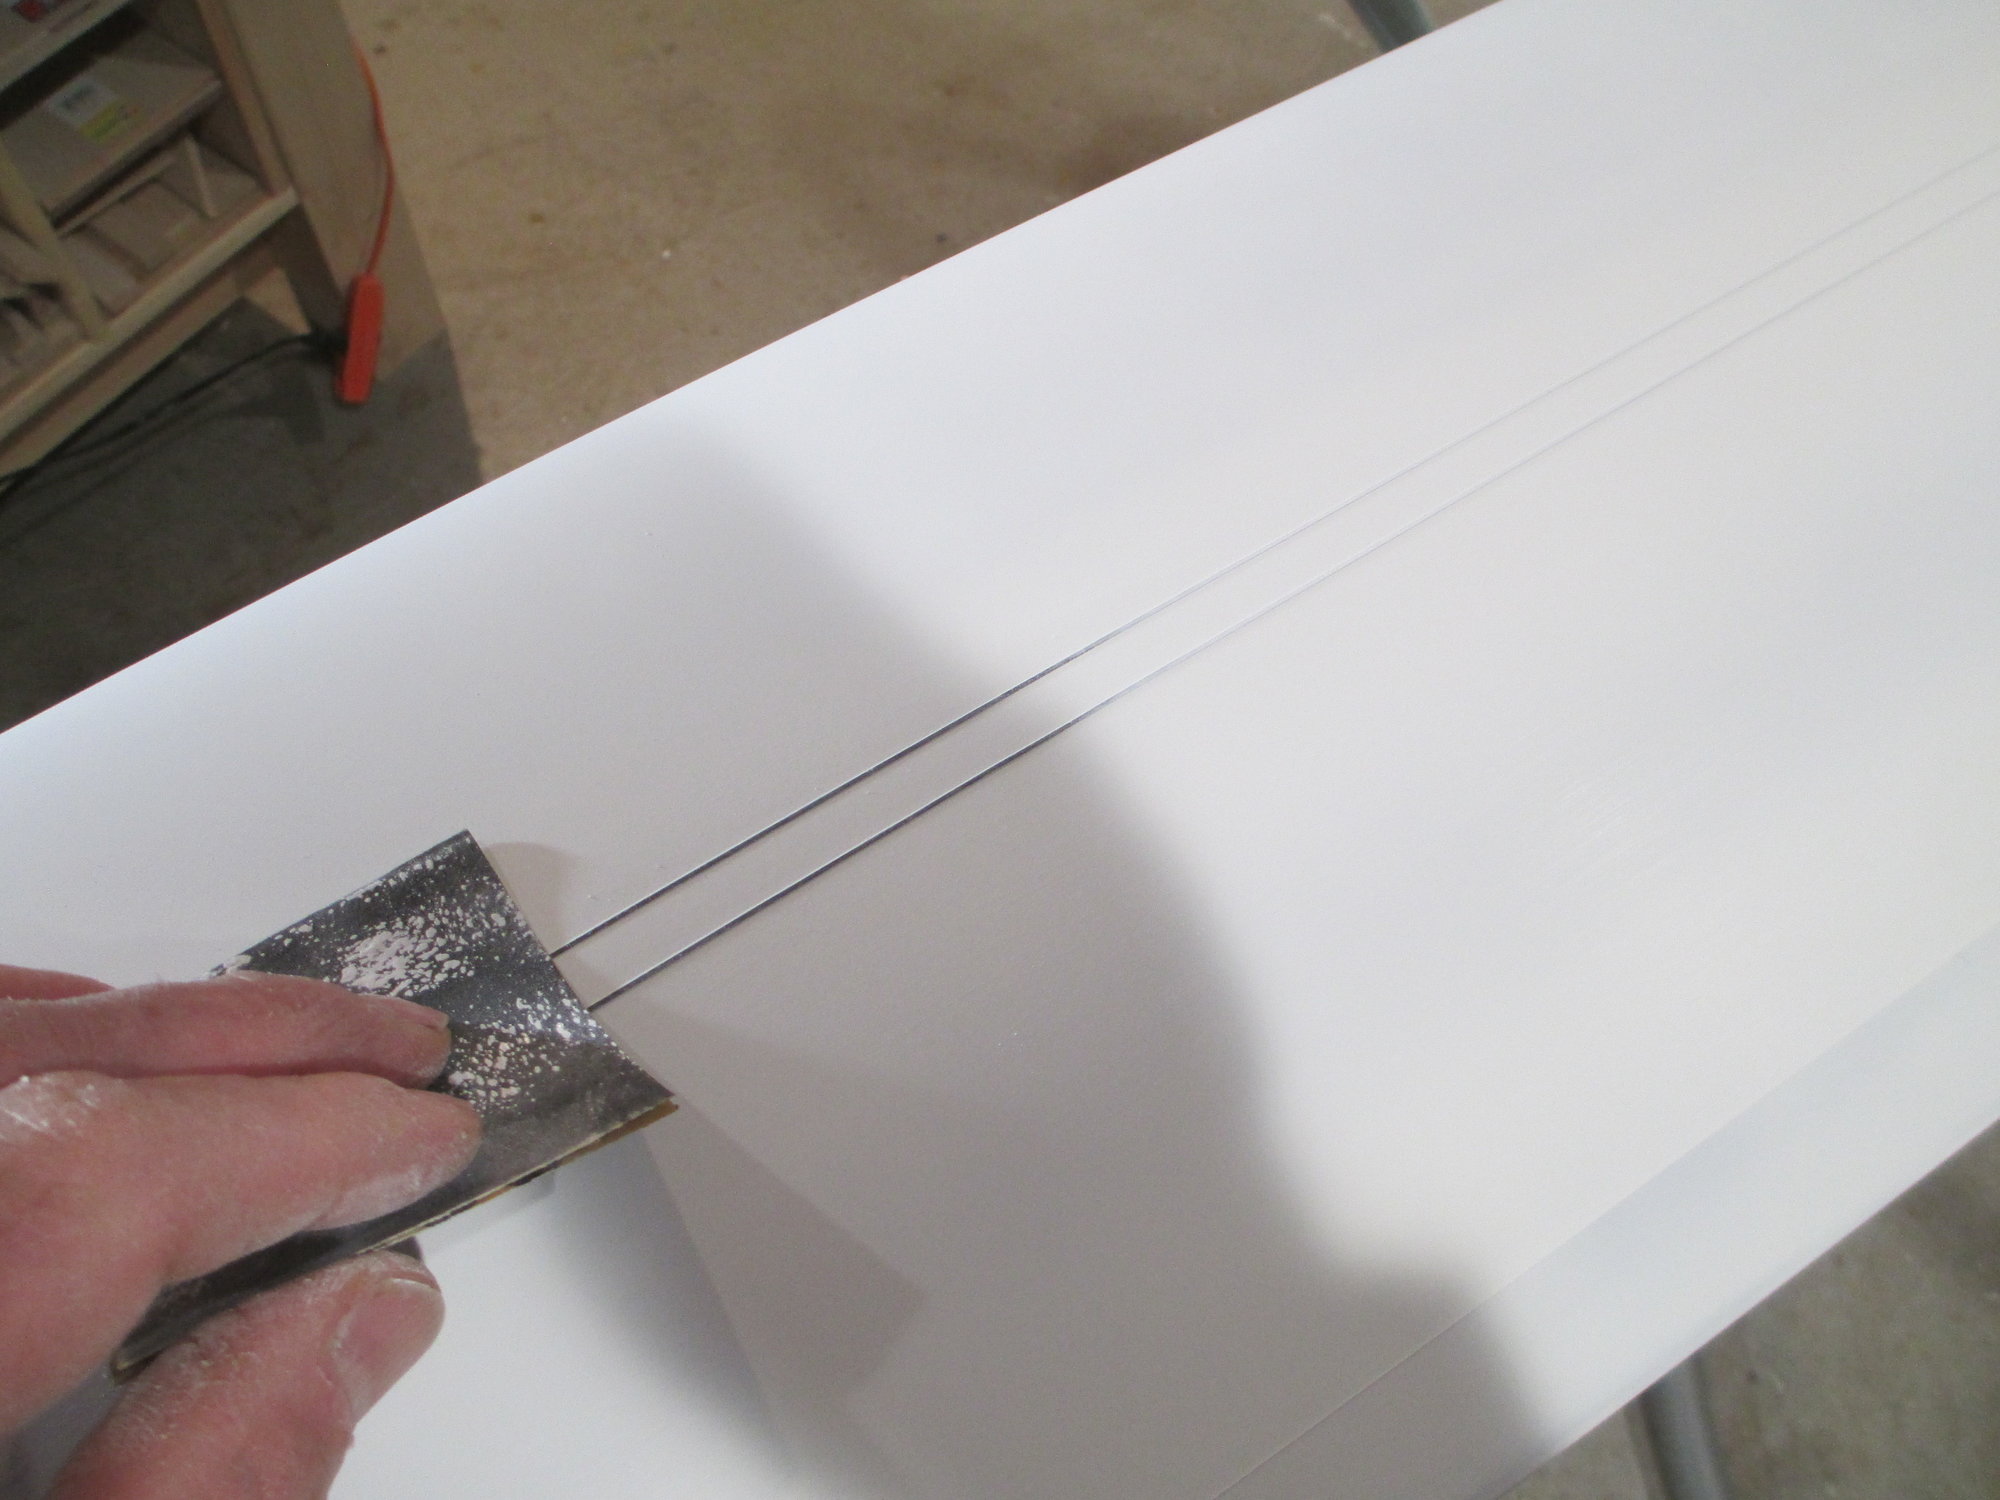
Same thing was done here with the Chart pak tape.
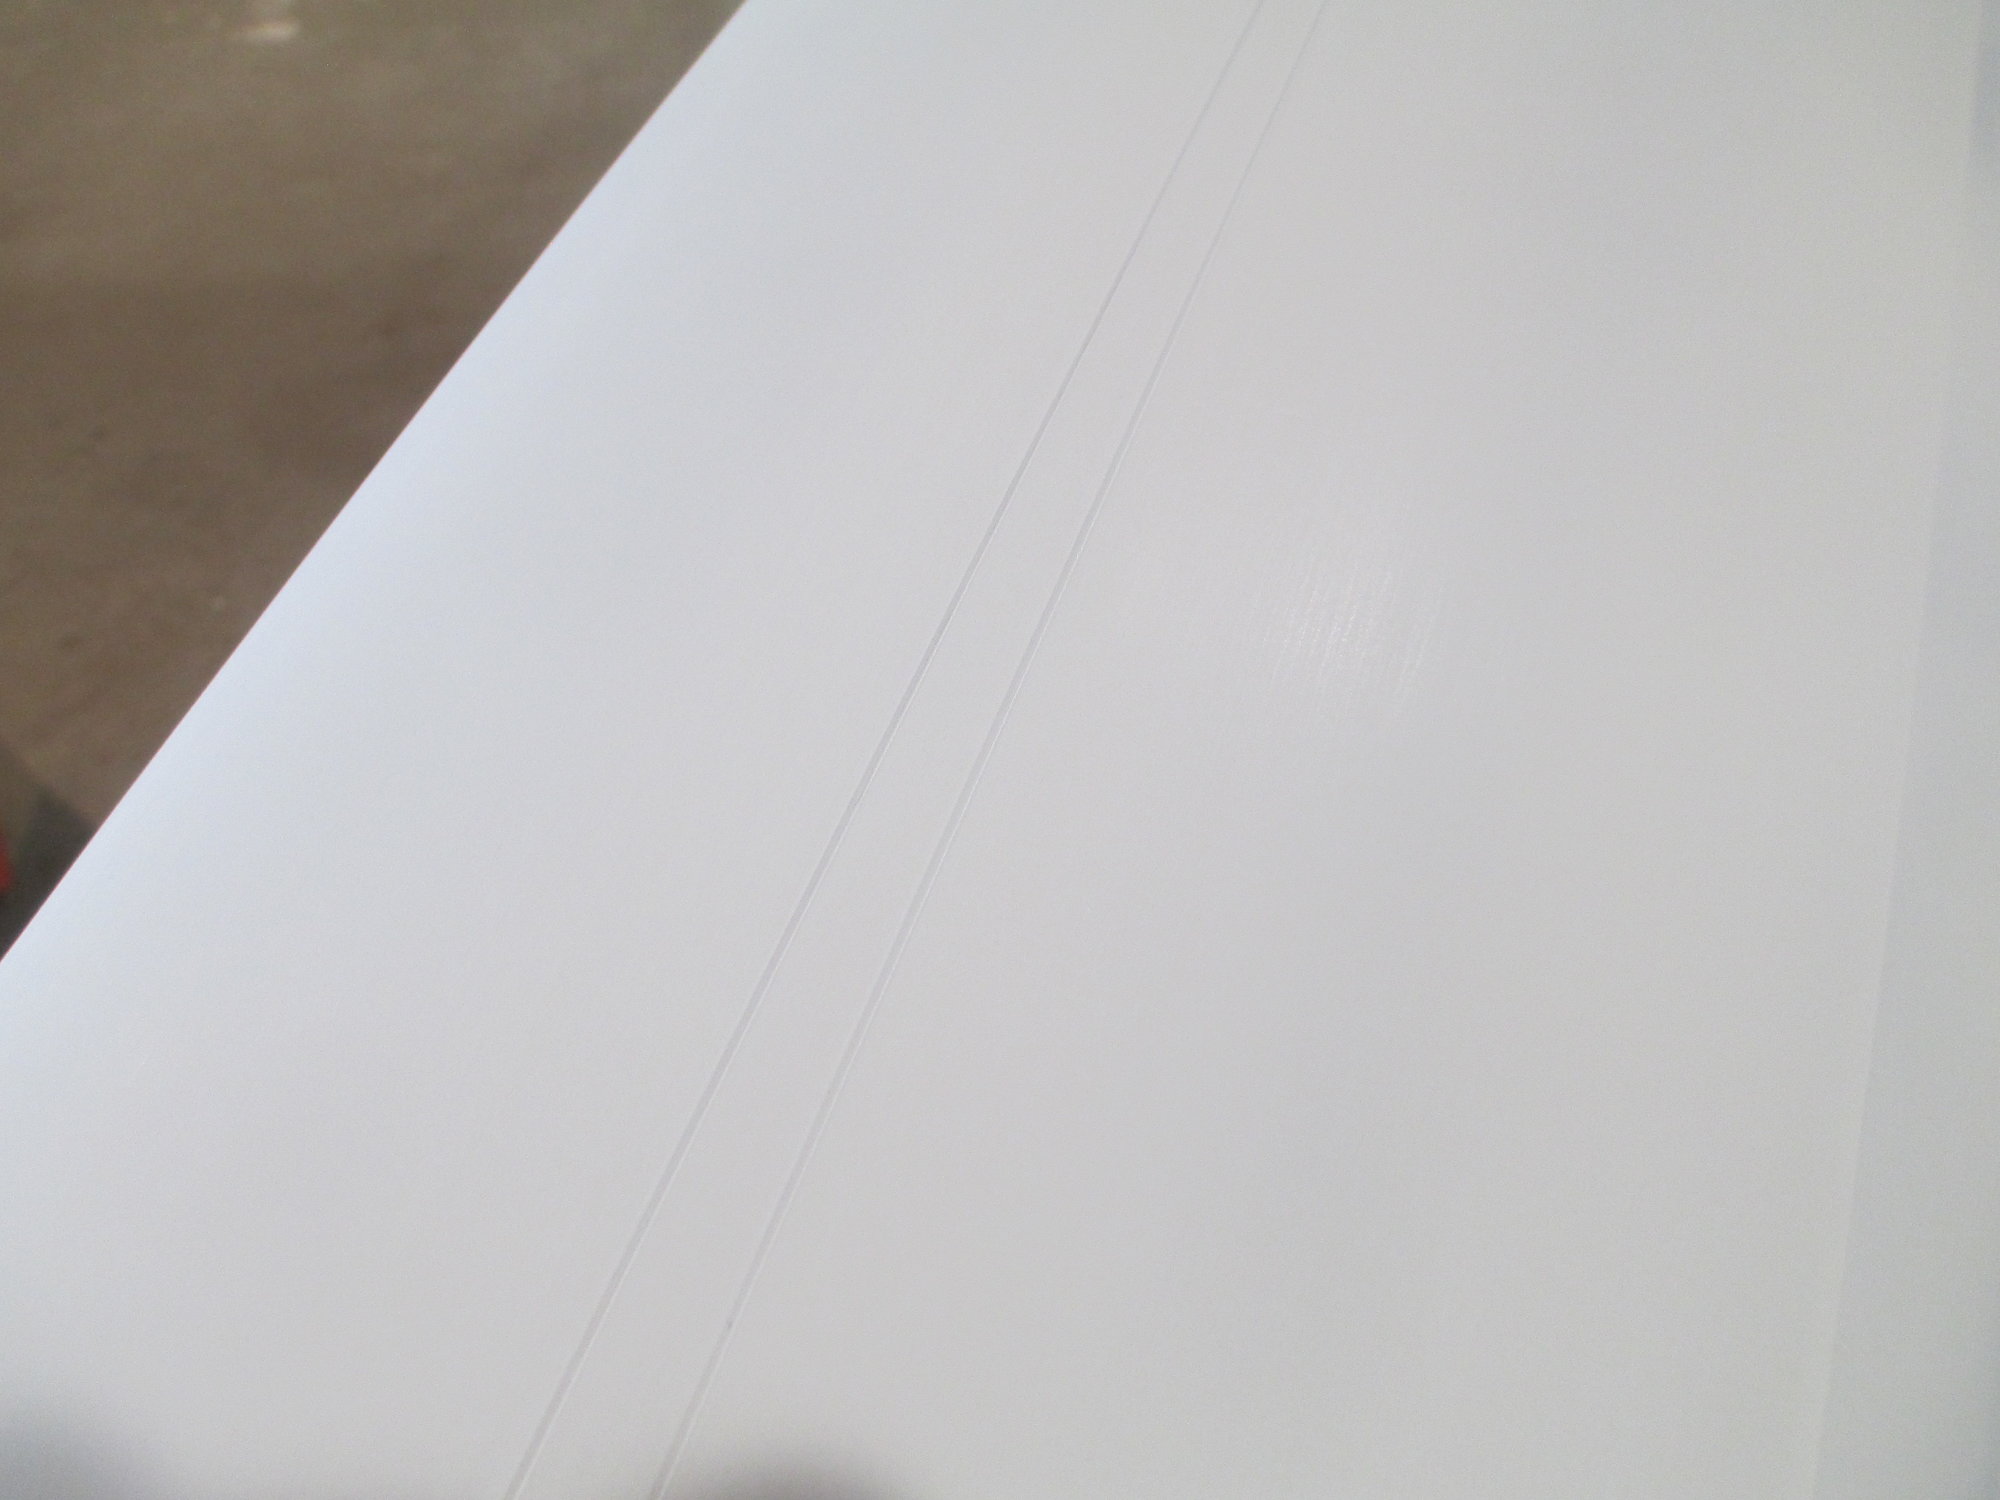
Not sure if I was able to capture with this photo the sharp edges.
03-22-2020, 08:14 AM
#981

Vince the lines look great!
I bought my 4 oz. bottle of liquid masking when I ordered my Aerofoil for the Ryan SC here: Aero Accessories Ltd - Building Accessories
You can buy it in 4, 16, and 32 oz. sizes.
Mike
I bought my 4 oz. bottle of liquid masking when I ordered my Aerofoil for the Ryan SC here: Aero Accessories Ltd - Building Accessories
You can buy it in 4, 16, and 32 oz. sizes.
Mike
 03-22-2020, 09:47 AM
#982
Thread Starter
Very nice attention to detail and I can appreciate all that's being done and in a timely manner (unlike the way I tend to do things). My appreciation stems in part from the fact that I owned a body shop and that I fly full scale, so I have some clue about workmanship and have an equally good idea of what real airplanes look like.
Since everything has worked out so well, especially the corrugations and the wing nav lights in my opinion, I hope I'm not out of place by pointing out that the red/green position lights seem to be aimed primarily outward or to the side of the aircraft and not so much (if at all) in the forward direction as they would need to be in full scale. Of course, I doubt if anyone (except maybe an idiot like myself) would notice, but in the presence of such careful attention to detail as you've displayed, I couldn't help but mention it.
Magnificent work so far and I only wish there were far more folks who would even make the attempt to bring up their work to your standards. It's a pleasure to watch your project unfold!!!
Since everything has worked out so well, especially the corrugations and the wing nav lights in my opinion, I hope I'm not out of place by pointing out that the red/green position lights seem to be aimed primarily outward or to the side of the aircraft and not so much (if at all) in the forward direction as they would need to be in full scale. Of course, I doubt if anyone (except maybe an idiot like myself) would notice, but in the presence of such careful attention to detail as you've displayed, I couldn't help but mention it.
Magnificent work so far and I only wish there were far more folks who would even make the attempt to bring up their work to your standards. It's a pleasure to watch your project unfold!!!
03-22-2020, 10:48 AM
#983
Hi Vincent
Yes, I did see the picture and I'm fortunate enough to have a friend who owns just such a full size Bonanza which I've had the pleasure of flying on numerous occasions.
Typically RC builders would be satisfied to glue an LED to the wingtip and be done with it, but in your case I'm astounded that you paid so much attention to the light assembly and I wanted to point out that aviation regulations require that the red and green be visible from the front of any aircraft in order to determine that it's coming at you rather than going away from you.
Please forgive my insufficient terminology in my previous post as "pointing in a direction" isn't specifically the correct description that I wanted to convey.
In any event, I just thought that I'd bring it to your attention if that was the sort of thing that mattered to you (which I thought it might based on the amount of skill and effort you've already put into the project).
Steve
Last edited by airsteve172; 03-22-2020 at 11:00 AM.
03-22-2020, 10:59 AM
#984
Join Date: May 2008
Location: Ruralarea,
AZ
Posts: 408
Likes: 0
Received 0 Likes
on
0 Posts
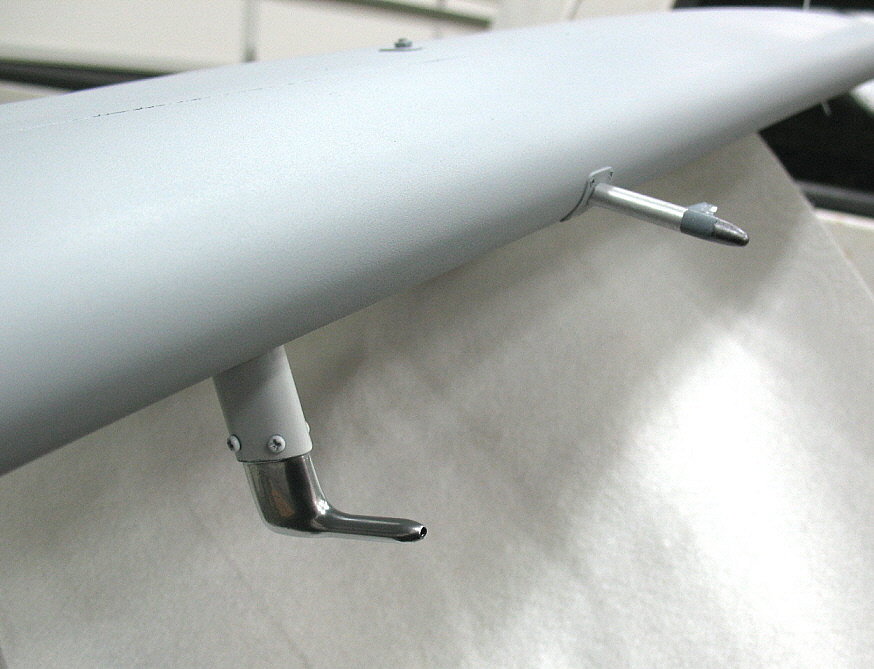
The pics I've posted are from years ago when I built my T34C. Yes, there are tie down rings, a pitot tube, and
angle of attack mast. Should you be interested, let me know and I will direct you to my build thread here on the
RCU as I don't want to take up space for Vince's build.
 03-22-2020, 11:15 AM
#985
WOW!!!!!!!!!!!!!!!!!!!!!!!
You may find it hard to believe, but that little picture is more awesome to me than all the 3D aerobatics I've seen in my entire life!!!
Words can't express what it feels like to me seeing something like that!!! I'm actually grinning ear to ear with a tear in my eye.
You may find it hard to believe, but that little picture is more awesome to me than all the 3D aerobatics I've seen in my entire life!!!
Words can't express what it feels like to me seeing something like that!!! I'm actually grinning ear to ear with a tear in my eye.
03-25-2020, 03:38 AM
#986
Thread Starter
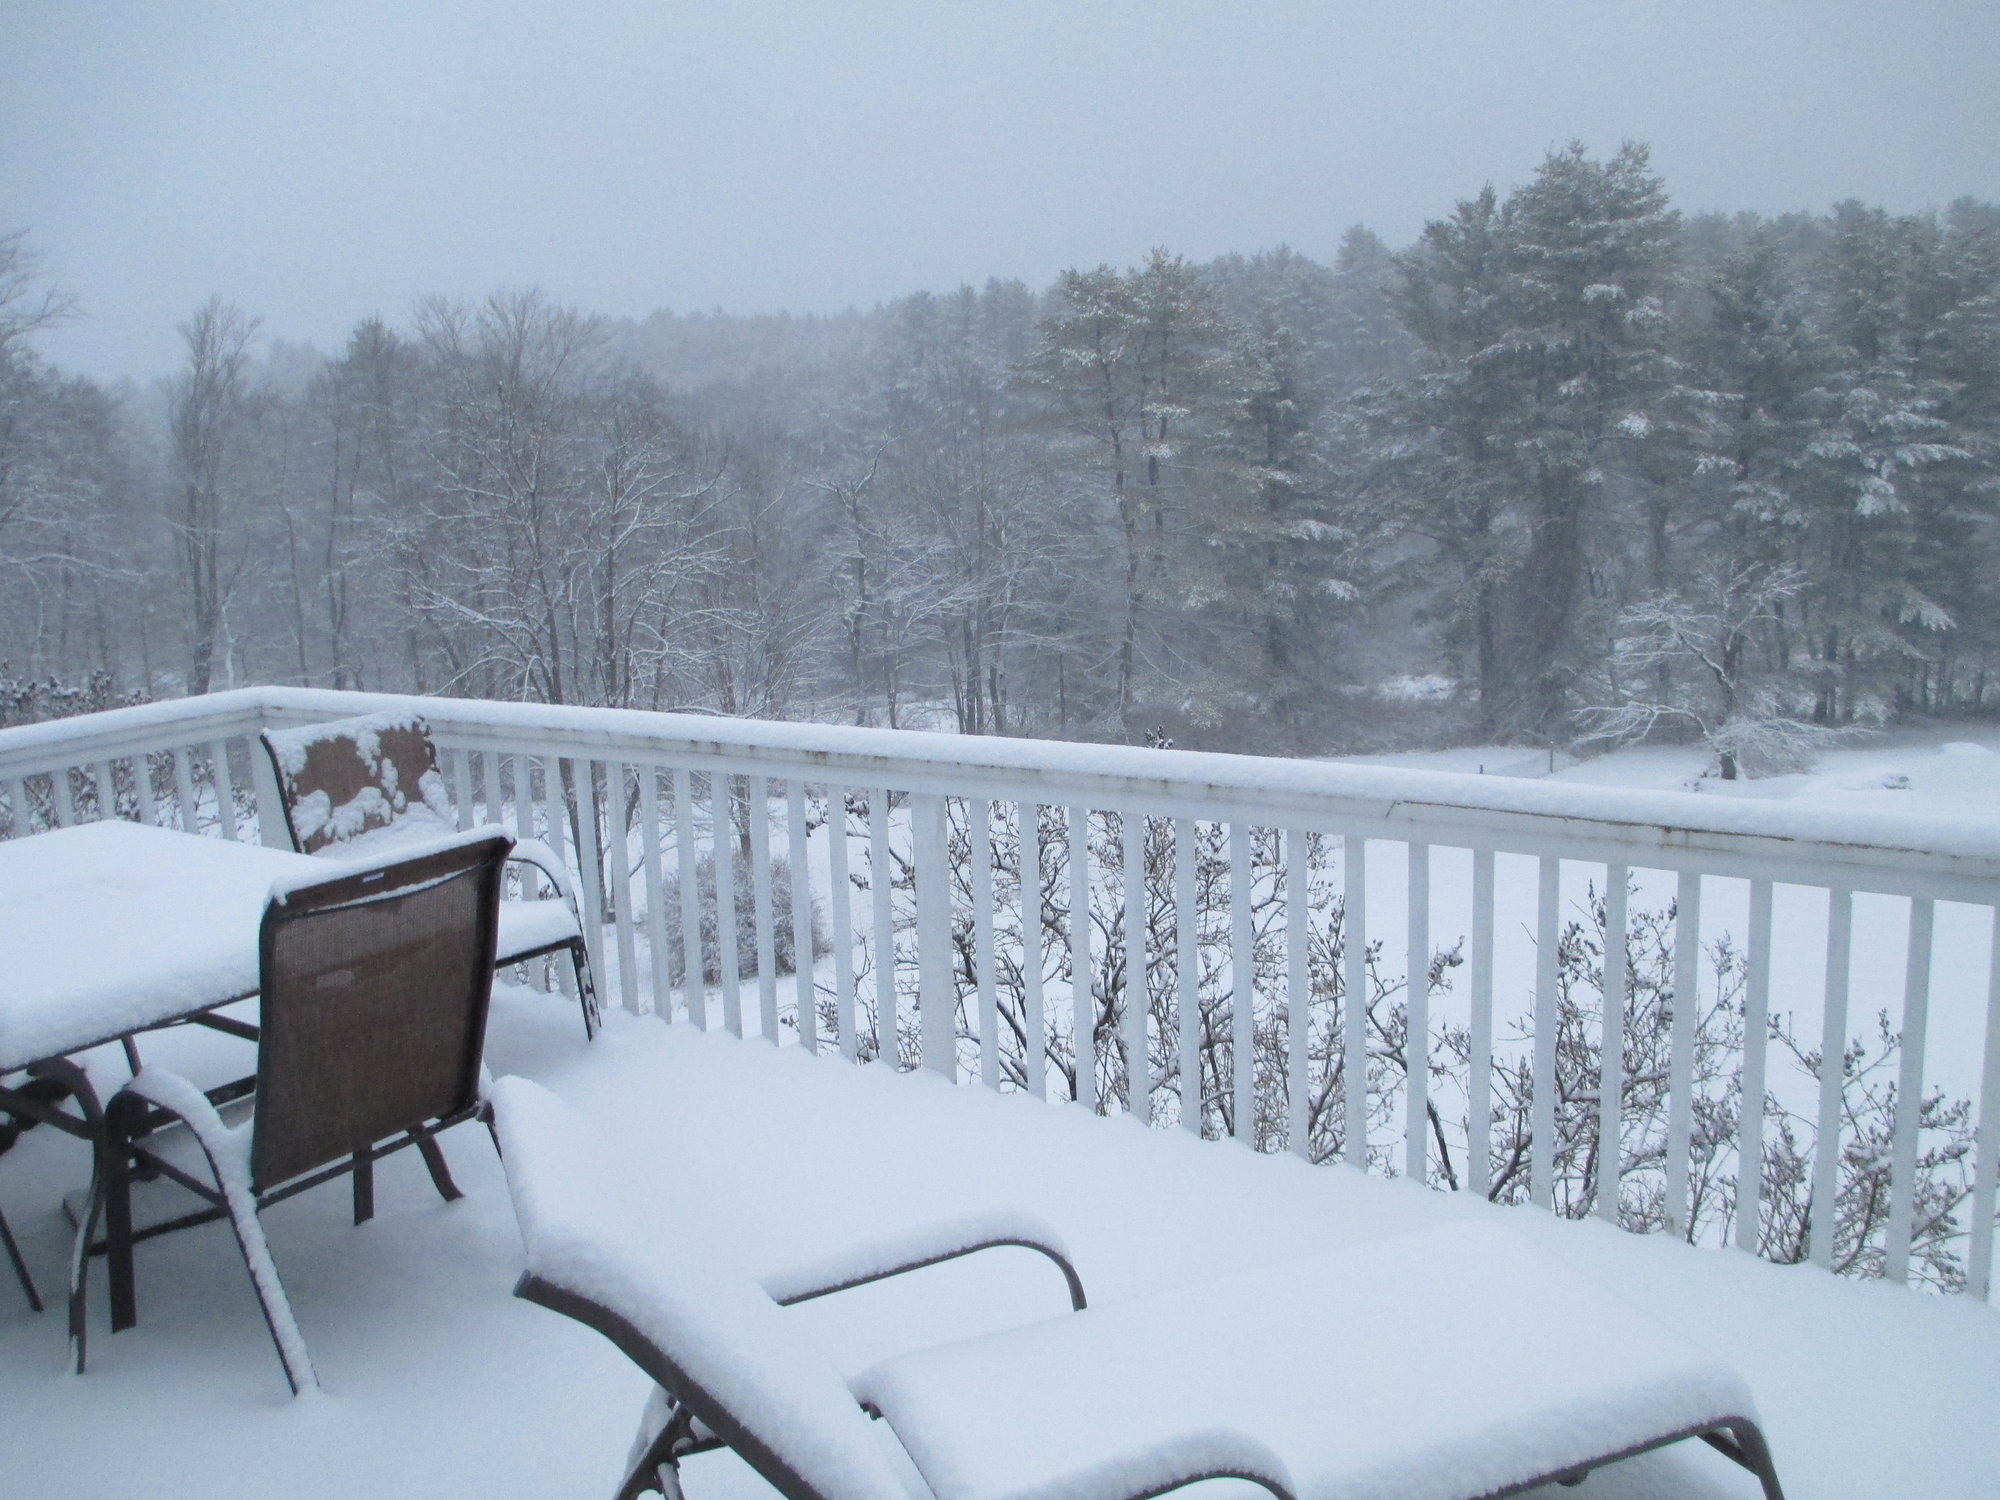
Yesterday it started to snow and before it was all said and done it left behind 10" of heavy snow. Since the schools are closed due to the Corona virus, we are all forced to teach our kids through creative means, I self proclaimed it to be "No School" because of the snow! lol


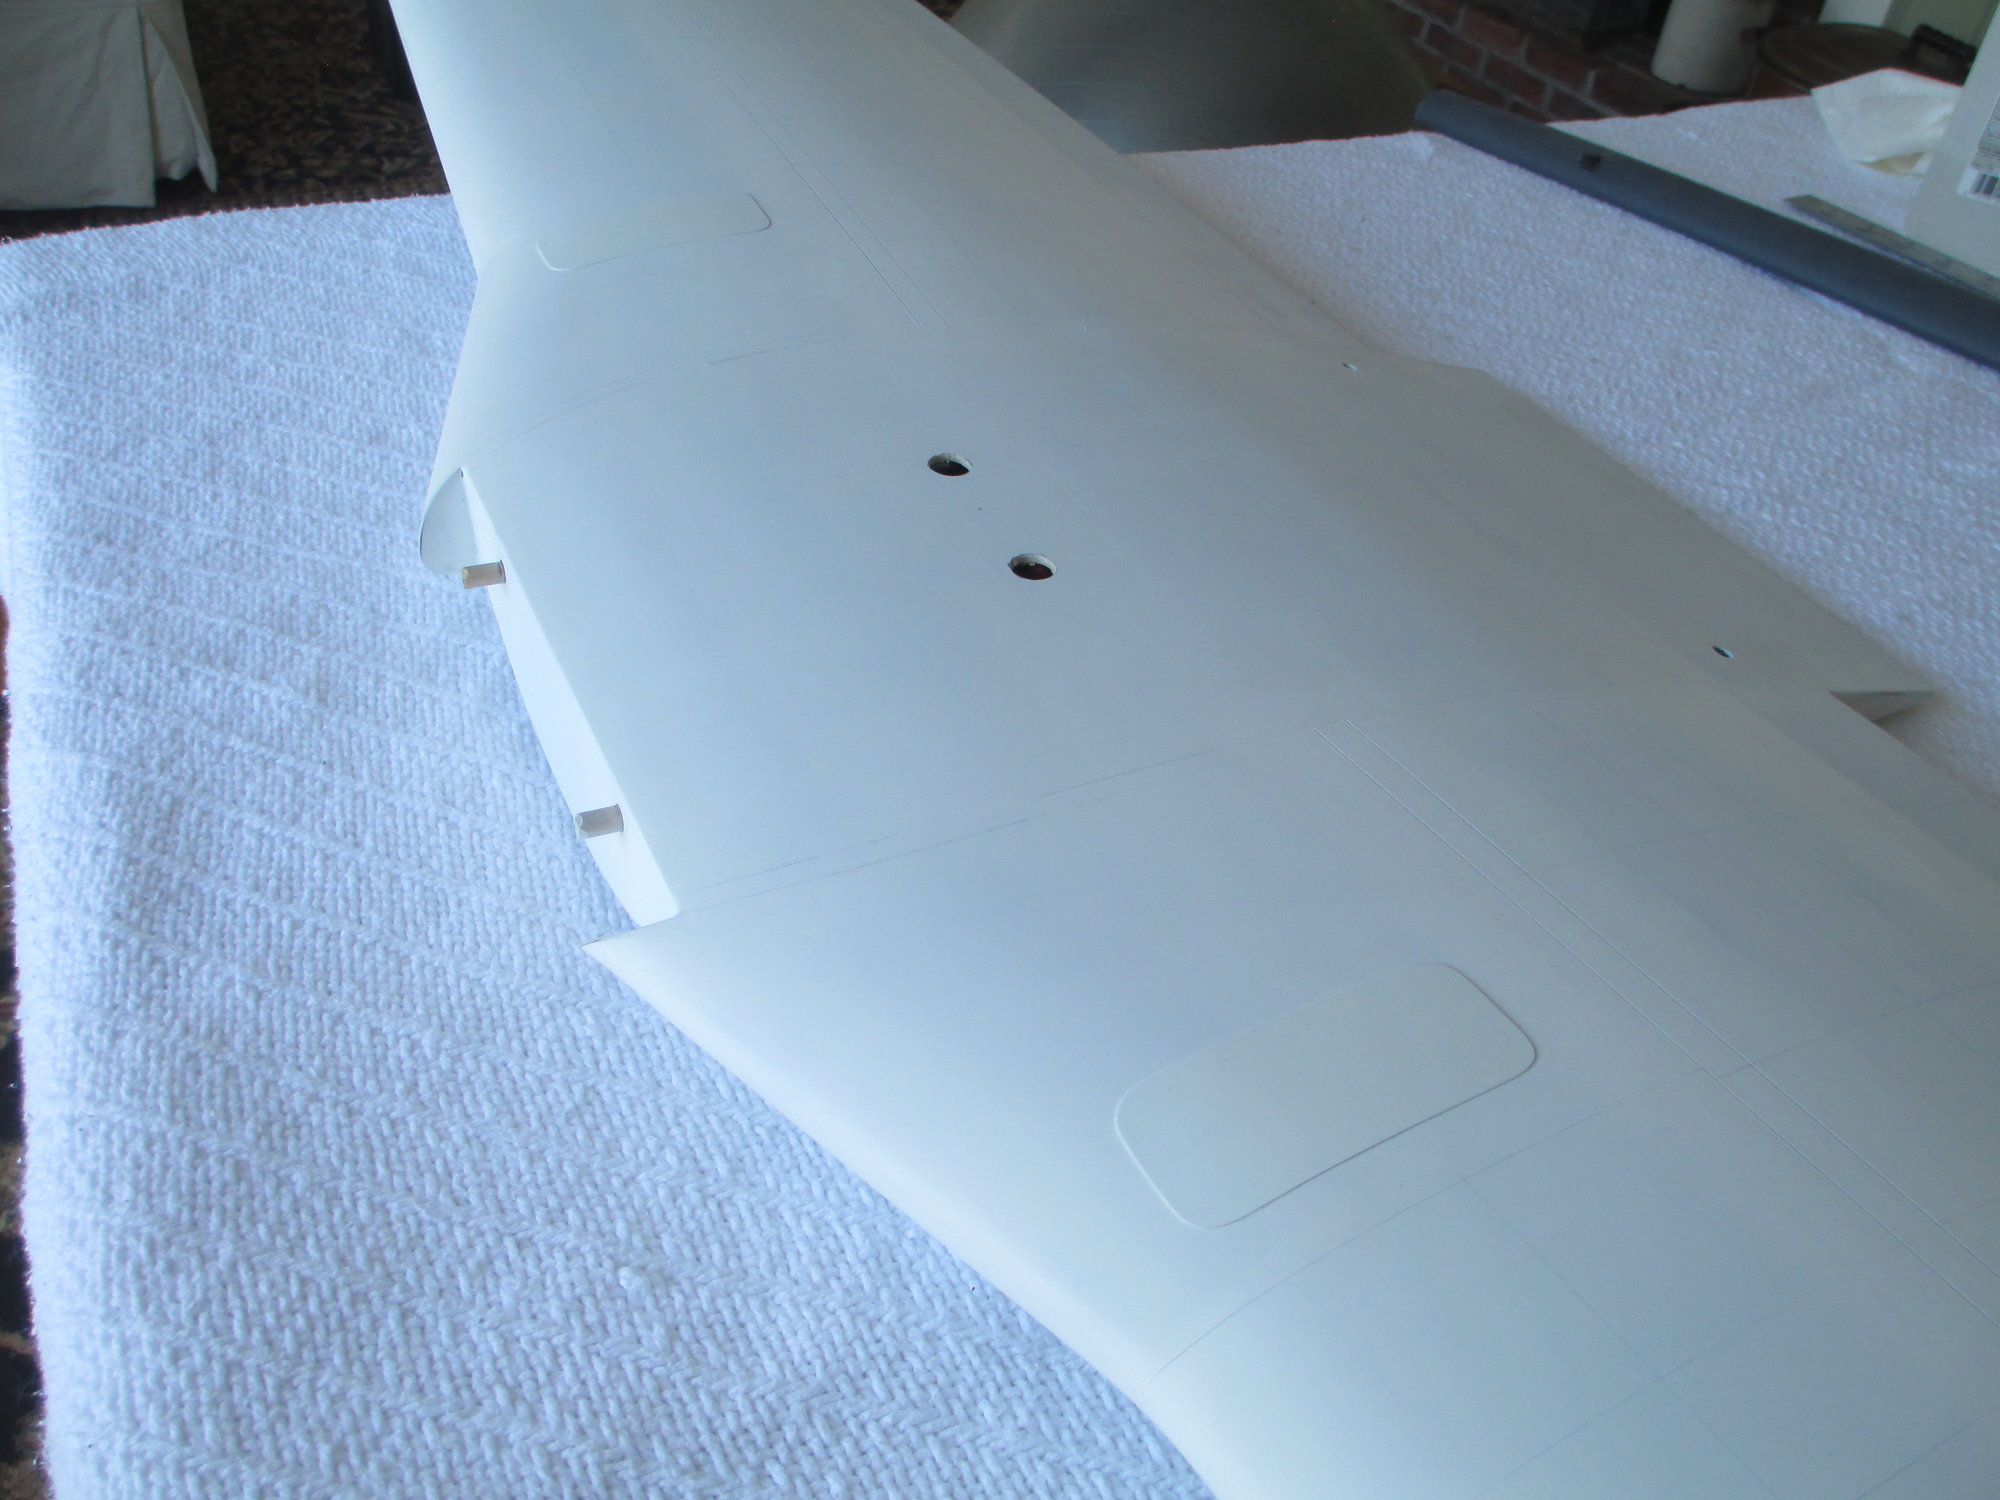
All of the panel lines have been place on the wing. I tried to play around with the lighting to better capture the panel line subtleties...
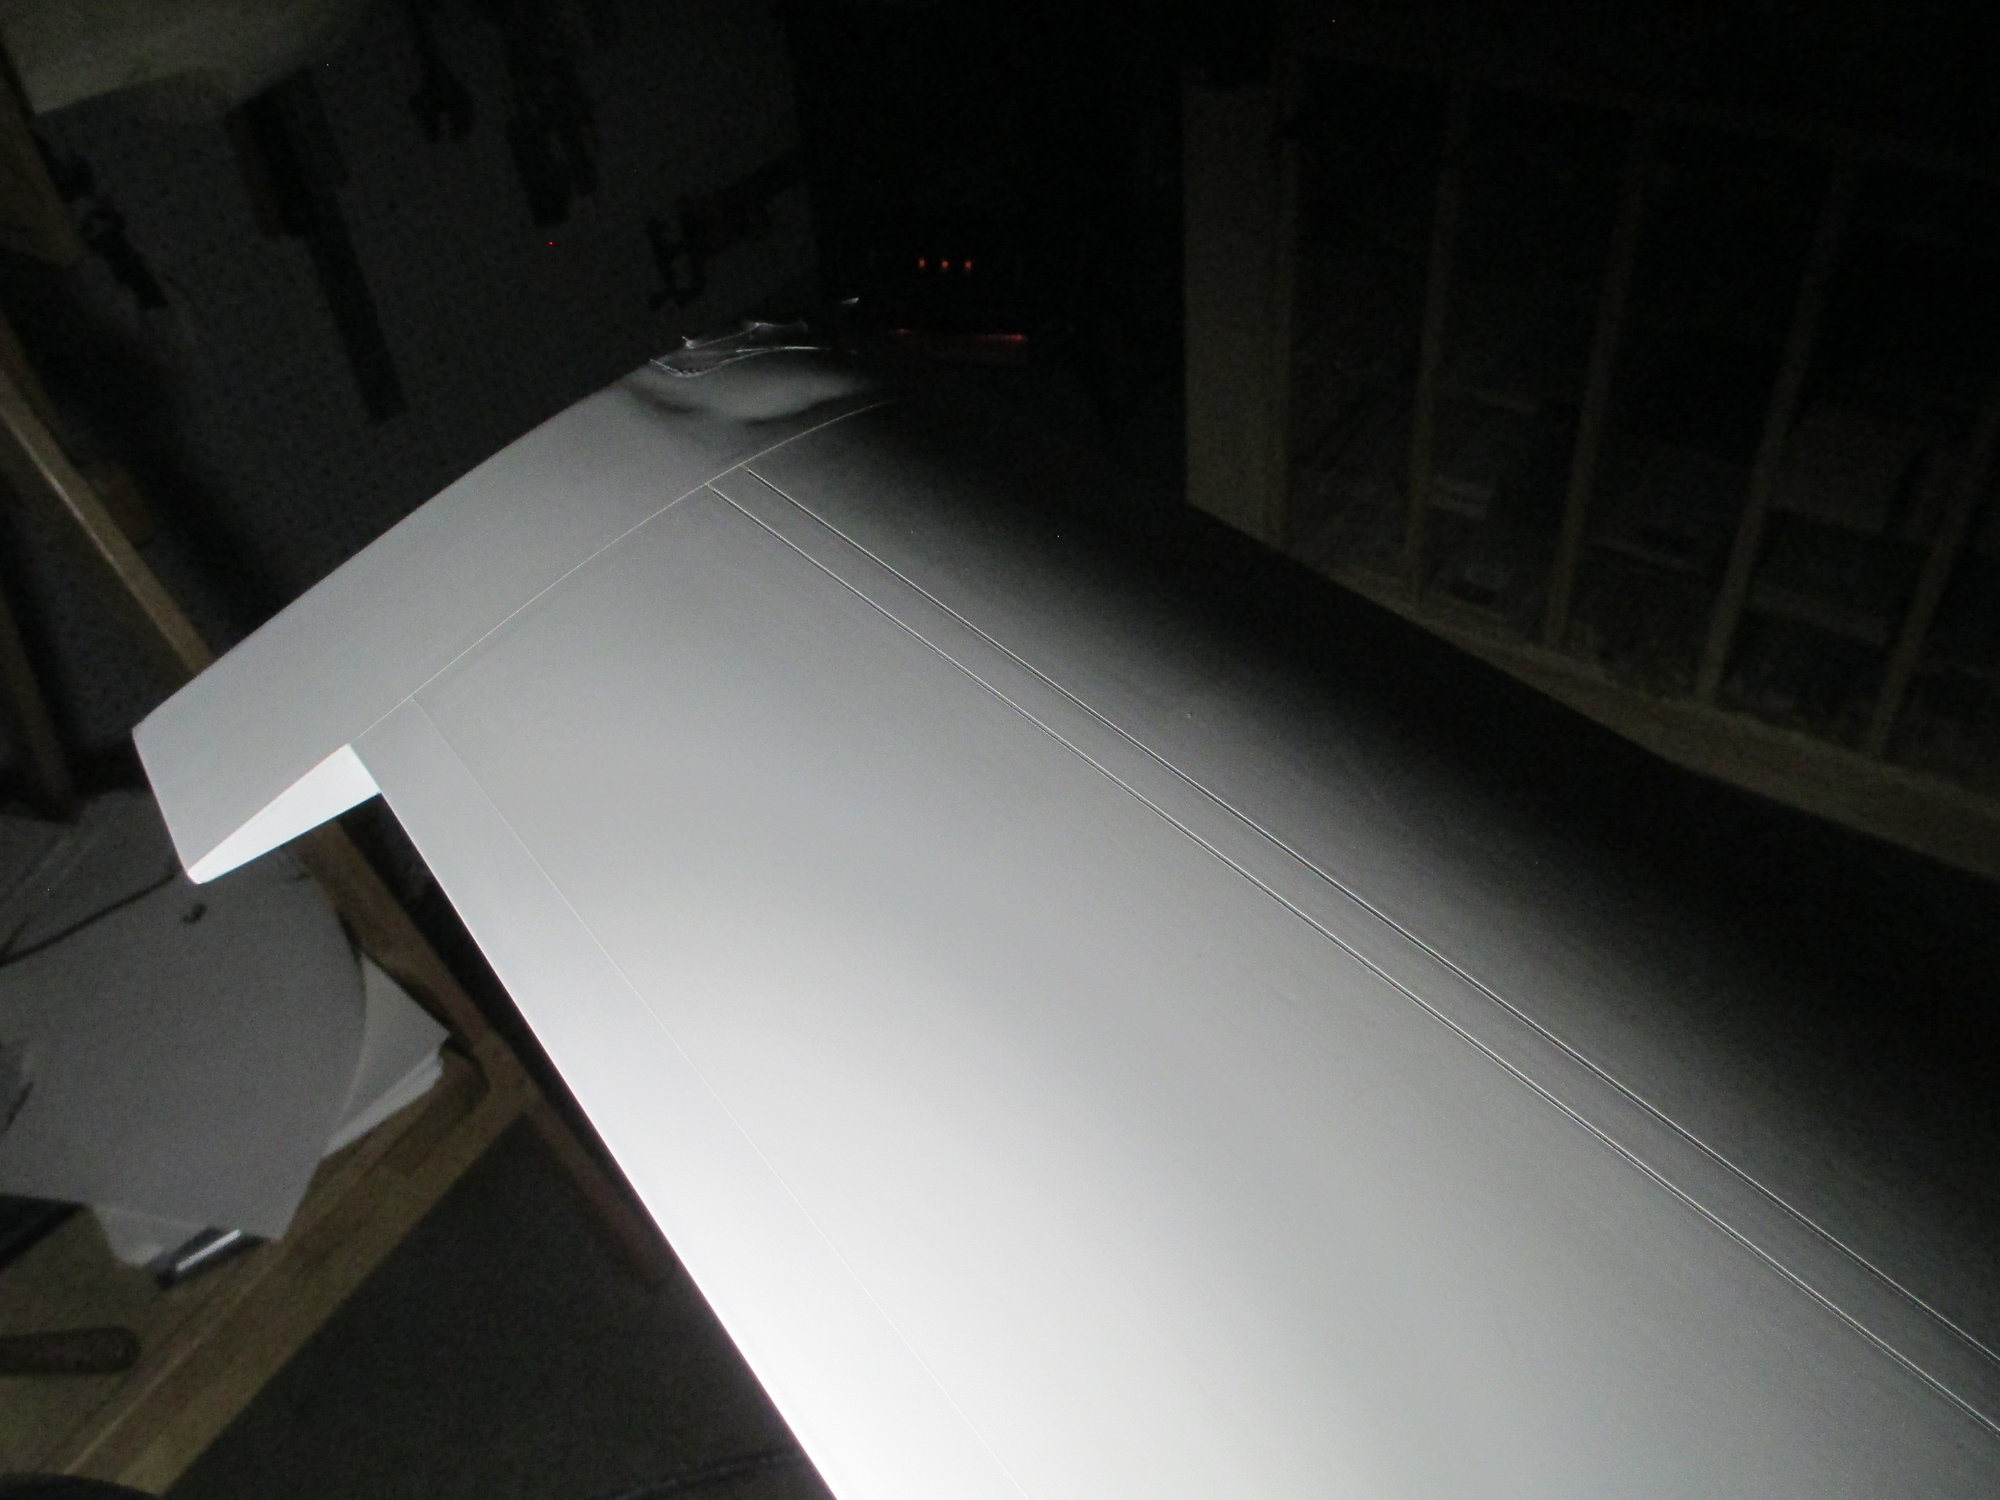
The wing was final sanded using 600 grit paper. I will be marking the rivet lines next, so you know the placement of different style of rivets can't be far off.

Last edited by VincentJ; 03-25-2020 at 03:41 AM.
 03-25-2020, 03:48 AM
#988
Thread Starter
03-26-2020, 01:14 PM
#990
Thread Starter
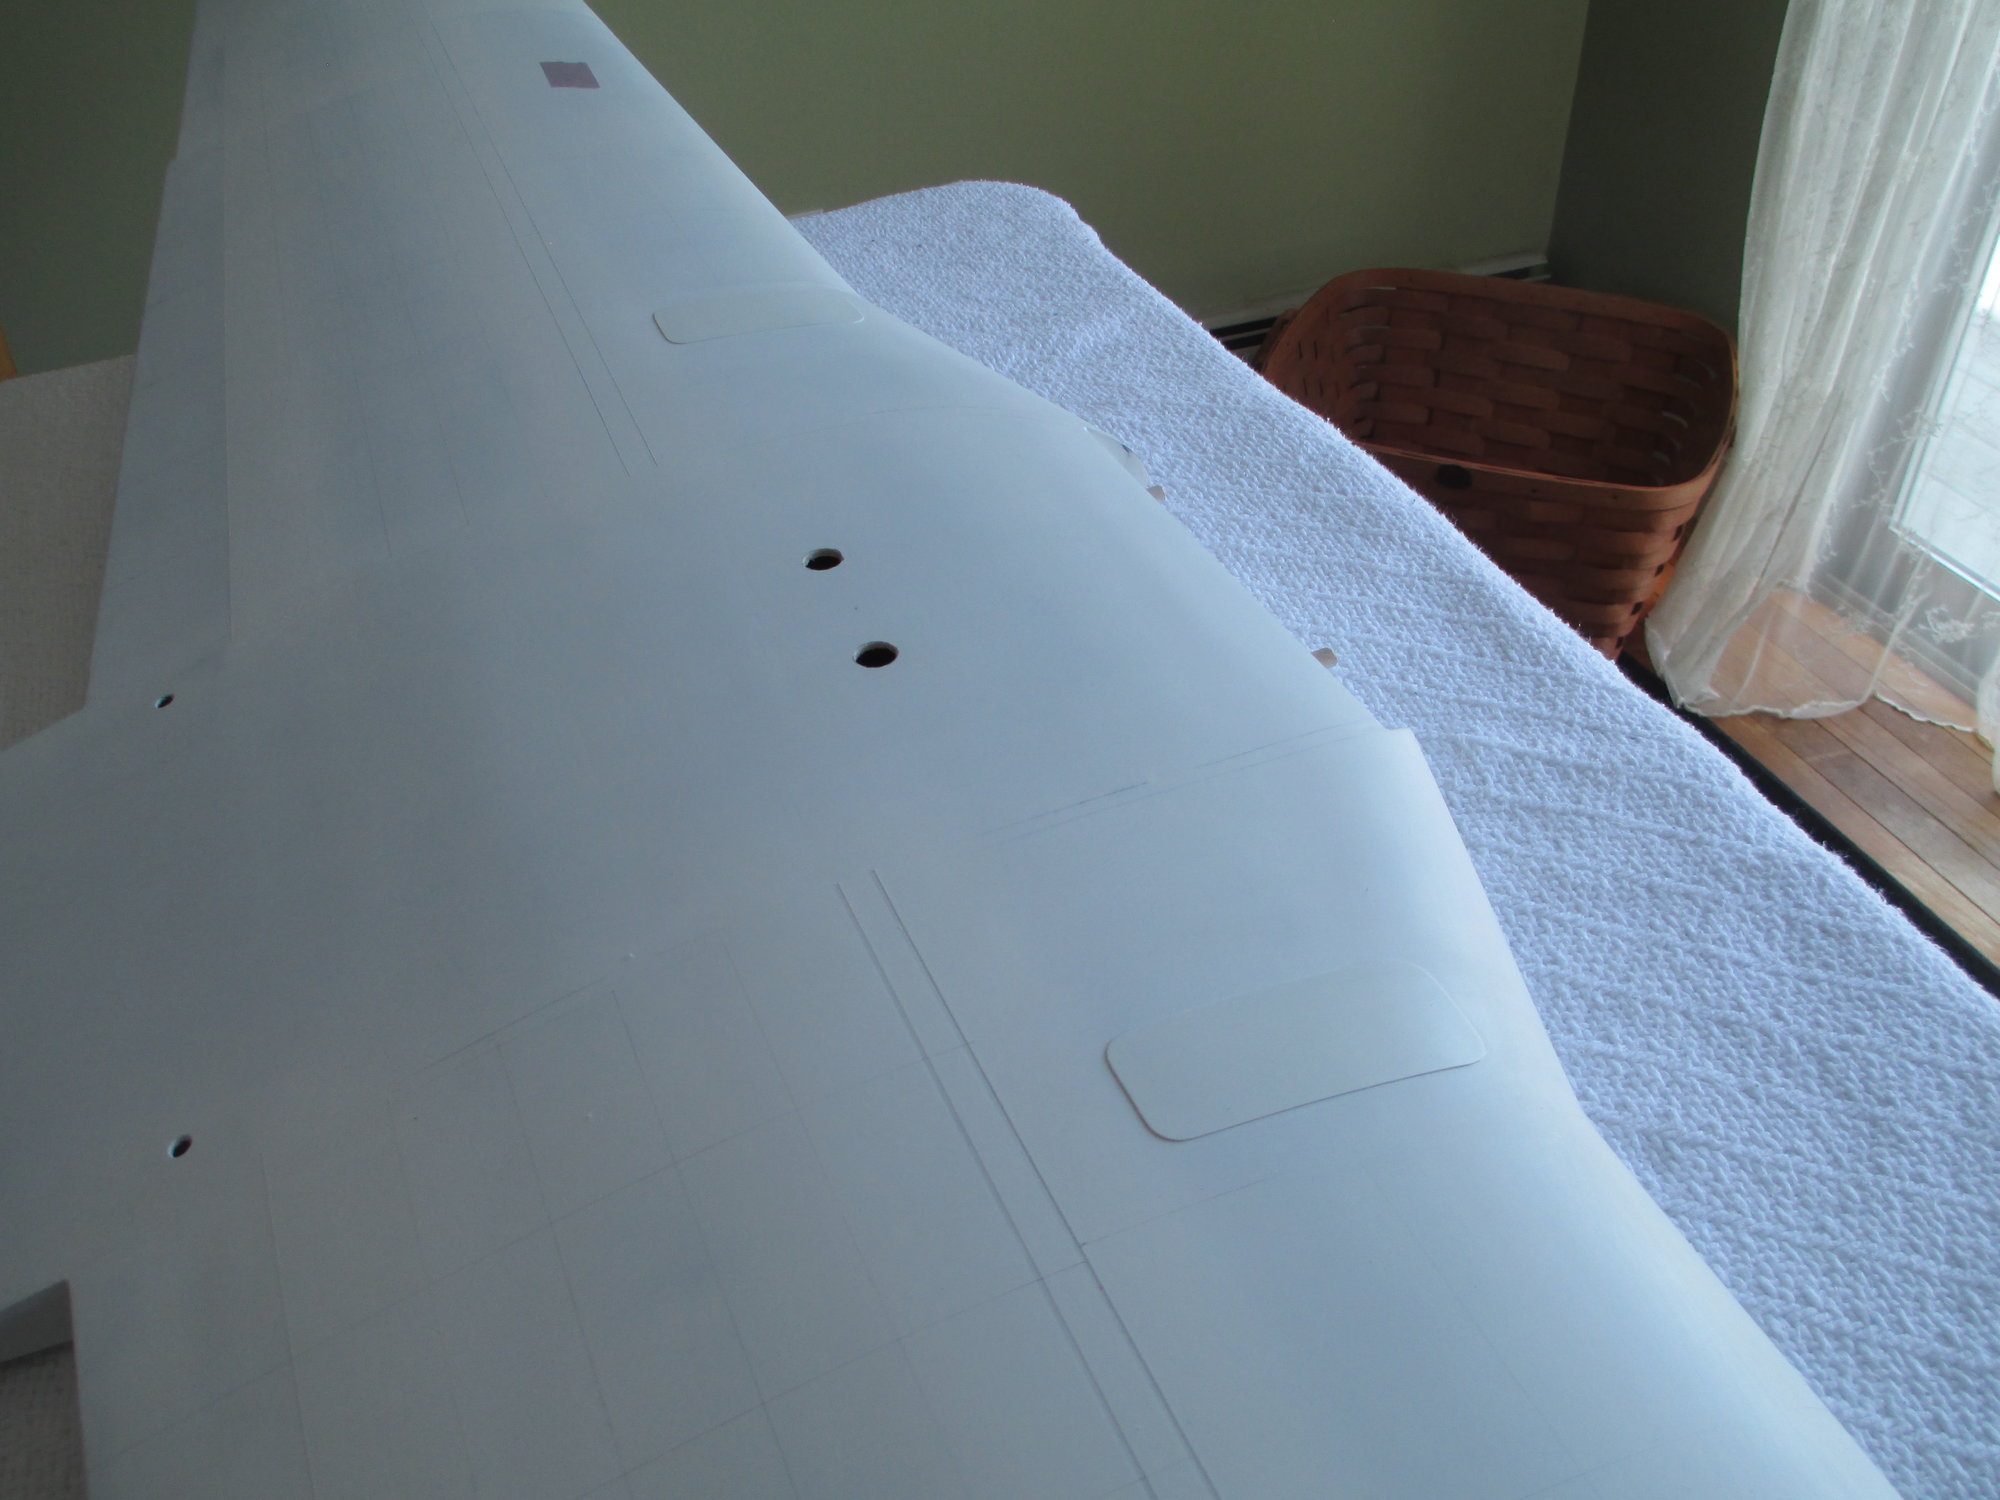
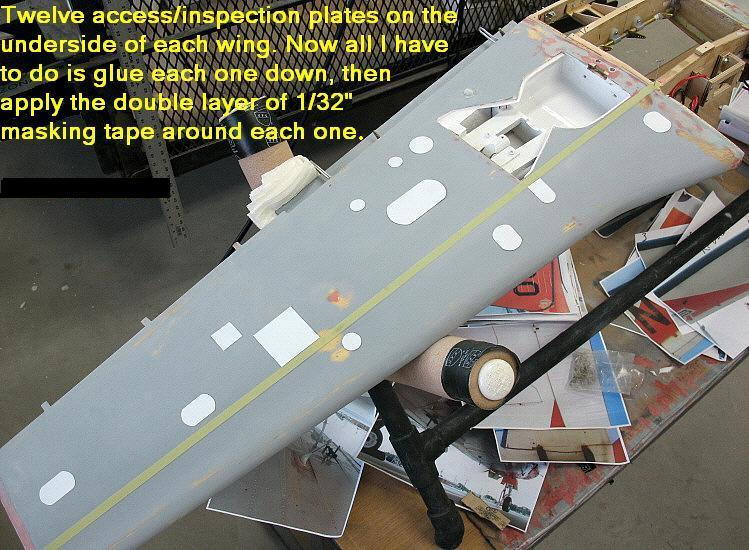
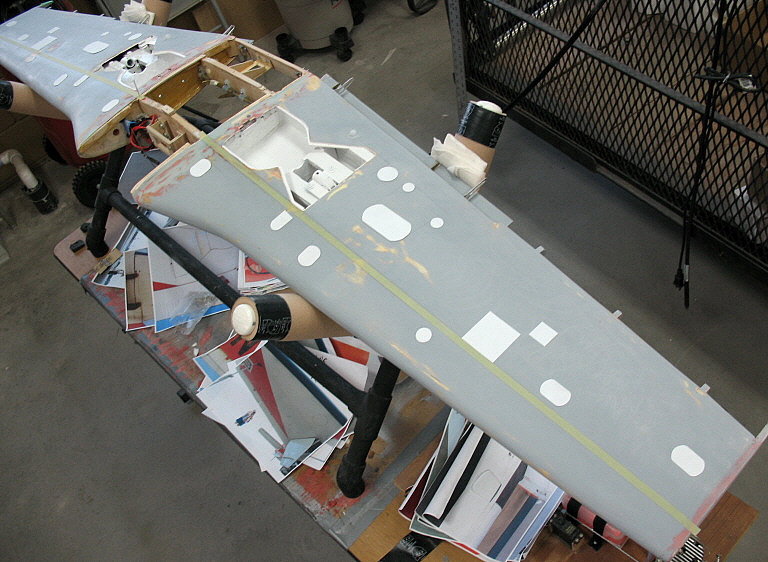
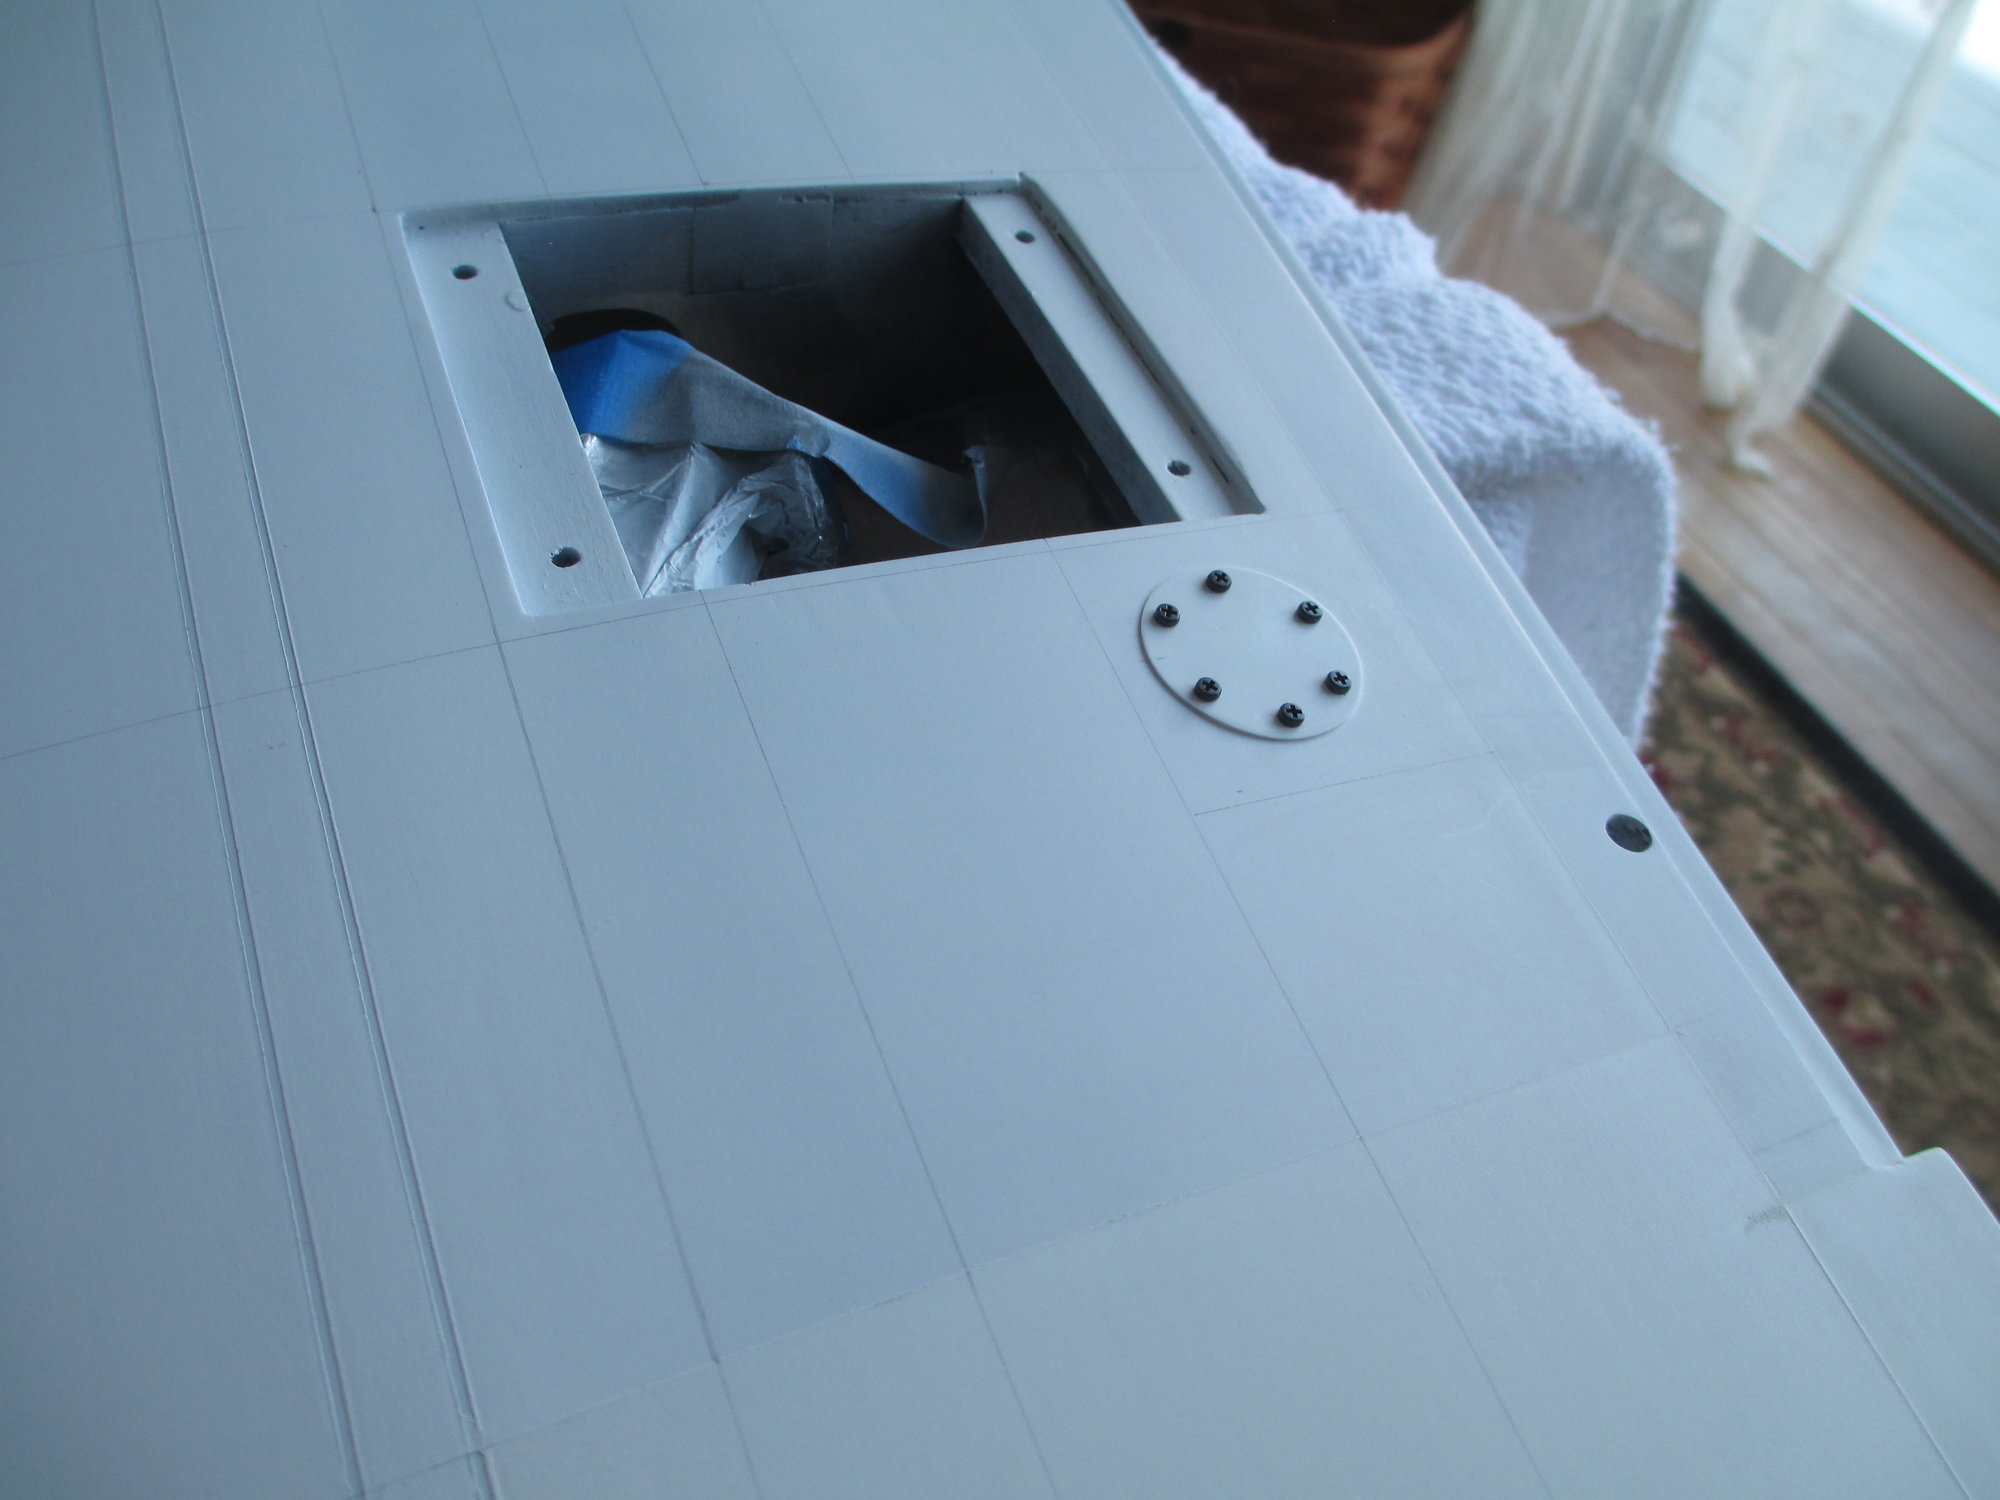
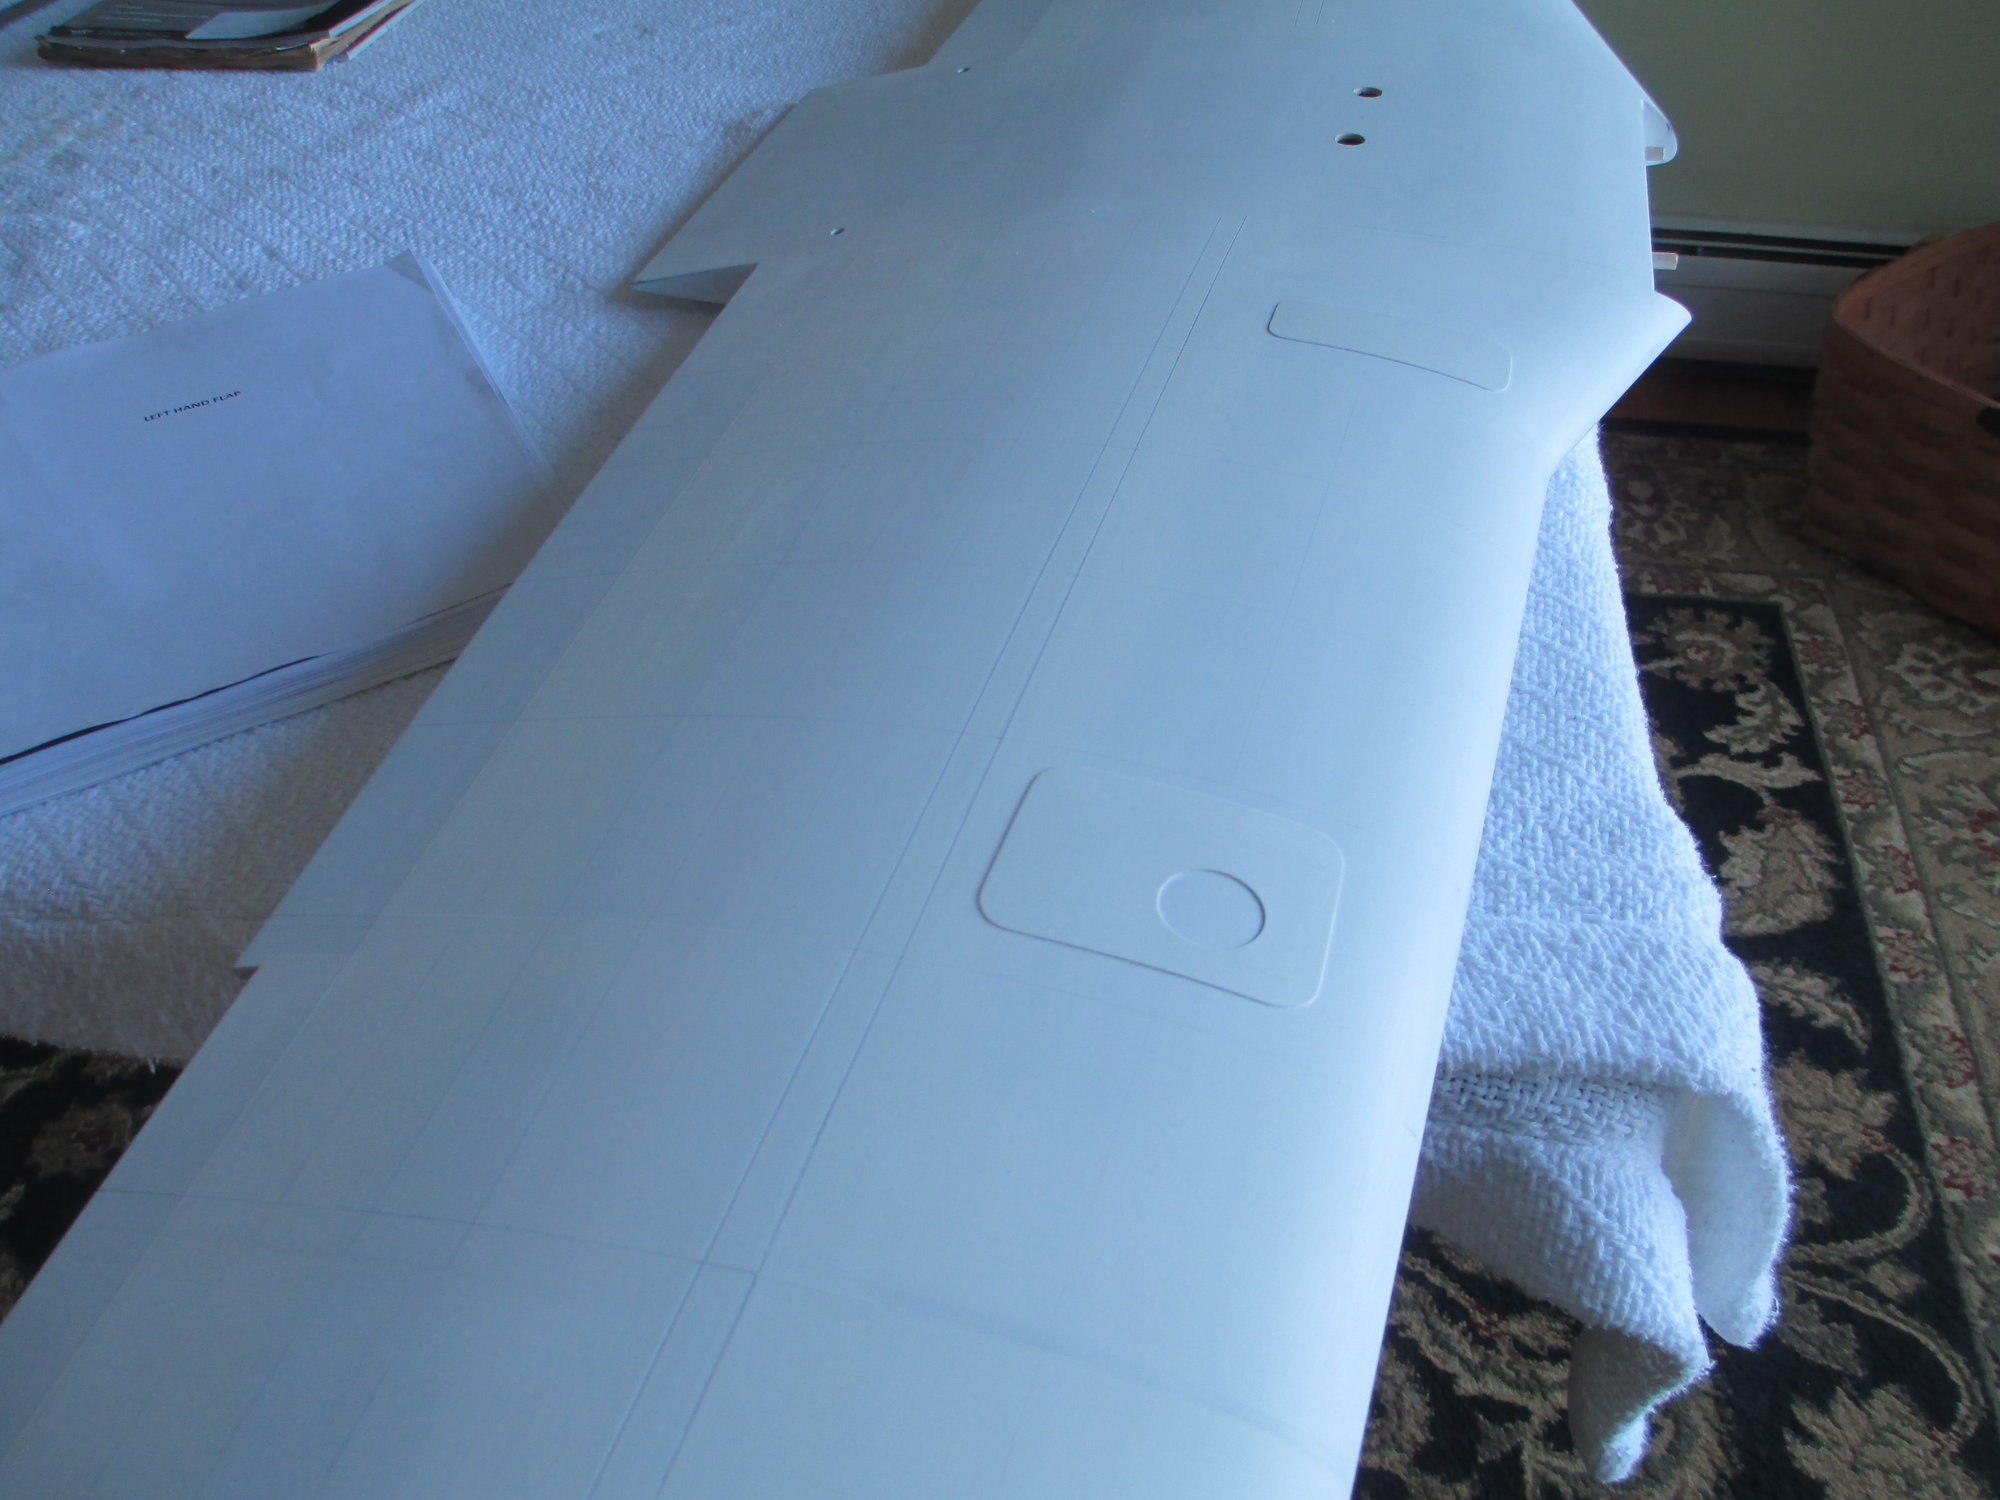
Two full days of checking my reference material got most of the rivet lines marked and in place. Before any rivets can be installed, the hatch/access covers need to be made and glued into position.
I'm using .010" thick sheet stock for all of my access covers.

The following 2 users liked this post by VincentJ:
ShuttleAU (03-26-2020),
TeseractLabs (03-26-2020)
03-26-2020, 03:05 PM
#992
Thread Starter
Thank you Steve. I'm using Formula '560' Canopy Glue made by Pacer. If I get any squeeze-out it can be cleaned up with a wet paper towel, it dries clear and it has great holding power.
 03-26-2020, 04:18 PM
#994
Hi Vincent,
Thank you for the info on the glue!
Adhesive selection can be very tricky when you're working with material as fine as that and I'm always eager to learn about methods and materials that I might not be aware of.
Much more than a model airplane, you are making a work of art!
My highest regards to you!!!
Steve
PS Have you ever noticed that no matter how many hundreds or thousands of pictures you might have for reference, there's always some aspect of information that's missing? LOL
Last edited by airsteve172; 03-26-2020 at 04:42 PM.
03-27-2020, 01:13 AM
#995
Thread Starter
Thanks Steve. You know before Bob (my partner) and I ever started on this project, we headed down to our local airport where Bob had set-up a photo shoot session with a full scale Bonanza. I took over 150 photographs, surely that would be enough...nope, not even close. I wished I took more close-ups of the rivet layout/detail. A lot of my time has been increasing the size of photos on the computer in hopes of seeing what I need!
There are many types of glues that I use depending on the application and materials...
There are many types of glues that I use depending on the application and materials...
03-27-2020, 07:20 AM
#996
Junior Member
Vince,
loving this thread which has inspired me to get back to this great hobby. I didn't realise how much I'd missed building and although I don't have your skills I'm enjoying every part of my build, even with the mistakes I inevitably make. Your thread is helping me minimize those however. Keep up with the good work, I look forward to the next installment.
loving this thread which has inspired me to get back to this great hobby. I didn't realise how much I'd missed building and although I don't have your skills I'm enjoying every part of my build, even with the mistakes I inevitably make. Your thread is helping me minimize those however. Keep up with the good work, I look forward to the next installment.
 03-27-2020, 01:18 PM
#998
Thread Starter
Vince,
loving this thread which has inspired me to get back to this great hobby. I didn't realise how much I'd missed building and although I don't have your skills I'm enjoying every part of my build, even with the mistakes I inevitably make. Your thread is helping me minimize those however. Keep up with the good work, I look forward to the next installment.
loving this thread which has inspired me to get back to this great hobby. I didn't realise how much I'd missed building and although I don't have your skills I'm enjoying every part of my build, even with the mistakes I inevitably make. Your thread is helping me minimize those however. Keep up with the good work, I look forward to the next installment.
03-27-2020, 02:32 PM
#999

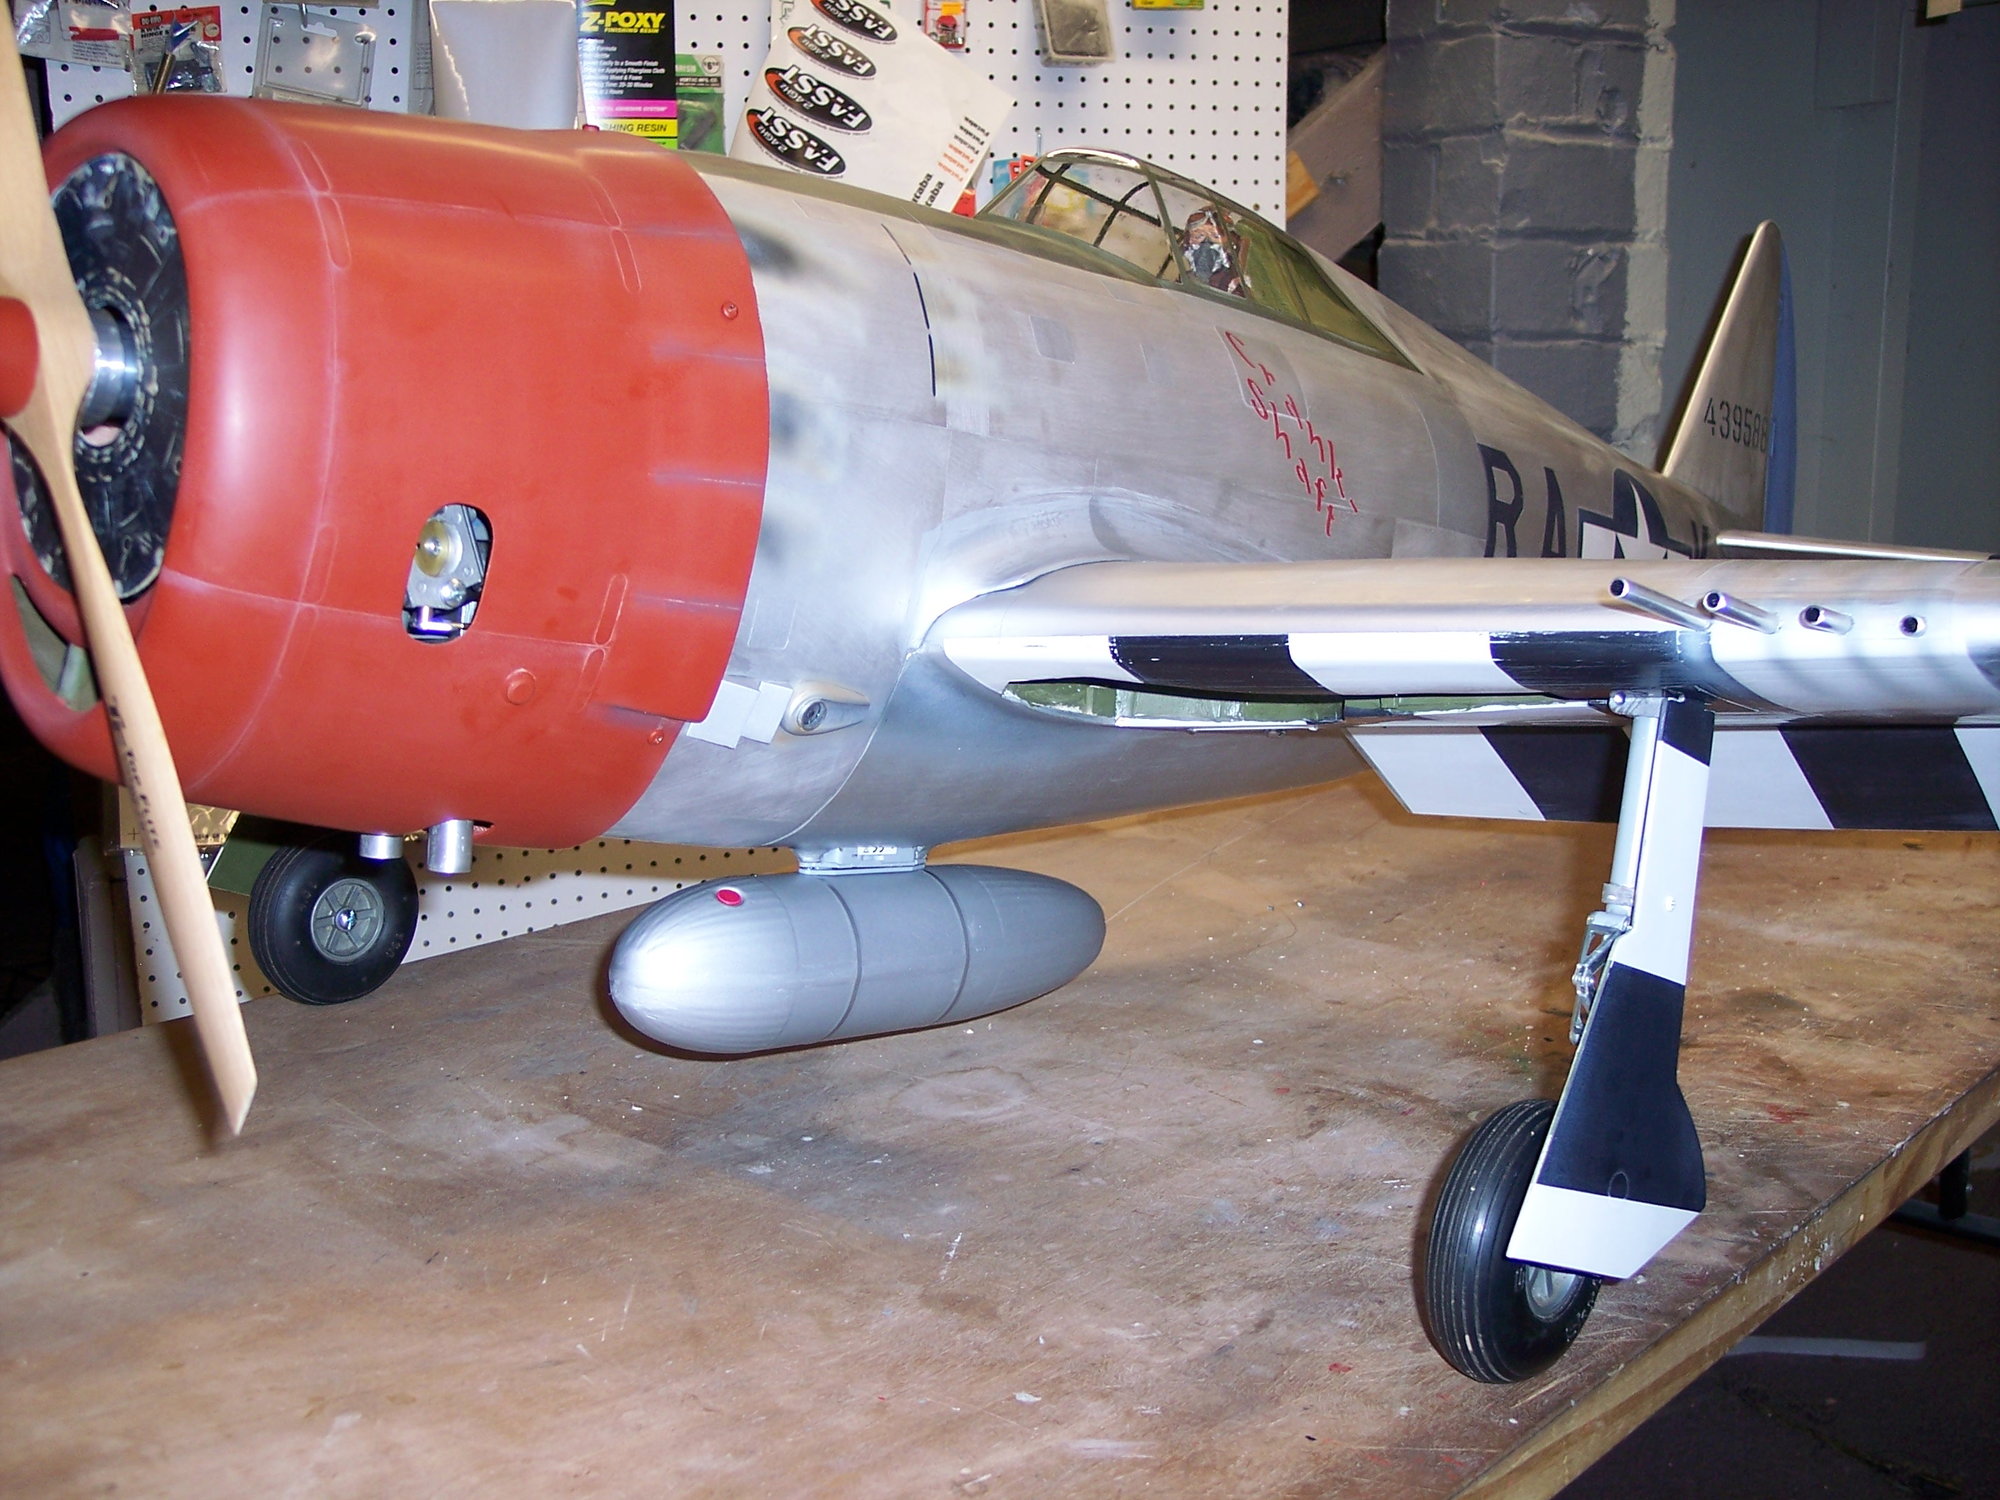
Vince just a thought, is using .010 stock a little thick? I use 2 mil vinyl to make my panels/latches and 1/64" chart tape. These are on a 70" Zeroli P-47. This is my one and only scale bird I finished for a friend. It also could be just the photos making them look so thick.
Looking forward to the rivets, that's where I draw the line
") 03-27-2020, 03:20 PM
03-27-2020, 03:20 PM
#1000
Thread Starter
Ed, the photos do make it seem thicker than it really is. I do have experience using .010" thick paneling on some of my other models, after laying on the epoxy paint you would be surprised at how the paint build-up softens those sharp edges. You'll have to trust me on this and wait and see...nice work on that P-47!