


TF Beechcraft Bonanza F33A Build


The following users liked this post:
Tequesta (12-26-2020)

 12-25-2020, 08:25 AM
#1478

Thread Starter
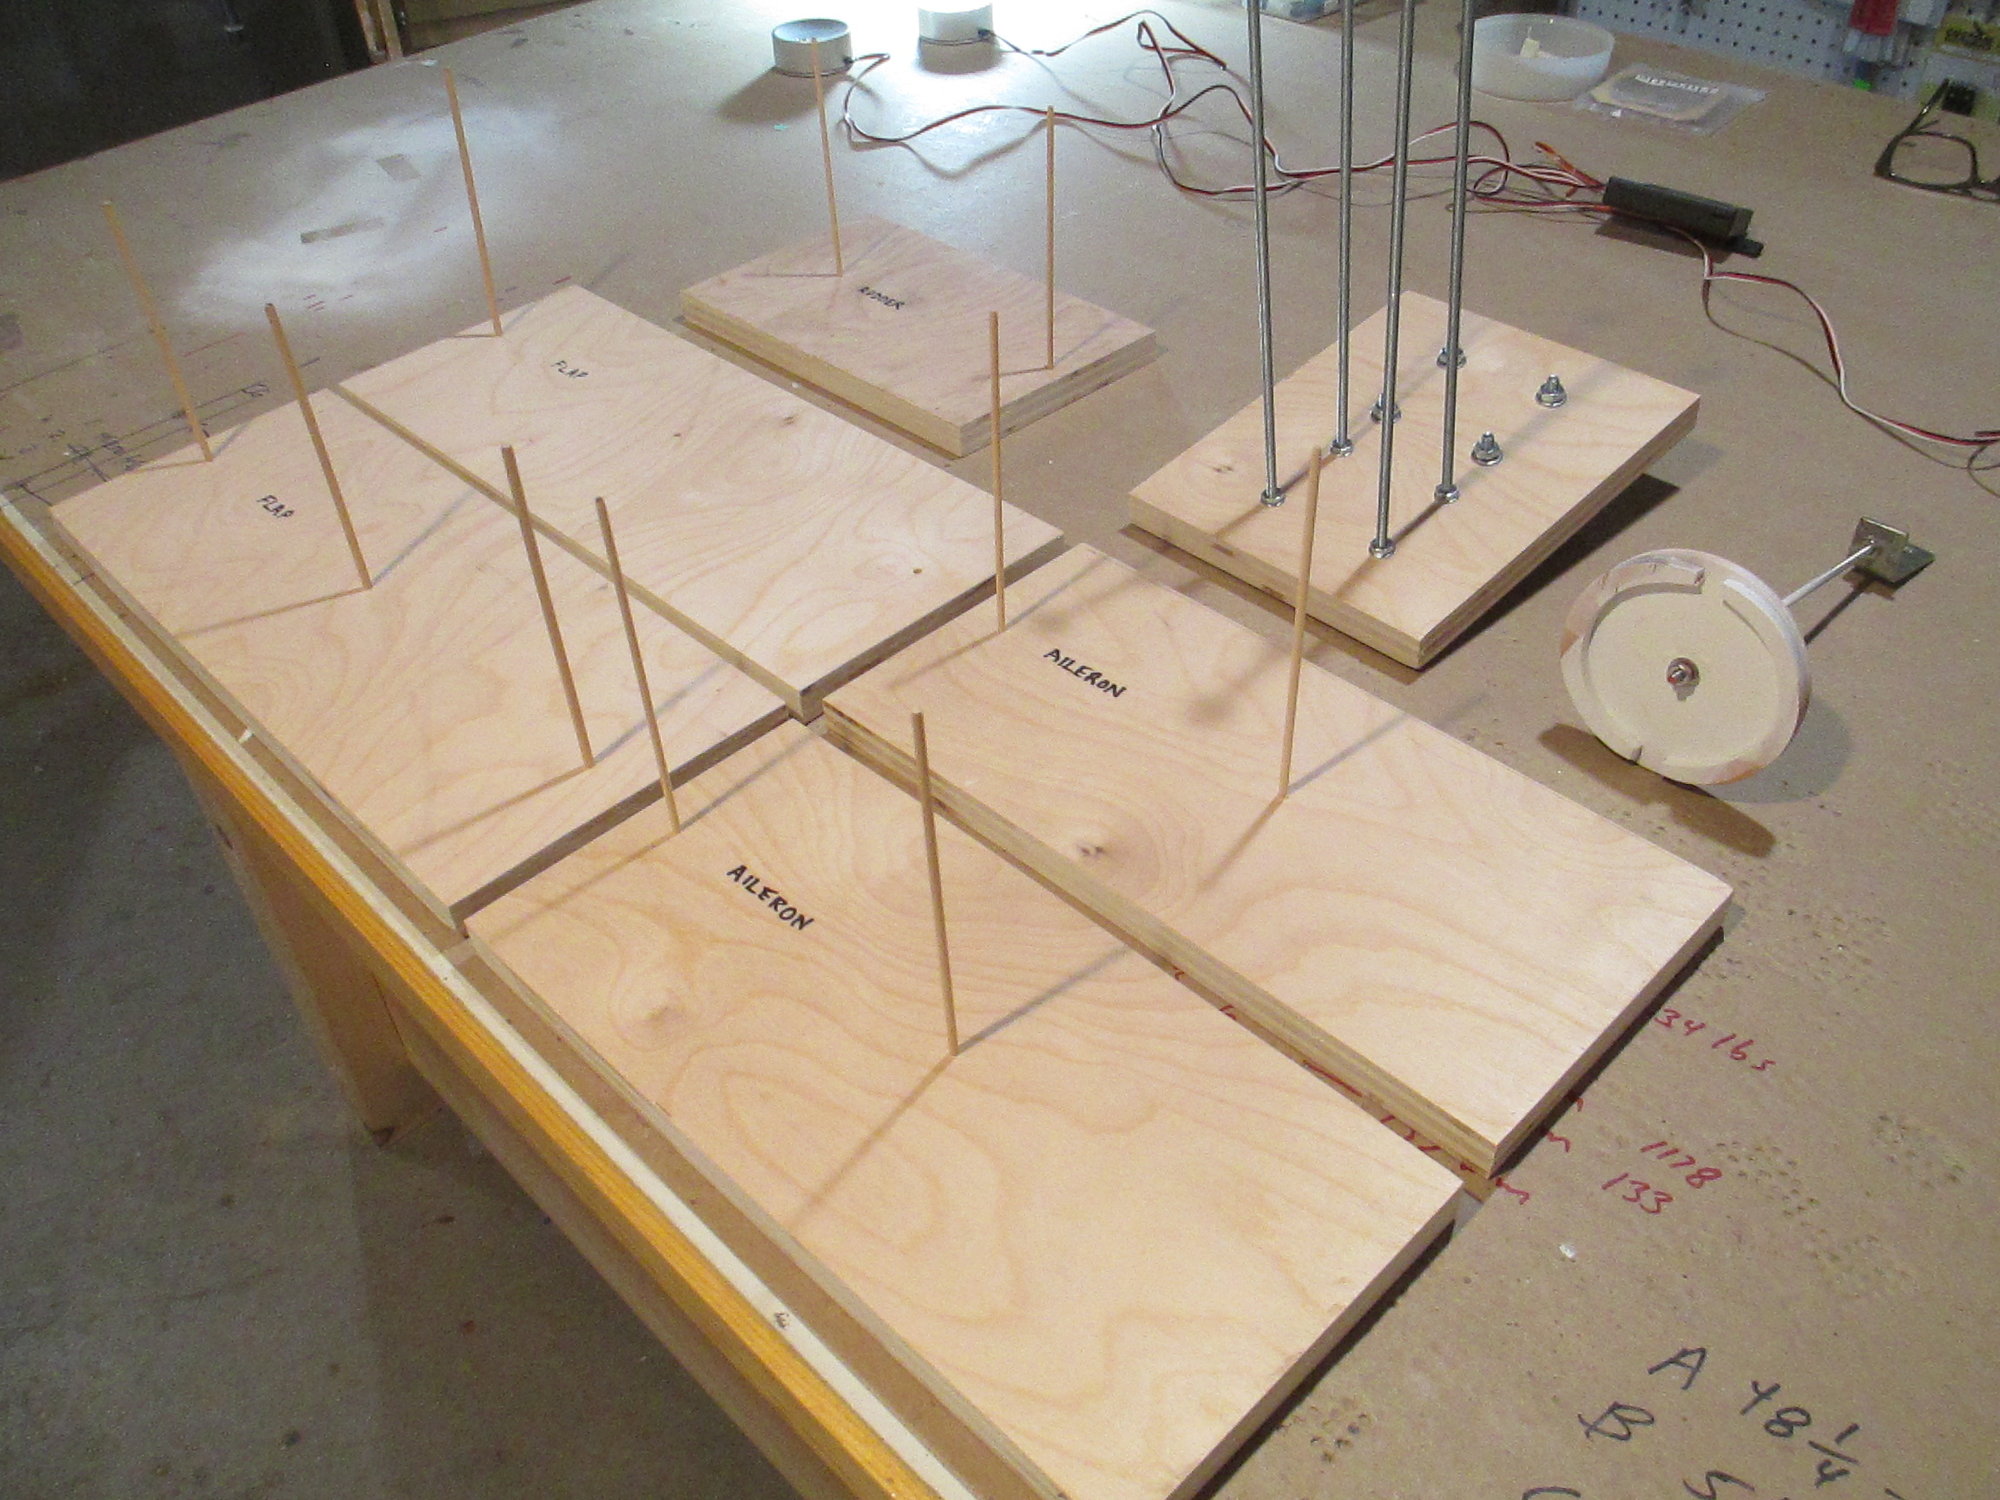
Paint day is nearly here. Thought I would share some of the fixtures that I made to securely hold each component while the paint is applied. It is so critical to be prepared and organized. I don't want any surprises.
Last edited by VincentJ; 12-25-2020 at 08:33 AM.
12-25-2020, 11:35 AM
#1479
Thread Starter

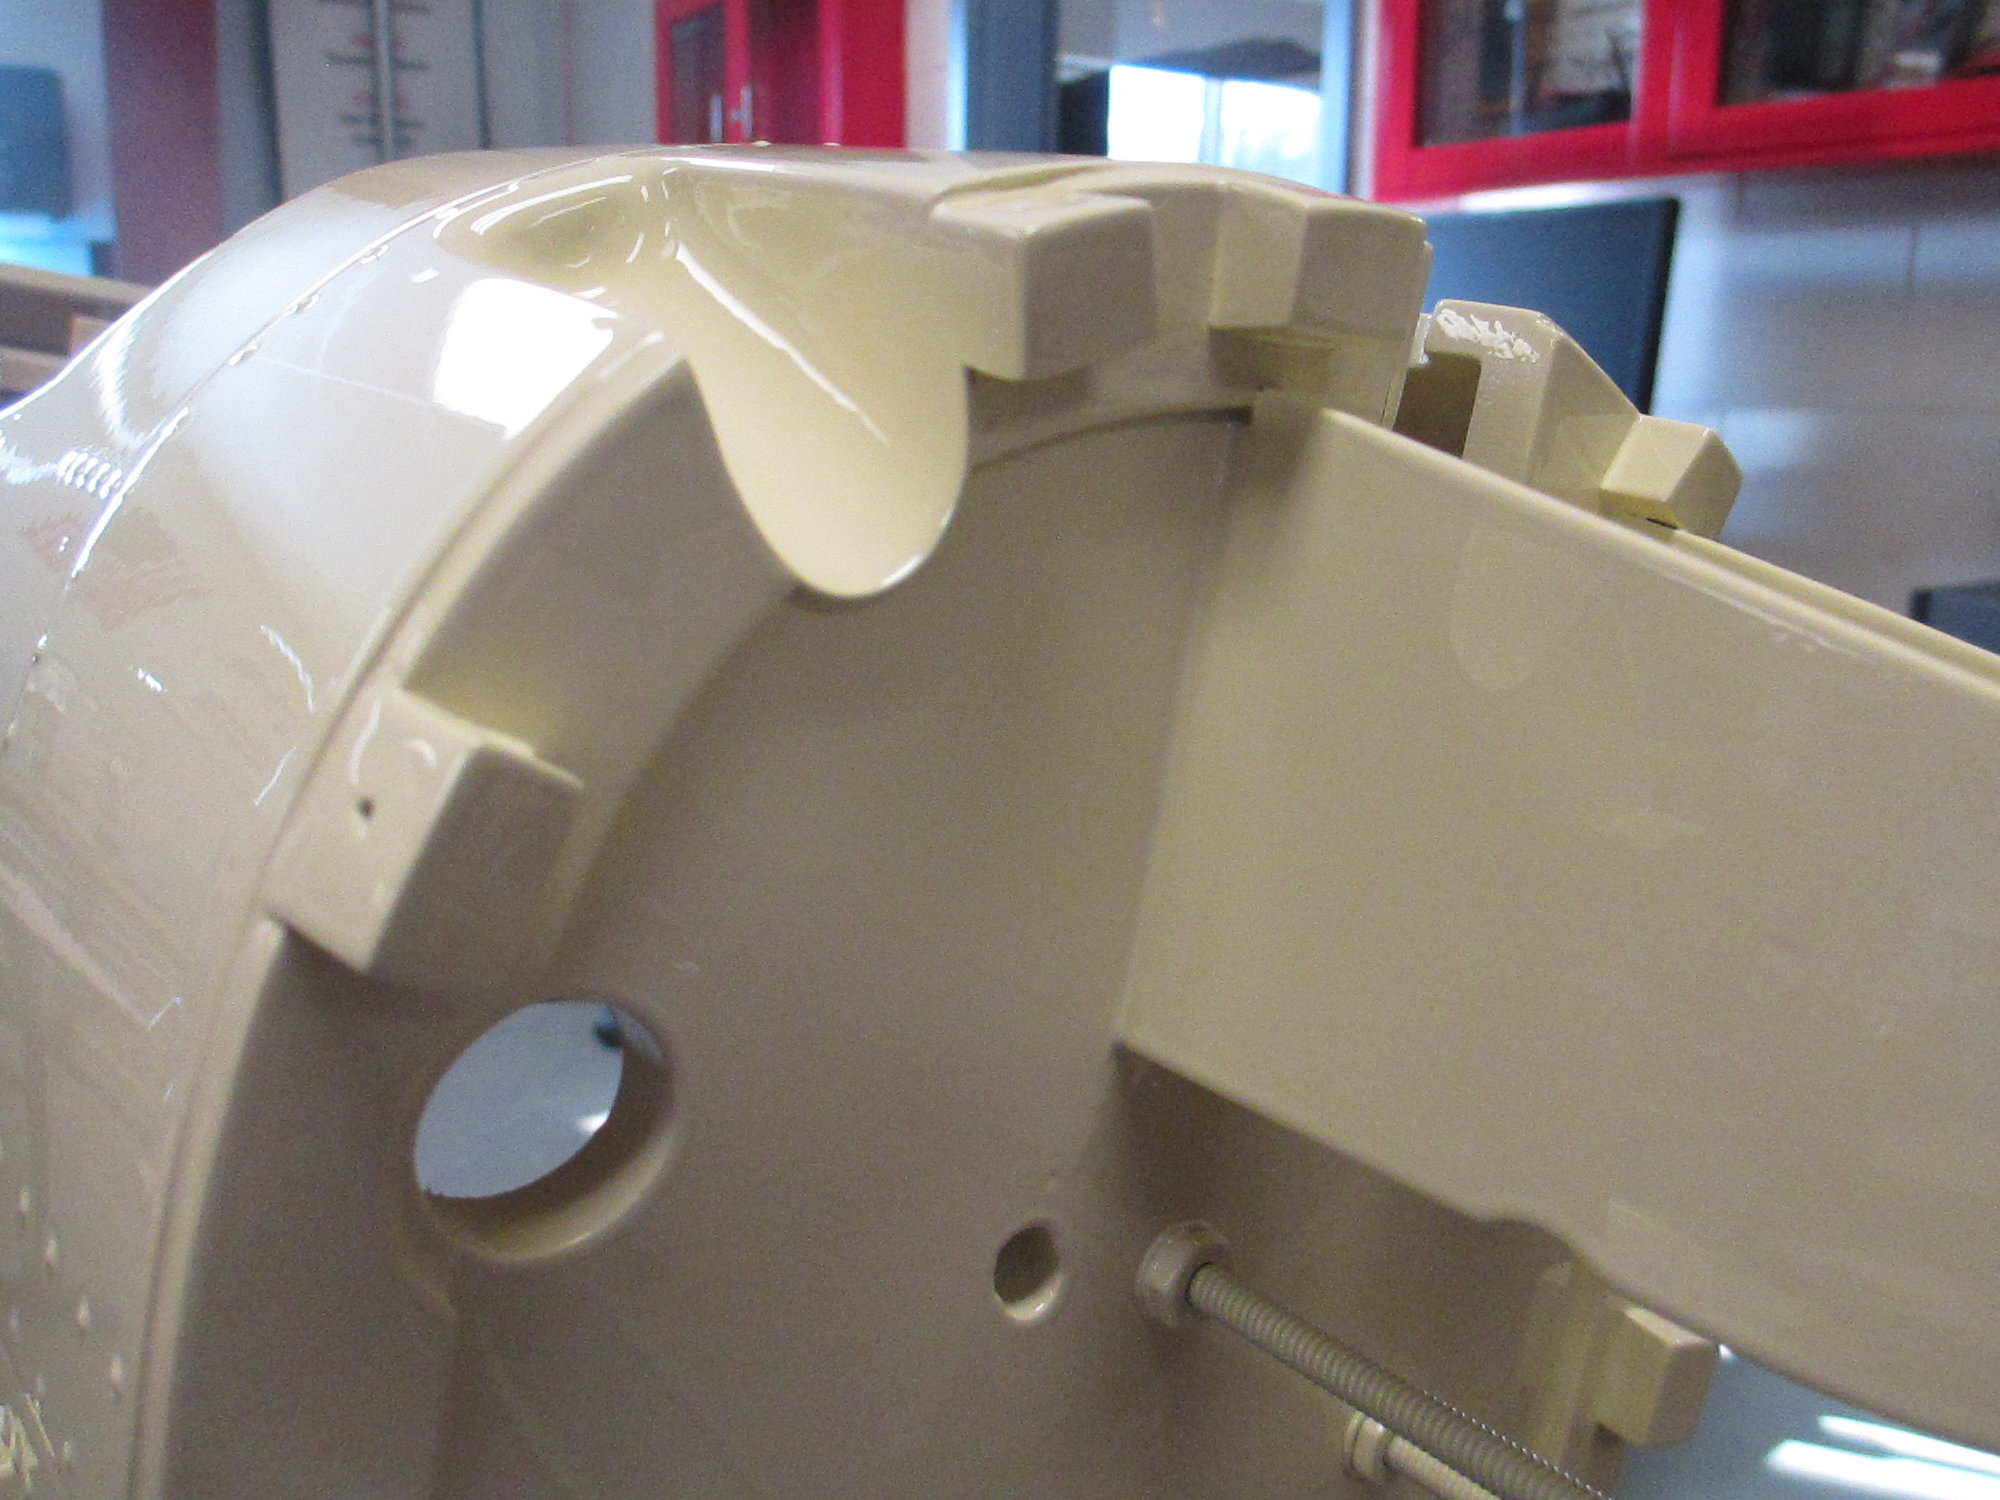
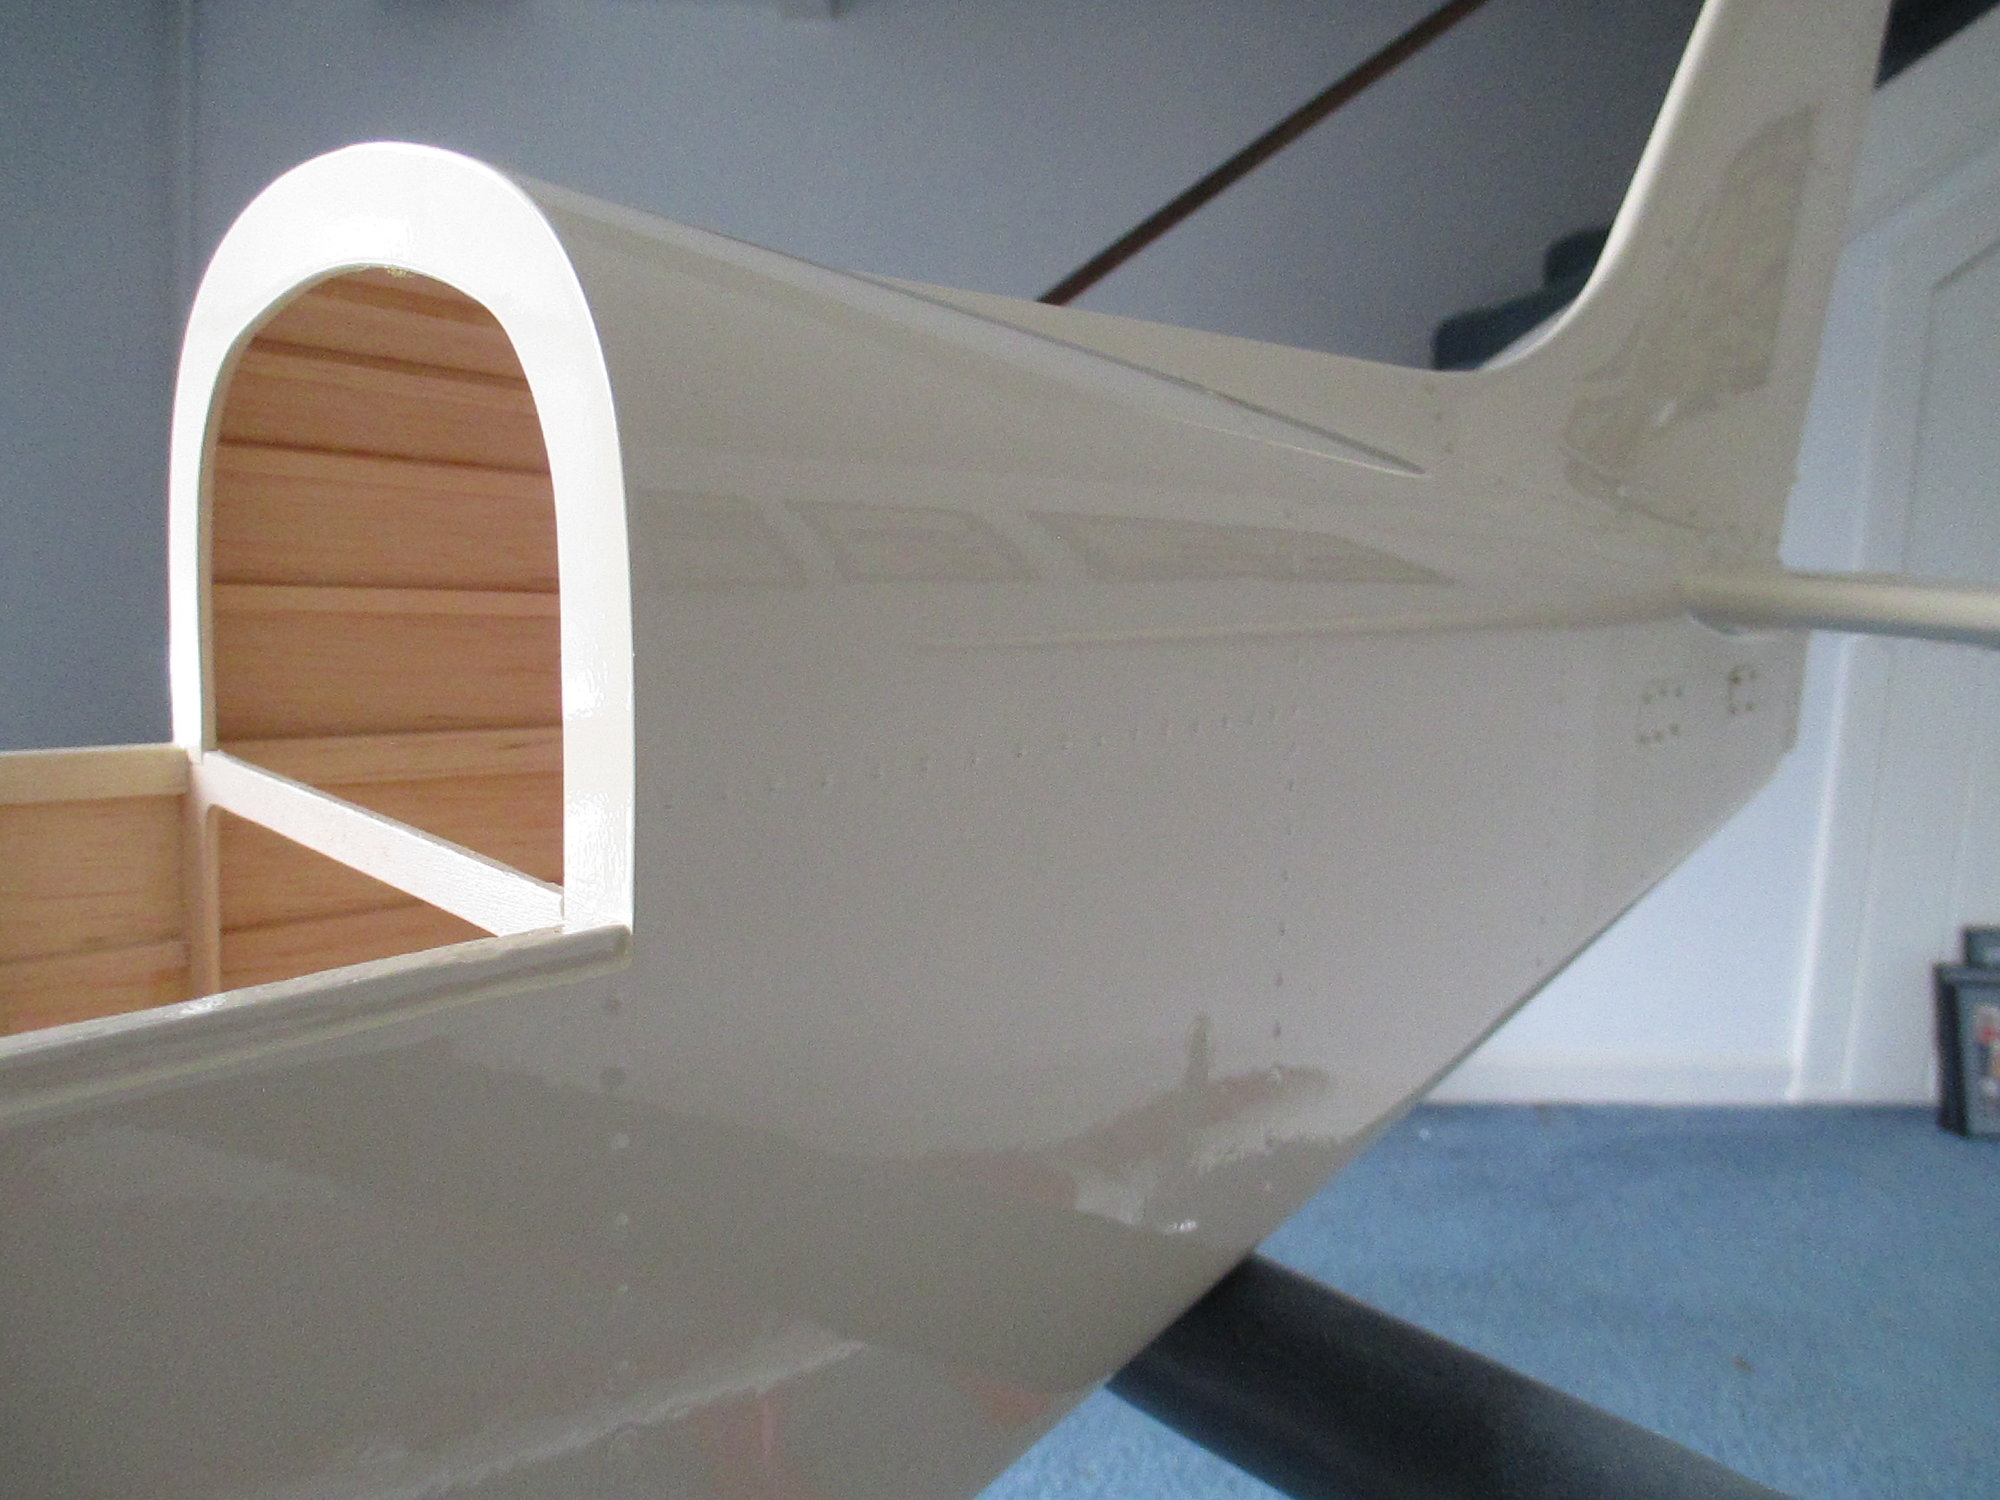
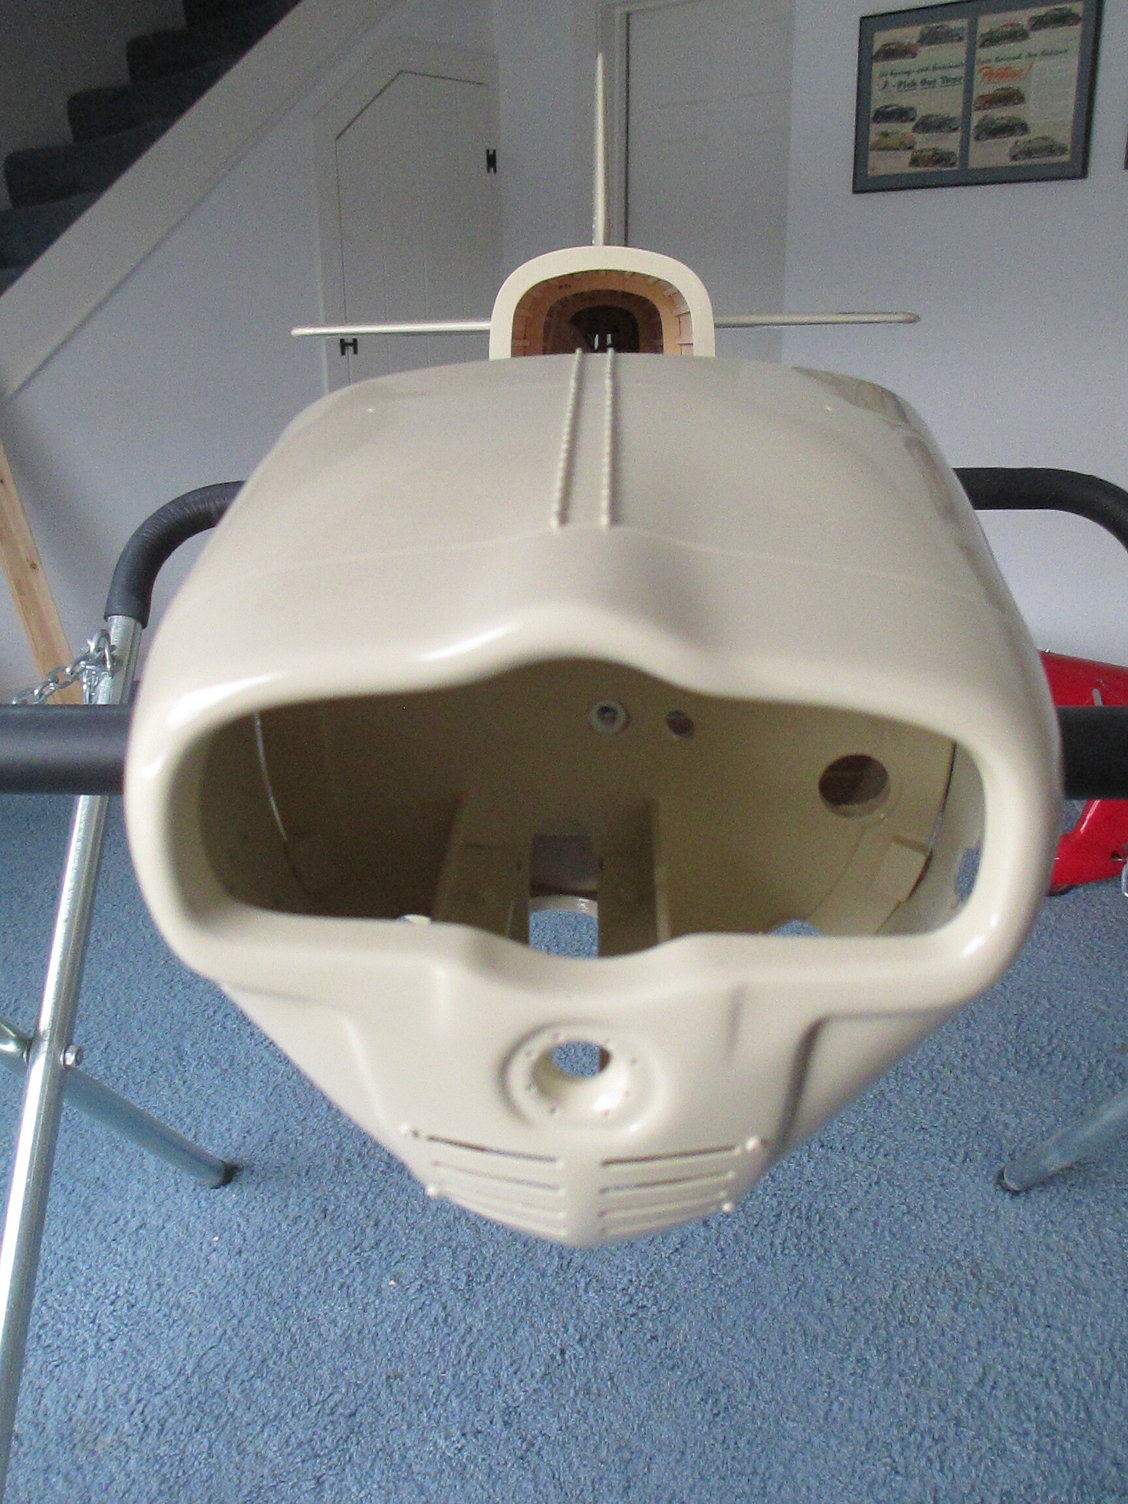
Small details that weren't completed got done today. The front cabin former and crutch were cut to accommodate the fuel tank.
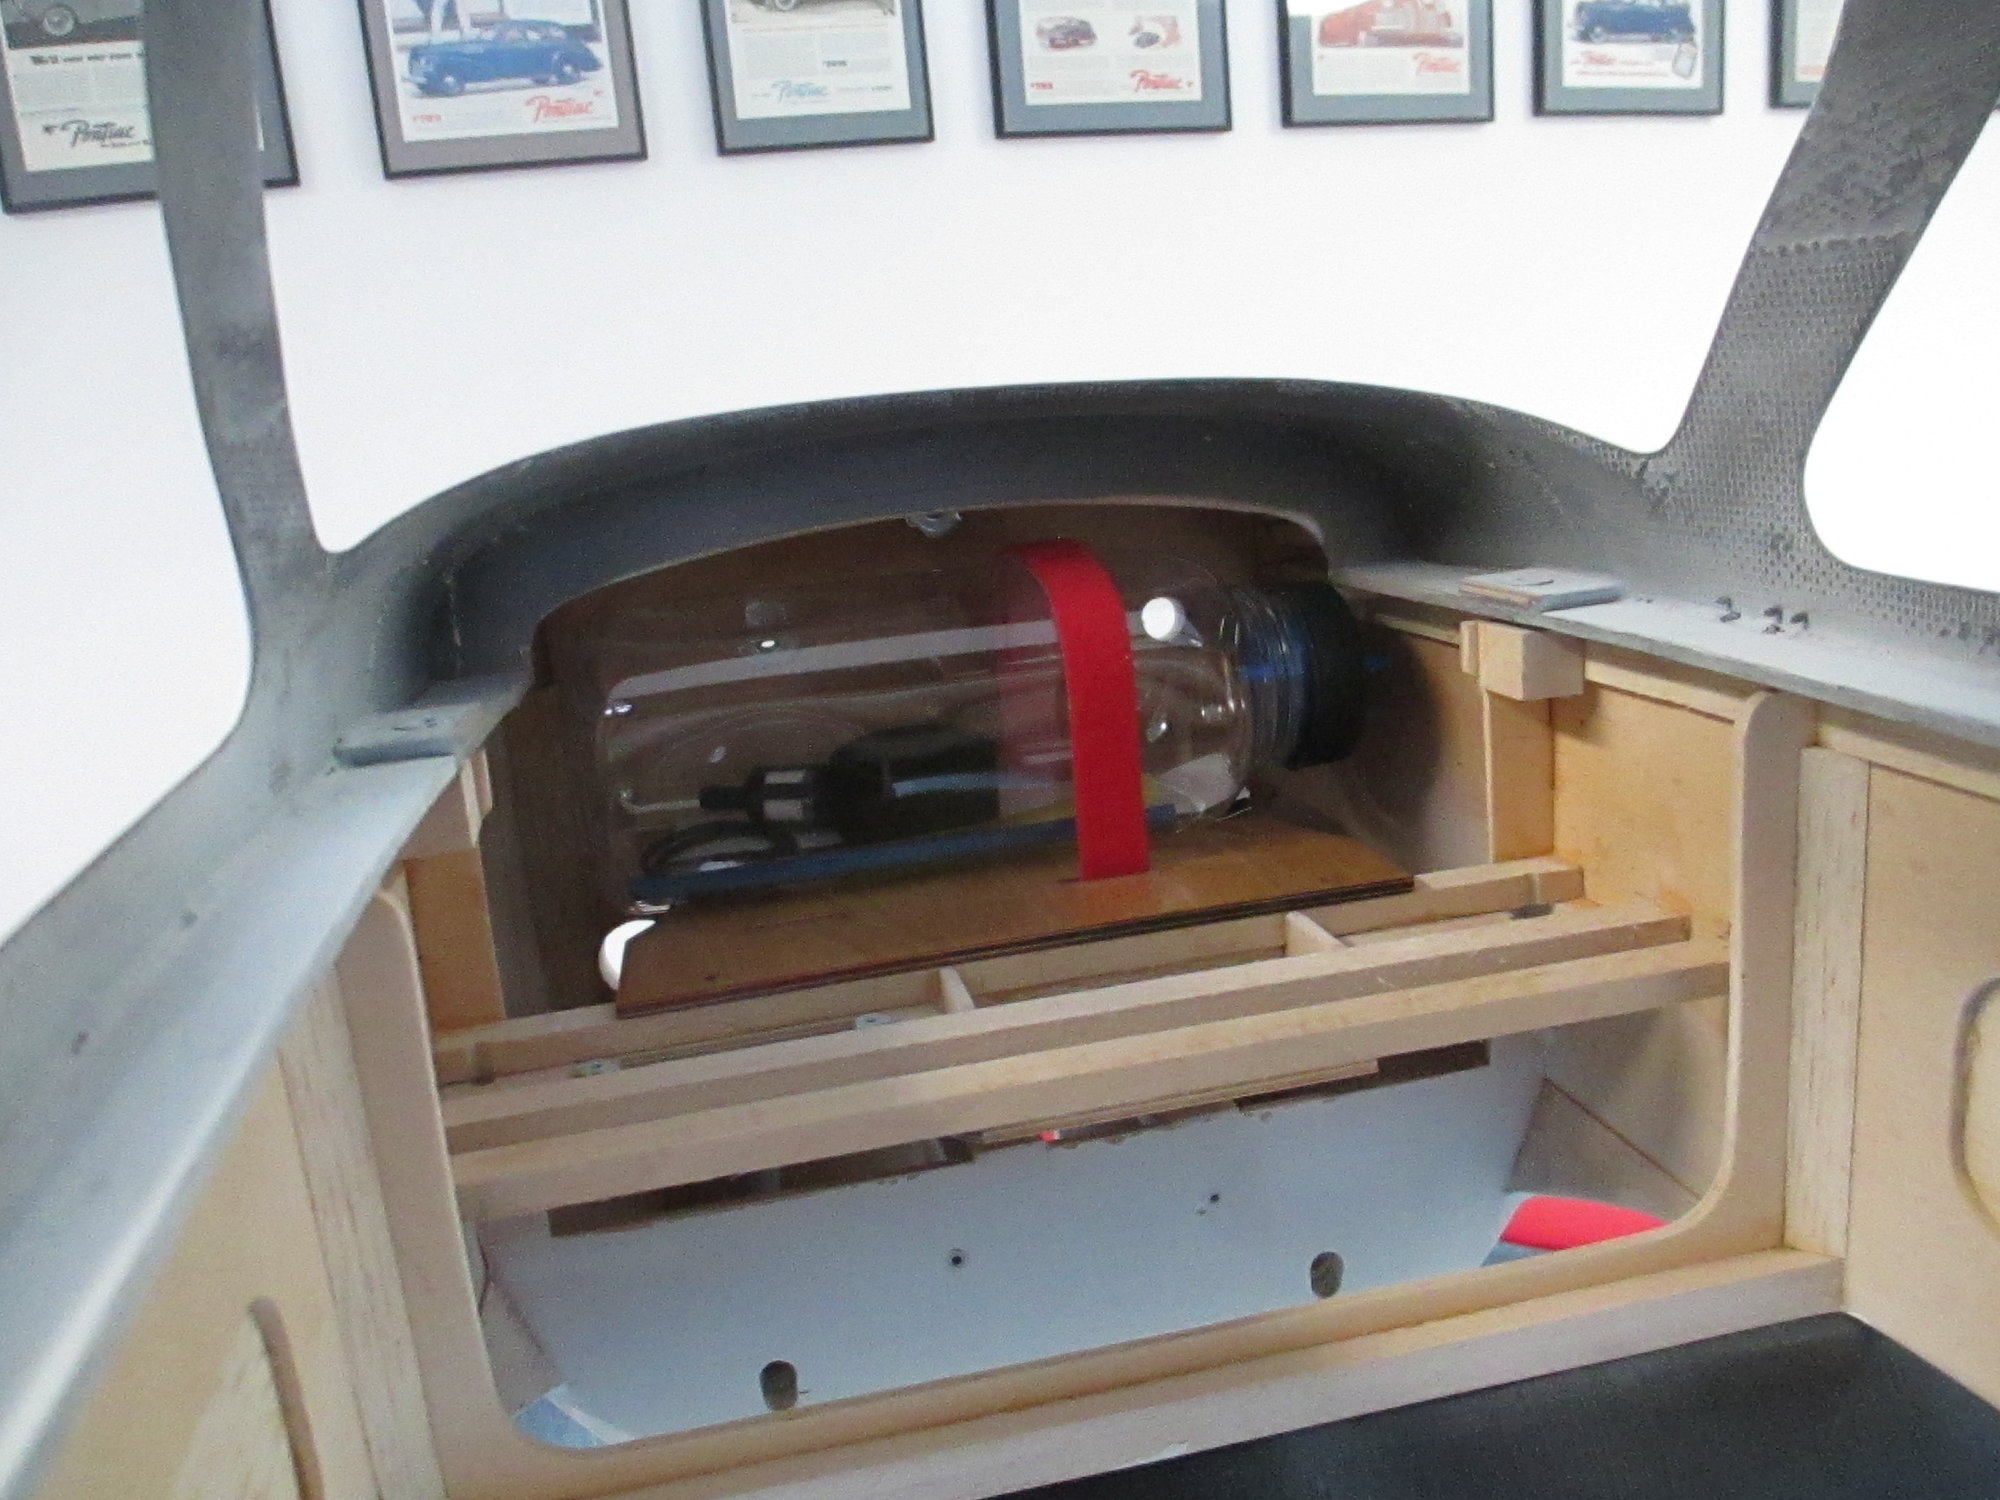
With the material removed there is plenty of room for the gas tank now.
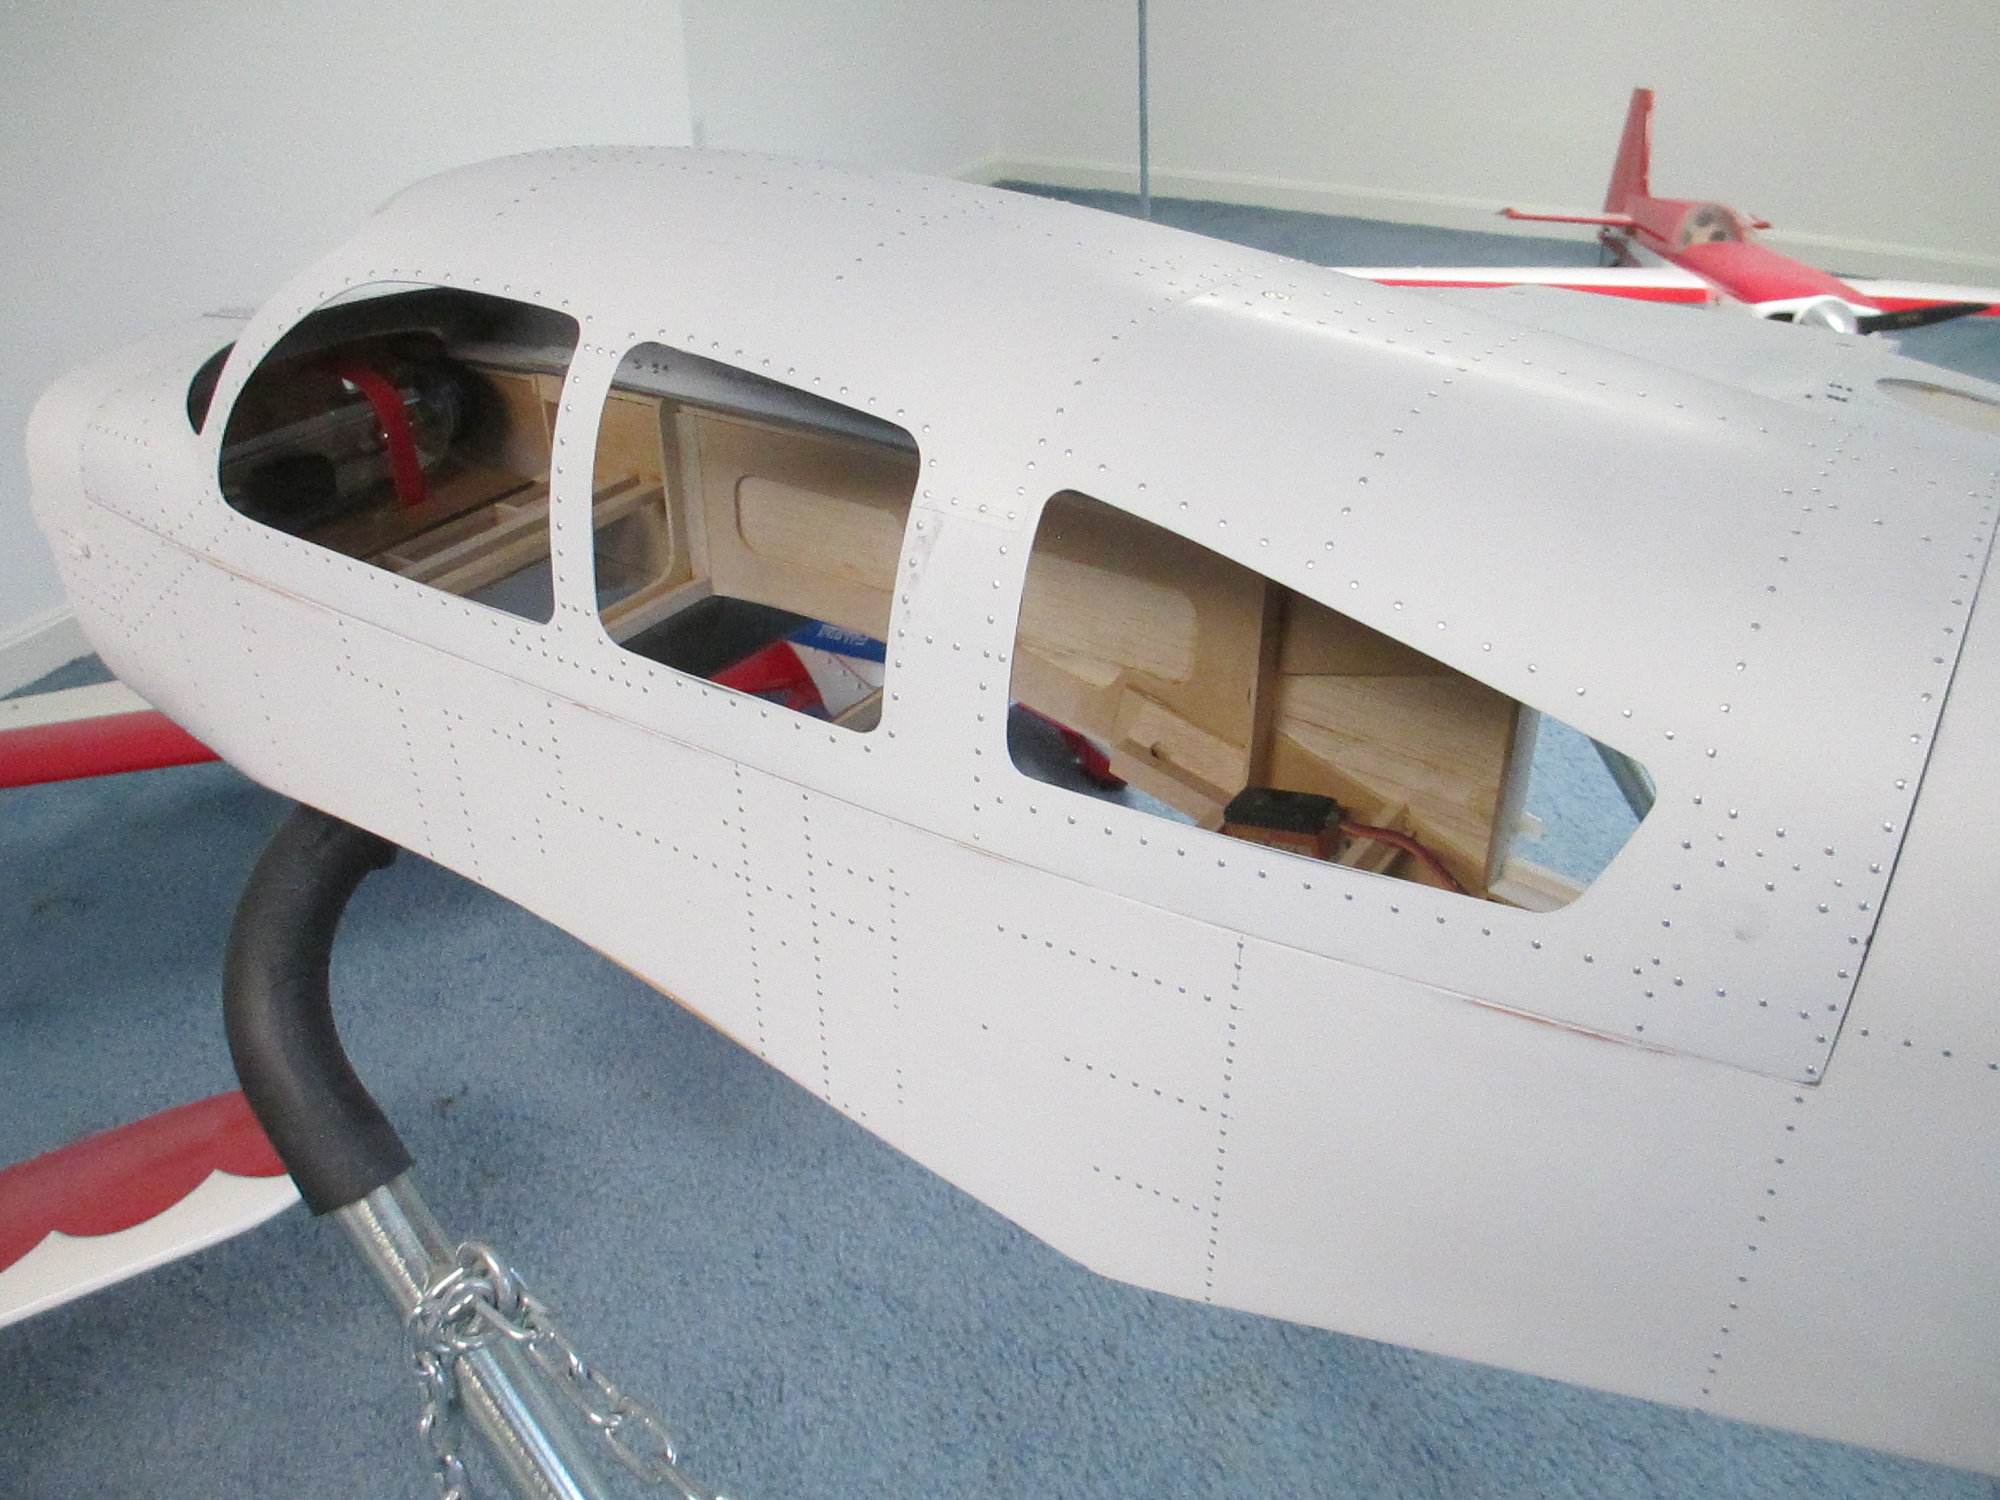
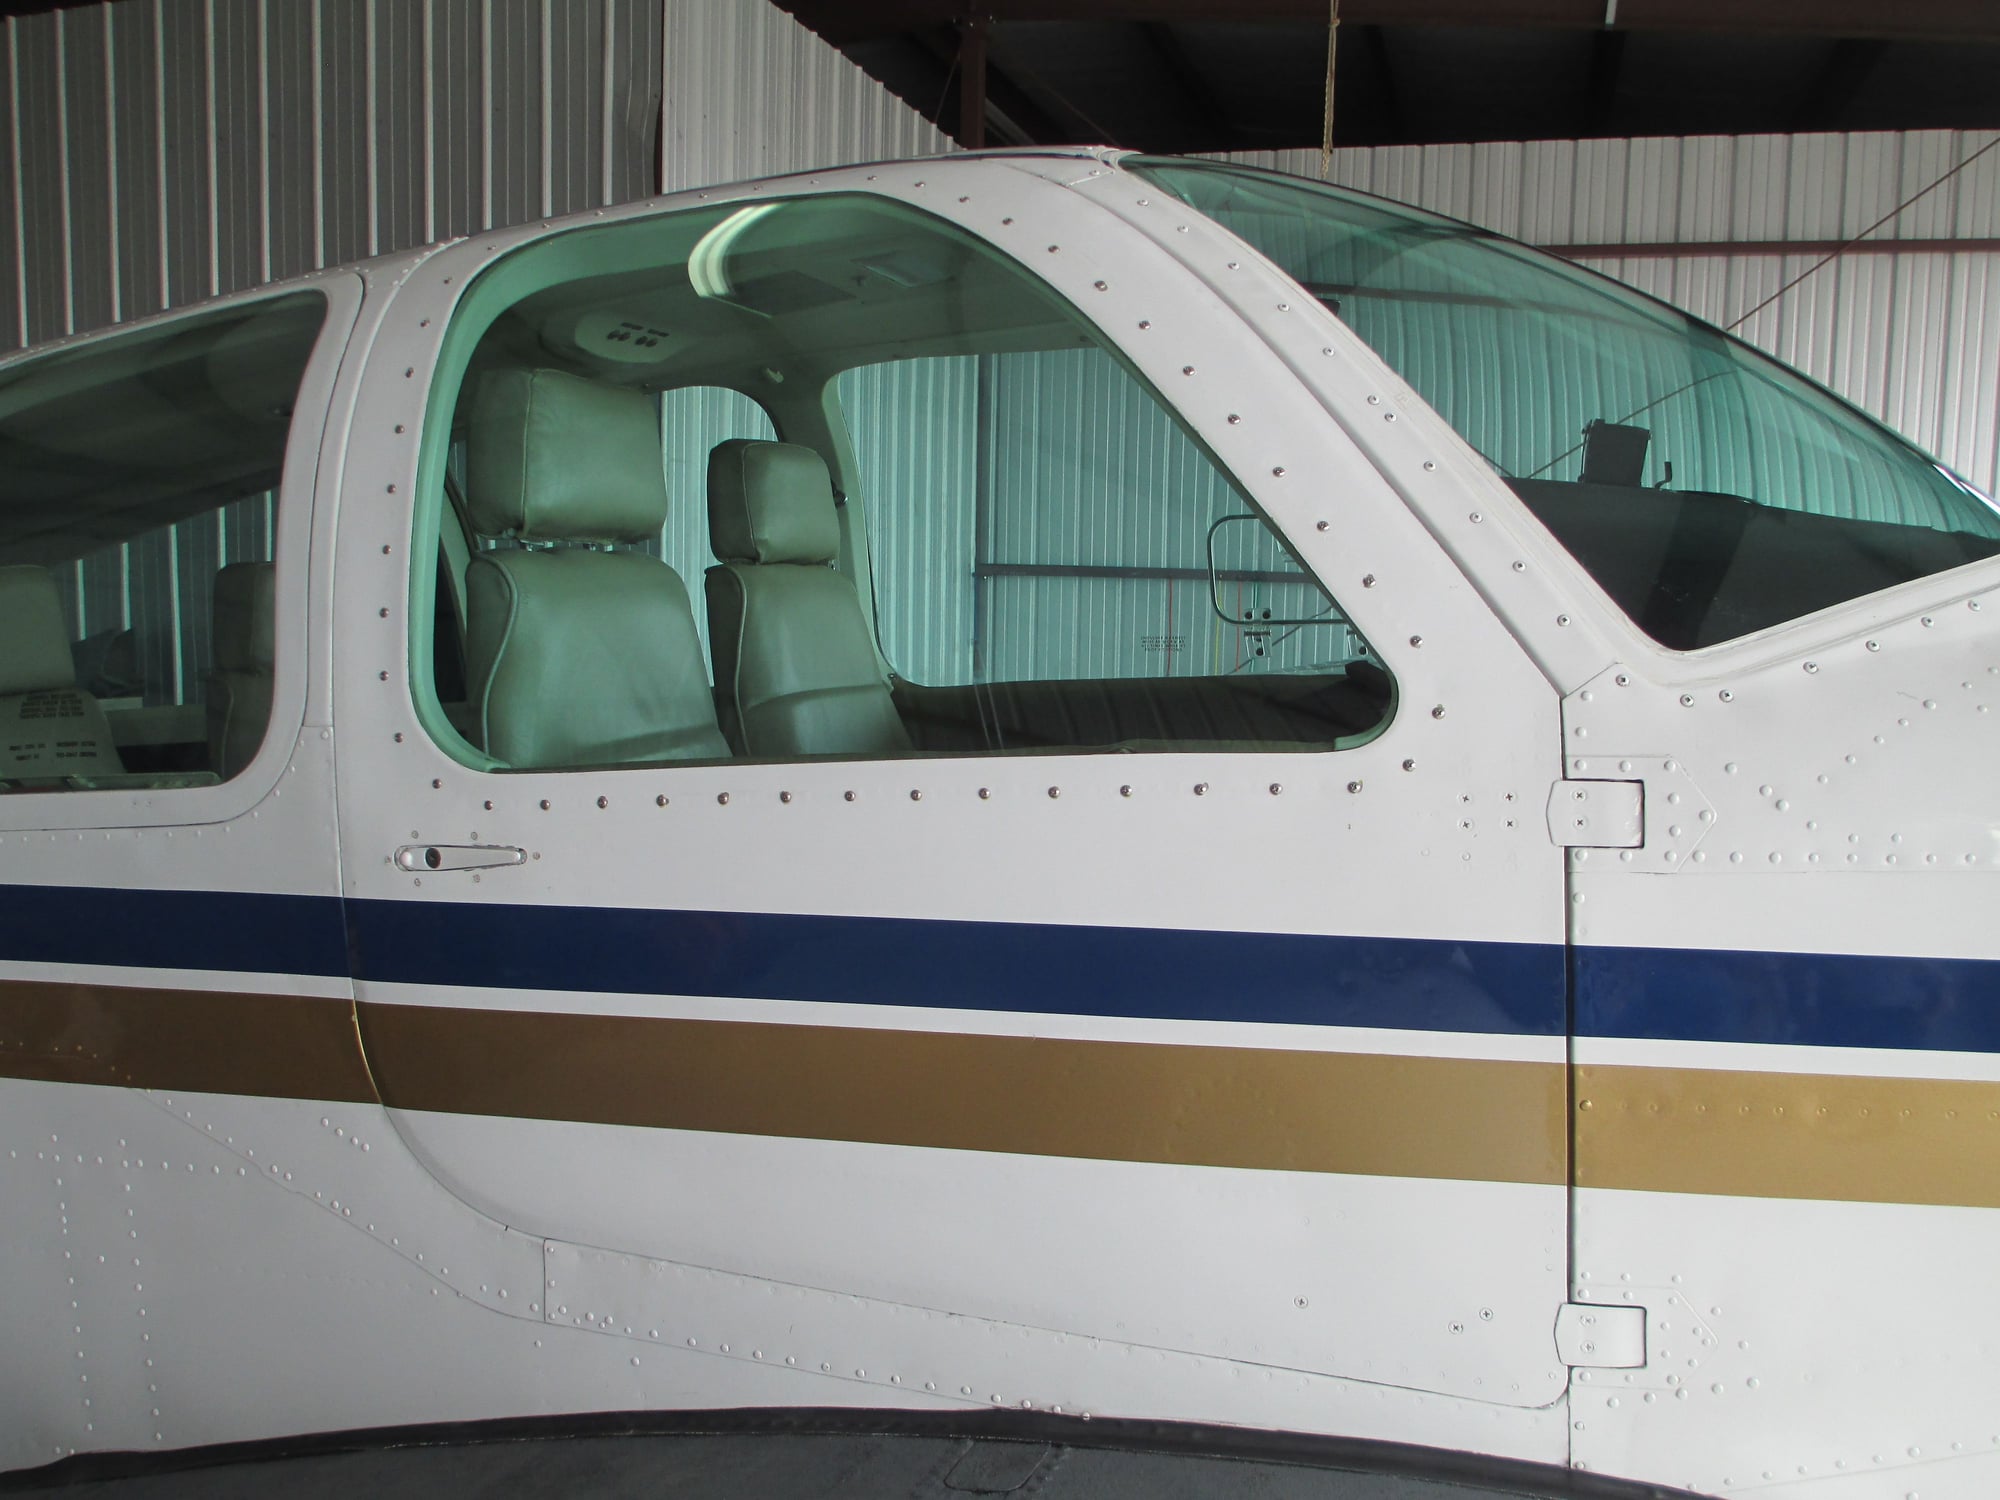
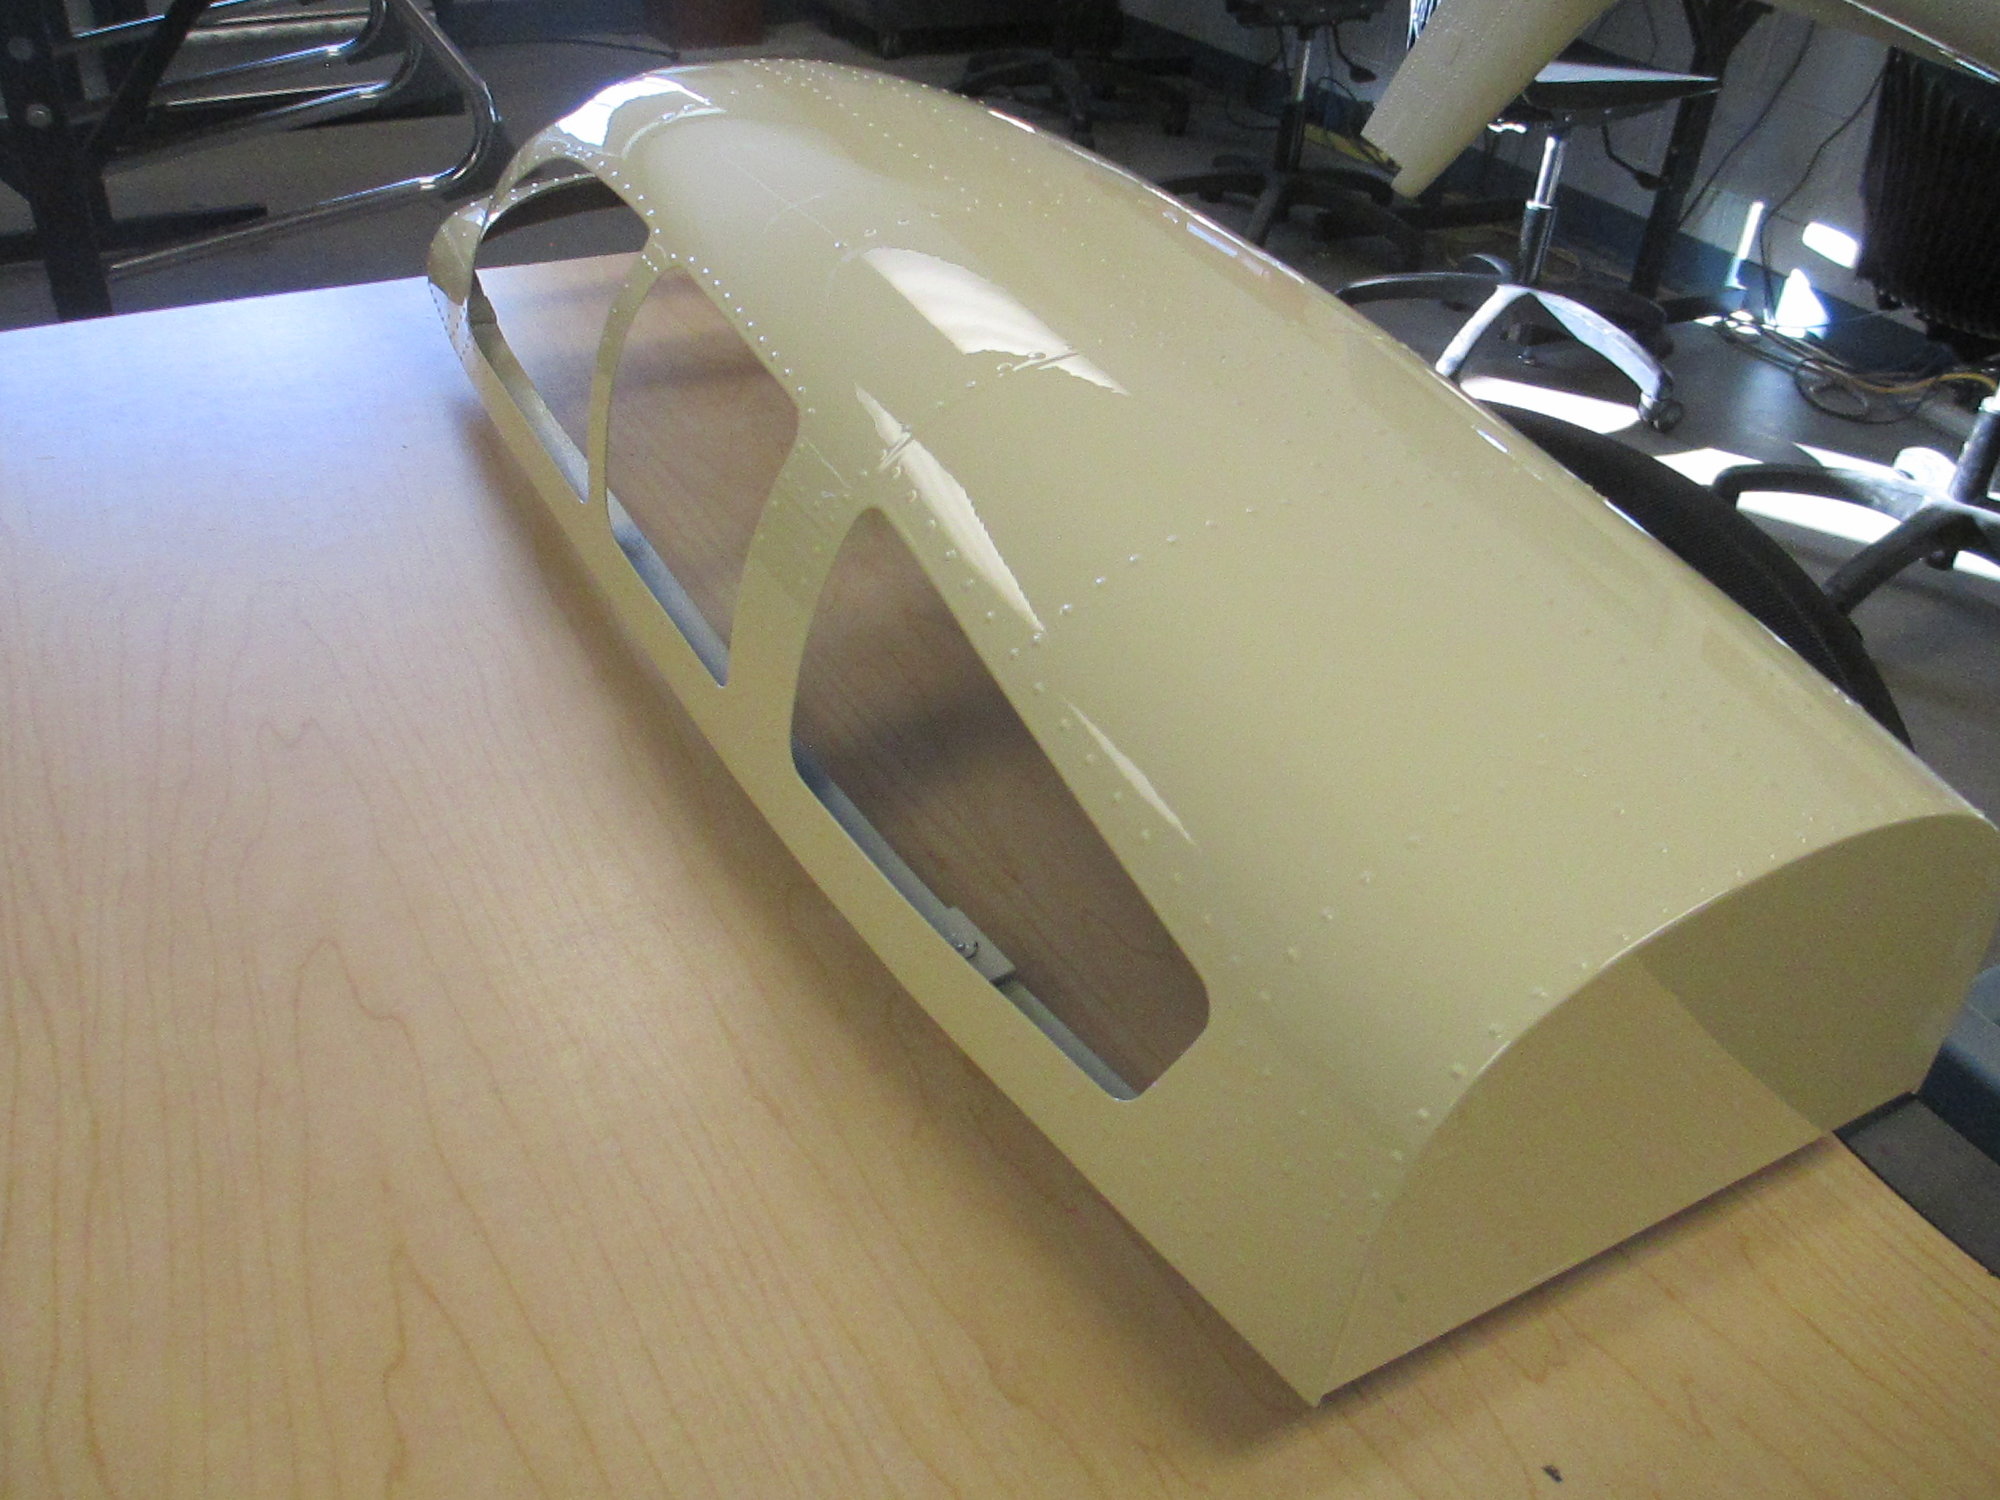
Another detail that needed completion was the final fit of all the windows and wind screen on the cabin top. Each window was placed in its opening and adjusted to fit correctly.
Last edited by VincentJ; 12-25-2020 at 11:38 AM.
12-26-2020, 01:25 PM
#1484
Thread Starter
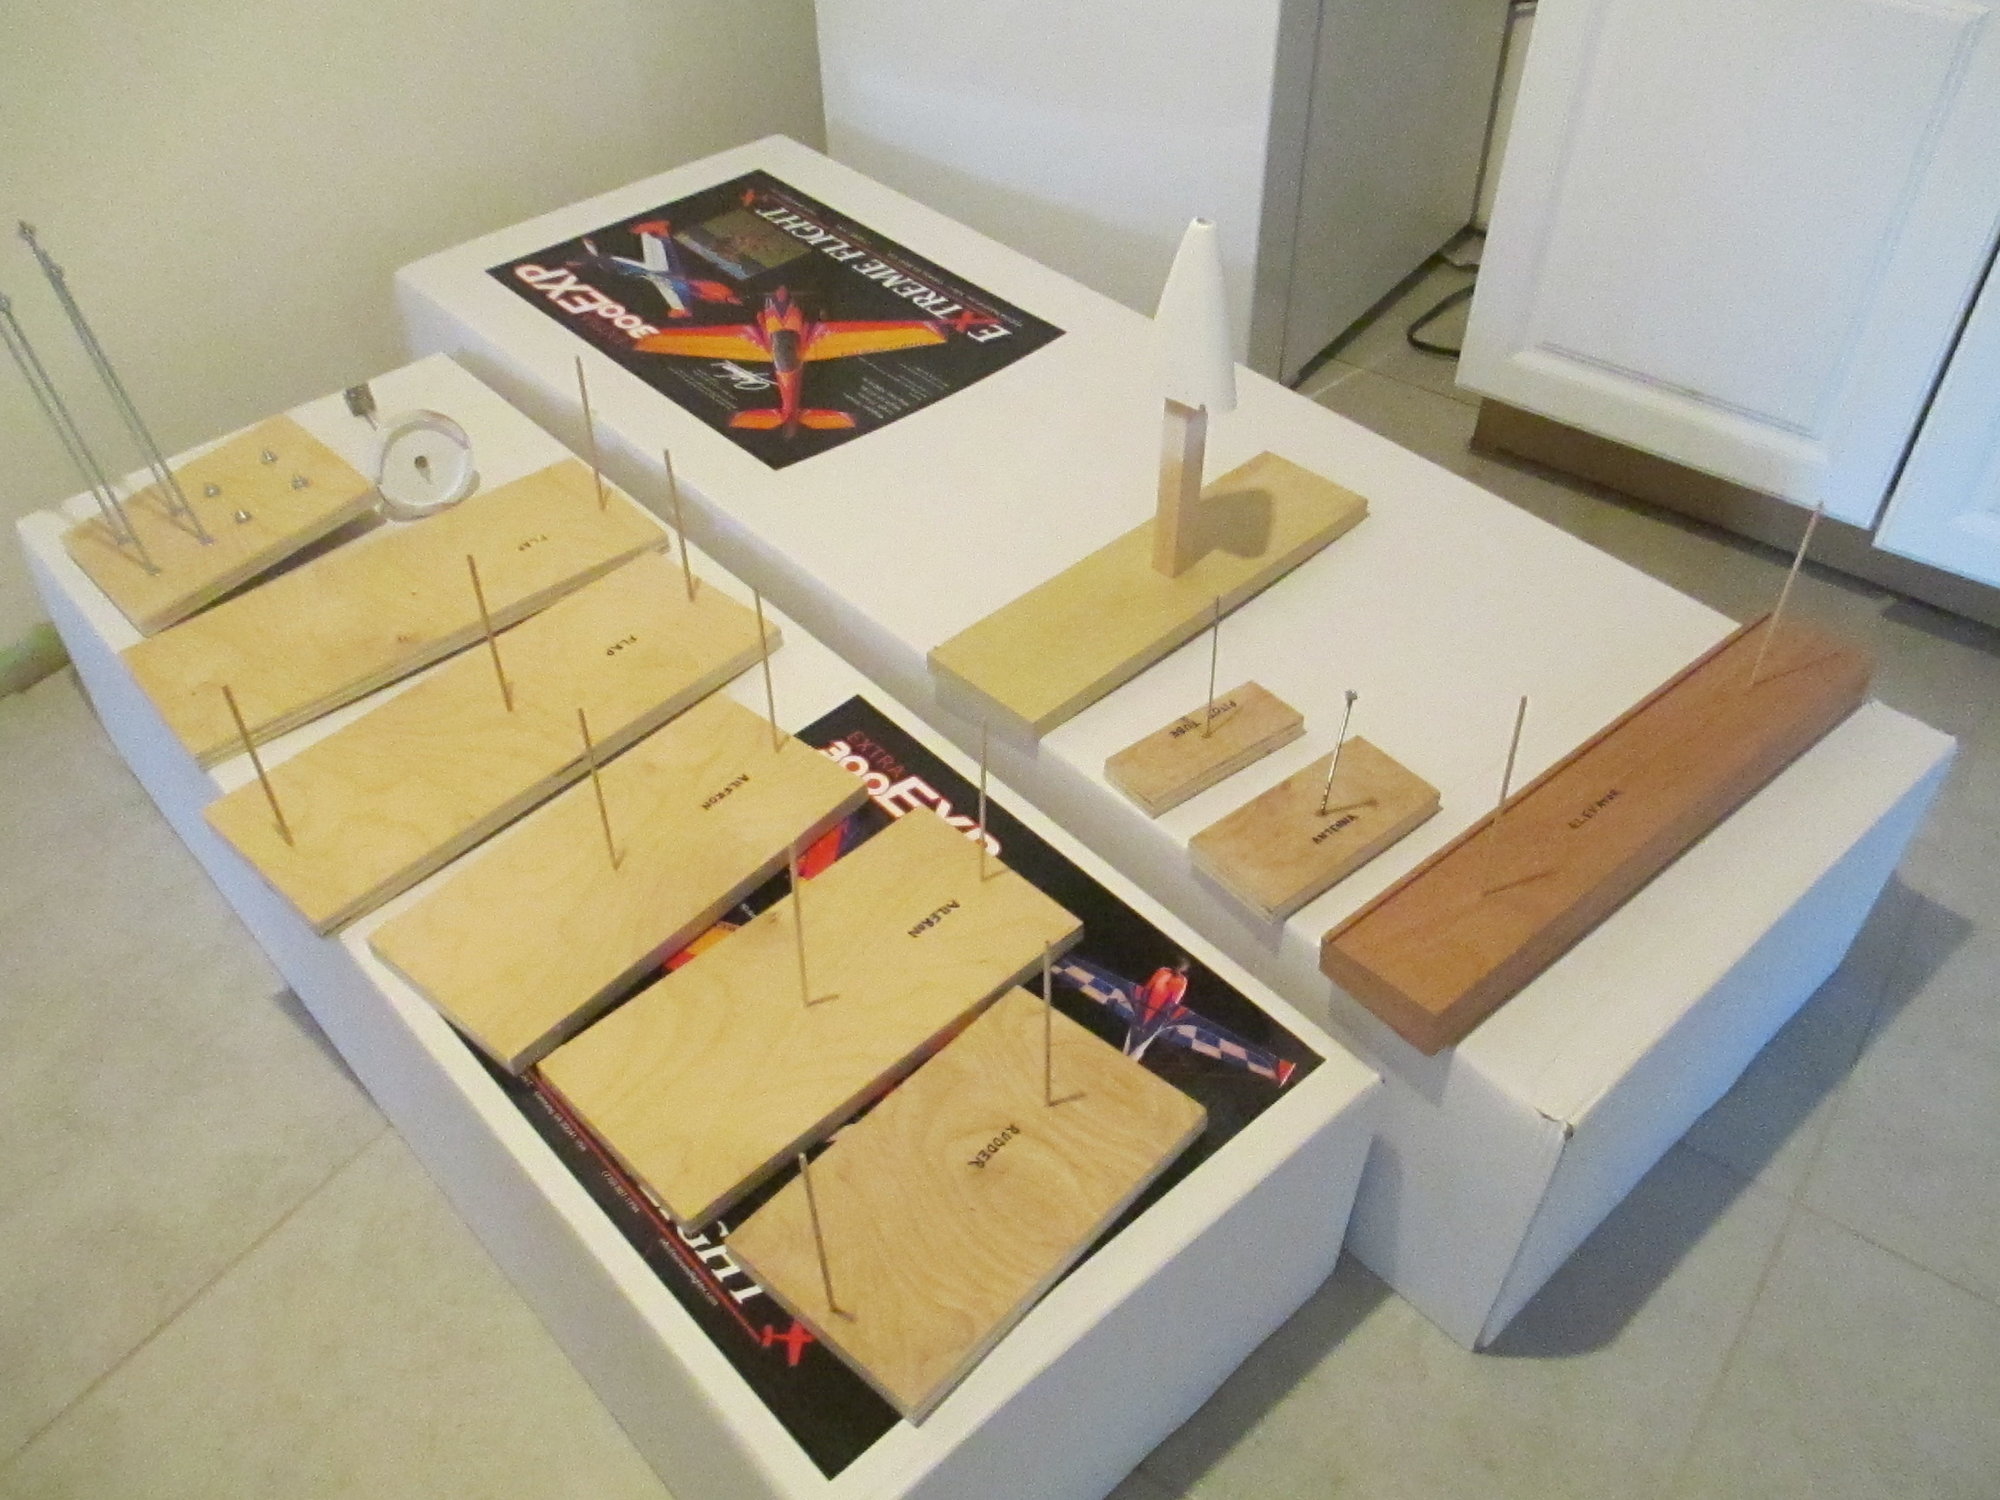
All of the holding jigs have been made. Each jig will hold a specific part for painting. I am planning on Tuesday to shoot the base color on.
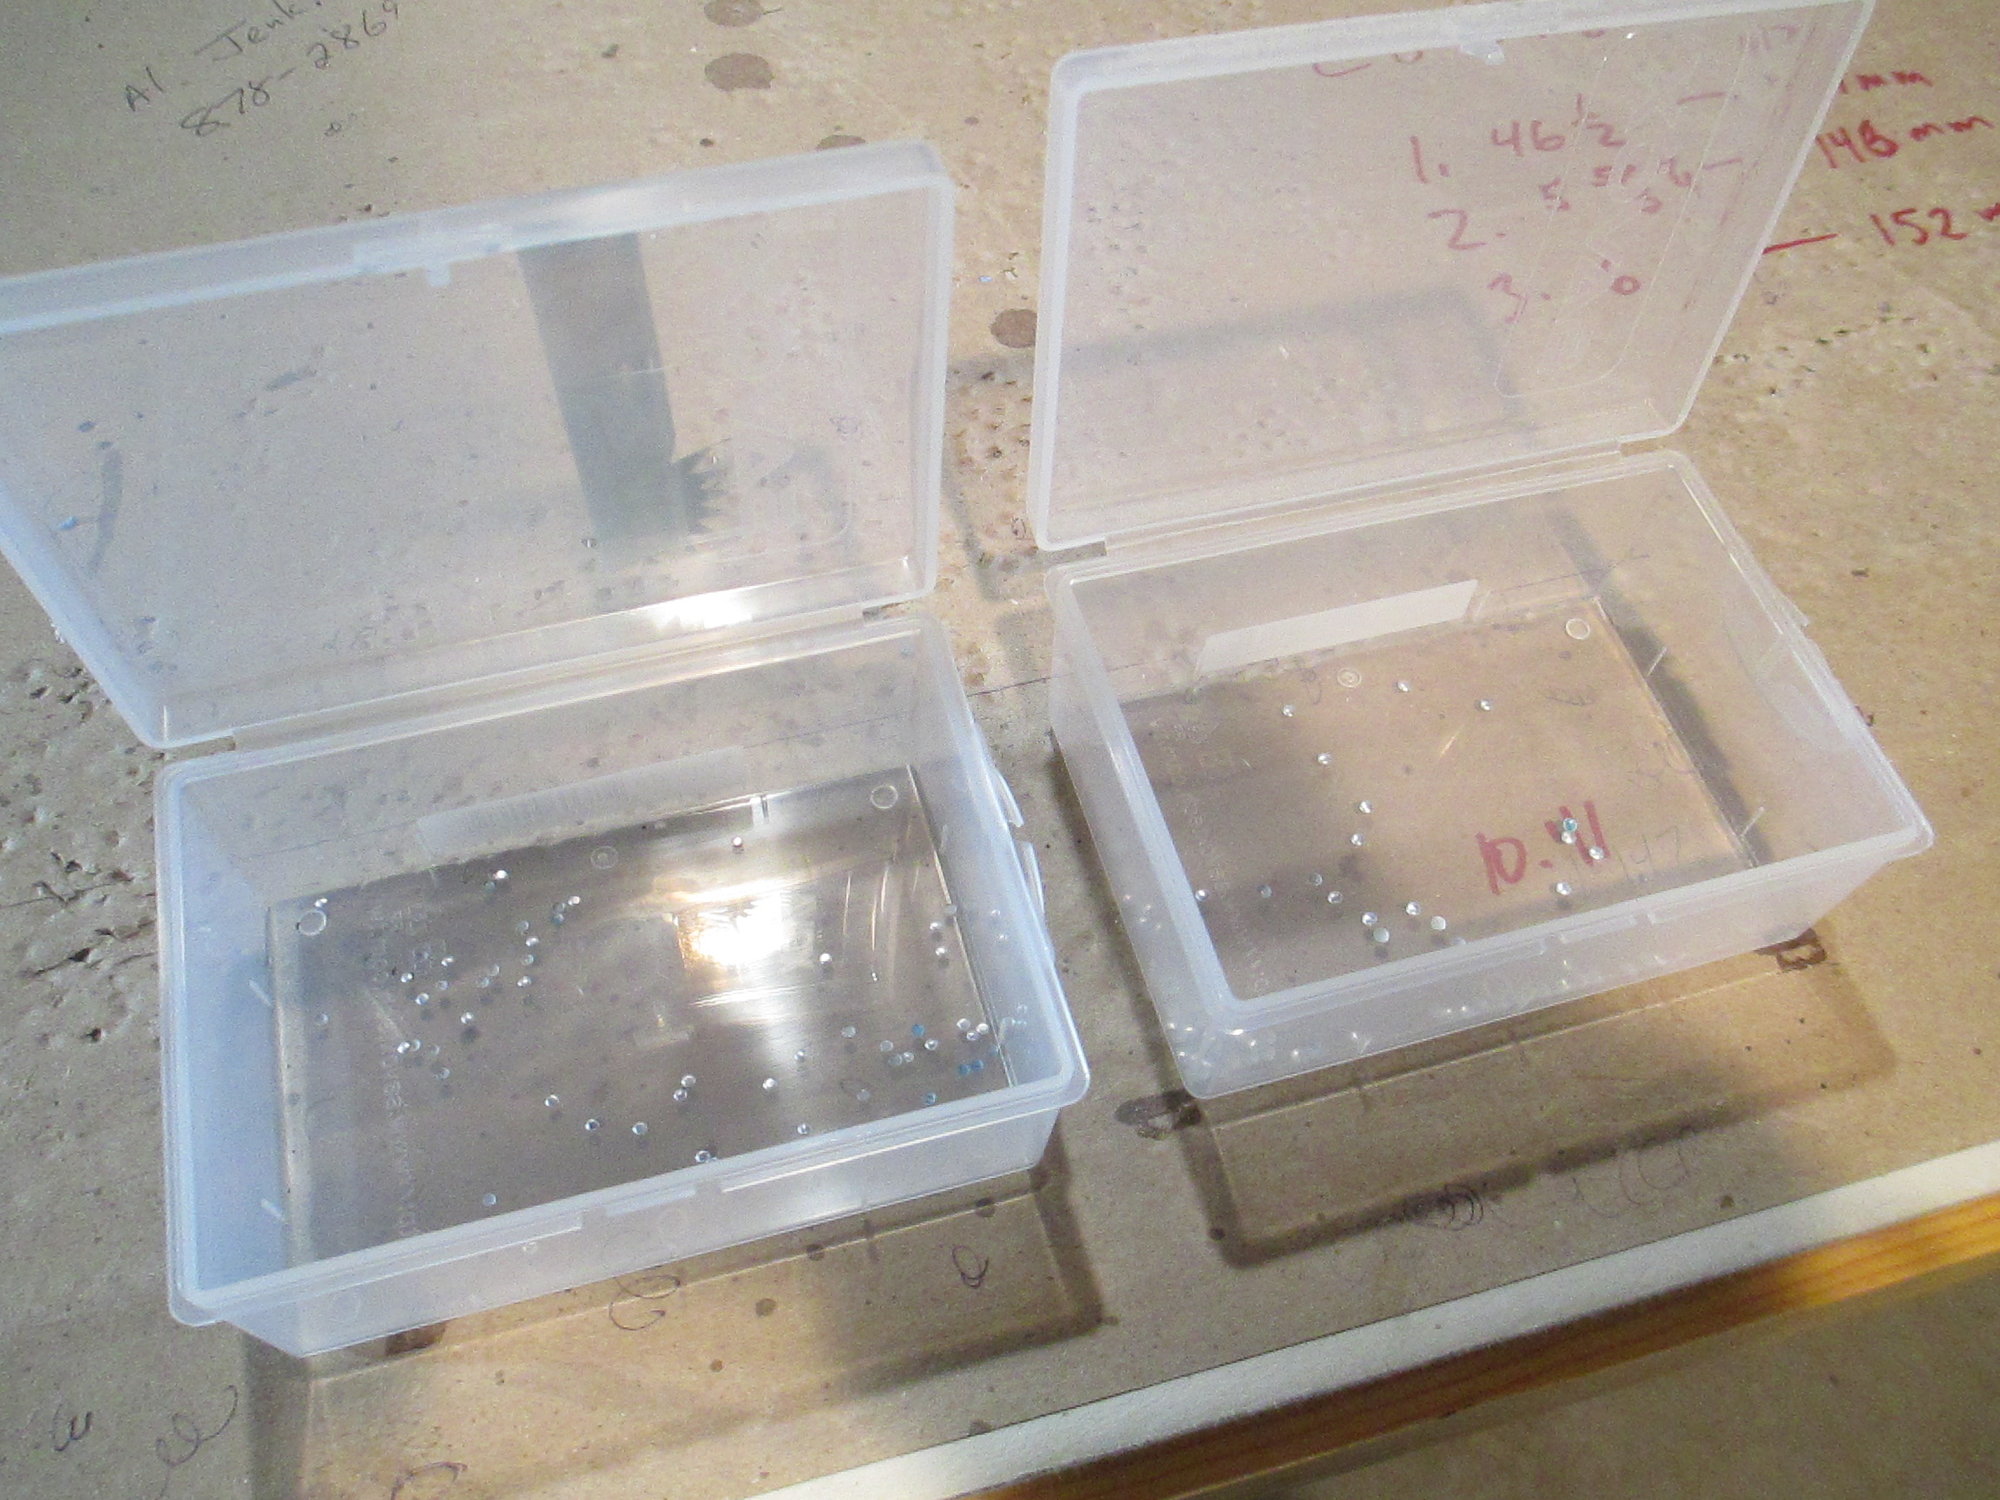
I also had to punch out additional rivets (2-56 and 4-40). I know as I wash/prep the surface of the plane I am bound to knock off a few rivets so extras will be needed along with my soldering iron.
12-27-2020, 08:56 AM
#1485
Thread Starter
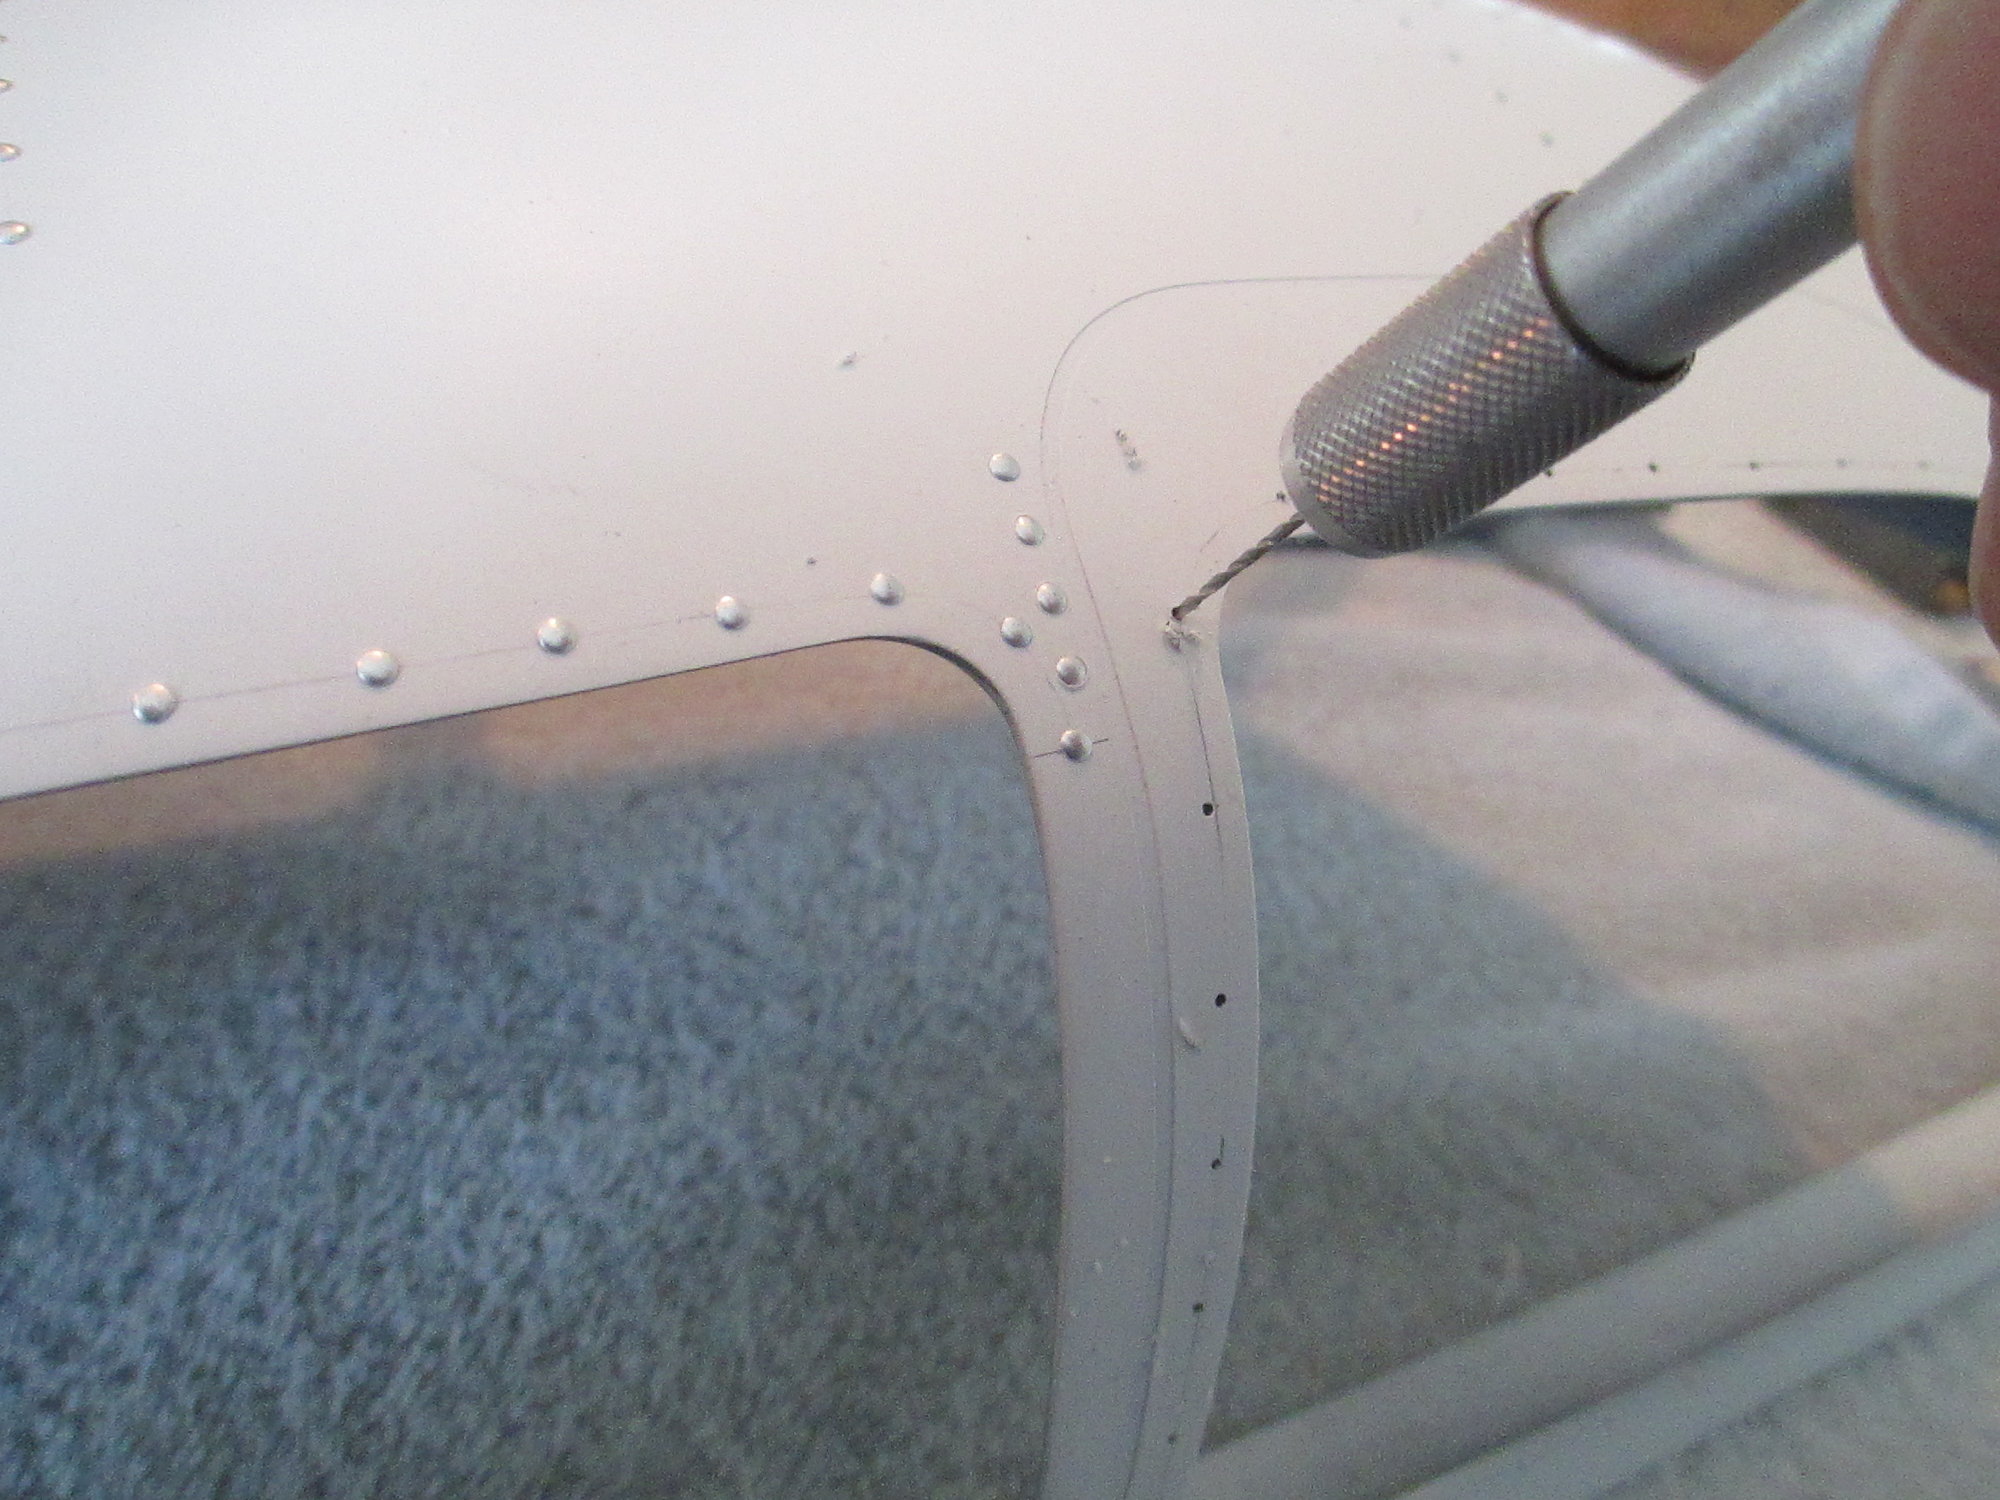
Working feverishly on a plethora of jobs, one of which is to drill 96 holes surrounding the door window opening as well as the perimeter of the windscreen.
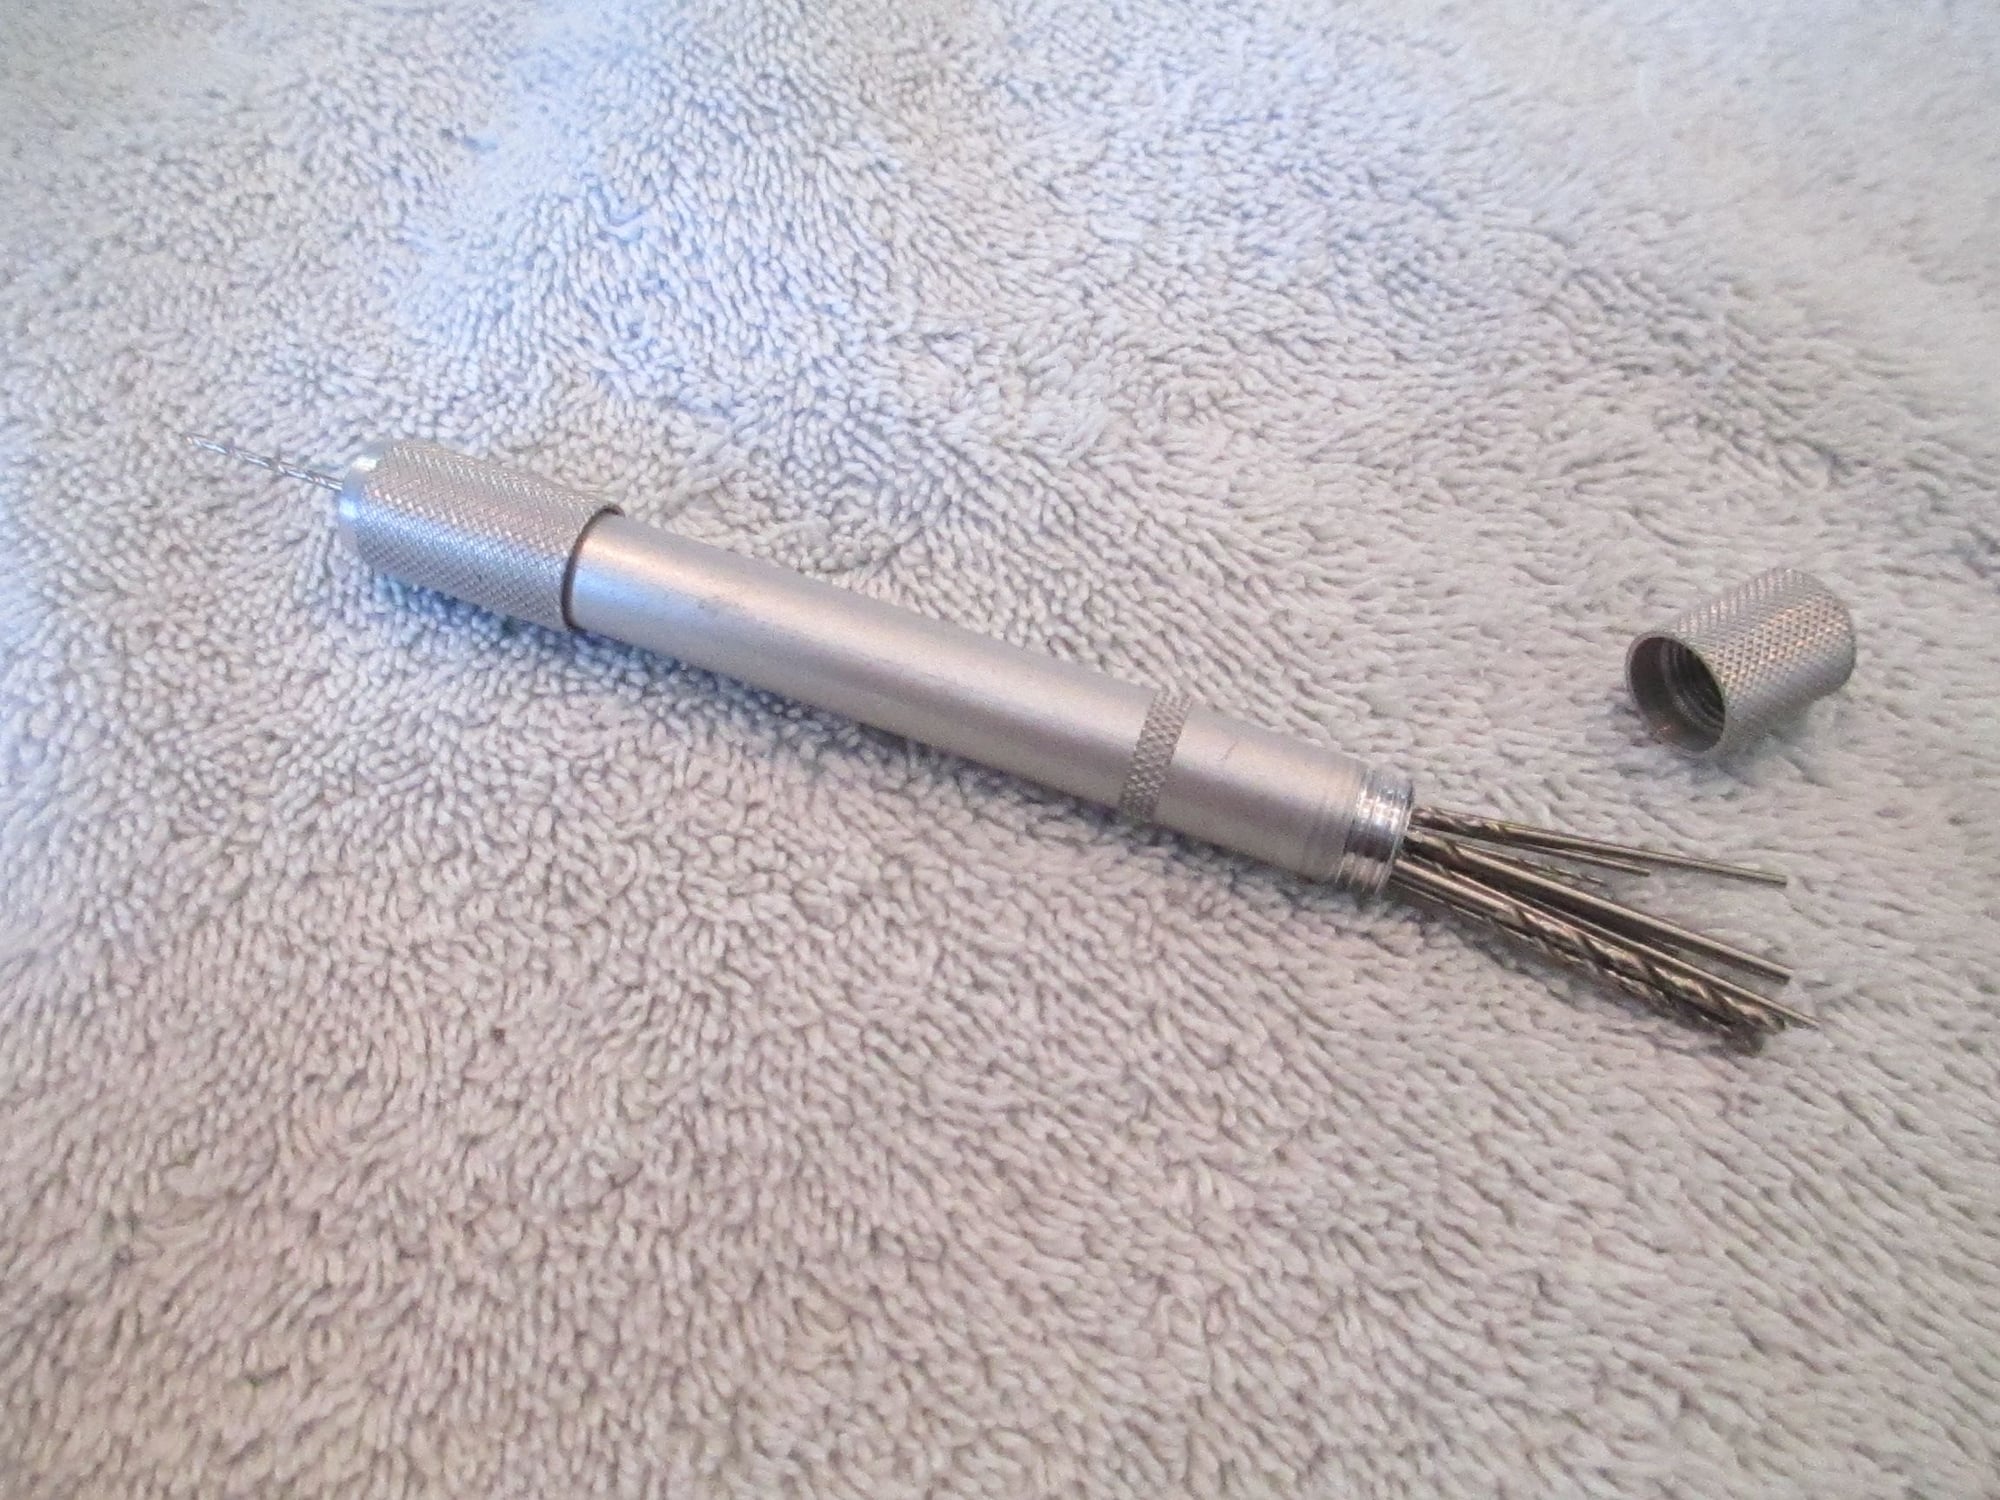
I used a tool called a pin vise to drill all of the holes. If you don't have one, you really should buy one as they are extremely handy to drill very small holes with precision. This particular model houses the bits inside of its handle.

My punch list to ready this Bonanza for paint is getting shorter by the hour...
Last edited by VincentJ; 12-27-2020 at 09:35 AM.
 12-27-2020, 10:48 AM
#1488
Thread Starter
 12-28-2020, 09:54 AM
#1490
Thread Starter
I was anxious to get up this morning and transport the larger pieces of the Bonanza to my shop. I held my breath as I moved everything from the basement up the stairs and into the back of my Jeep for transport. I wanted them in my shop the night before spray so they would acclimate to the shop's temperature. All of the smaller (control surfaces) pieces will be transported tomorrow. I am happy to report that there wasn't any damage or loss of rivets during the move! 
Tomorrow will be an exciting day, check in as I will be sure to post pictures of the spray!
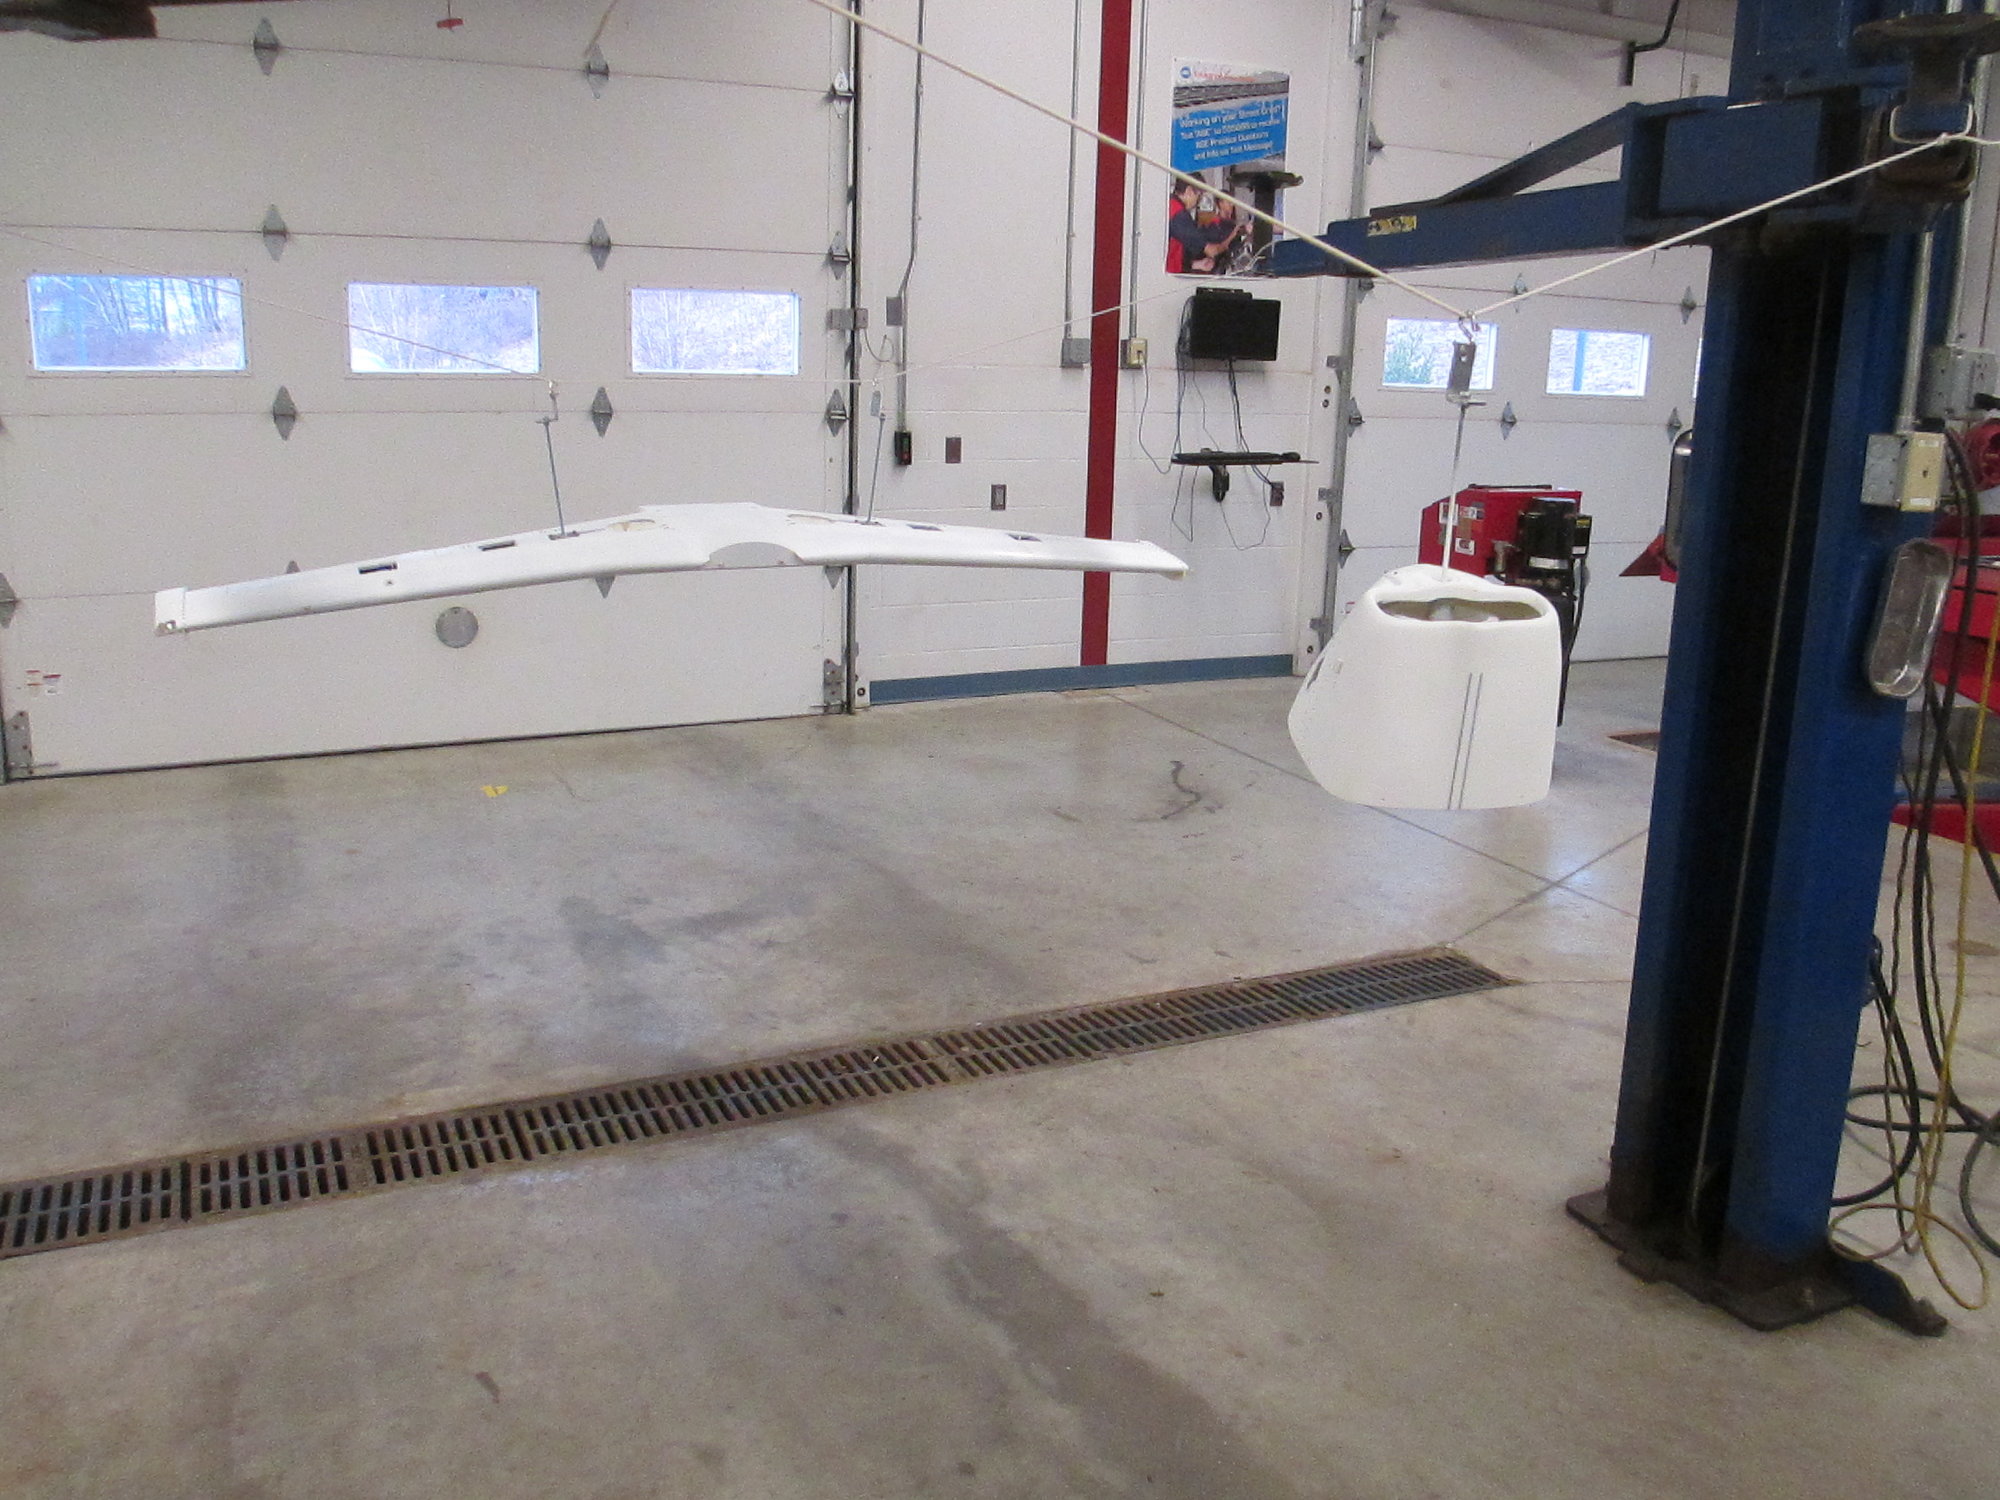
I spent all morning setting up for tomorrow's spray. I'm doing my due diligence to try and be as organized as I can to ensure no surprises for tomorrow.
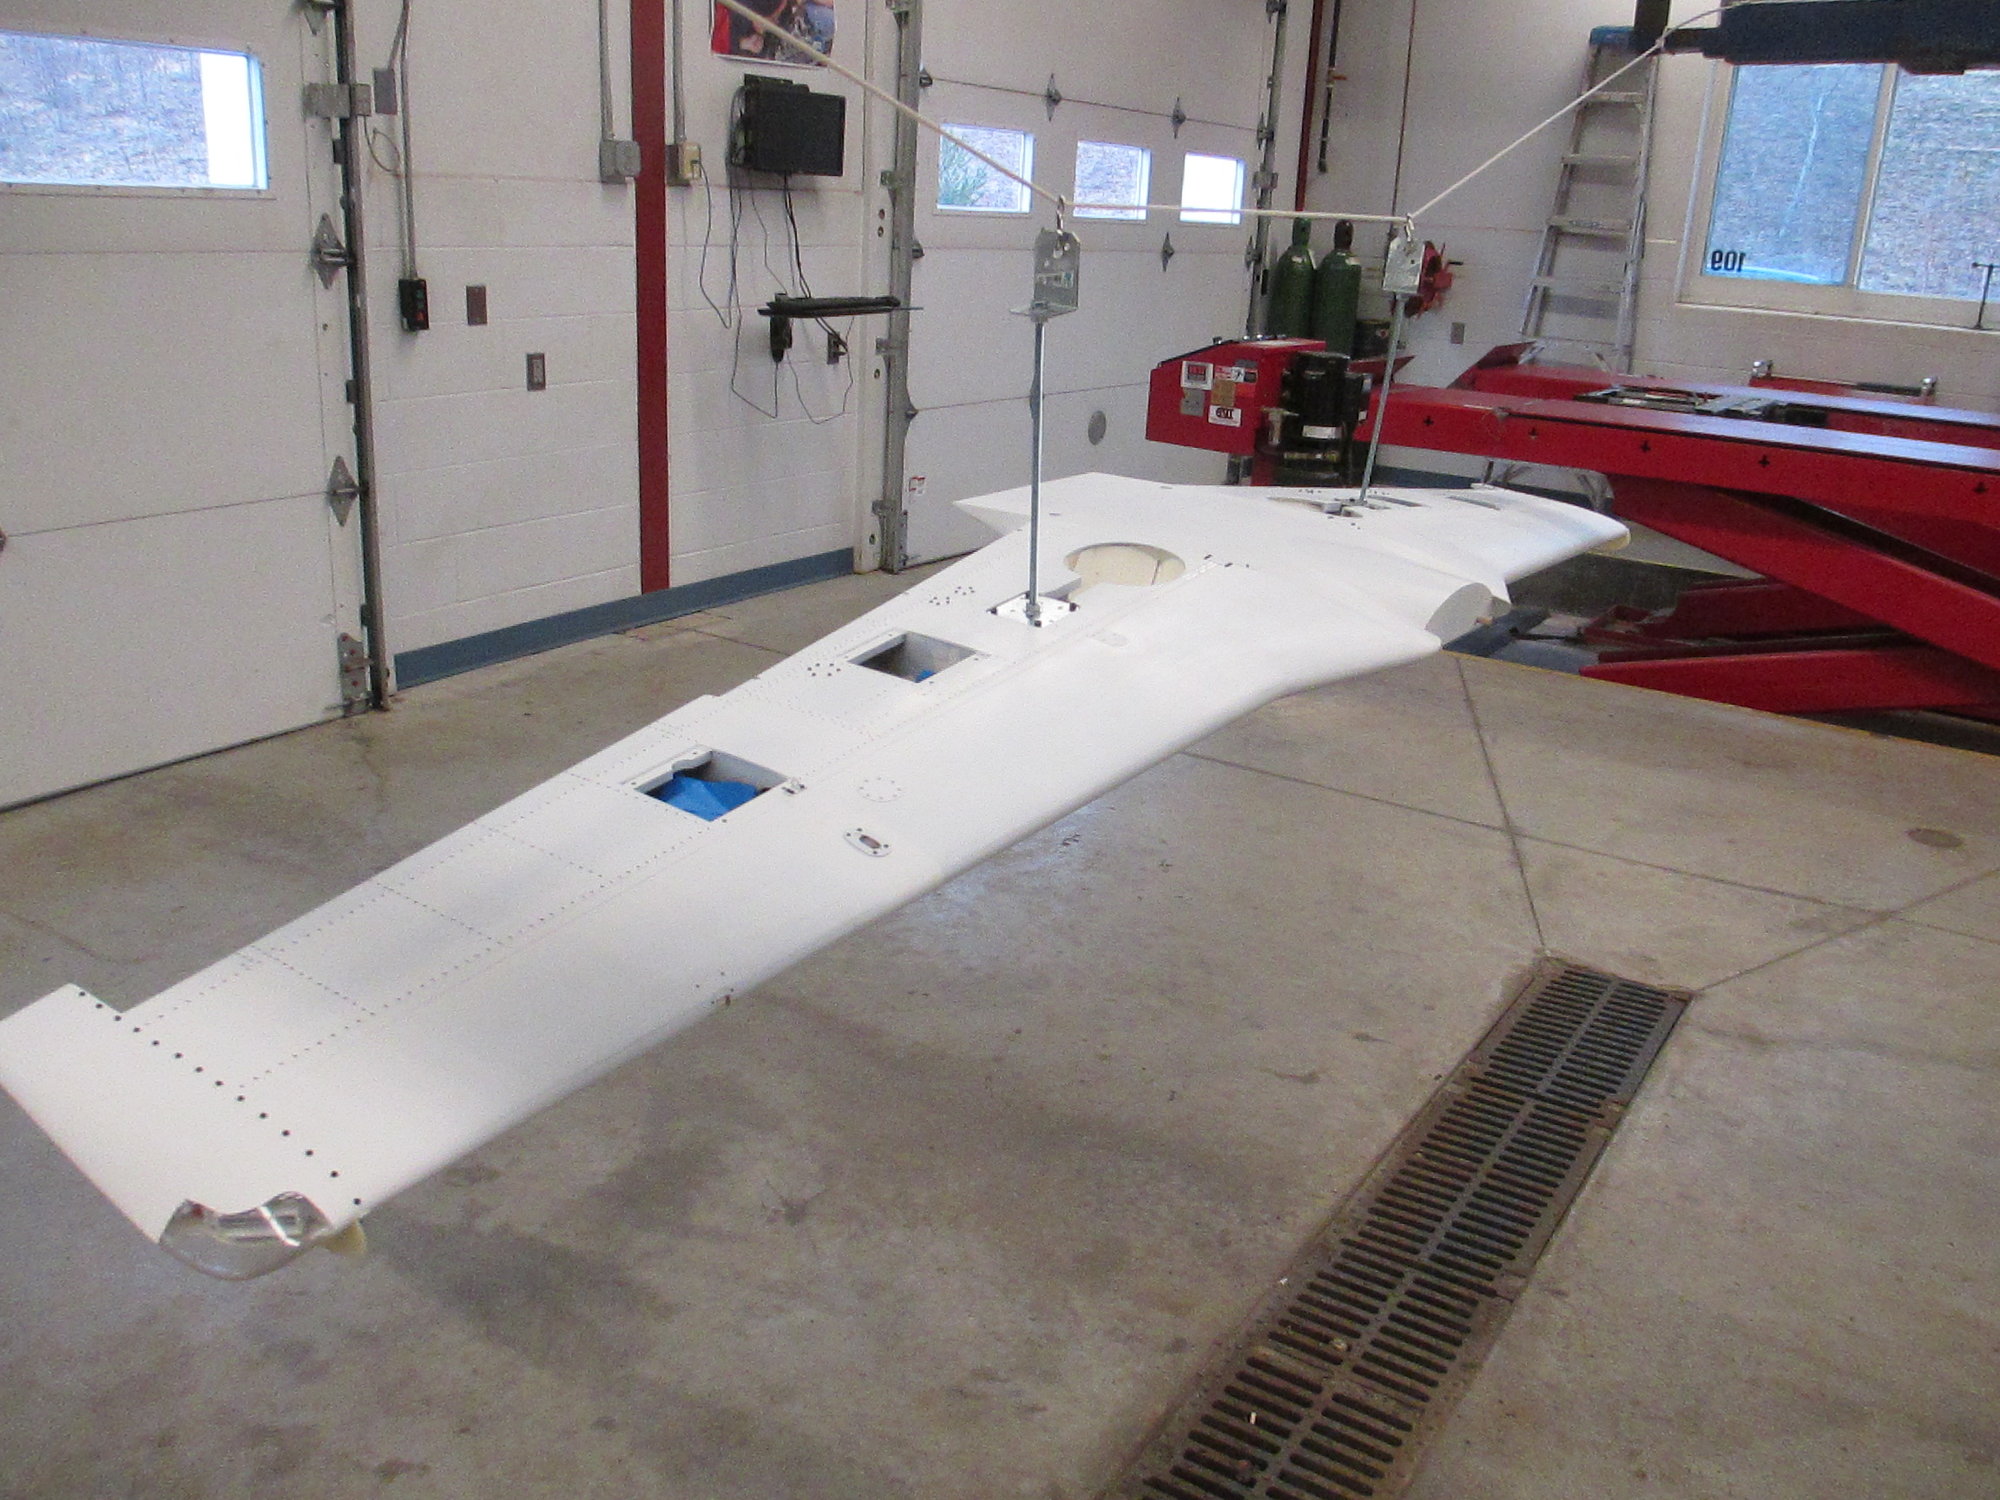
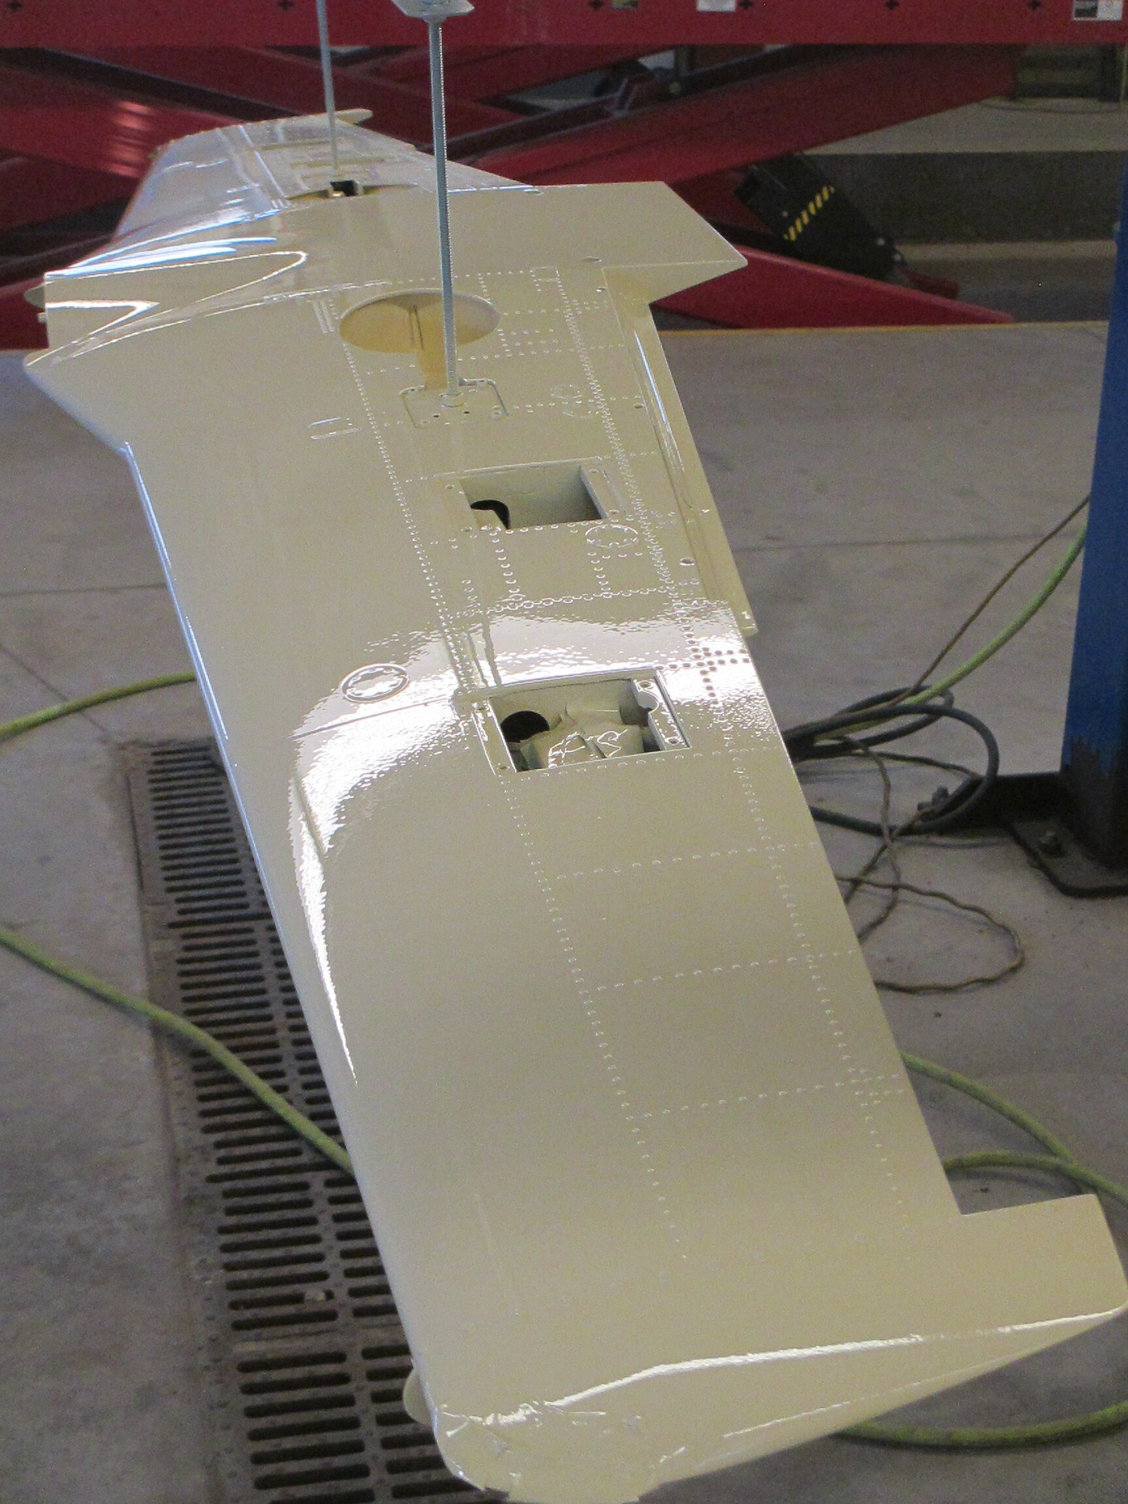
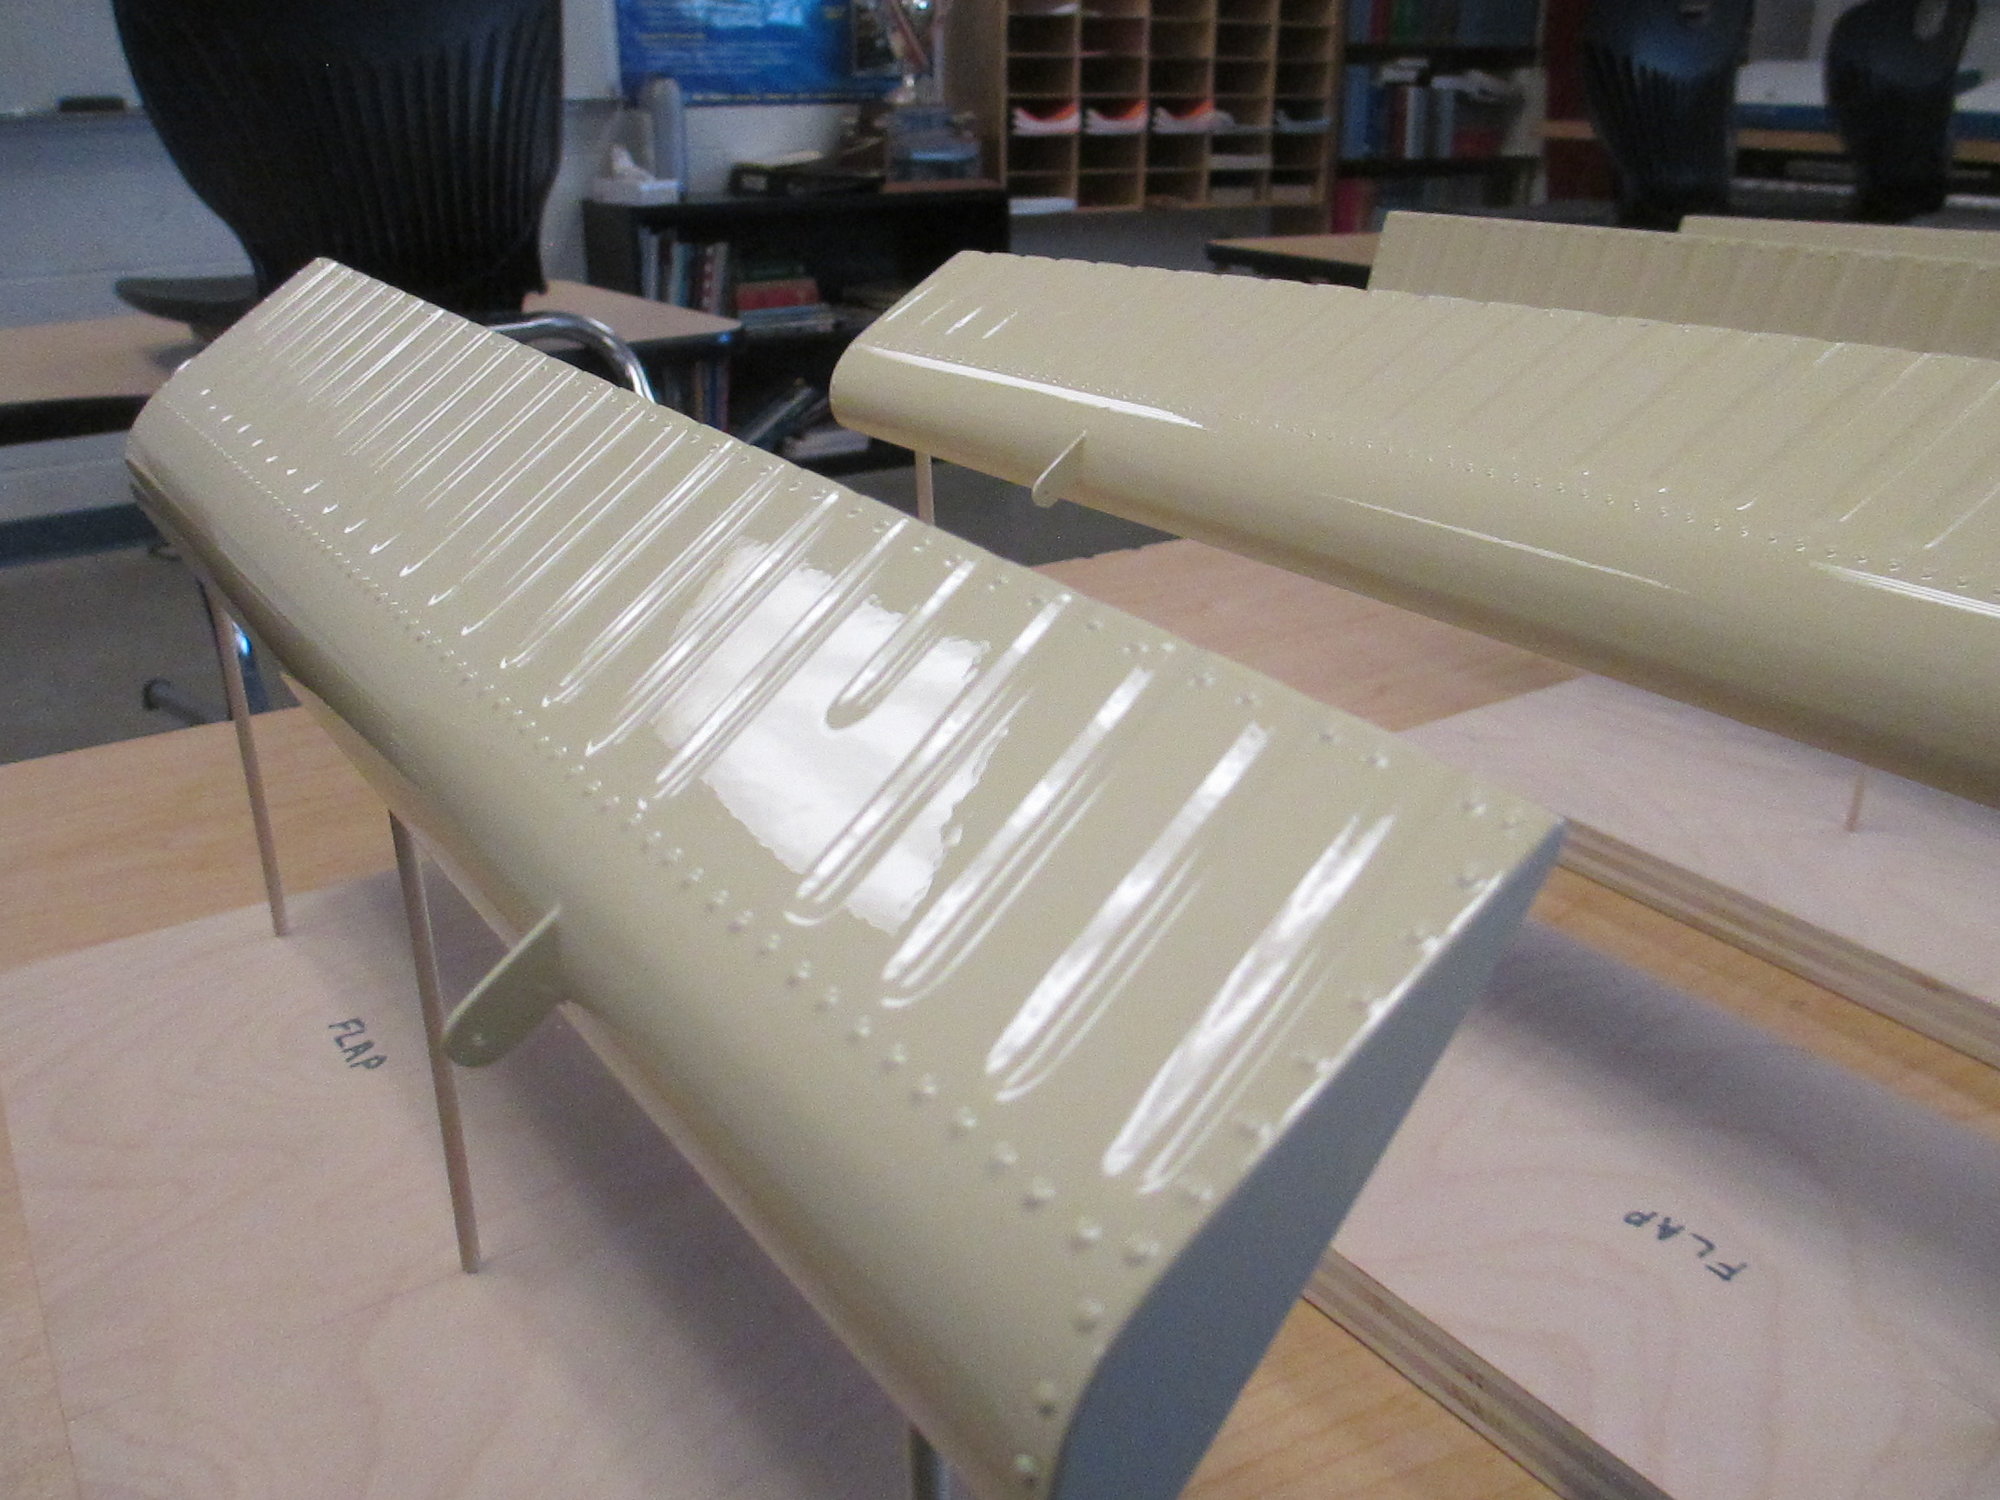
The wing was suspended to make painting both the top and bottom seamless.
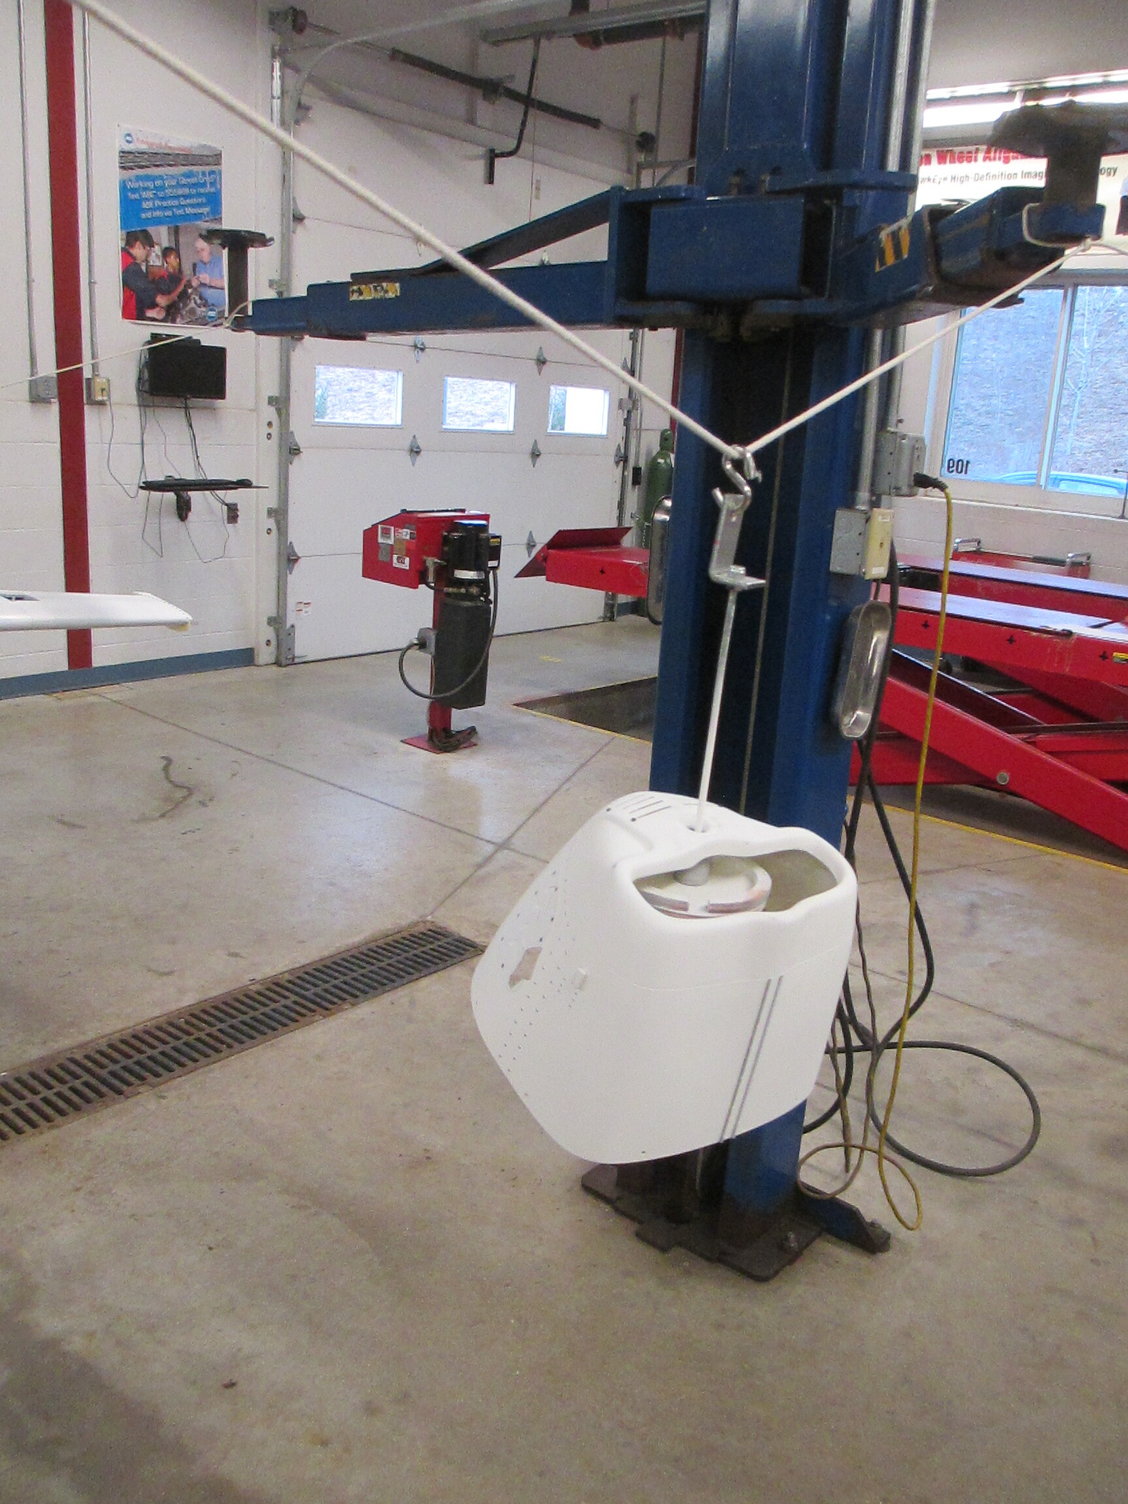
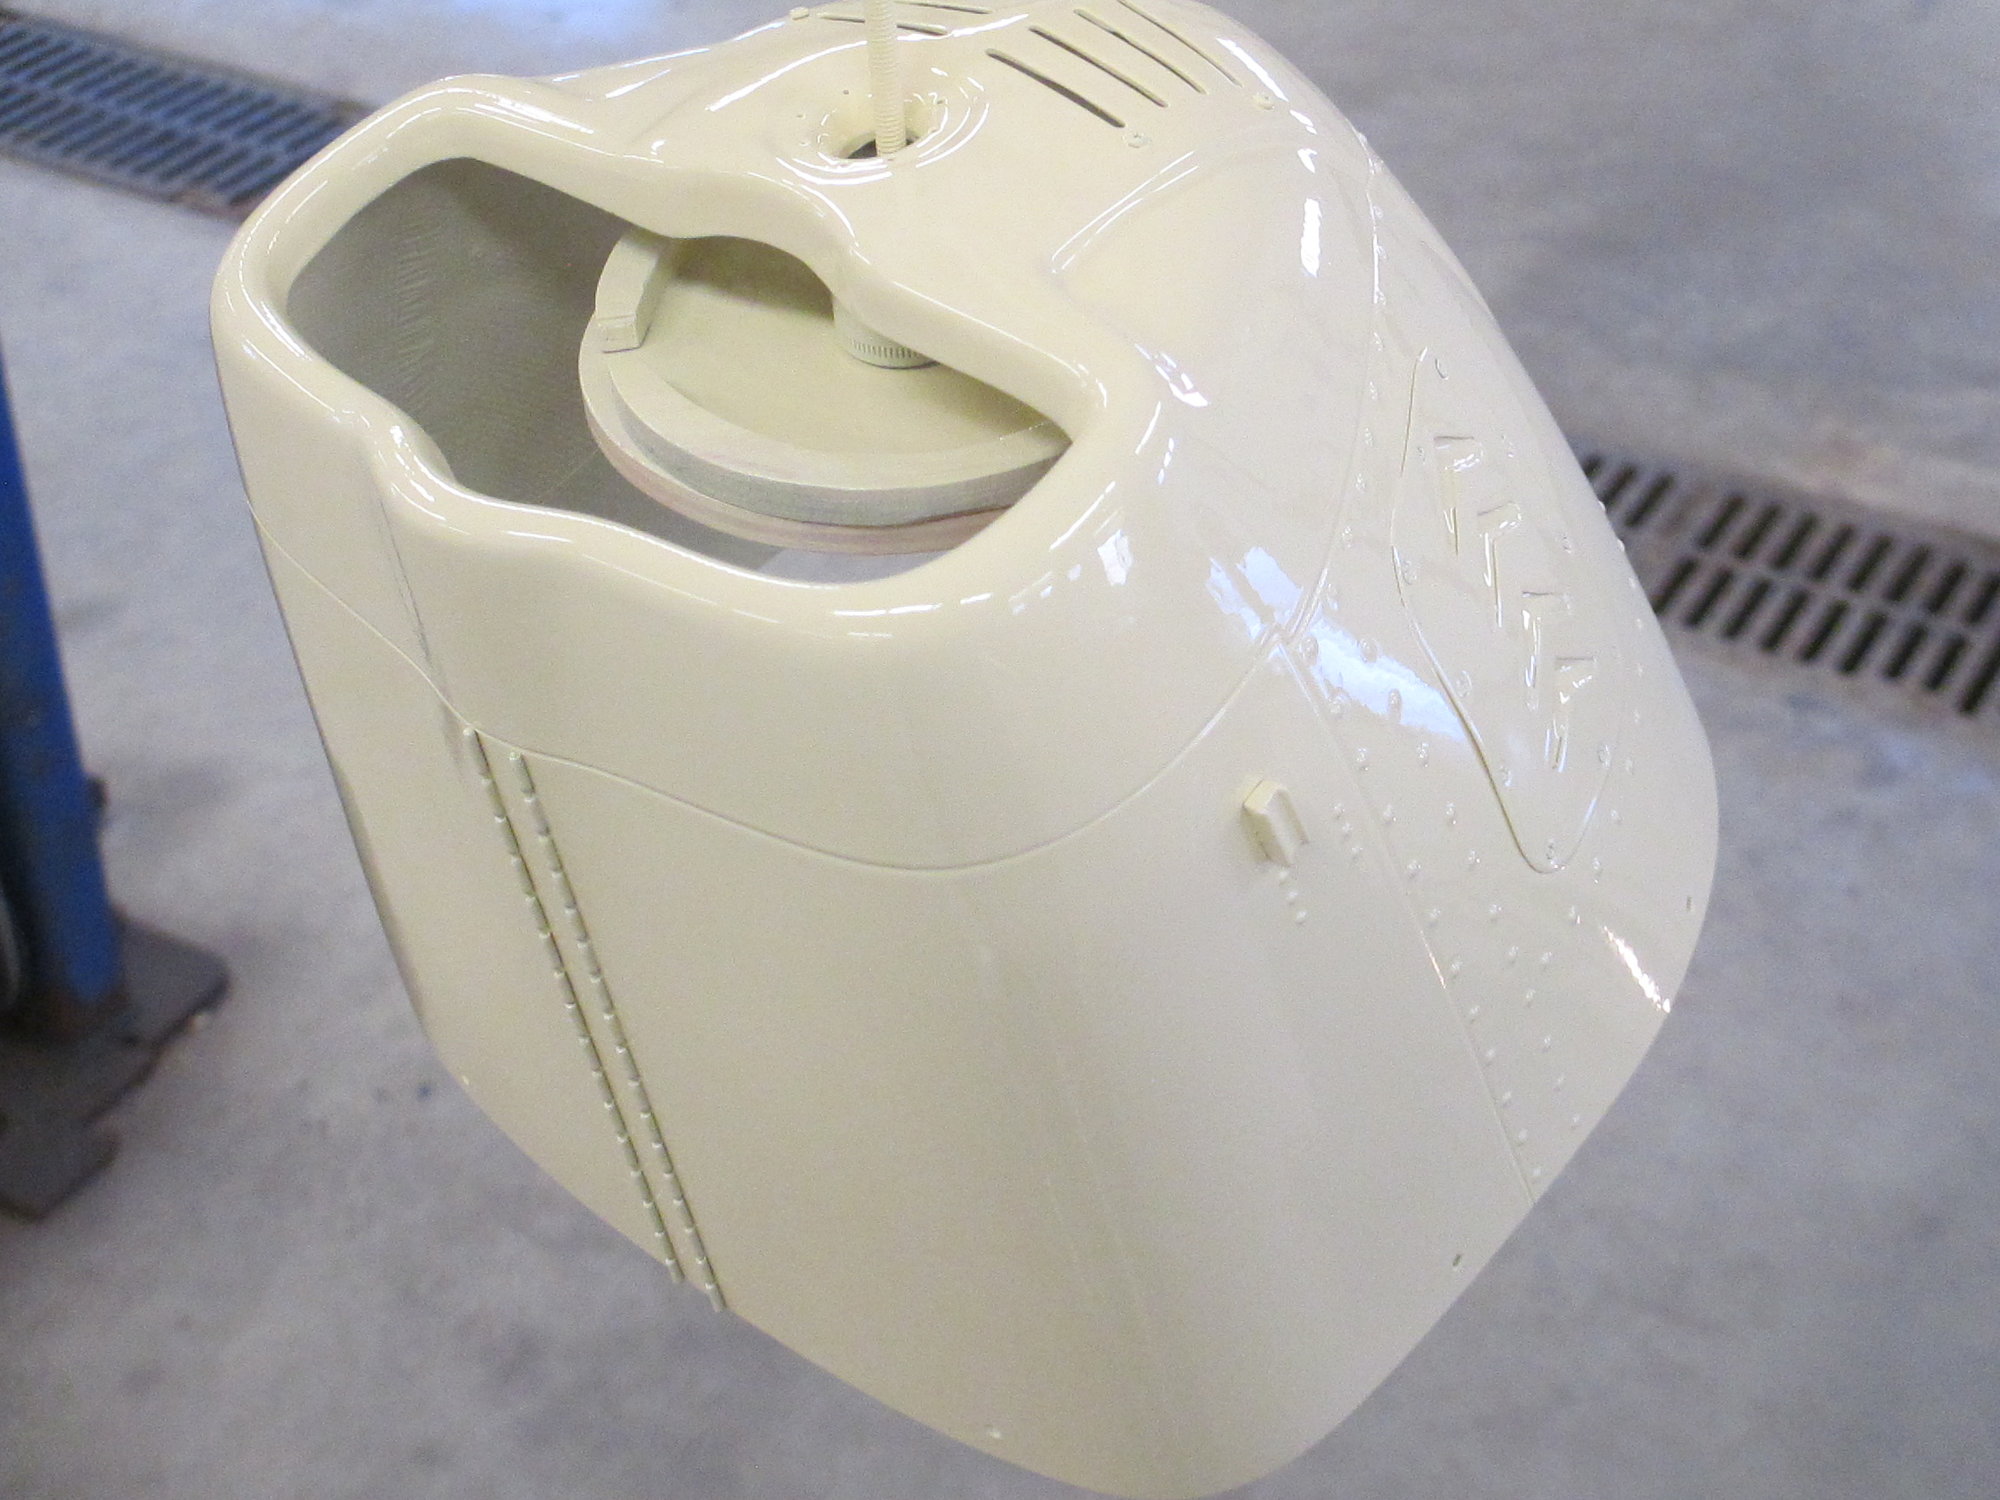
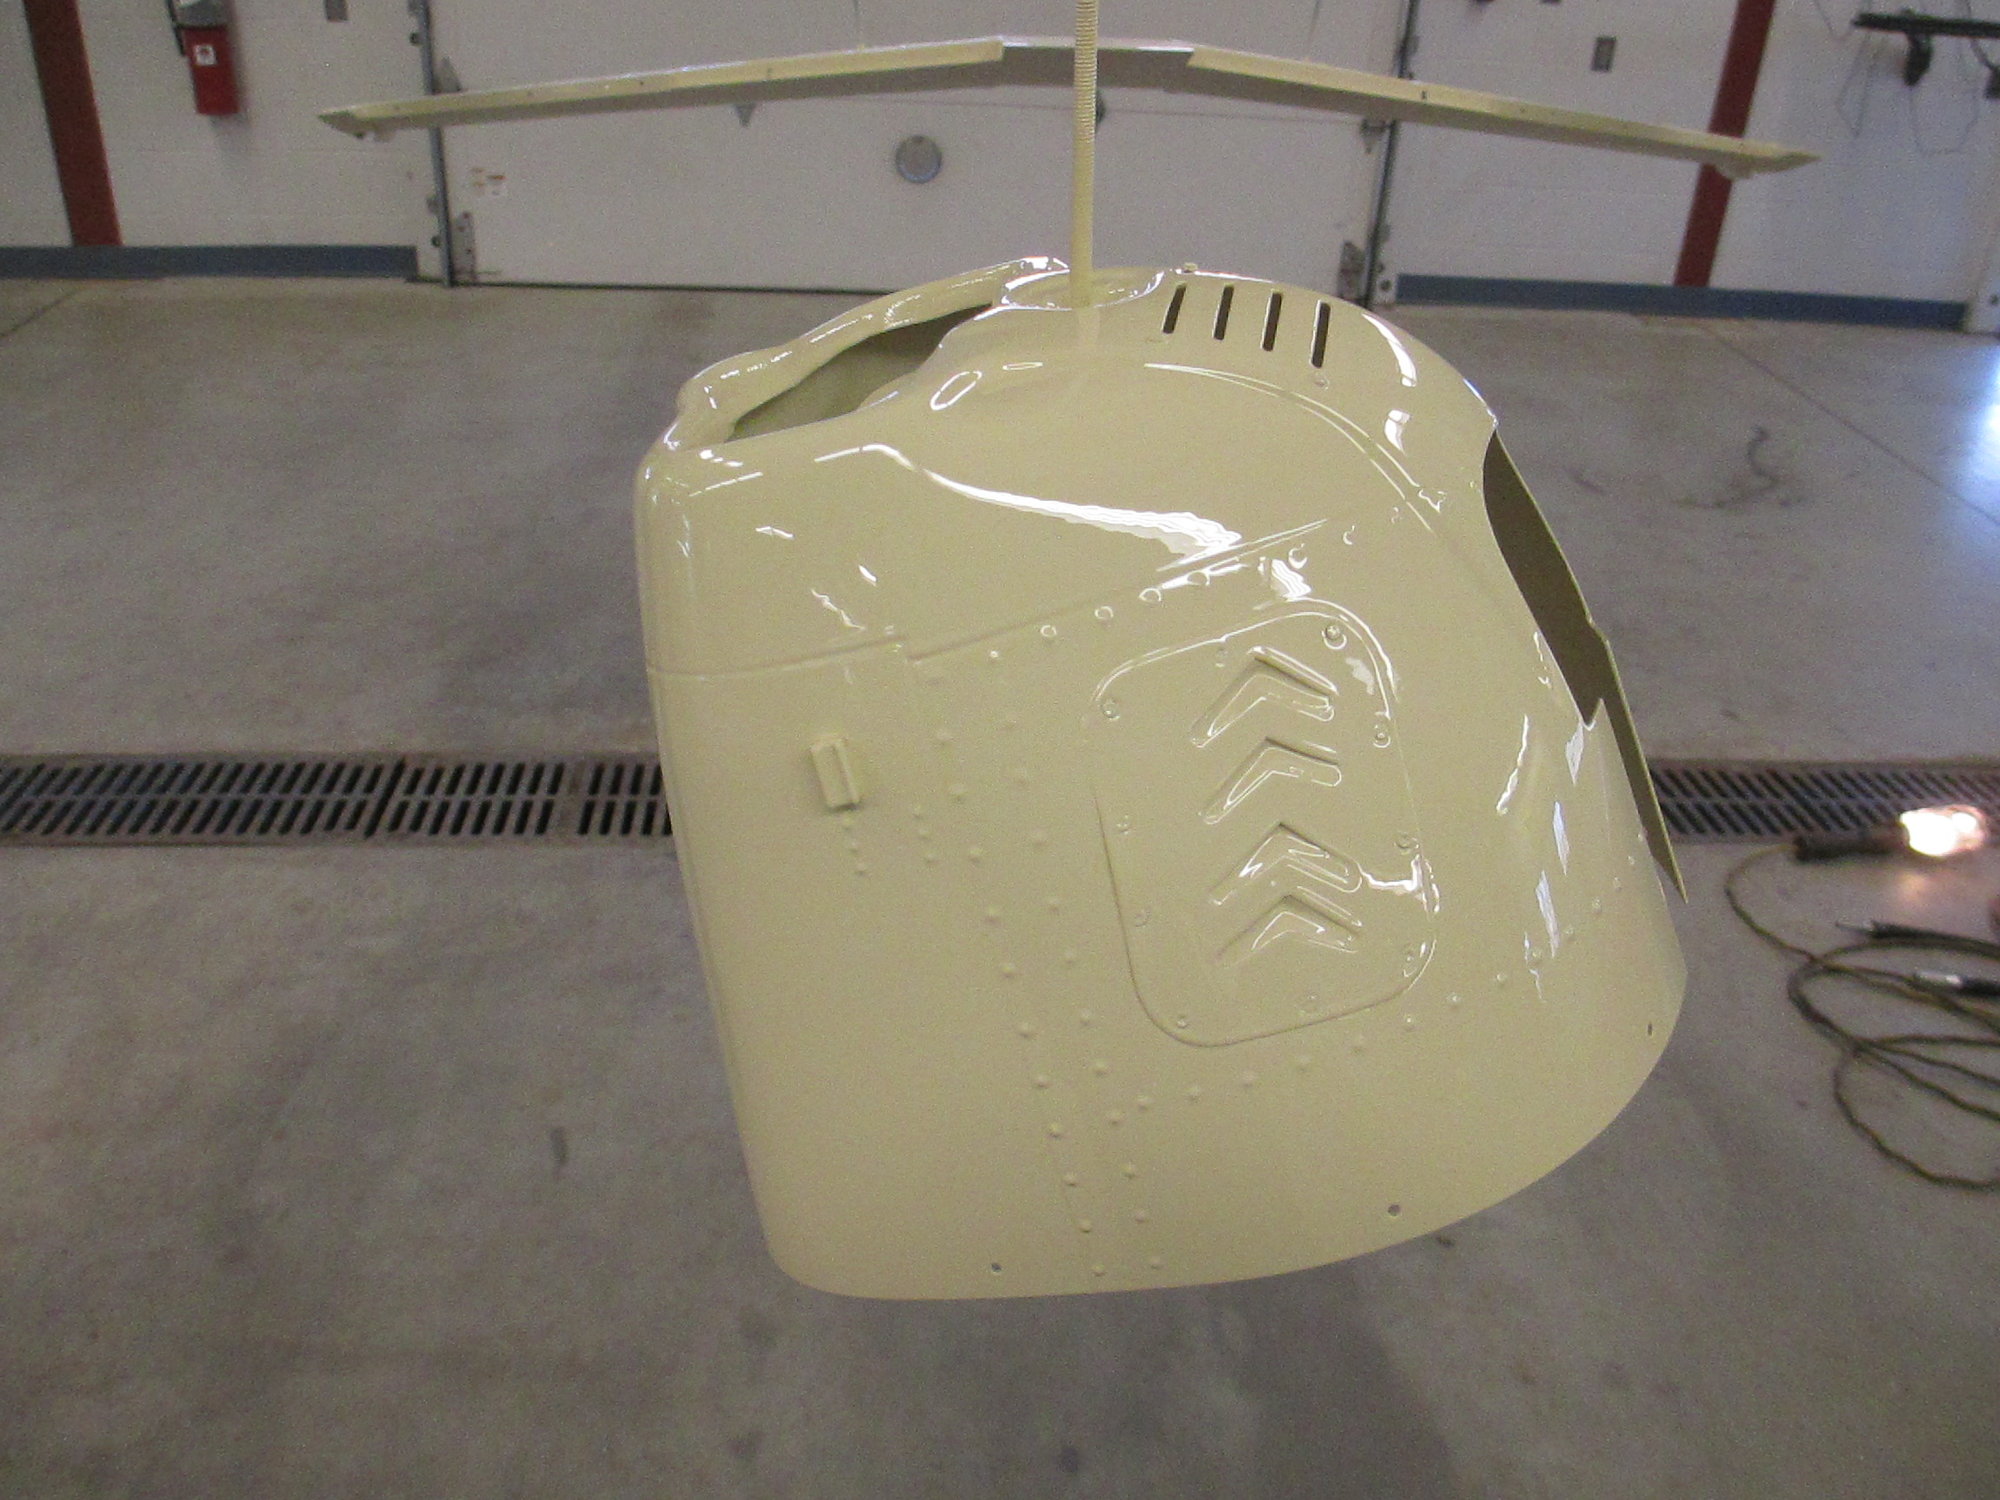
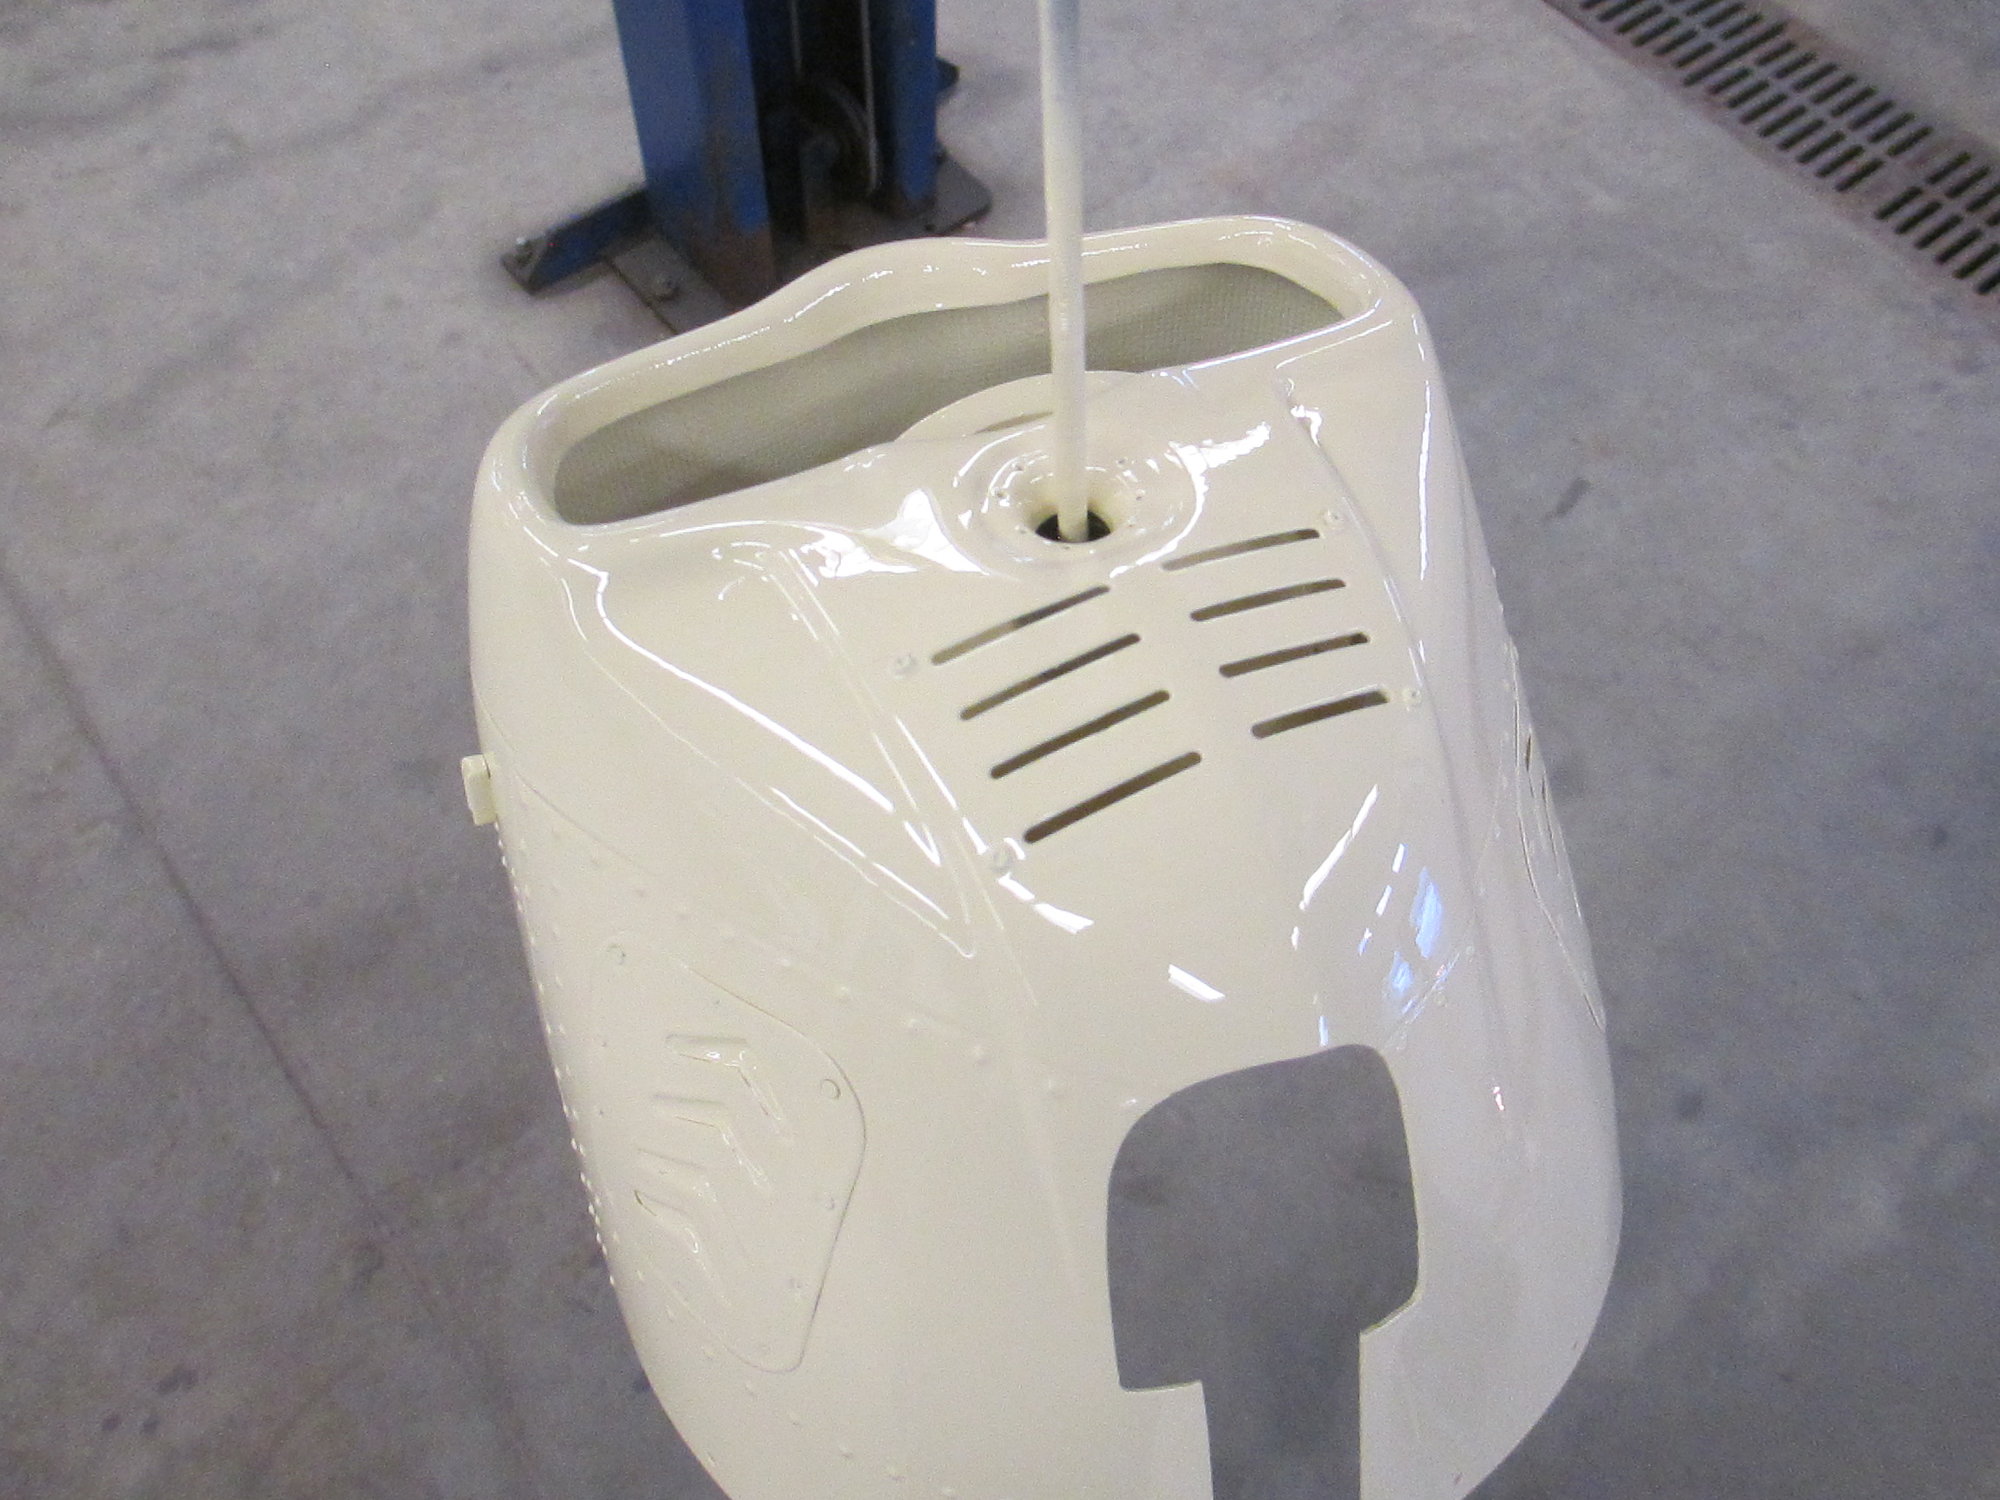
The cowl was also suspended.
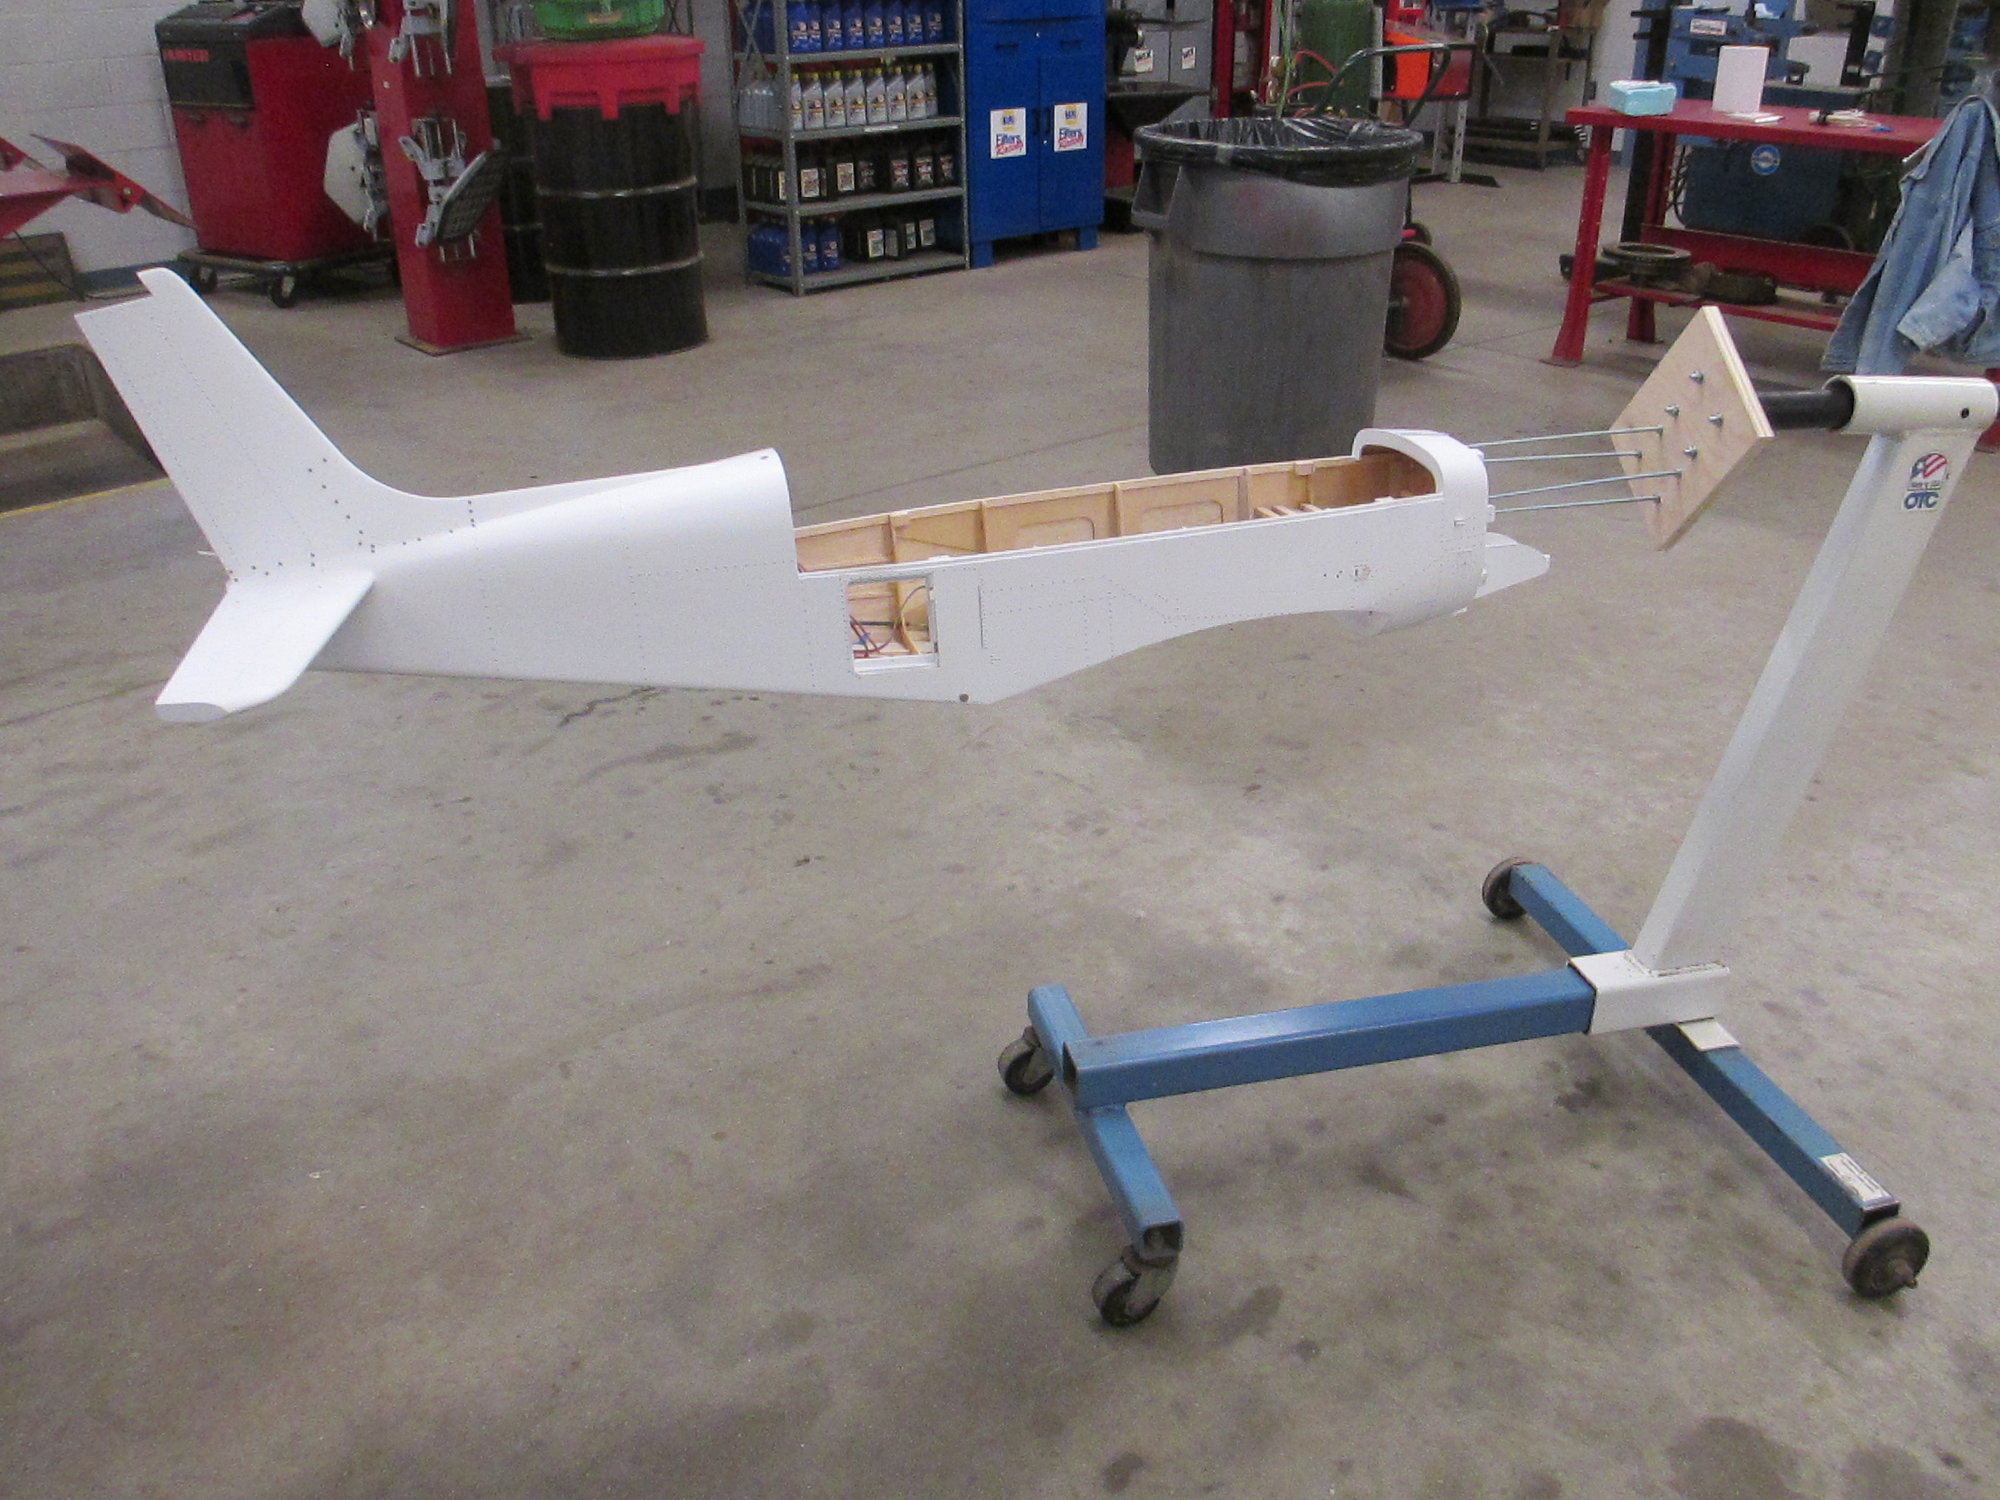
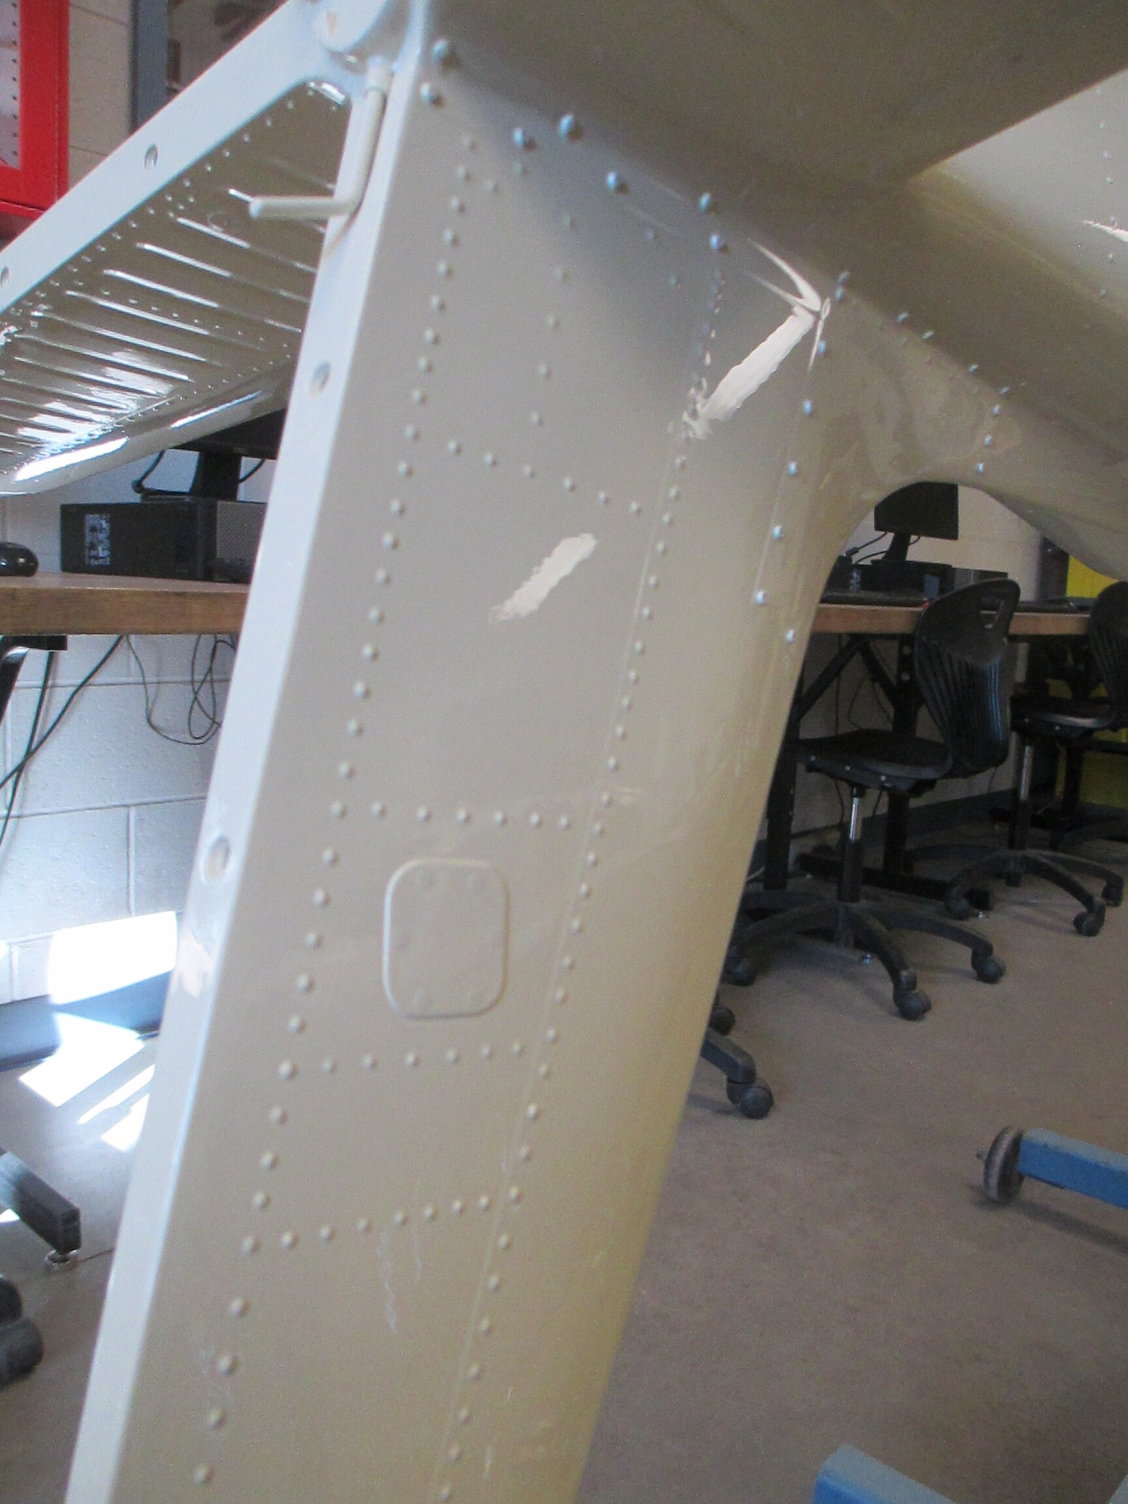
I'm using an engine stand to act as a rotisserie for the fuselage. The ability to rotate the fuse while painting makes it so much more convenient.
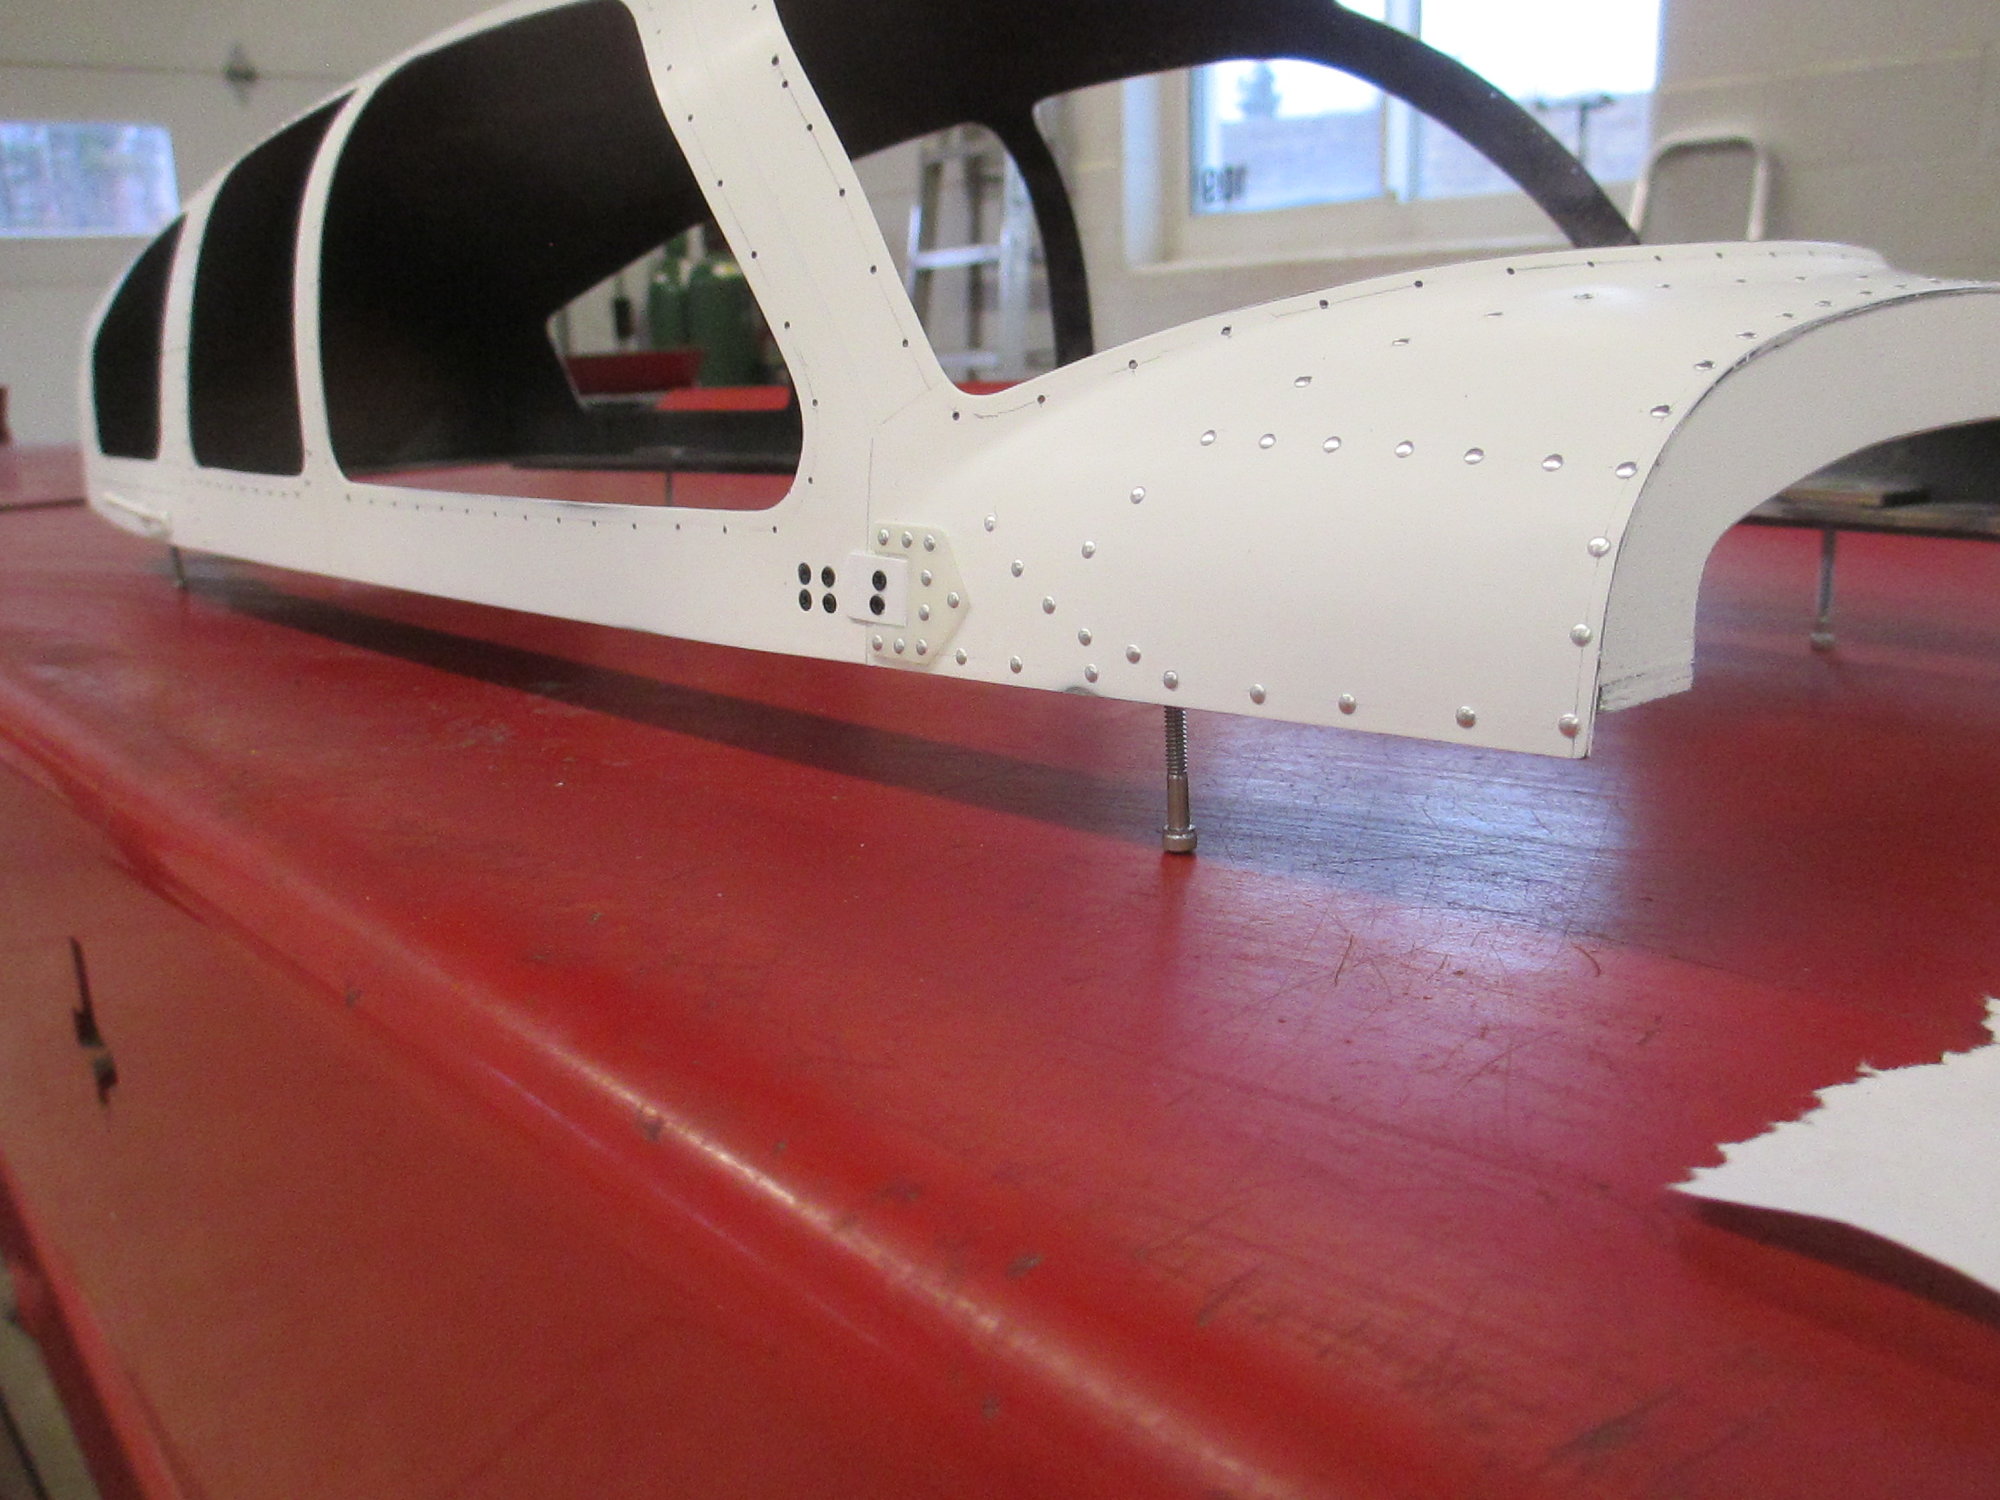
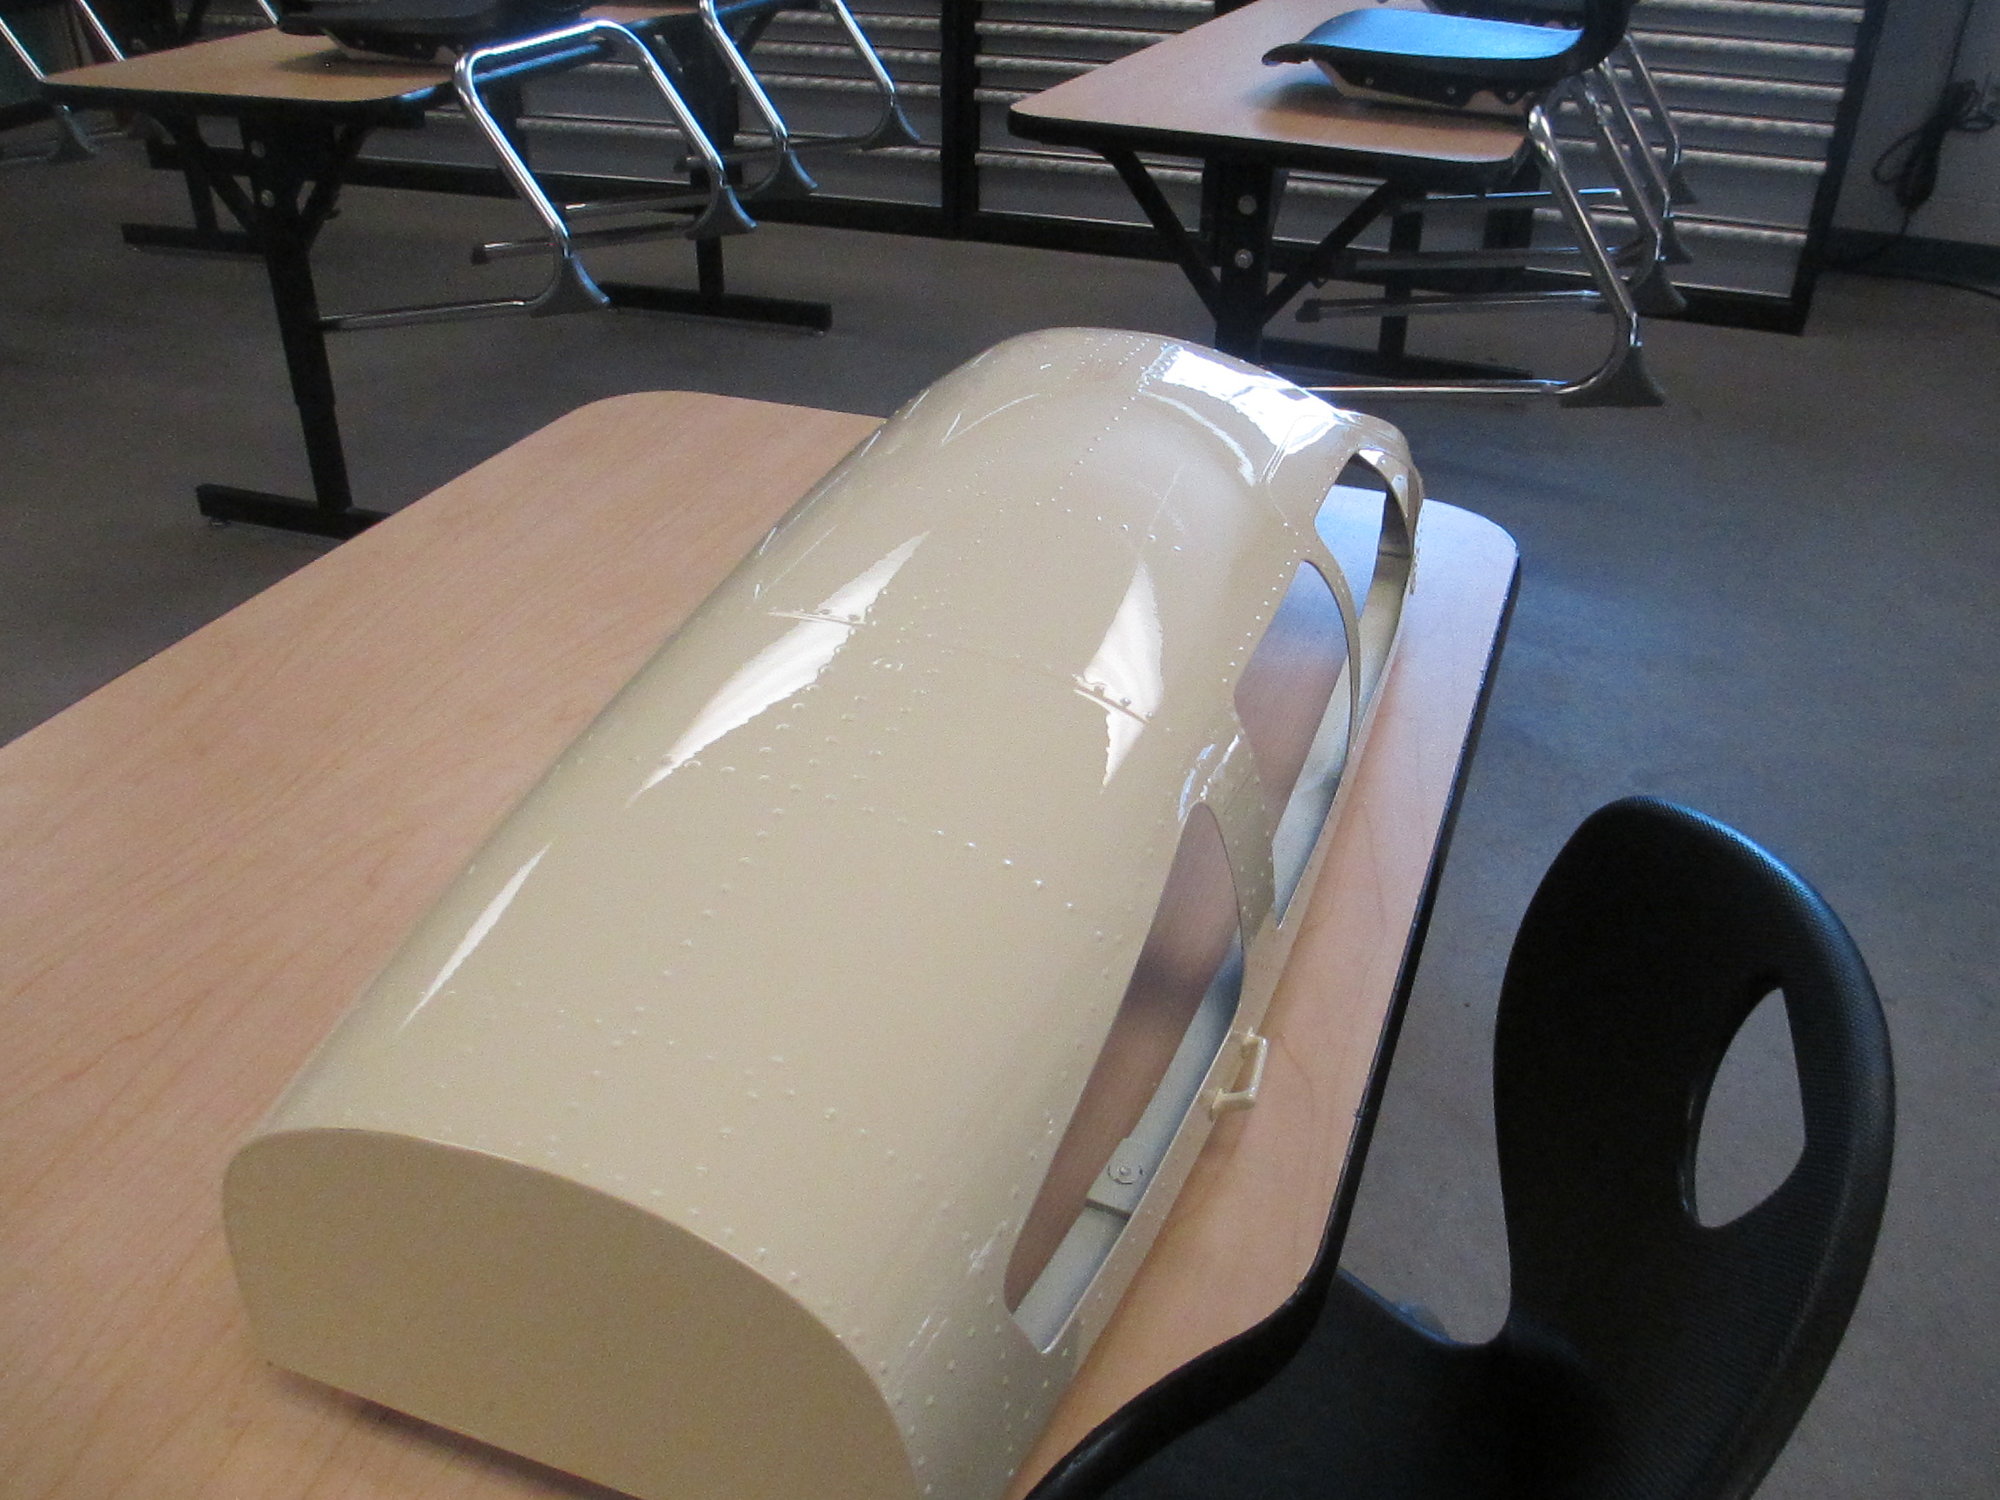
The top canopy had long 4-40 bolts secured to its bottom to keep it elevated off the table.
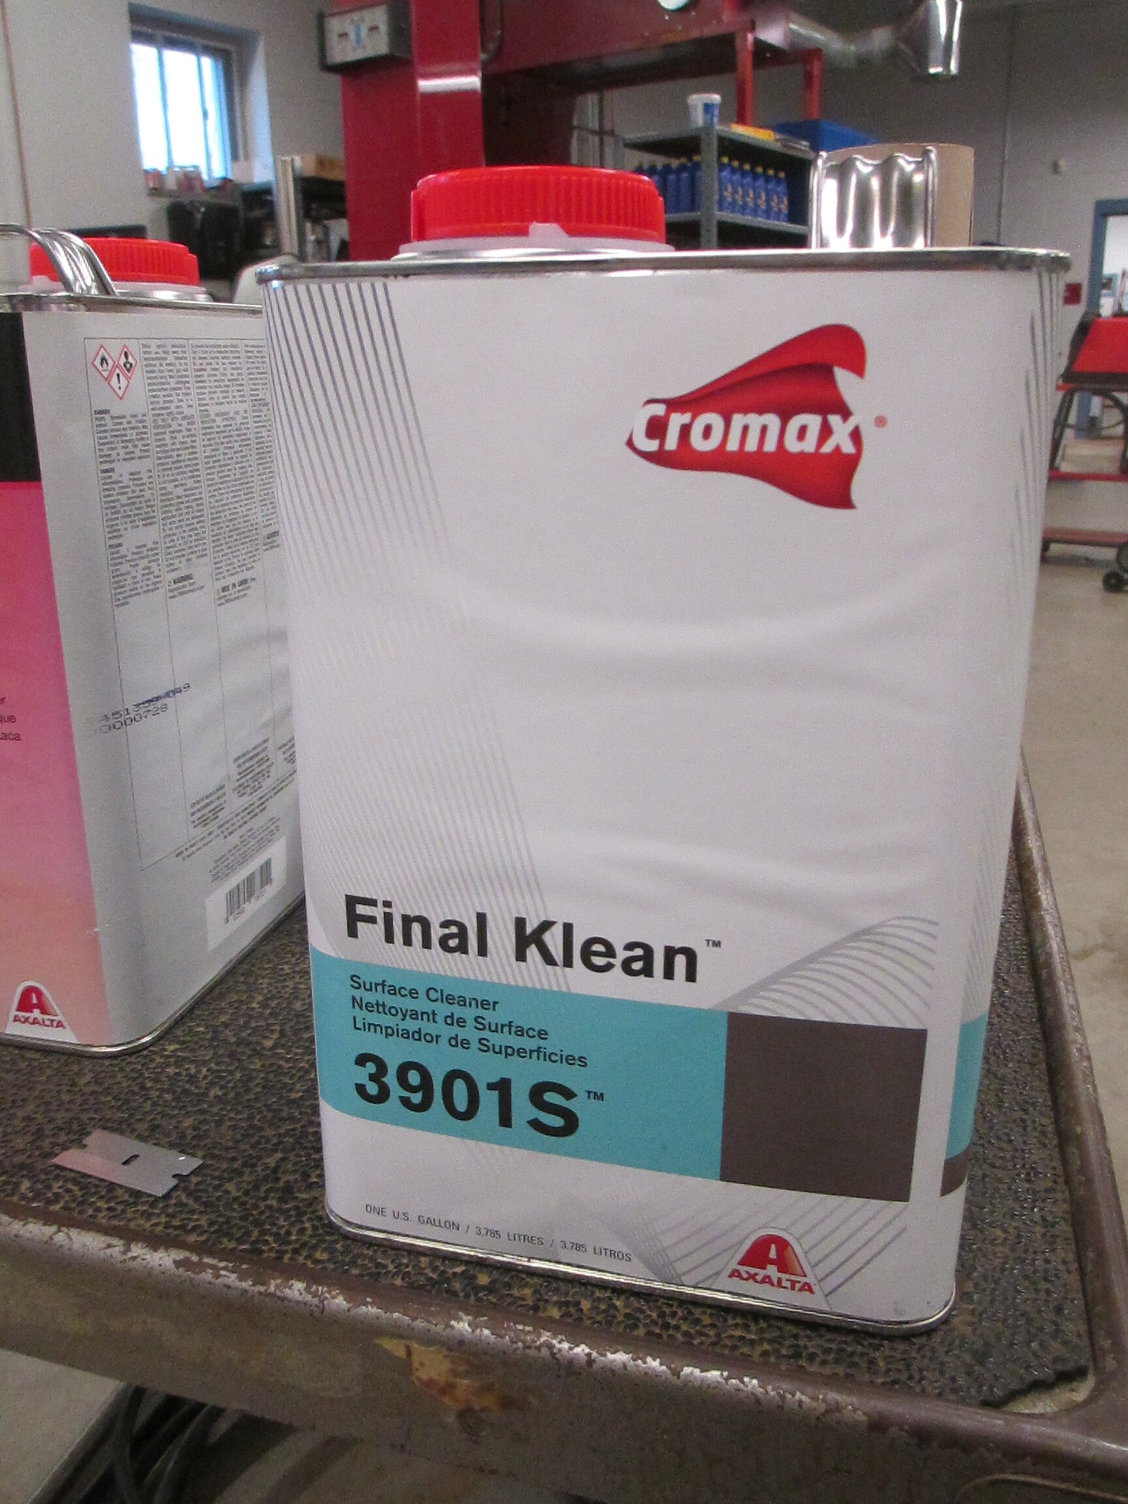
Using shop air, each piece was blown off, then gently wiped down using Final Klean. This product does not leave any film behind and removes contaminants on the primed surface. No rivets fell off during the cleaning process!
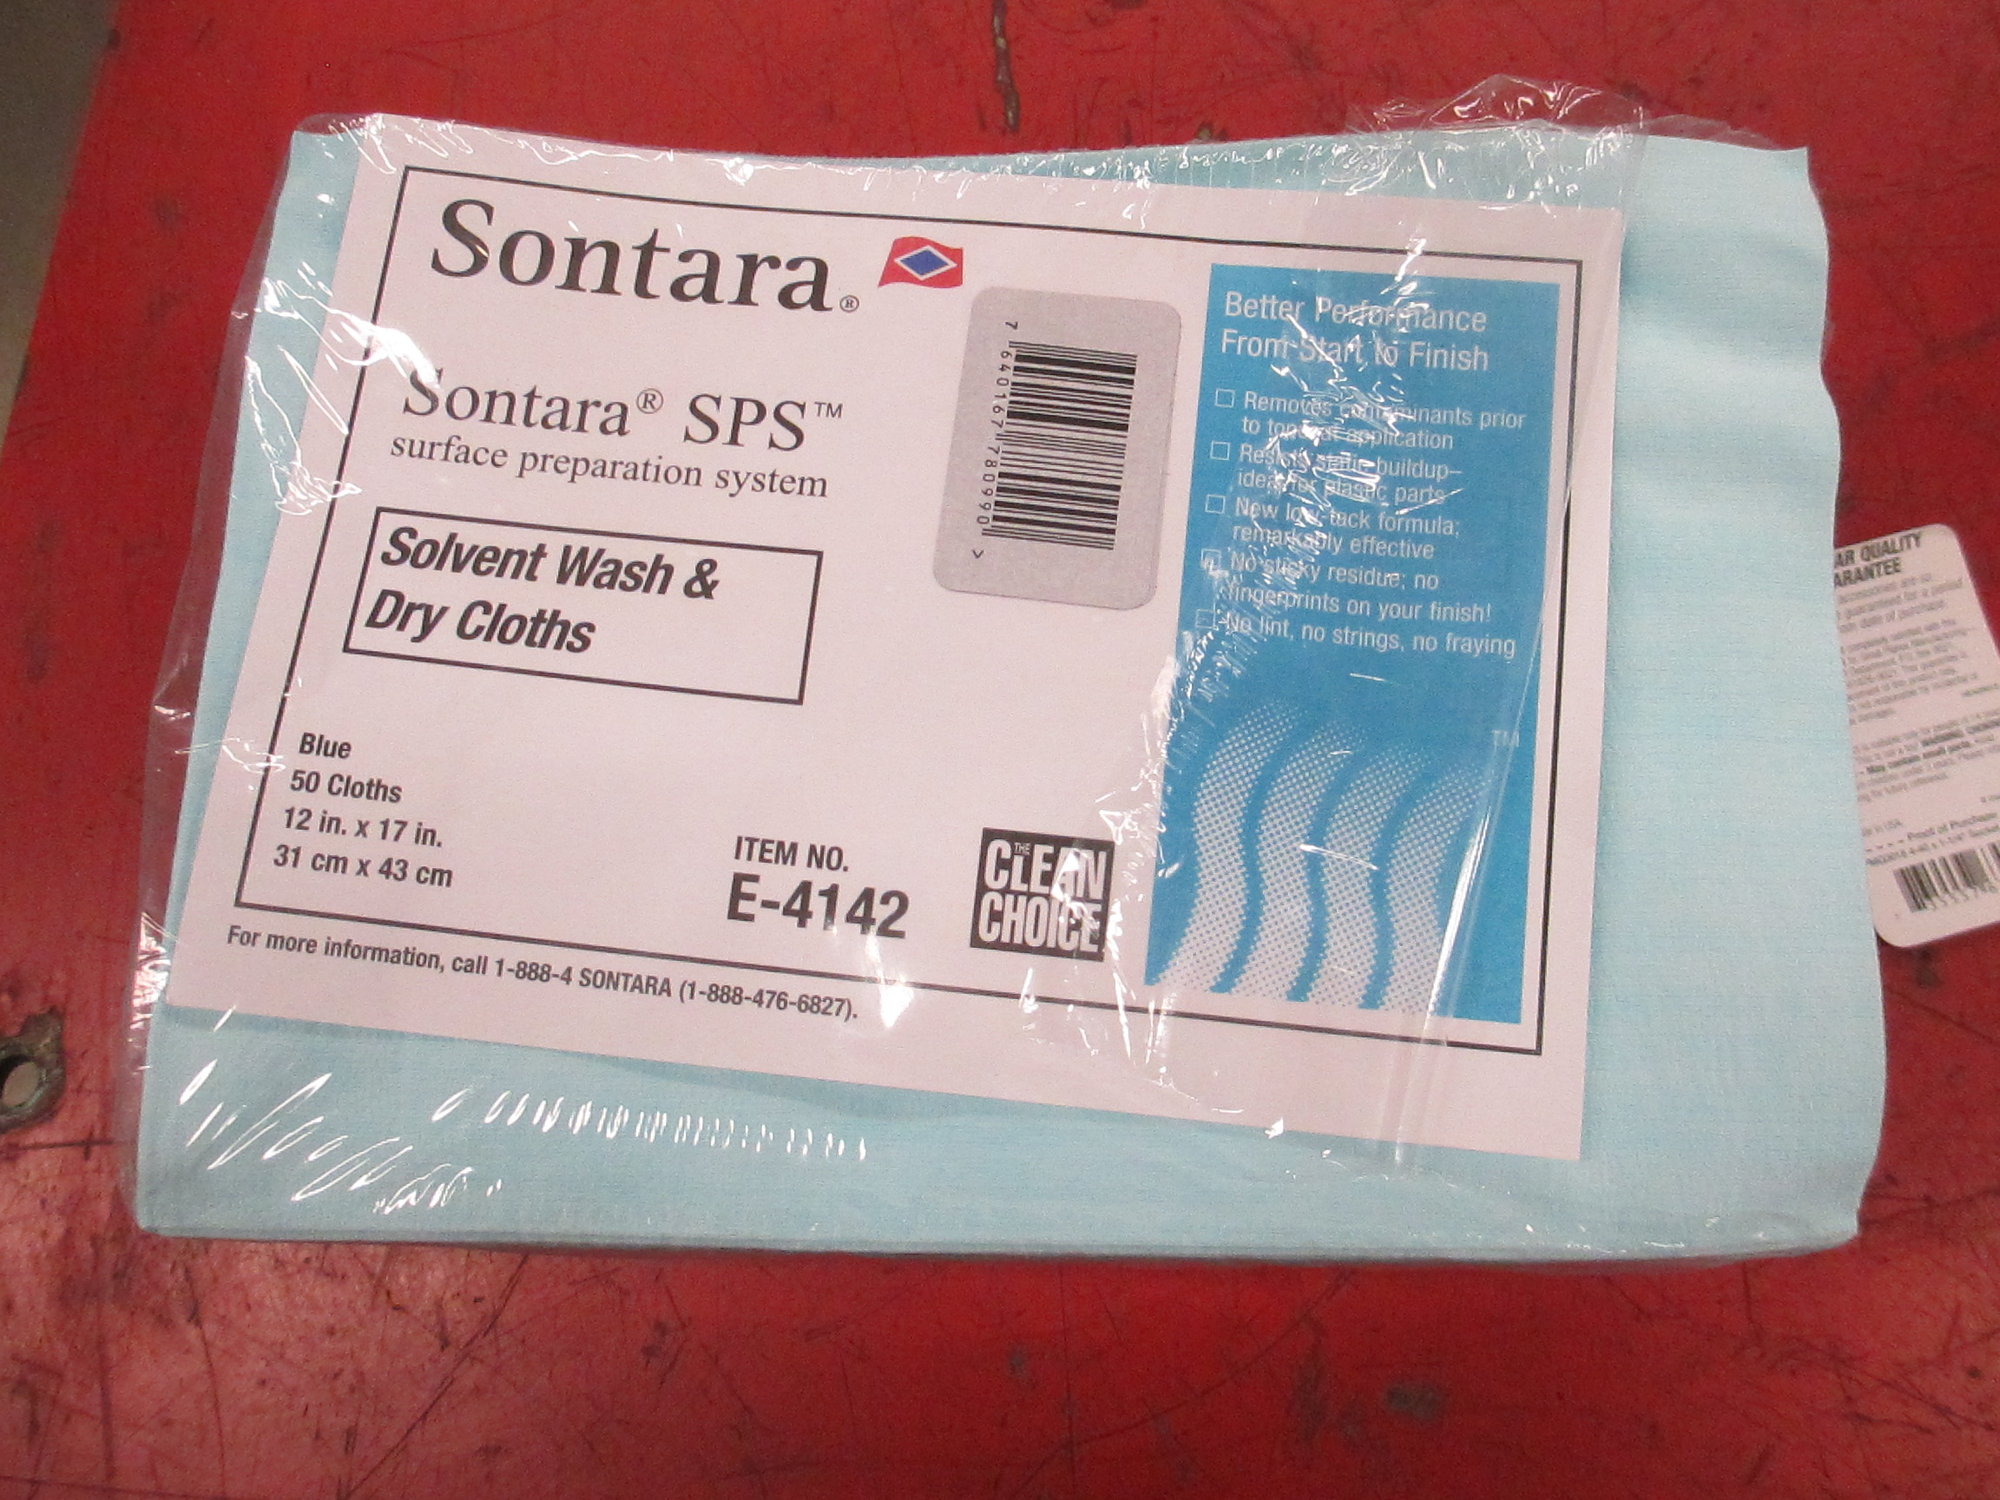
I prefer to use these cloths from Sontara which are lint free wetted with the Final Klean.
Tomorrow will be an exciting day, check in as I will be sure to post pictures of the spray!
I spent all morning setting up for tomorrow's spray. I'm doing my due diligence to try and be as organized as I can to ensure no surprises for tomorrow.
The wing was suspended to make painting both the top and bottom seamless.
The cowl was also suspended.
I'm using an engine stand to act as a rotisserie for the fuselage. The ability to rotate the fuse while painting makes it so much more convenient.
The top canopy had long 4-40 bolts secured to its bottom to keep it elevated off the table.
Using shop air, each piece was blown off, then gently wiped down using Final Klean. This product does not leave any film behind and removes contaminants on the primed surface. No rivets fell off during the cleaning process!
I prefer to use these cloths from Sontara which are lint free wetted with the Final Klean.
Last edited by VincentJ; 12-28-2020 at 01:08 PM.
12-29-2020, 01:13 PM
#1493
Thread Starter
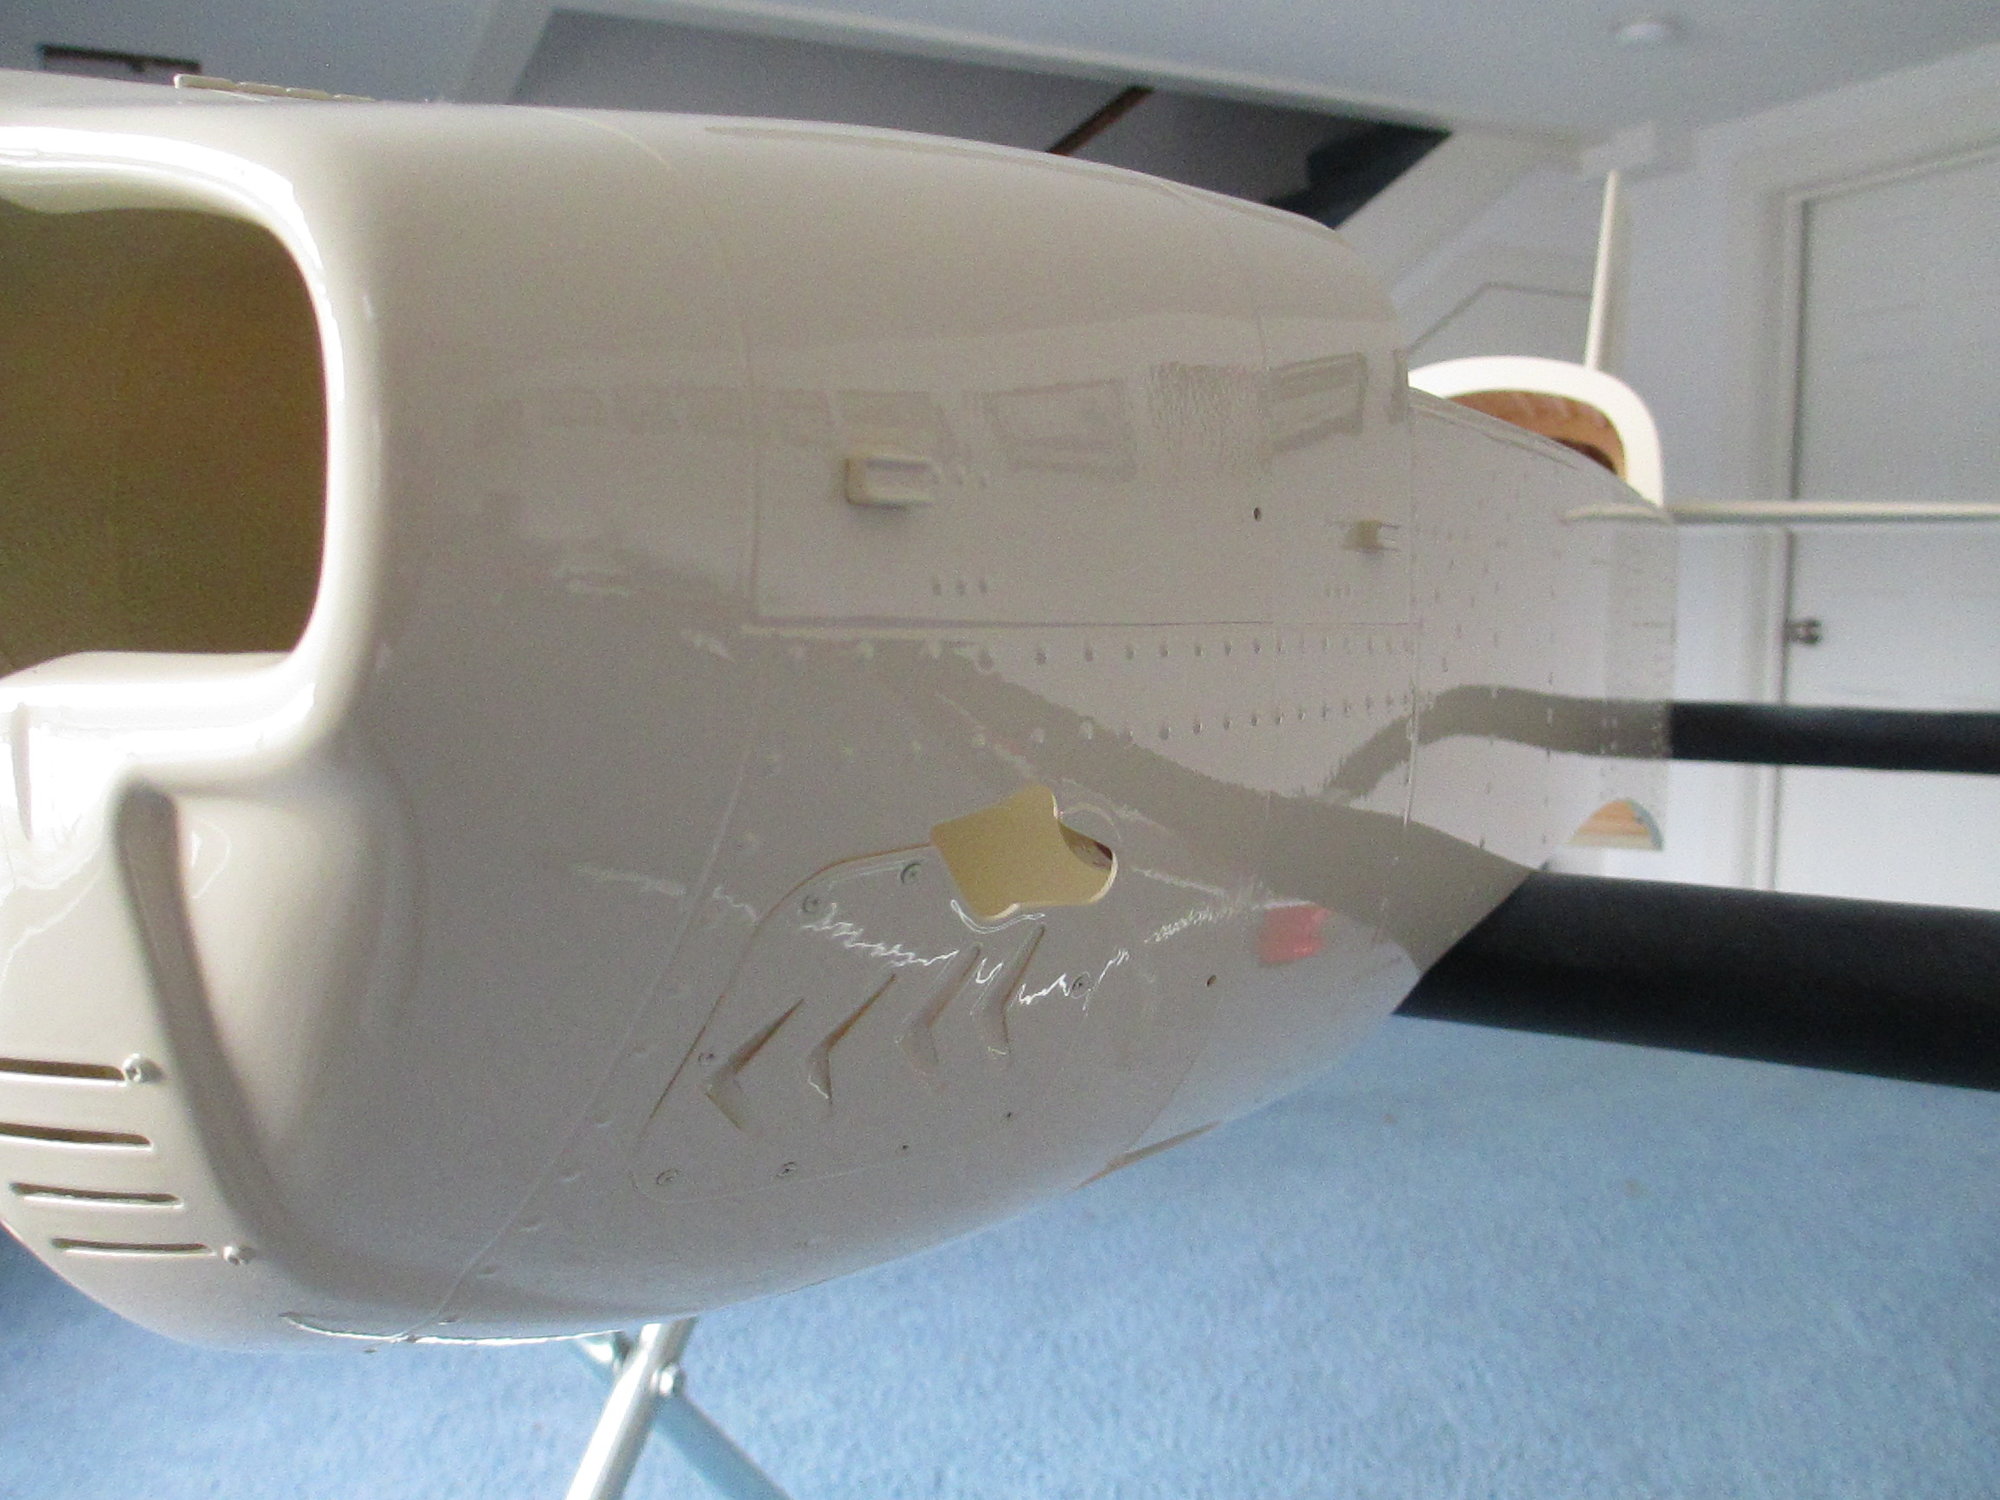
Early 7:00 a.m. start! Having everything sorted and organized was a big help. It was a long day, by the time I finished cleaning the spray gun it was around 3:00p.m. but I got her done.The color that I'm spraying on the Bonanza is an authentic custom mixed color called Moondust. My partner was very particular in making sure that this color just wasn't close to what his full scale Bonanza had, he insisted that it be exact. It was well worth the effort!
I wiped everything down for the final time making sure that nothing was on the surfaced to be painted. Two rivets came off so I was glad that I had extras on hand to reinstall.
When mixing Klass Kote epoxy paints, Part A (which is the base color) is added to Part B (catalyst) in equal amounts then stirred. Once mixed you have to wait between 30-45 minutes (which is the induction time) before you add in the reducer. It's up to the painter as to how much reducer is added to the mix as long as you don't exceed a 1:1 mix ratio. In my first of two batches of paint that I mixed, I poured 10 ounces of Part A and another 10 ounces of Part B to which I added 8 ounces of reducer. After the induction period, I had a total volume of 28 ounces of ready to be sprayed paint. Once the paint was loaded in my SATA paint cup I started spraying at 29 psi, but later lowered the pressure down to 24 psi. It sprayed well at that pressure. Two coats of paint was were I left it as the coverage was good.
Enjoy the pictures!
l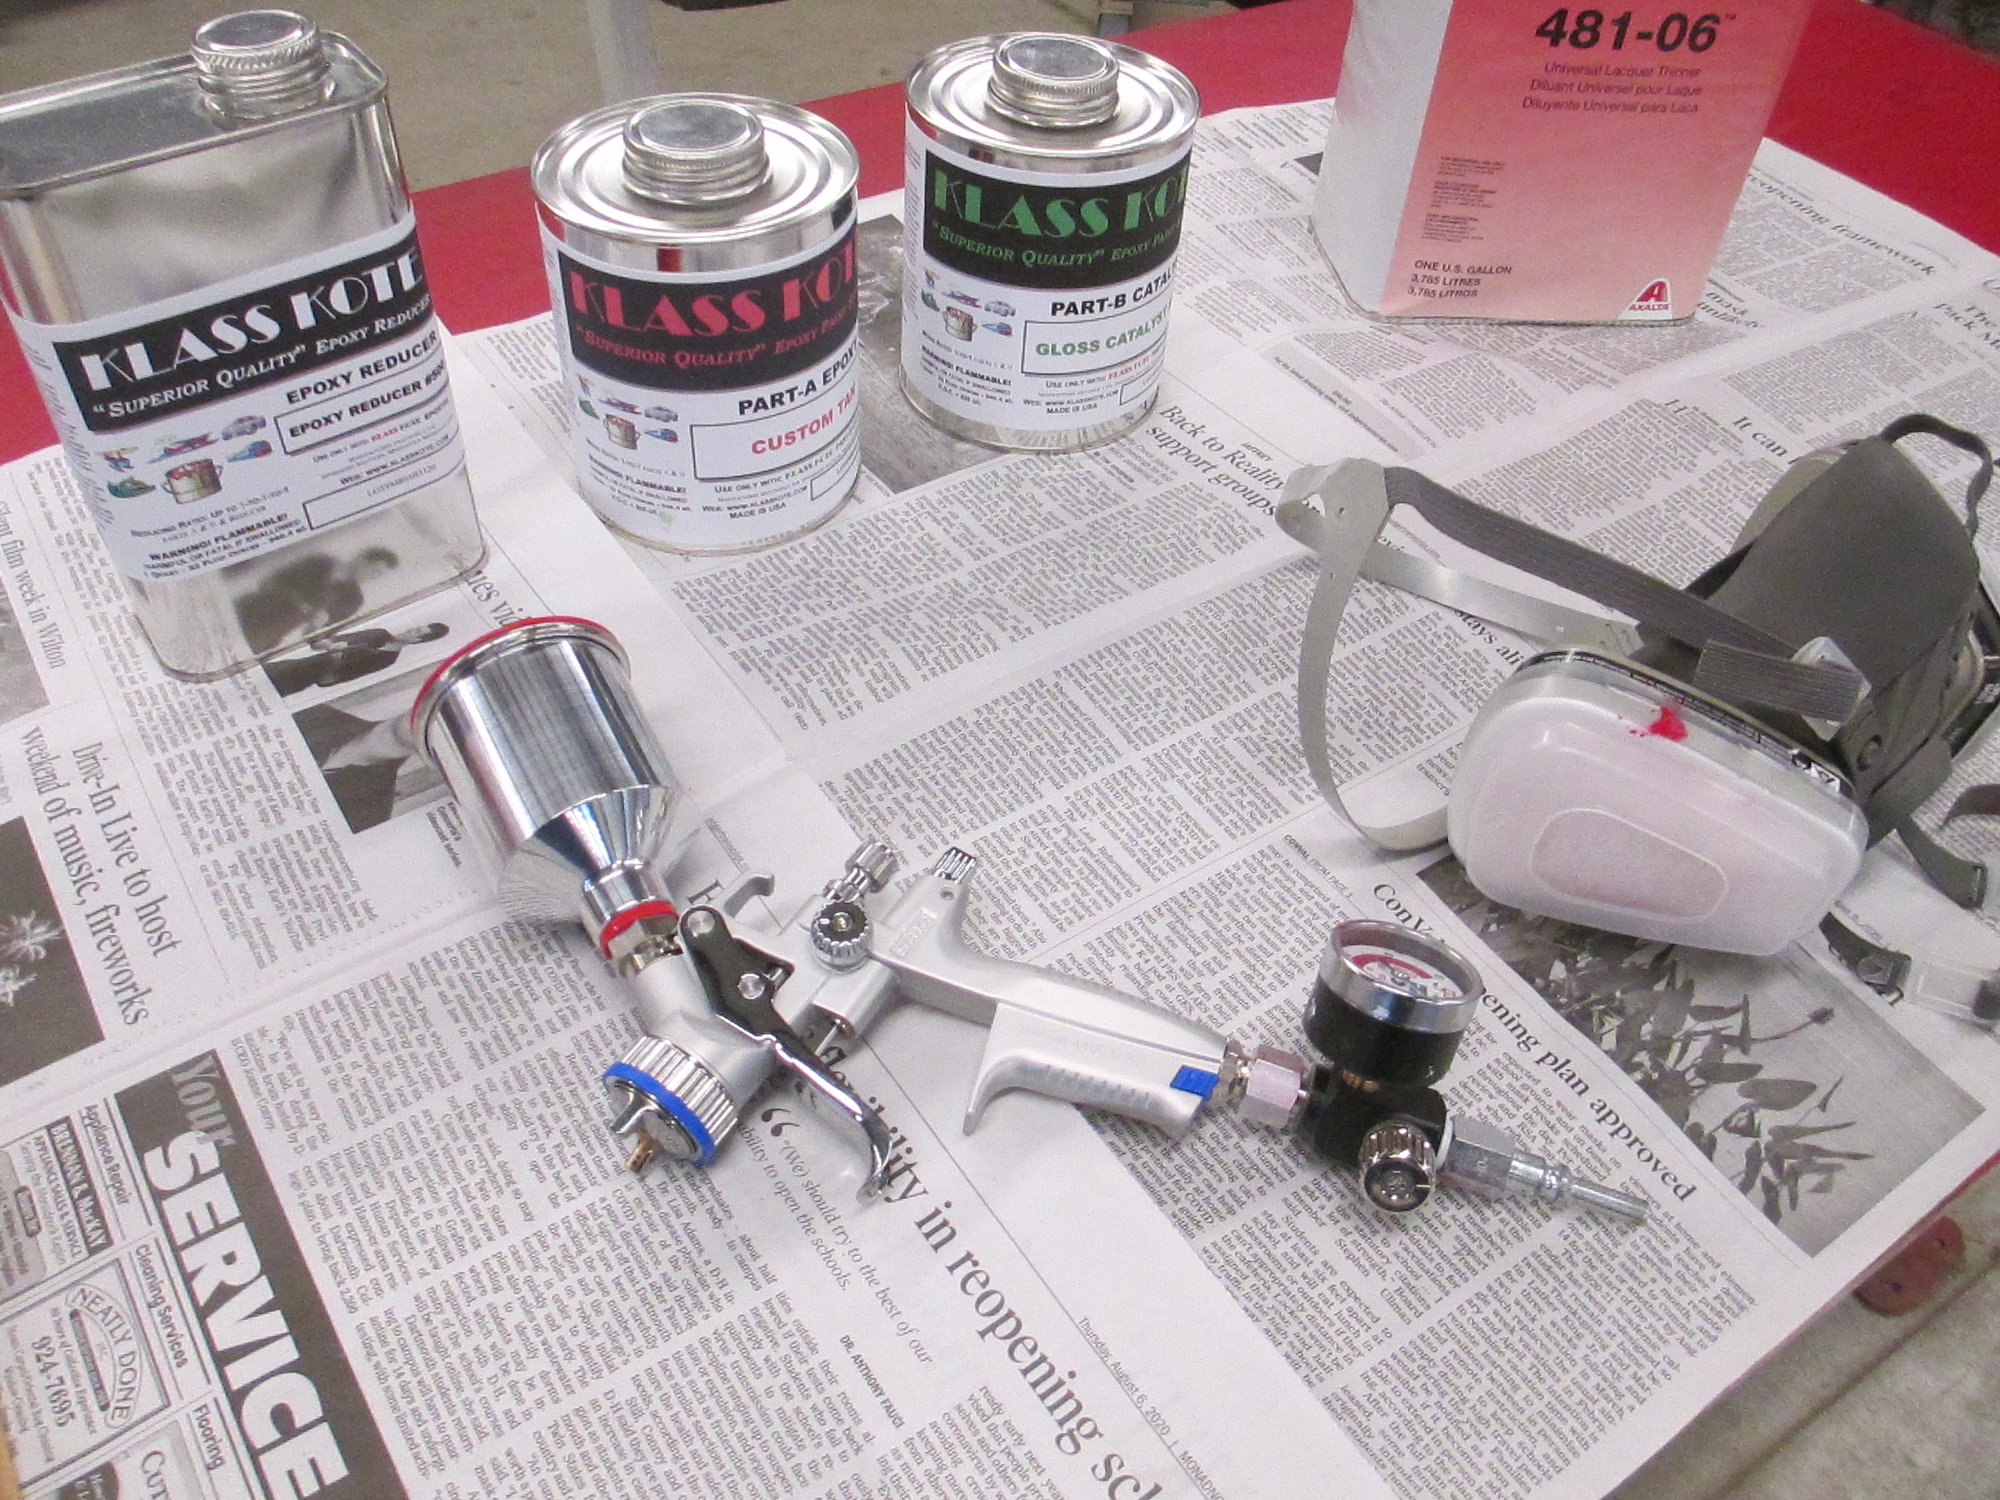
Klass Kote paints part A and part B along with reducer. The gallon of thinner is for gun clean-up. My trusty SATA Minijet spray gun and a good quality mask.
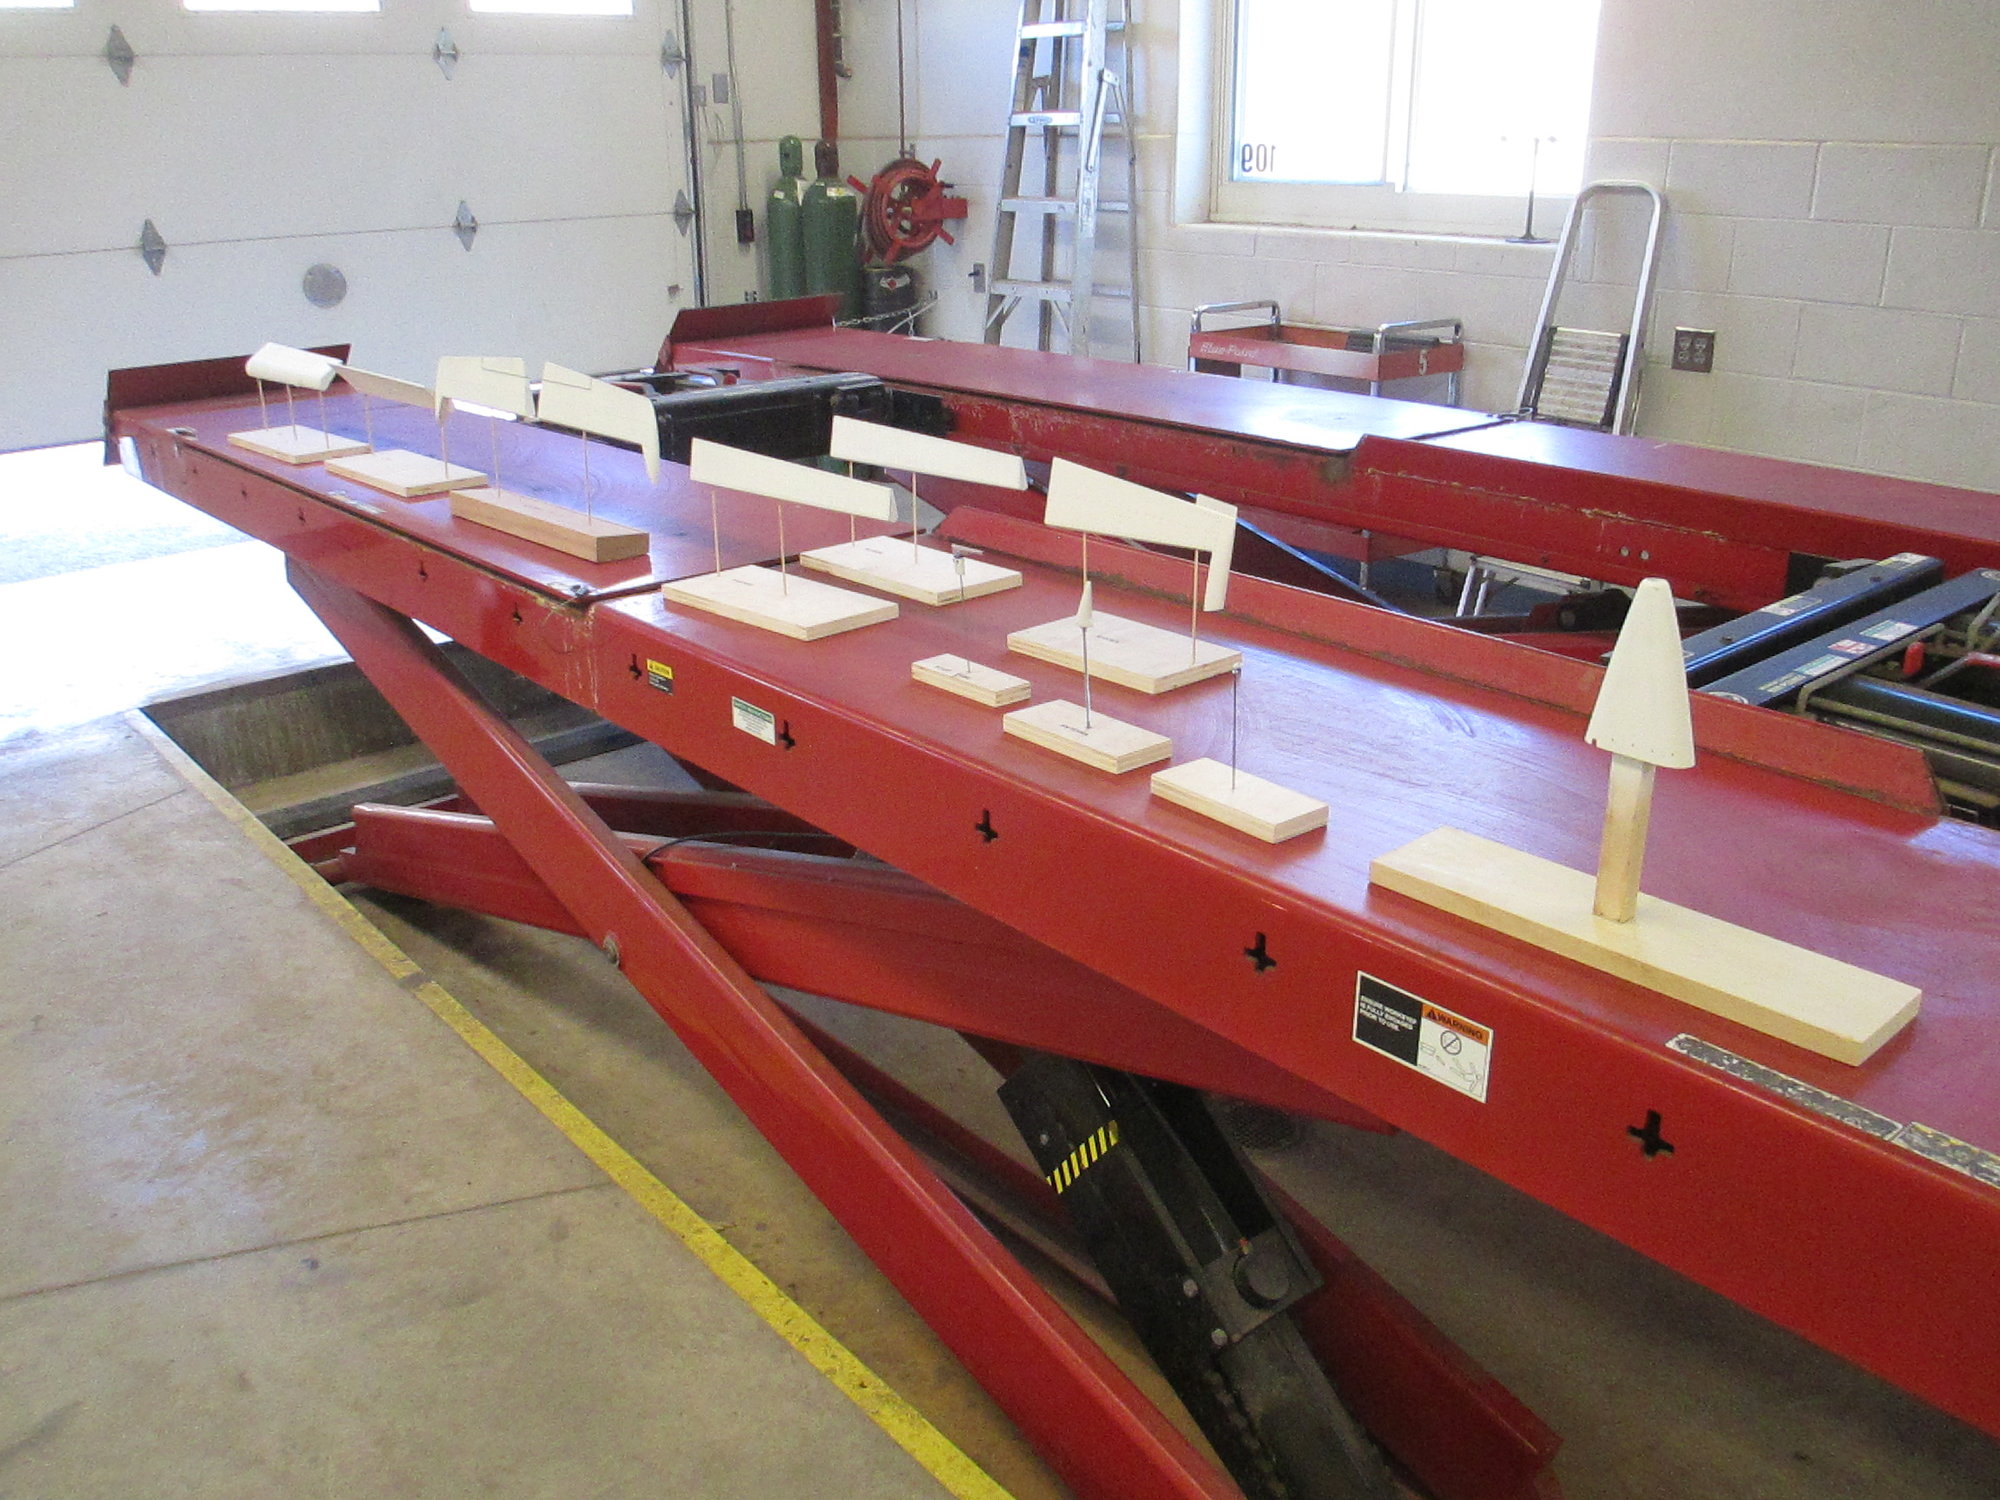
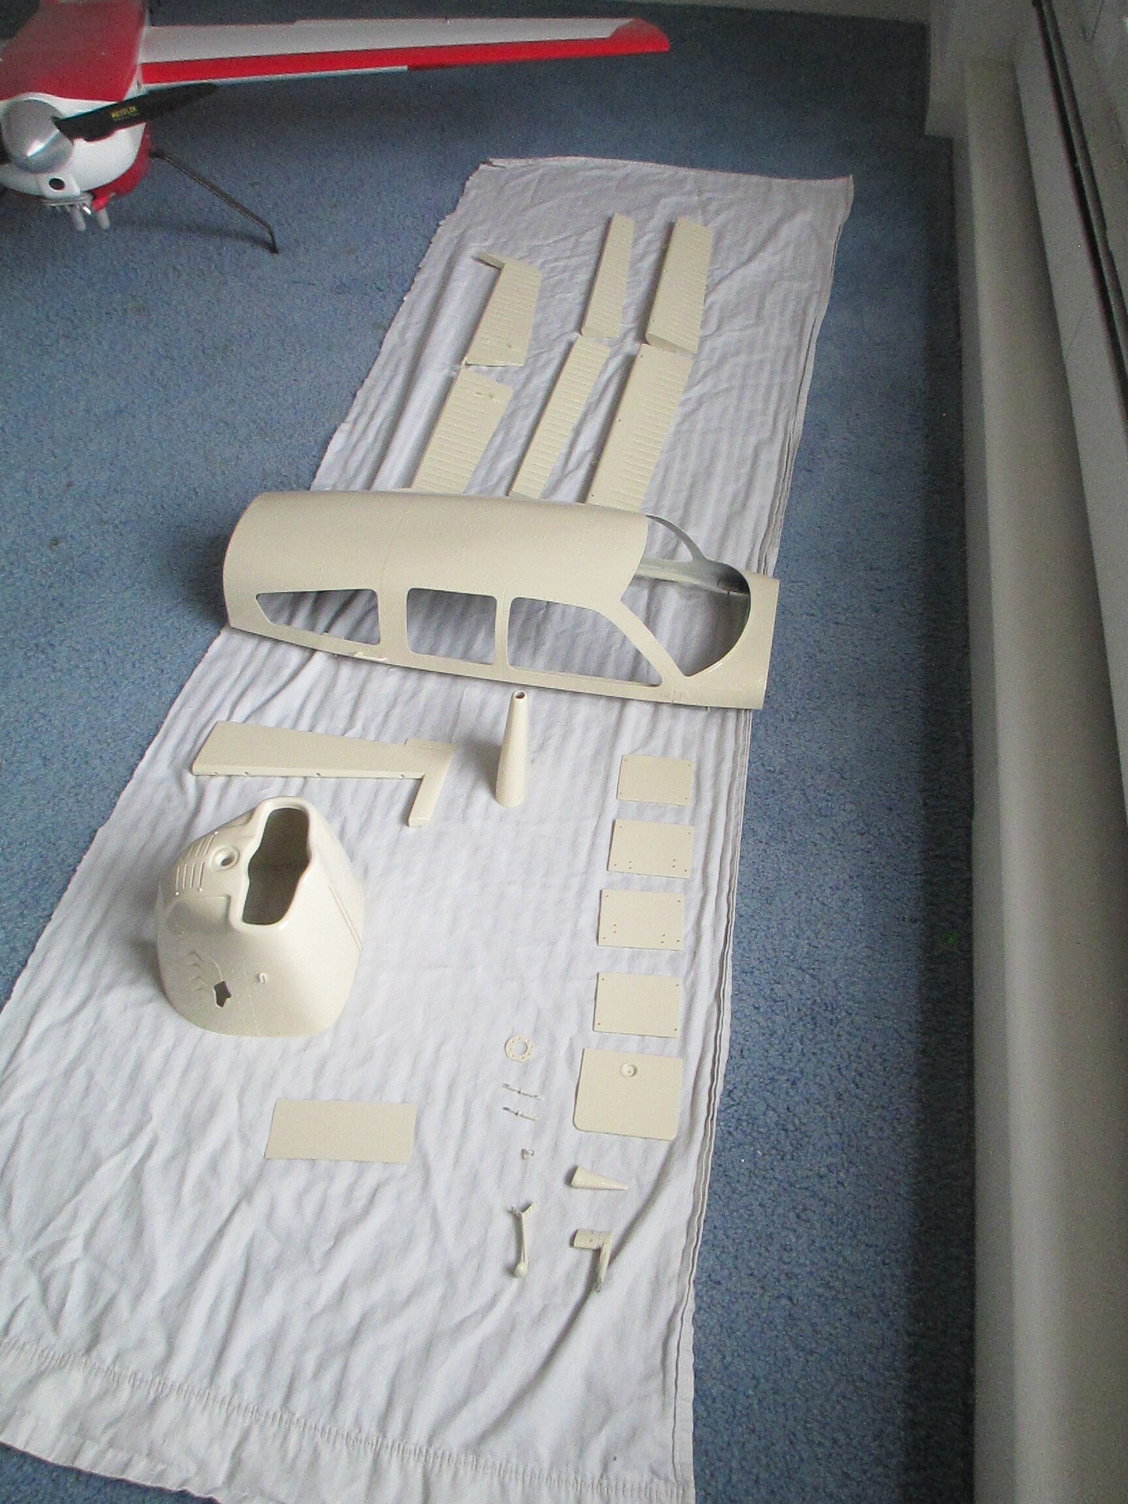
Remember all of those jigs that I had made earlier? Each part is awaiting its turn to be painted.

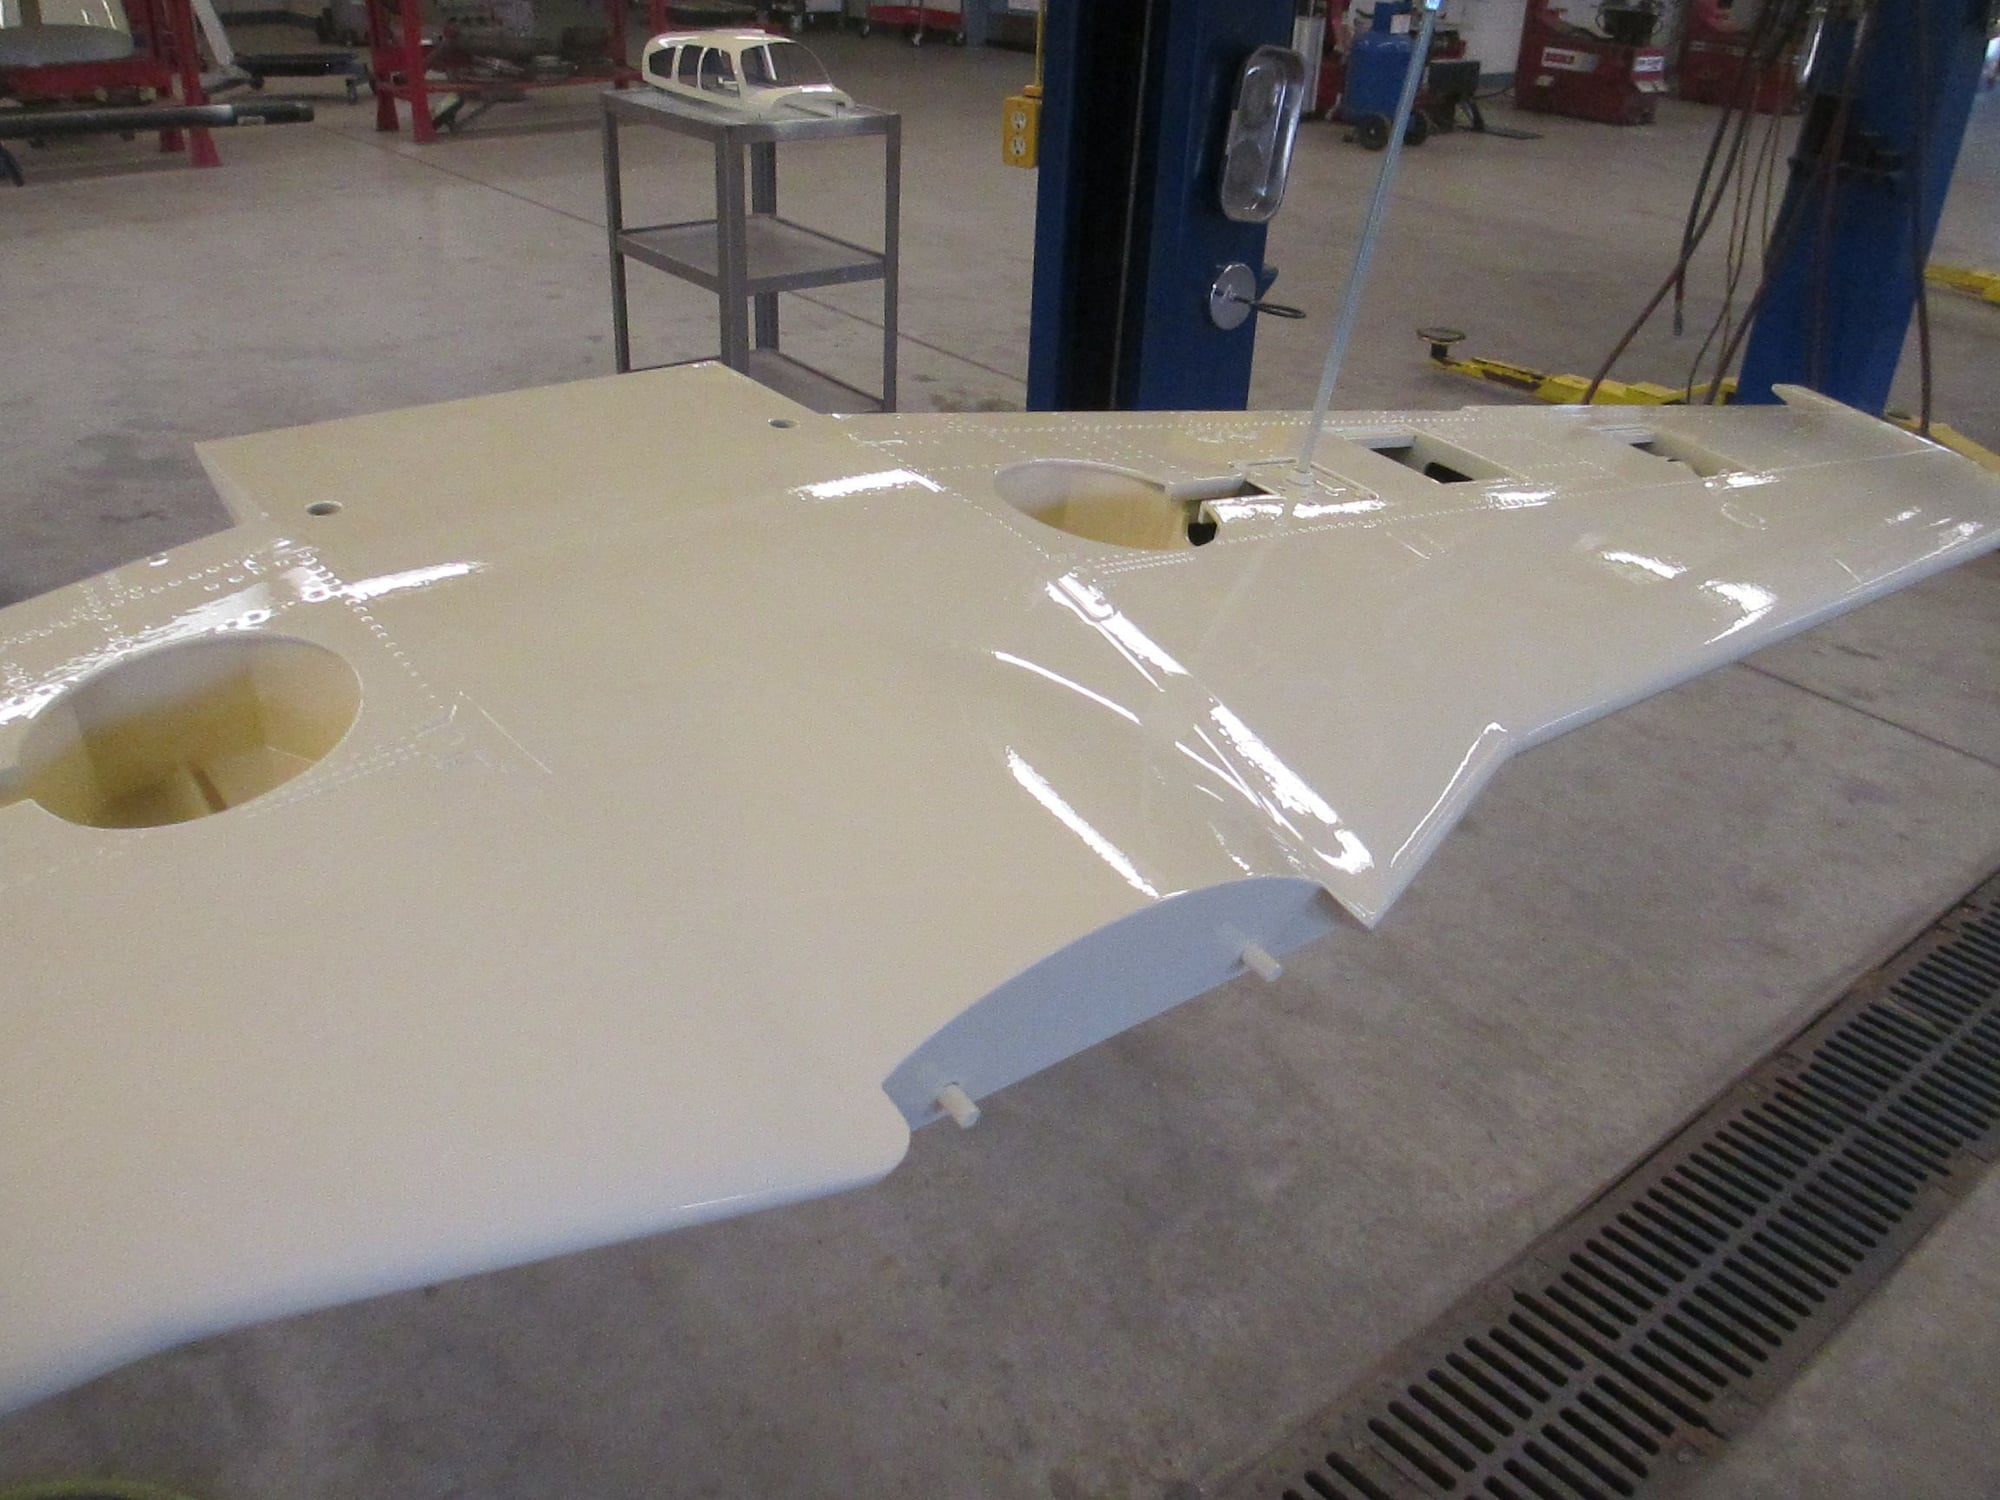
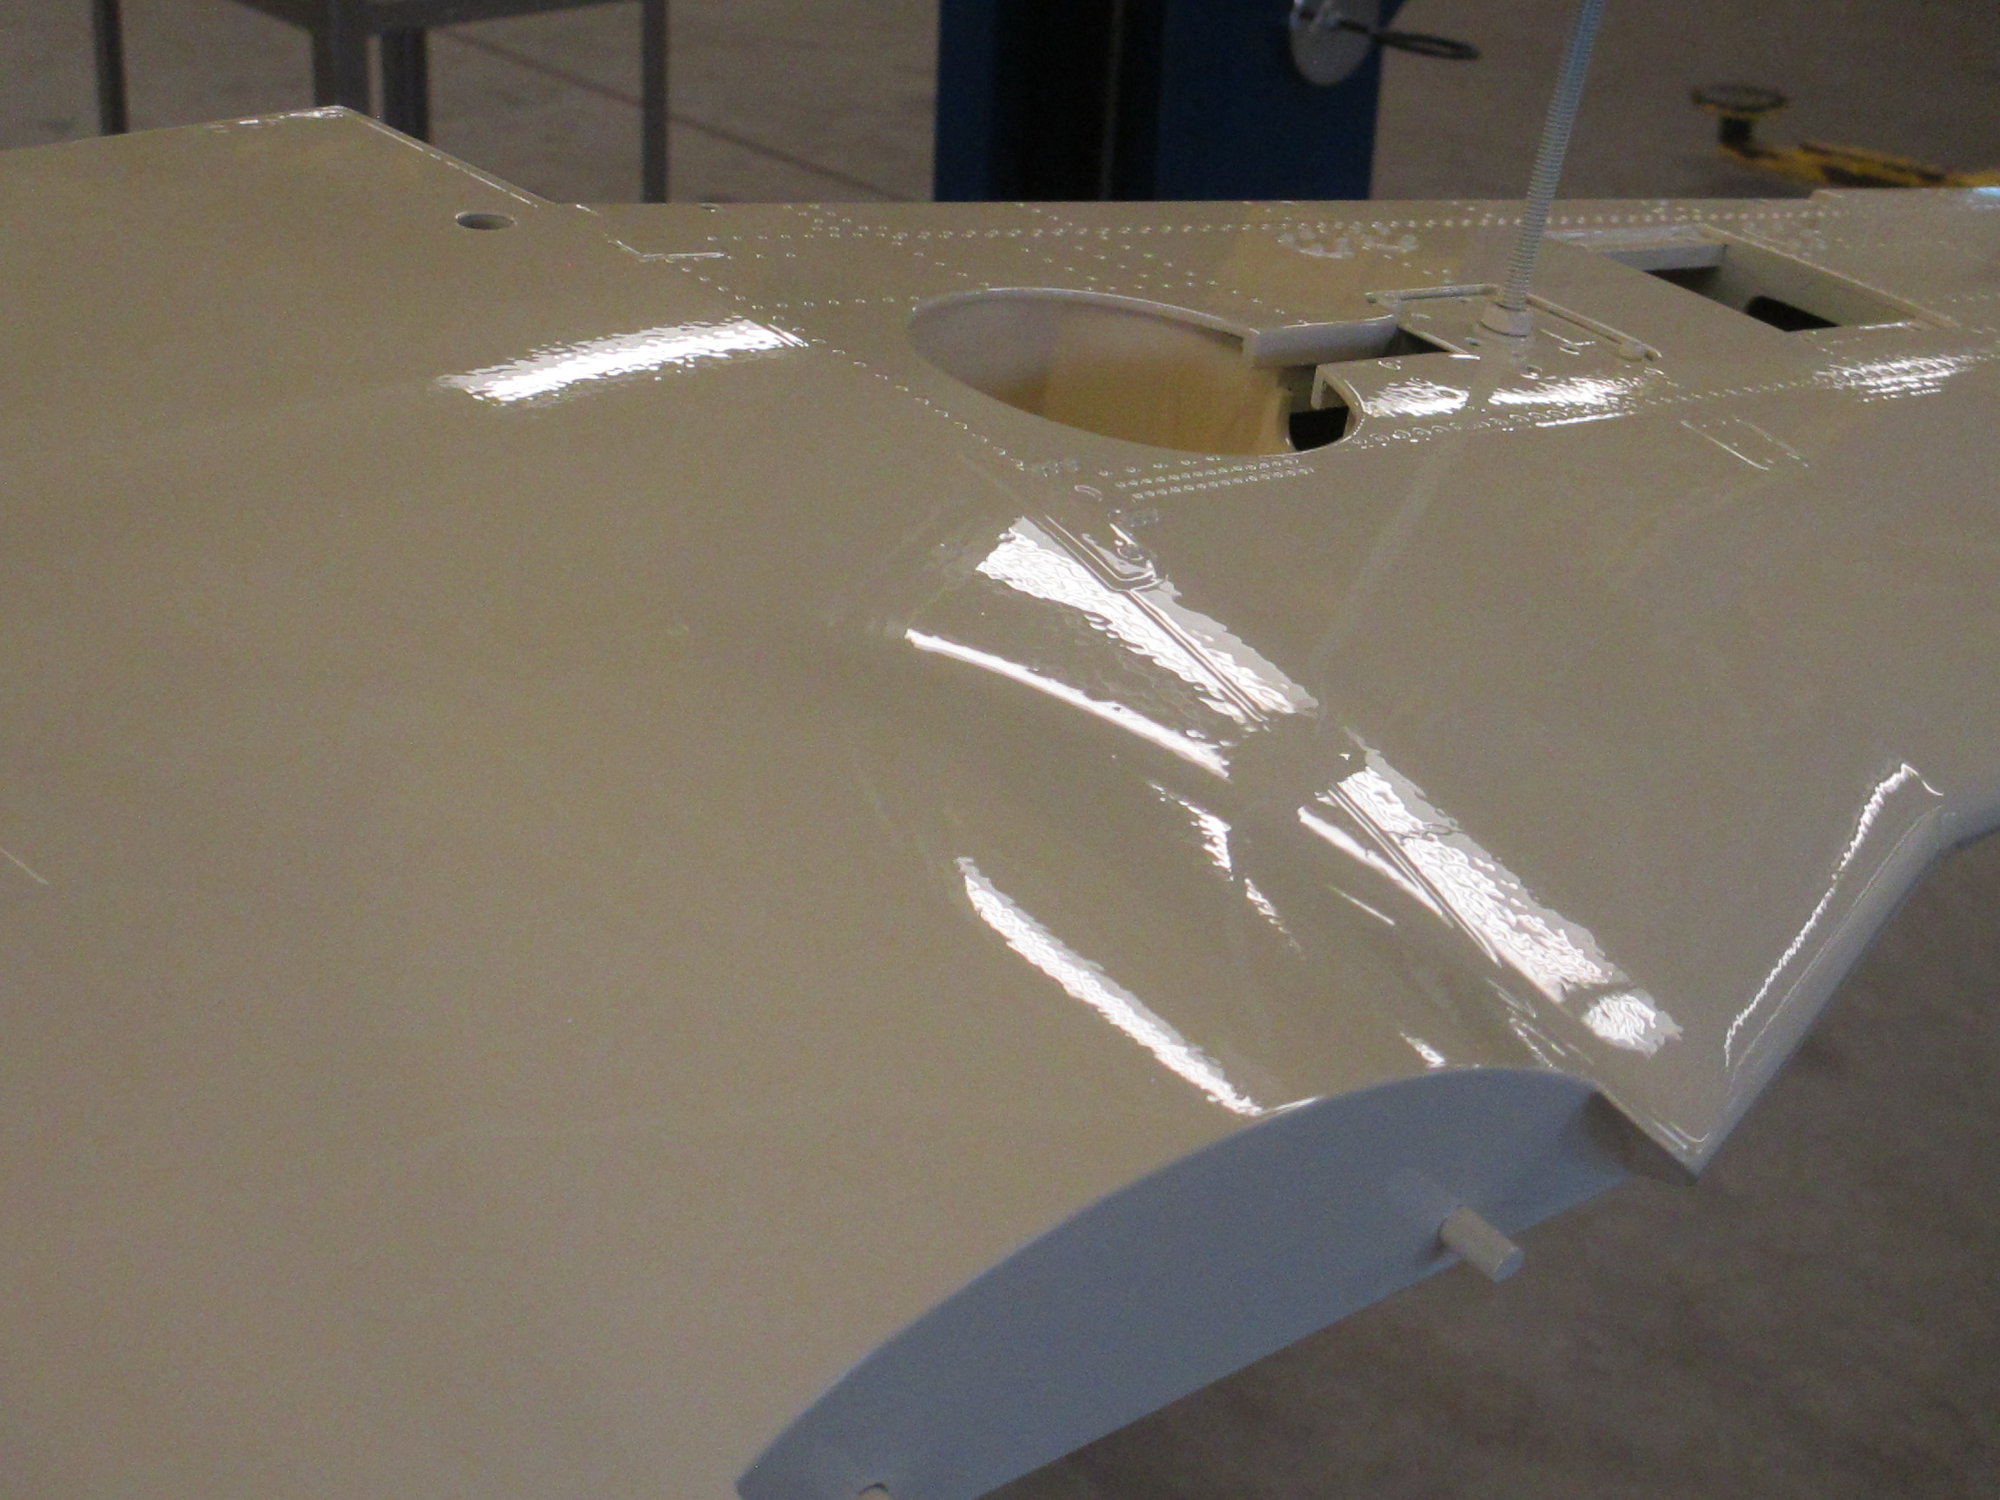
First coat on the wing.
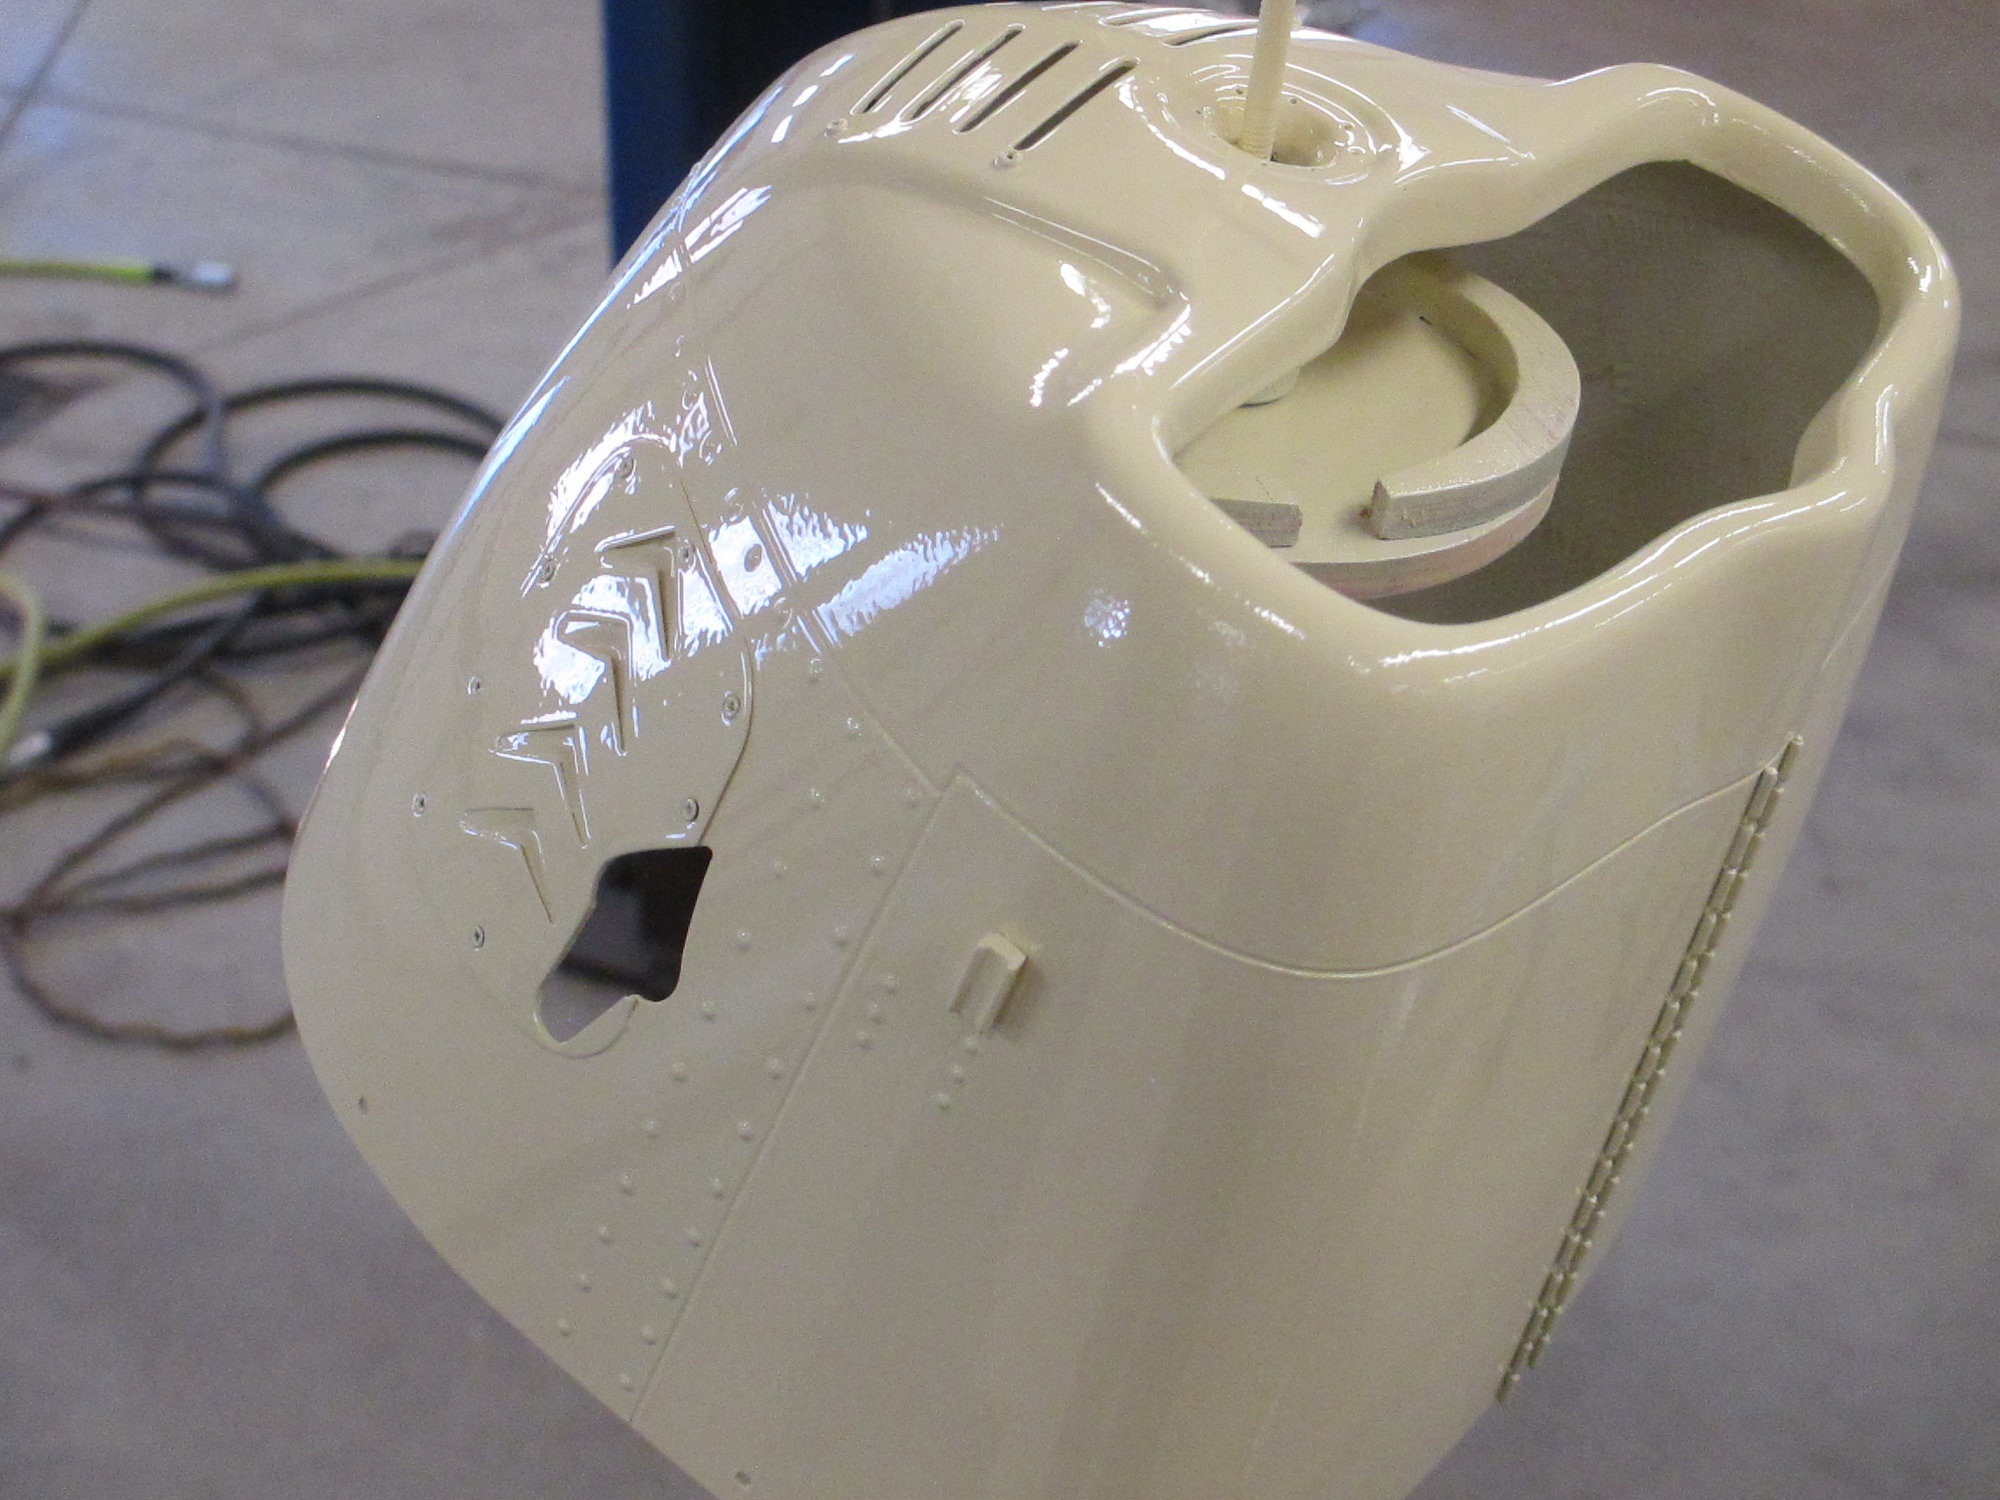
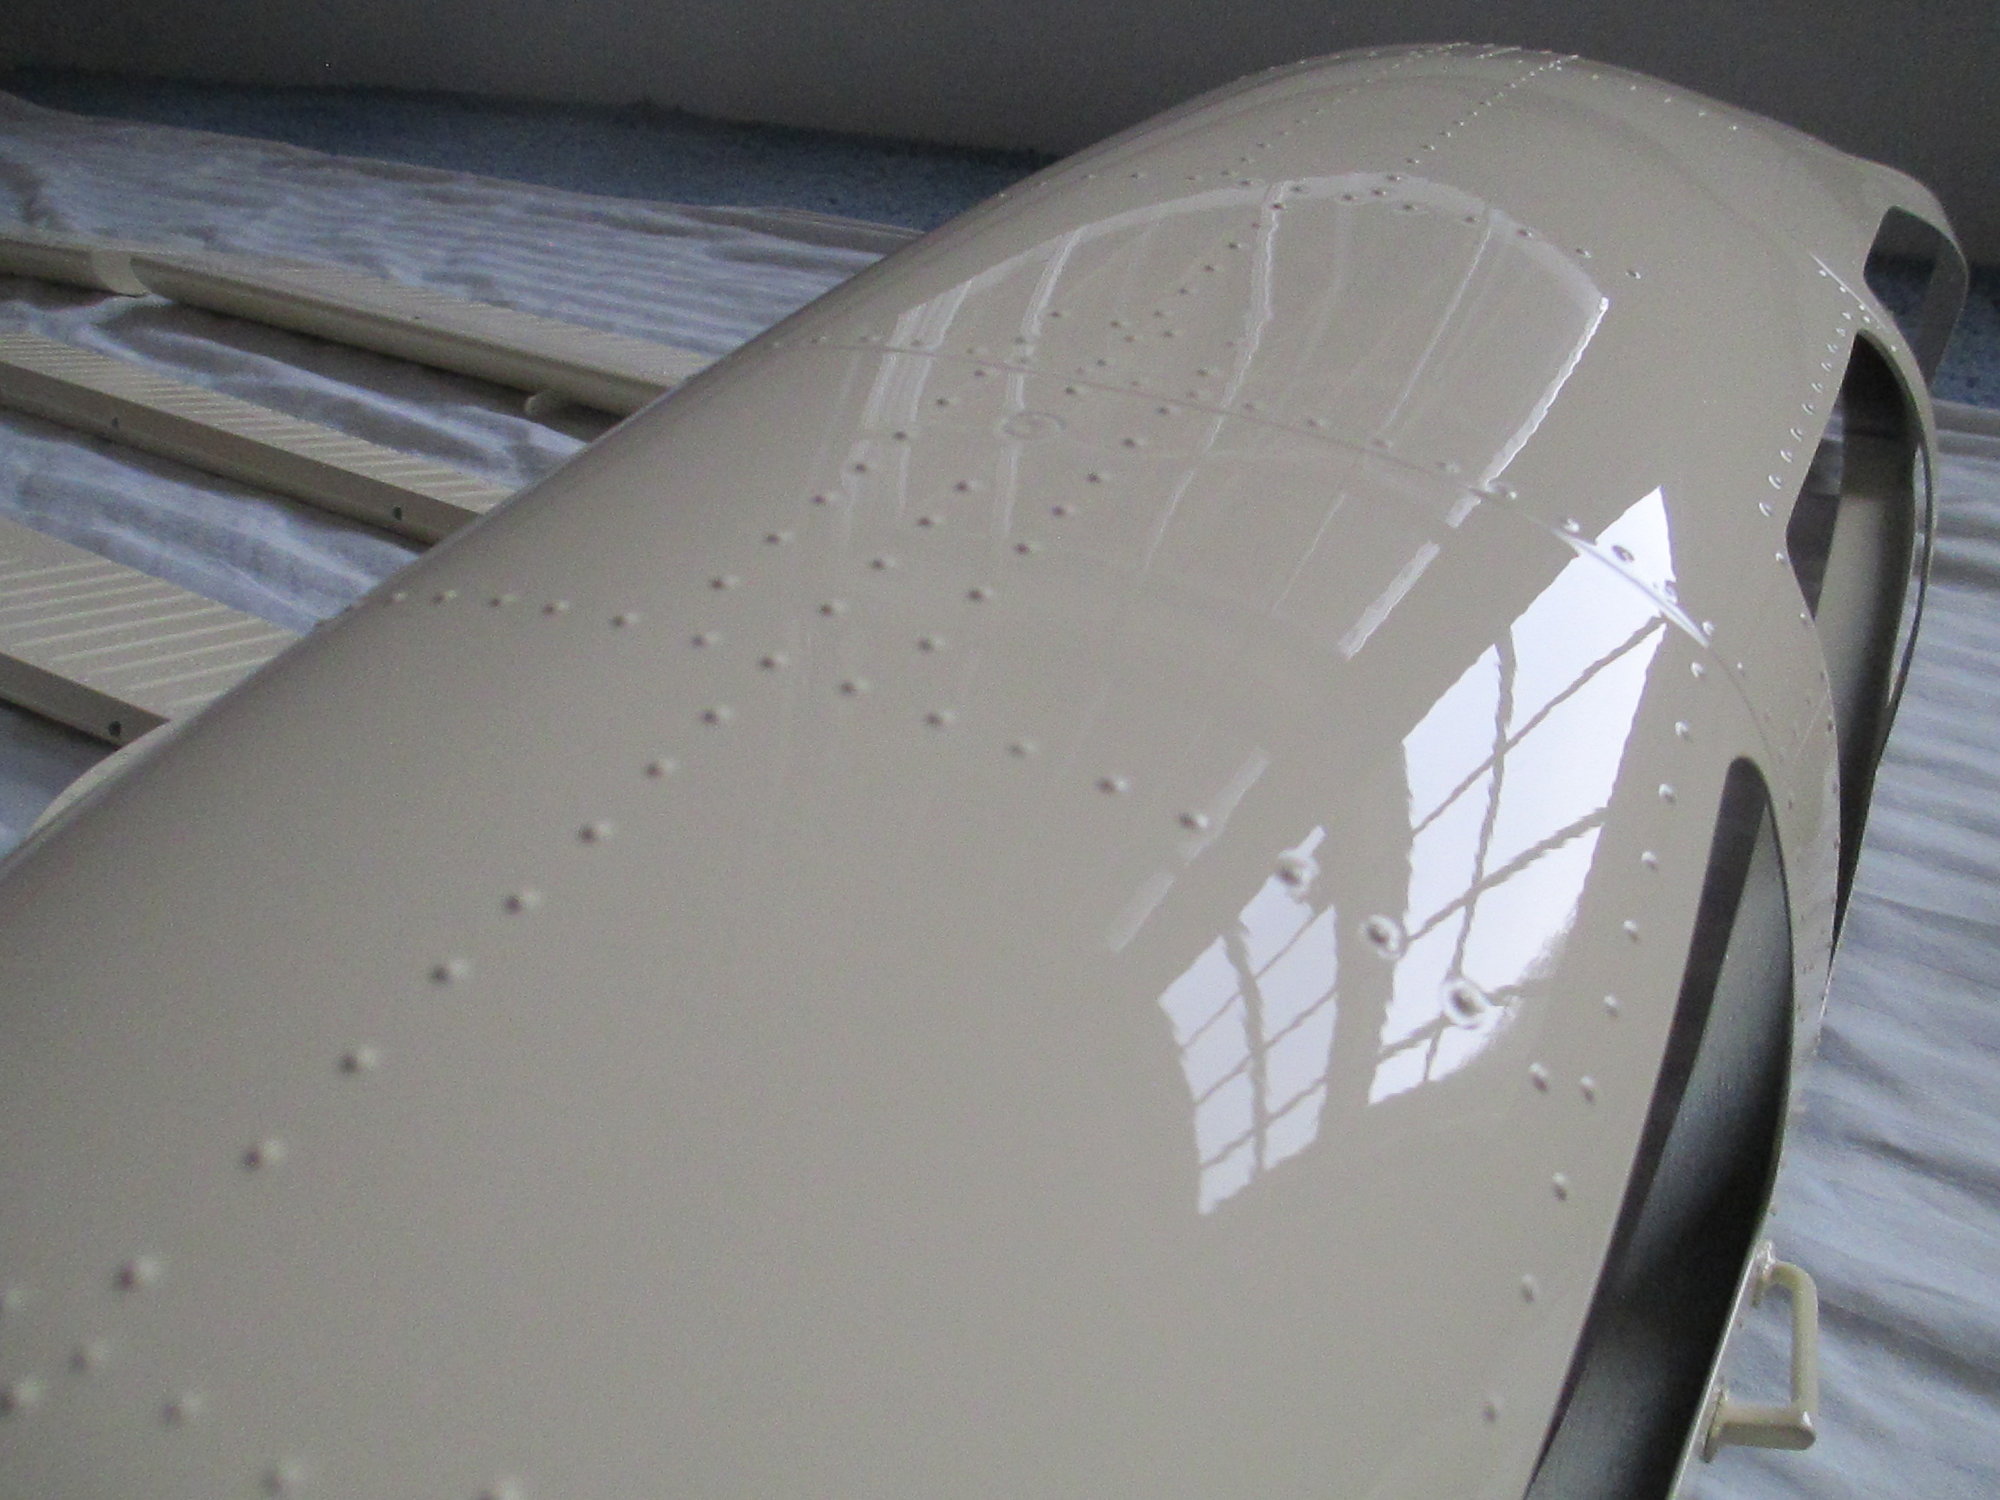
First coat on the cowl.
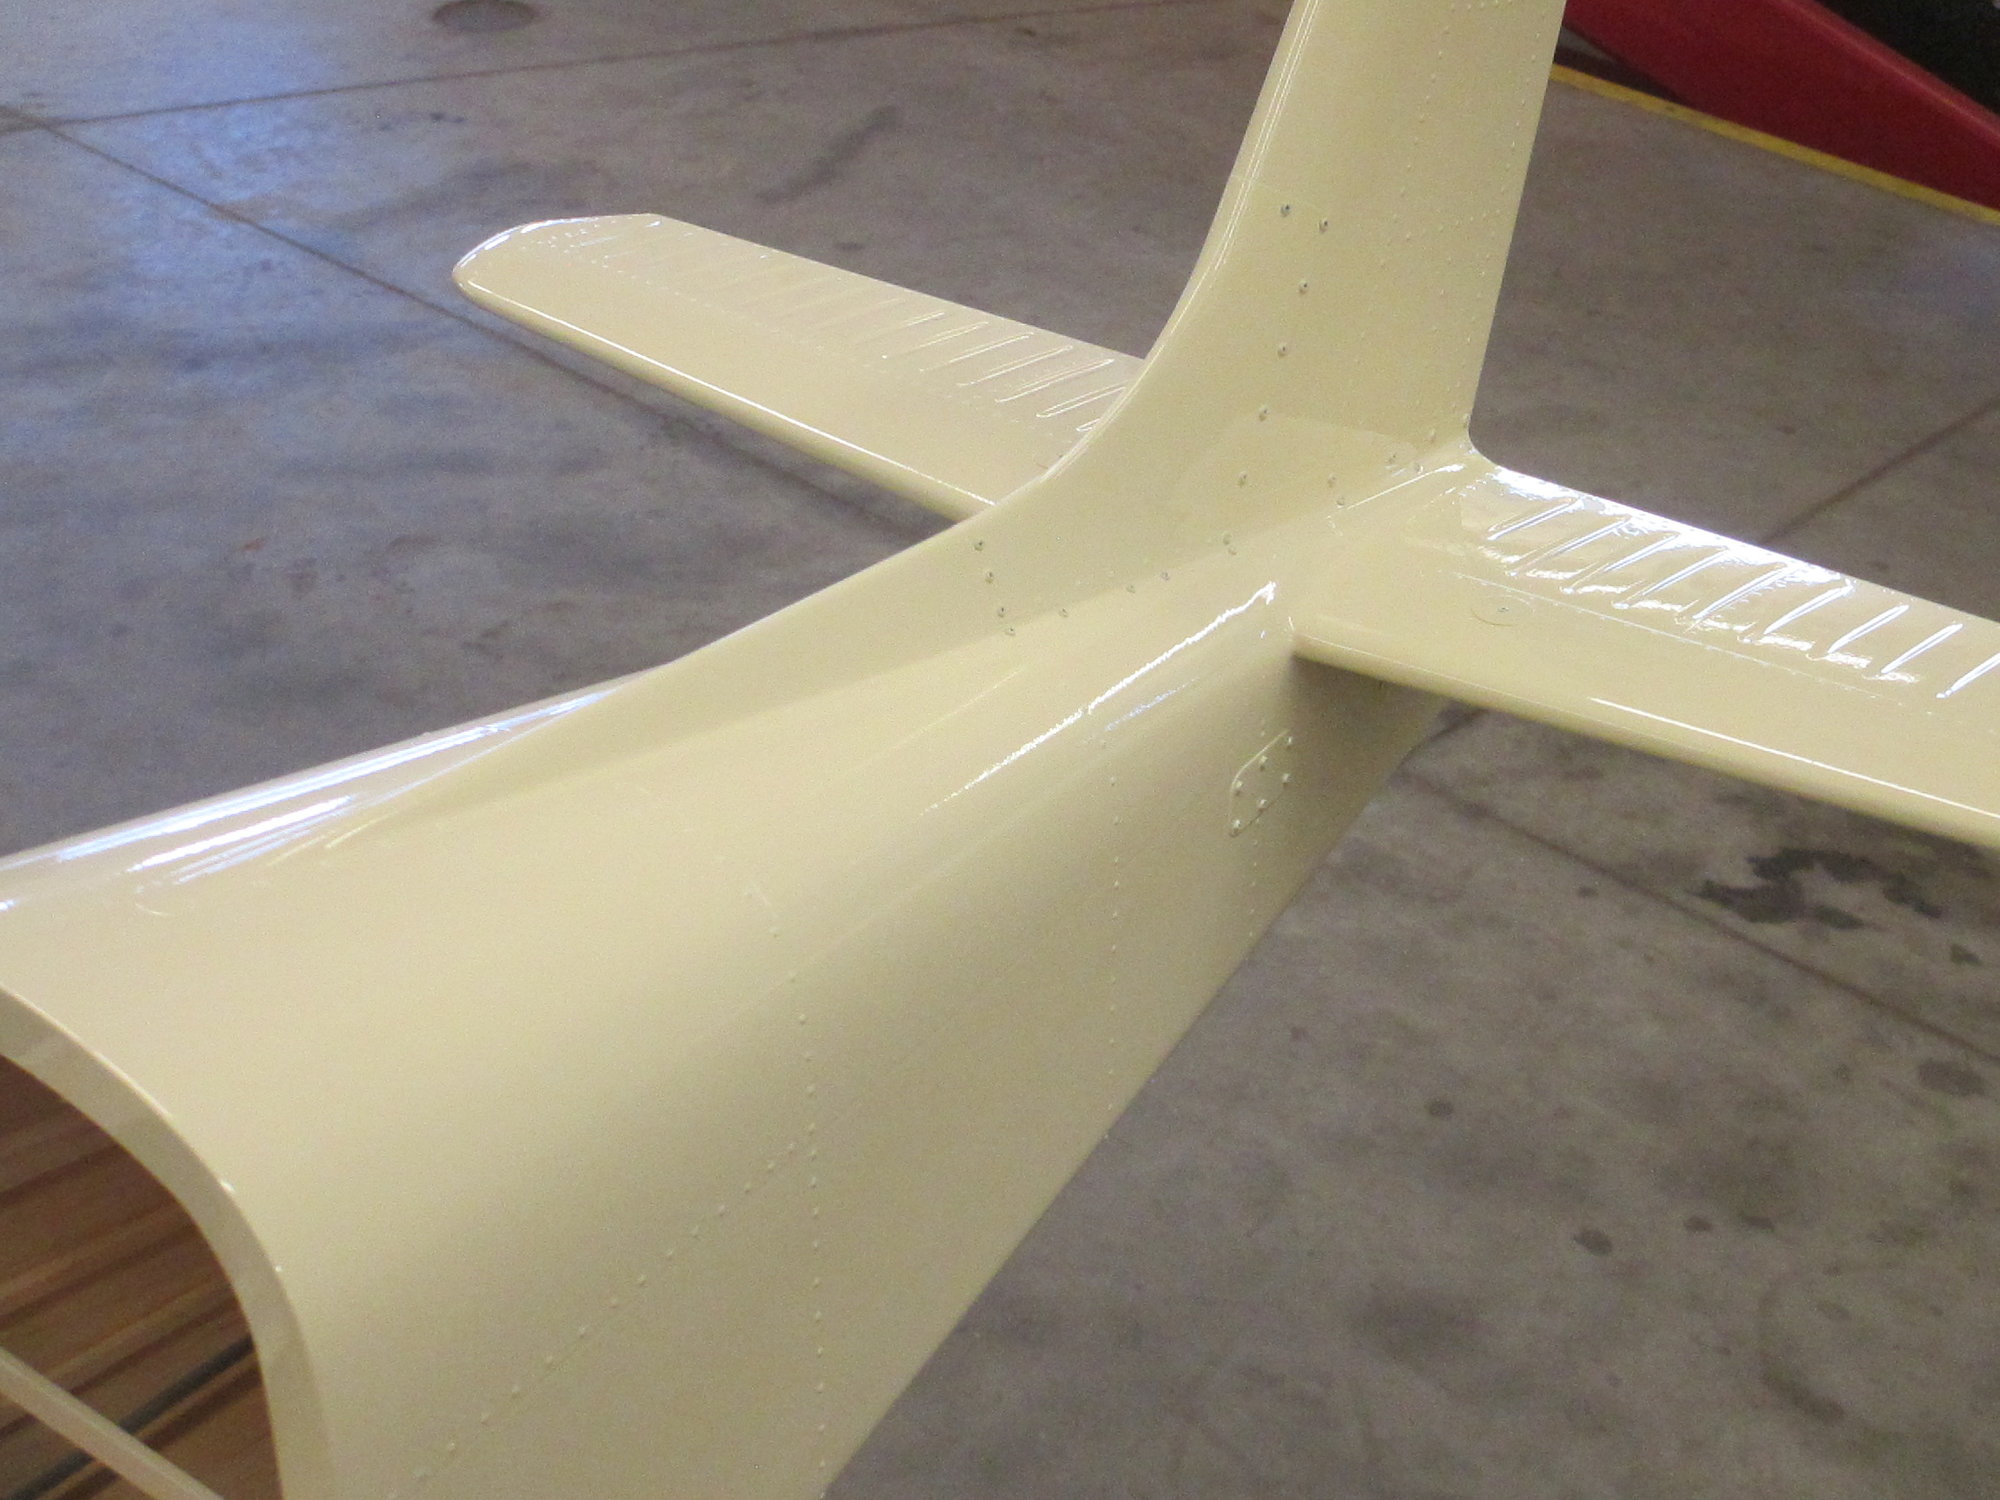
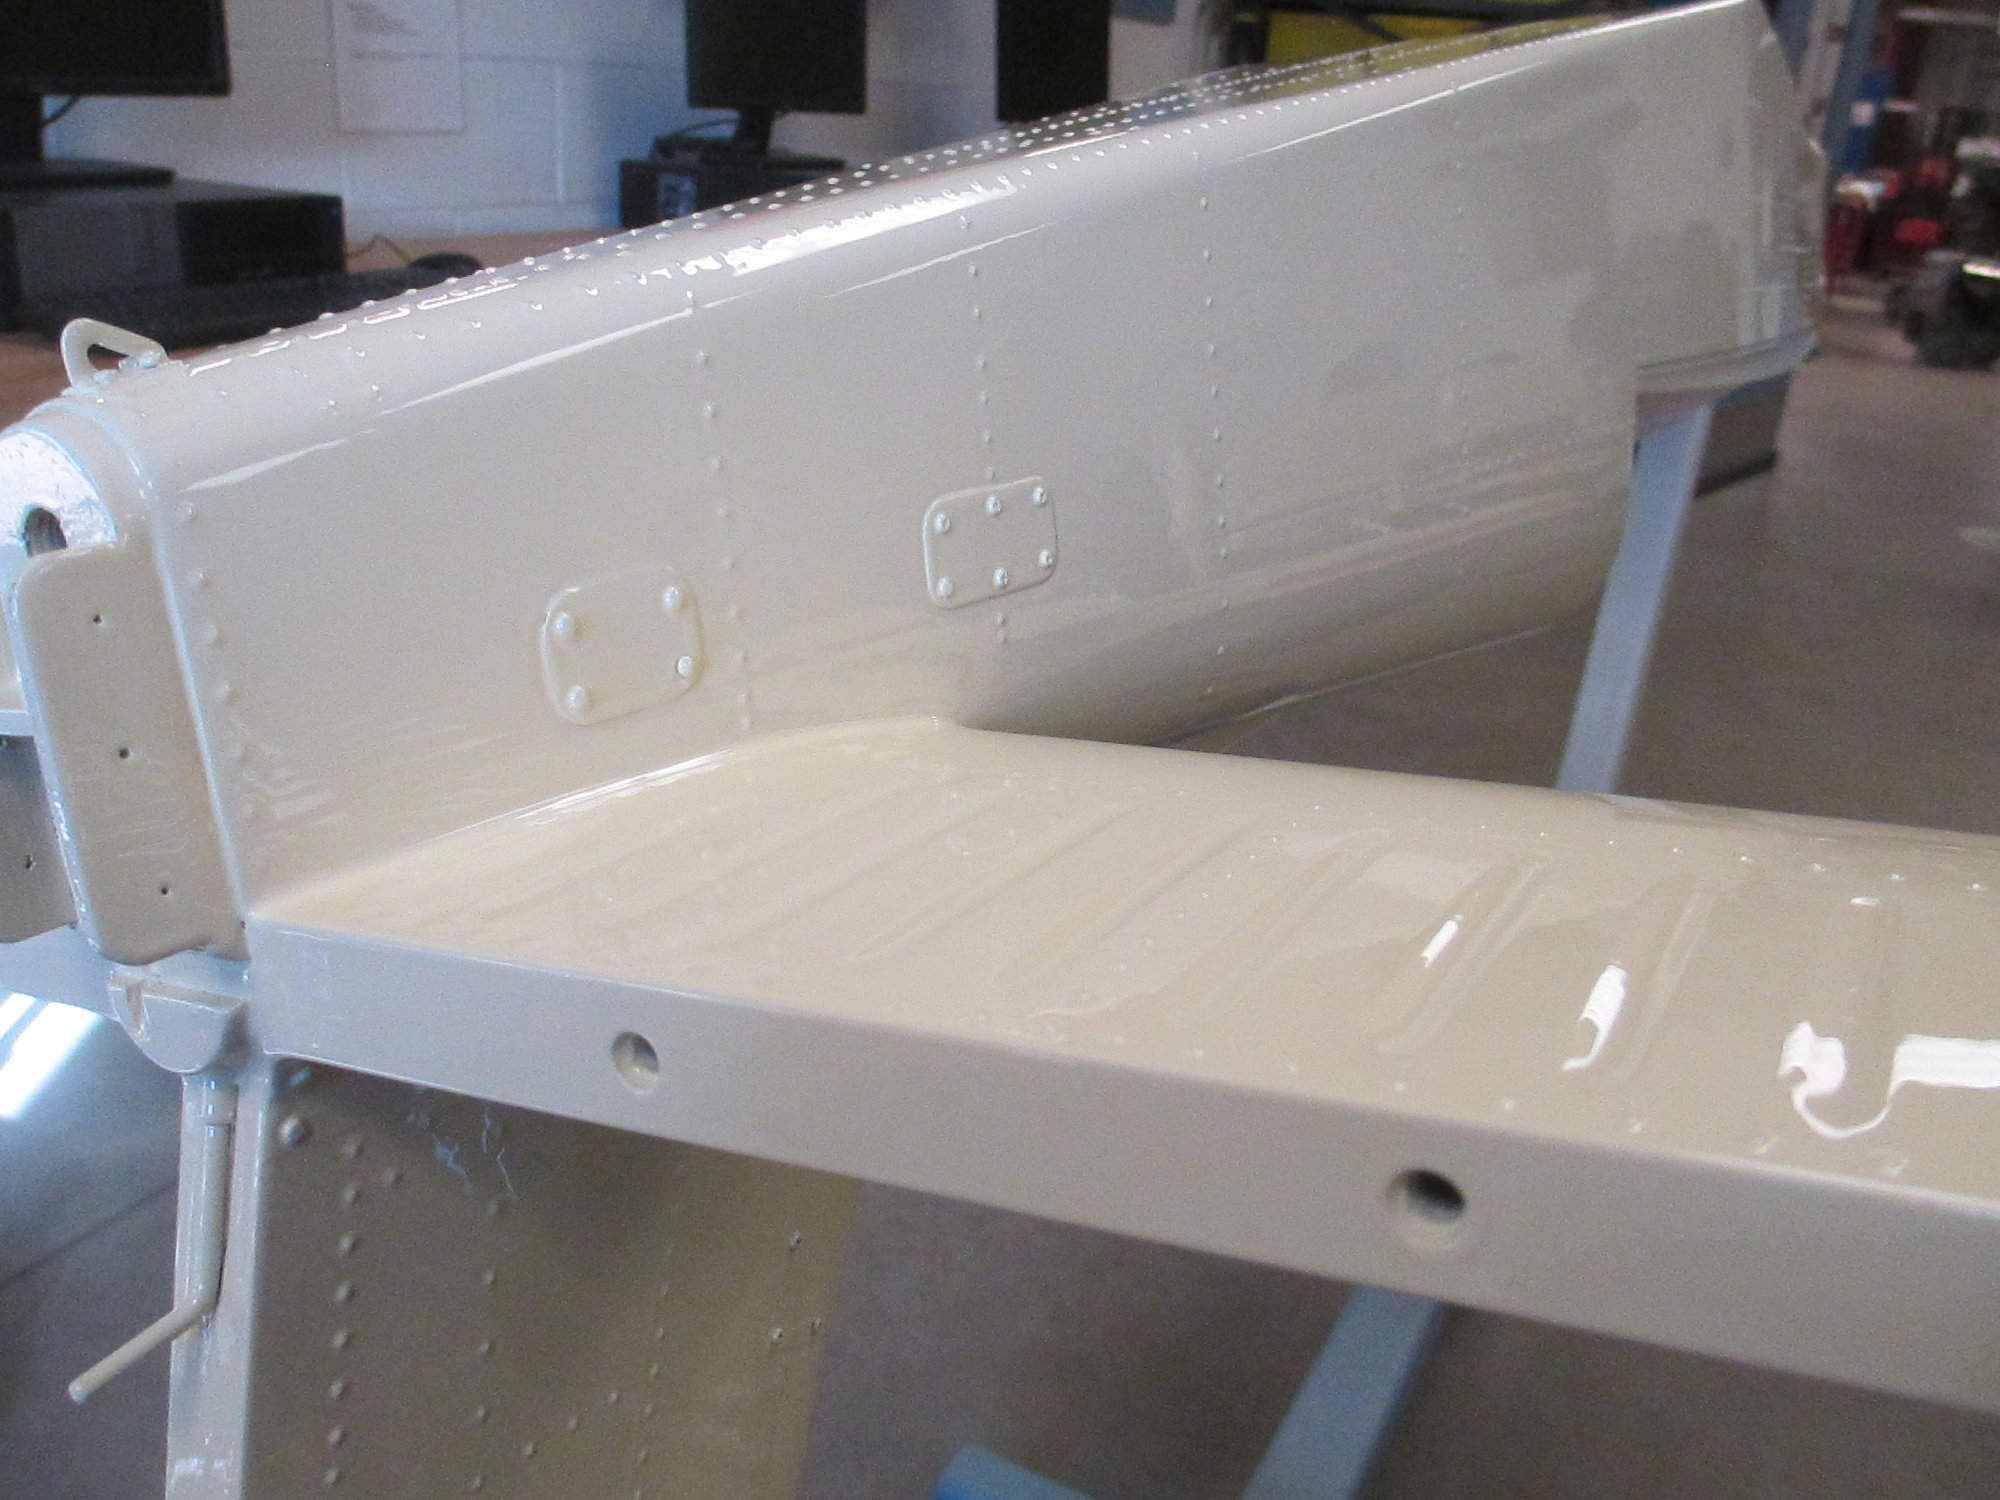
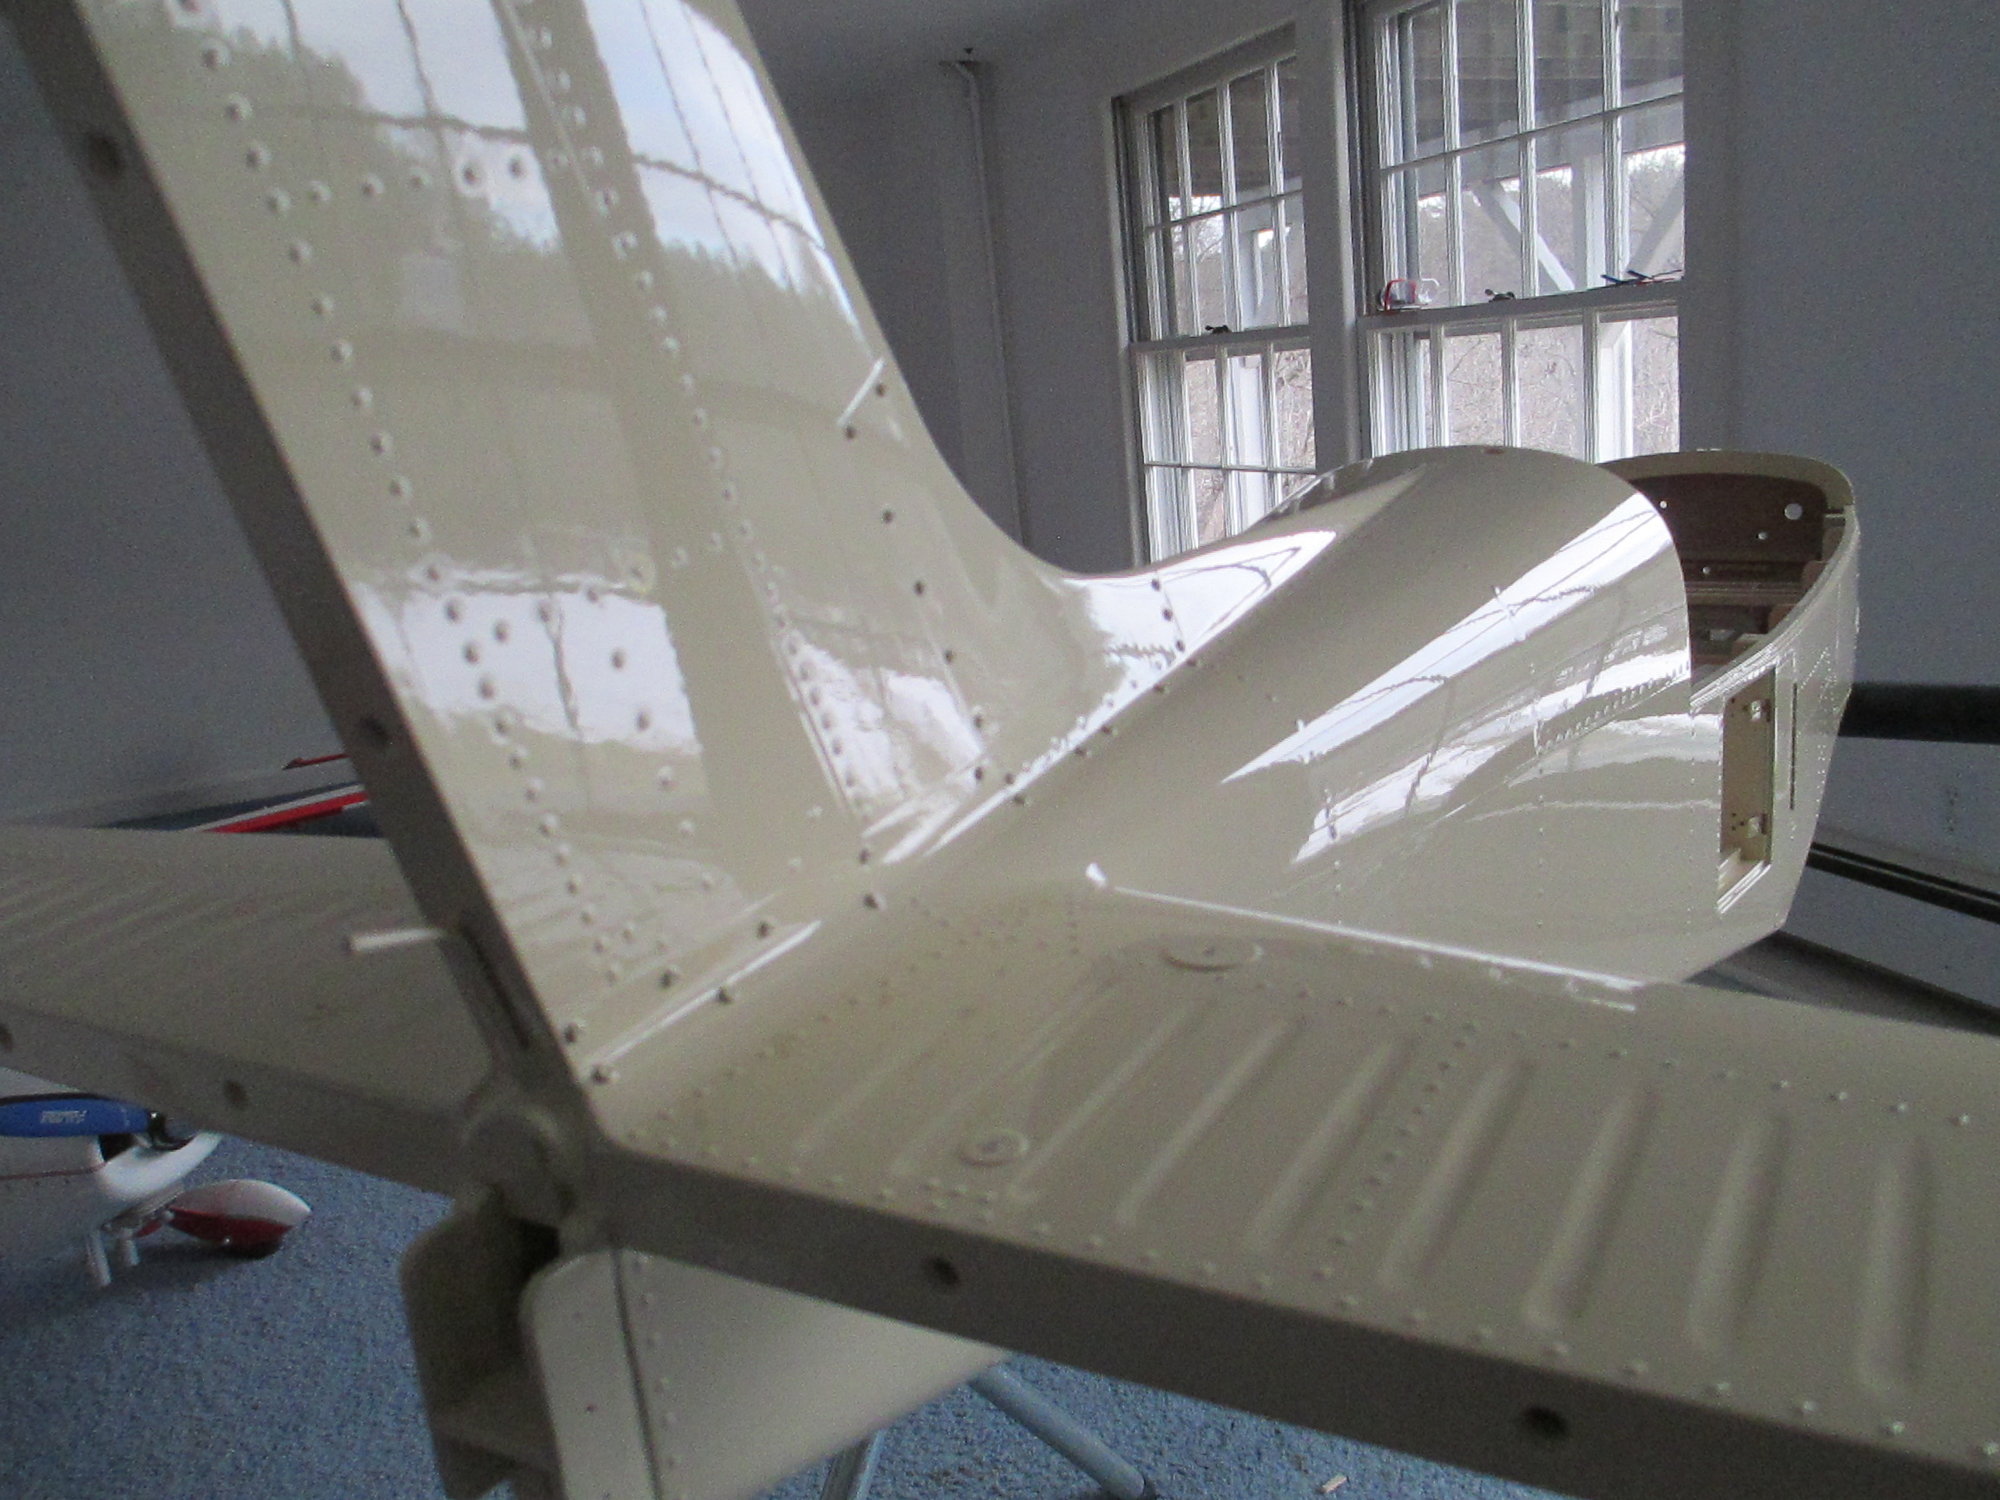
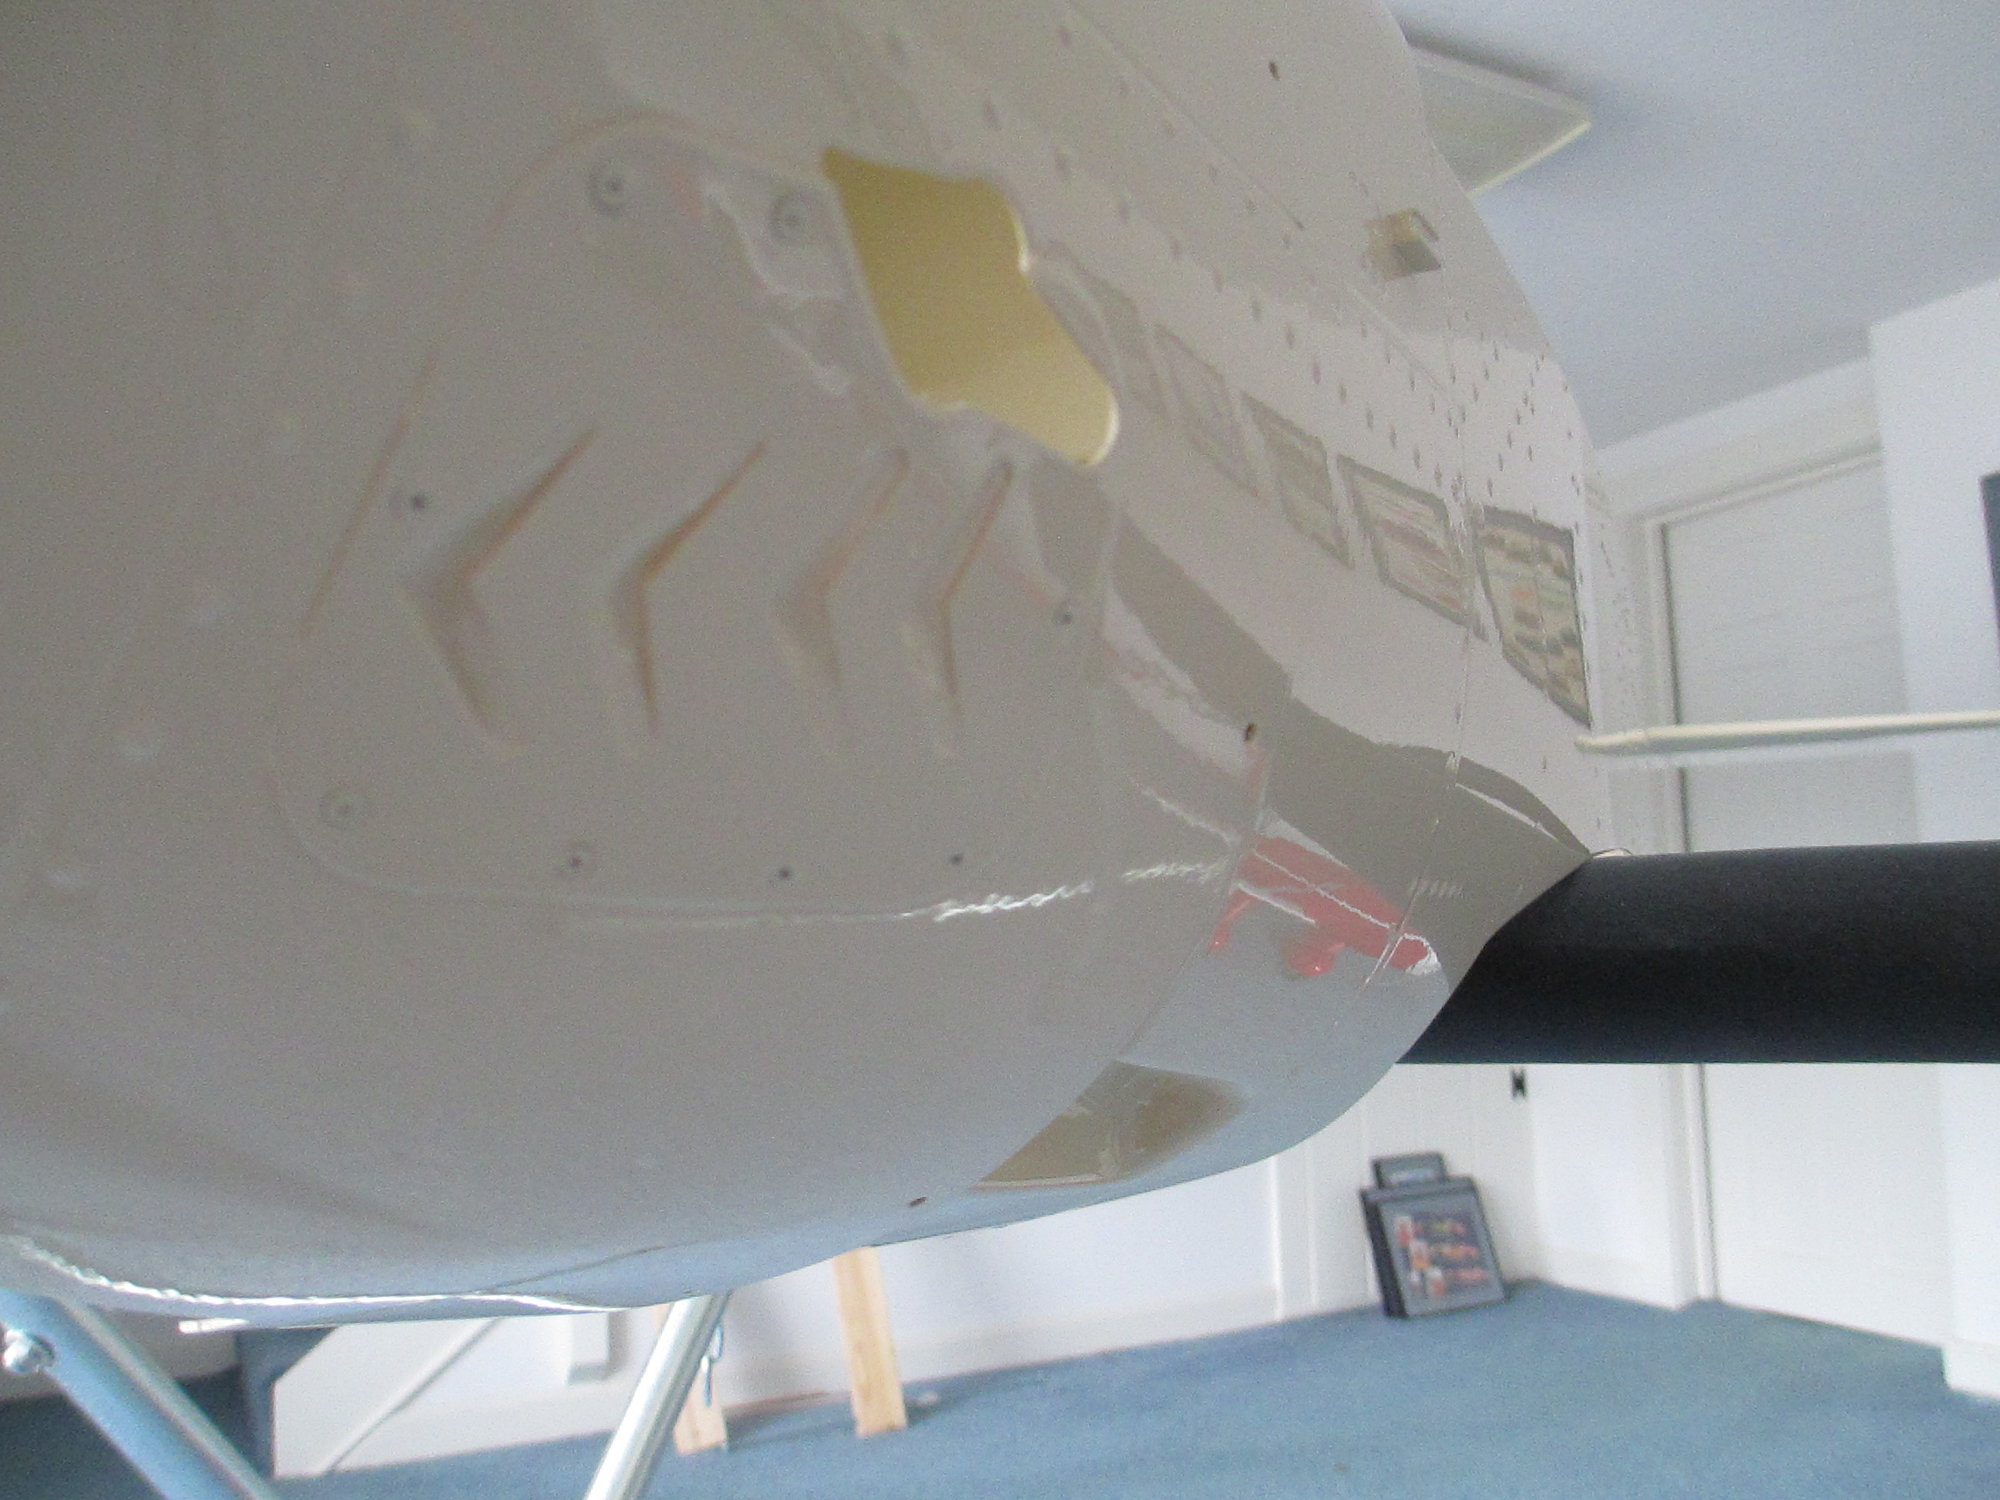
First coat on the fuselage.

First coat on the canopy.

At this point everything has been sprayed with its first coat.
Ready to rock the gun with the second and final coat. Here are a few pictures of how everything turned out...


I wiped everything down for the final time making sure that nothing was on the surfaced to be painted. Two rivets came off so I was glad that I had extras on hand to reinstall.
When mixing Klass Kote epoxy paints, Part A (which is the base color) is added to Part B (catalyst) in equal amounts then stirred. Once mixed you have to wait between 30-45 minutes (which is the induction time) before you add in the reducer. It's up to the painter as to how much reducer is added to the mix as long as you don't exceed a 1:1 mix ratio. In my first of two batches of paint that I mixed, I poured 10 ounces of Part A and another 10 ounces of Part B to which I added 8 ounces of reducer. After the induction period, I had a total volume of 28 ounces of ready to be sprayed paint. Once the paint was loaded in my SATA paint cup I started spraying at 29 psi, but later lowered the pressure down to 24 psi. It sprayed well at that pressure. Two coats of paint was were I left it as the coverage was good.
Enjoy the pictures!
l
Klass Kote paints part A and part B along with reducer. The gallon of thinner is for gun clean-up. My trusty SATA Minijet spray gun and a good quality mask.
Remember all of those jigs that I had made earlier? Each part is awaiting its turn to be painted.
First coat on the wing.
First coat on the cowl.
First coat on the fuselage.
First coat on the canopy.
At this point everything has been sprayed with its first coat.
Ready to rock the gun with the second and final coat. Here are a few pictures of how everything turned out...
Last edited by VincentJ; 12-29-2020 at 01:28 PM.

 12-29-2020, 01:59 PM
#1496
Thread Starter
12-29-2020, 03:02 PM
#1497
Just wanted to make sure it wasn't an oversite. I've seen people forget to tape off things before painting many times over the years so I figured it would be best to check so it could be fixed before the paint had a chance to get totally set
12-30-2020, 07:01 AM
#1498
Thread Starter
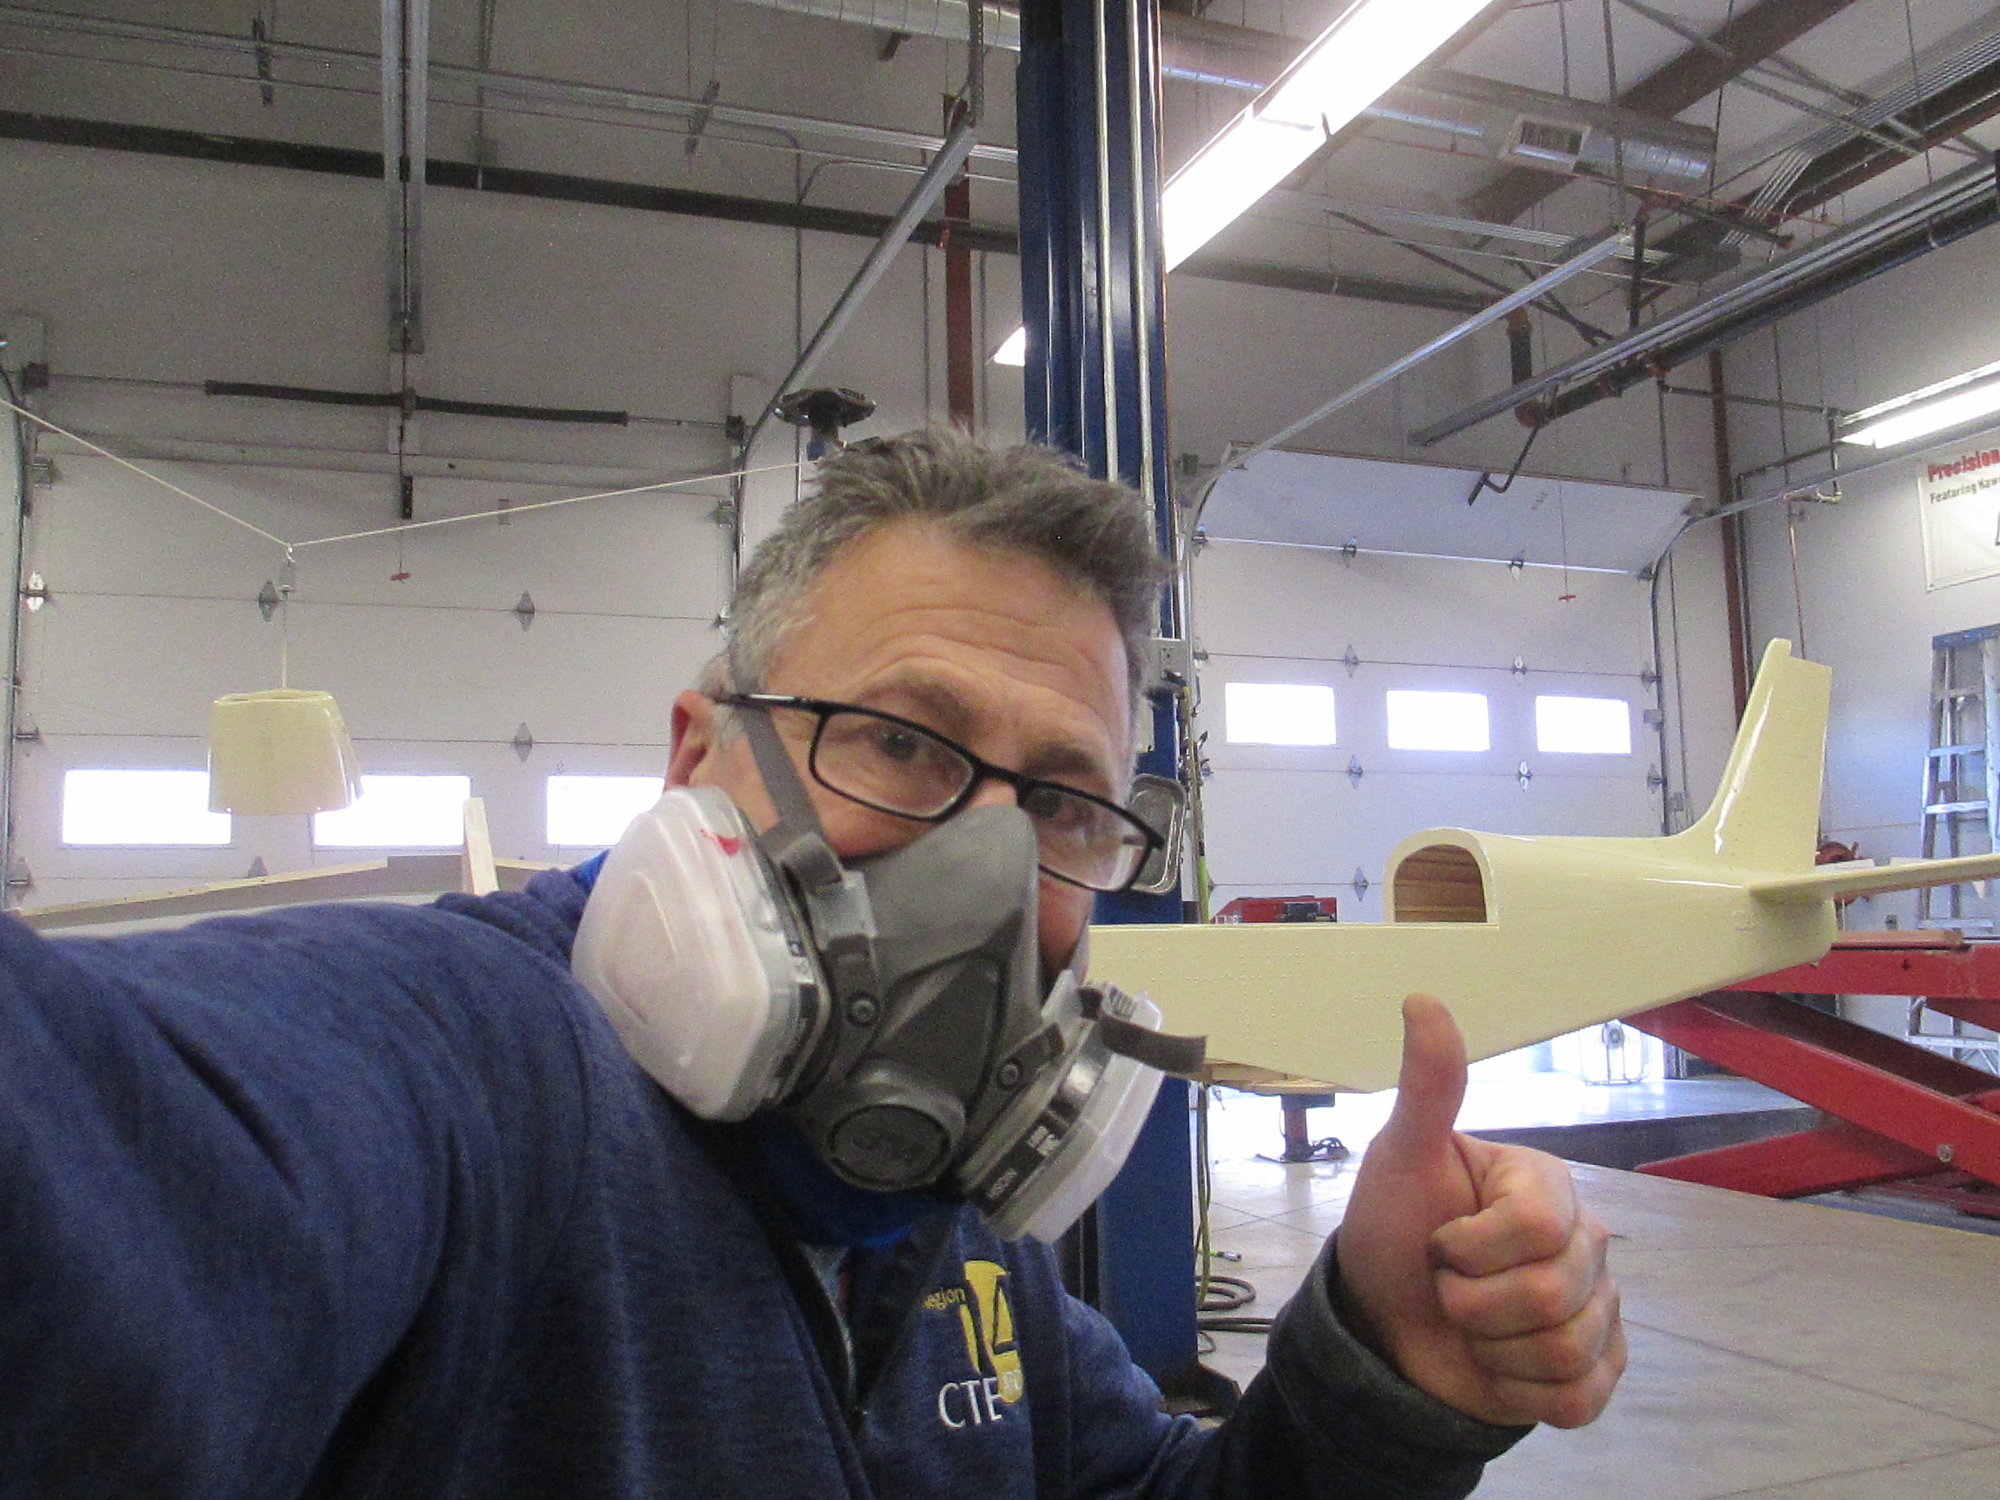
I brought home all but the wing back with me this morning. While the parts are dry enough to handle, it won't reach a full full cure for 4-7 days. I am pleased with the results of the spray out, now it's time to research the two trim colors and get them ordered! I snapped a few more pictures to look at...
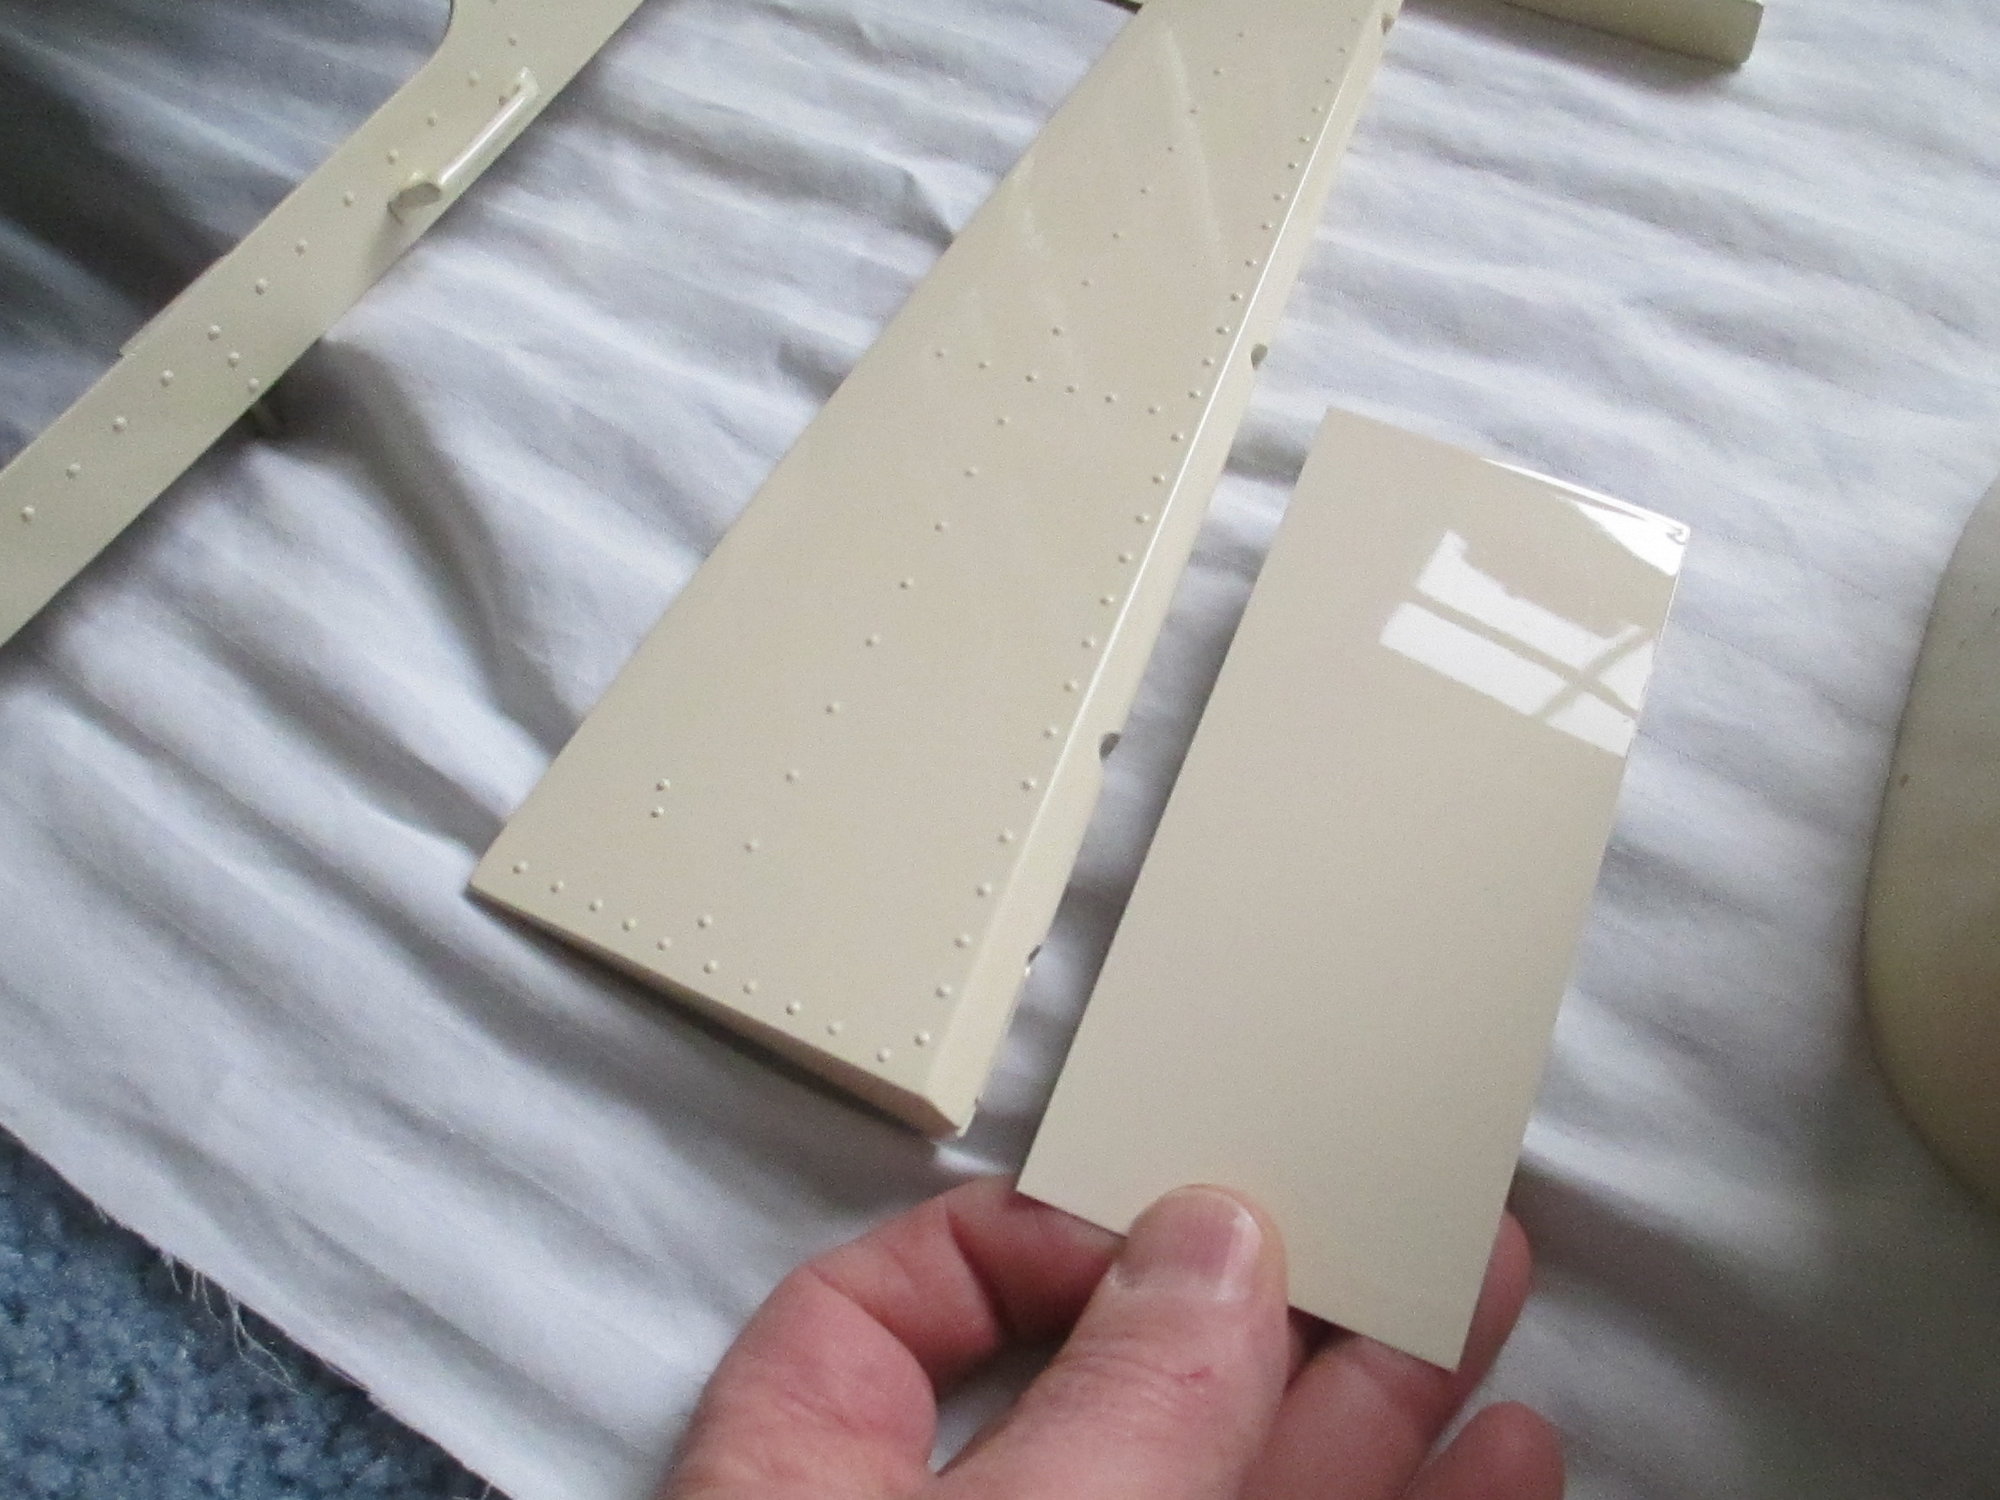
Klass Kote nailed the color chip that I had provided them. ( I'm holding the color chip)
Klass Kote nailed the color chip that I had provided them. ( I'm holding the color chip)
12-30-2020, 10:31 AM
#1500
True, if you have the breathing equipment to spray is safely. Last time I saw someone use Imron, it was Michael Hanson, crew chief of the Oberto/Miss Madison unlimited hydroplane team, repainting part of the boat after it was severely damaged back in 2011 in the final heat of the Madison Regatta. He was repainting the green on the boat in the former Miss Budweiser shop, using a standard roller with a long handle. When I asked why, he told me he didn't have the equipment to spray and, if he did, the boat needed to be hanging upside down to prevent overspray on the other colors. In the end, the boat looked great and was done quicker than if he had sprayed it. It did get stripped and resprayed over the following winter after some reworking of some of the previous repairs, now it's the back up boat for the team