Go Back  RCU Forums > RC Airplanes > Kit Building
Reload this Page >

Moustache 20cc DHC-2 Beaver Build

Community
Search
Notices
Kit Building If you're building a kit and have questions or want to discuss kit building post it here.

Moustache 20cc DHC-2 Beaver Build

Thread Tools
 
Search this Thread
 
Old 07-22-2022, 02:29 AM
  #26  
erans
Thread Starter
 
Join Date: Jun 2008
Location: Perth WA, AUSTRALIA
Posts: 1,204
Likes: 0
Received 9 Likes on 9 Posts
Default

More of the rudder build, starting with the balsa blocks for the torque rod and finishing with shaping the tip.


Cheers,
Eran
Old 07-23-2022, 07:18 PM
  #27  
bryanmiick
 
Join Date: Sep 2013
Location: Grand Junction, CO
Posts: 155
Likes: 0
Received 21 Likes on 19 Posts
Default

Looking good
Old 07-23-2022, 08:24 PM
  #28  
erans
Thread Starter
 
Join Date: Jun 2008
Location: Perth WA, AUSTRALIA
Posts: 1,204
Likes: 0
Received 9 Likes on 9 Posts
Default

Thank you bryanmiick.
Some finishing touches to the rudder and fin


Cheers,
Eran
Old 07-23-2022, 08:25 PM
  #29  
erans
Thread Starter
 
Join Date: Jun 2008
Location: Perth WA, AUSTRALIA
Posts: 1,204
Likes: 0
Received 9 Likes on 9 Posts
Default

Covering...


Cheers,
Eran
Old 08-07-2022, 05:04 AM
  #30  
erans
Thread Starter
 
Join Date: Jun 2008
Location: Perth WA, AUSTRALIA
Posts: 1,204
Likes: 0
Received 9 Likes on 9 Posts
Default

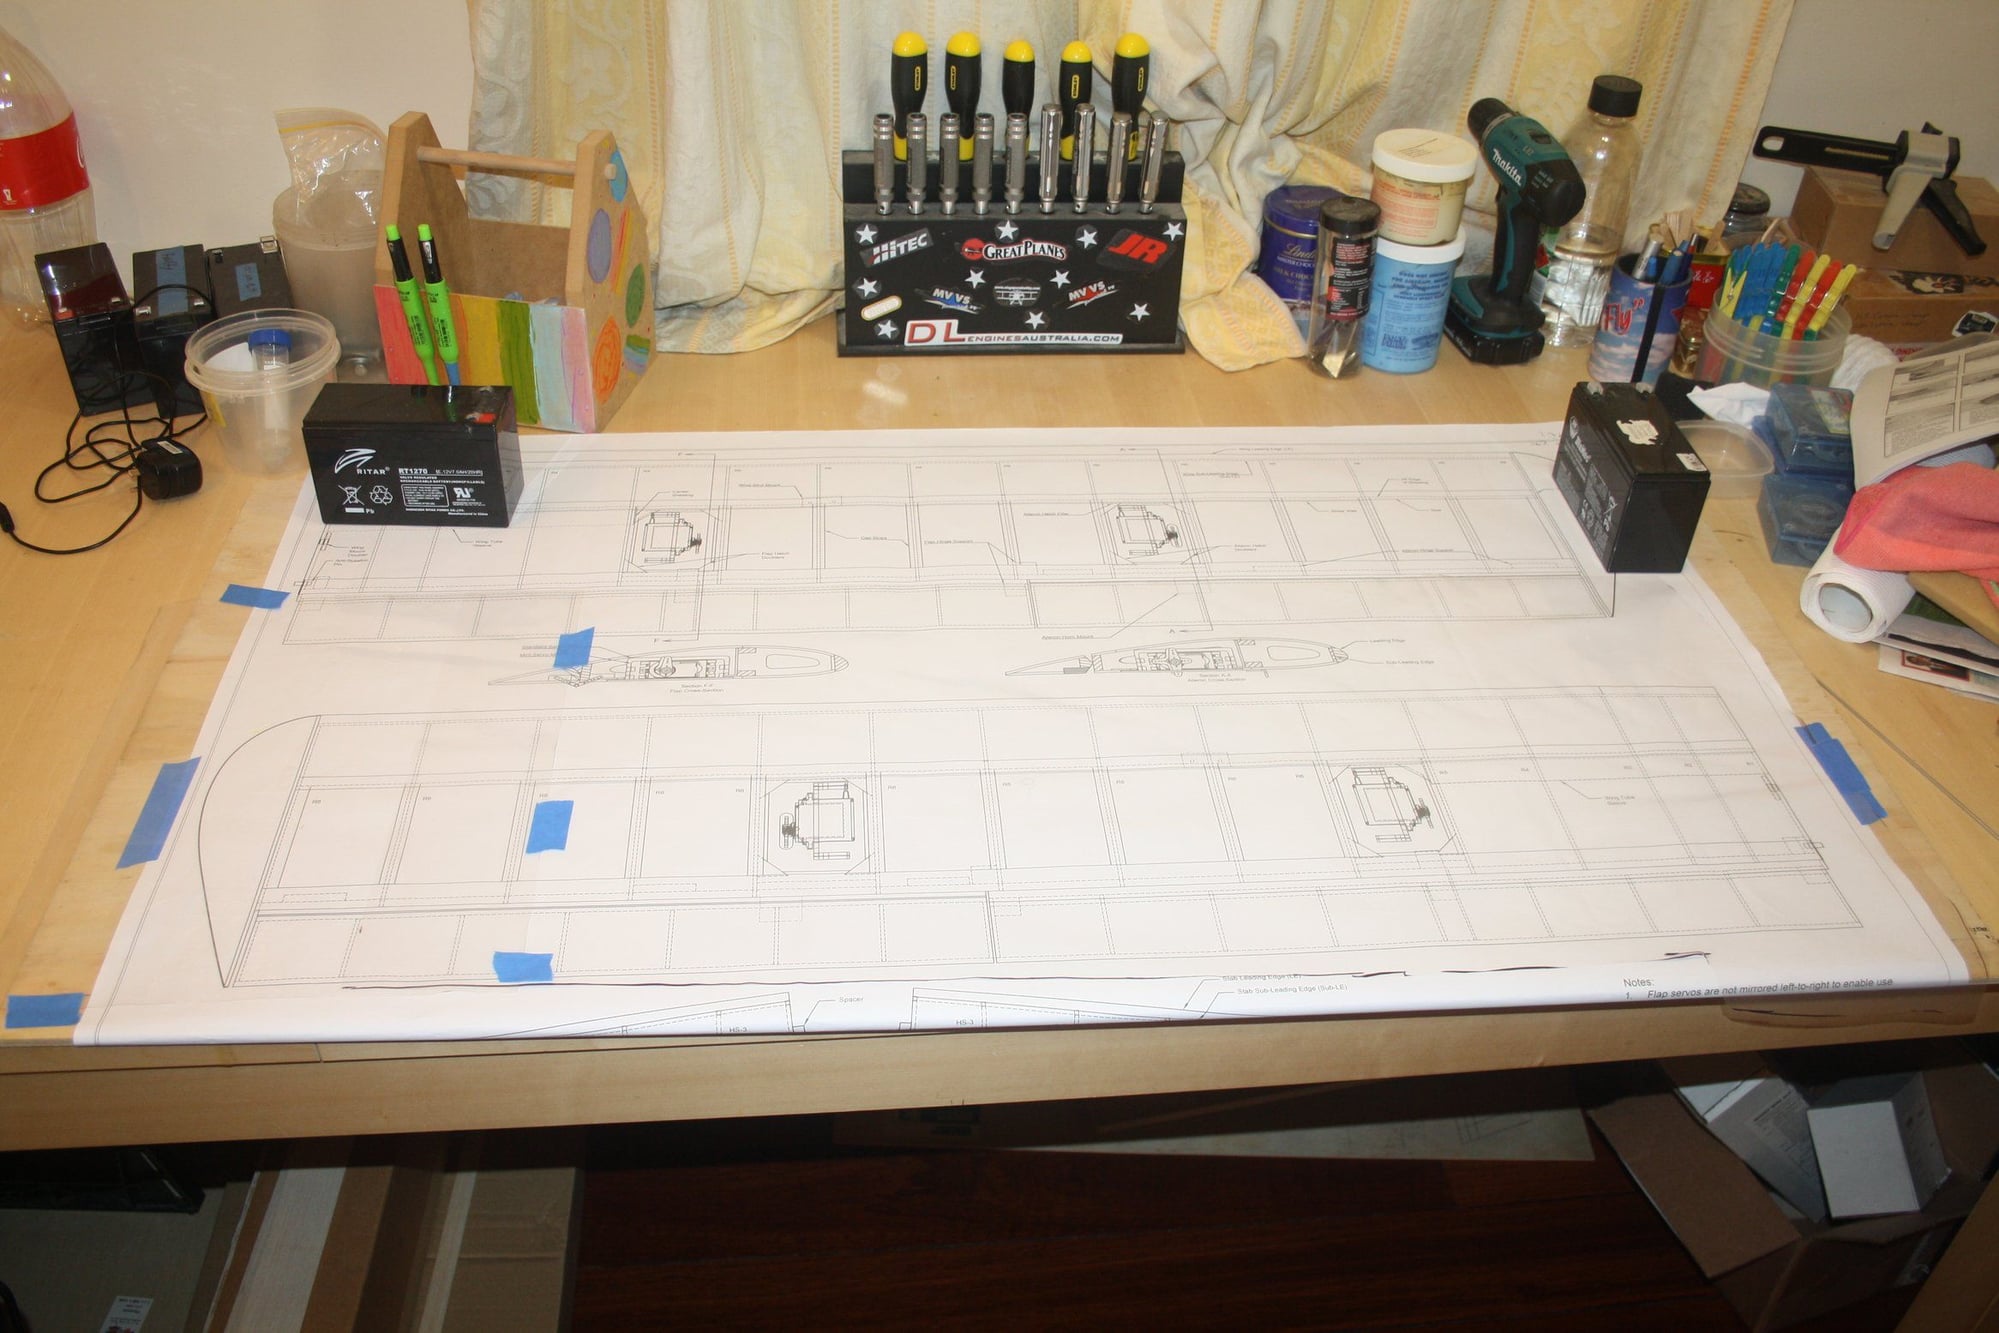
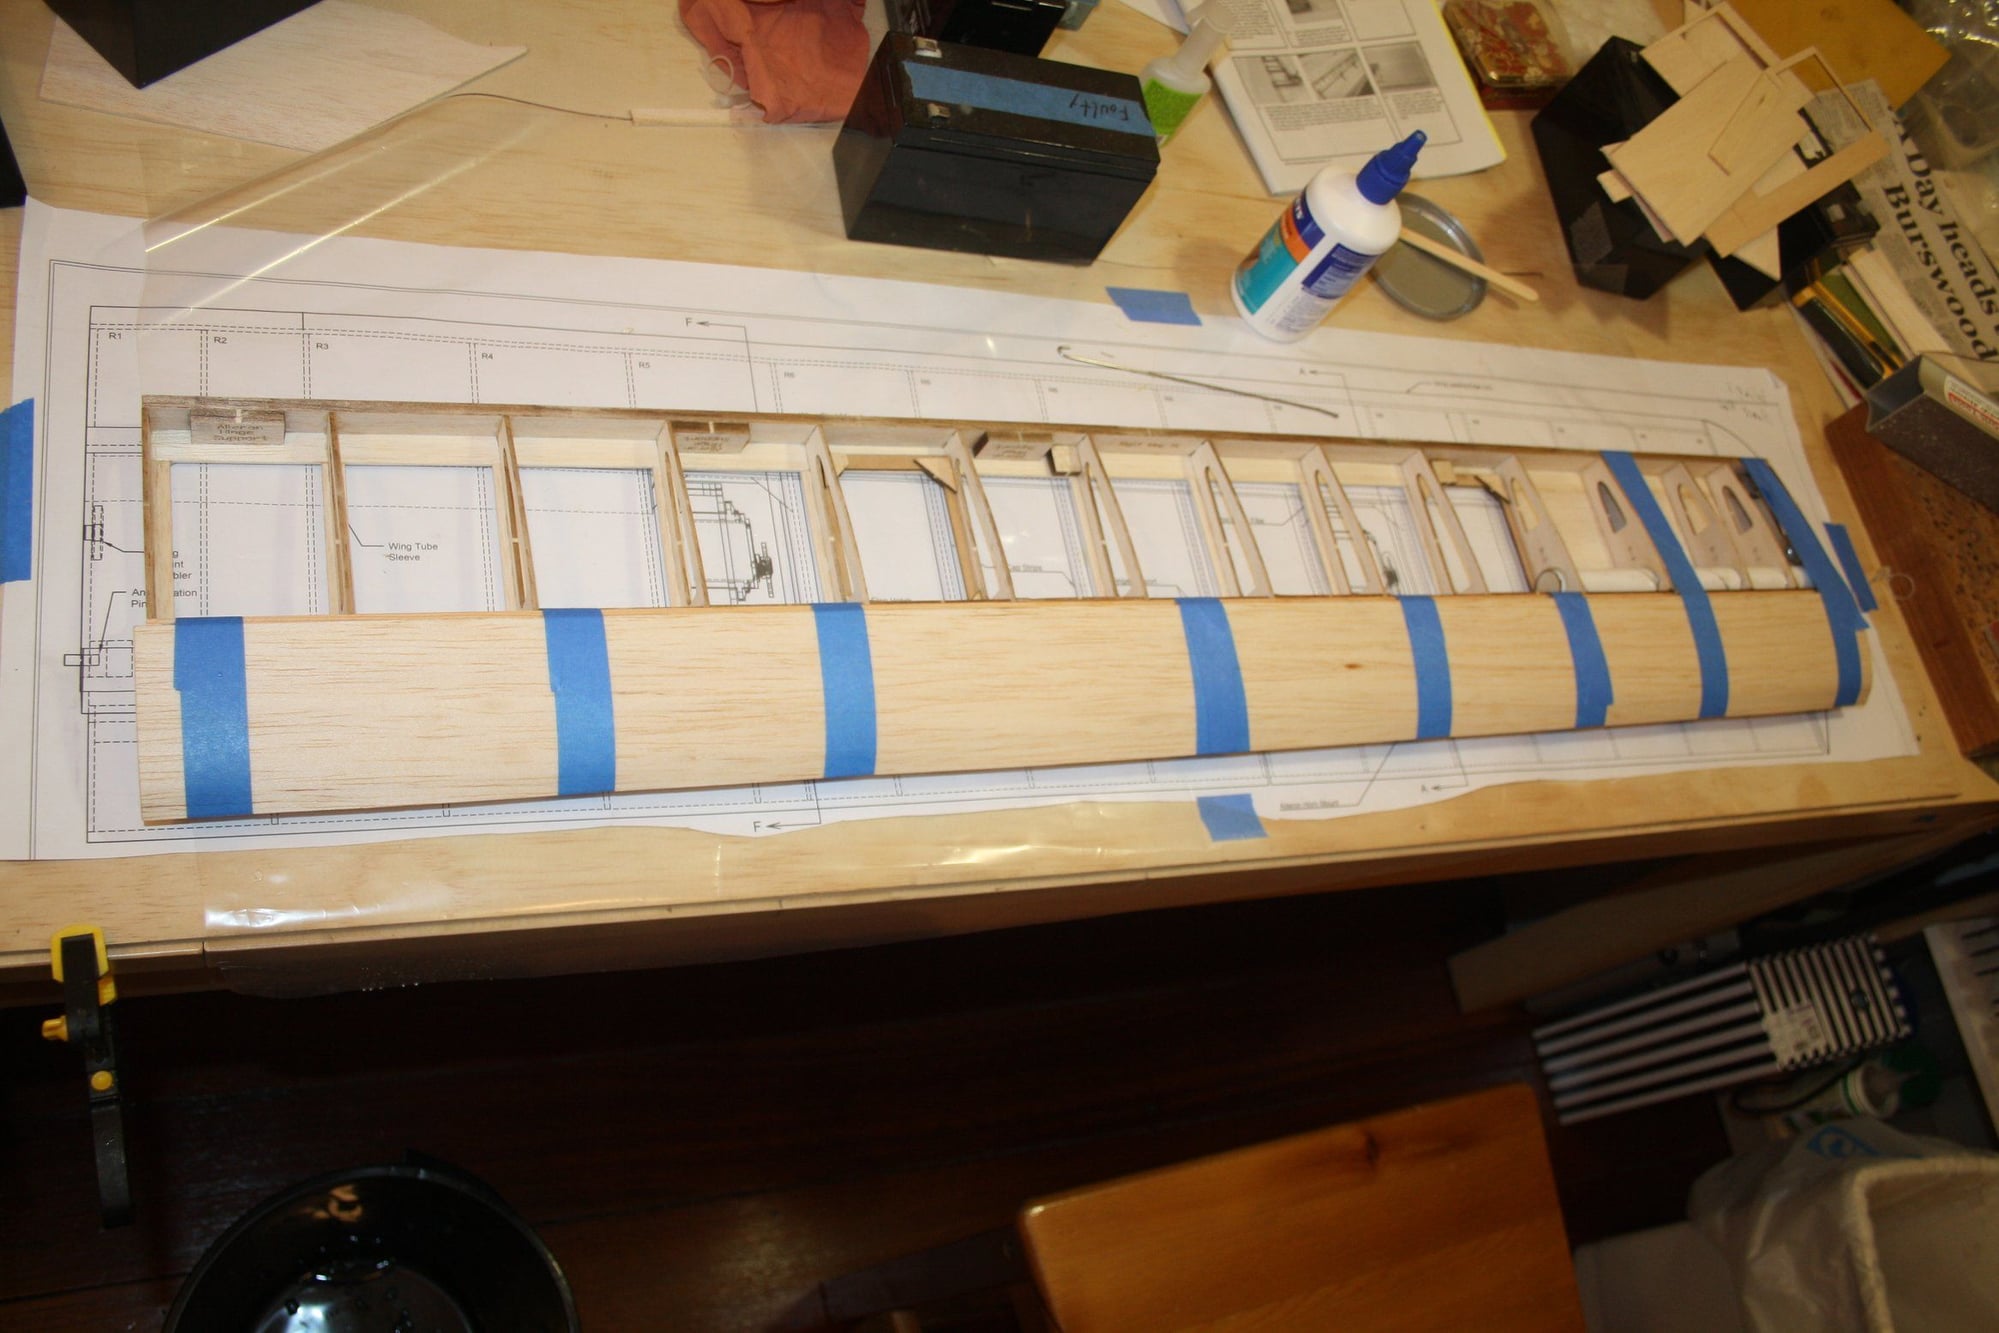
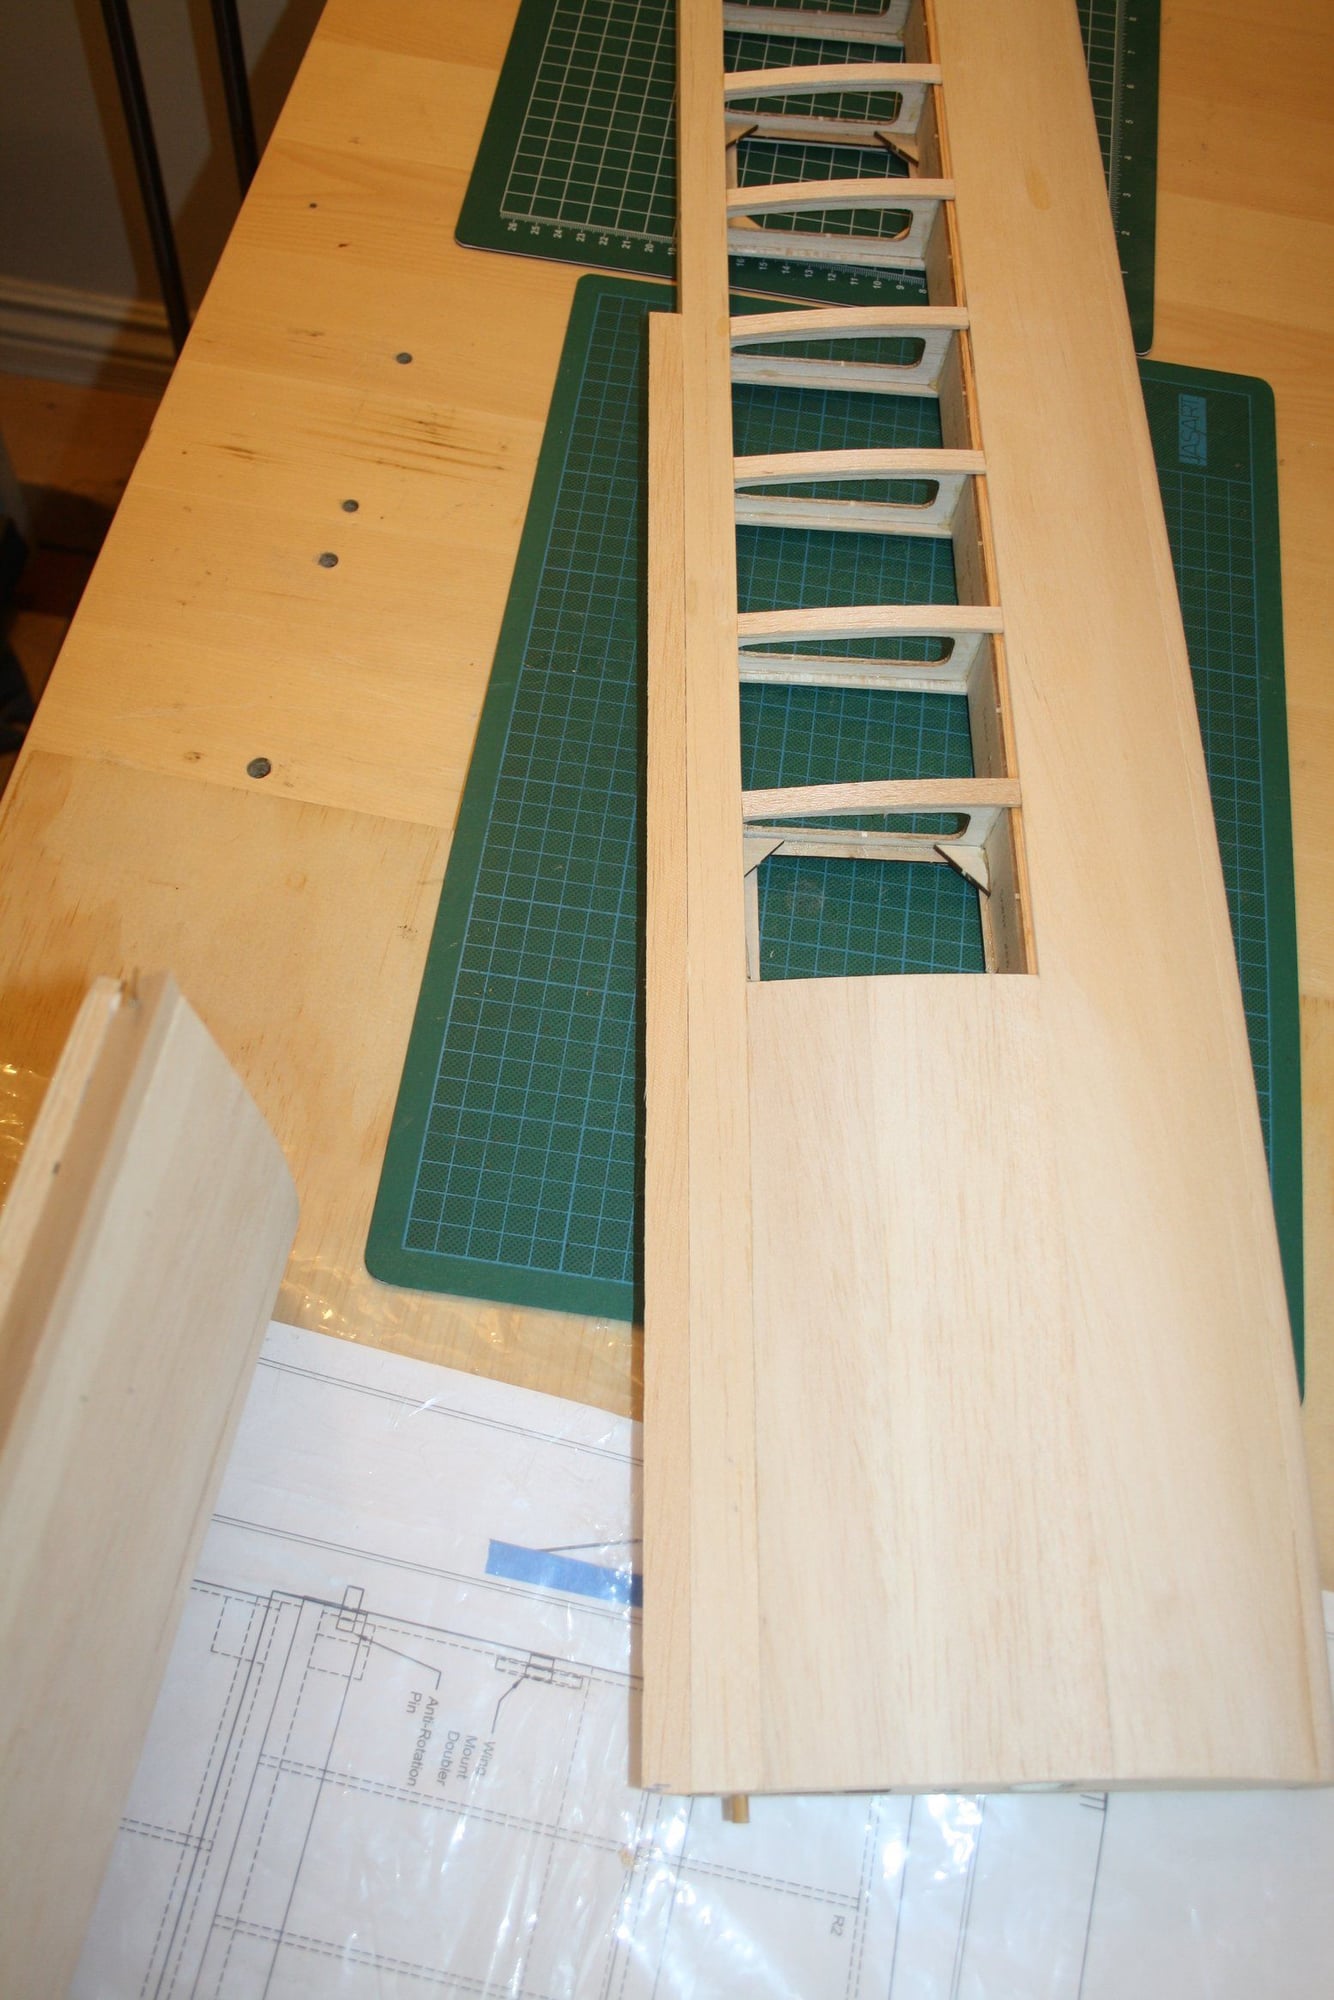
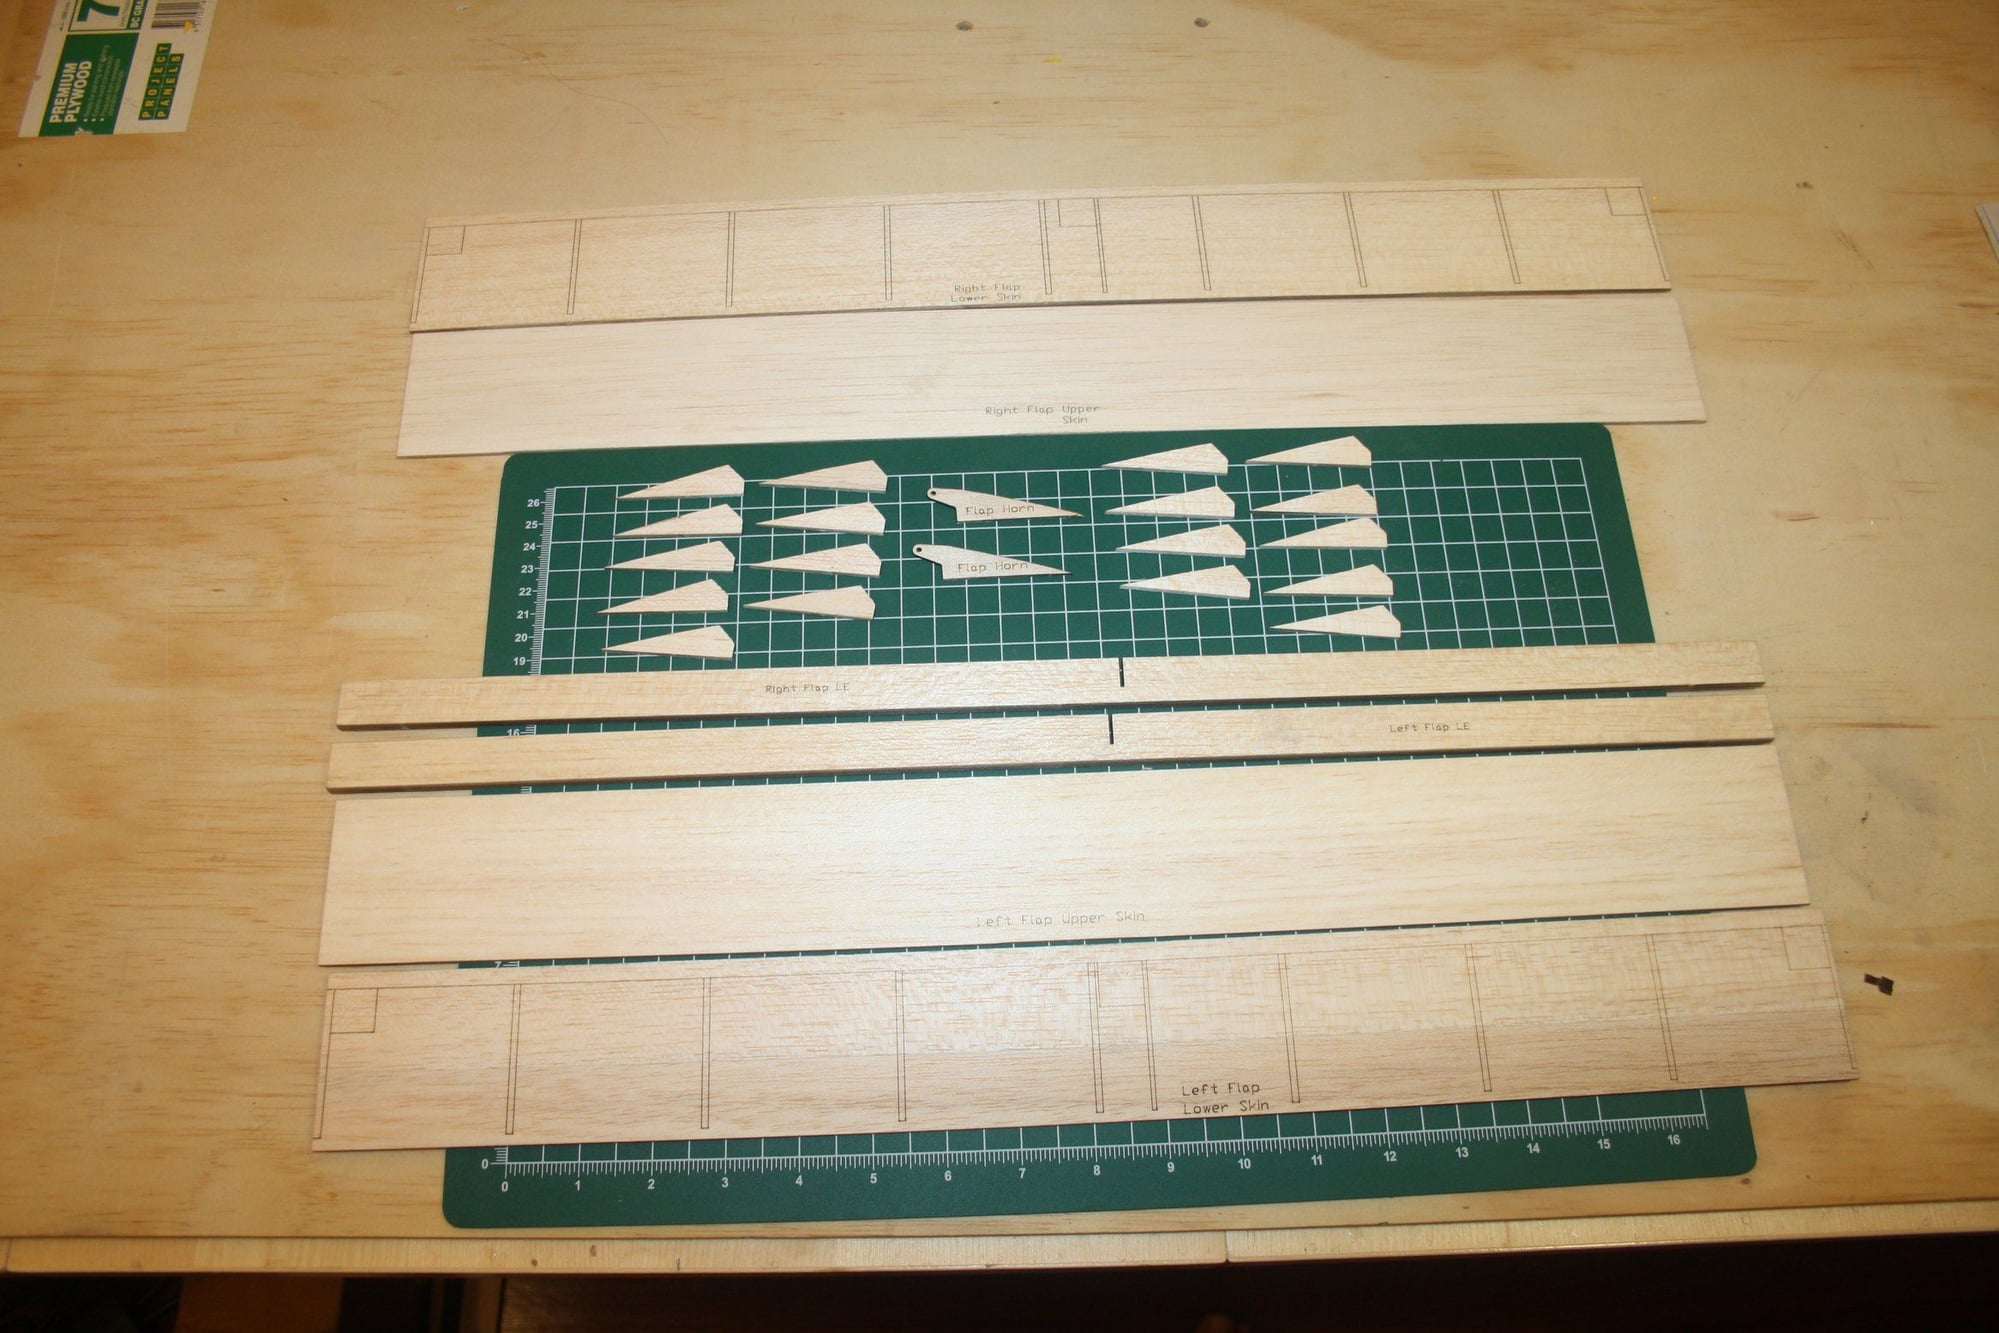
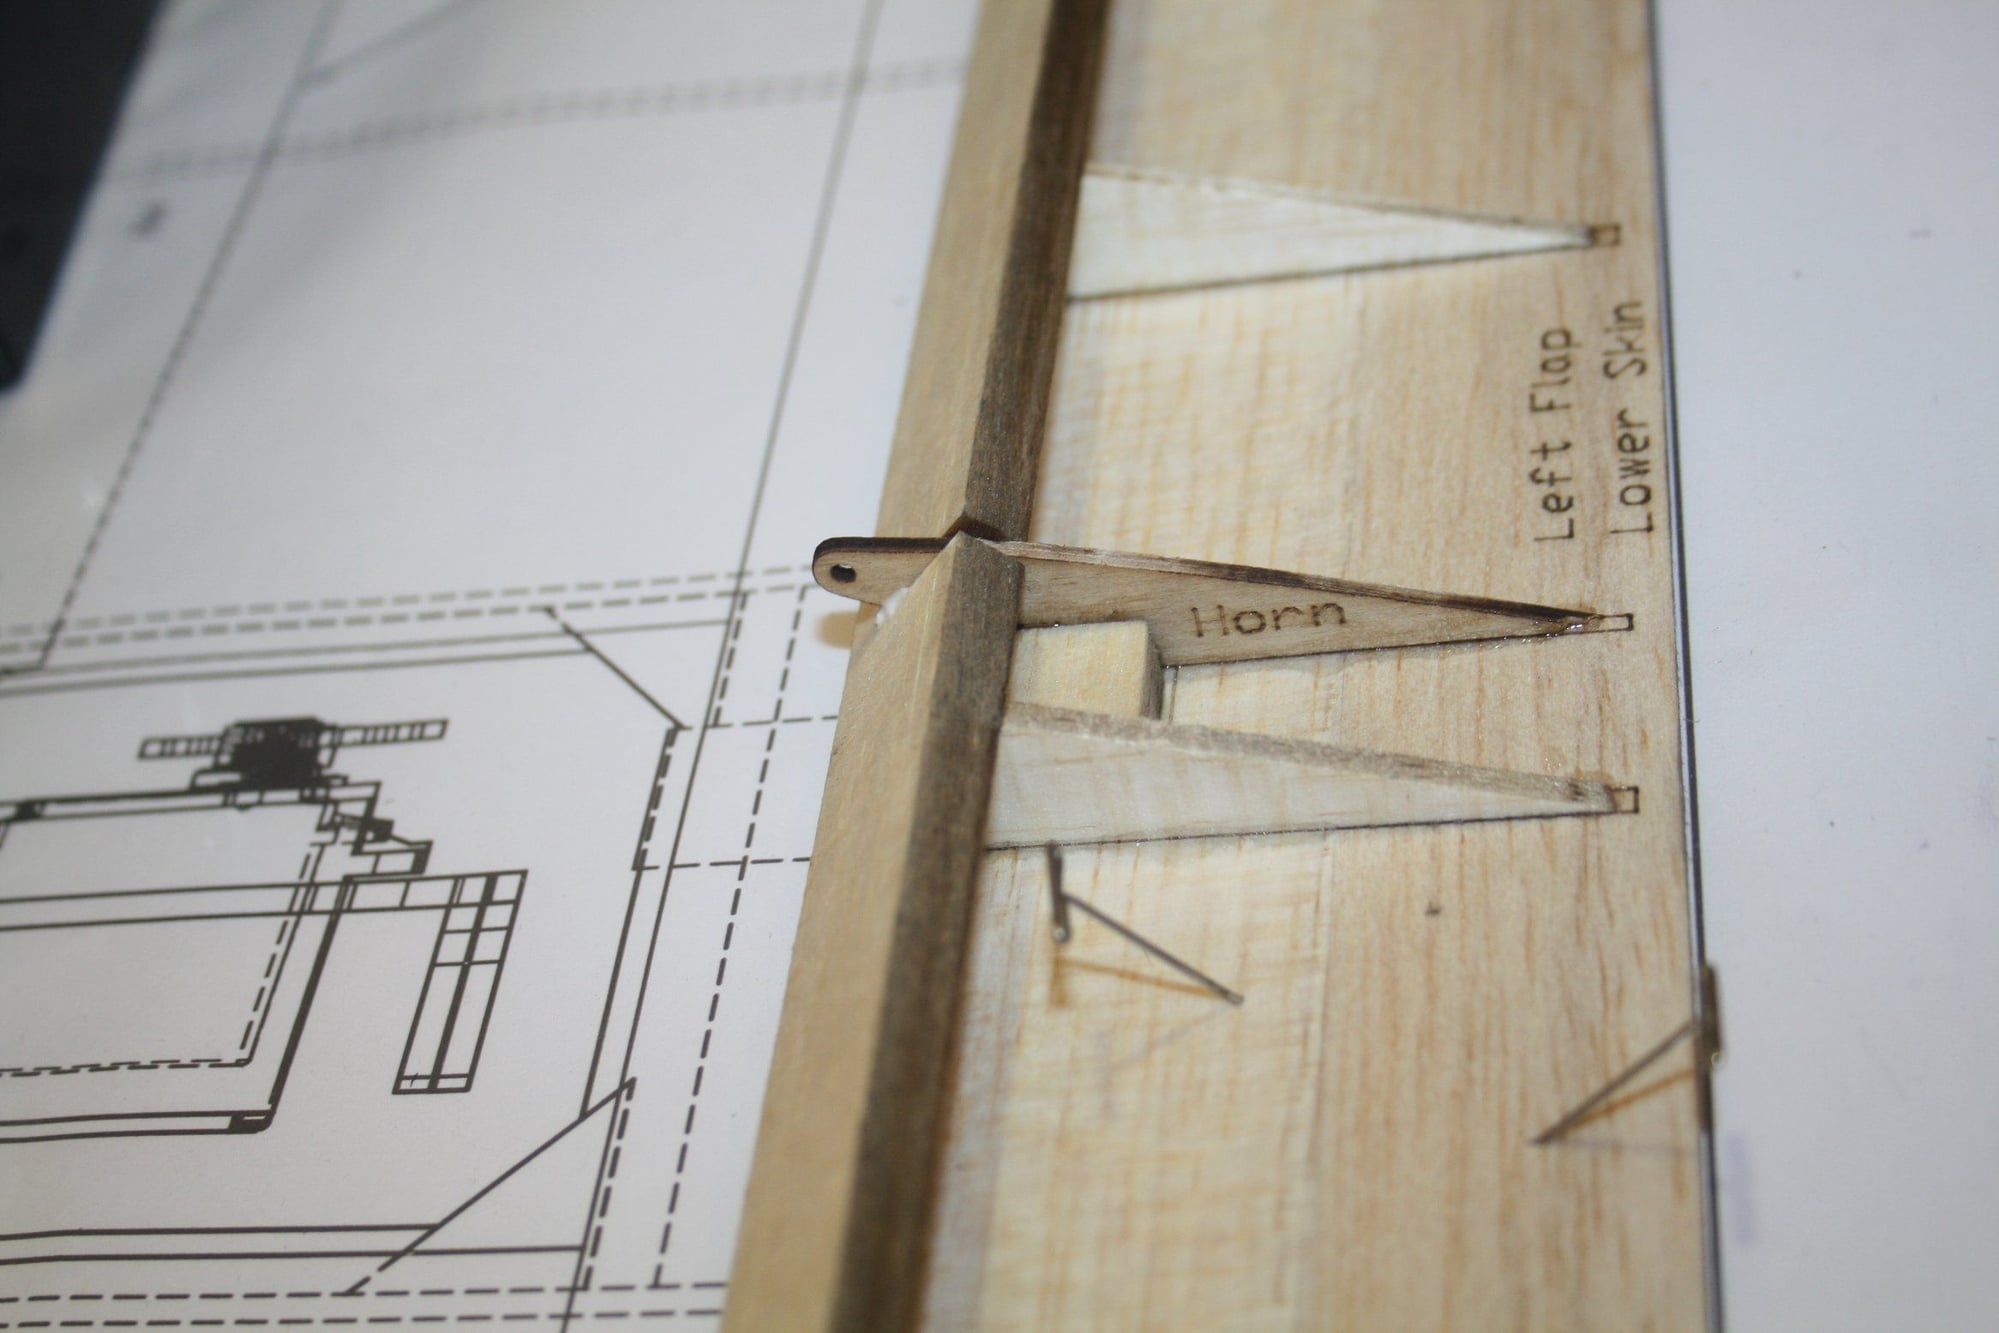
Wing Construction. The wing construction method didn't work for me. In addition, the ribs being extremely flimsy ended up with many of them broken during construction. This is where this kit went from fun to being not enjoyable.
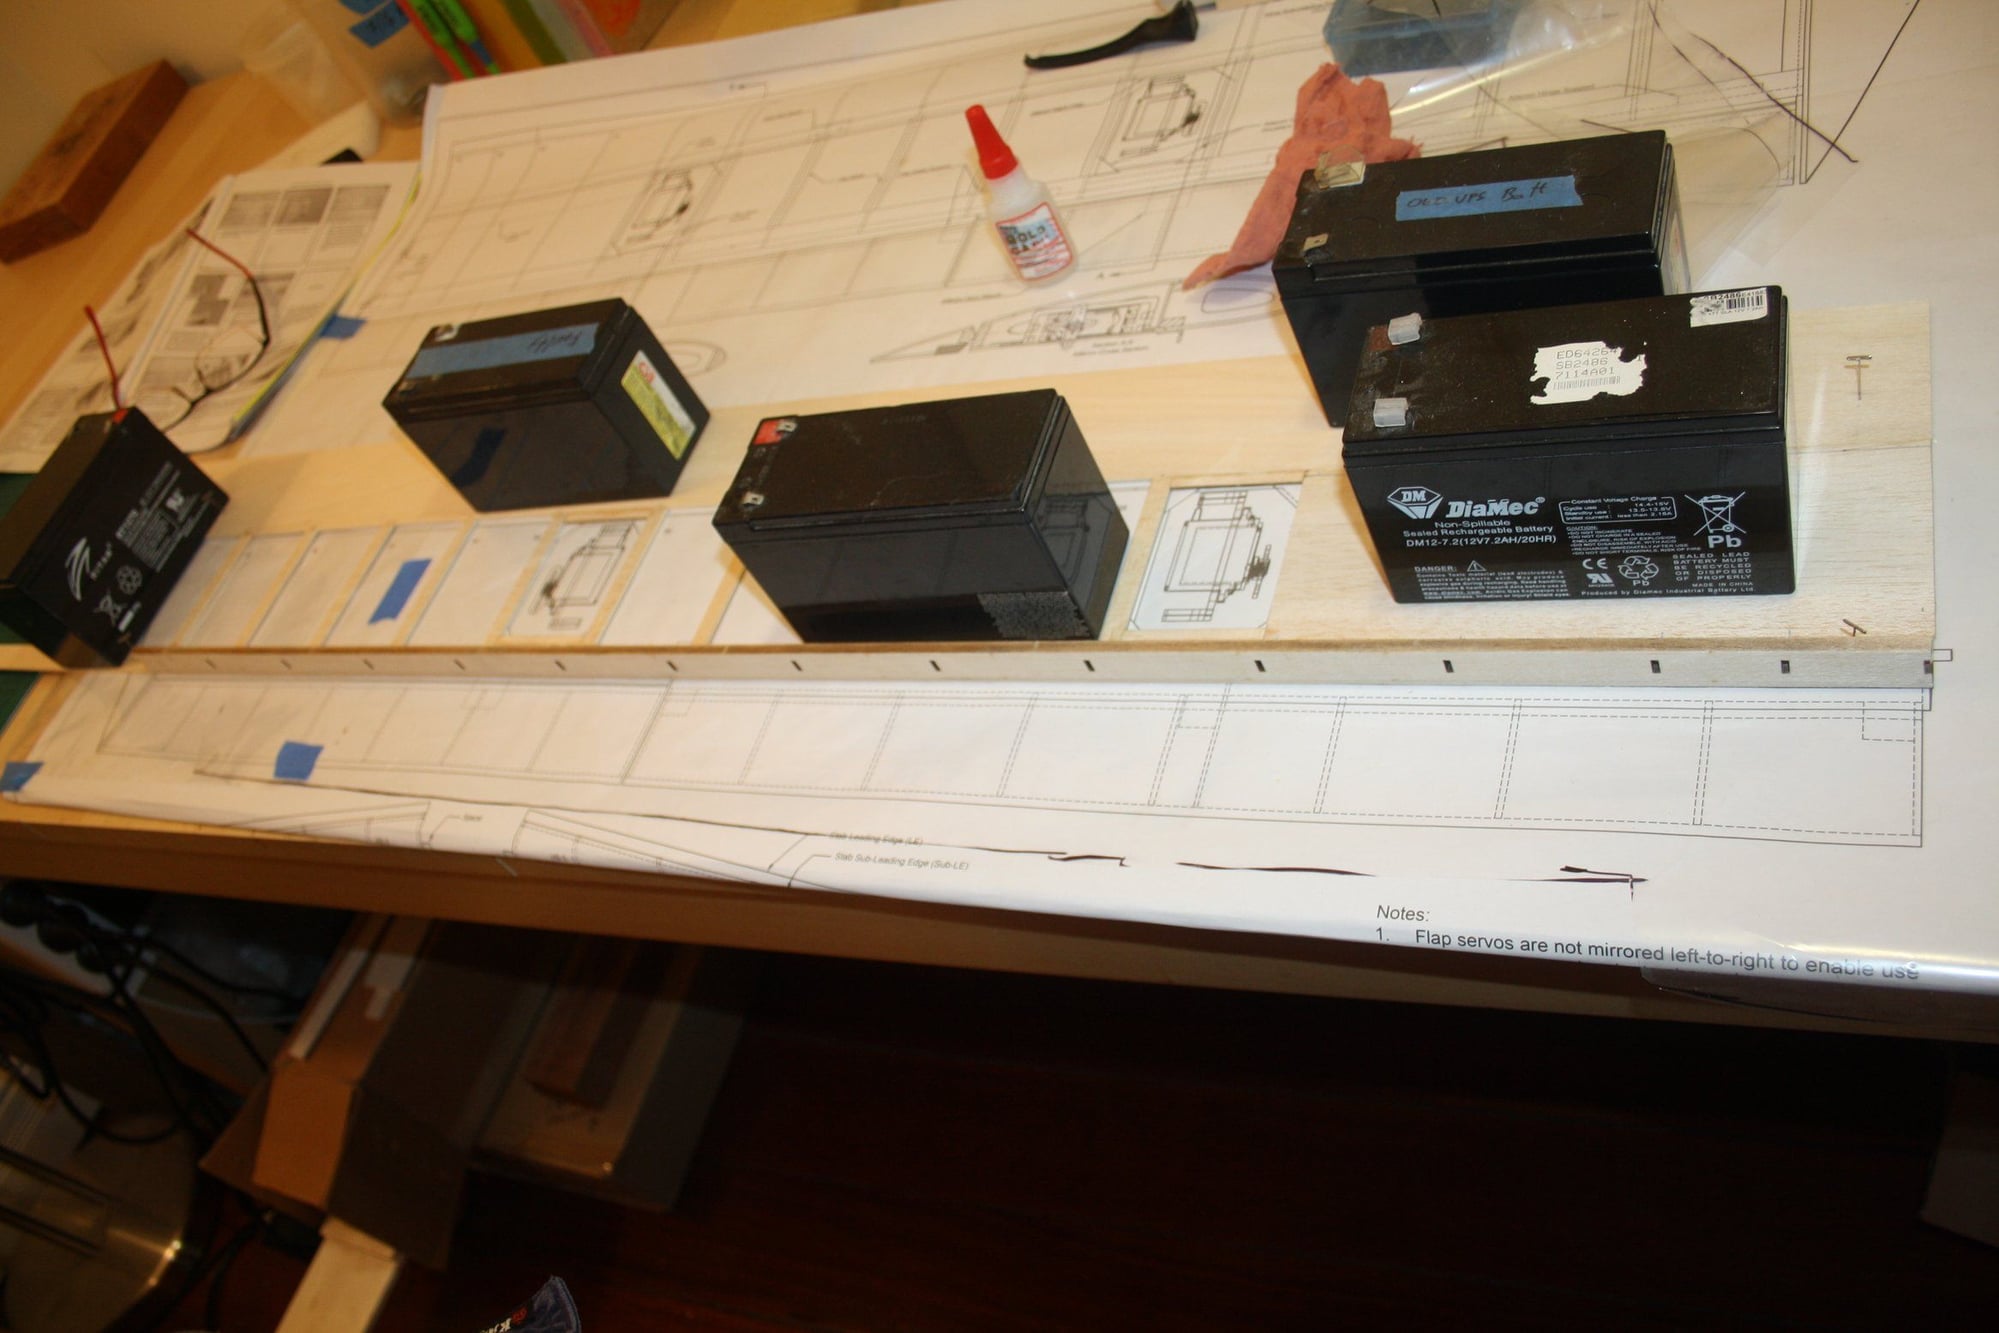
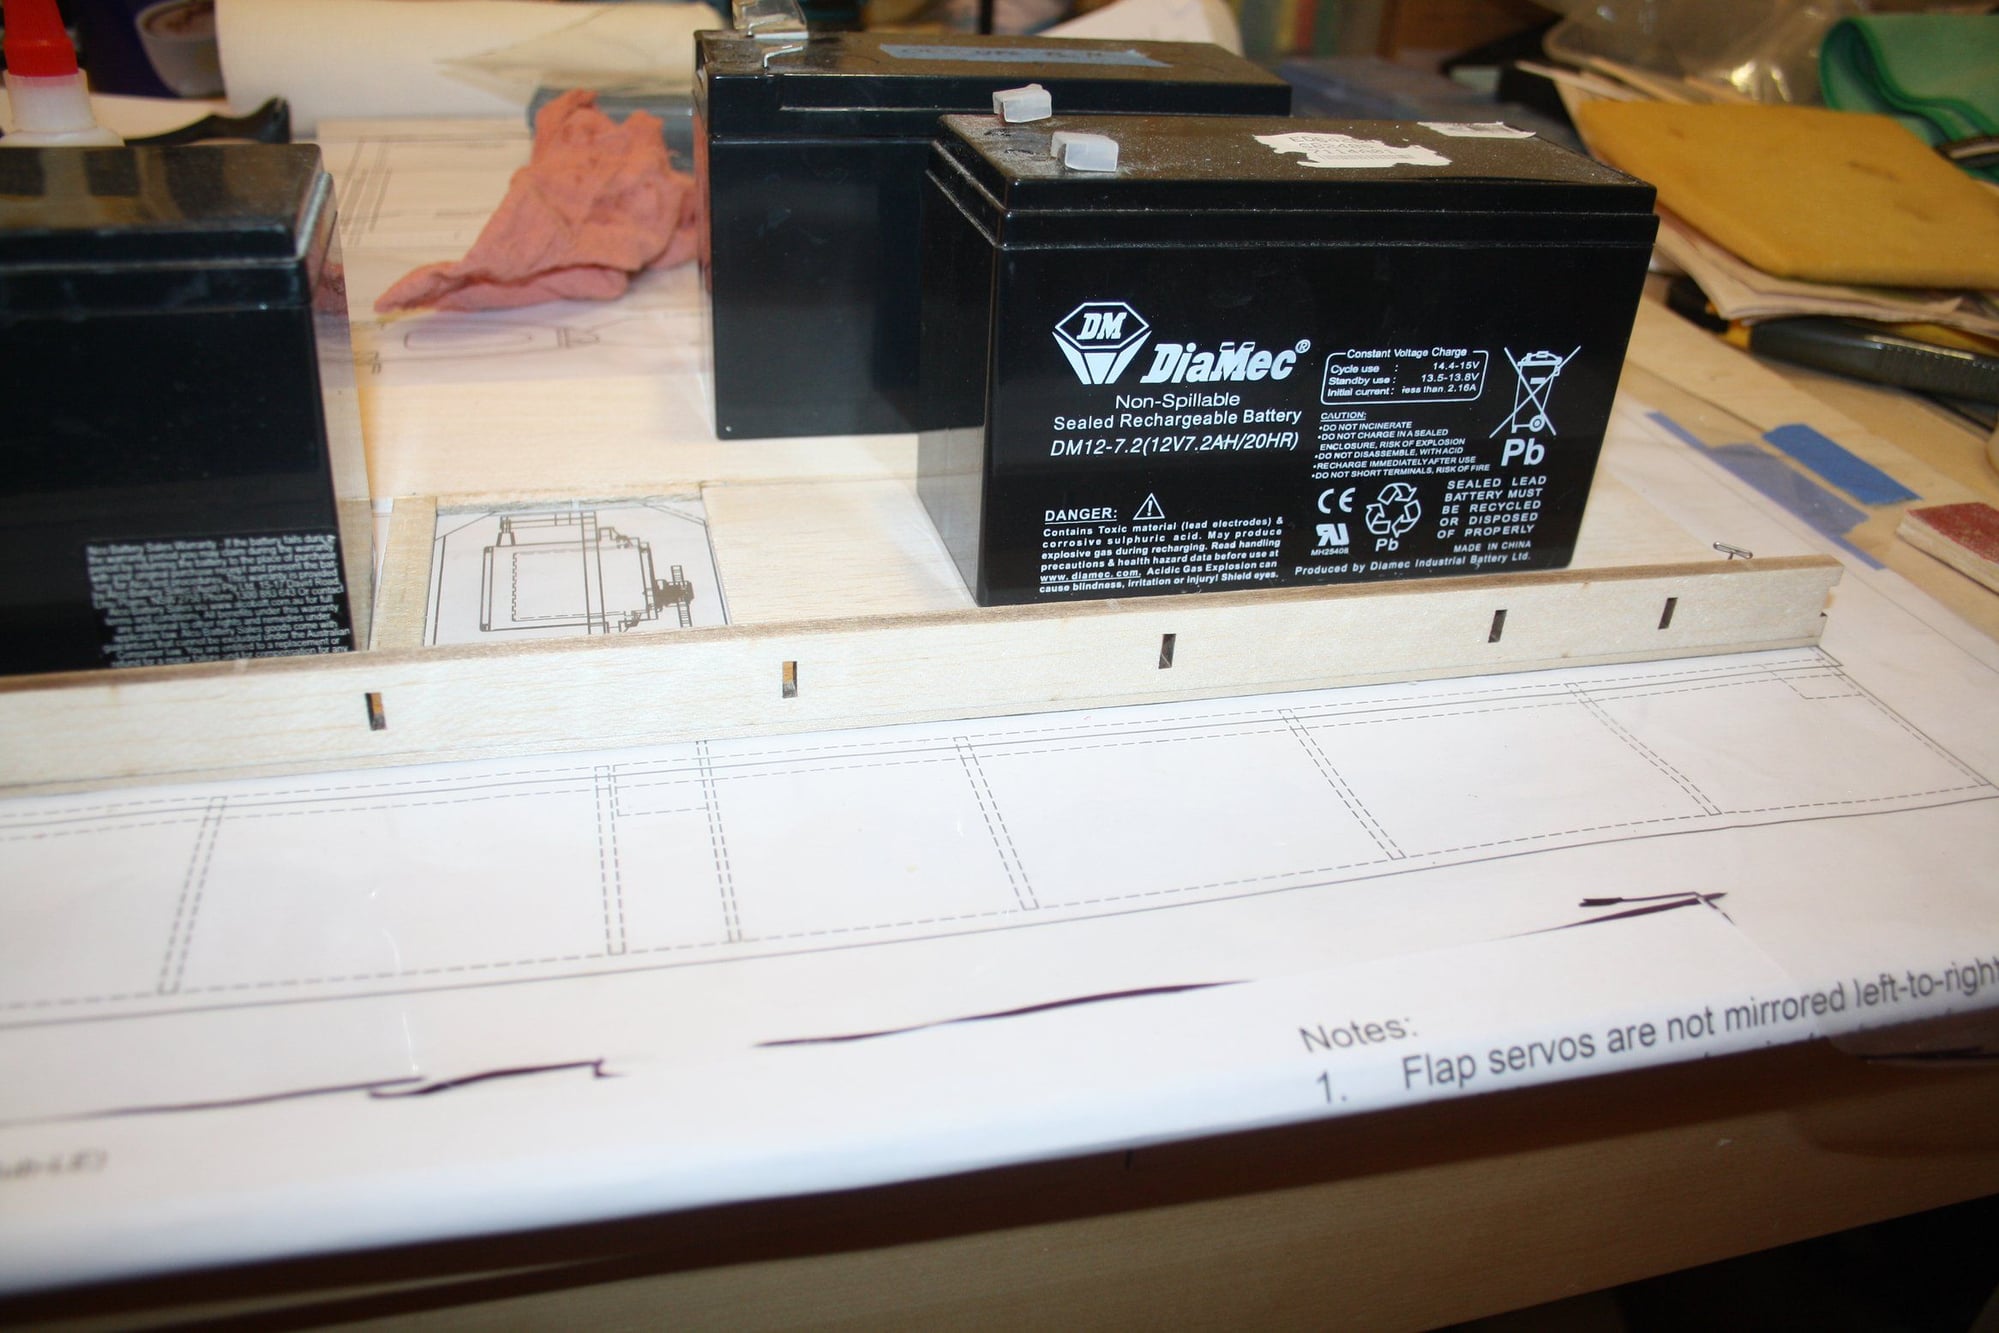
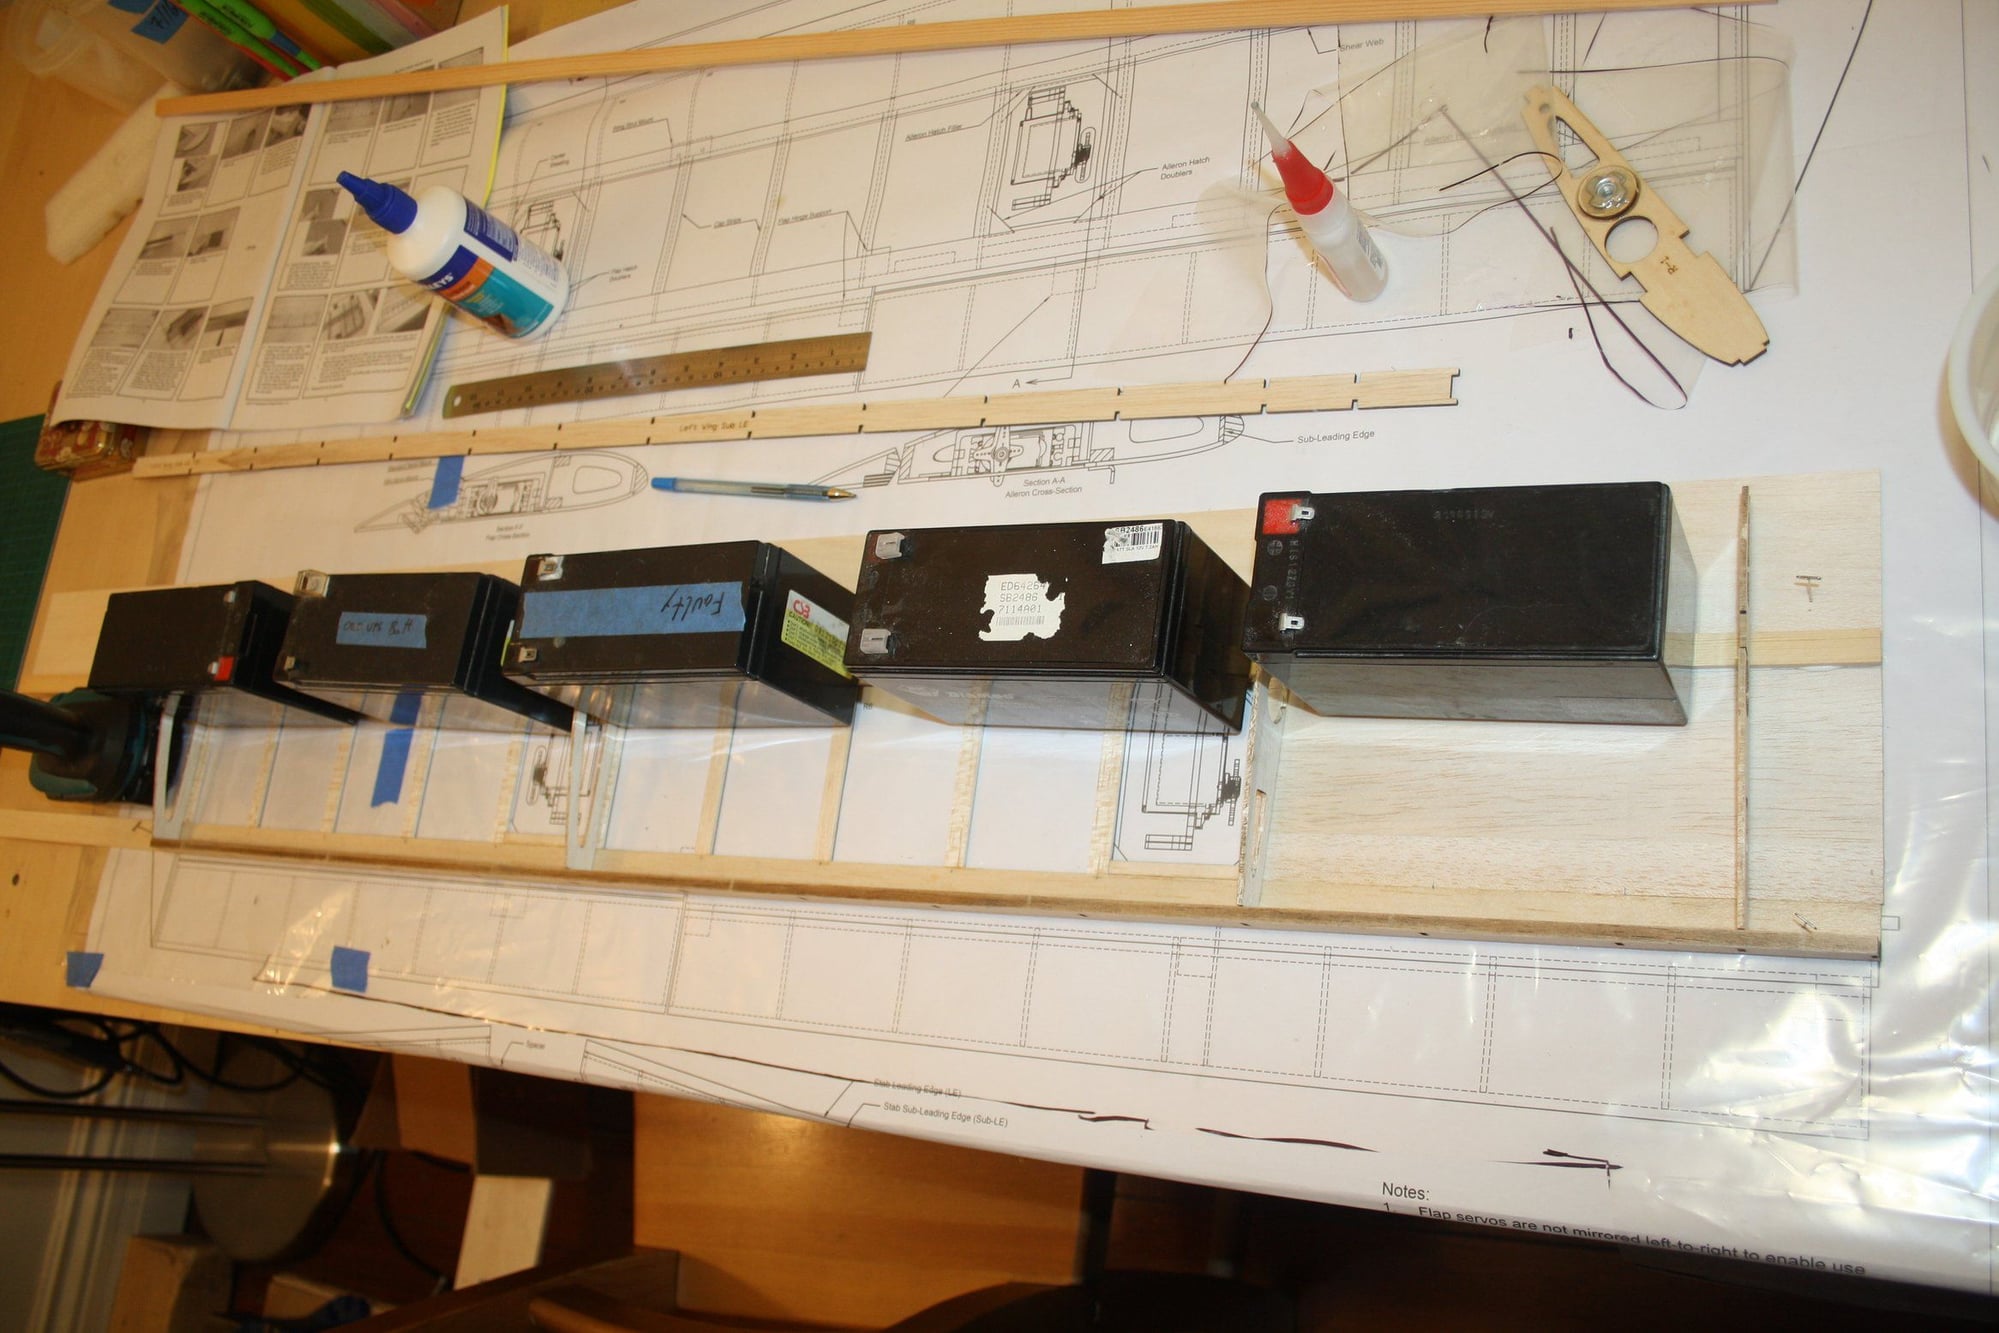
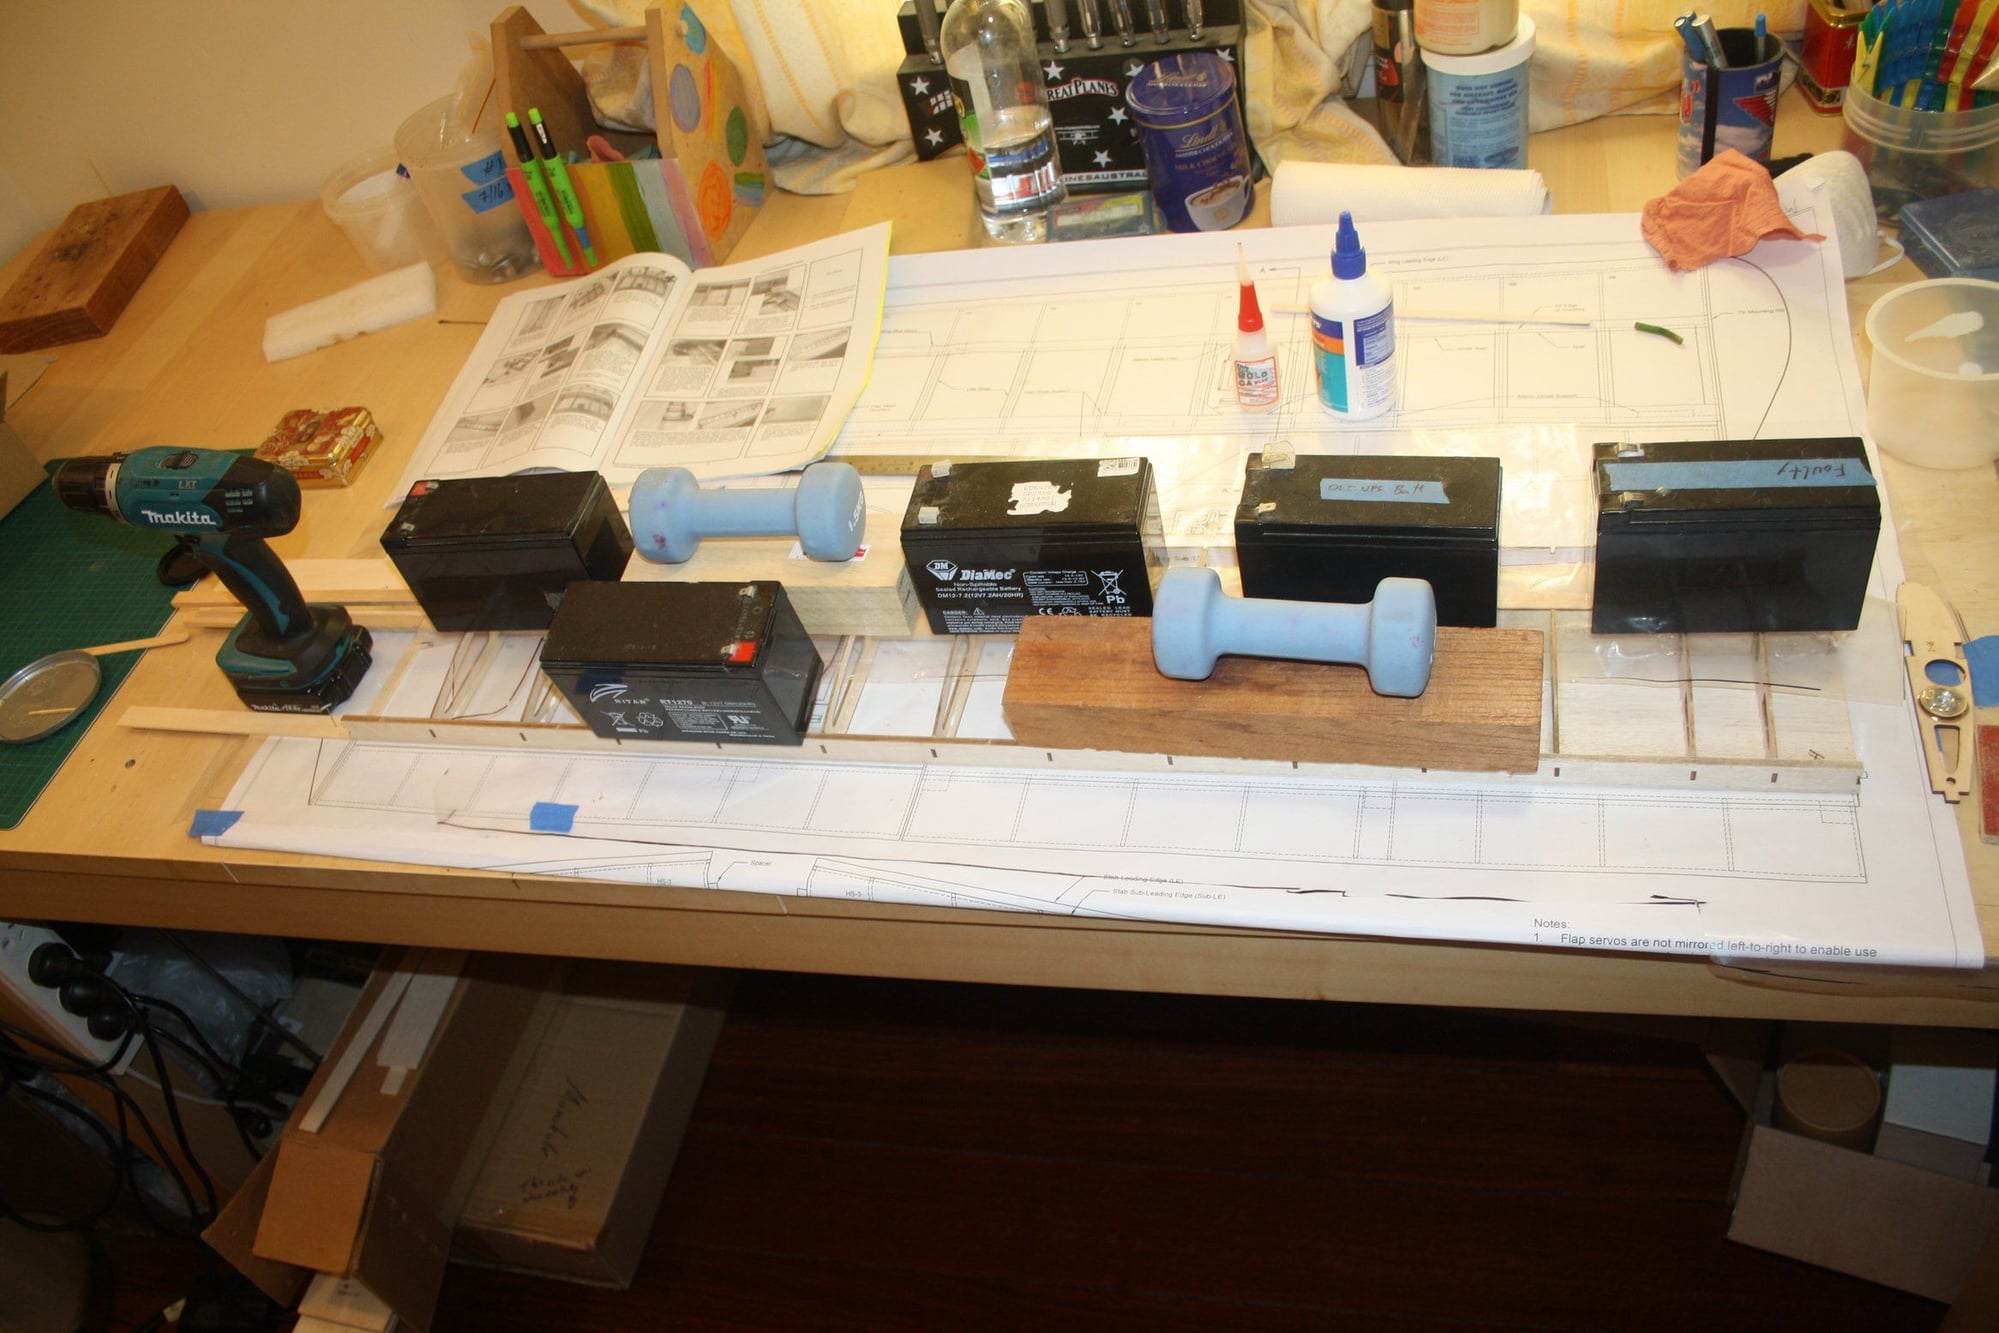
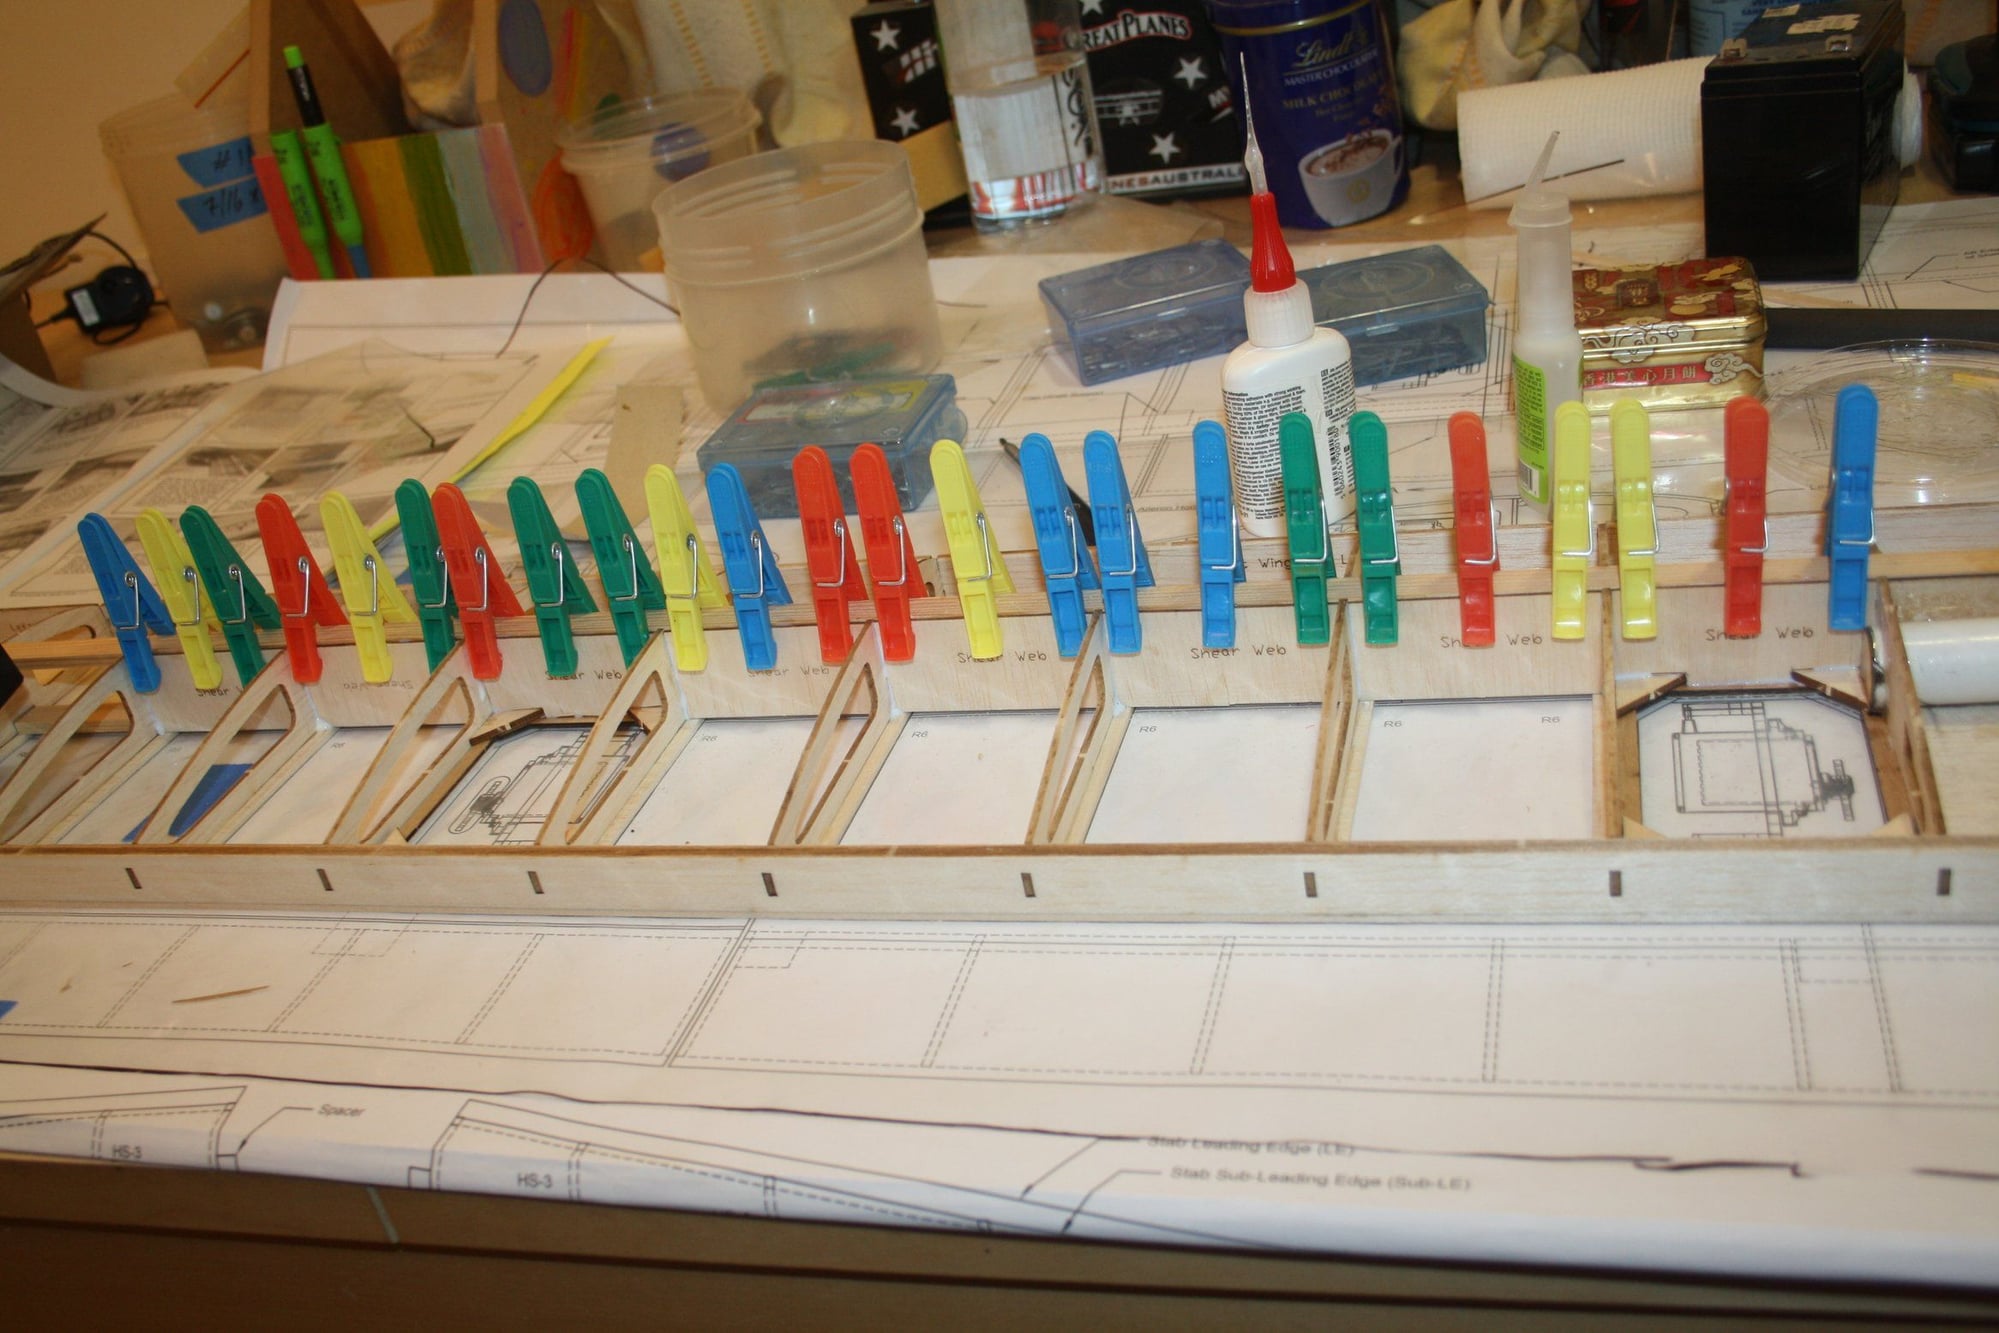
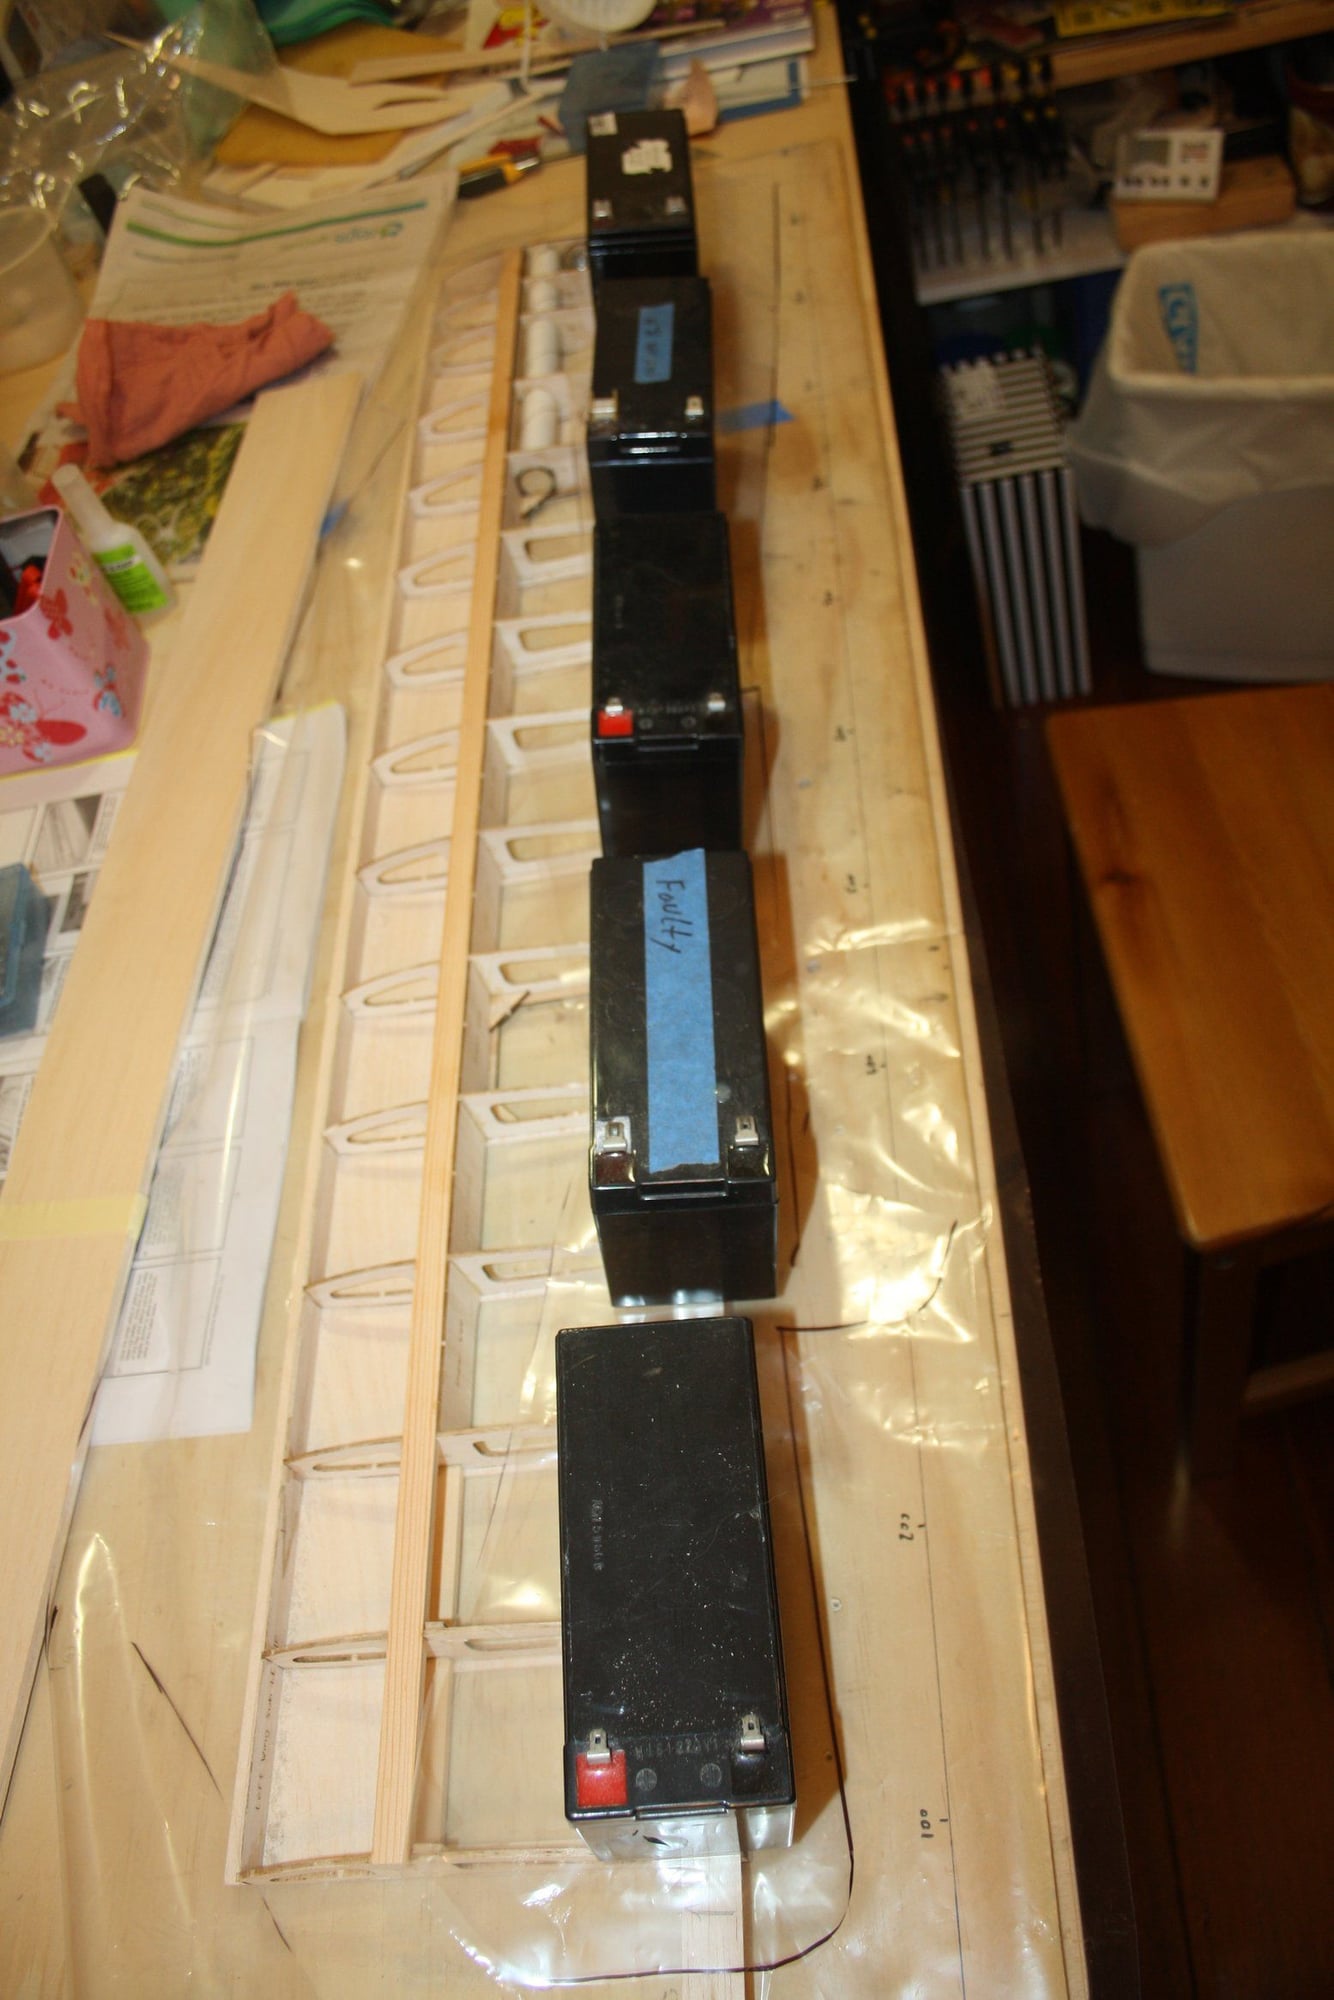
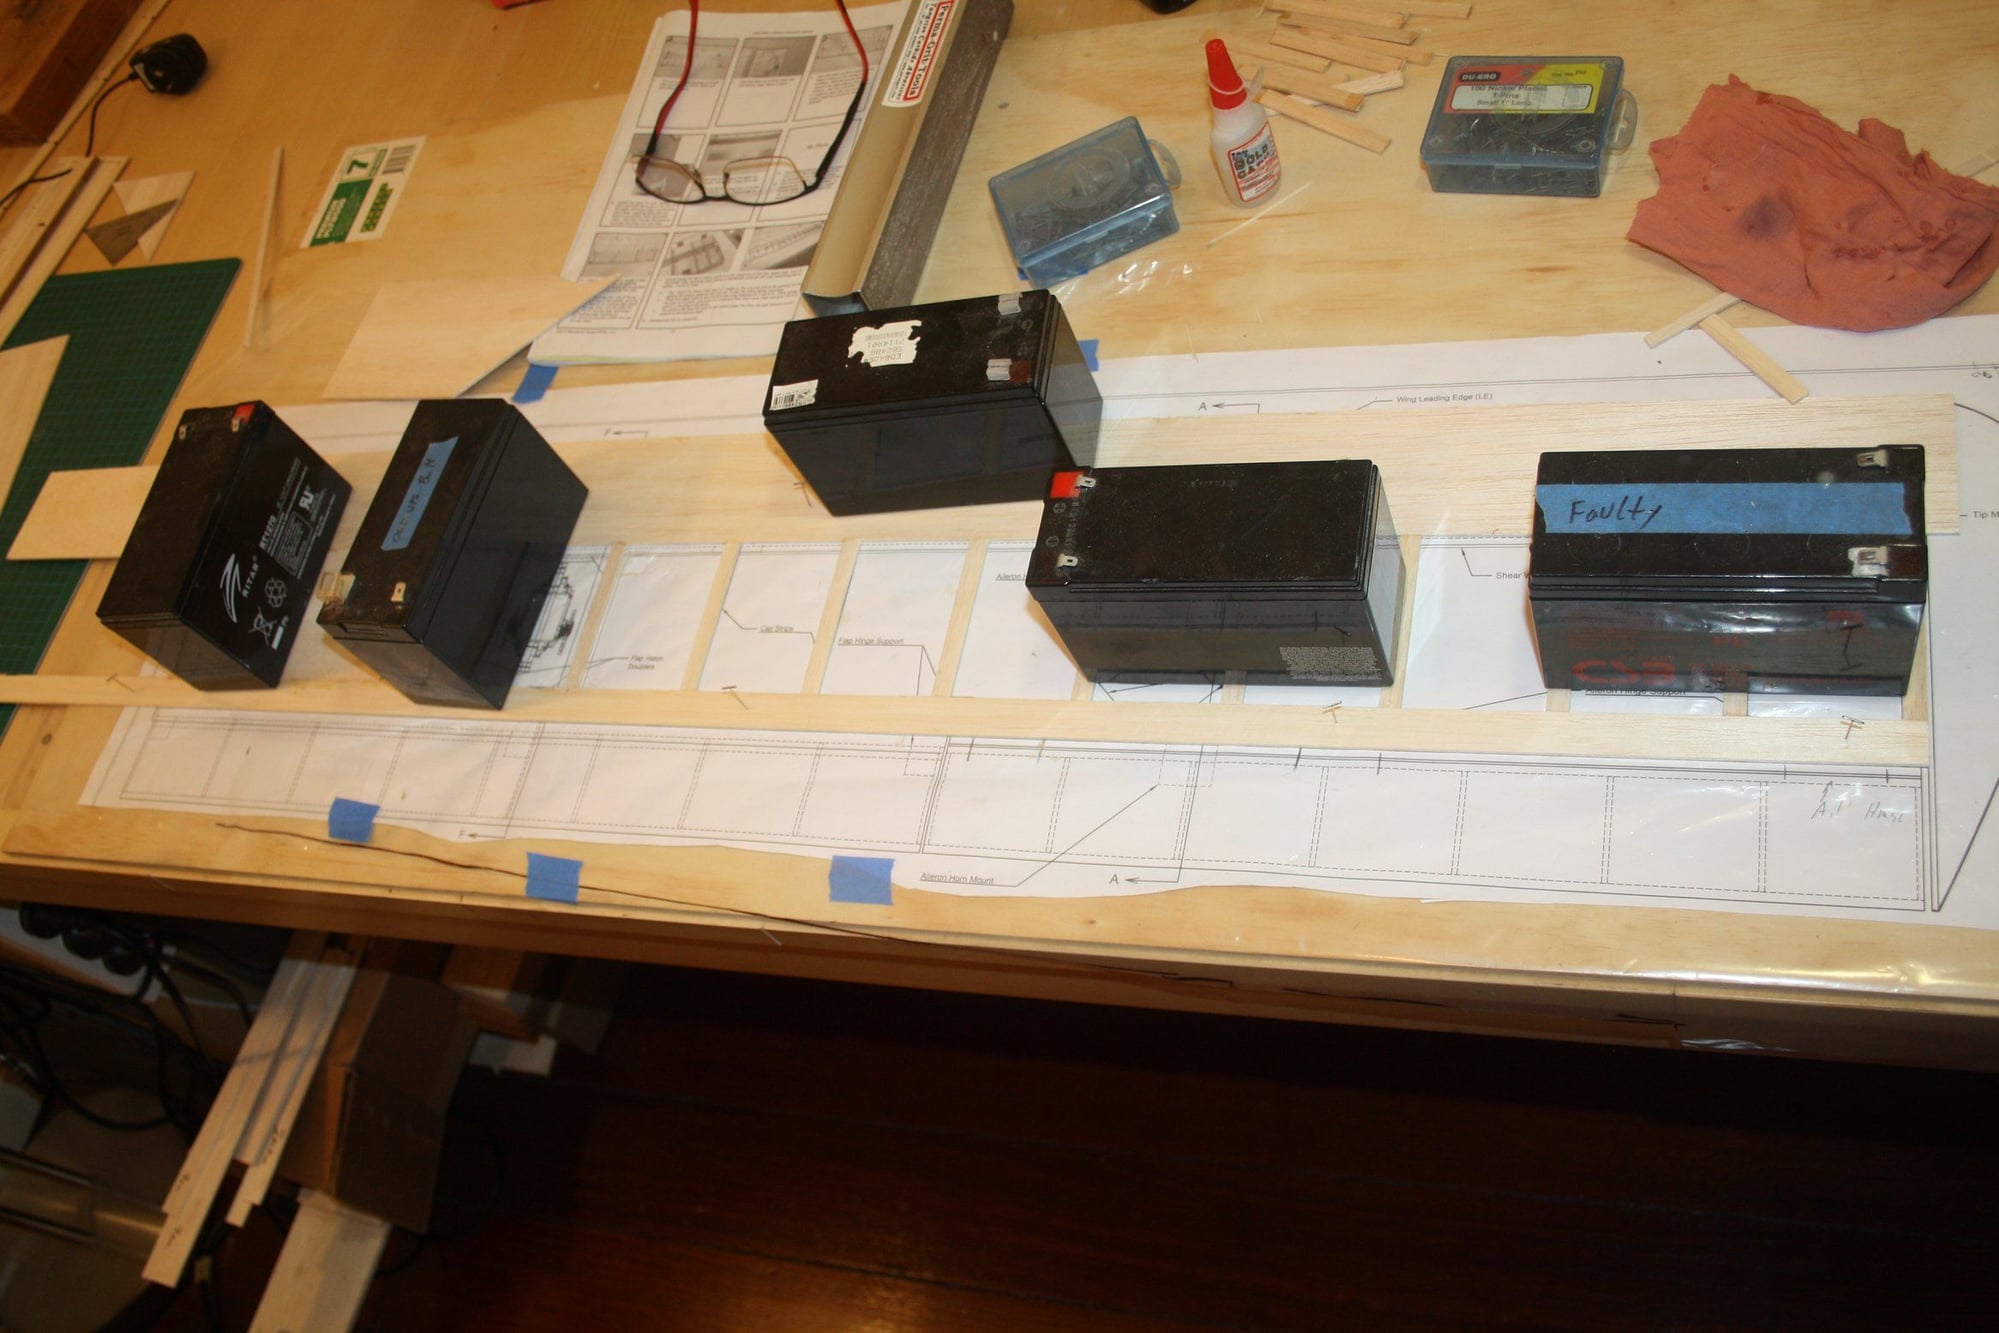
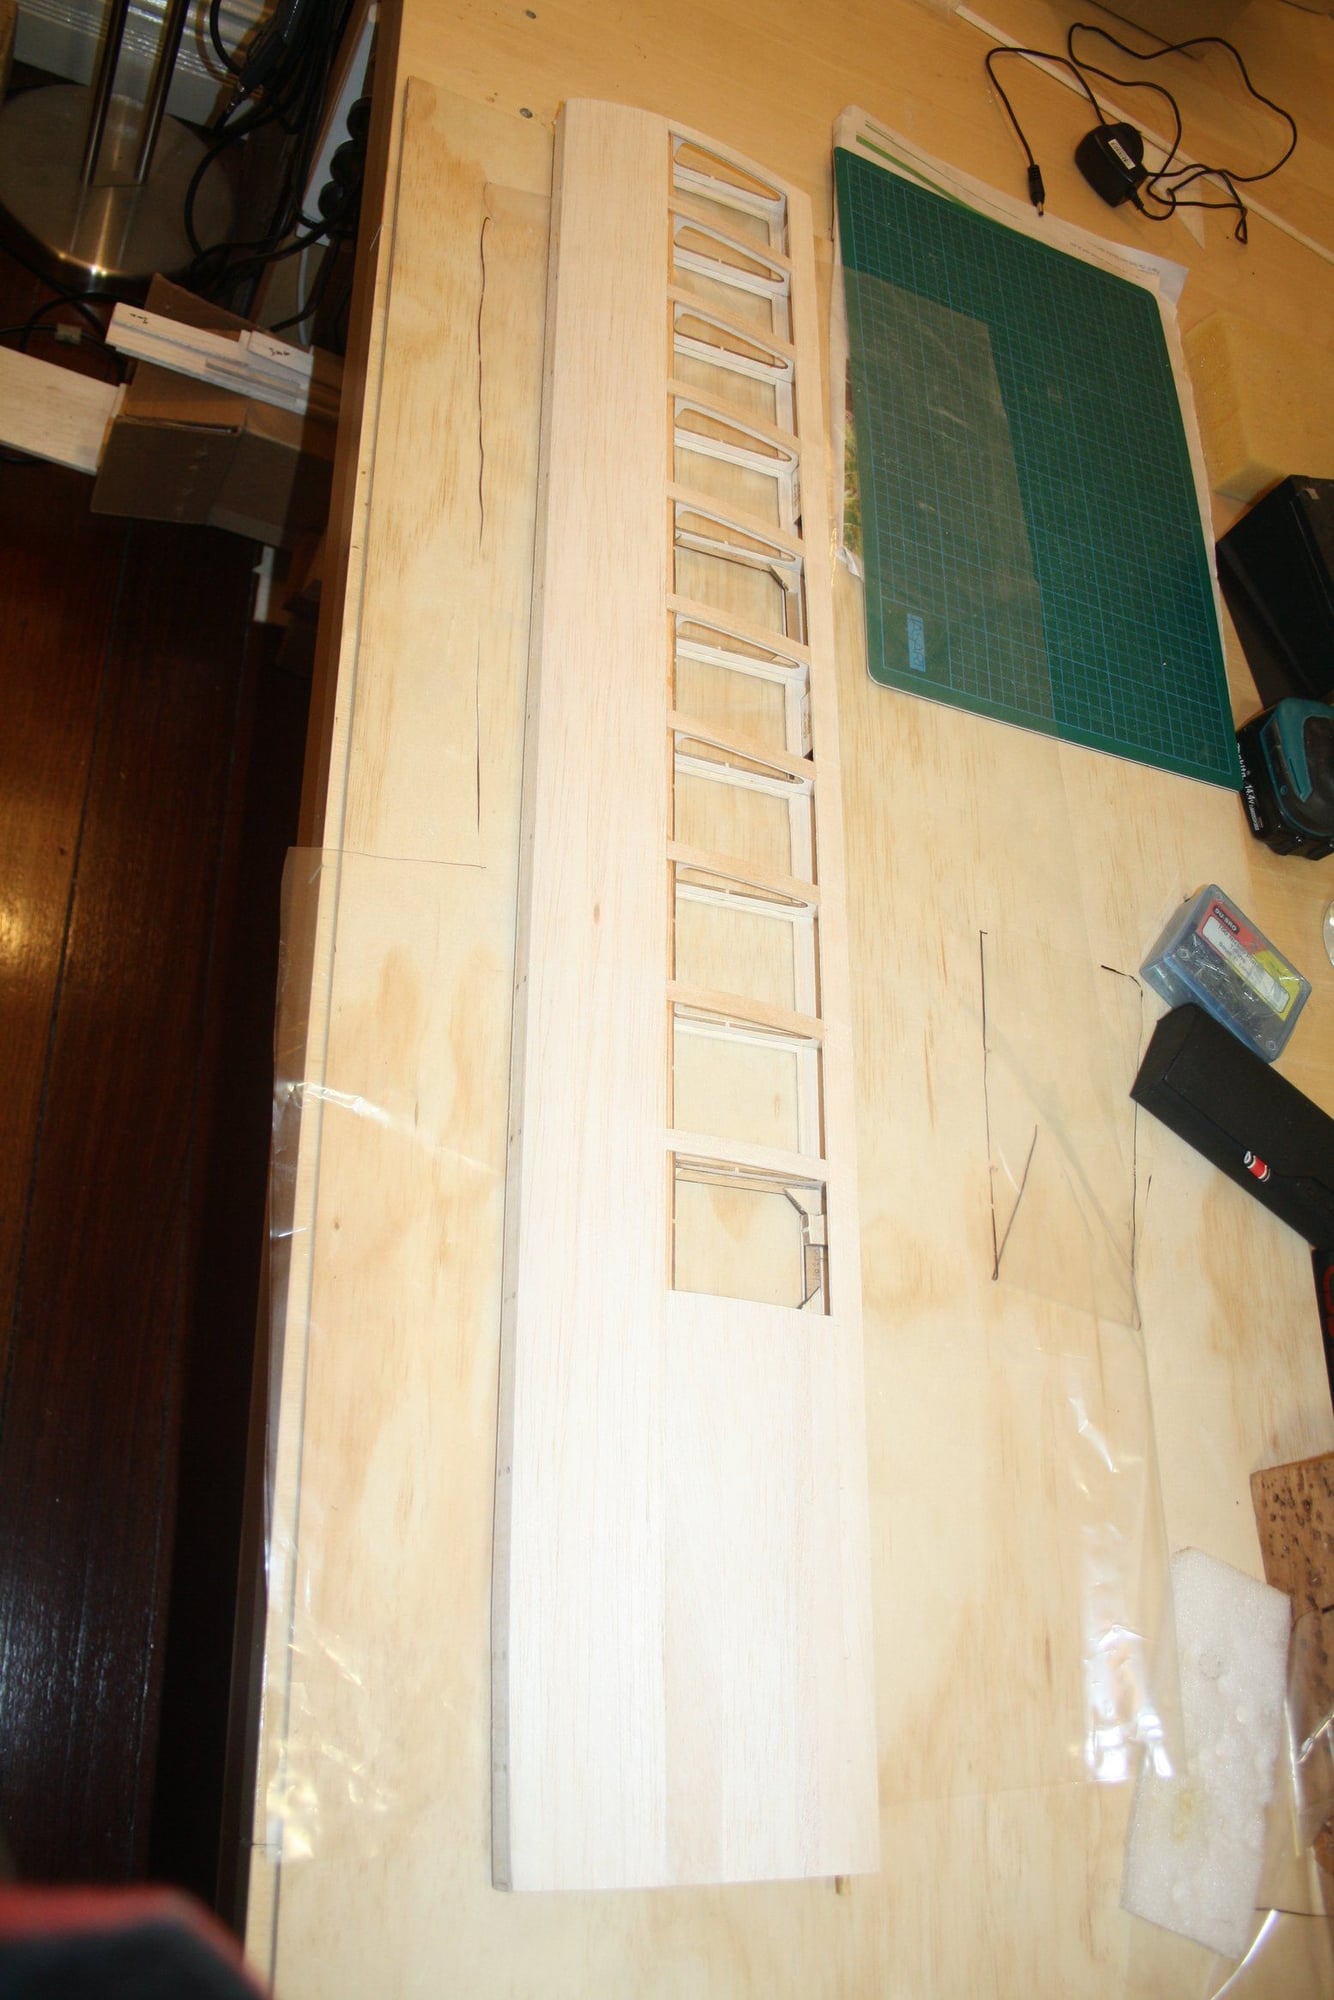
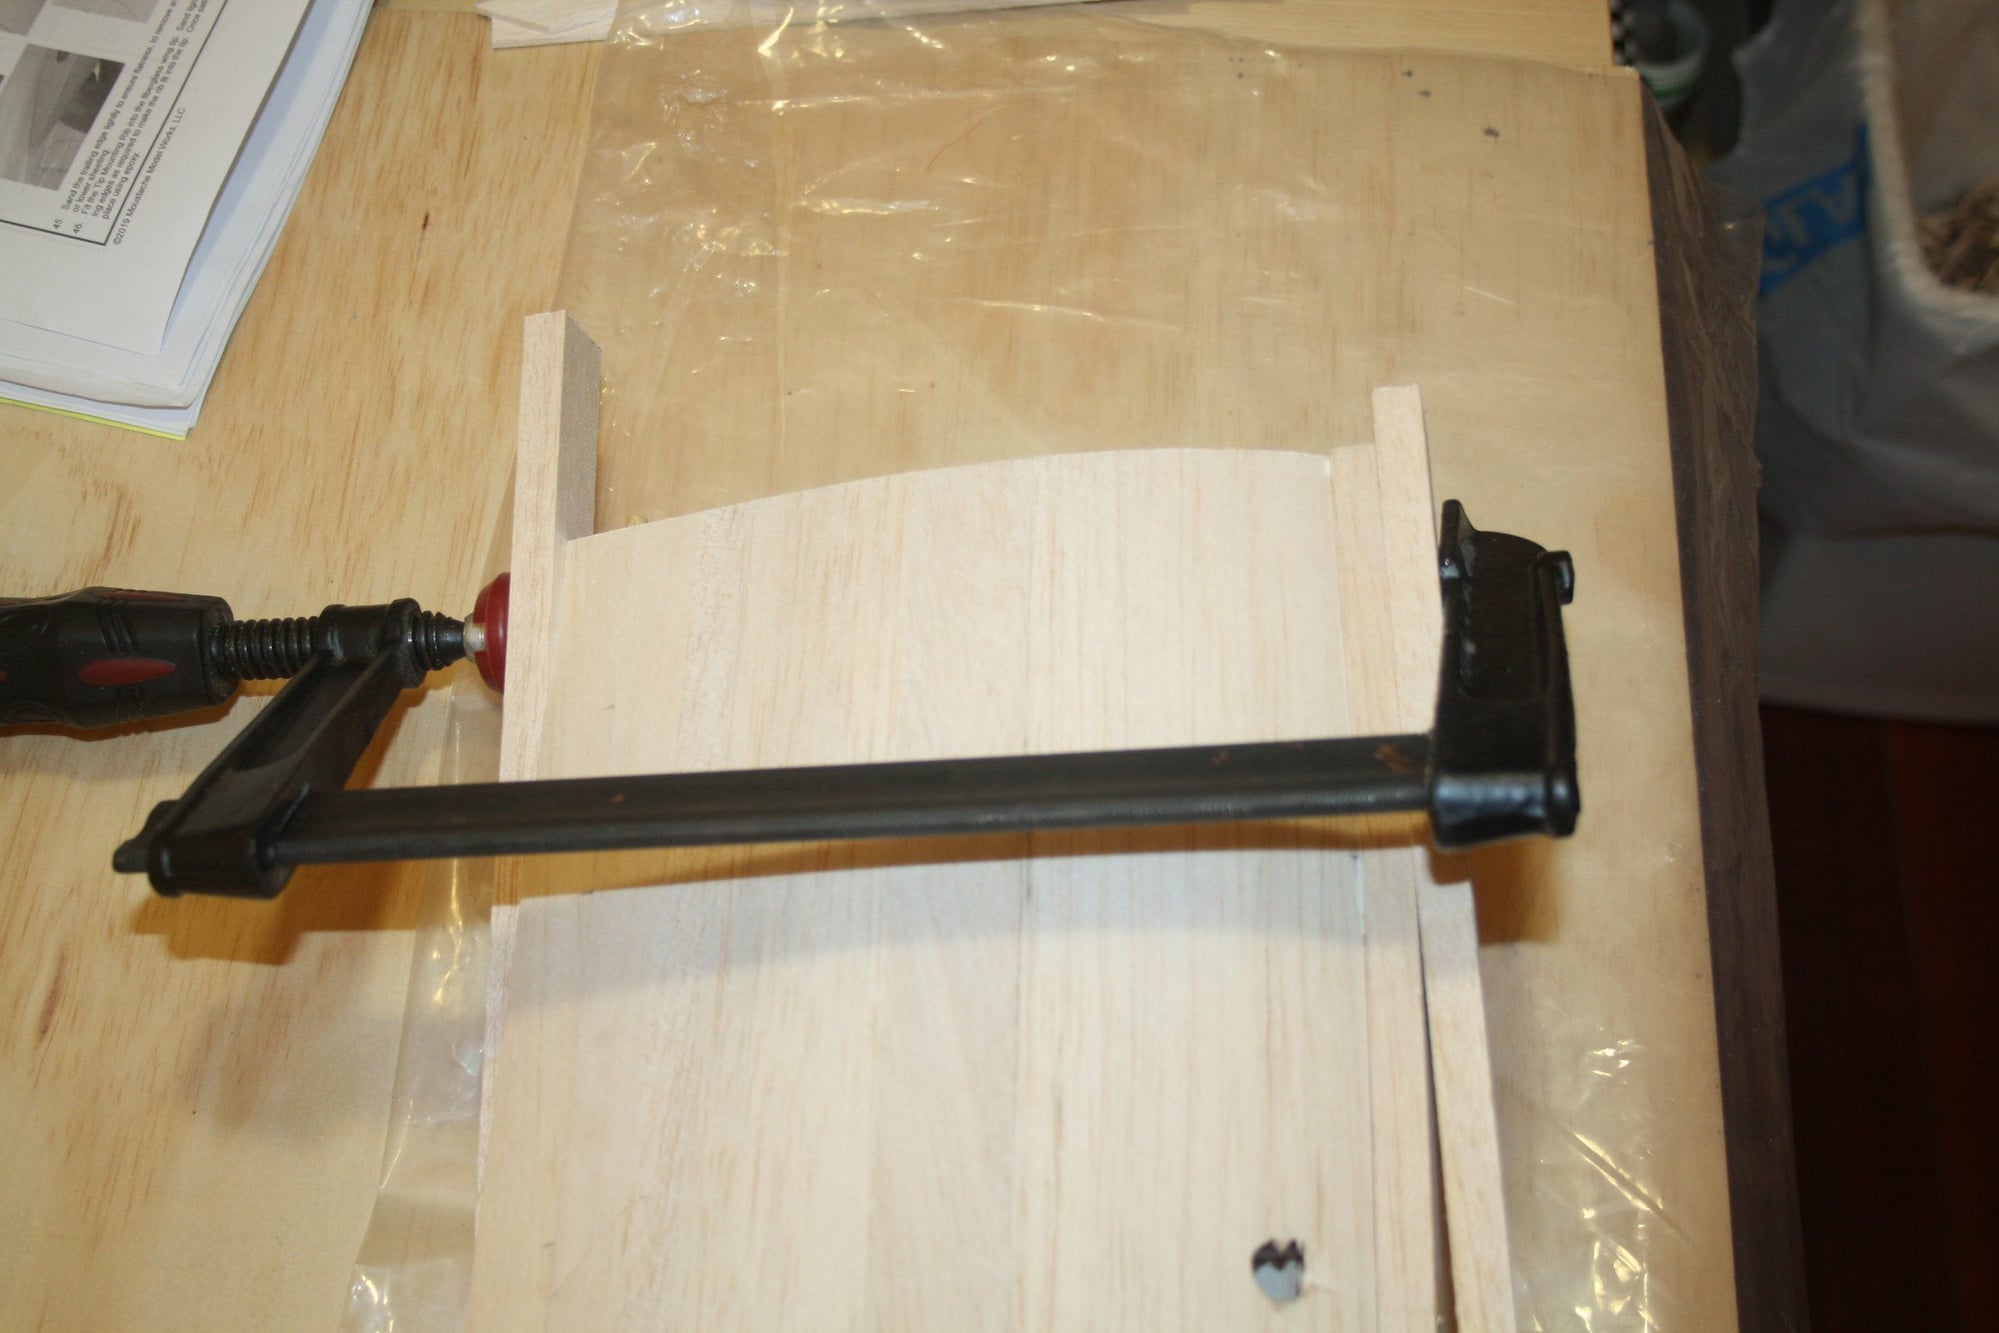
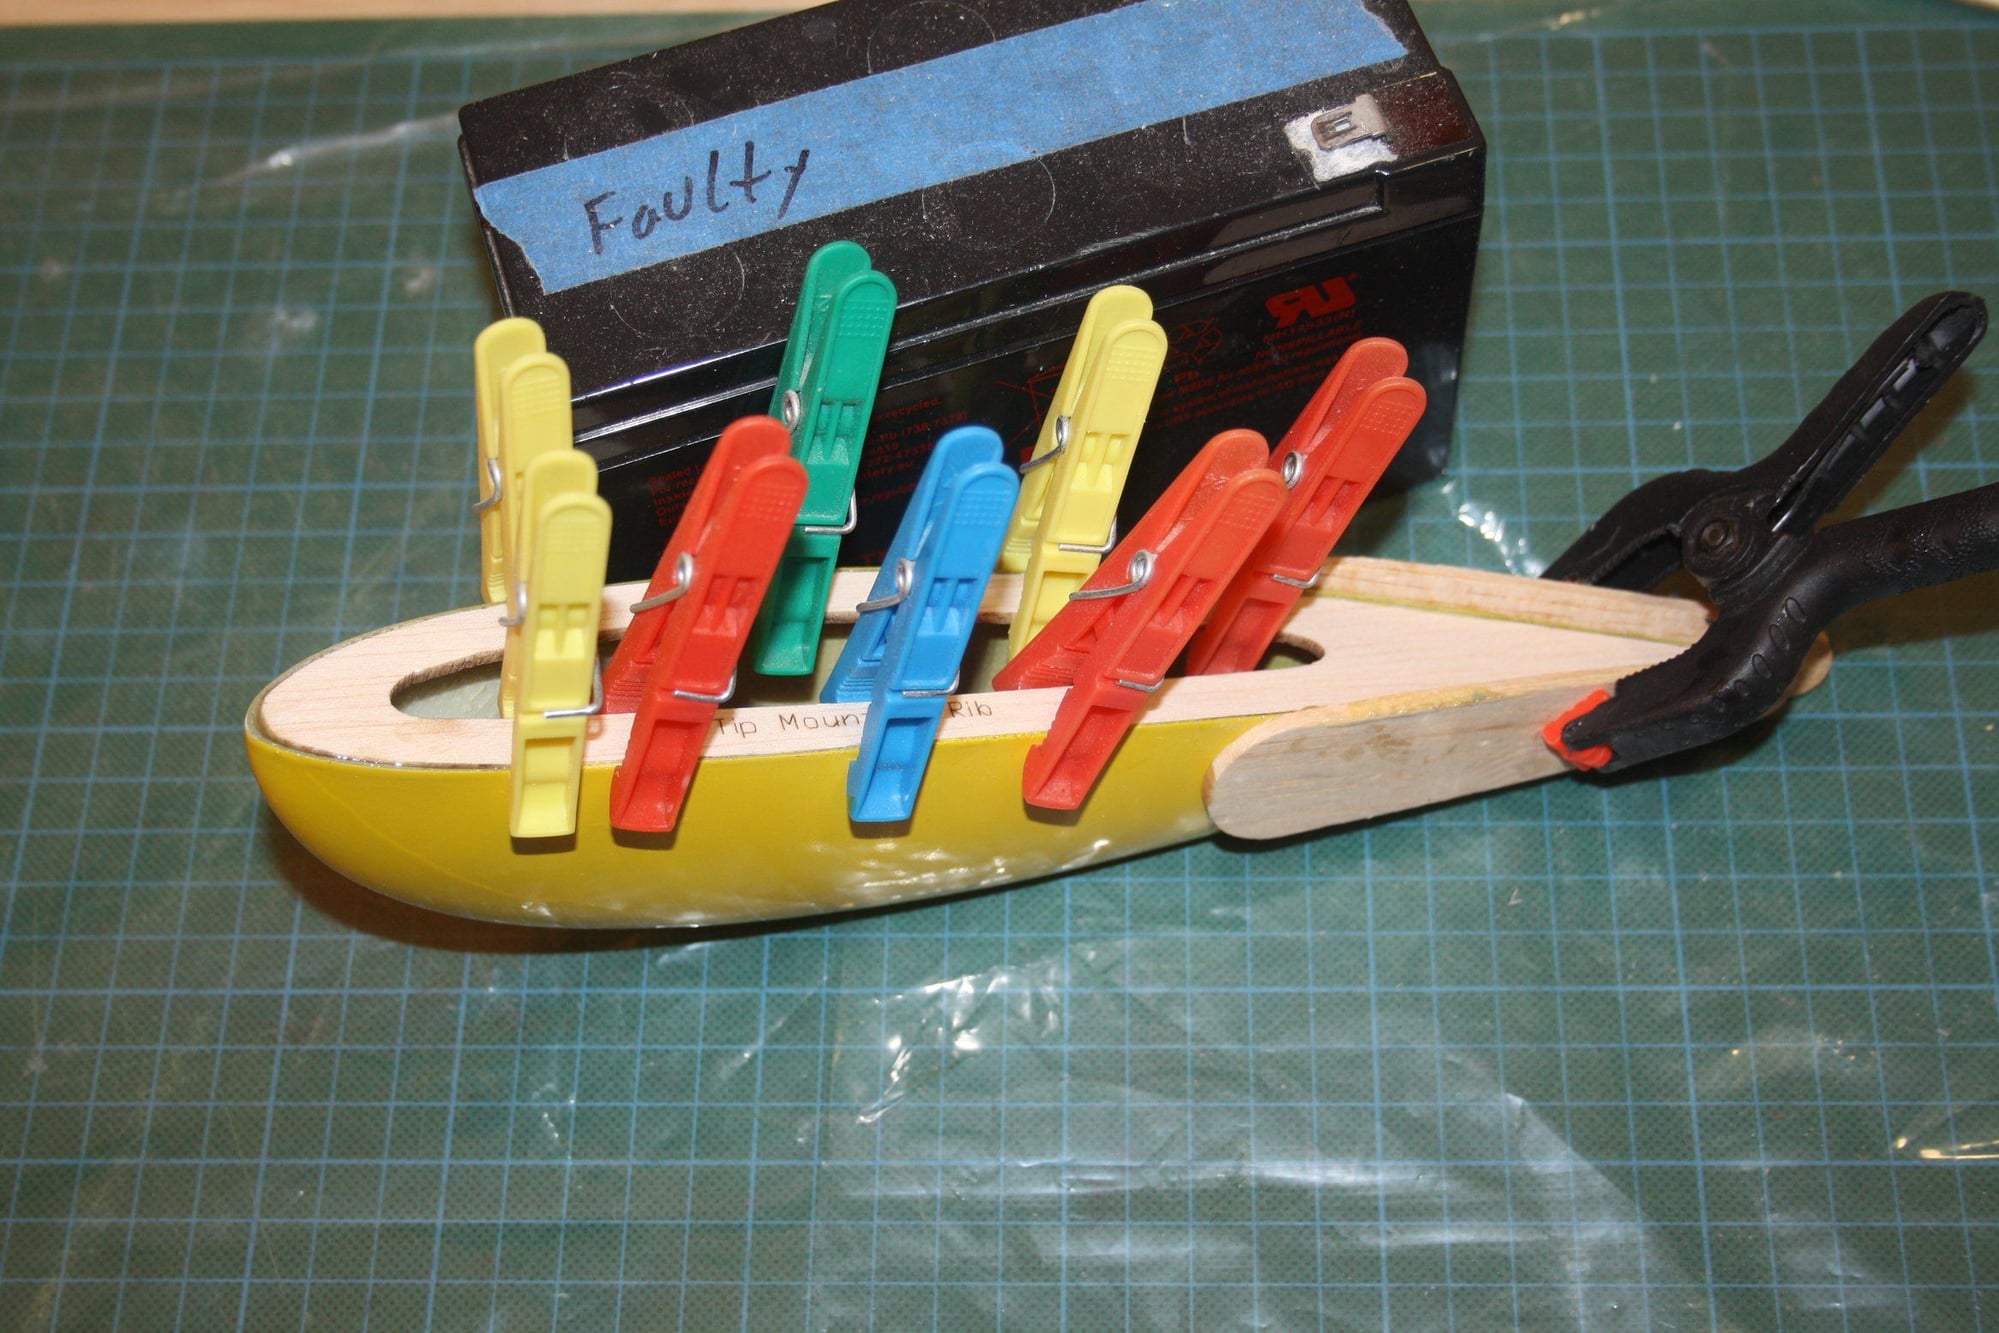
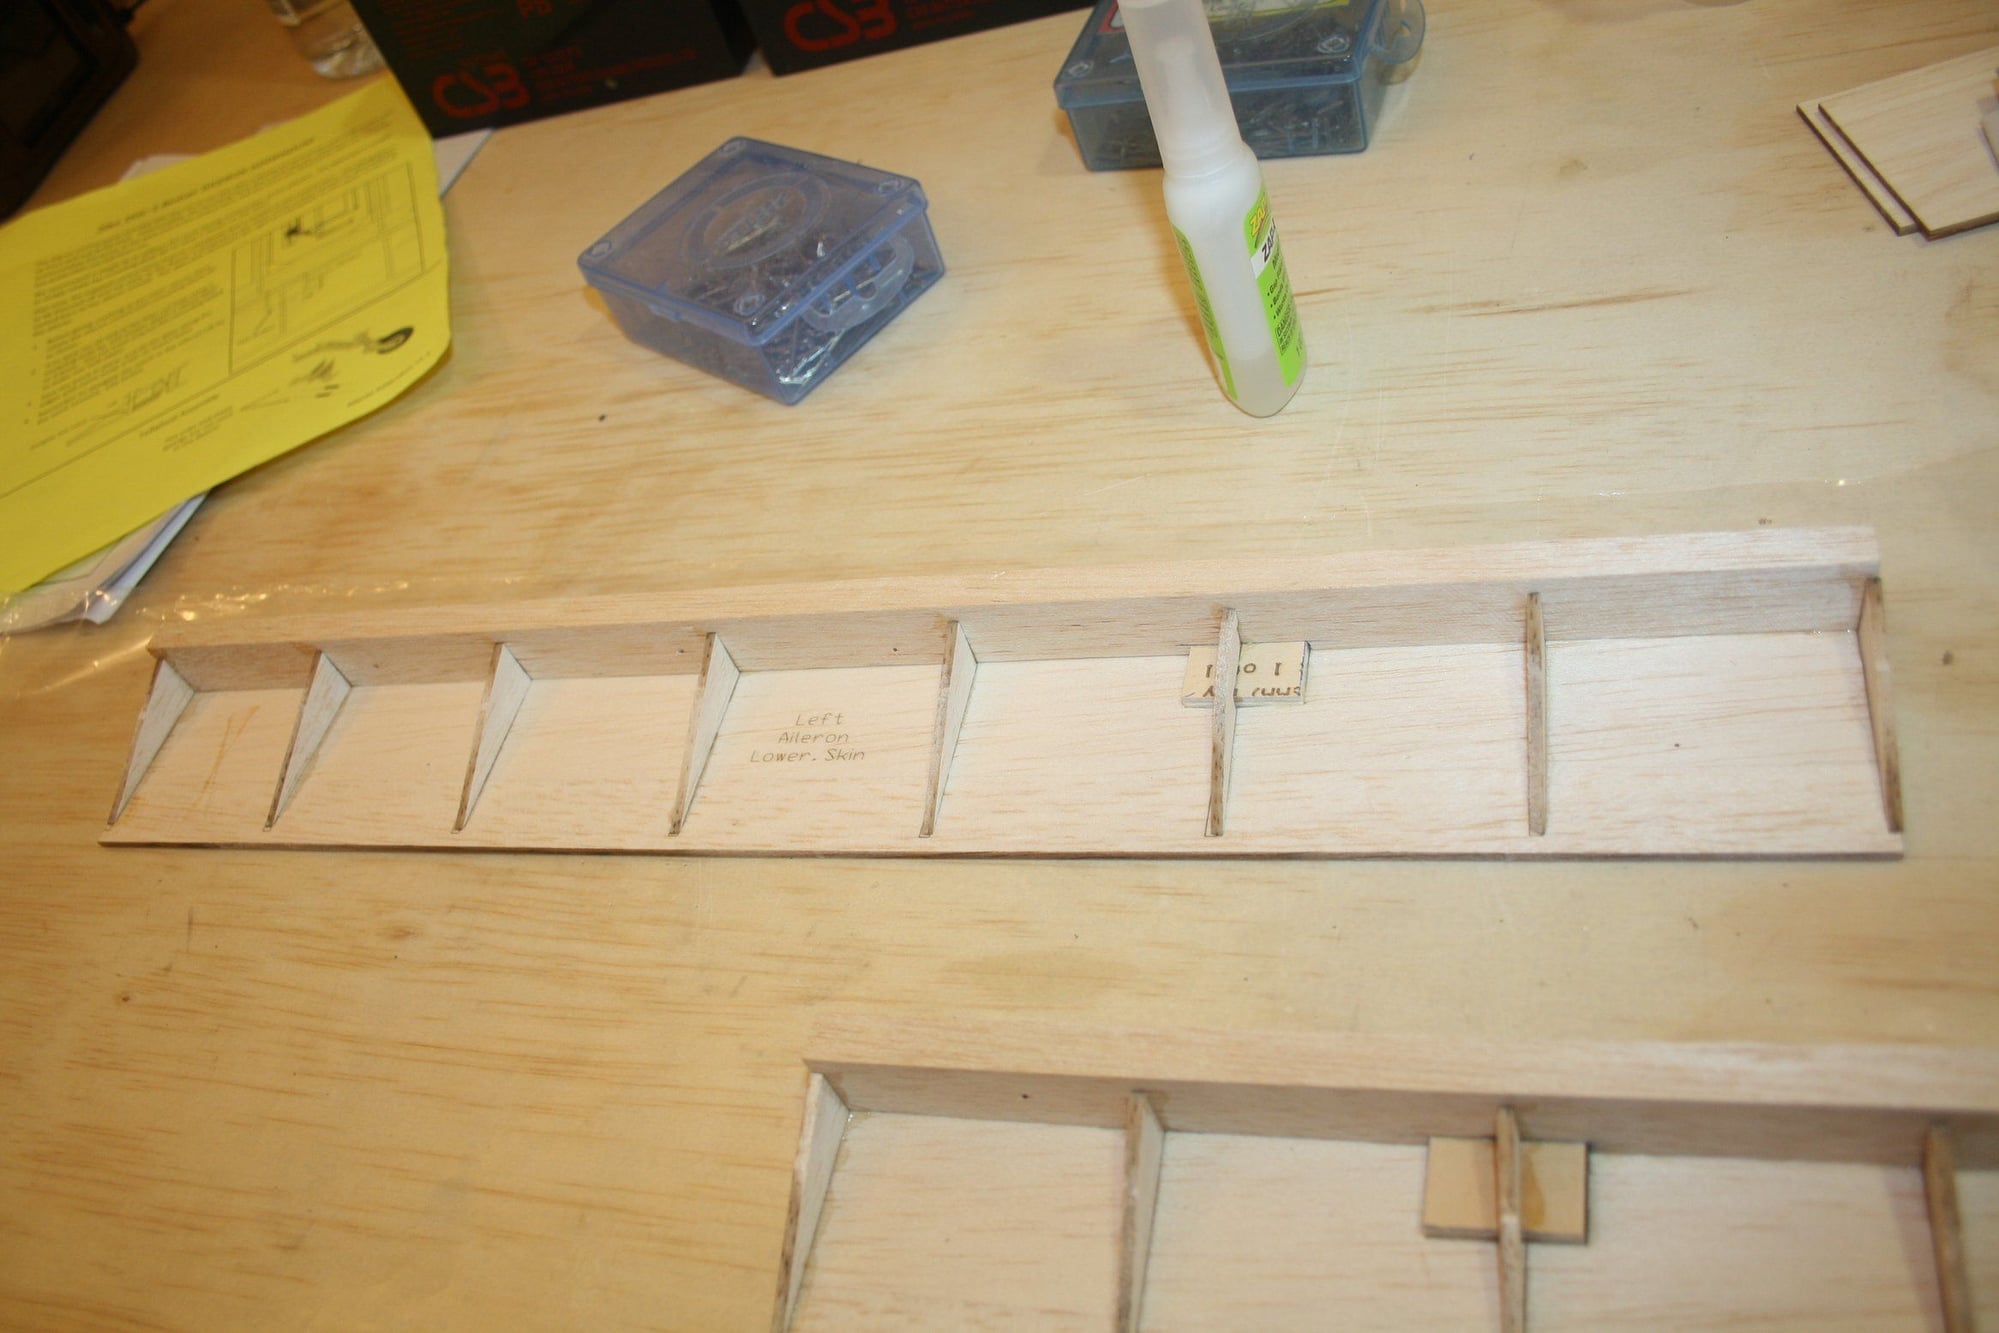
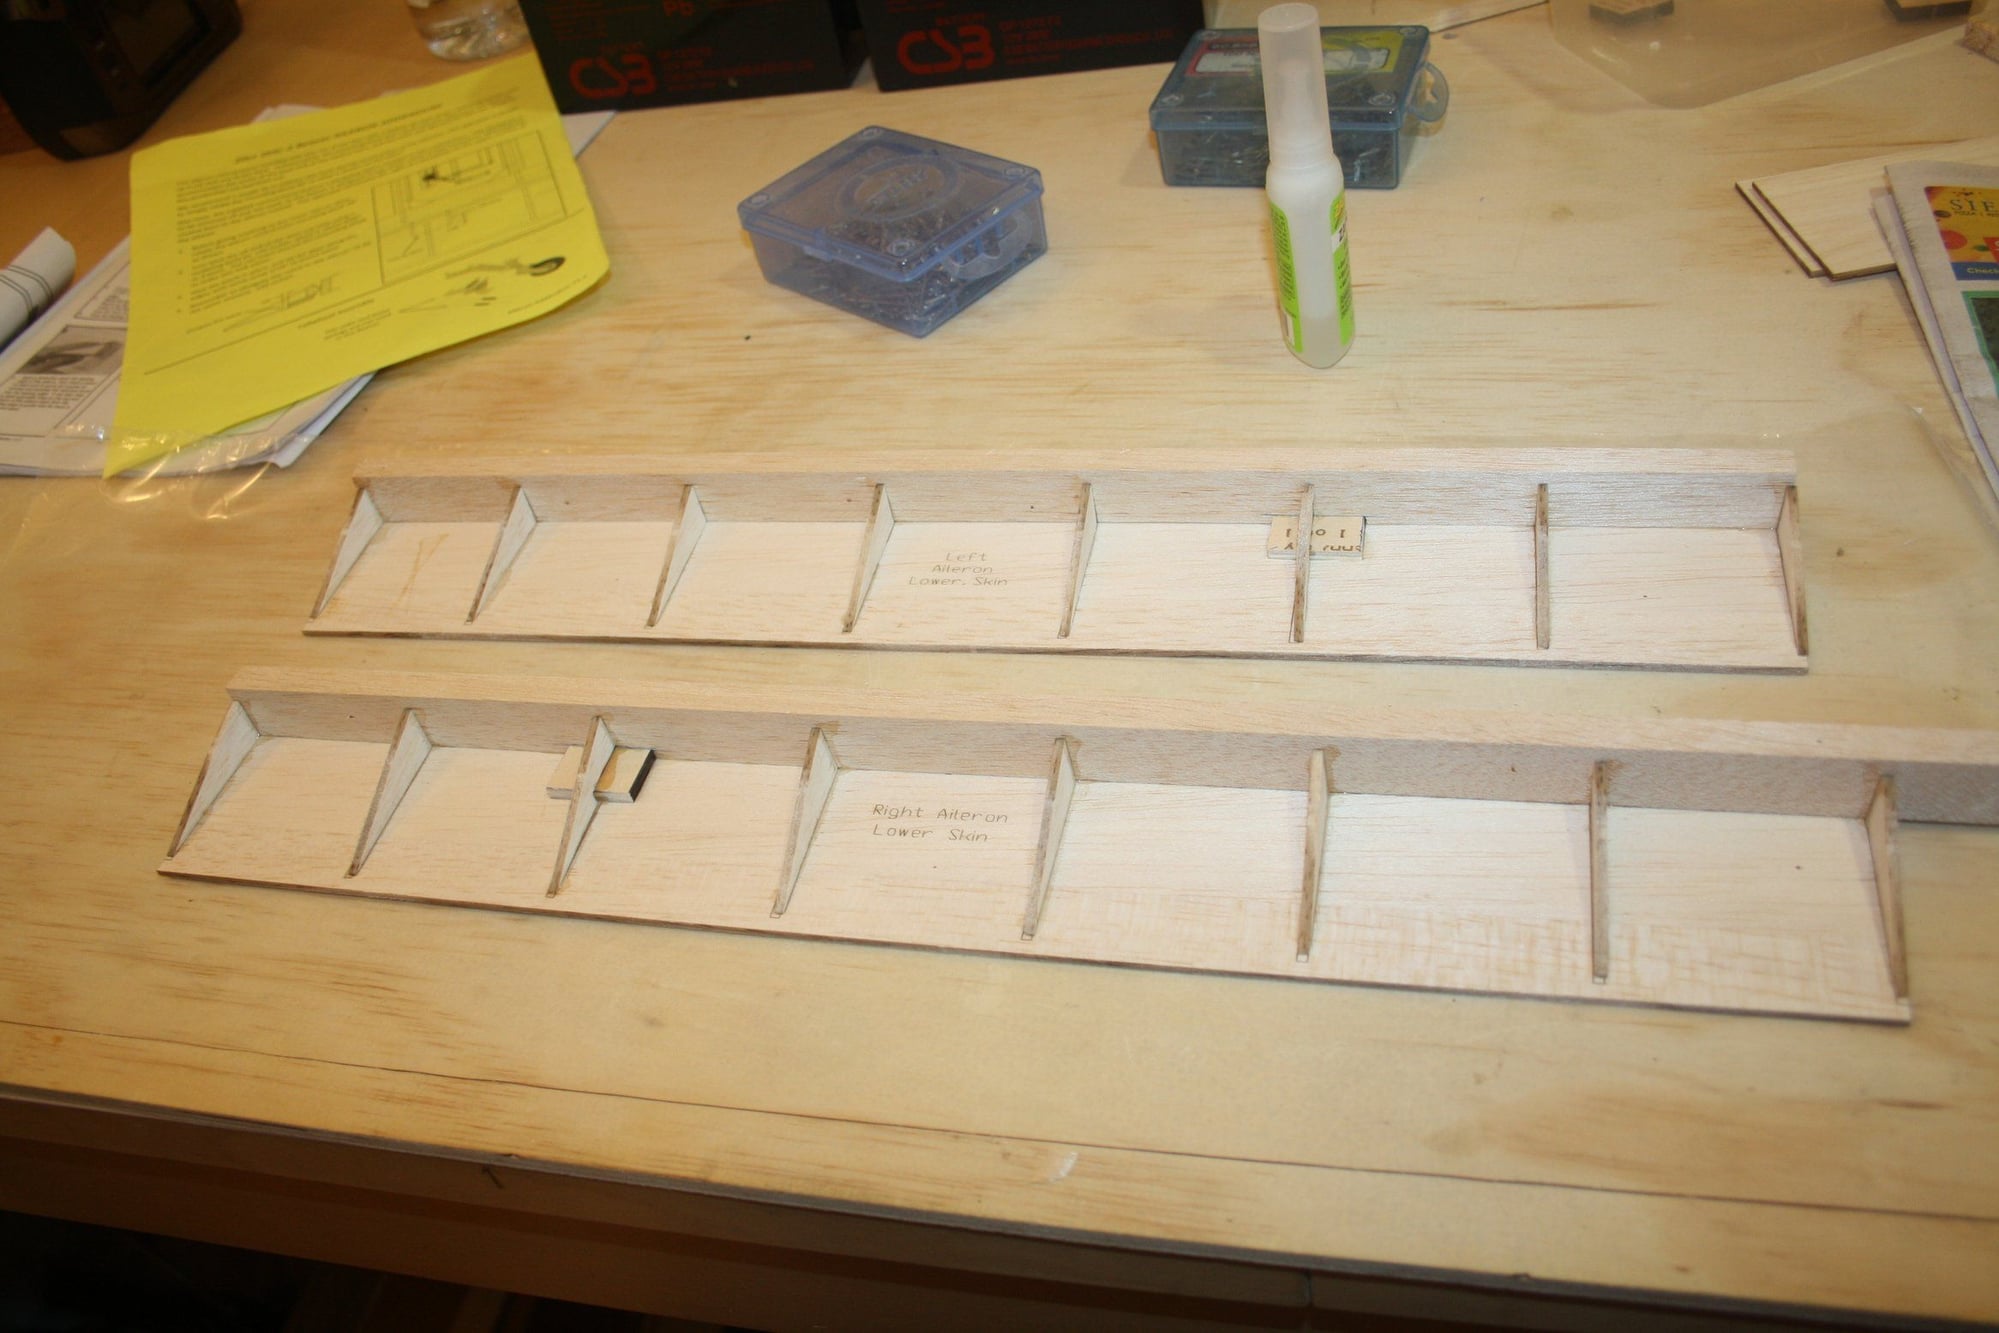
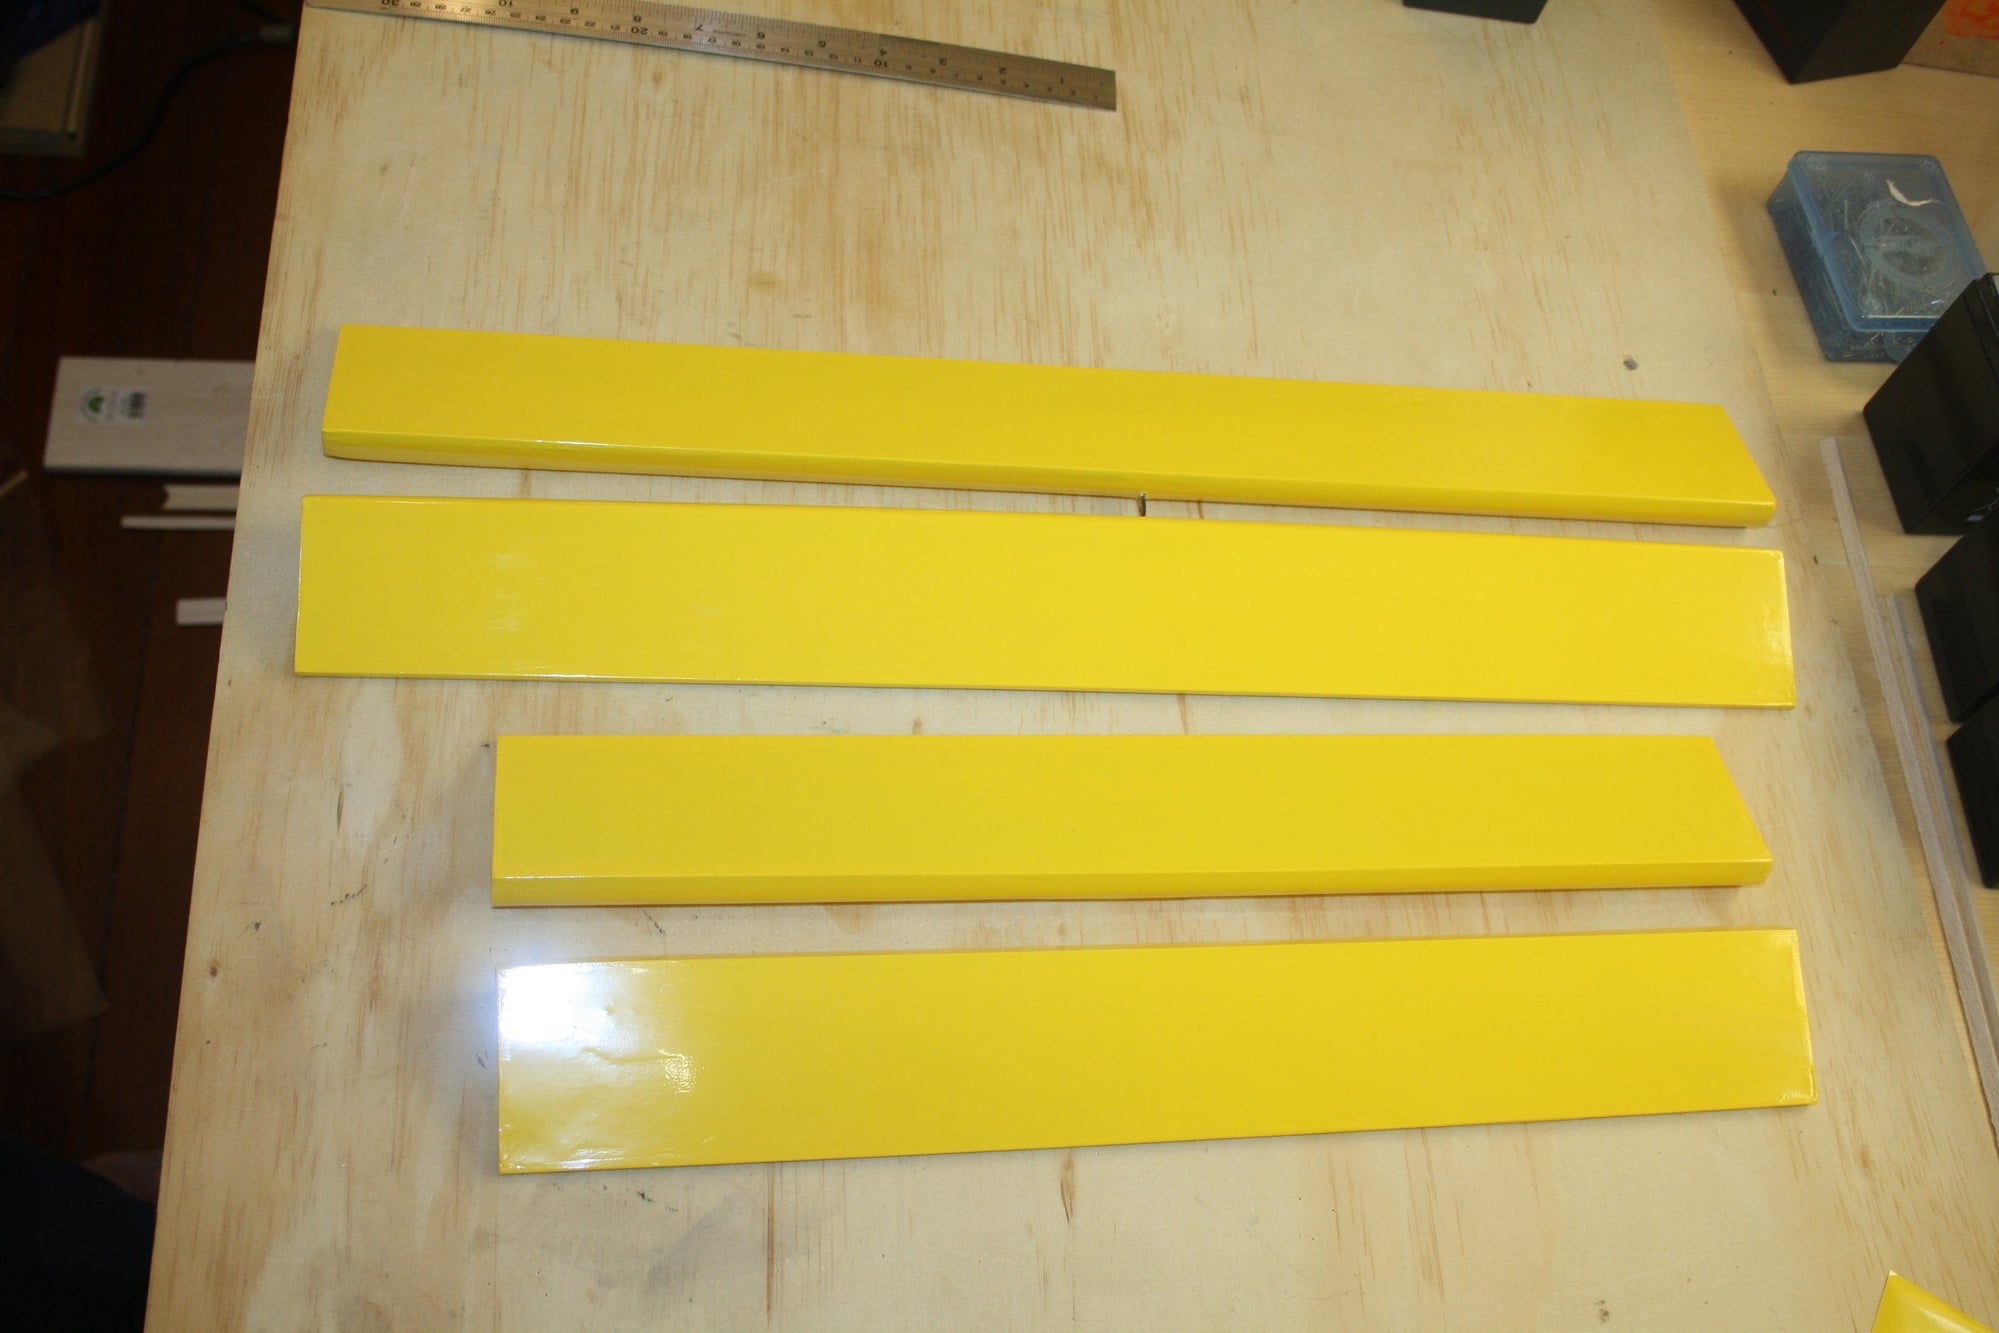
The wing construction starts with laying down the sheeting and gluing the TE to the sheeting.


Cheers,
Eran
Old 08-07-2022, 05:12 AM
  #31  
erans
Thread Starter
 
Join Date: Jun 2008
Location: Perth WA, AUSTRALIA
Posts: 1,204
Likes: 0
Received 9 Likes on 9 Posts
Default

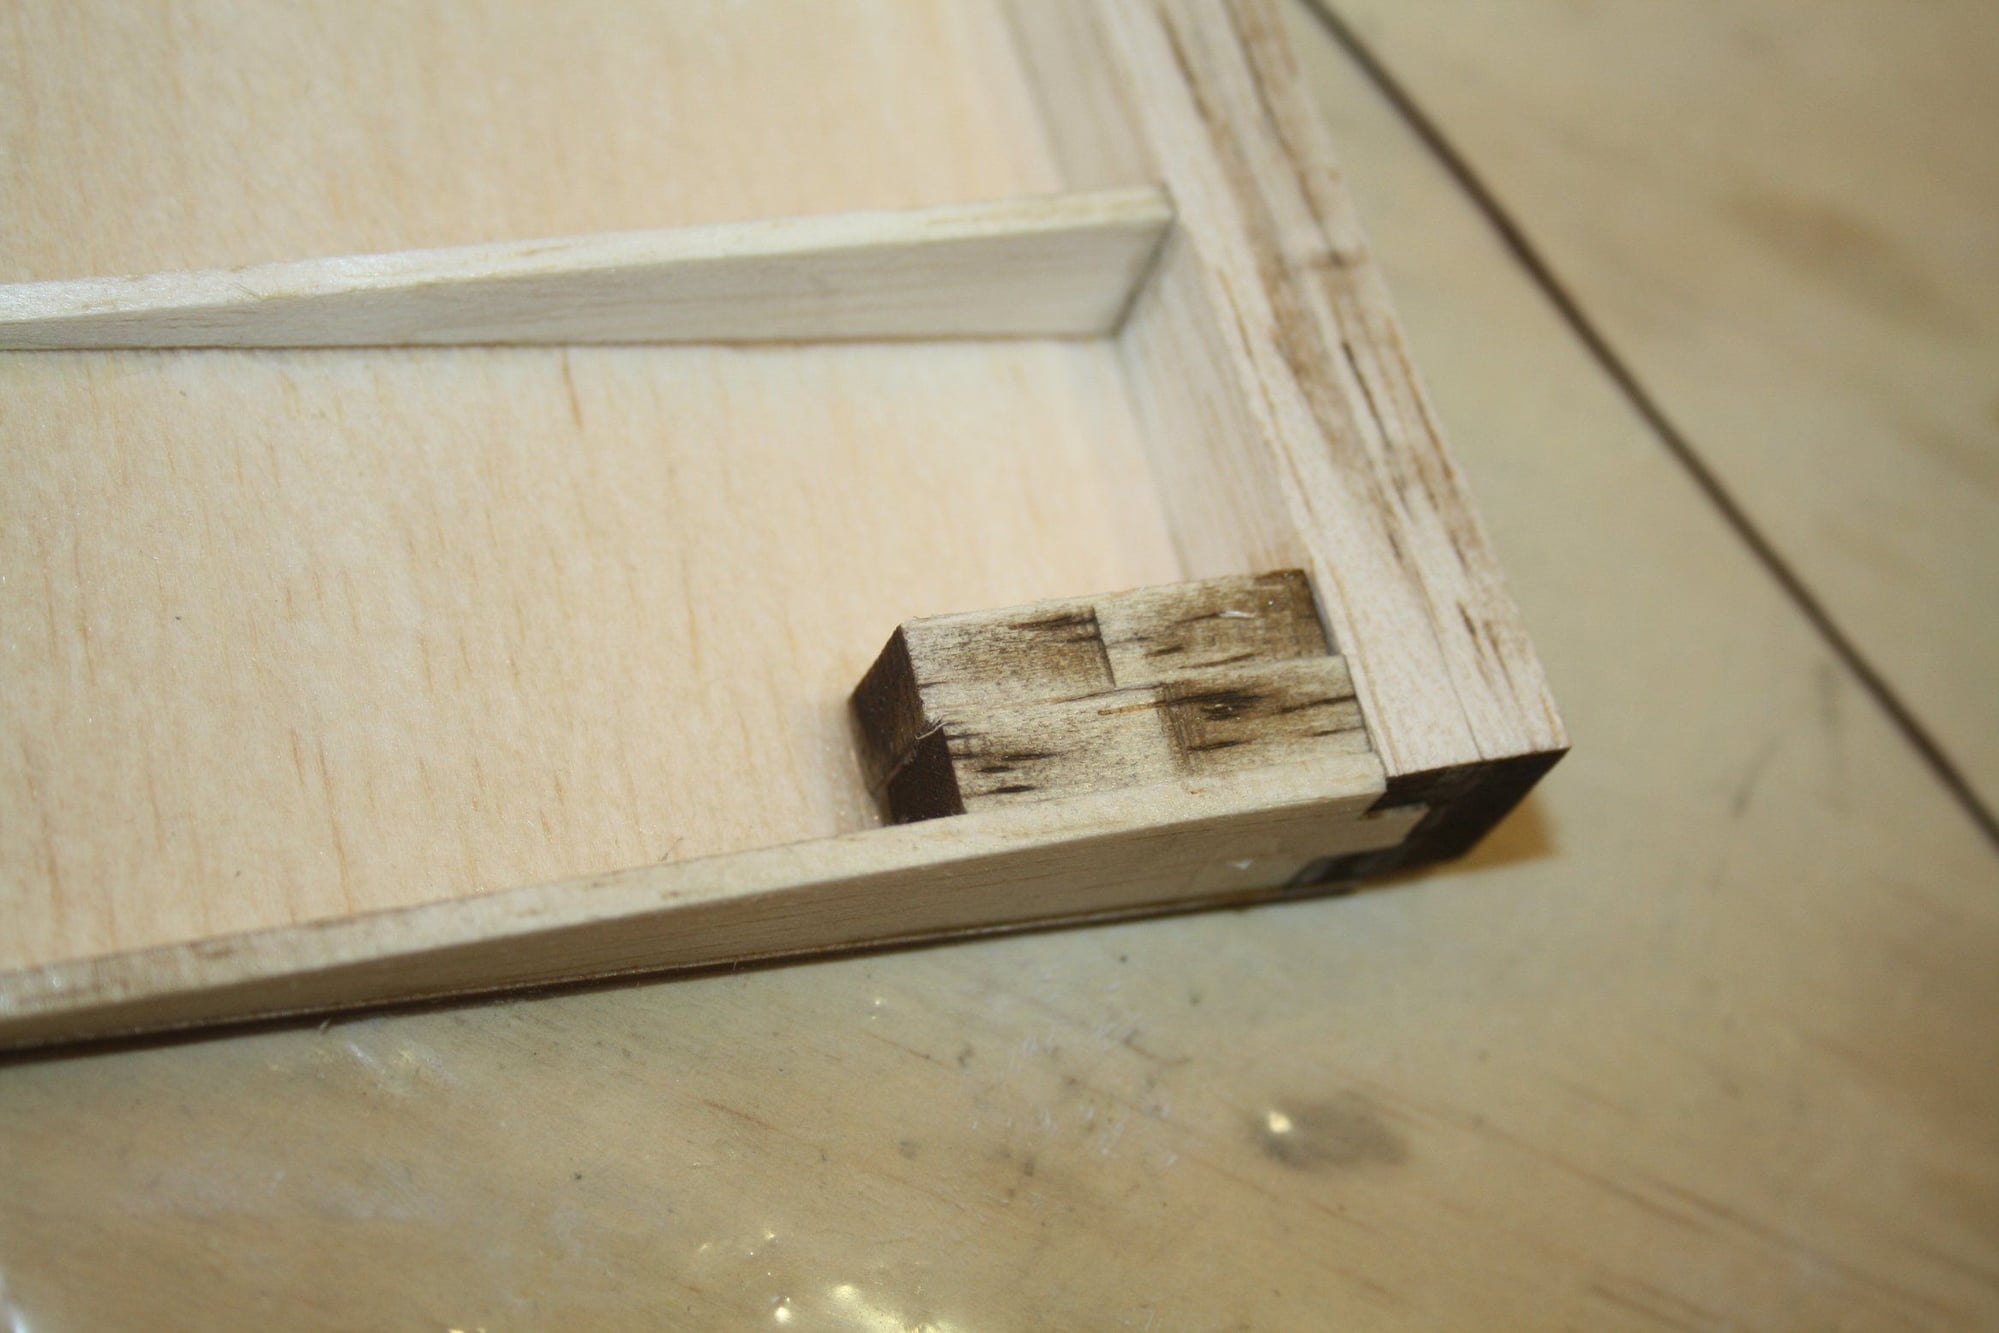
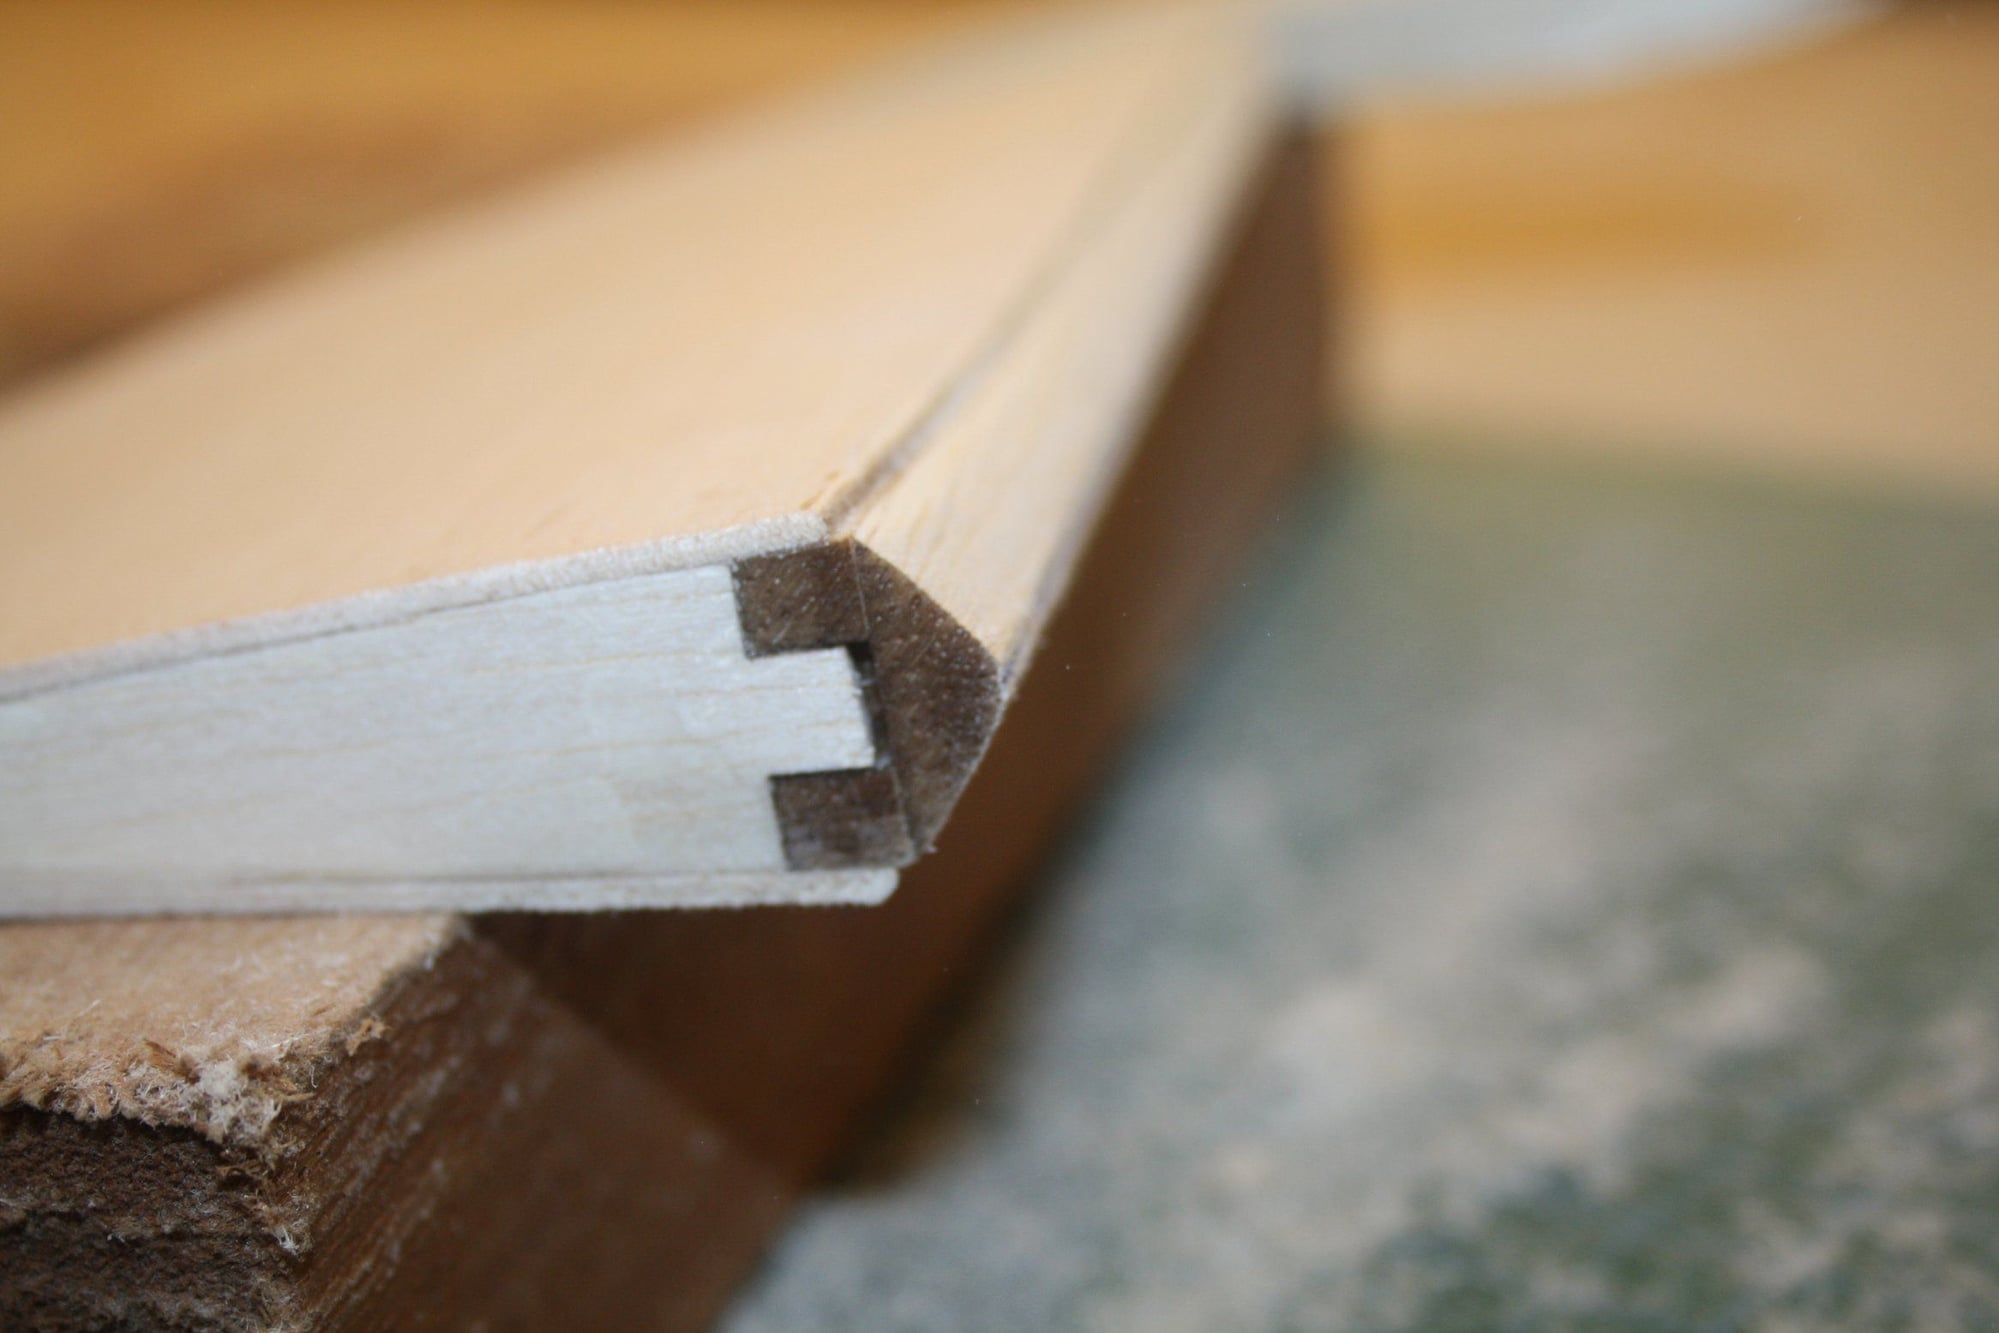
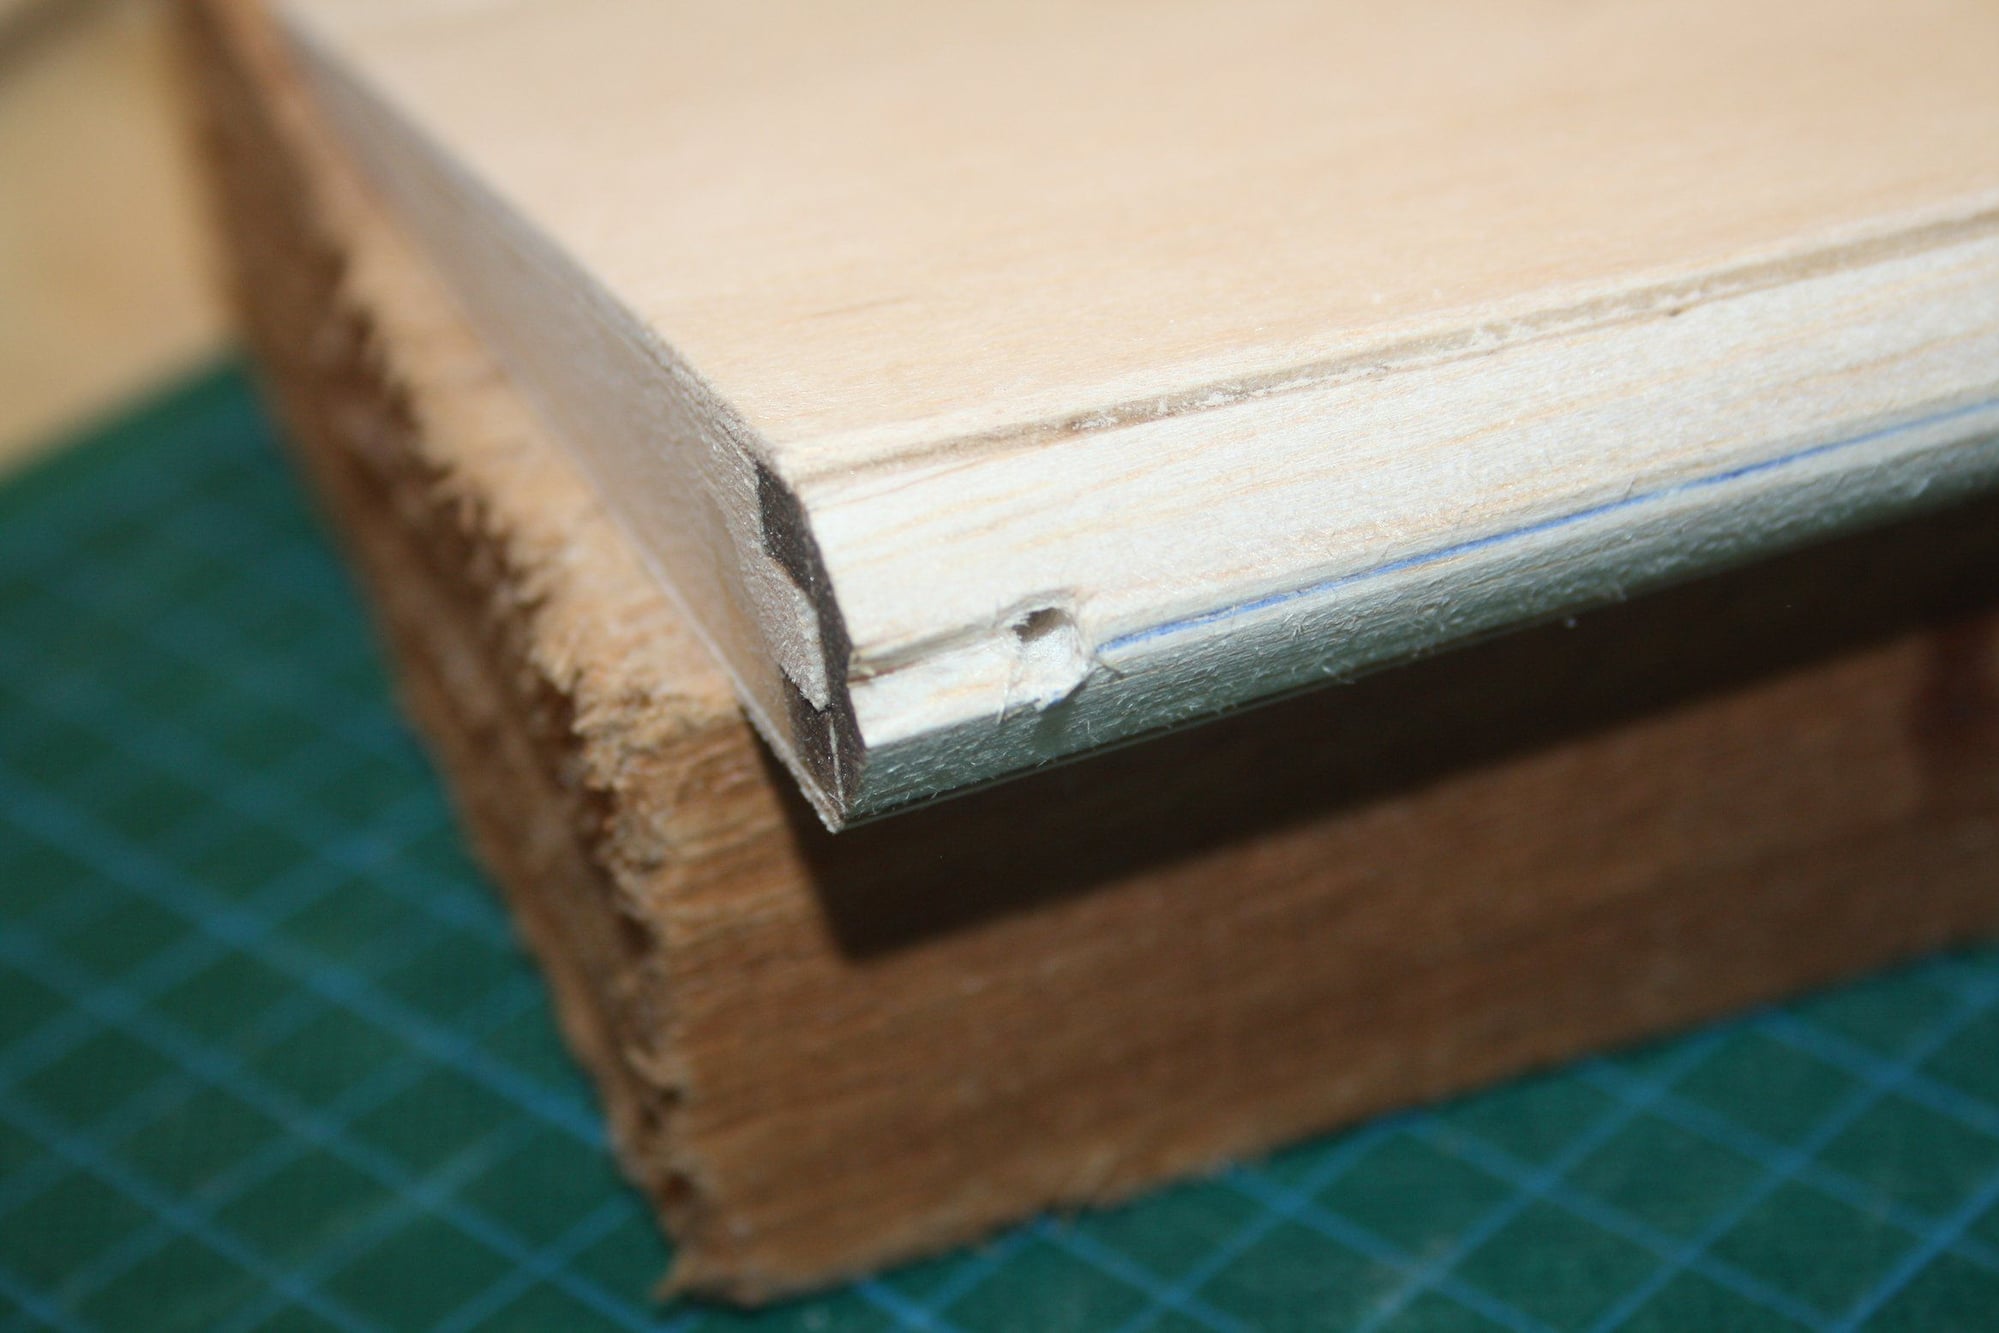
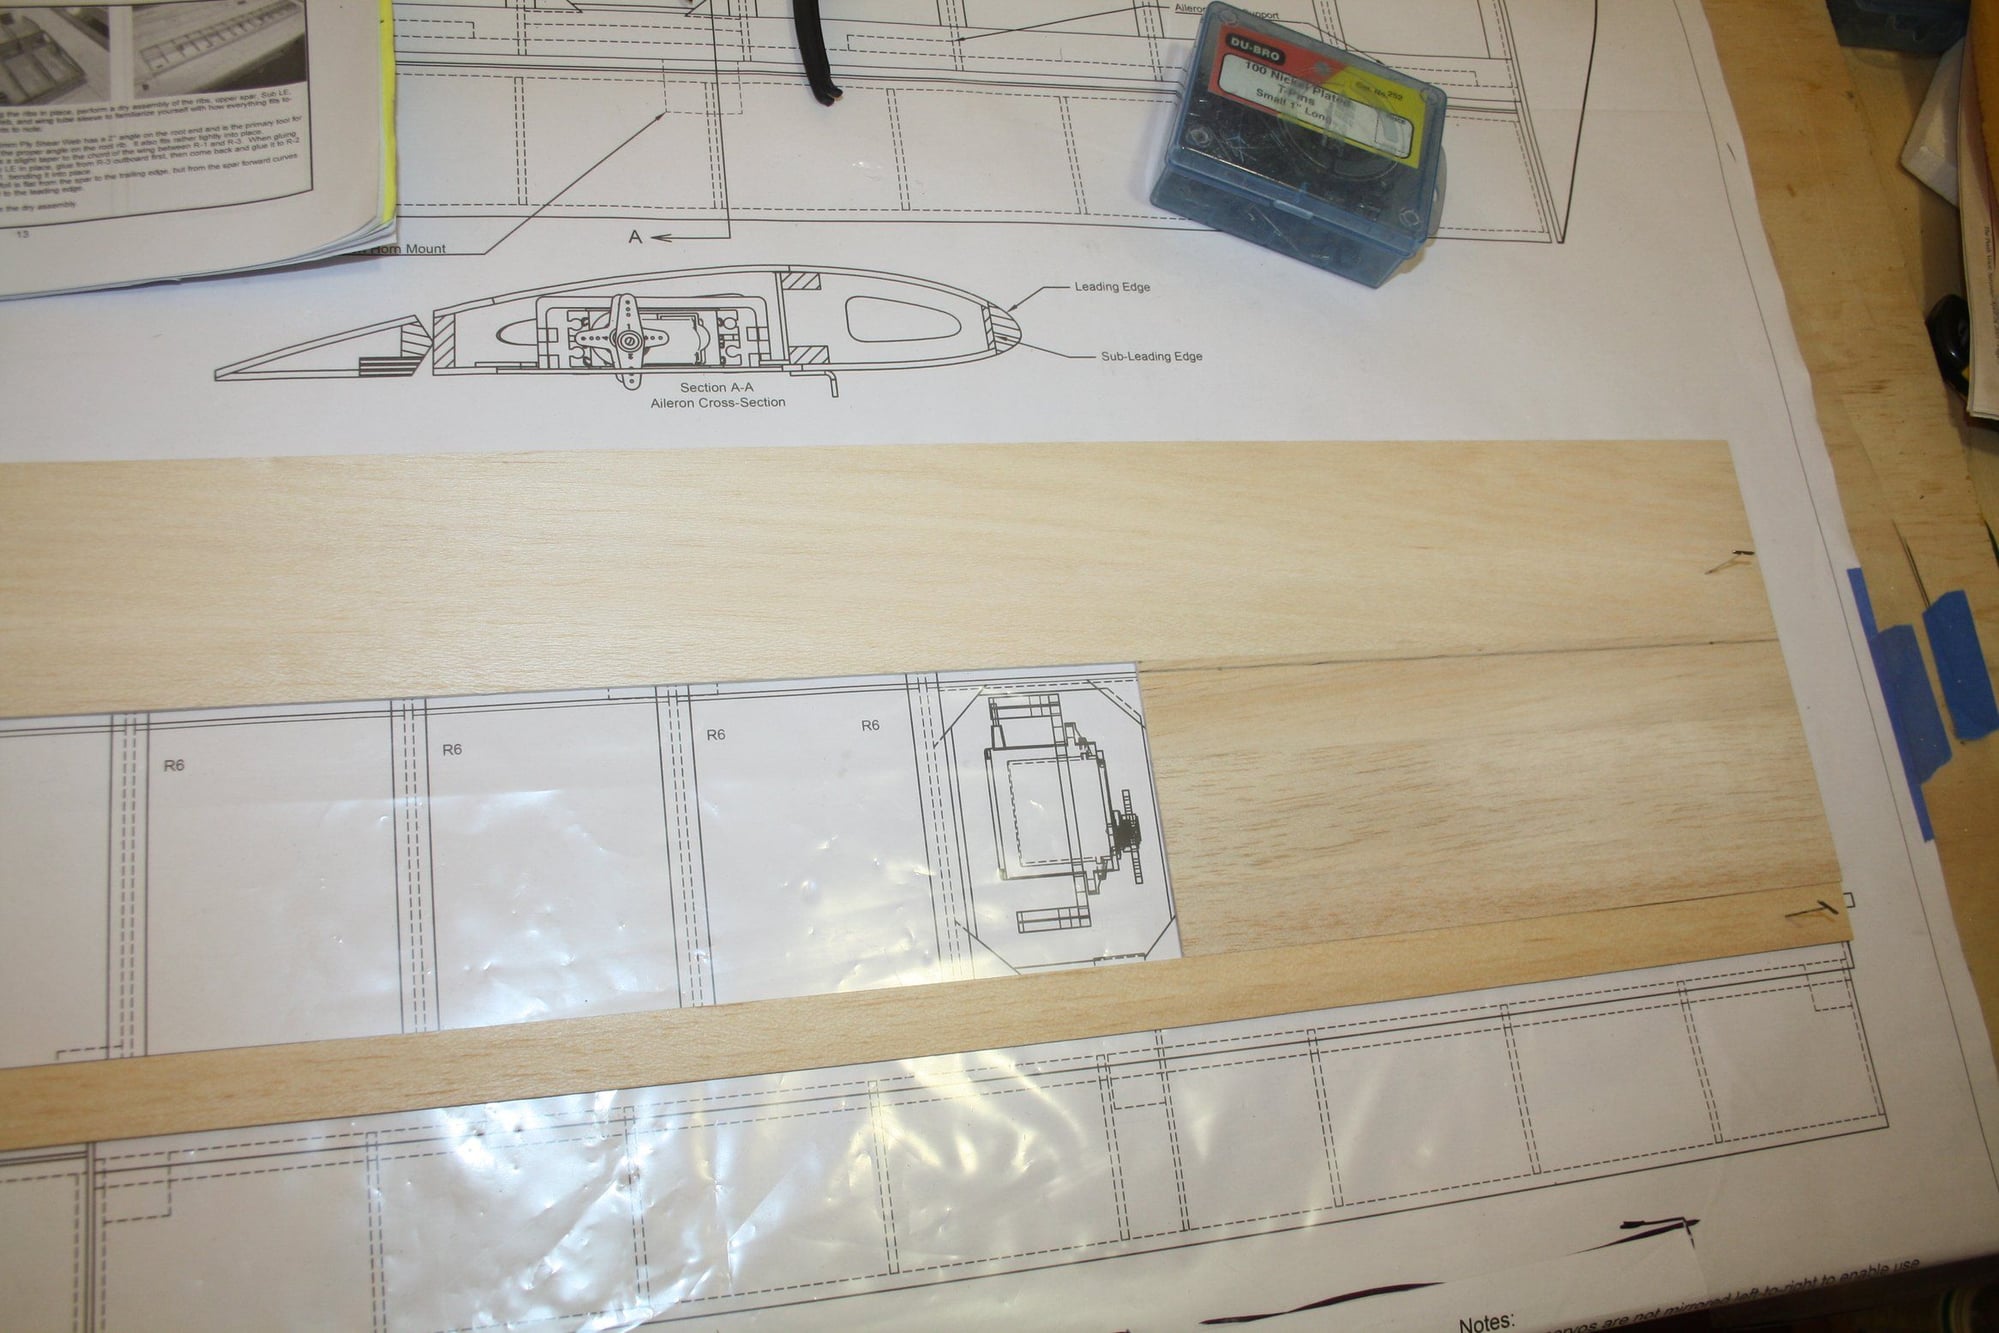
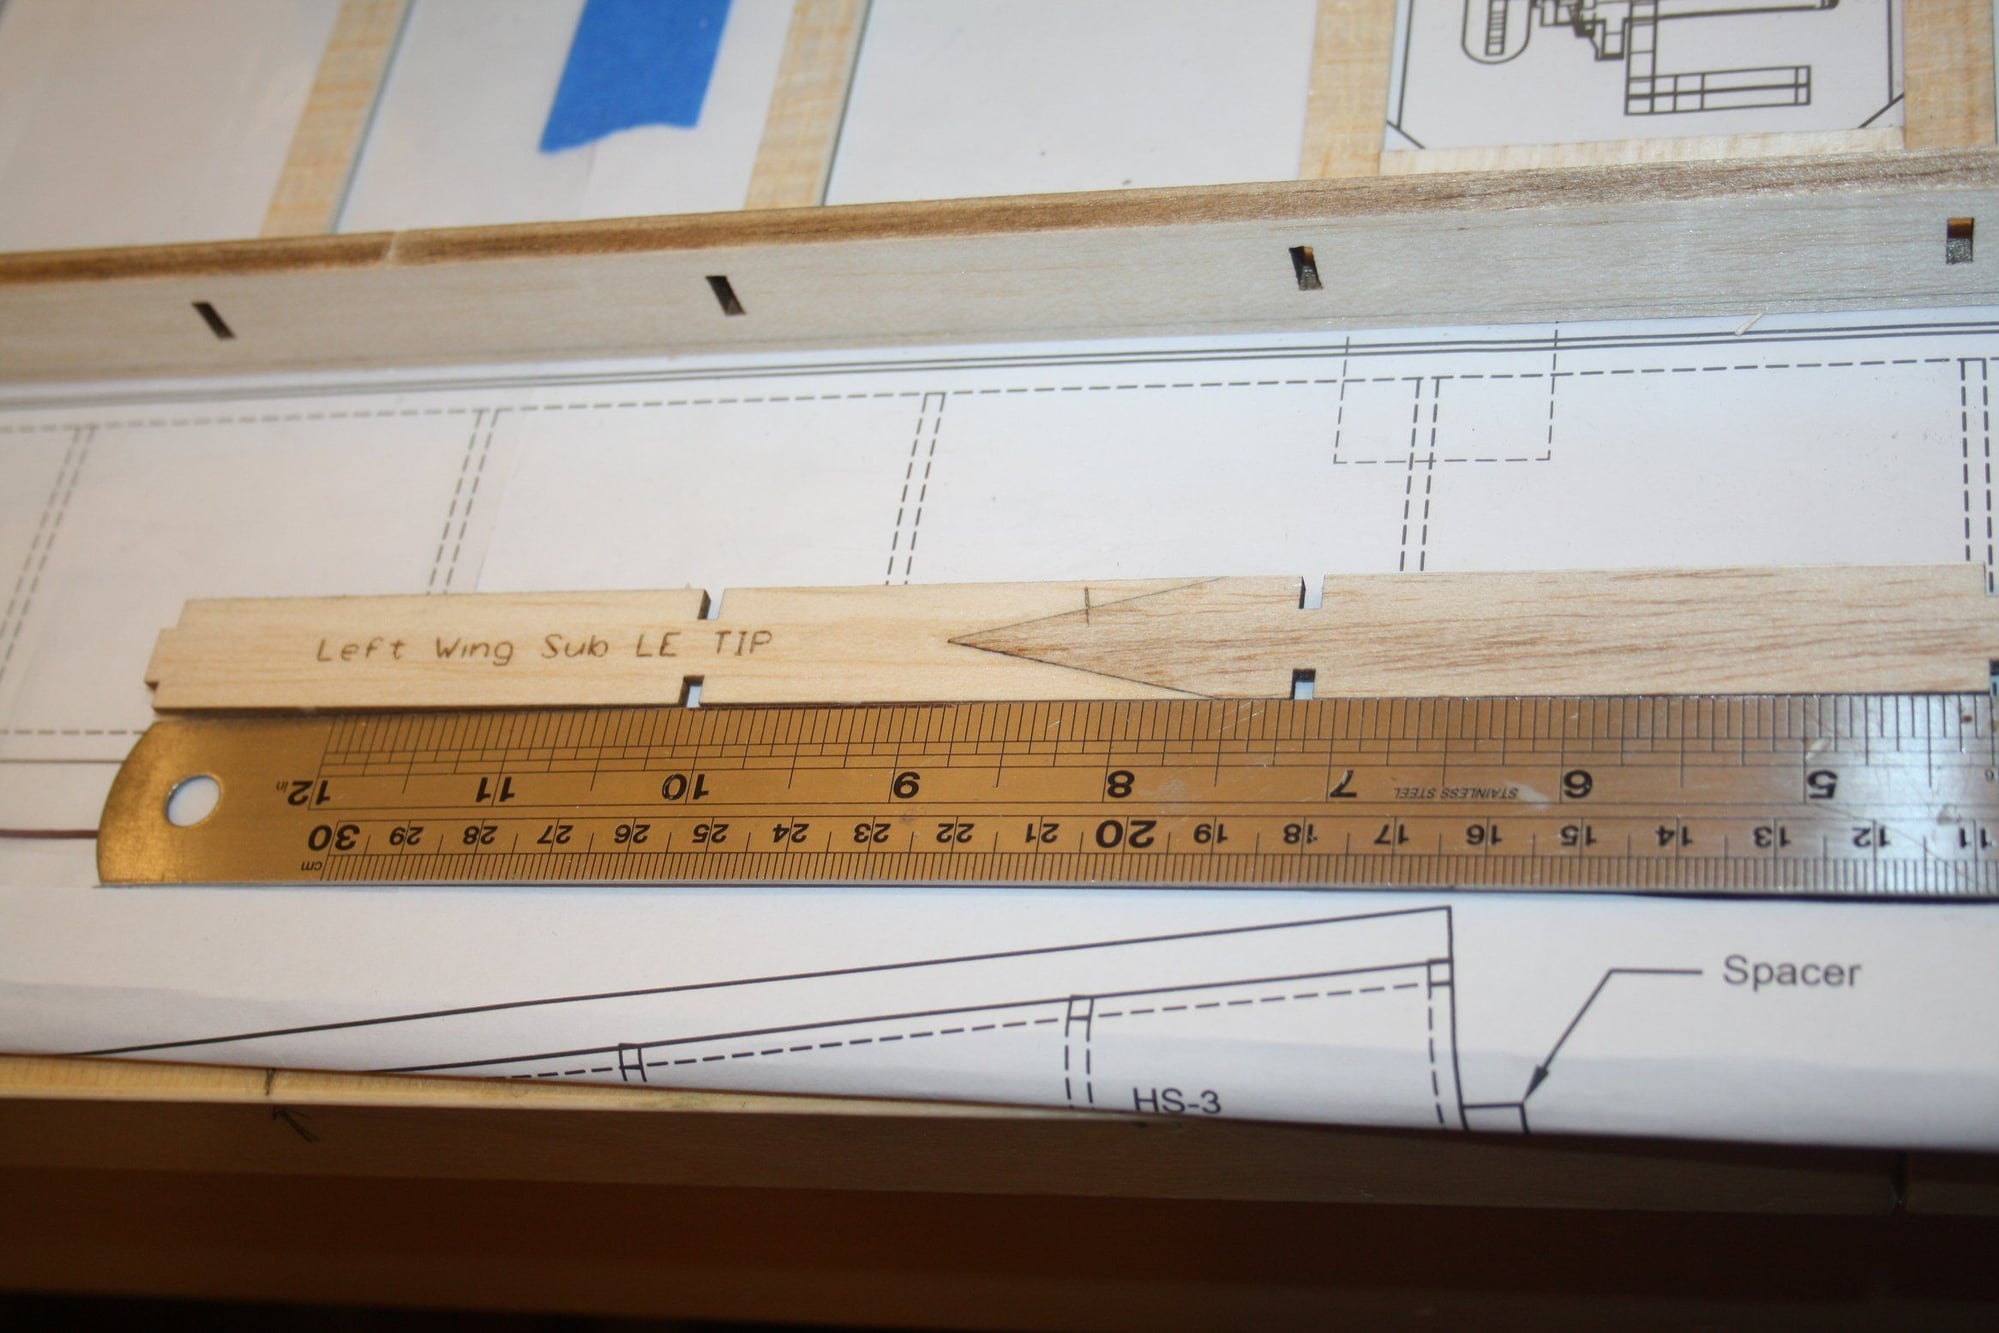
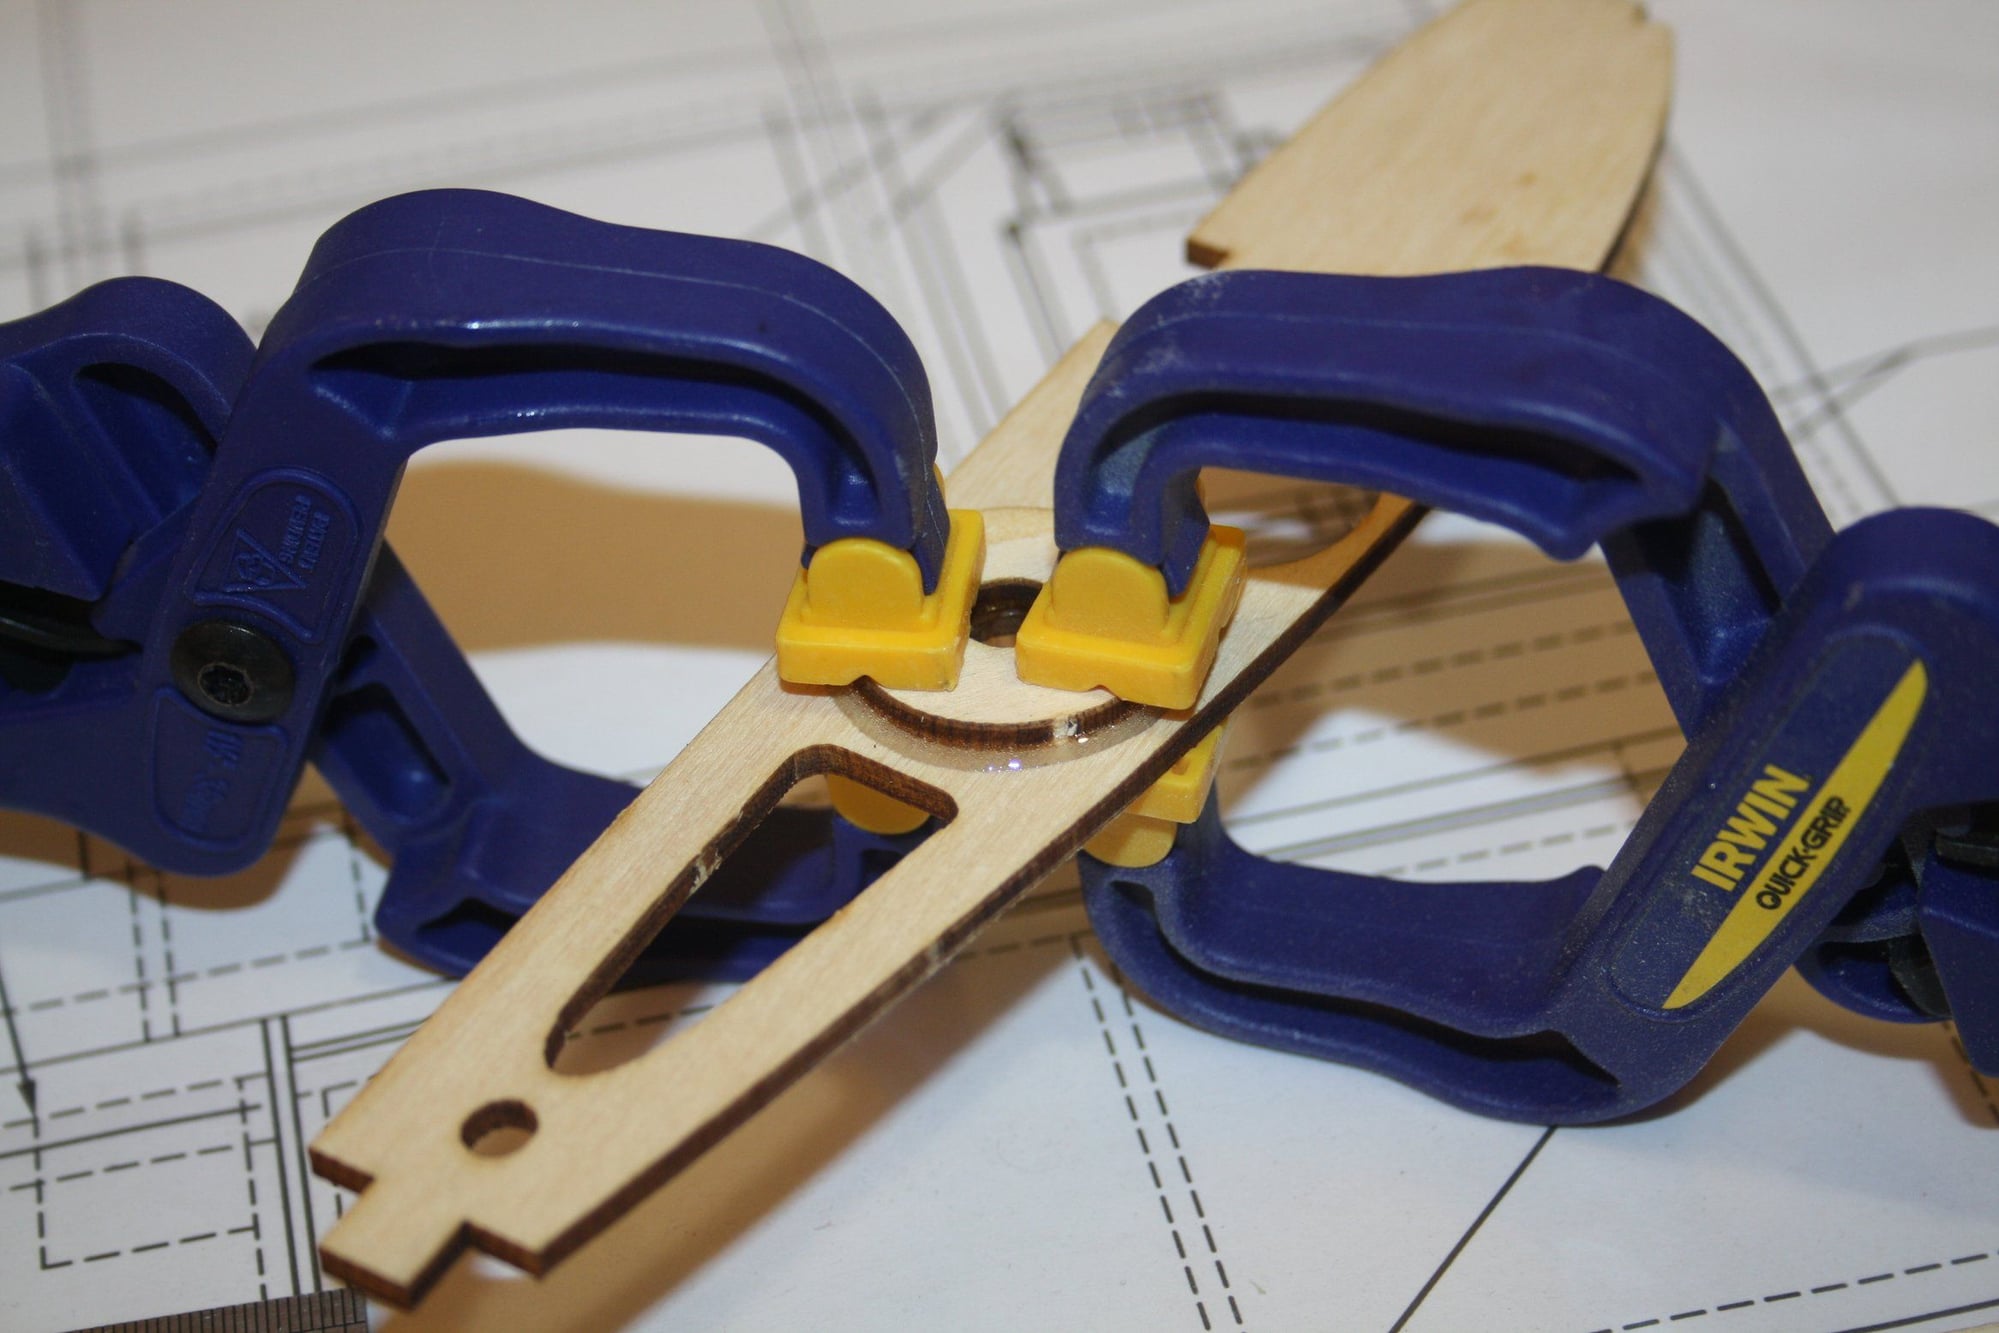
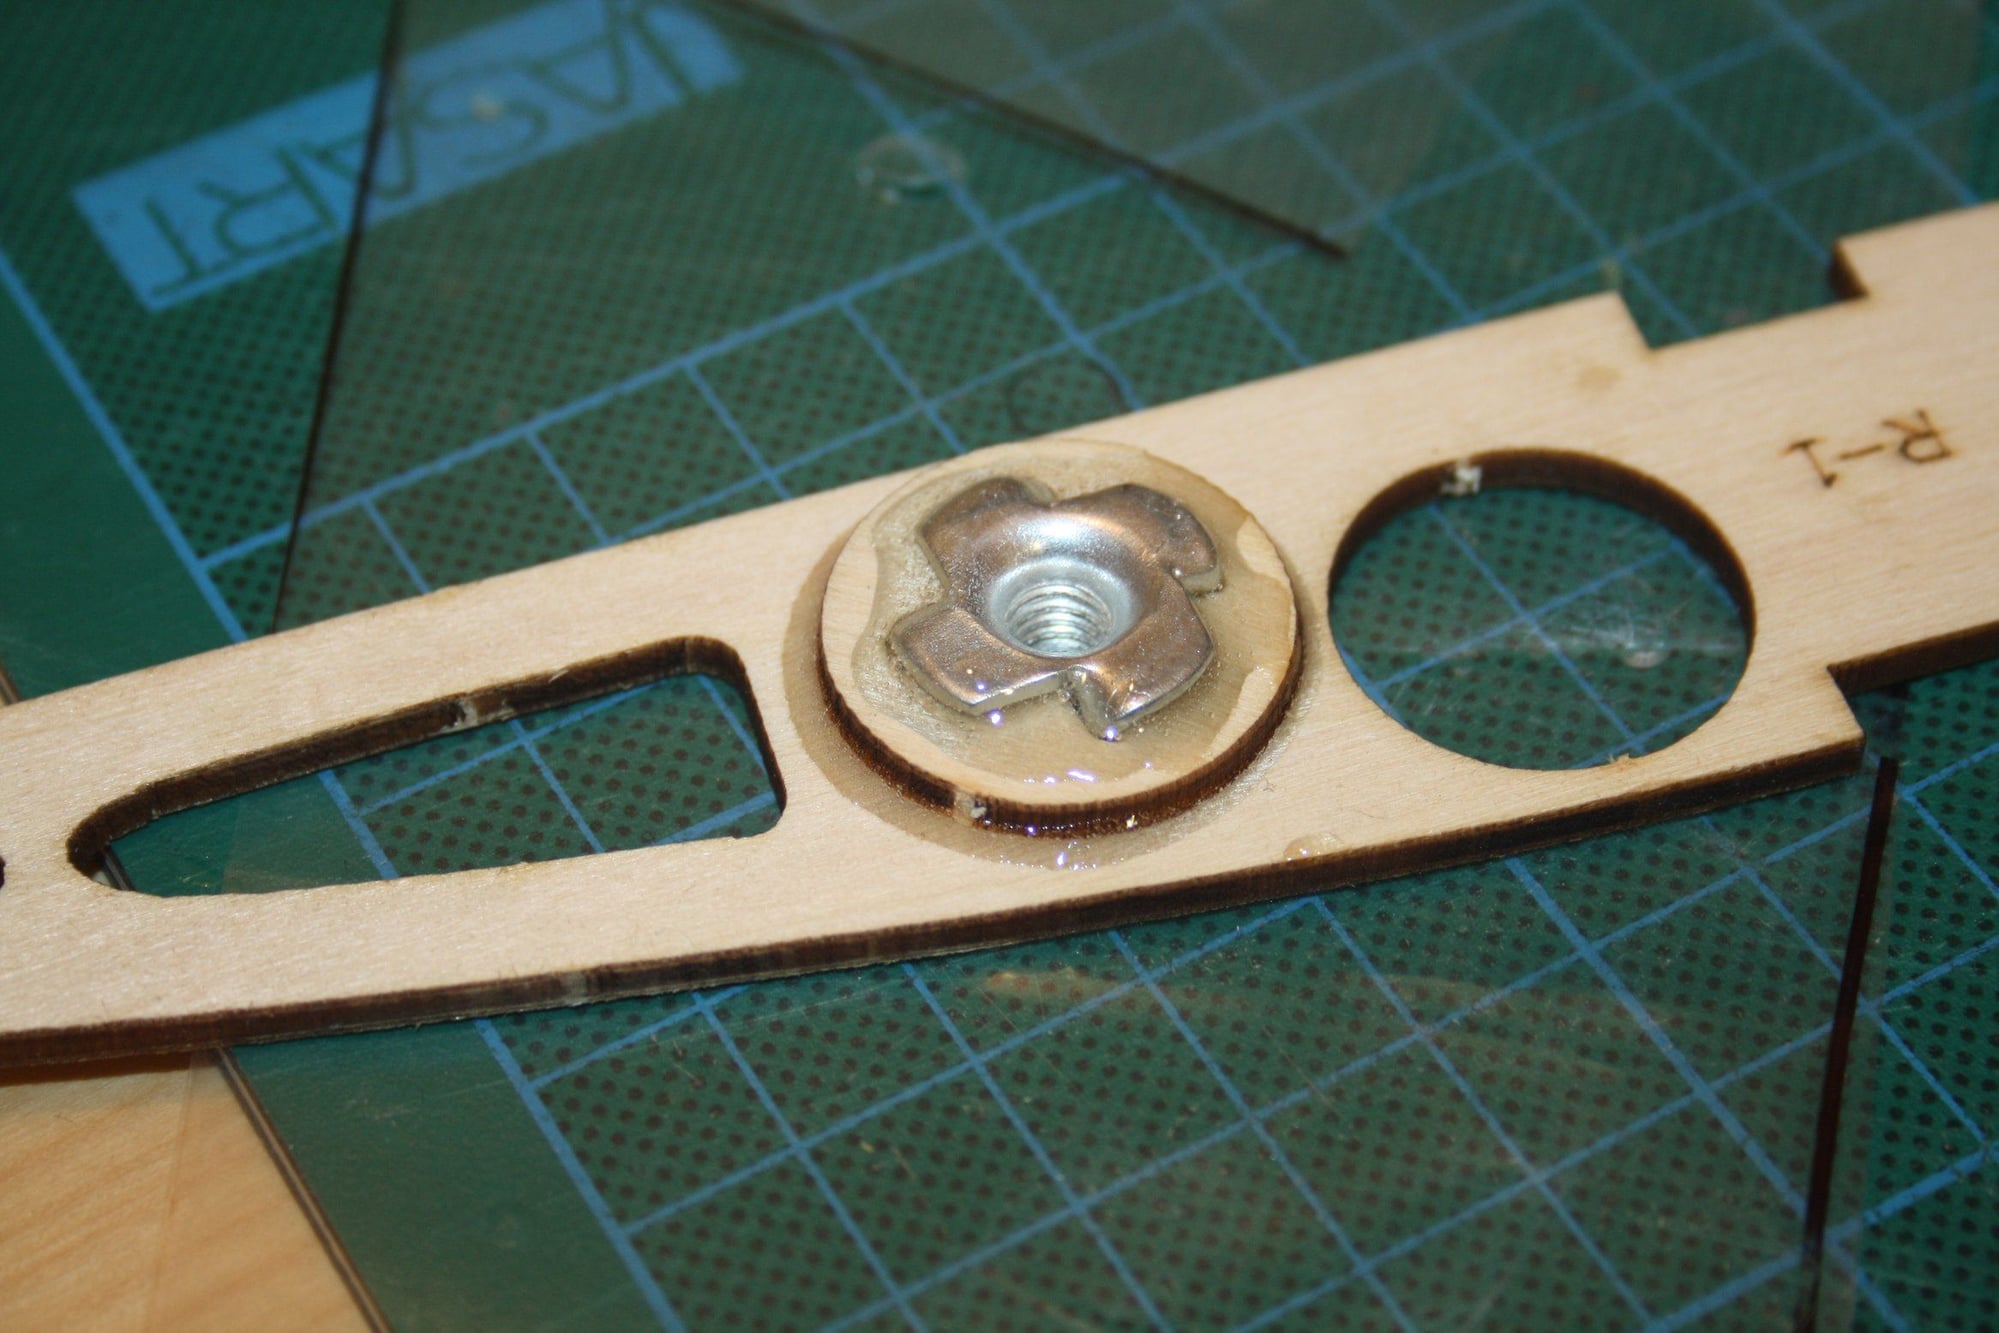
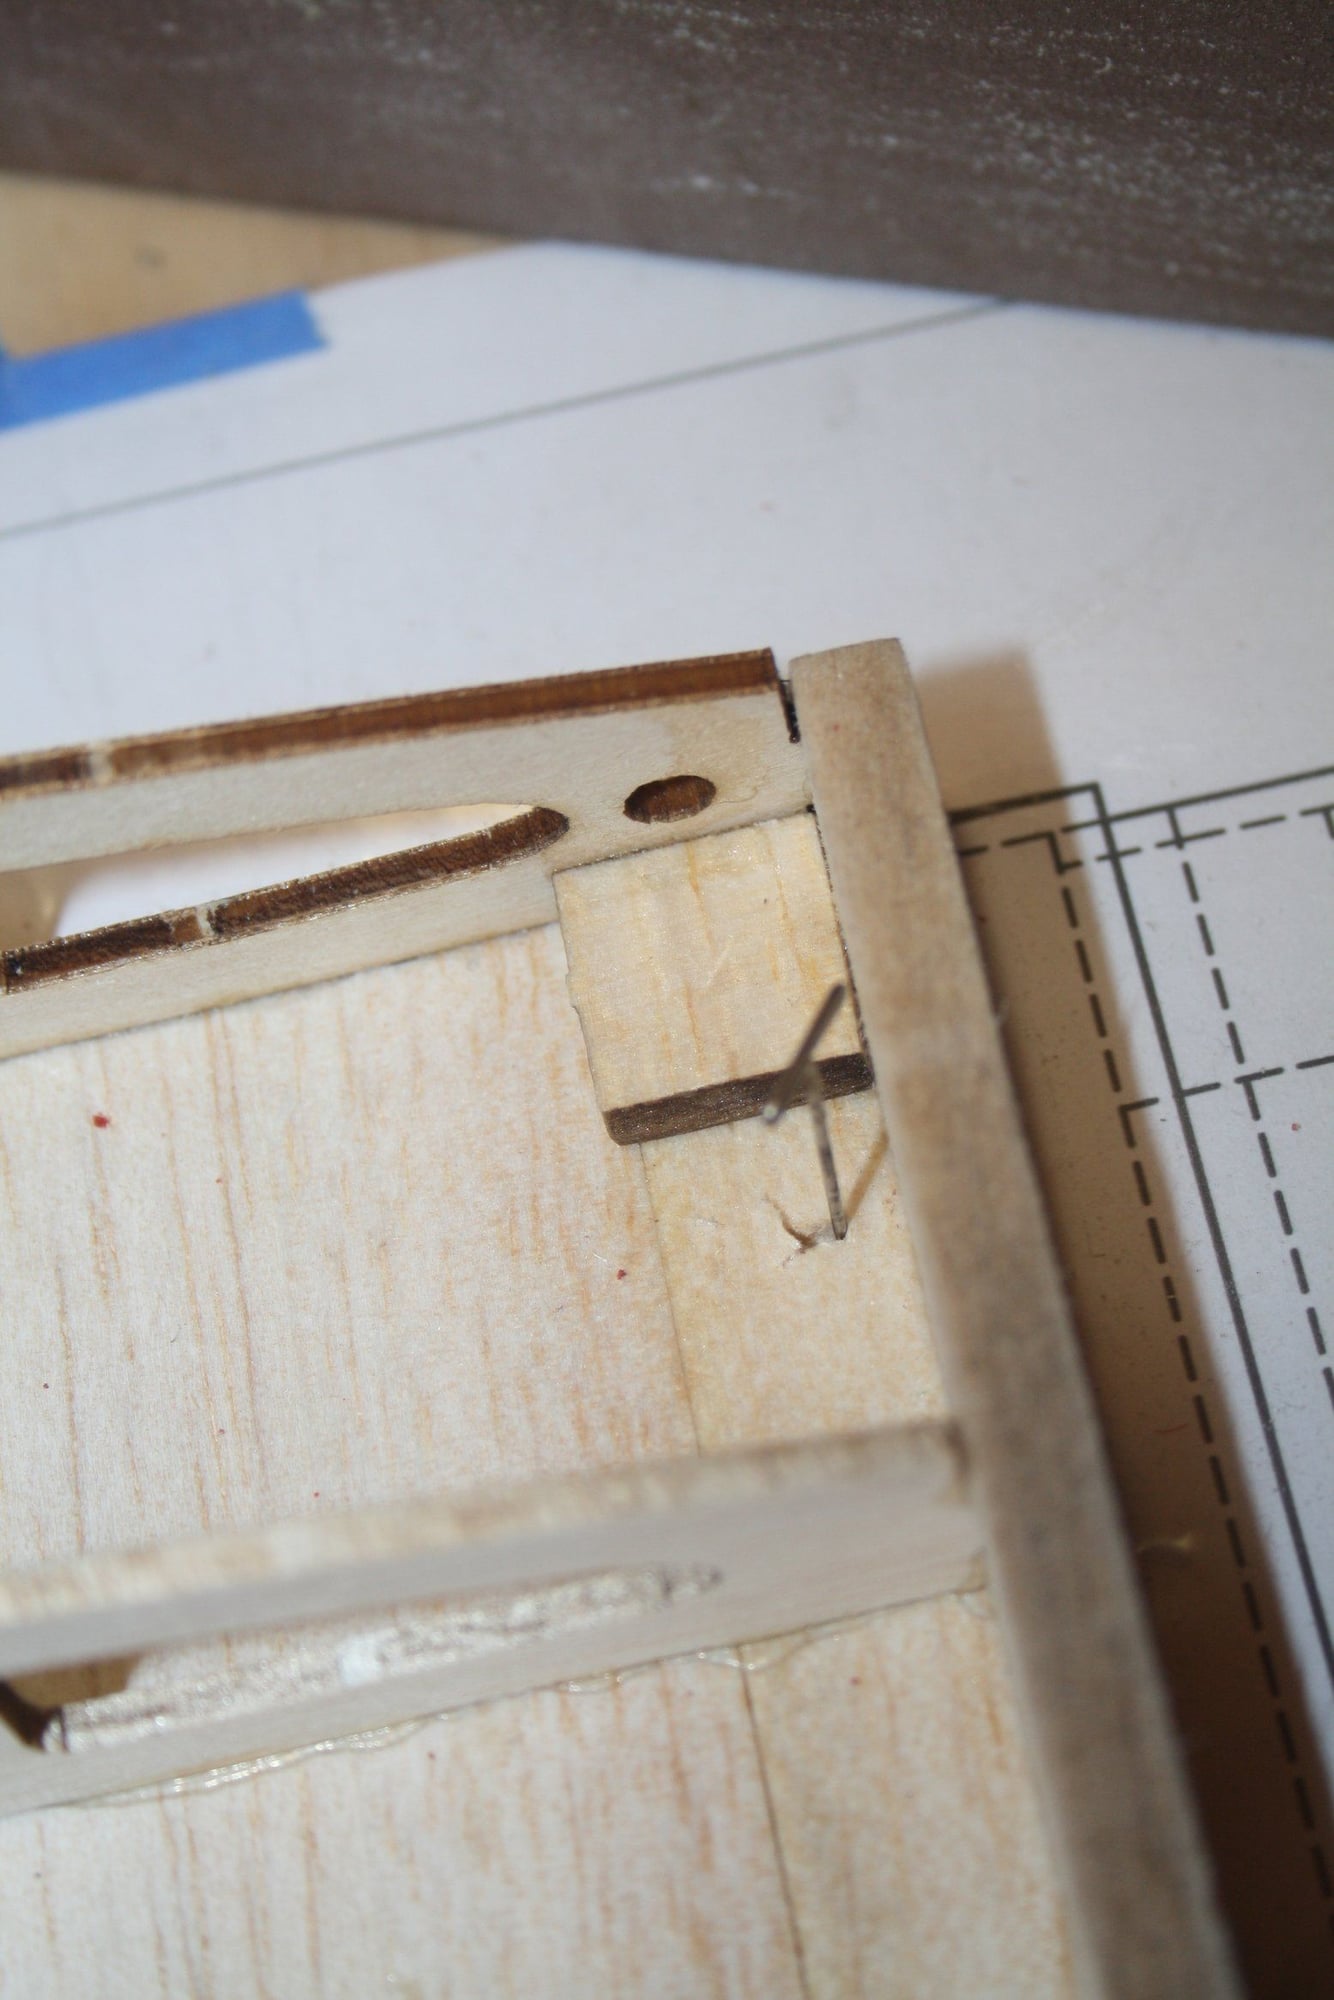
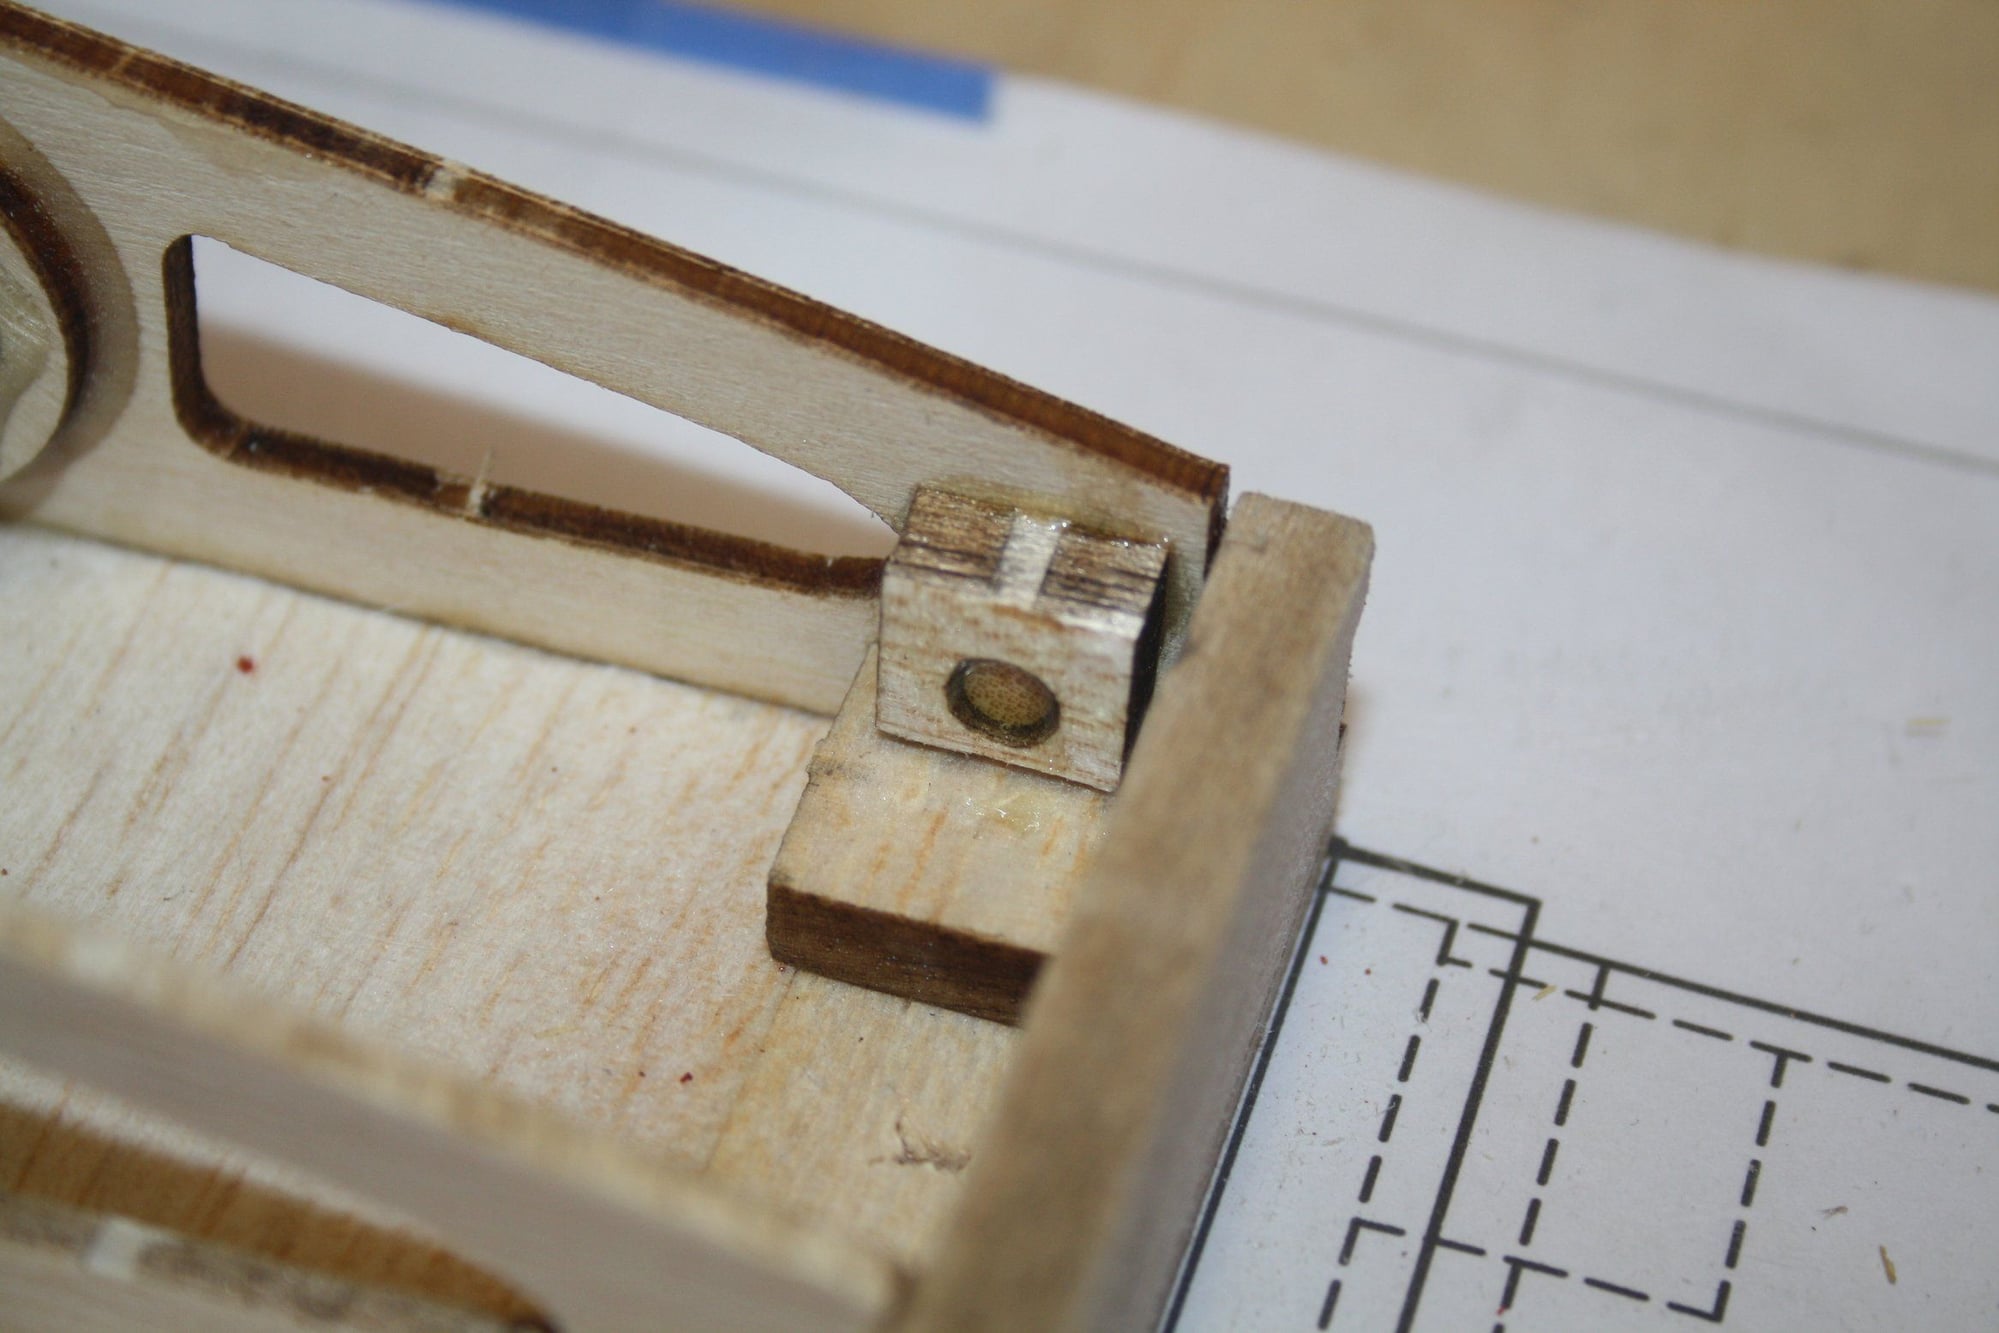
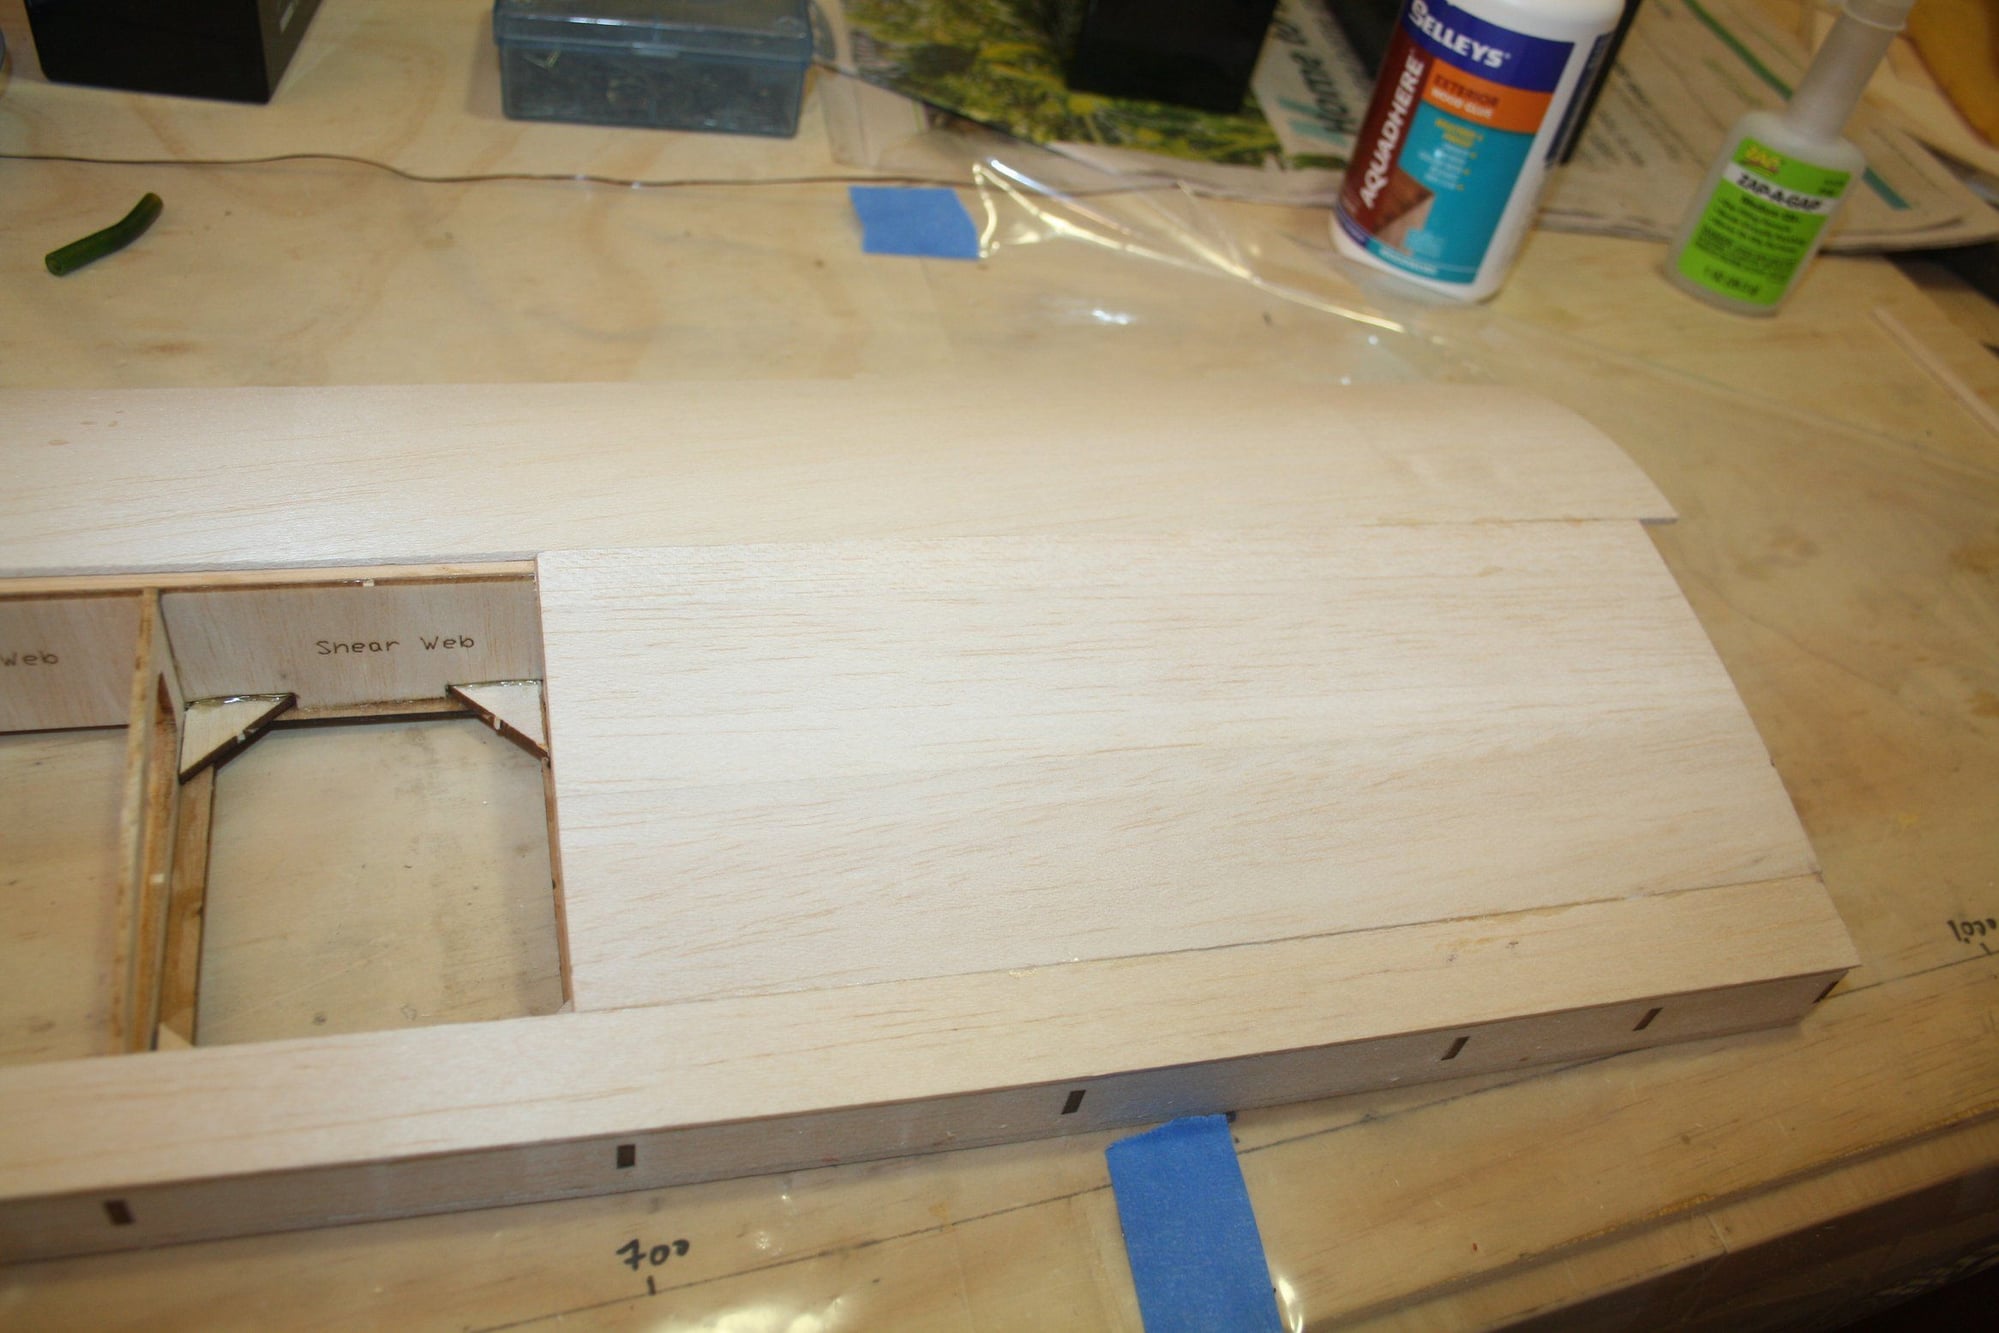
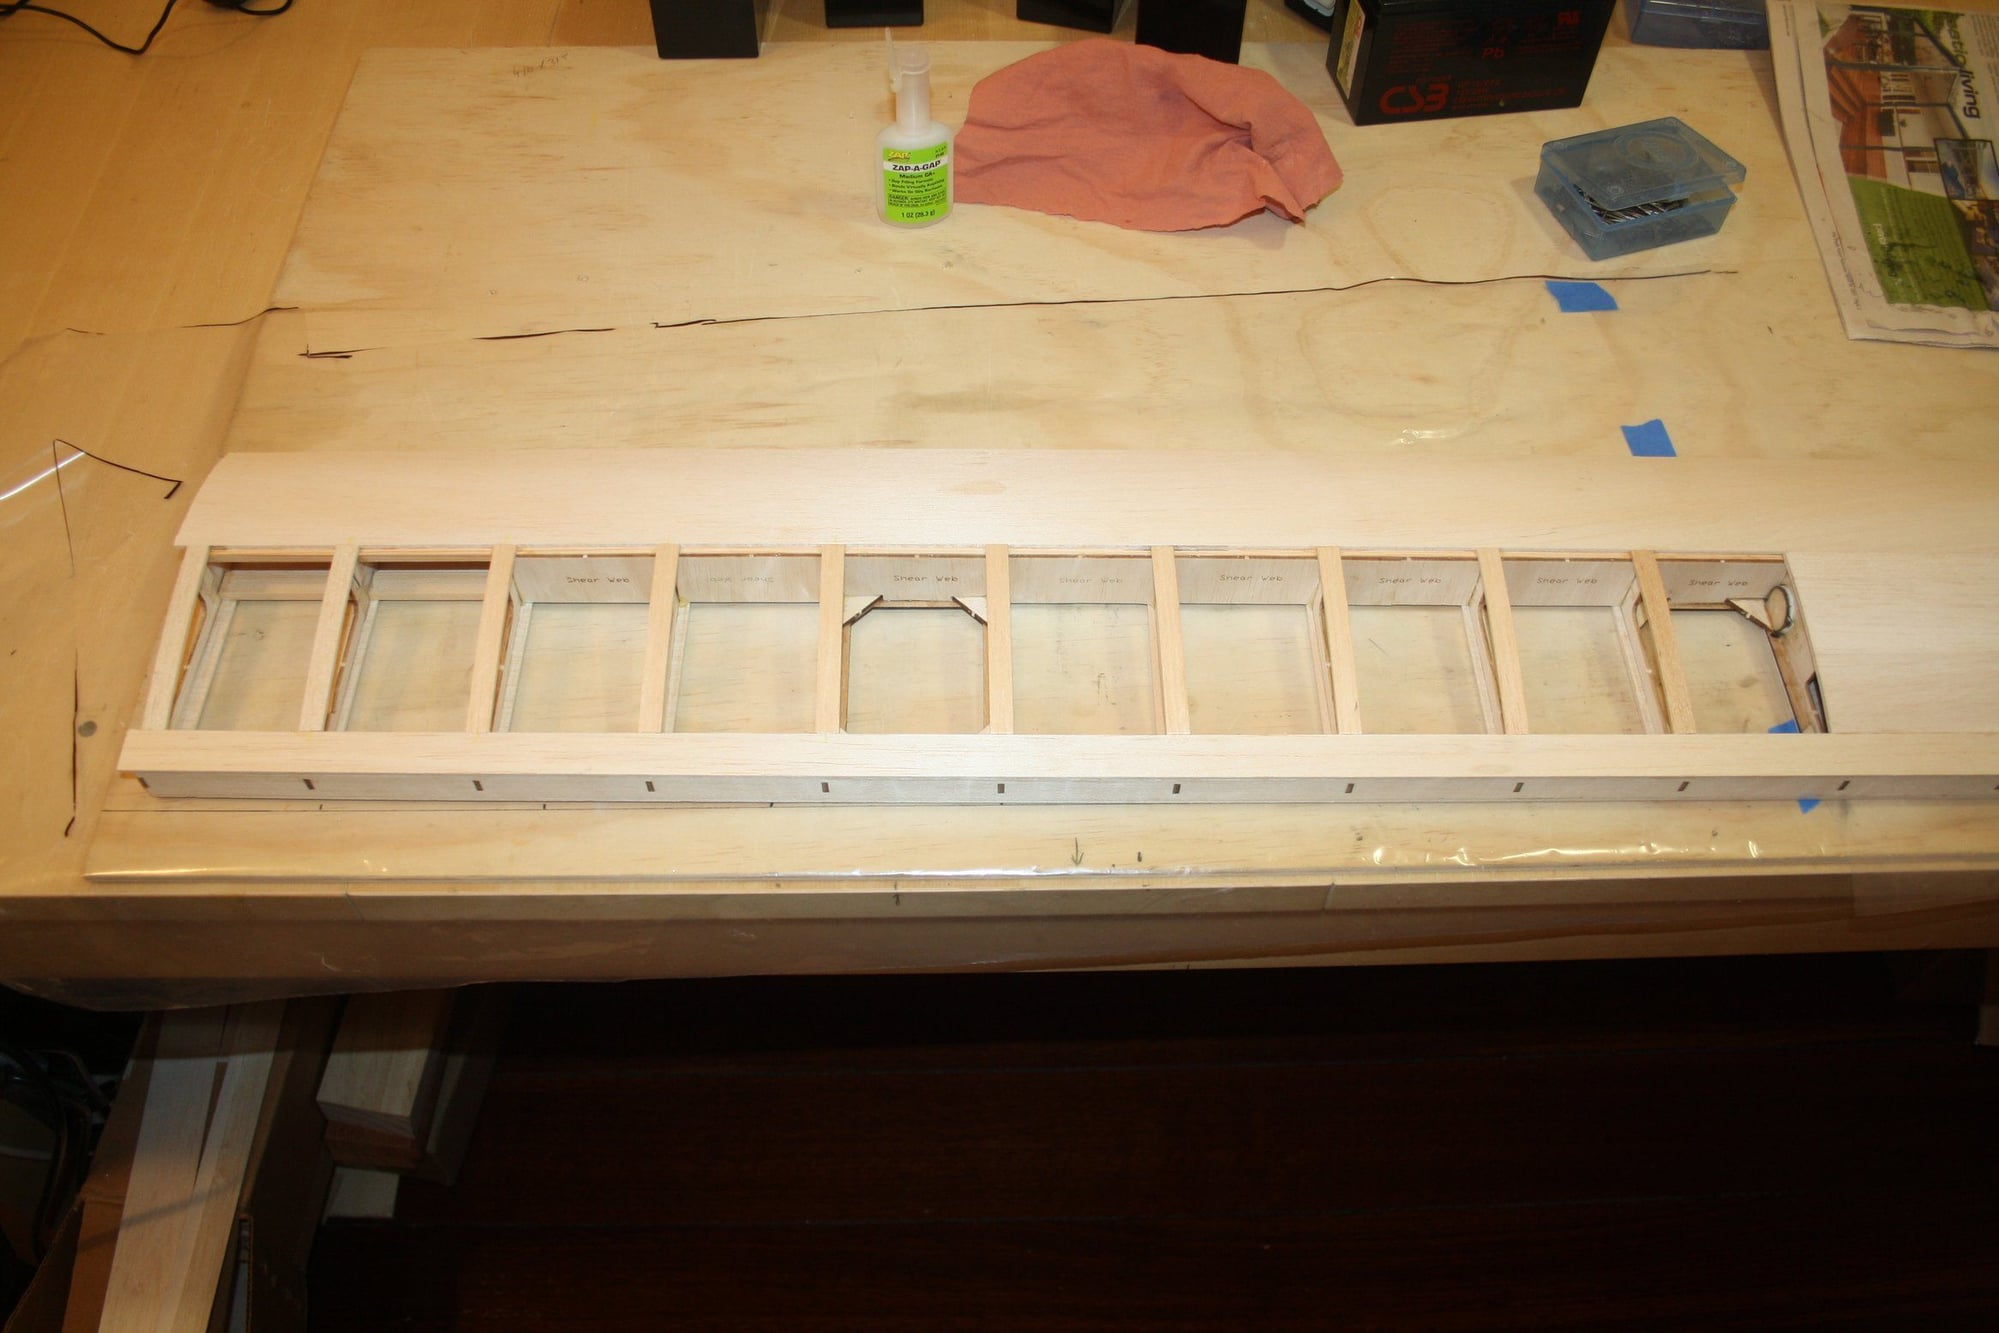
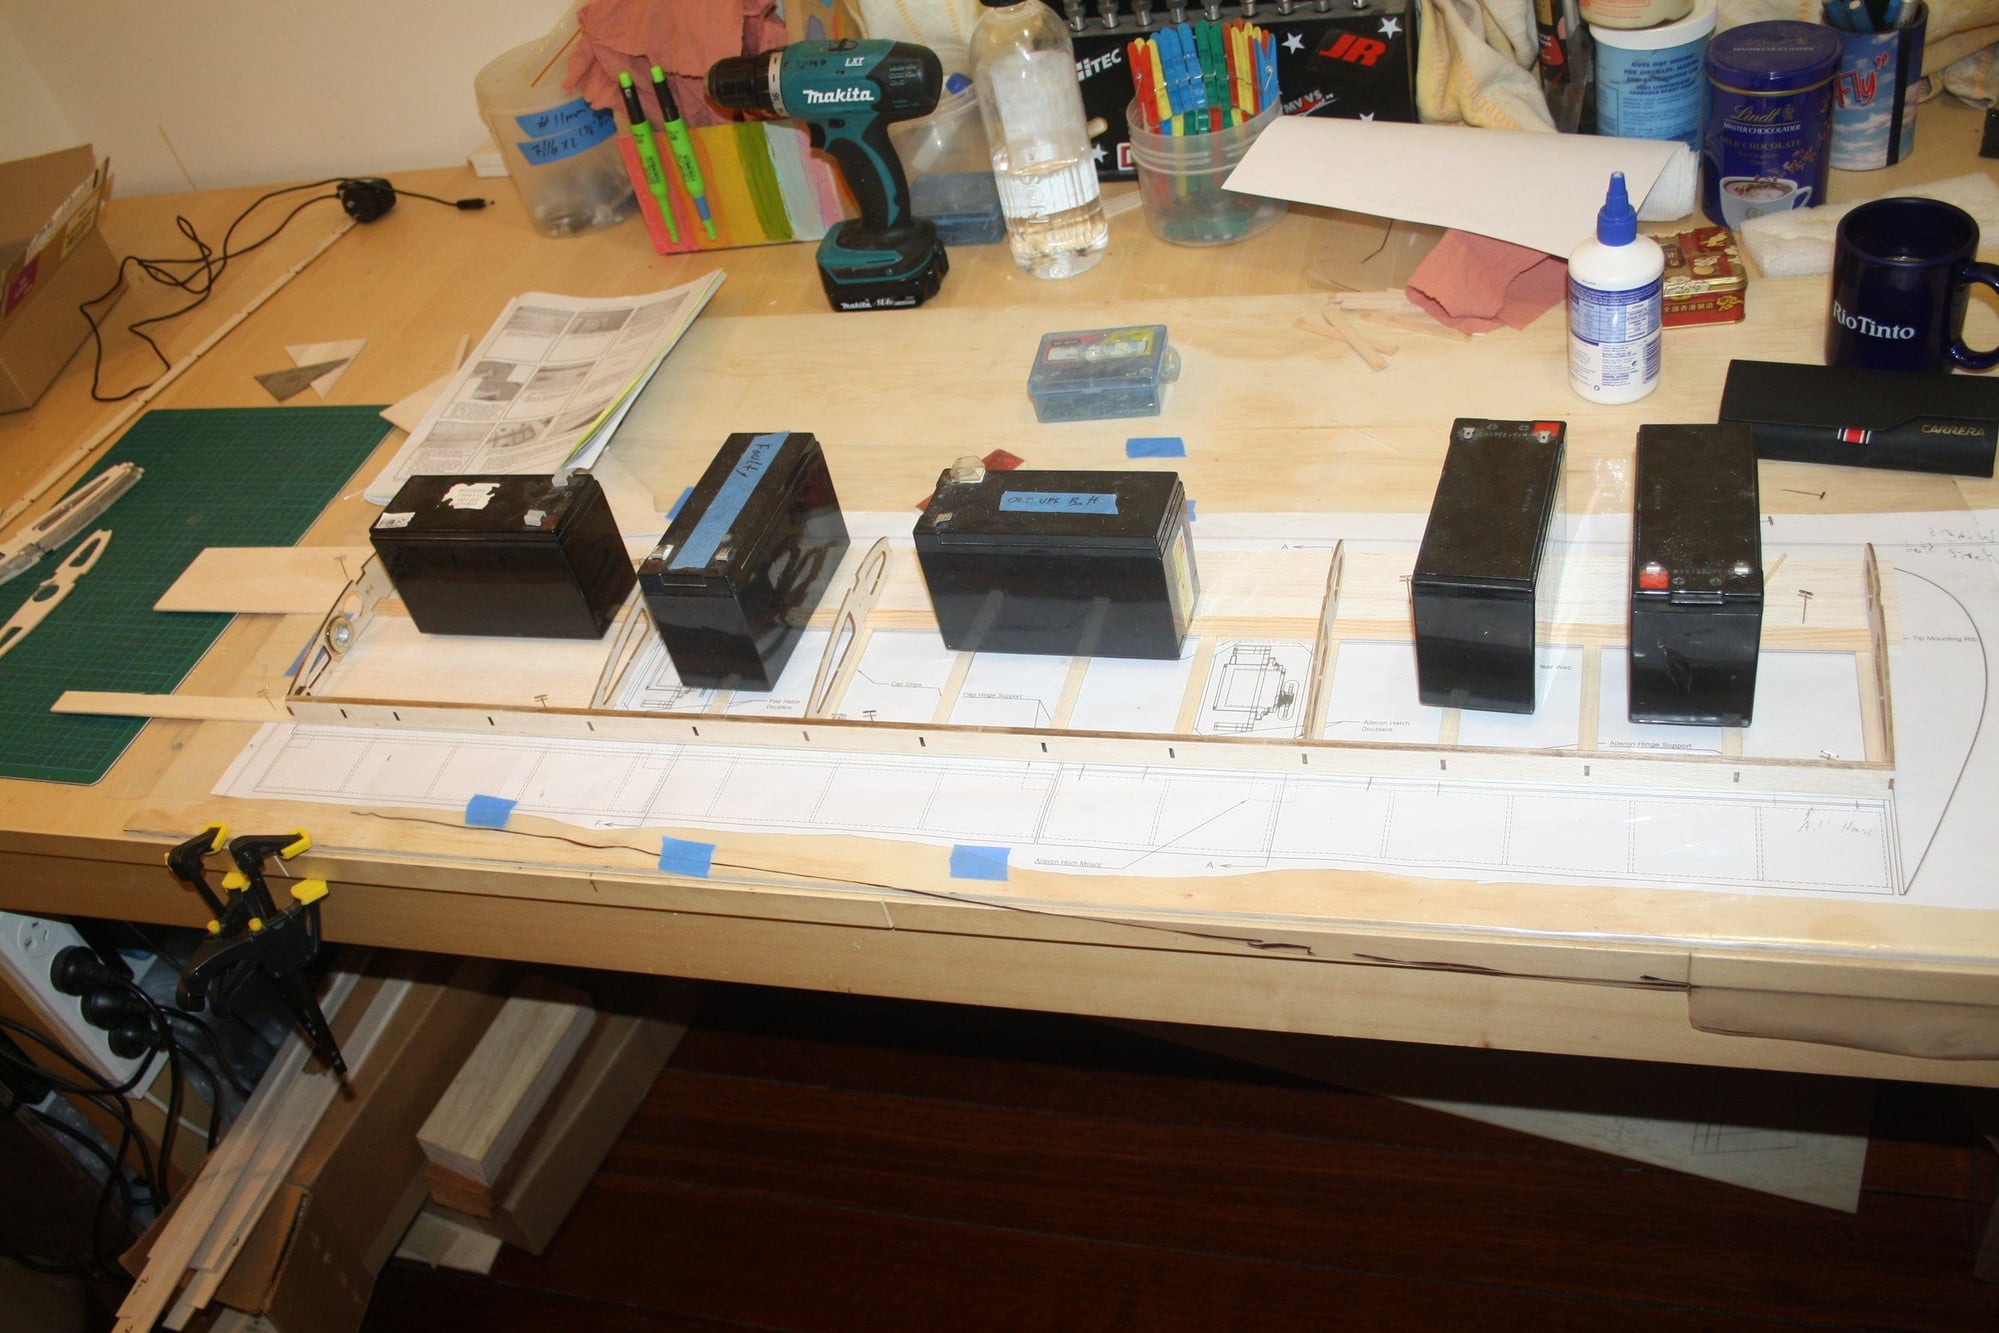
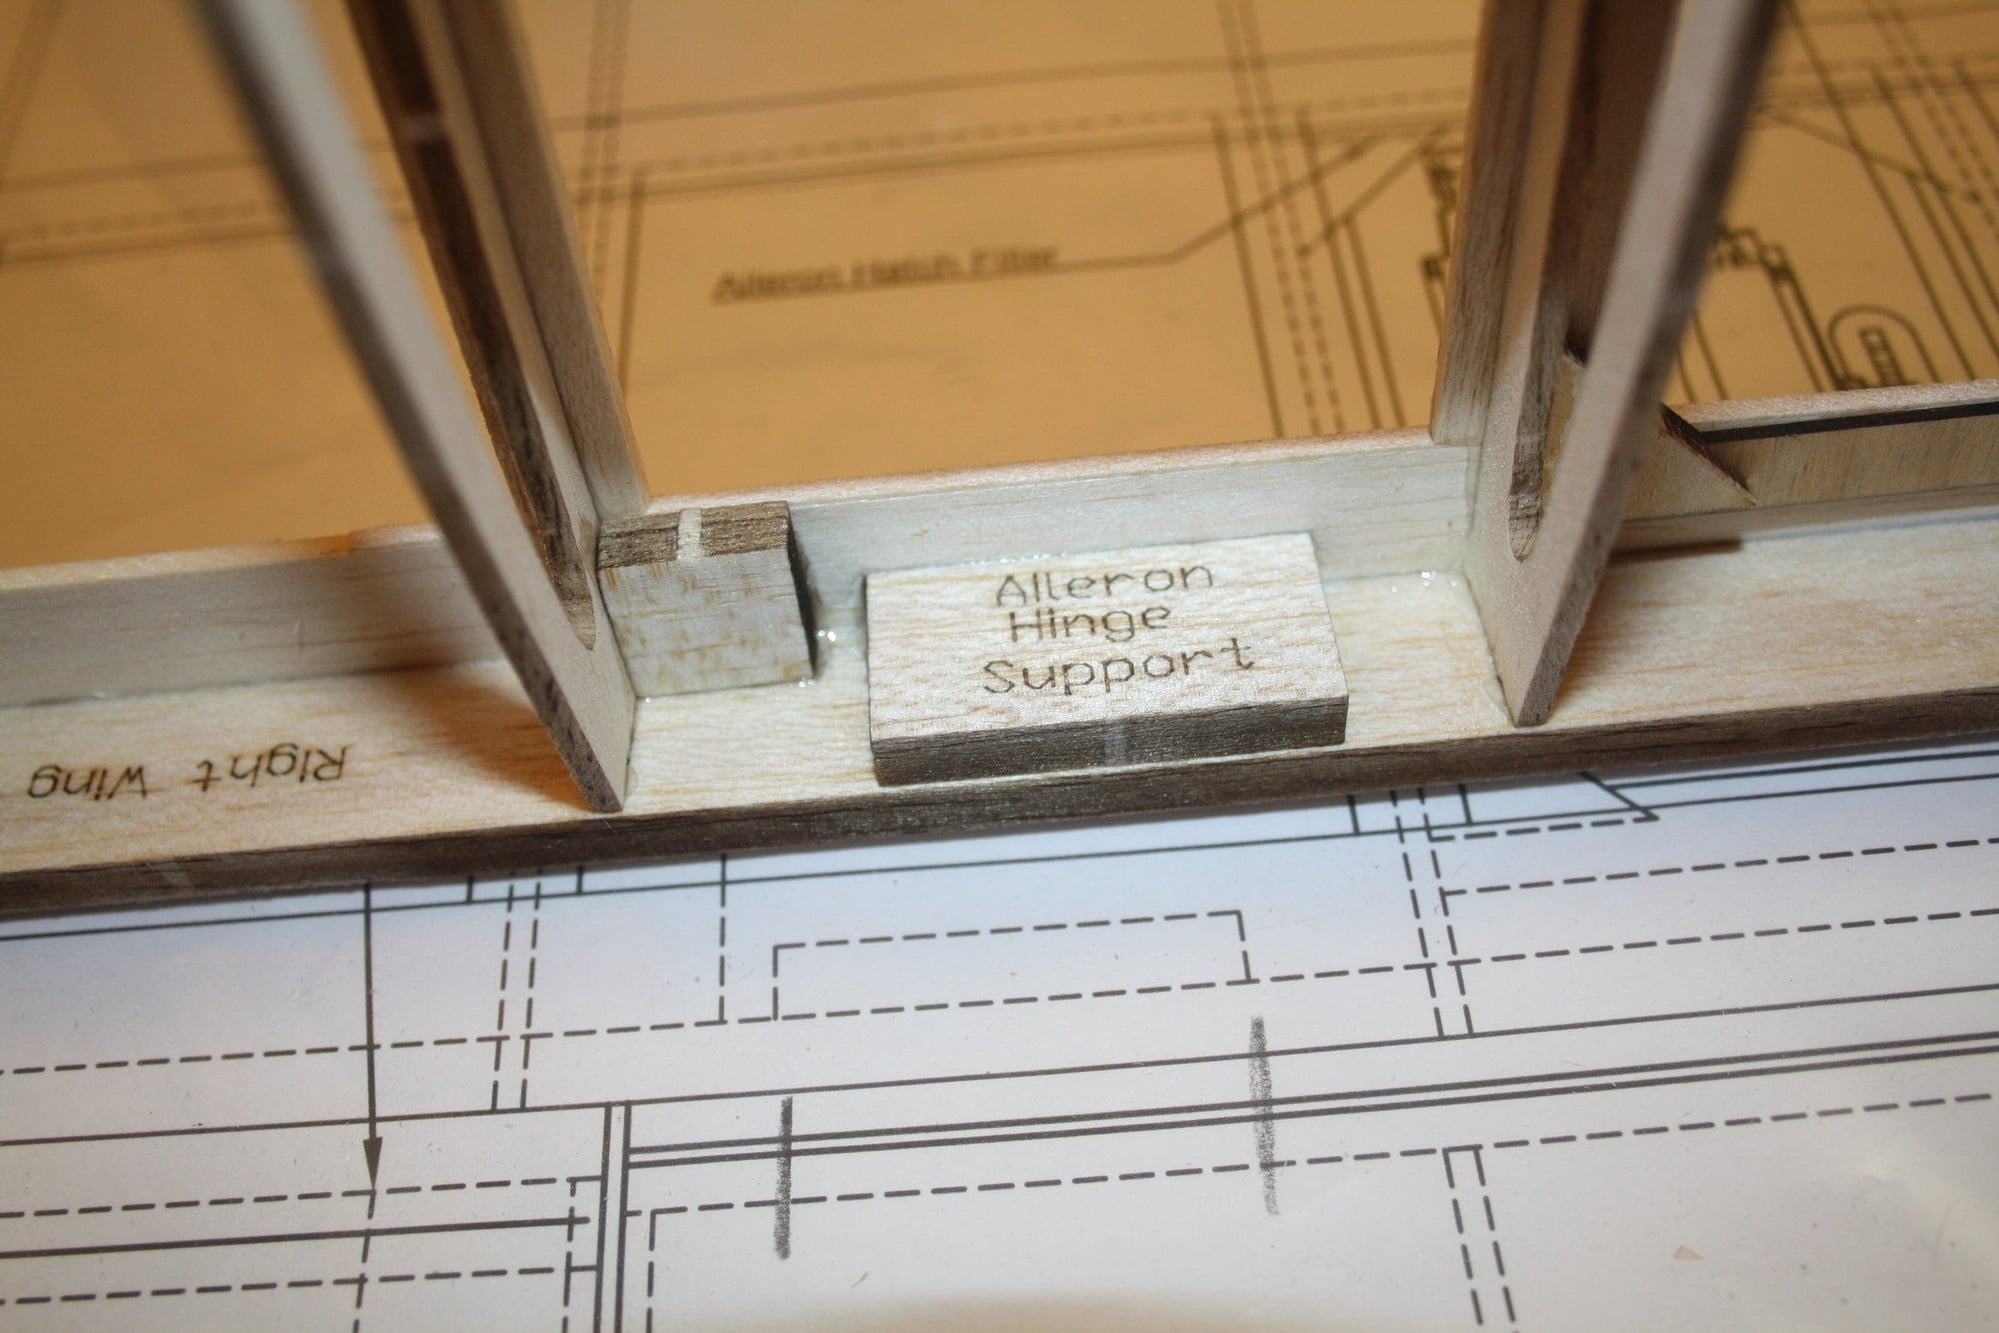
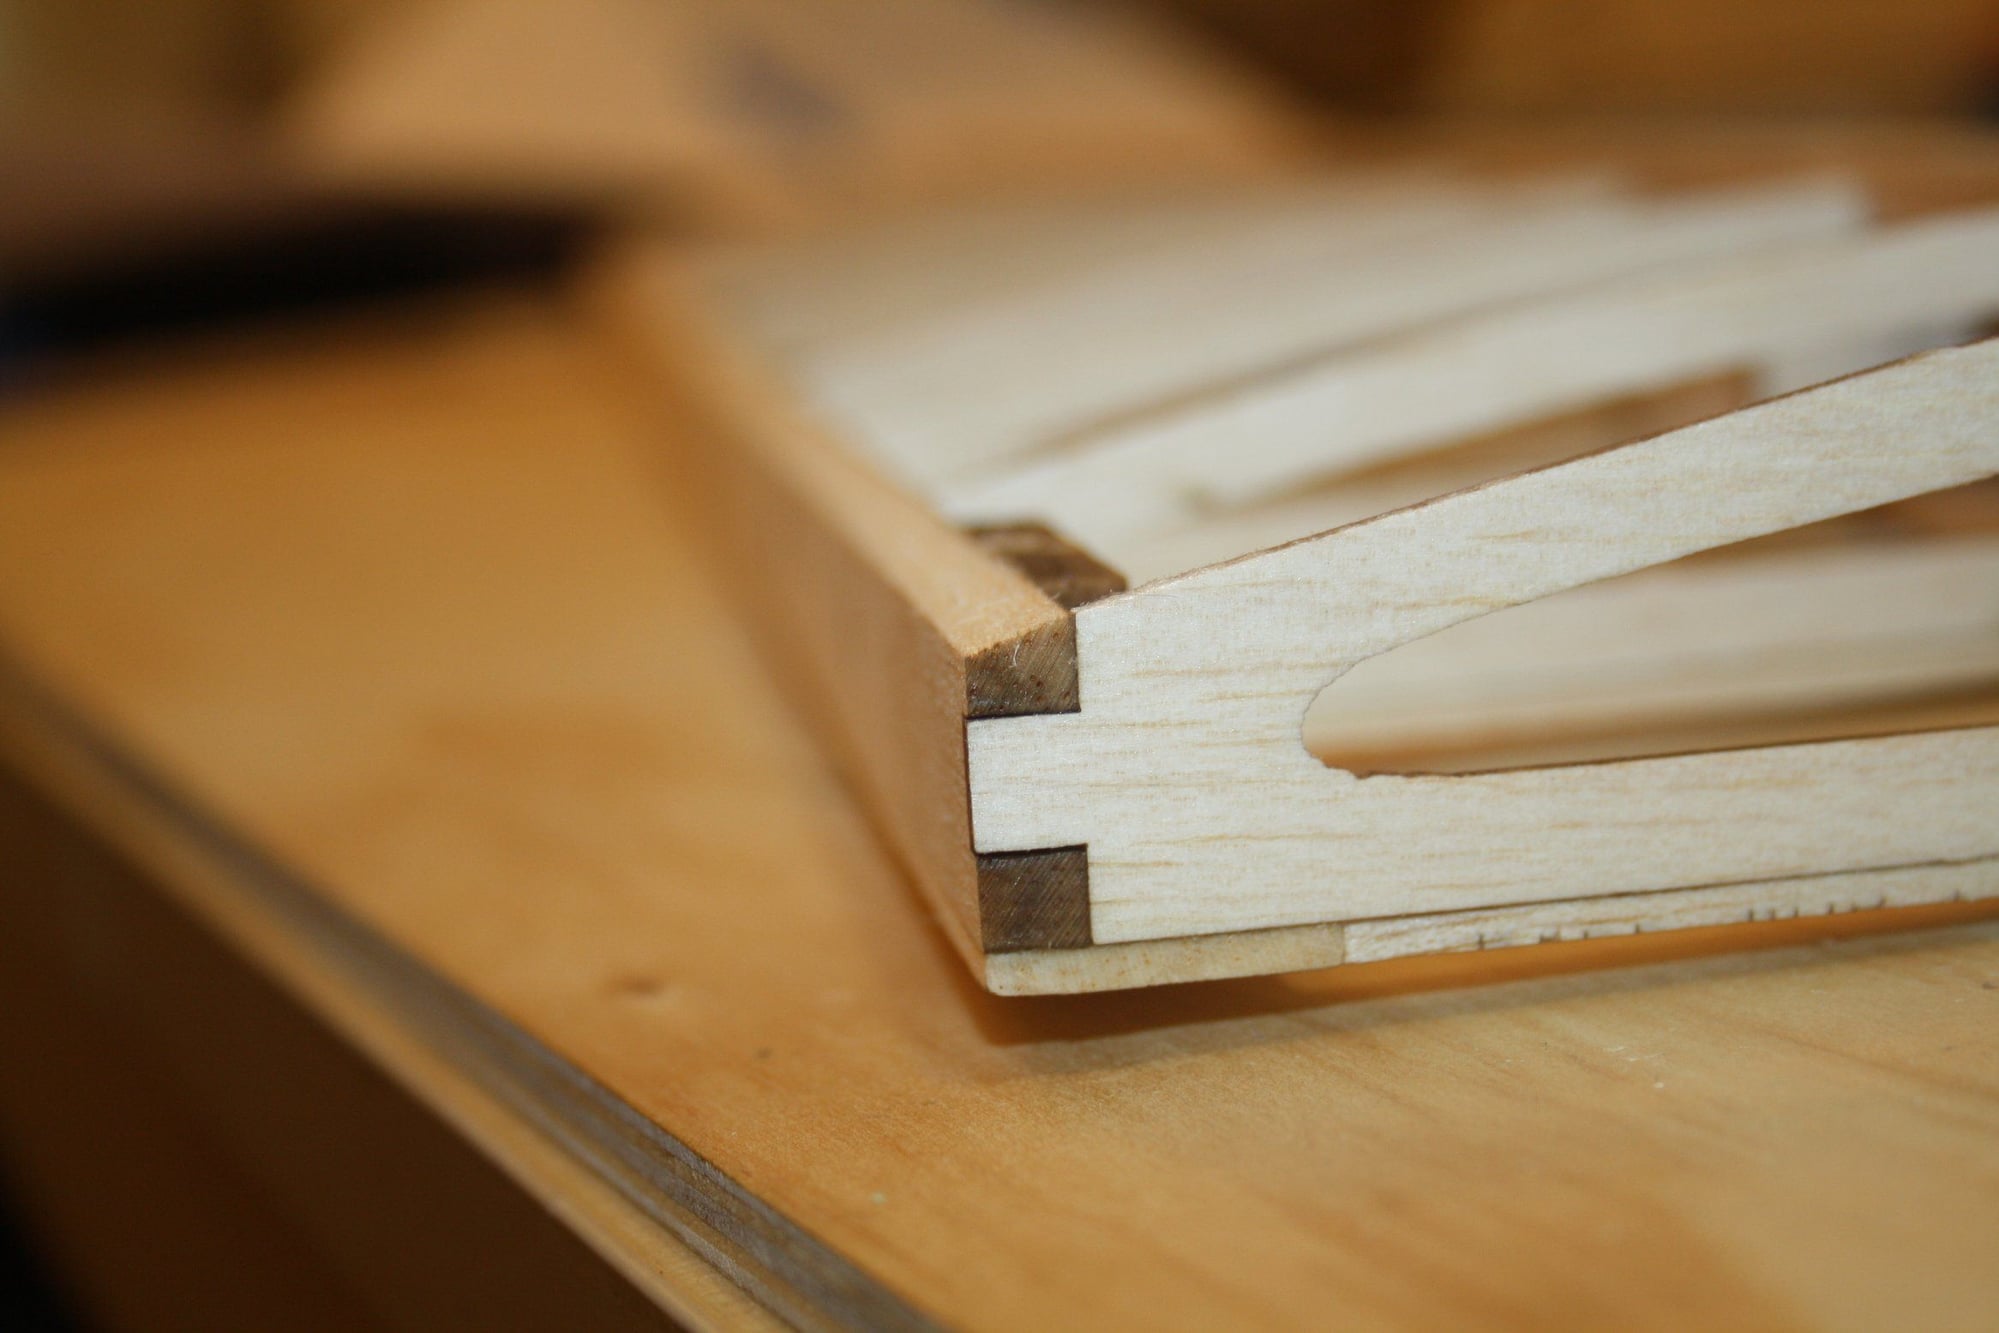
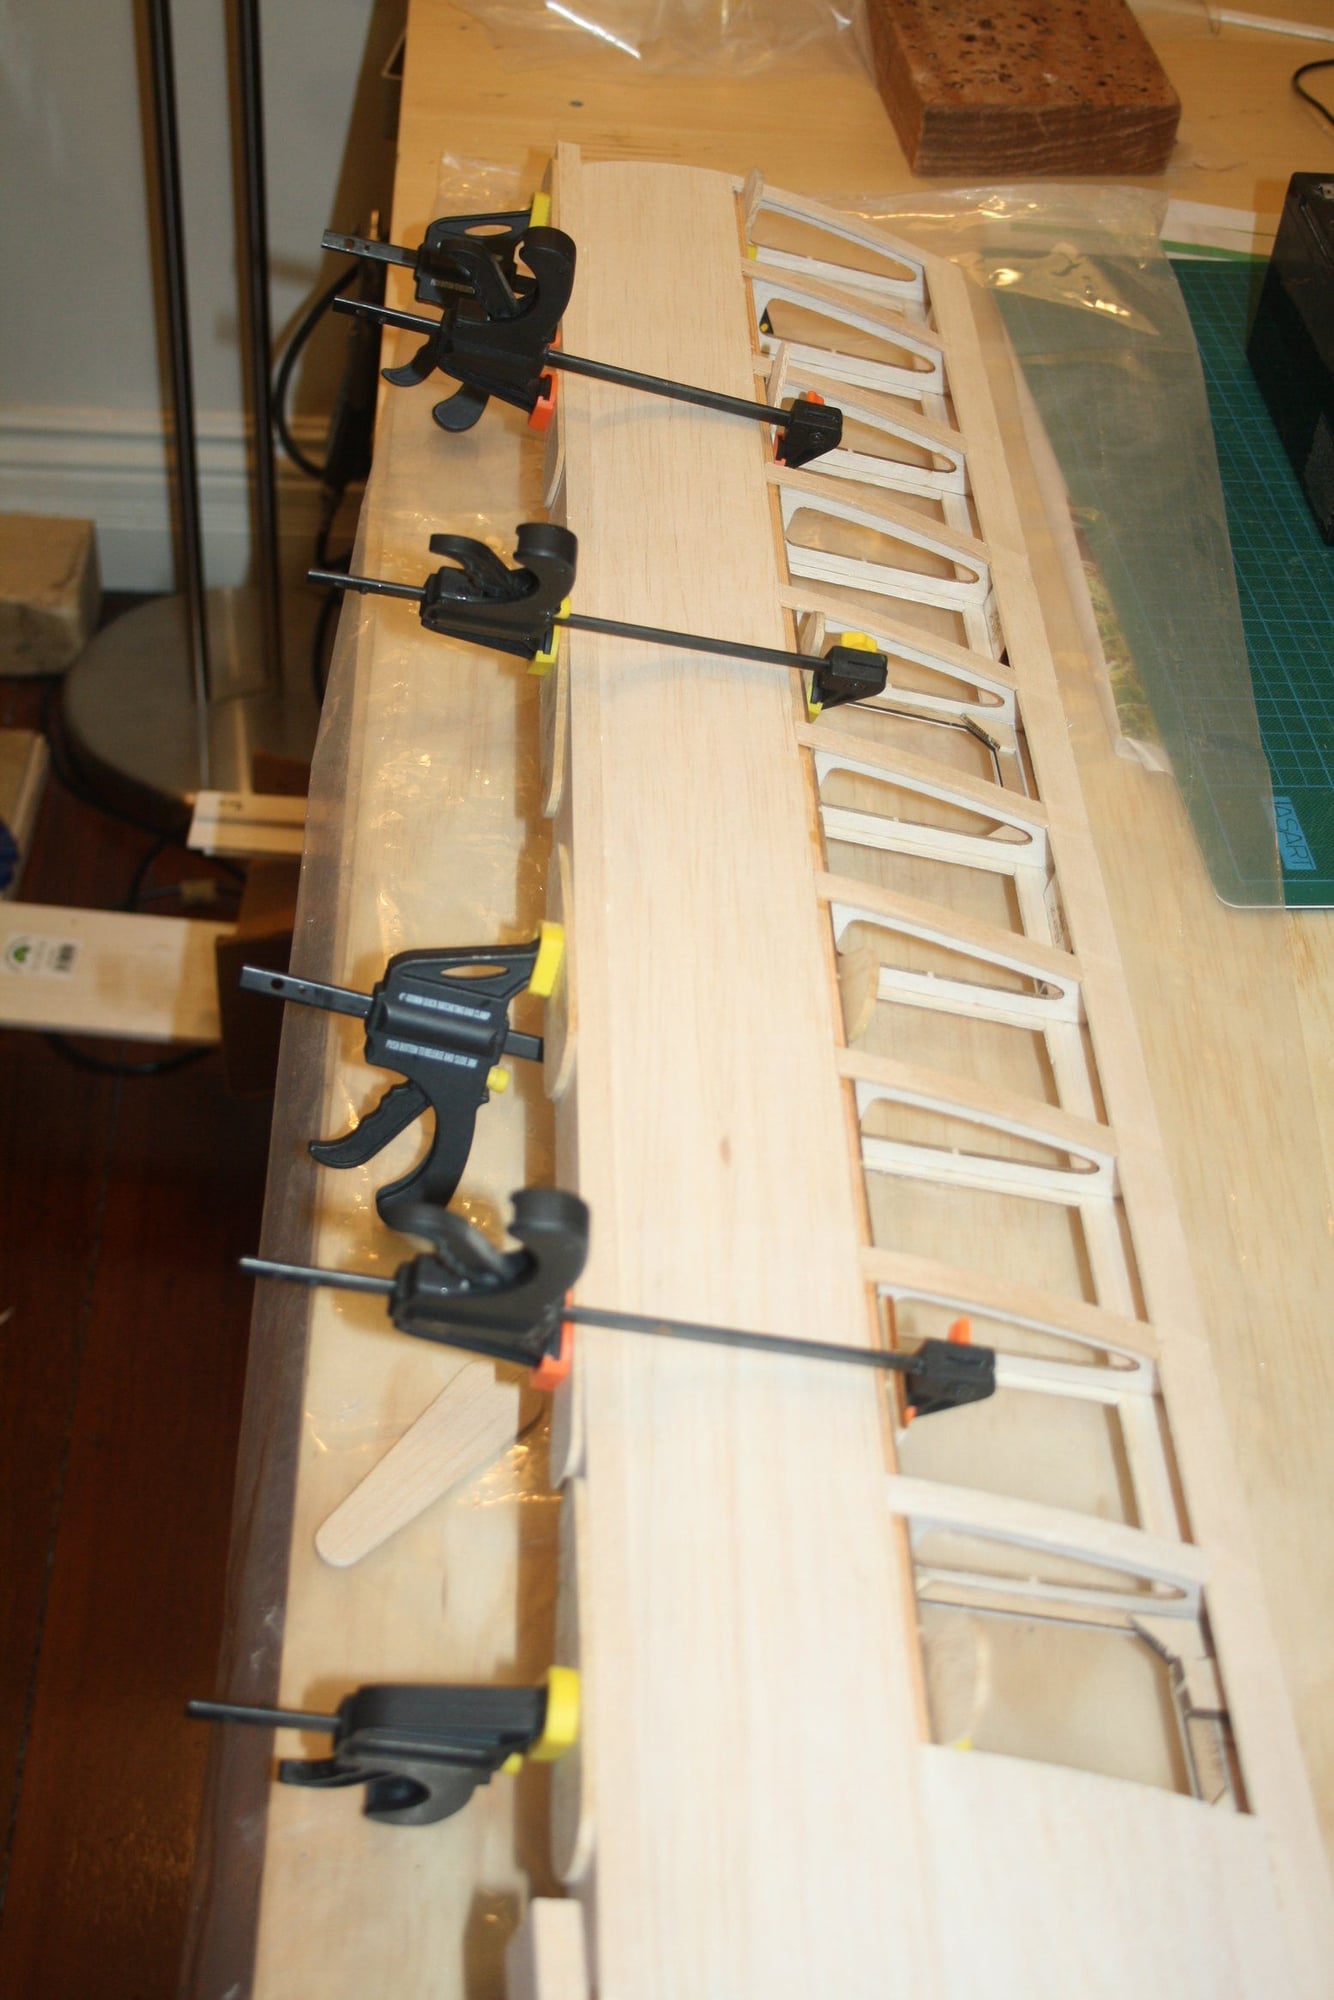
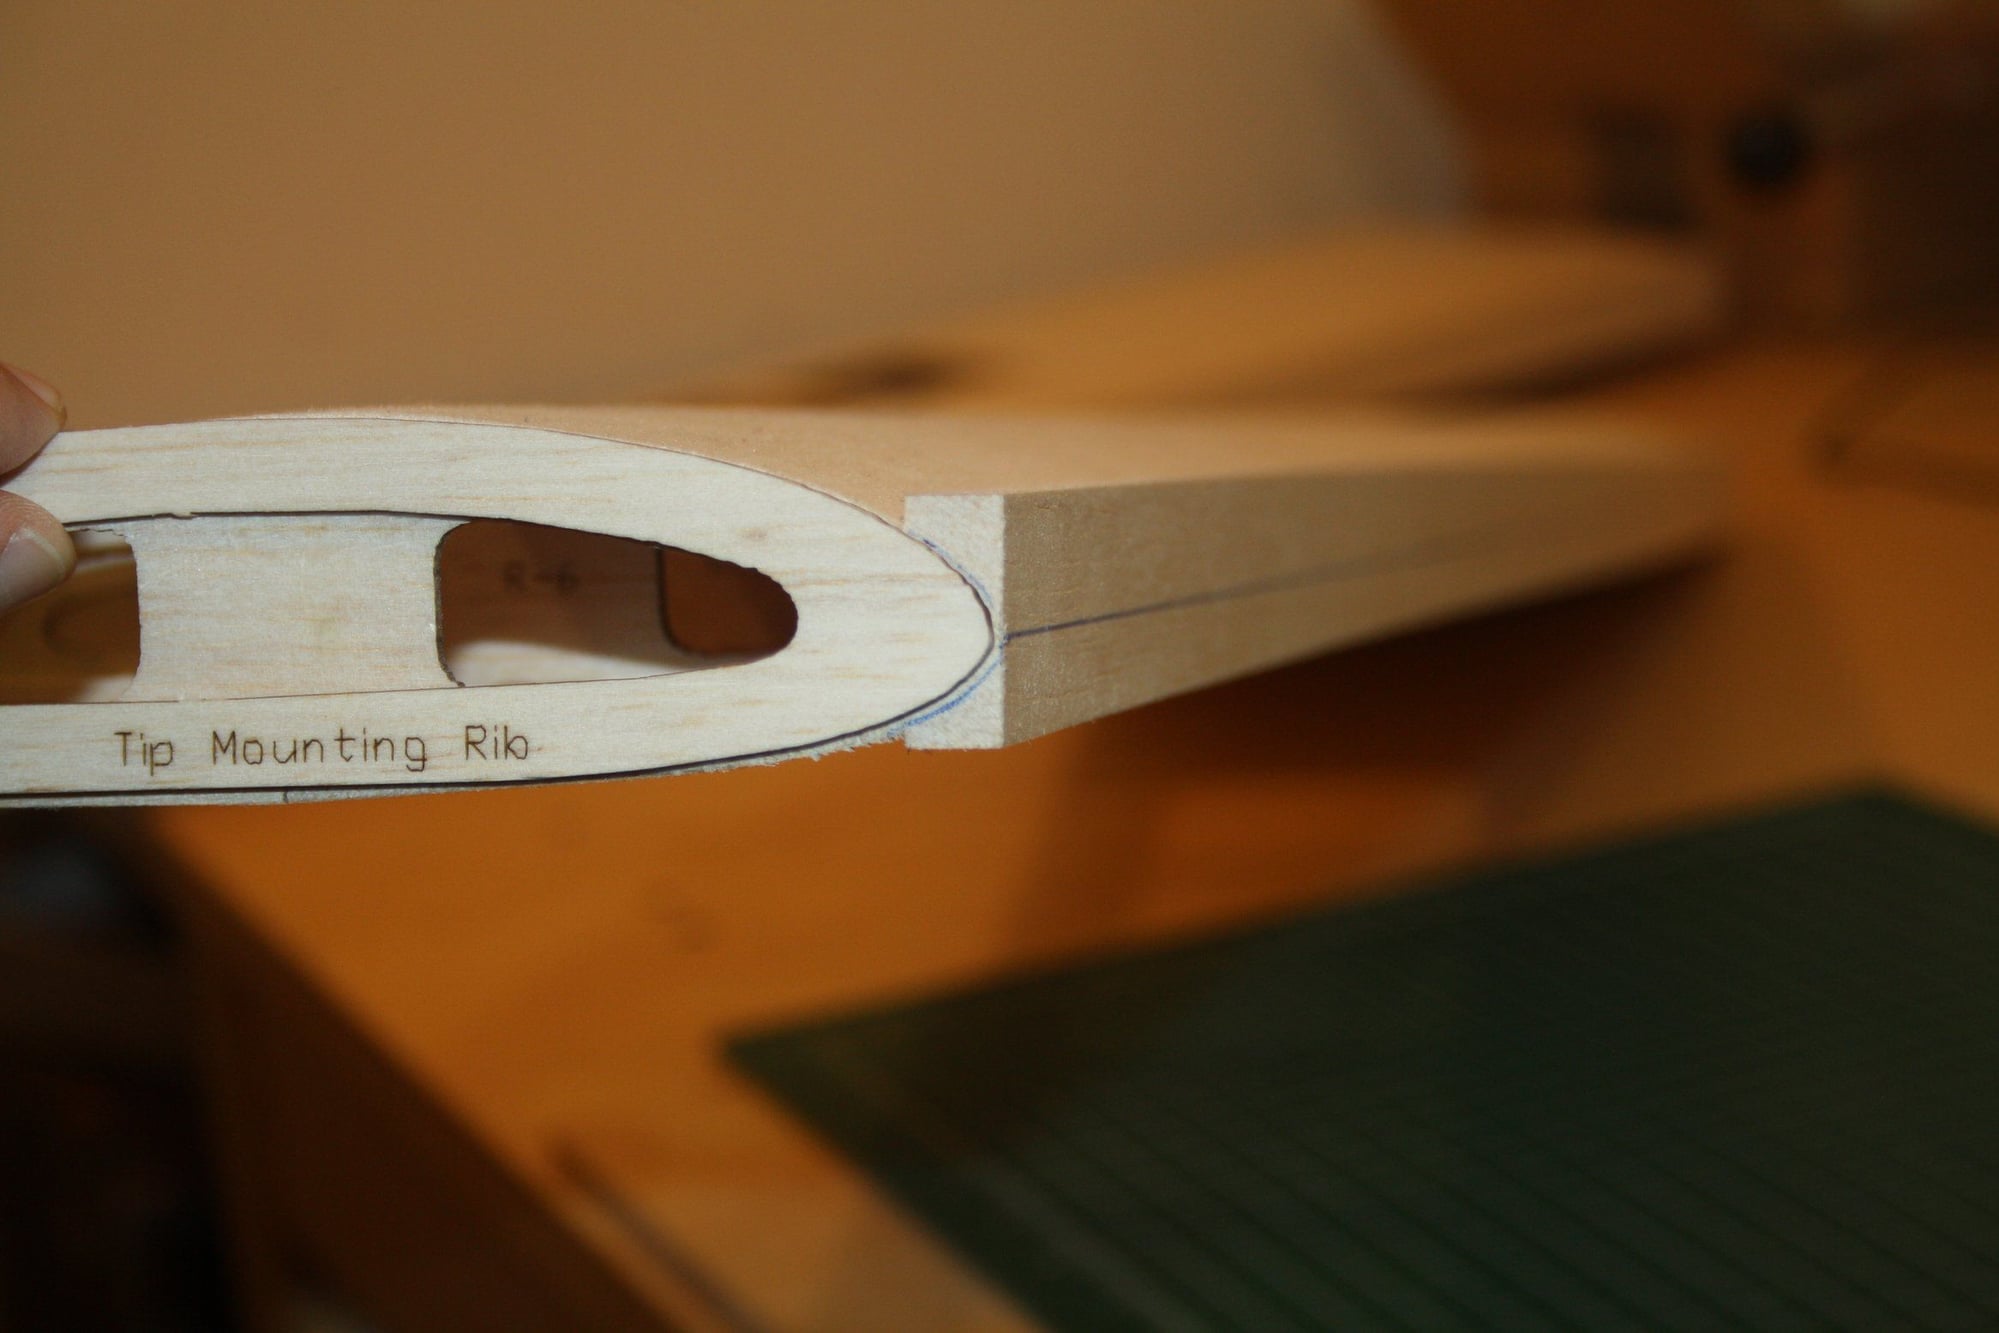
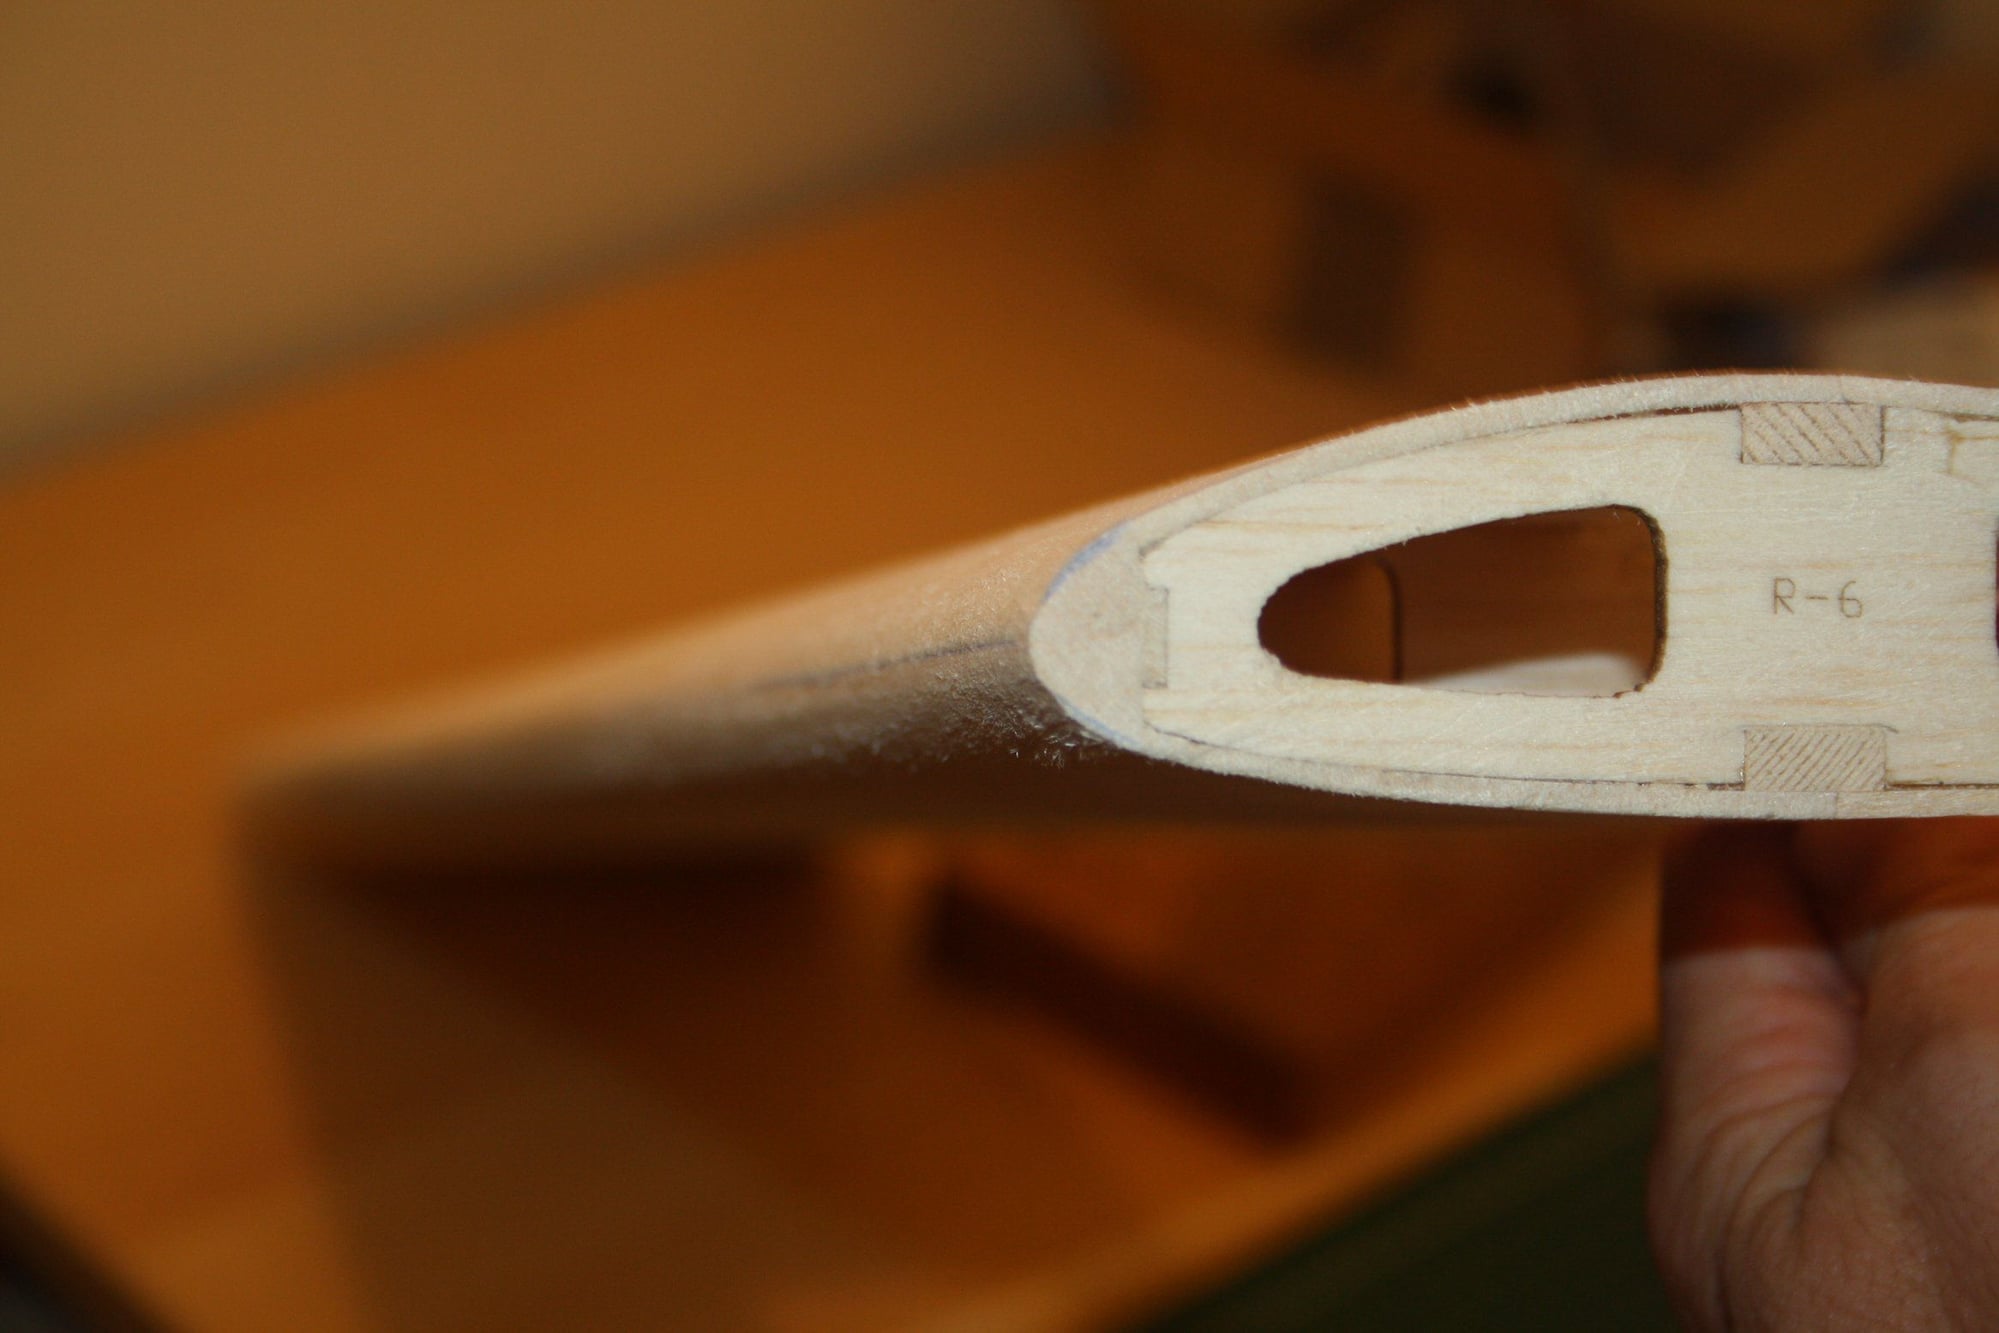
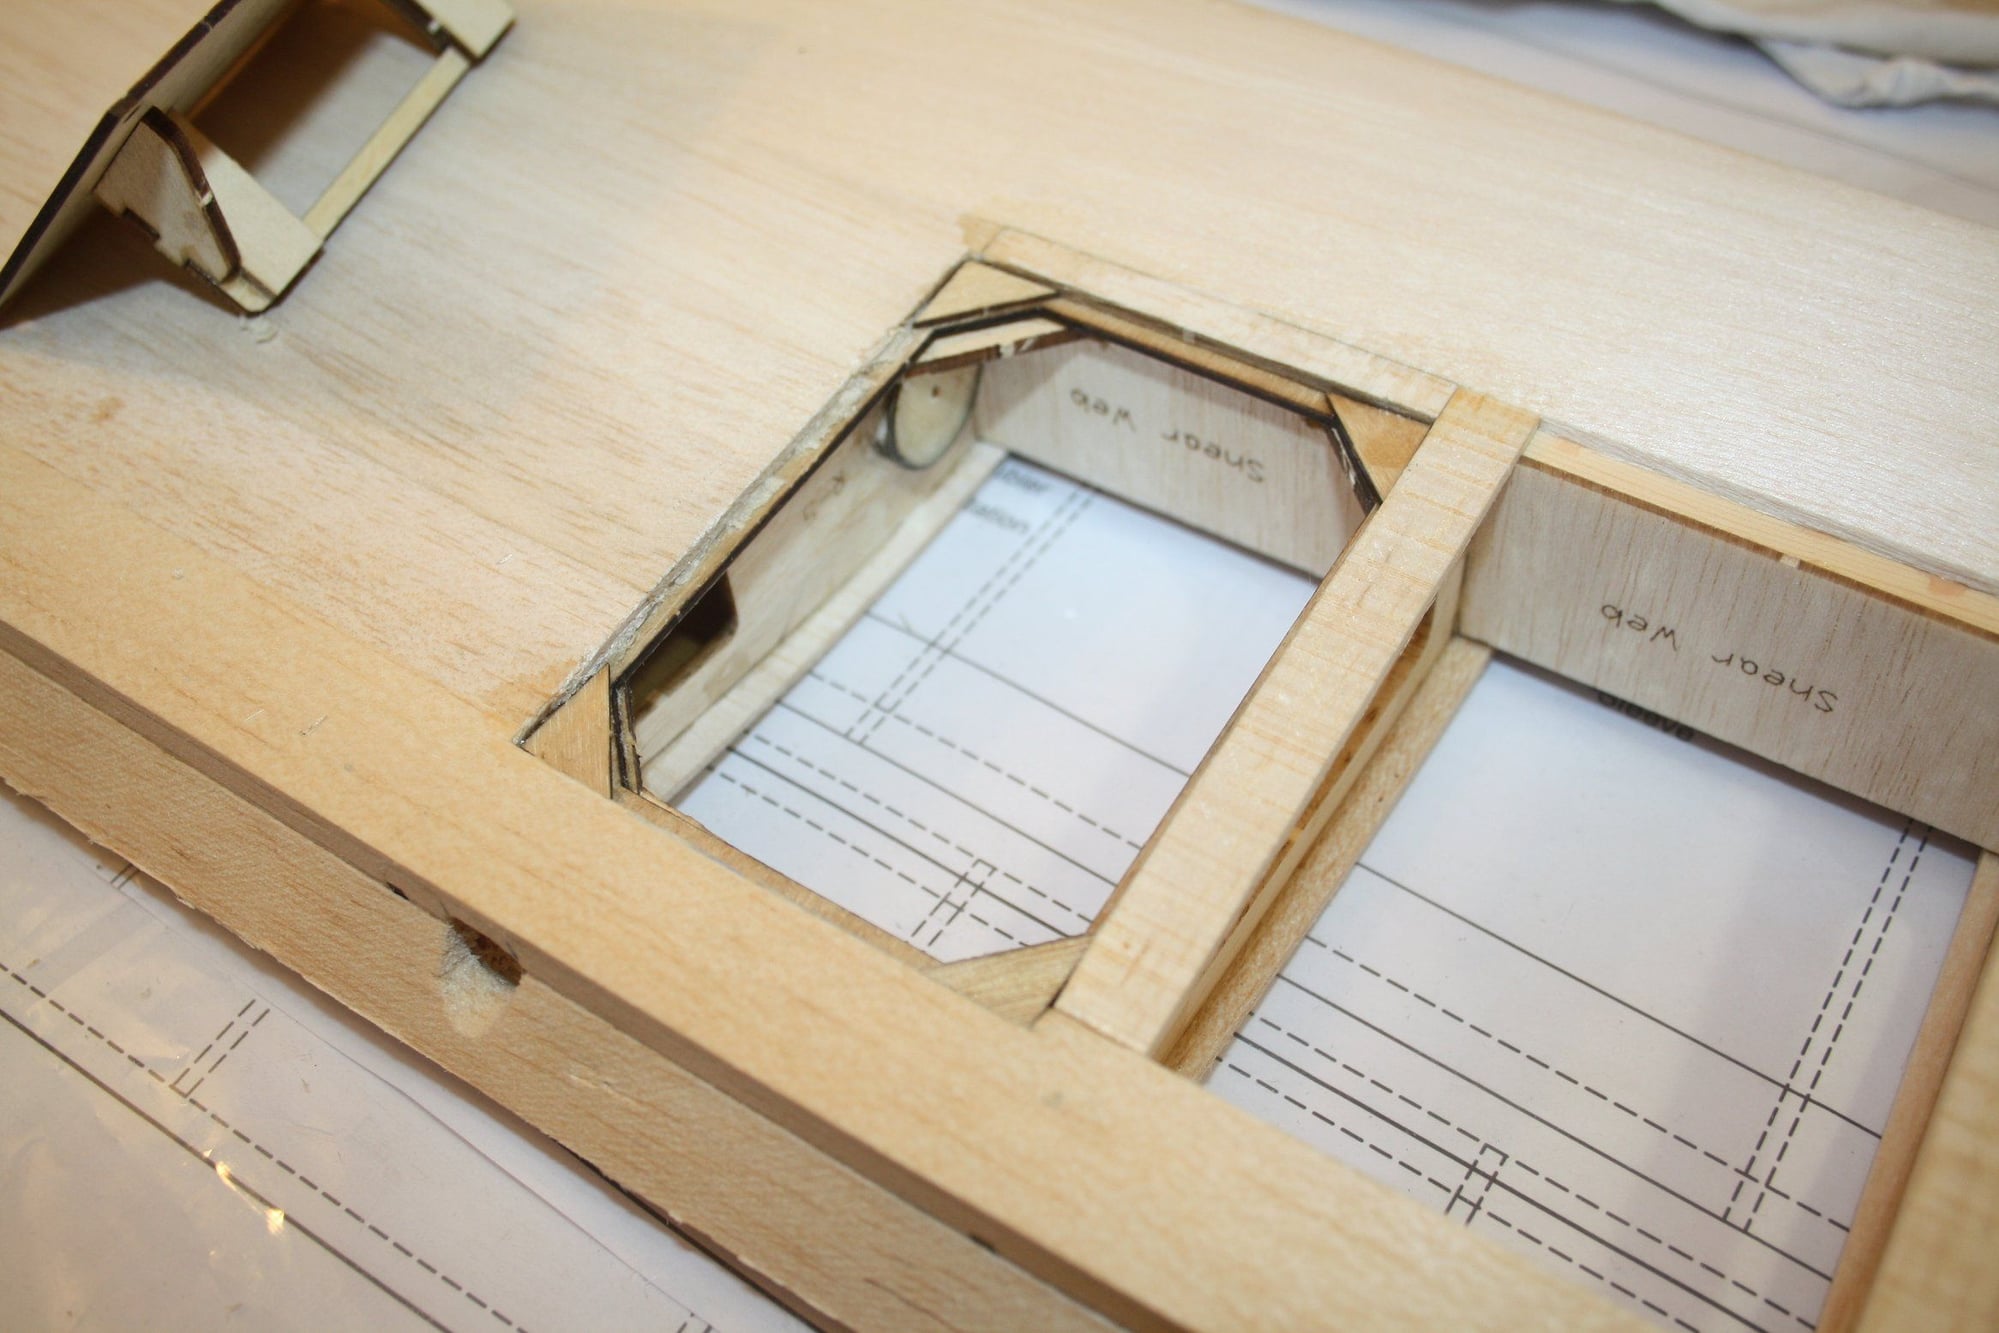
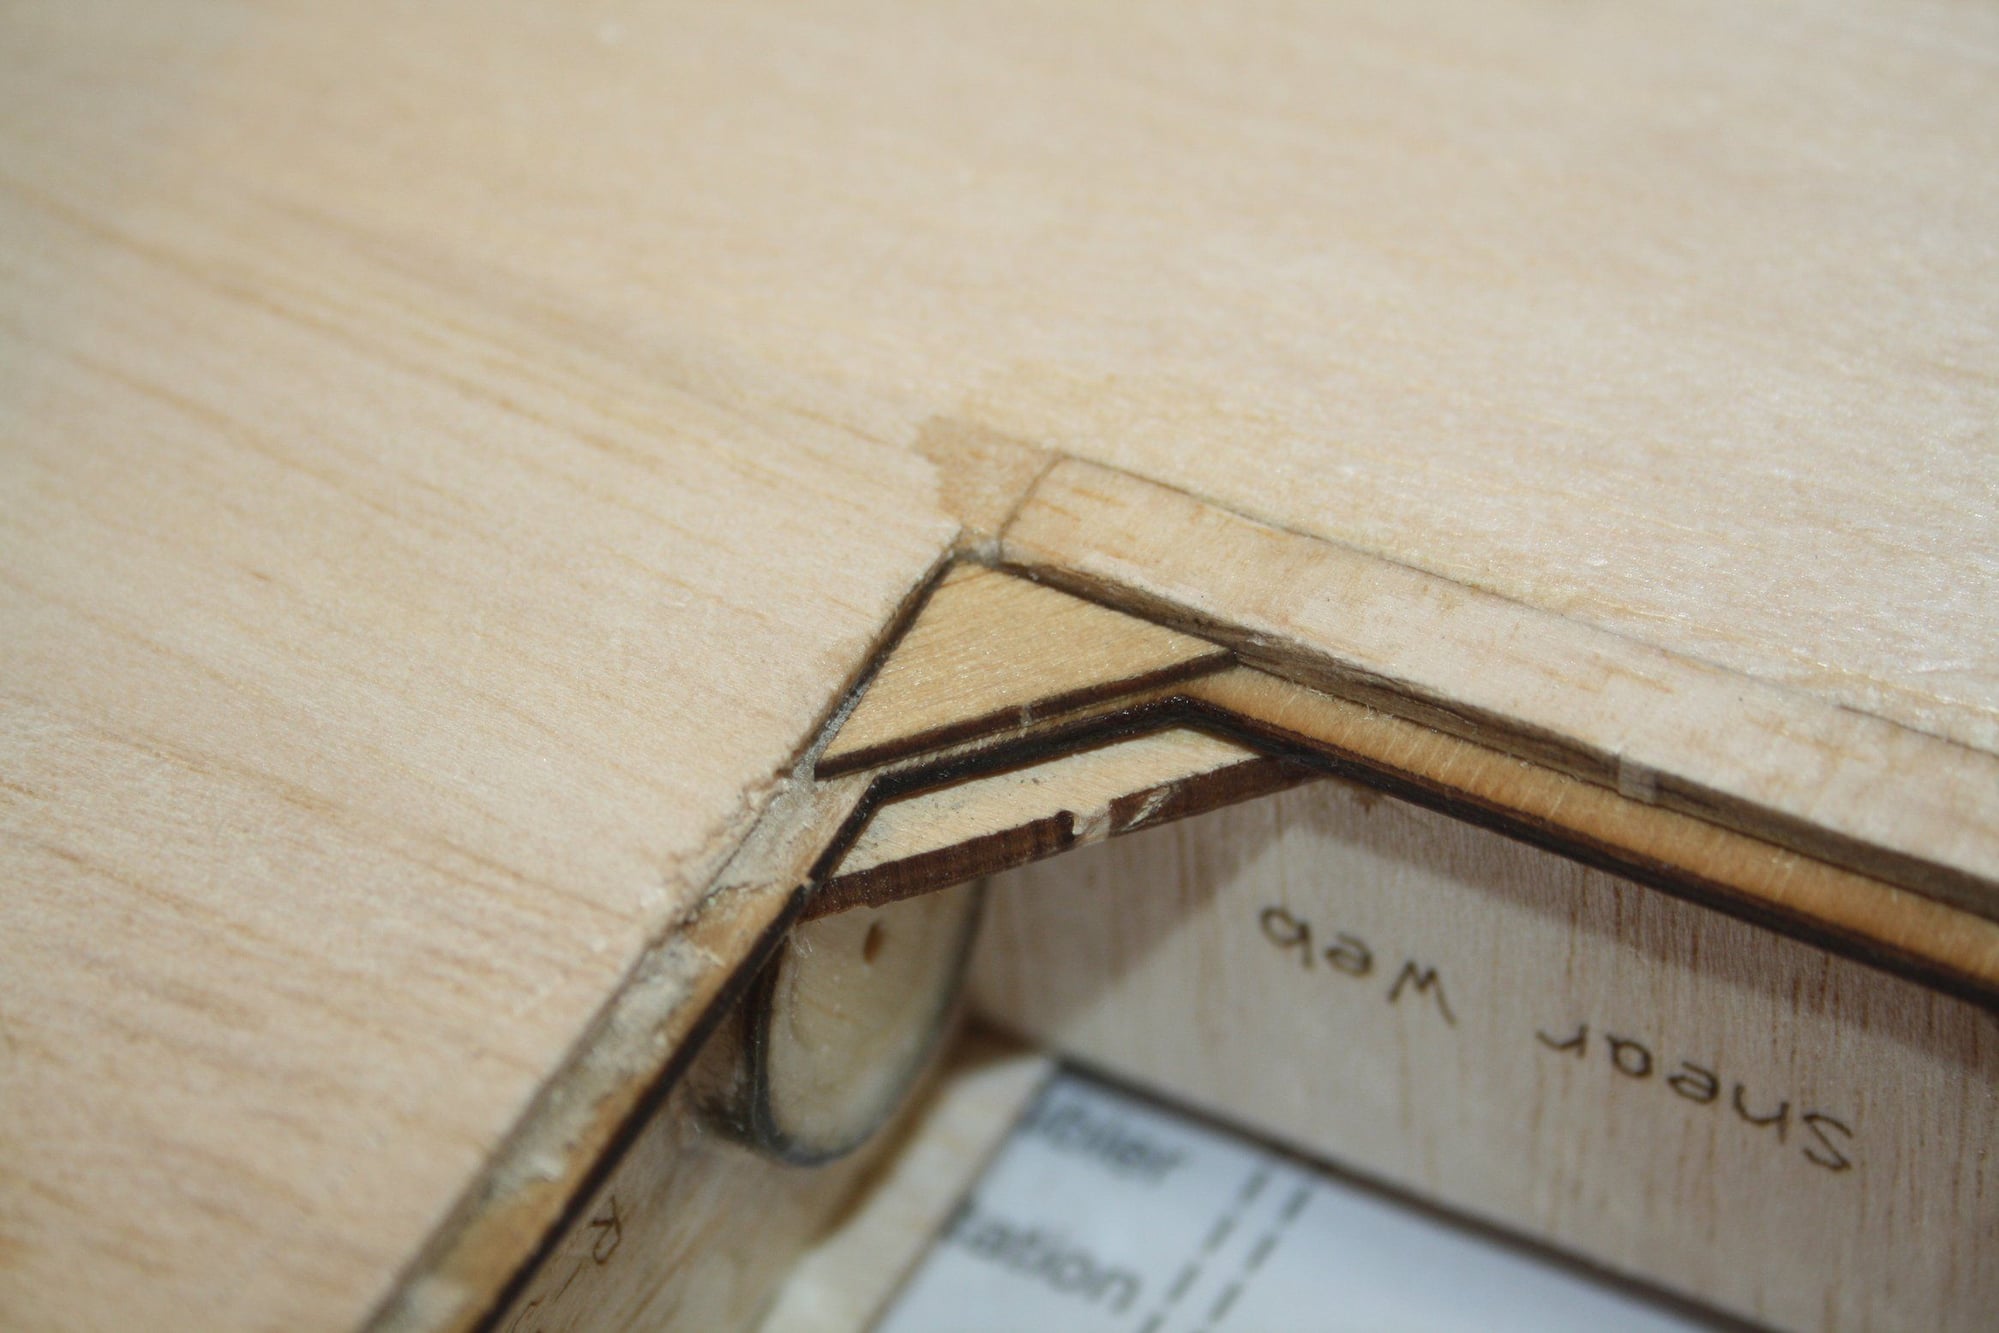
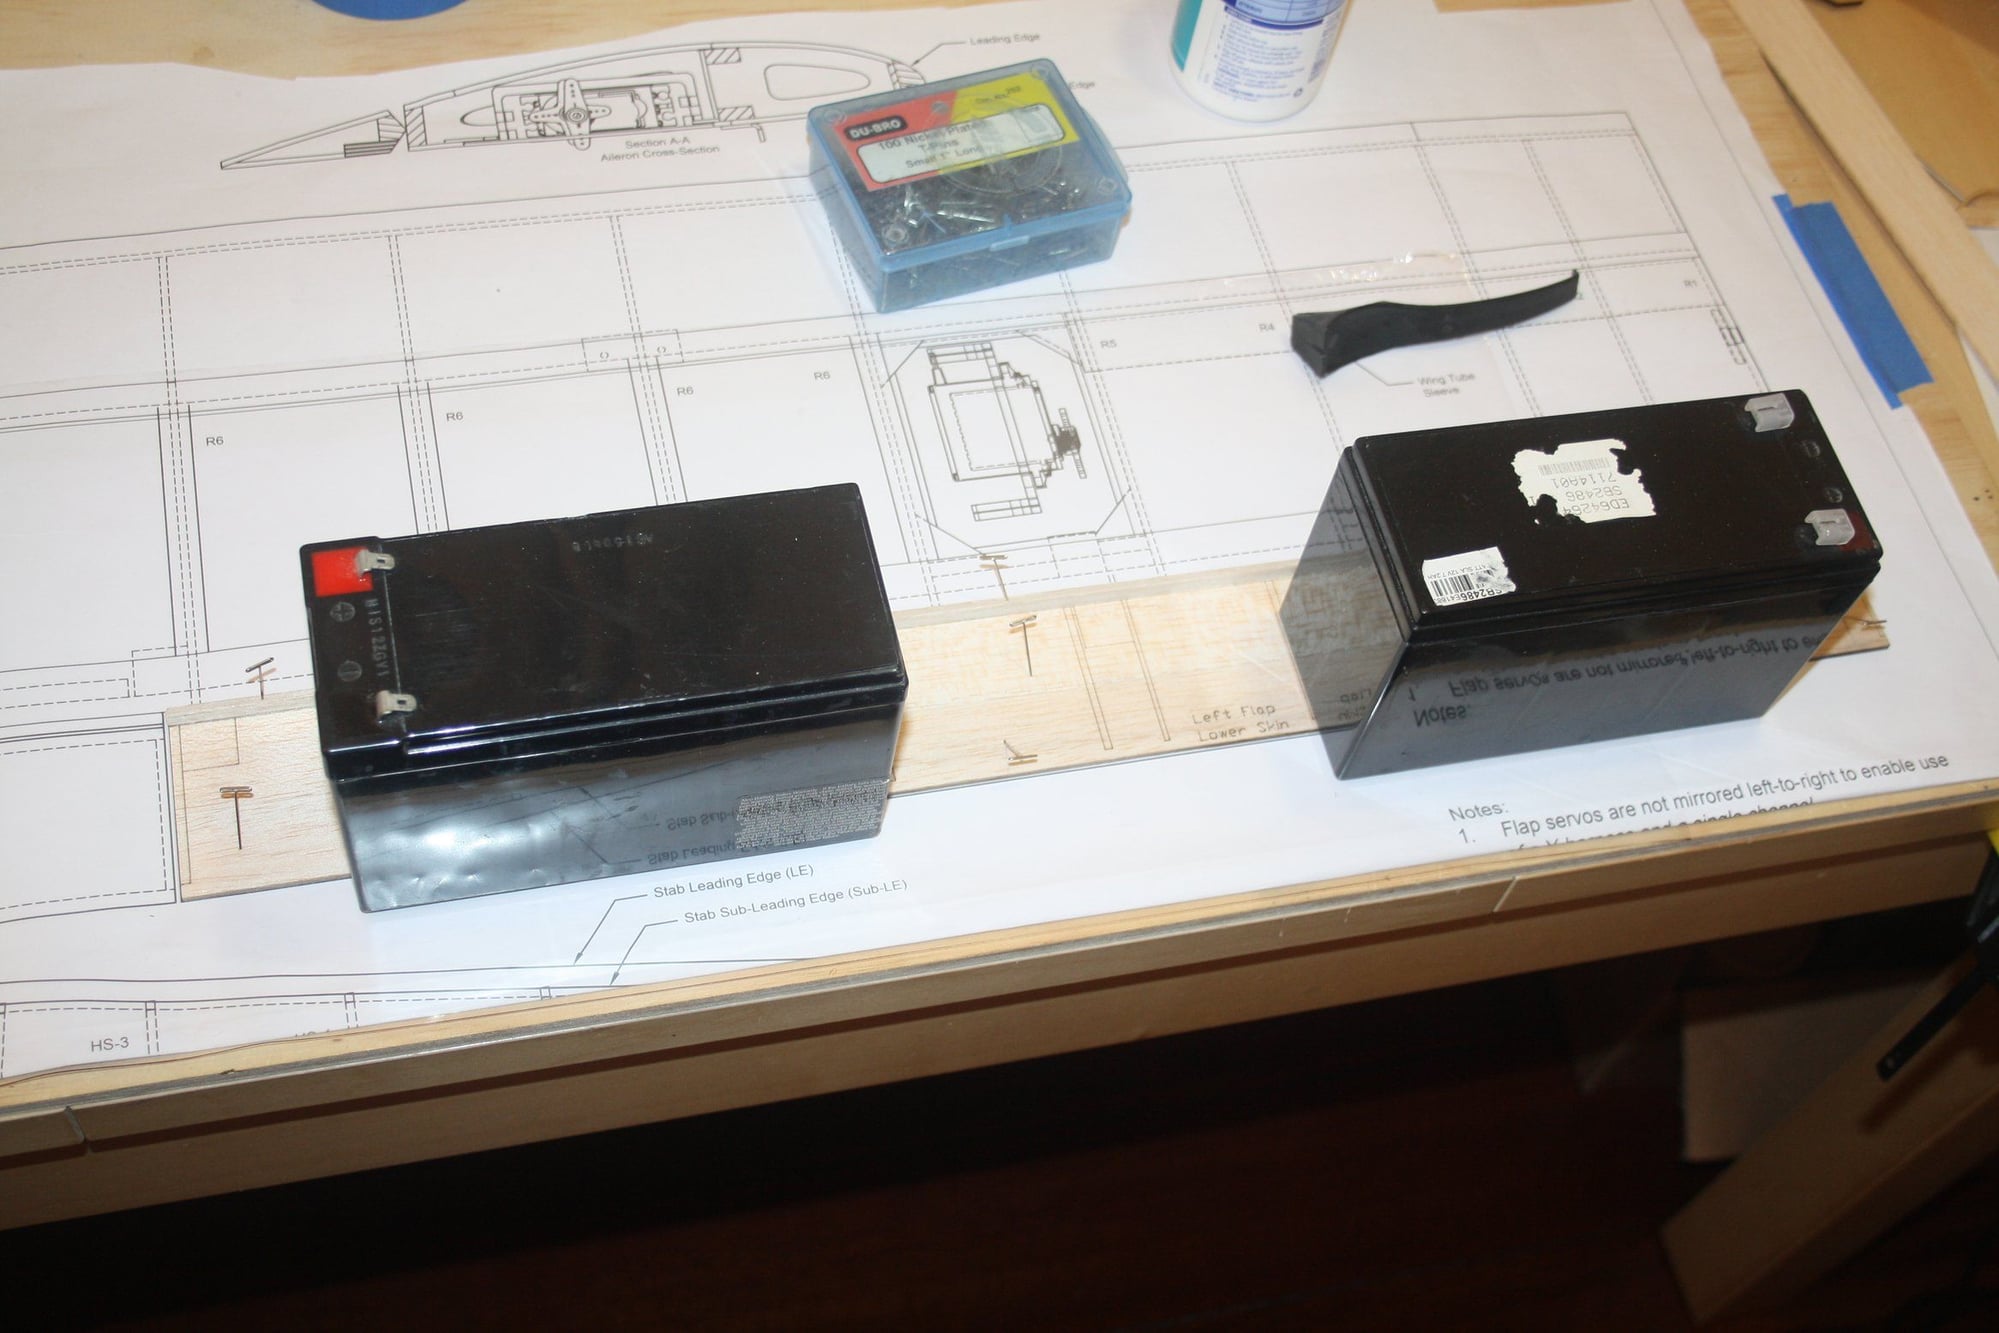
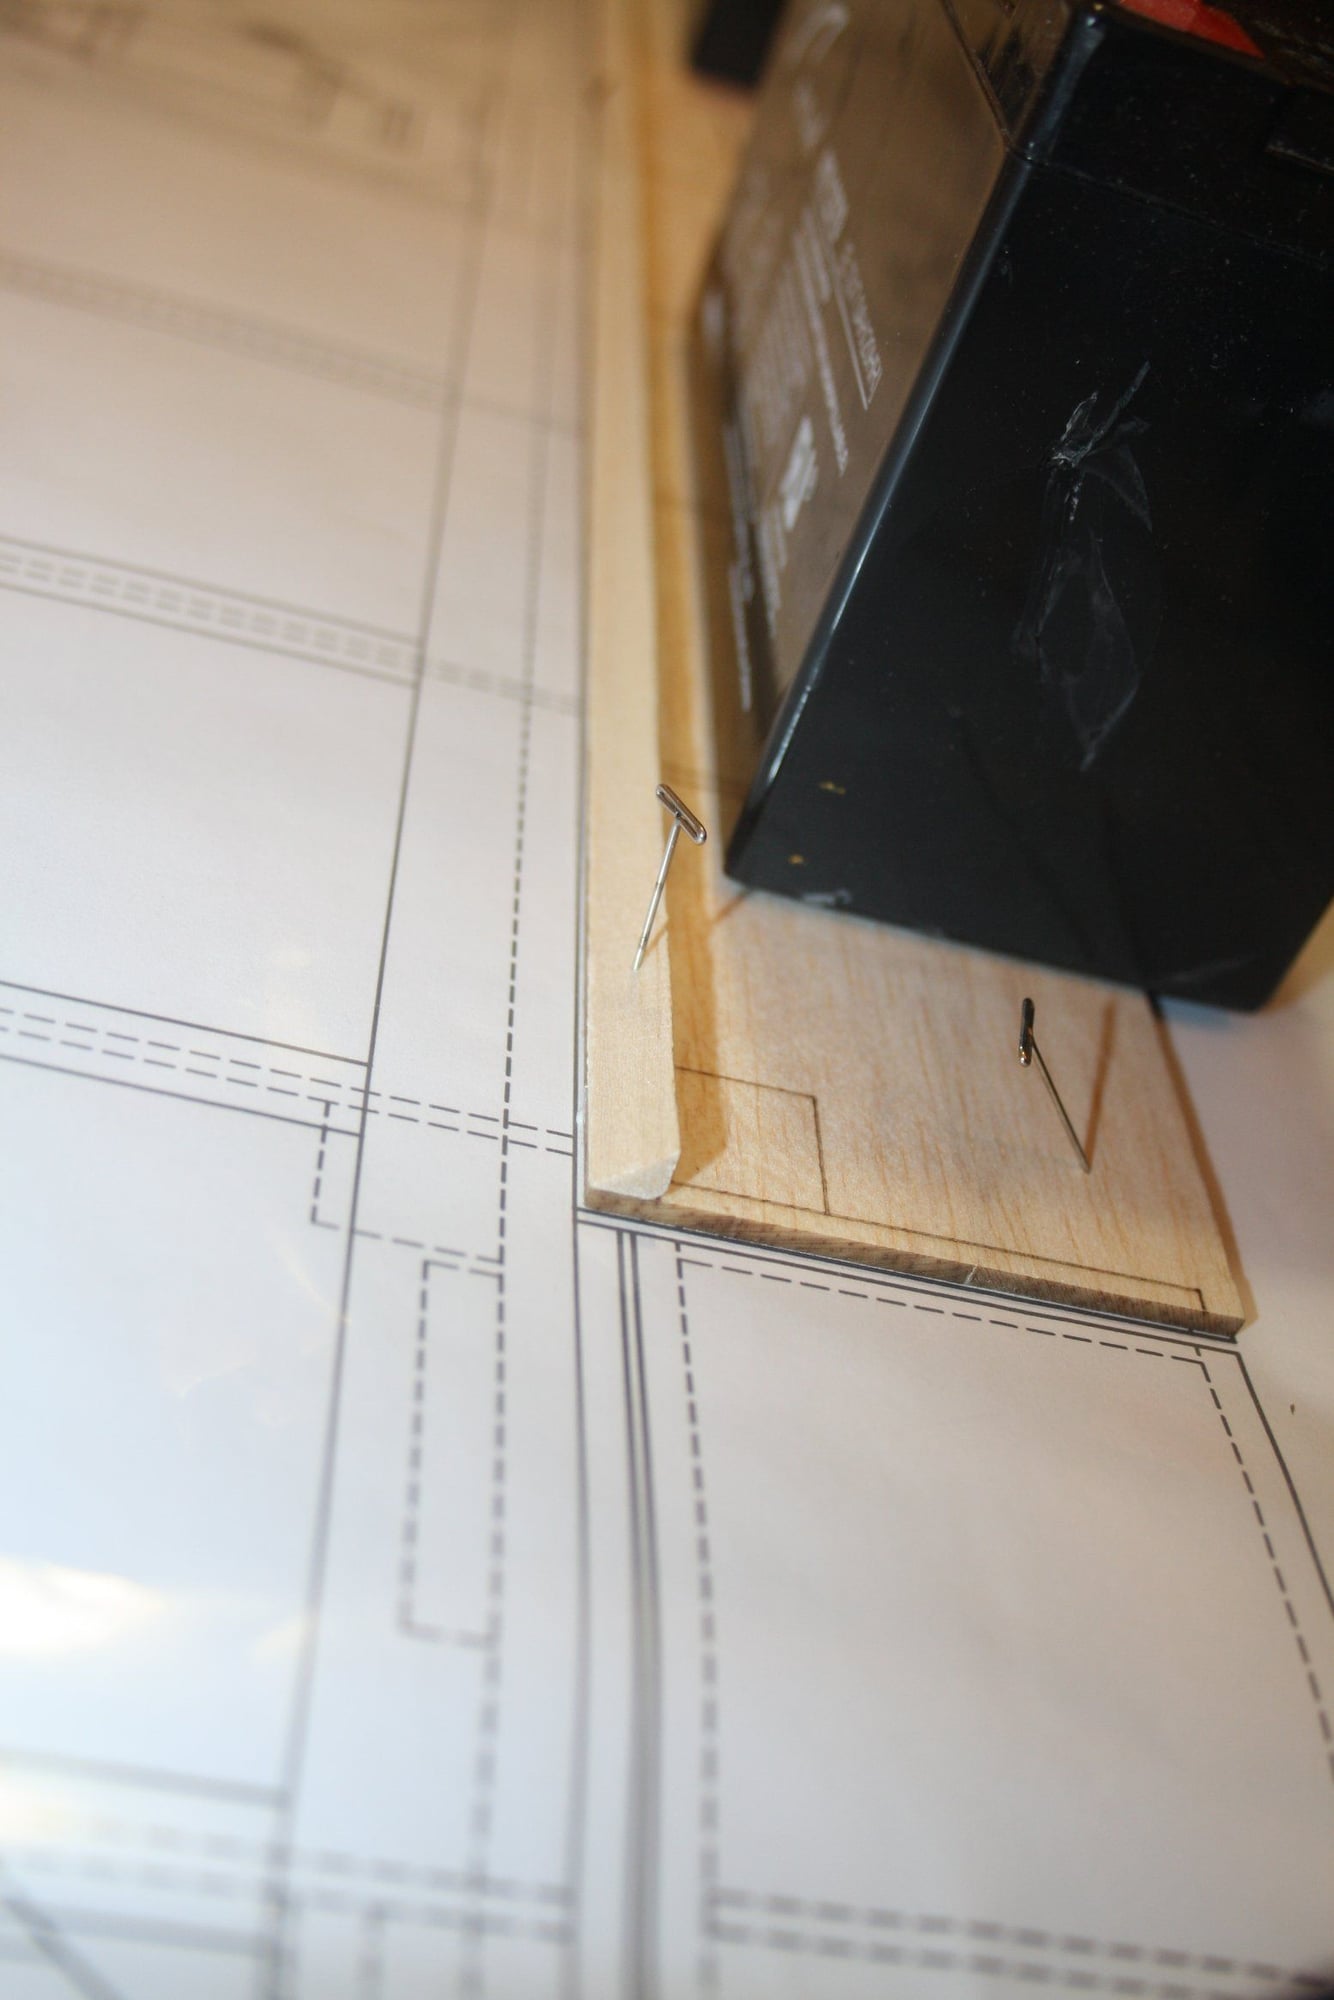
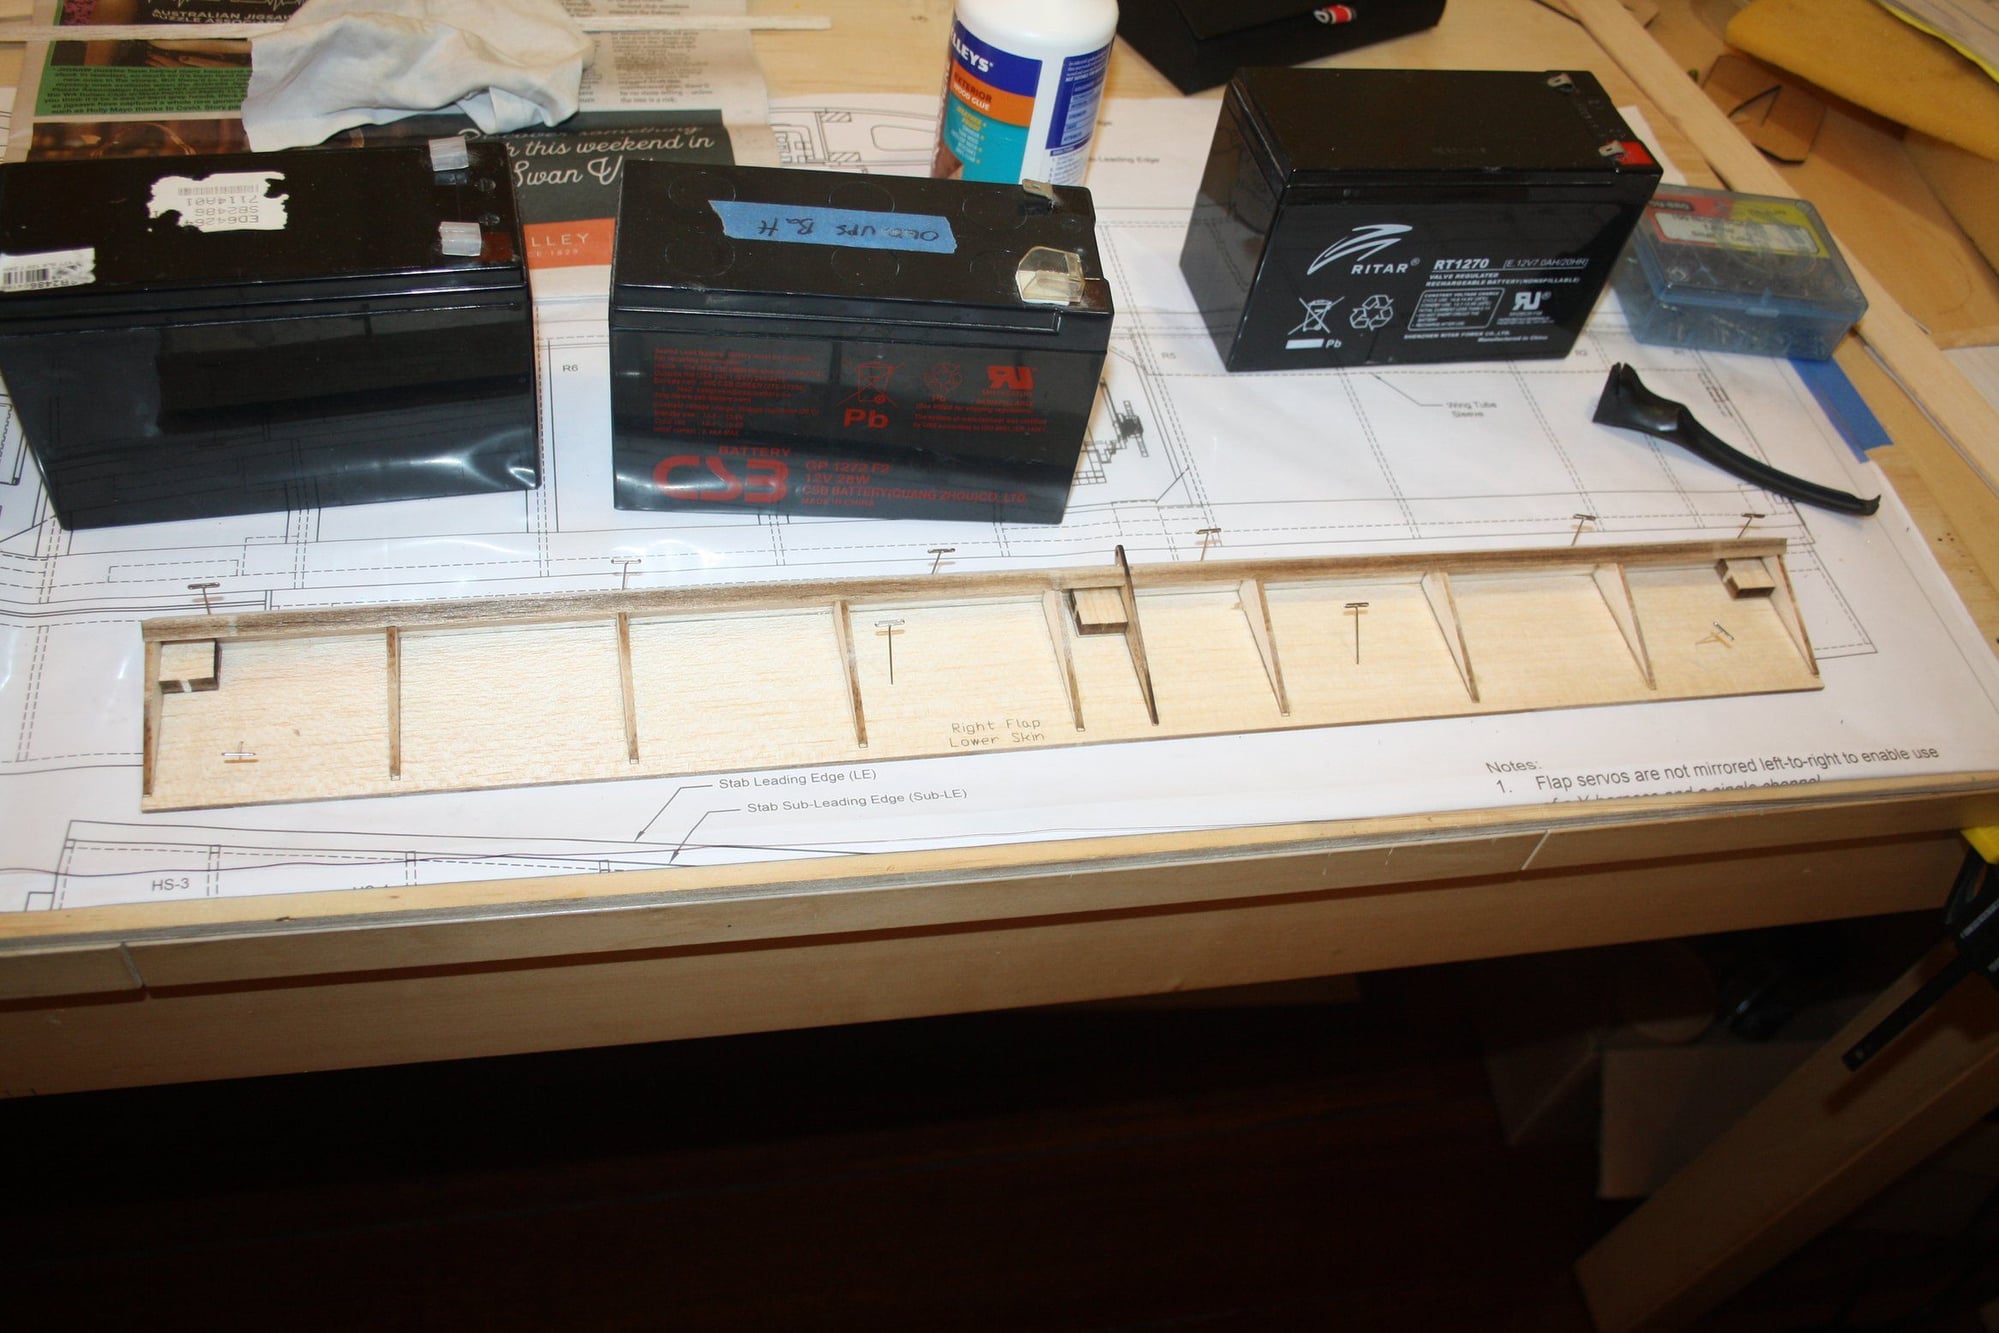
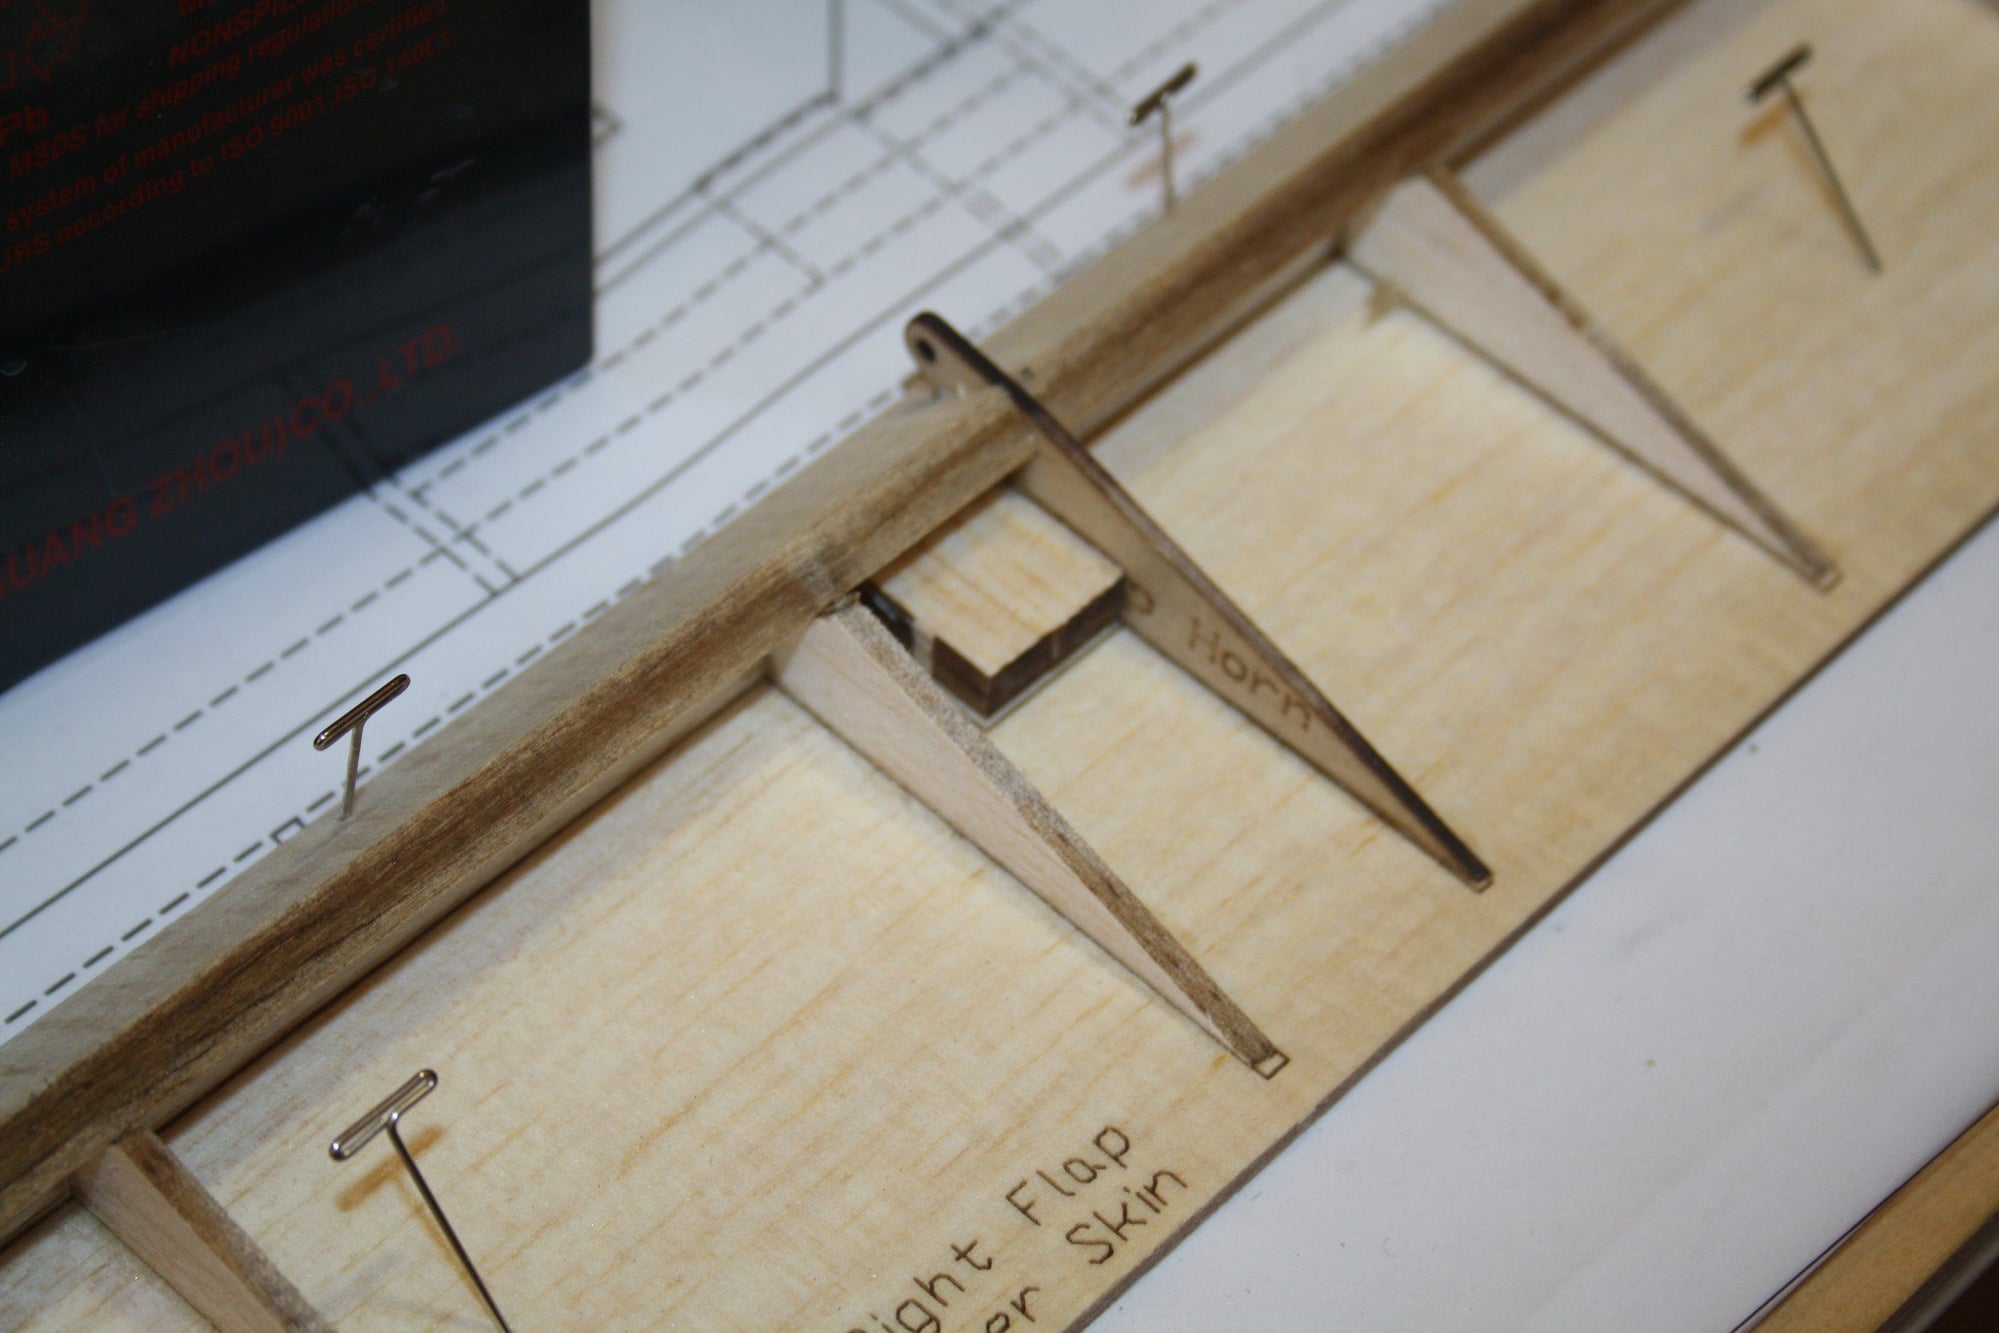
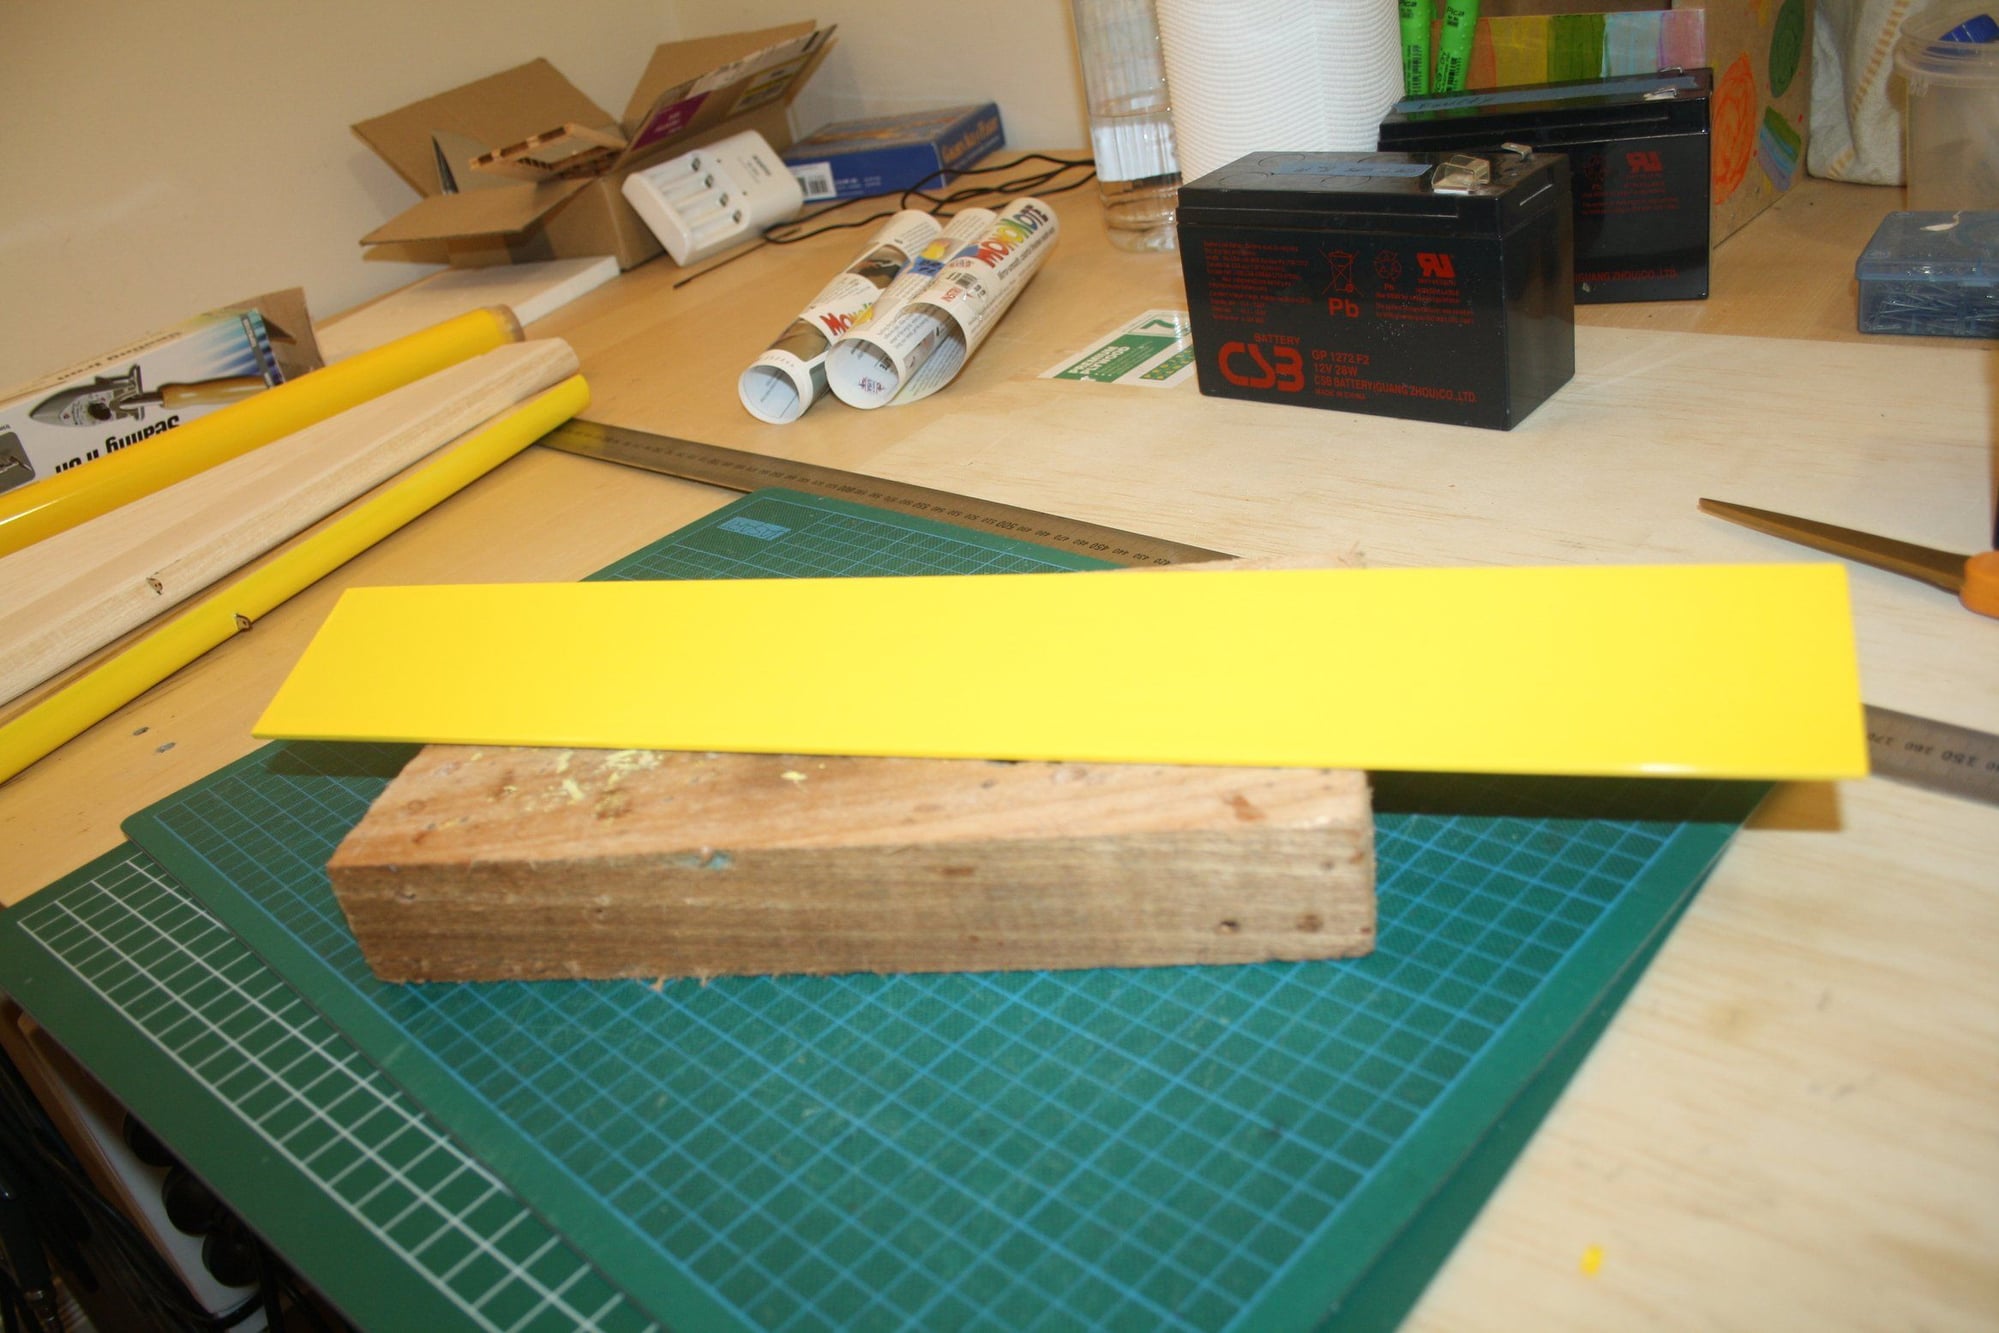
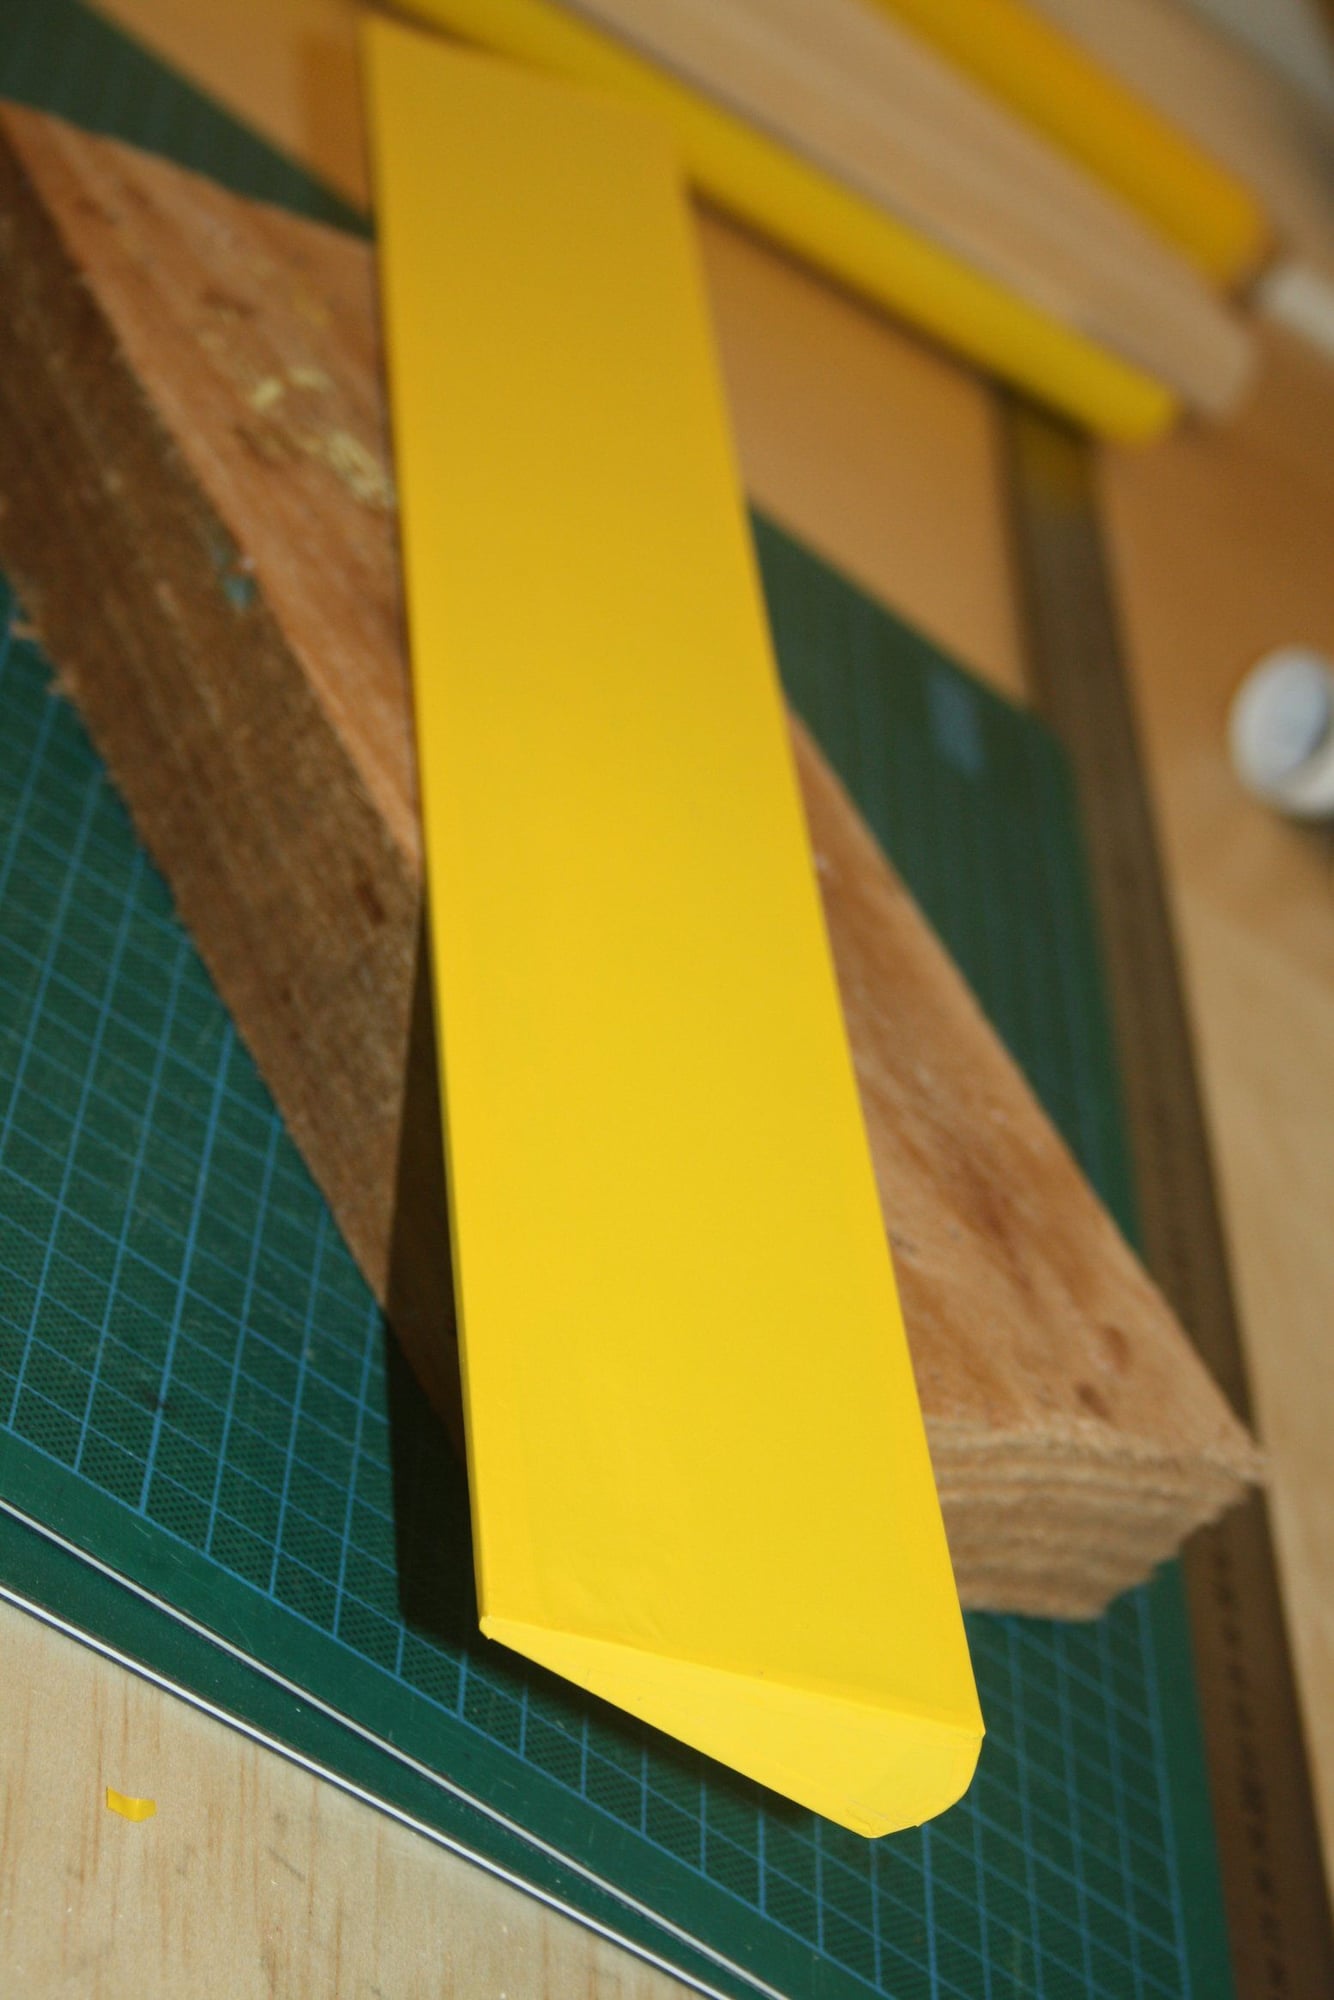
Next the 2 pieces making the LE are glued together. Rib R-1 is prepared with a doubler and a lock nut. The bottom spar is then glued to the sheeting followed by the Plywood sheer web and ribs and then the upper spar.


Cheers,
Eran
Old 08-17-2022, 12:31 AM
  #32  
erans
Thread Starter
 
Join Date: Jun 2008
Location: Perth WA, AUSTRALIA
Posts: 1,204
Likes: 0
Received 9 Likes on 9 Posts
Default

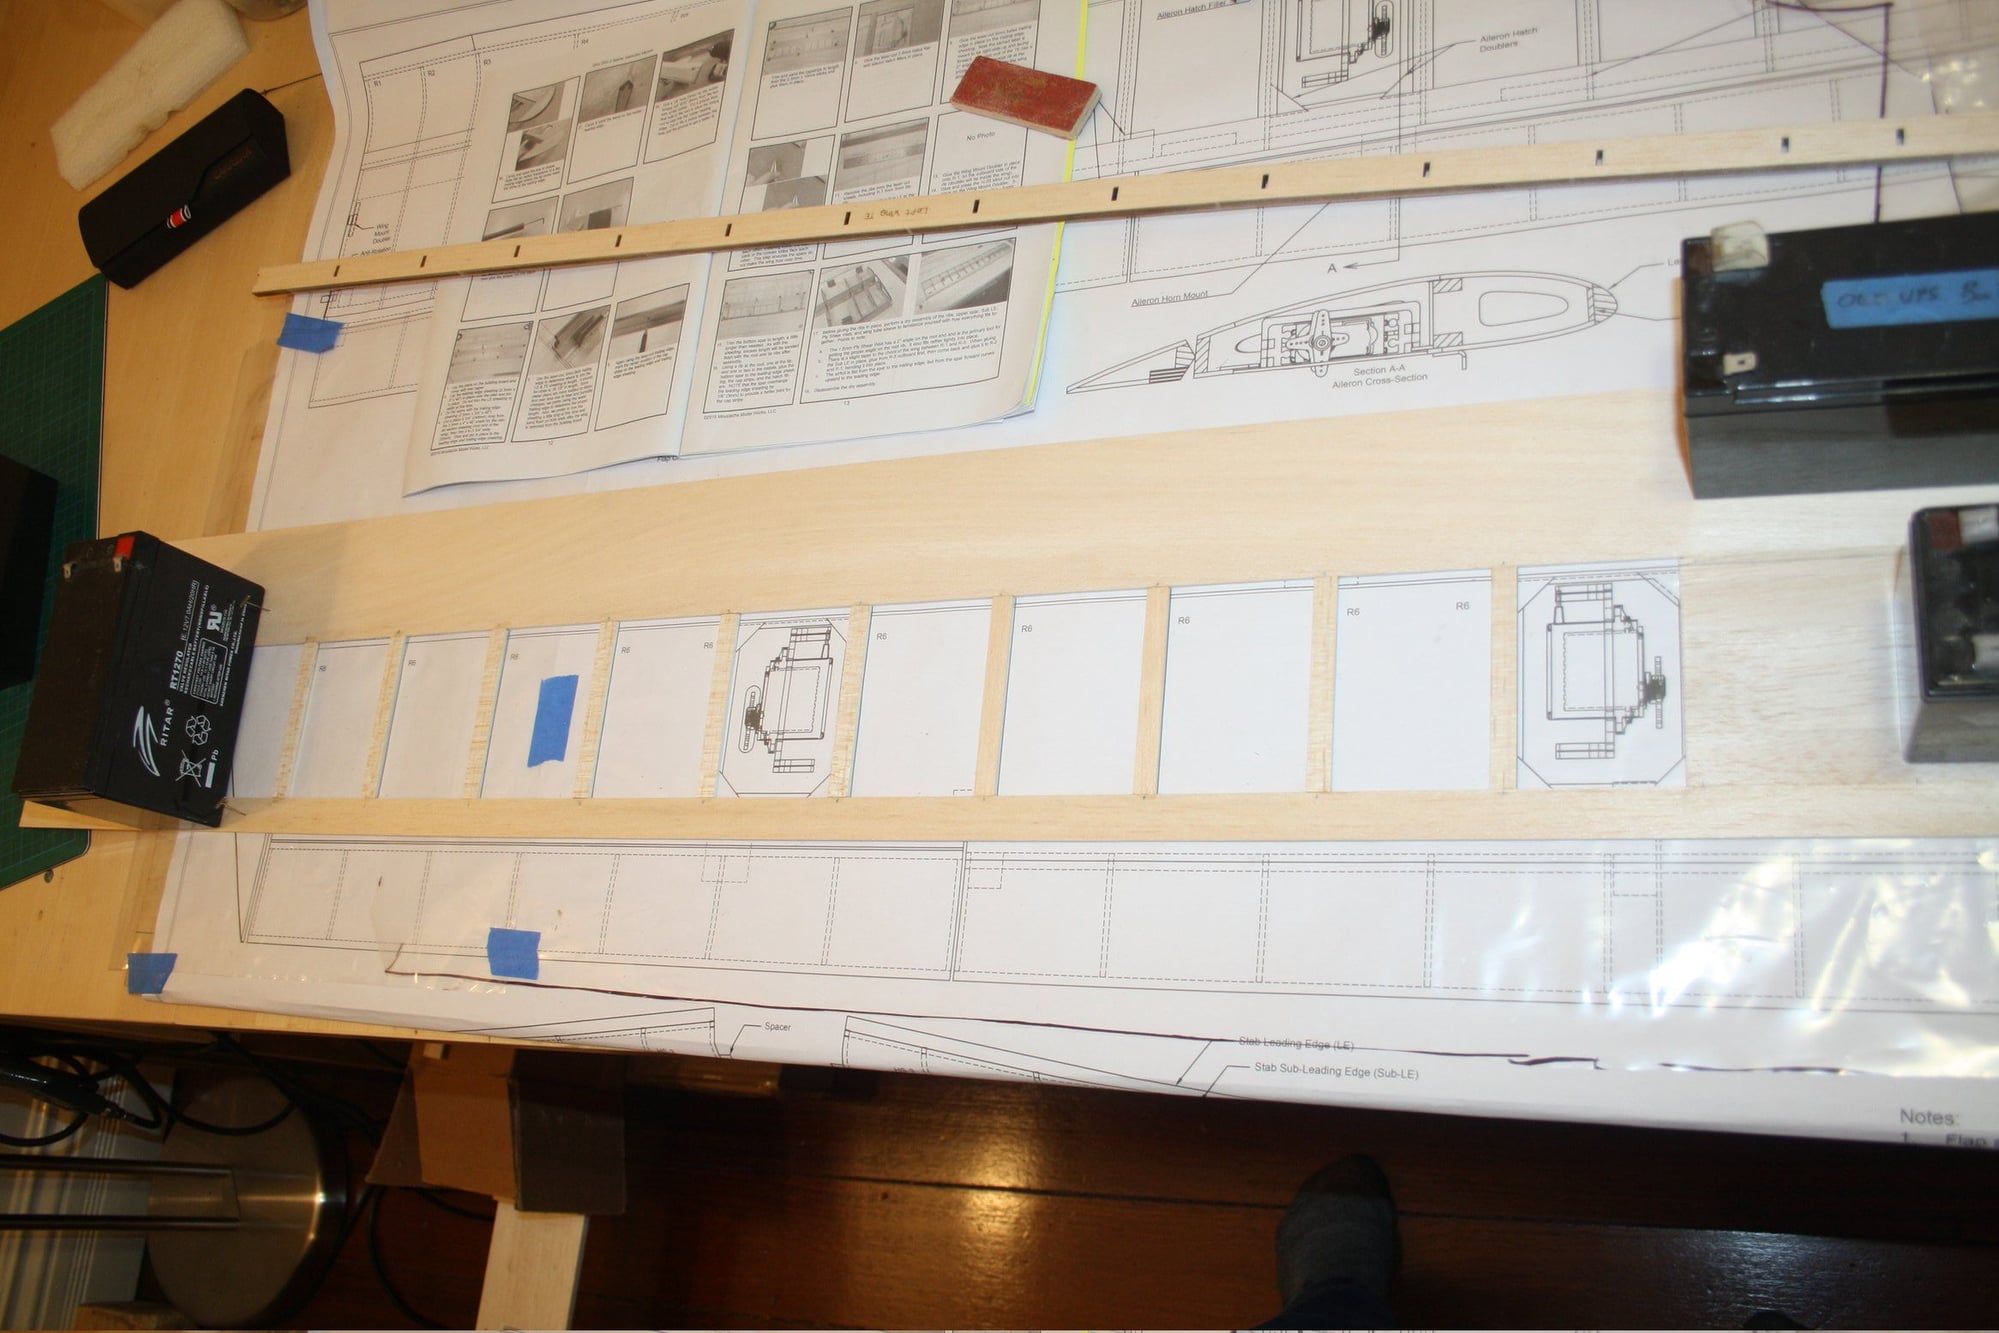
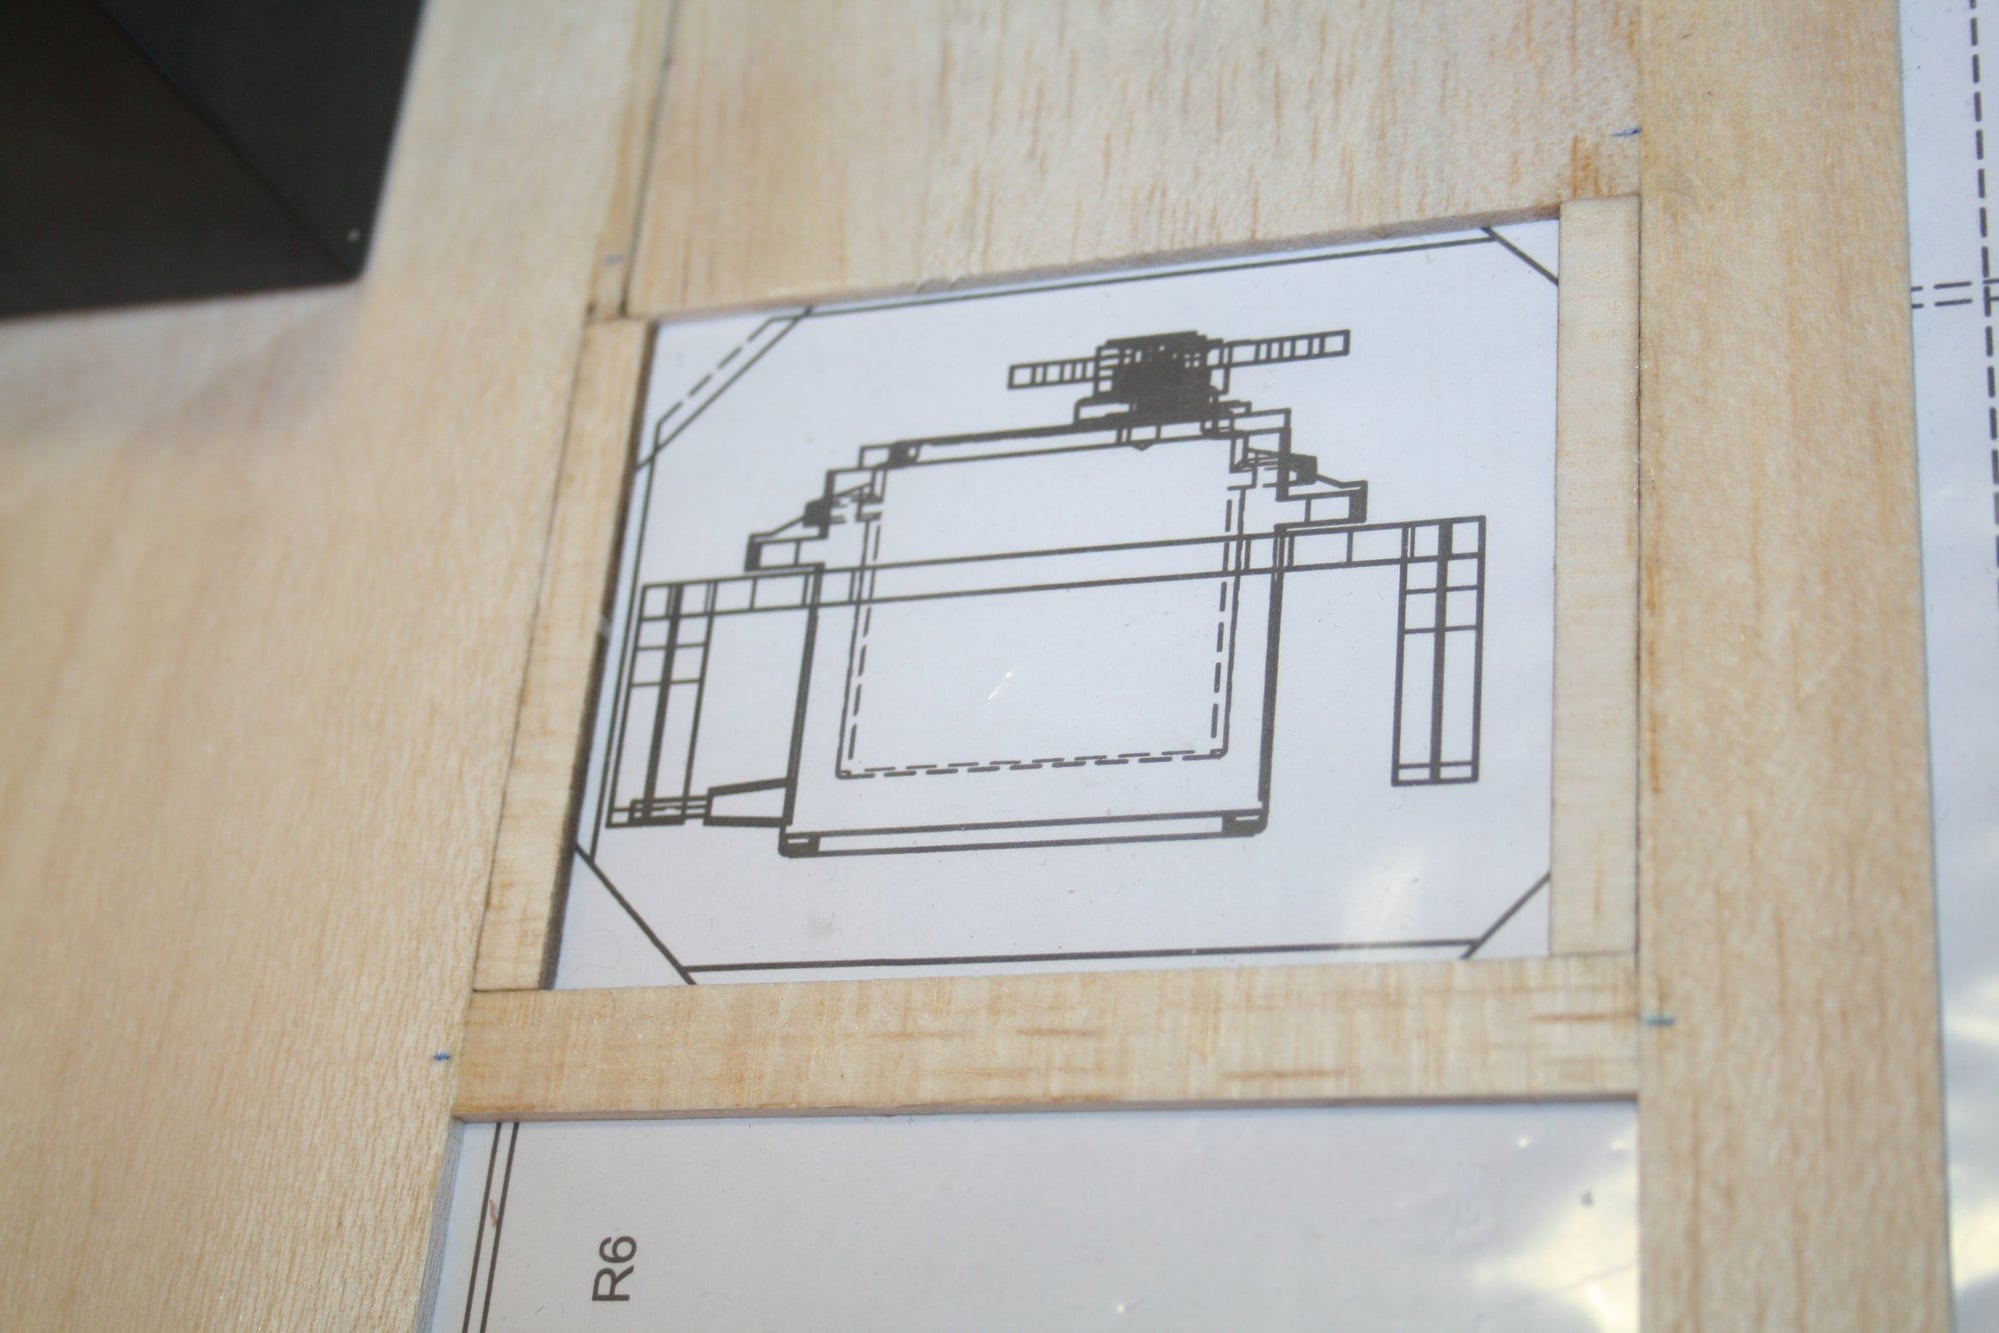
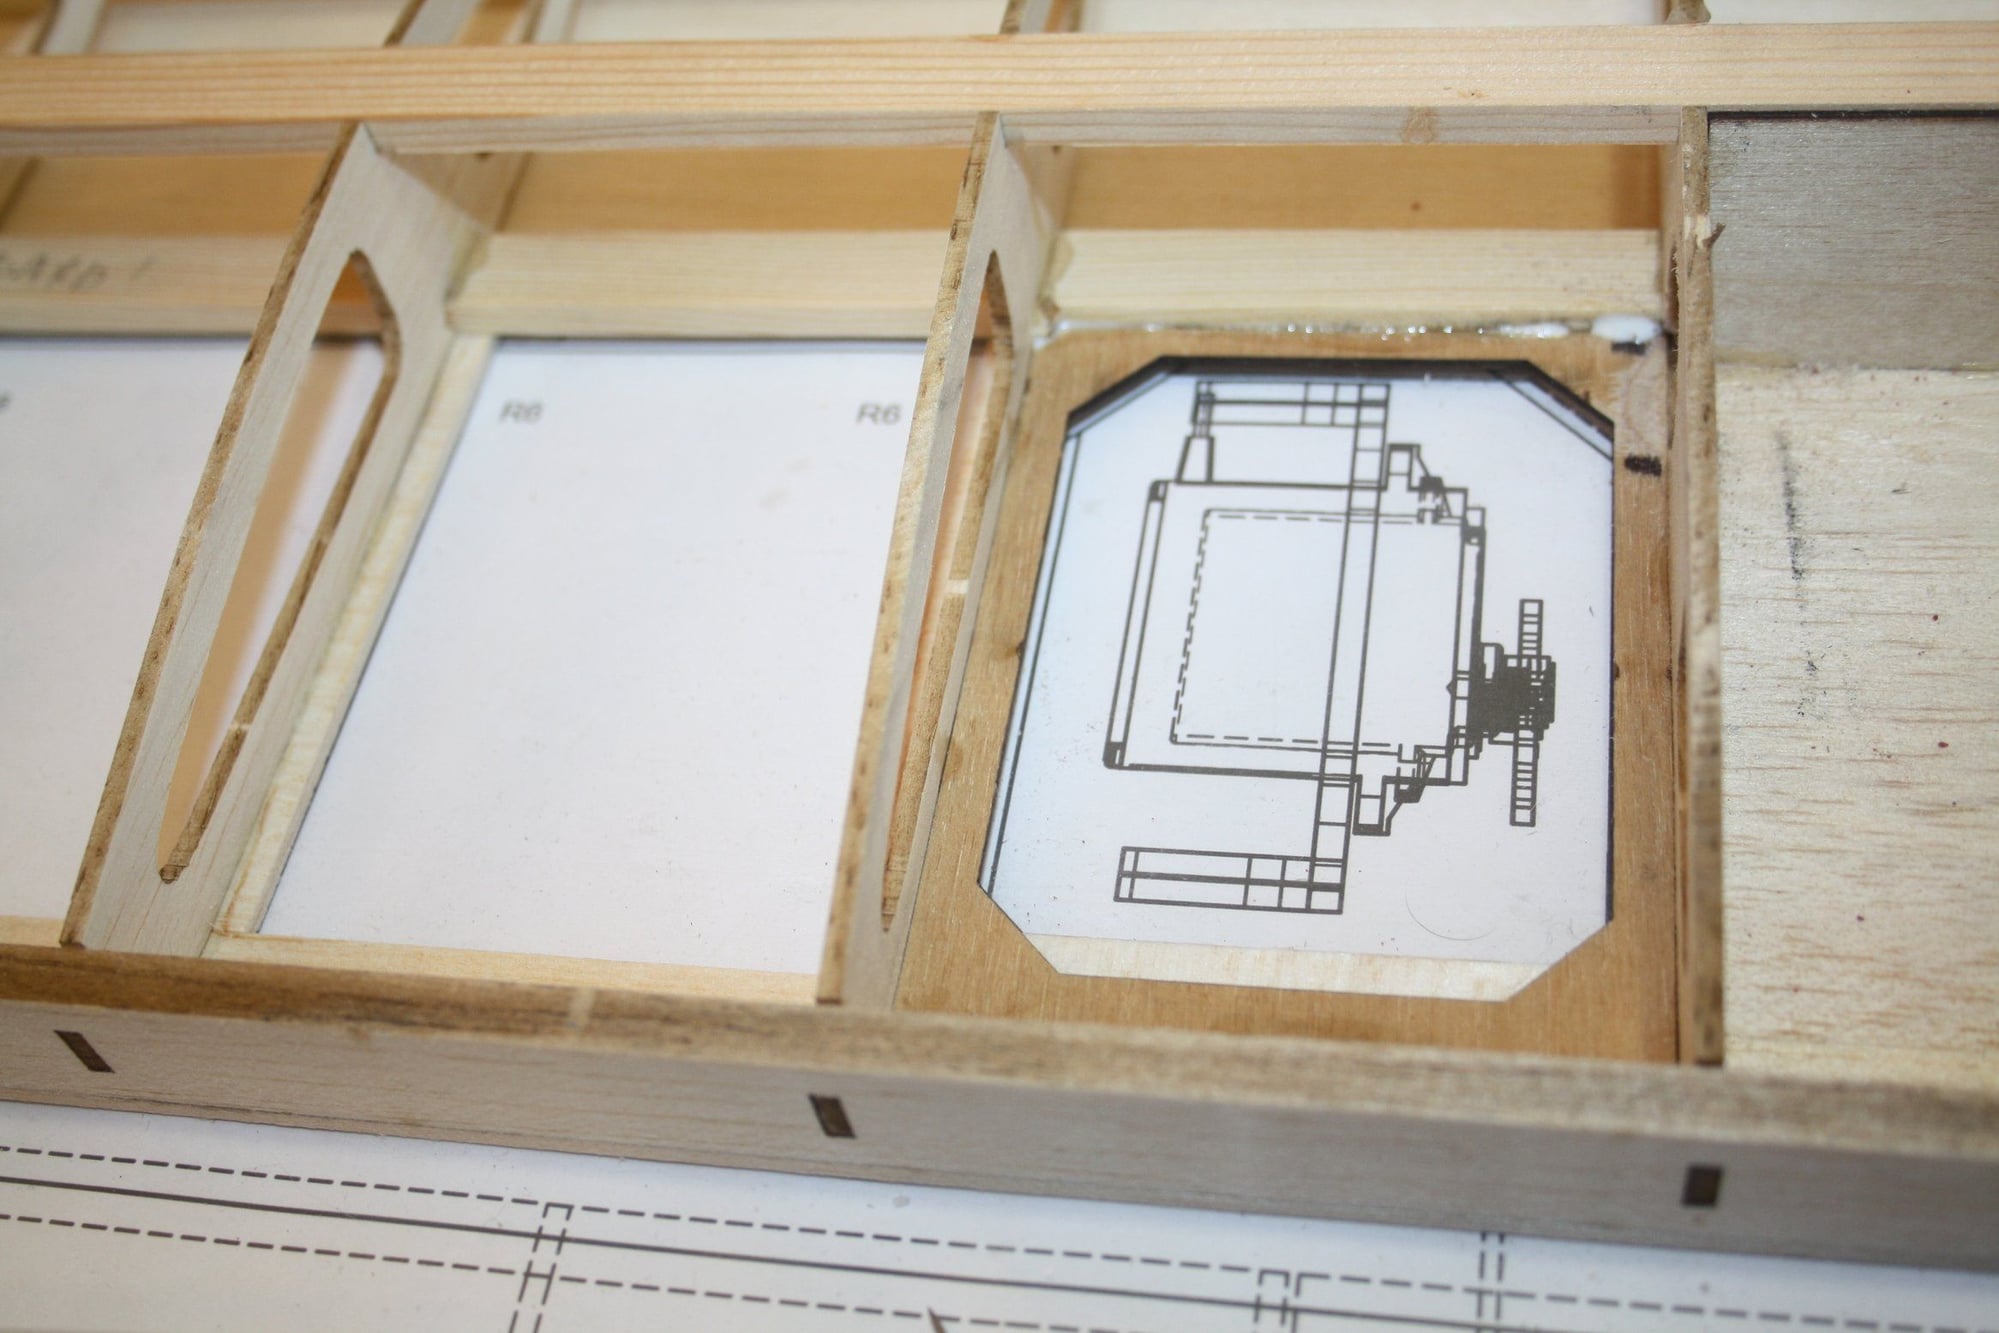
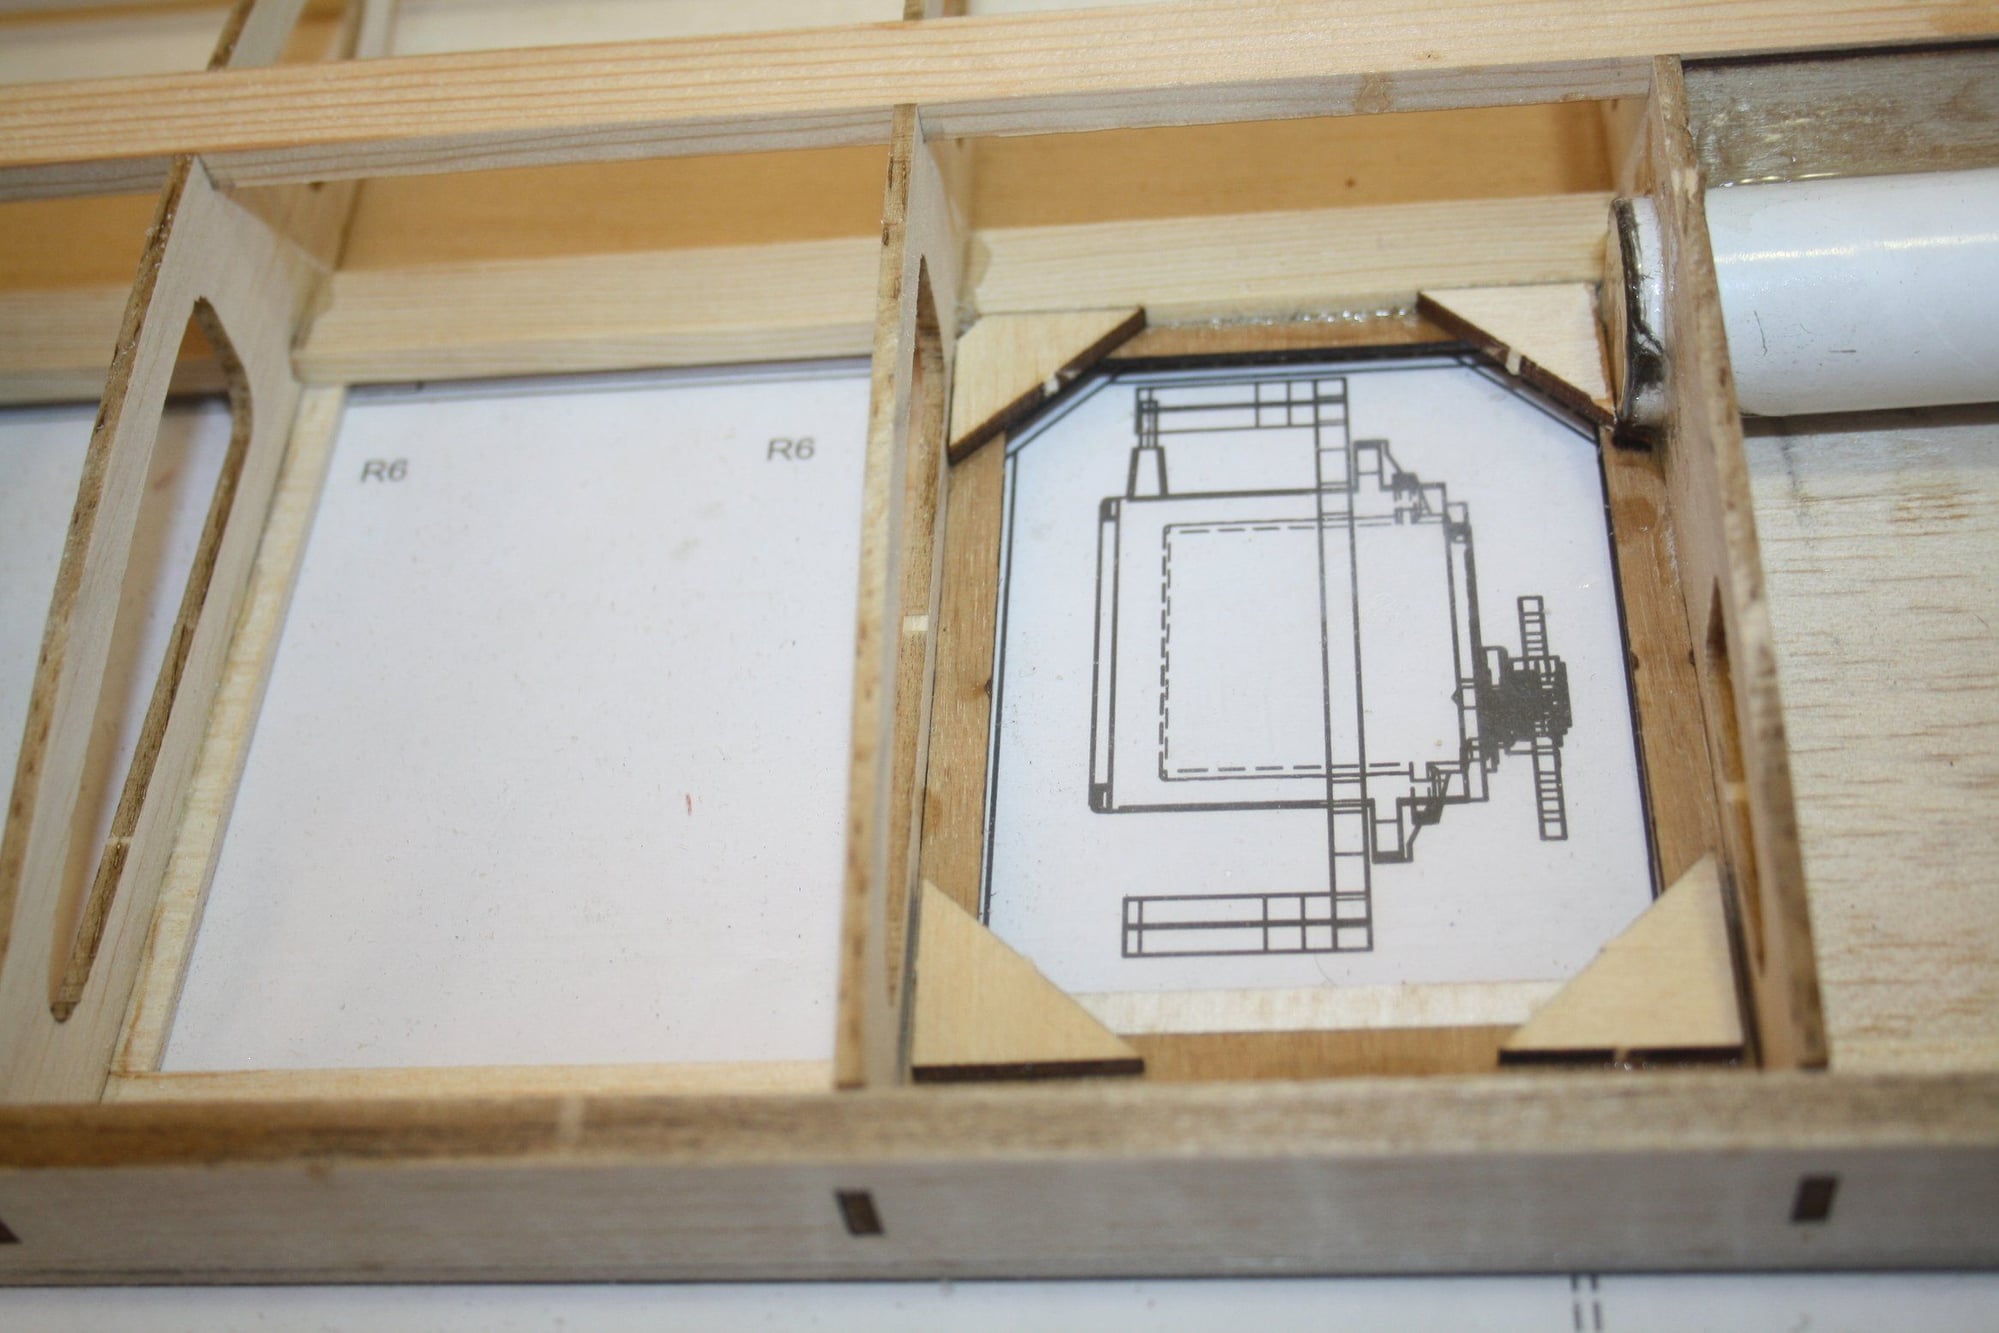
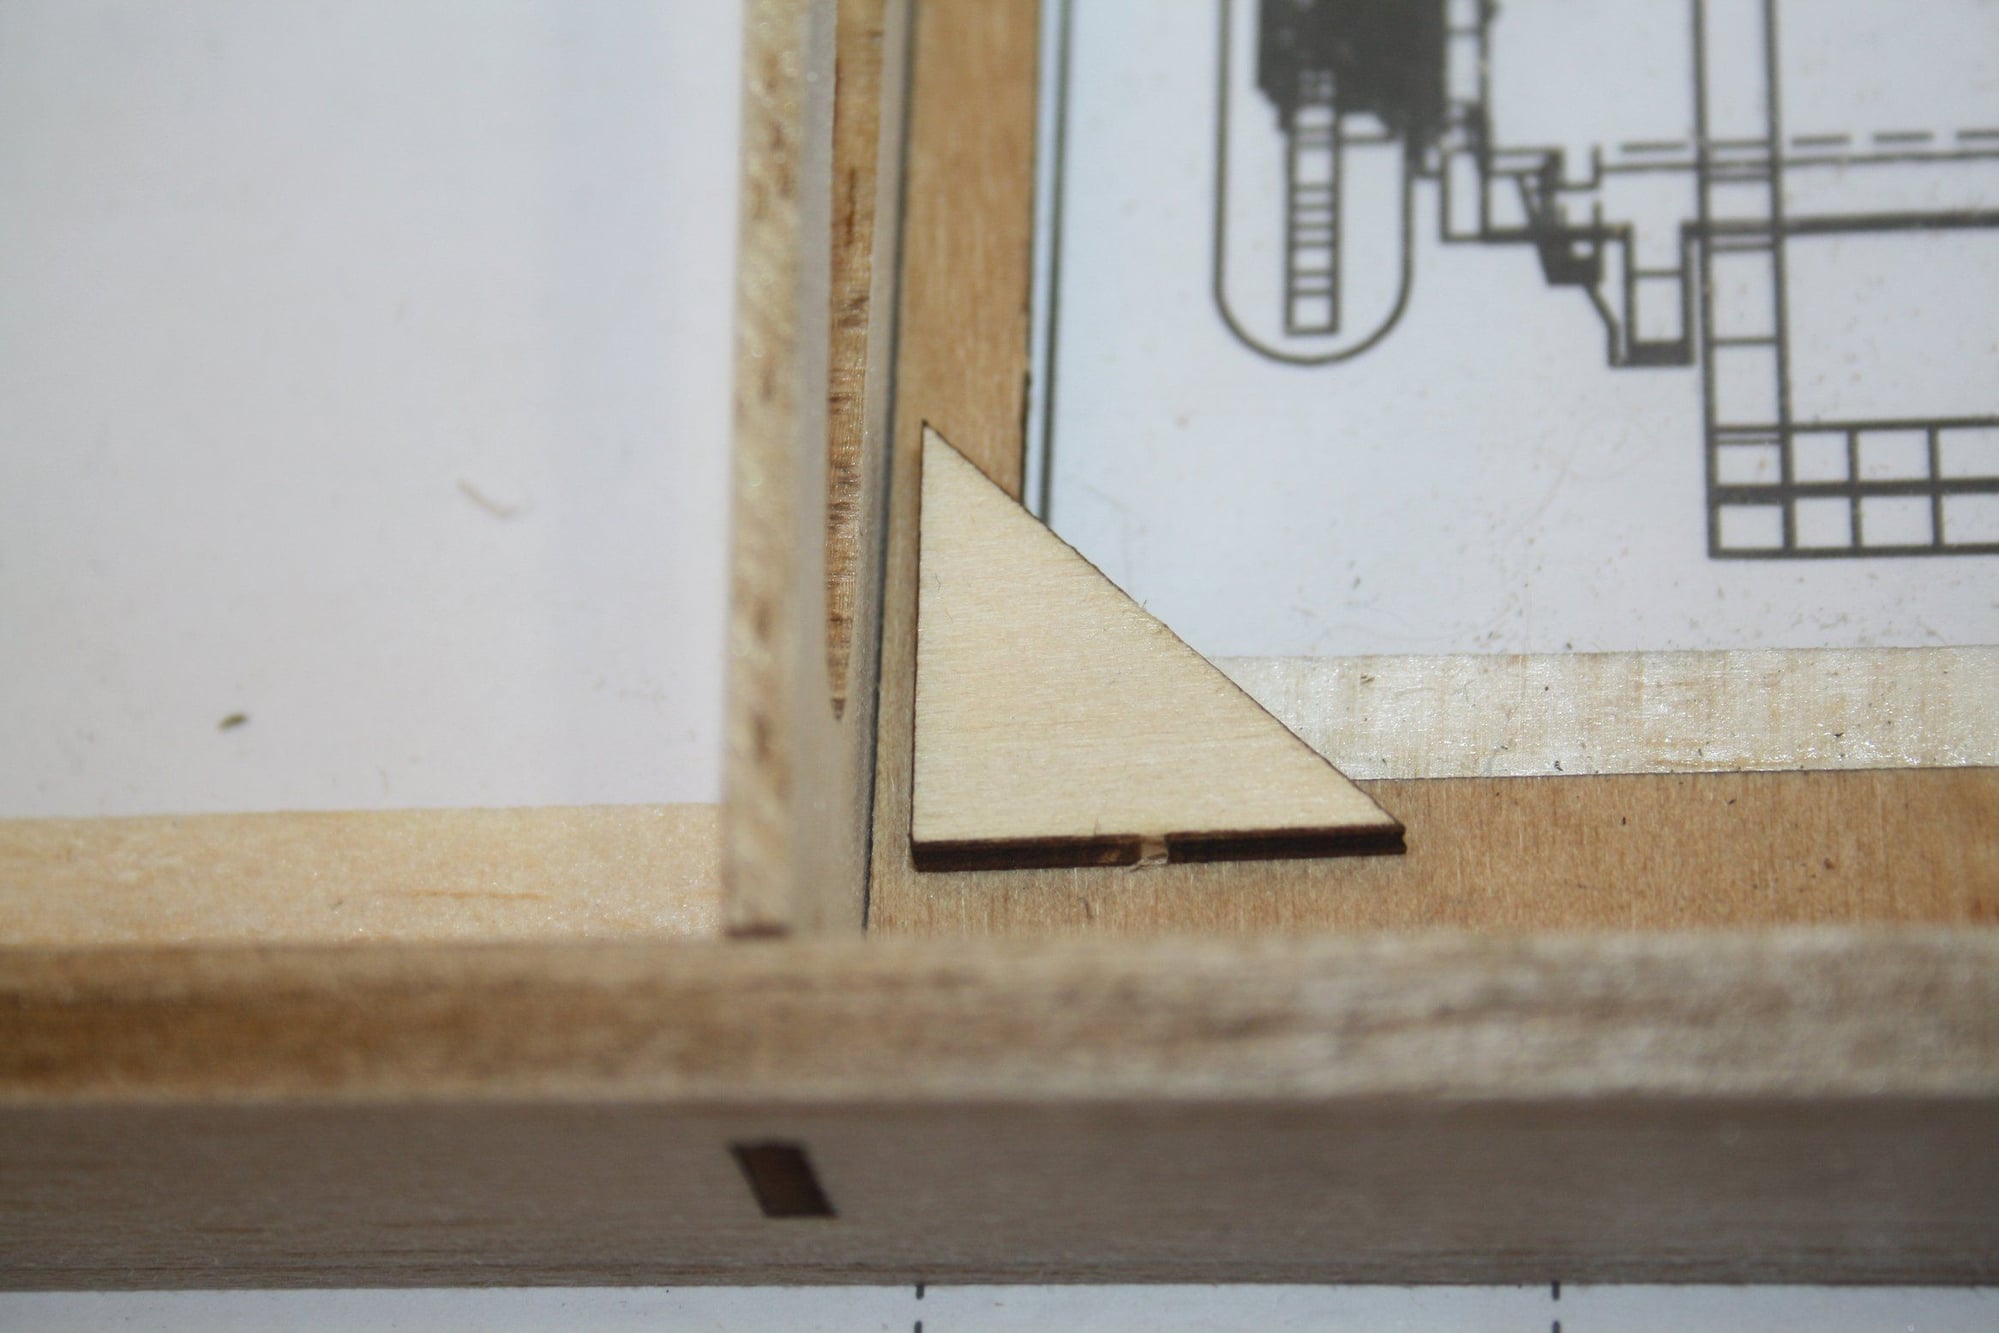
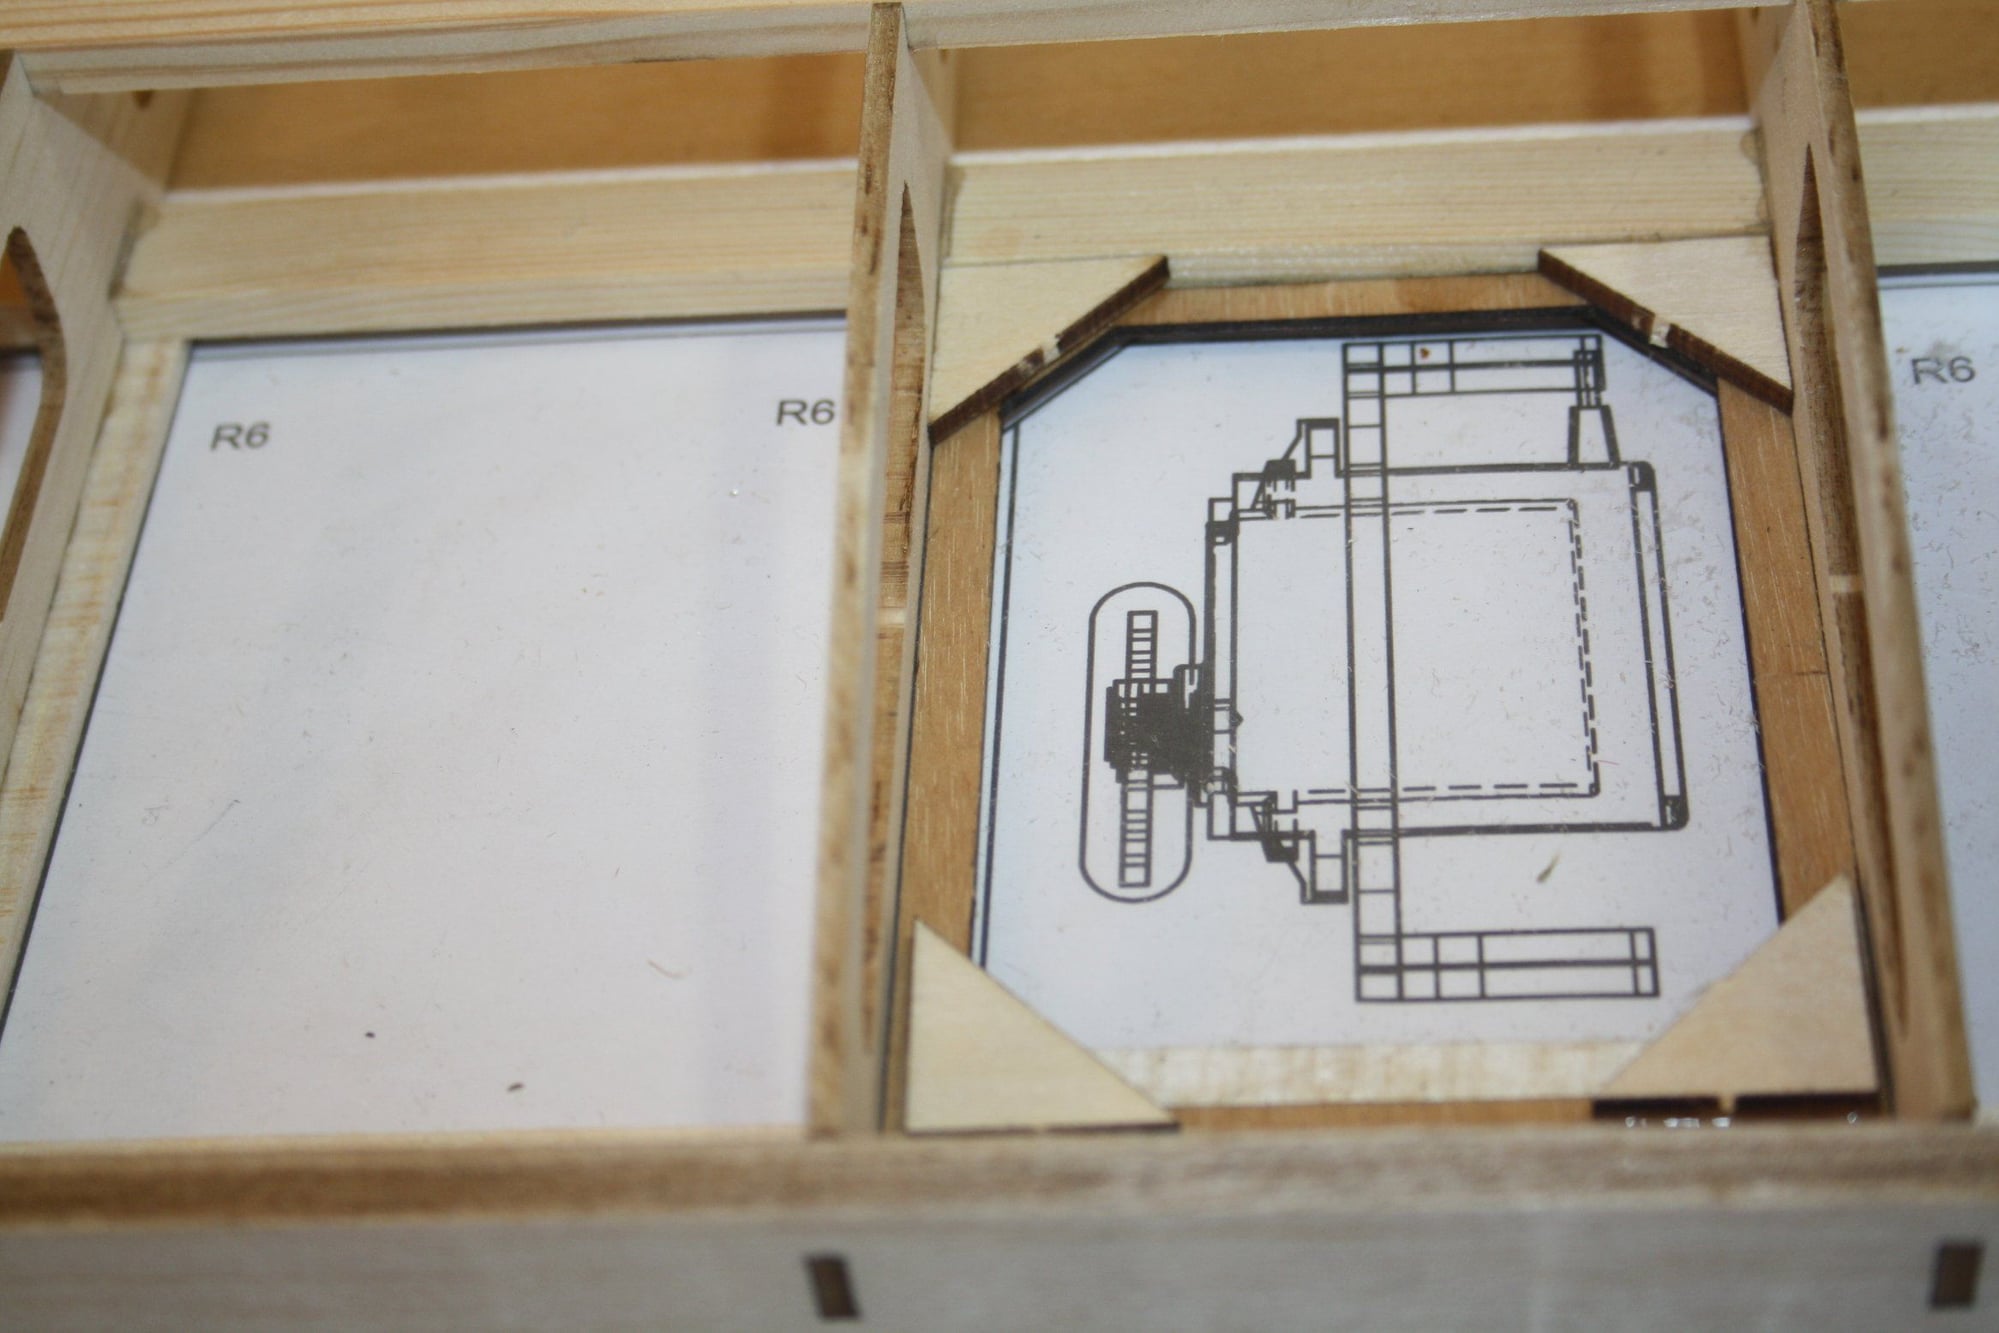
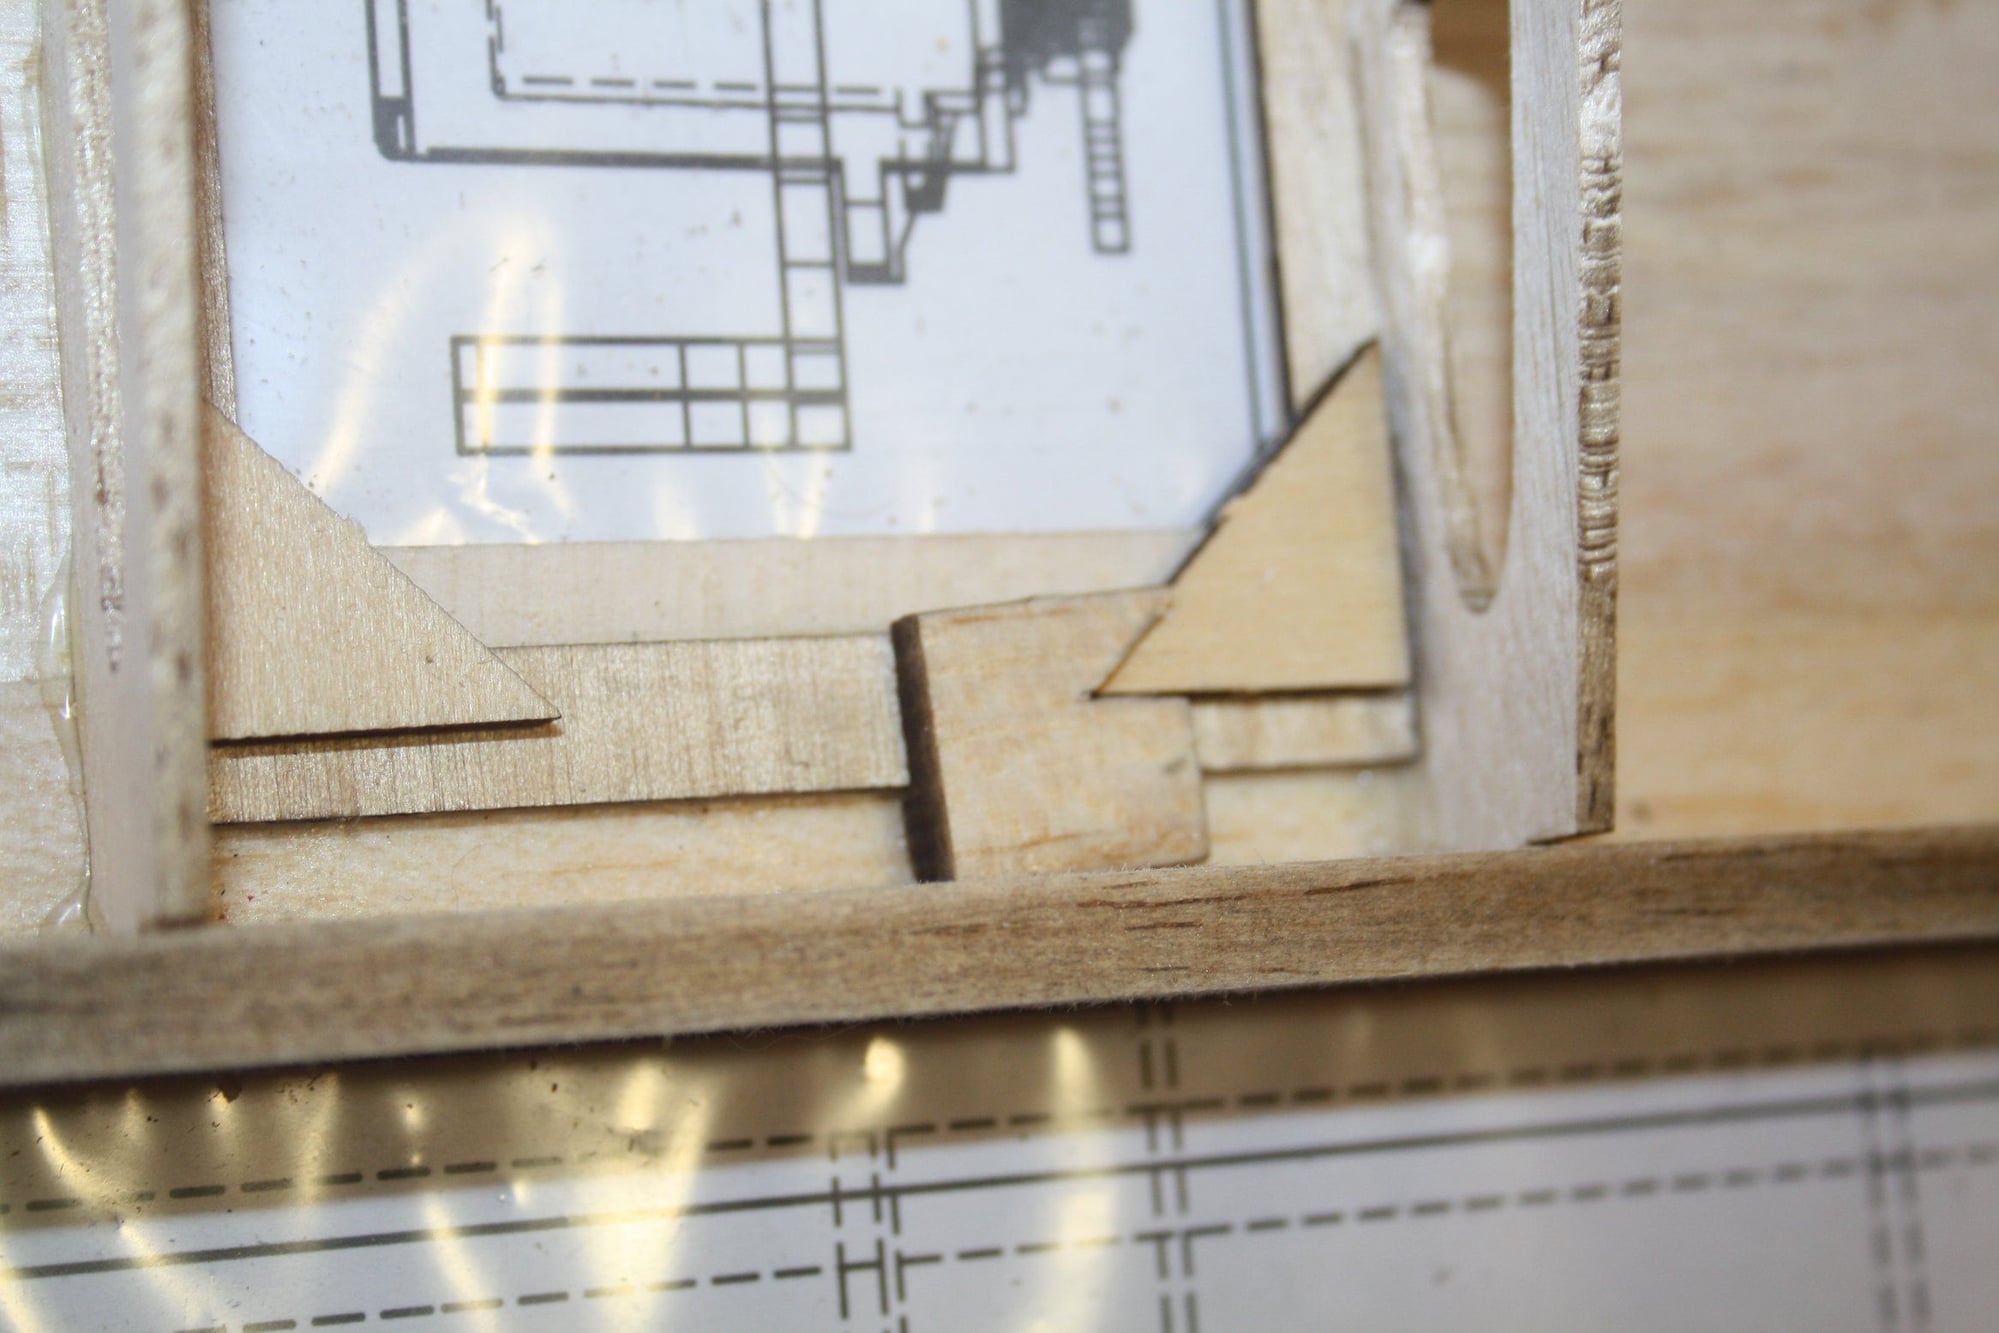
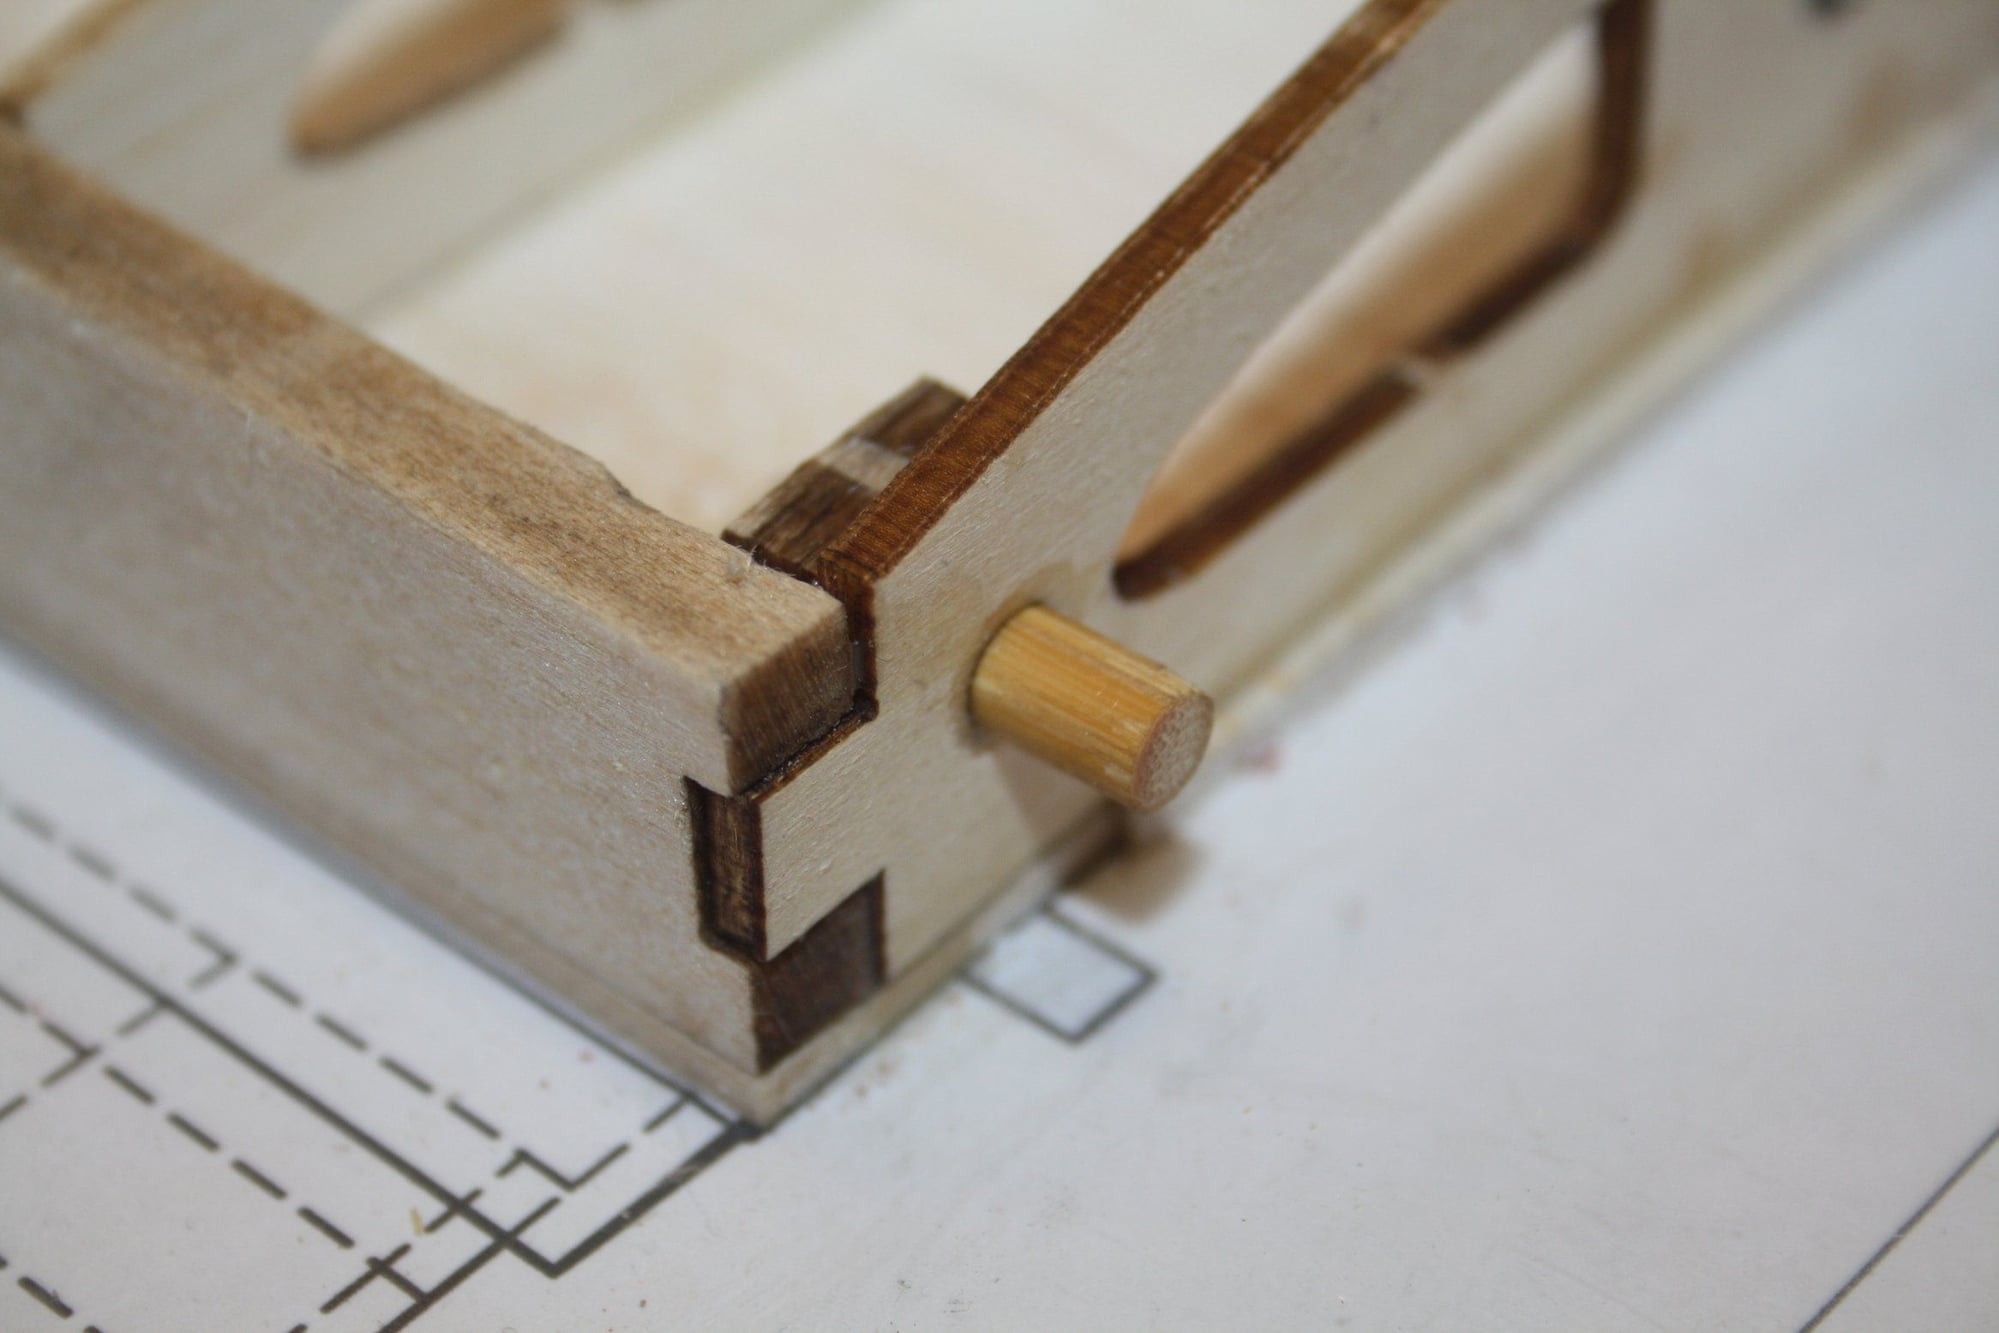
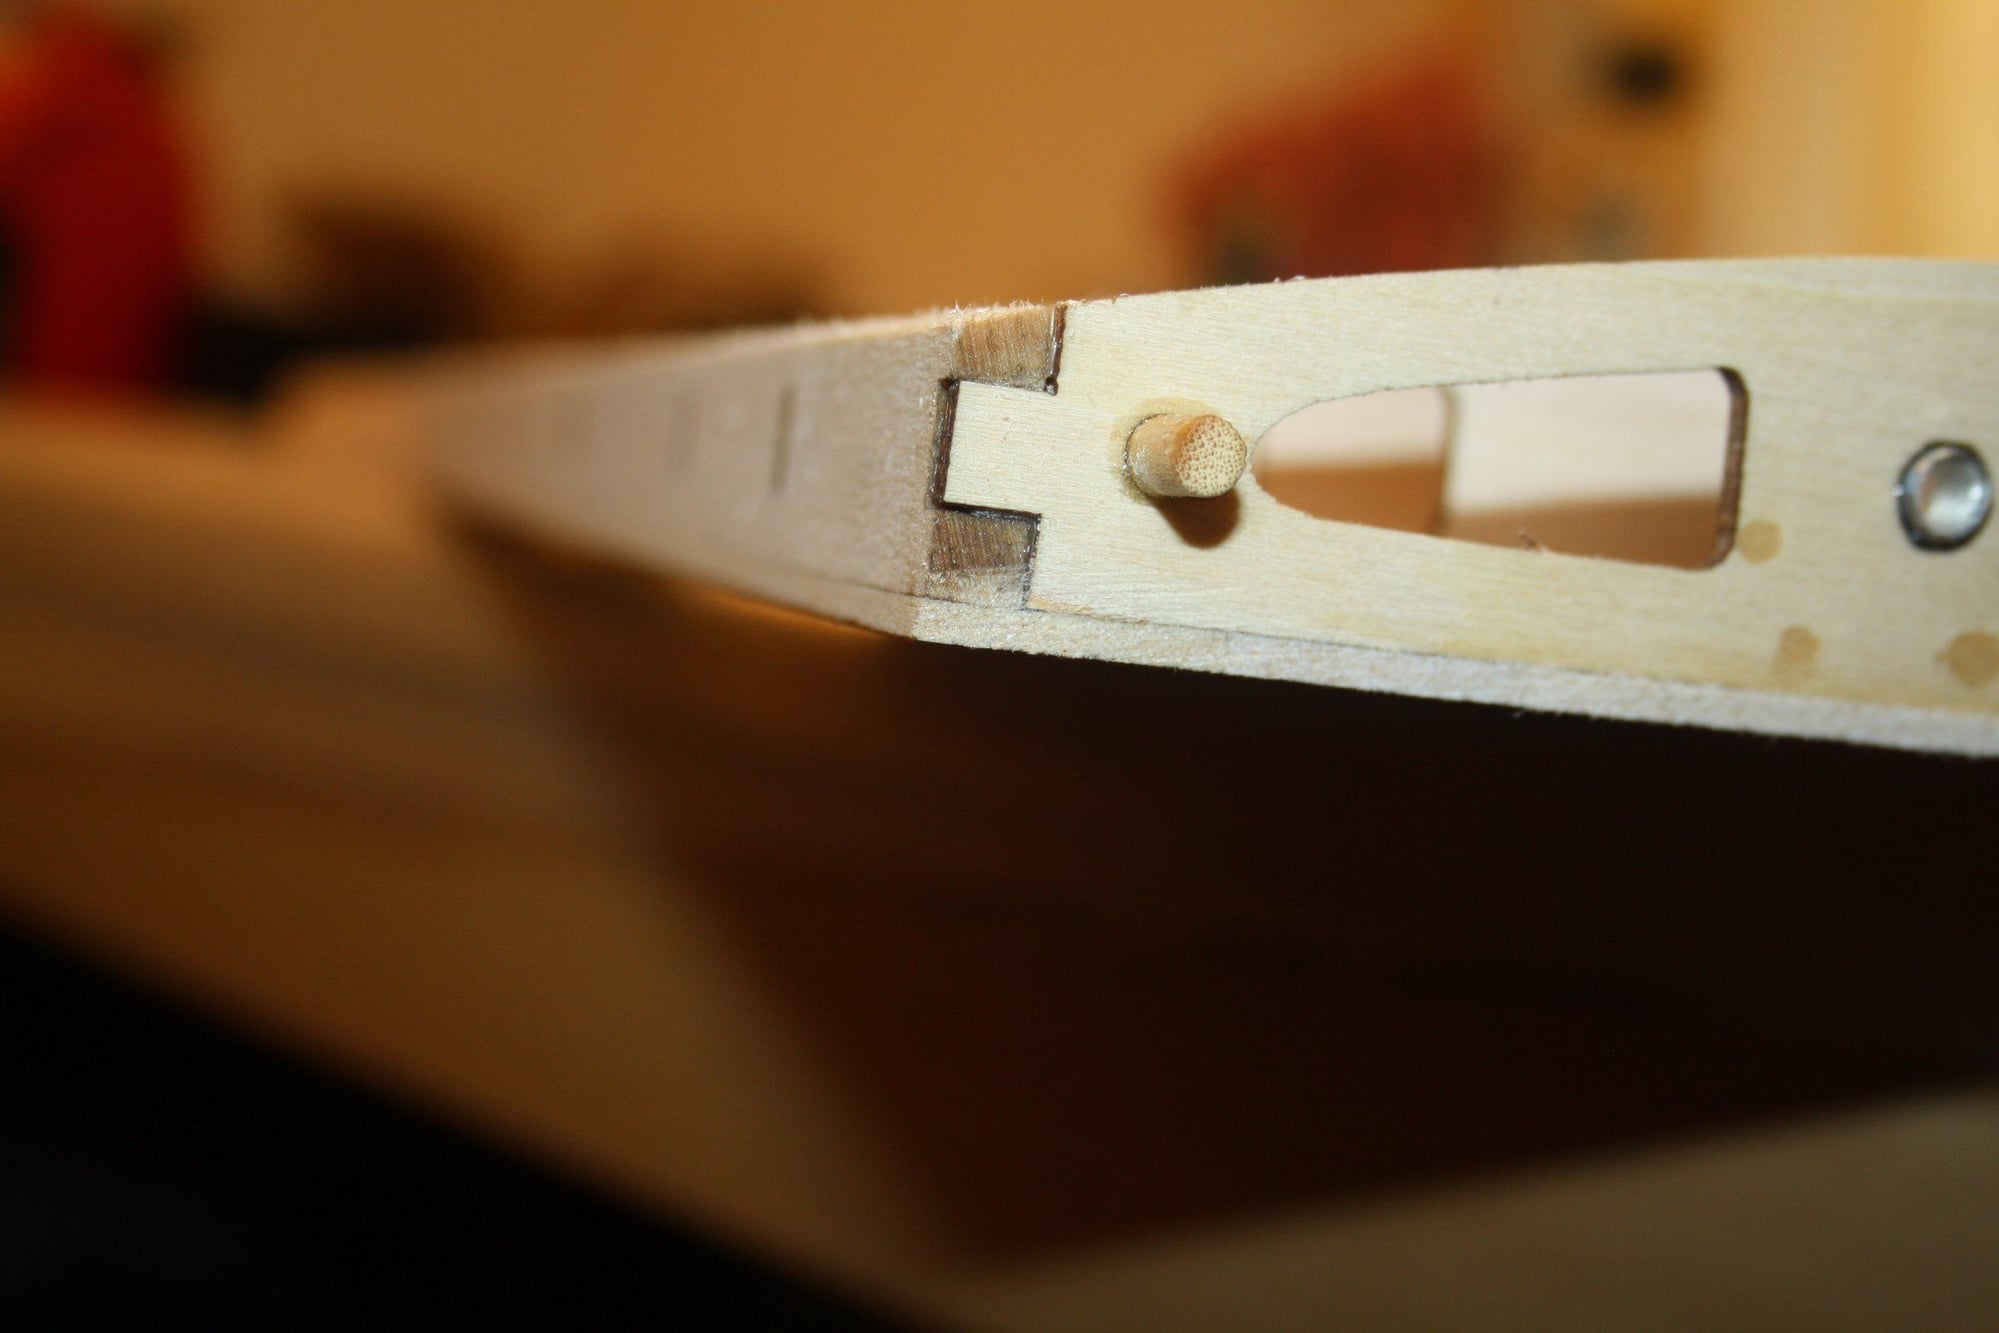
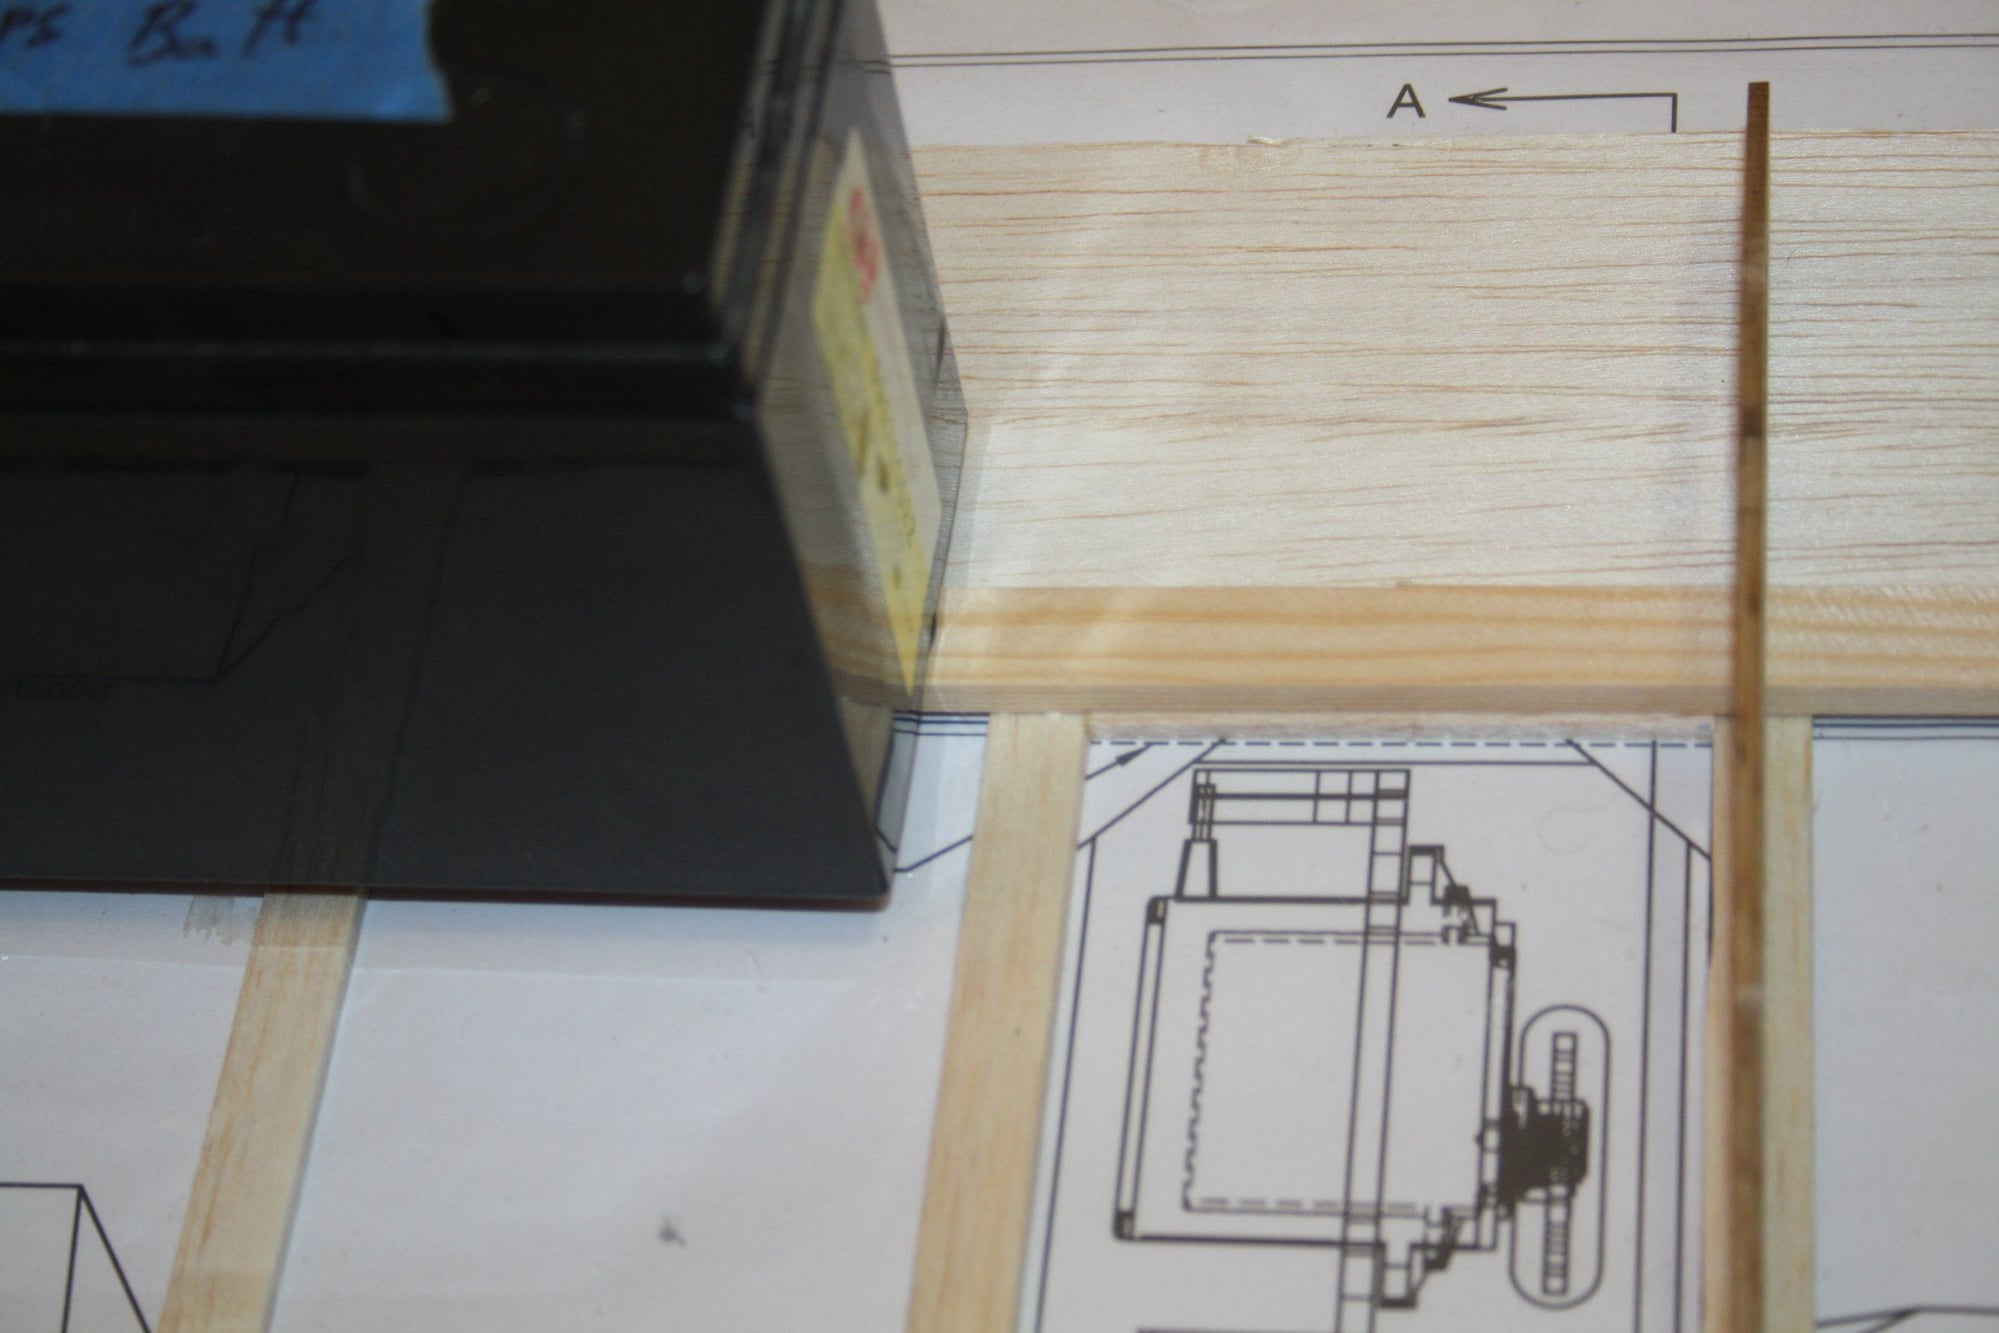
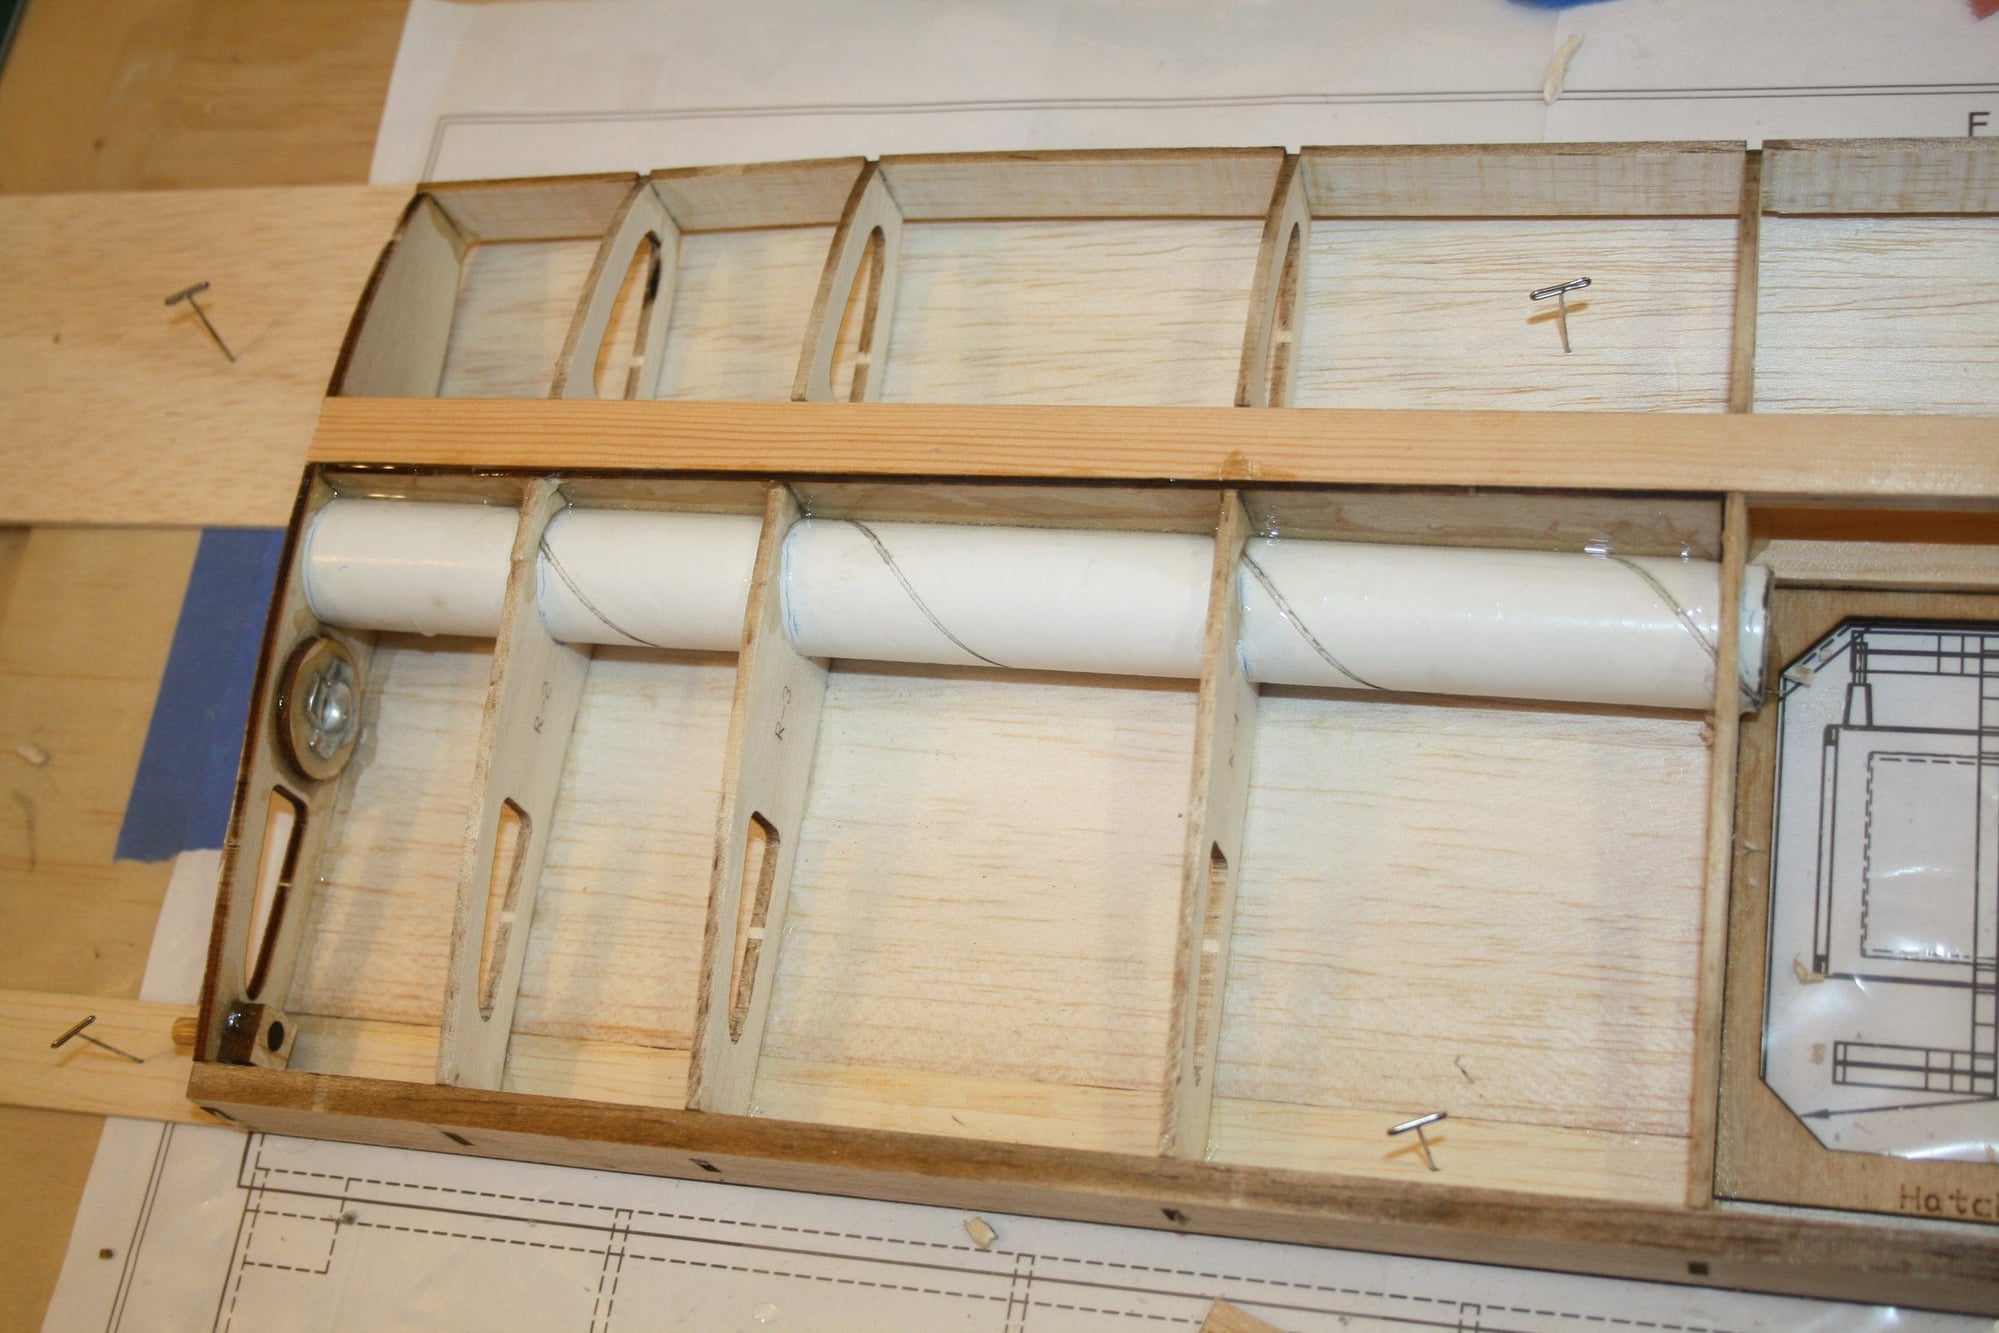
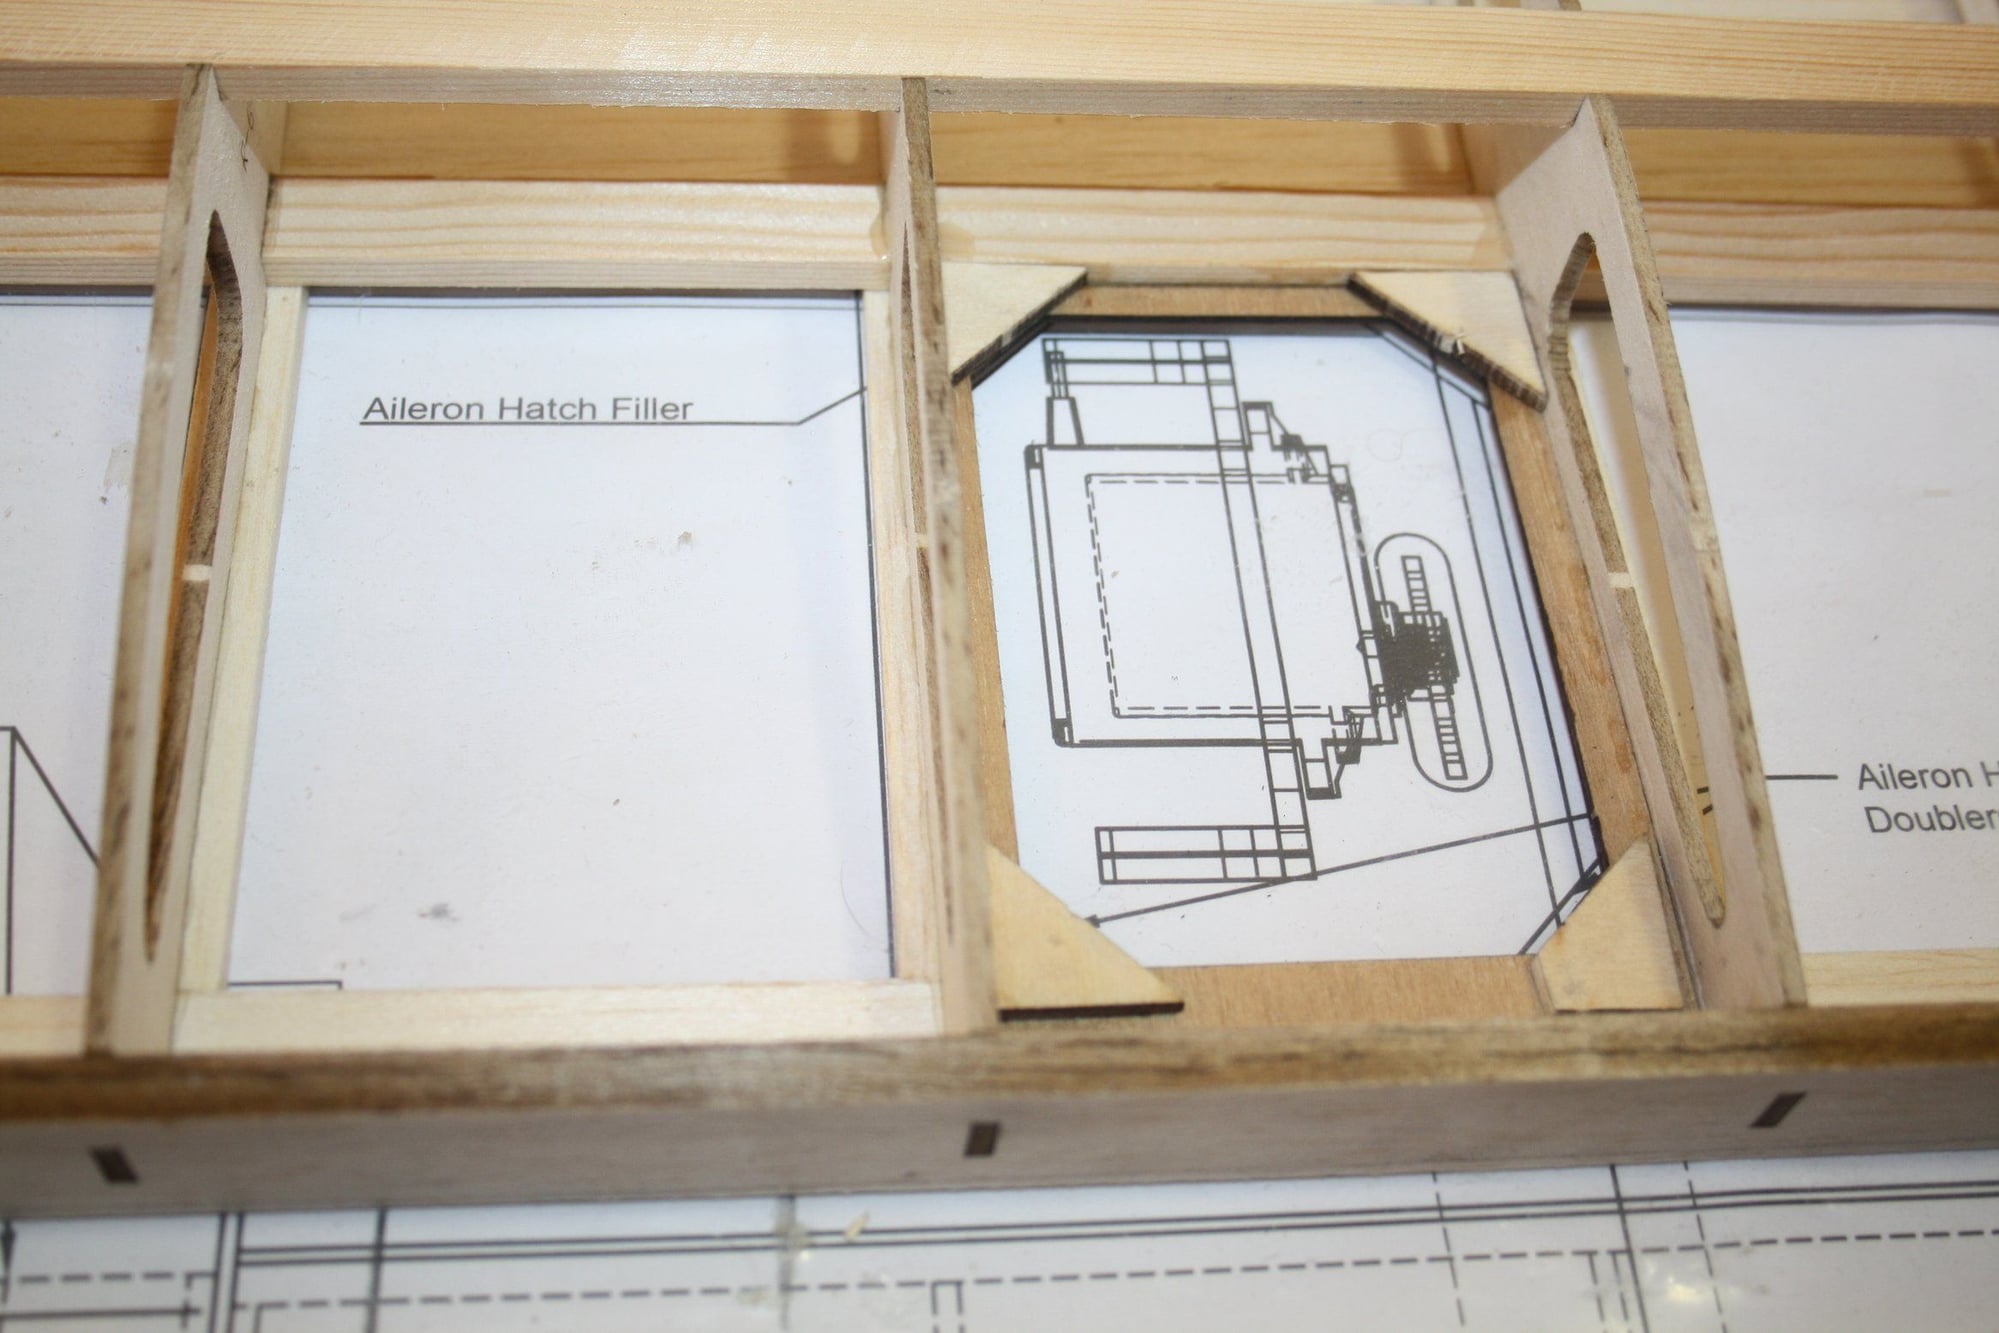
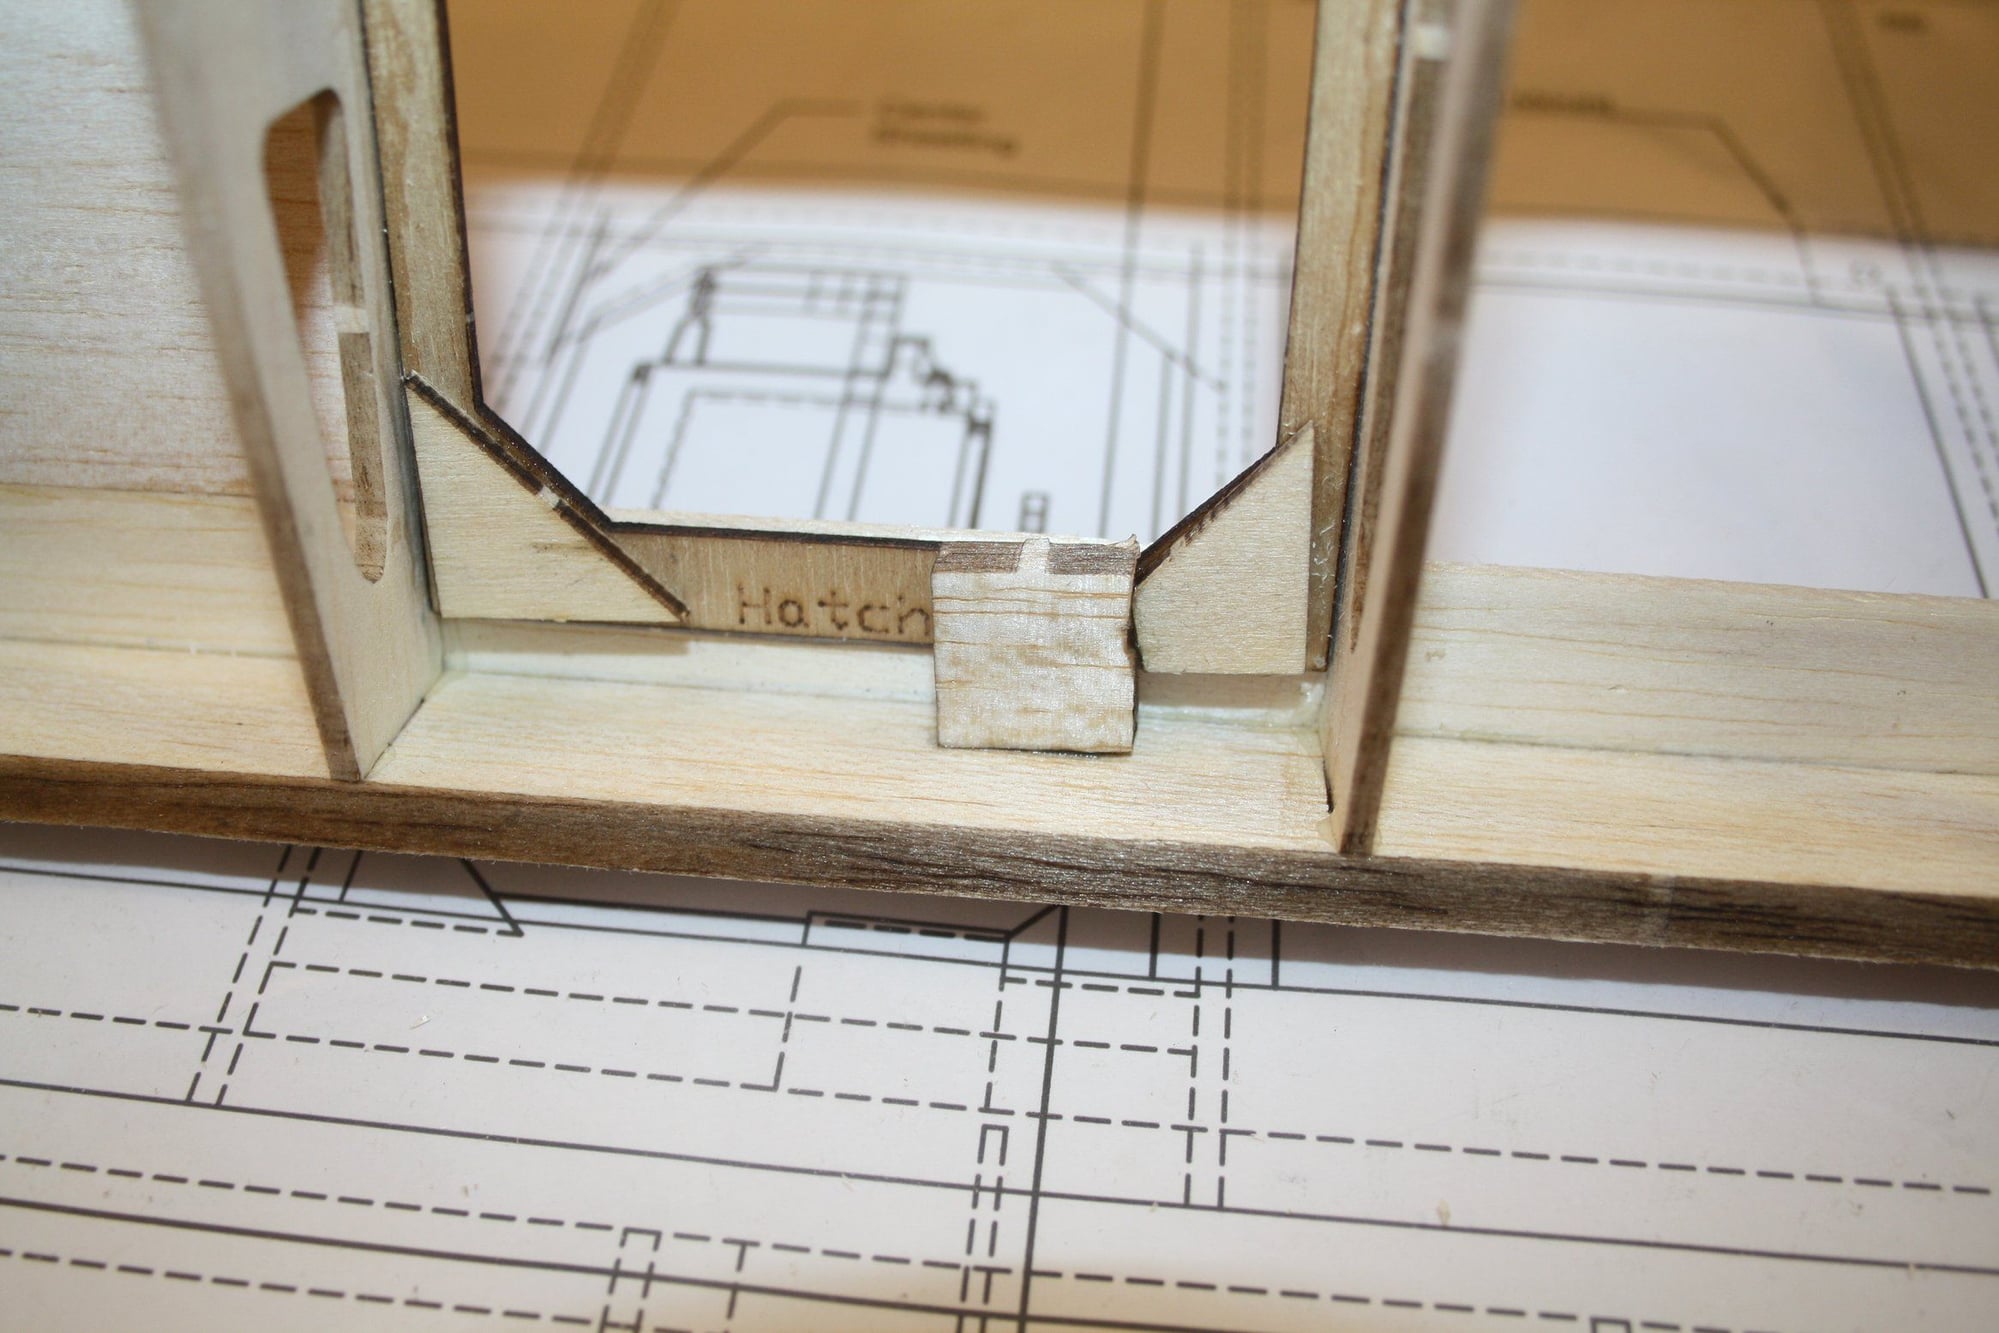
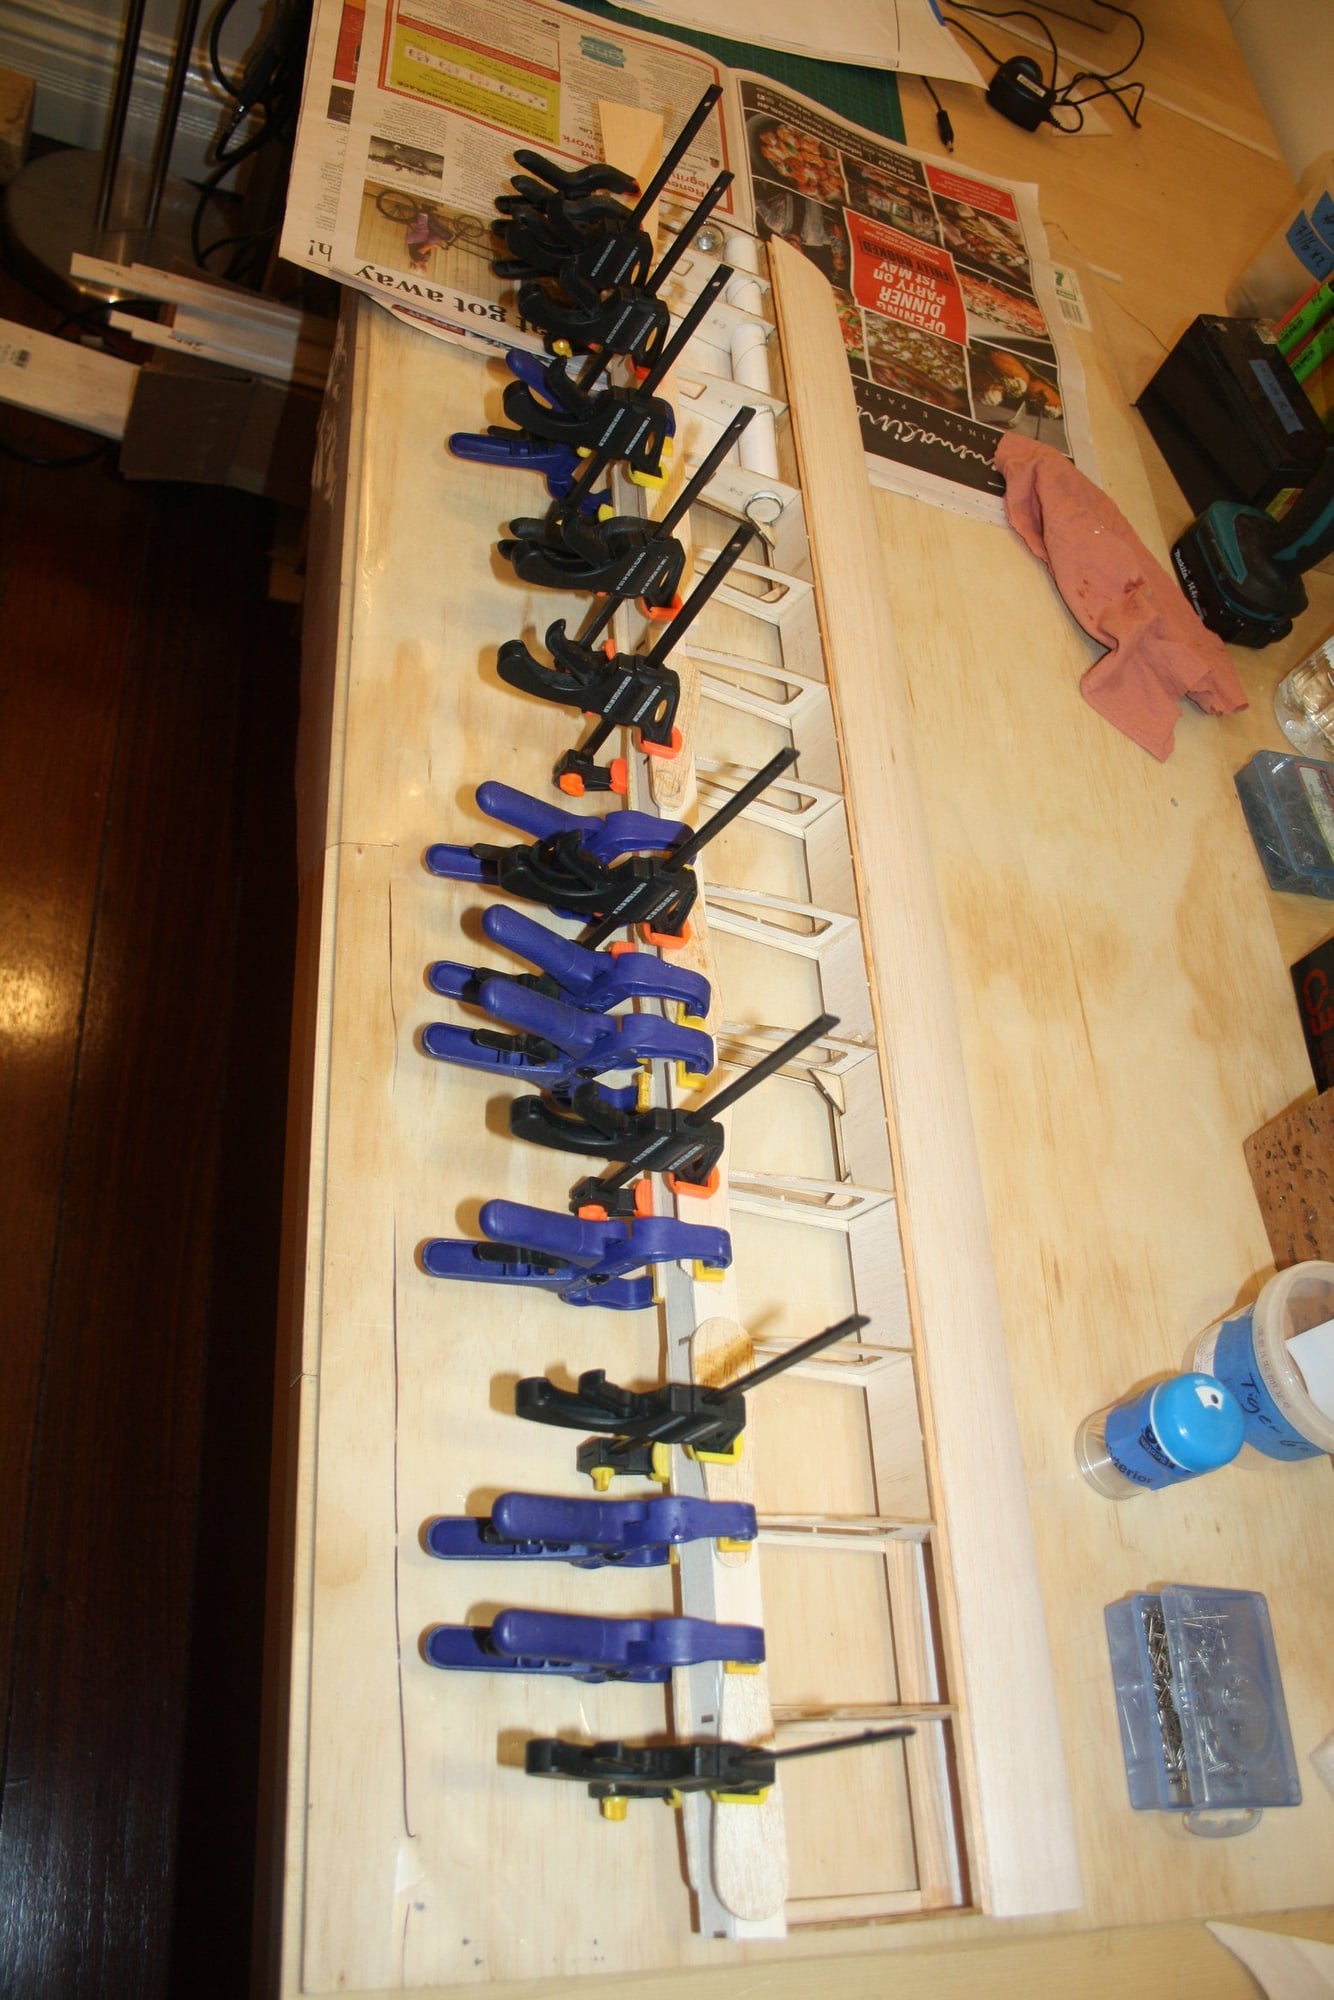
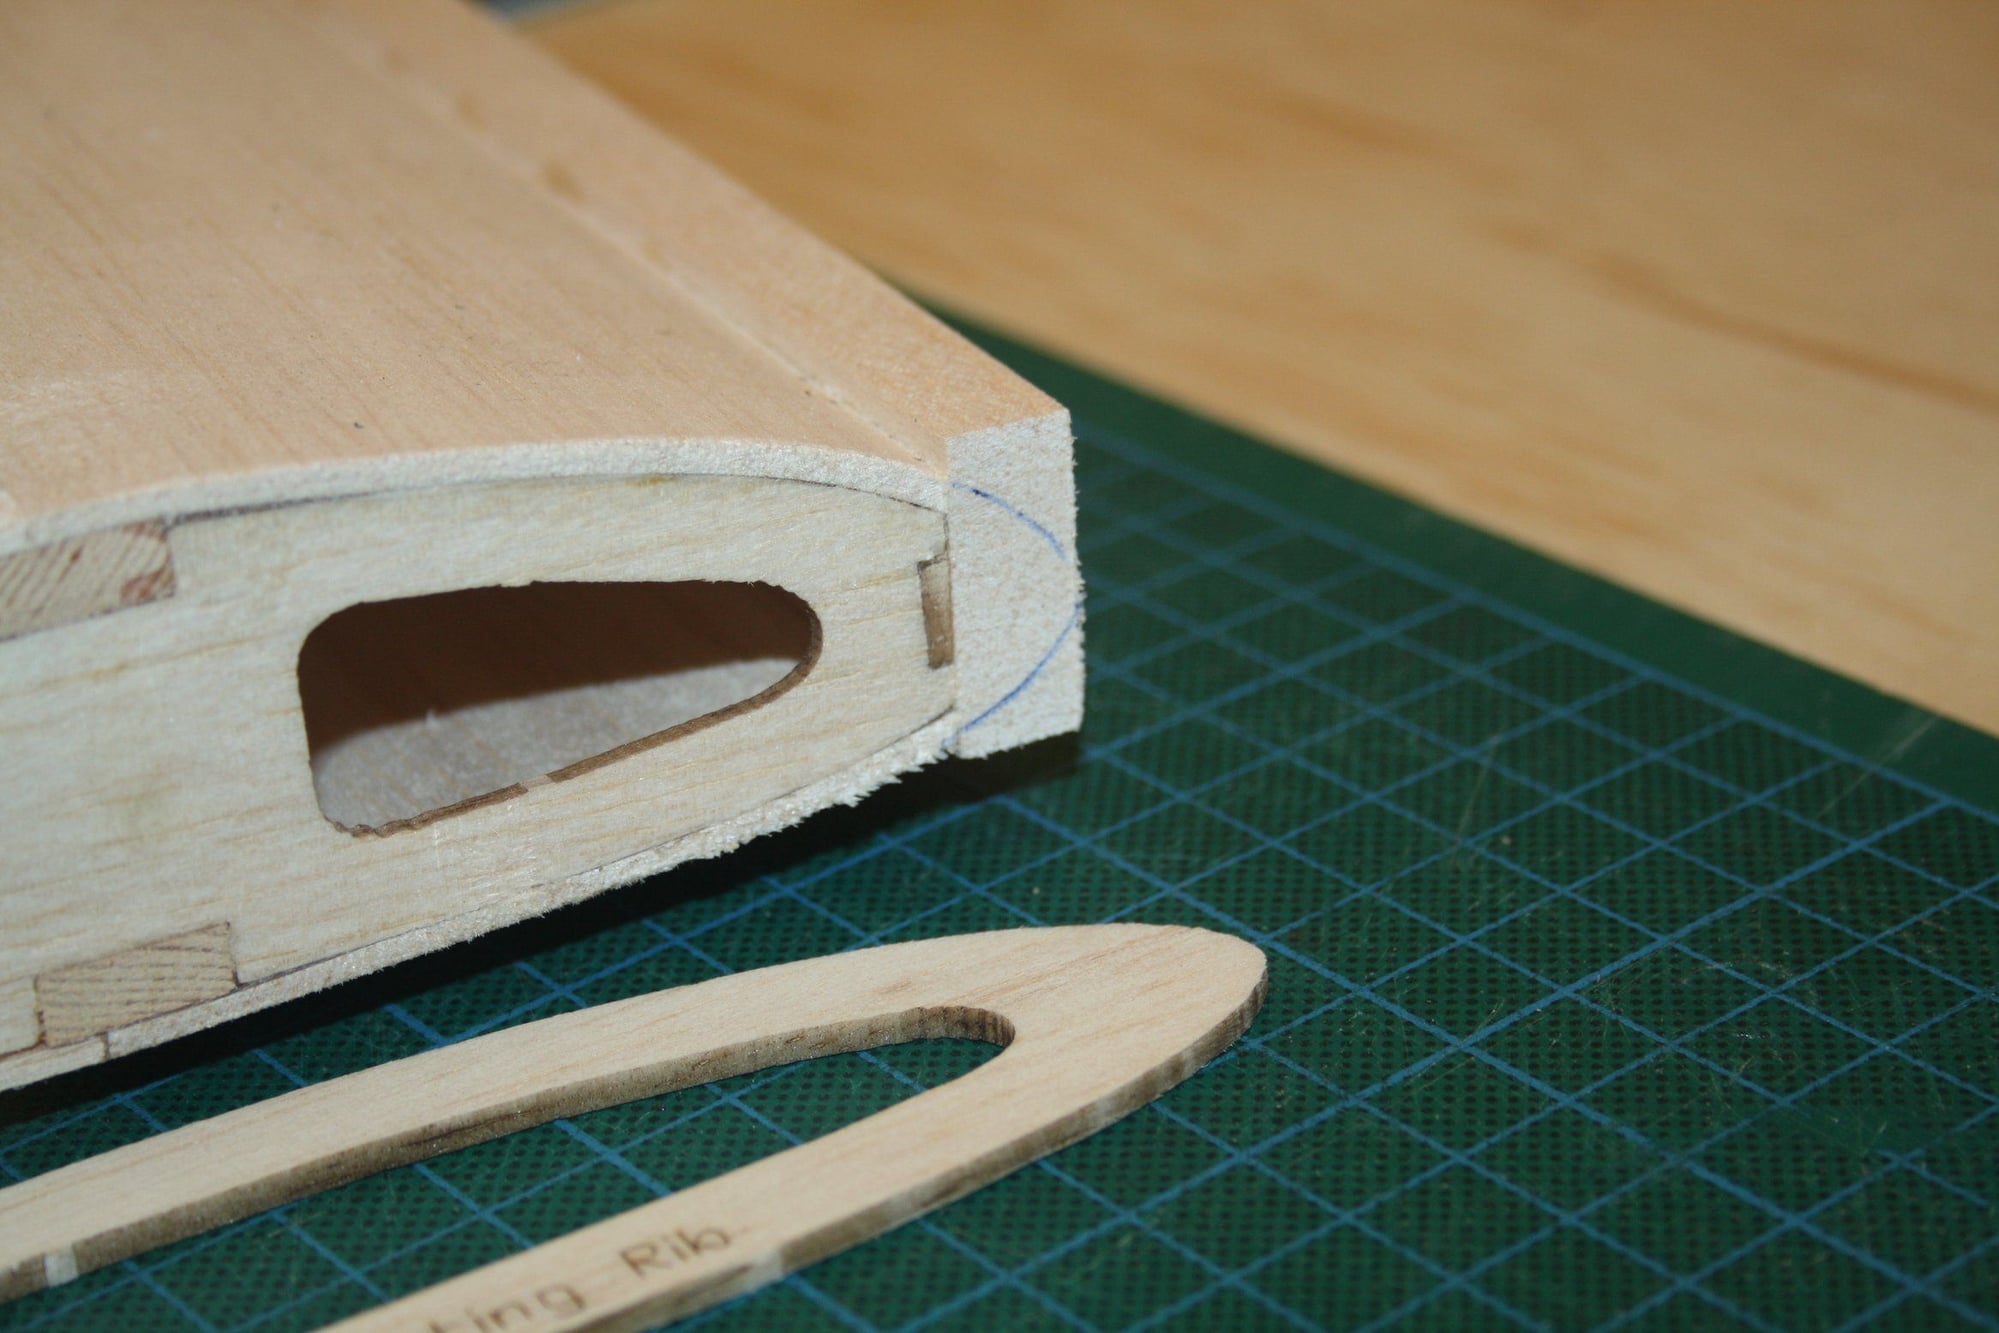
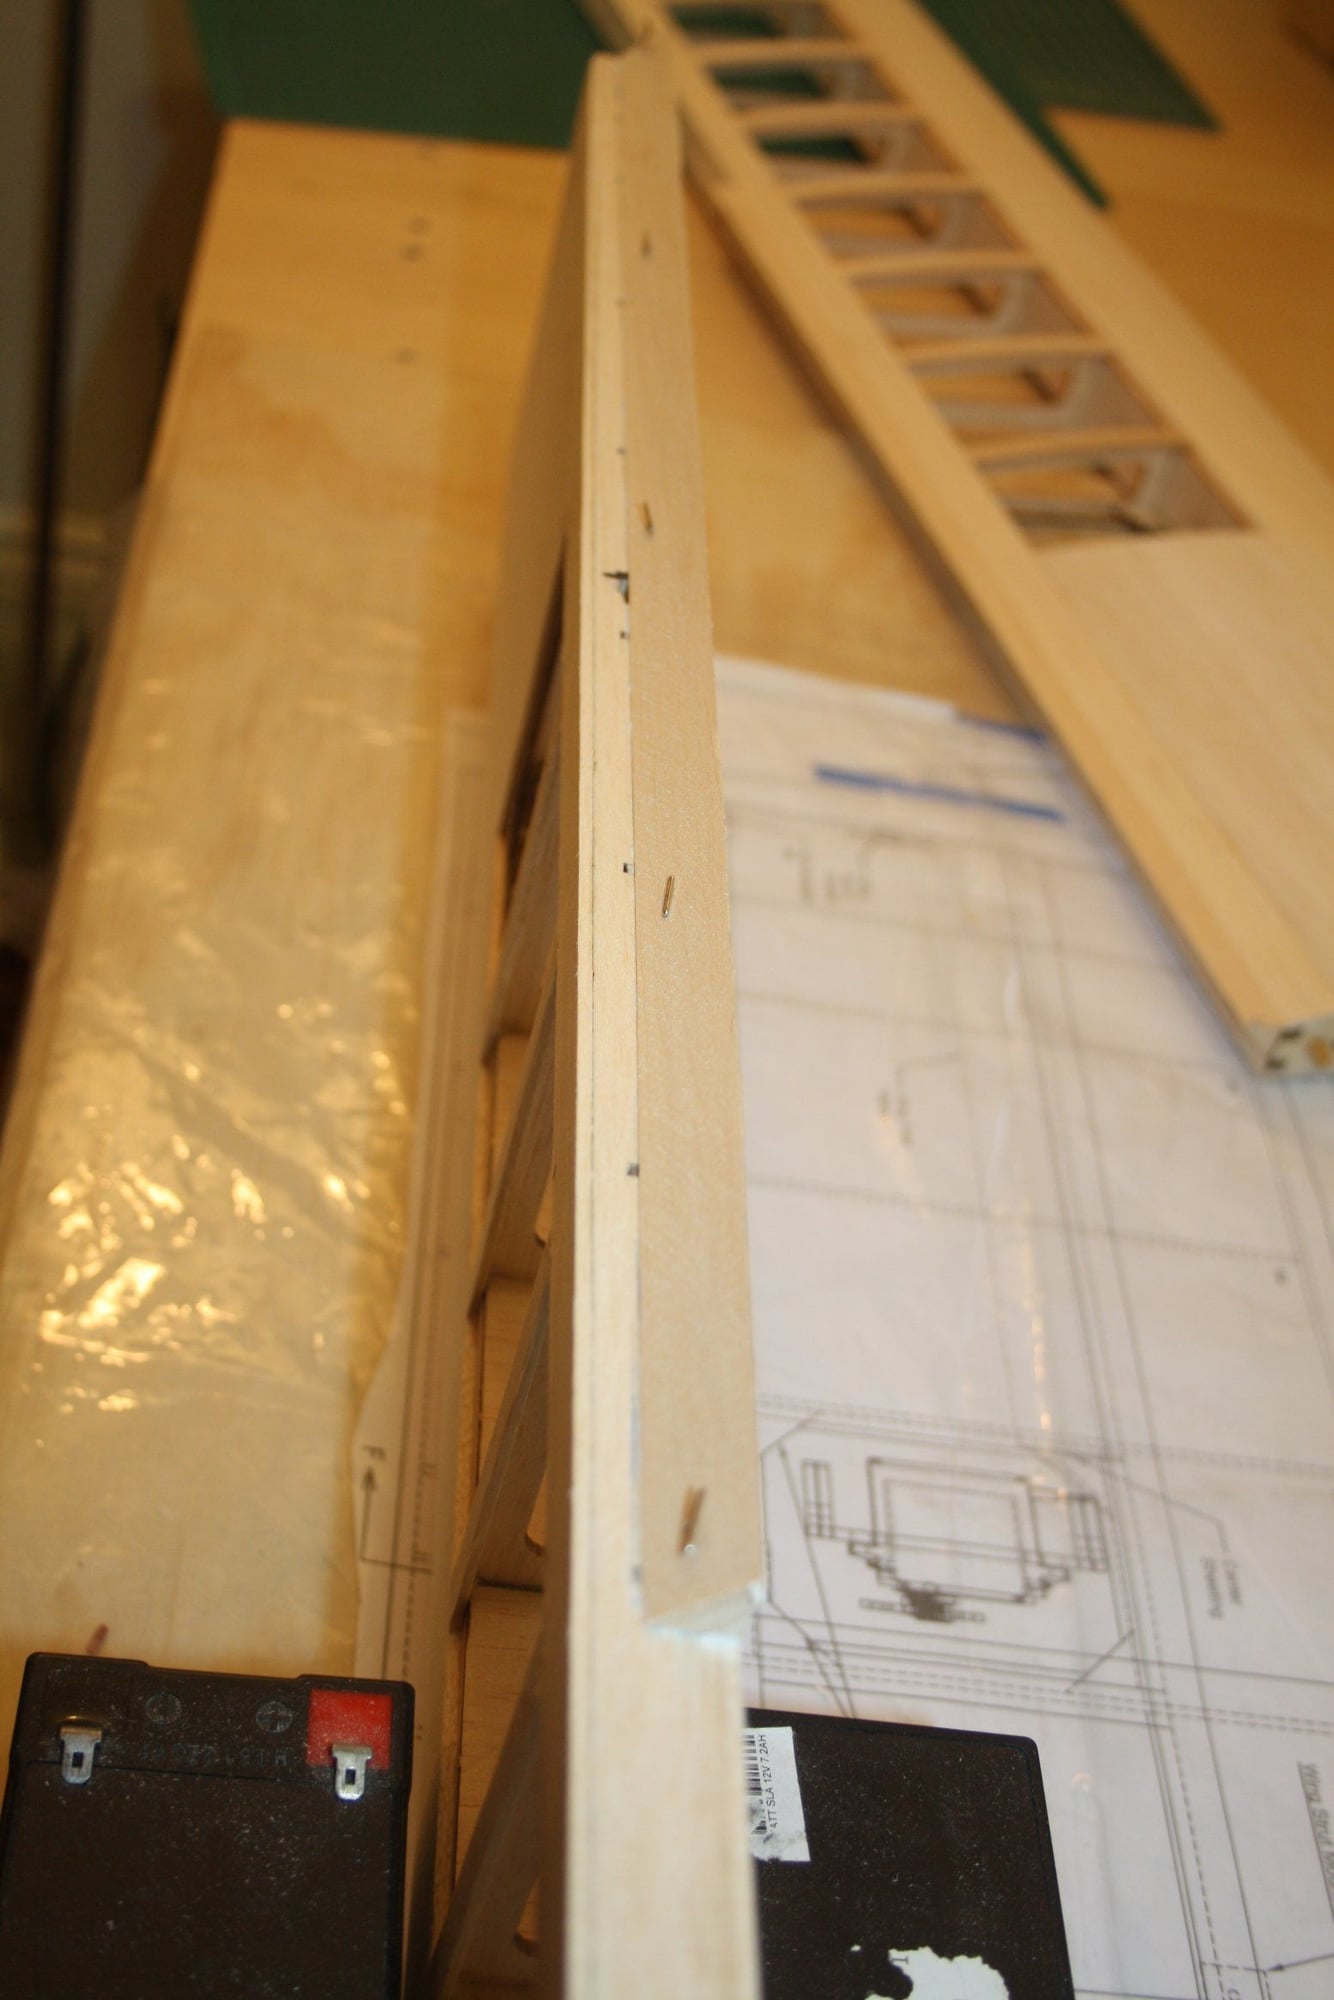
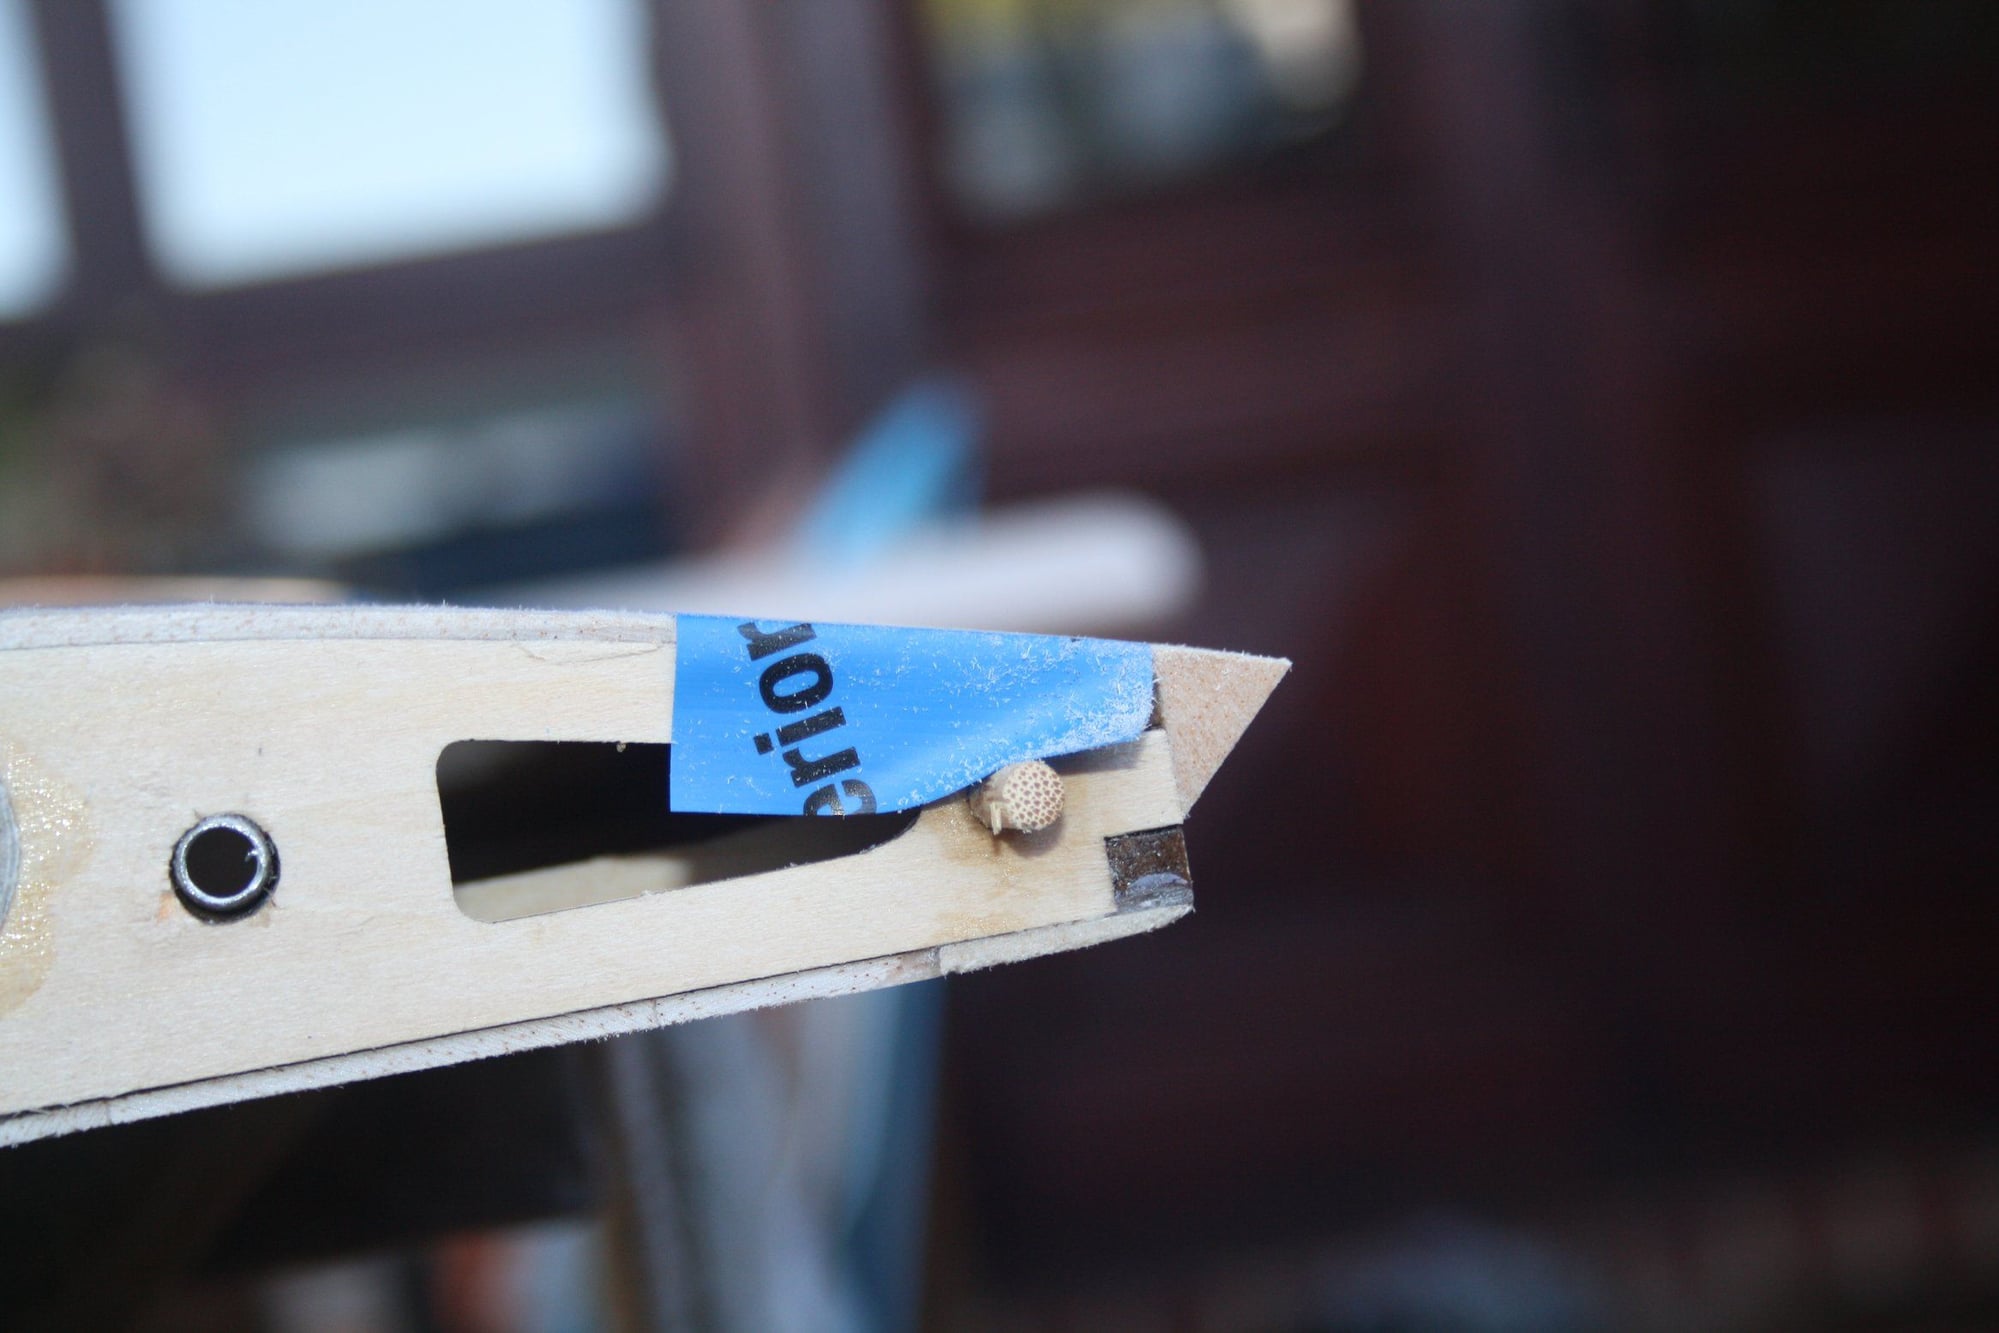
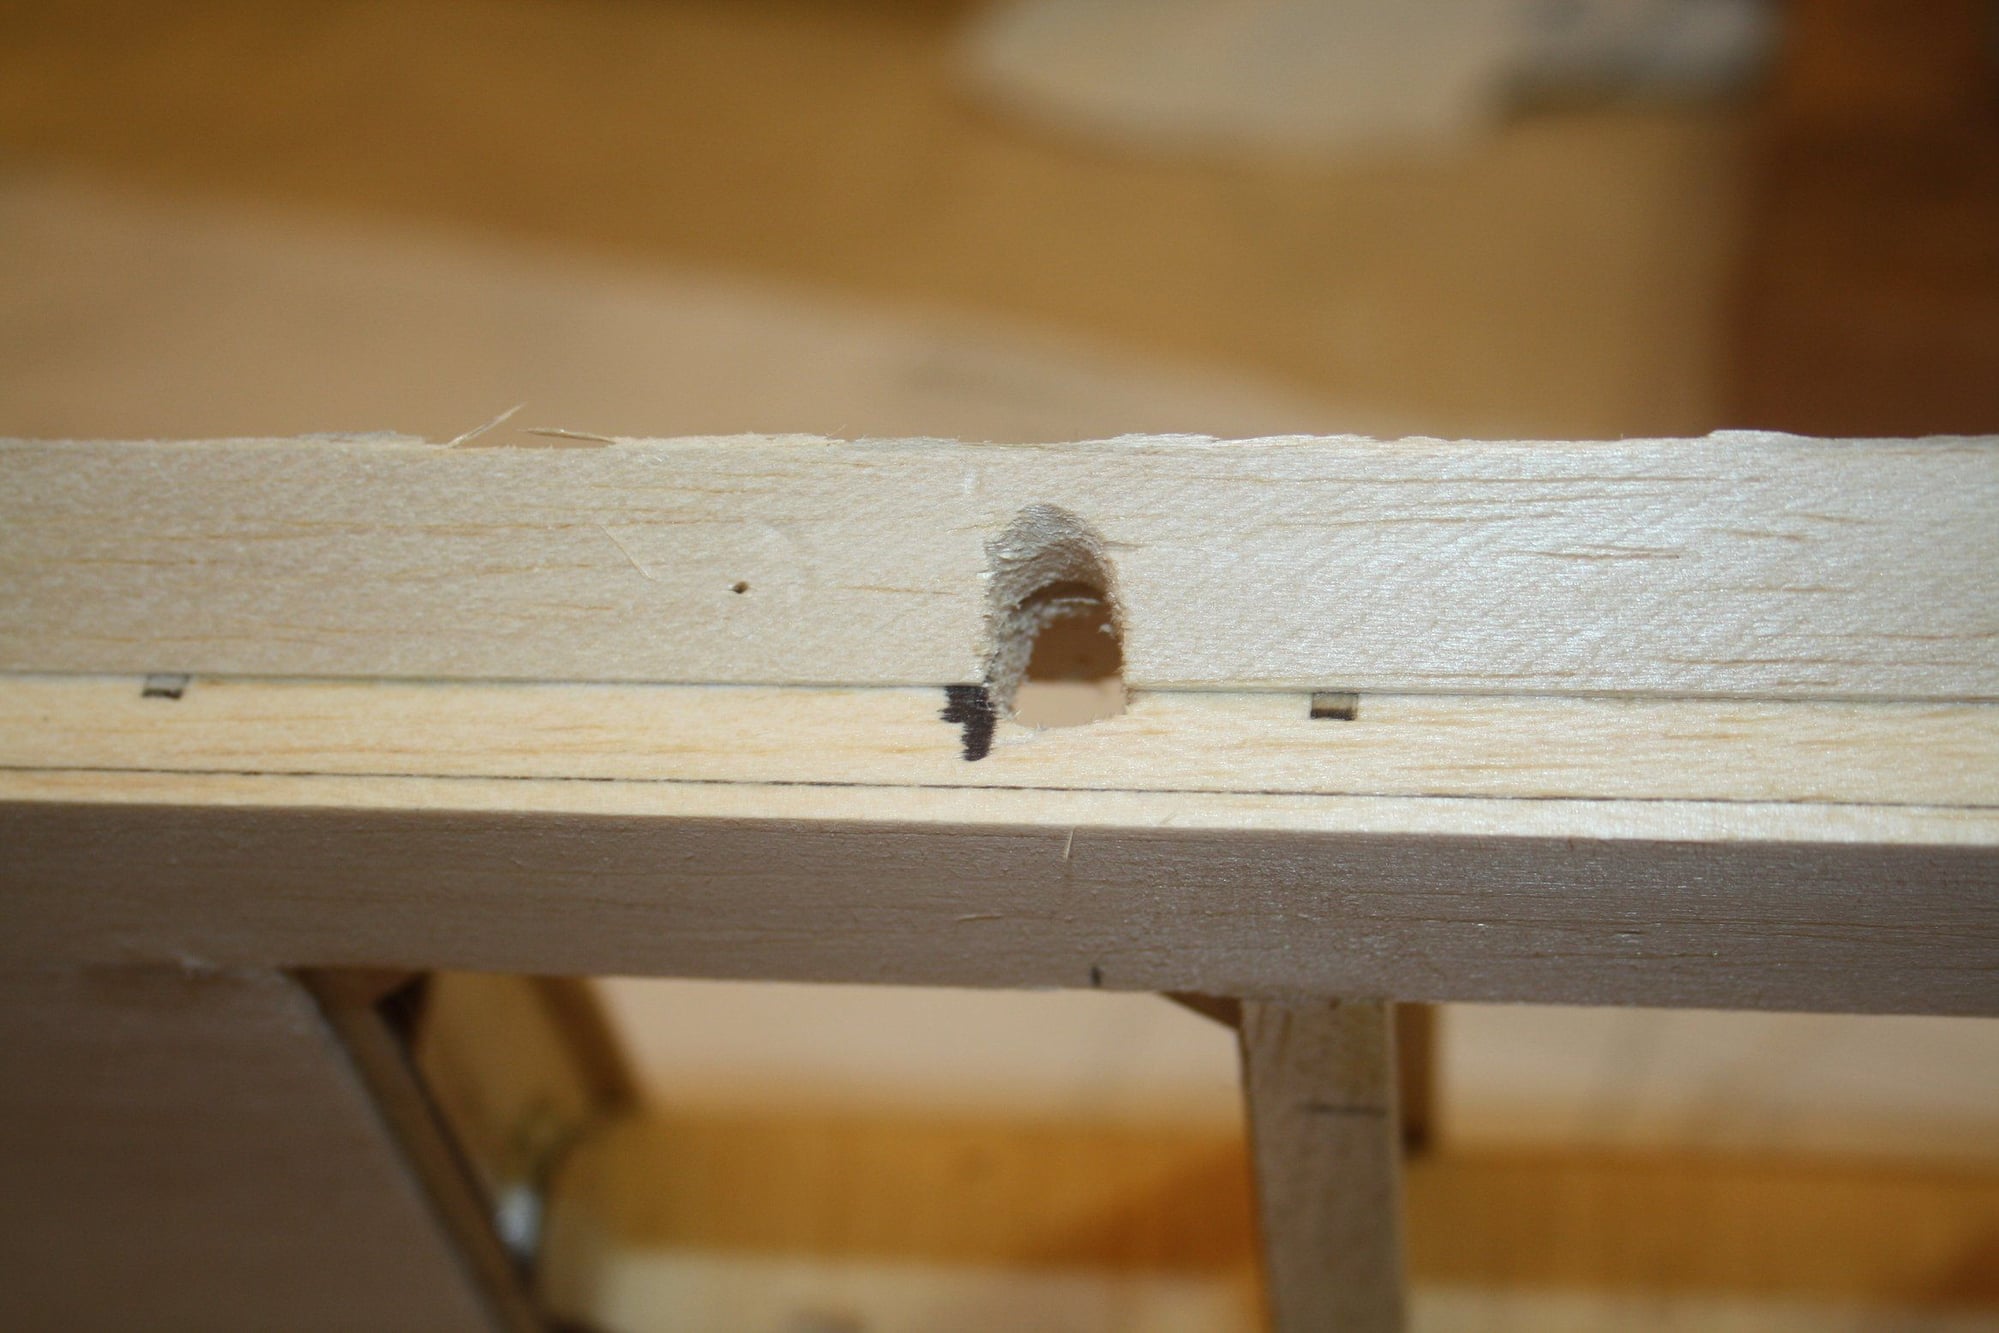
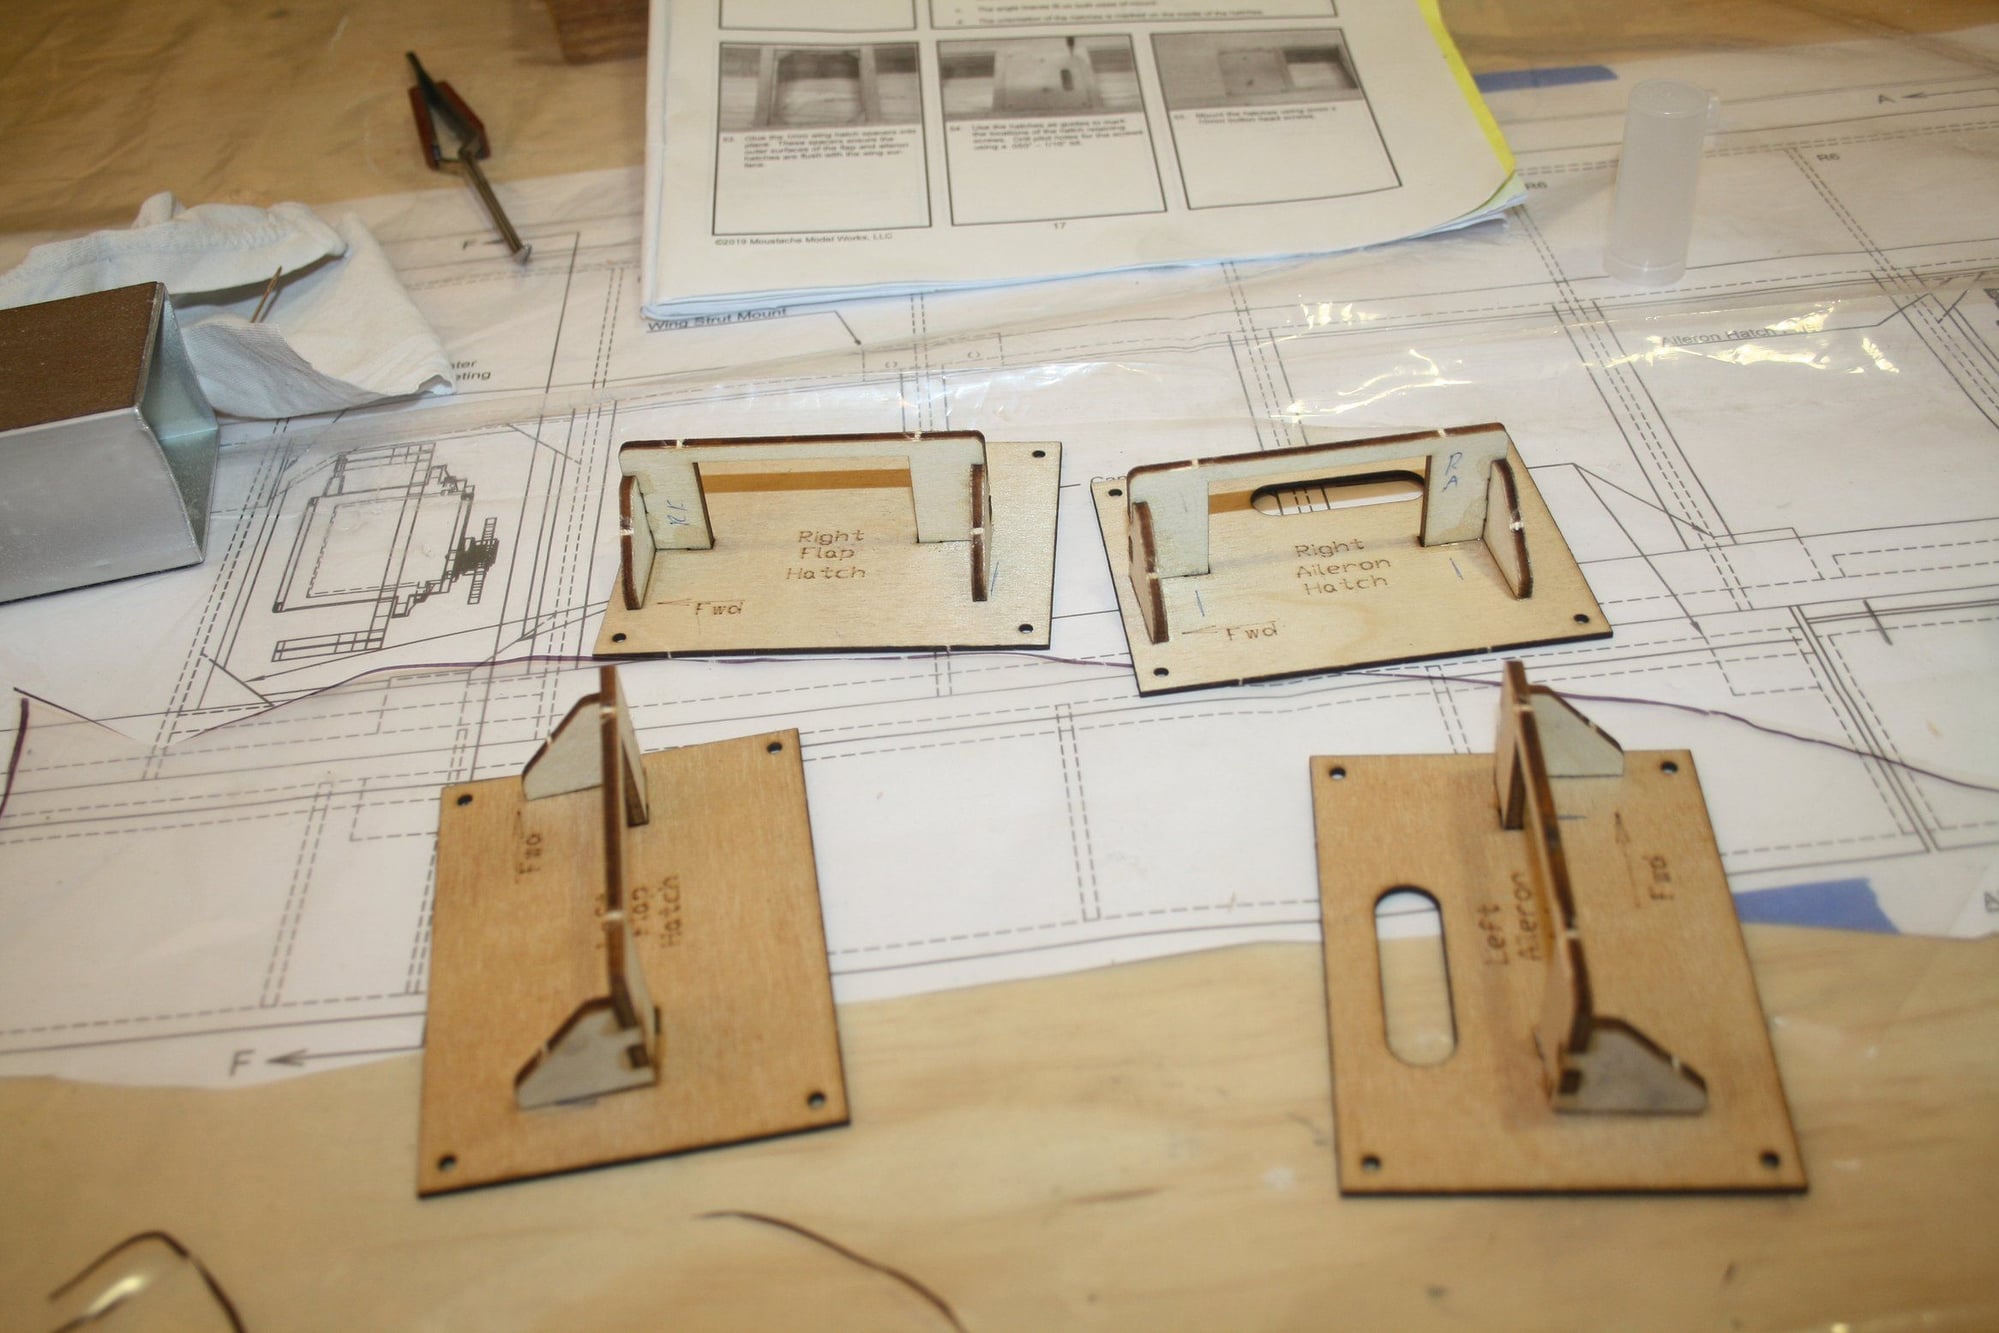
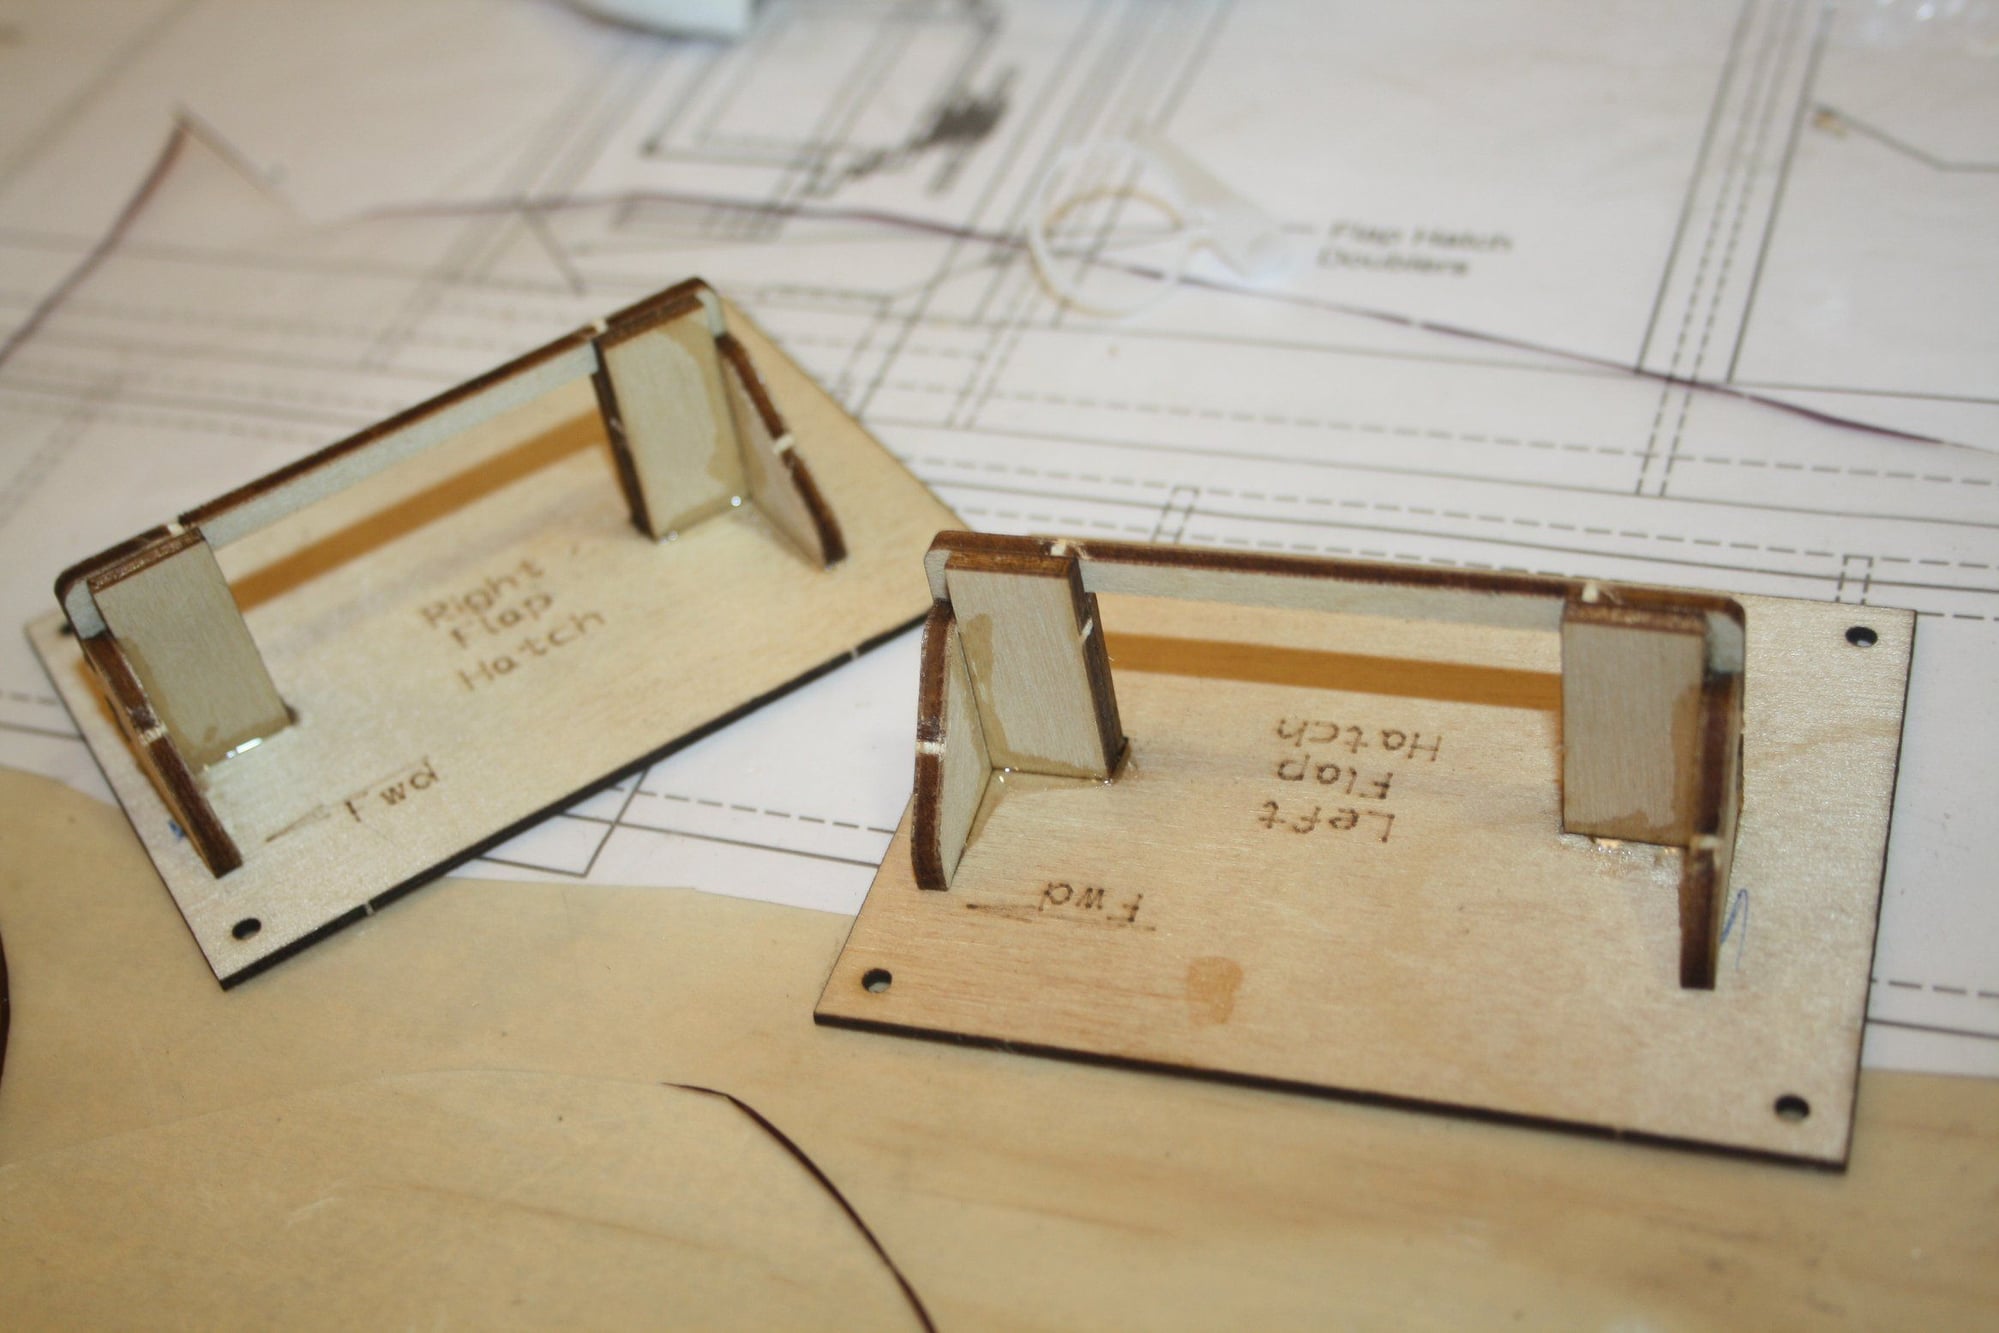
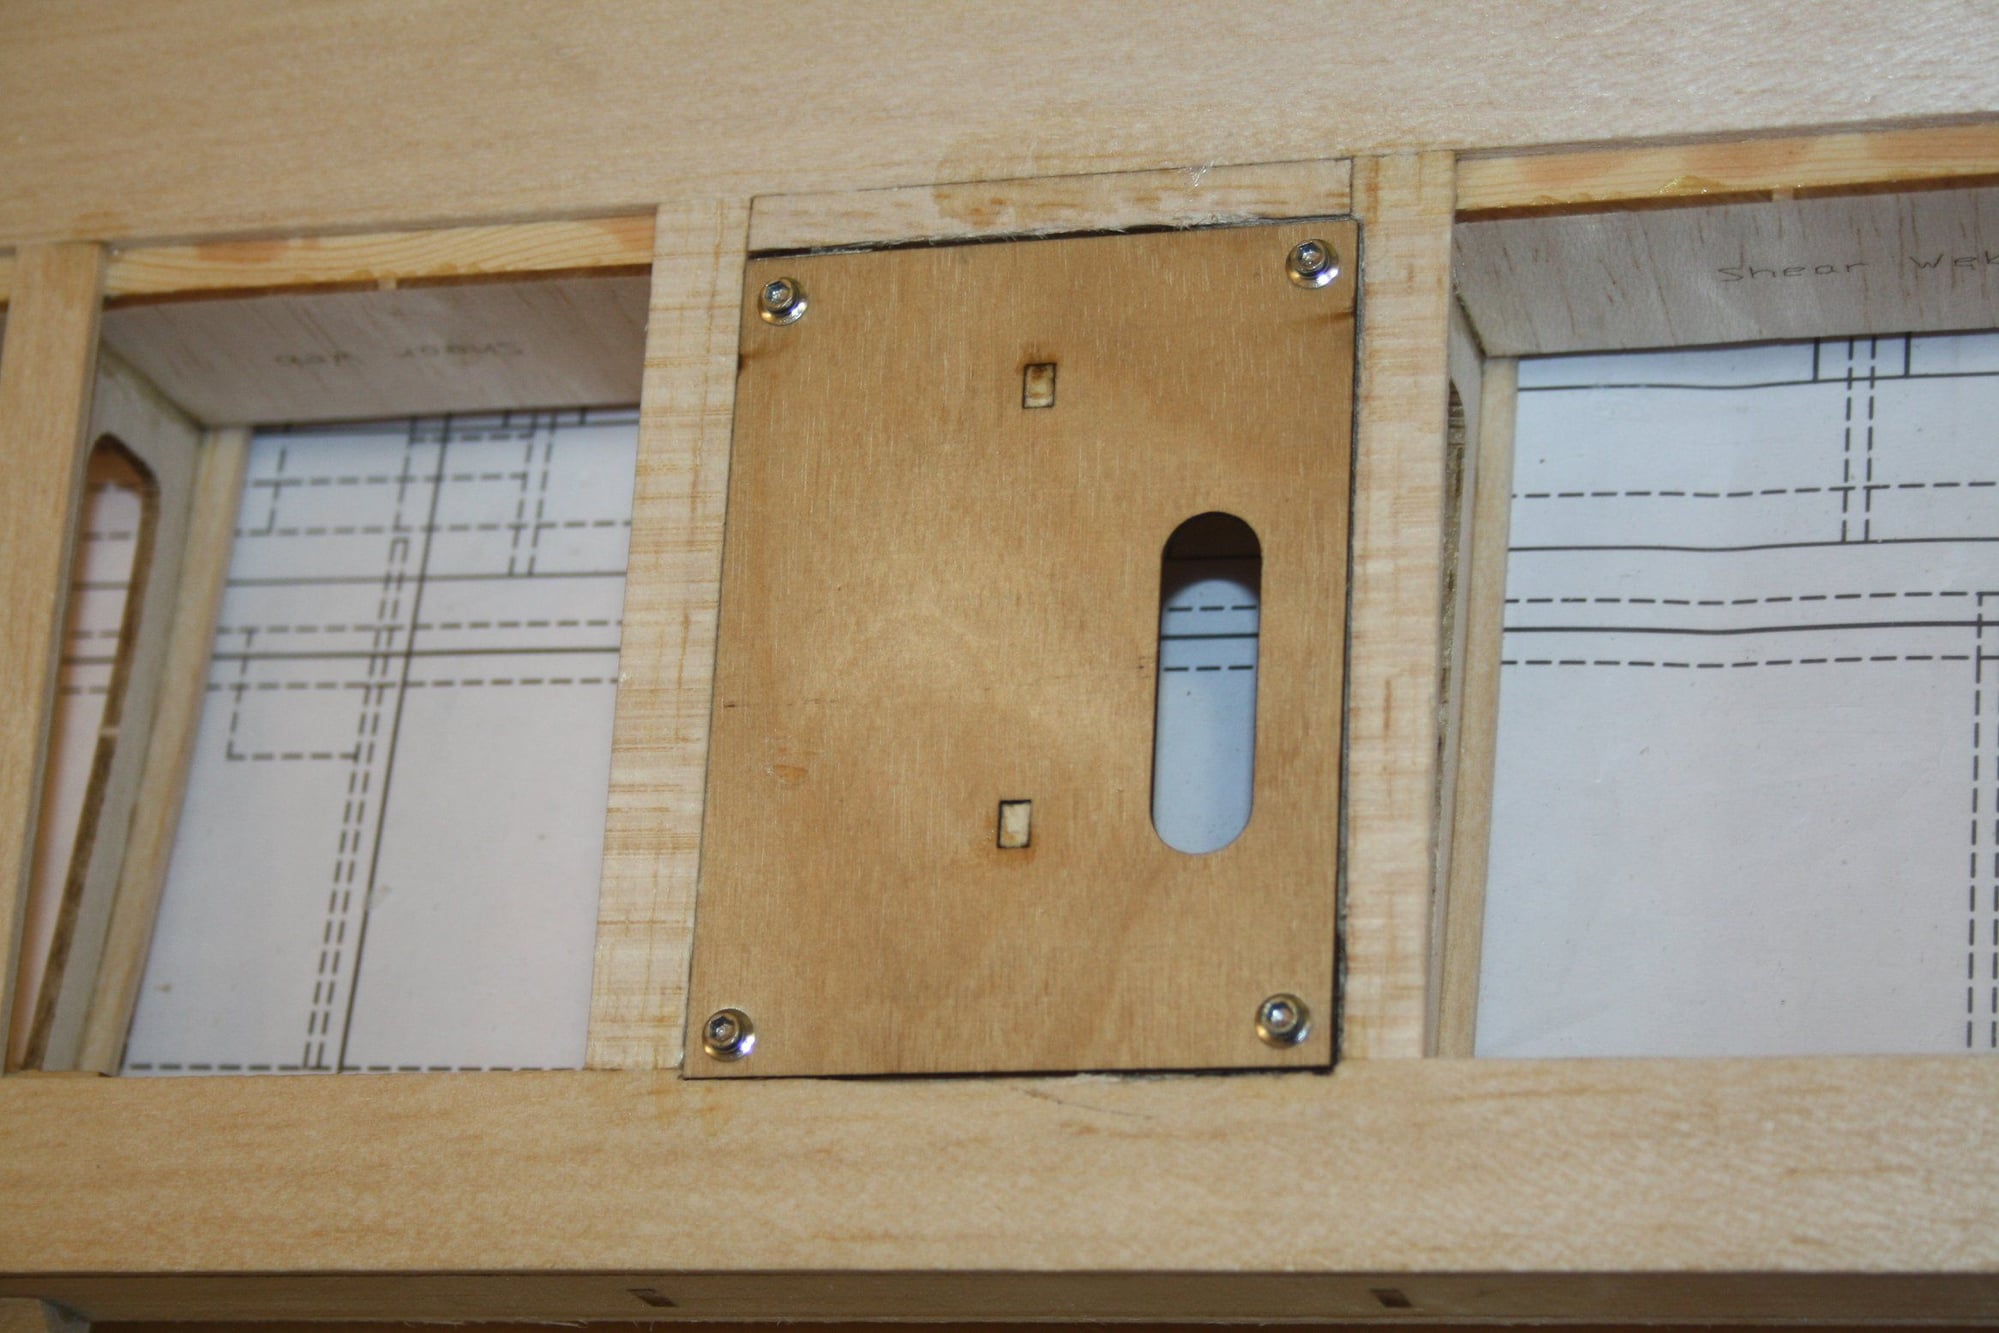
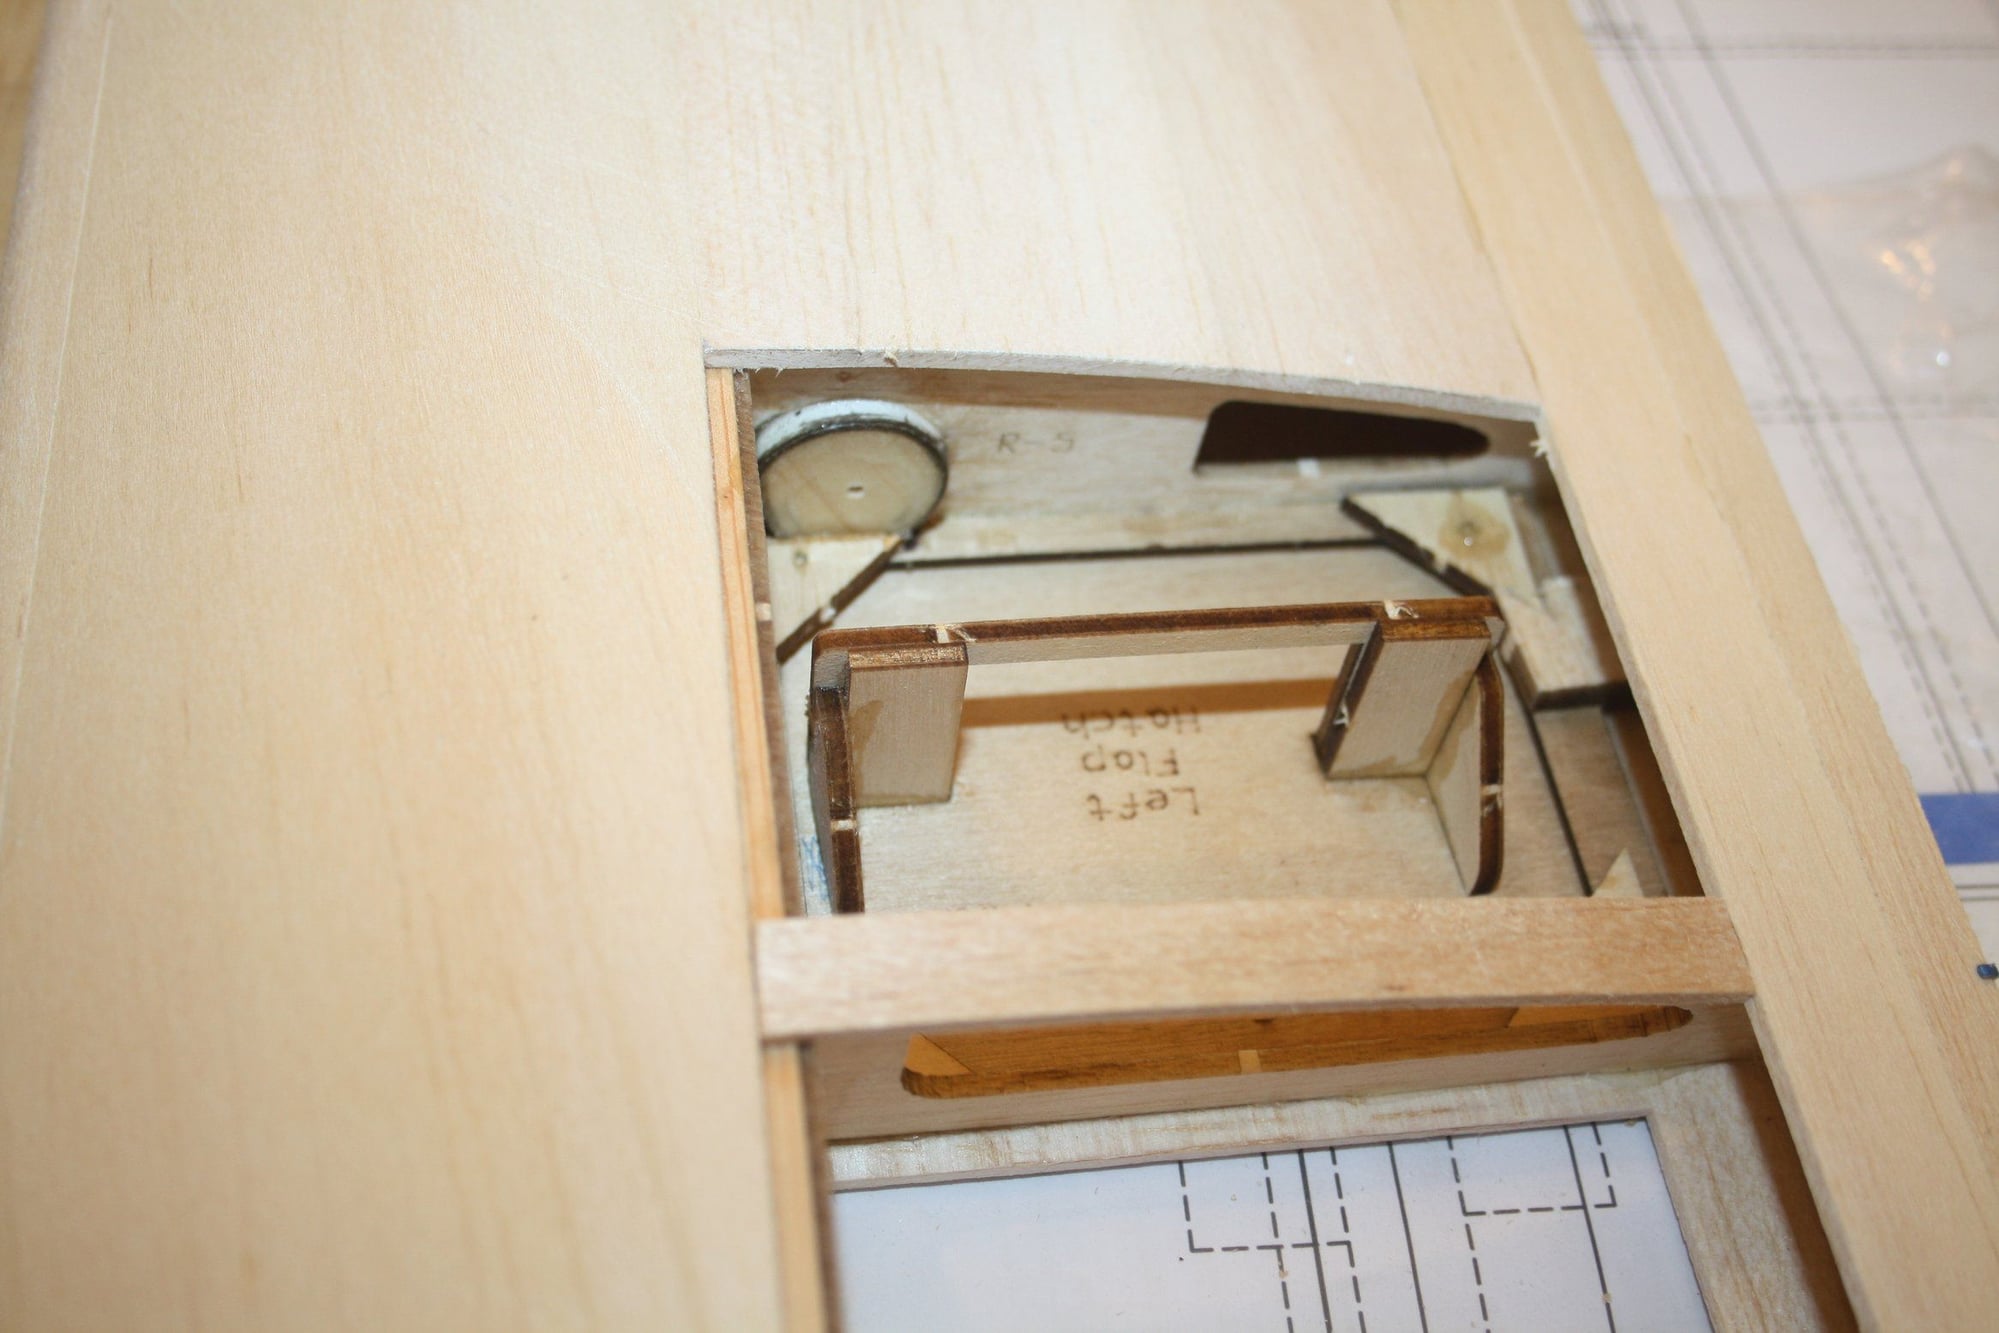
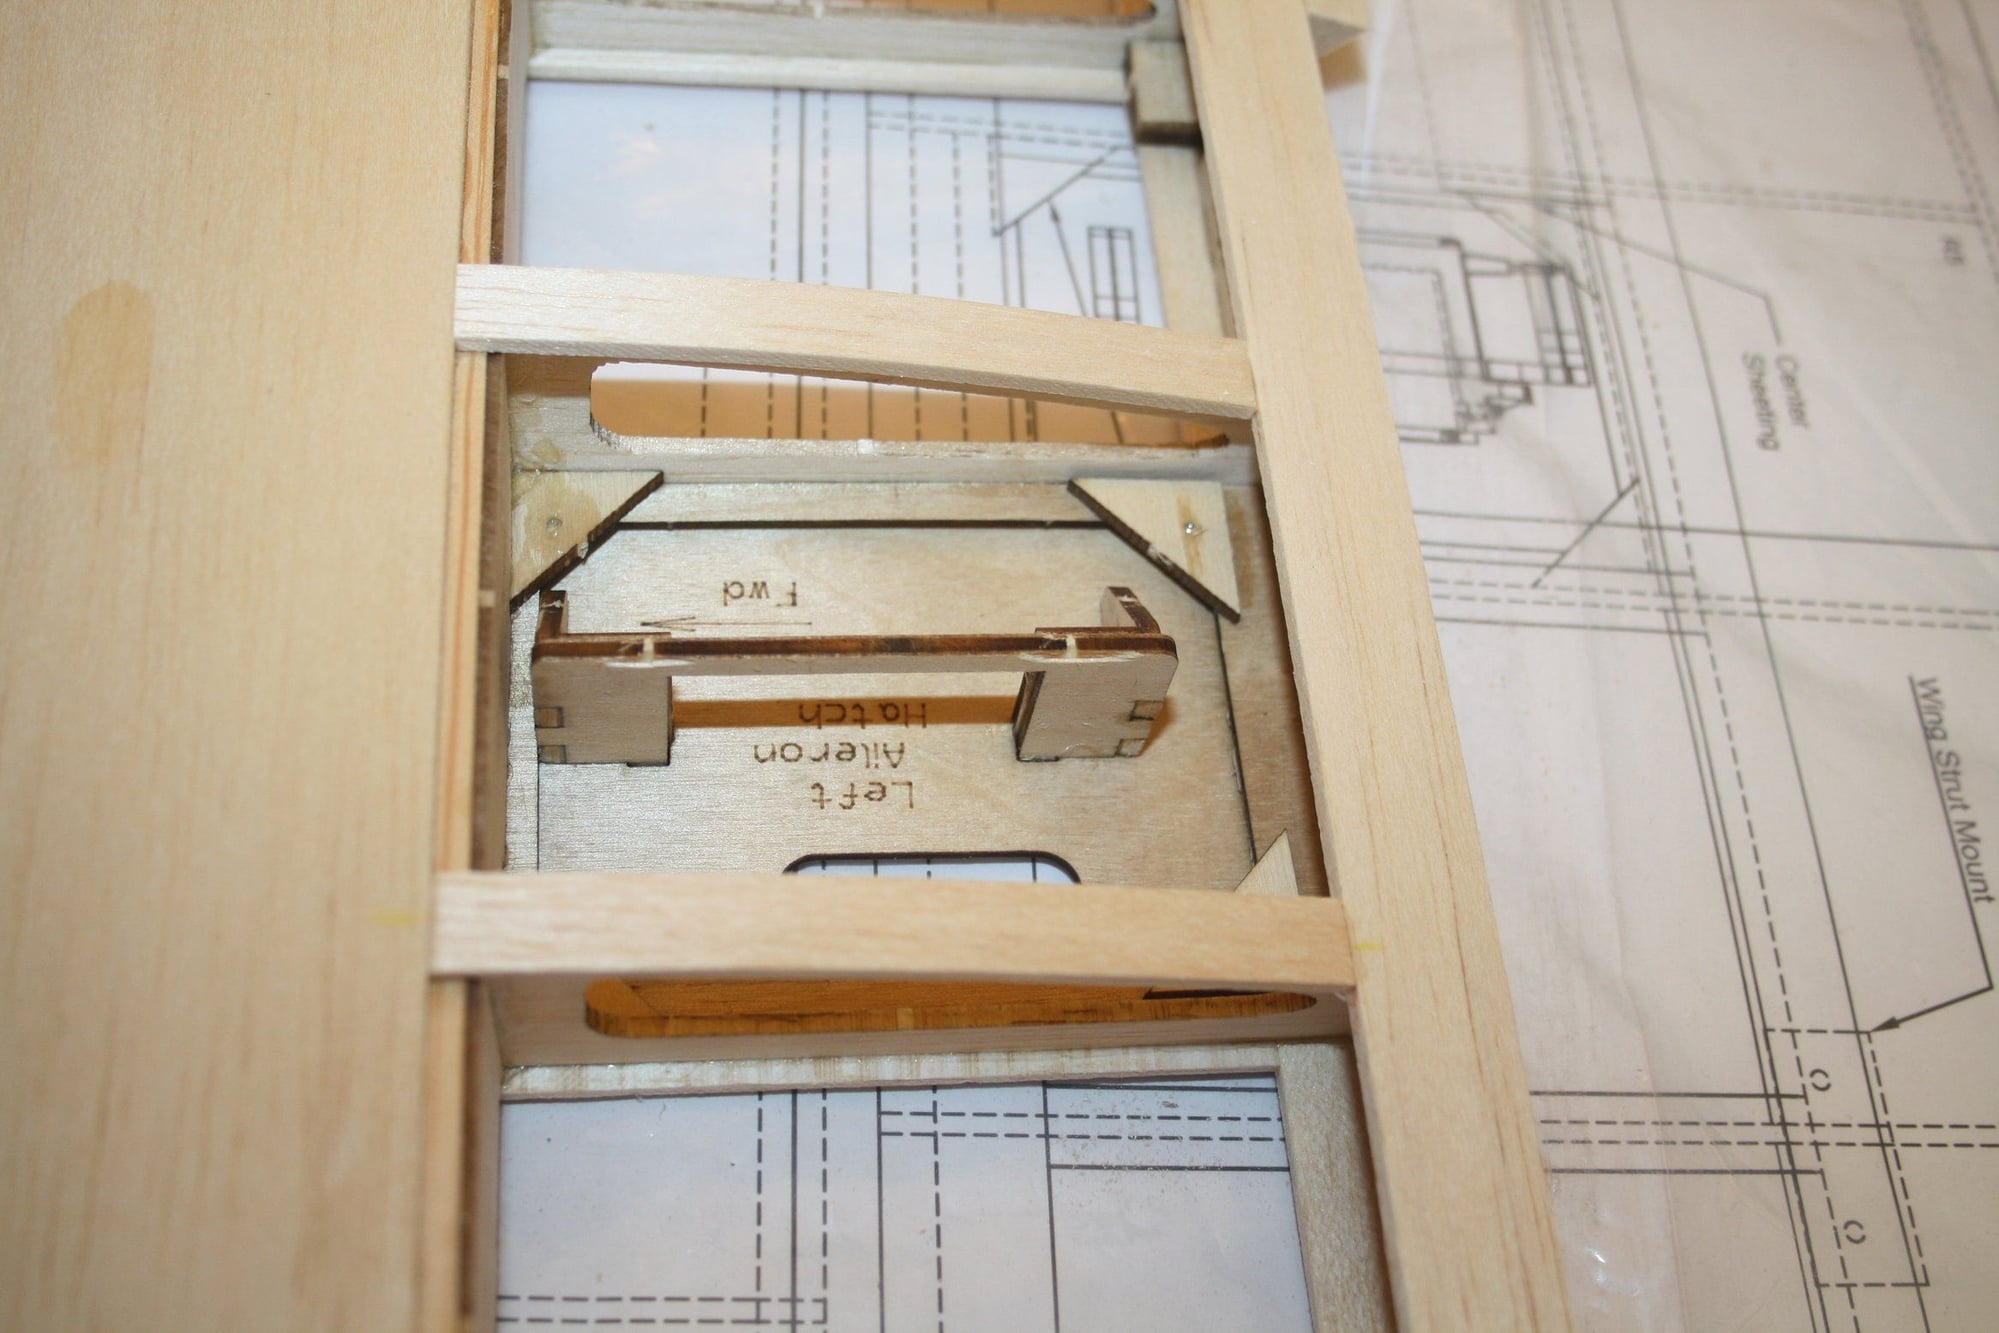
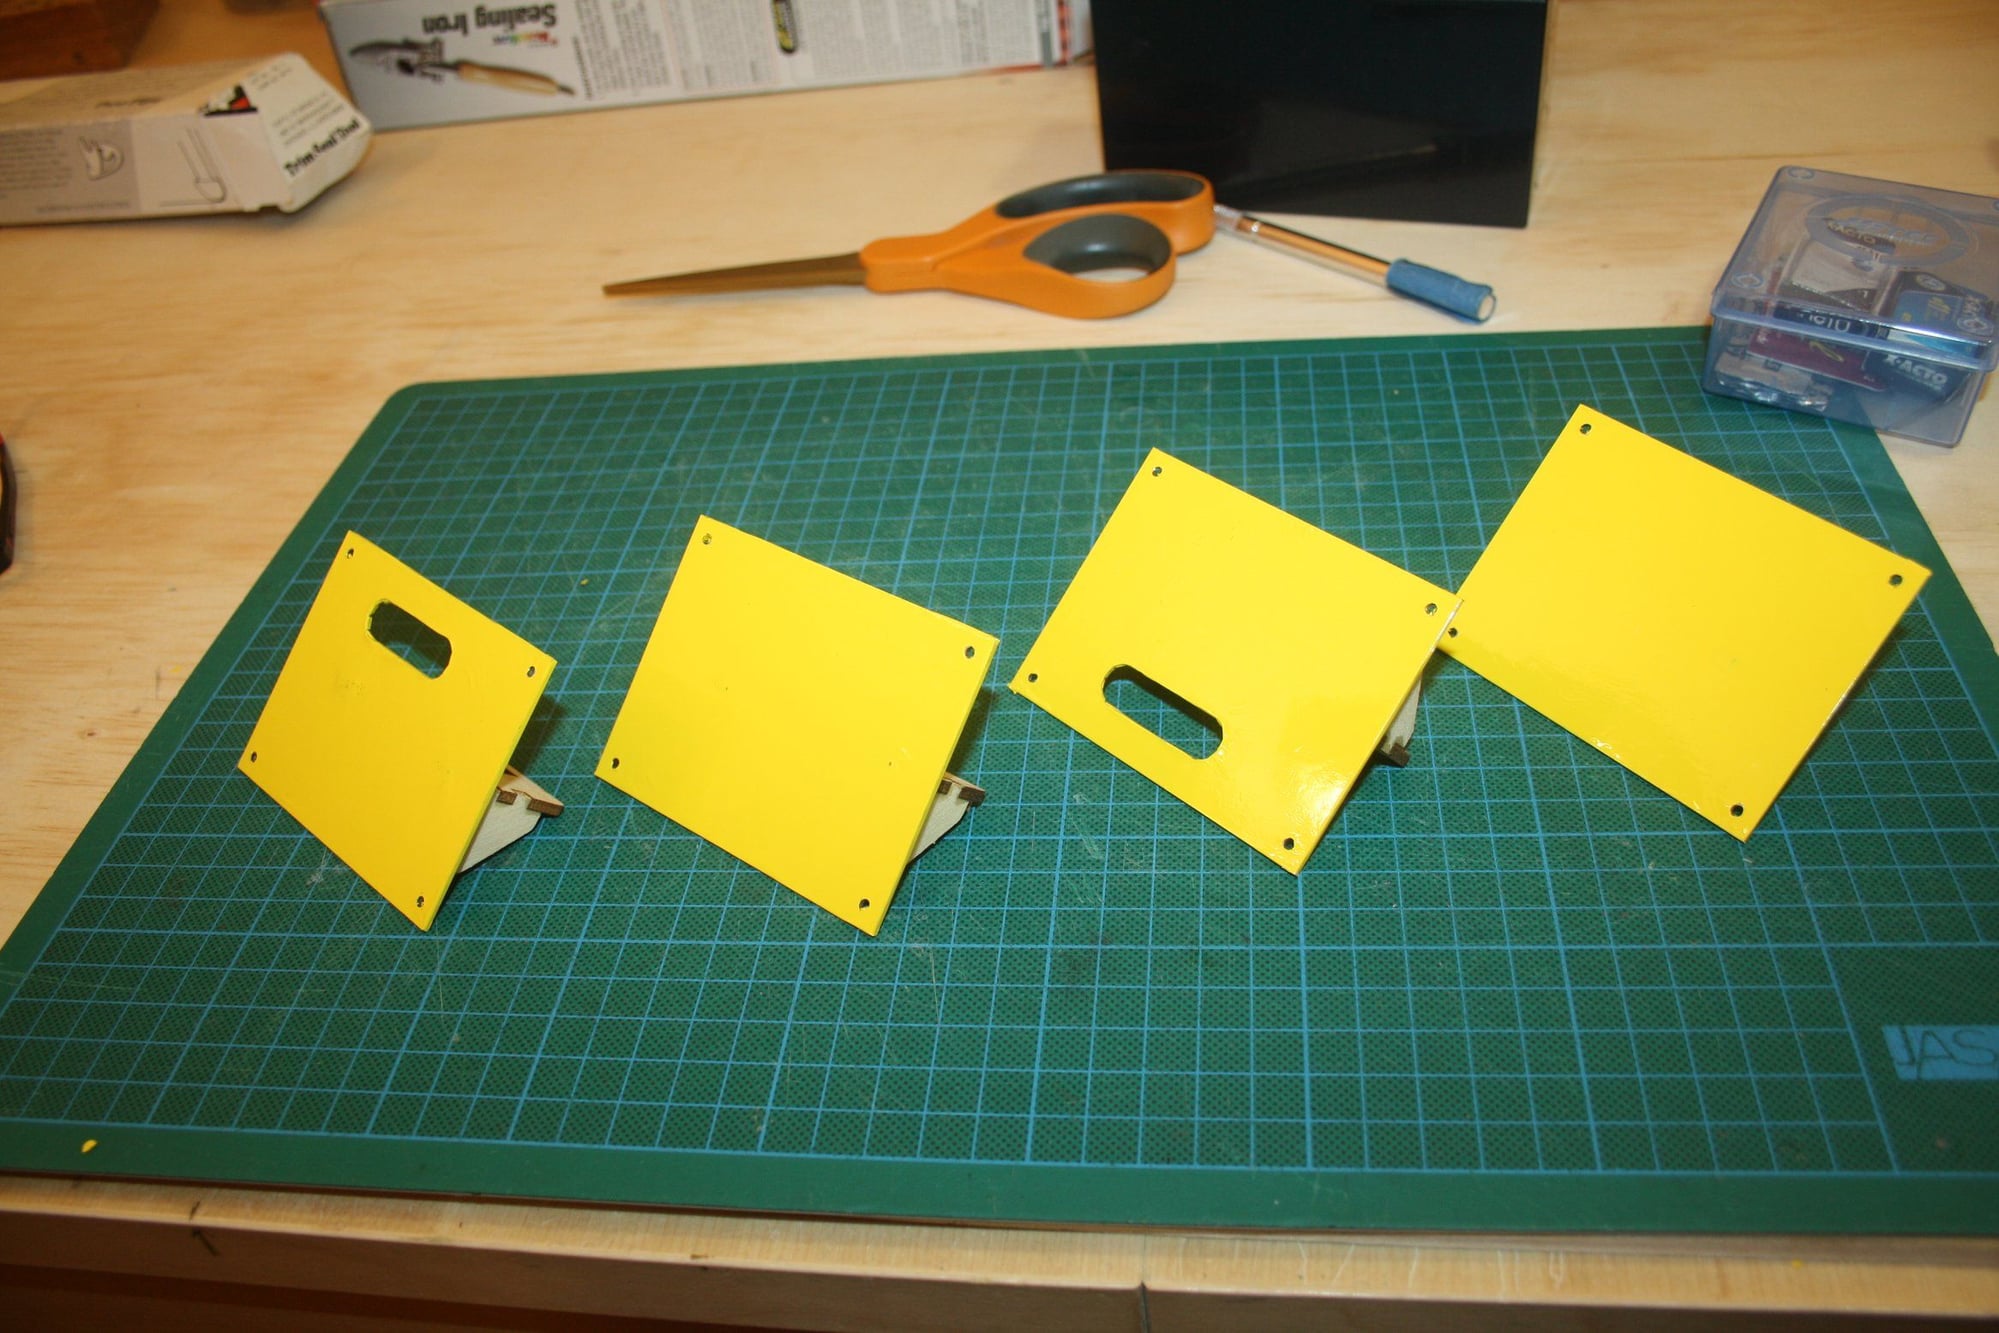
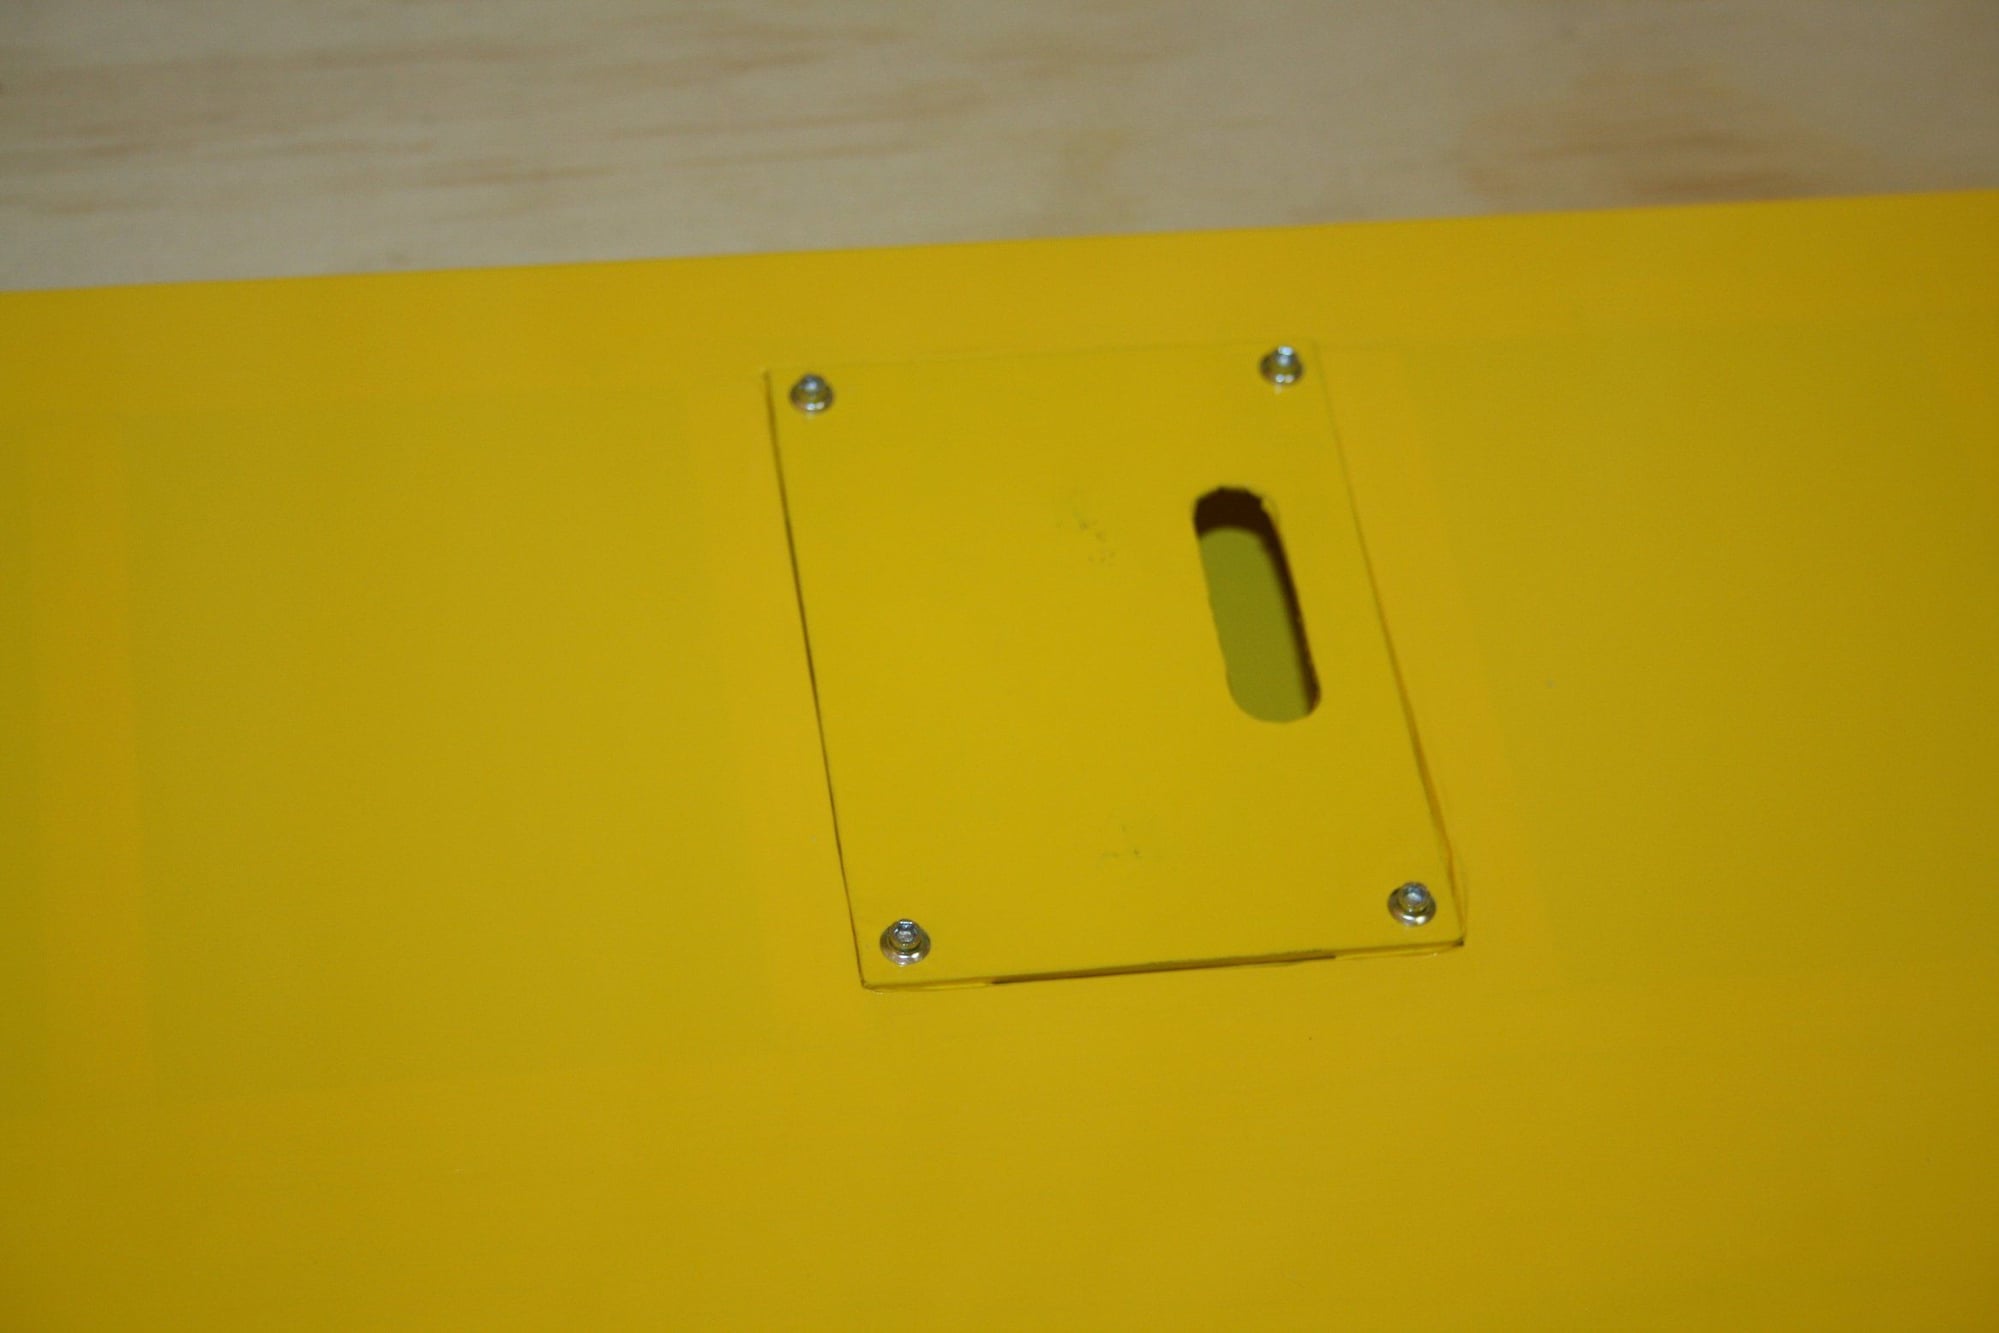
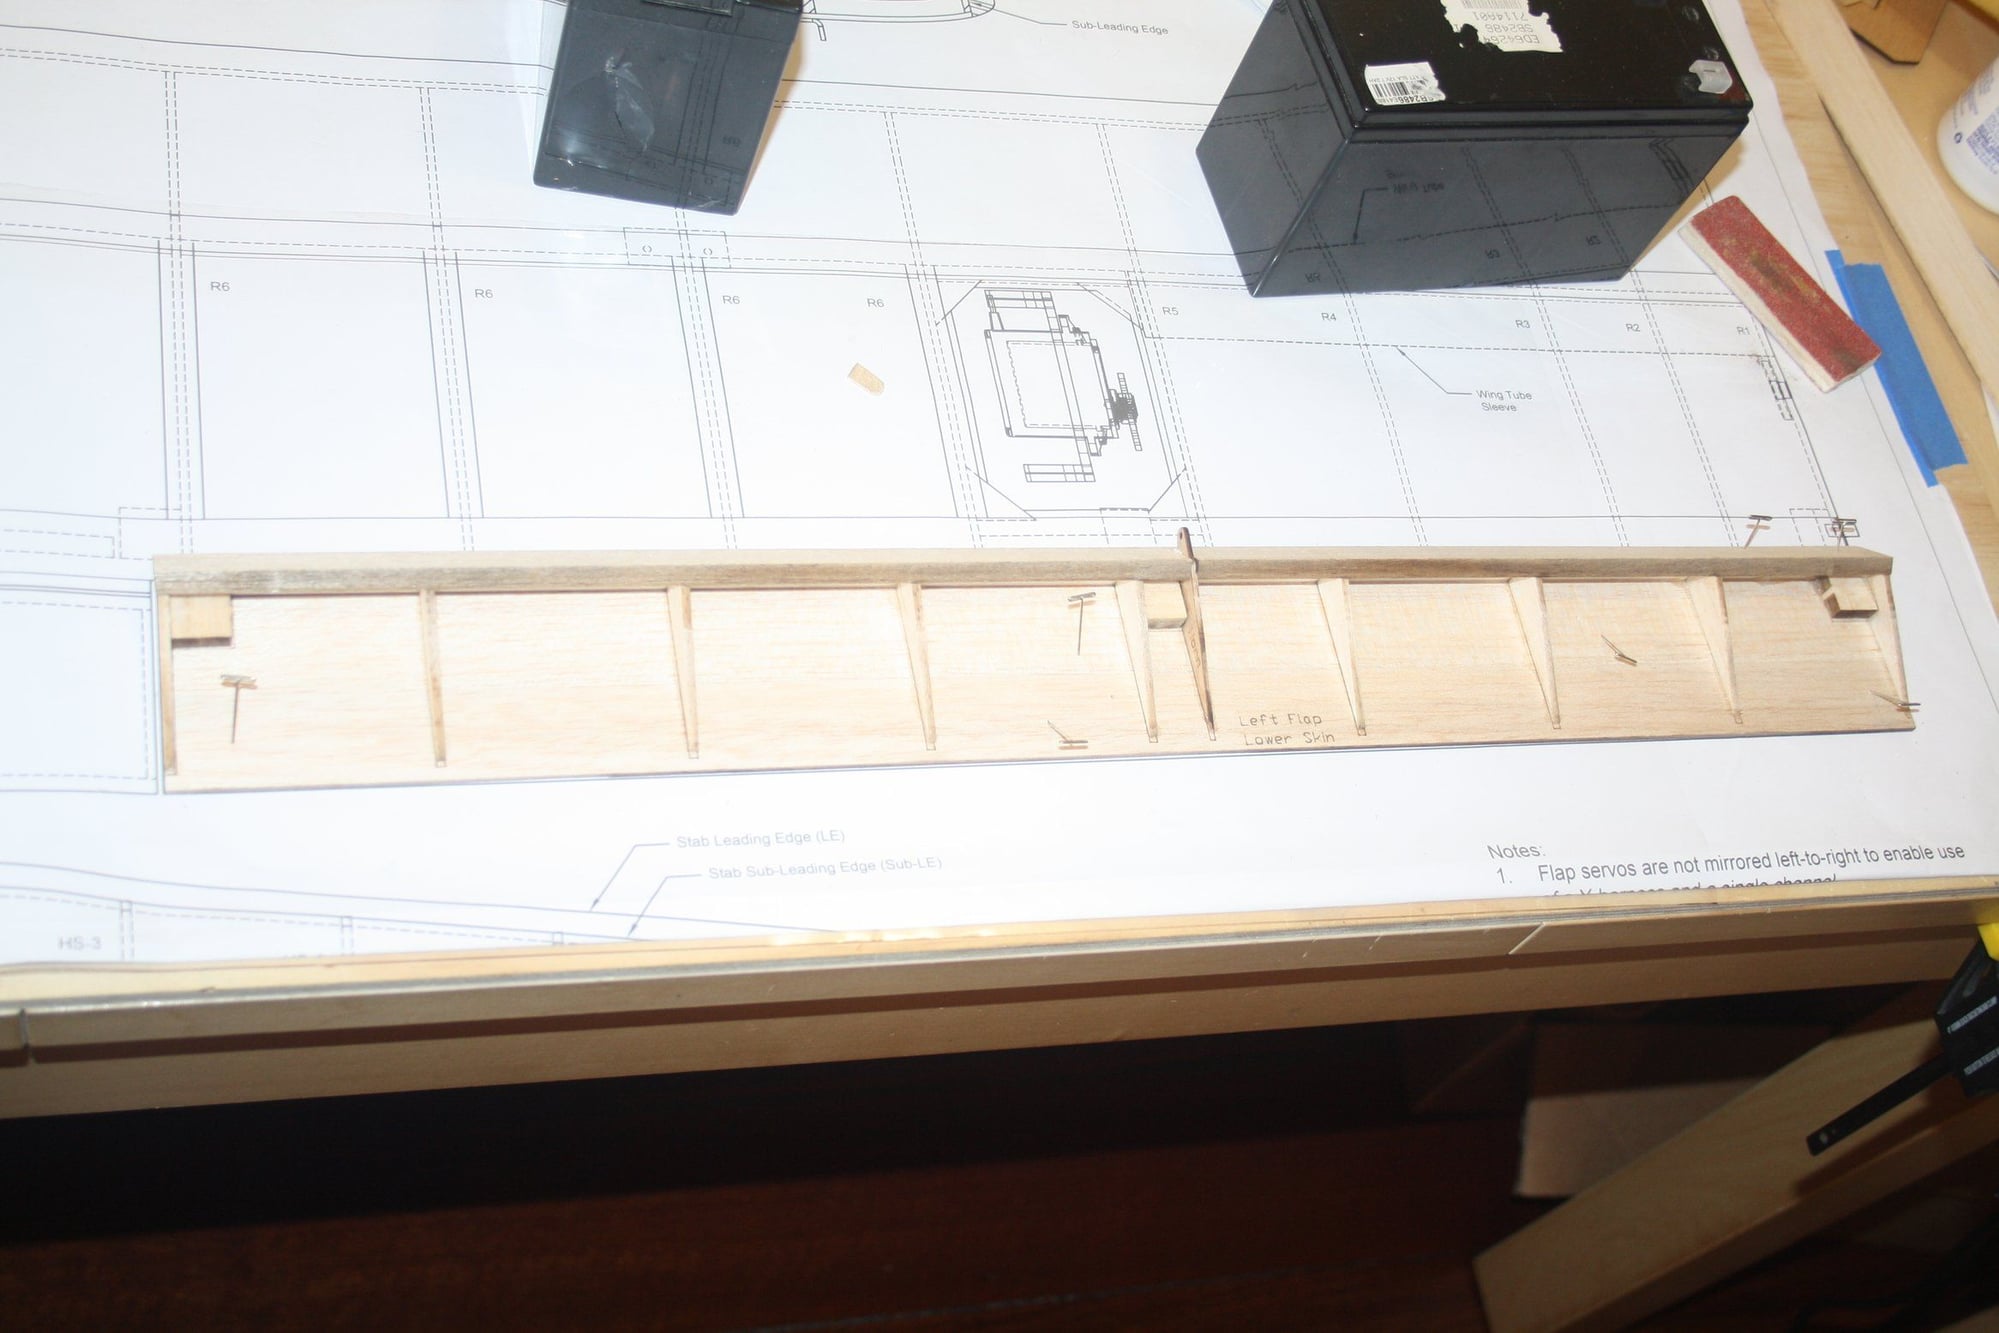
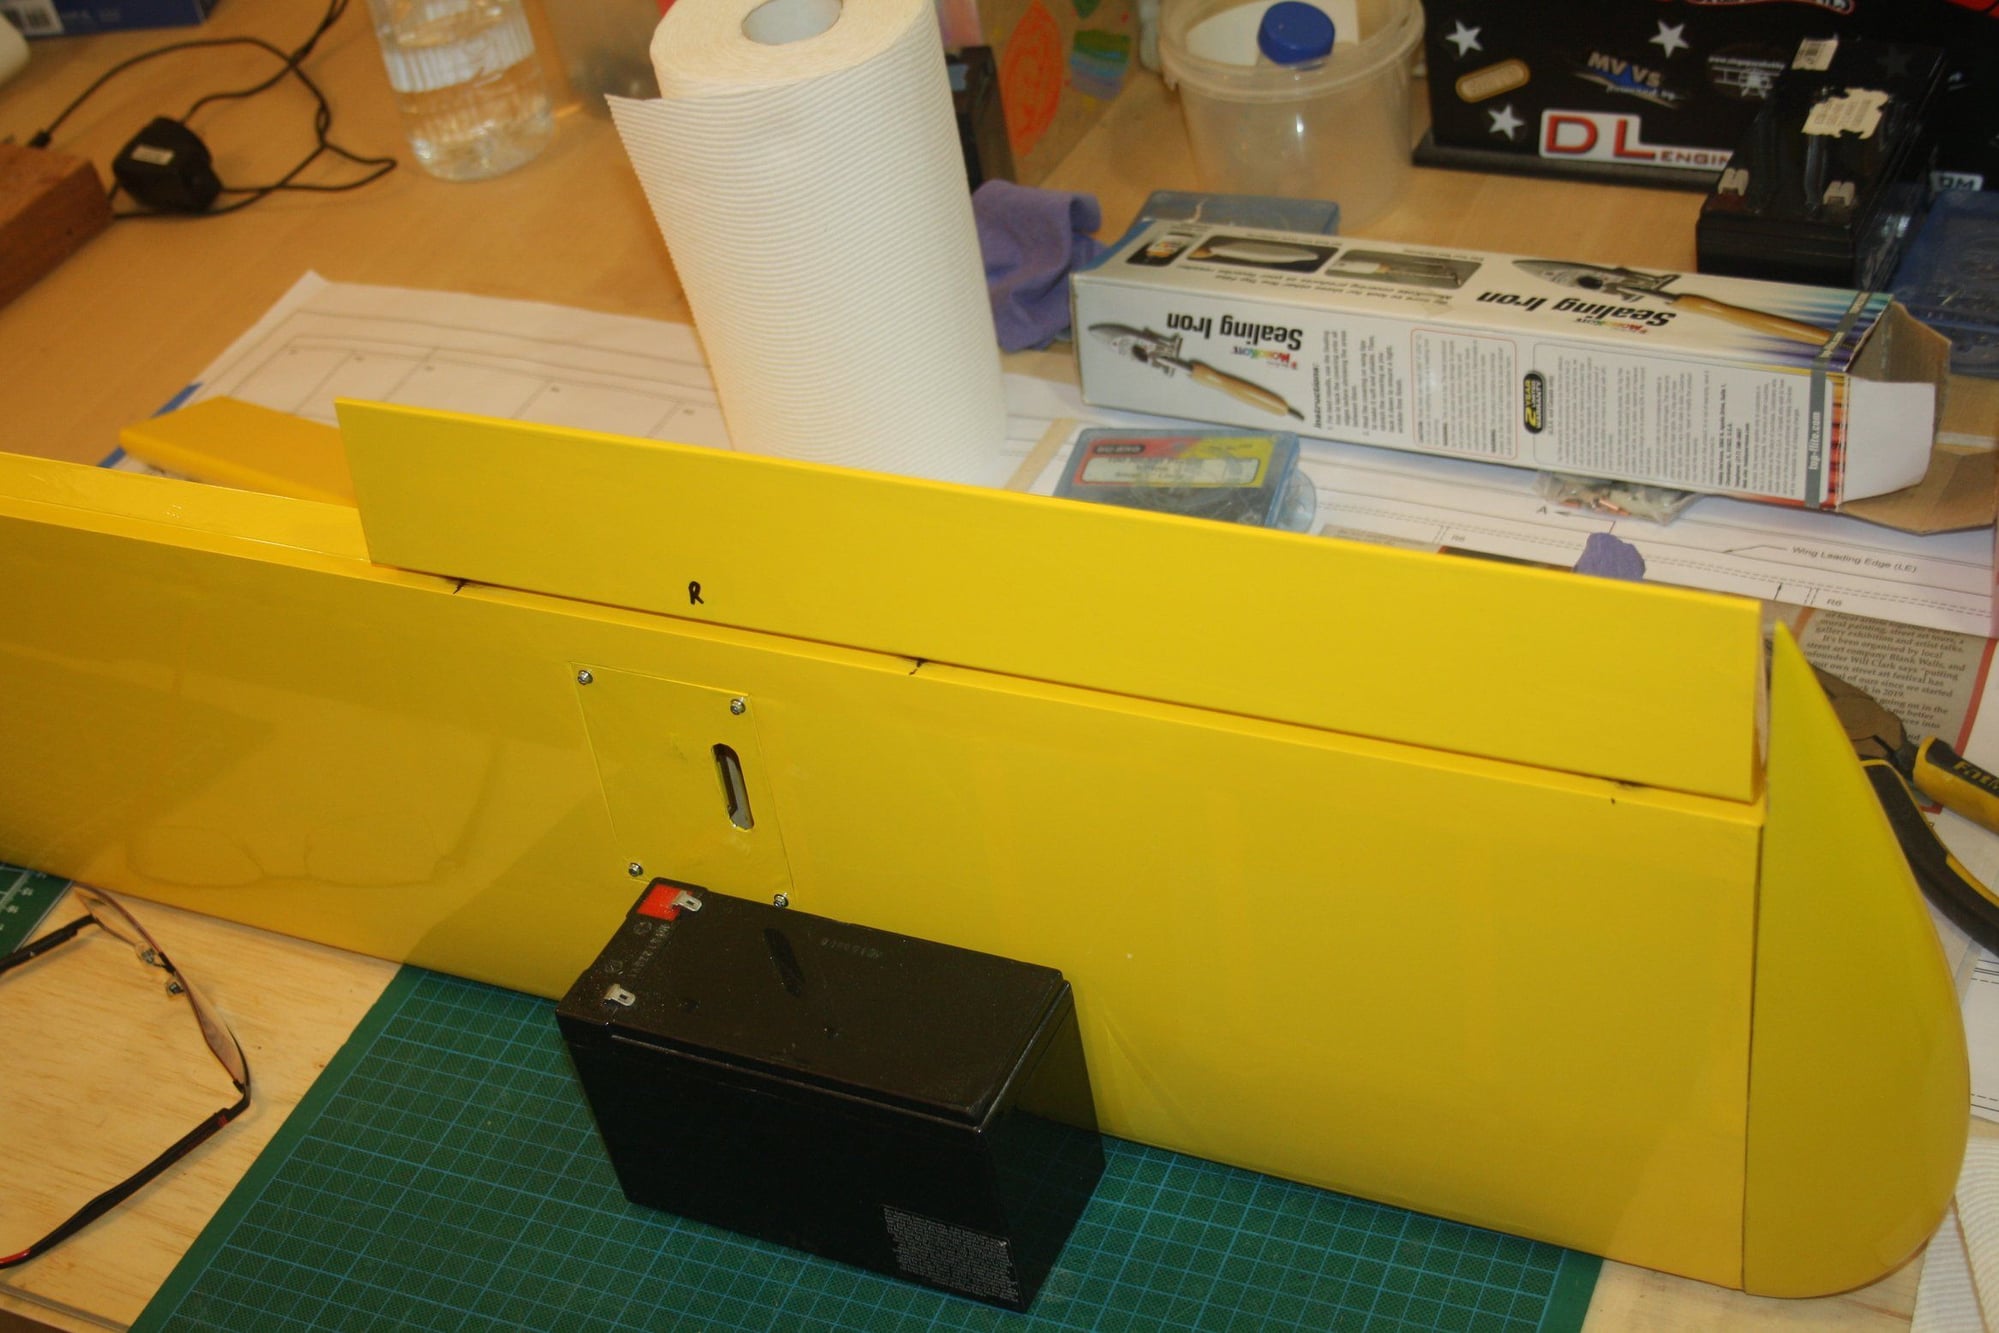
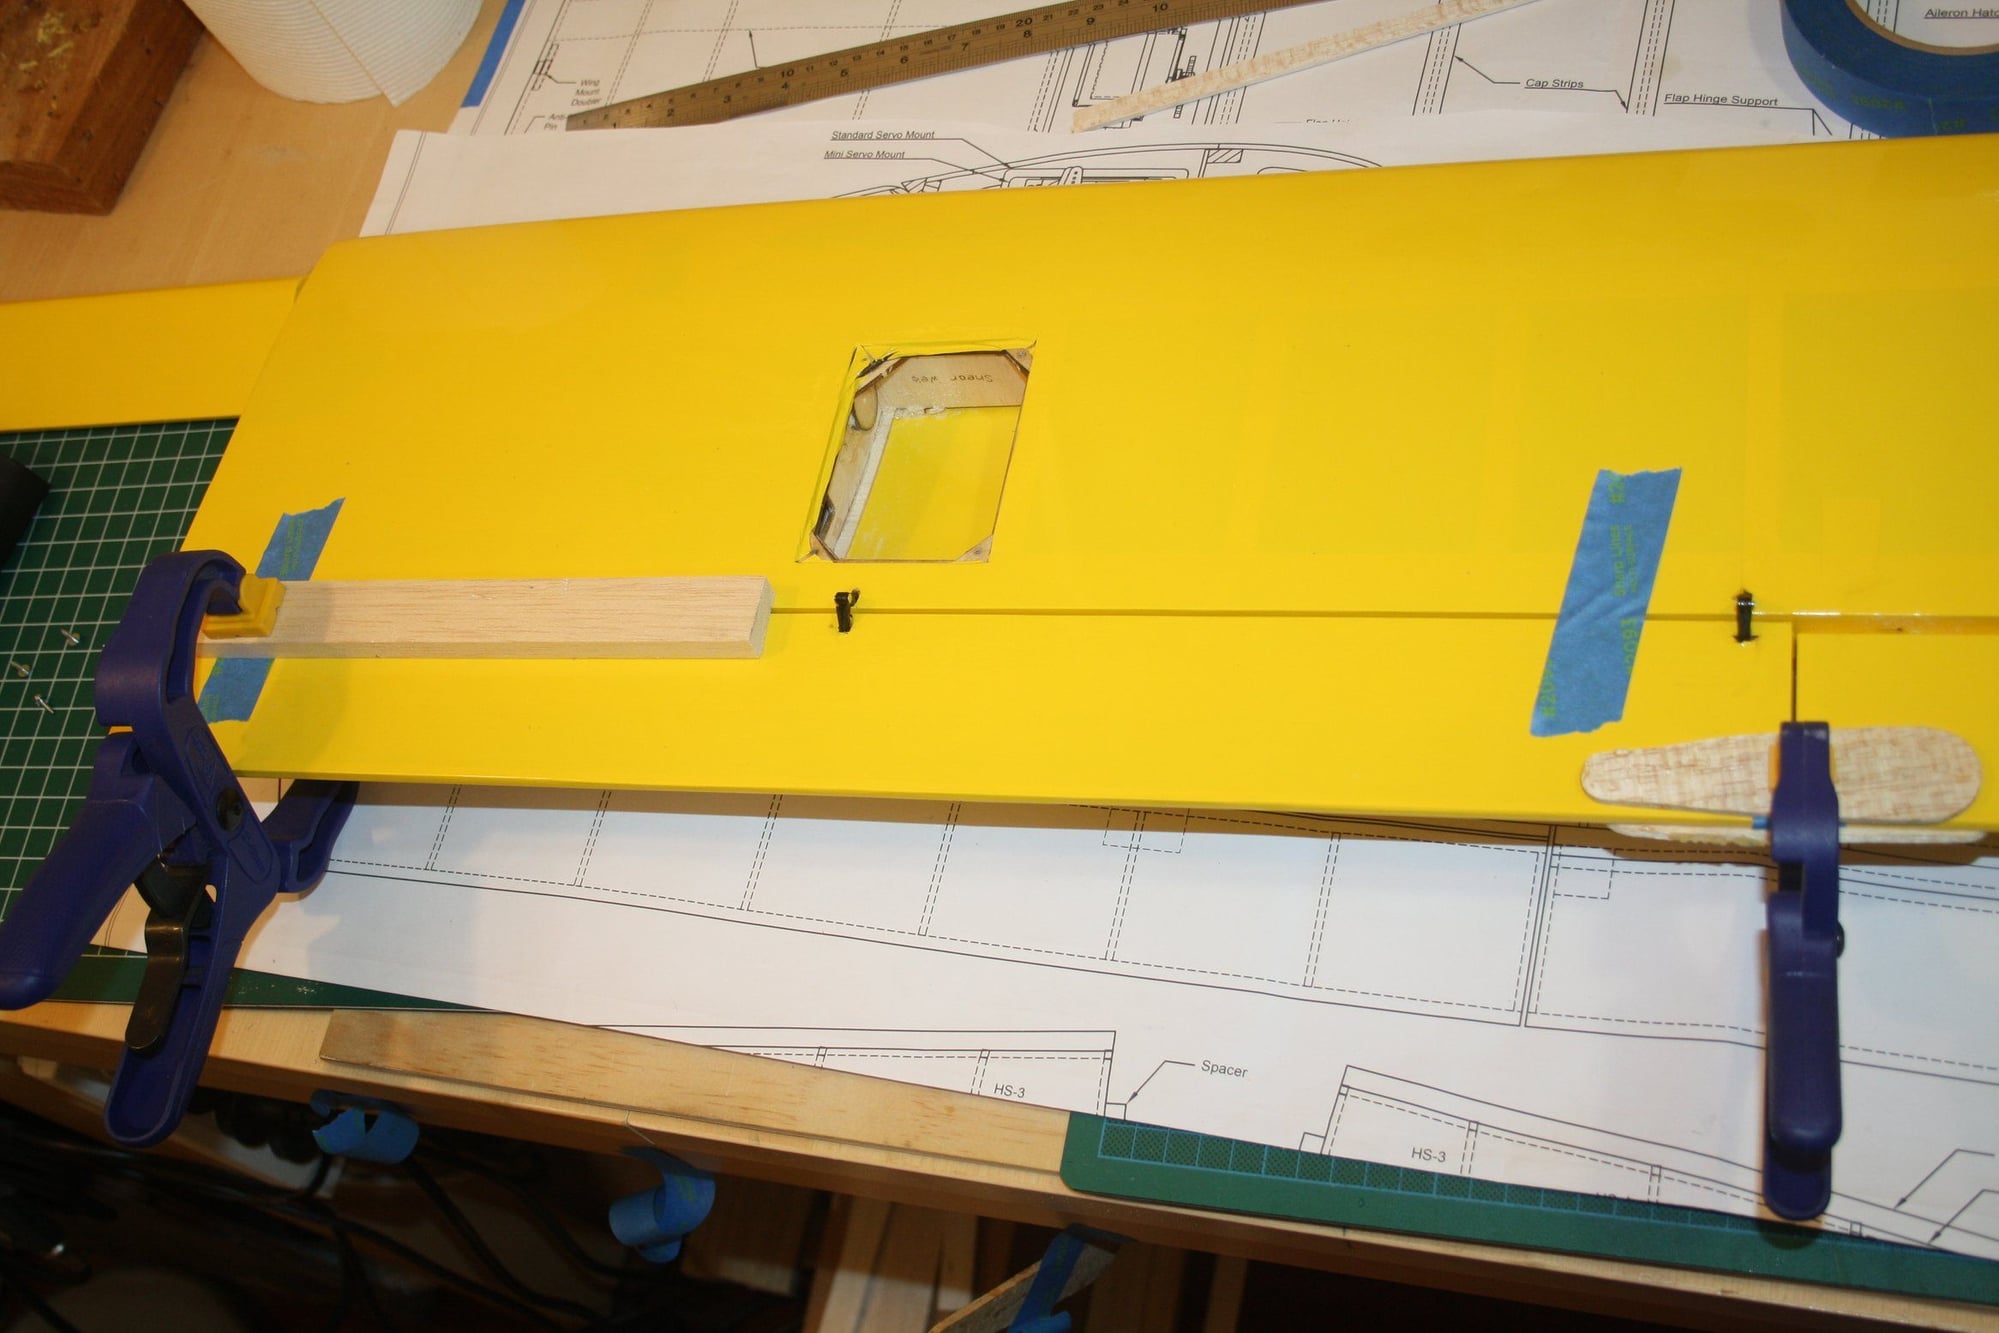
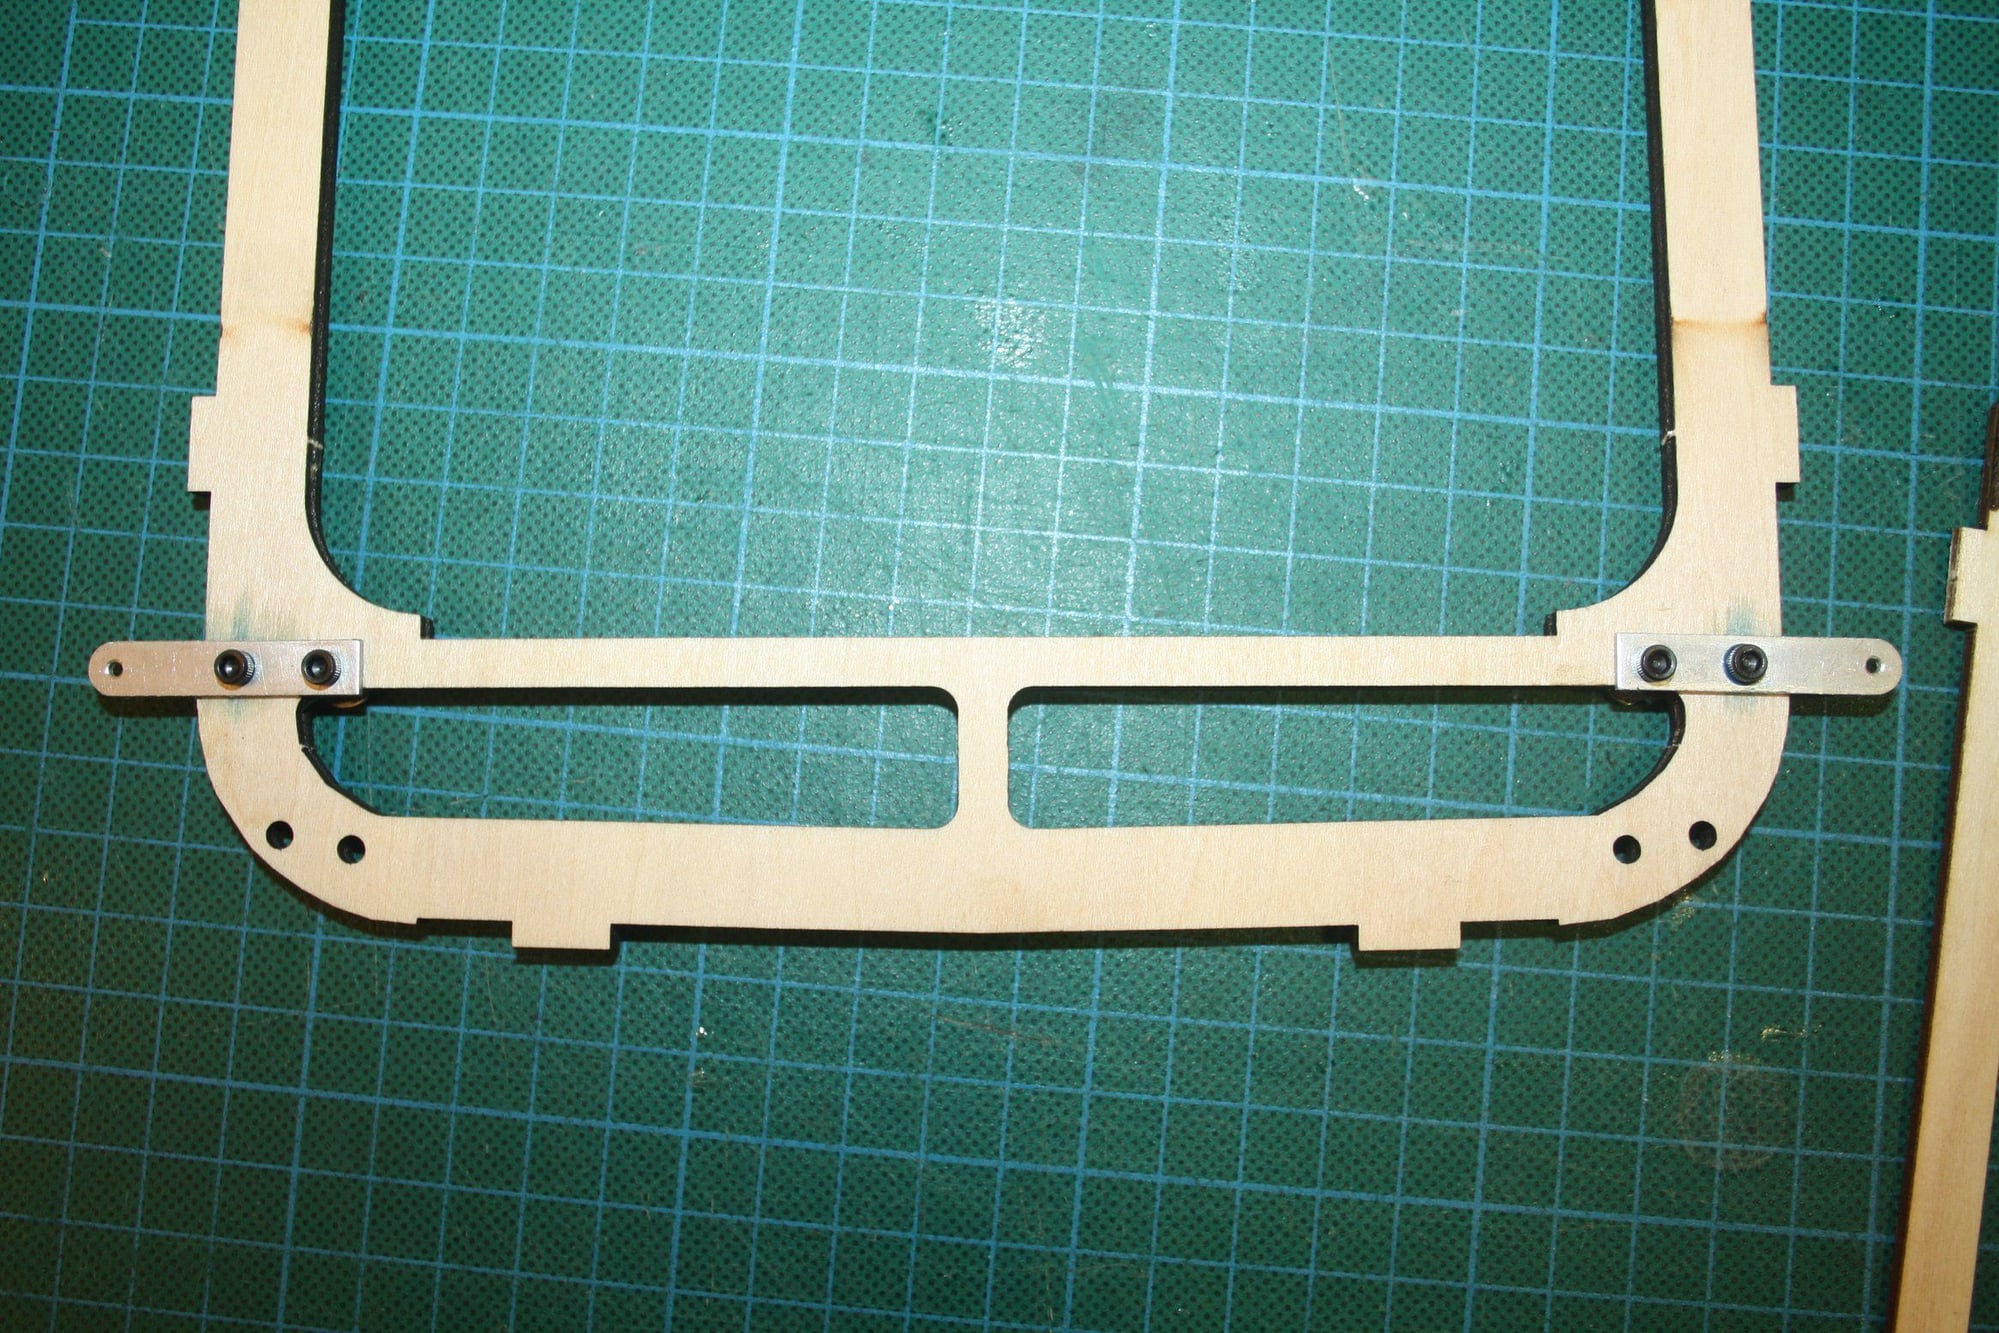
With the wing spars in place, the two servo hatch plywood liners are glued into place. Next I got the wing tube ready and glued into place. Note that the wing tube end piece was not used as it was incorrect diameter.


Cheers,
Eran
Old 08-17-2022, 12:36 AM
  #33  
erans
Thread Starter
 
Join Date: Jun 2008
Location: Perth WA, AUSTRALIA
Posts: 1,204
Likes: 0
Received 9 Likes on 9 Posts
Default

Next were the 3mm lite-ply hatches doublers, hinge support blocks and anti-rotation pins.


Cheers,
Eran
Old 08-28-2022, 03:37 AM
  #34  
erans
Thread Starter
 
Join Date: Jun 2008
Location: Perth WA, AUSTRALIA
Posts: 1,204
Likes: 0
Received 9 Likes on 9 Posts
Default

Not in the sequence suggested by the manual, I now glued the shear webs and hinges support blocks, followed by sanding the TE to shape


Cheers,
Eran
Old 08-28-2022, 03:49 AM
  #35  
erans
Thread Starter
 
Join Date: Jun 2008
Location: Perth WA, AUSTRALIA
Posts: 1,204
Likes: 0
Received 9 Likes on 9 Posts
Default

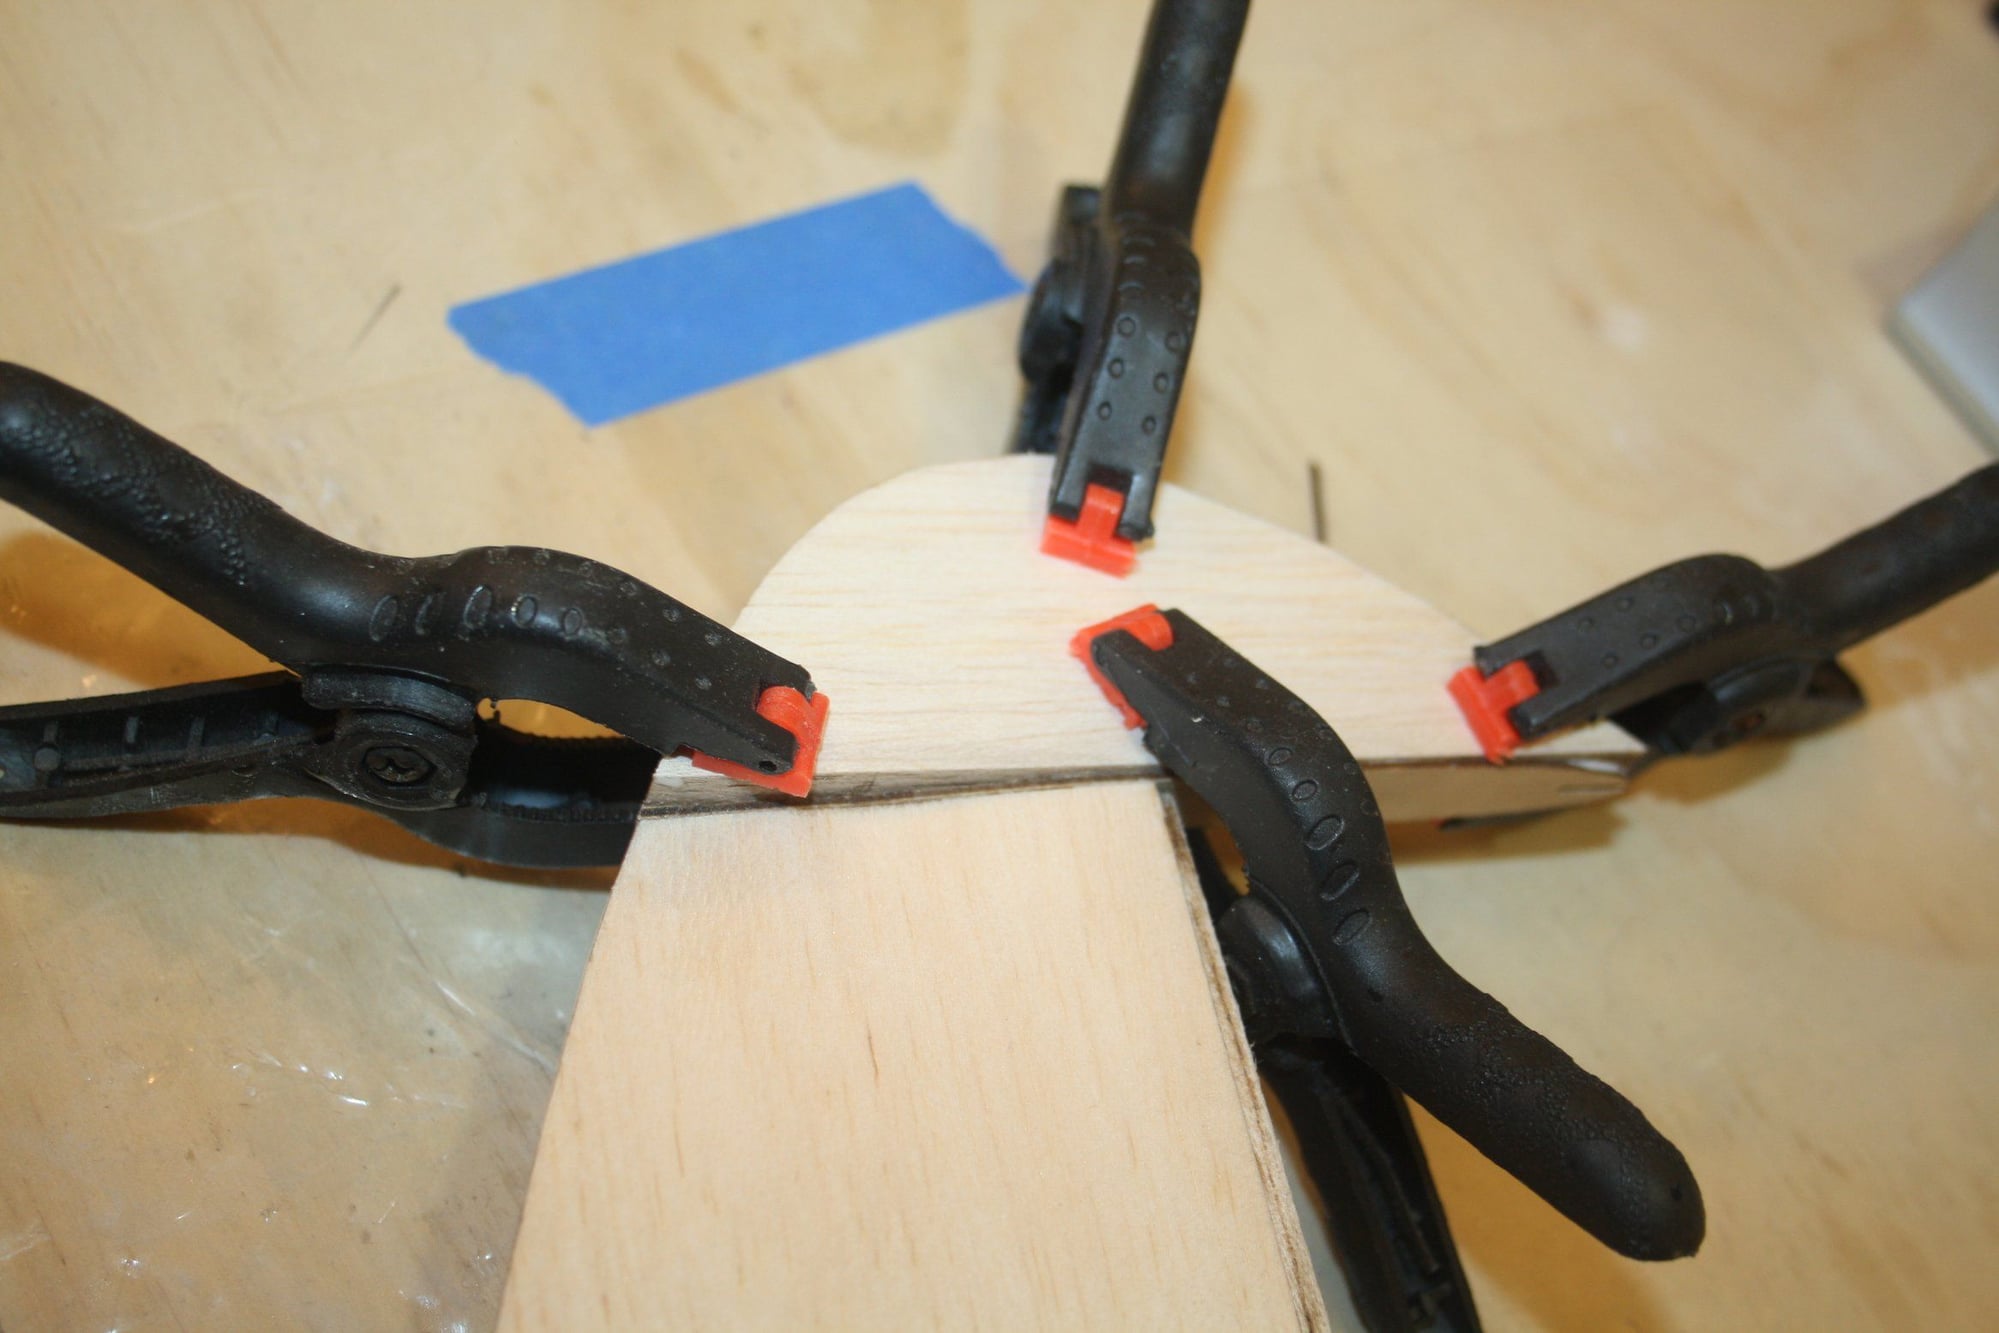
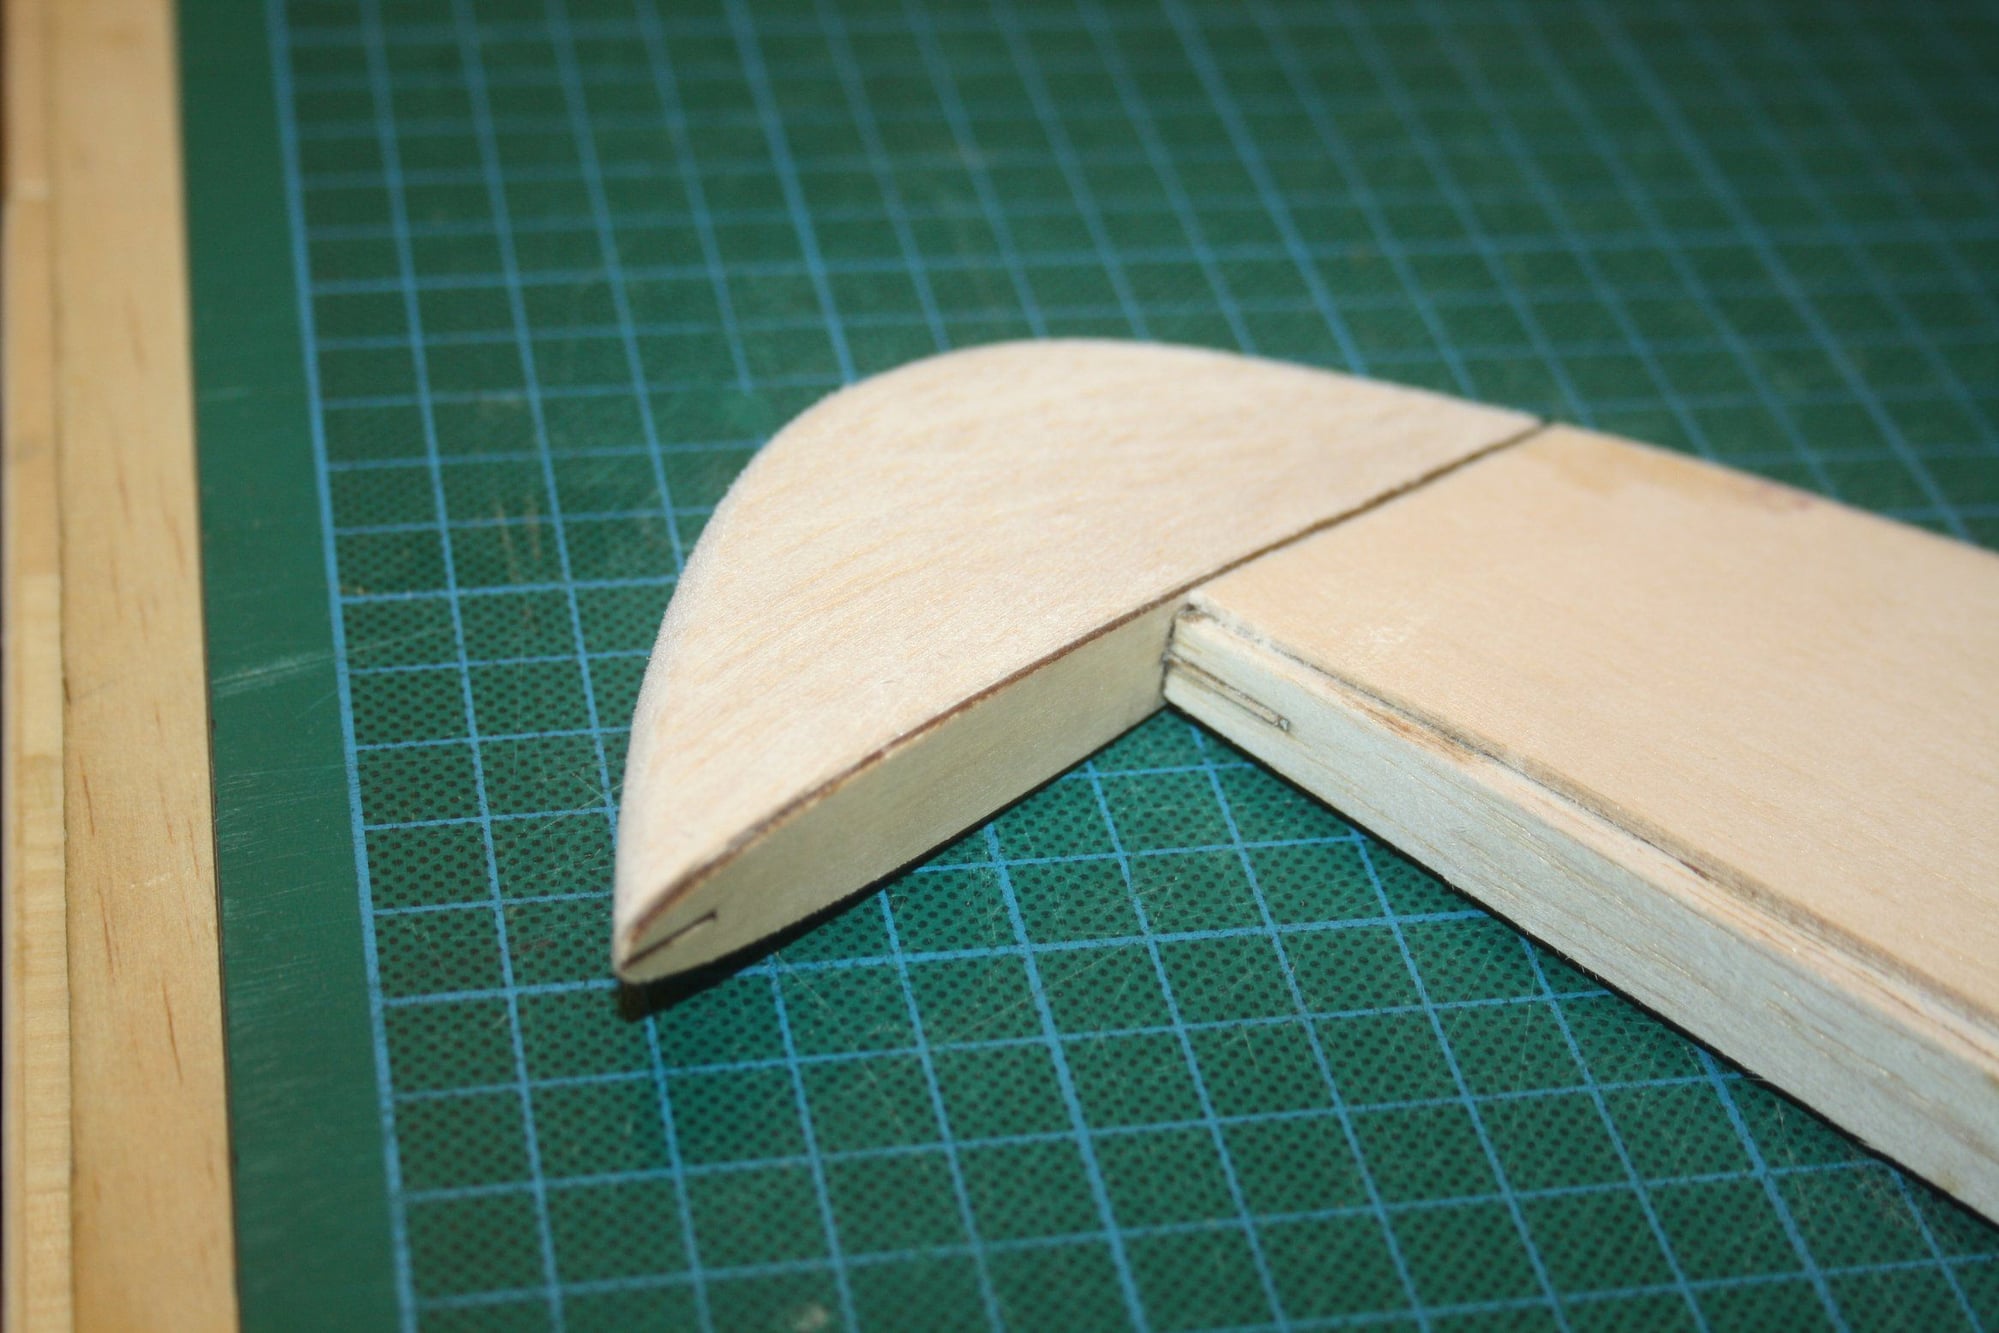
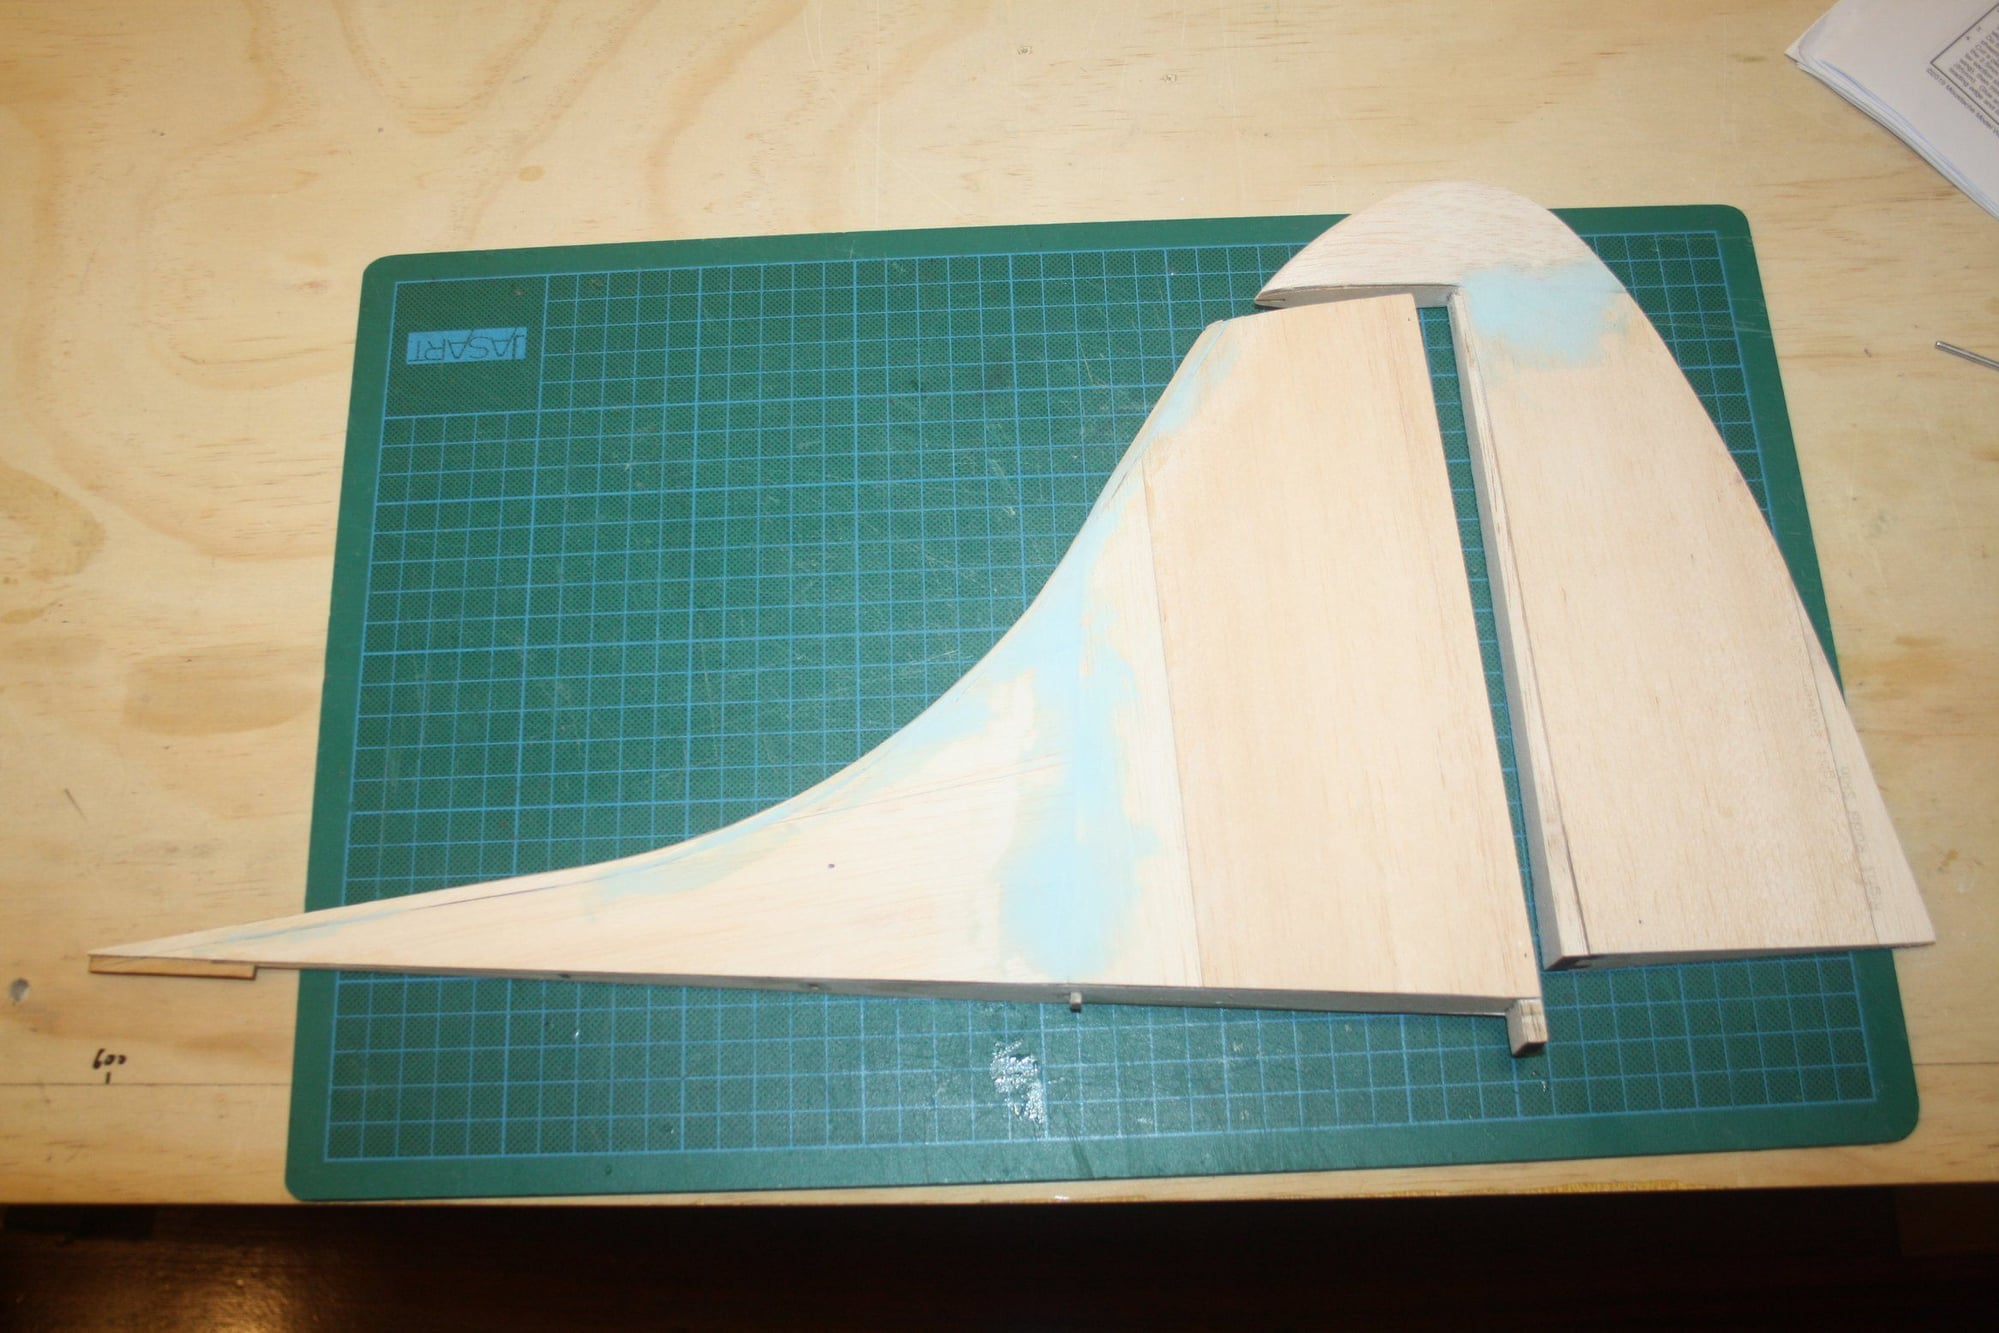
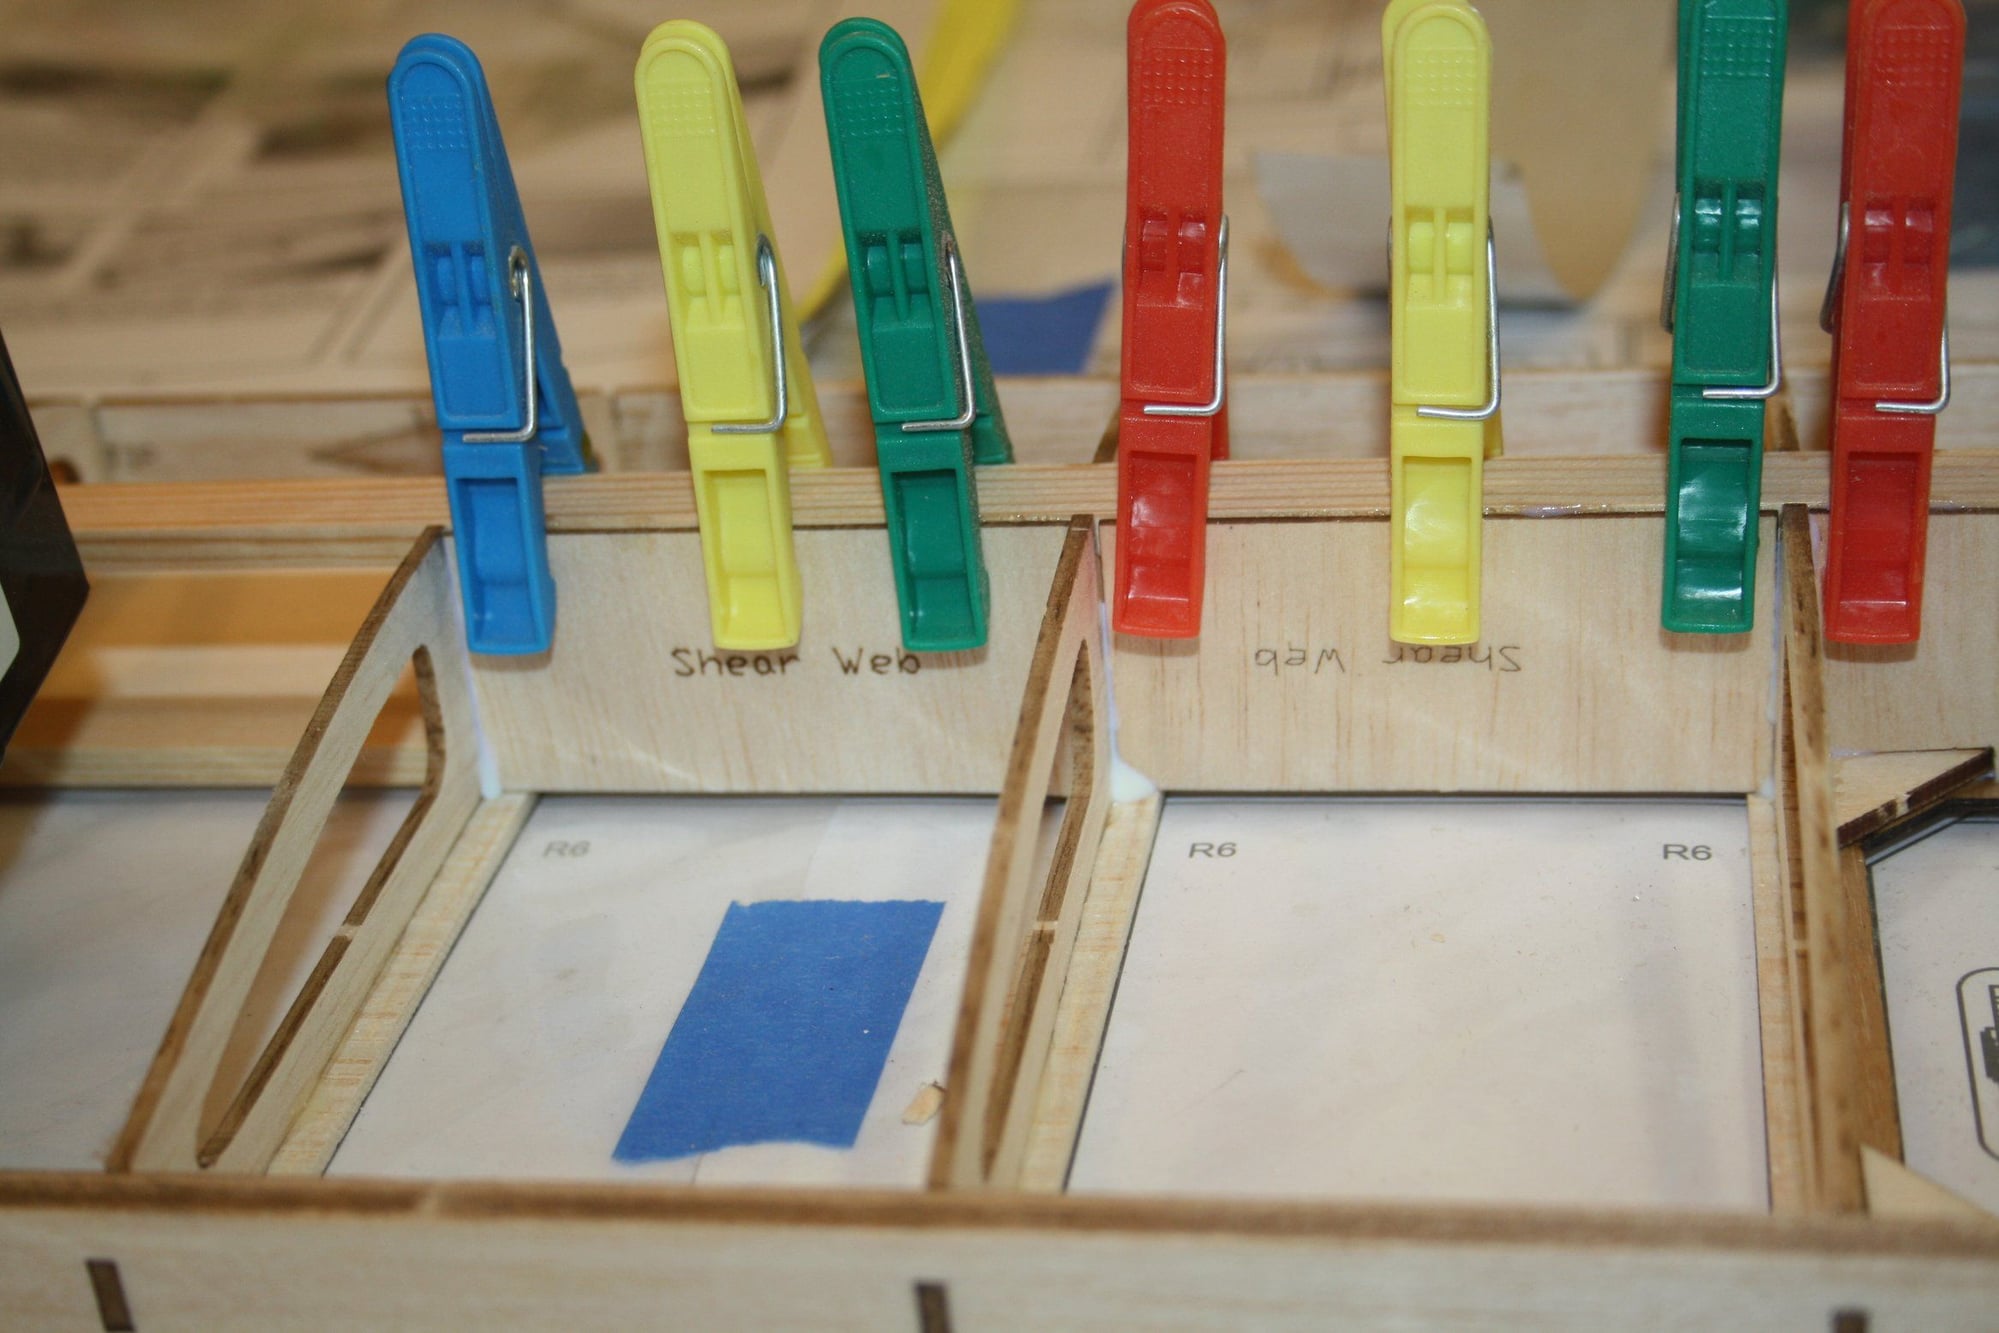
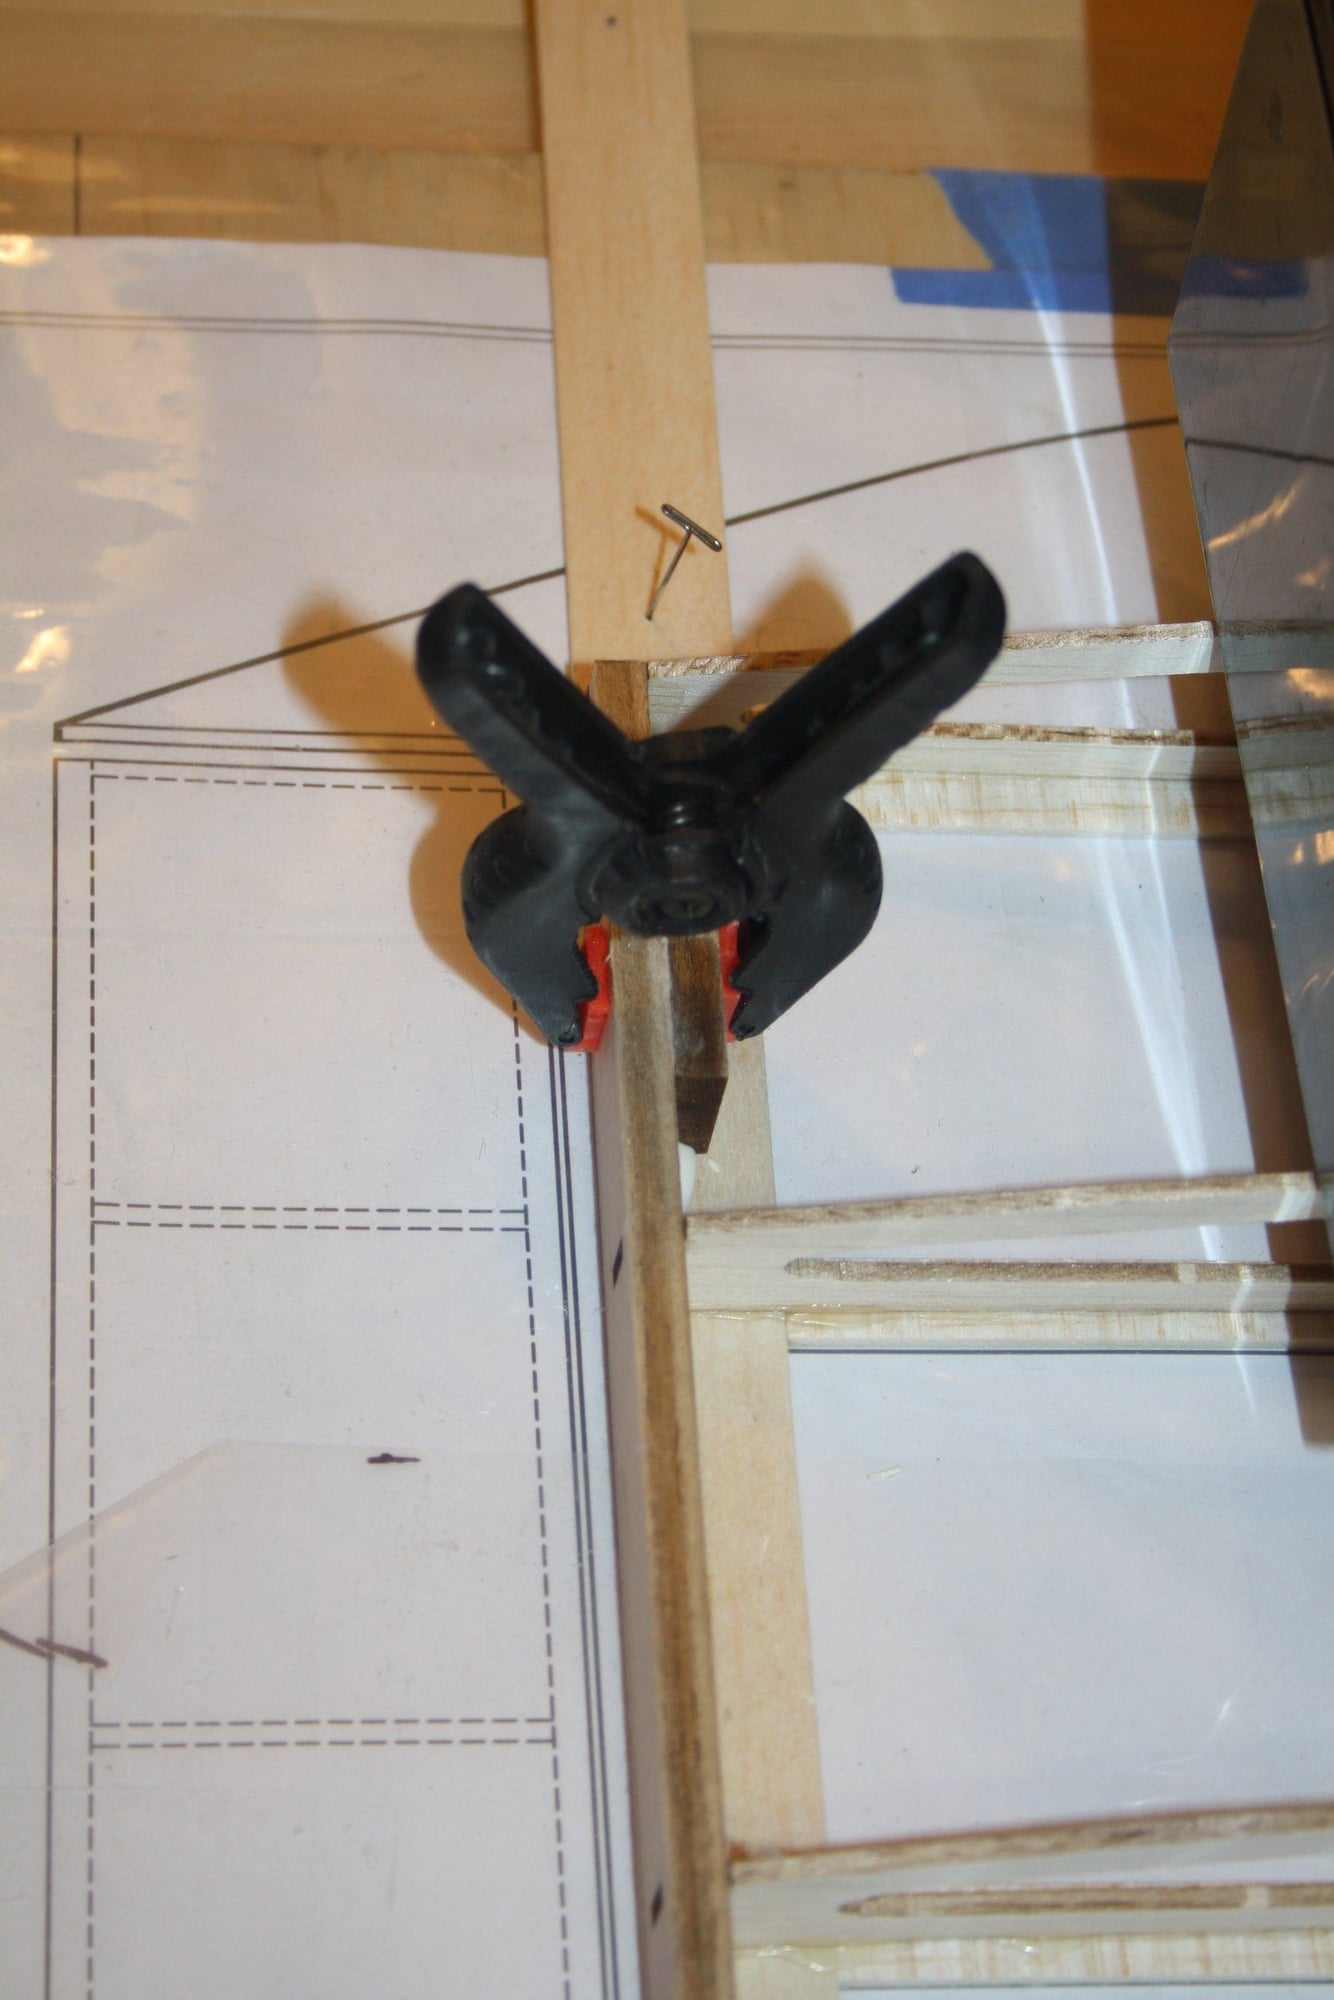
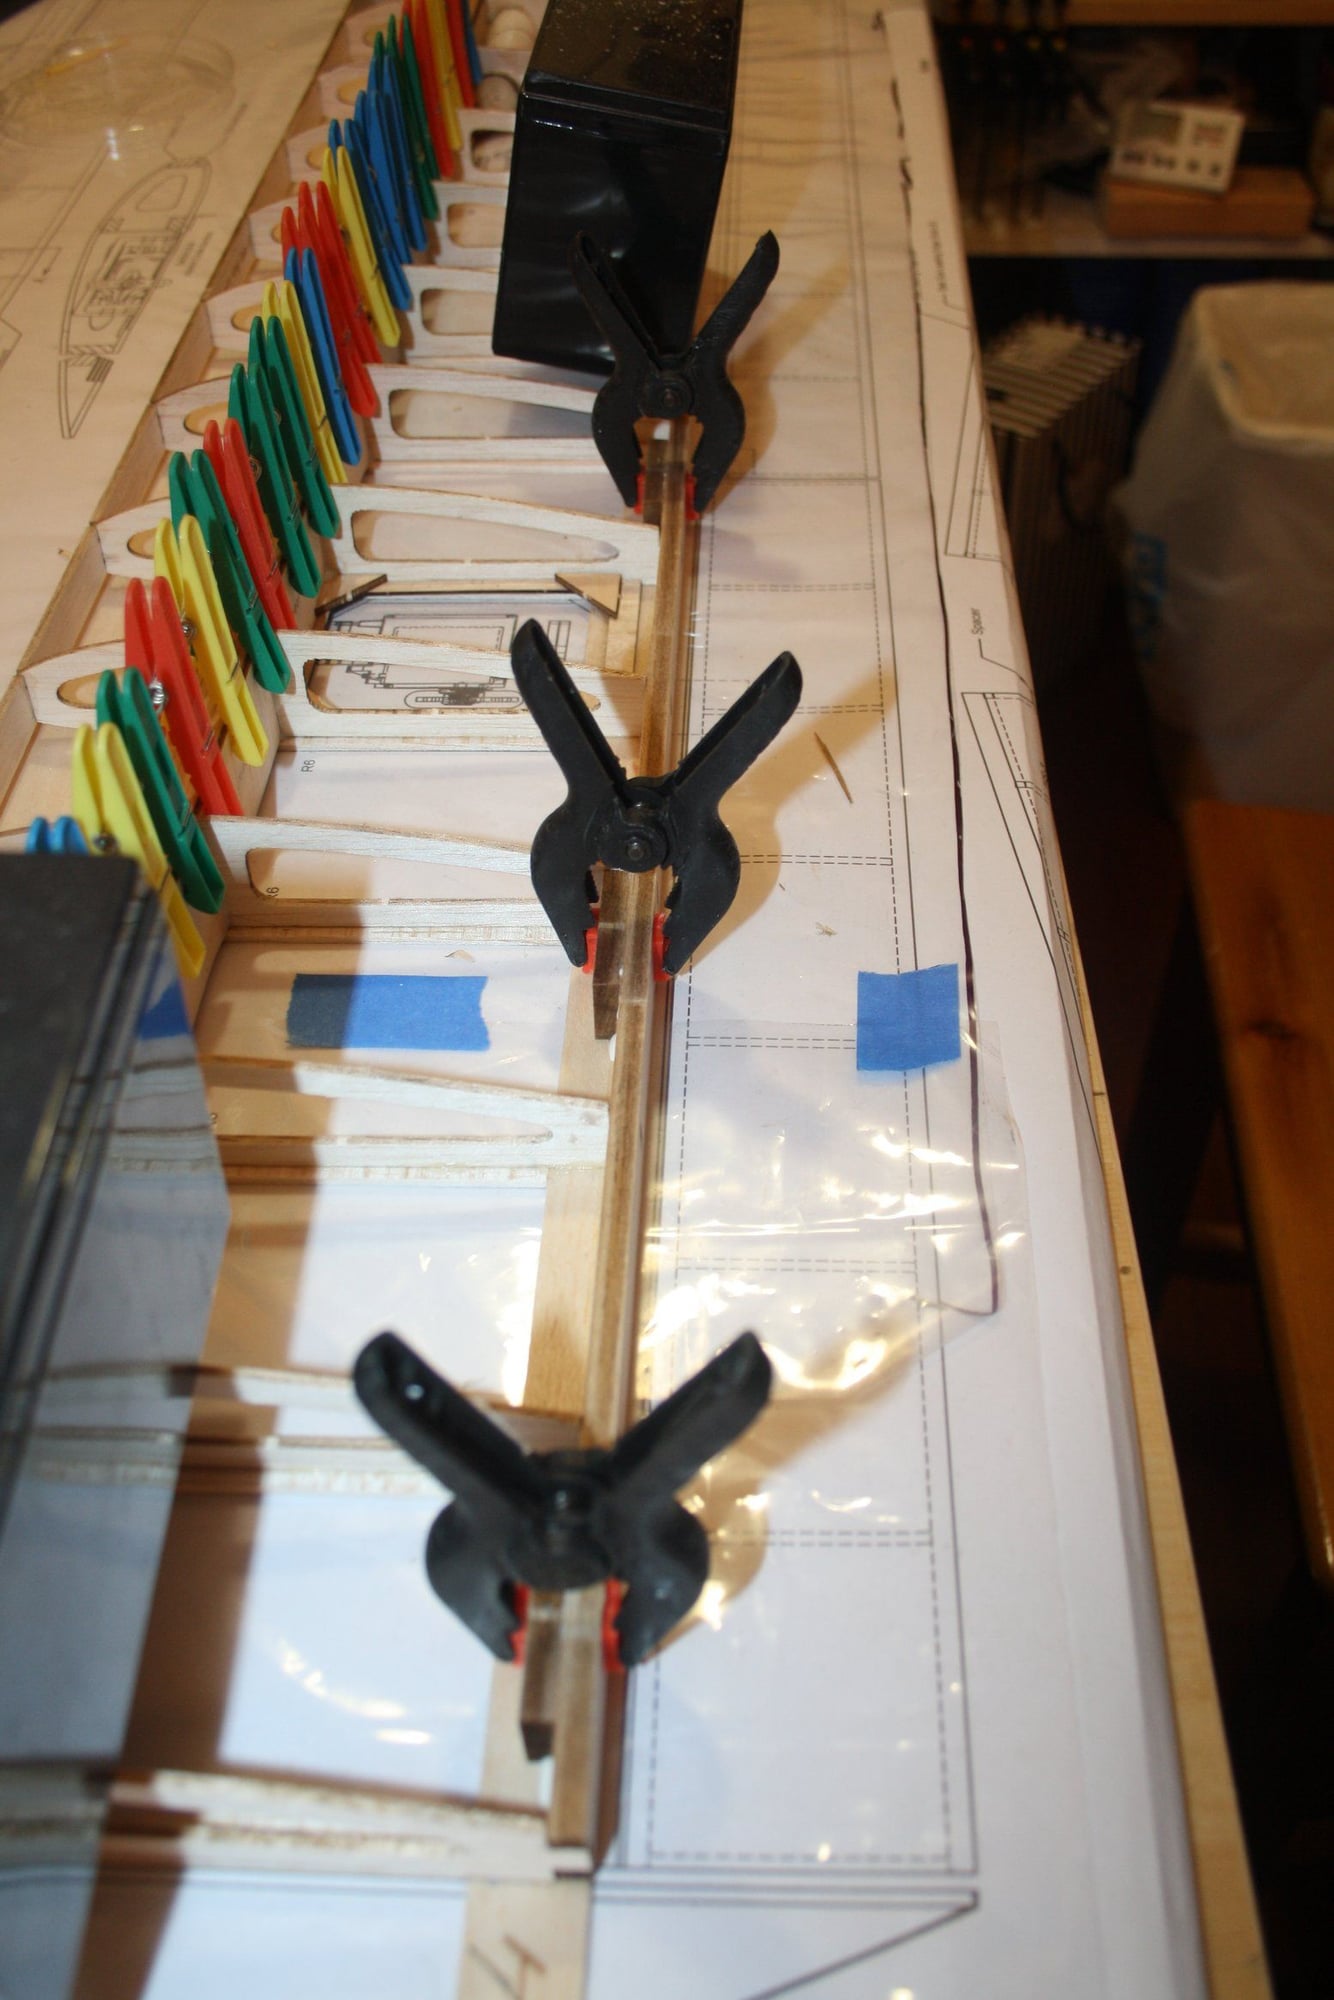
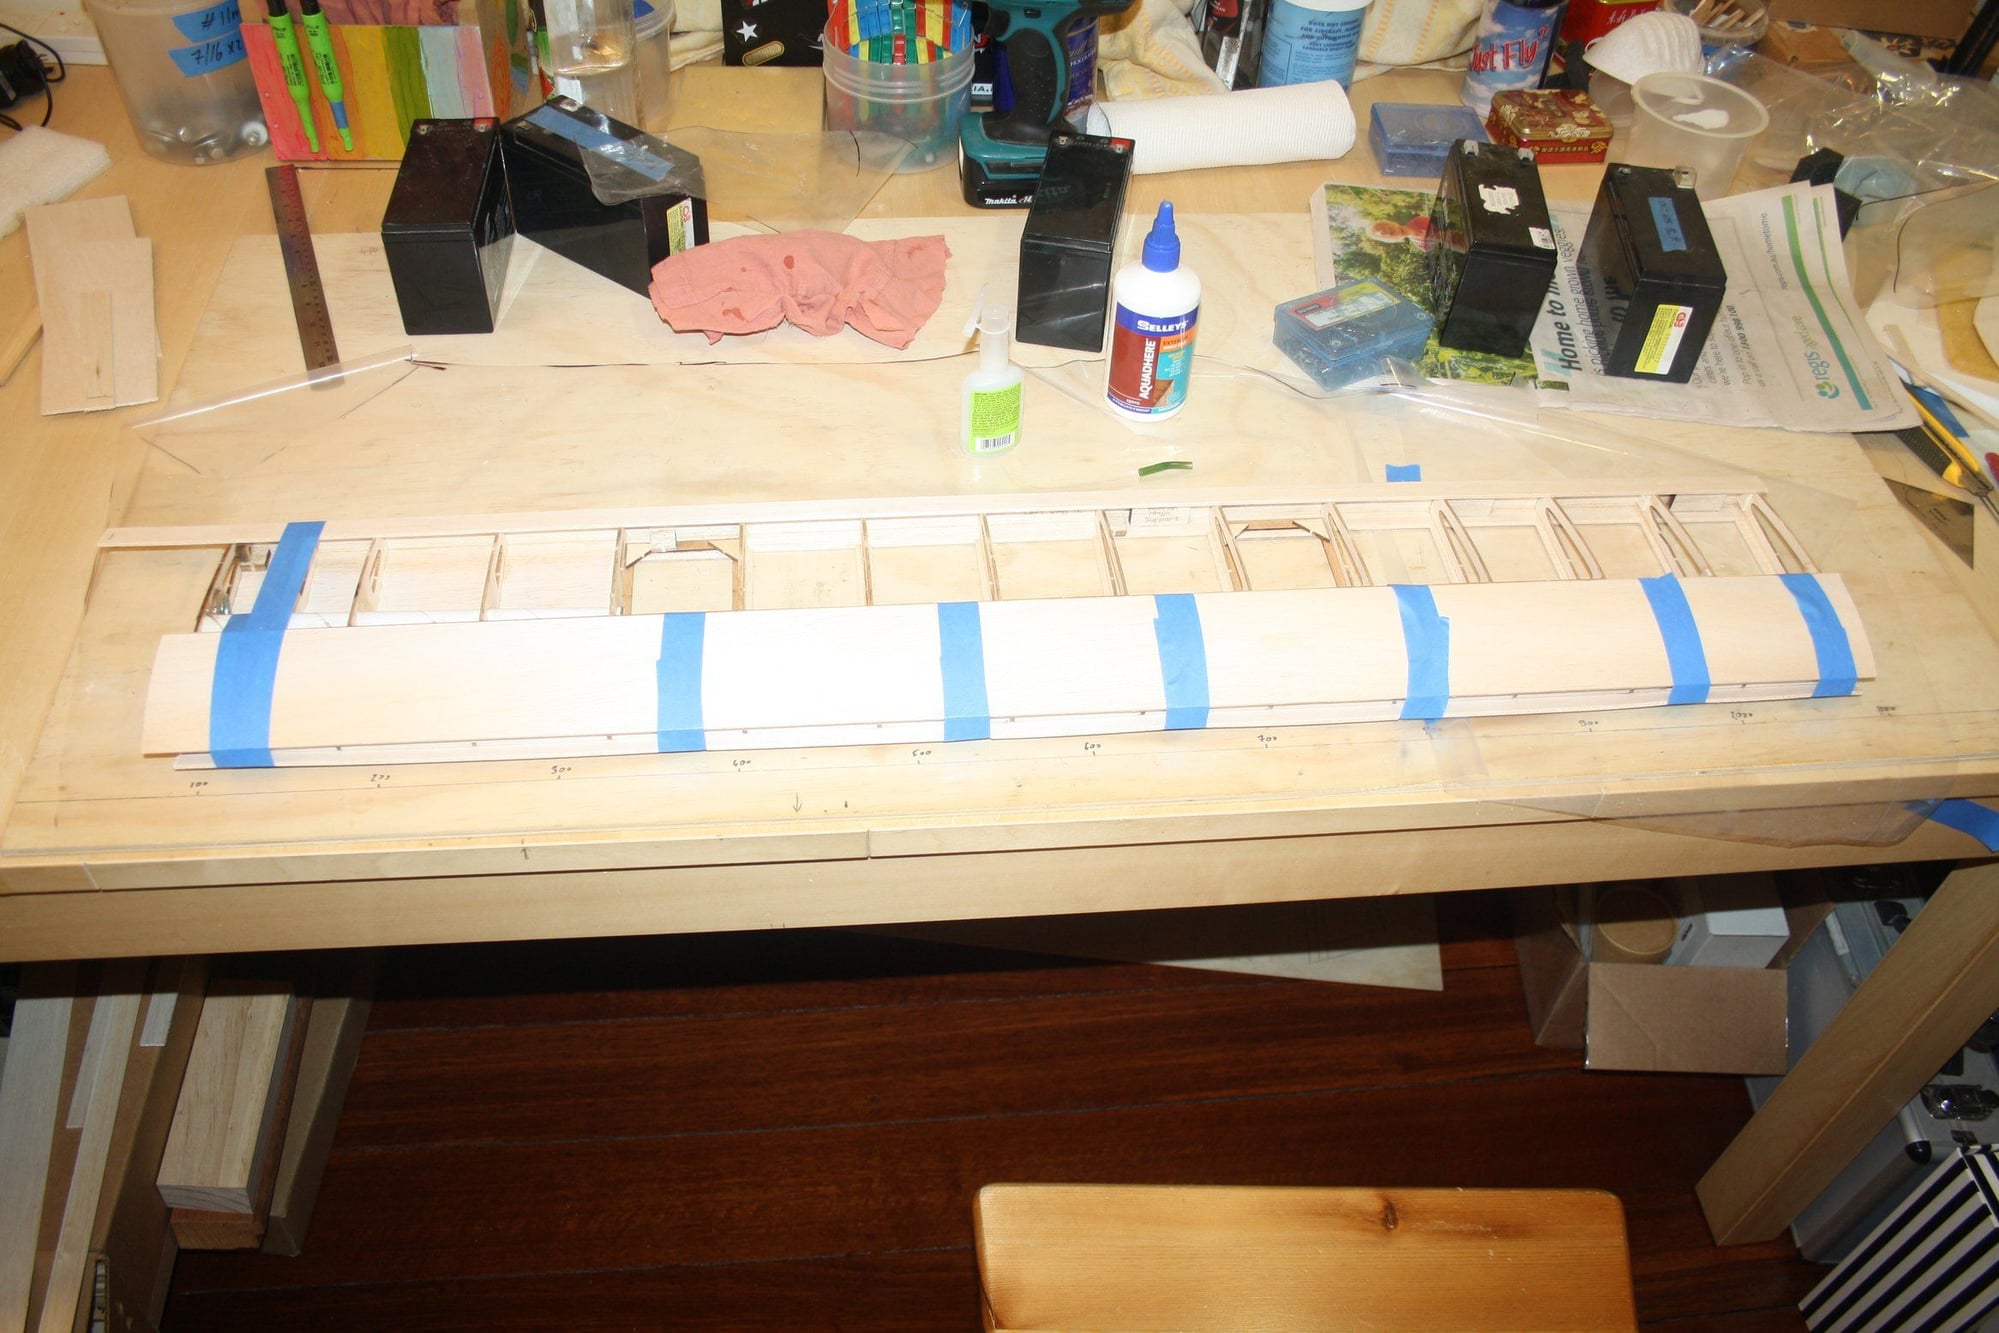
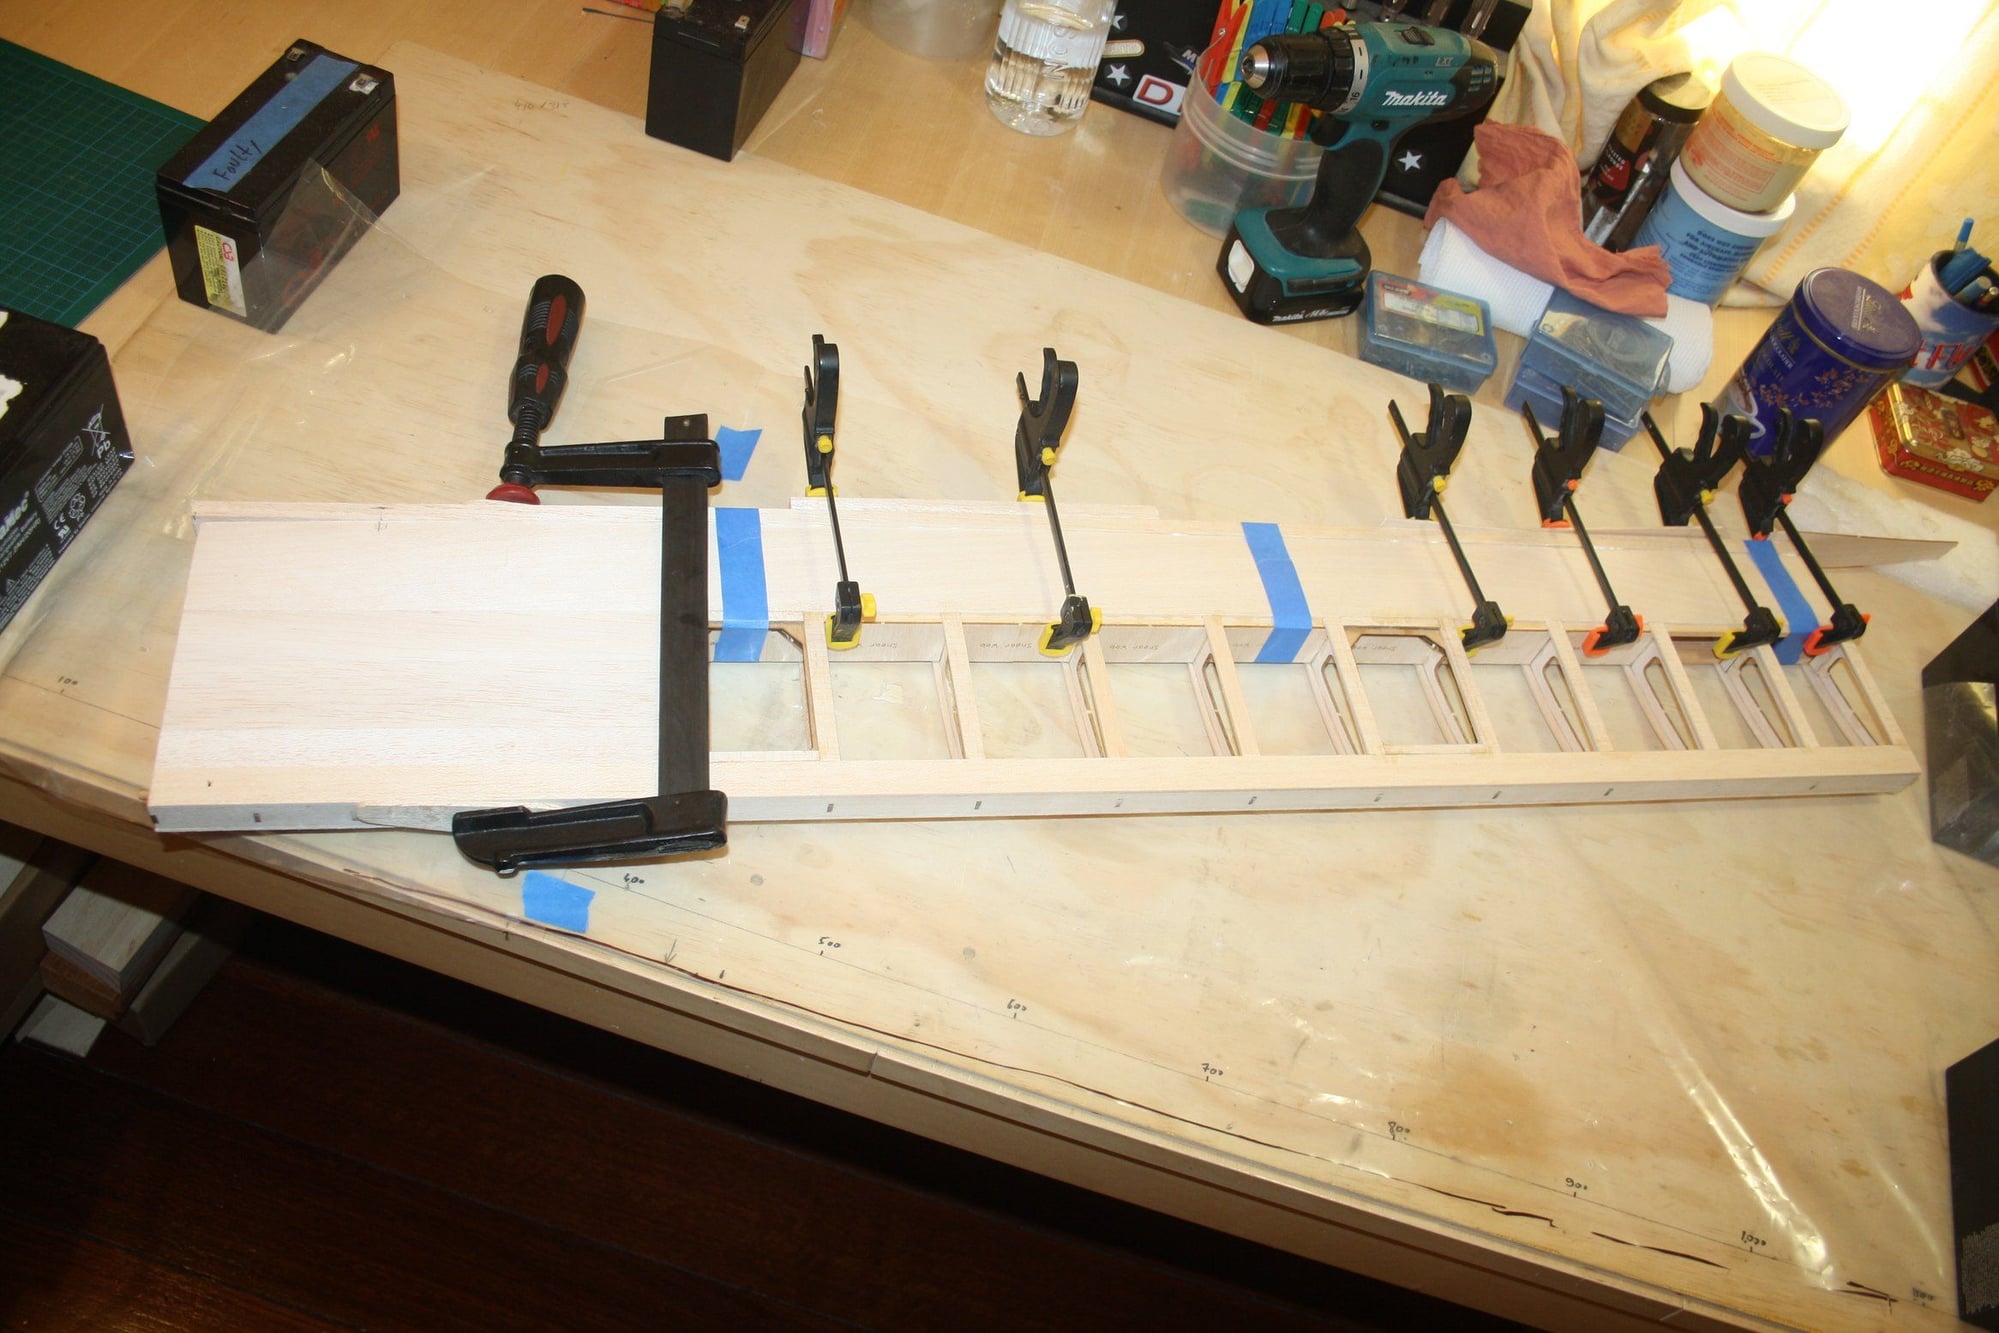
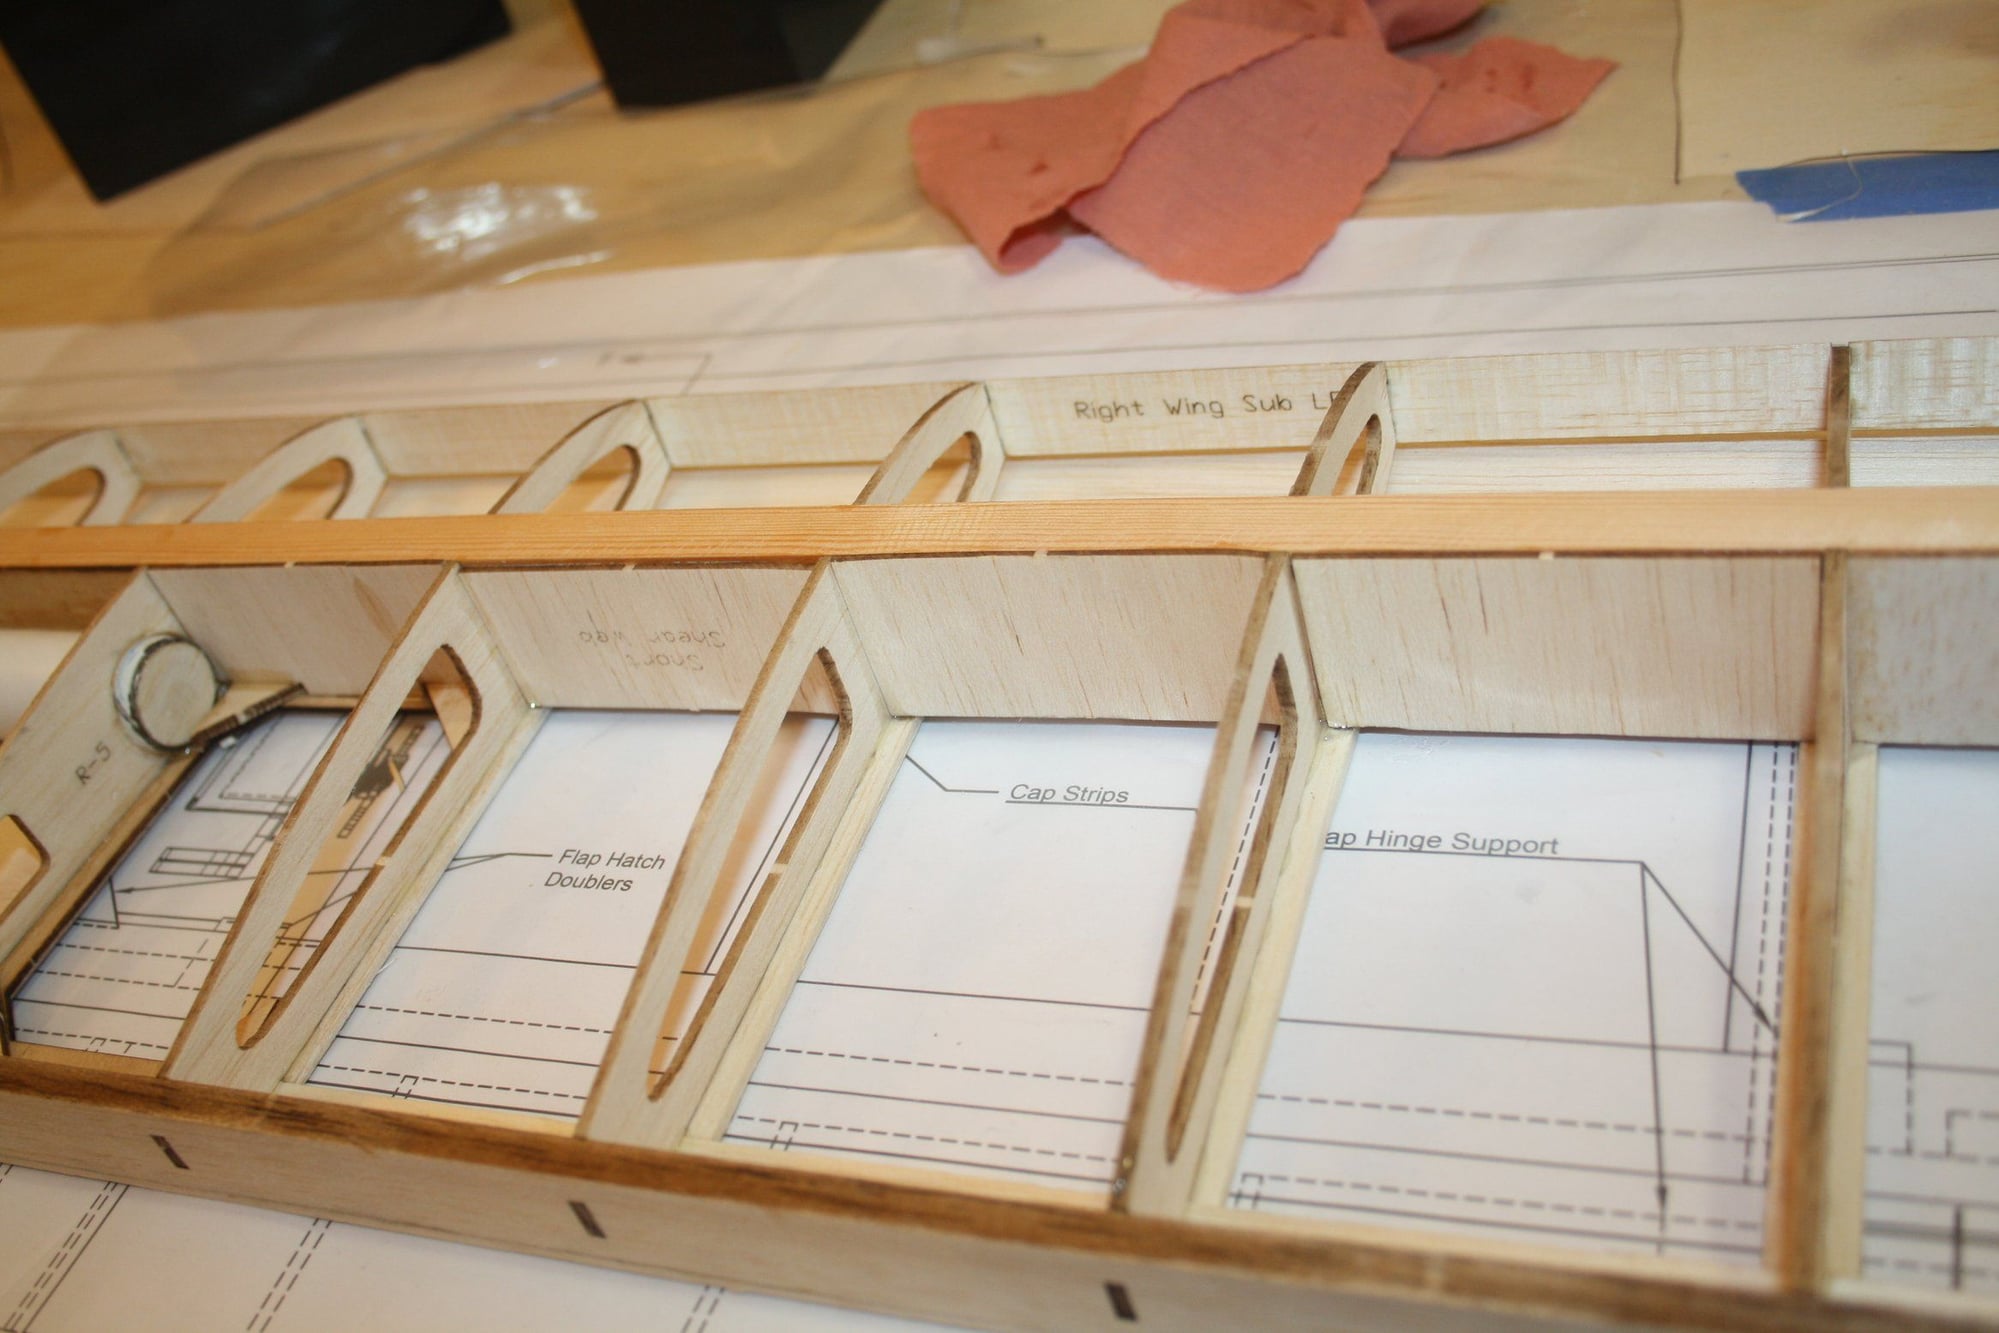
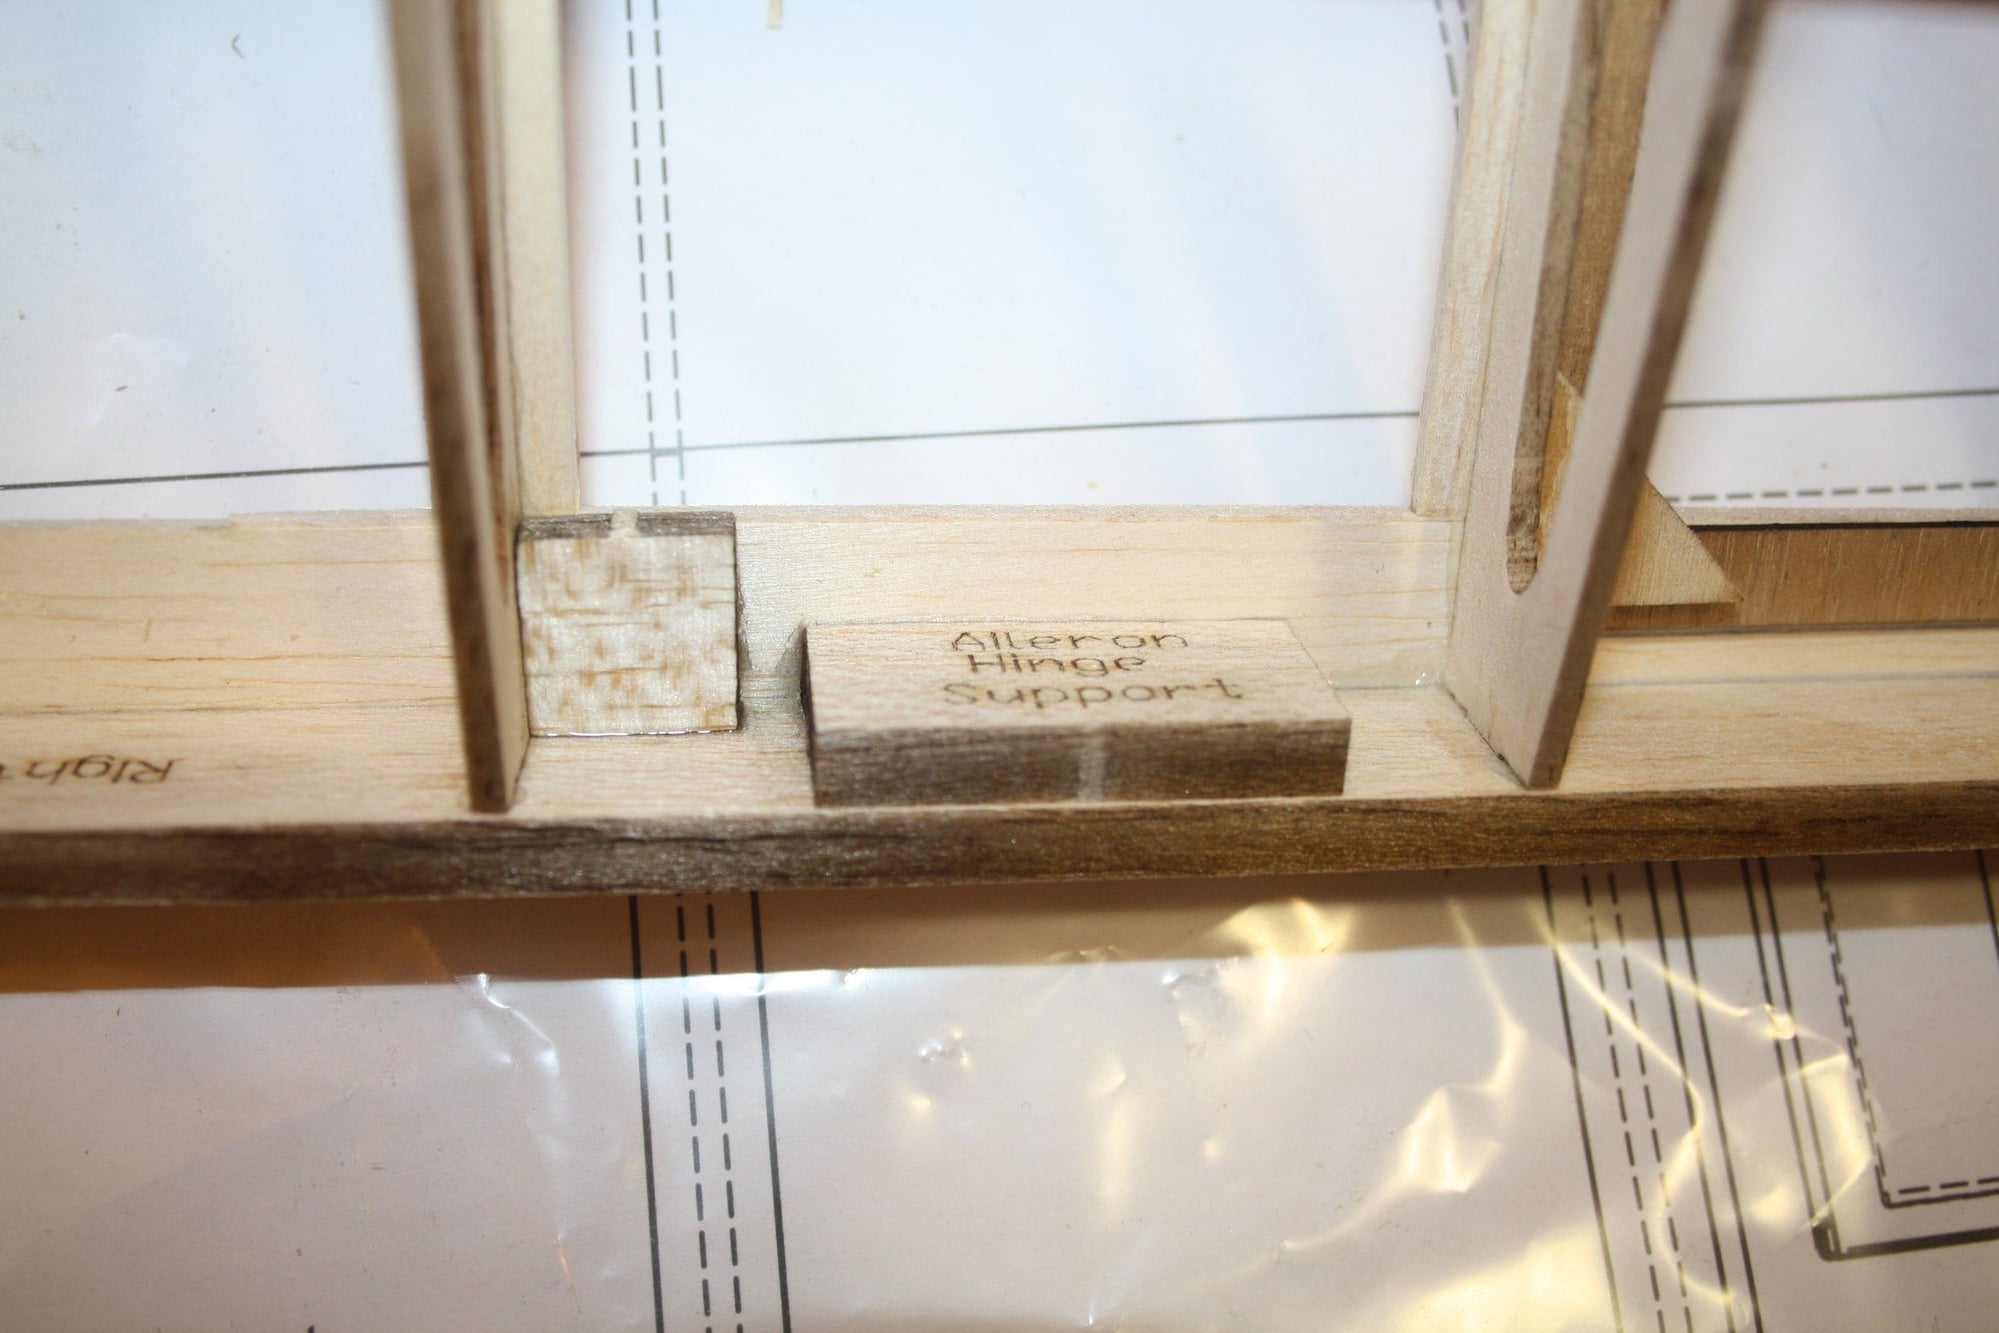
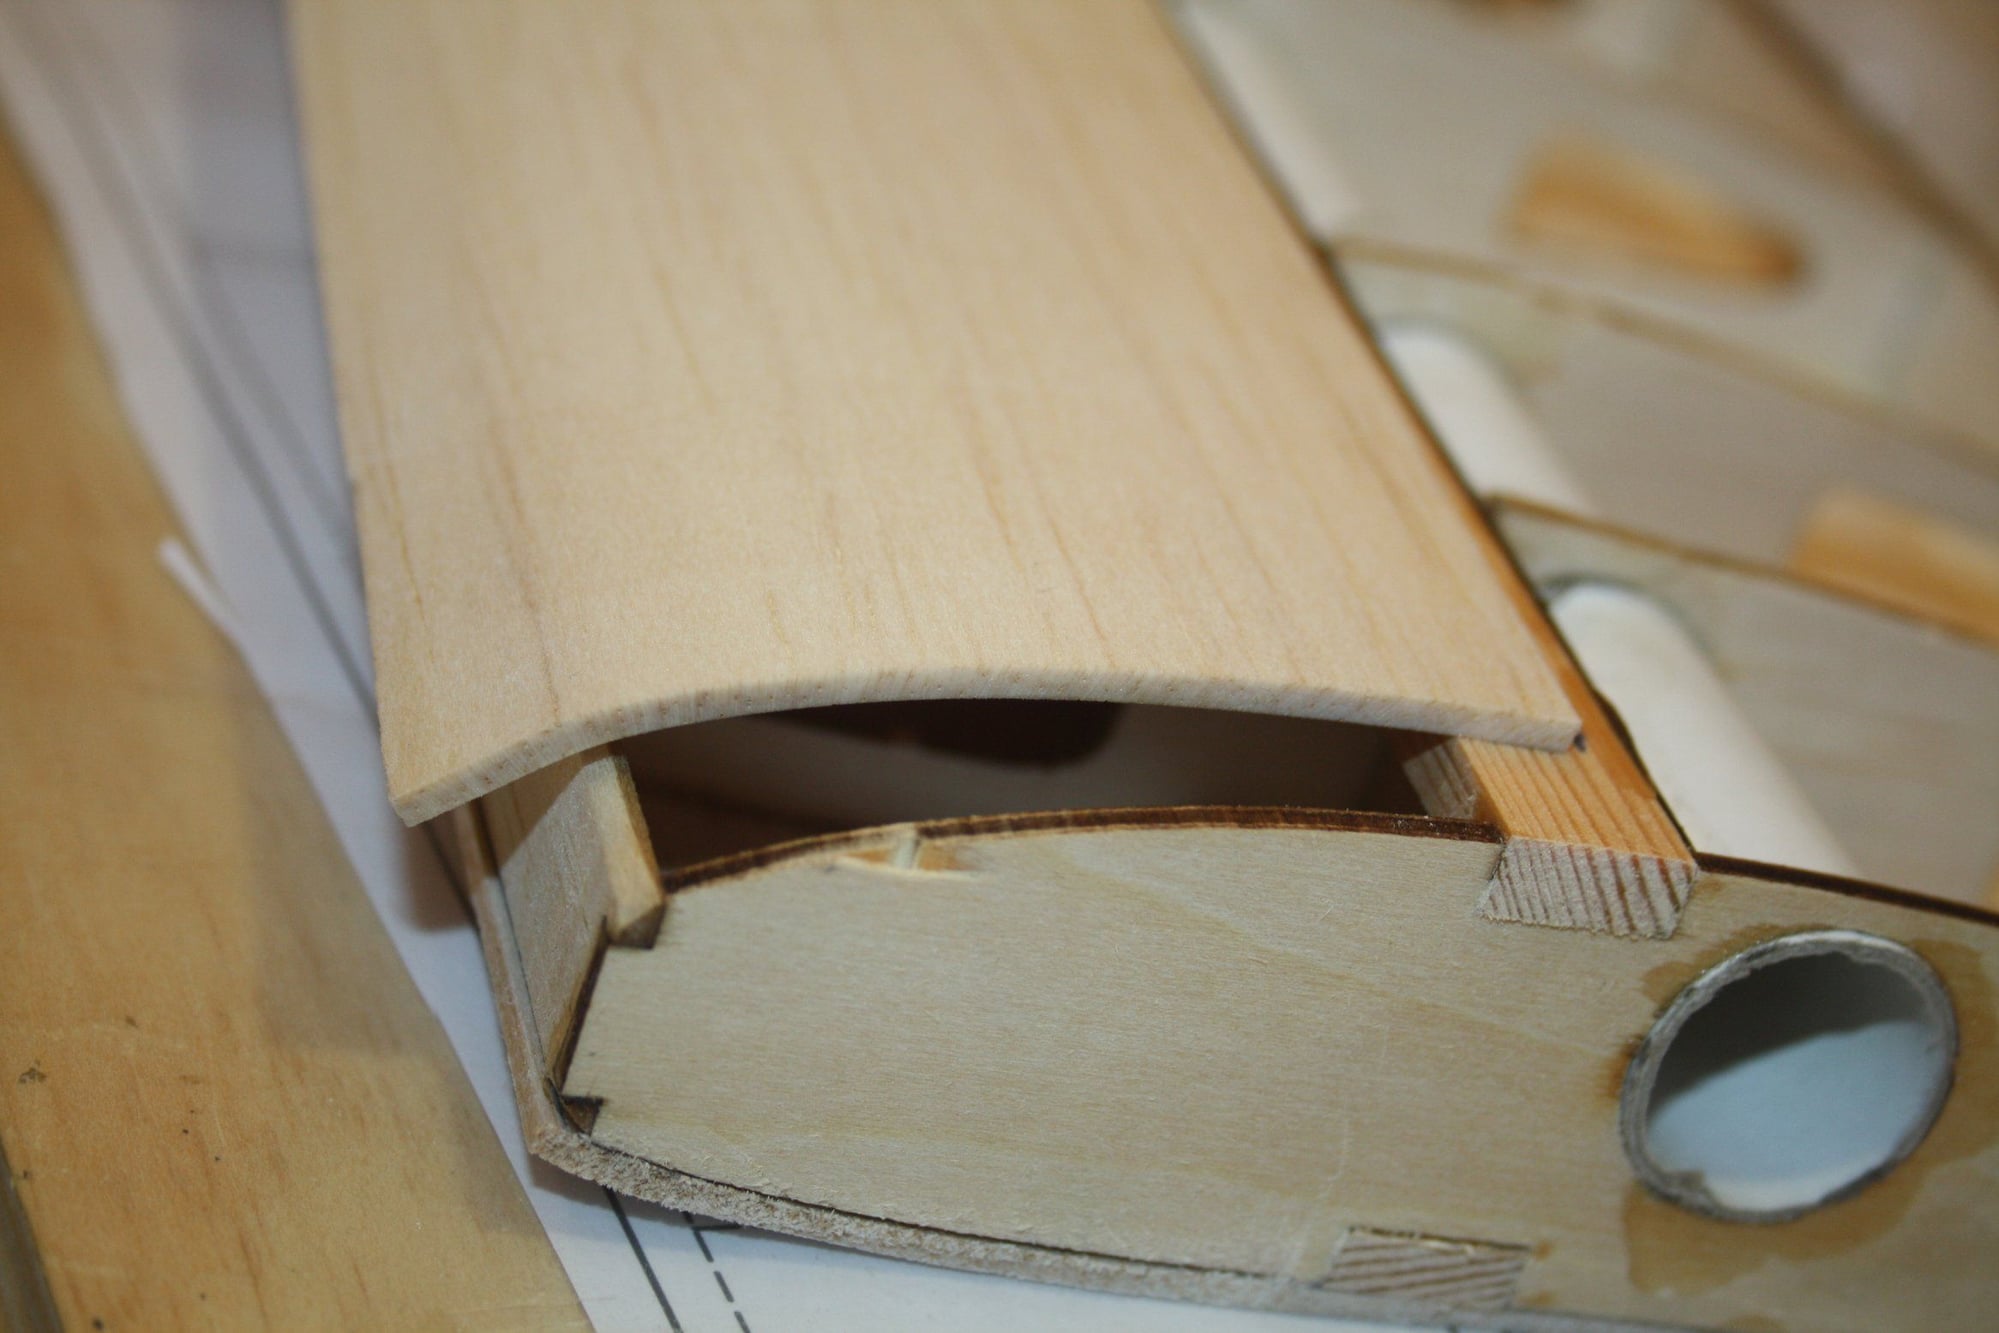
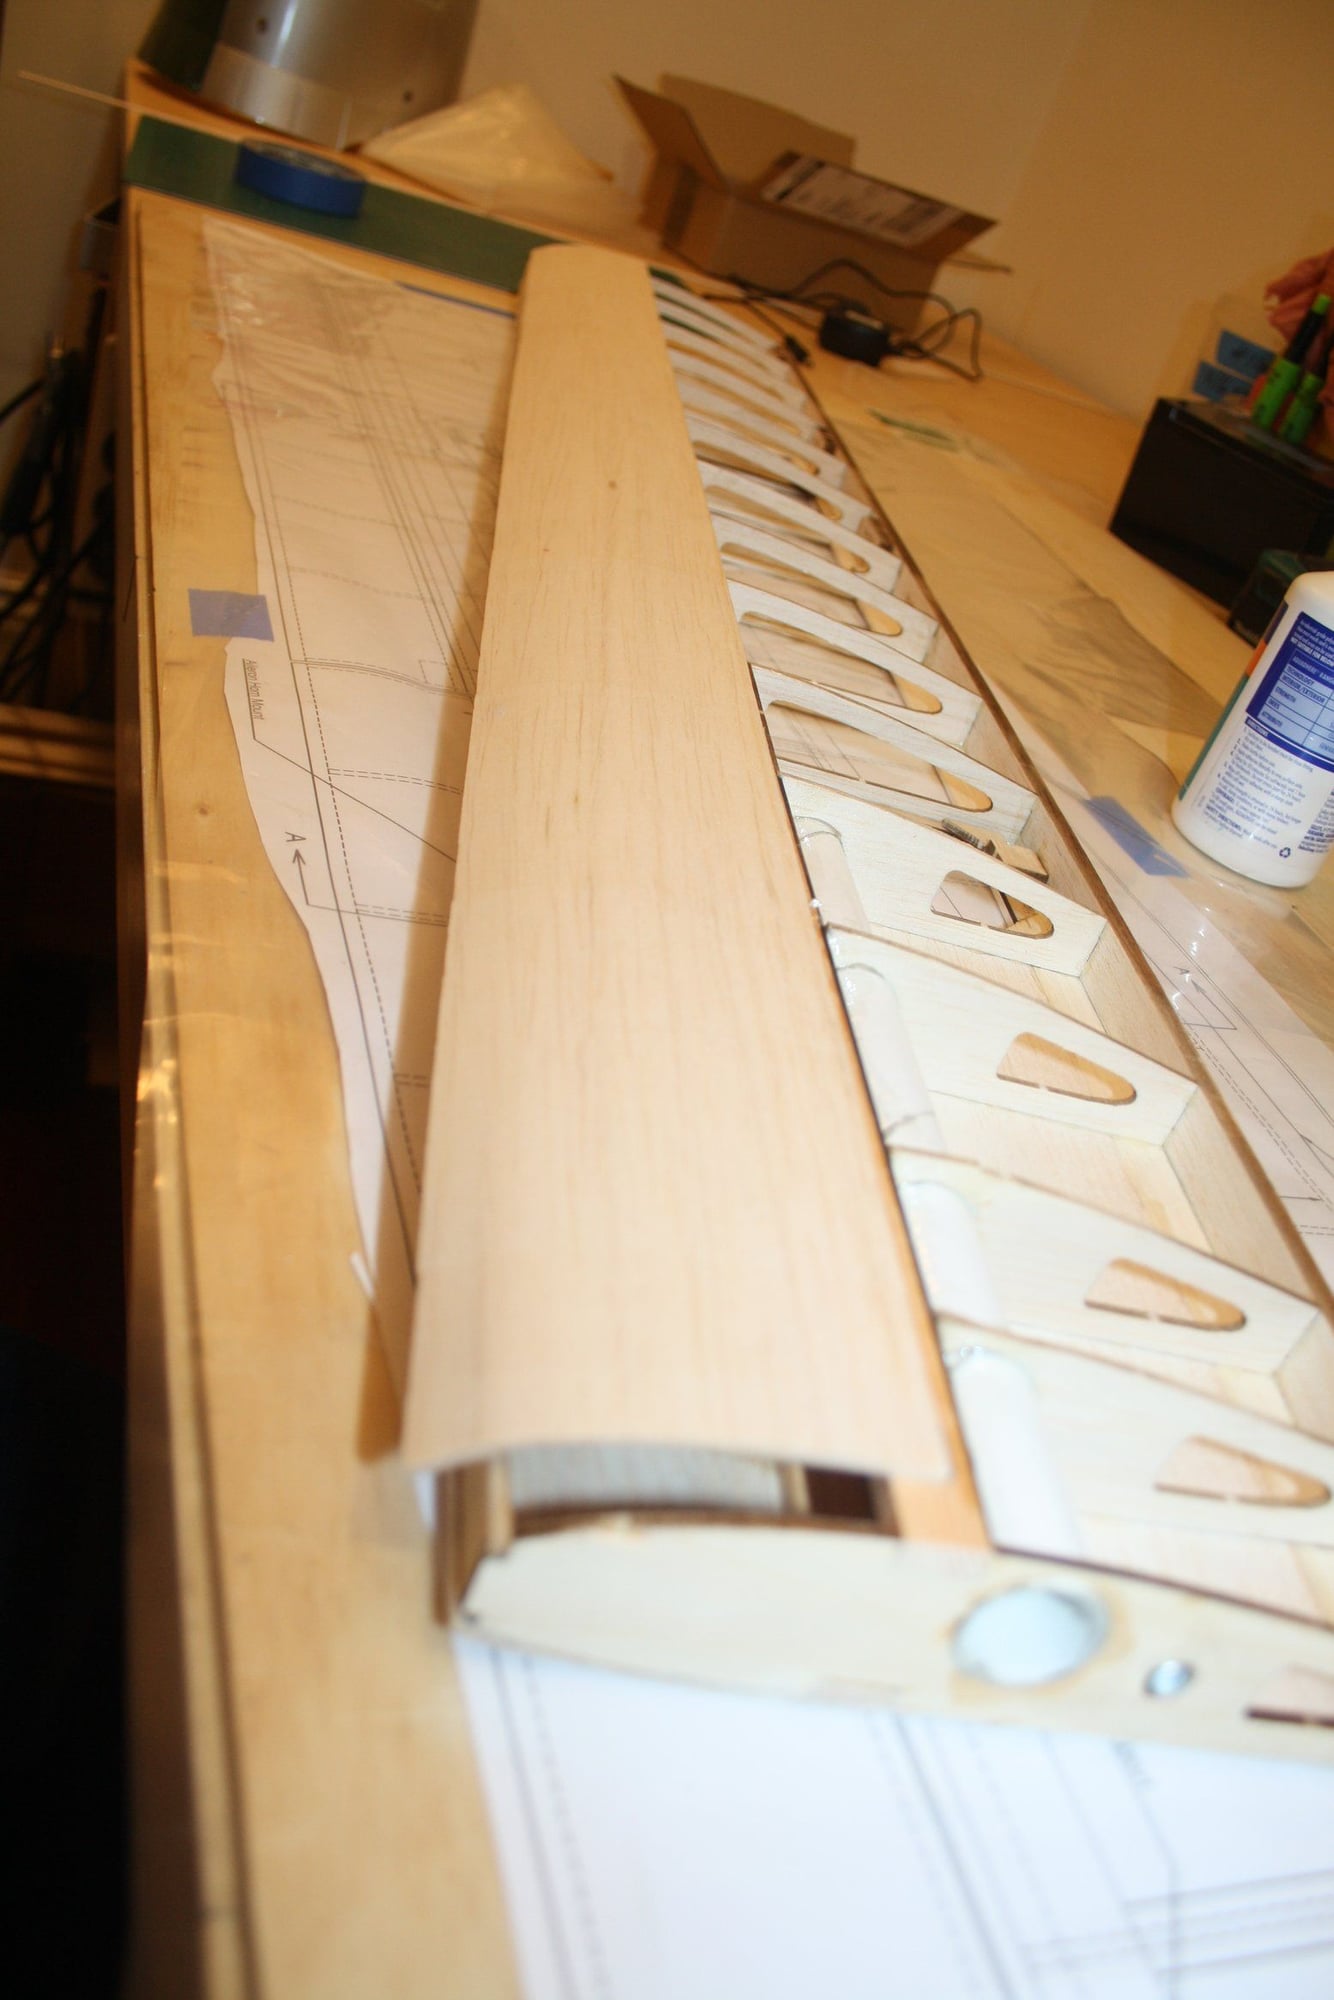
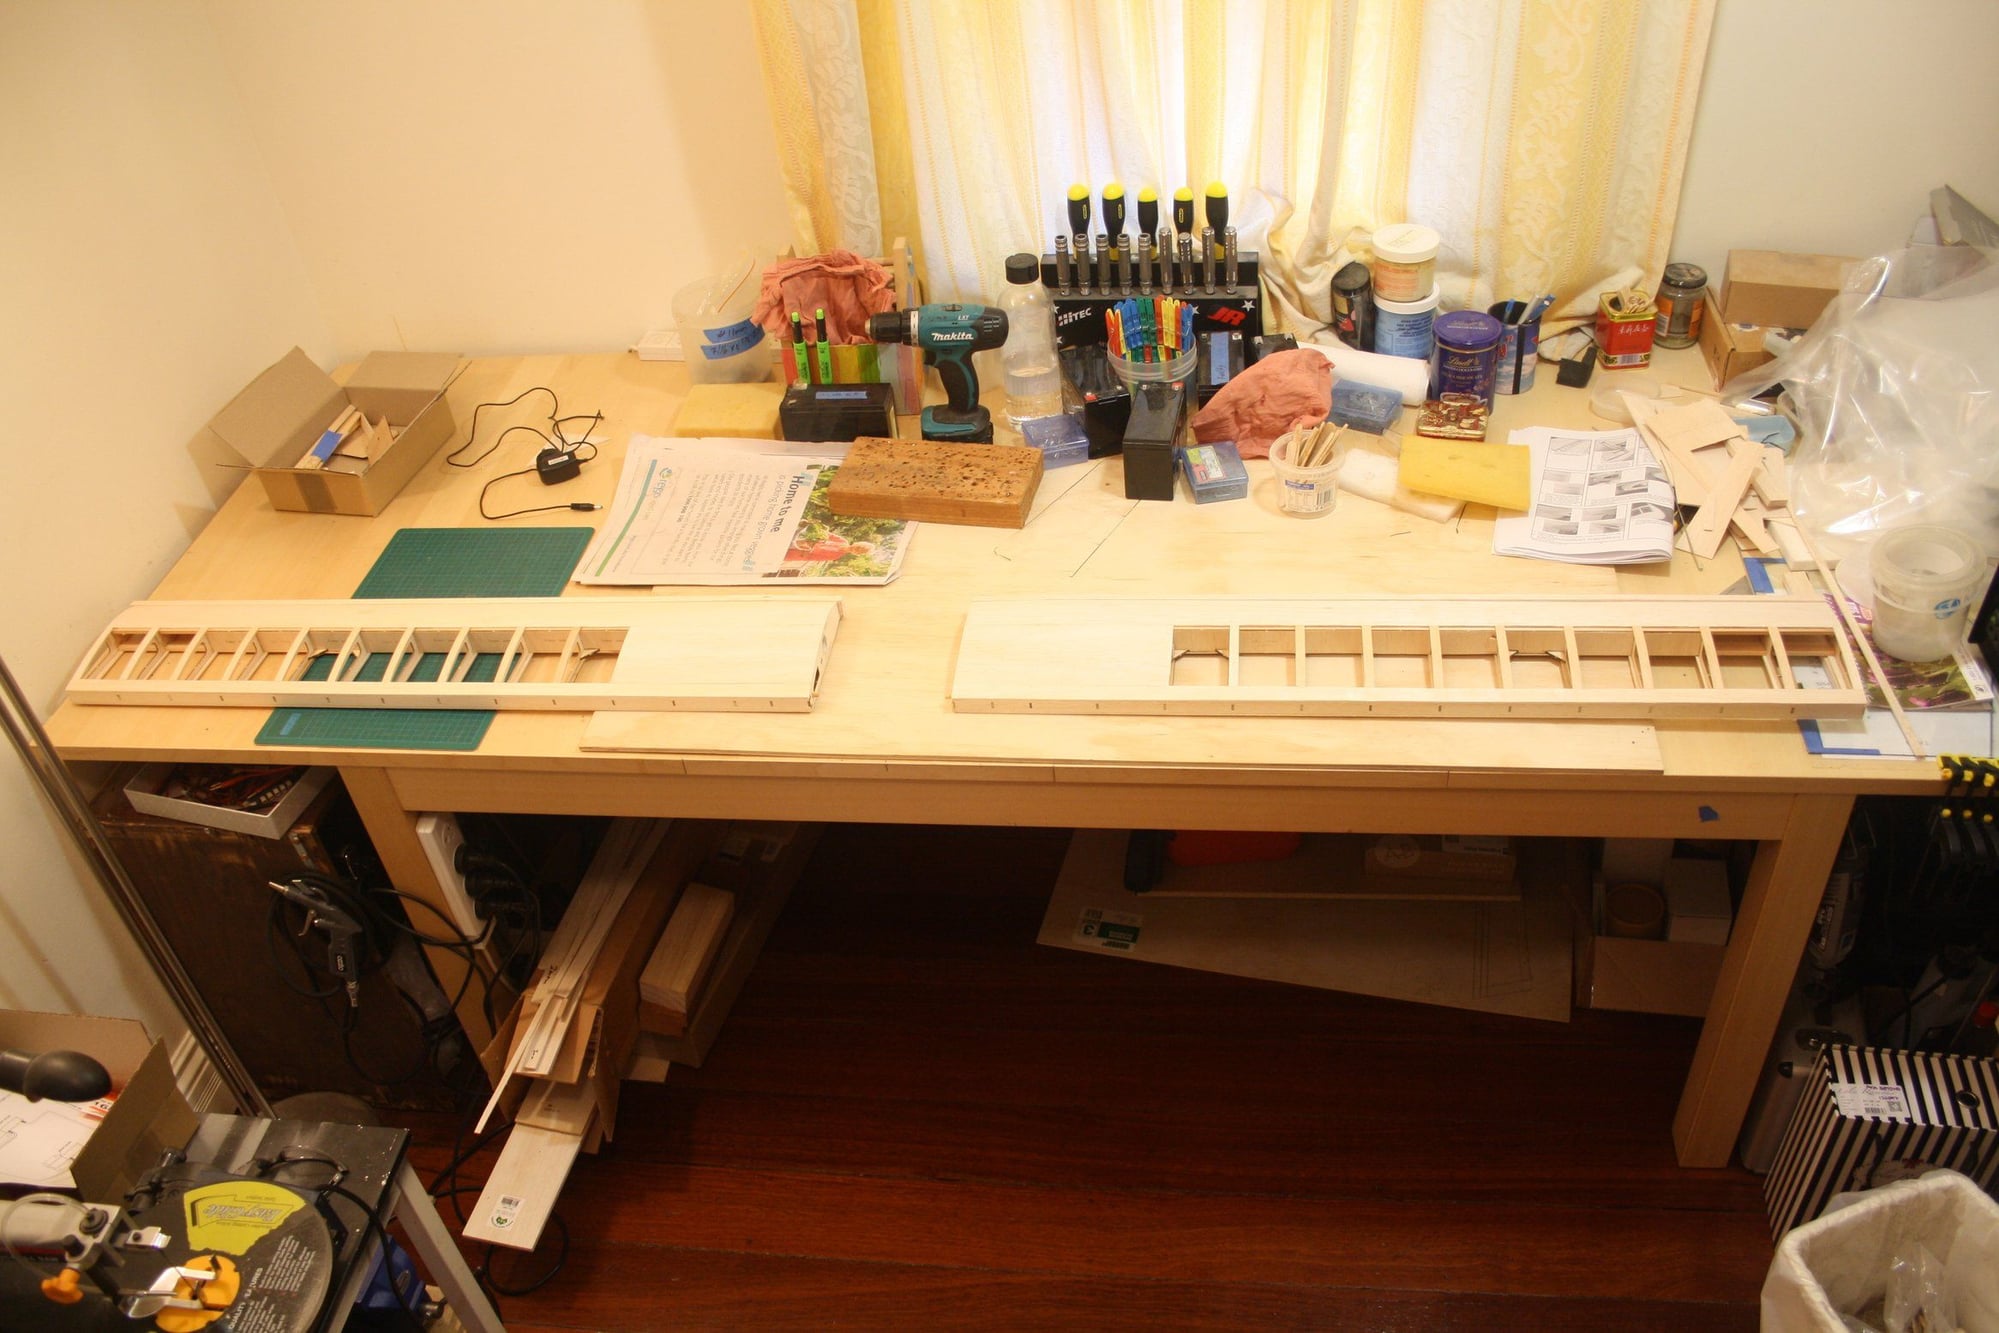
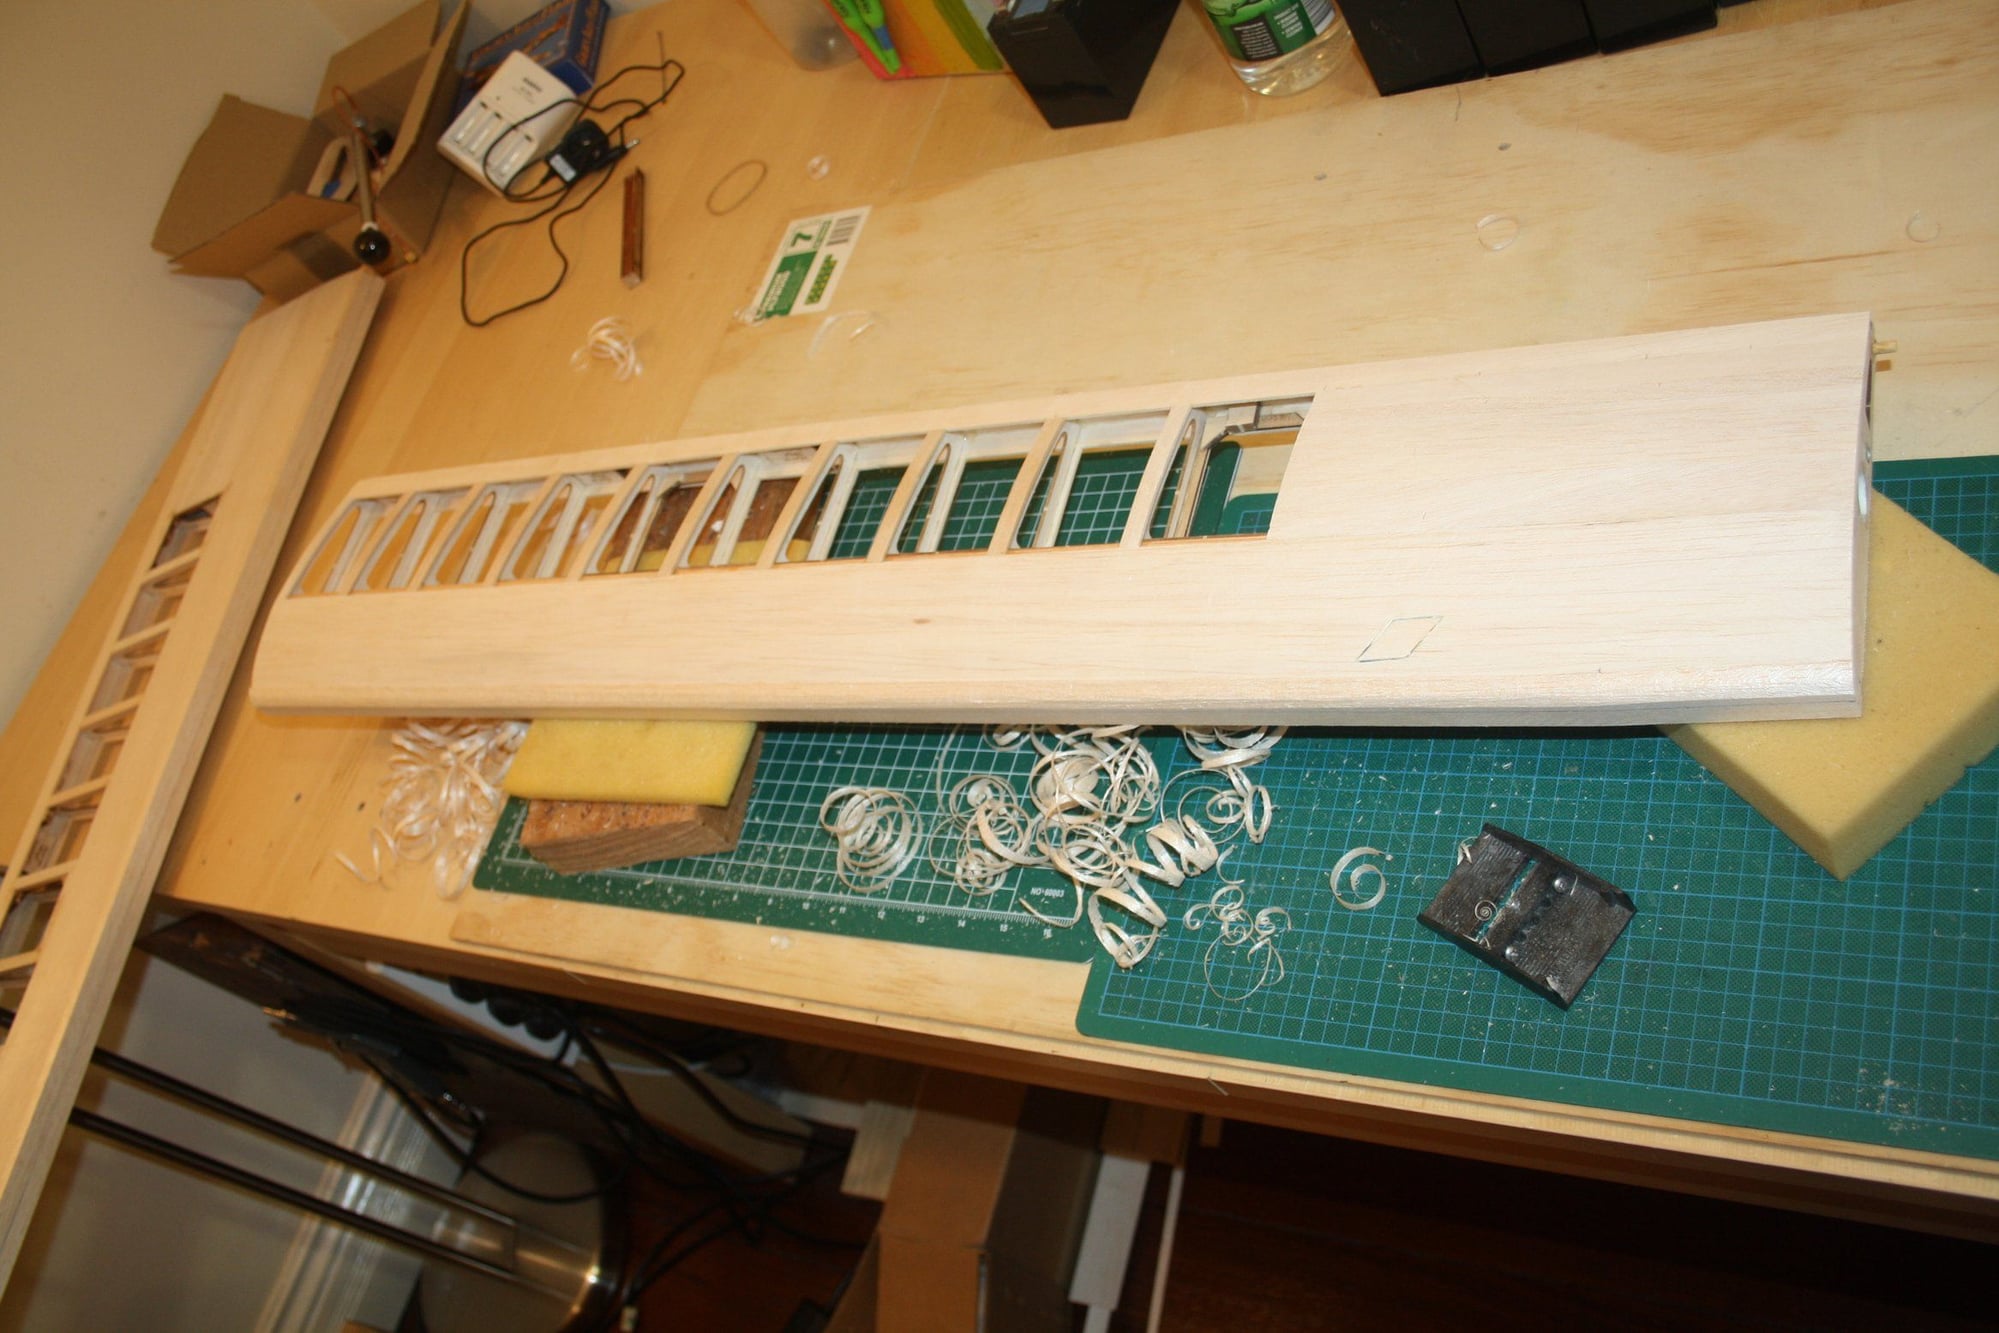
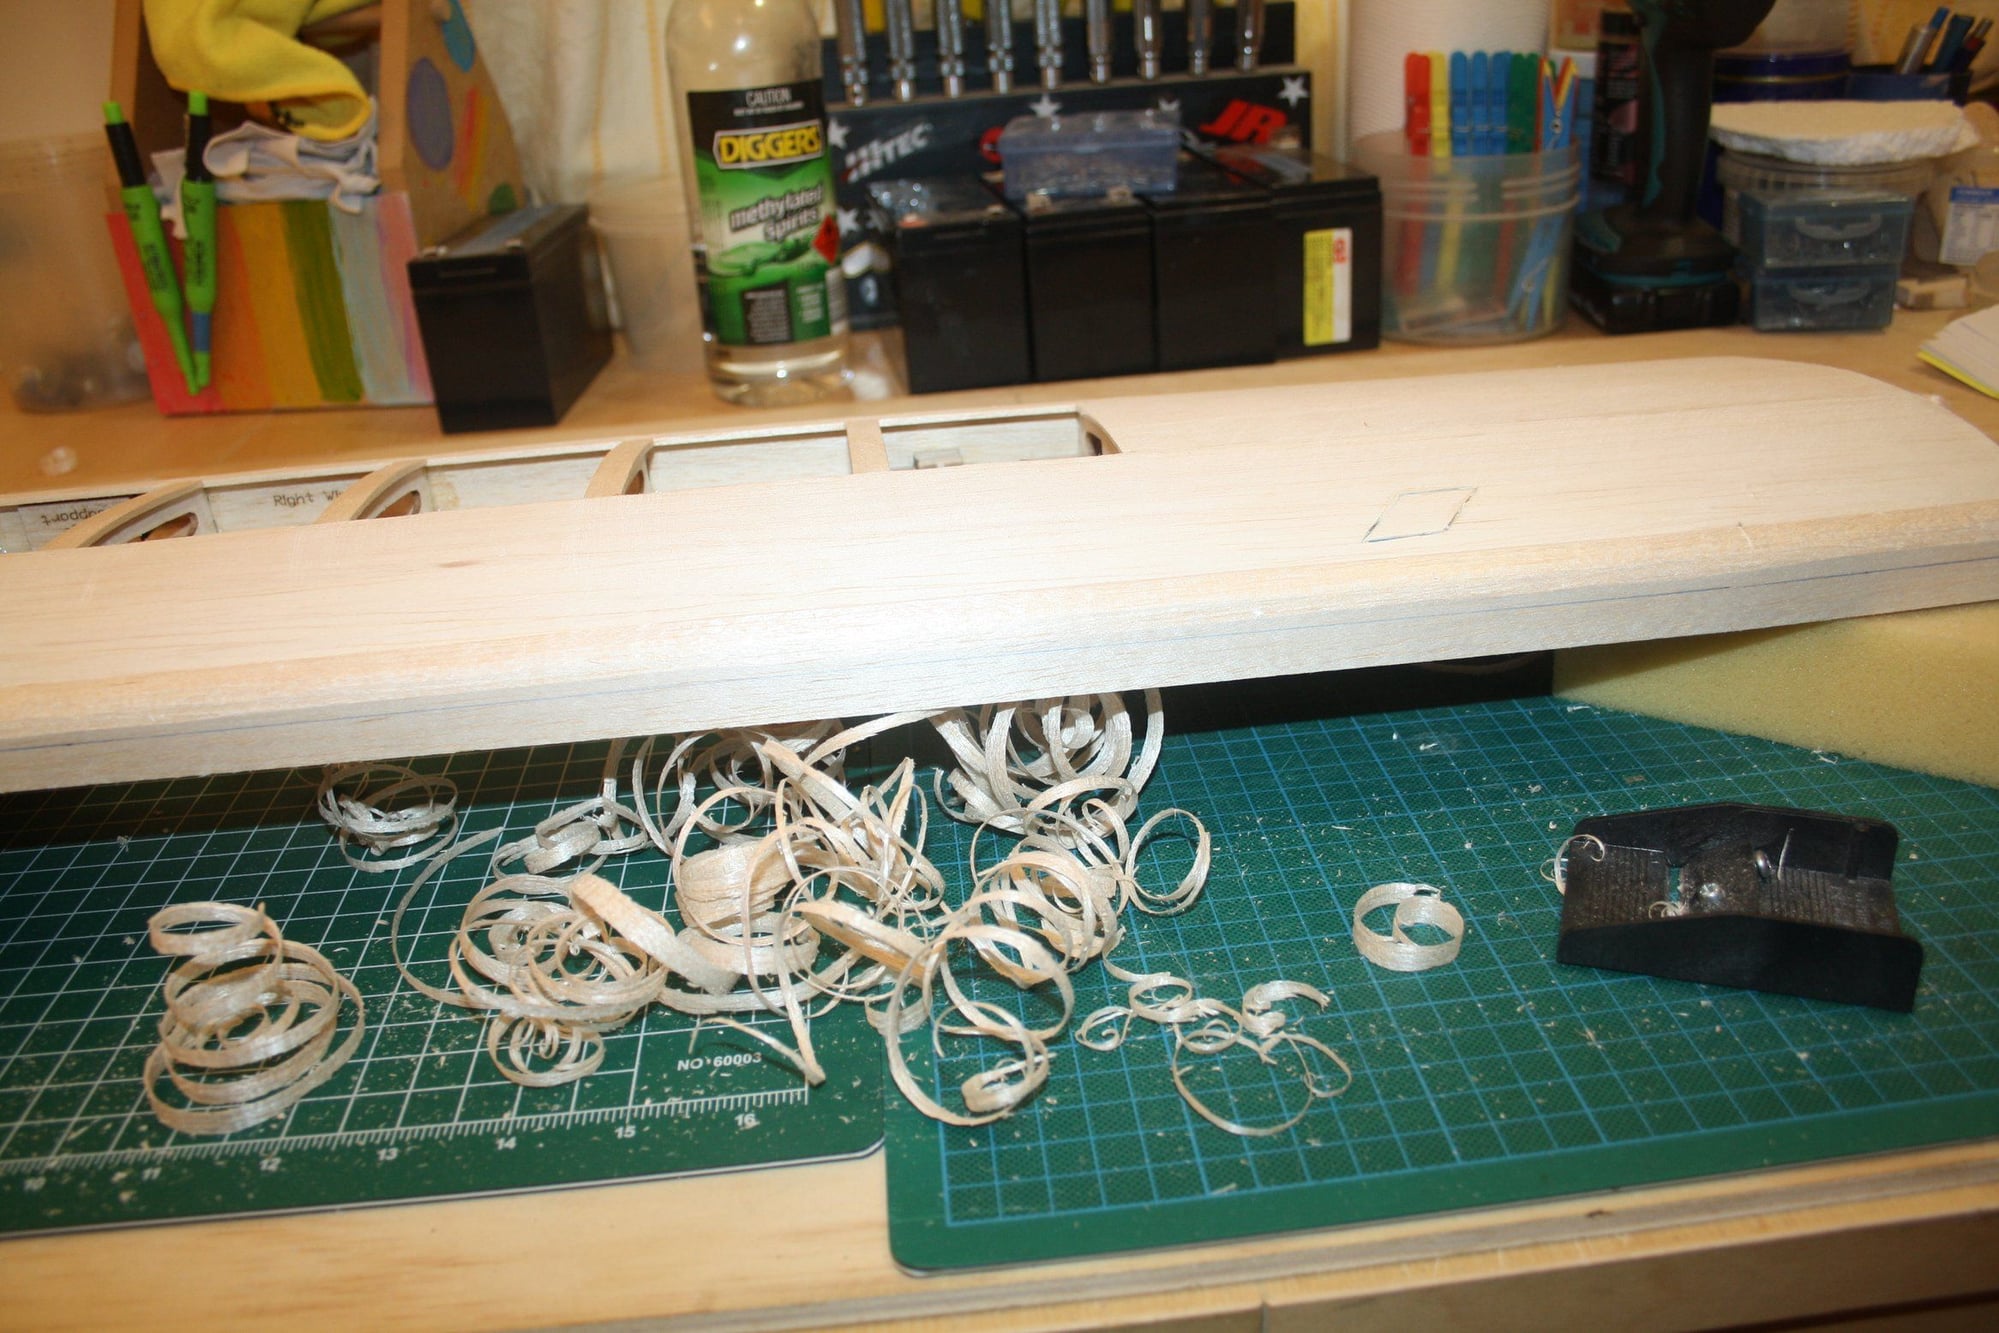
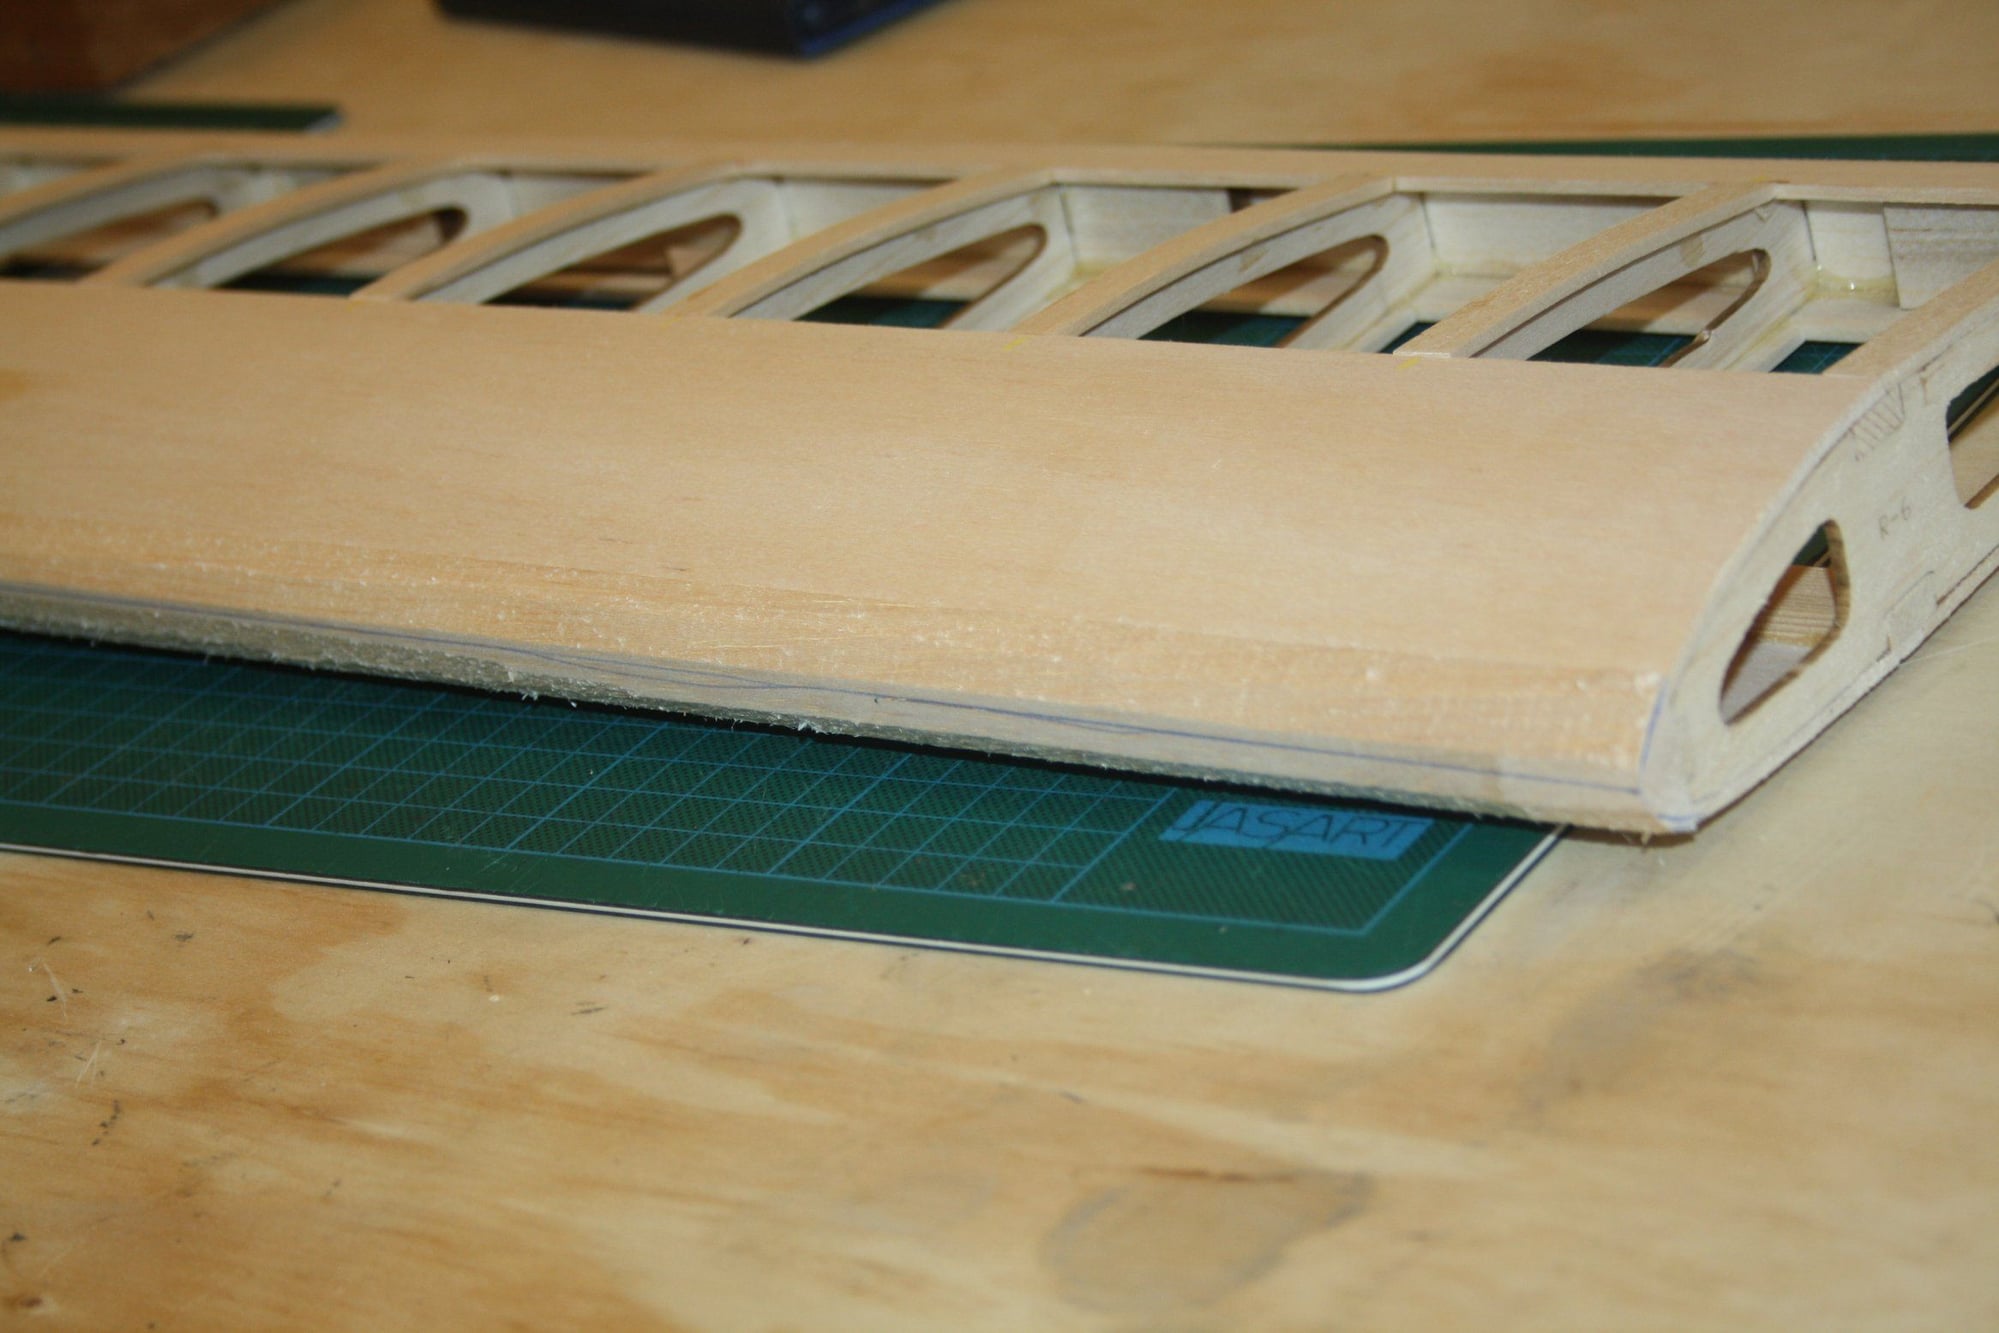
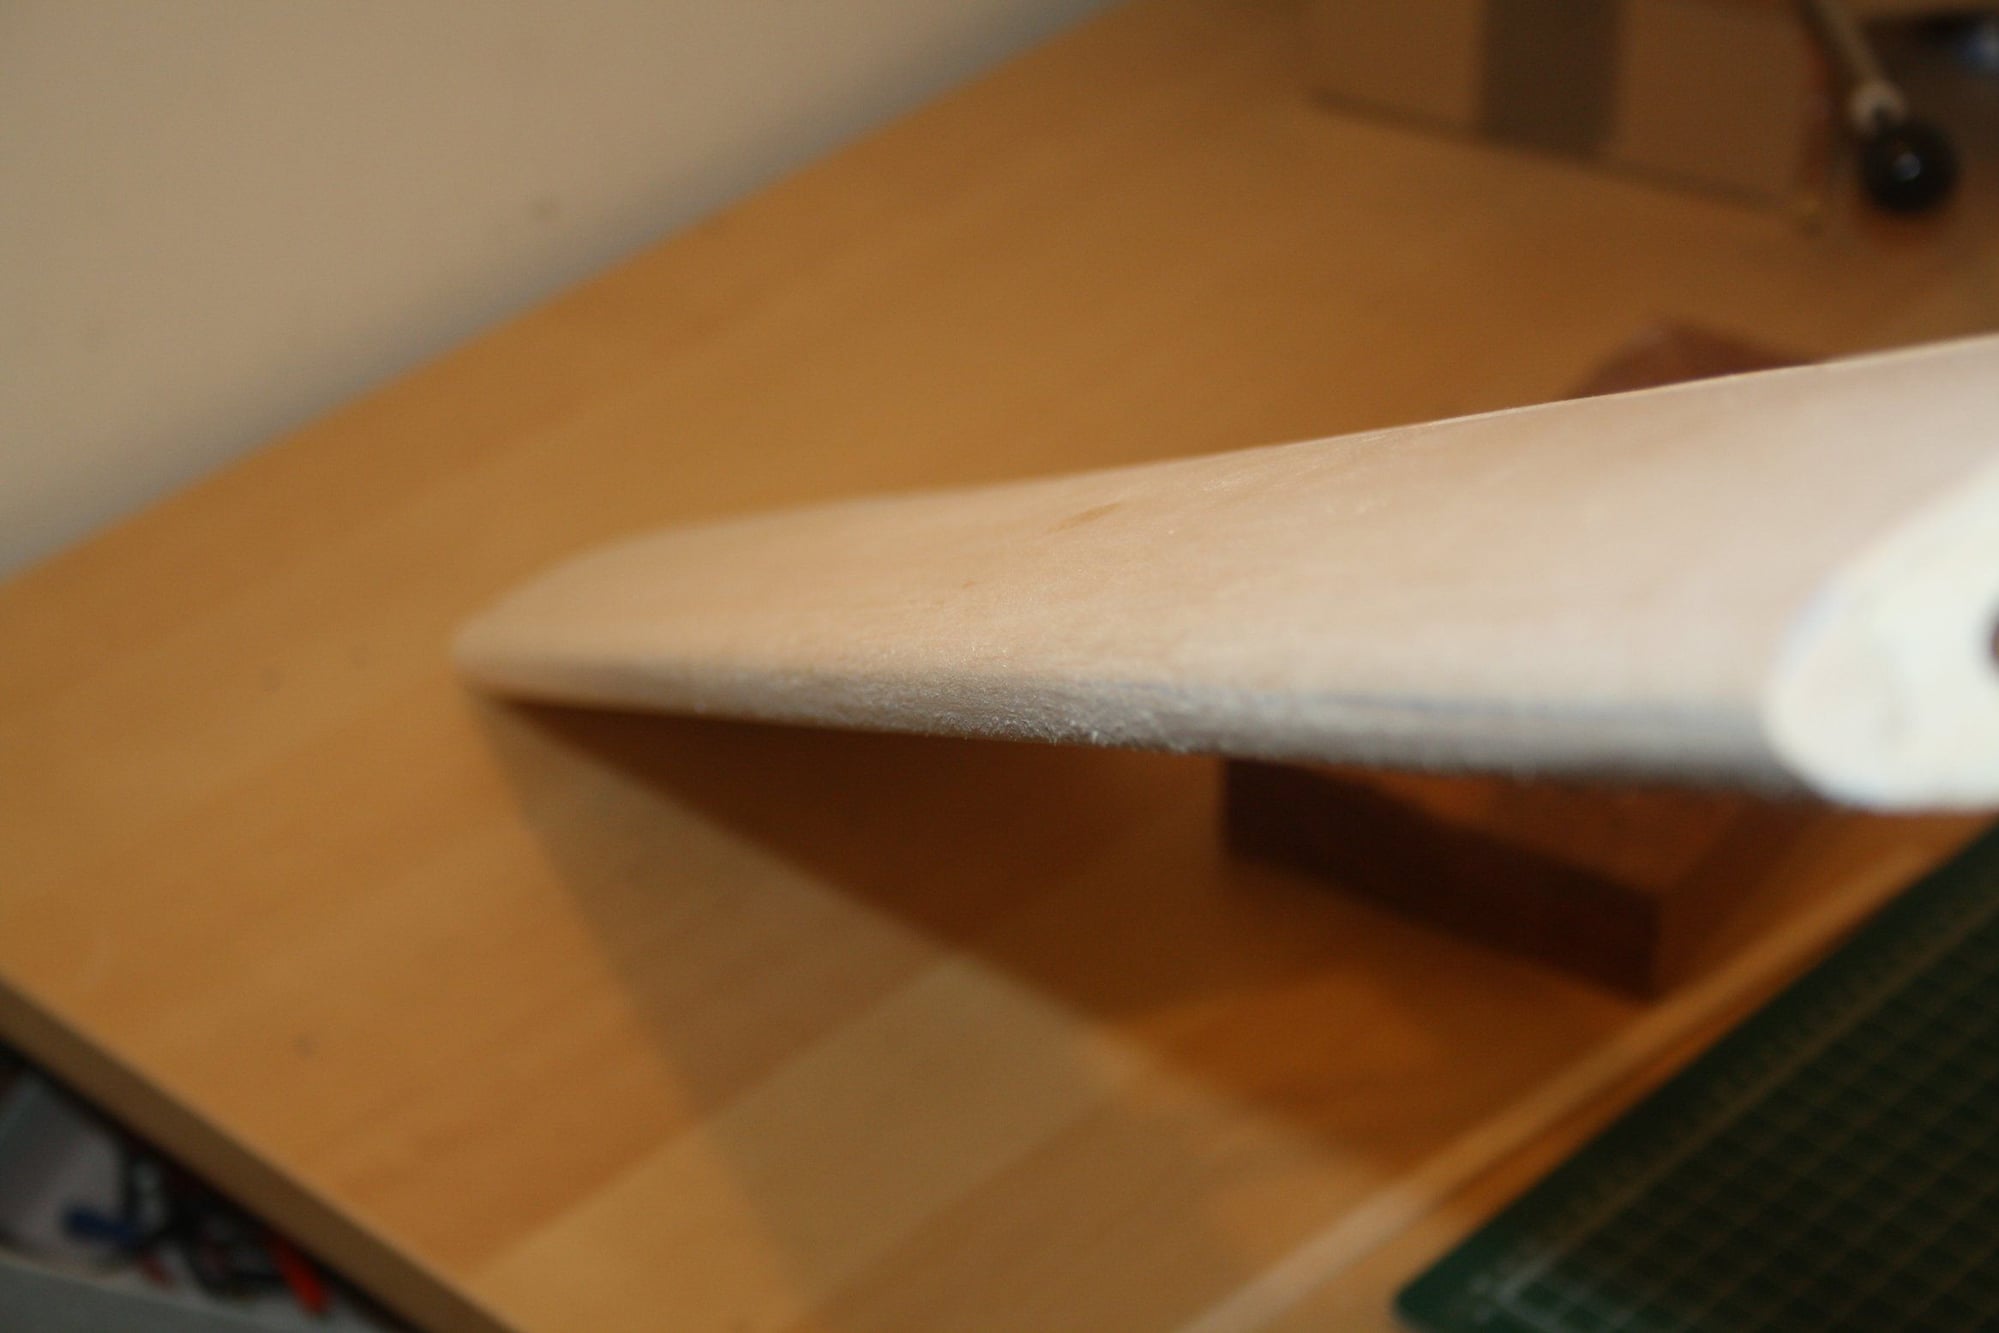
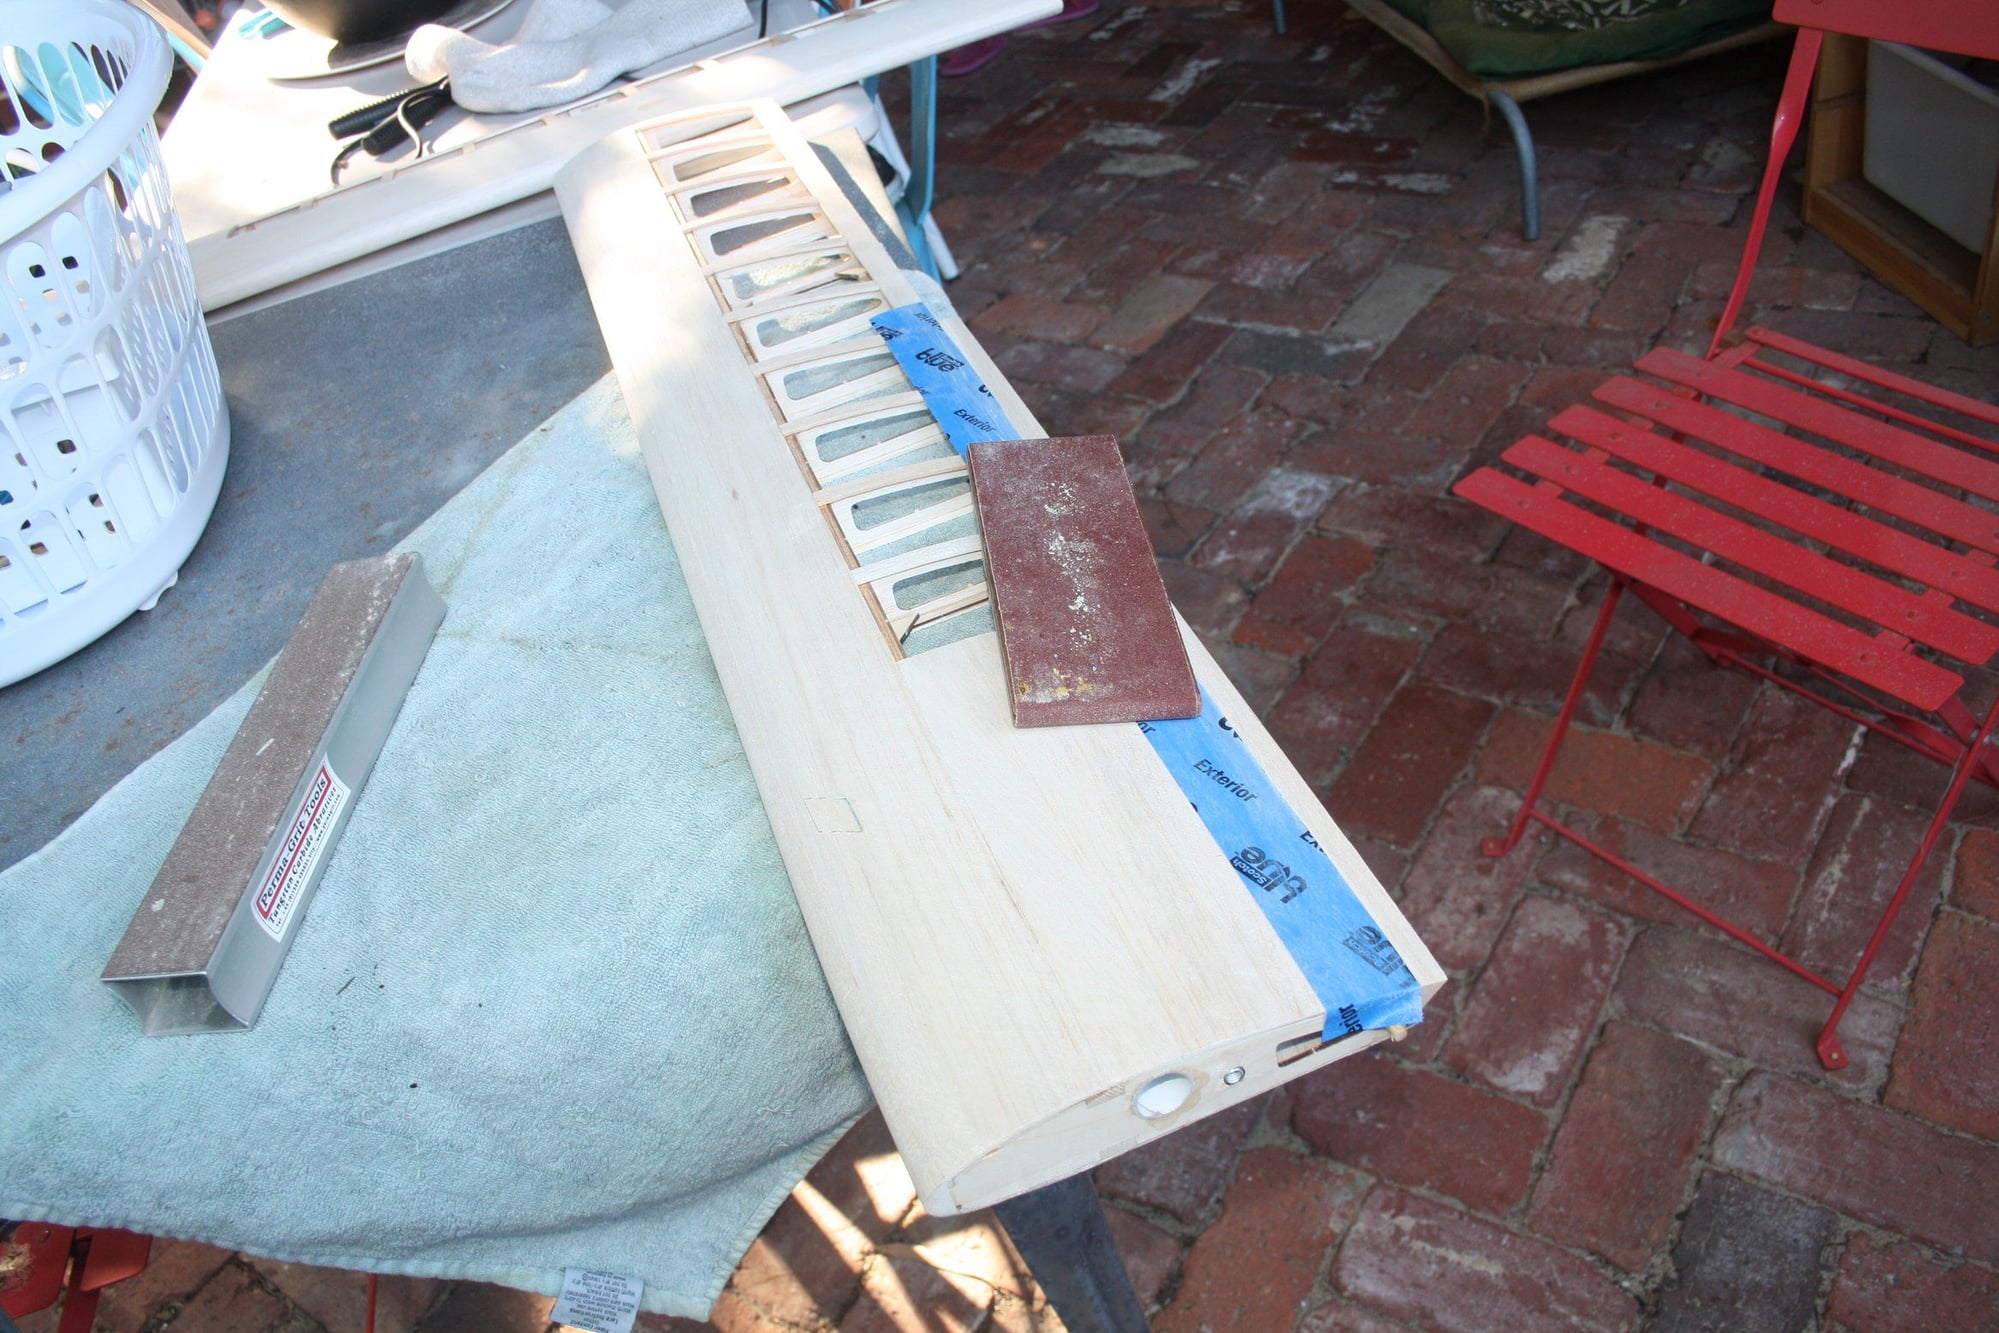
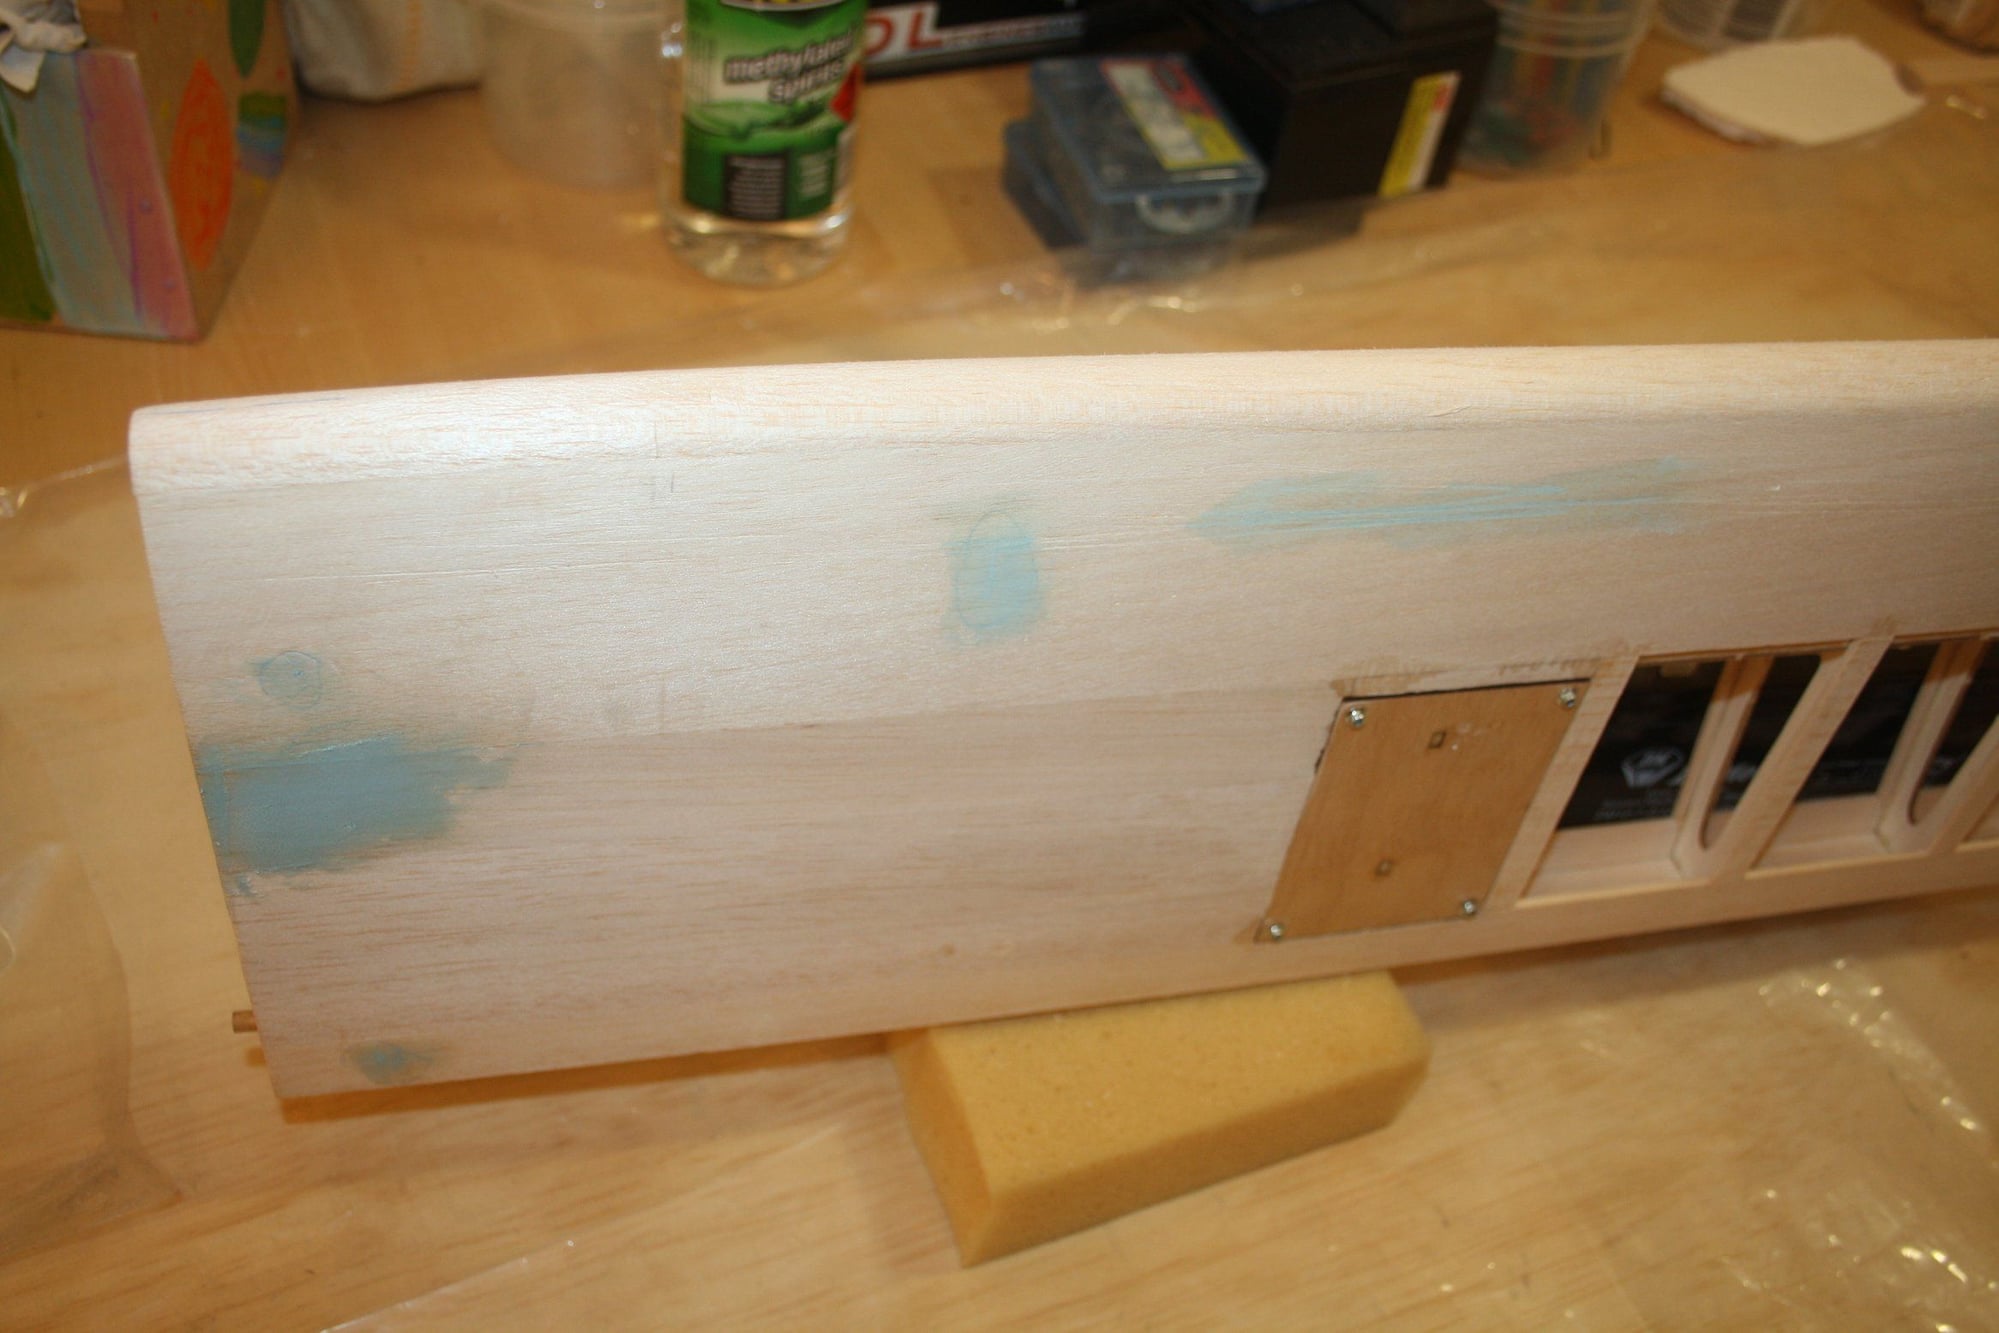
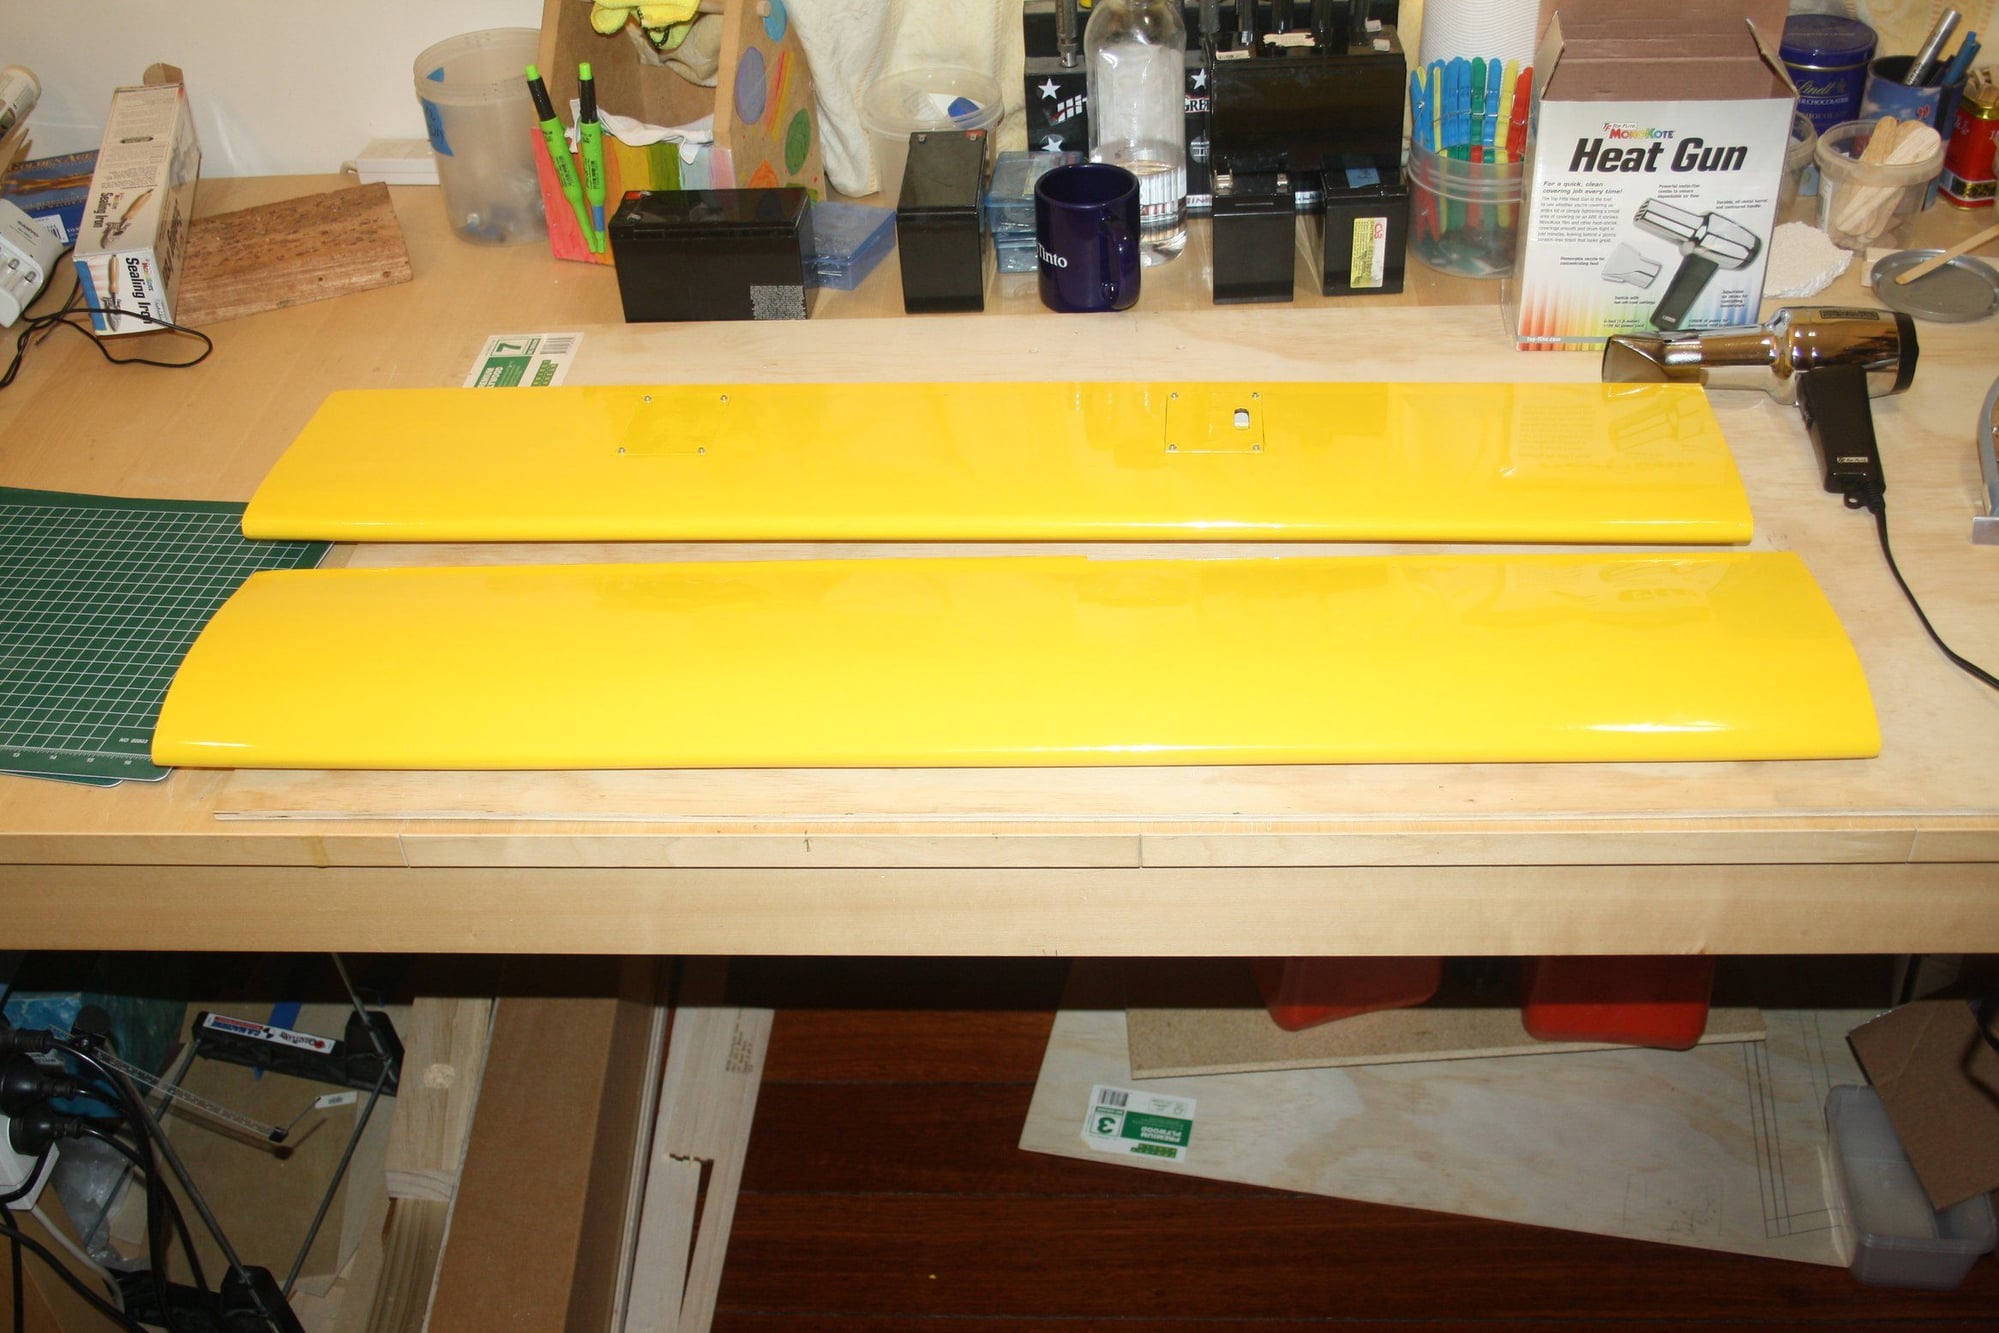
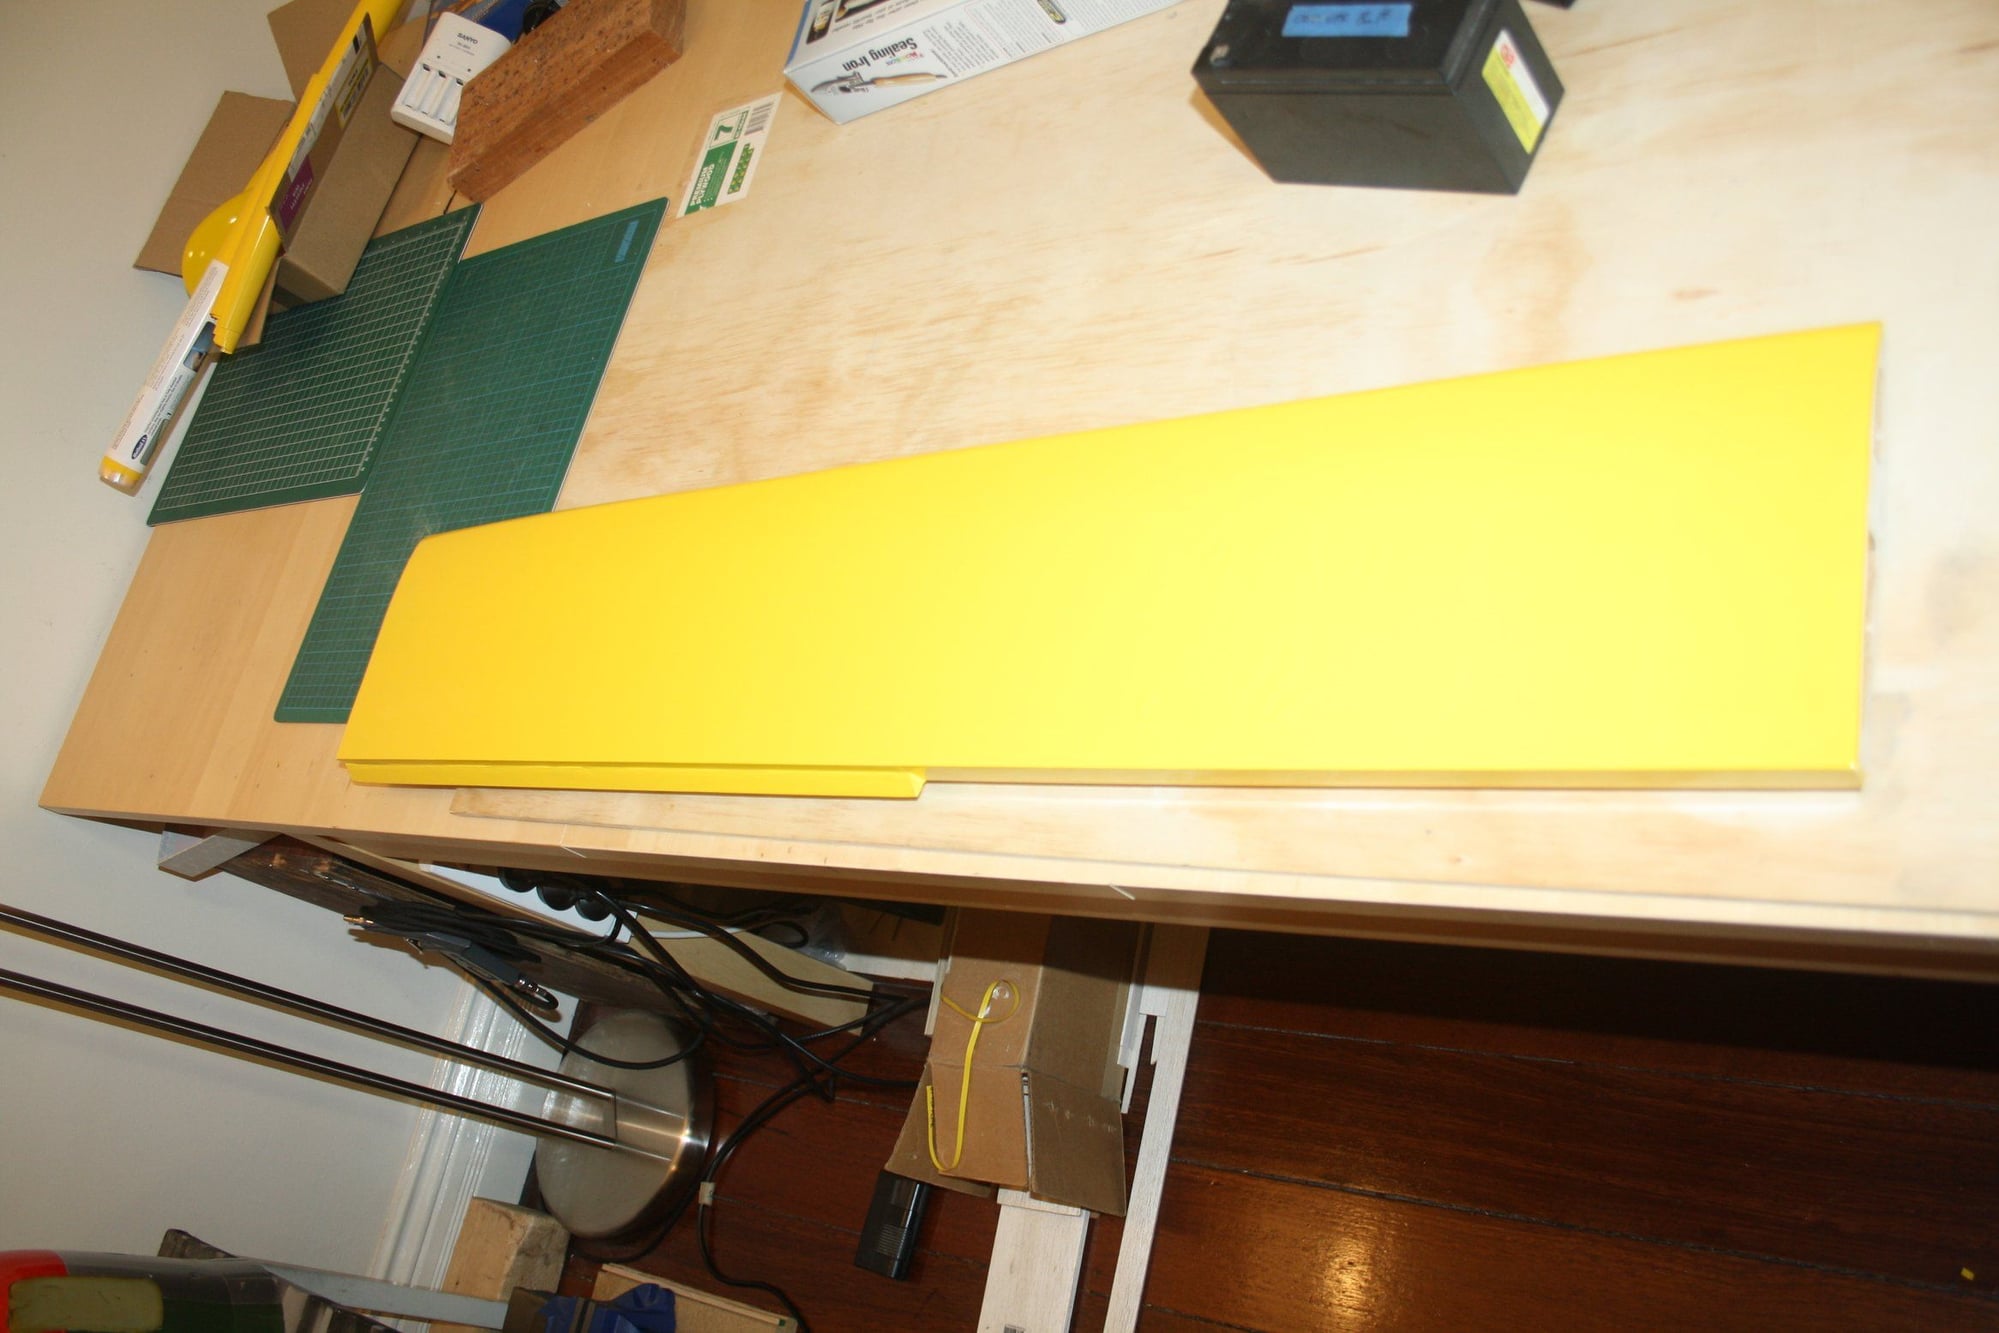
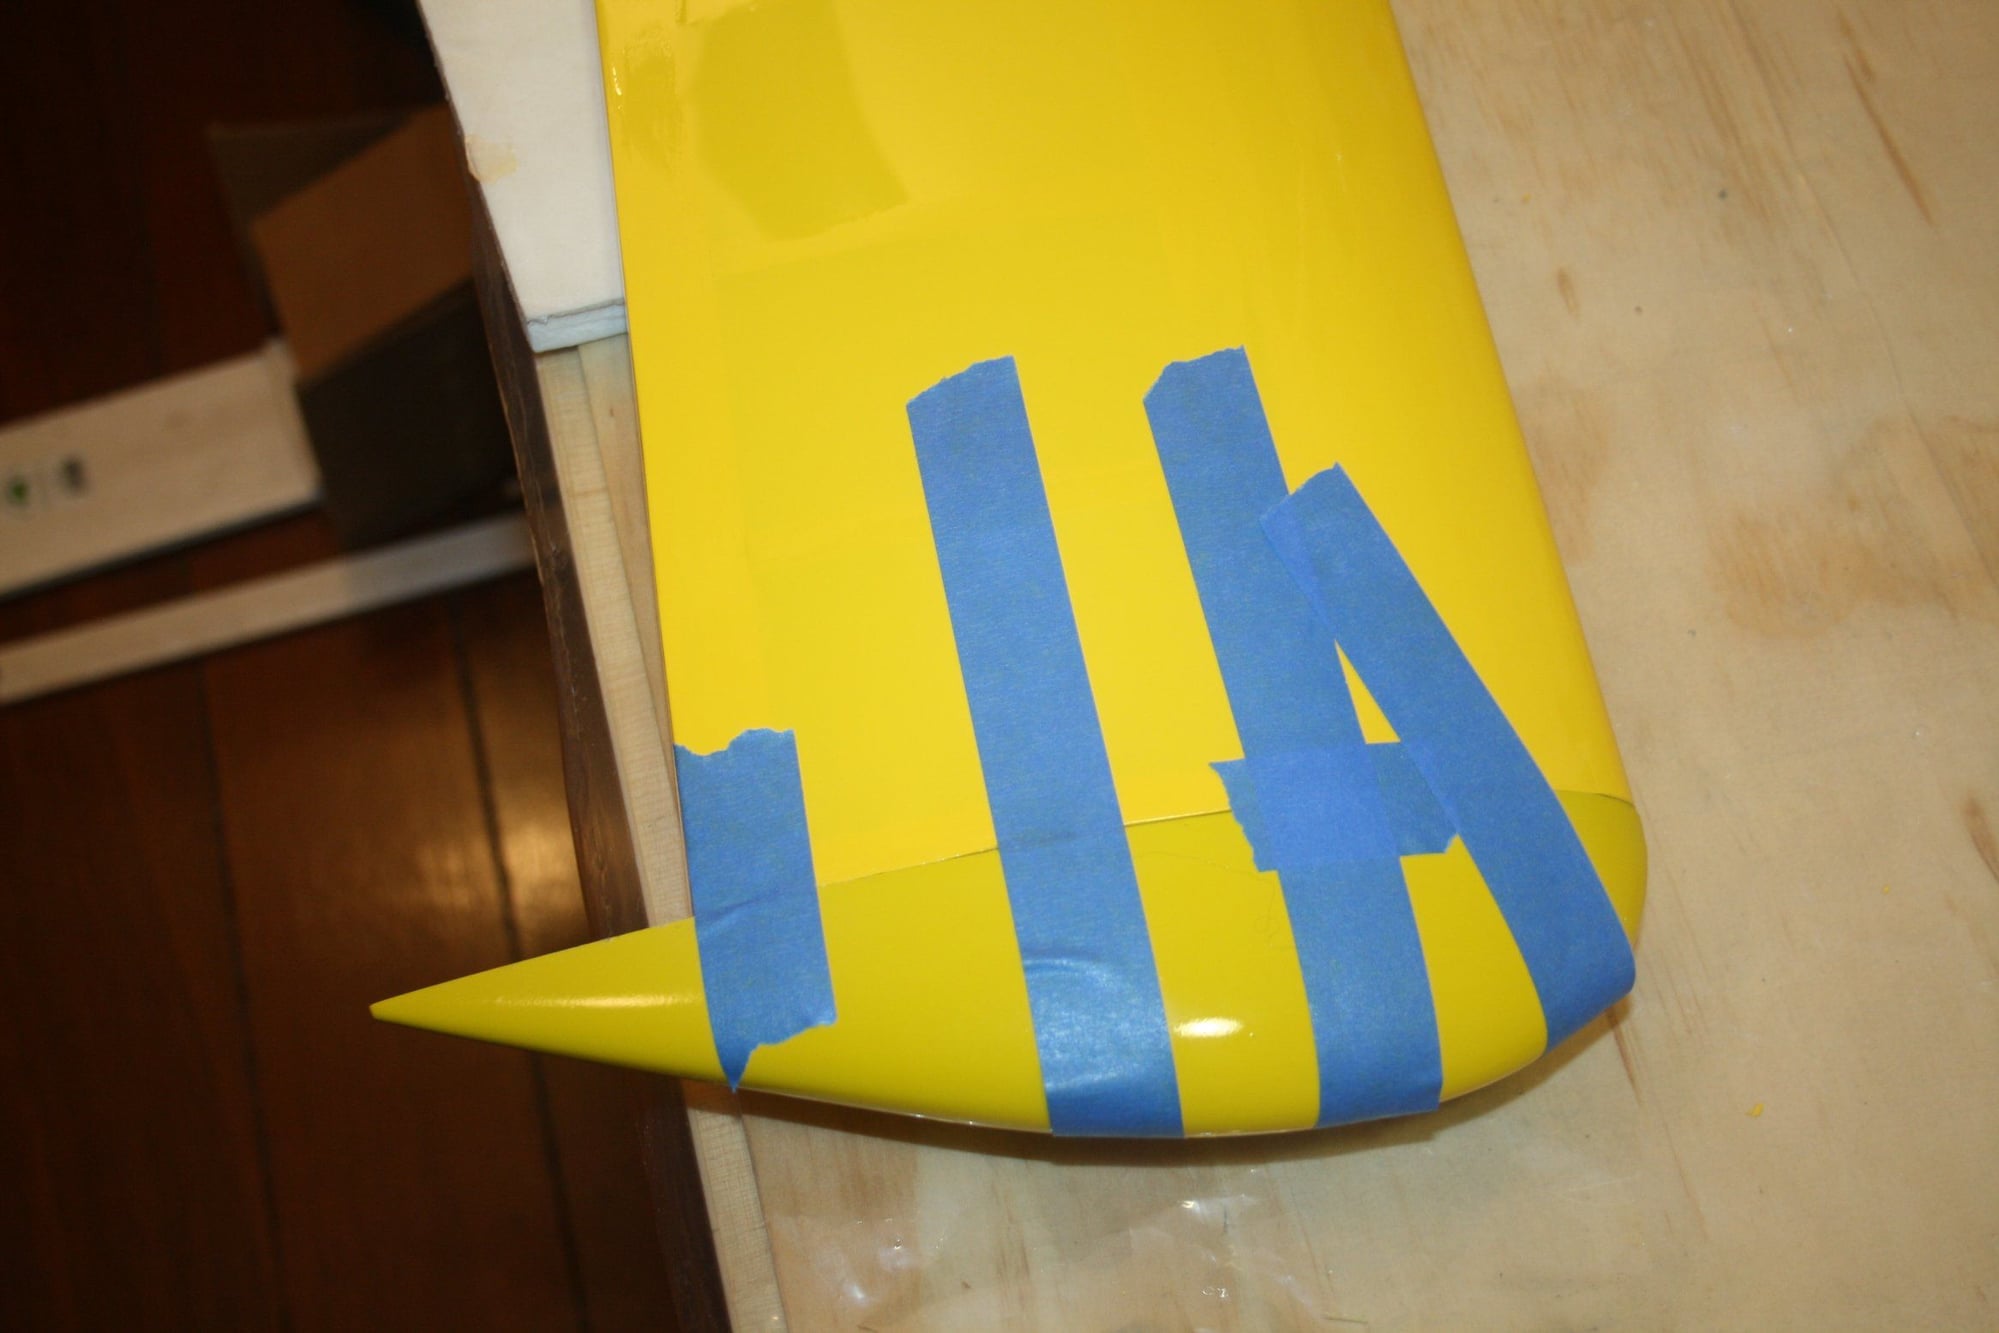
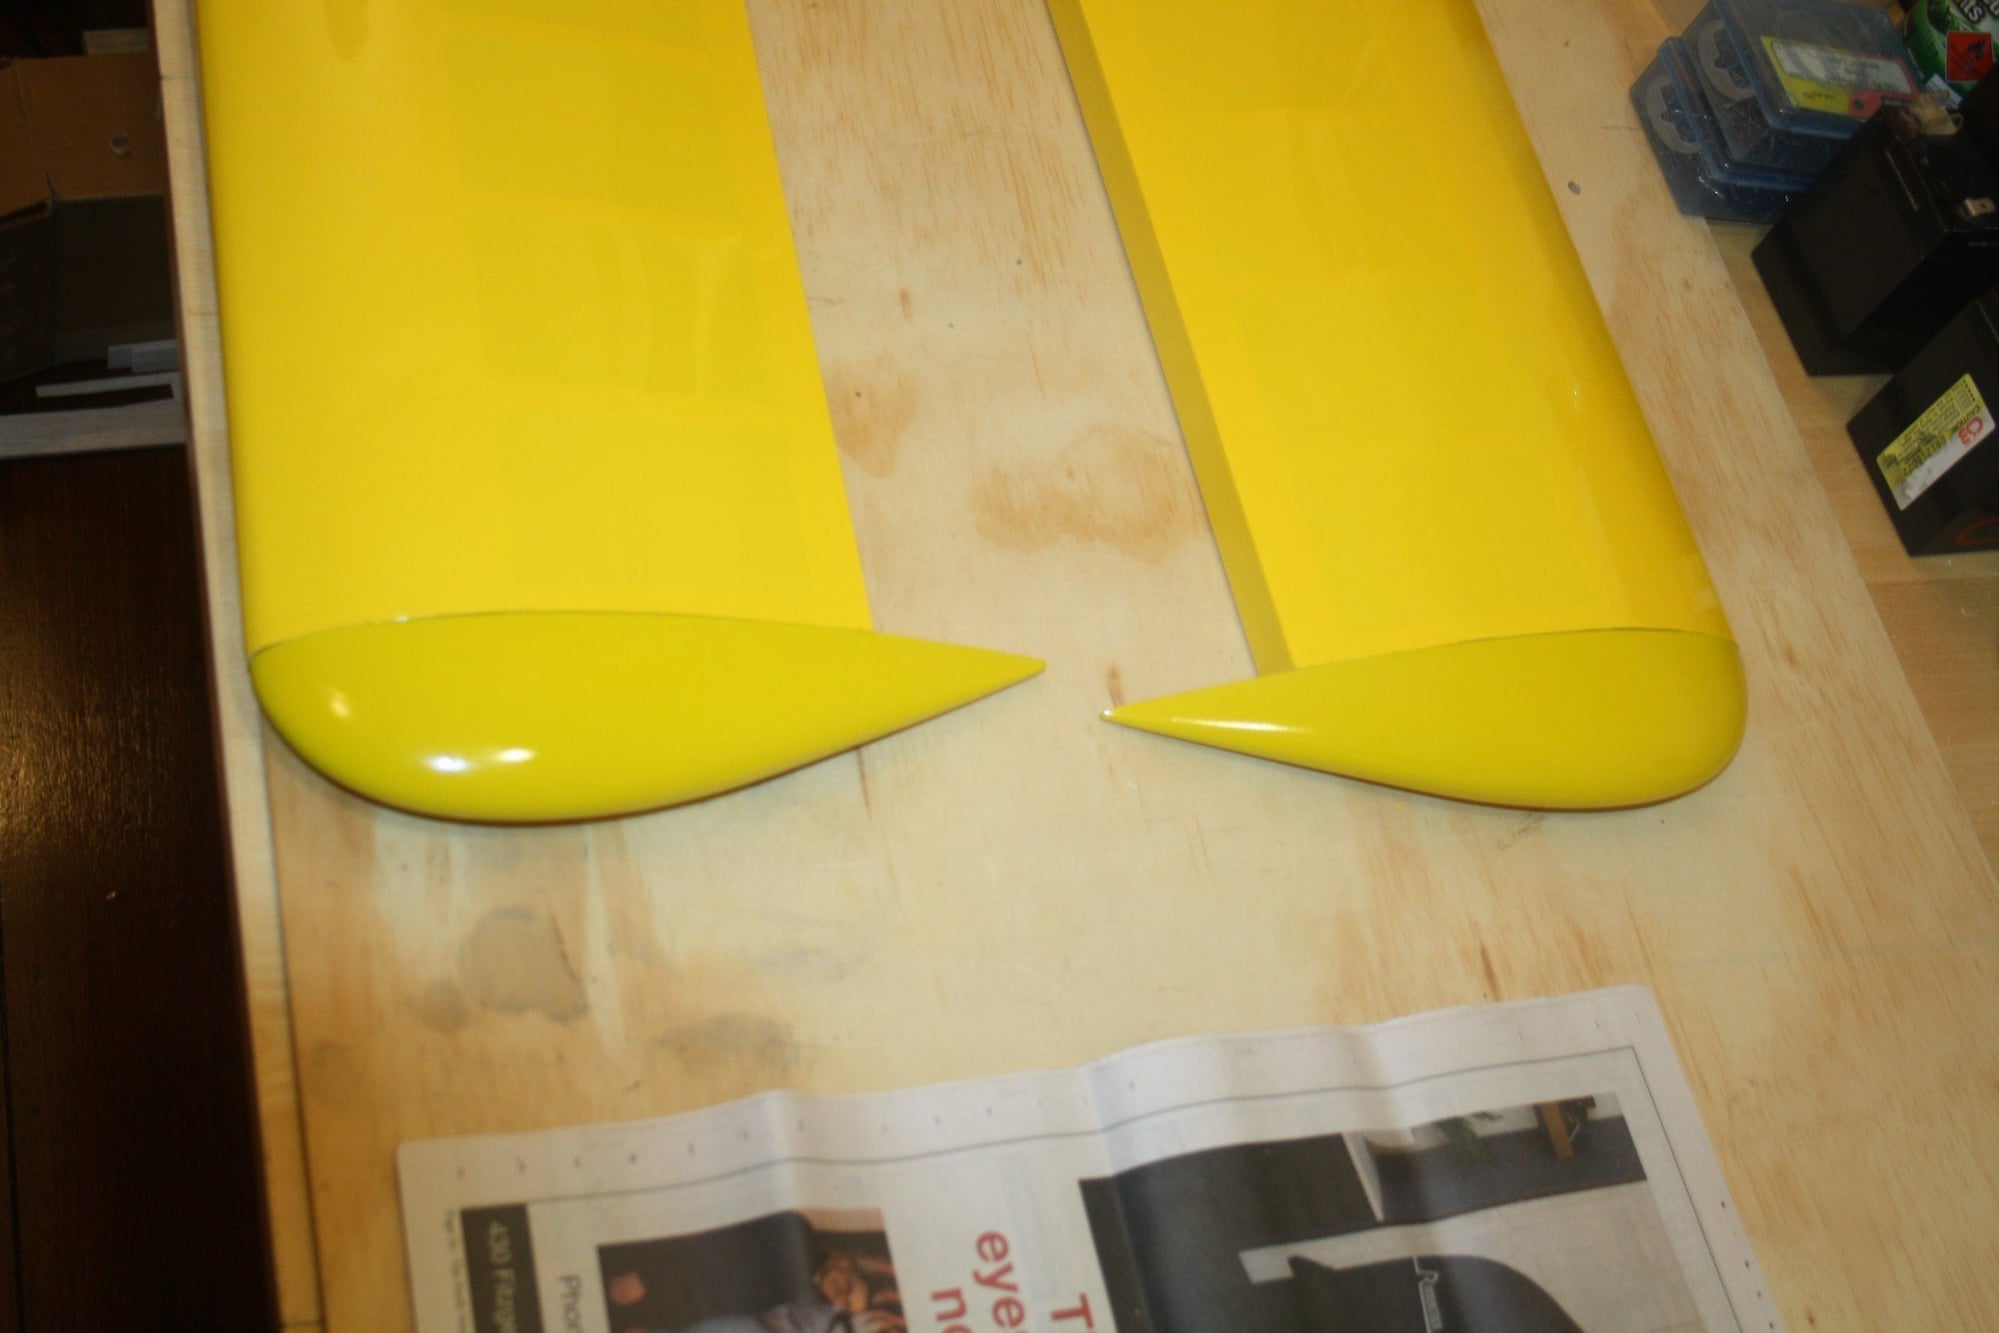
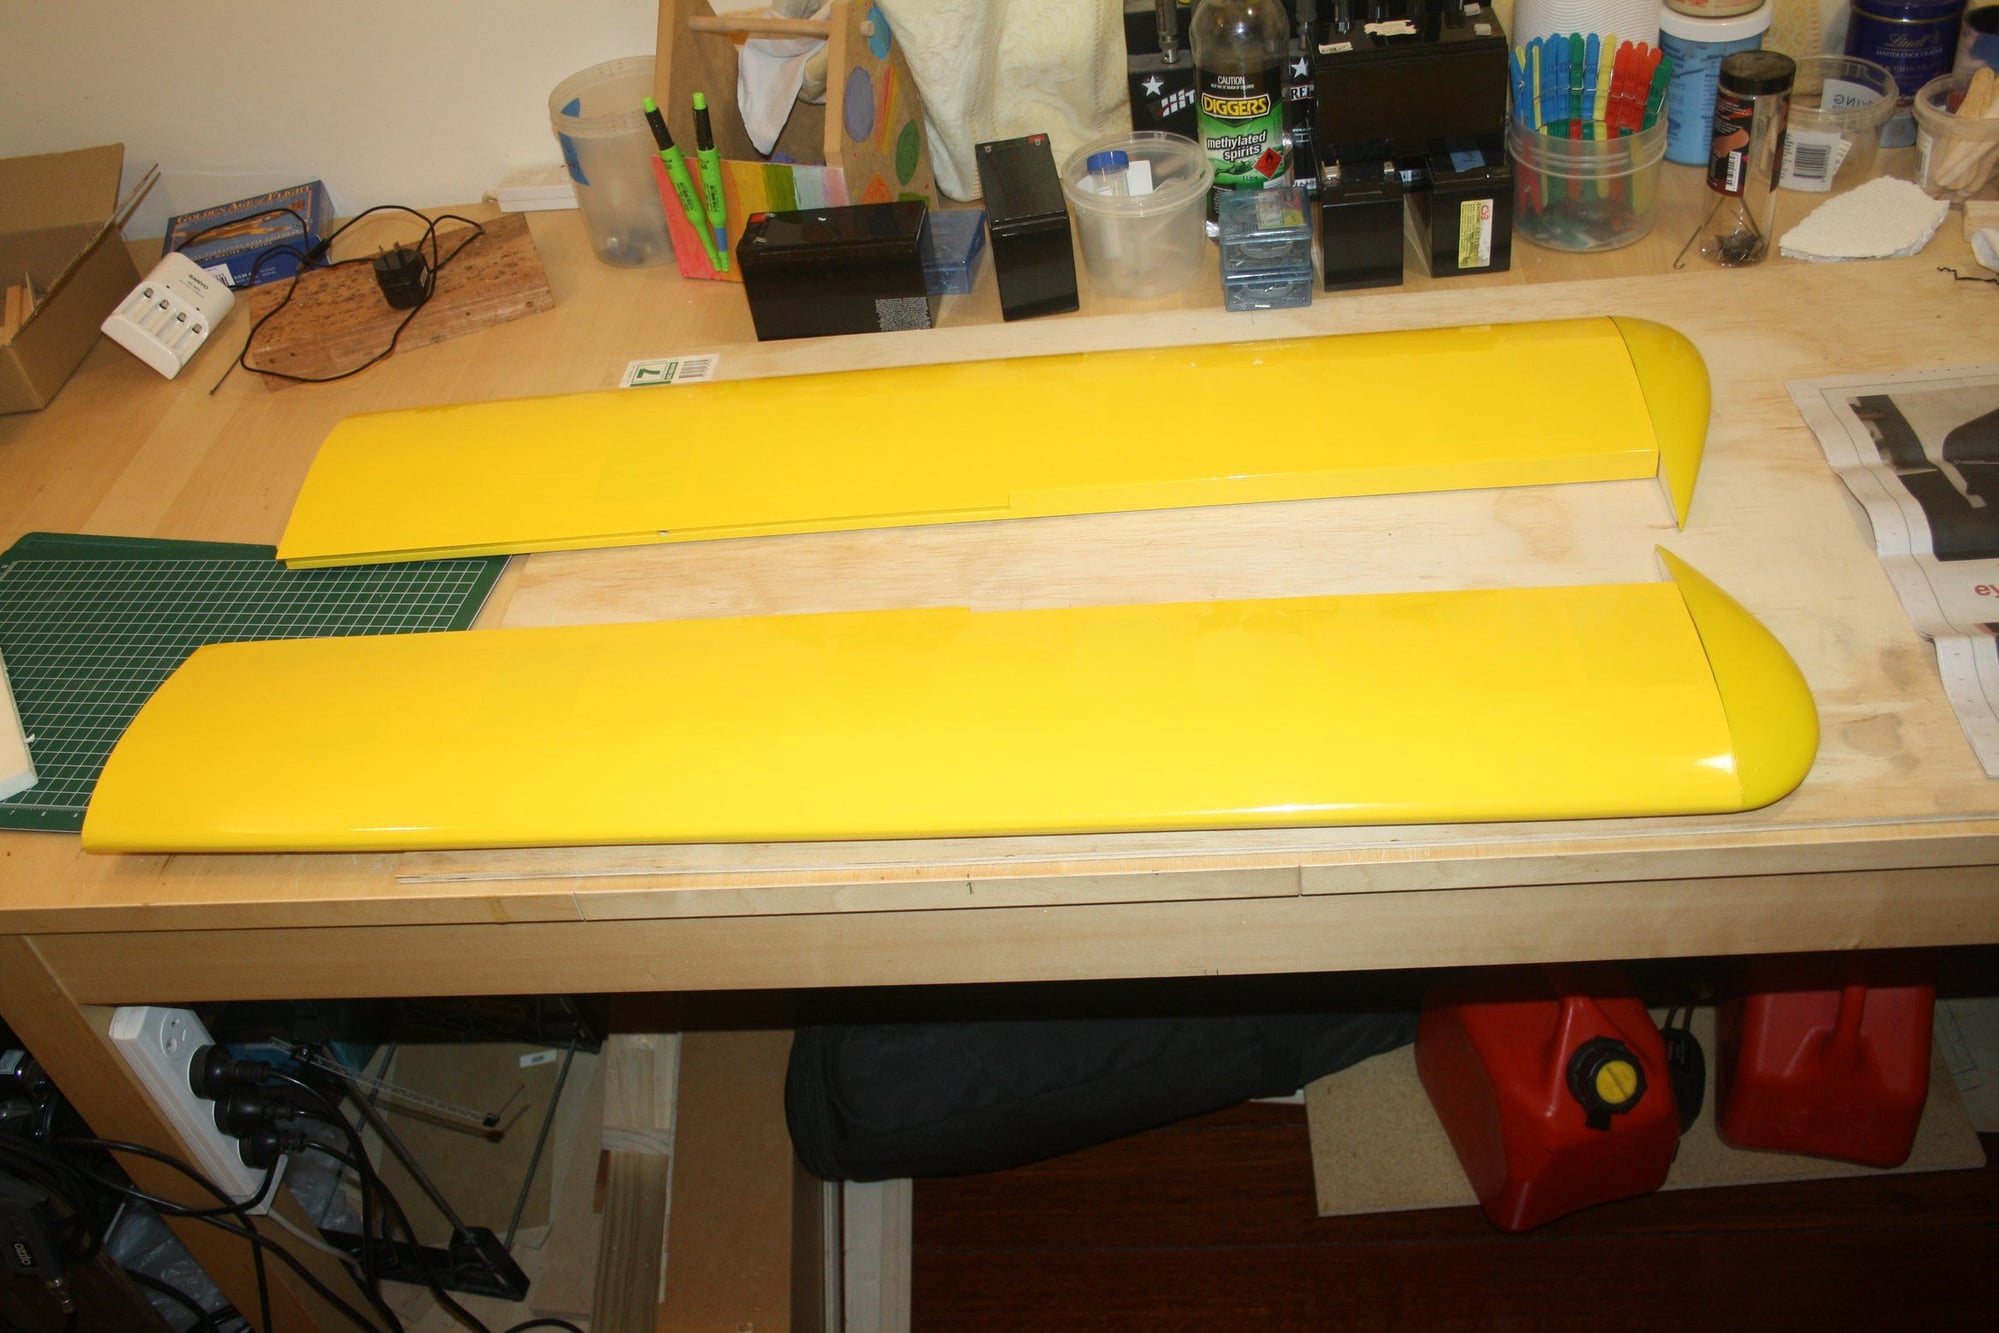
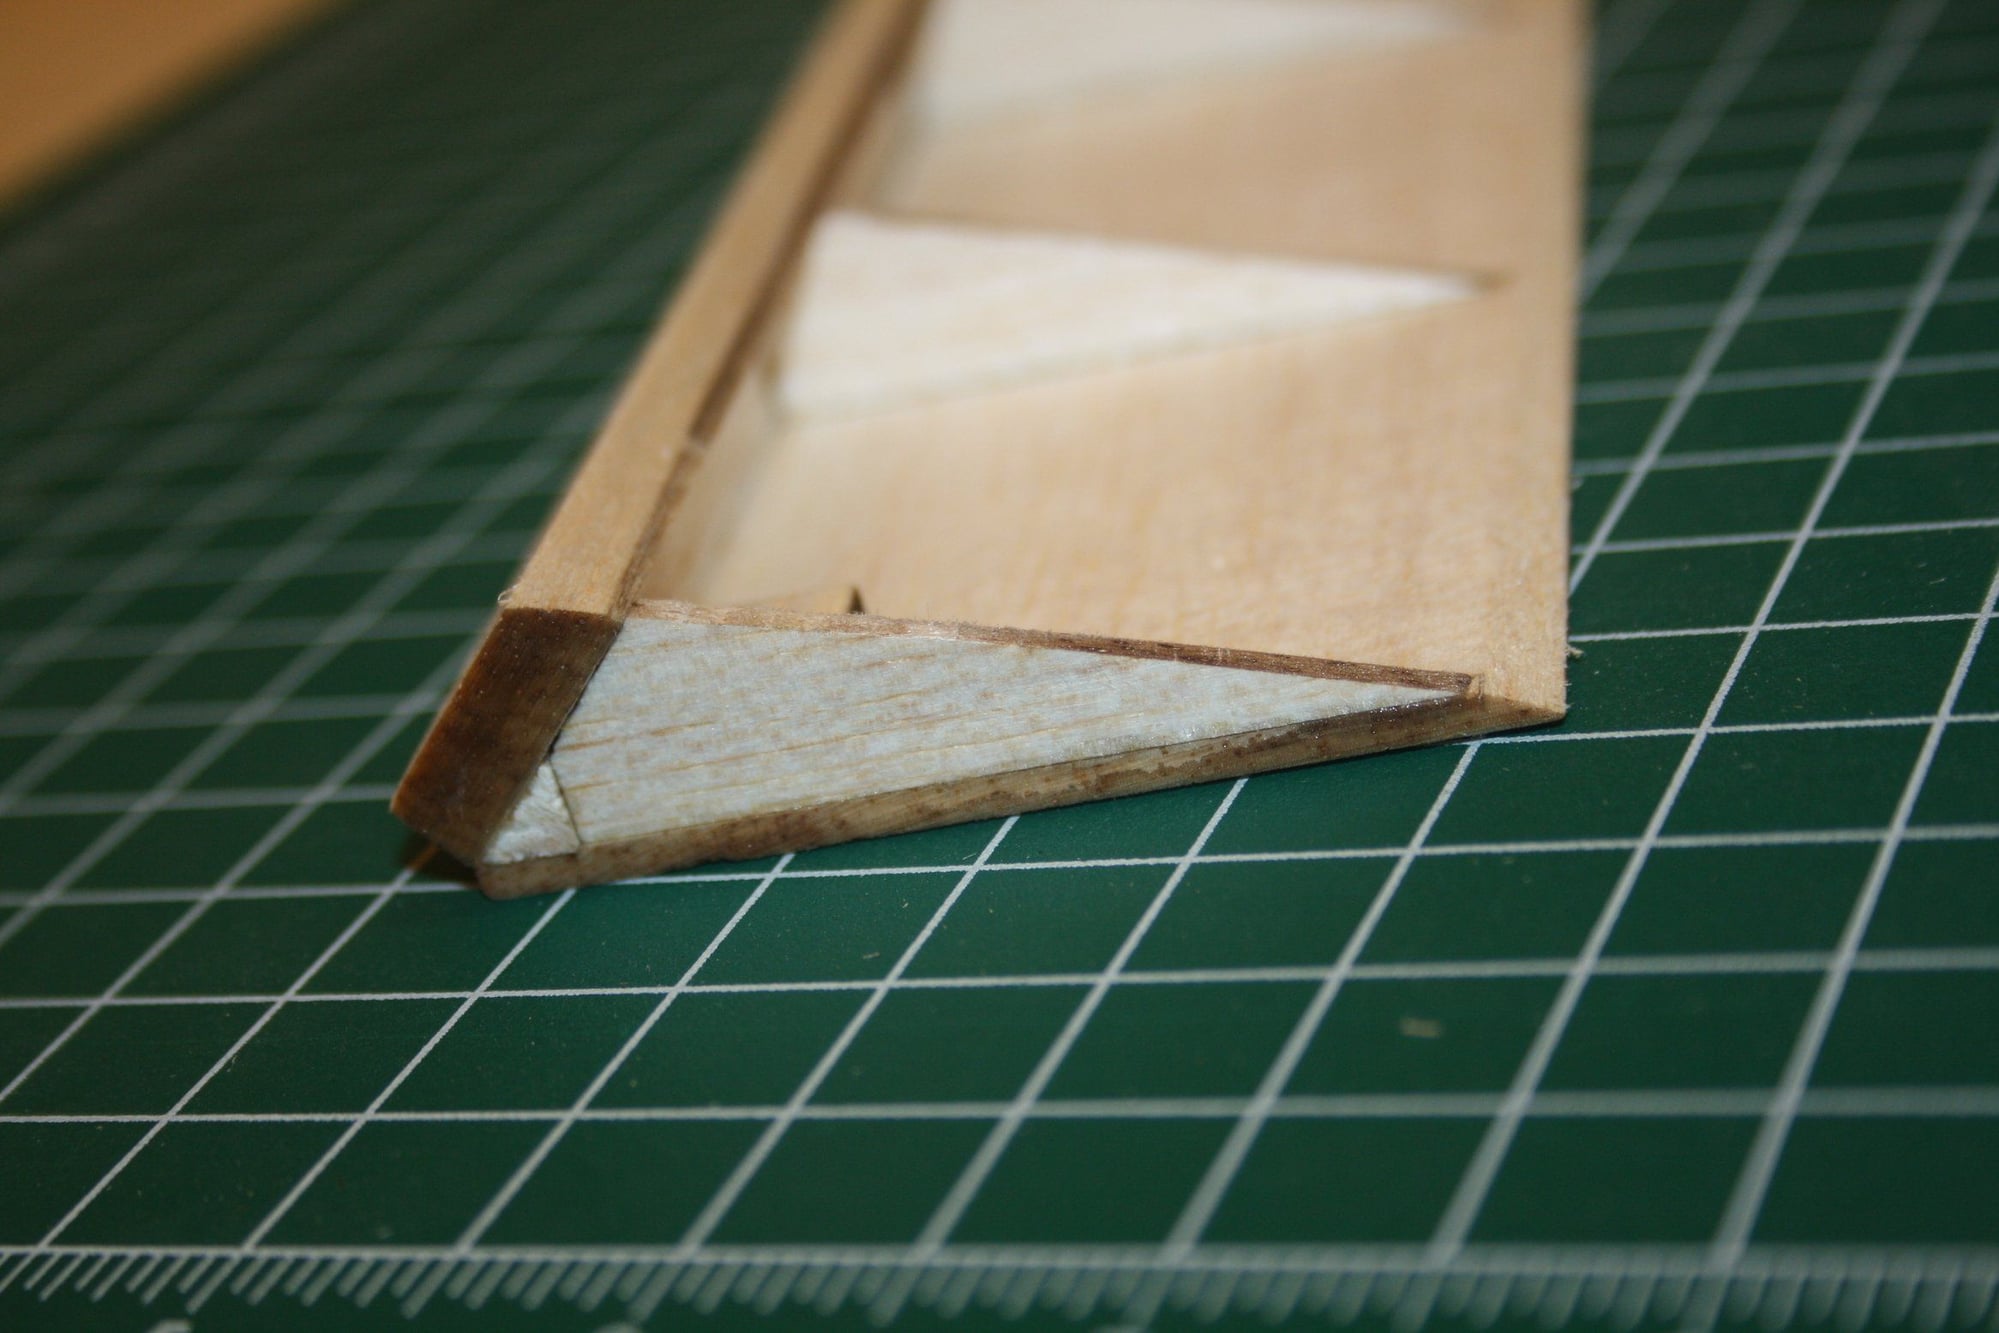
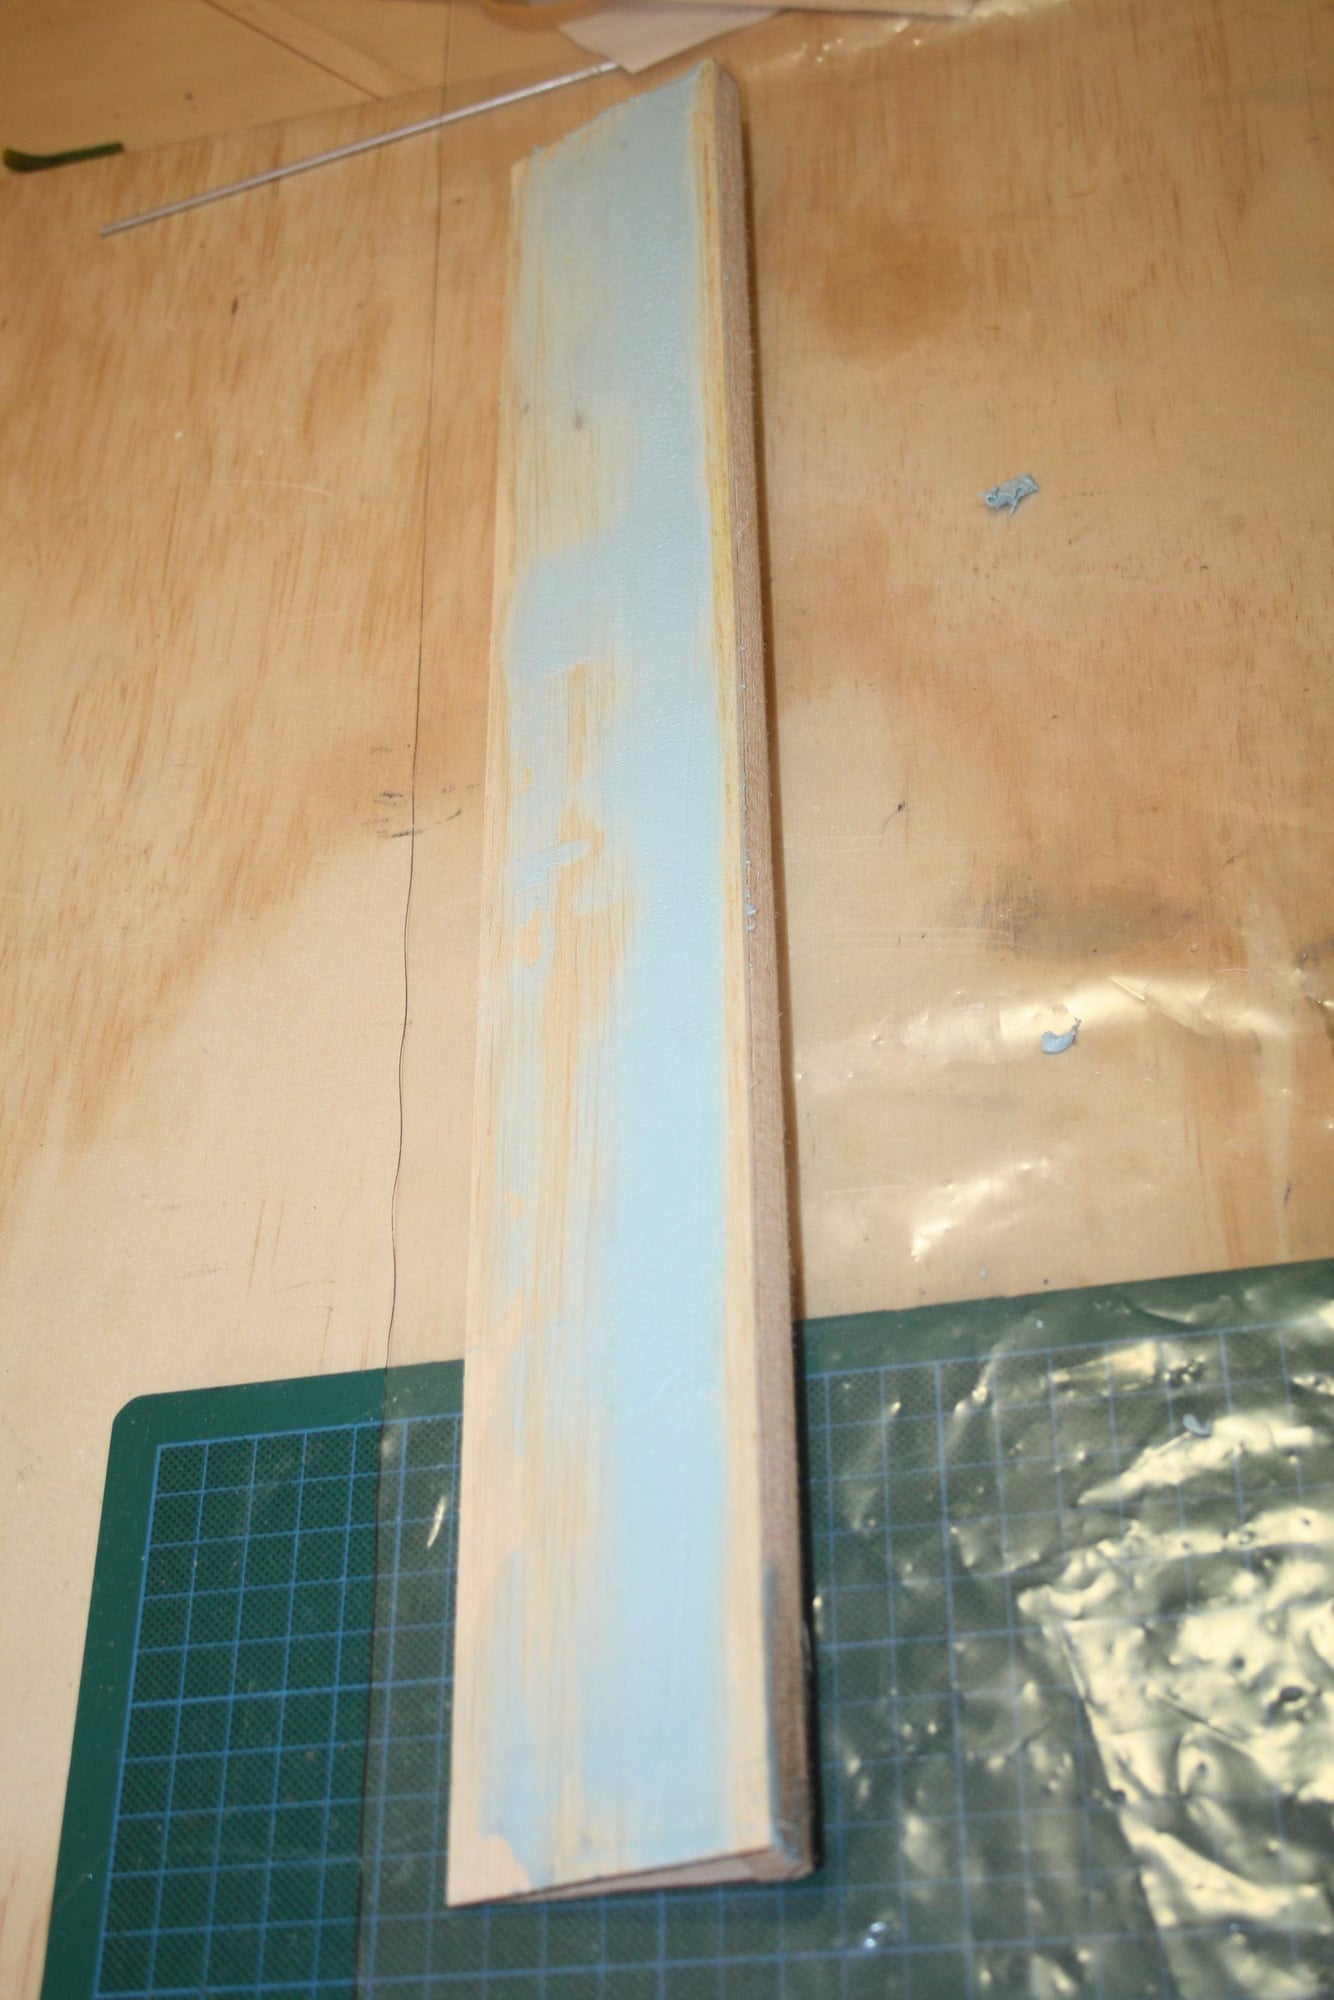
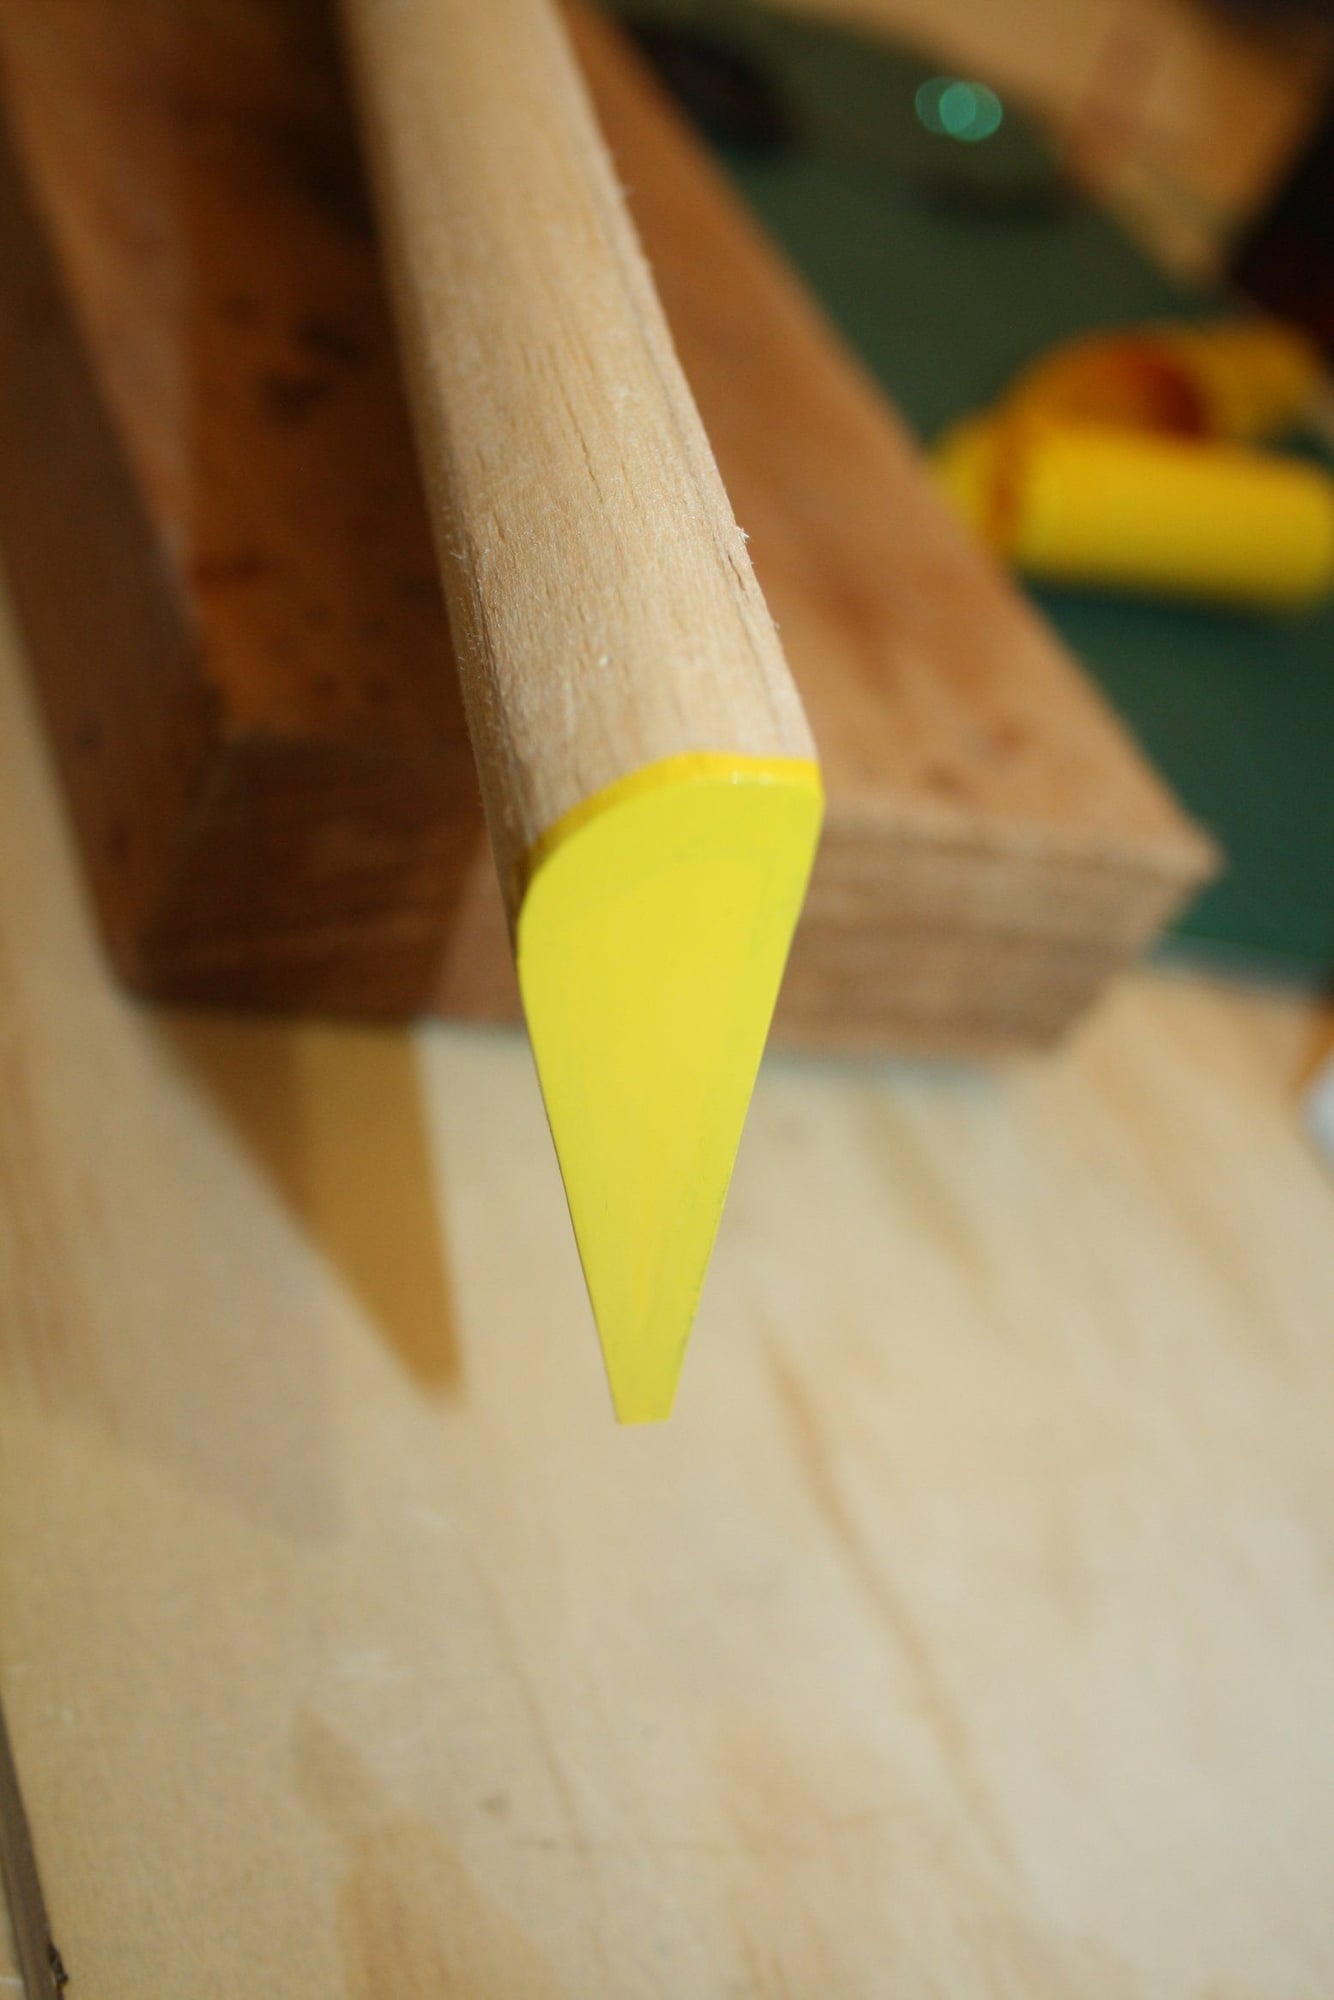
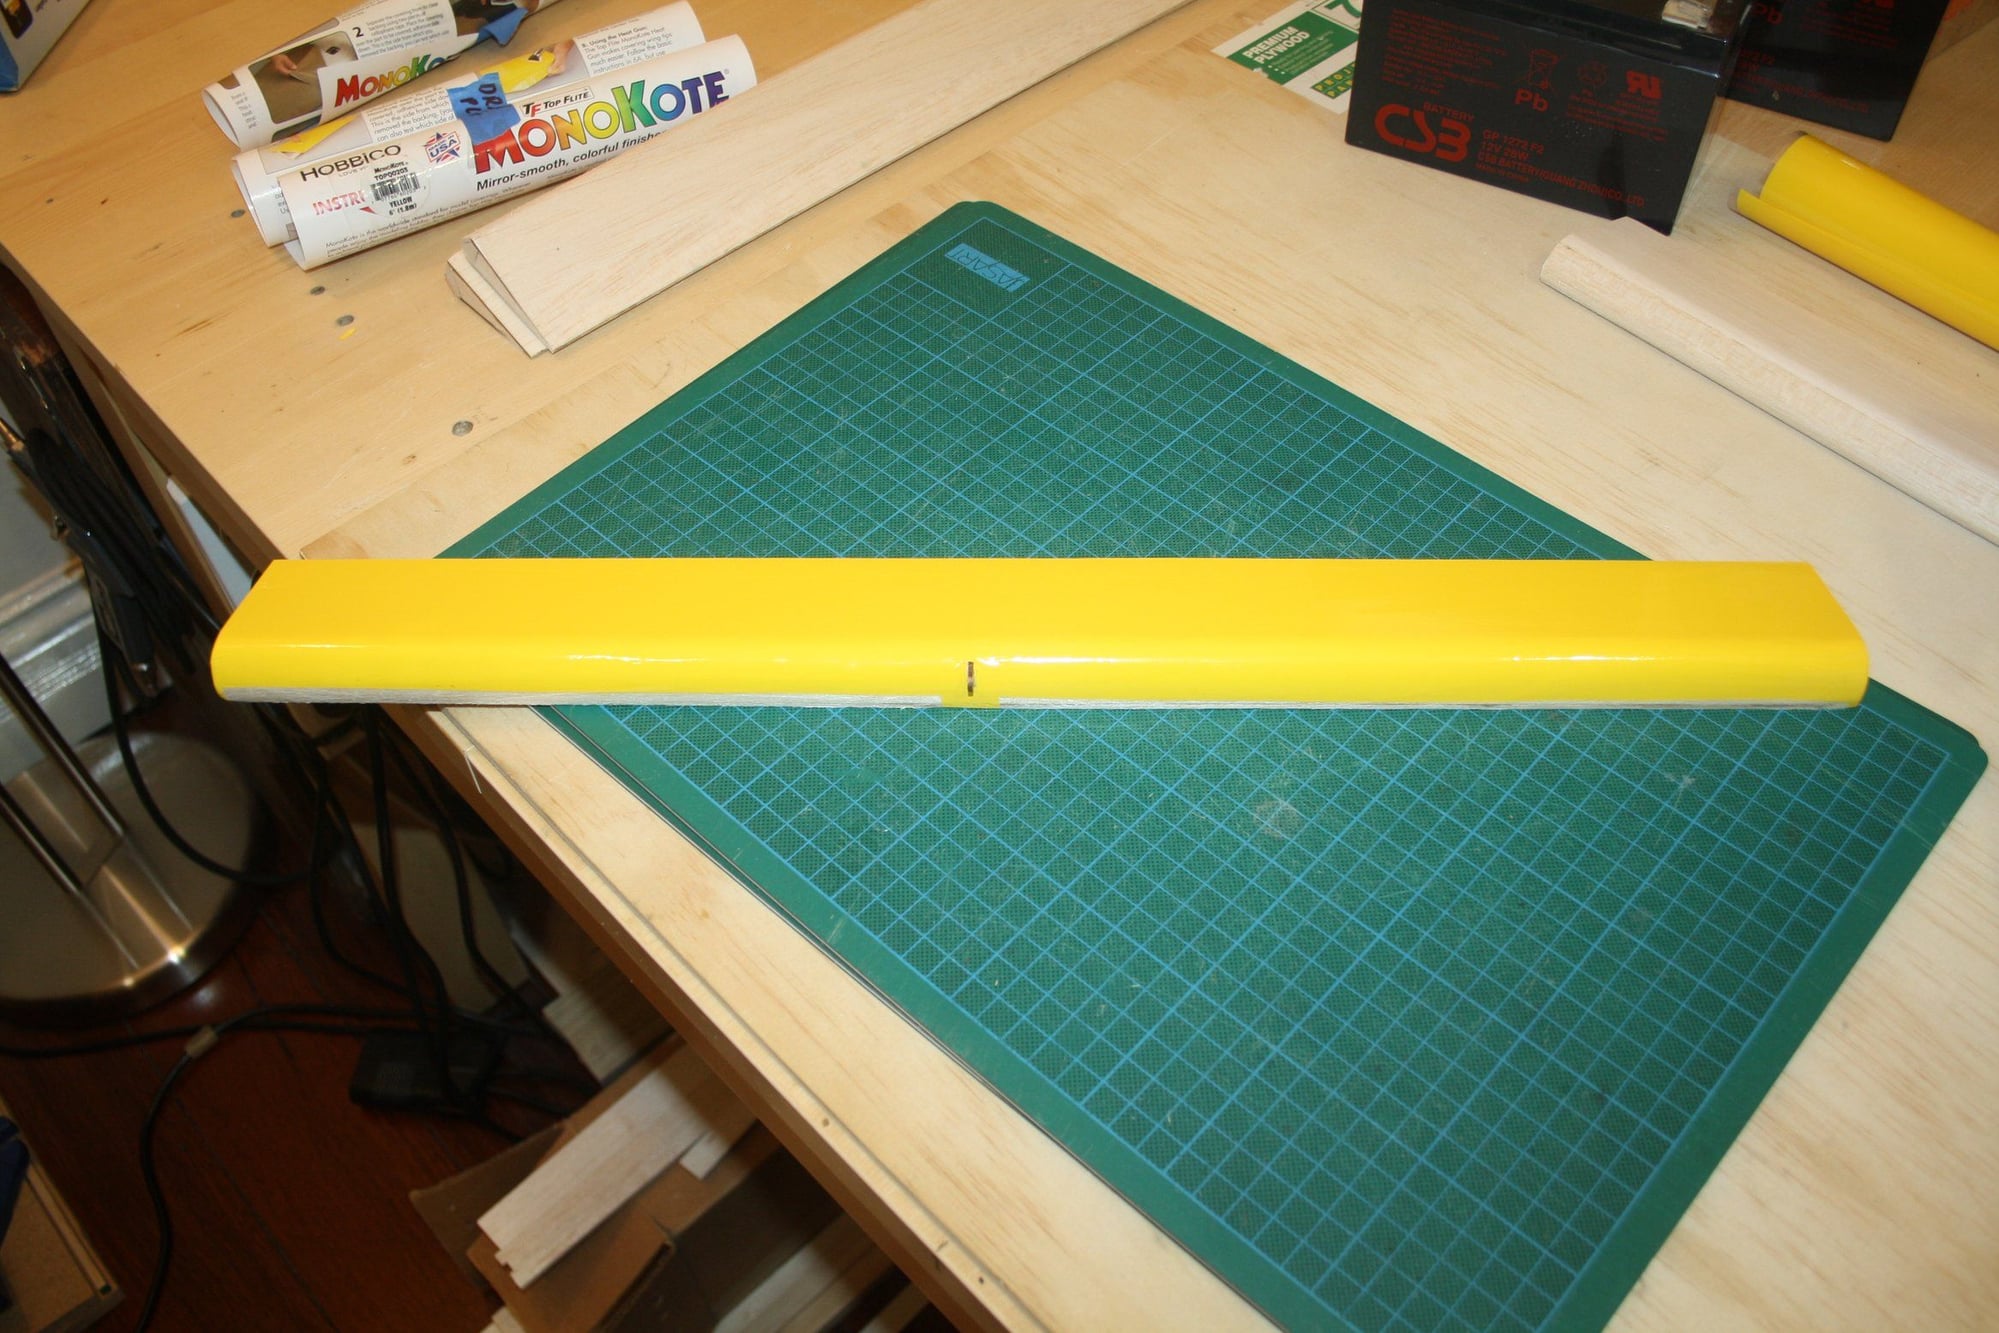
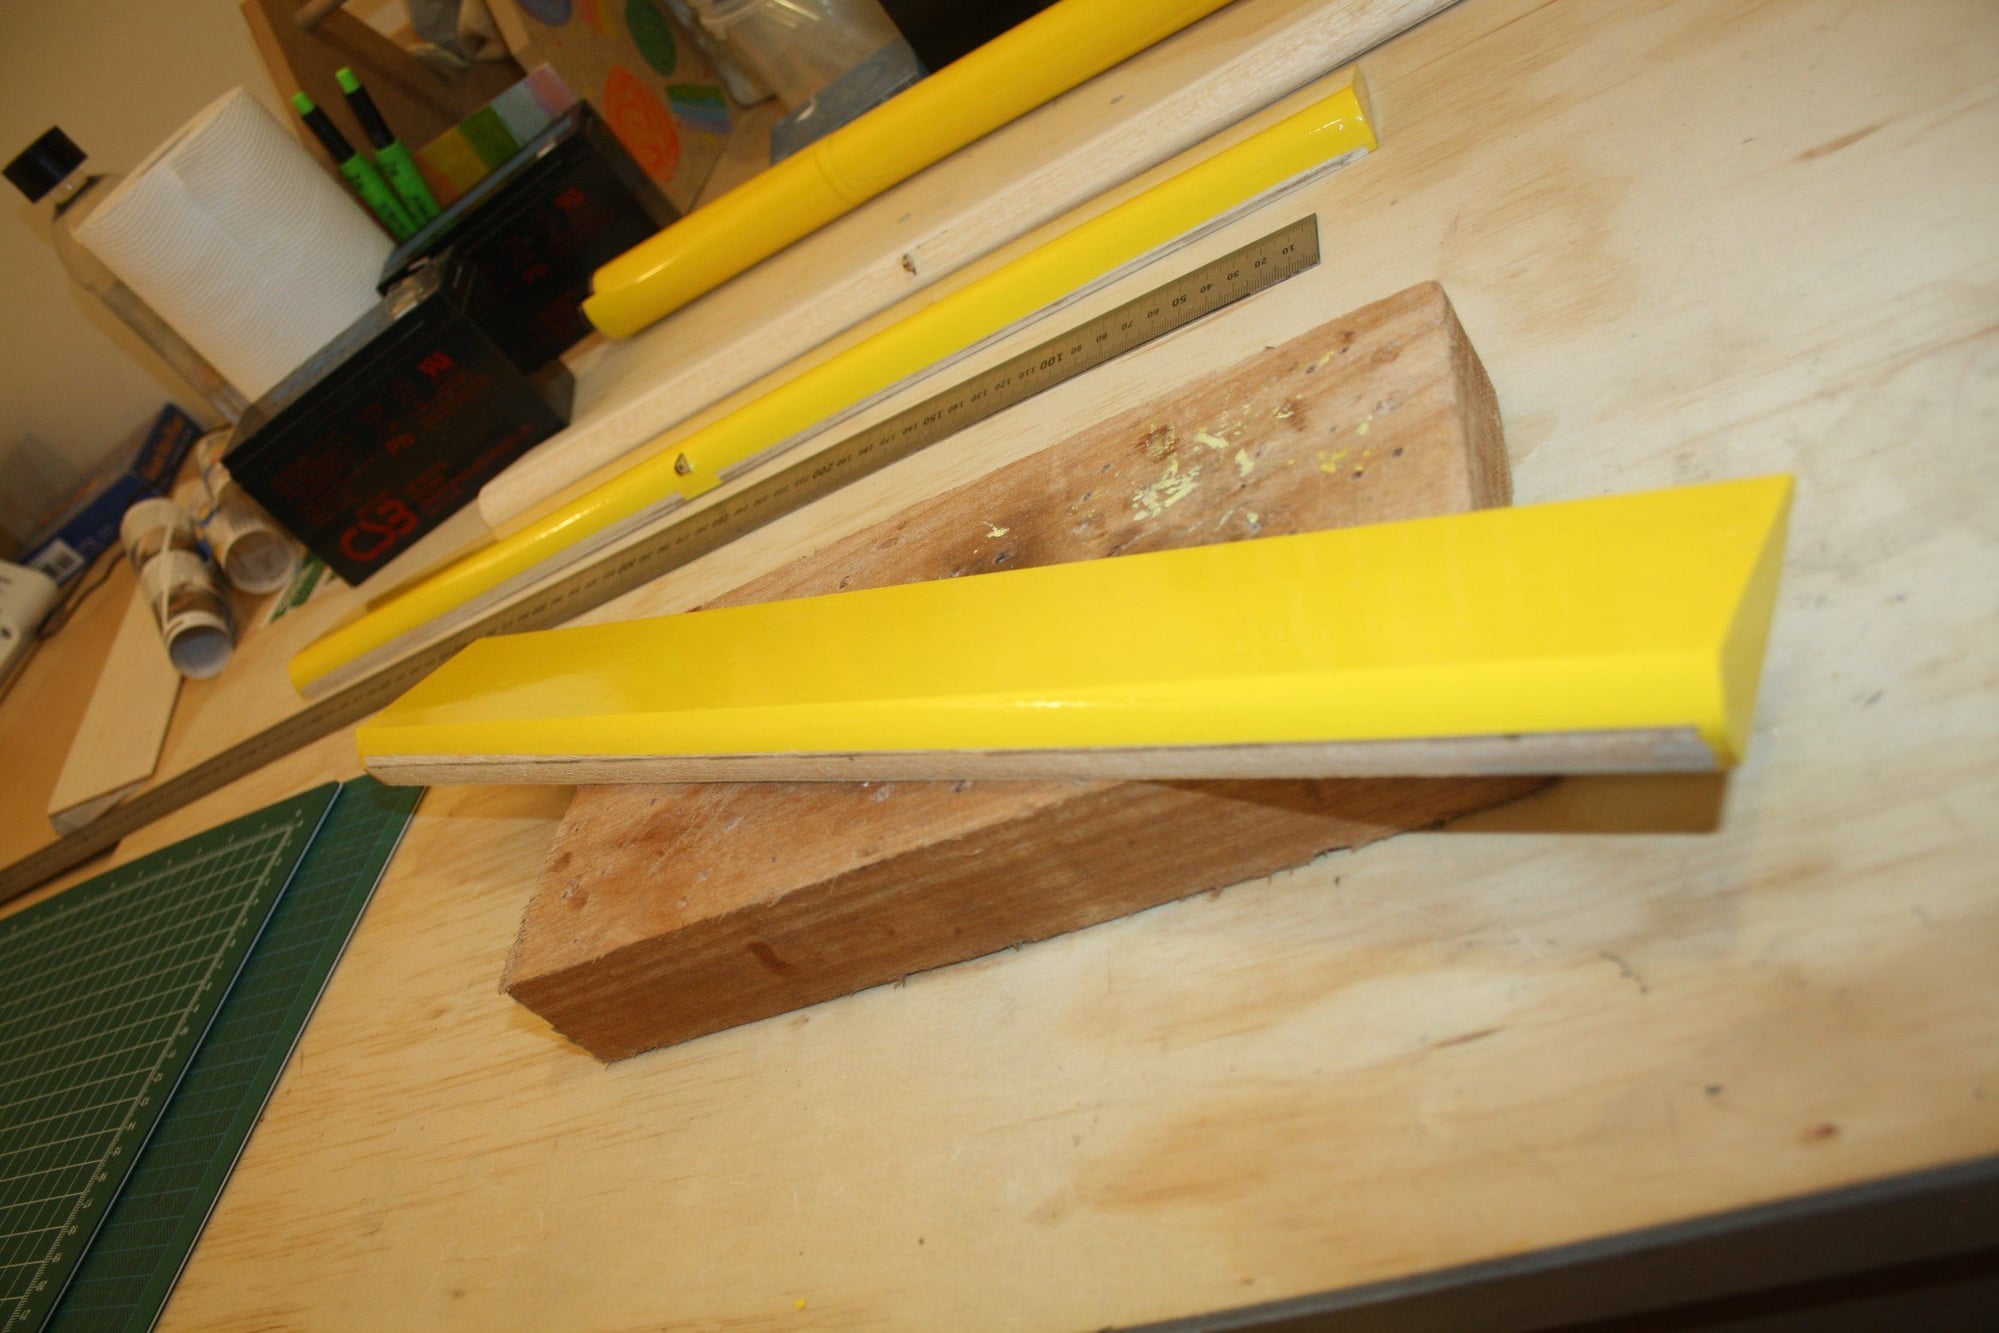
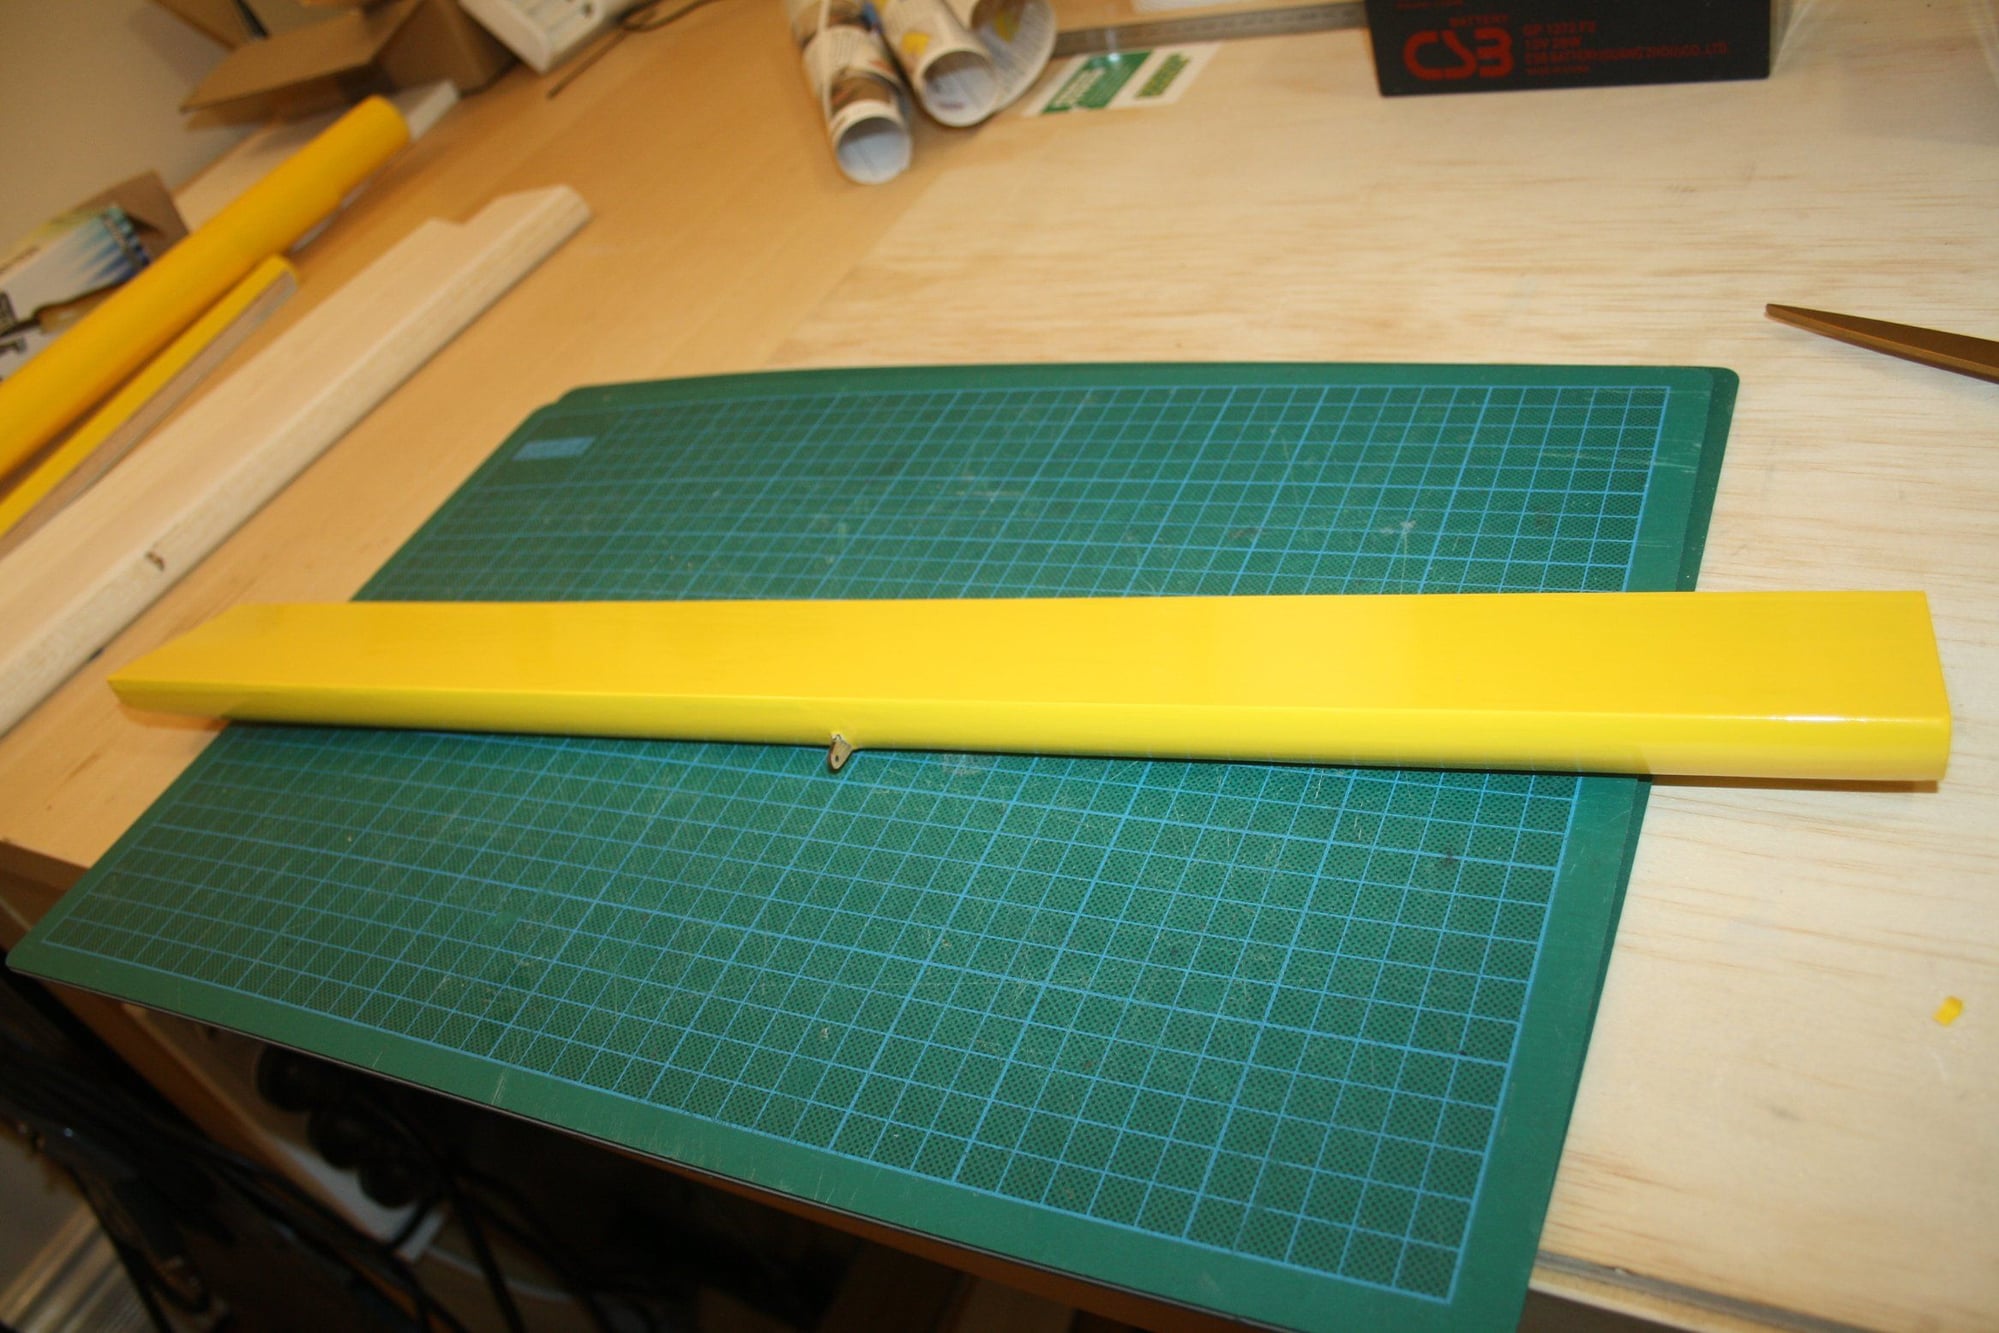
Next was the TE sheeting followed by the D-Box sheeting. The balsa sheeting provided with my kit was reasonably stiff and did not bend easily to conform to the ribs. After attempting to glue the bottom sheeting as proposed in the manual it was clear that the proposed method for the top will not work. Therefore, the balsa sheet was soaked wet, then temporarily attached to the wing with blue tape overnight which created fully conforming shape that was easy to glue into place. With this done, the mid section sheeting and cup-strips were added. Last, the Leading edge was glued into place.


Cheers,
Eran

Old 09-02-2022, 05:06 AM
  #36  
erans
Thread Starter
 
Join Date: Jun 2008
Location: Perth WA, AUSTRALIA
Posts: 1,204
Likes: 0
Received 9 Likes on 9 Posts
Default

Construction of the other wing is identical


Cheers,
Eran
Old 09-02-2022, 05:09 AM
  #37  
erans
Thread Starter
 
Join Date: Jun 2008
Location: Perth WA, AUSTRALIA
Posts: 1,204
Likes: 0
Received 9 Likes on 9 Posts
Default

The last three photos here show the D-Box sheeting formed into shape by wetting the balsa and letting it dry while taped into place.


Cheers,
Eran
Old 09-02-2022, 05:13 AM
  #38  
erans
Thread Starter
 
Join Date: Jun 2008
Location: Perth WA, AUSTRALIA
Posts: 1,204
Likes: 0
Received 9 Likes on 9 Posts
Default

These photos session ends with both wings ready for the leading edge shaping.


Cheers,
Eran
Old 09-09-2022, 09:41 PM
  #39  
erans
Thread Starter
 
Join Date: Jun 2008
Location: Perth WA, AUSTRALIA
Posts: 1,204
Likes: 0
Received 9 Likes on 9 Posts
Default

Shaping the Leading Edge


Cheers,
Eran
Old 09-09-2022, 09:44 PM
  #40  
erans
Thread Starter
 
Join Date: Jun 2008
Location: Perth WA, AUSTRALIA
Posts: 1,204
Likes: 0
Received 9 Likes on 9 Posts
Default

Gluing and shaping the triangle stock to the Trailing Edge


Cheers,
Eran
Old 09-11-2022, 05:35 PM
  #41  
bryanmiick
 
Join Date: Sep 2013
Location: Grand Junction, CO
Posts: 155
Likes: 0
Received 21 Likes on 19 Posts
Default

lookin good!!
Old 09-11-2022, 11:50 PM
  #42  
erans
Thread Starter
 
Join Date: Jun 2008
Location: Perth WA, AUSTRALIA
Posts: 1,204
Likes: 0
Received 9 Likes on 9 Posts
Default

Thank you bryanmiick, it is appreciated. Considering that this is up there with my worse and least enjoyable kit builds I'll take it : )

Cheers,
Eran
Old 09-17-2022, 04:26 AM
  #43  
erans
Thread Starter
 
Join Date: Jun 2008
Location: Perth WA, AUSTRALIA
Posts: 1,204
Likes: 0
Received 9 Likes on 9 Posts
Default

Flap link hole in the TE and Wing Servos mounts


Cheers,
Eran
Old 09-17-2022, 04:28 AM
  #44  
erans
Thread Starter
 
Join Date: Jun 2008
Location: Perth WA, AUSTRALIA
Posts: 1,204
Likes: 0
Received 9 Likes on 9 Posts
Default

Some filler applied to the wing where I scratched it when sanding and wingtip assembly


Cheers,
Eran
Old 09-24-2022, 12:42 AM
  #45  
erans
Thread Starter
 
Join Date: Jun 2008
Location: Perth WA, AUSTRALIA
Posts: 1,204
Likes: 0
Received 9 Likes on 9 Posts
Default

Wing Covering, Servo Hatch covering and attaching the wing-tips


Cheers,
Eran
Old 09-24-2022, 12:45 AM
  #46  
erans
Thread Starter
 
Join Date: Jun 2008
Location: Perth WA, AUSTRALIA
Posts: 1,204
Likes: 0
Received 9 Likes on 9 Posts
Default

Flaps


Cheers,
Eran
Old 09-24-2022, 12:47 AM
  #47  
erans
Thread Starter
 
Join Date: Jun 2008
Location: Perth WA, AUSTRALIA
Posts: 1,204
Likes: 0
Received 9 Likes on 9 Posts
Default

Ailerons. Note the use of scrap sheet balsa between the clamps and the thin aileron sheeting.


Cheers,
Eran
Old 10-07-2022, 11:09 PM
  #48  
erans
Thread Starter
 
Join Date: Jun 2008
Location: Perth WA, AUSTRALIA
Posts: 1,204
Likes: 0
Received 9 Likes on 9 Posts
Default

Ailerons and flaps covering


Cheers,
Eran
Old 10-07-2022, 11:11 PM
  #49  
erans
Thread Starter
 
Join Date: Jun 2008
Location: Perth WA, AUSTRALIA
Posts: 1,204
Likes: 0
Received 9 Likes on 9 Posts
Default

Hinging the flaps and ailerons


Cheers,
Eran
Old 10-07-2022, 11:13 PM
  #50  
erans
Thread Starter
 
Join Date: Jun 2008
Location: Perth WA, AUSTRALIA
Posts: 1,204
Likes: 0
Received 9 Likes on 9 Posts
Default

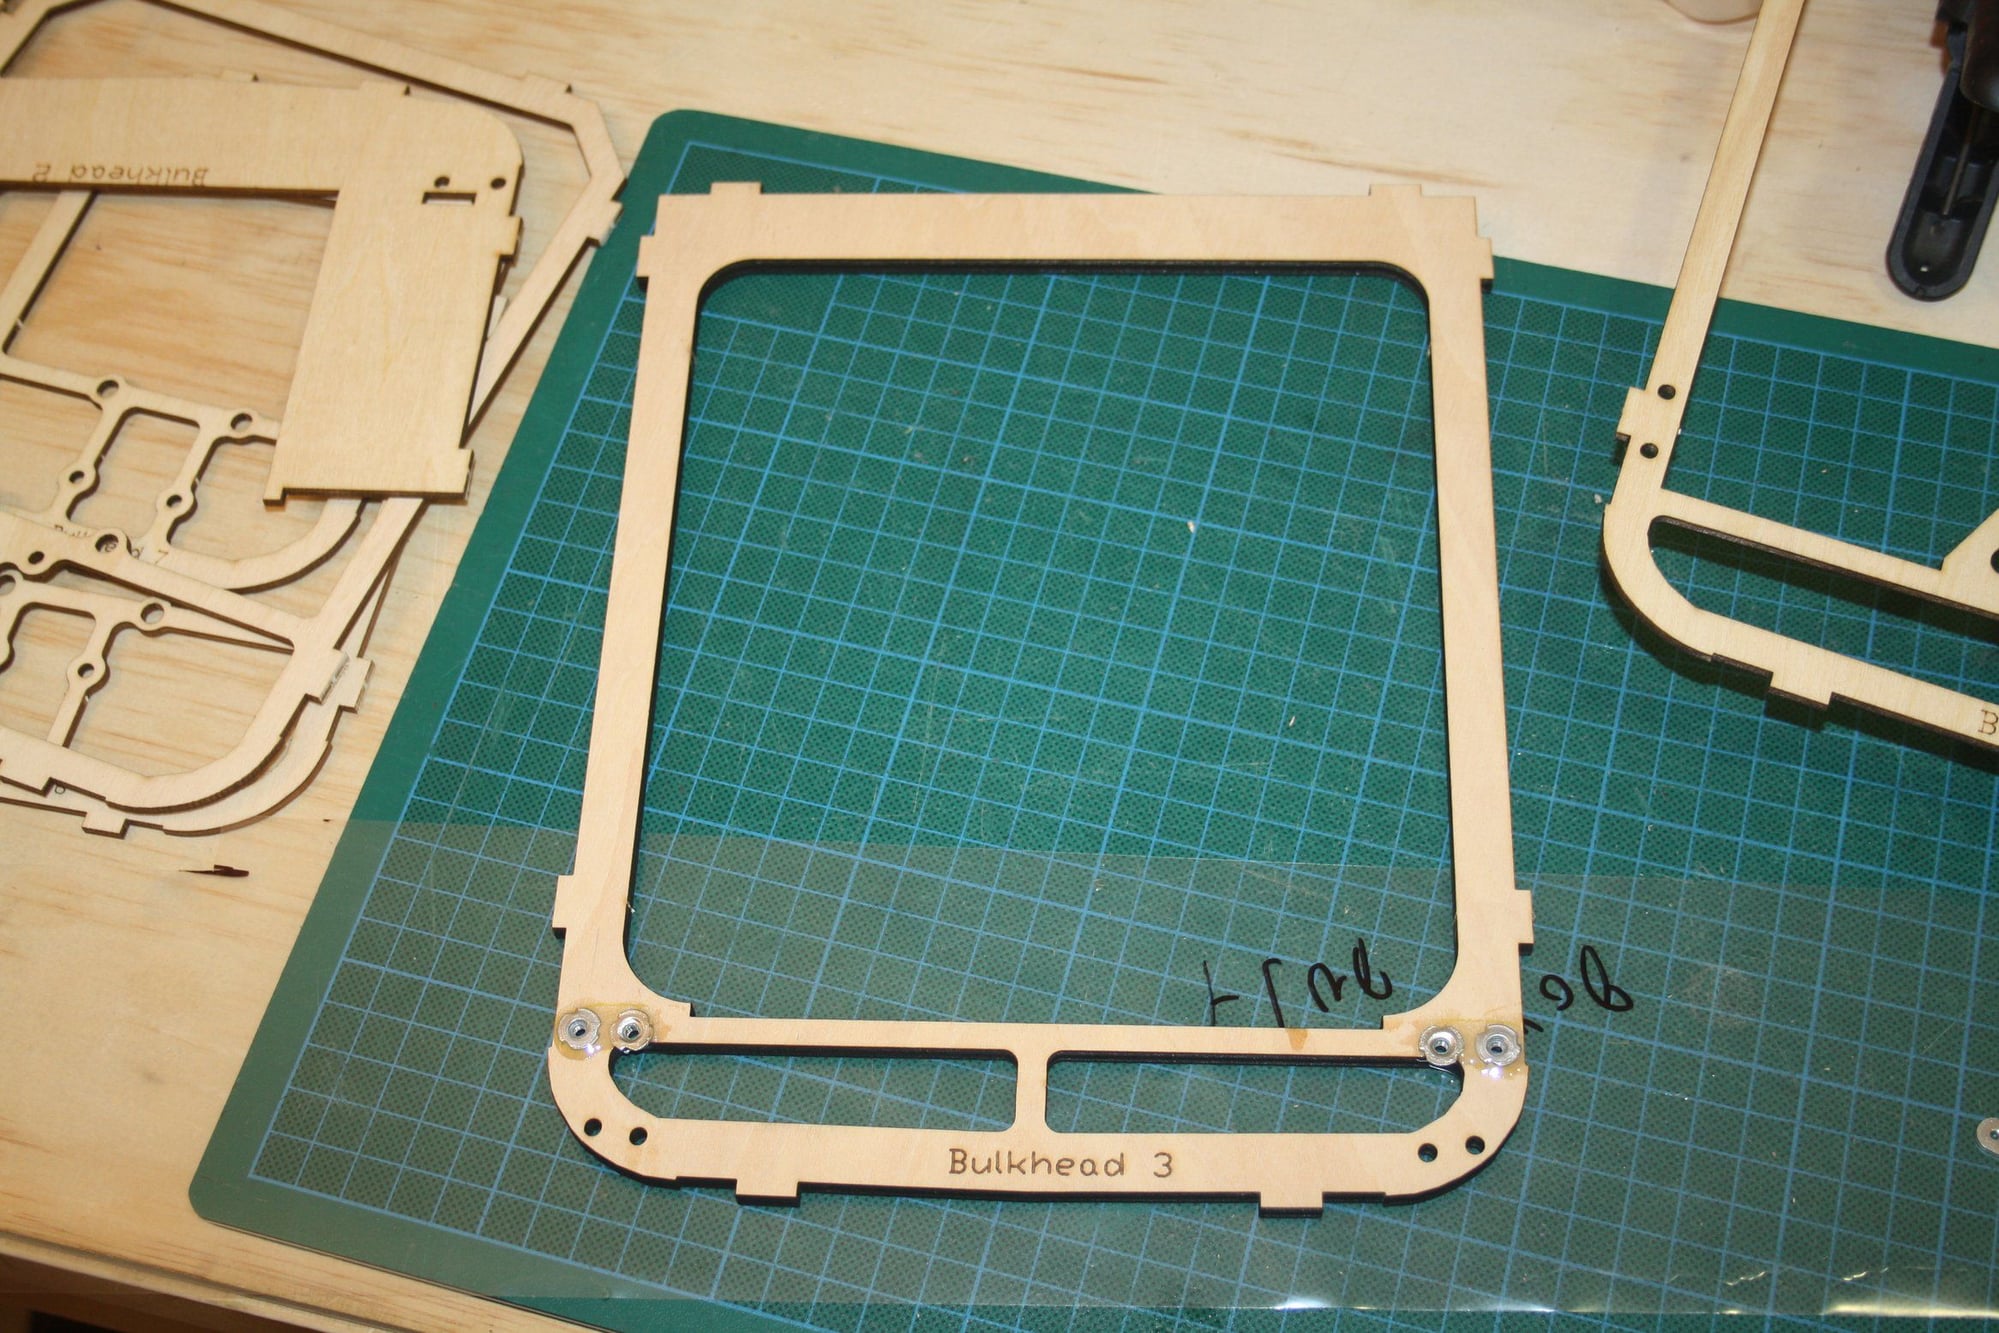
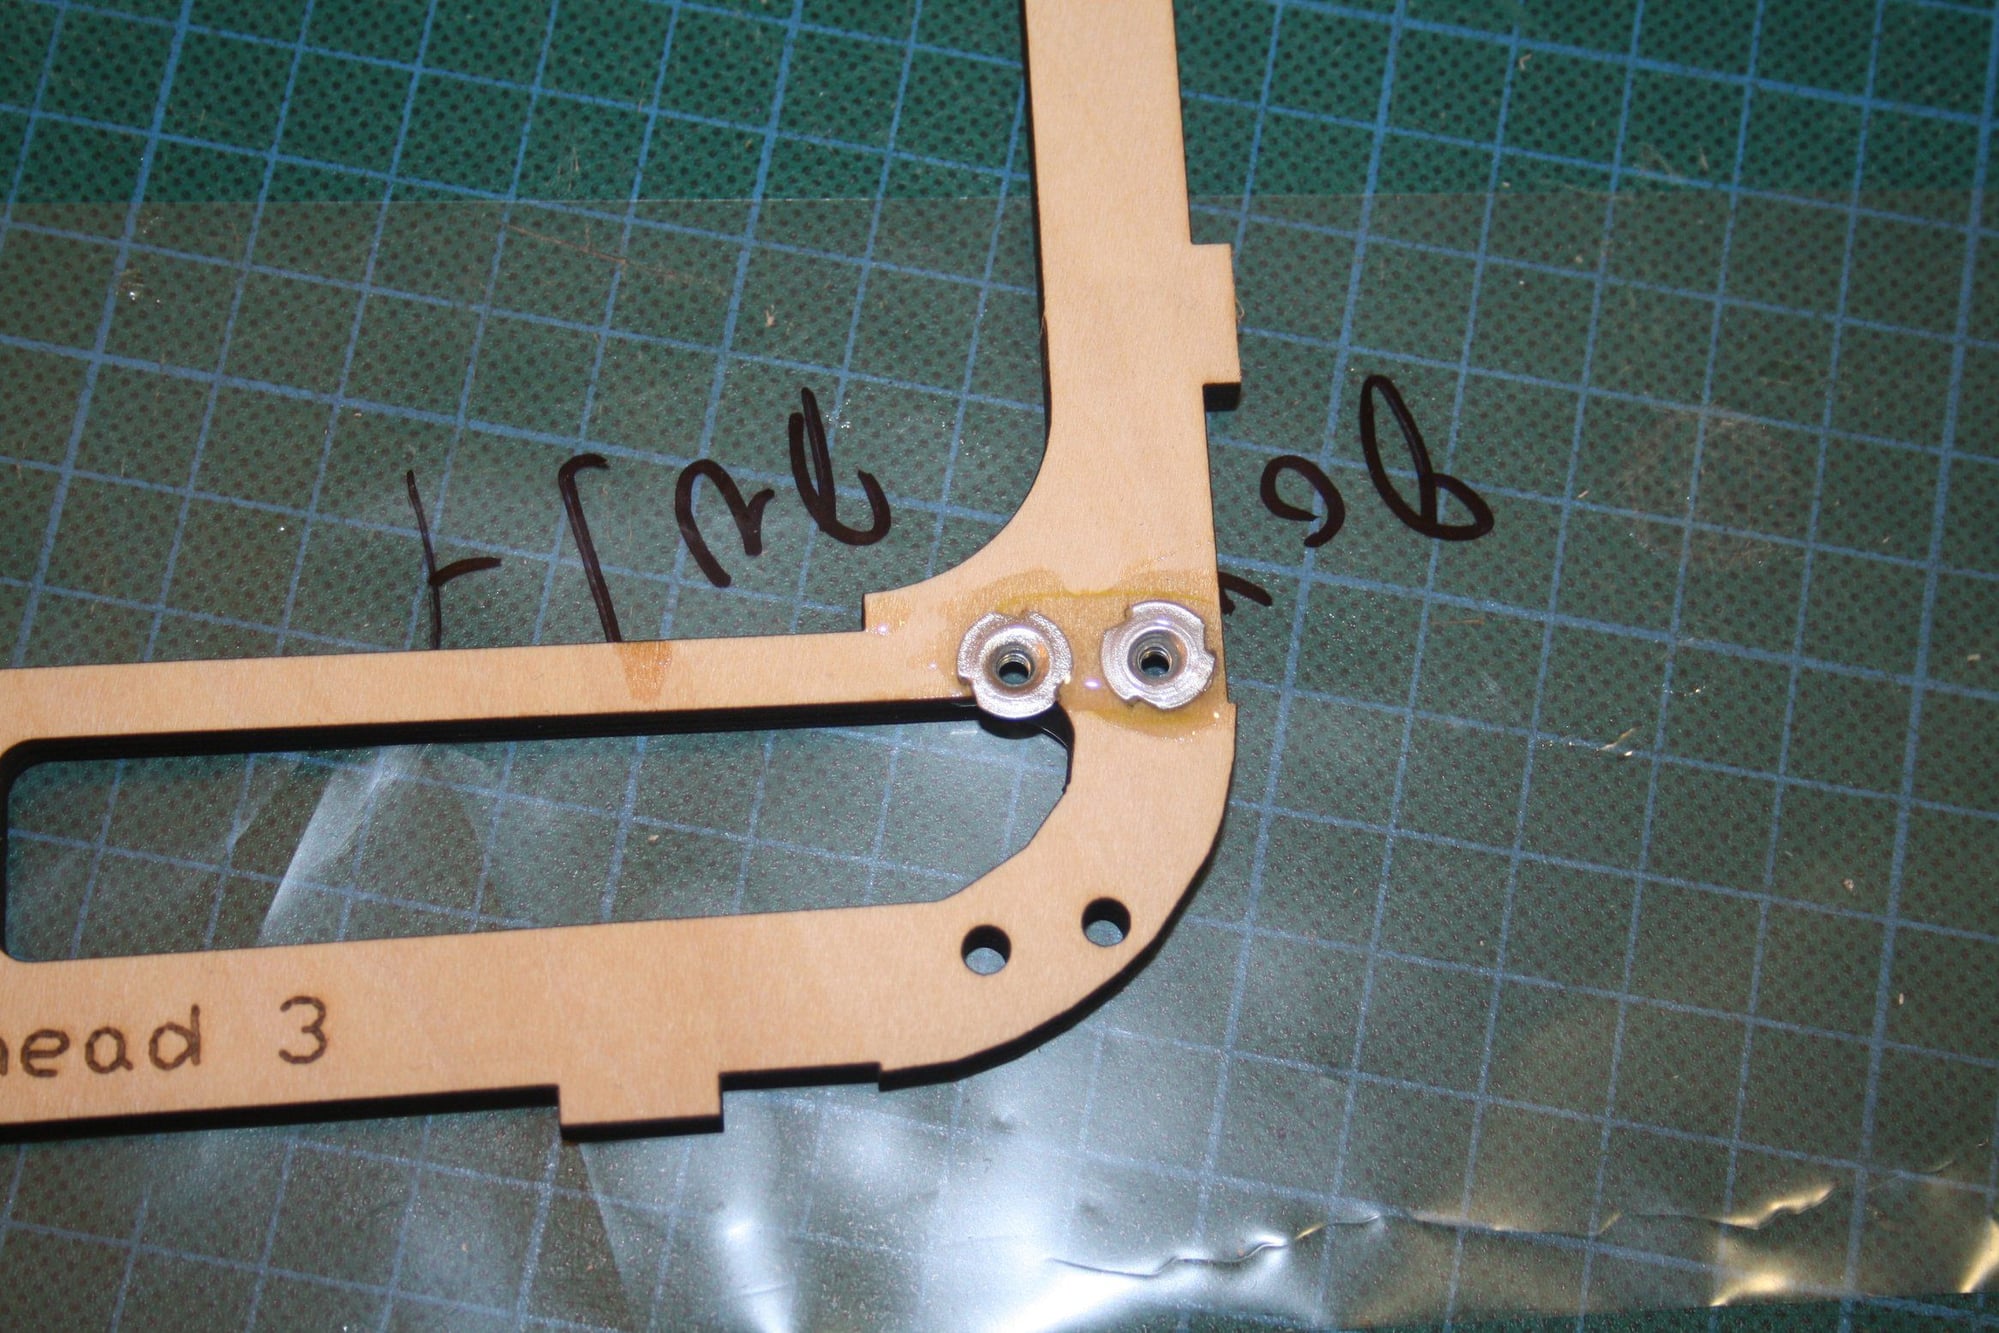
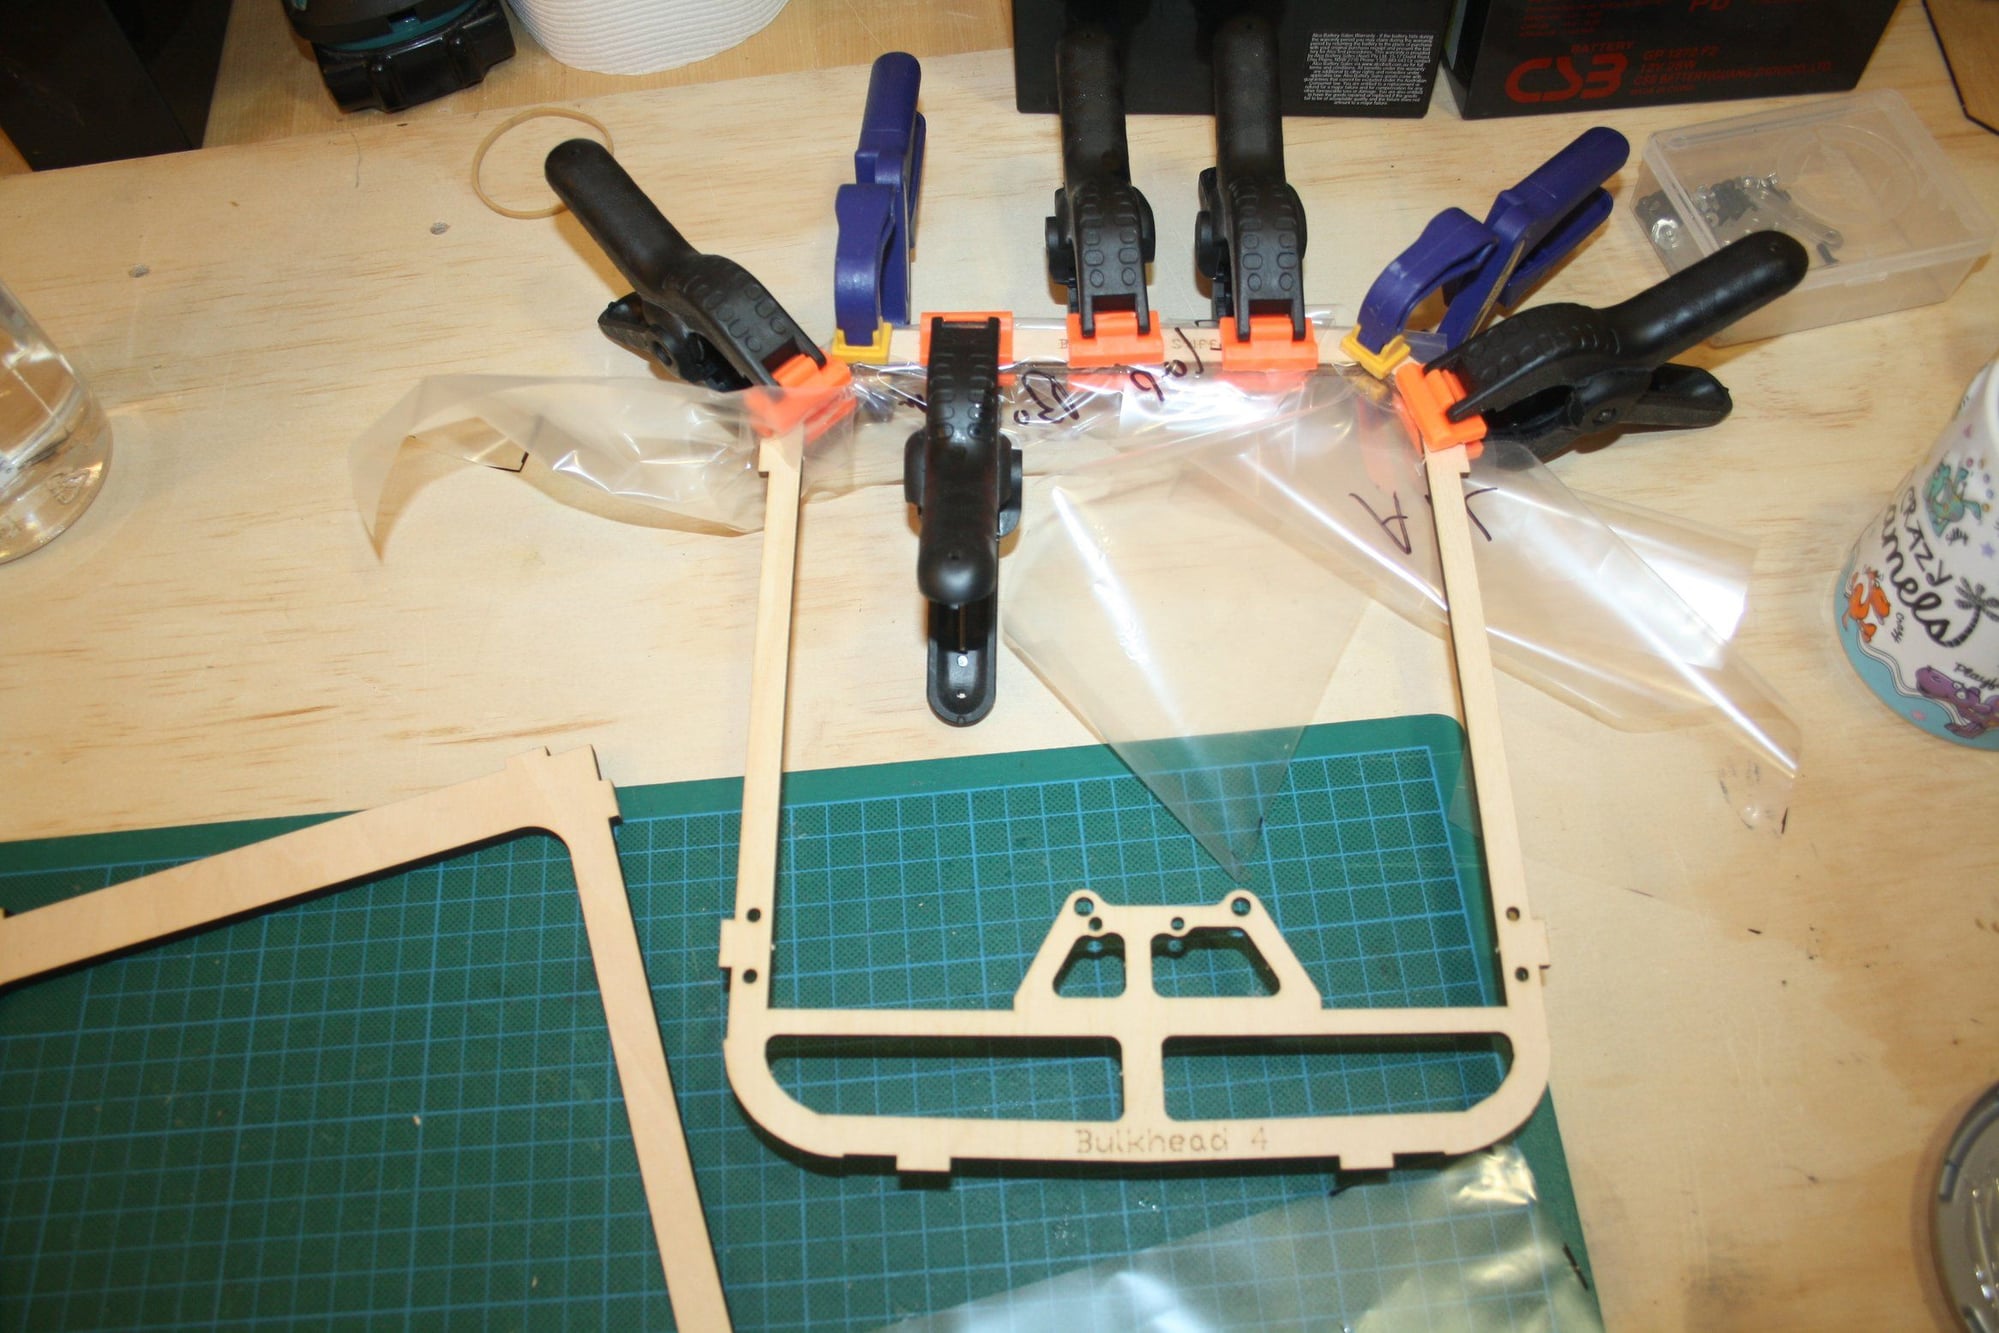
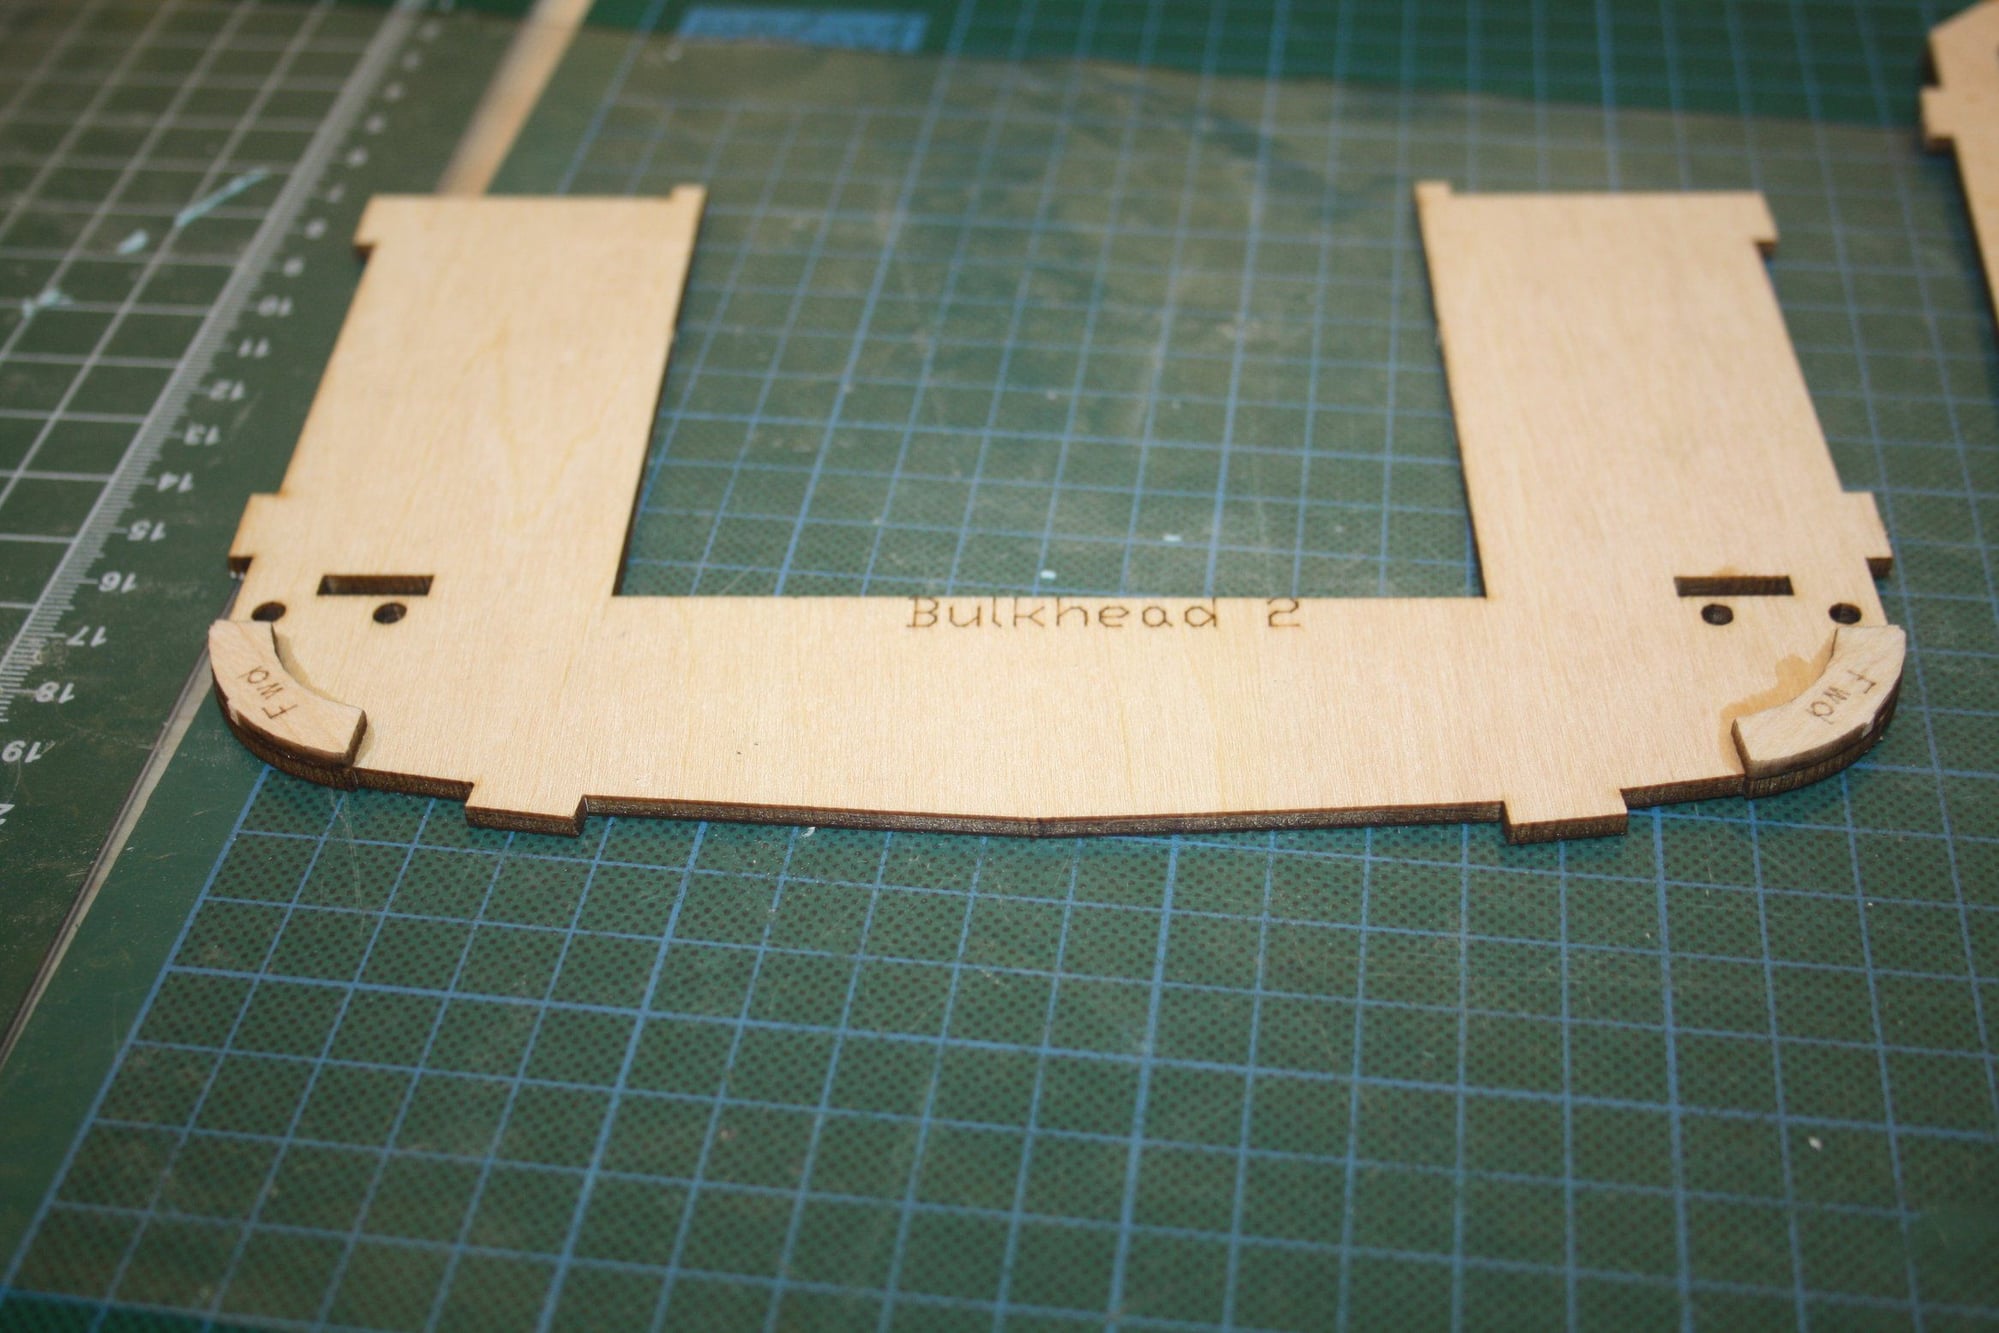
Fuselage - As I will never use floats the attachments for them was not installed. In a hindsight, as I have no intention to fit the interior I should have left the magnets off this build as well...


Cheers,
Eran


Contact Us - Archive - Advertising - Cookie Policy - Privacy Statement - Terms of Service -

Copyright © 2024 MH Sub I, LLC dba Internet Brands. All rights reserved. Use of this site indicates your consent to the Terms of Use.