


Moustache 20cc DHC-2 Beaver Build


 12-23-2022, 02:32 PM
#79

Thread Starter
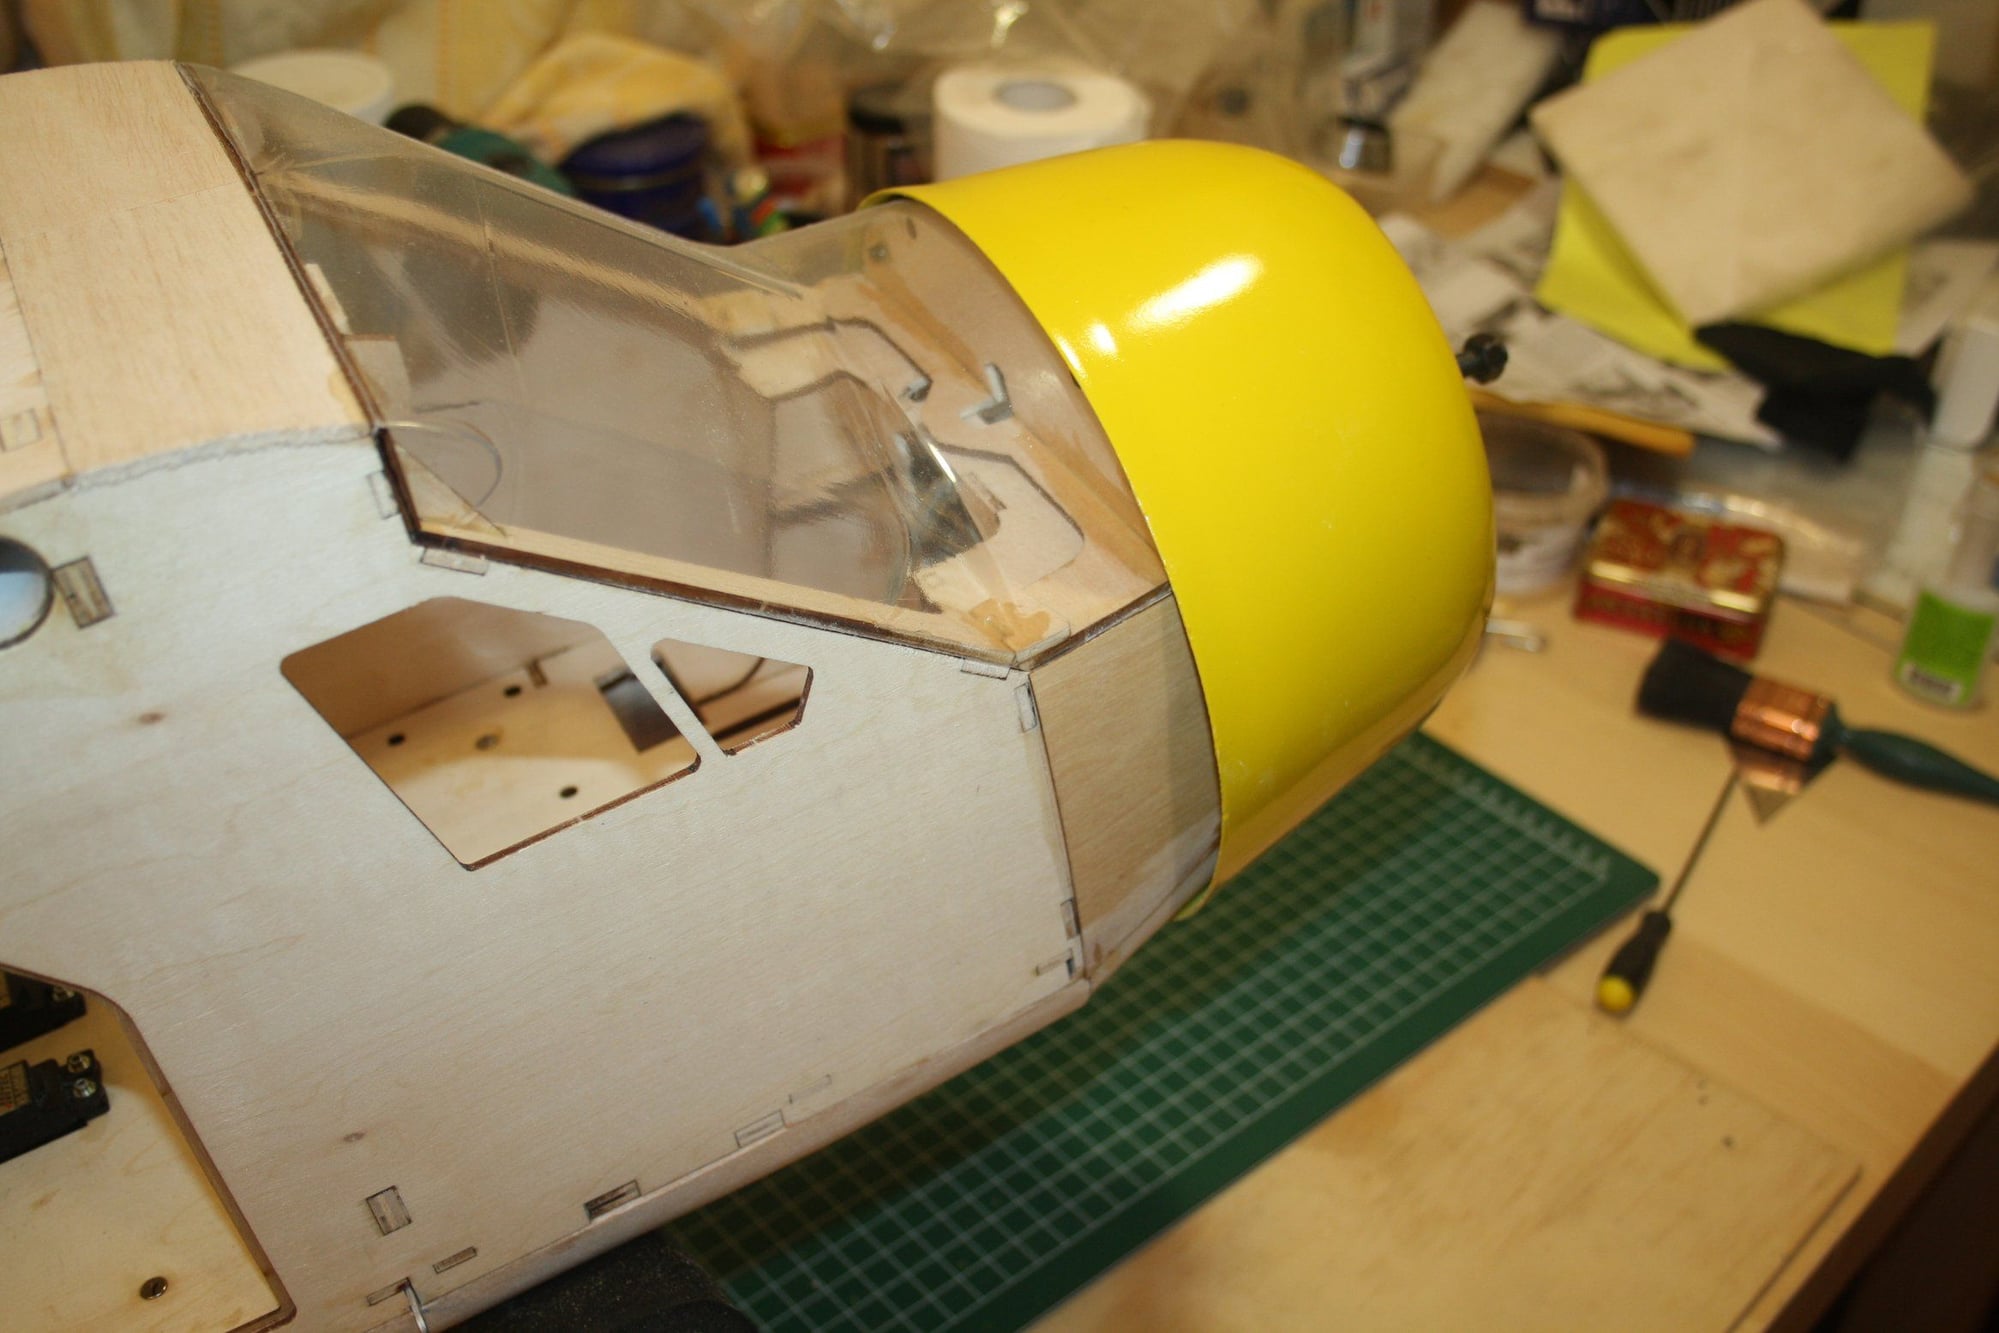
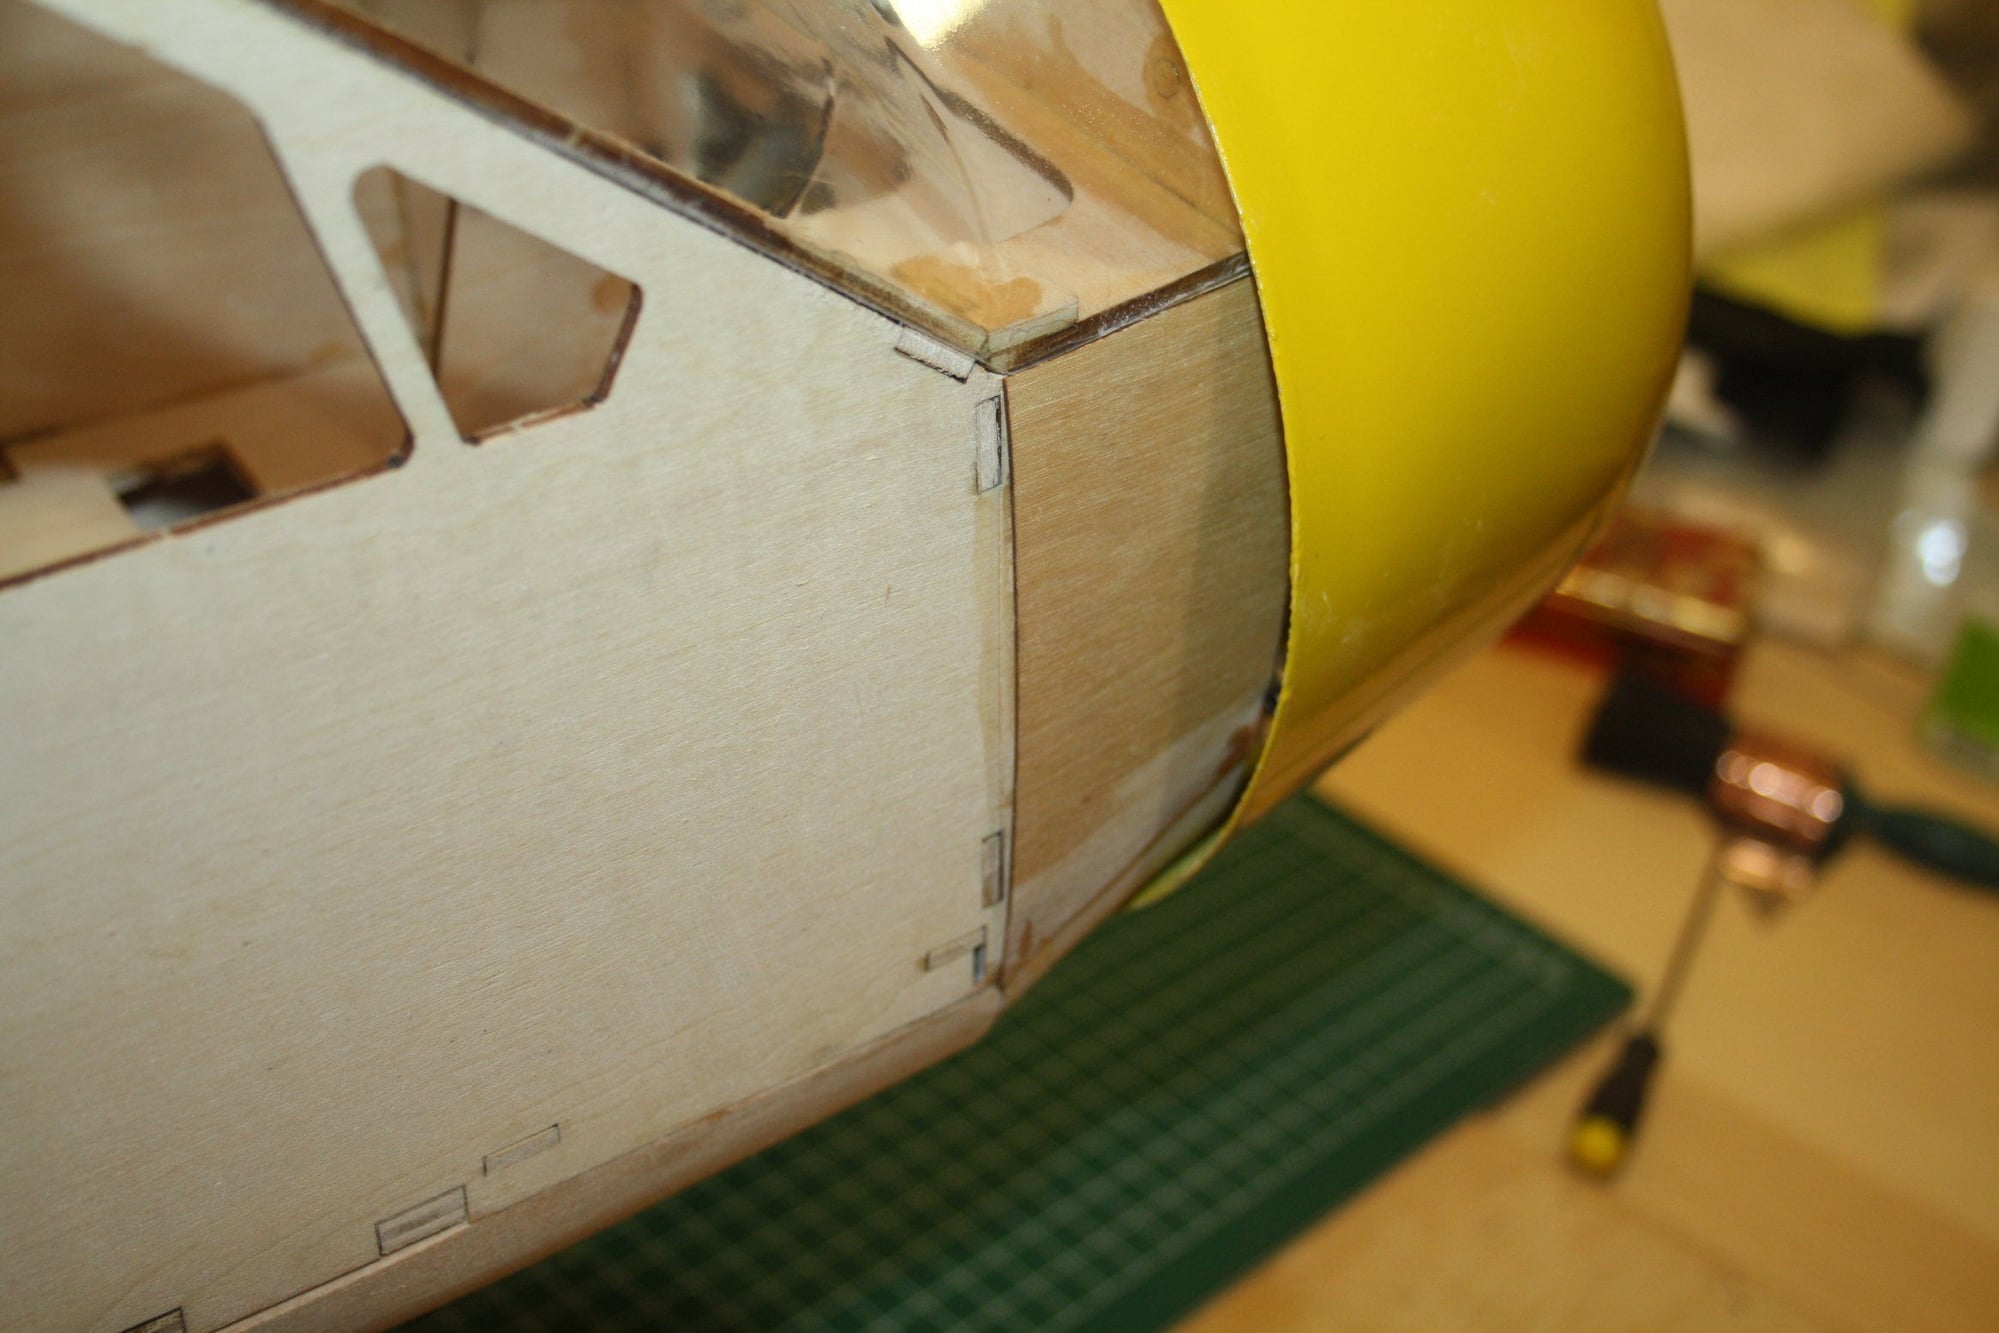
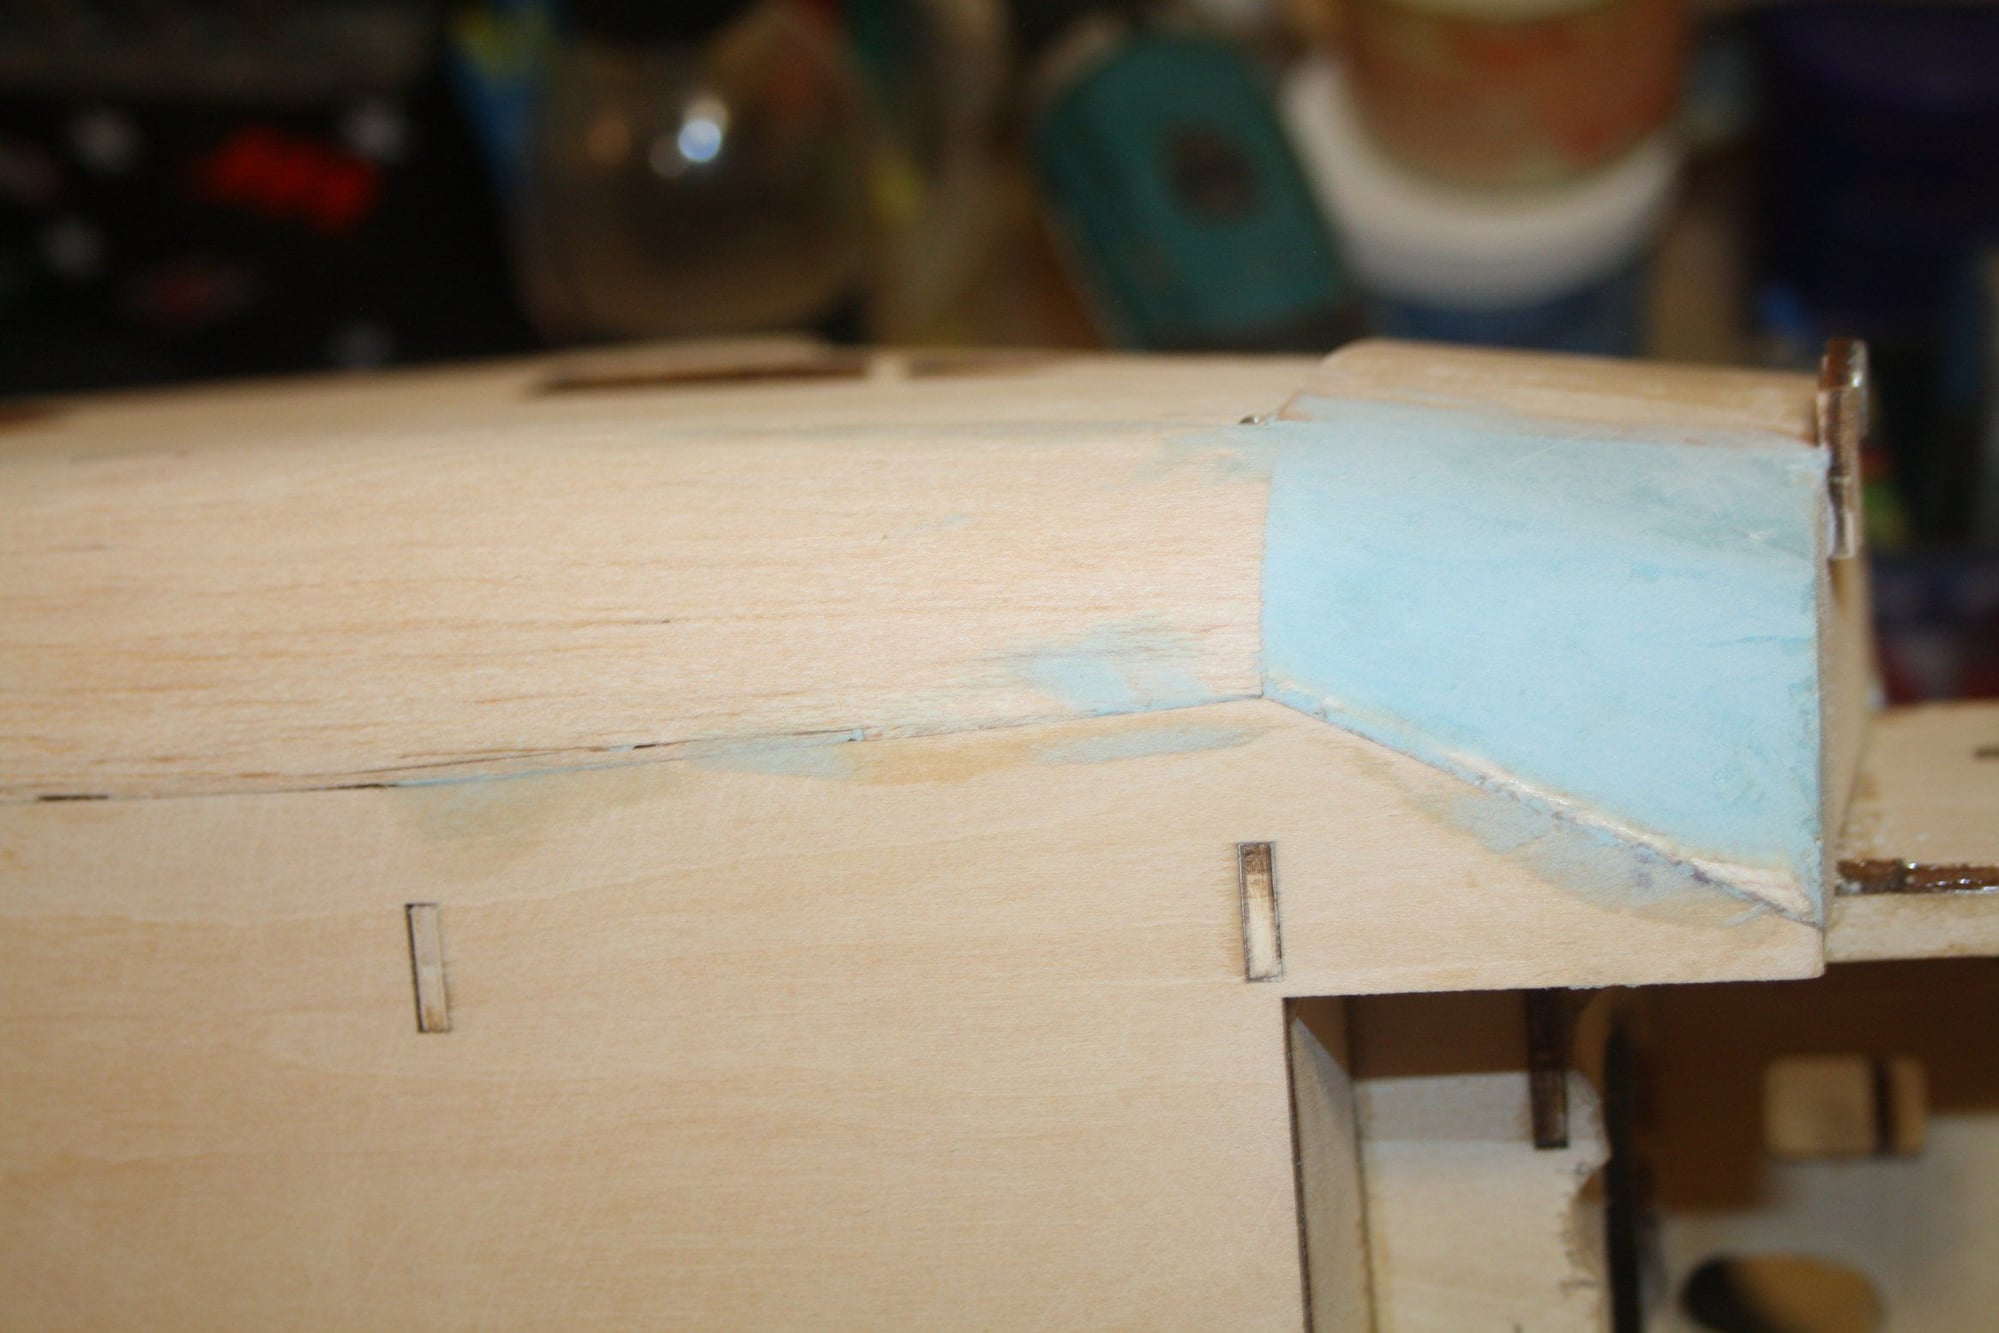
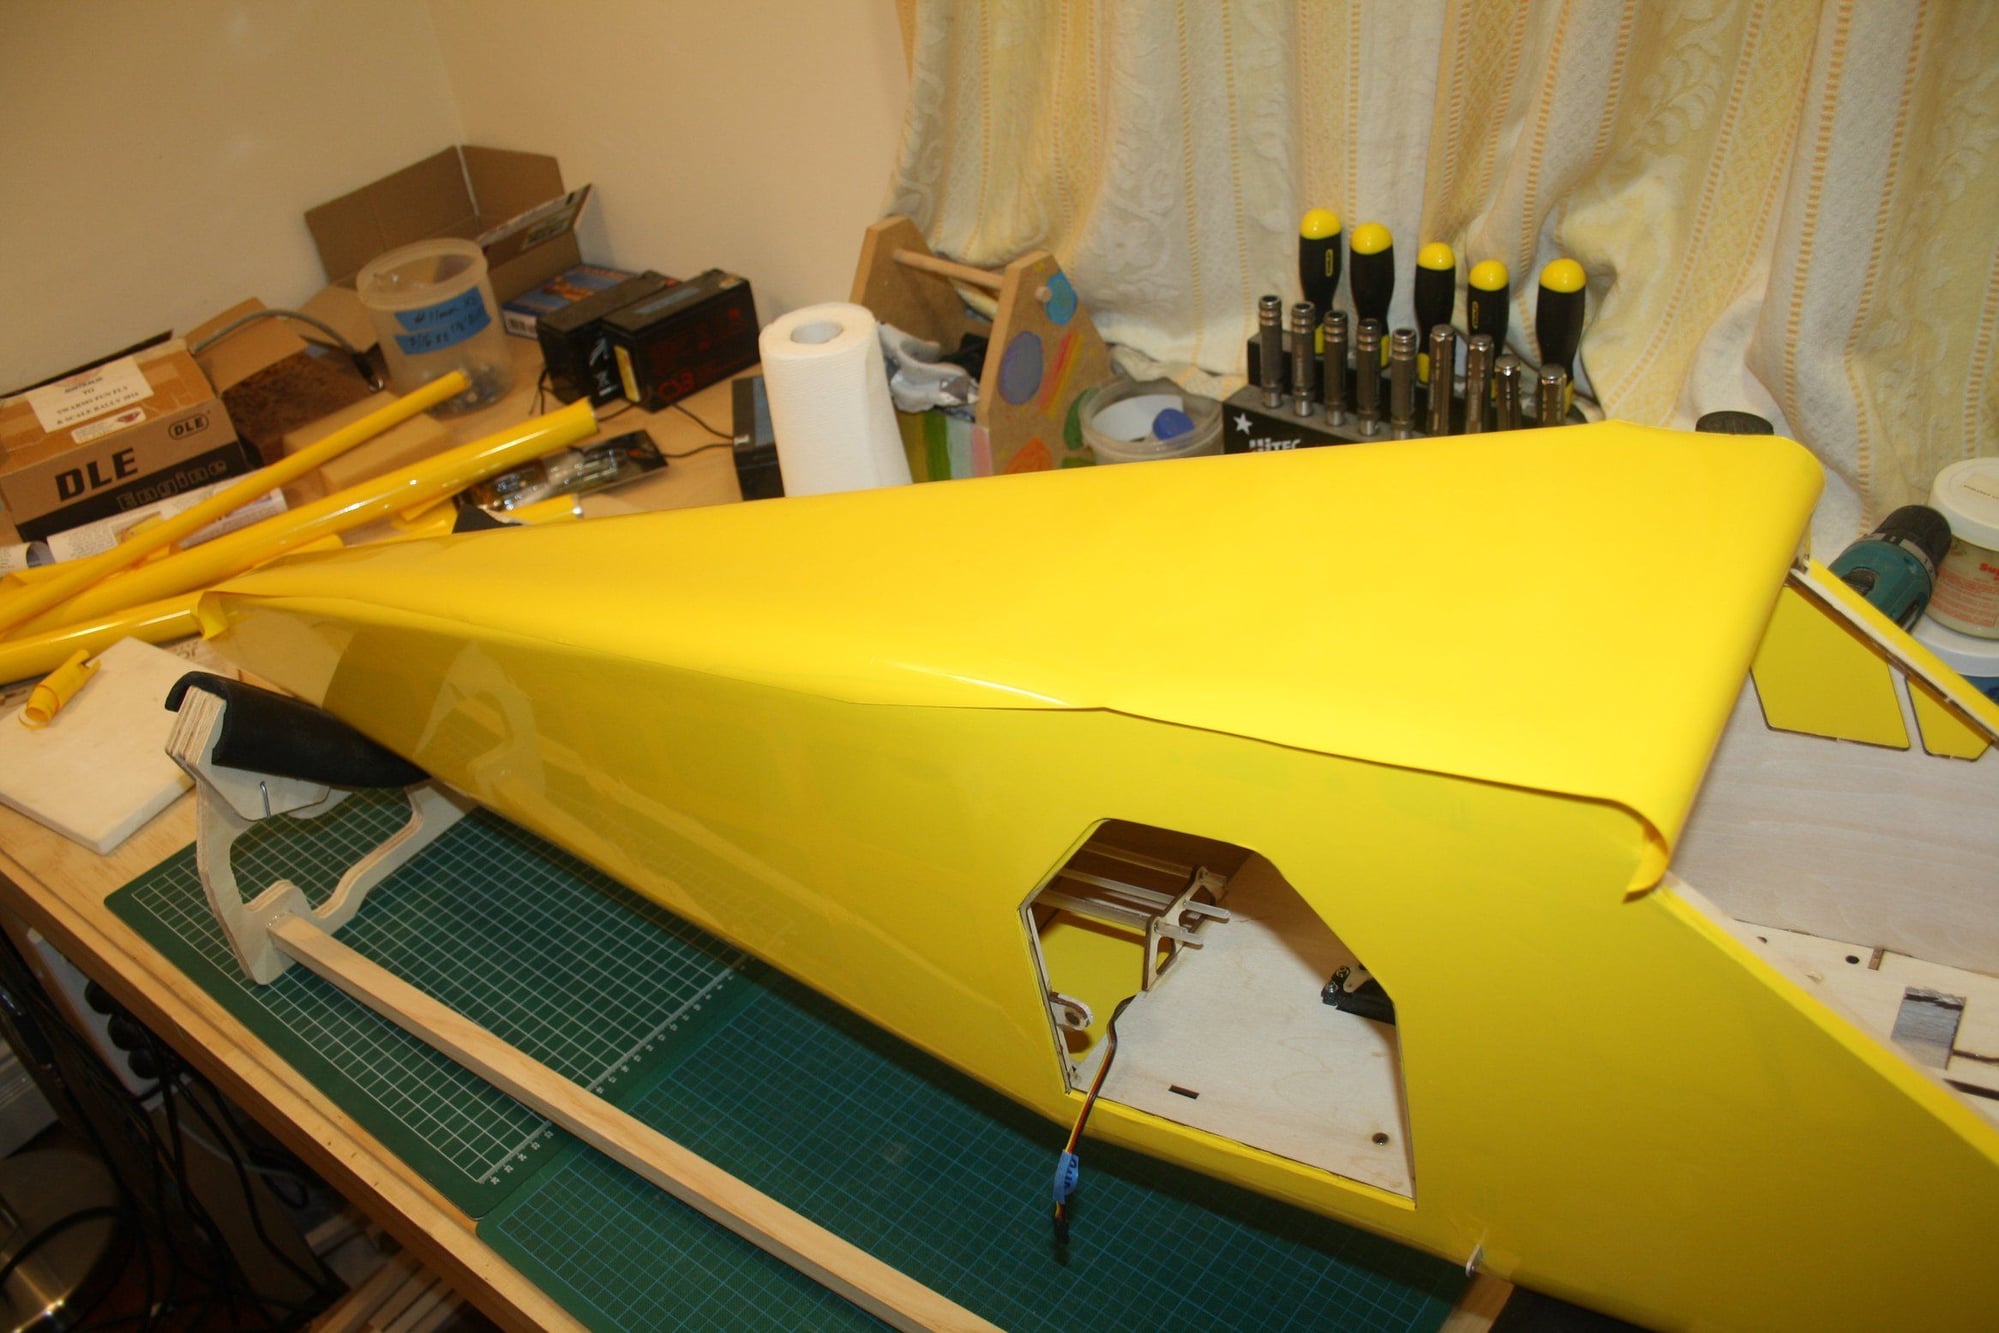
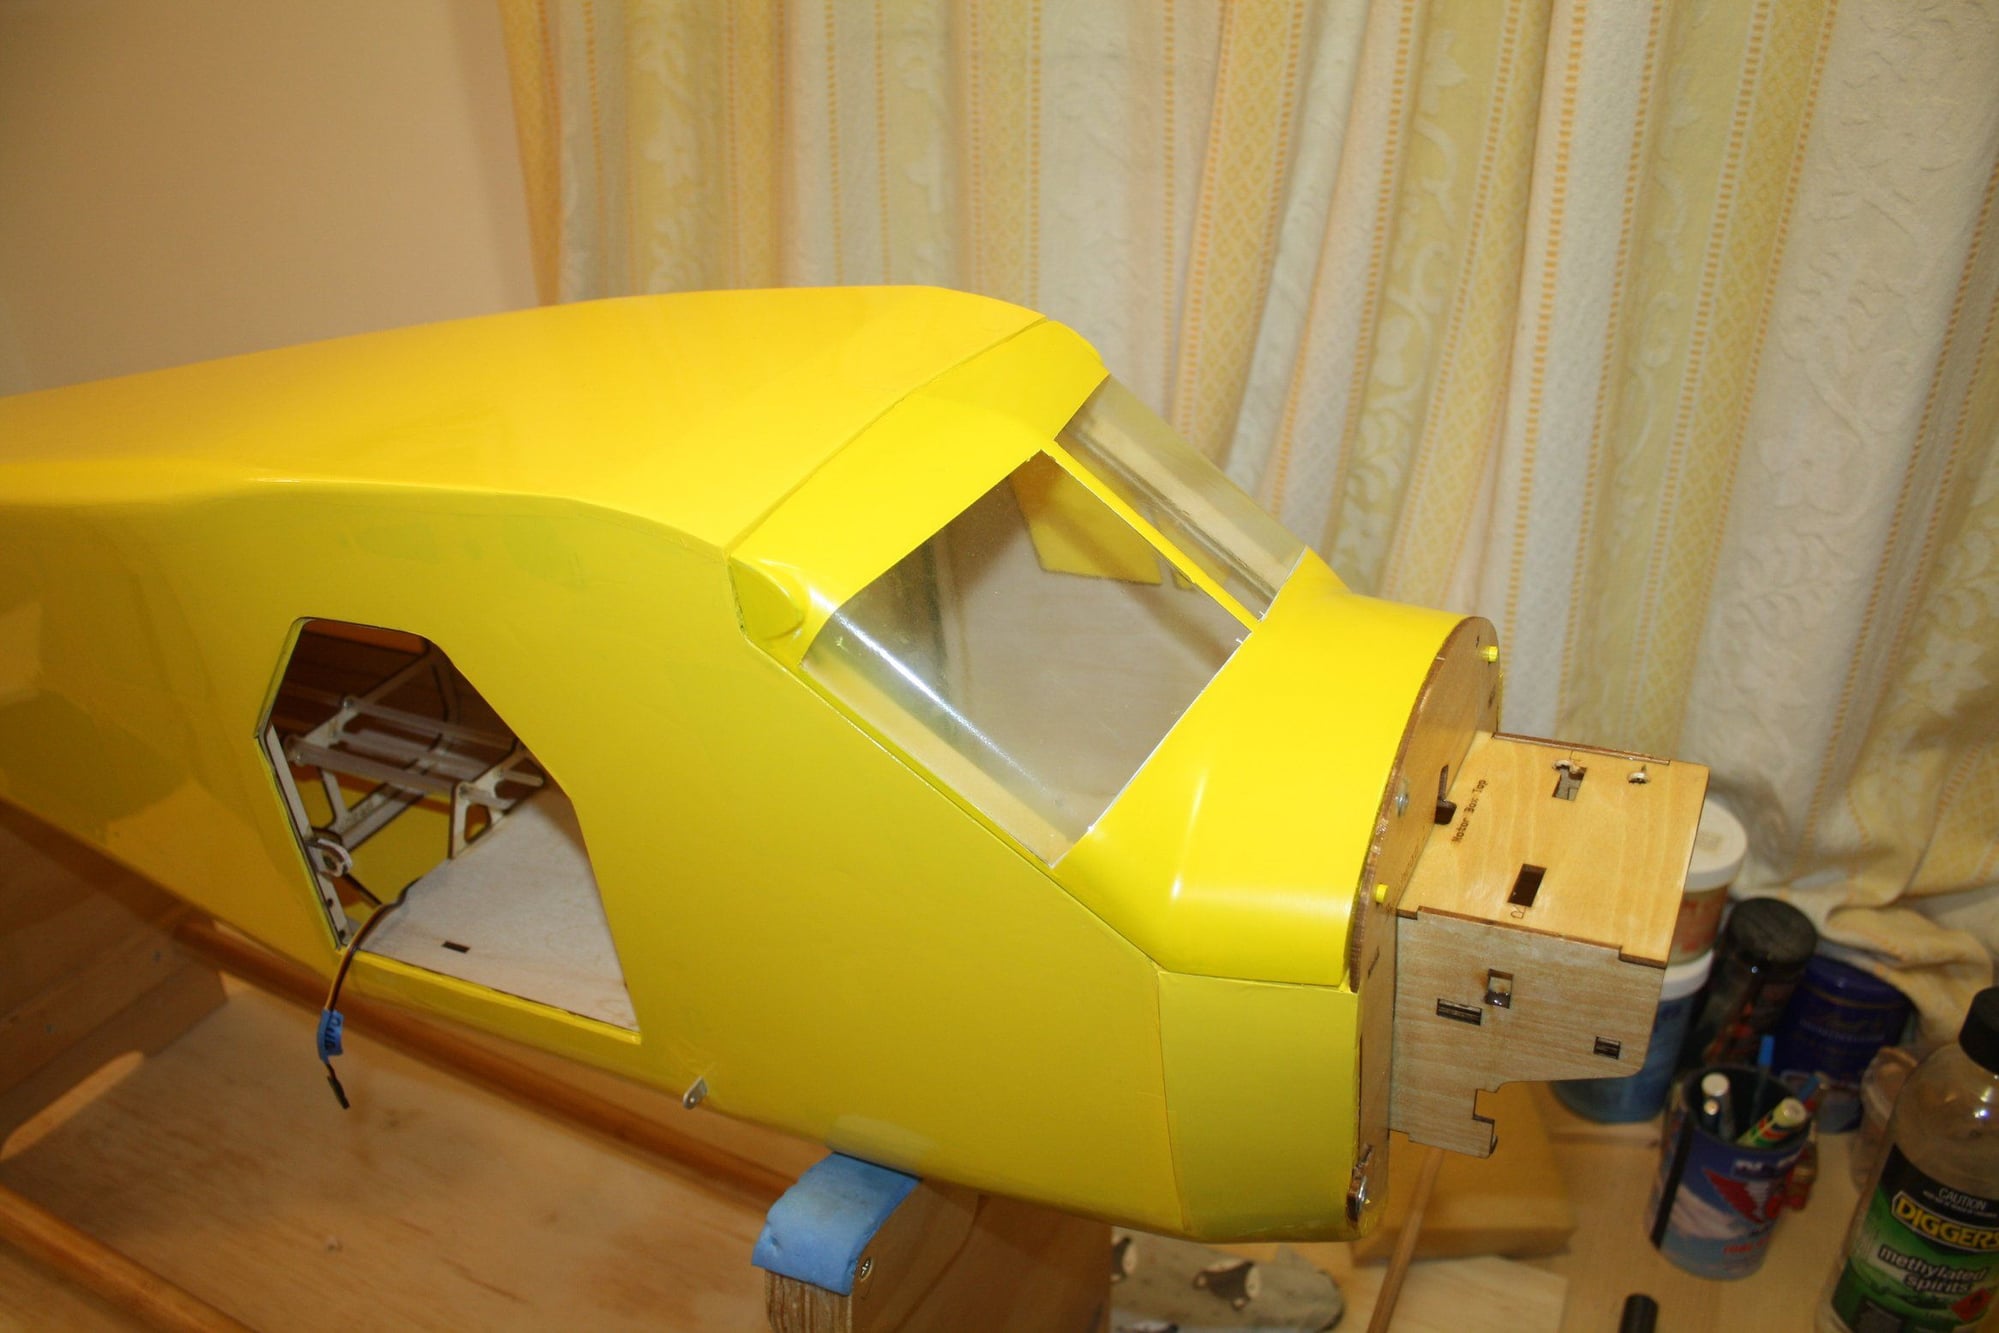
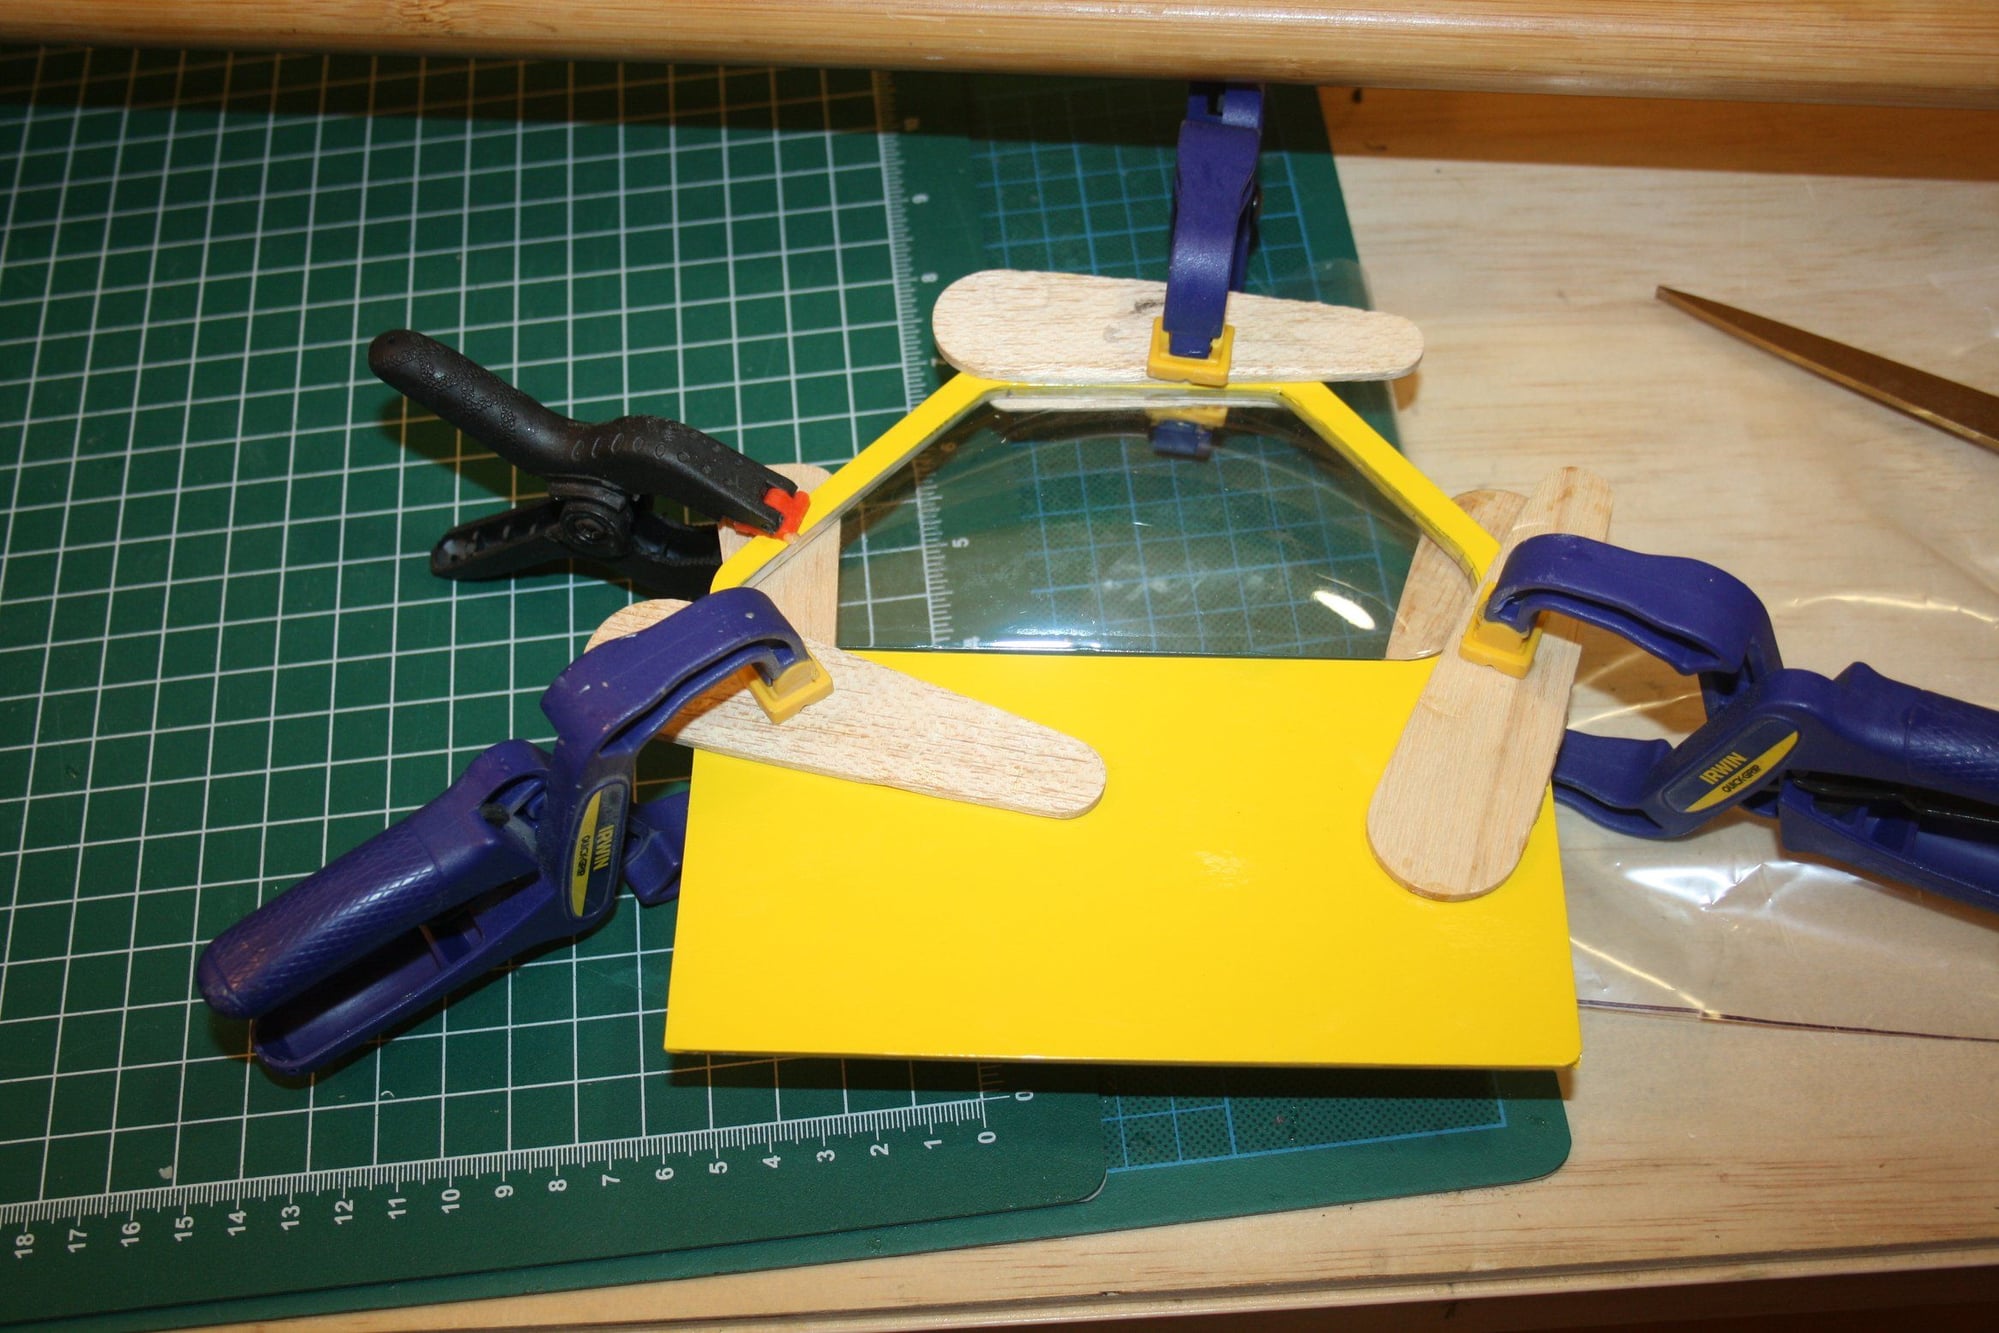
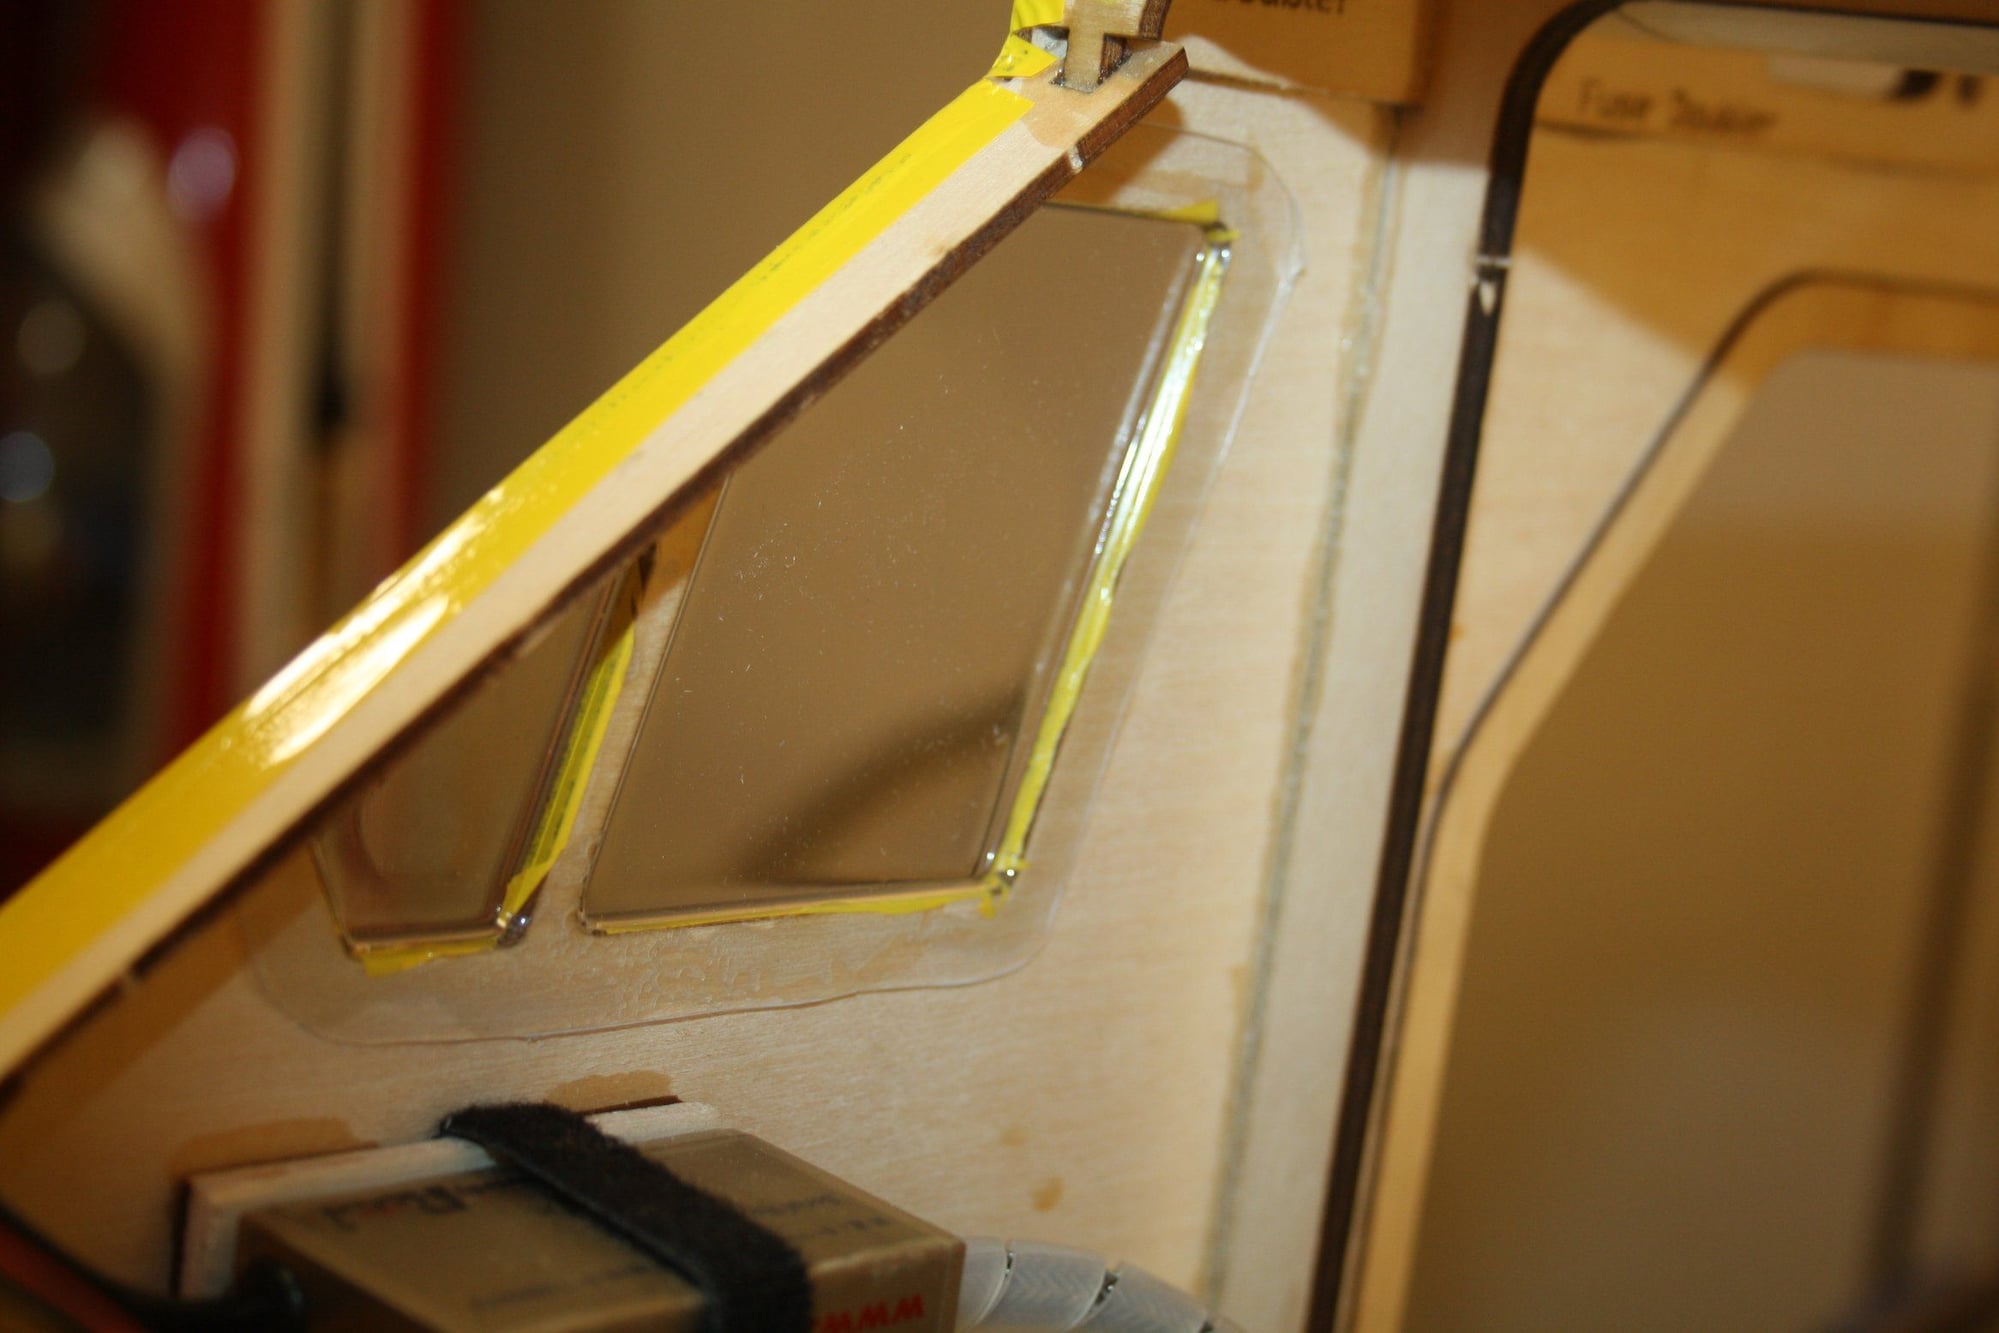
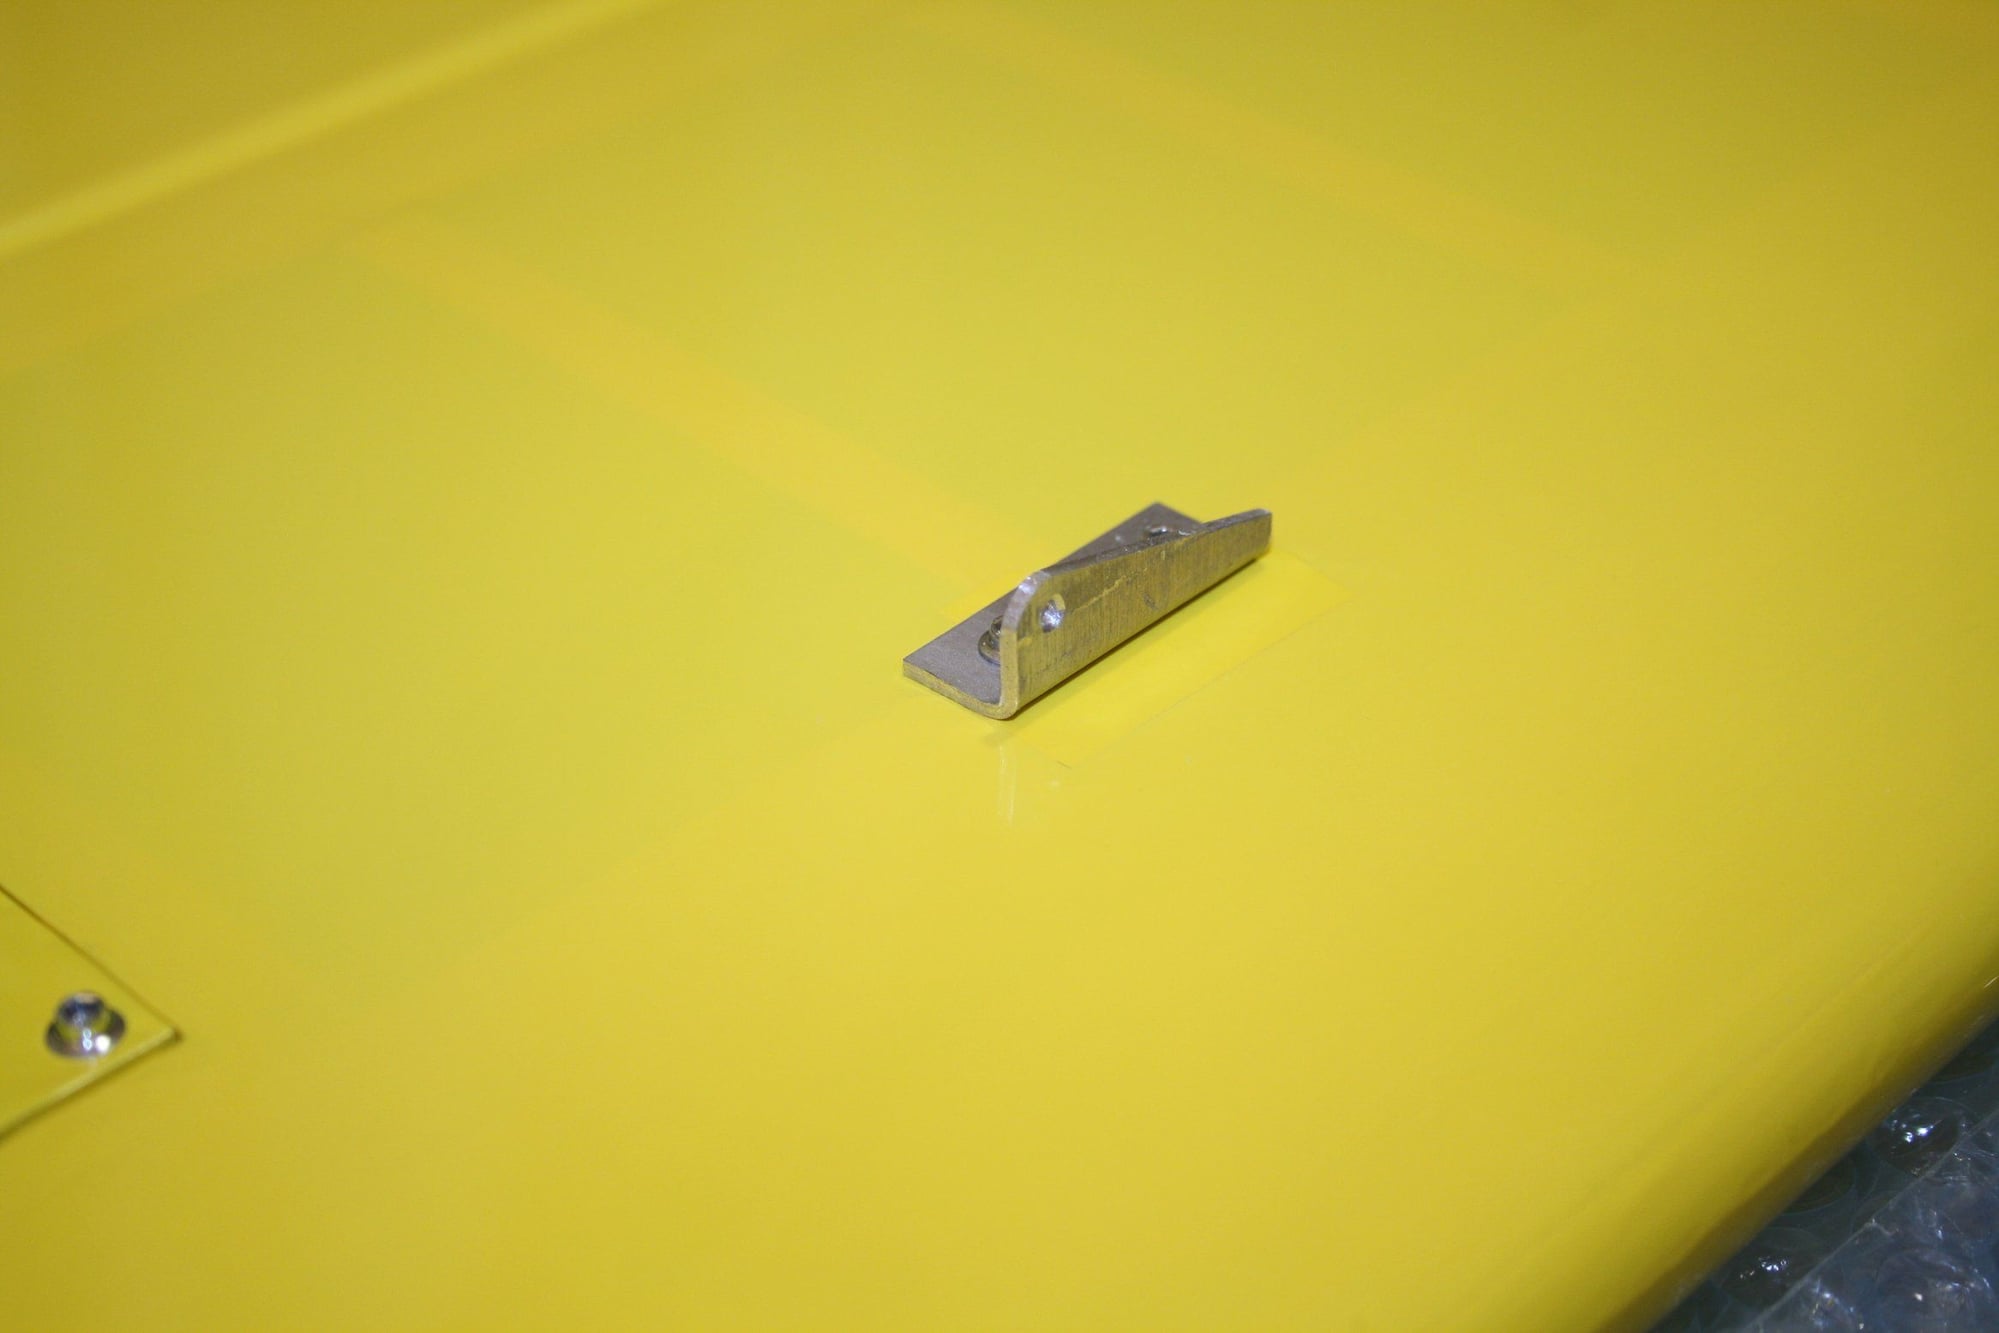
Preparing the front windows and cowl for painting / repainting and fuel proofing the firewall and under the fuel tank with Epoxy finishing resin.


Cheers,
Eran
Cheers,
Eran
12-23-2022, 02:38 PM
#80
Thread Starter
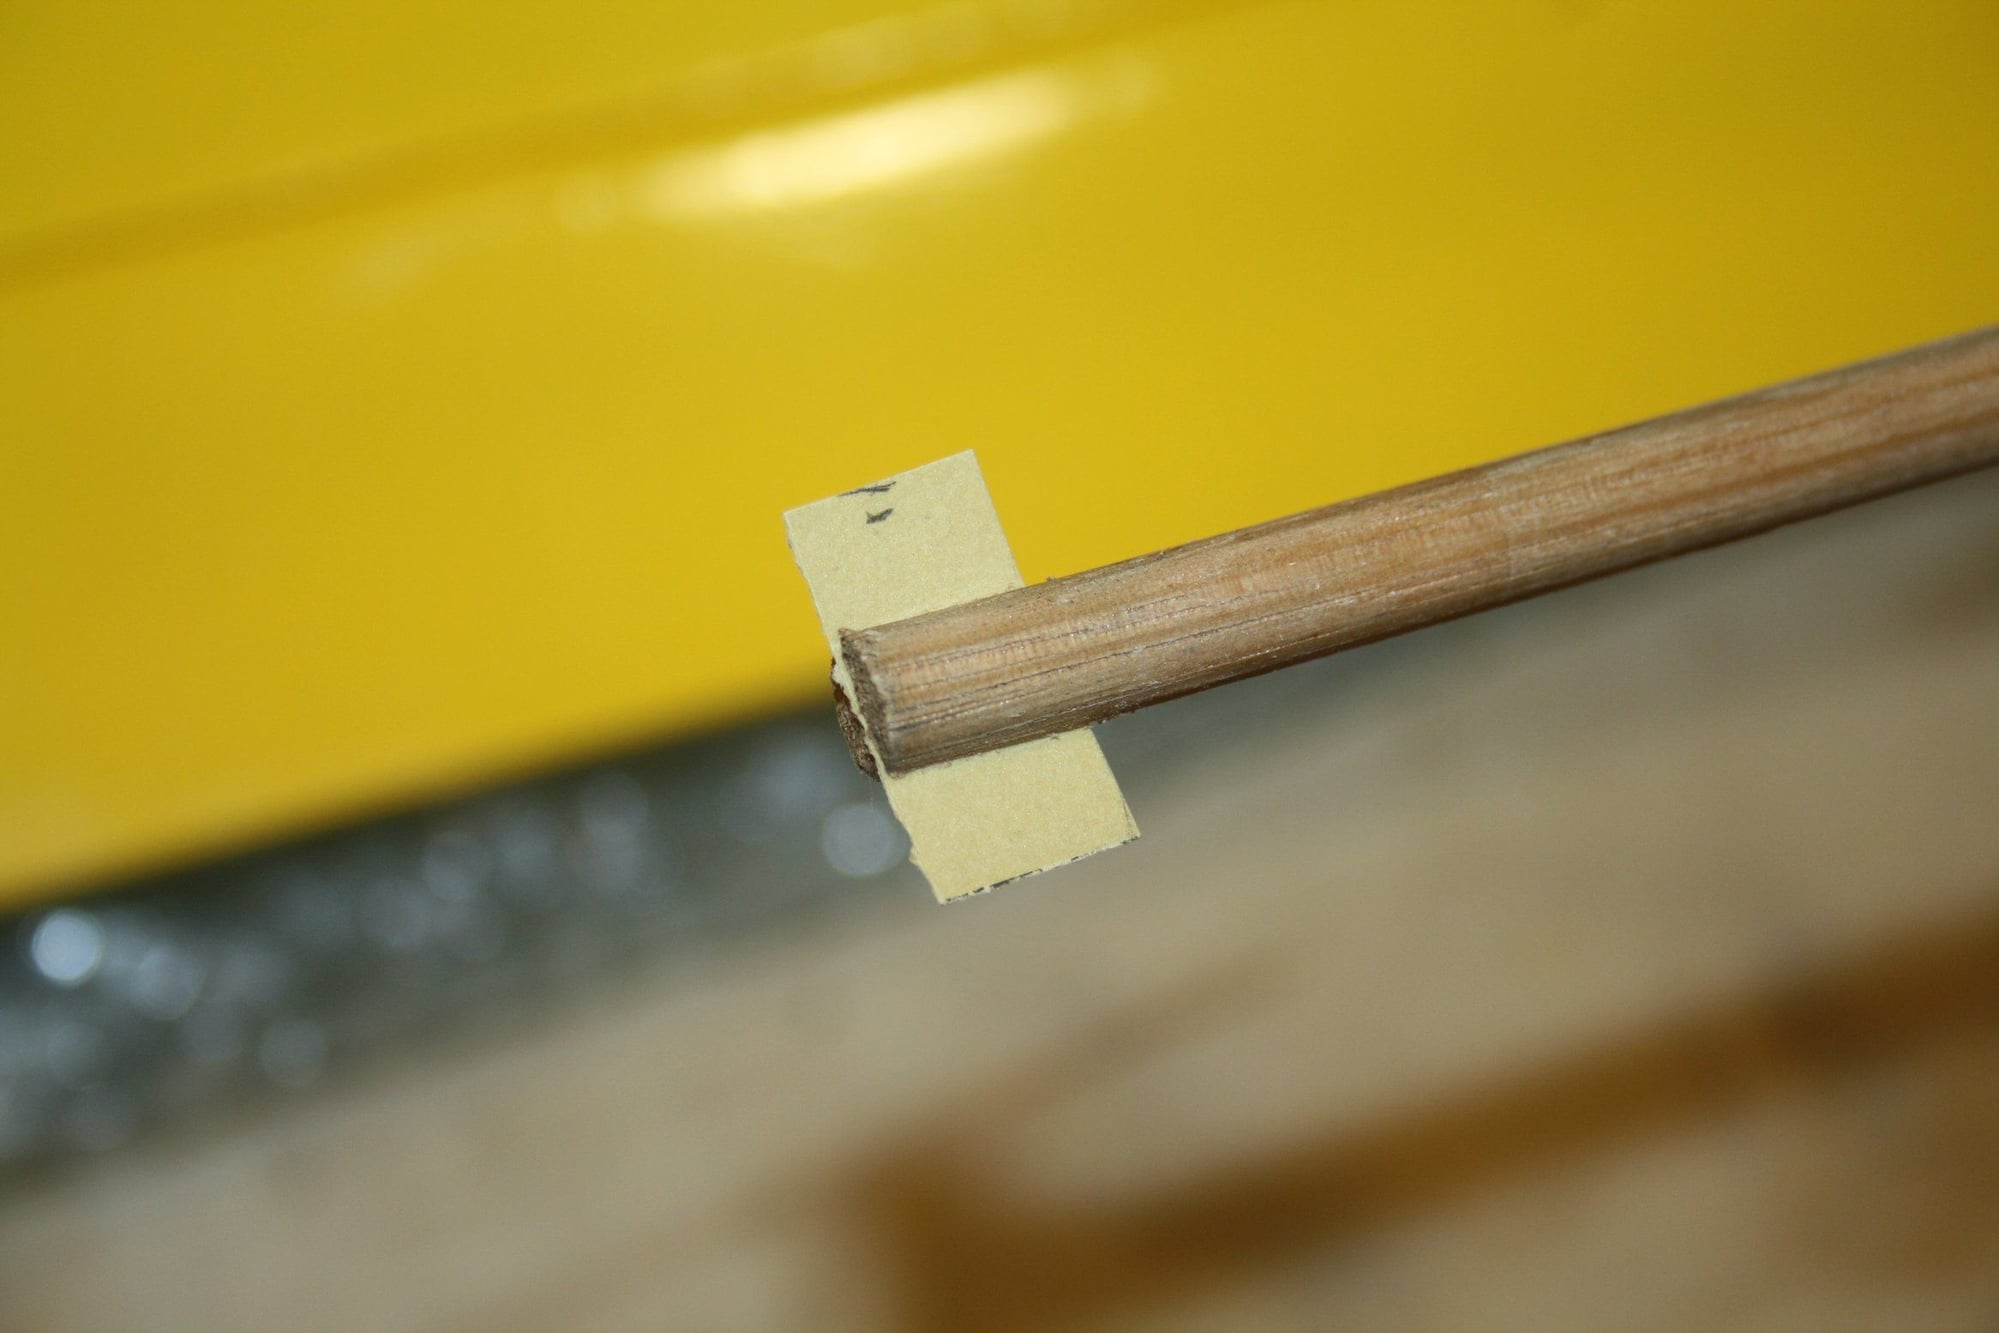
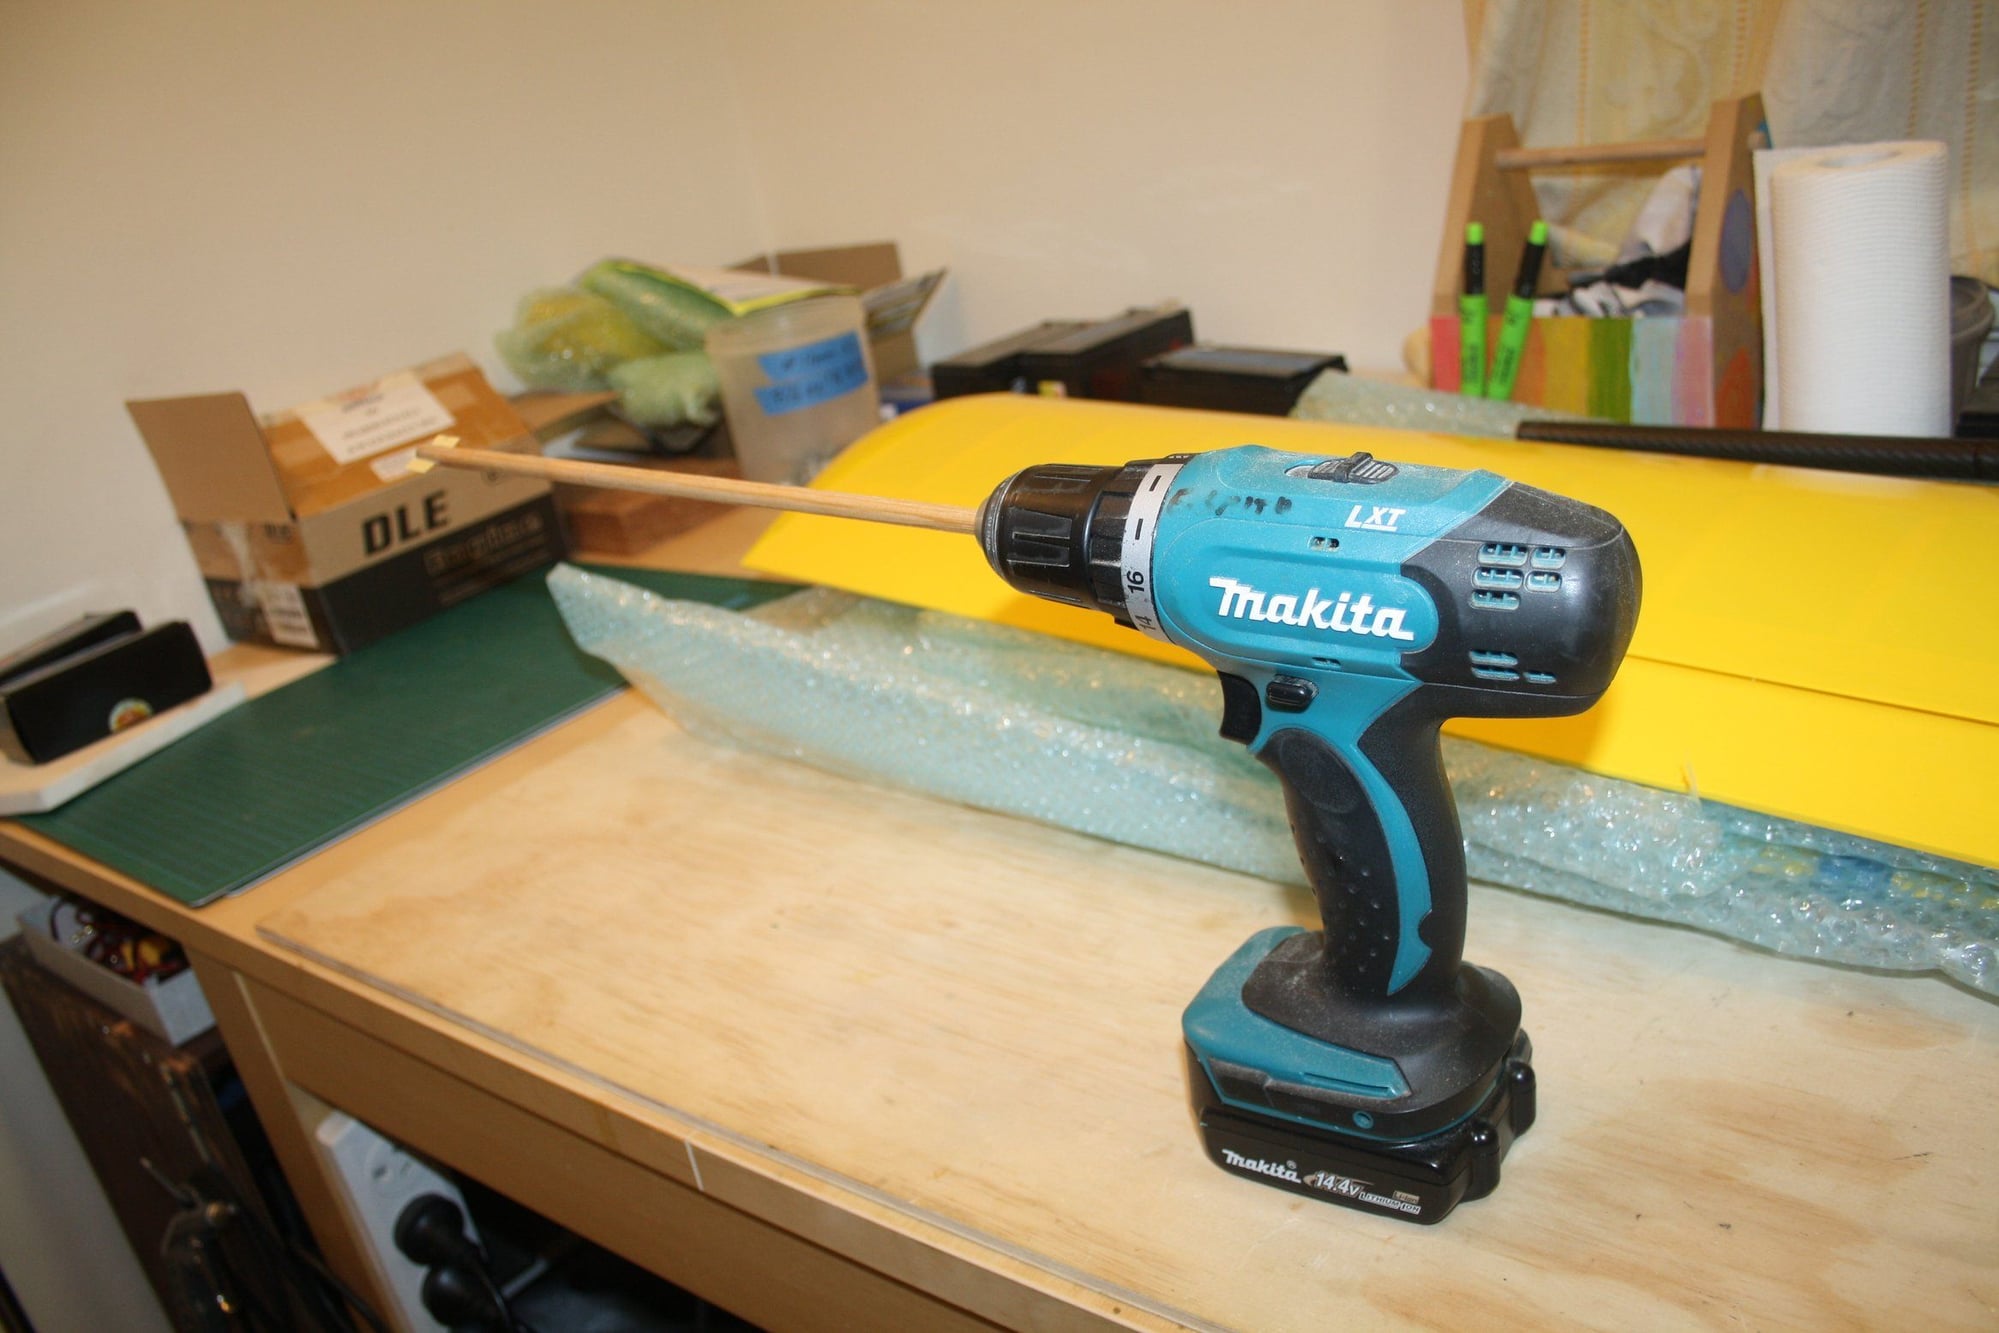
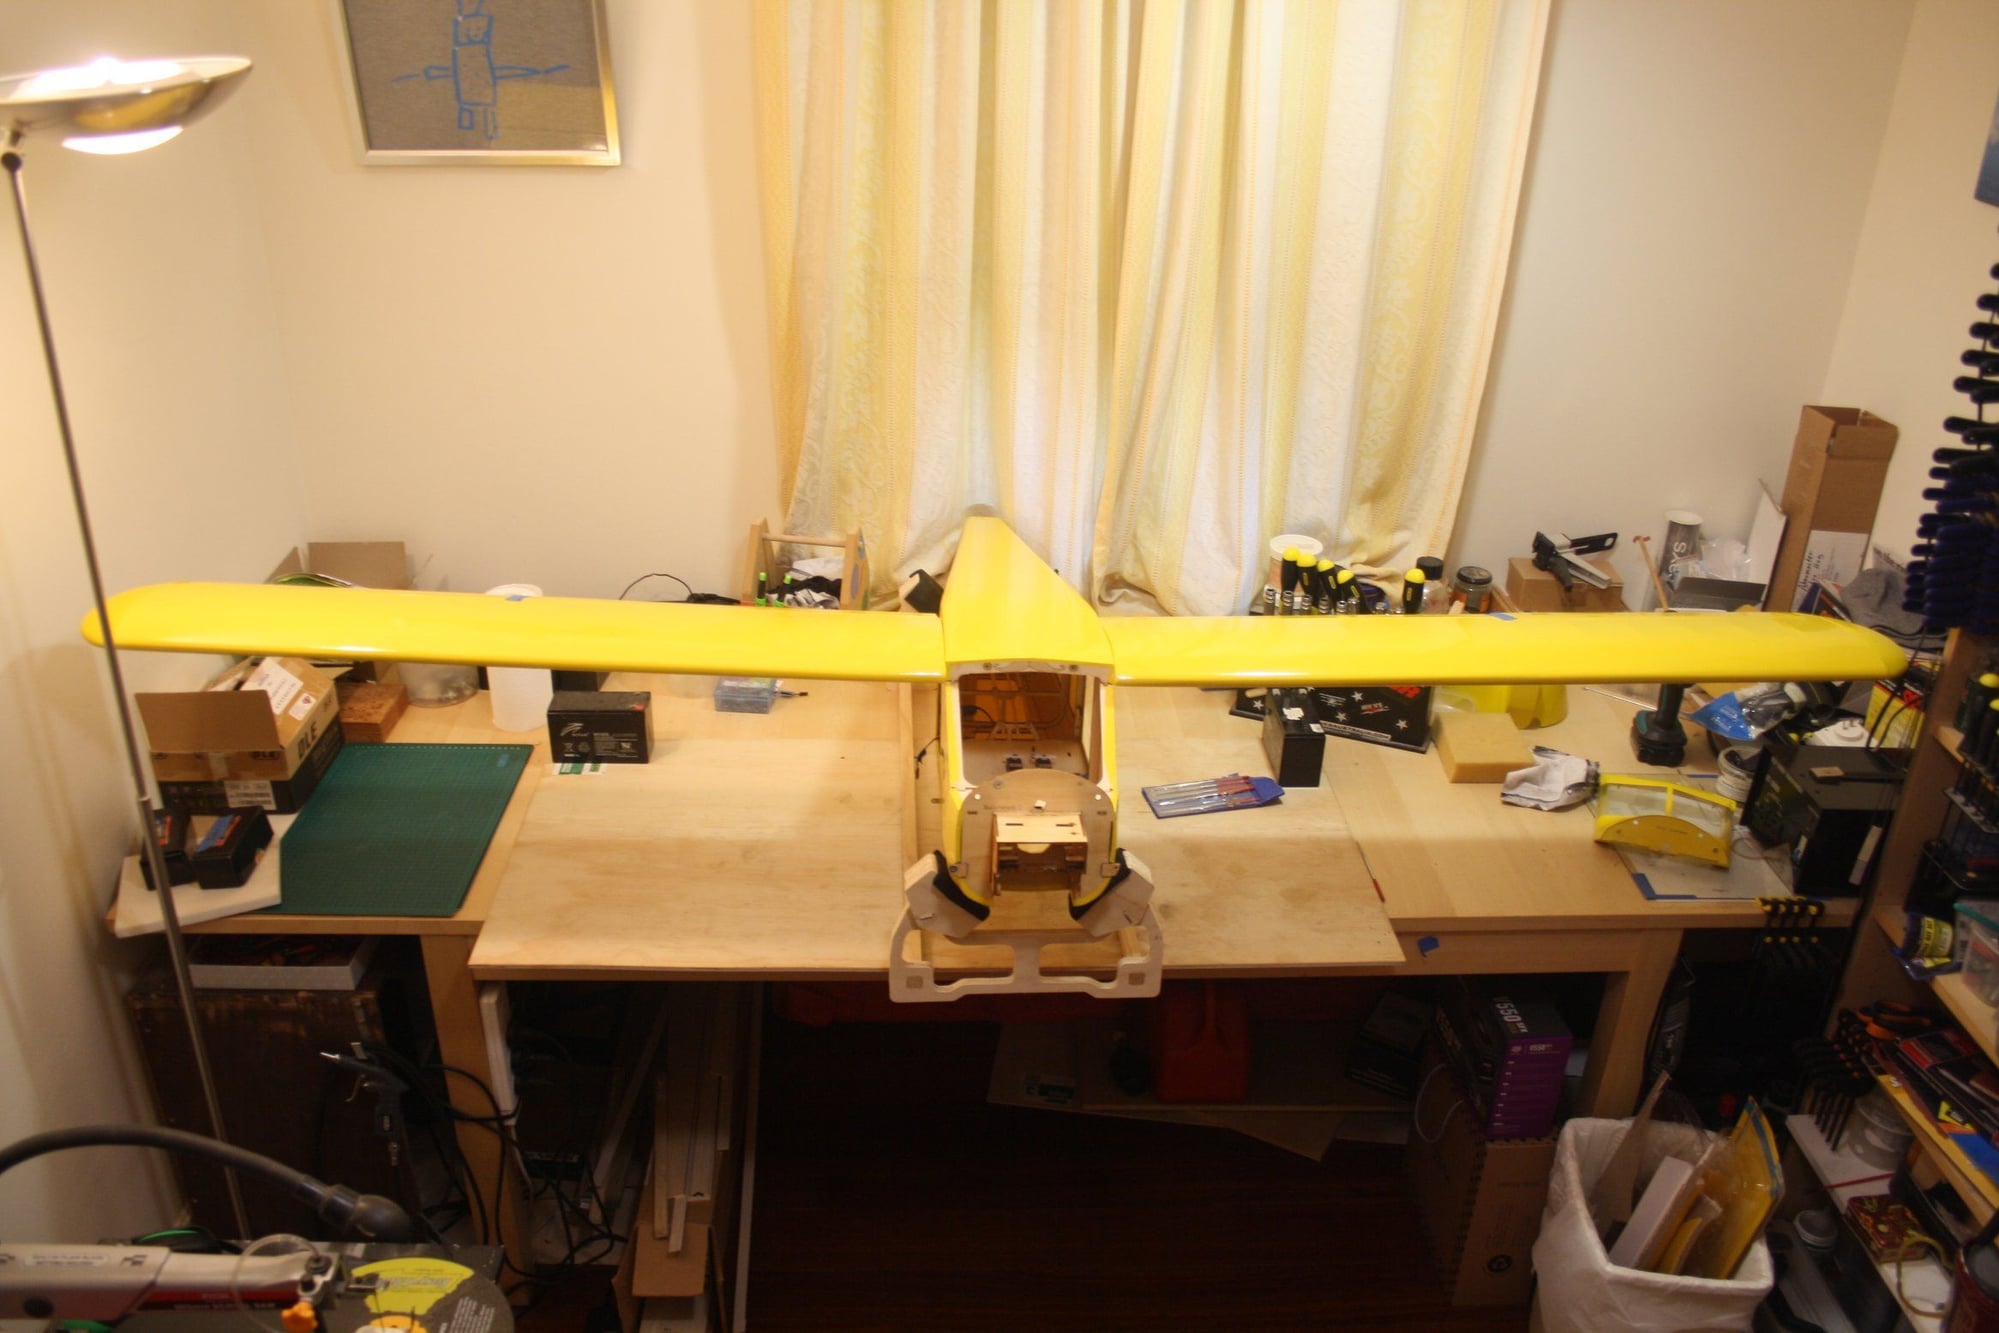
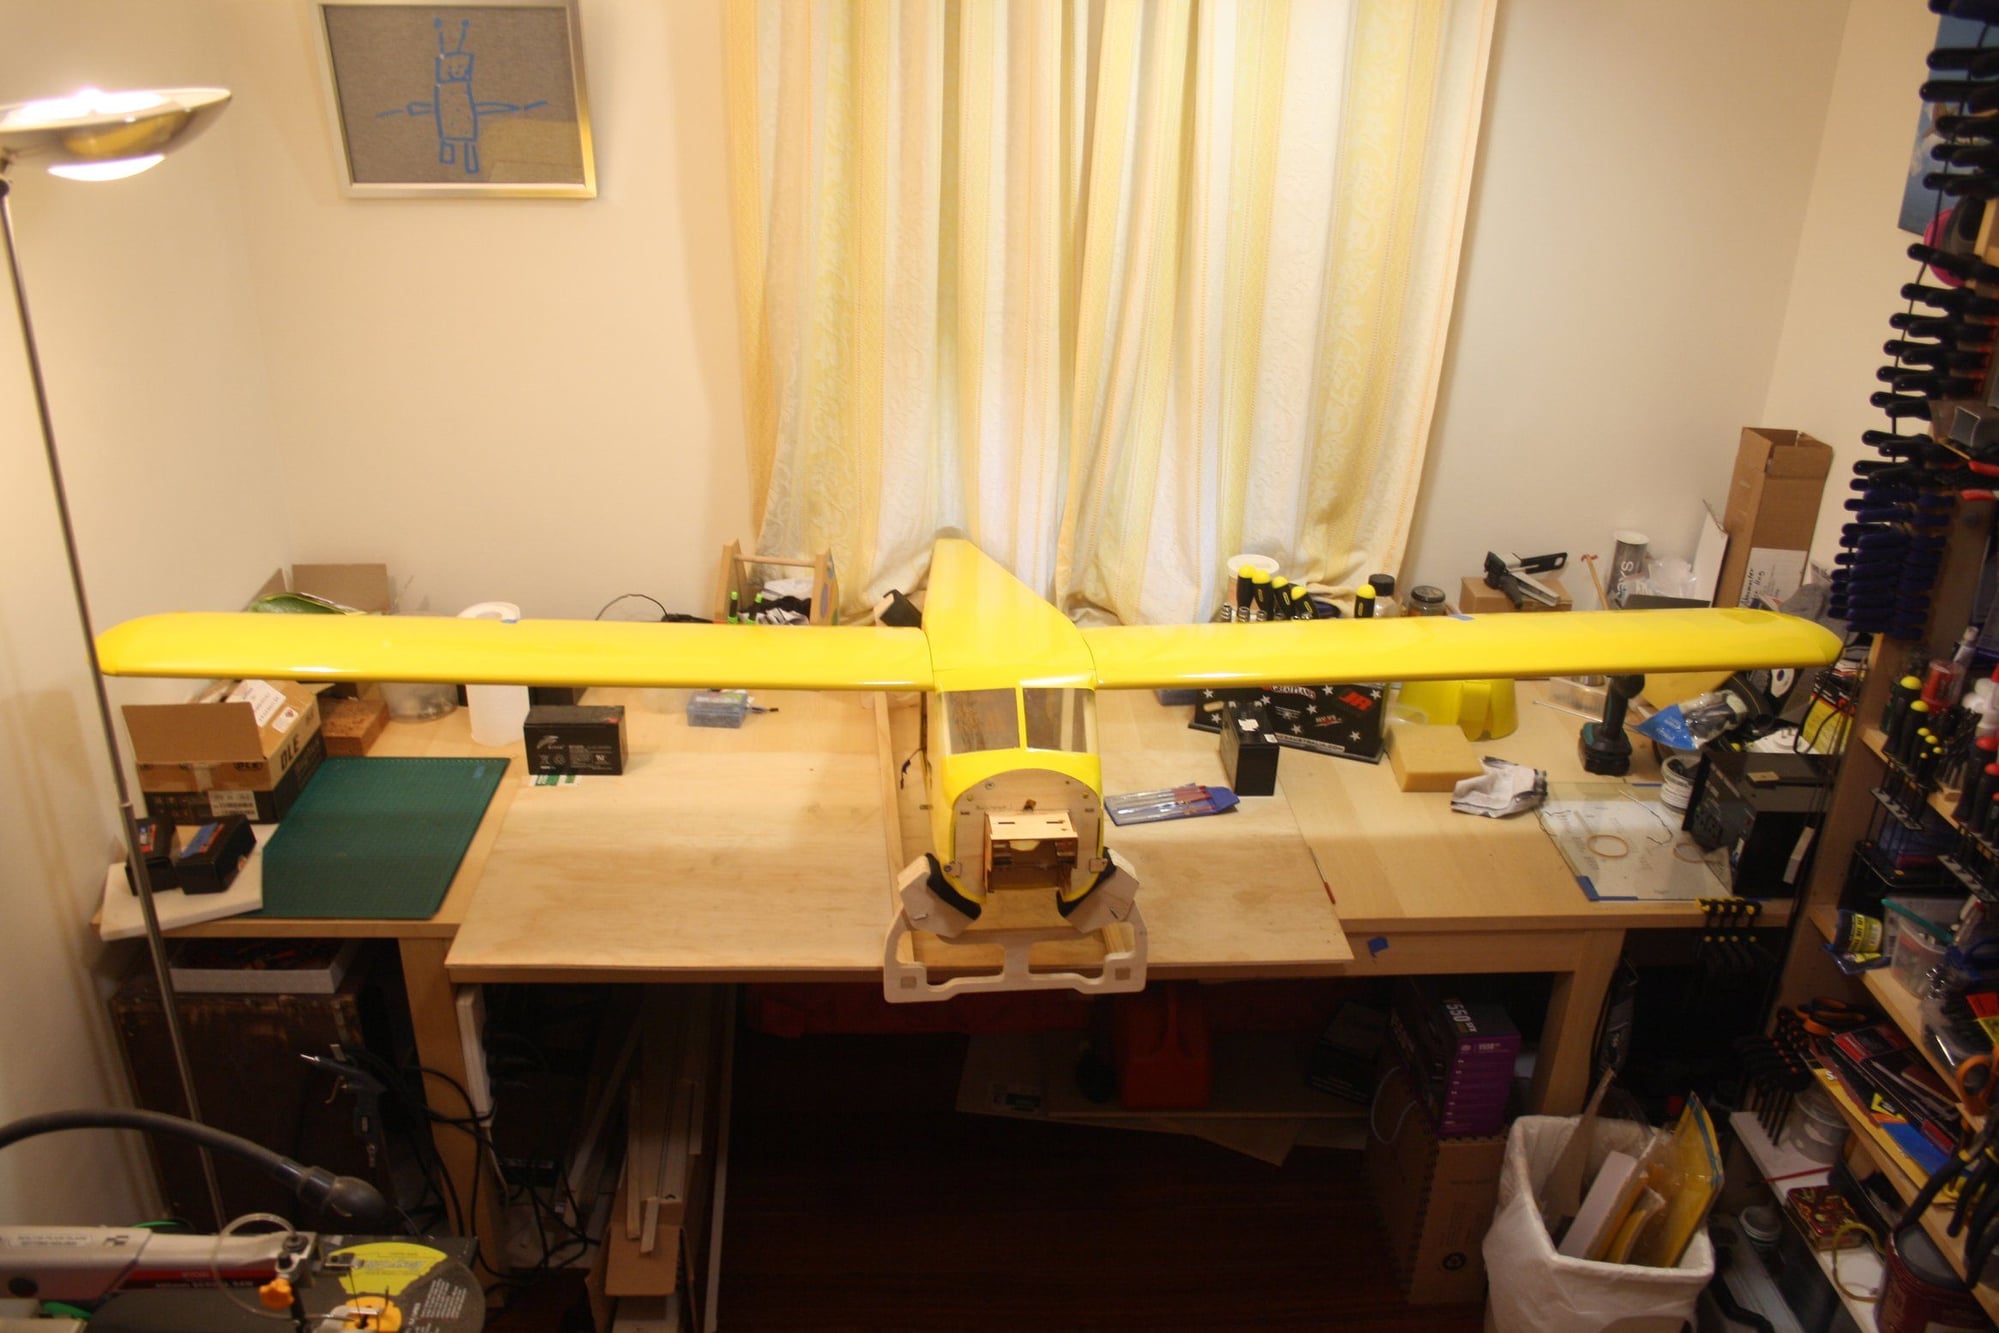
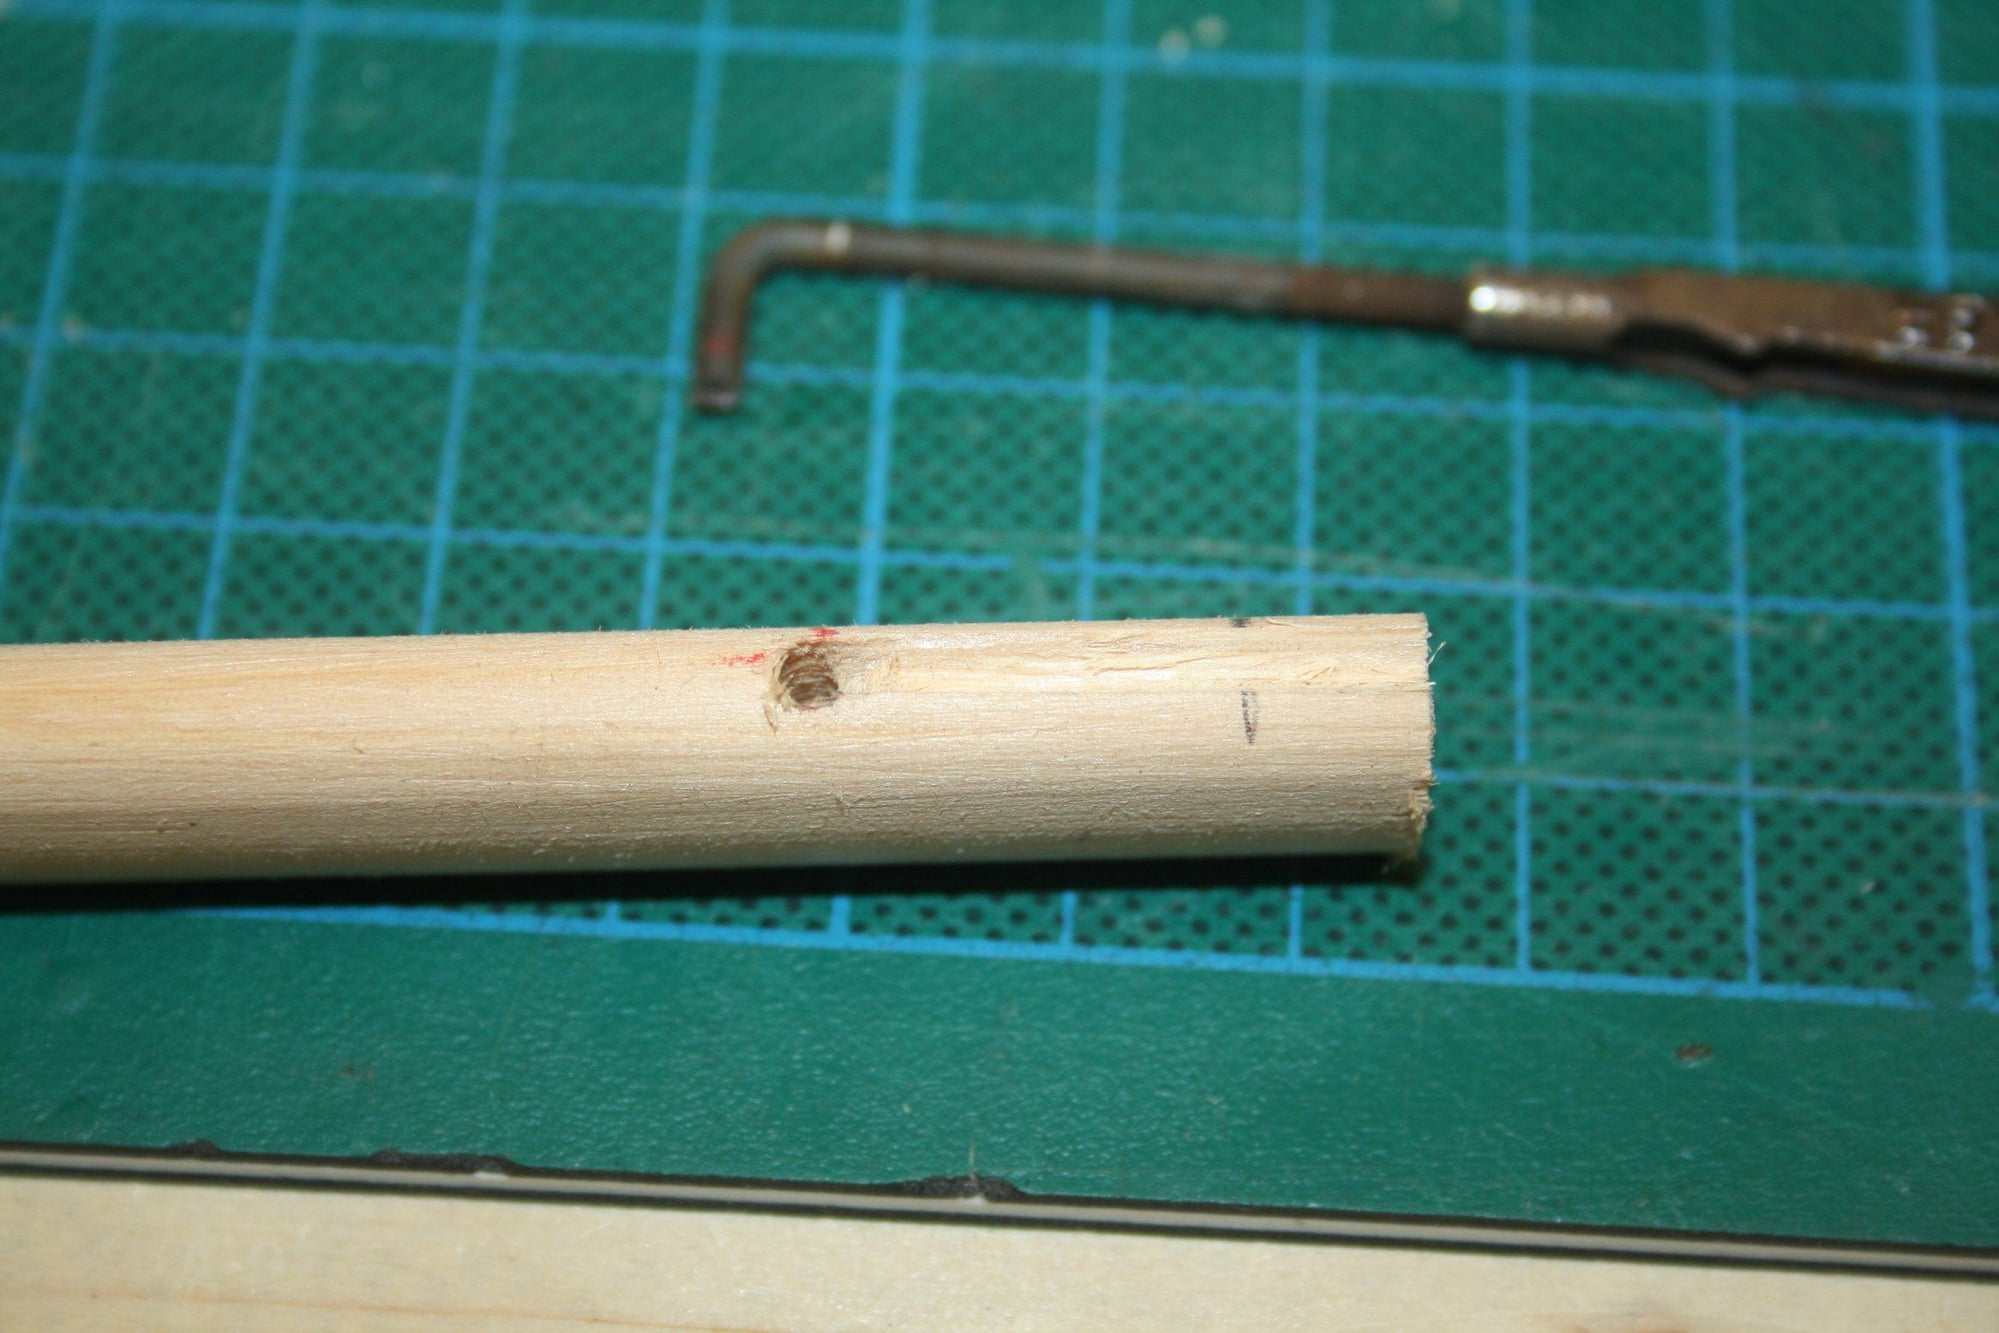
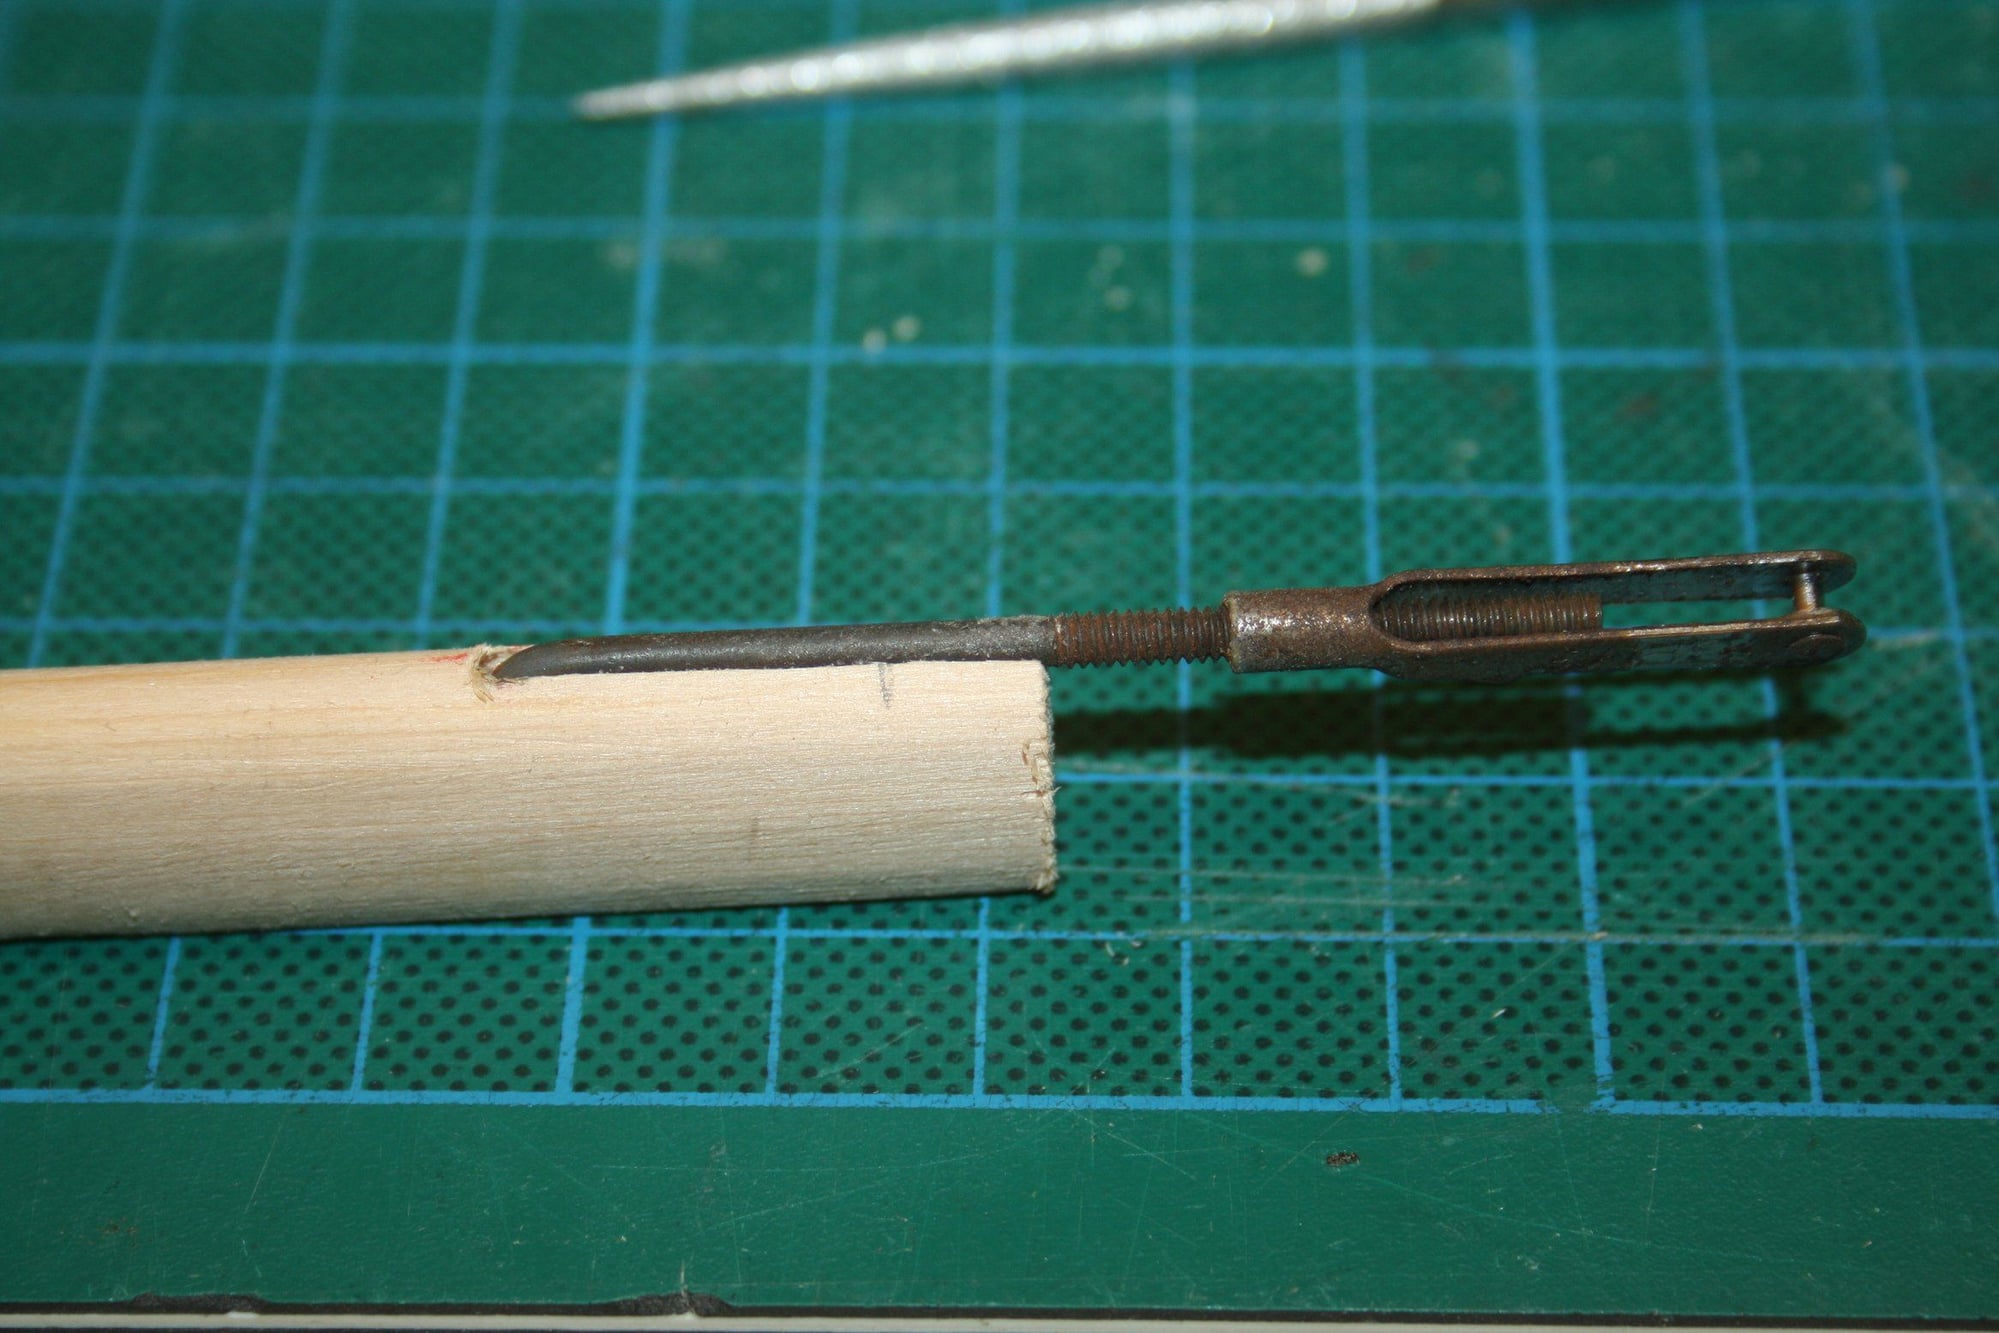
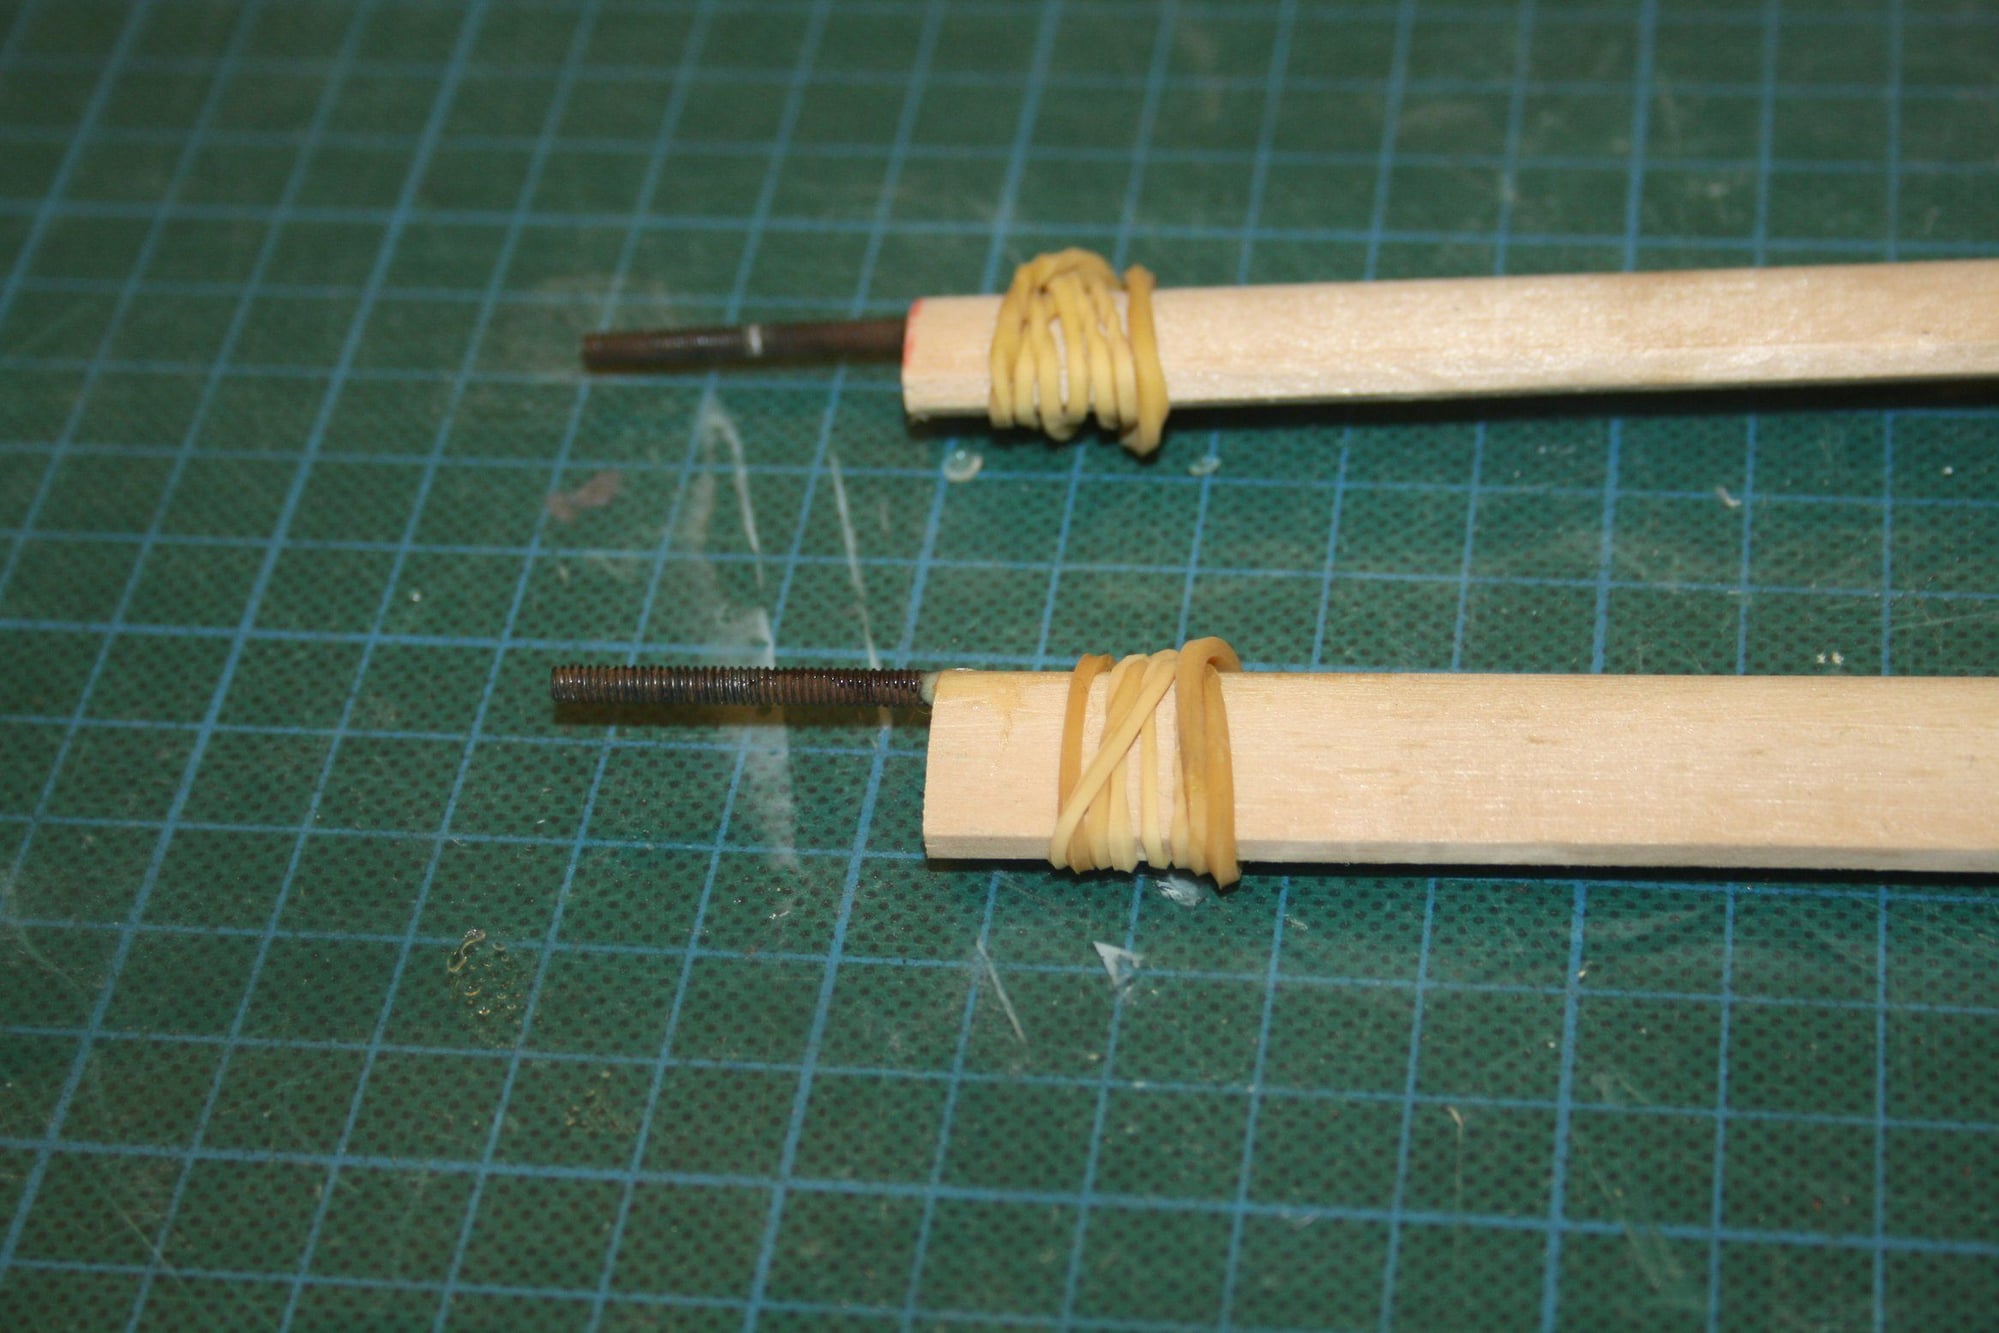
When attempting to fit the wings it was noted that the tube internal diameter is too narrow and the tight fit will require such a force that something will break. Another example of the low quality fittings supplied and poor design, I used a low abrasive paper in a slotted long dowel attached to cordless drill to sand the tube to fit better. This took the better part of two hours...

Cheers,
Eran
Cheers,
Eran
12-23-2022, 02:44 PM
#81
Thread Starter
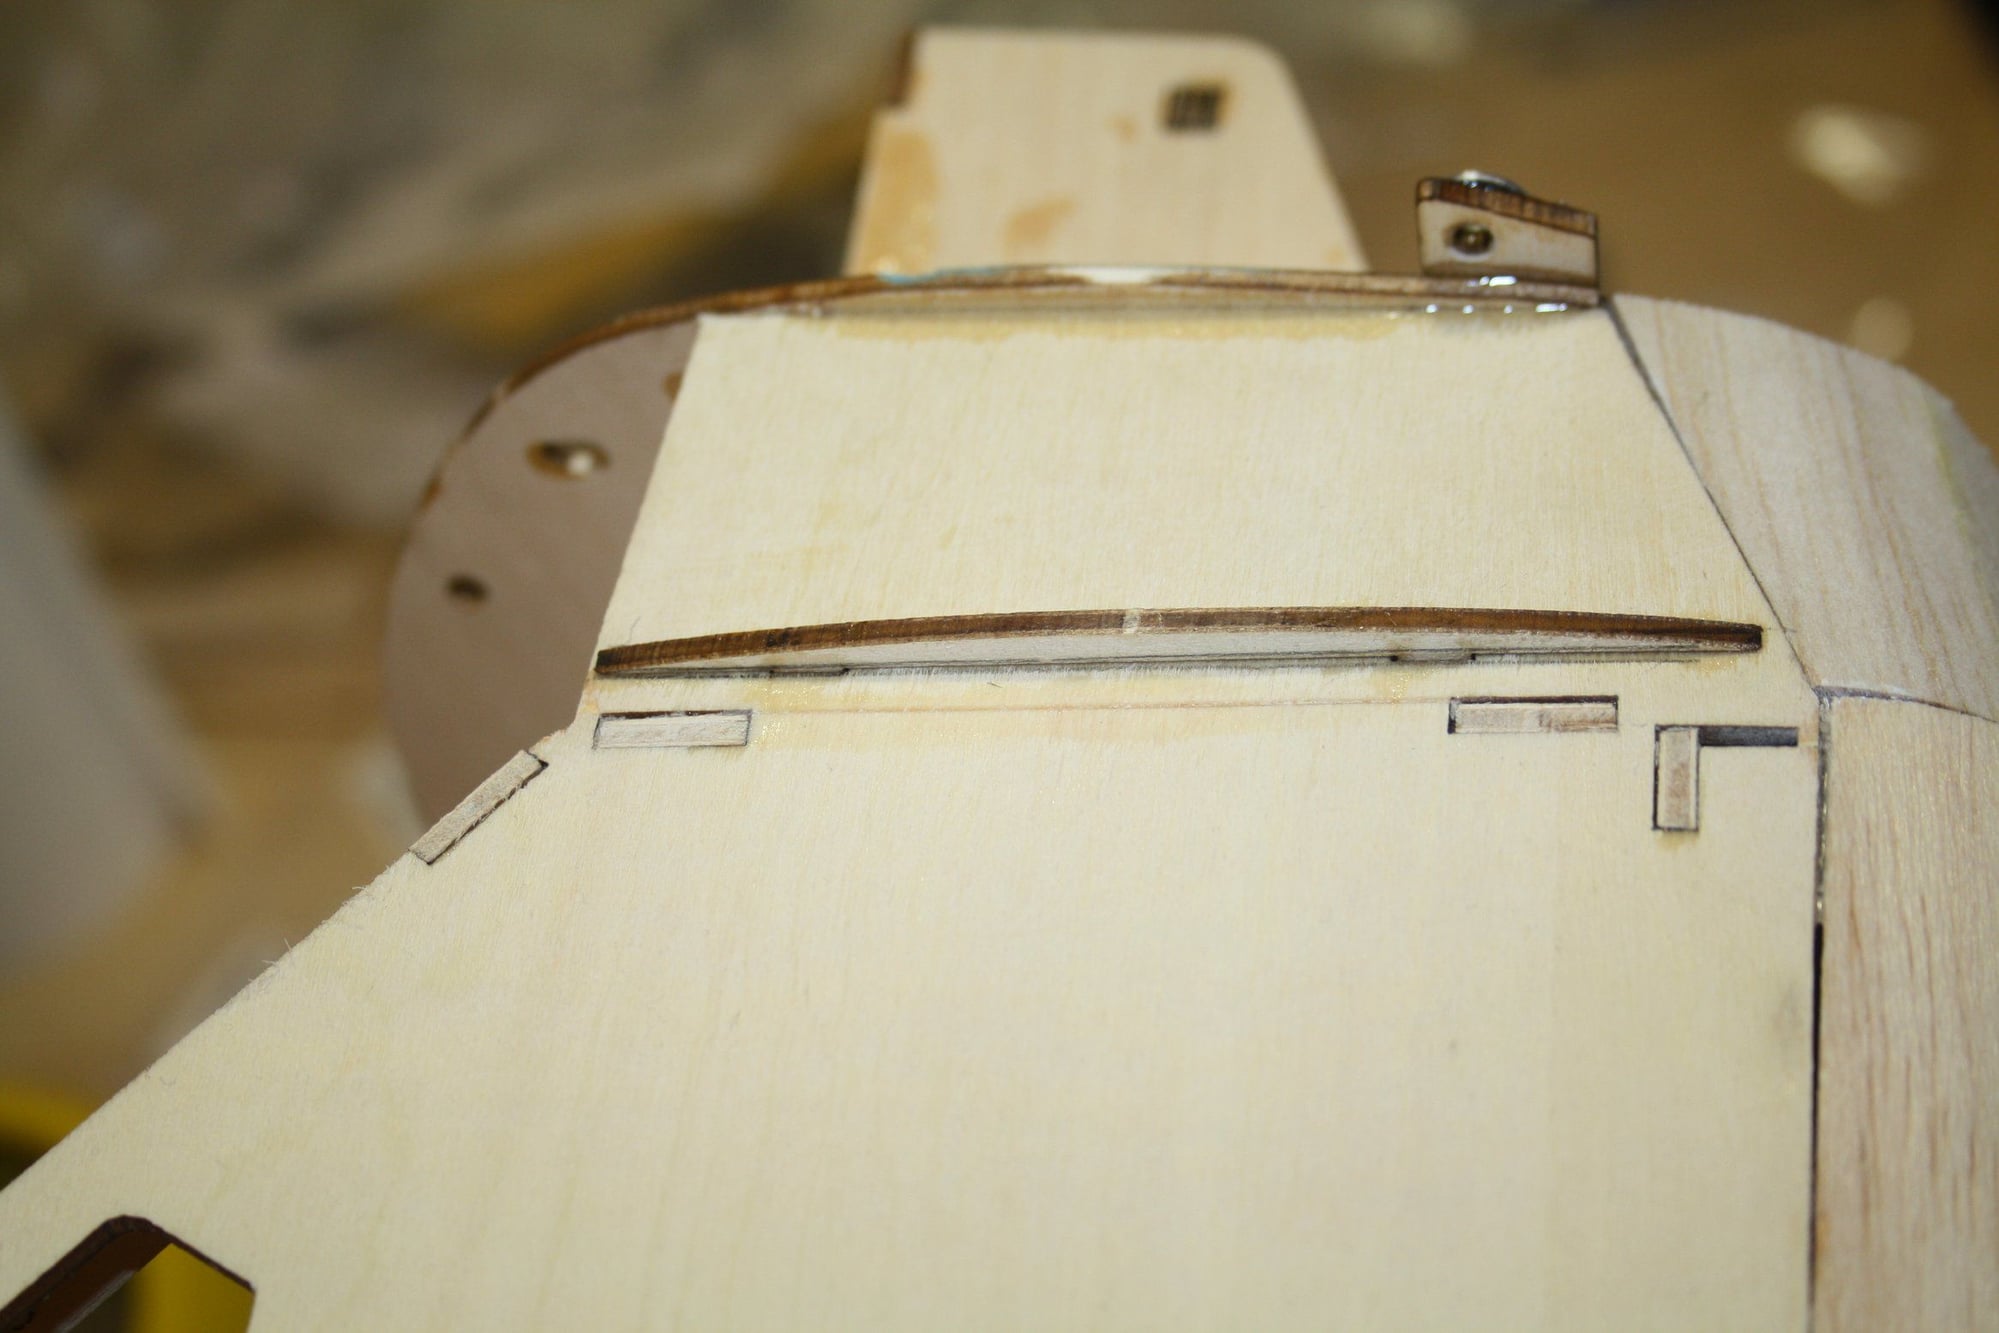
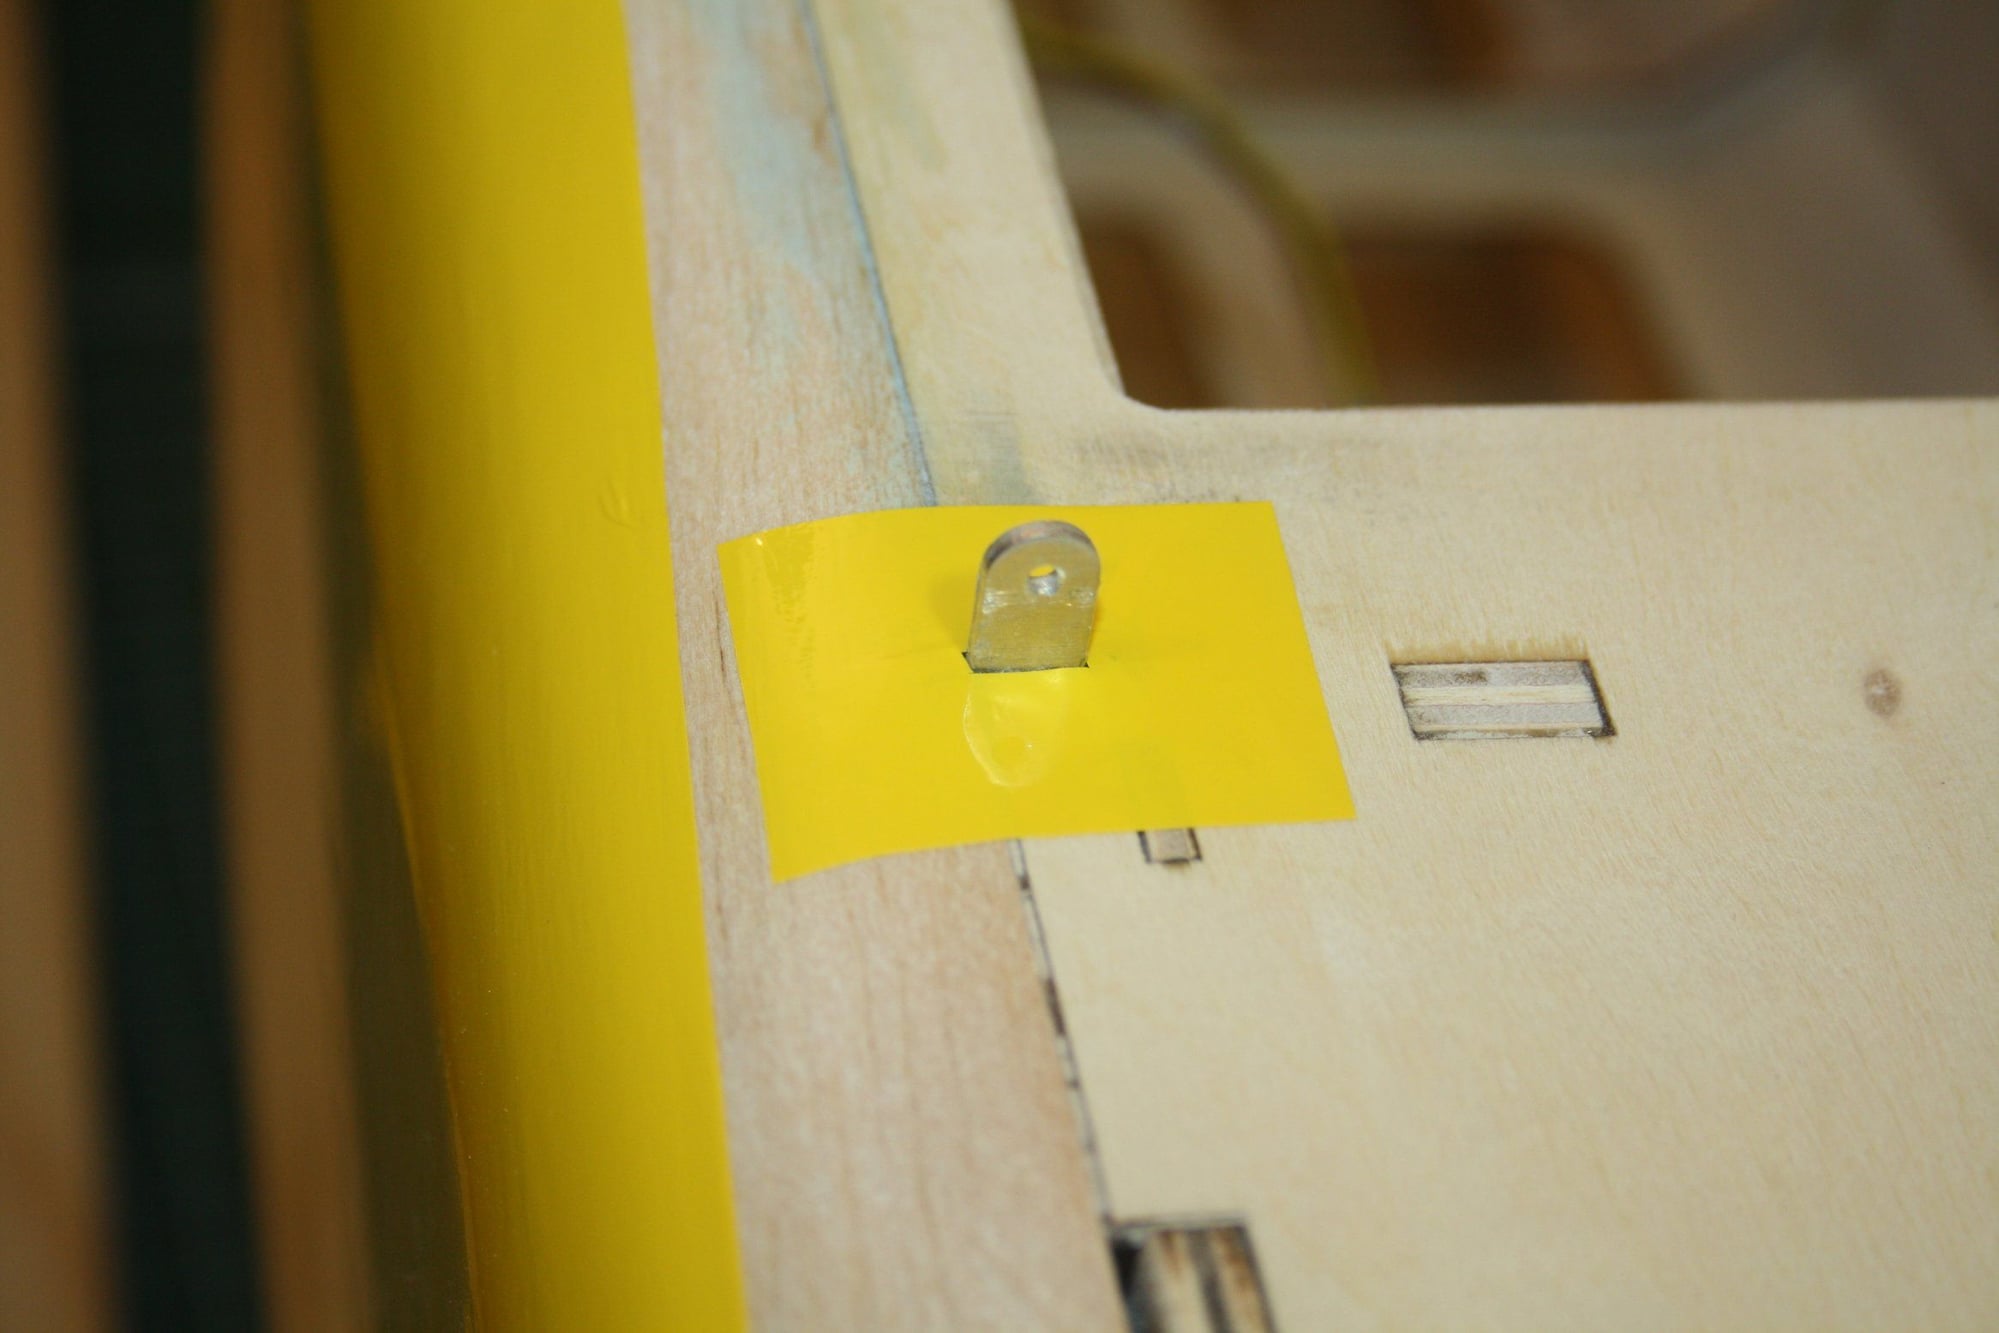
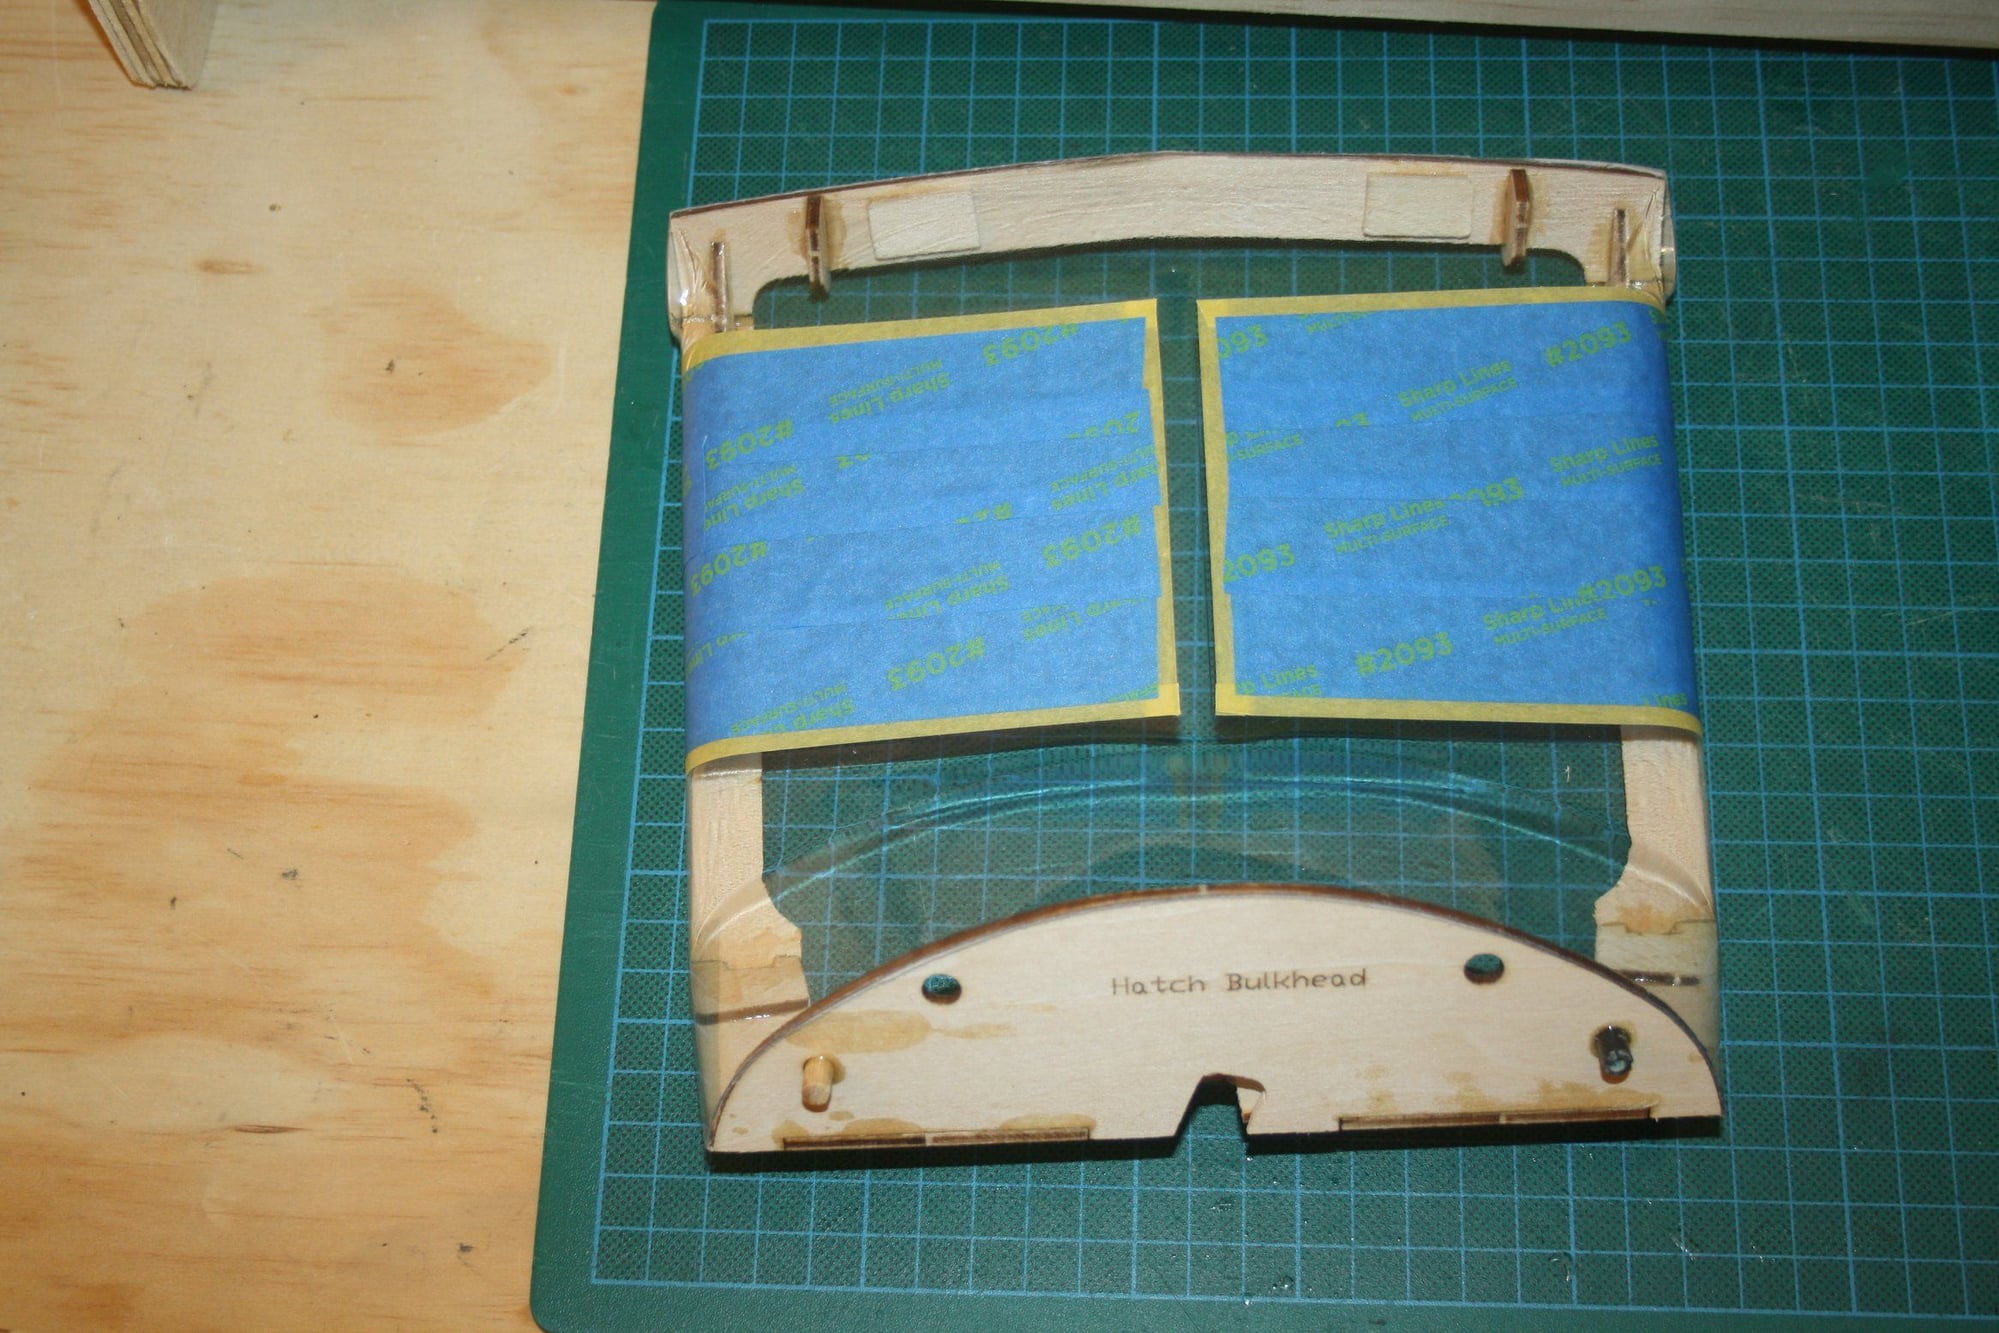
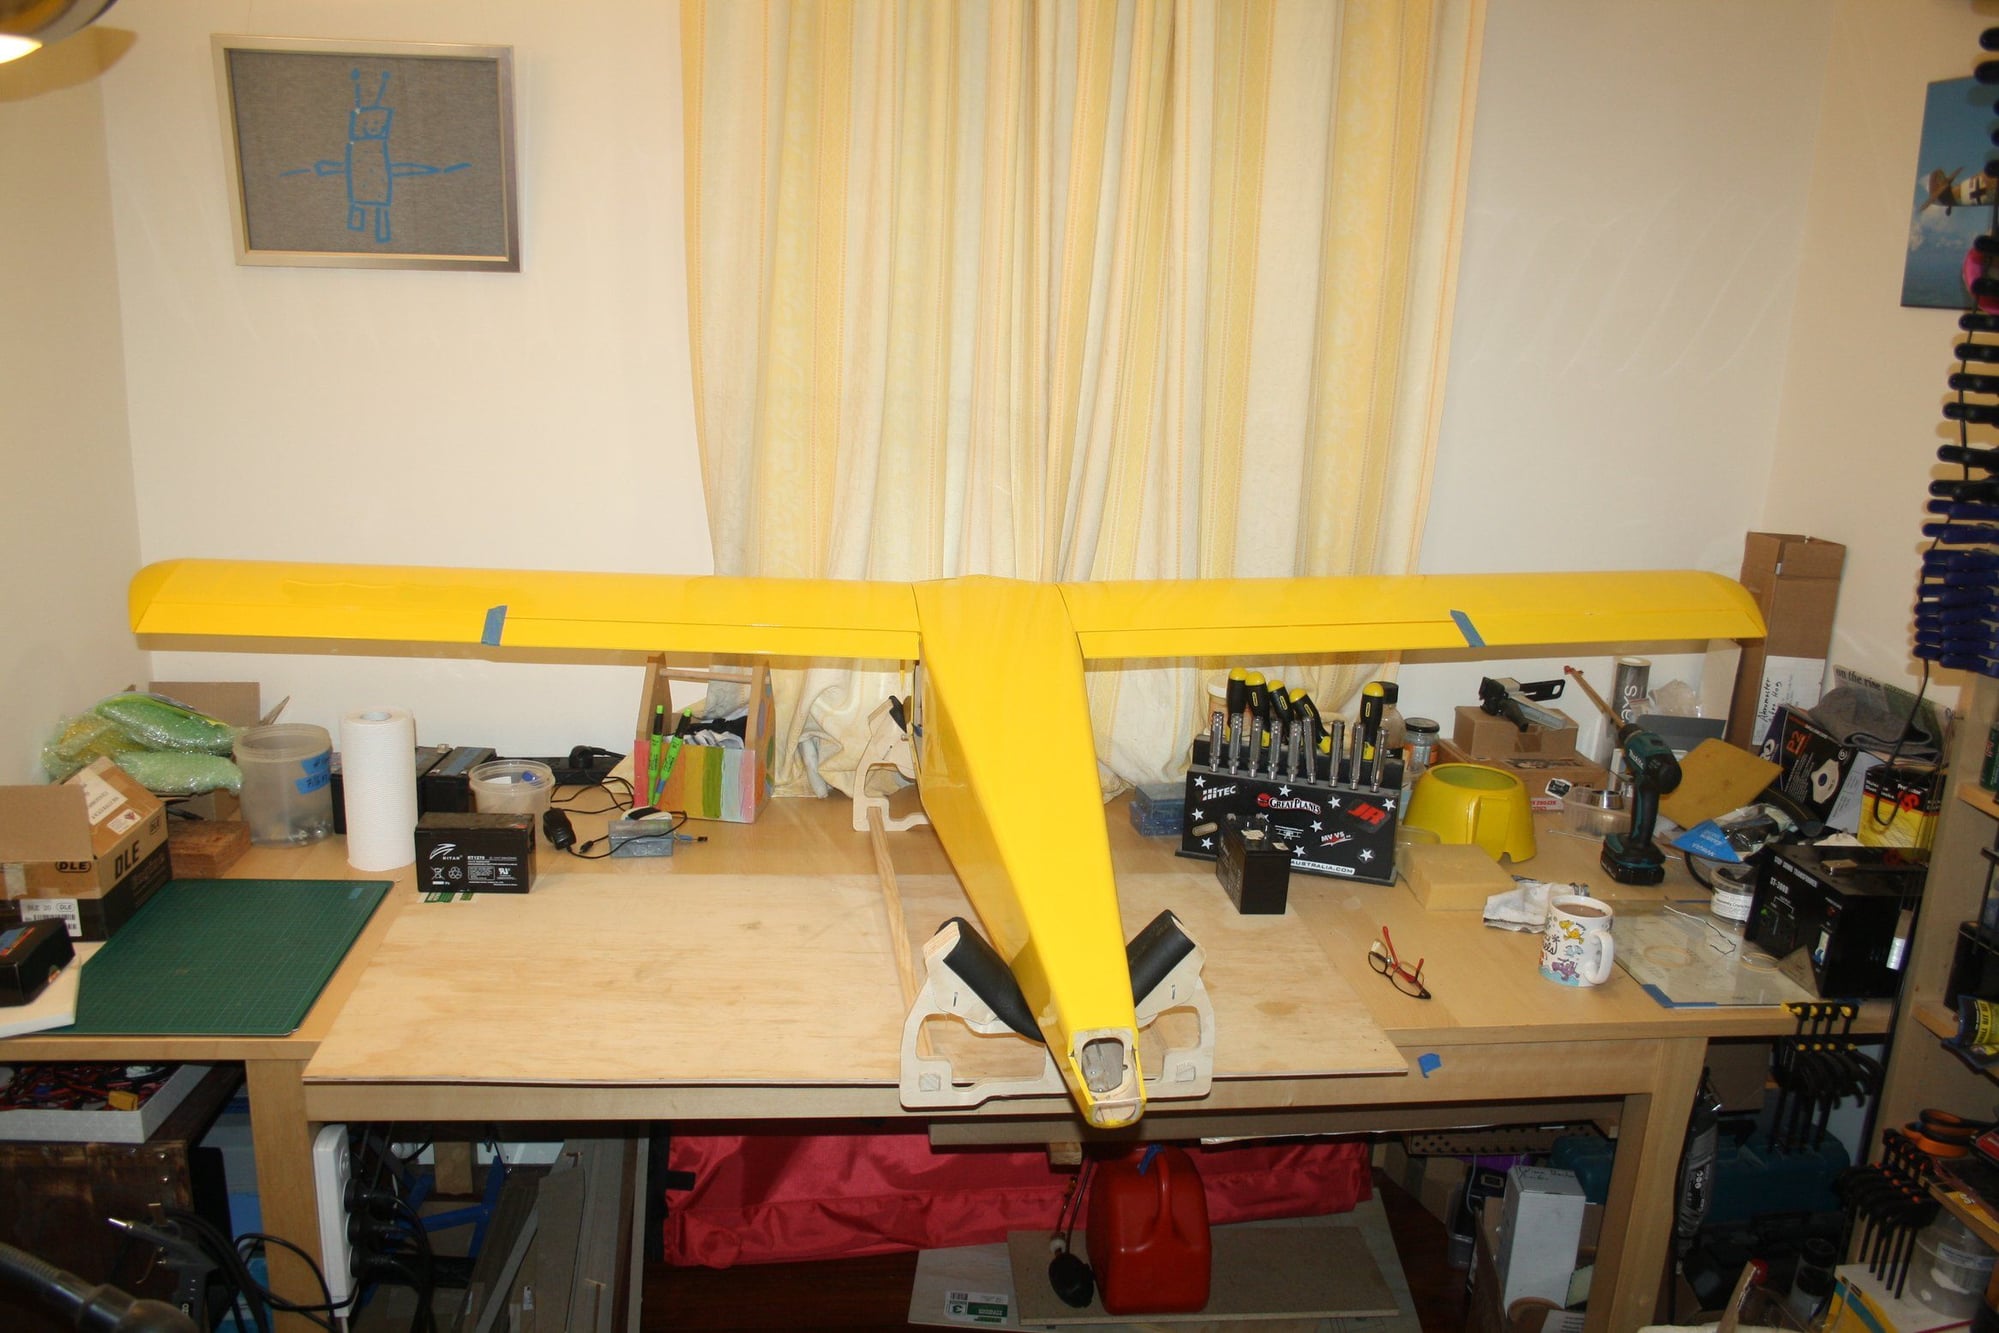
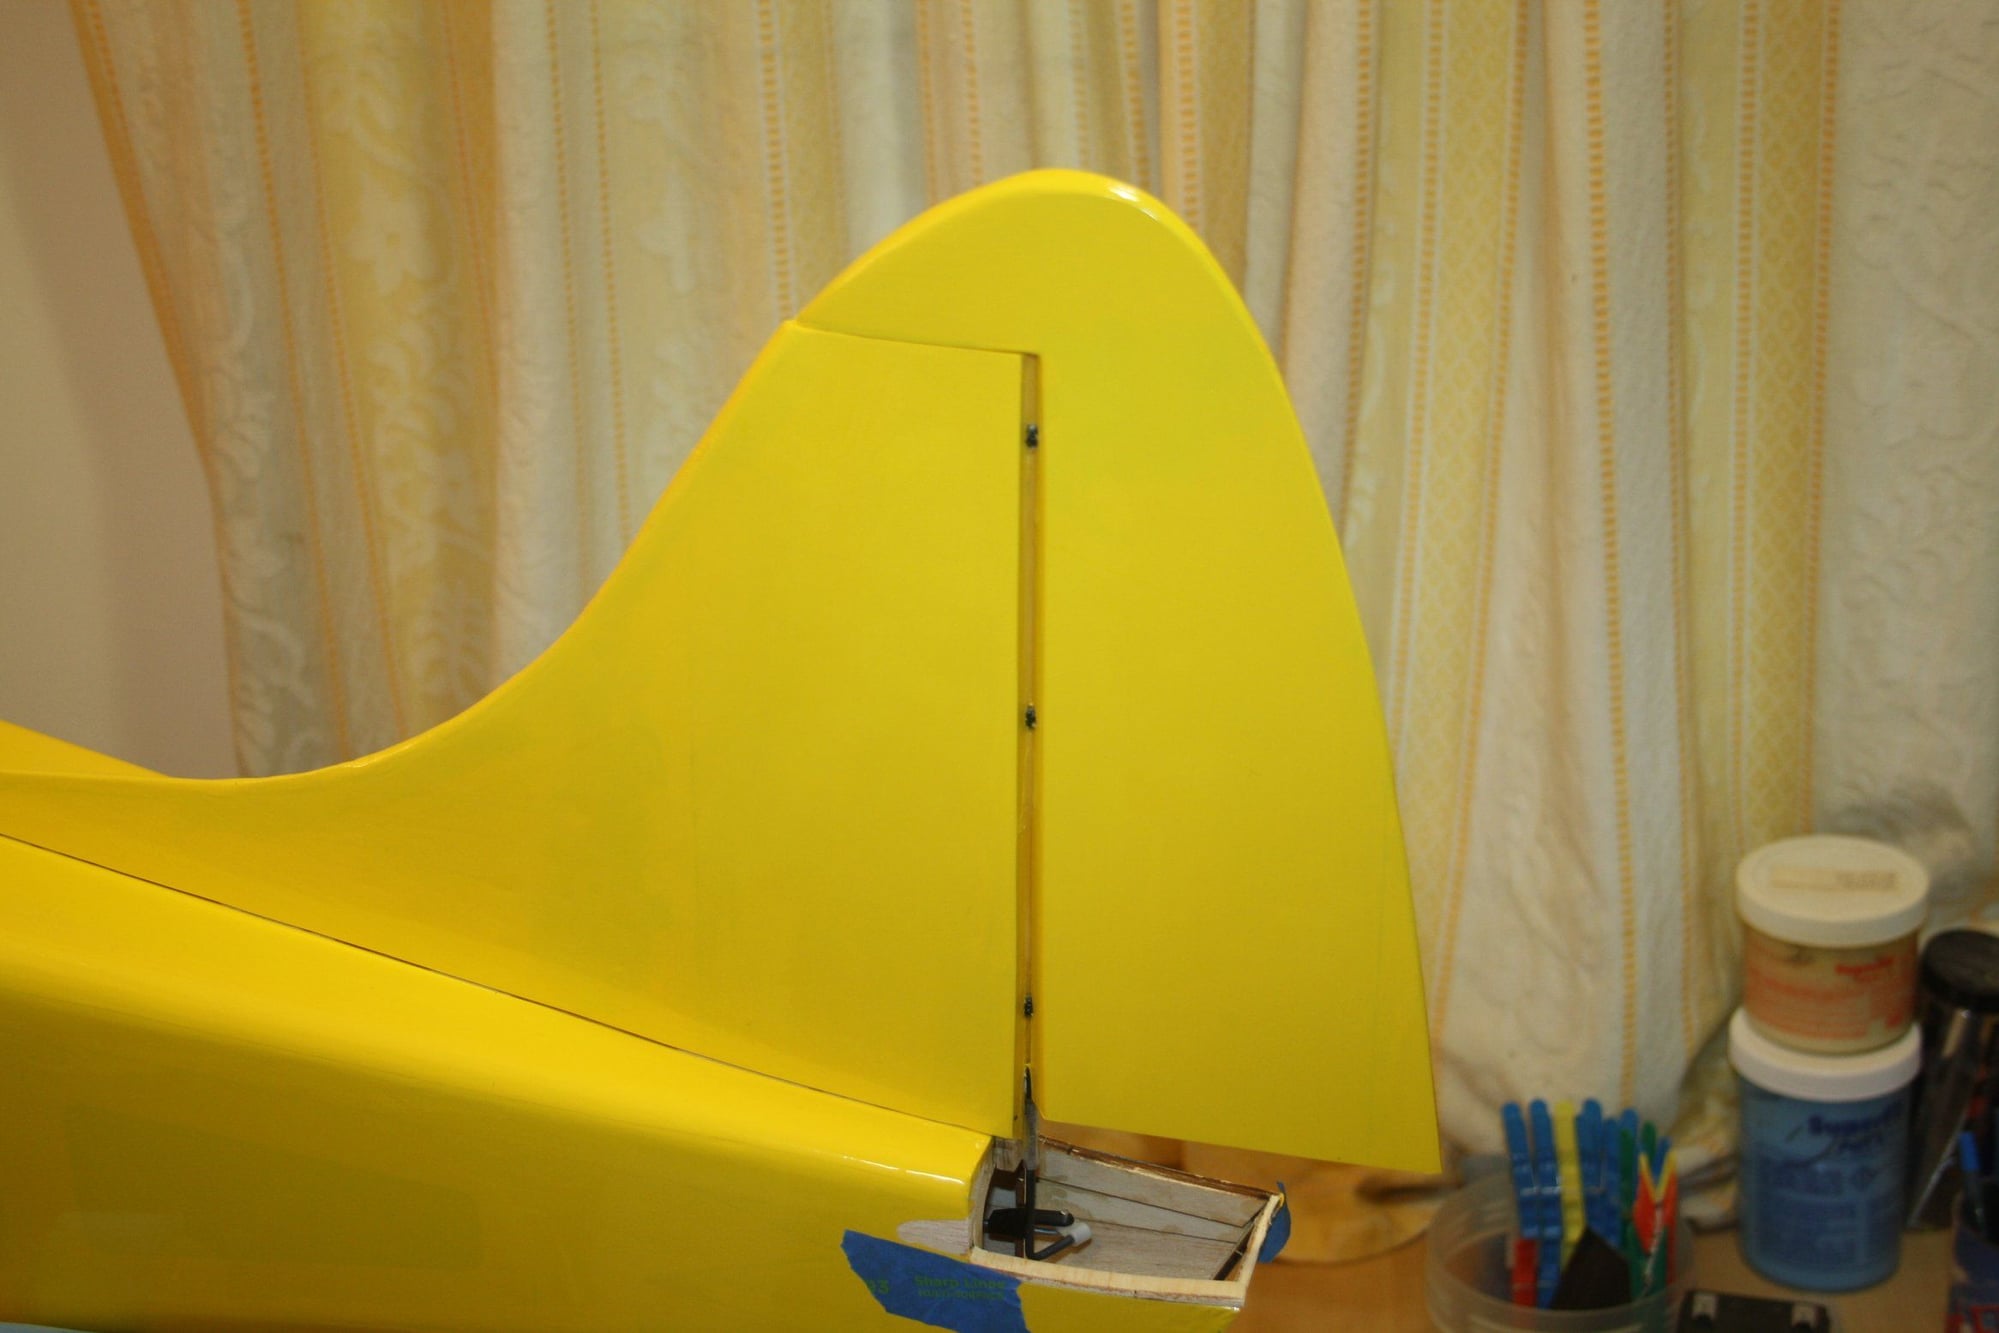
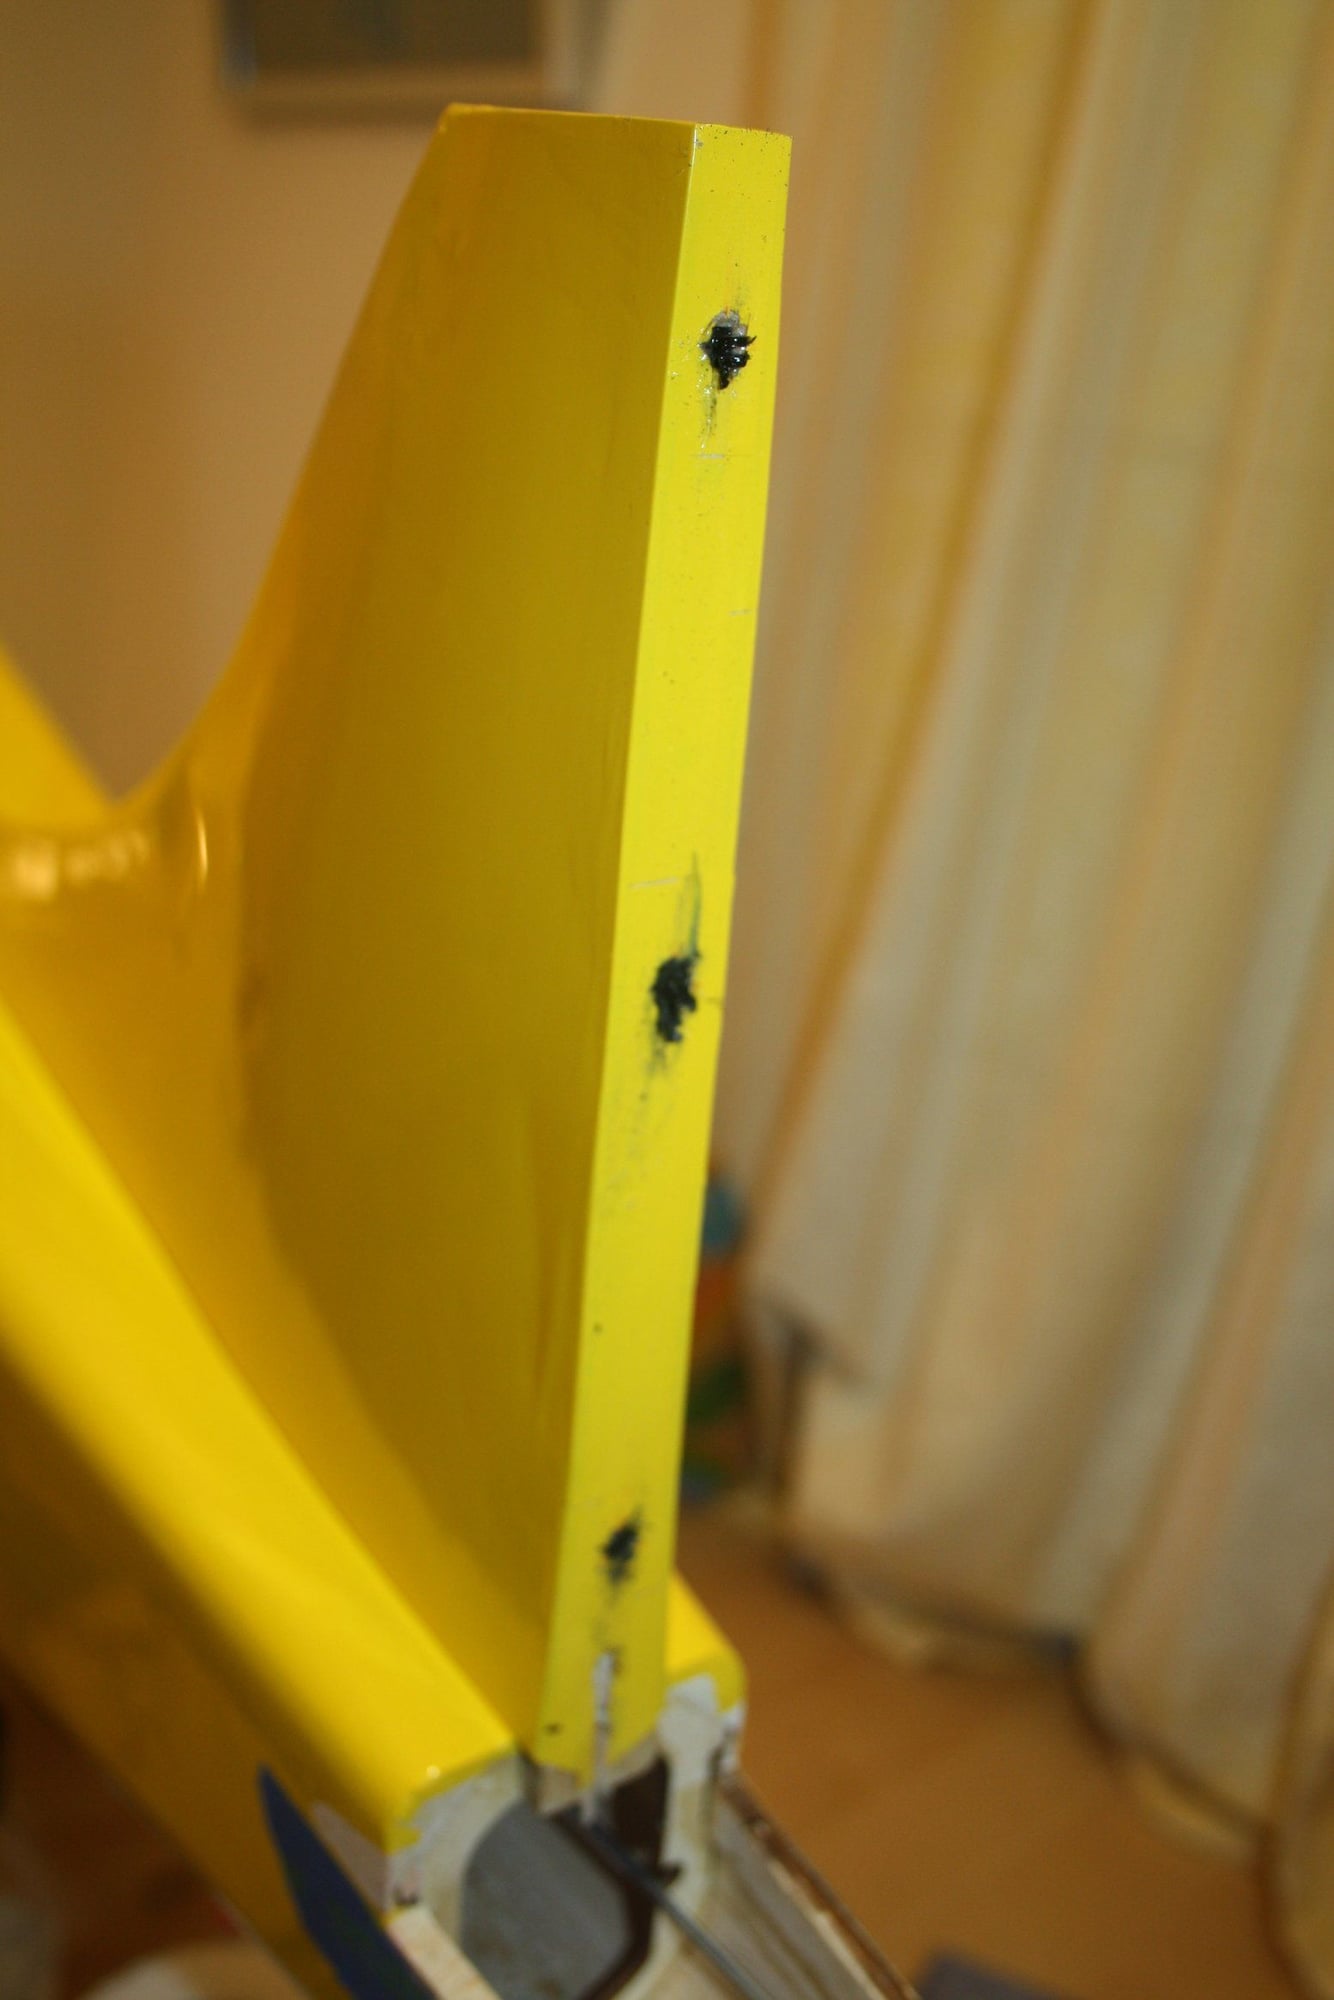
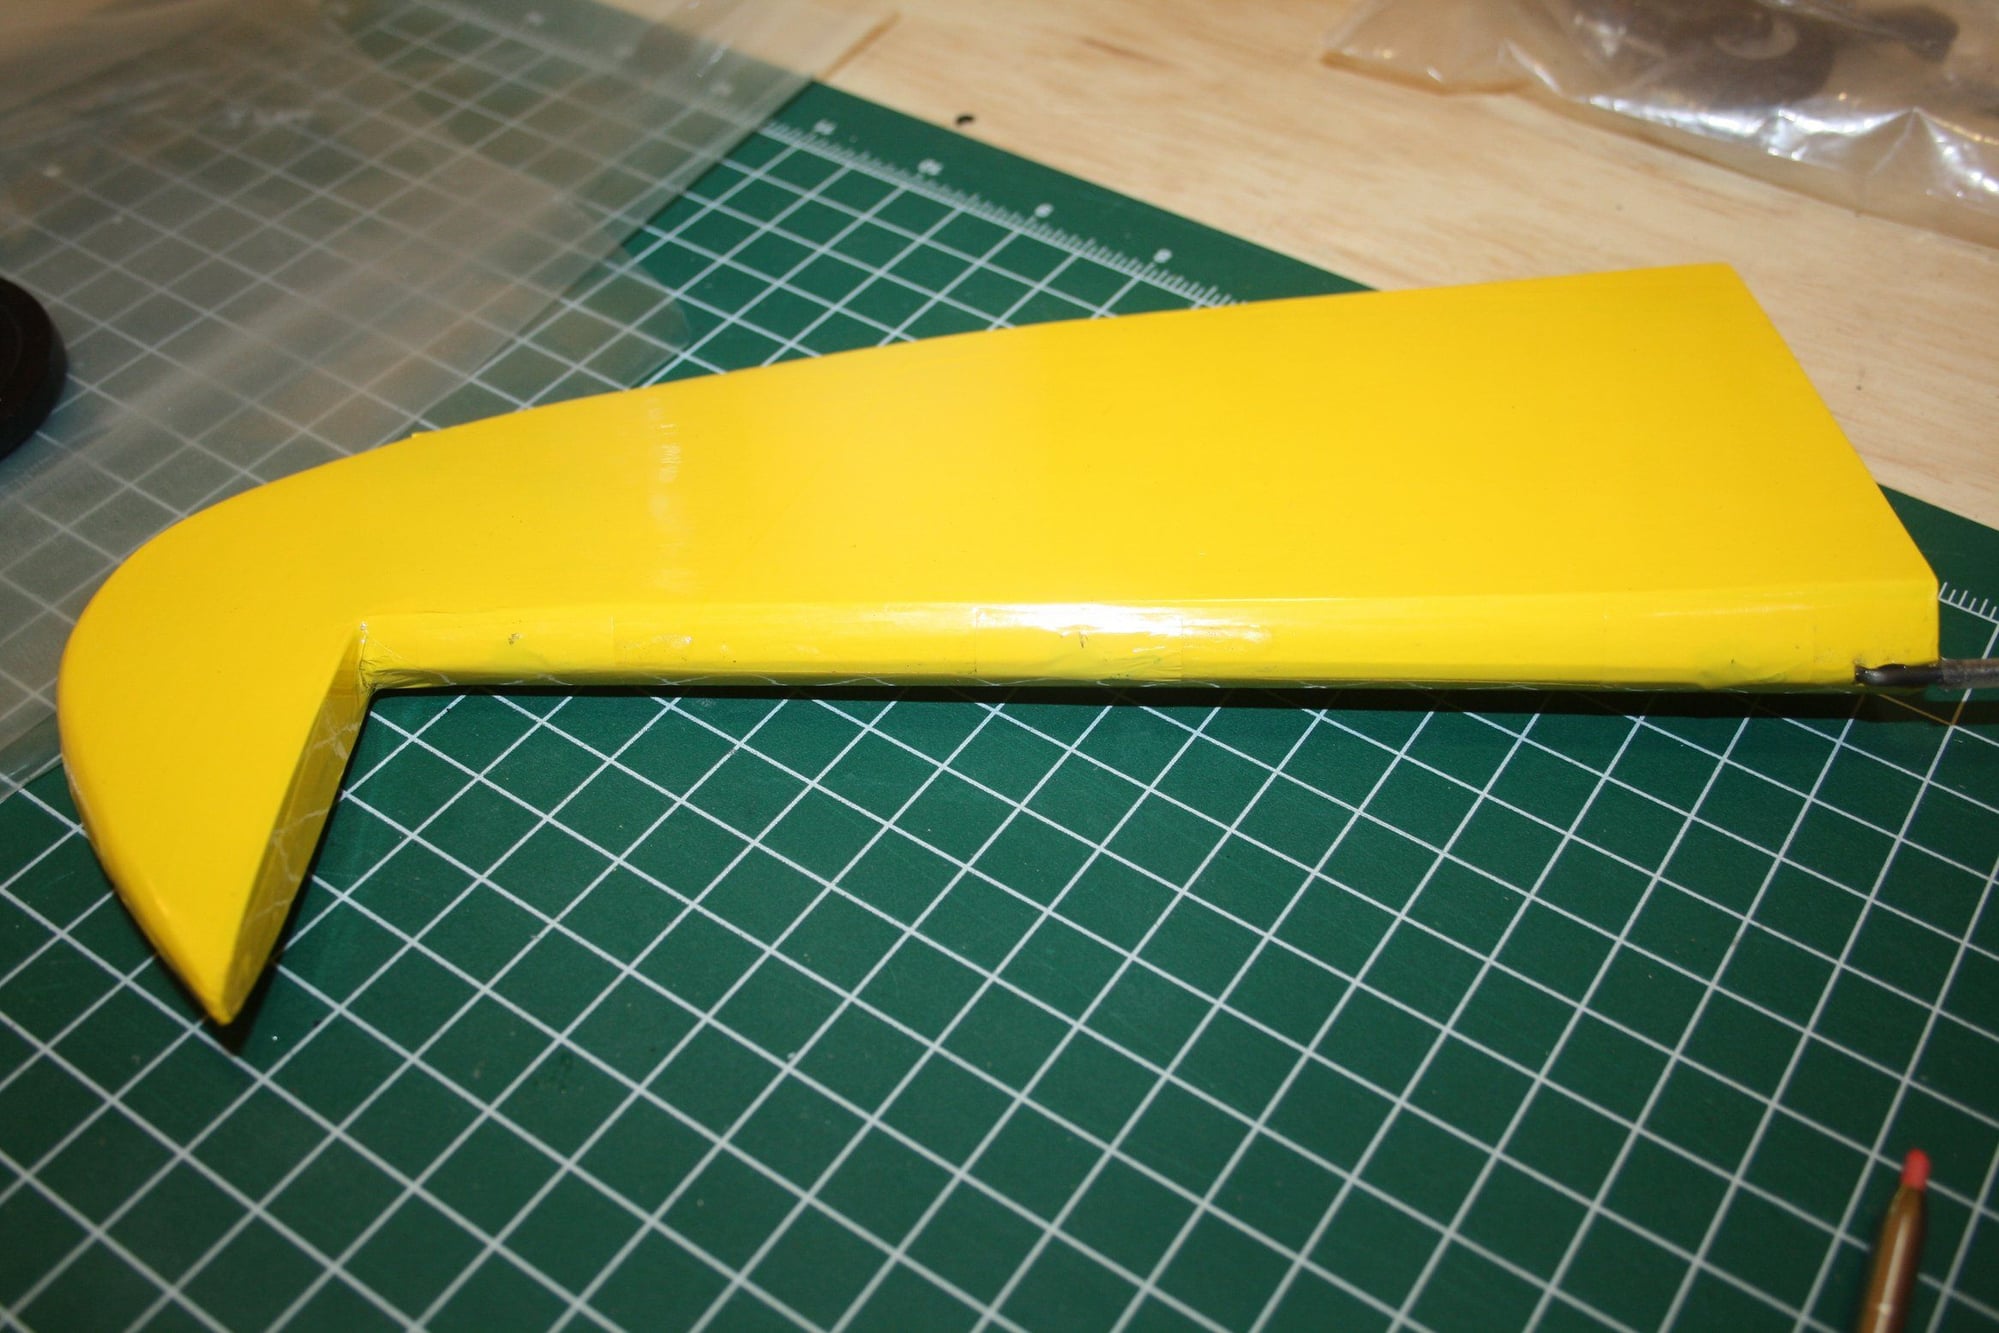
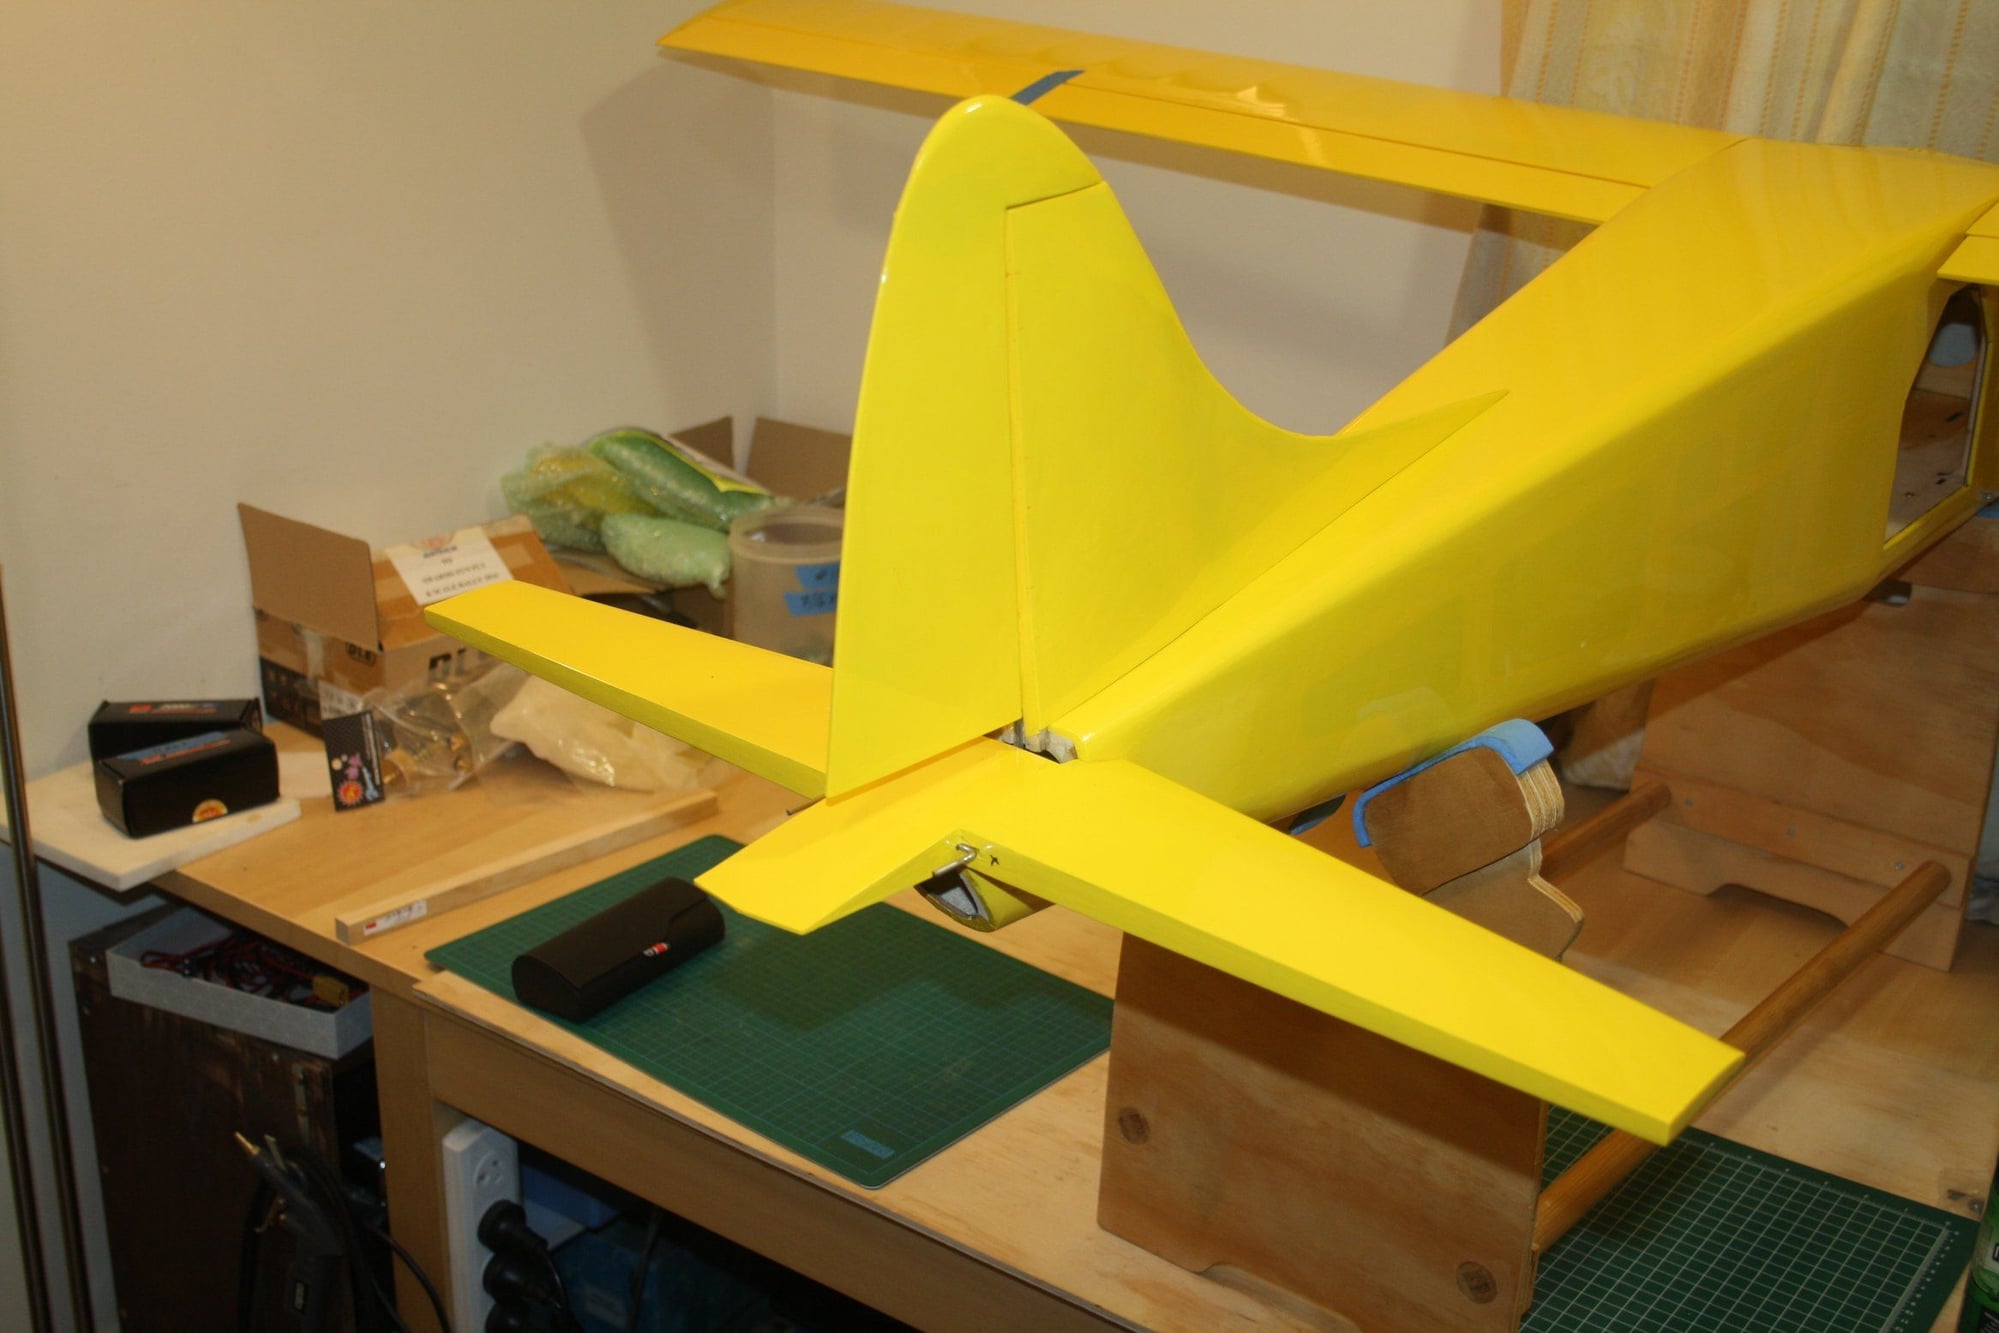
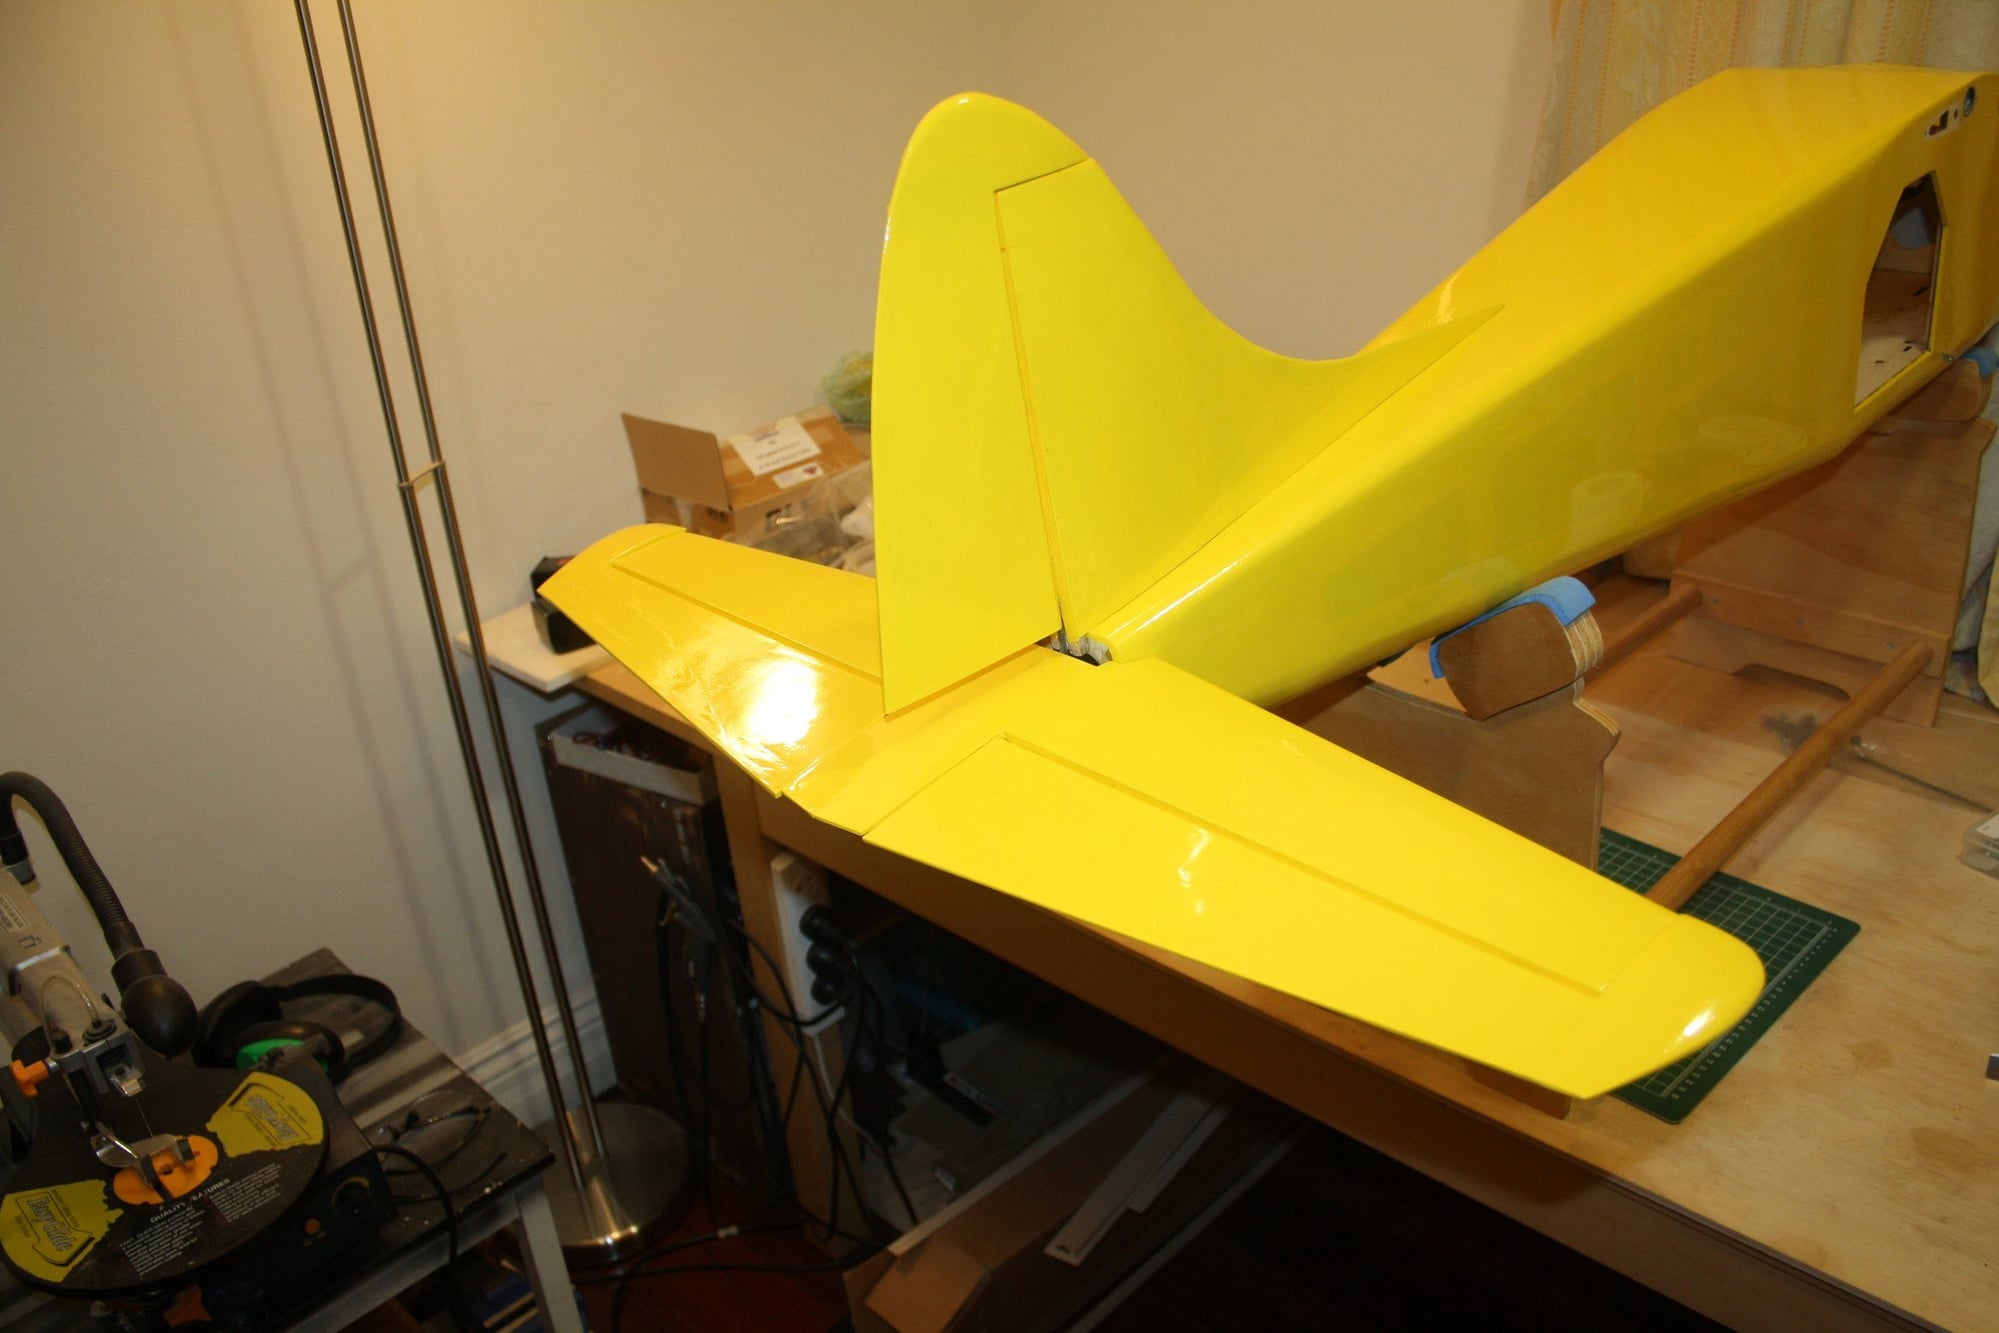
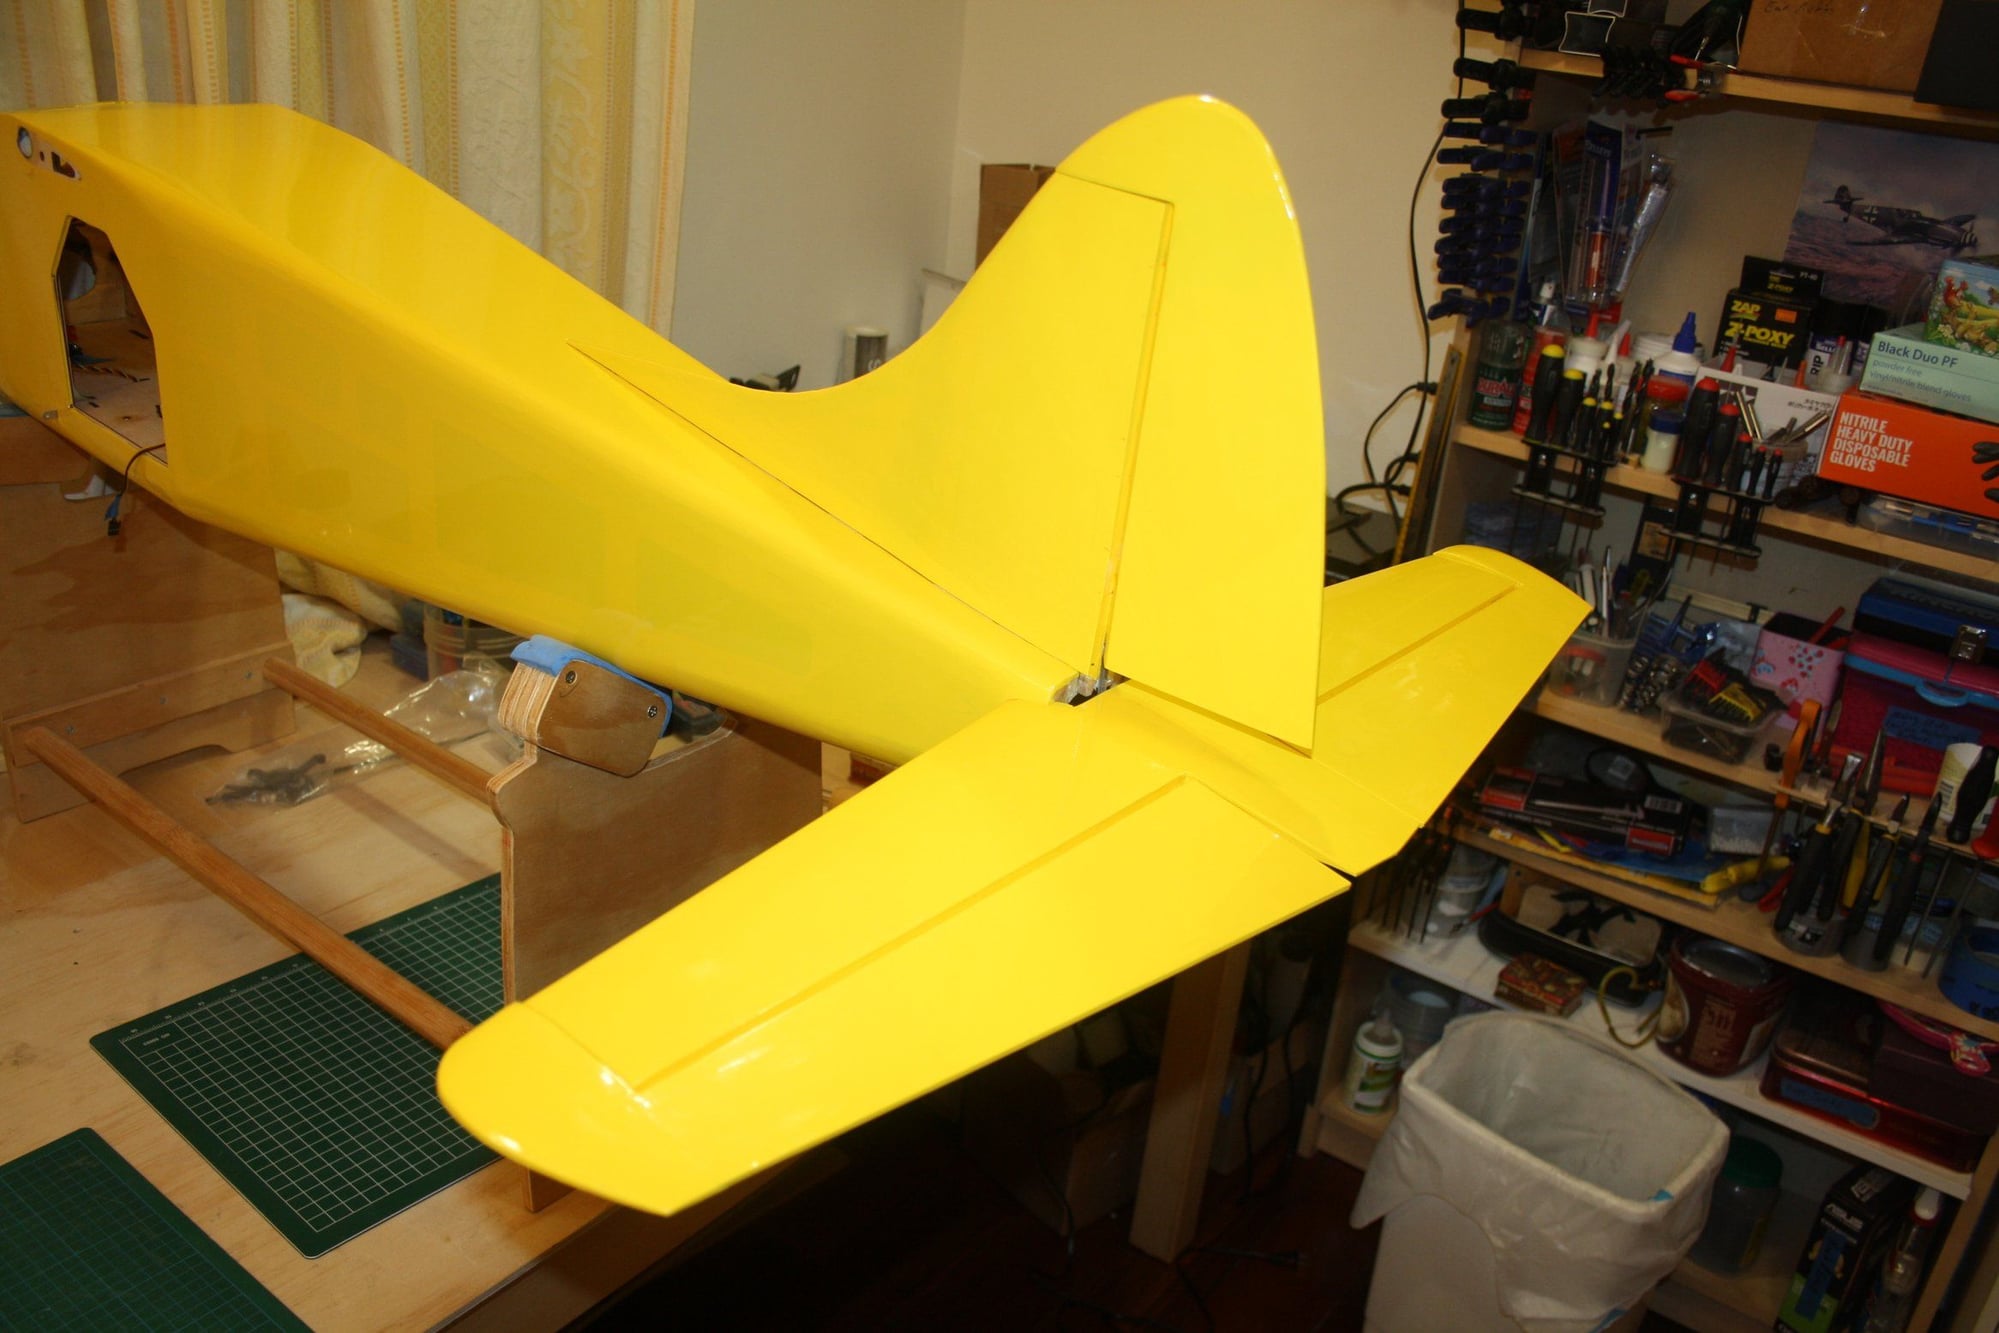
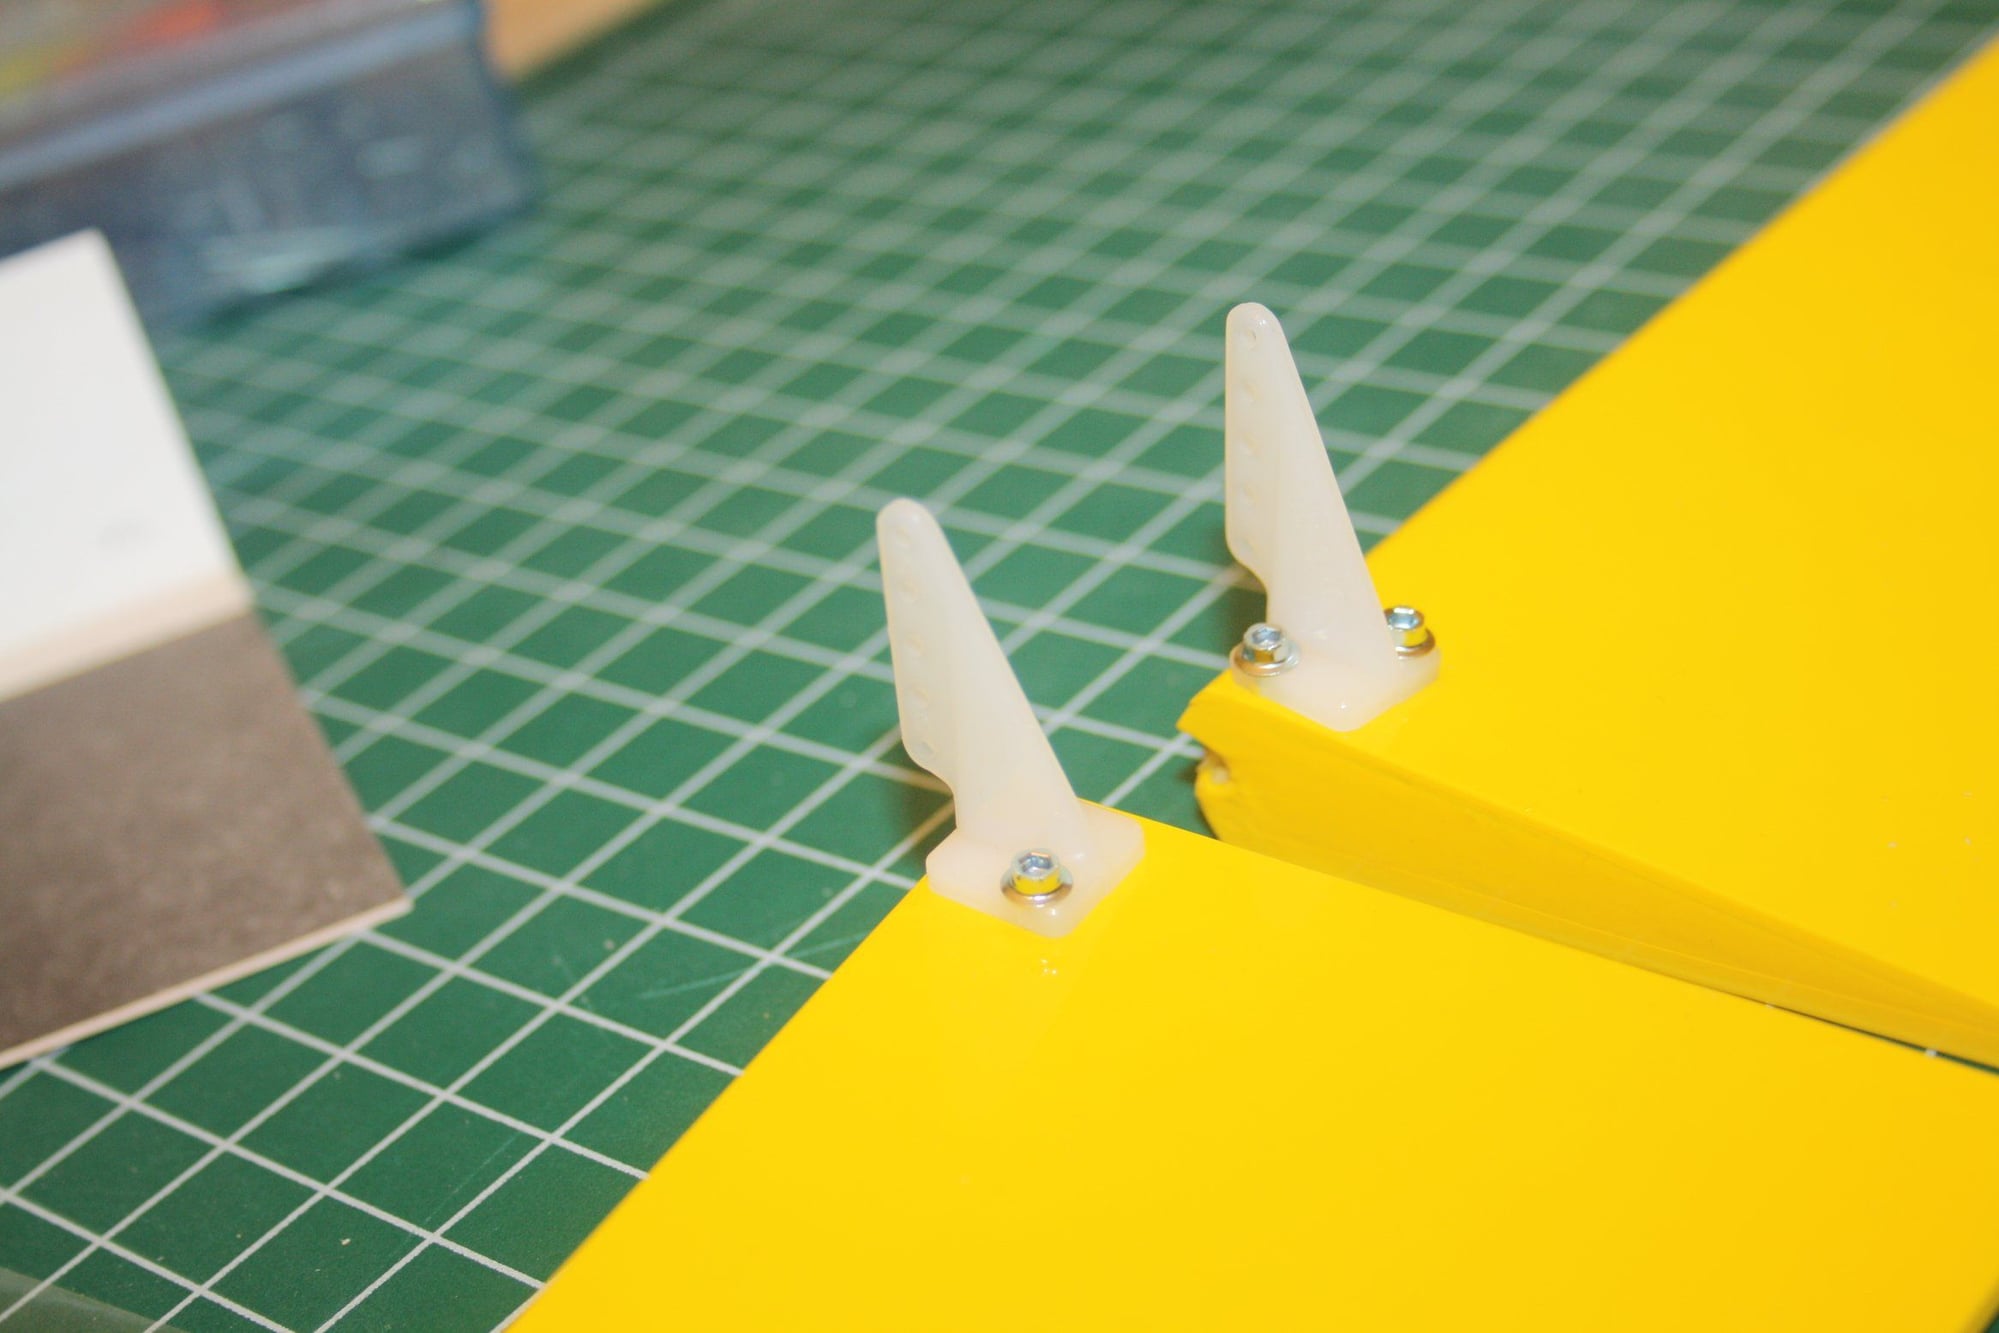
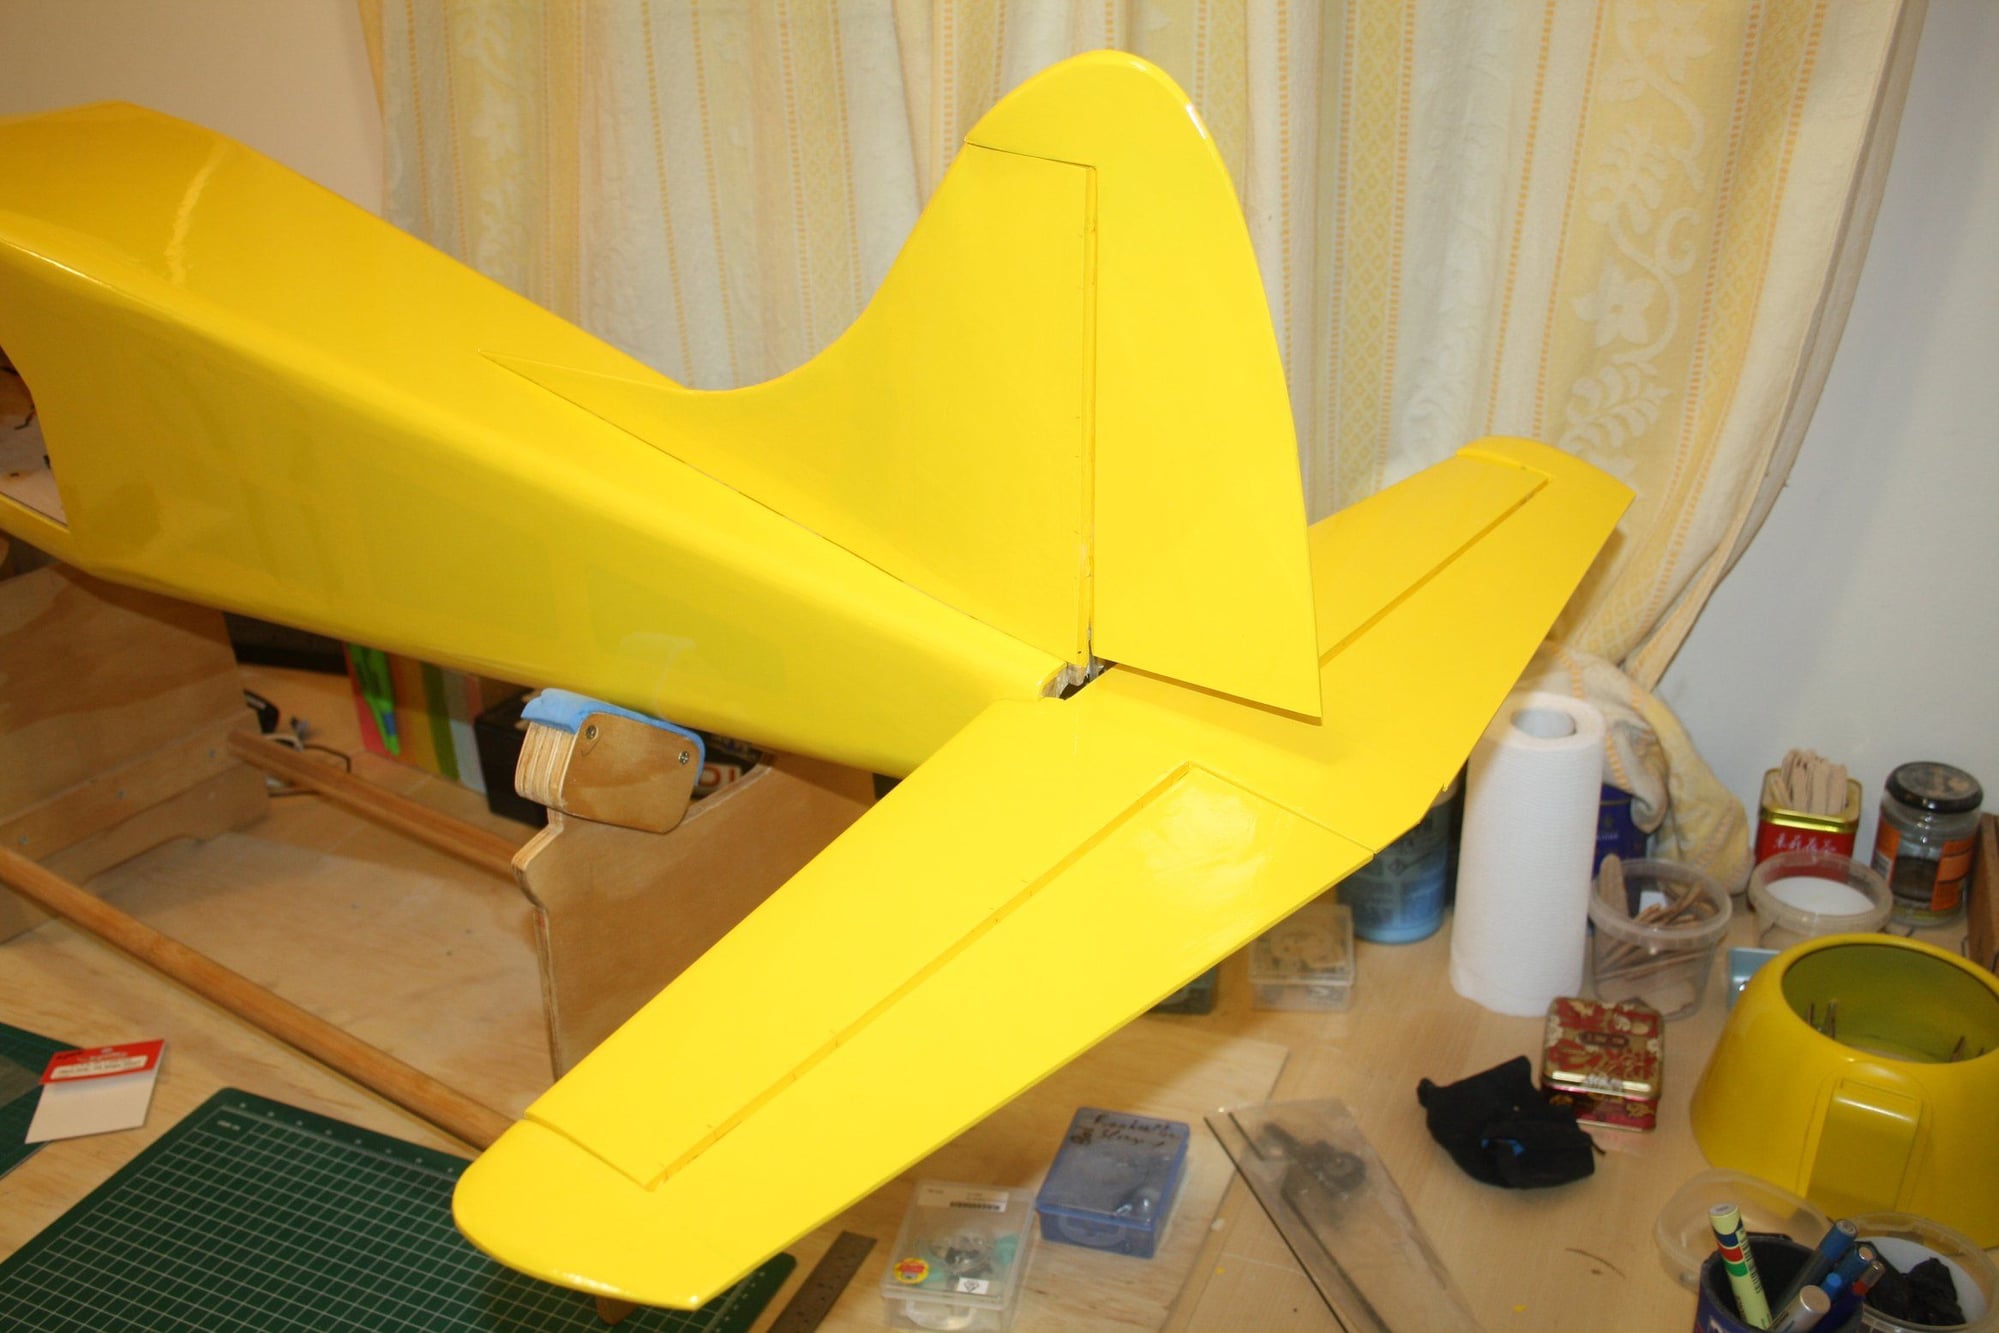
Fitting the vertical stabilizer start with removing the covering from the glue contact area. I fitted the Robart pin-hinges while it is easier to work on the stabilizer (prior to gluing it to the fuselage).

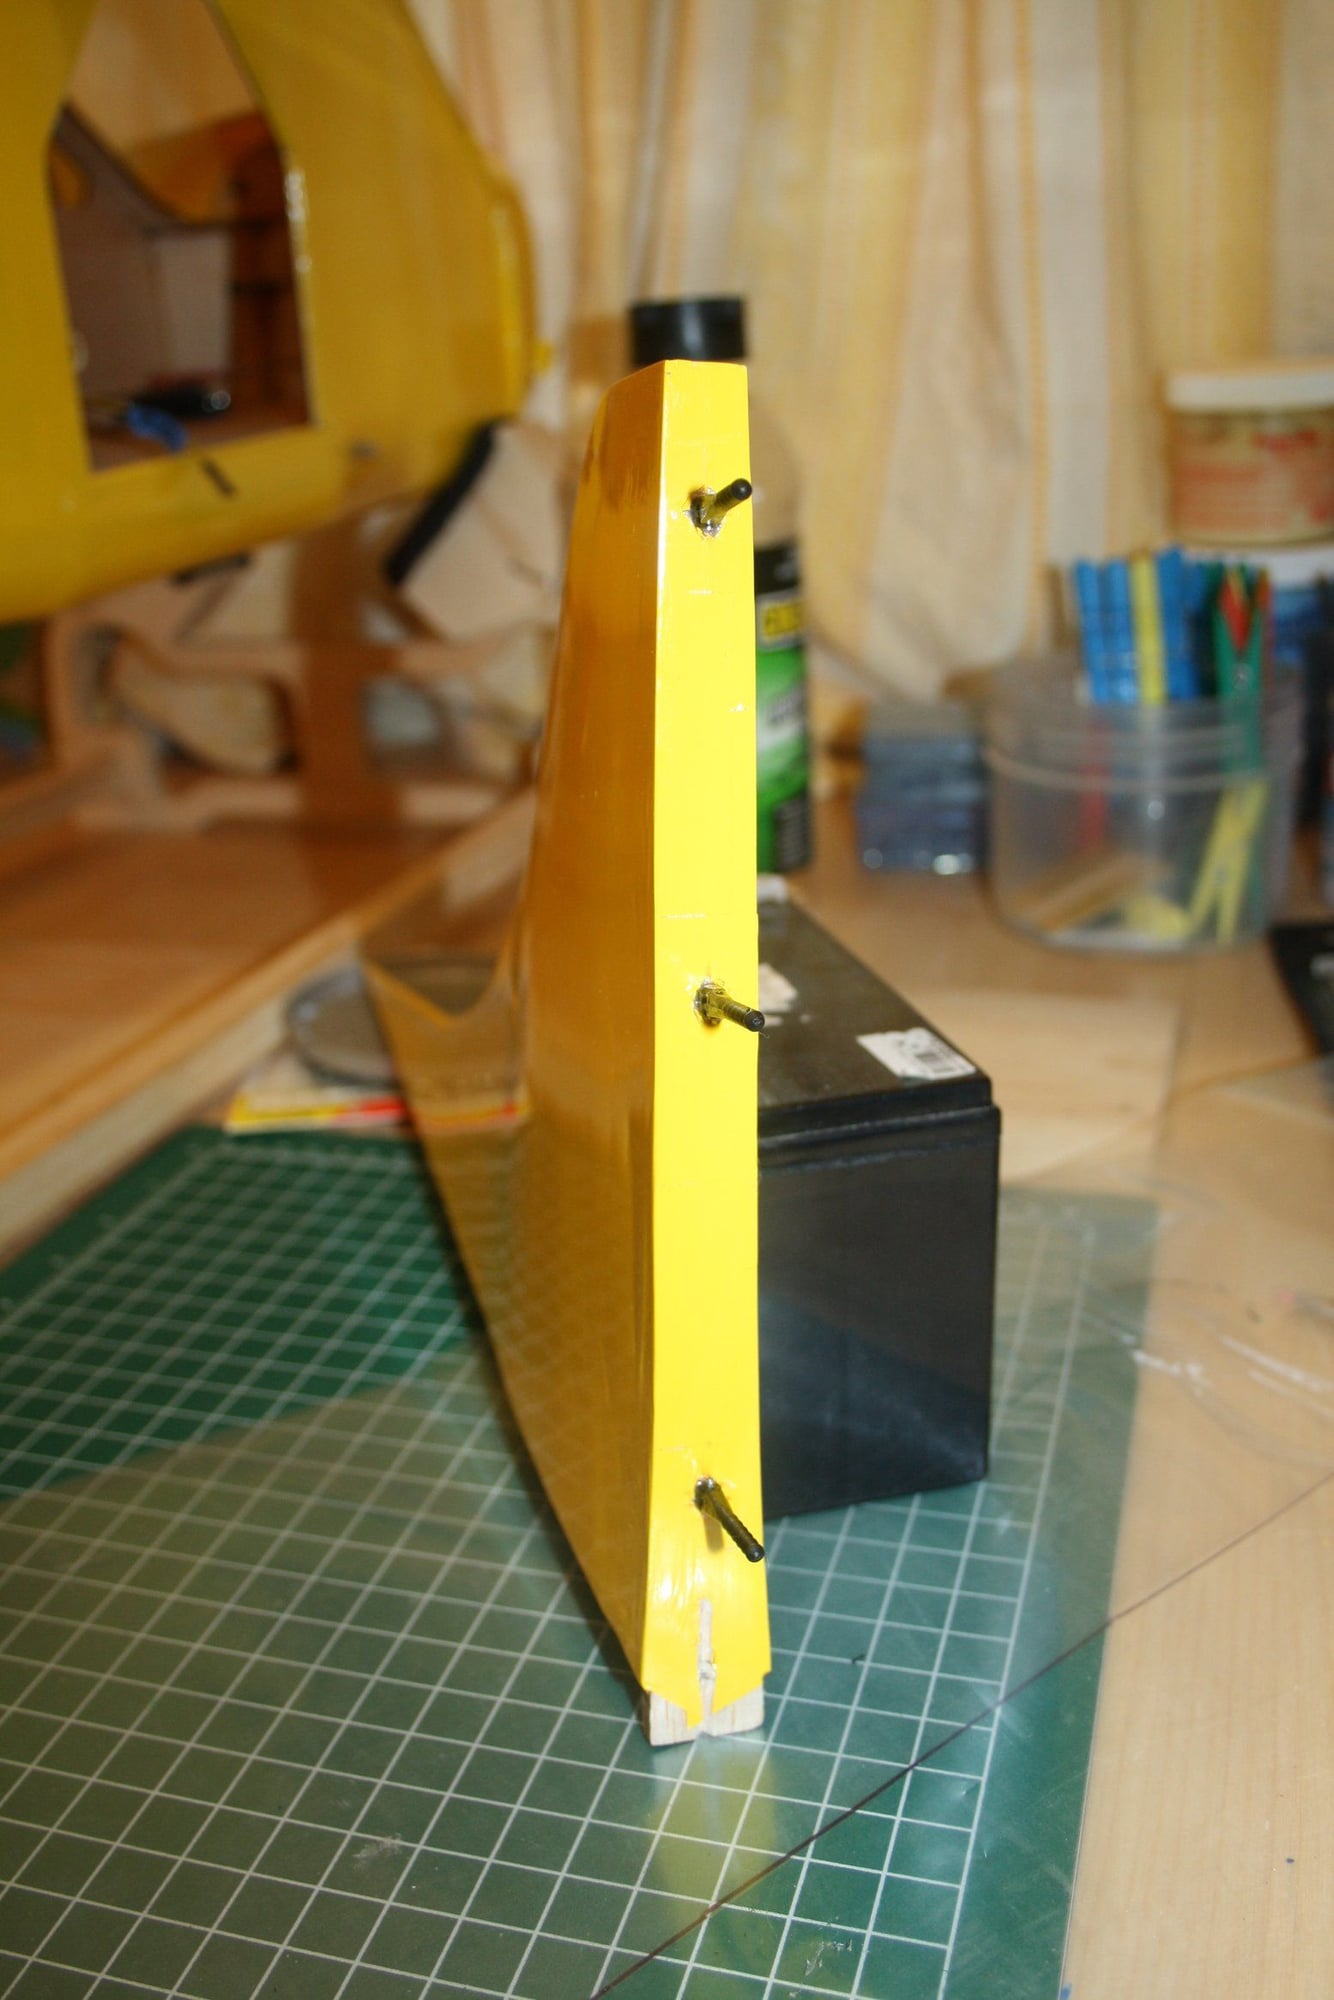
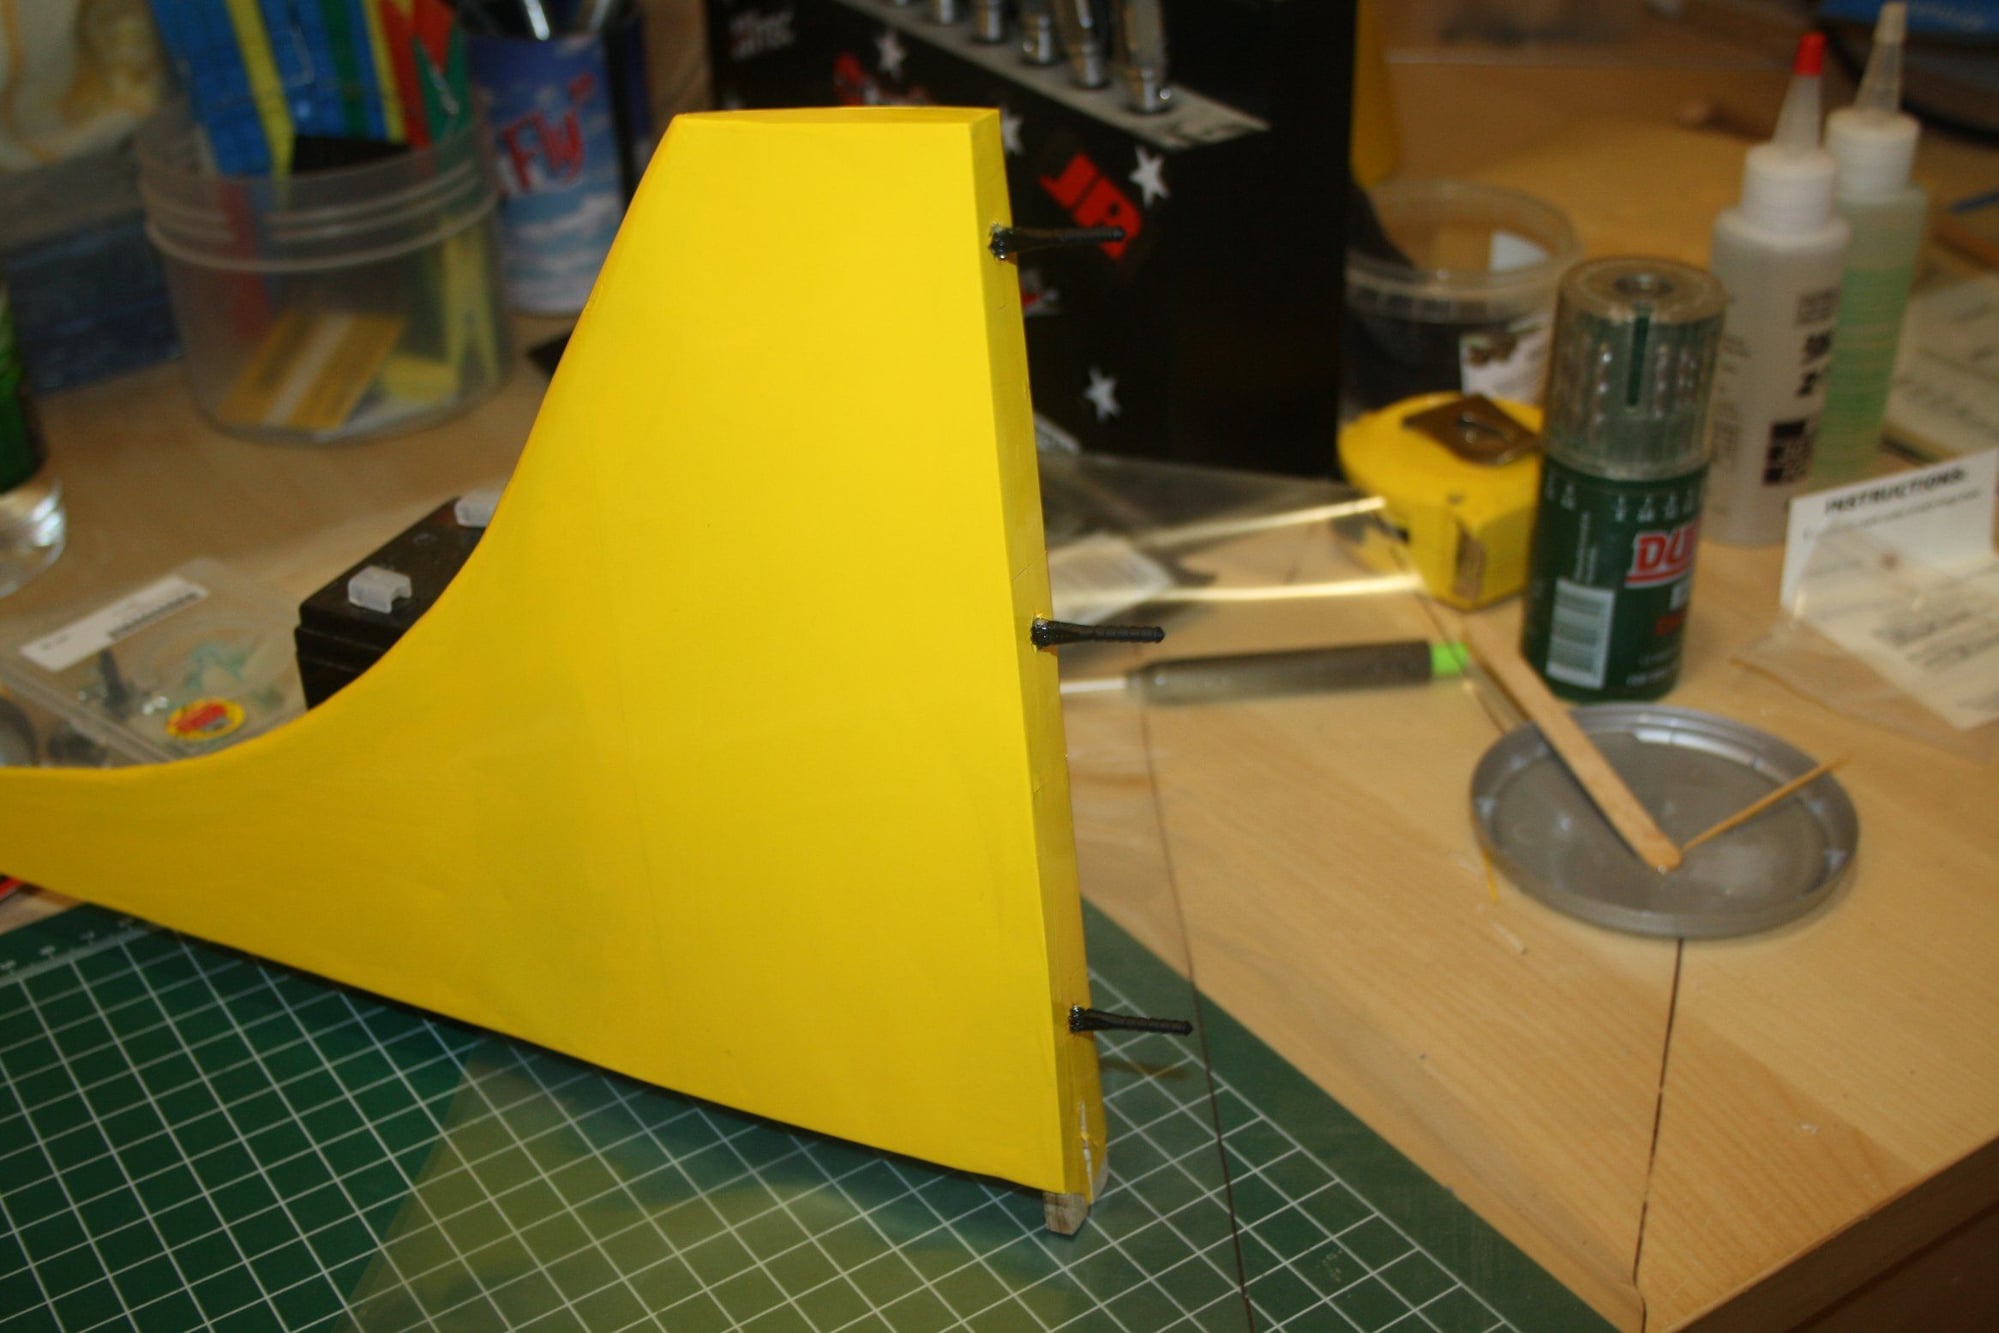


Cheers,
Eran
Cheers,
Eran
12-23-2022, 03:00 PM
#82
Thread Starter
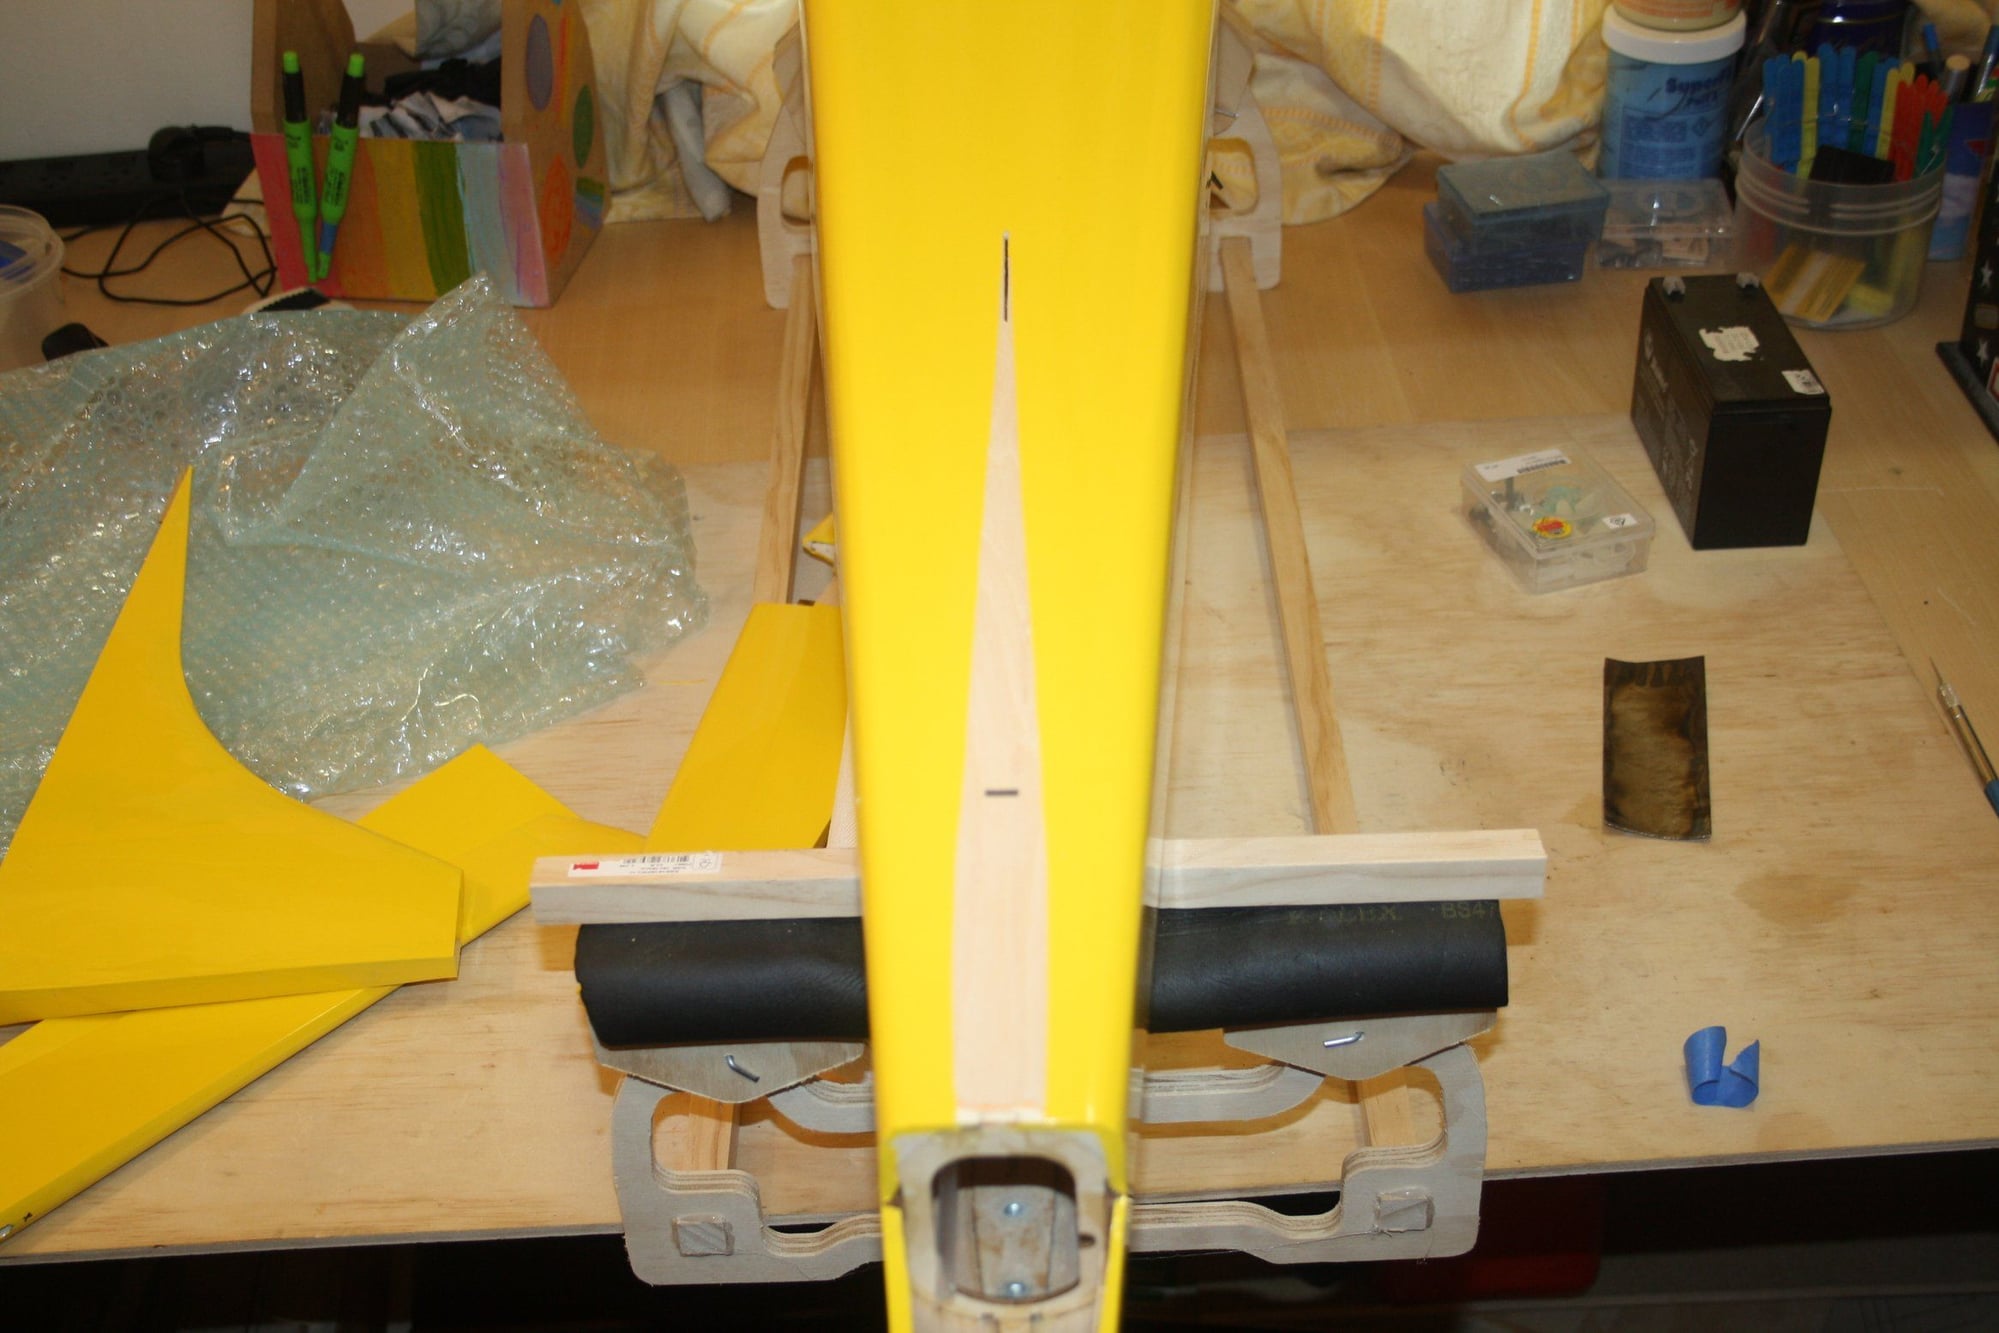
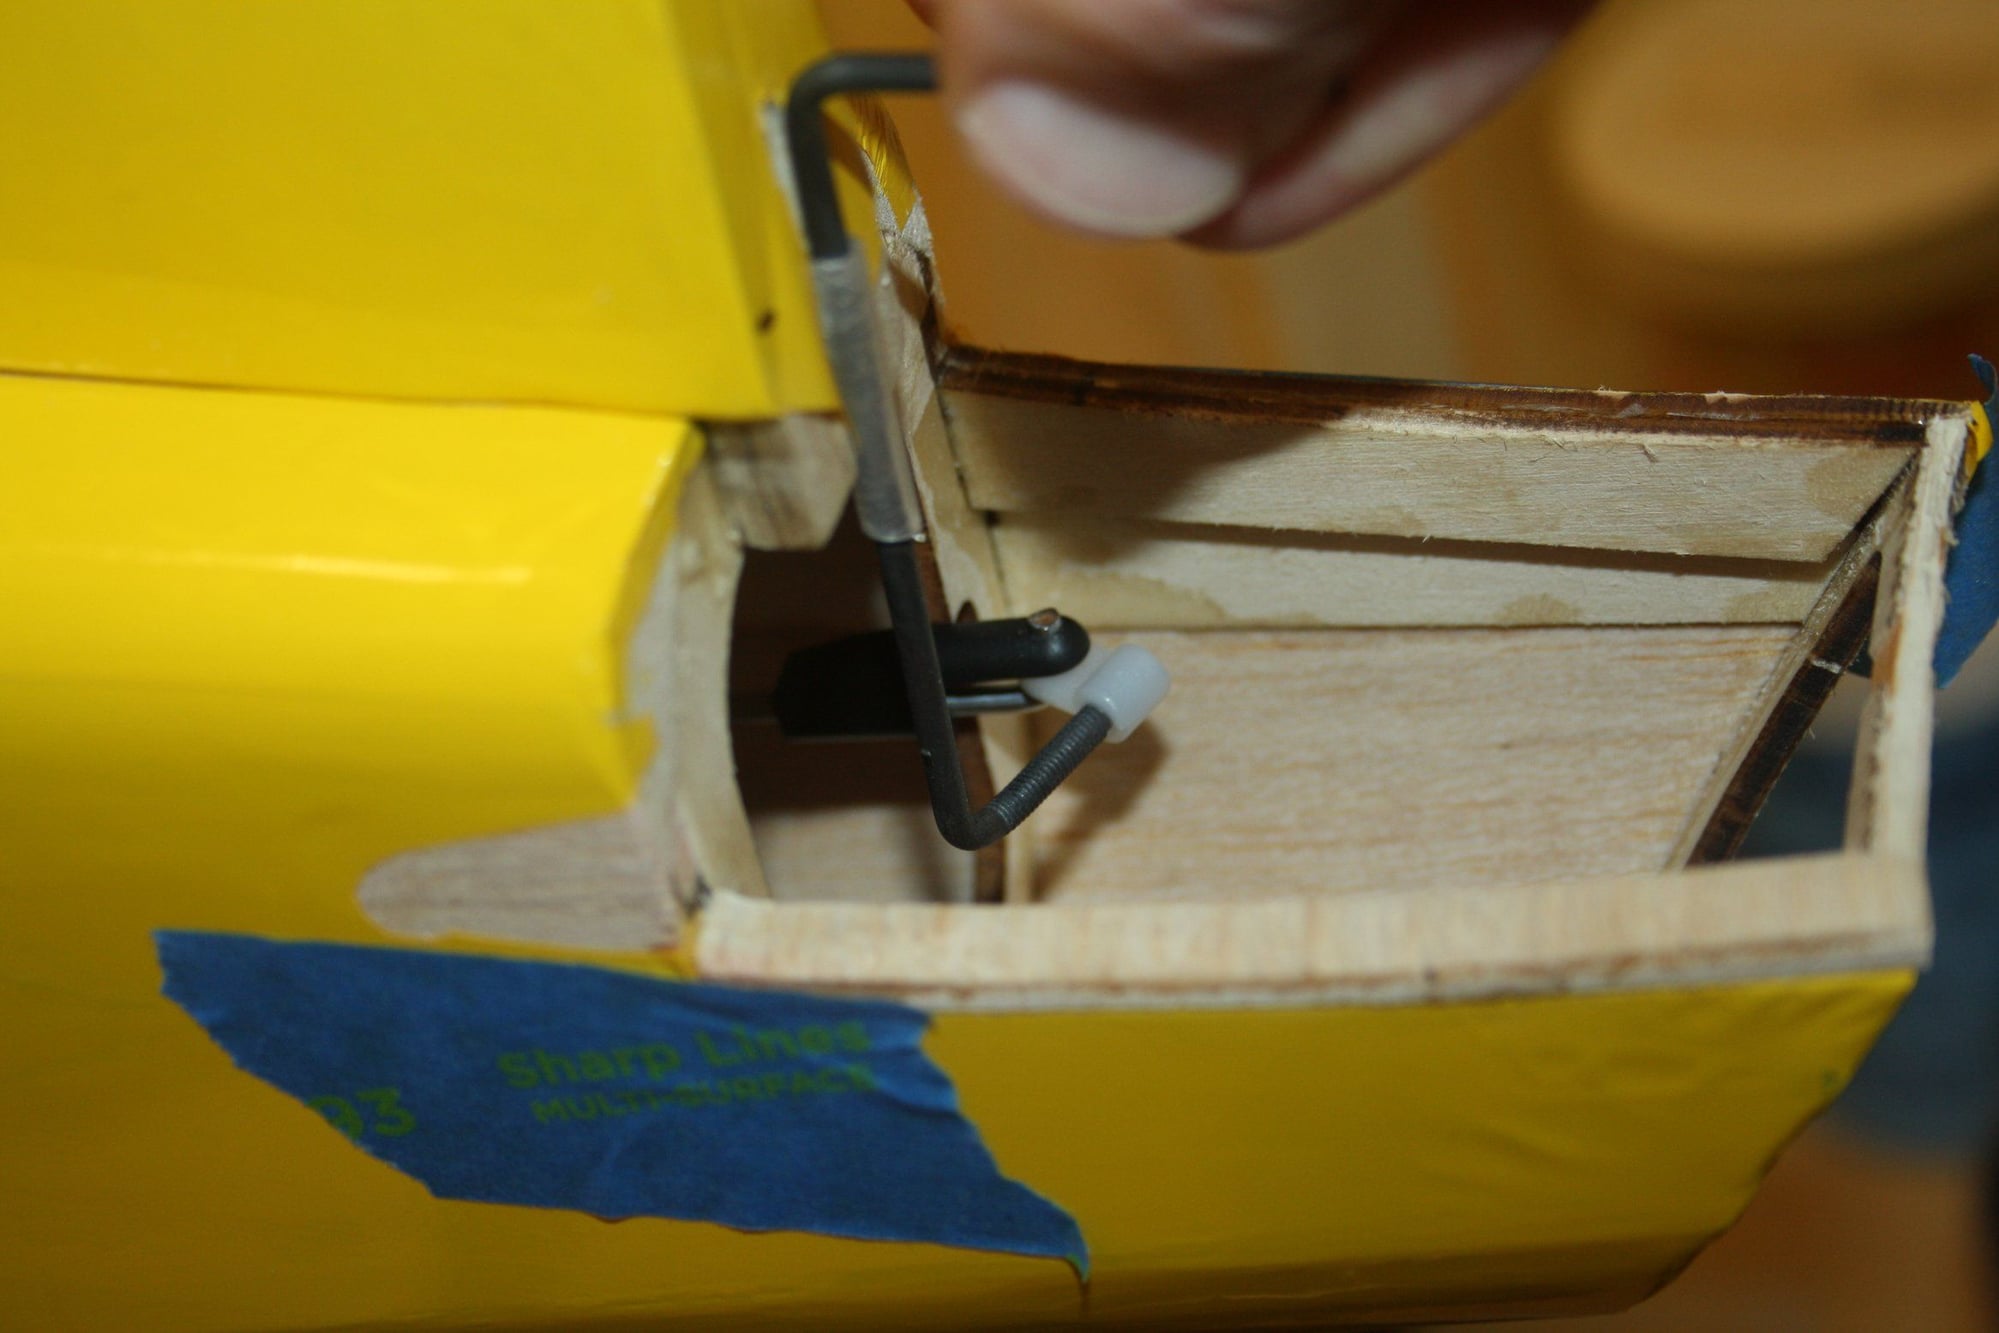
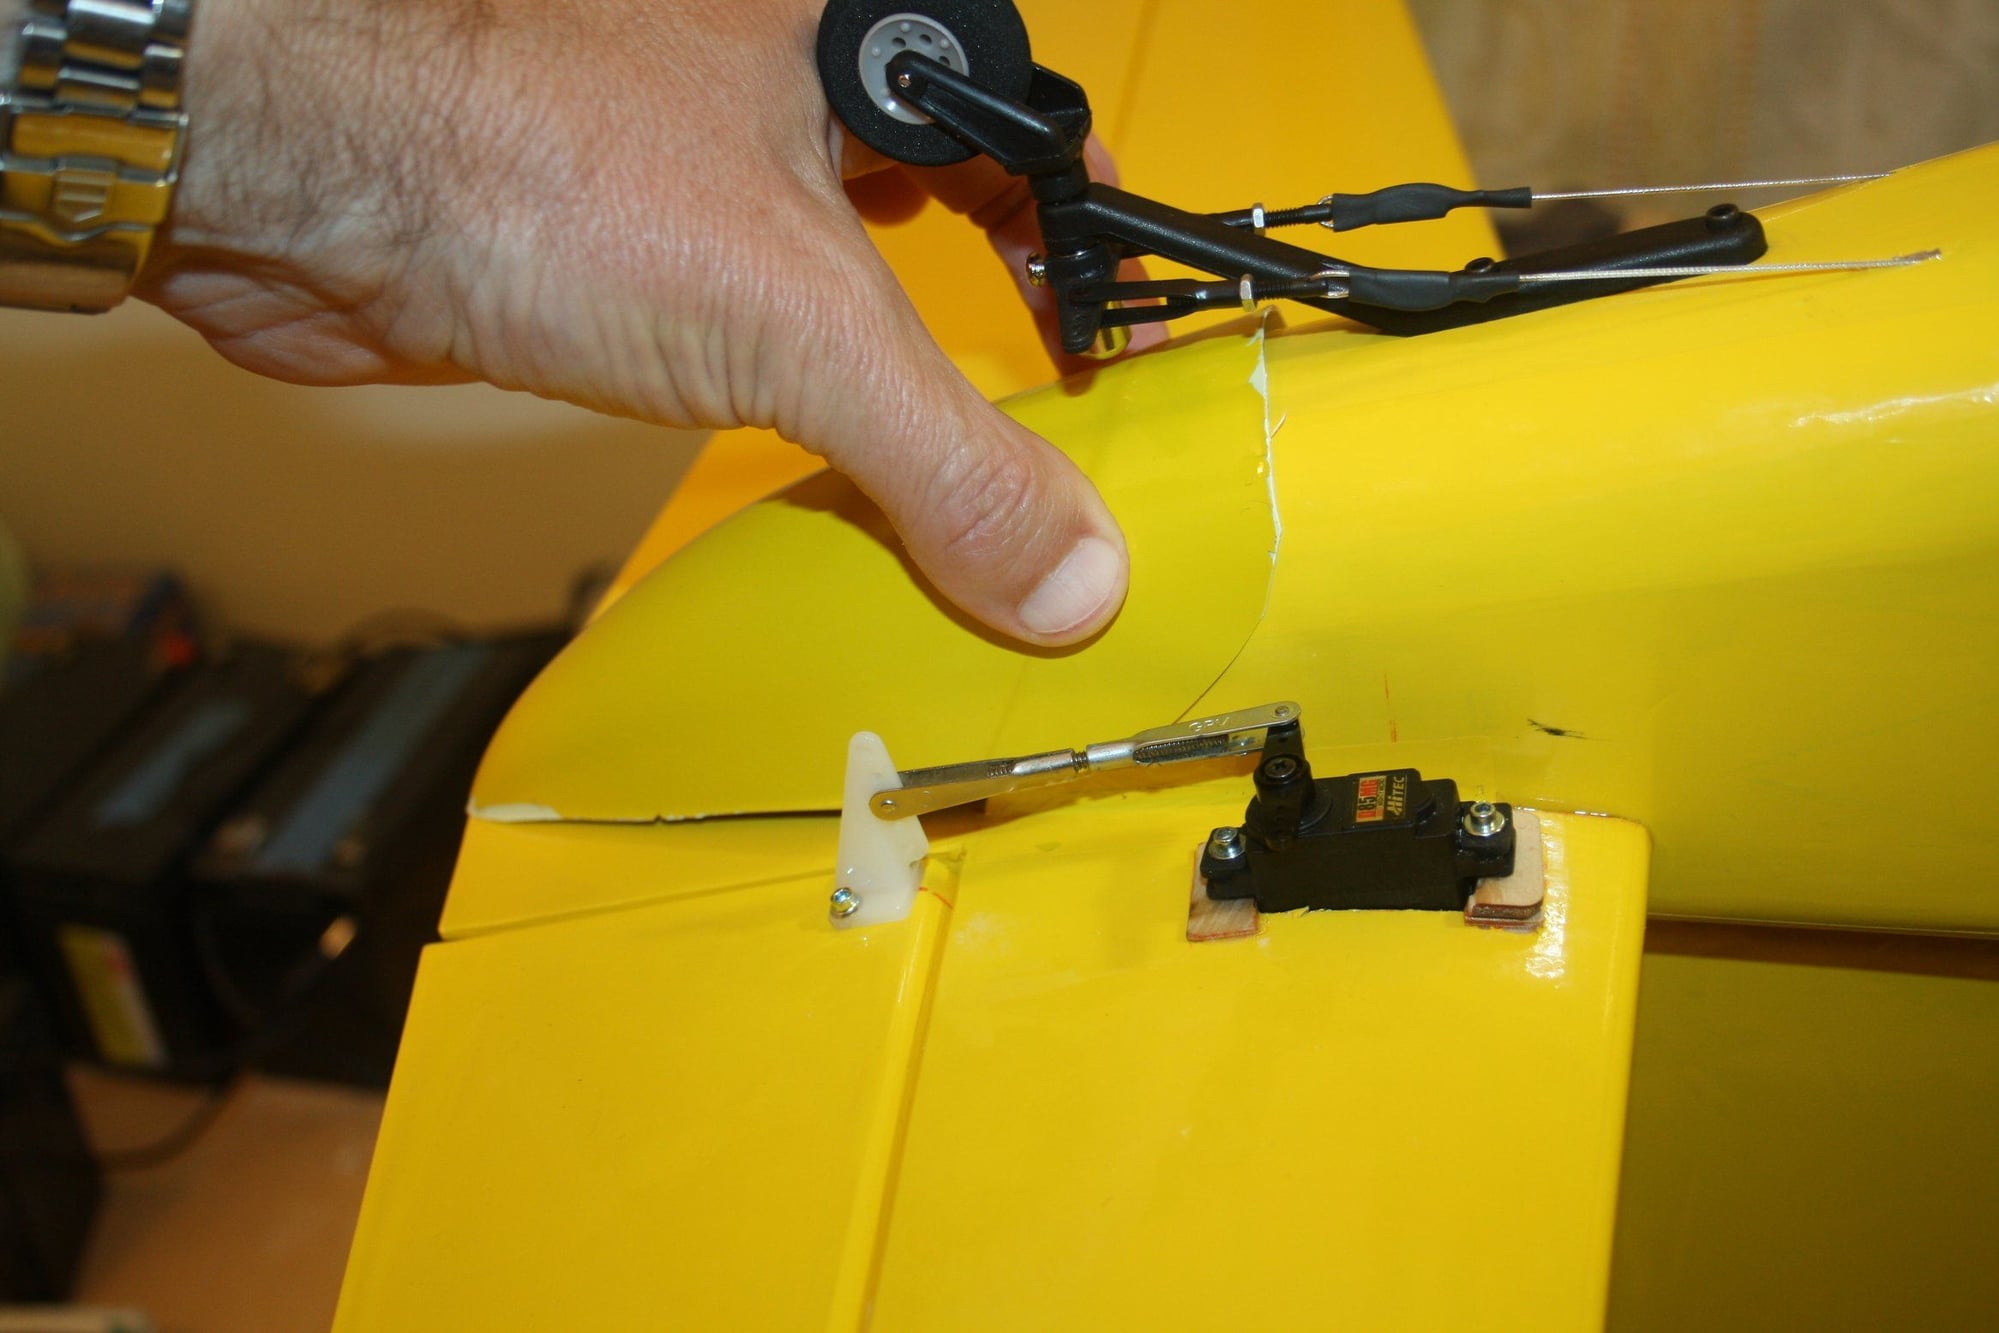
Here is where things went wrong. The rudder rod is enclosed in a plastic tube that even after roughing will not properly stick to Epoxy. This is a smooth tube without a tab (that will fit into a slot and provide secure hold).
Getting the alignment correct so this awful setup will work was not easy either. After completing the hinging, it was obvious that it was not as smooth as I like and bending forces are in place. In addition, the wood in the Rudder LE was very hard which with my miscalculation of the recess for the Robart hing pin area created a larger gap then desired.
I cut the hinges, re-covered, re-aligned the mechanism and this time I used Great Planes CA hinges for the Rudder for better result.


Cheers,
Eran
Getting the alignment correct so this awful setup will work was not easy either. After completing the hinging, it was obvious that it was not as smooth as I like and bending forces are in place. In addition, the wood in the Rudder LE was very hard which with my miscalculation of the recess for the Robart hing pin area created a larger gap then desired.
I cut the hinges, re-covered, re-aligned the mechanism and this time I used Great Planes CA hinges for the Rudder for better result.
Cheers,
Eran

 12-23-2022, 11:53 PM
#84
Thread Starter
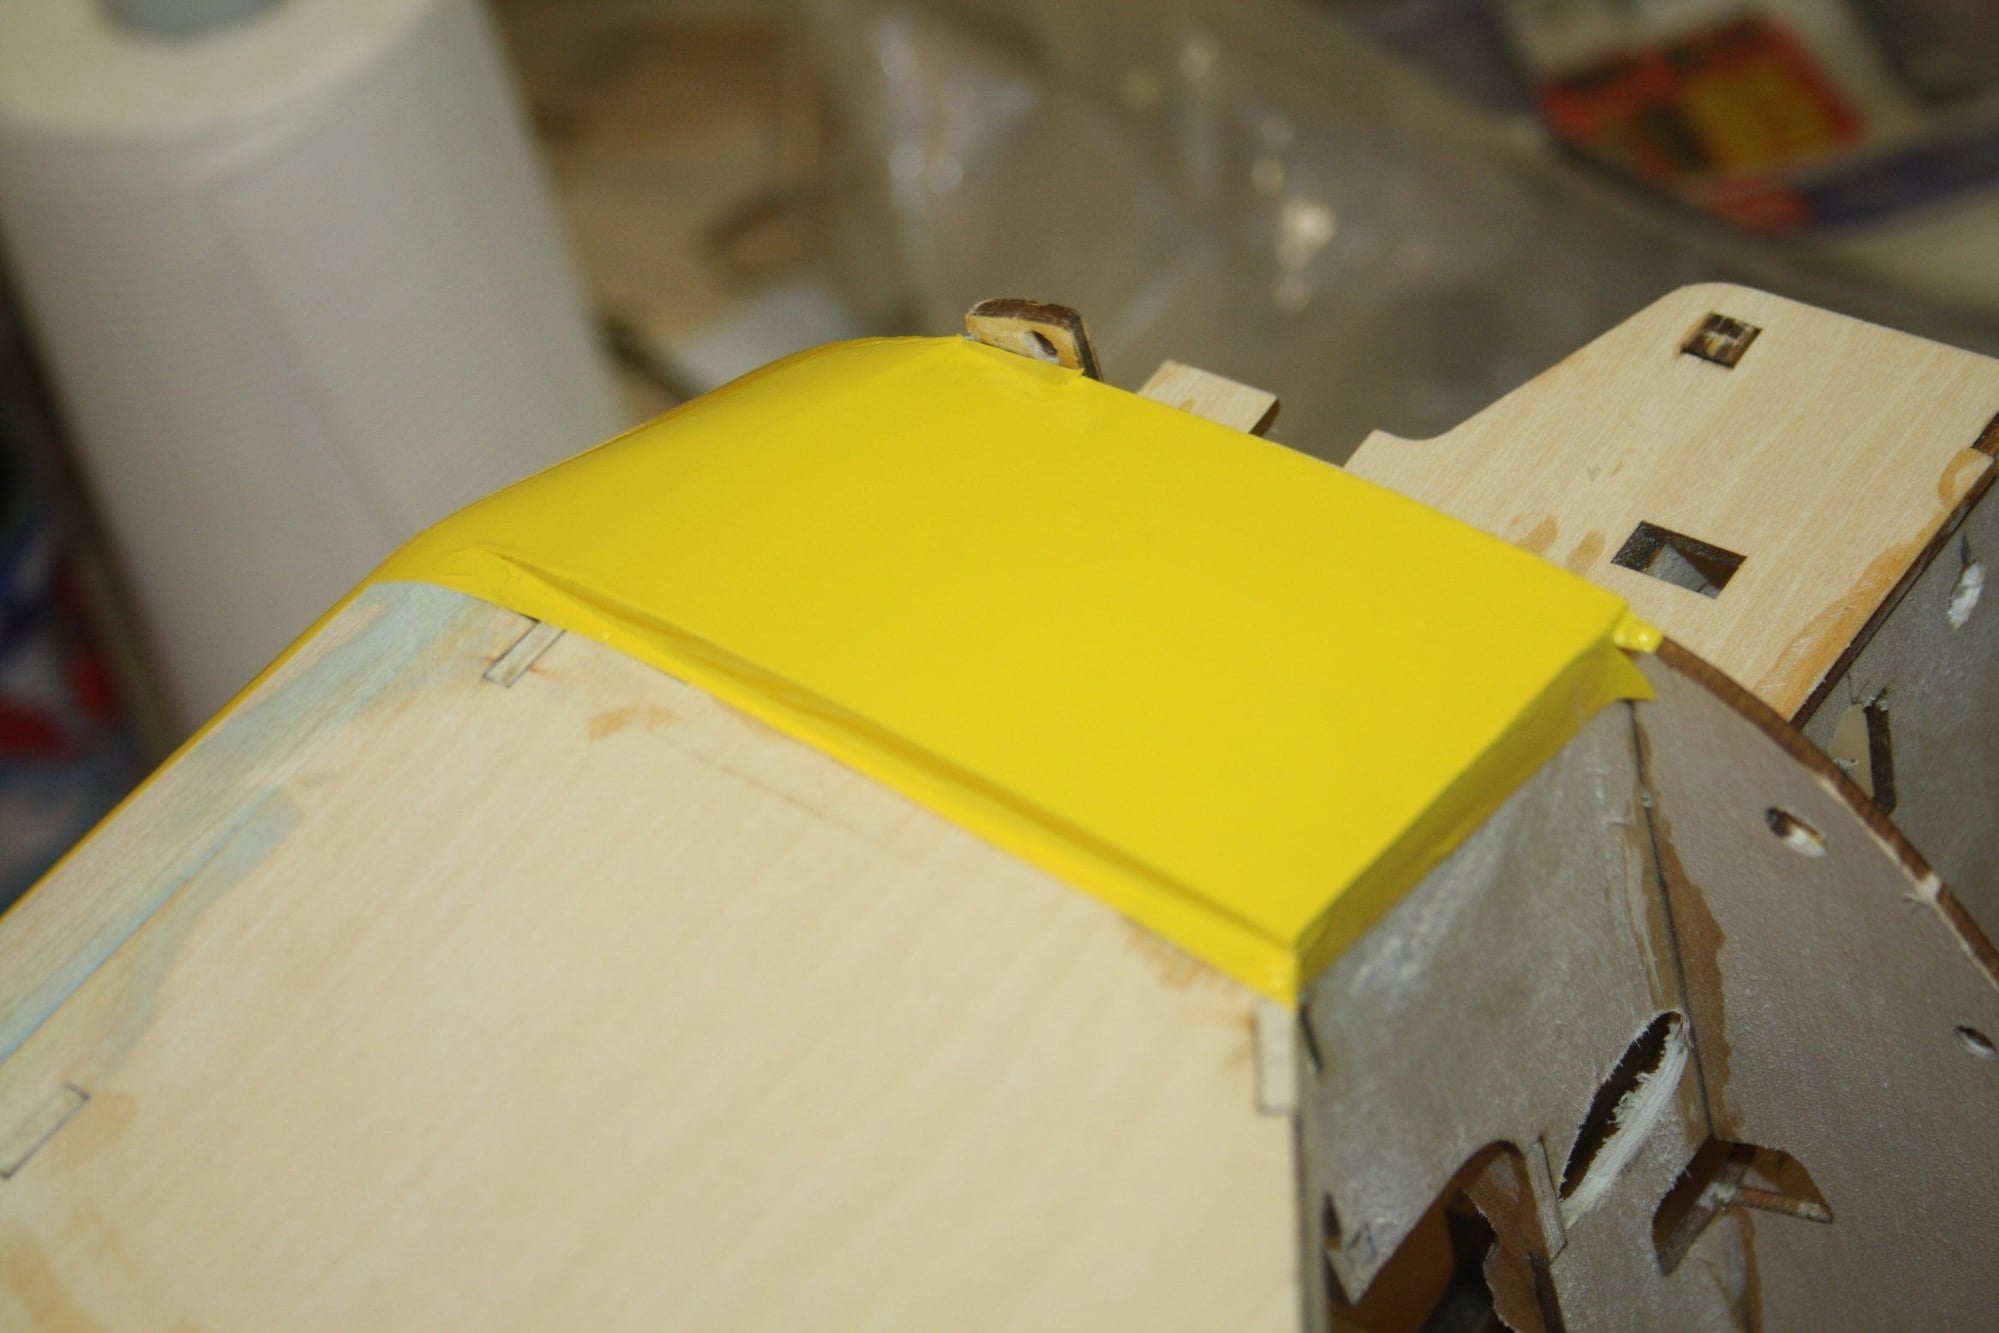
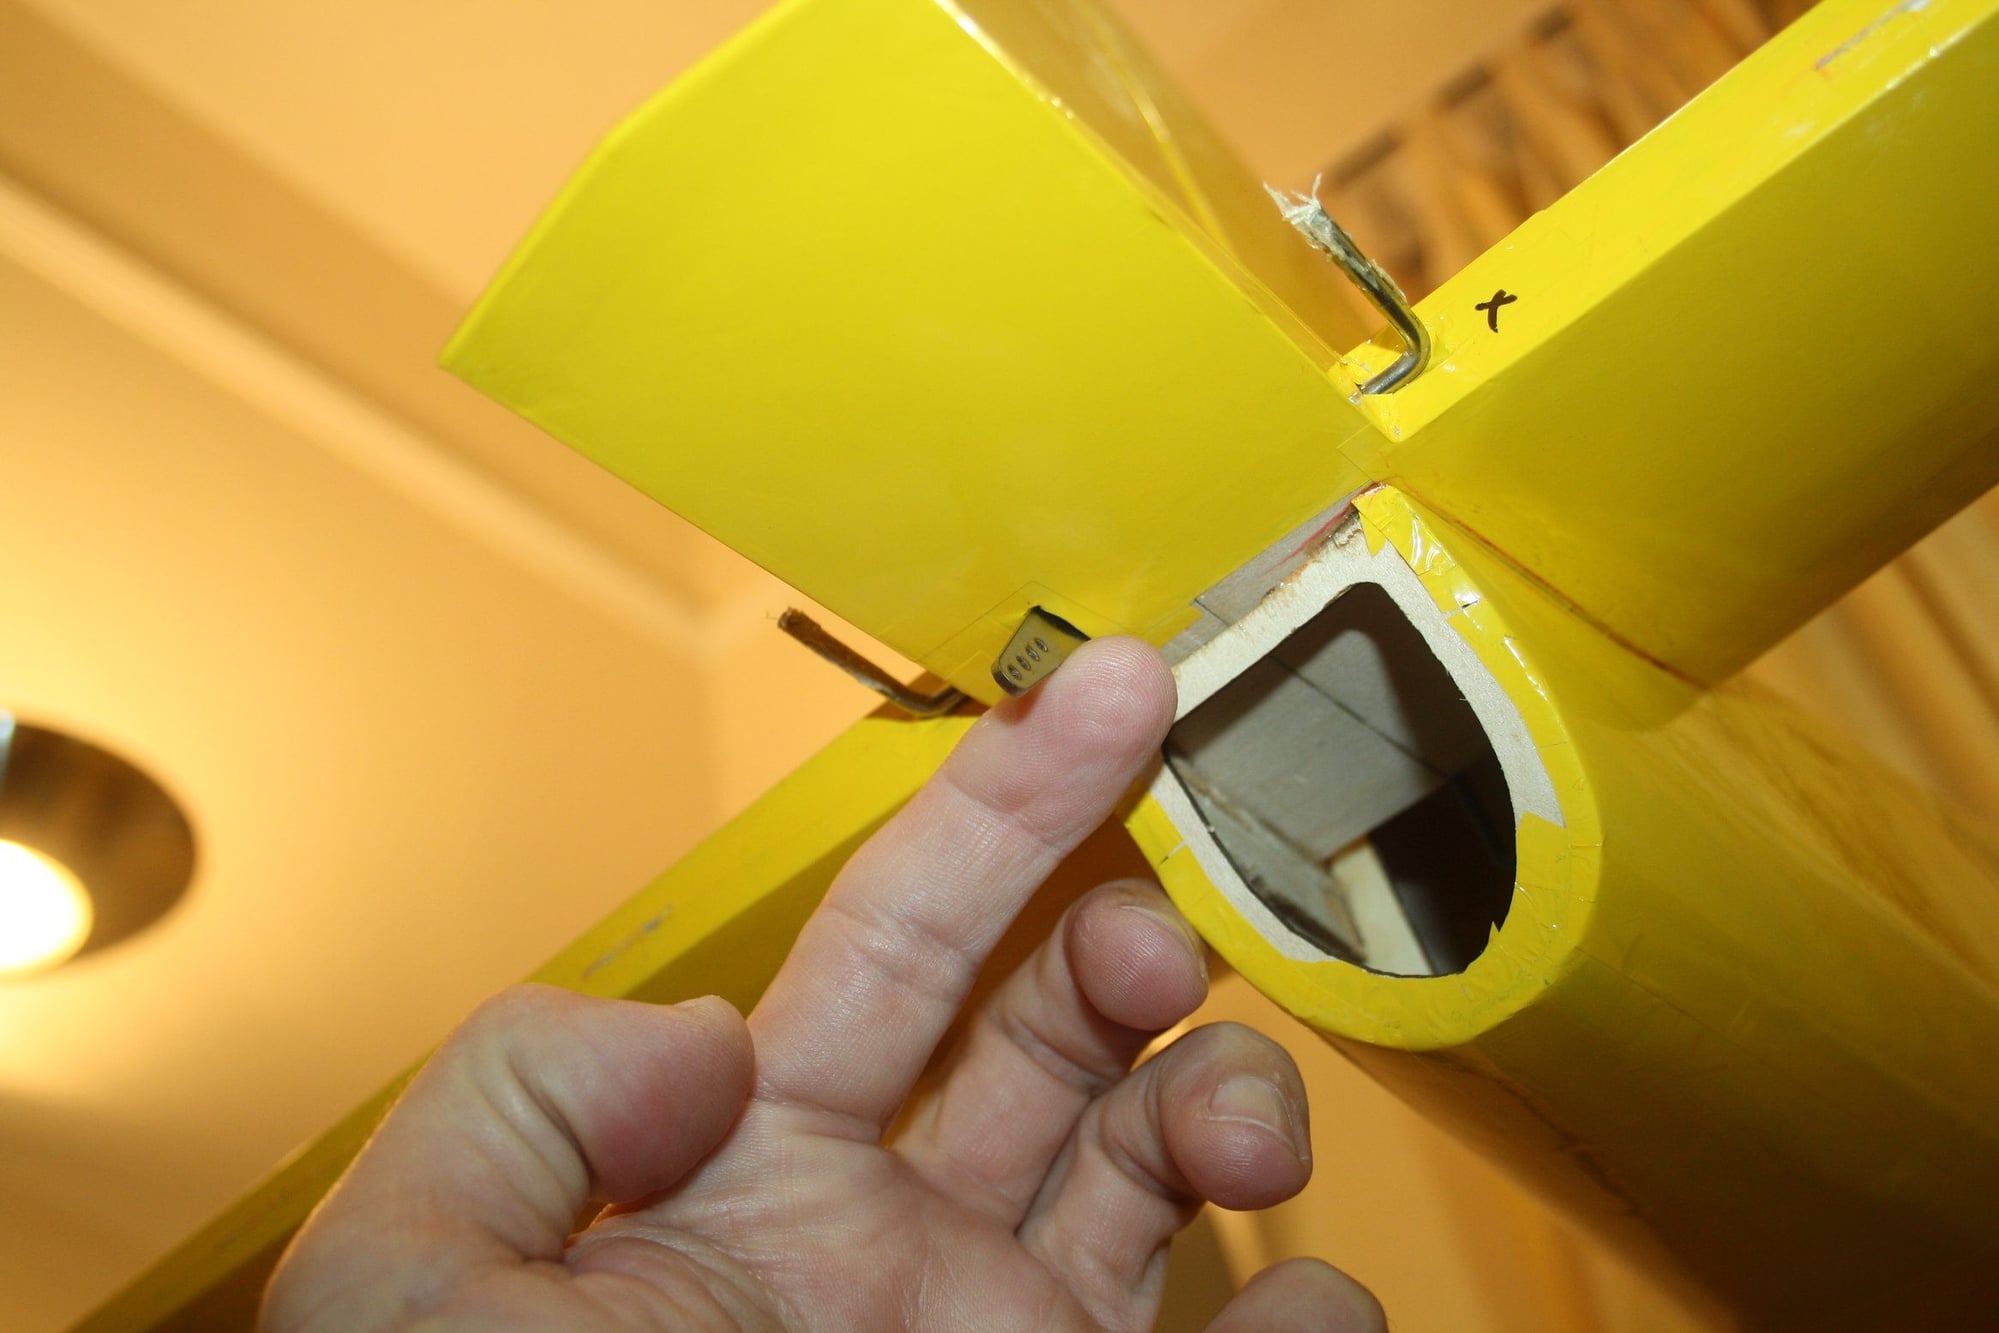
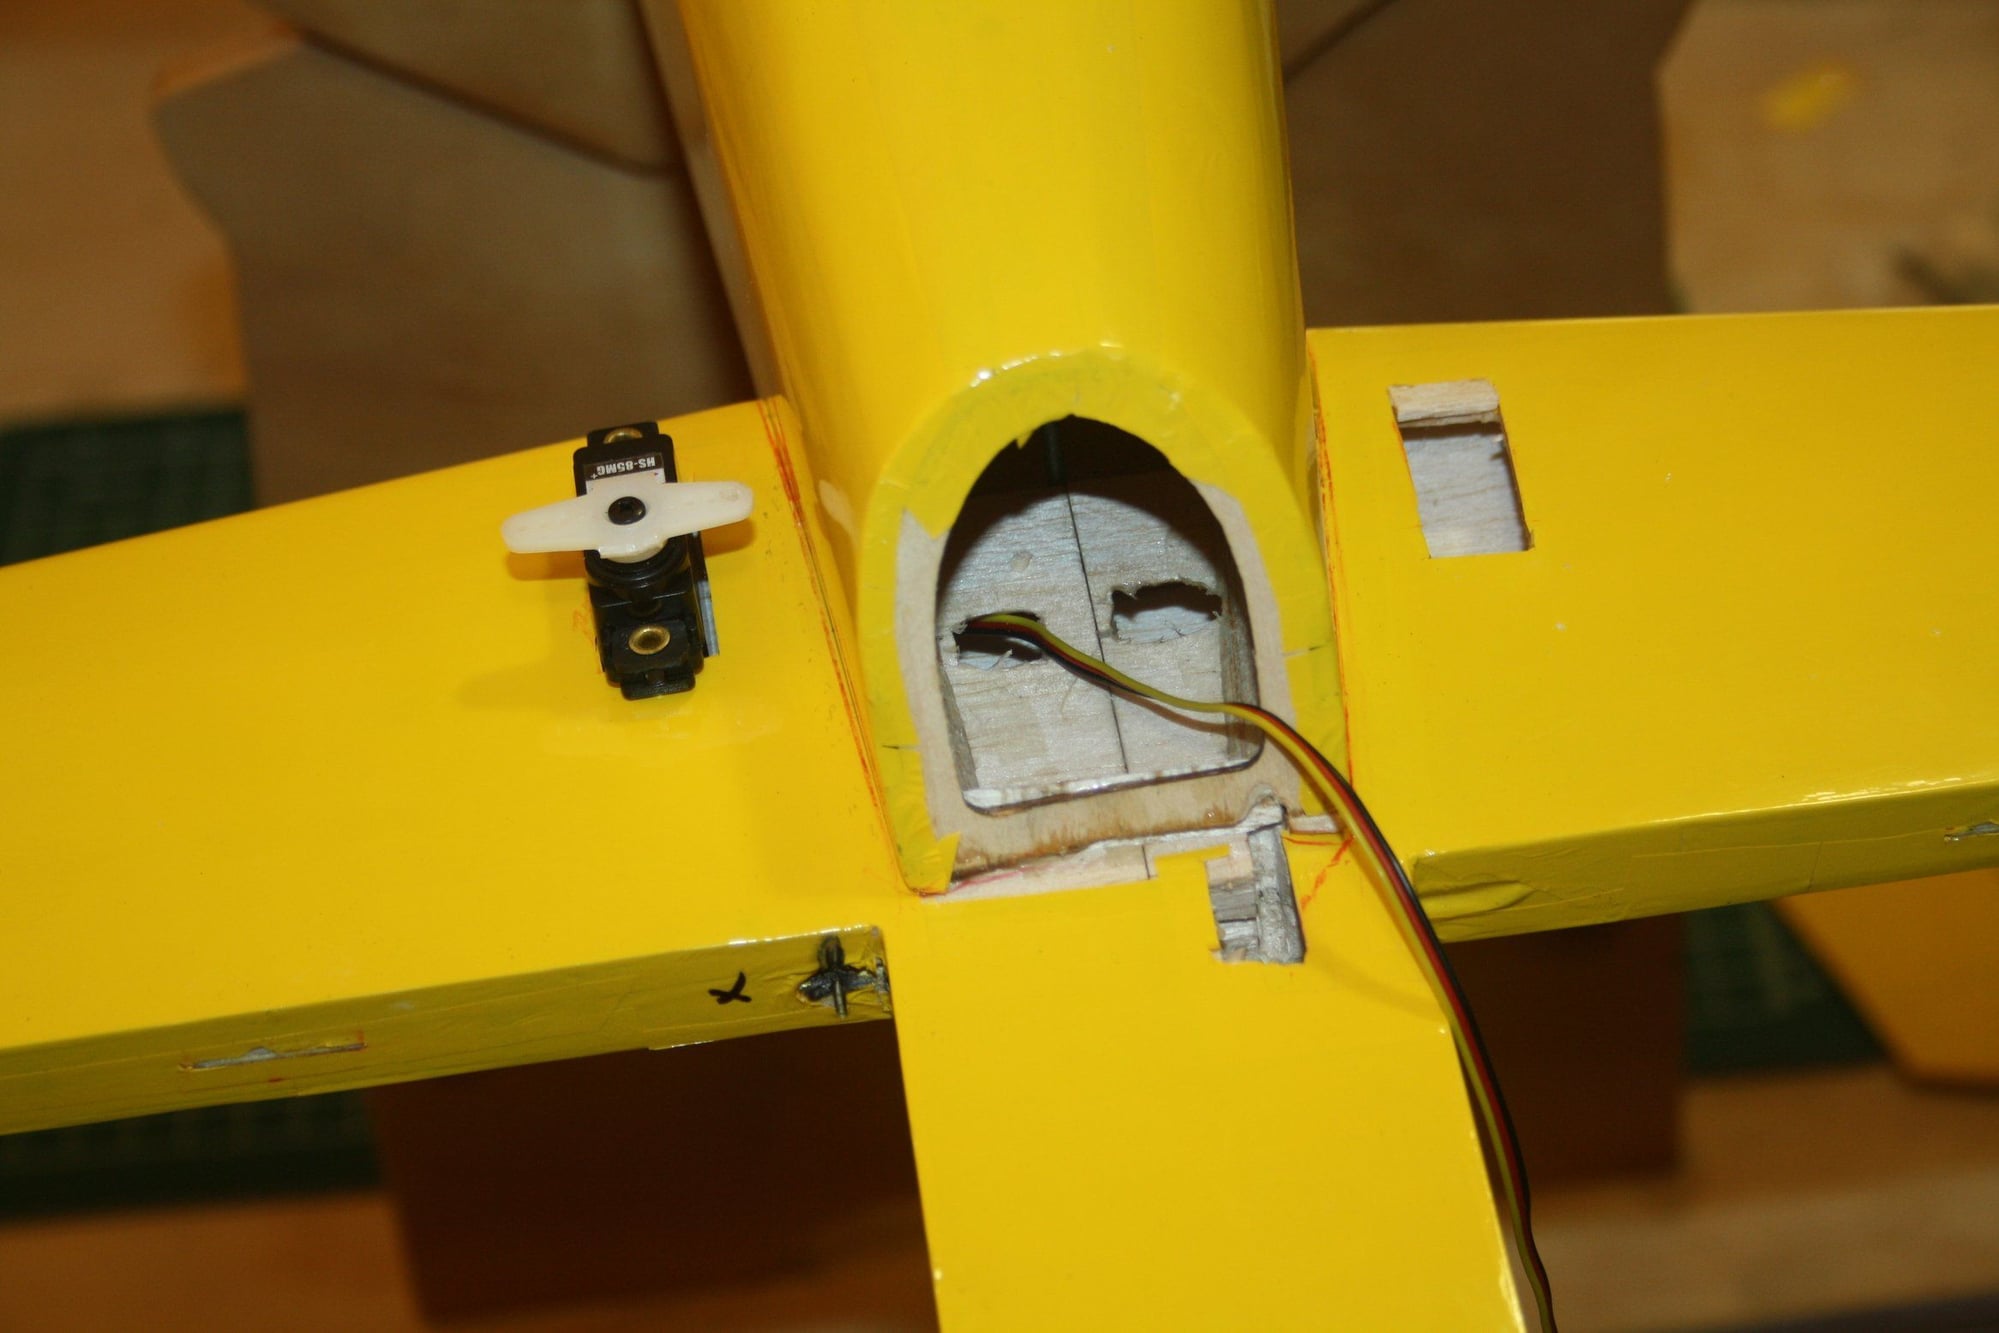
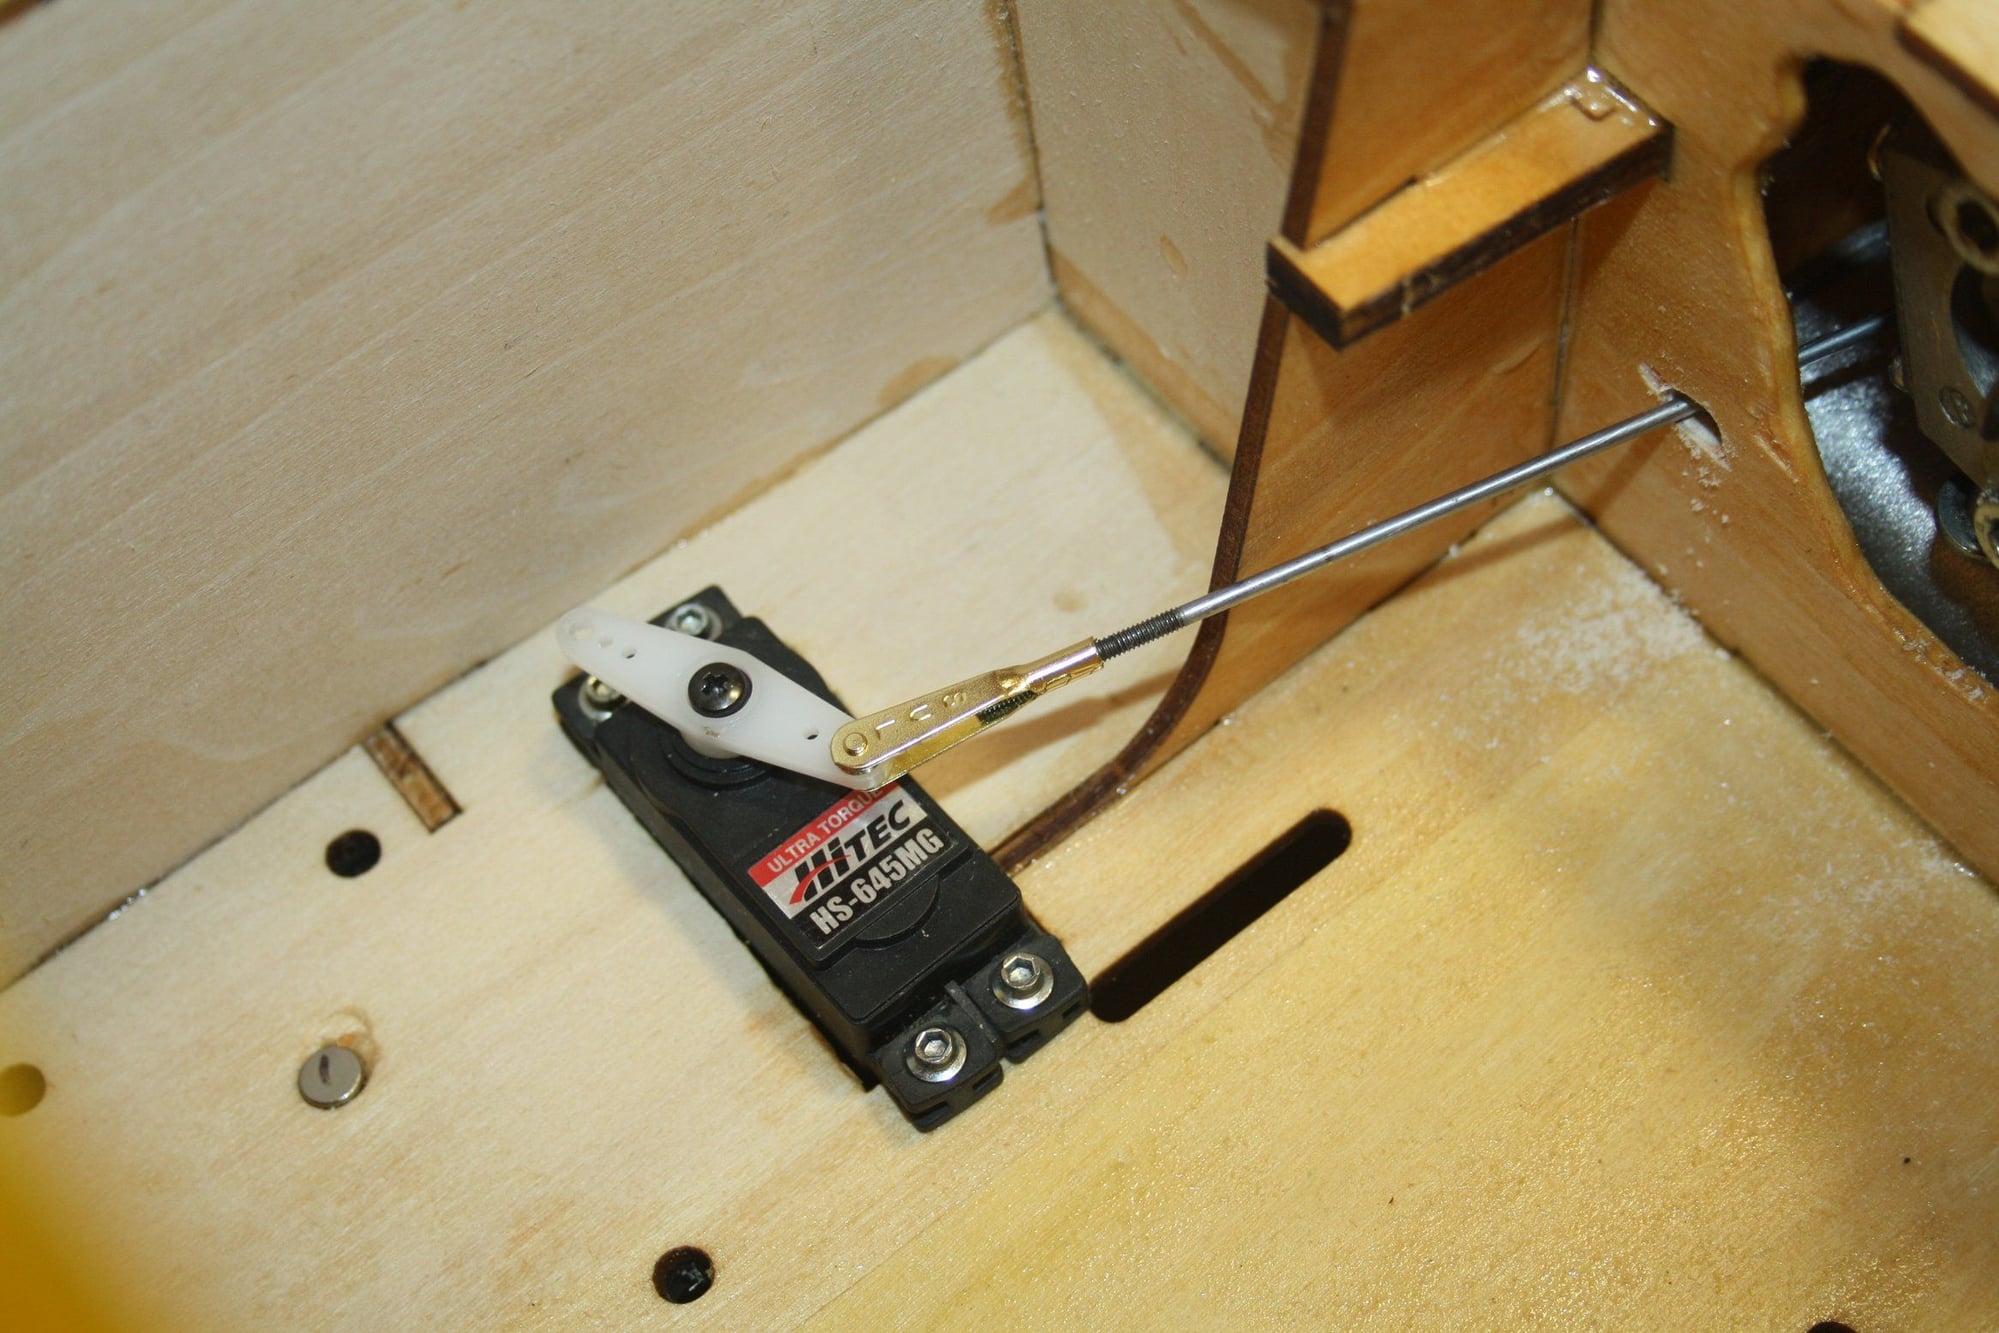
I was not surprised to find that the elevator horn was restricted in movement. just another design failure as is the theme of this kit.
What I didn't expect is that the horn will BREAK OFF the rod when the slightest force was applied. being constructed into the horizontal stabilizer, there was no option but to cut an end off with a Dremel cutting disk and removing the connecting rod altogether.
I had to cut the CA hinges and will have to re-hinge these as well...


Cheers,
Eran
What I didn't expect is that the horn will BREAK OFF the rod when the slightest force was applied. being constructed into the horizontal stabilizer, there was no option but to cut an end off with a Dremel cutting disk and removing the connecting rod altogether.
I had to cut the CA hinges and will have to re-hinge these as well...
Cheers,
Eran
Last edited by erans; 12-24-2022 at 12:00 AM.
12-23-2022, 11:57 PM
#85
Thread Starter
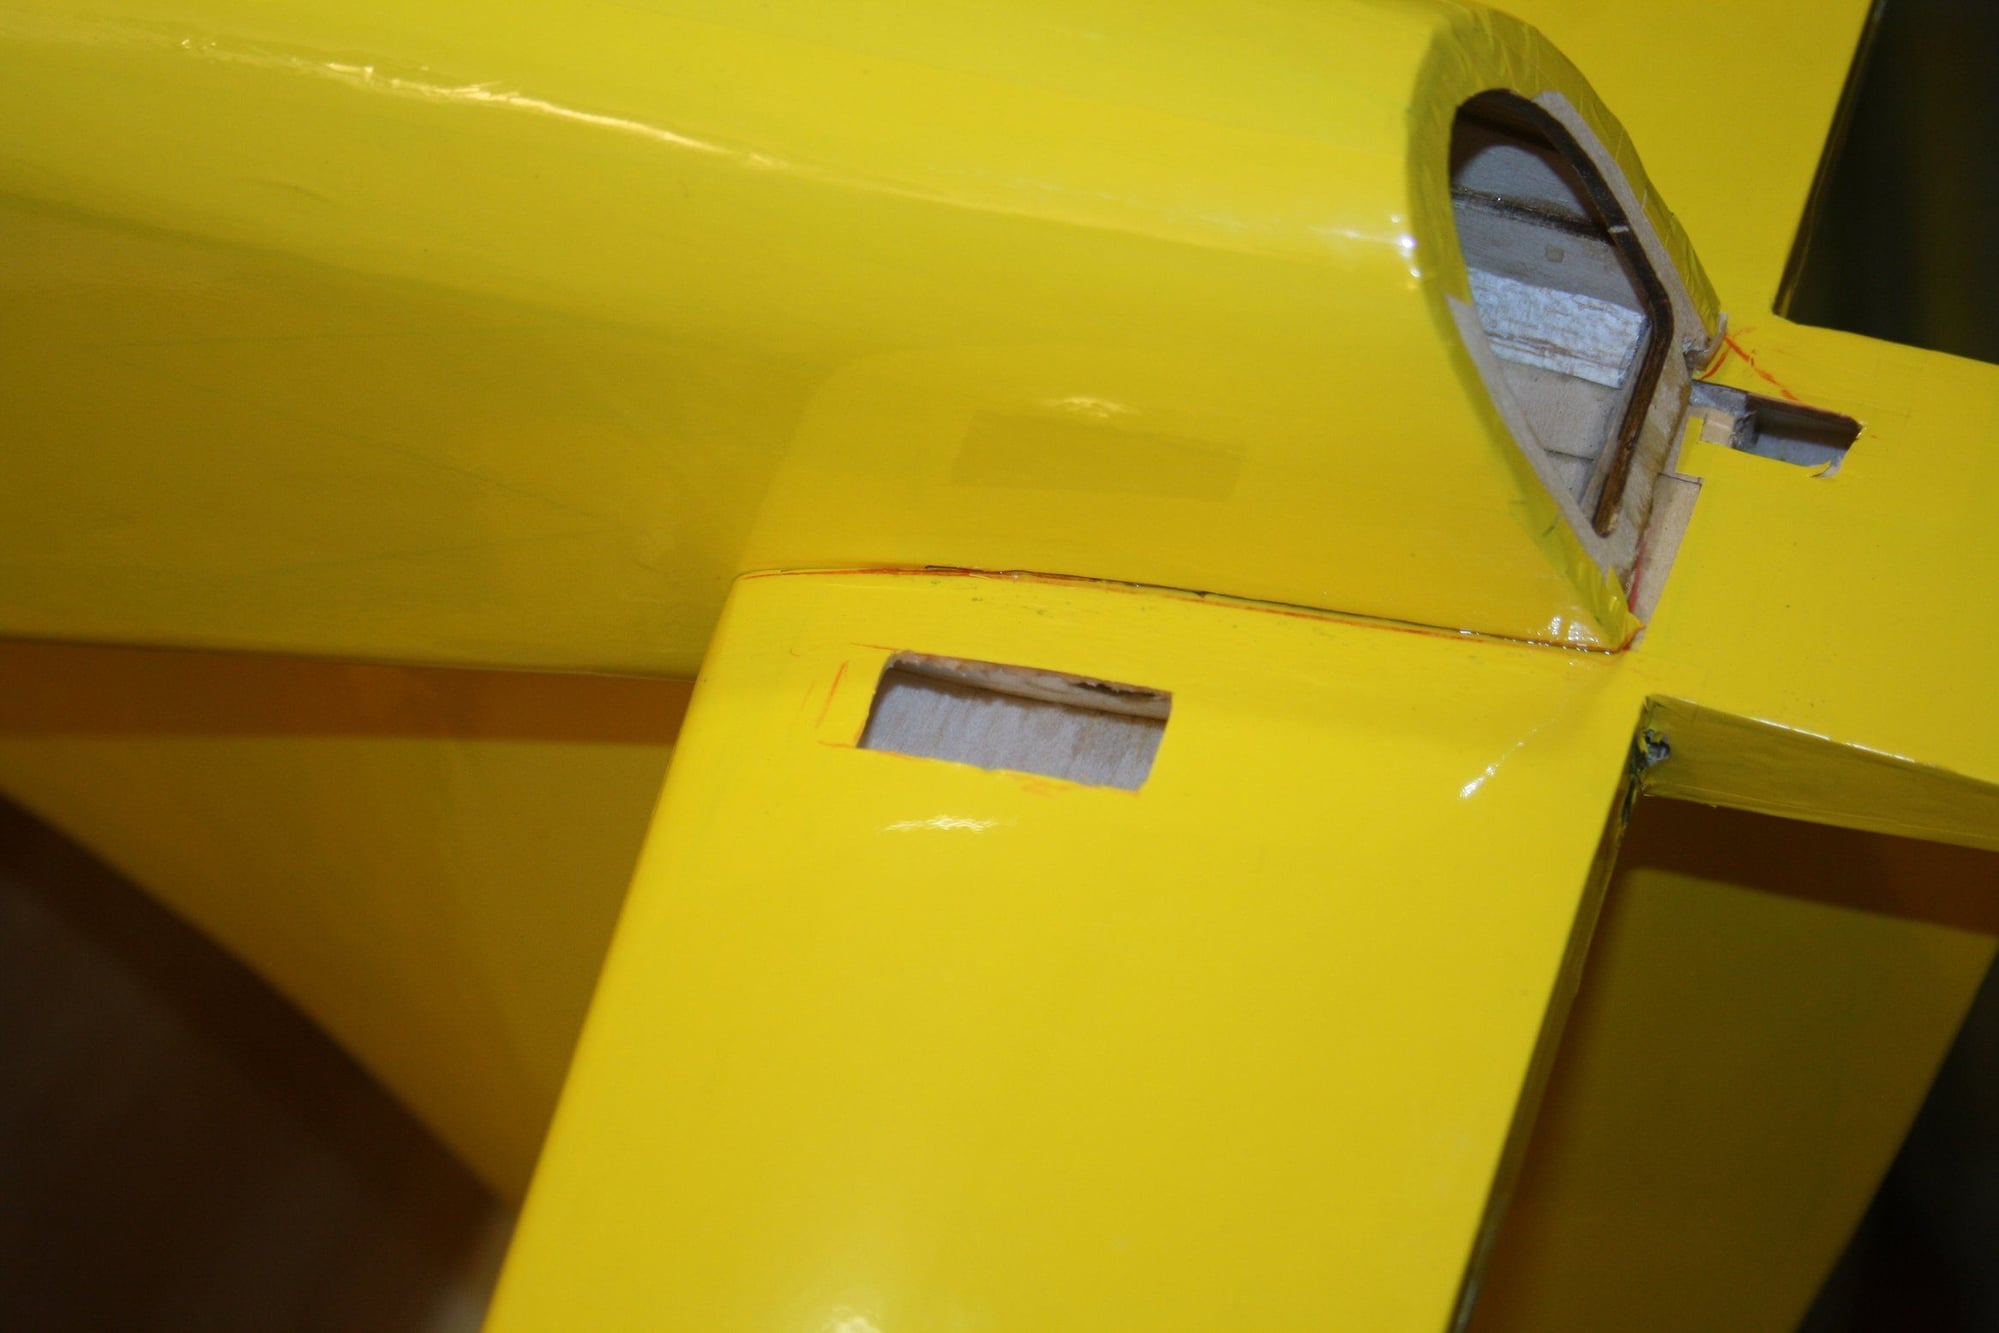
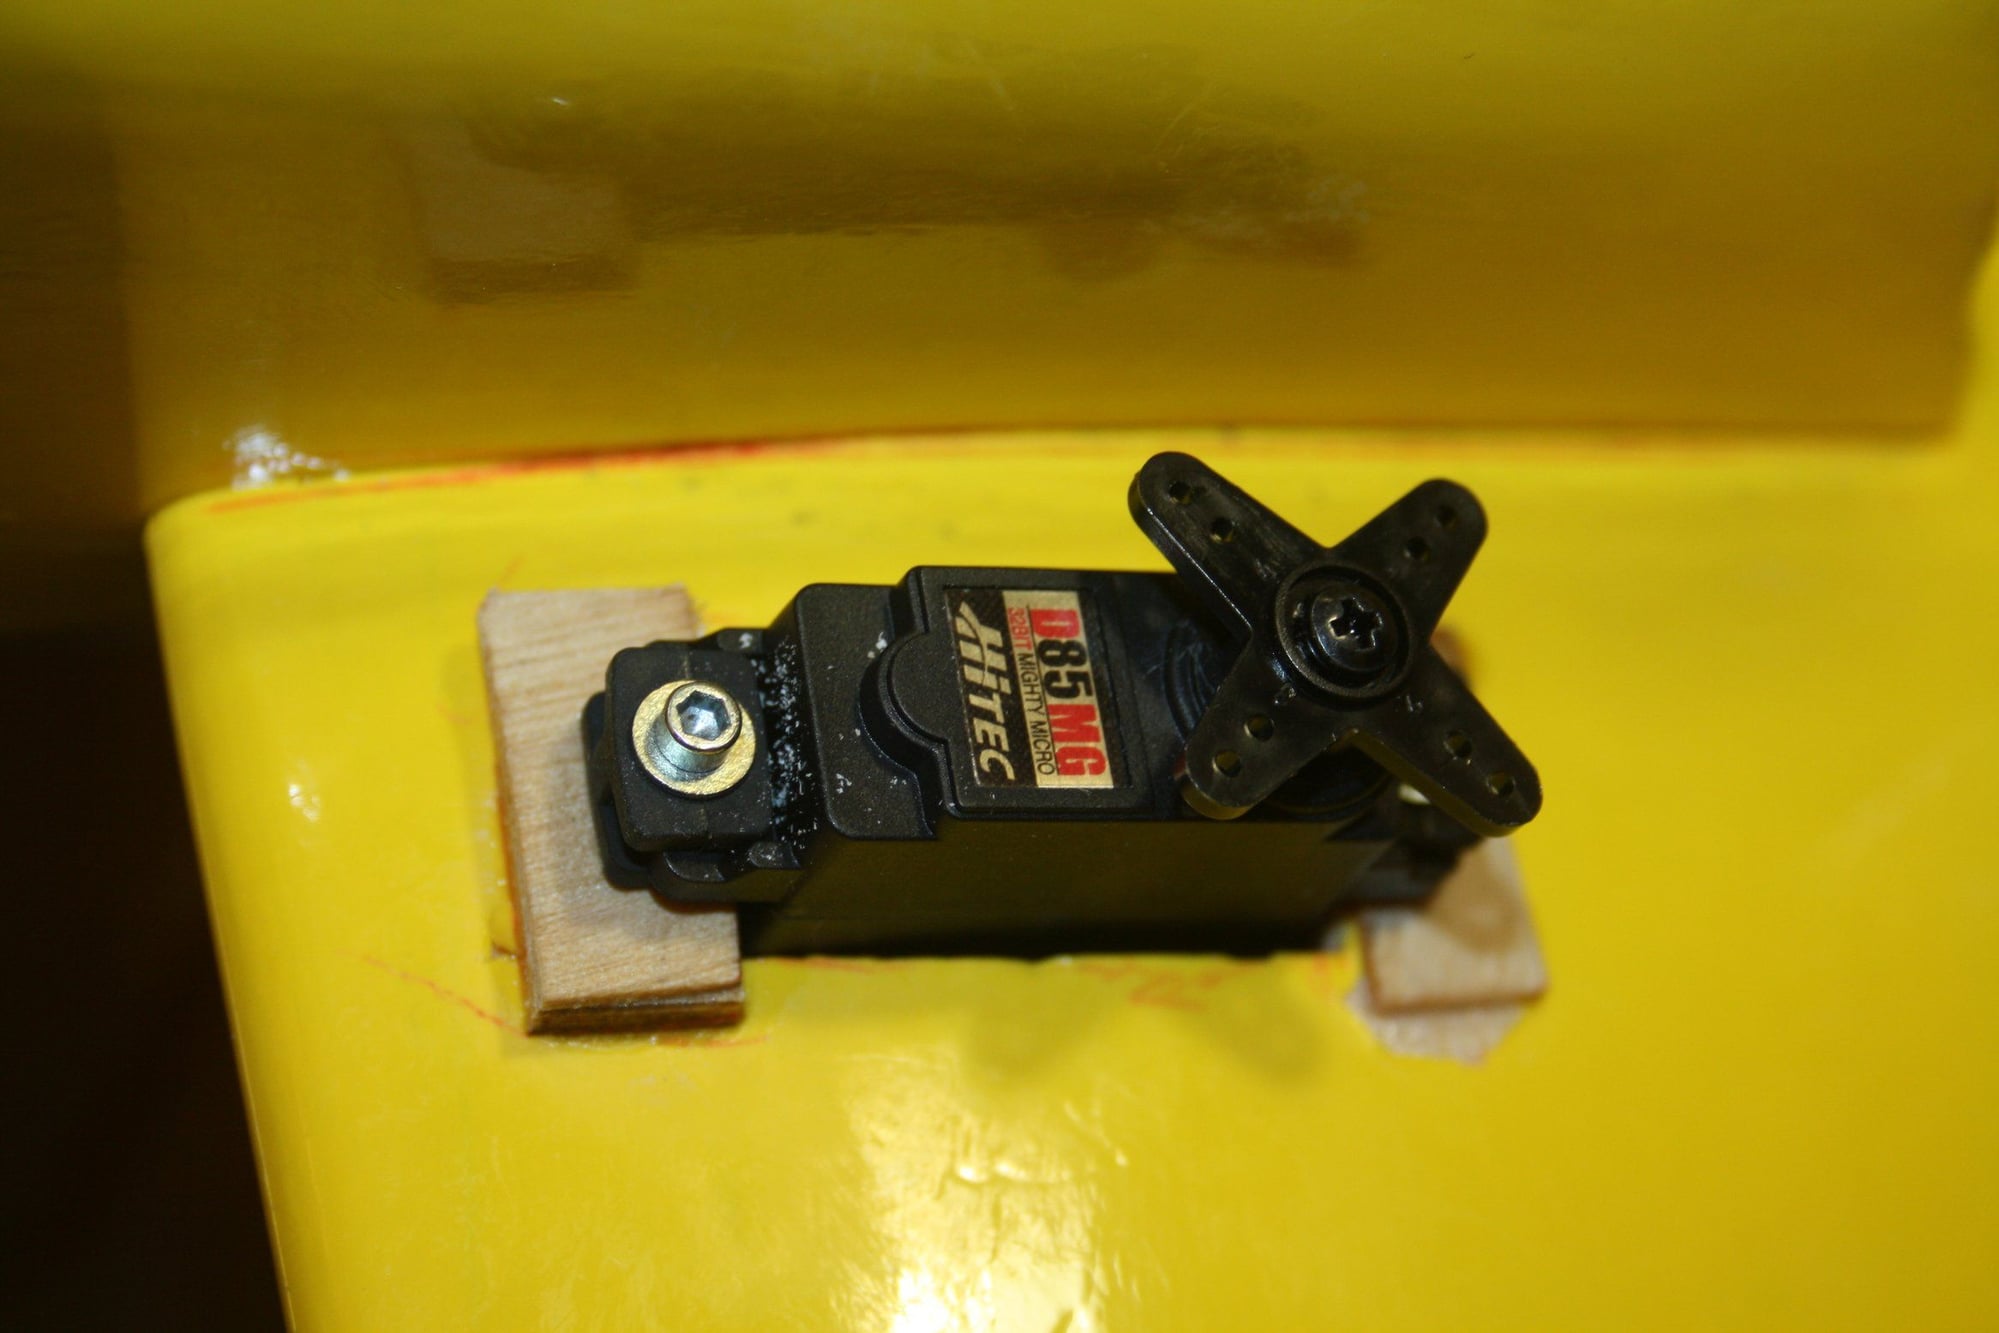
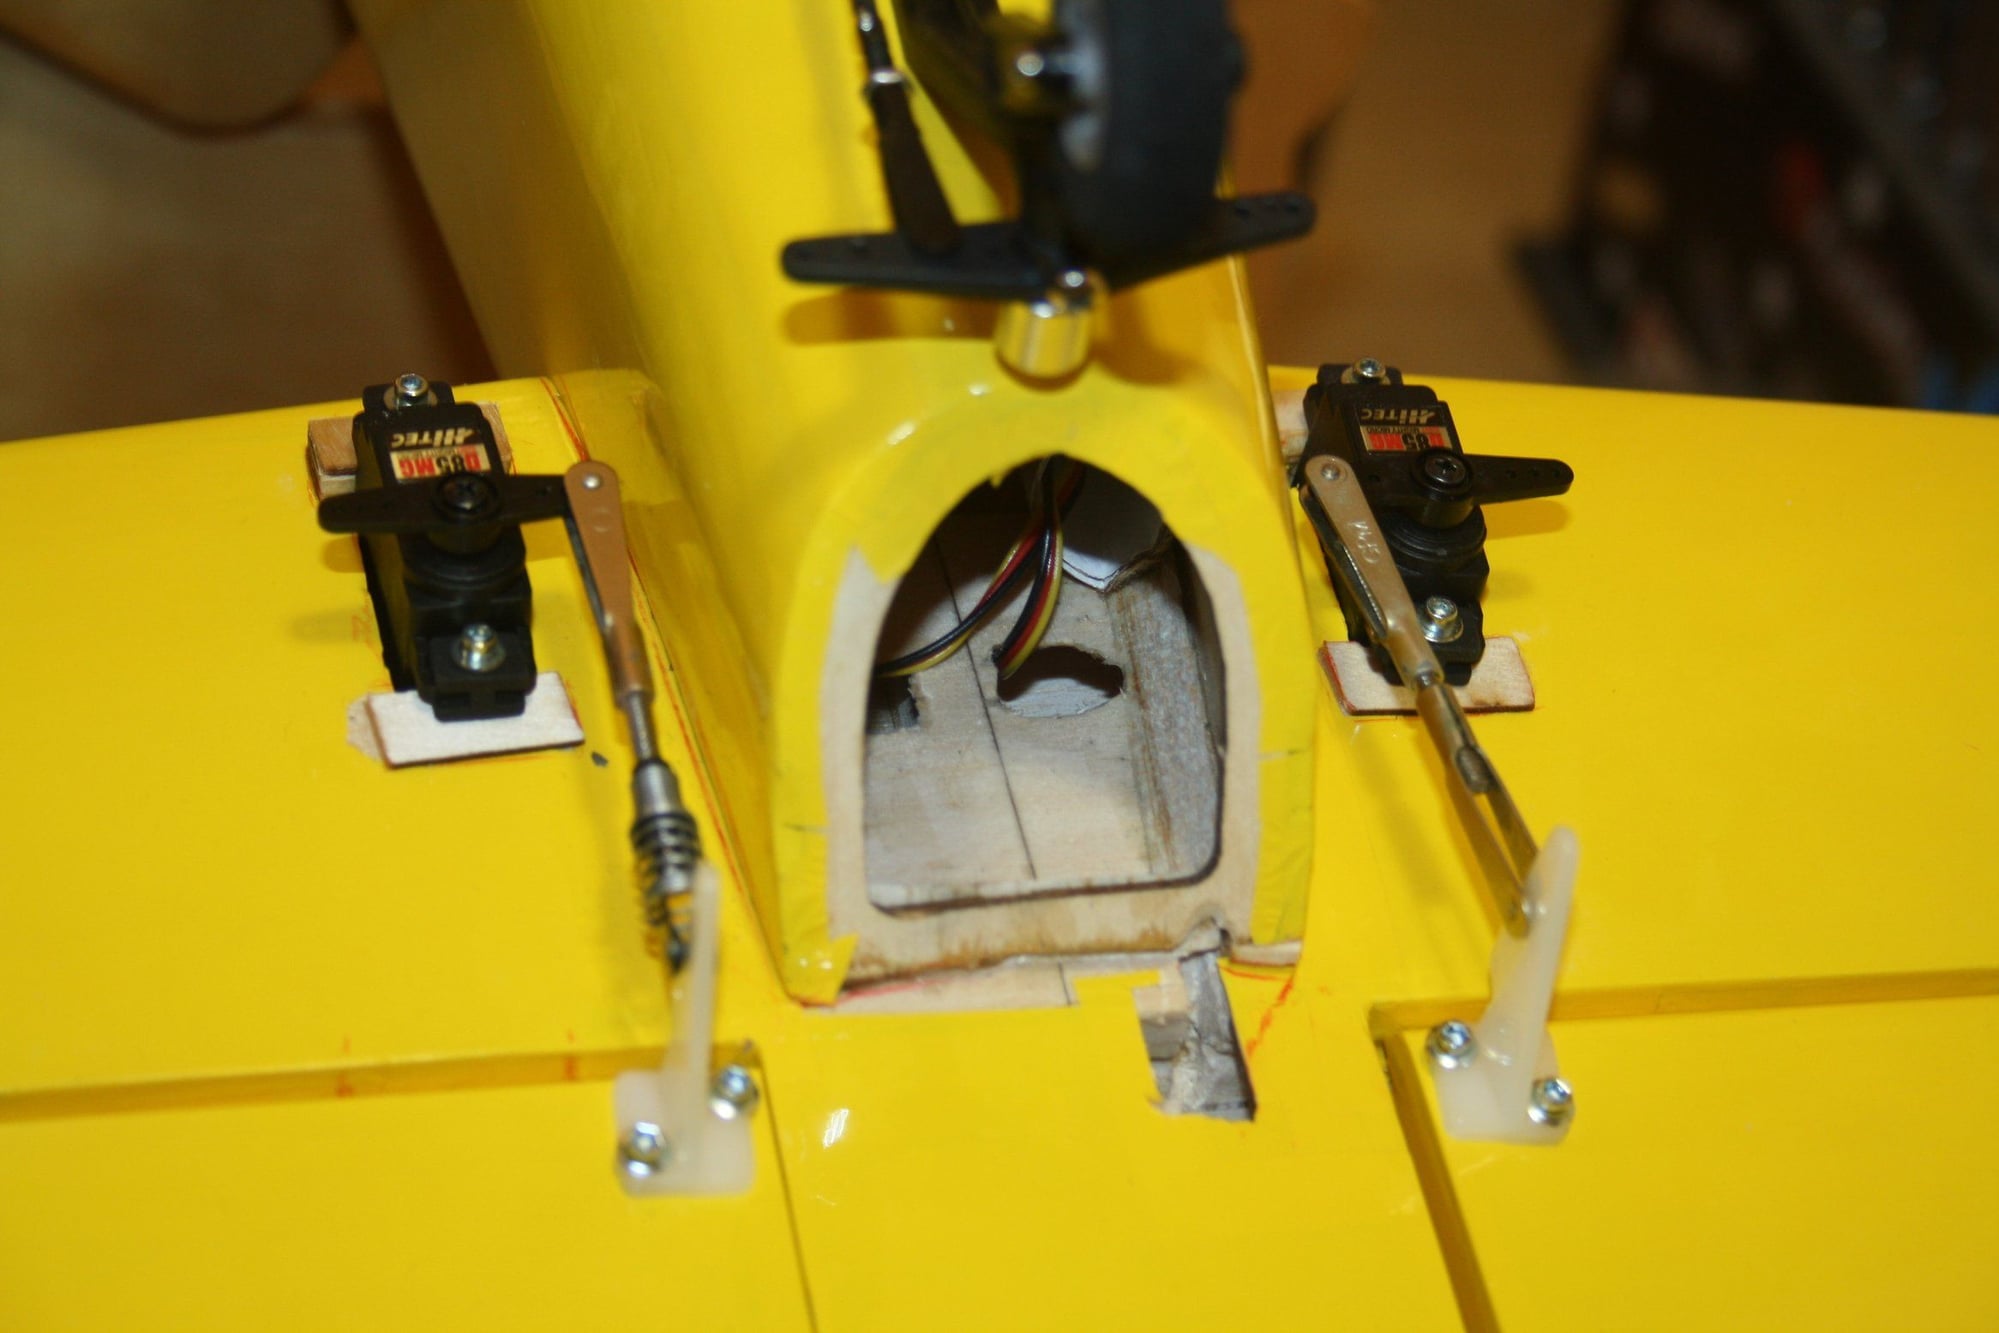
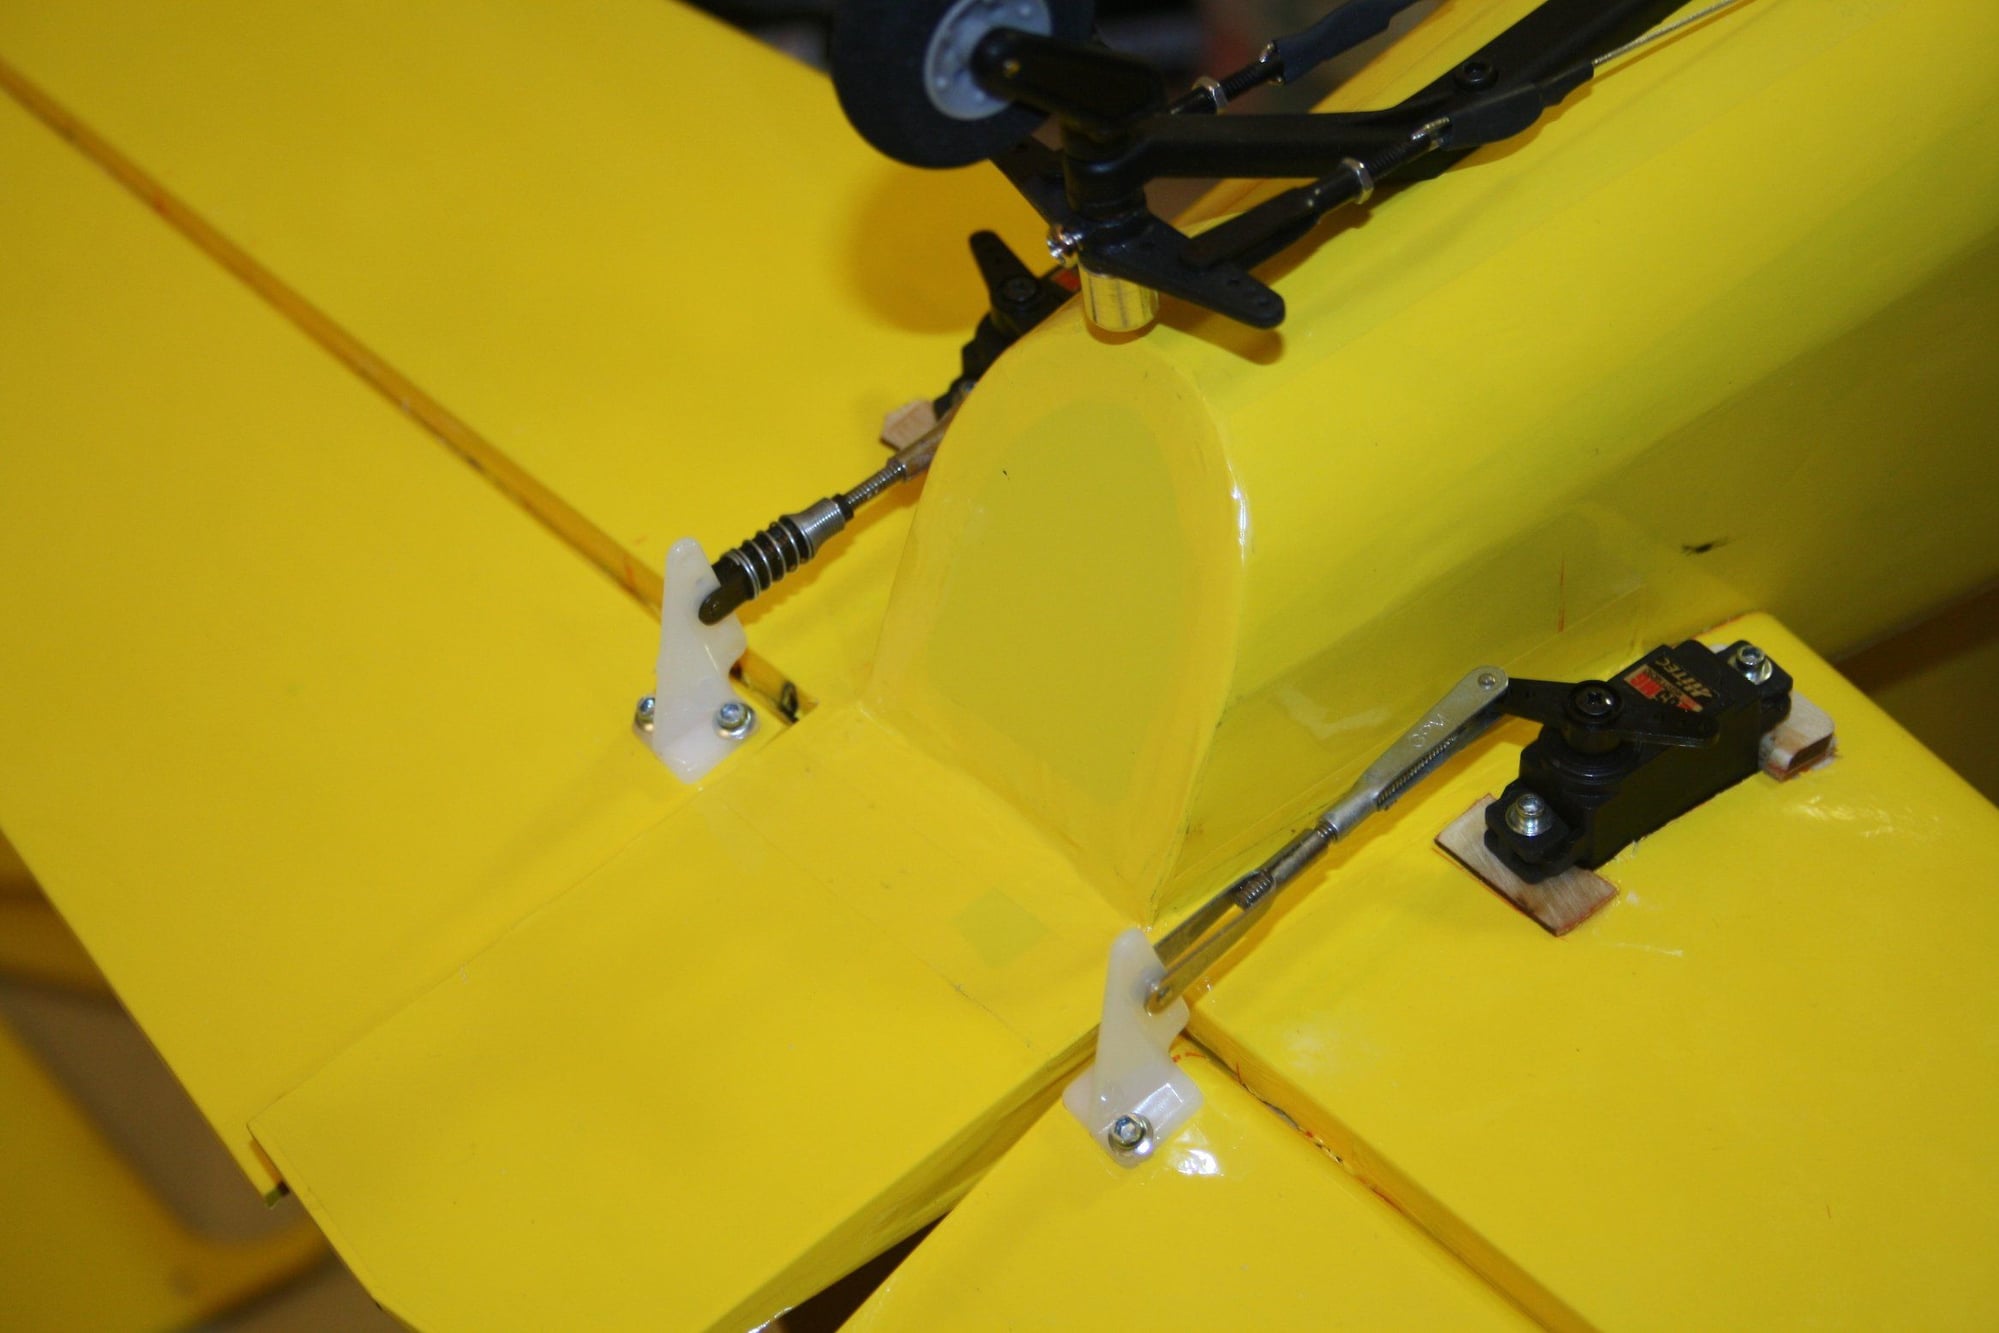
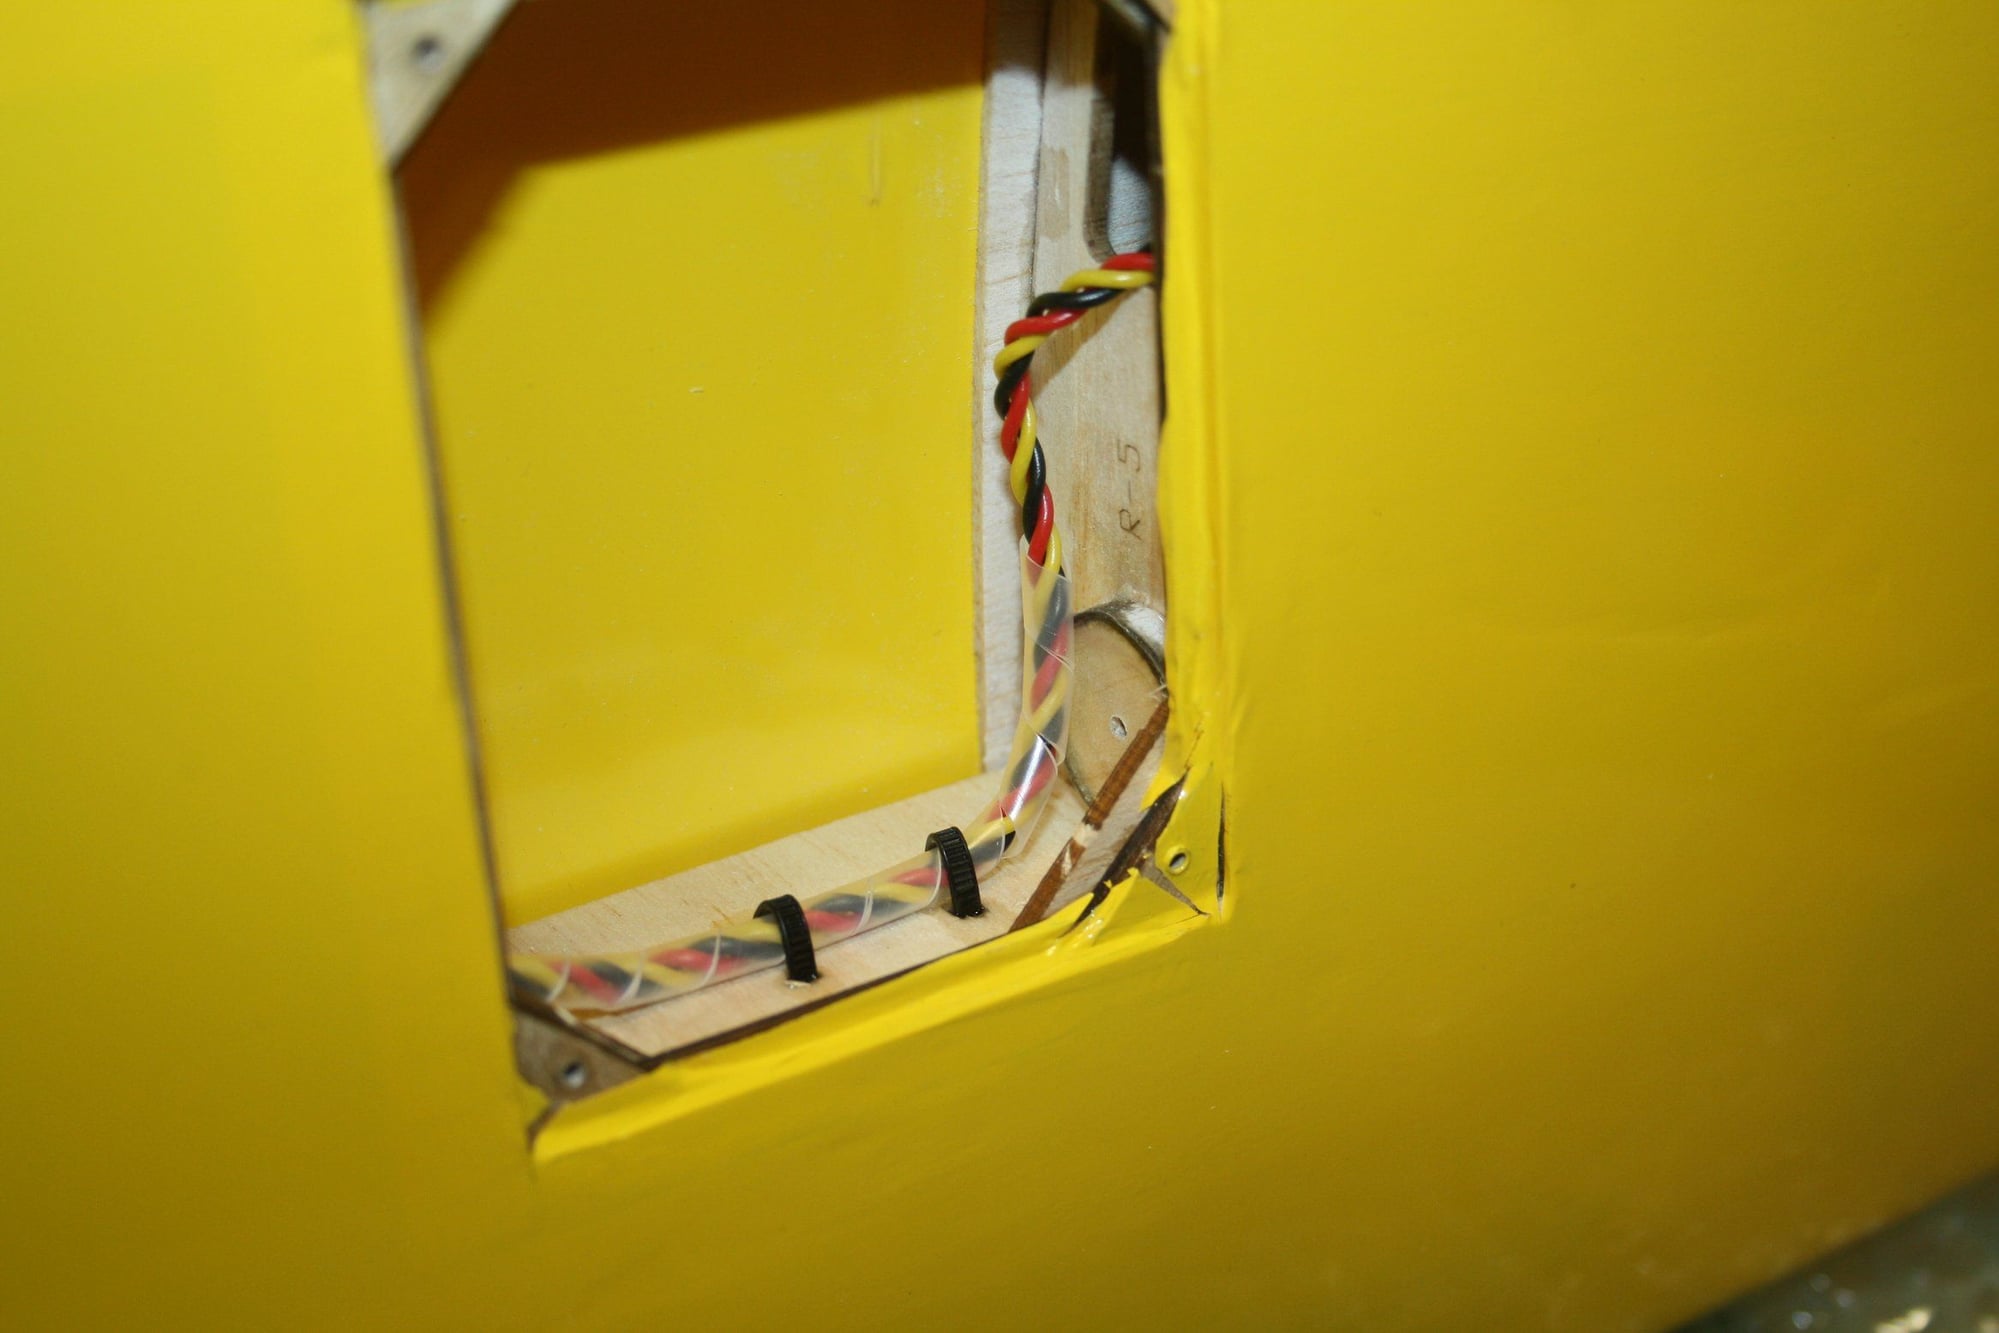
When I recovered from my frustration, I had to figure out an alternative way to control the elevators. I decided to install two micro servos at the bottom of the horizontal stabilizer. I routed the servo wires into the fuselage through couple of holes.
This will have a major effect on achieving the correct CG later on.

Cheers,
Eran
This will have a major effect on achieving the correct CG later on.
Cheers,
Eran

 12-24-2022, 12:06 AM
#87
Thread Starter
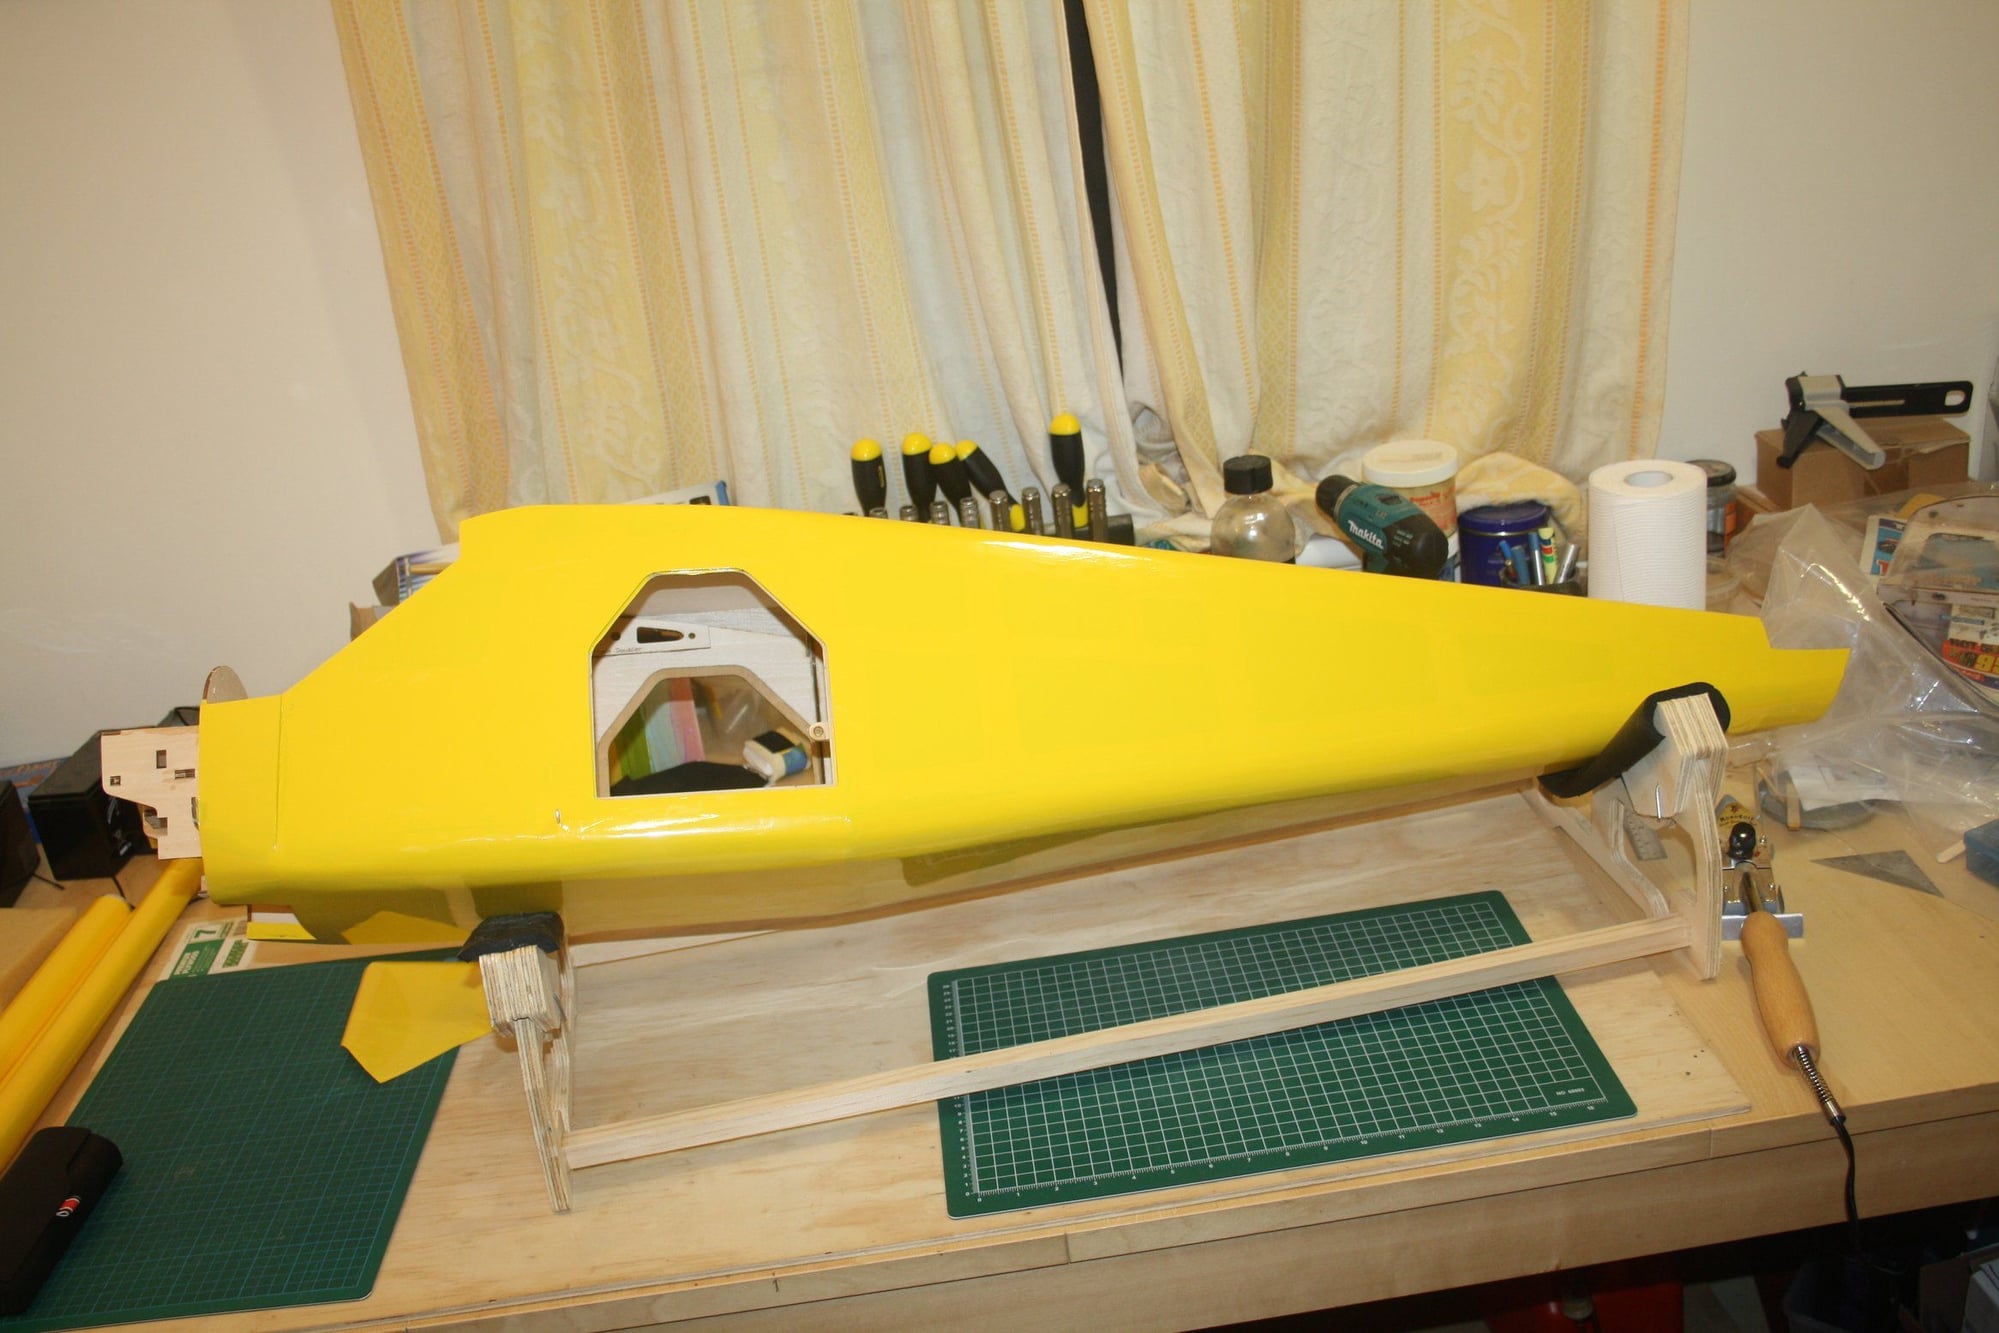
The small jobs to complete this aeroplane. At this stage I already lost all interest in this project and just want to test fly it to figure out if it worth any additional time investment.
Throttle servo link done, landing gear installation OBVIOUSLY did not go to plan with the laser cut holes for the screws the wrong diameter requiring enlargement work inside the cabin.

Cheers,
Eran
Throttle servo link done, landing gear installation OBVIOUSLY did not go to plan with the laser cut holes for the screws the wrong diameter requiring enlargement work inside the cabin.
Cheers,
Eran
12-24-2022, 12:46 AM
#88
Thread Starter
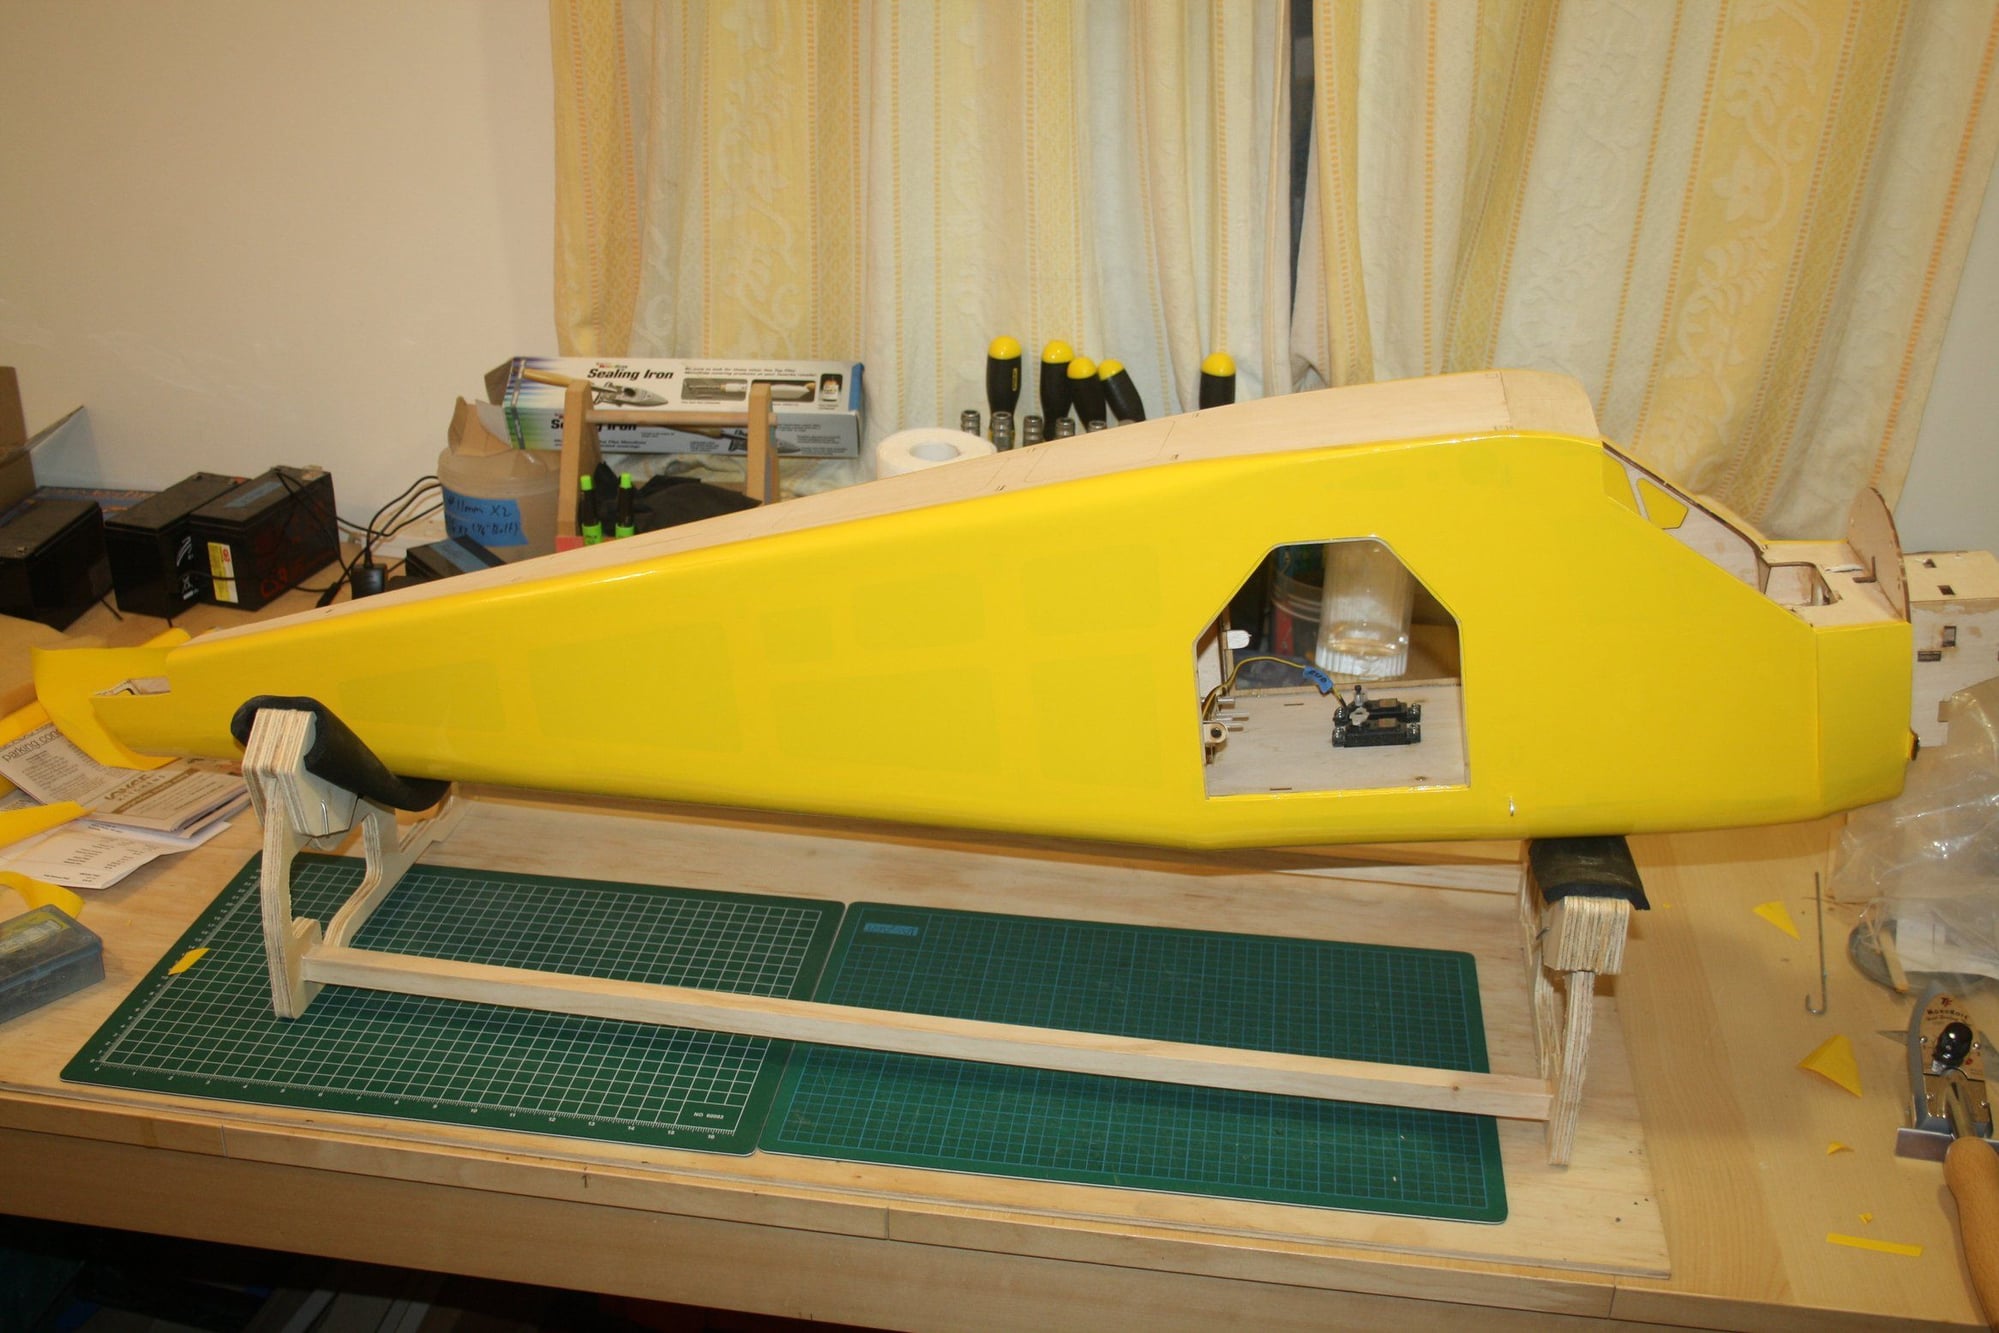
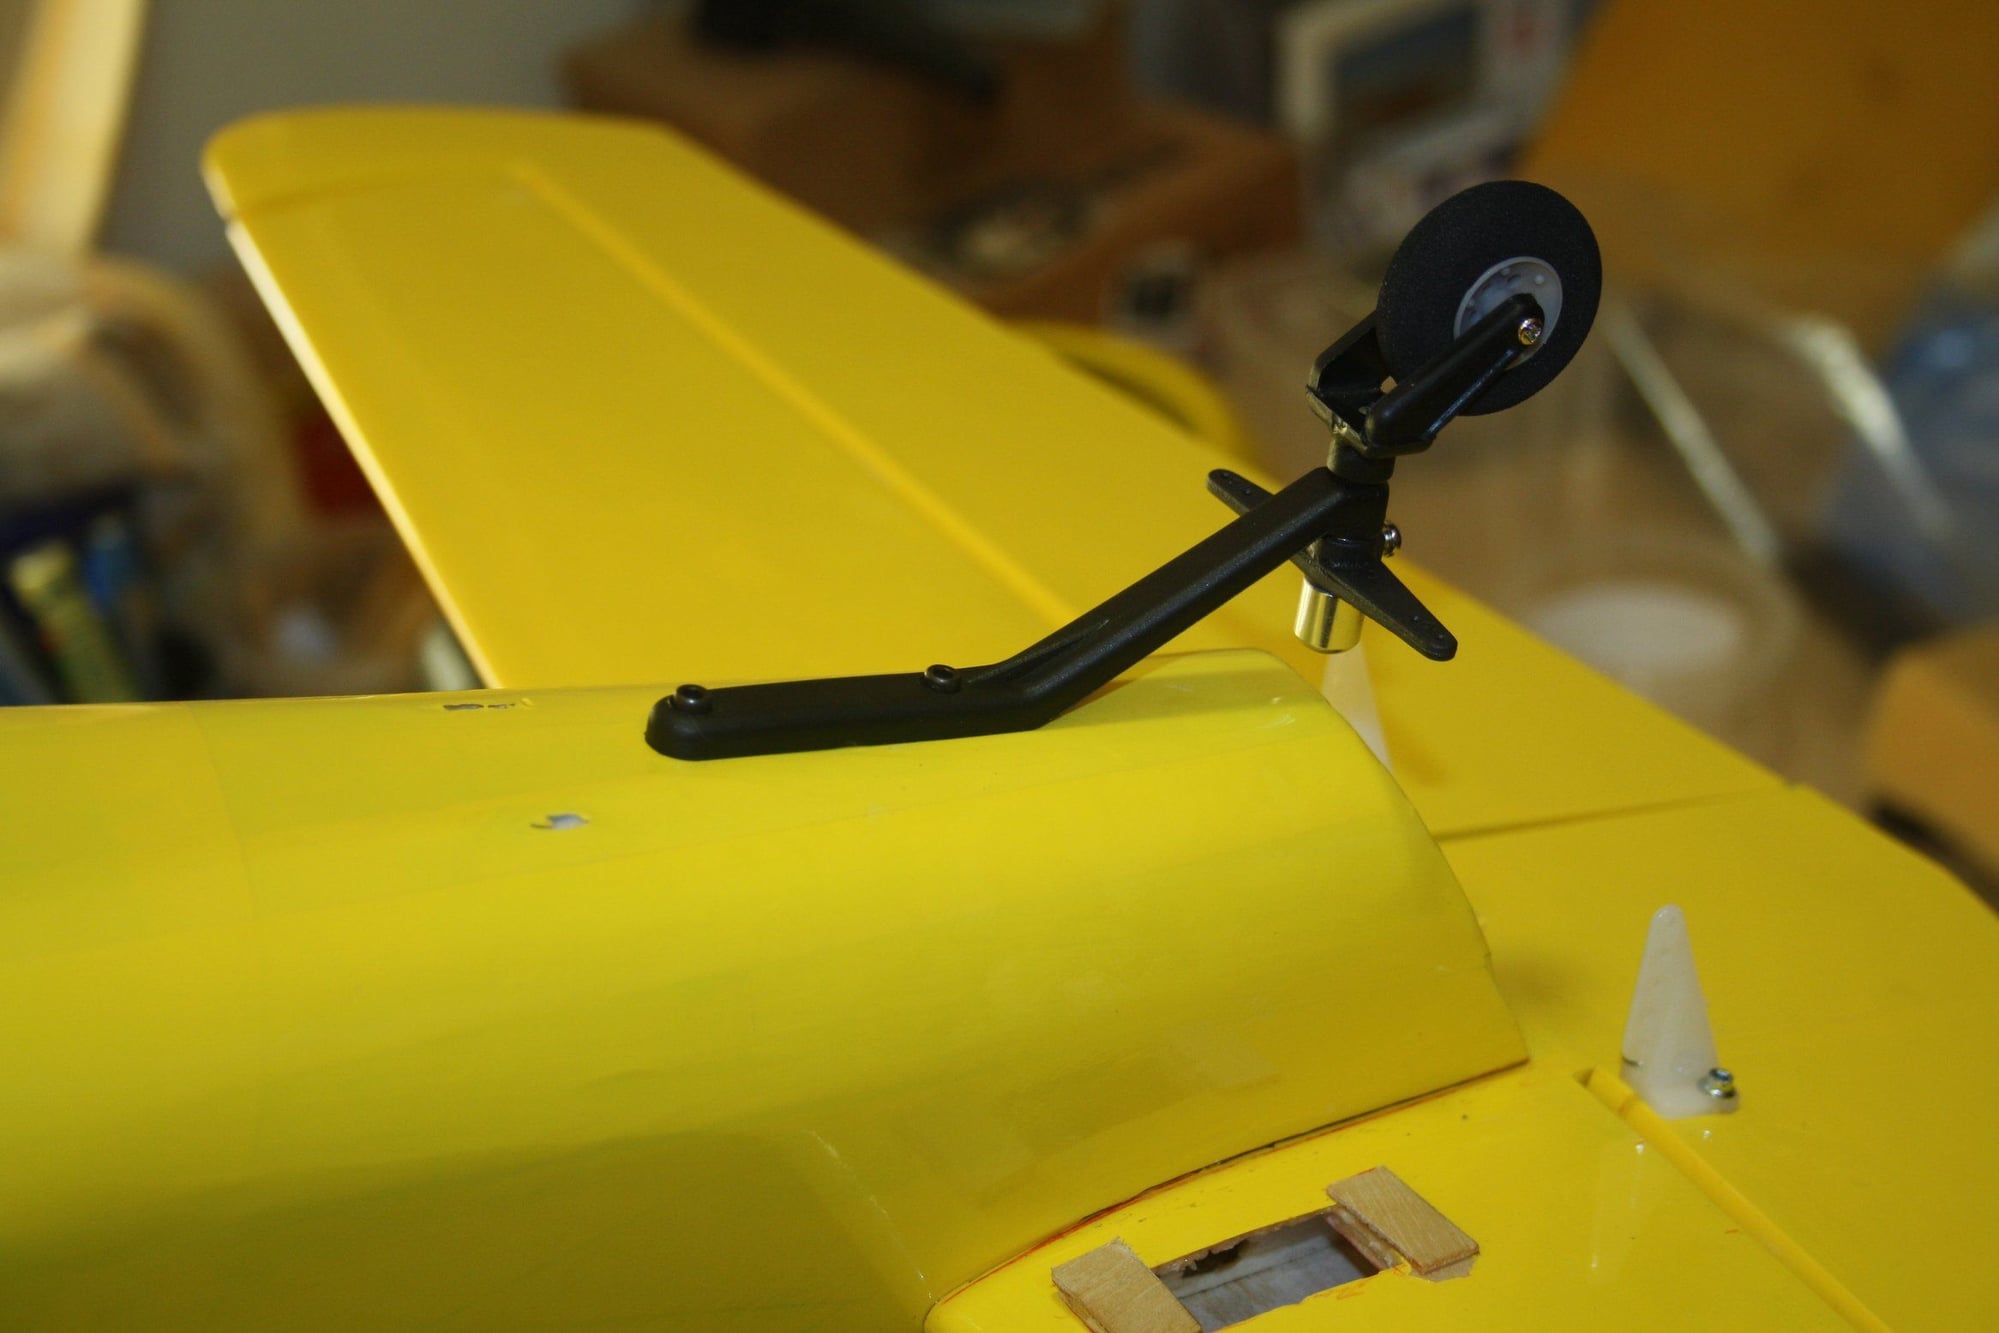
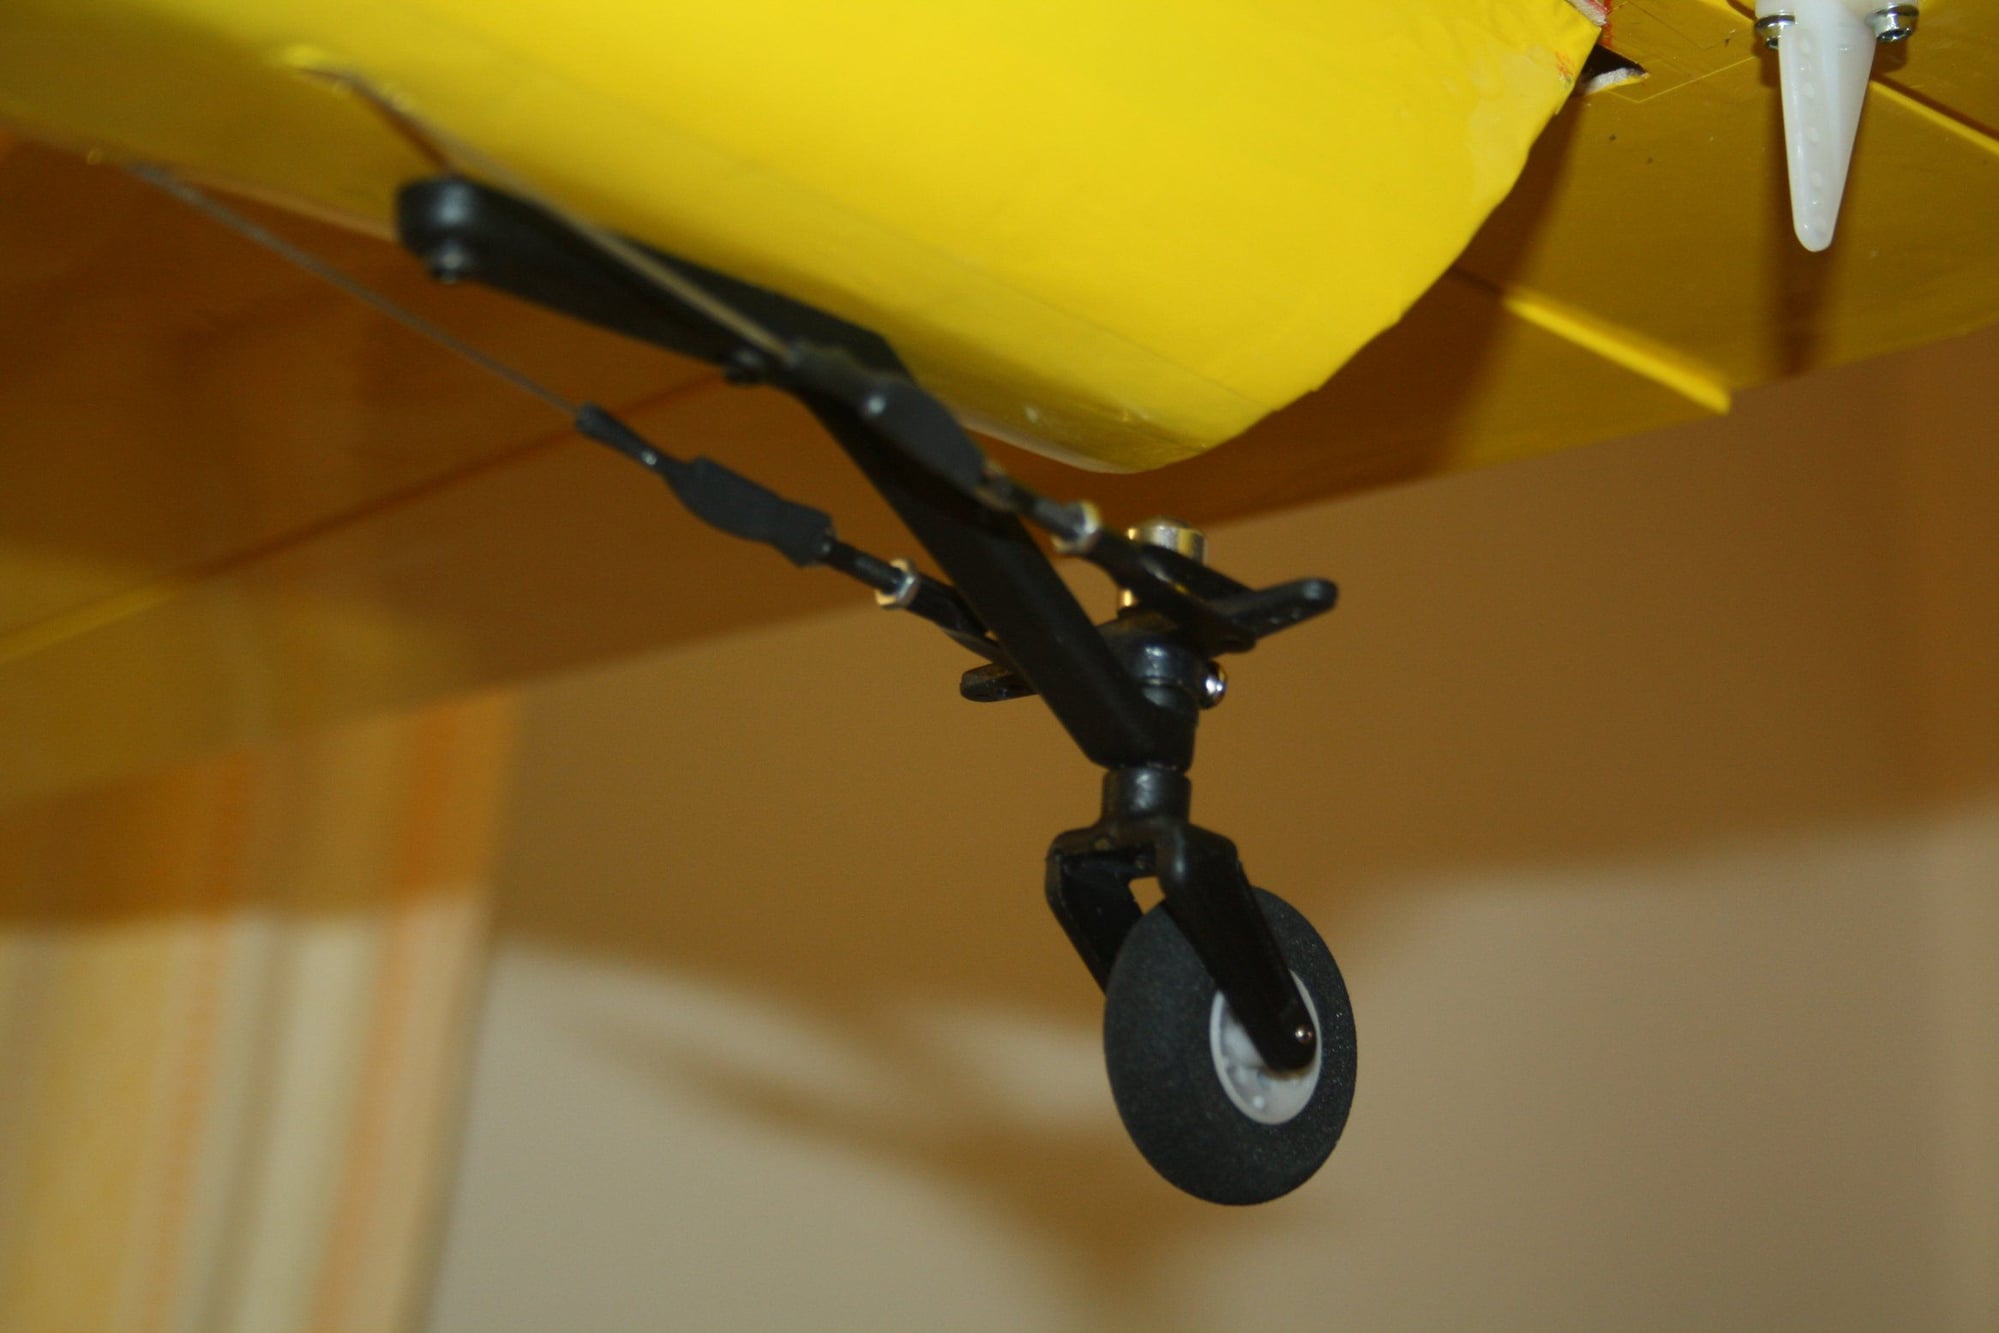
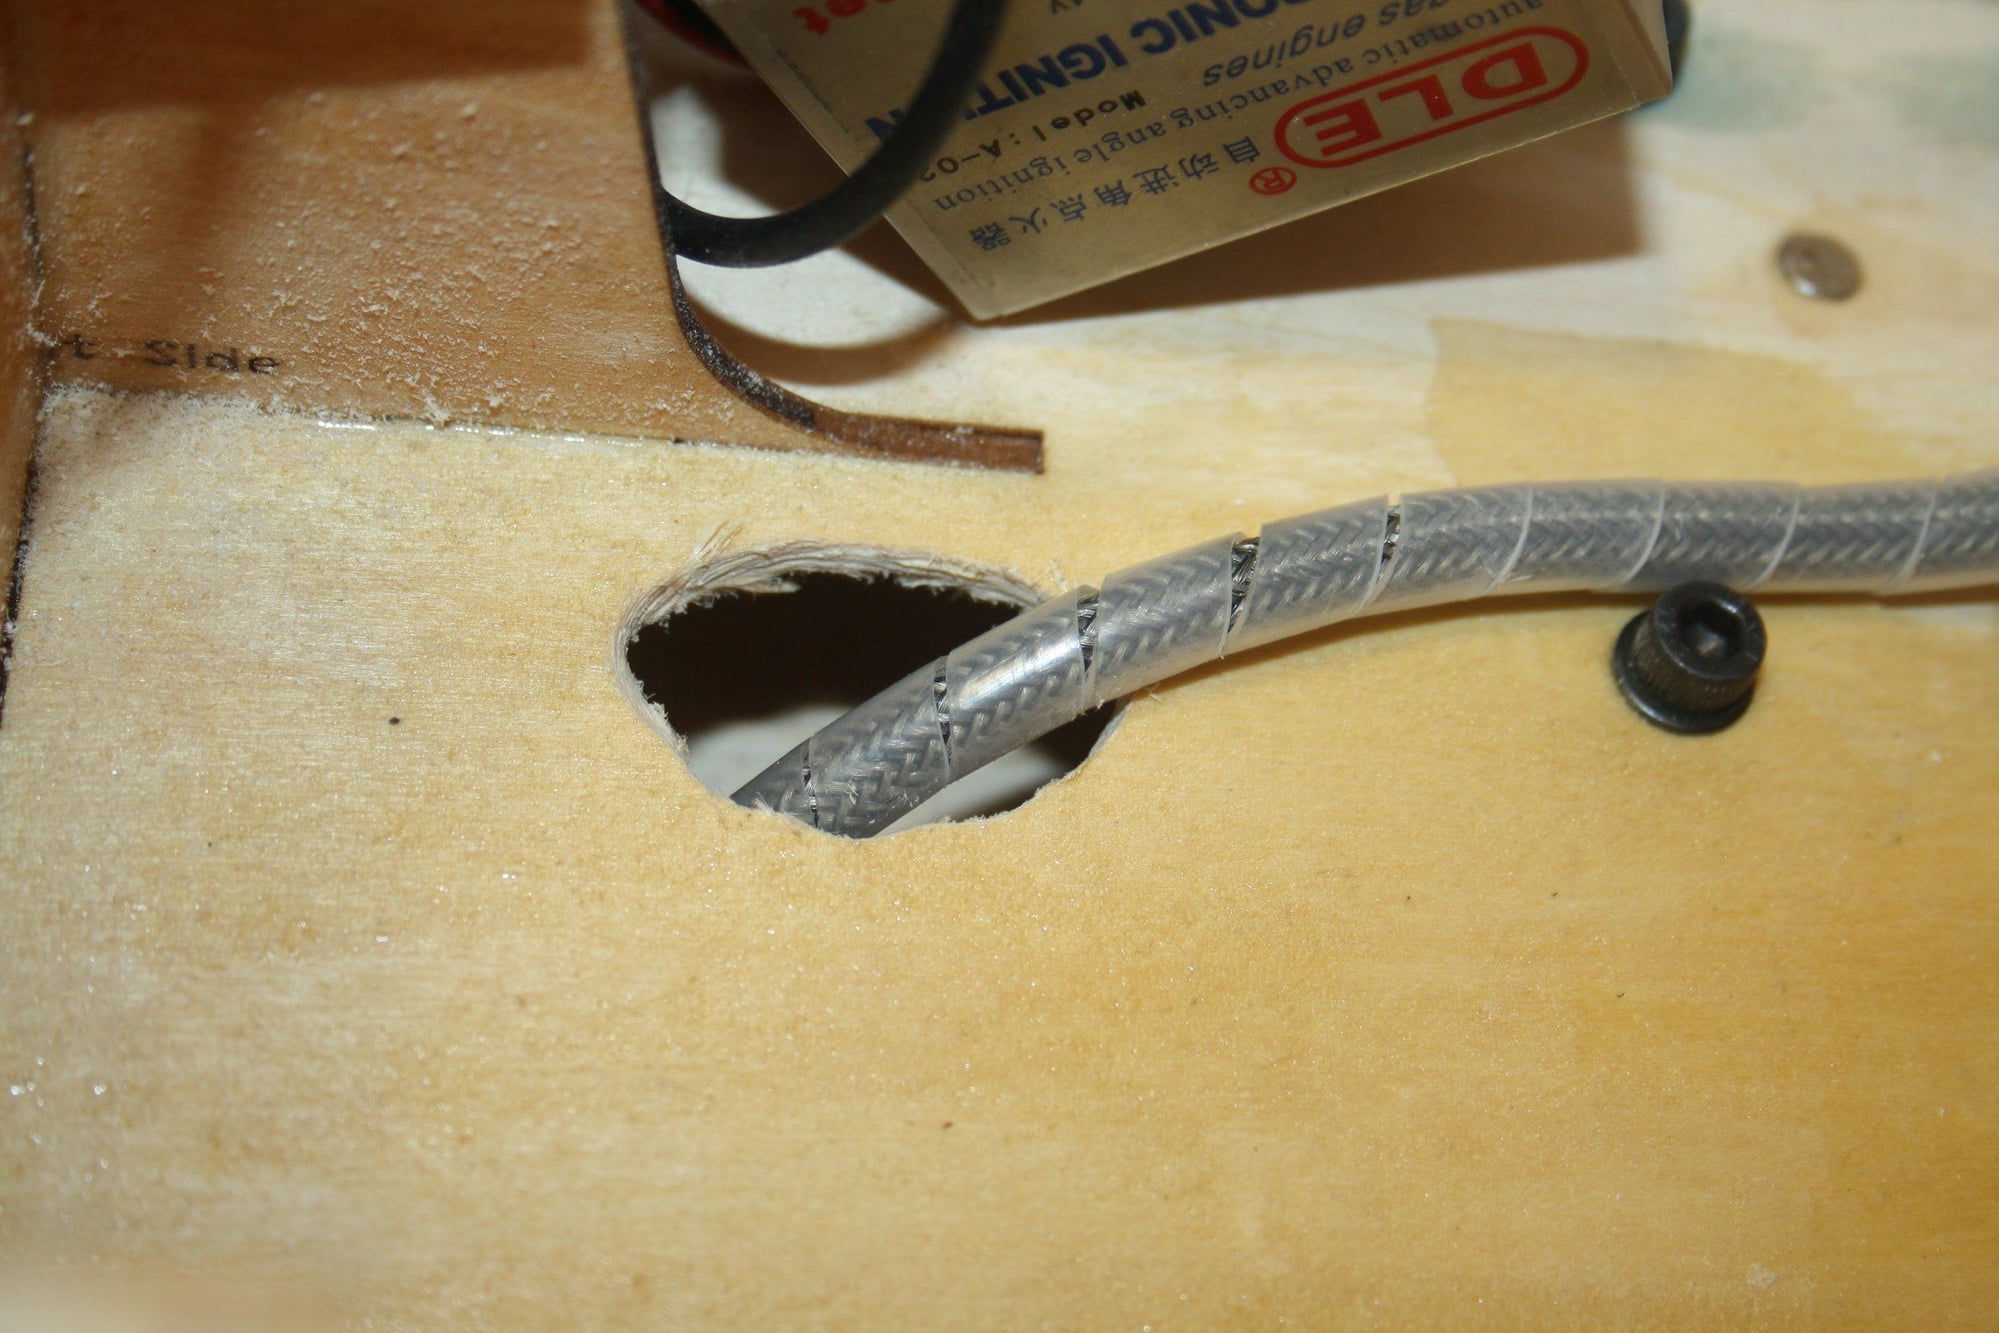
Tail wheel assembly was reasonably good. I replaced the provided pull-pull with a Dubro 4-40 set. I found couple of wheels in the correct size in my box of "things" which will do. I then routed the ignition cable through couple of holes I made, one behind the muffler and one in the cabin floor.
The ignition module was fitted on a mount to the cabin wall, and similarly I made a mount for the fuel tank and fitted it in.


Cheers,
Eran
The ignition module was fitted on a mount to the cabin wall, and similarly I made a mount for the fuel tank and fitted it in.
Cheers,
Eran


 12-24-2022, 12:52 AM
#90
Thread Starter
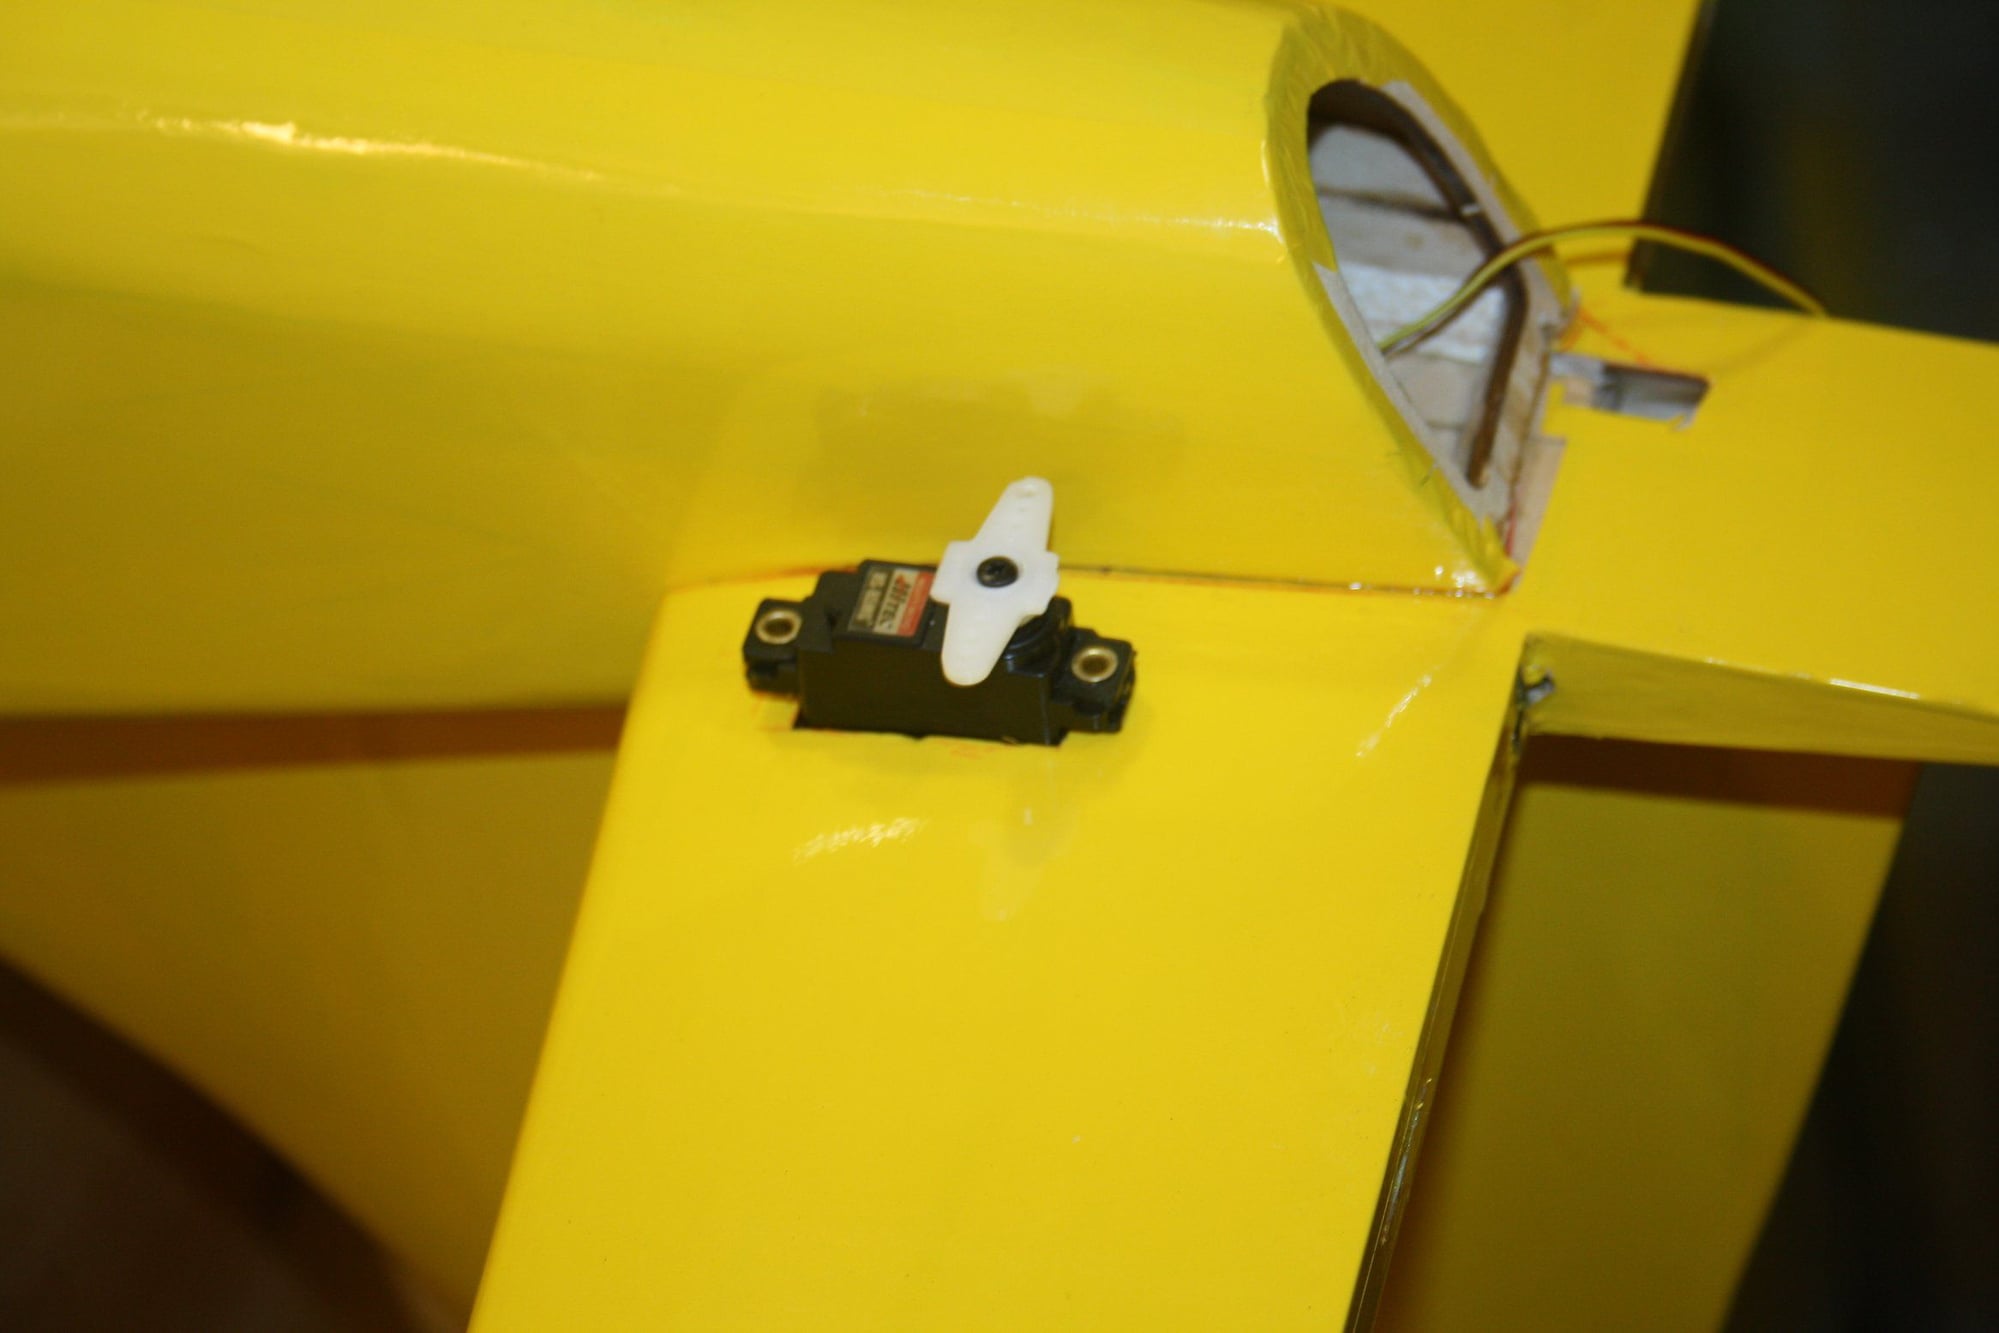
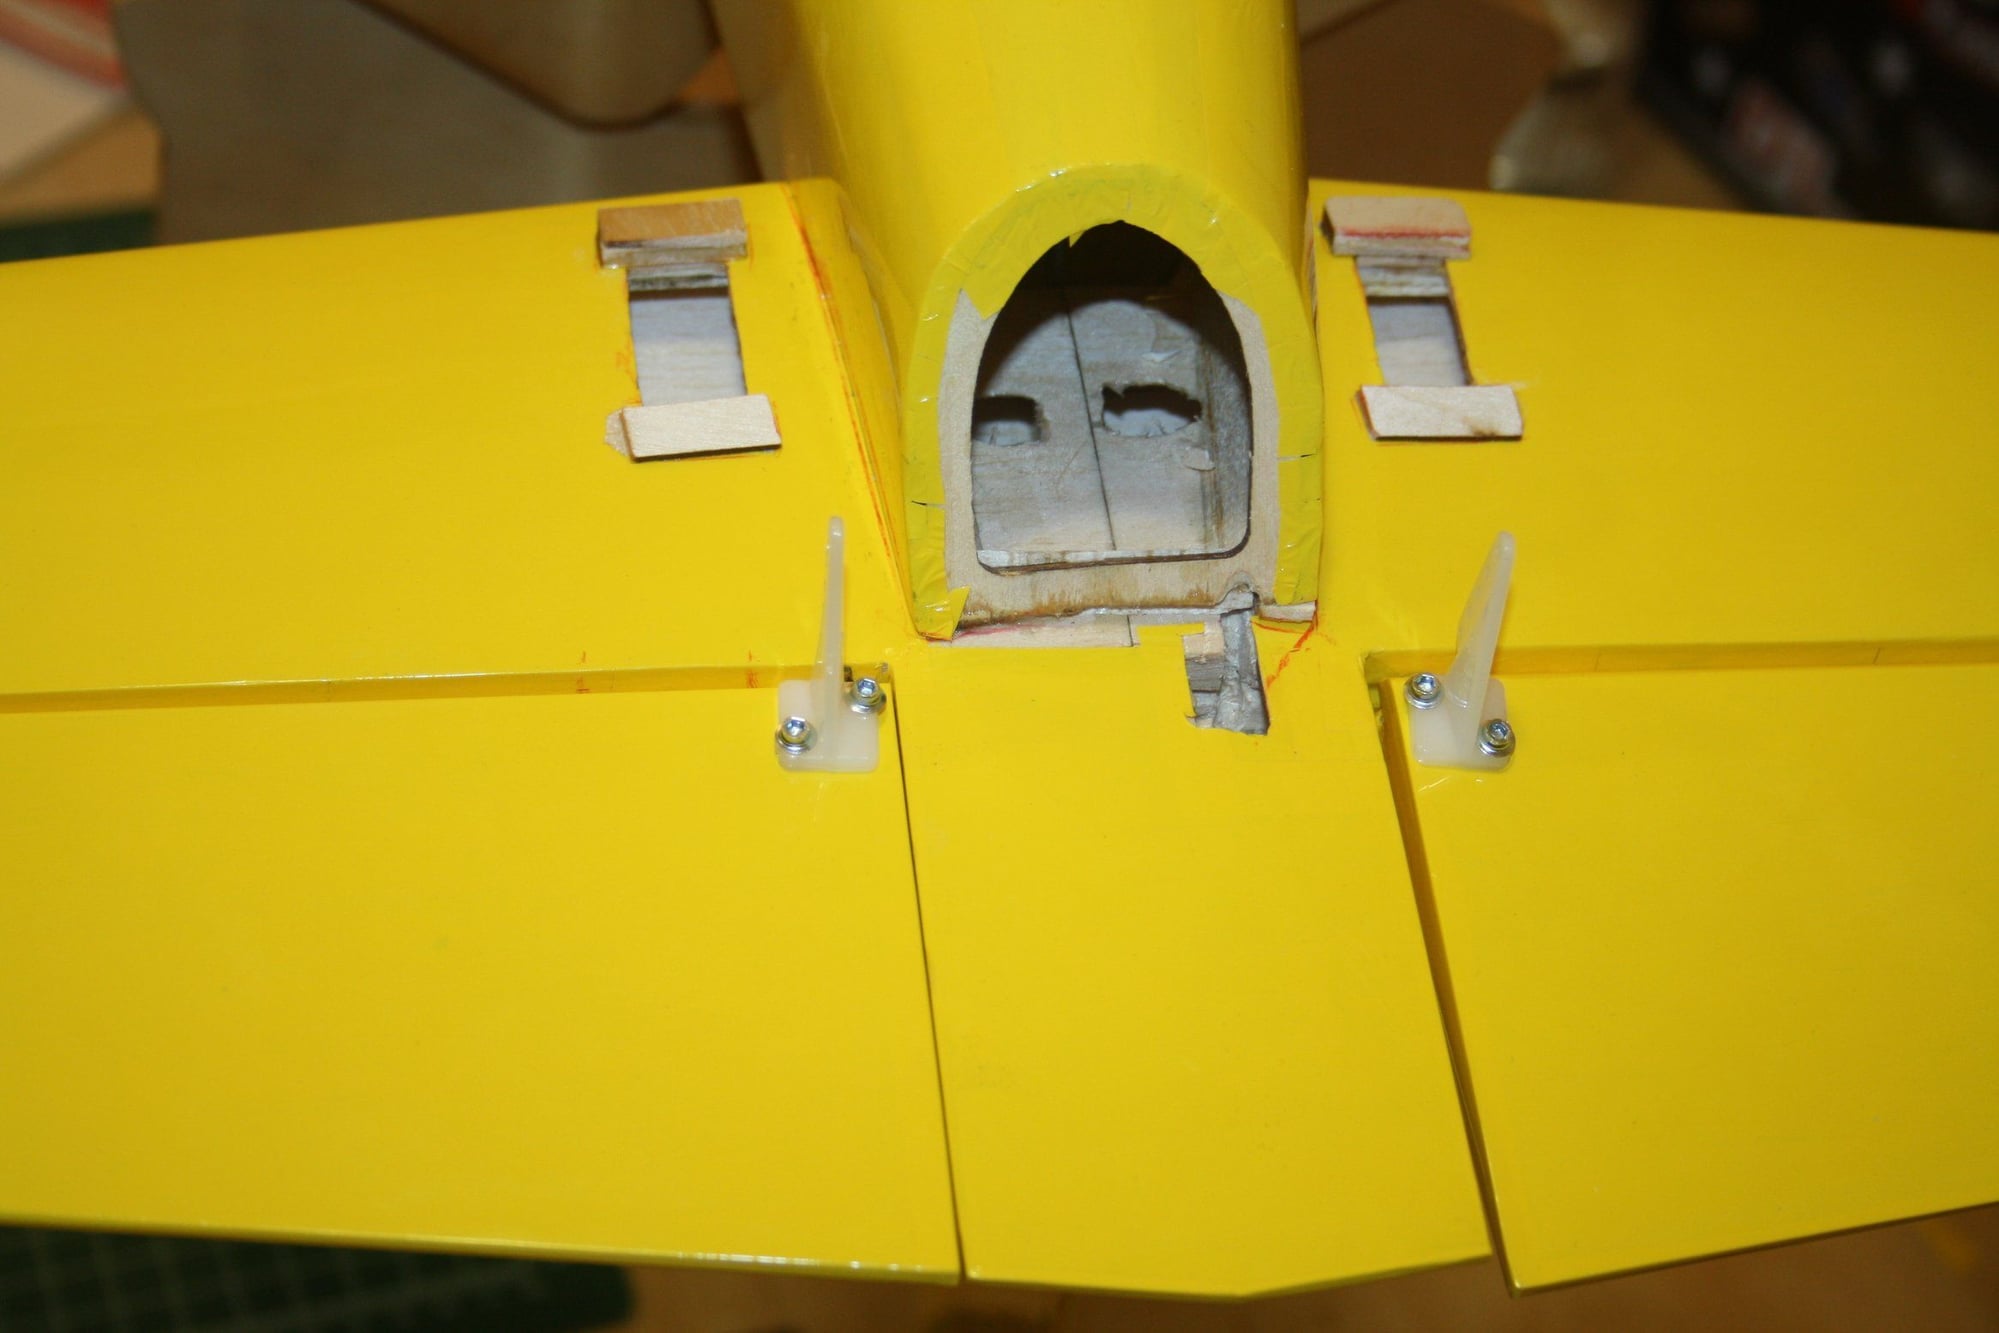
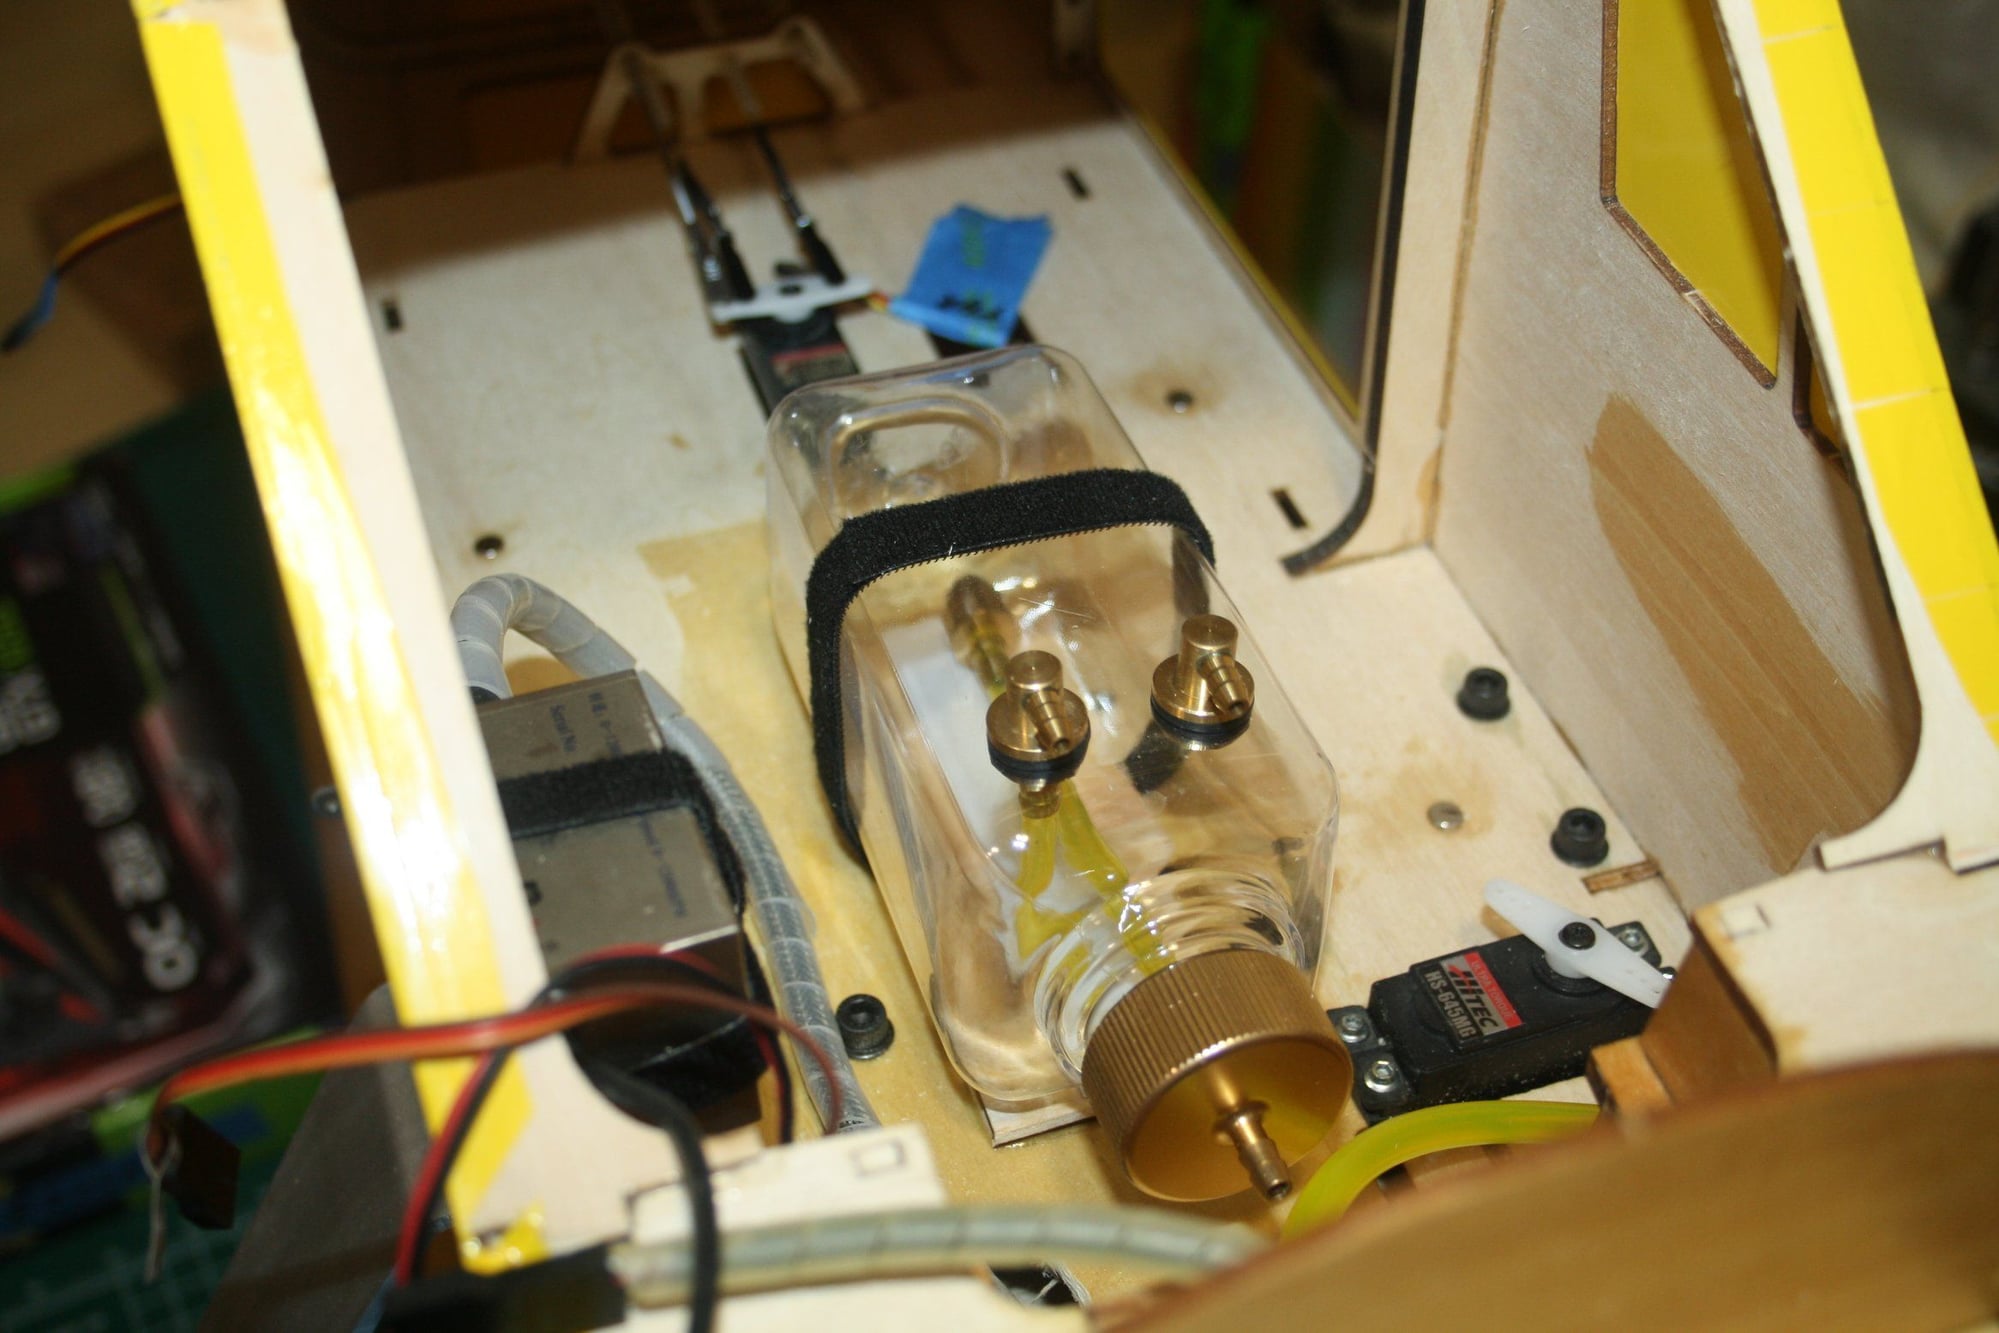
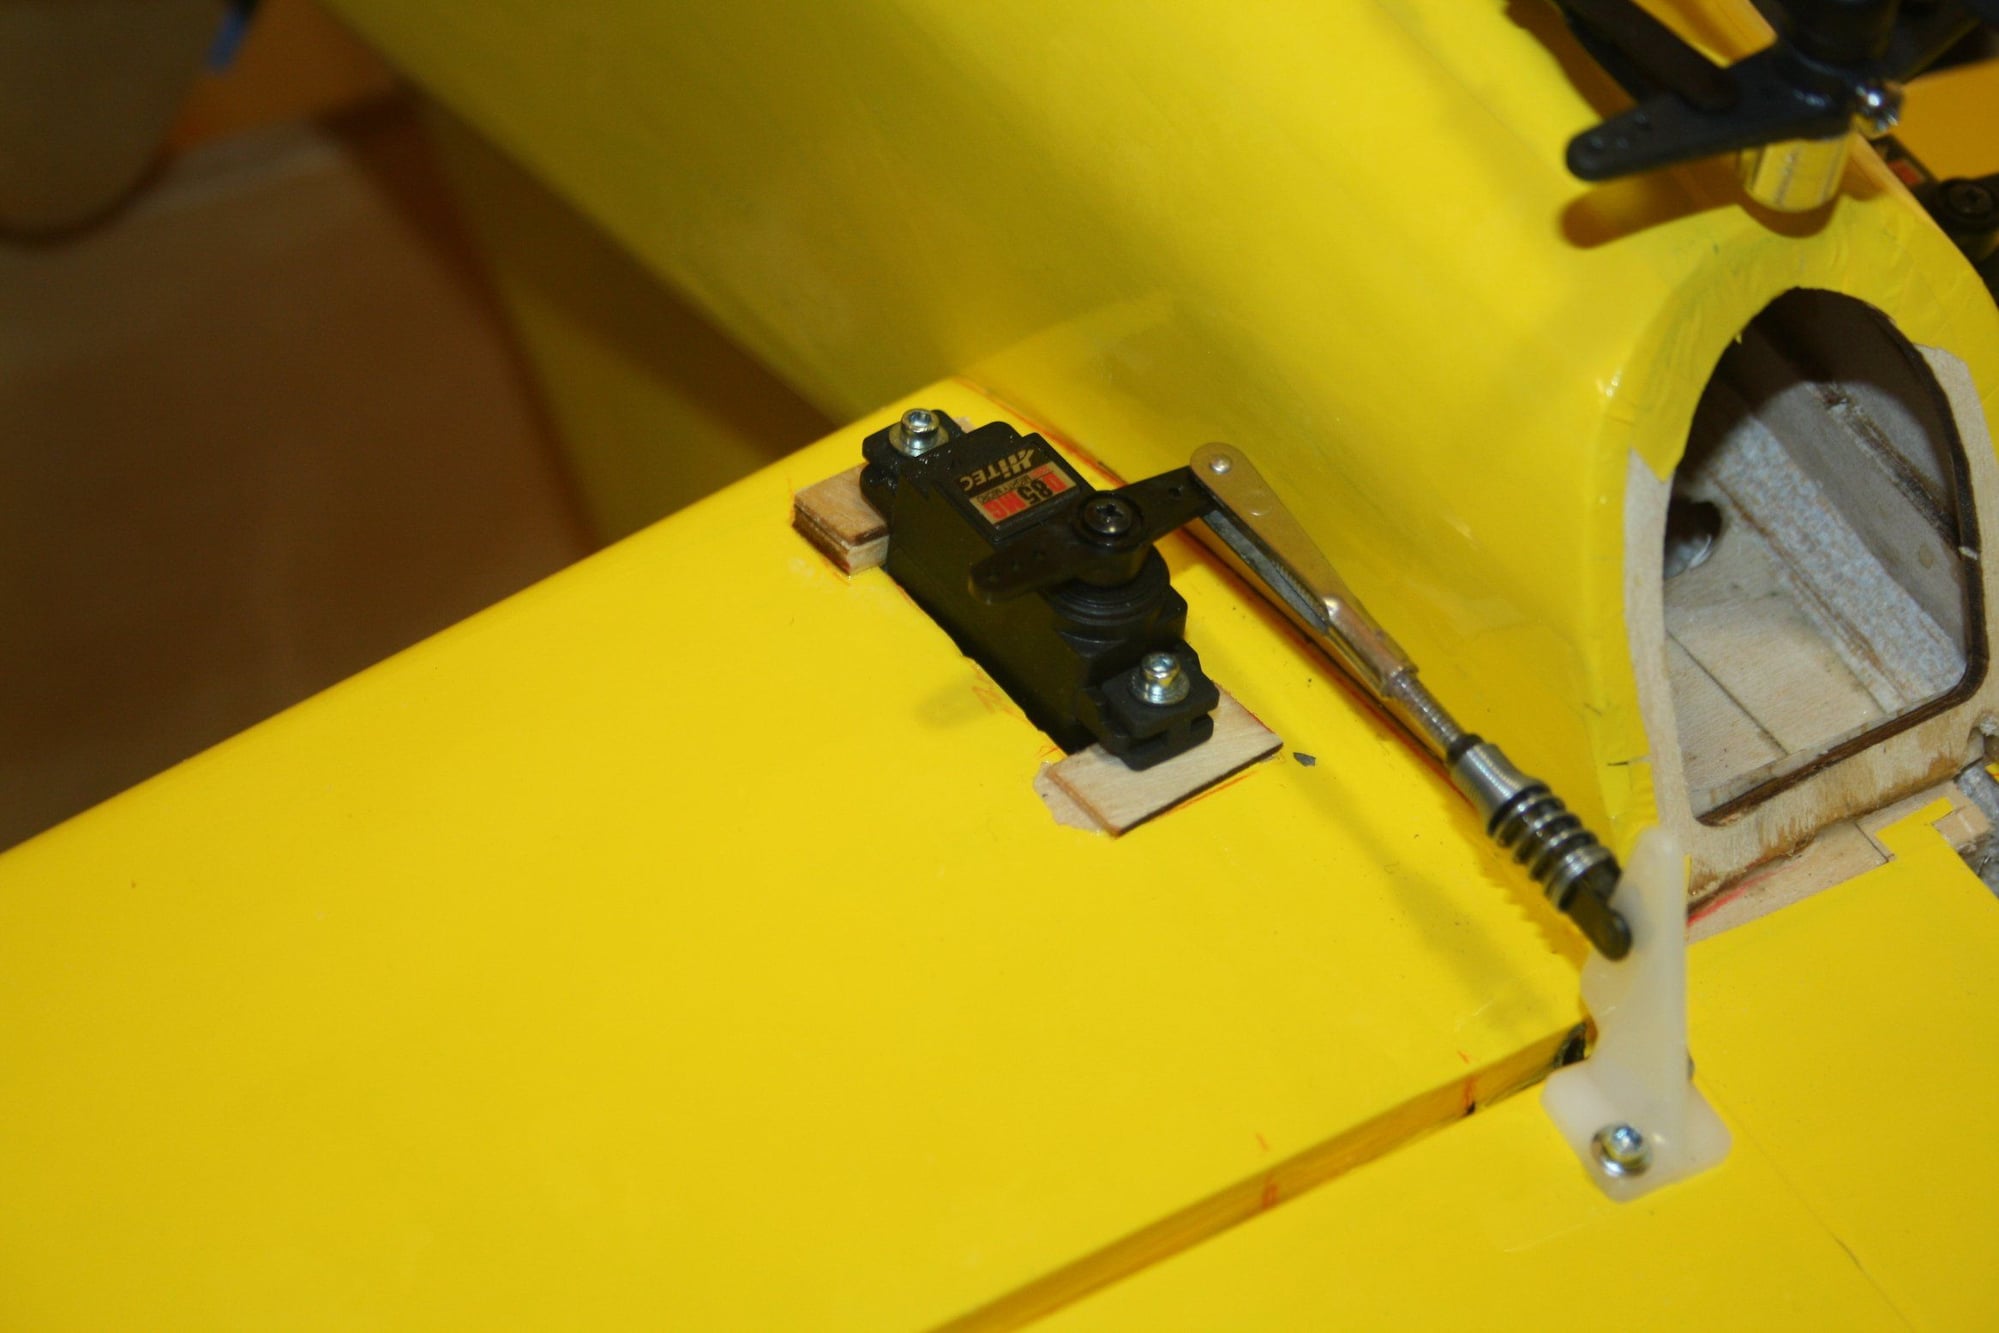
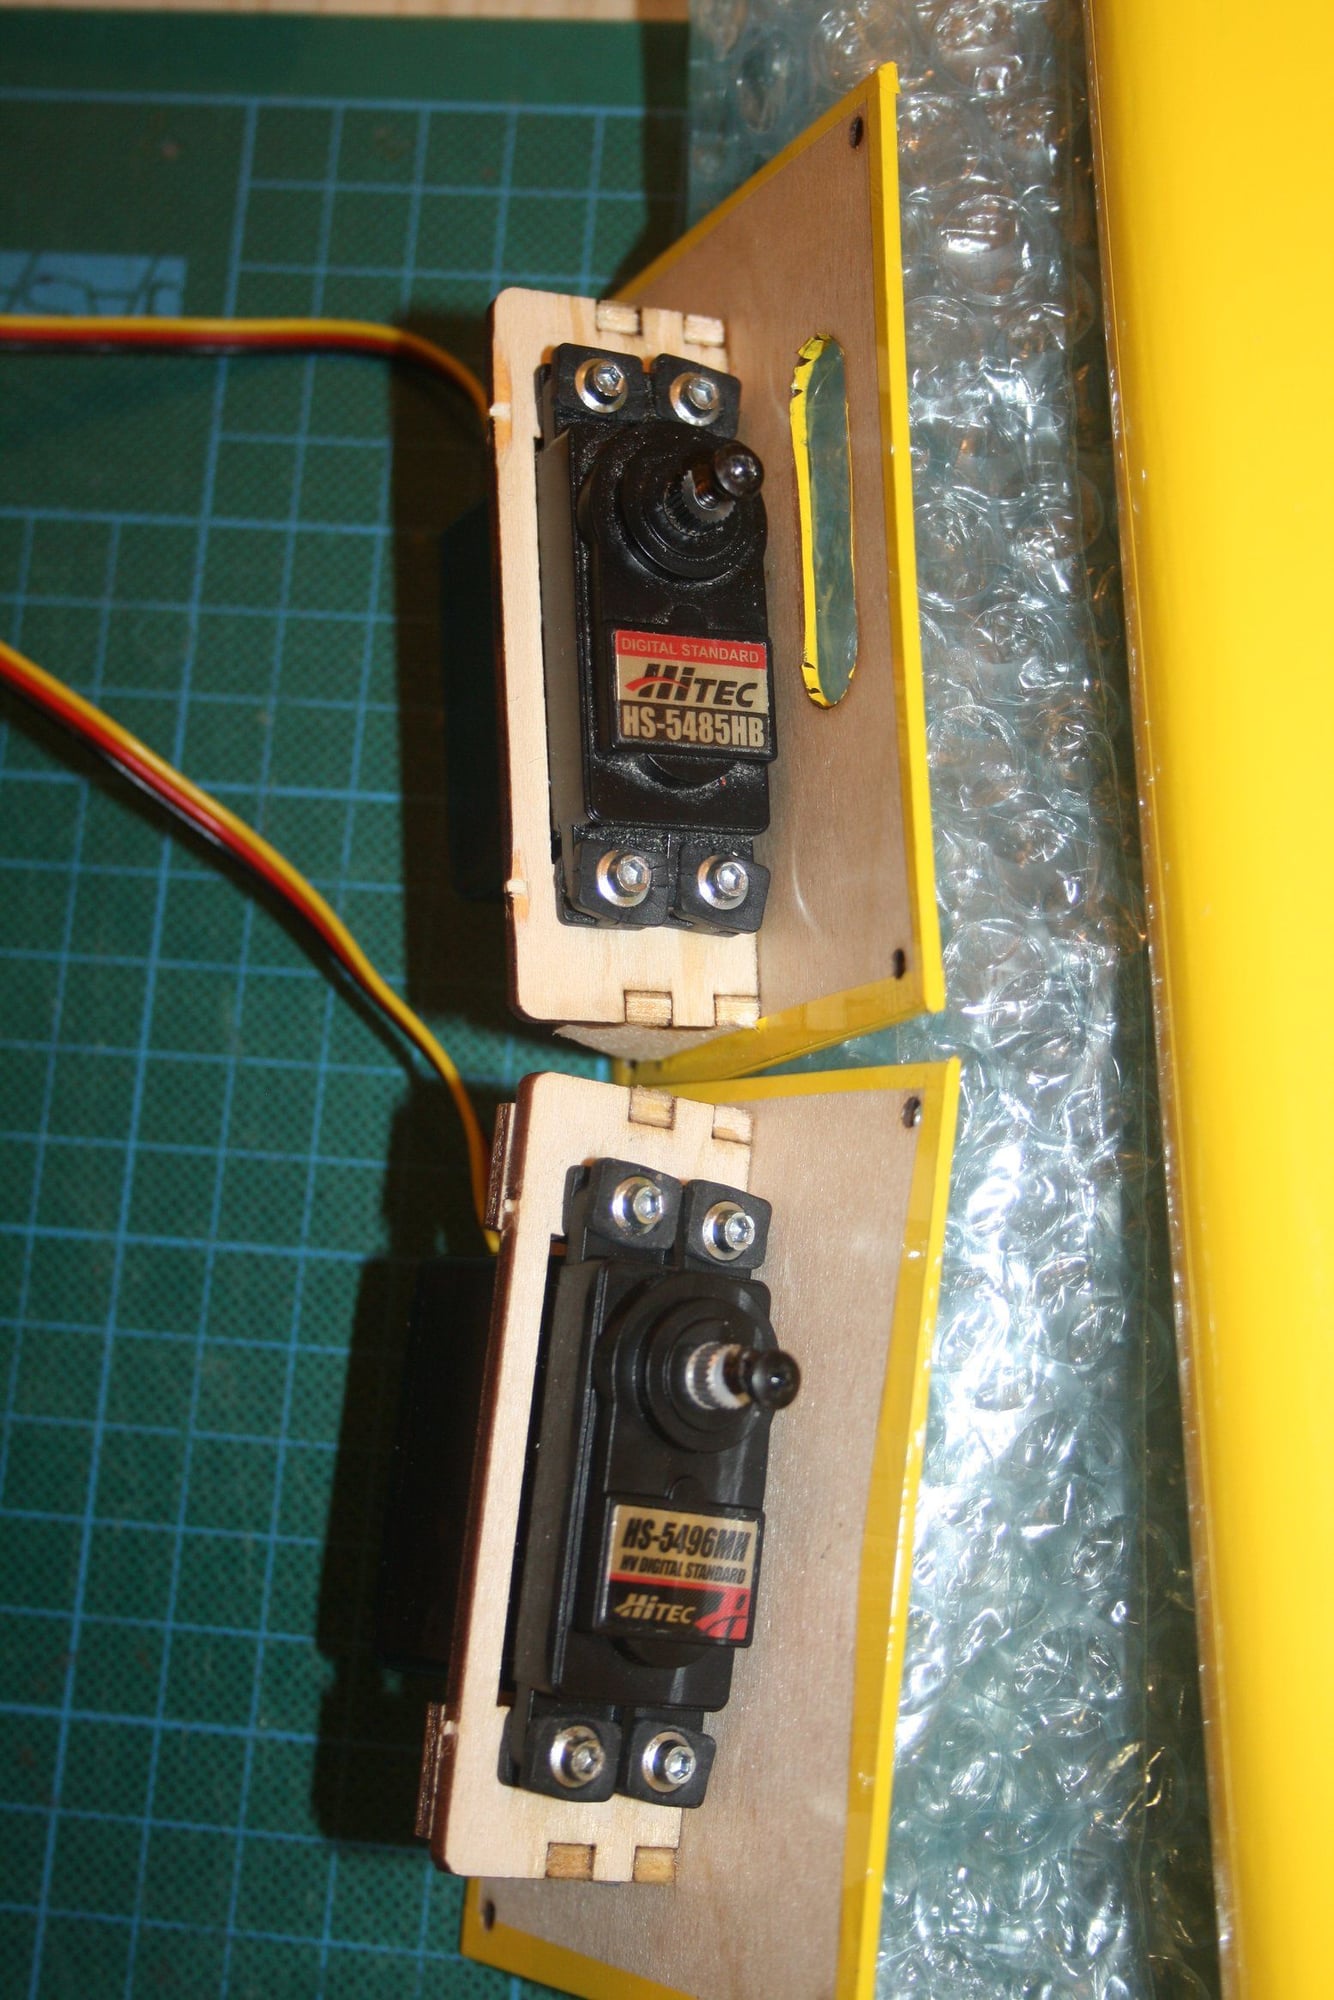
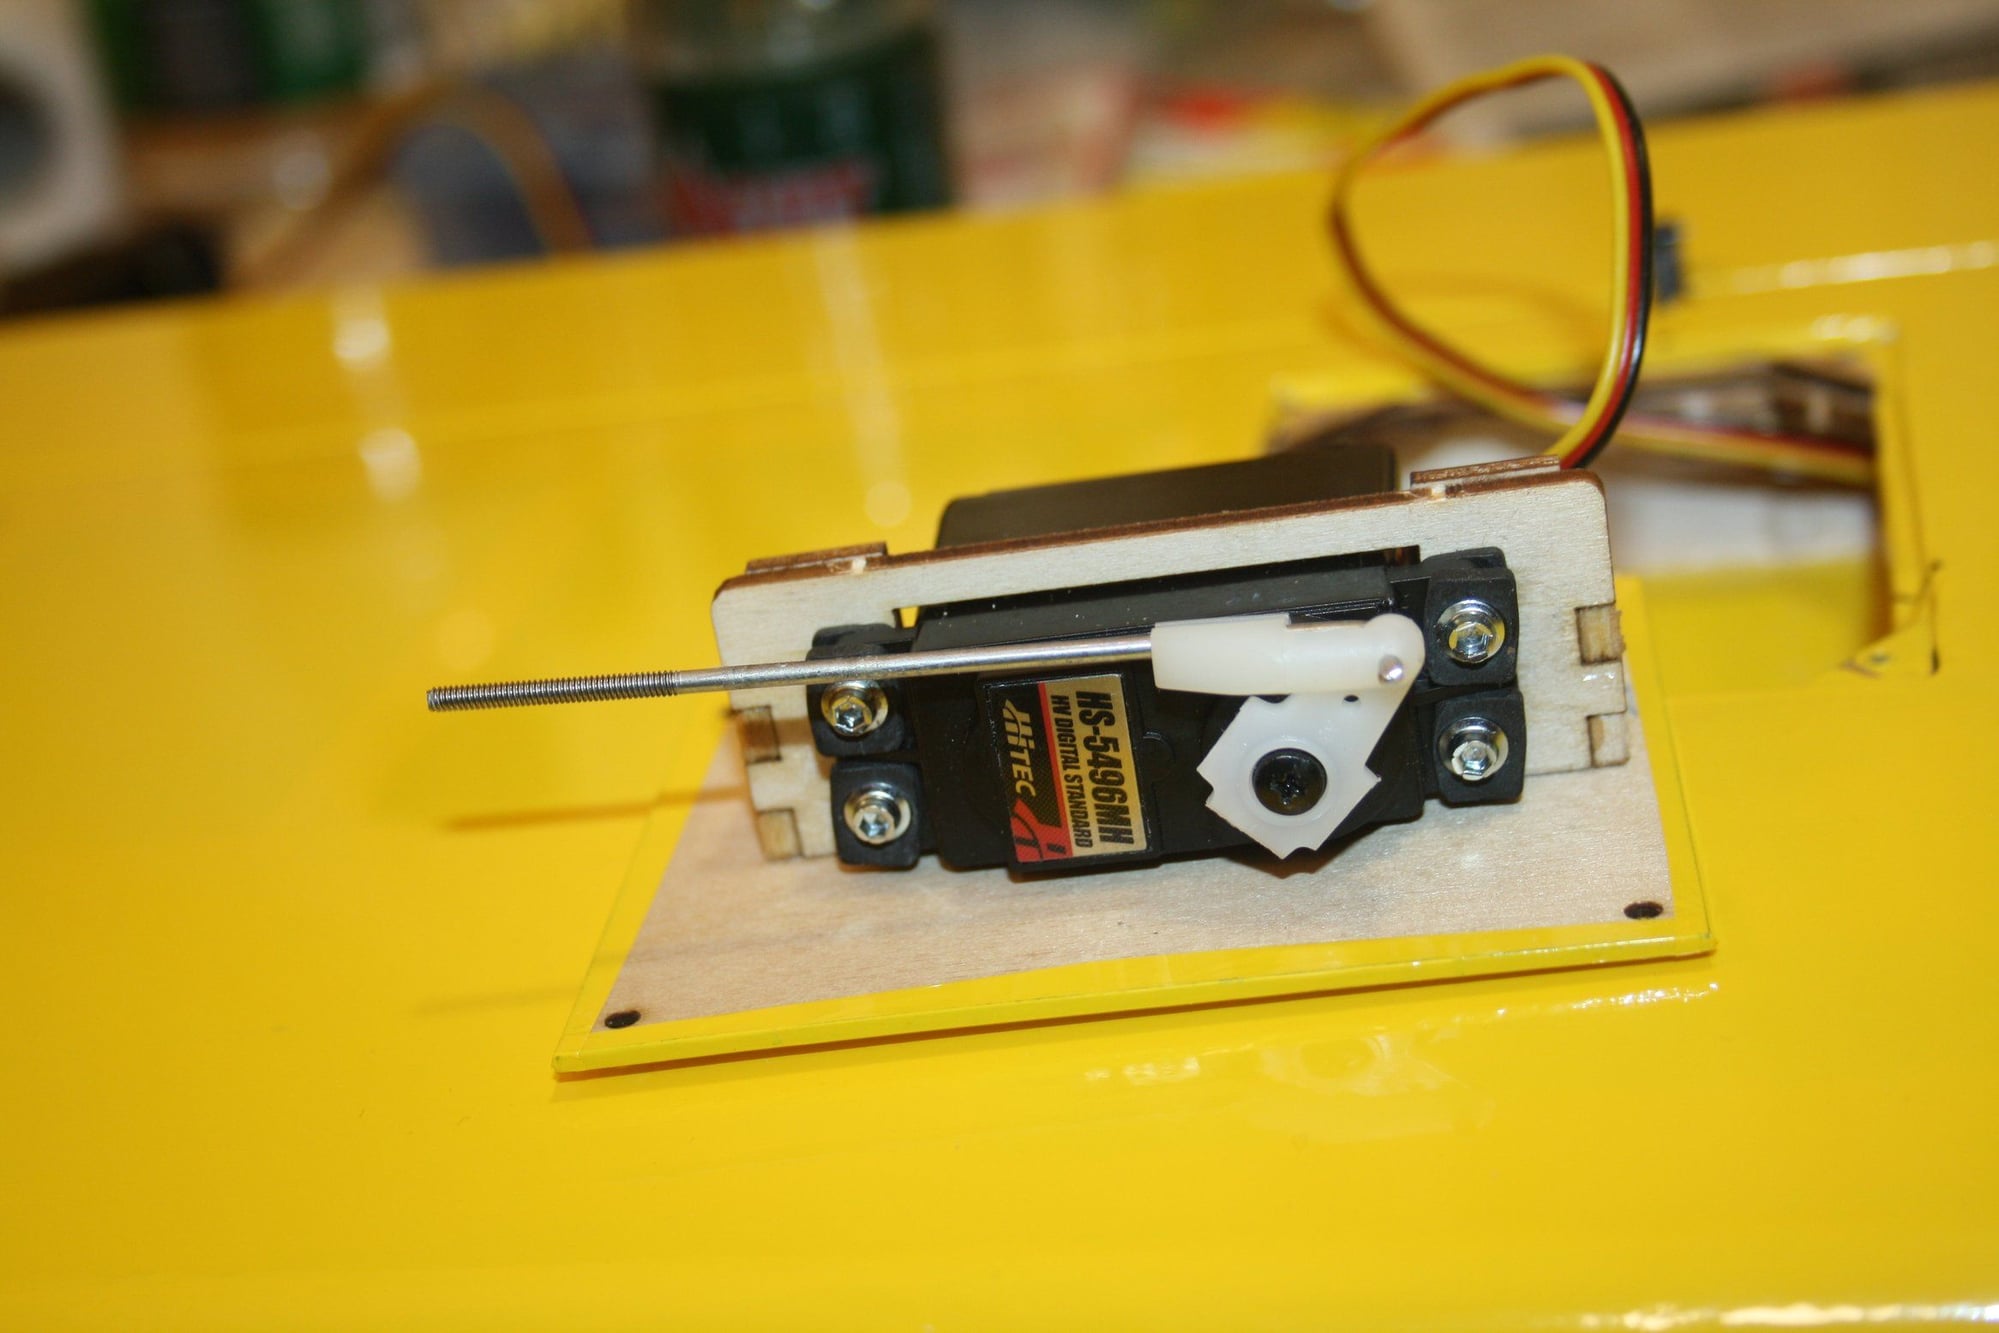
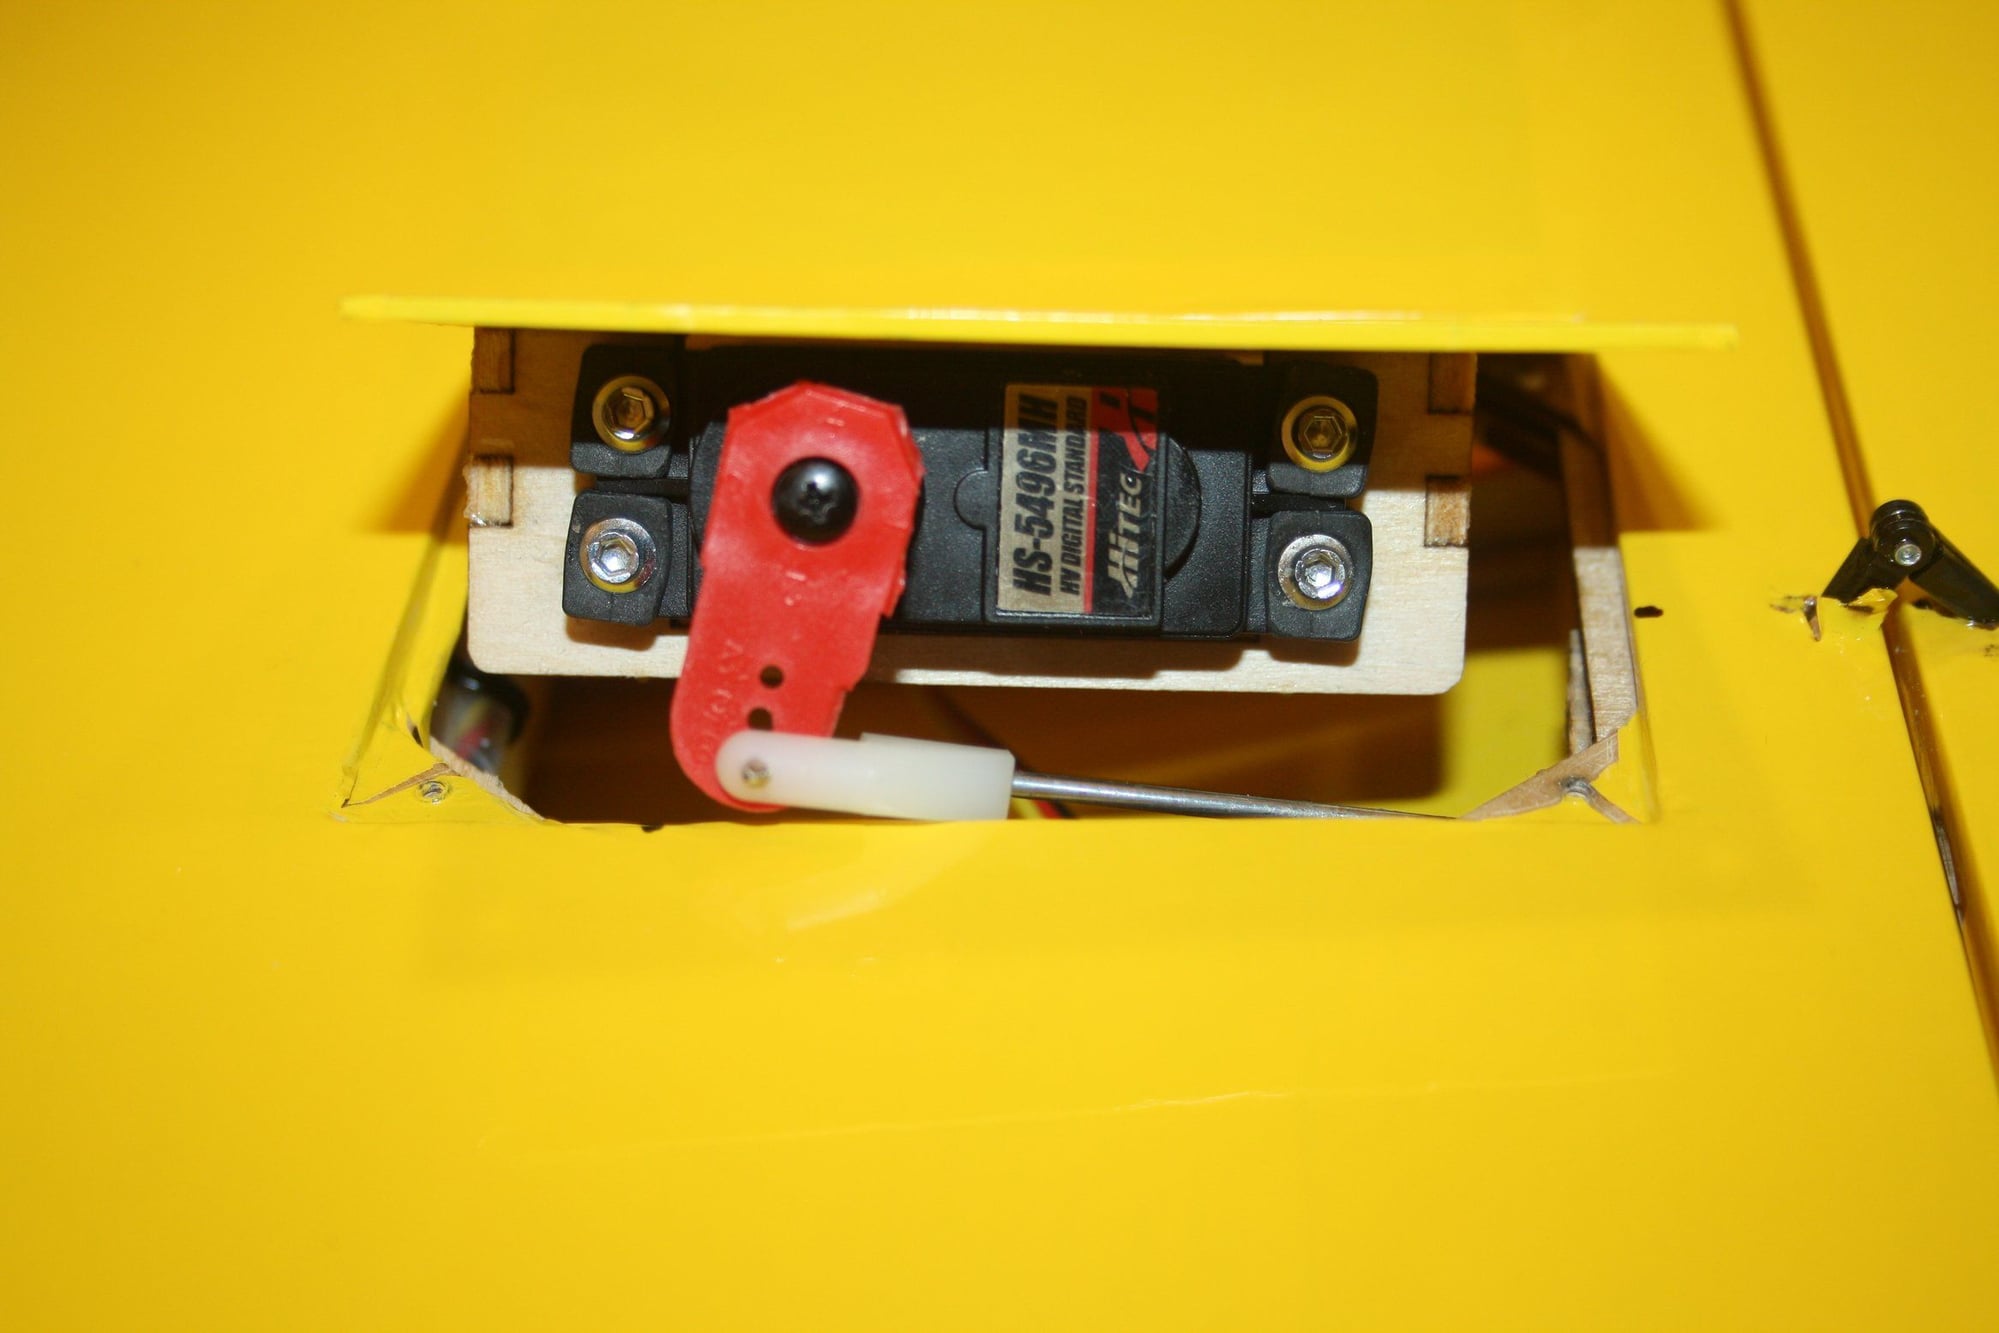
Elevator Servos required raised mount as the available depth in the stabilizer is insufficient. I made the links to the elevators and installed a cardboard tube to protect the servo wires from the rudder control mechanism.
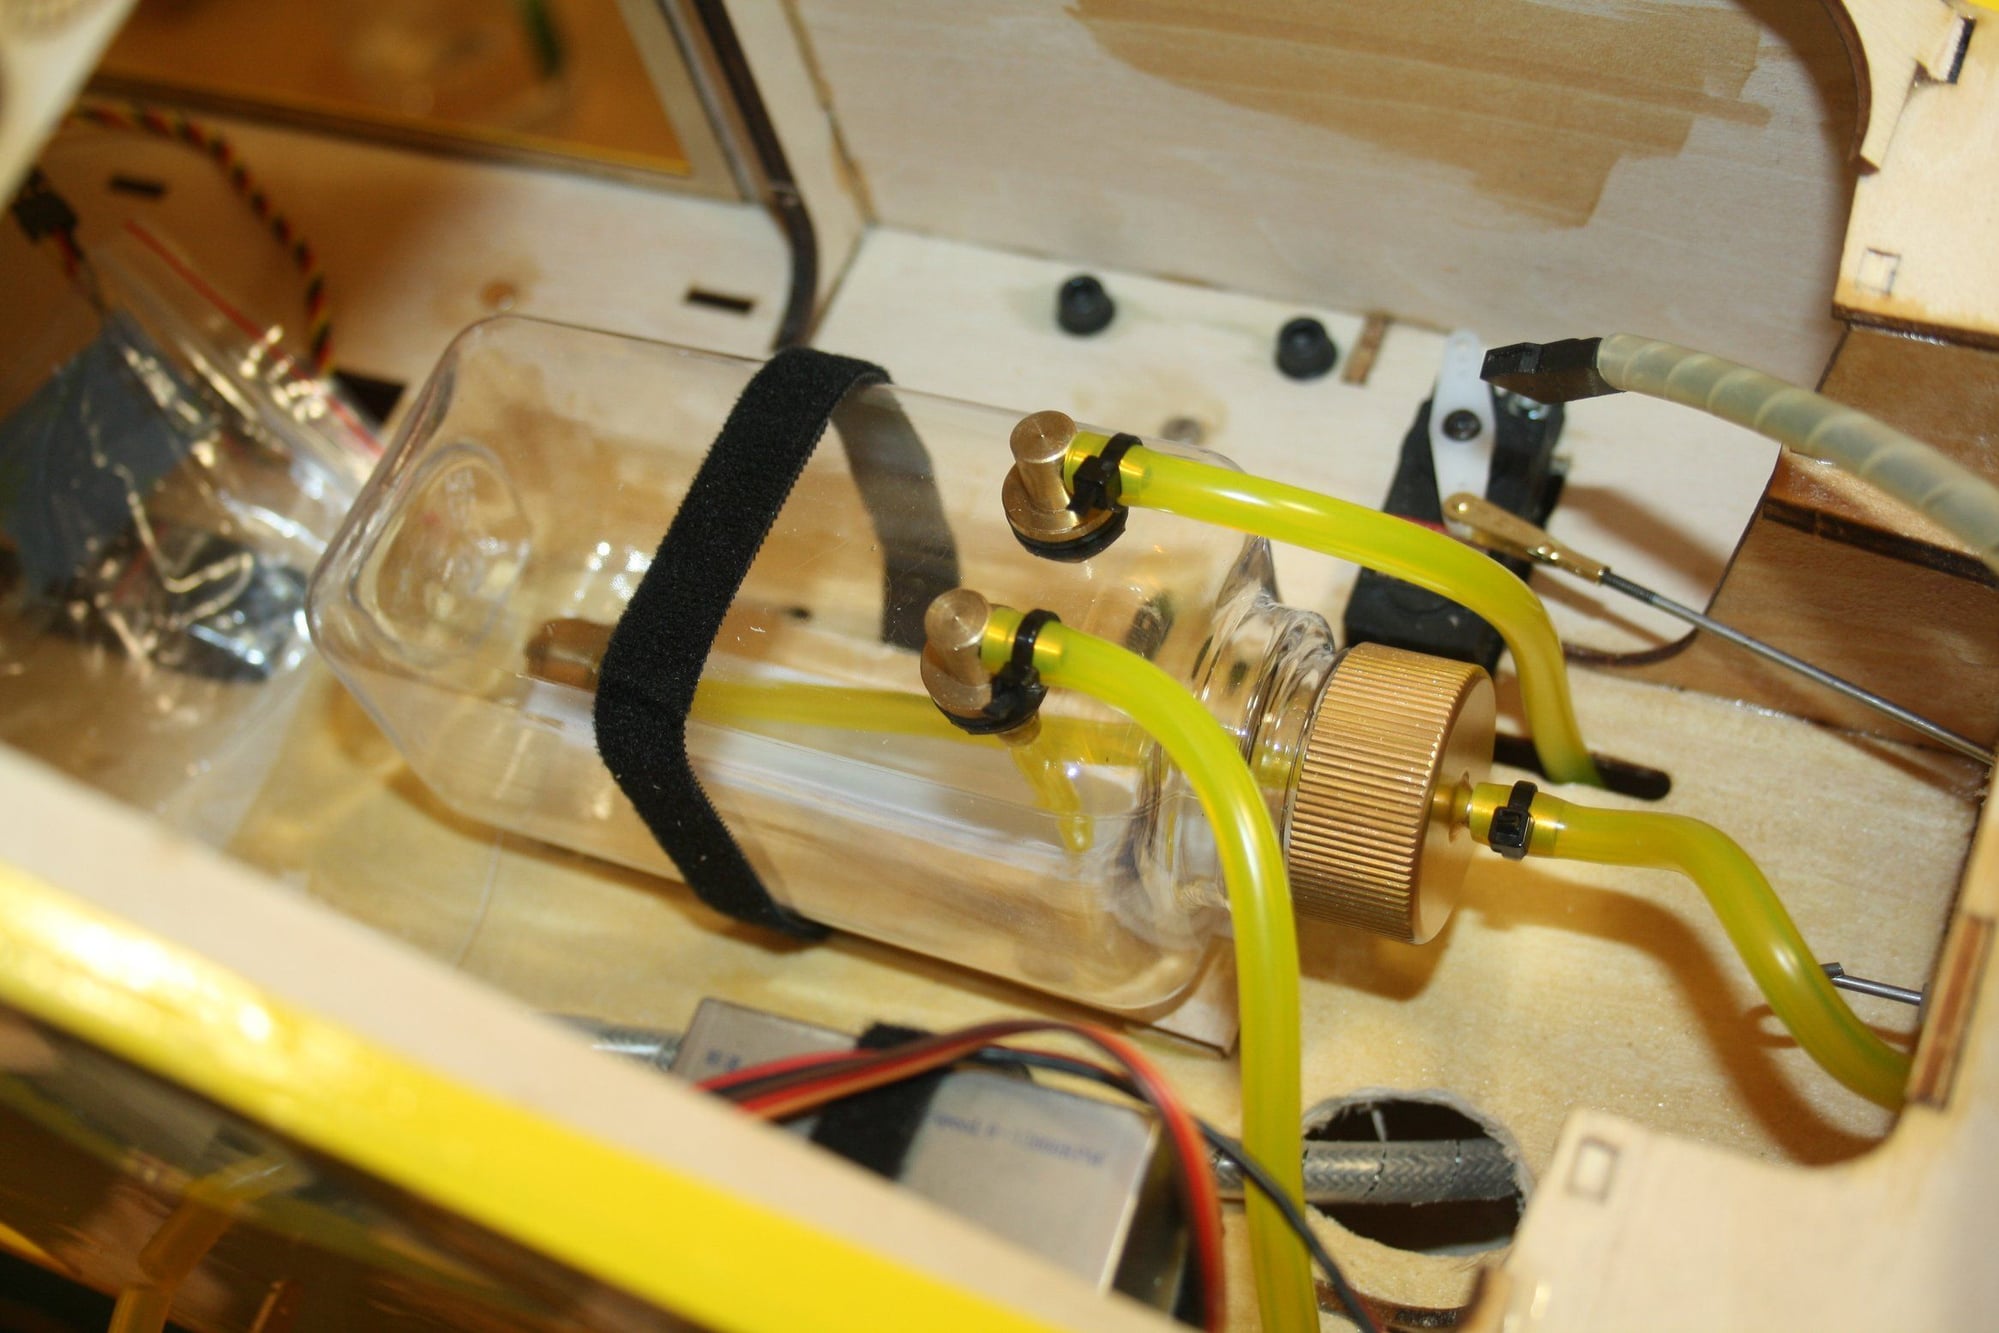
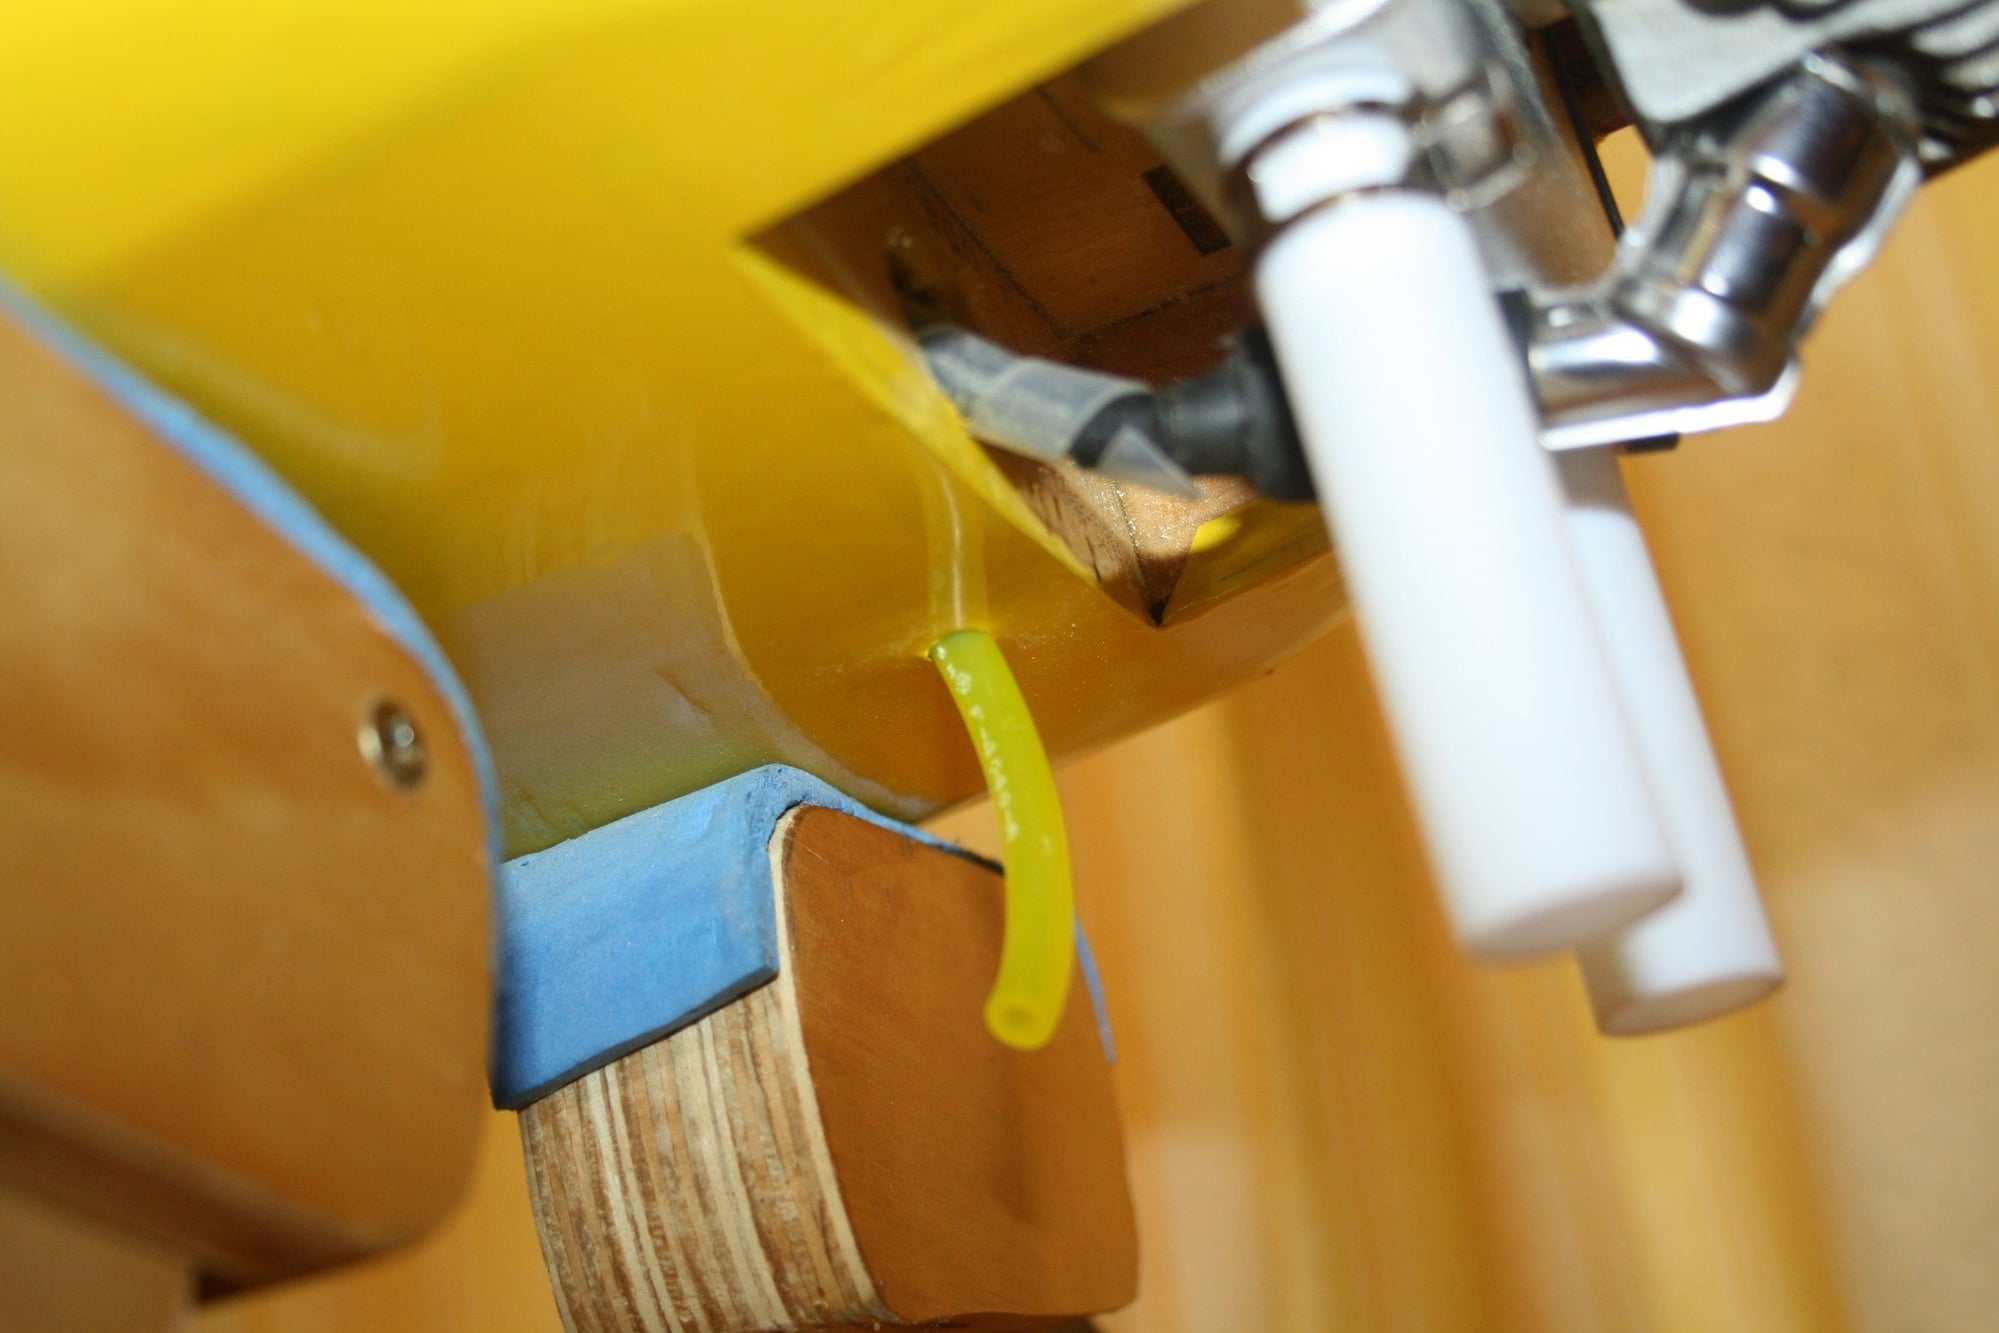
Next I fitted the fuel lines with the overfill exiting at the bottom.
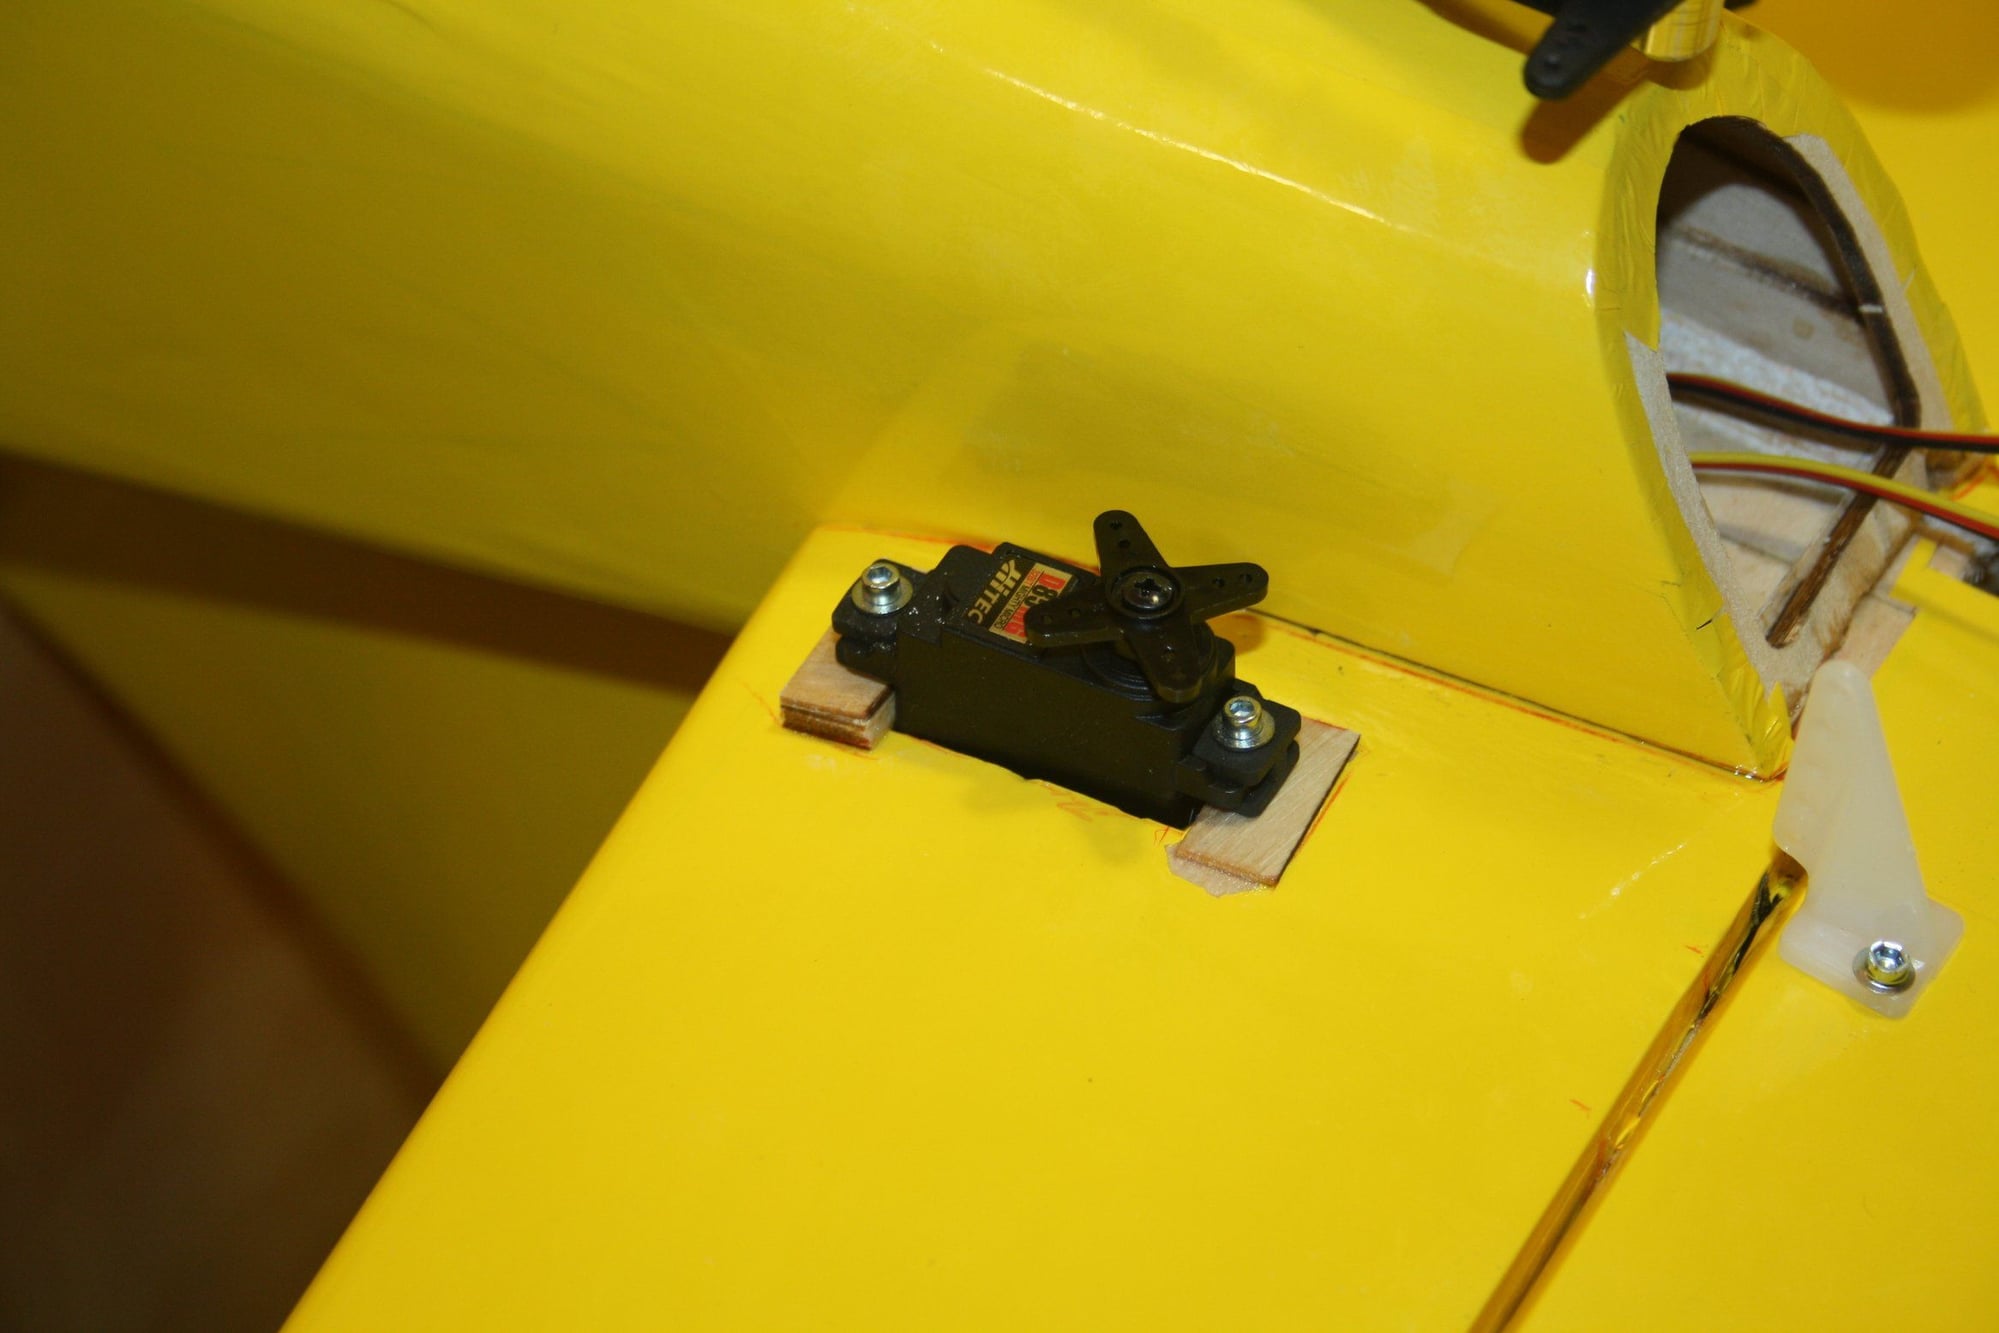
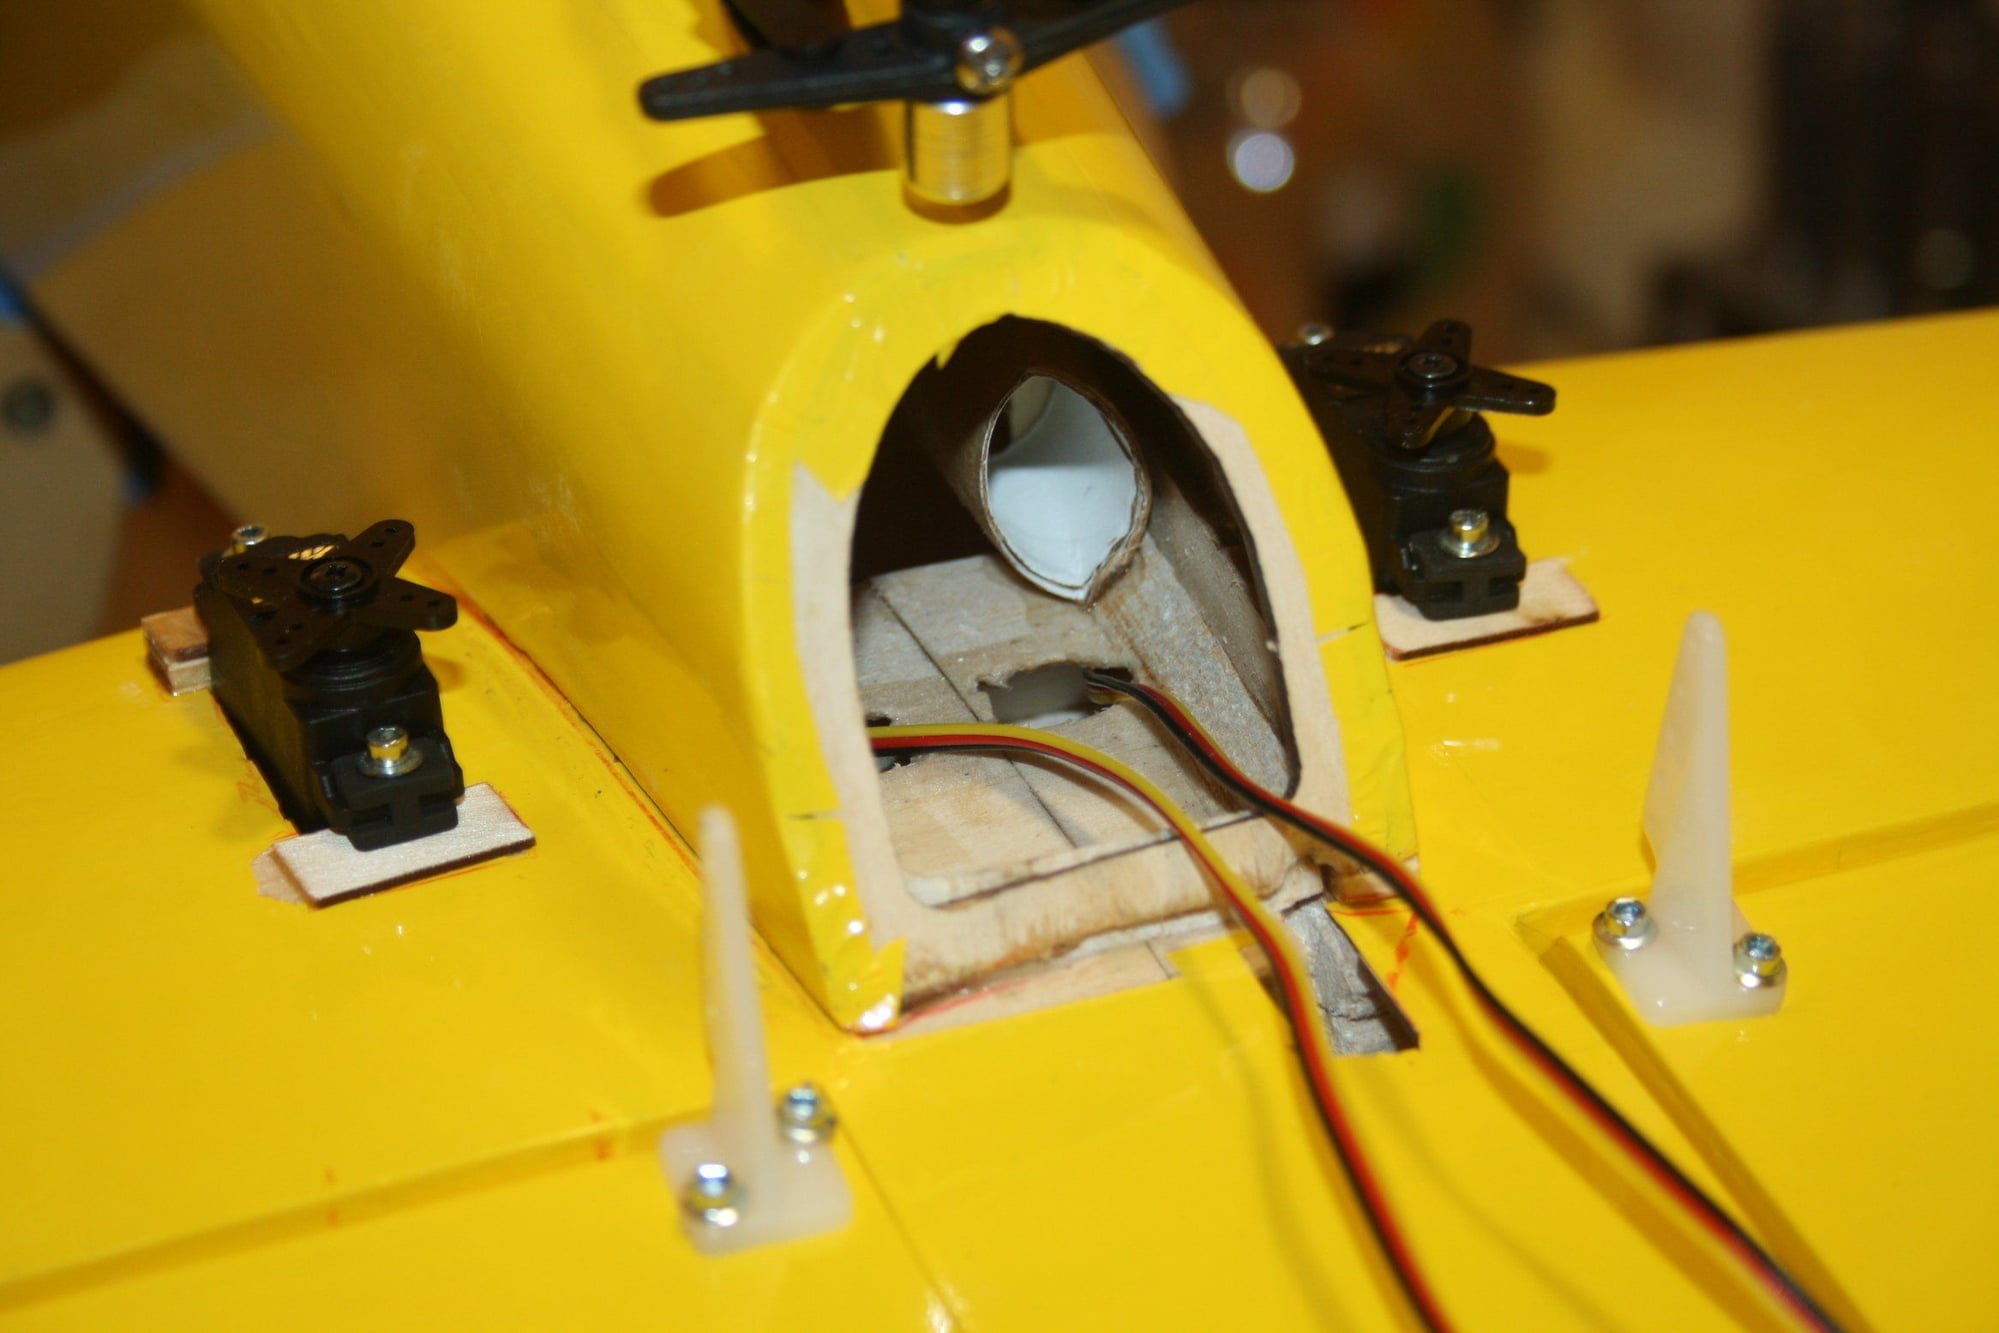
Cheers,
Eran
Next I fitted the fuel lines with the overfill exiting at the bottom.
Cheers,
Eran
12-24-2022, 12:55 AM
#91
Thread Starter
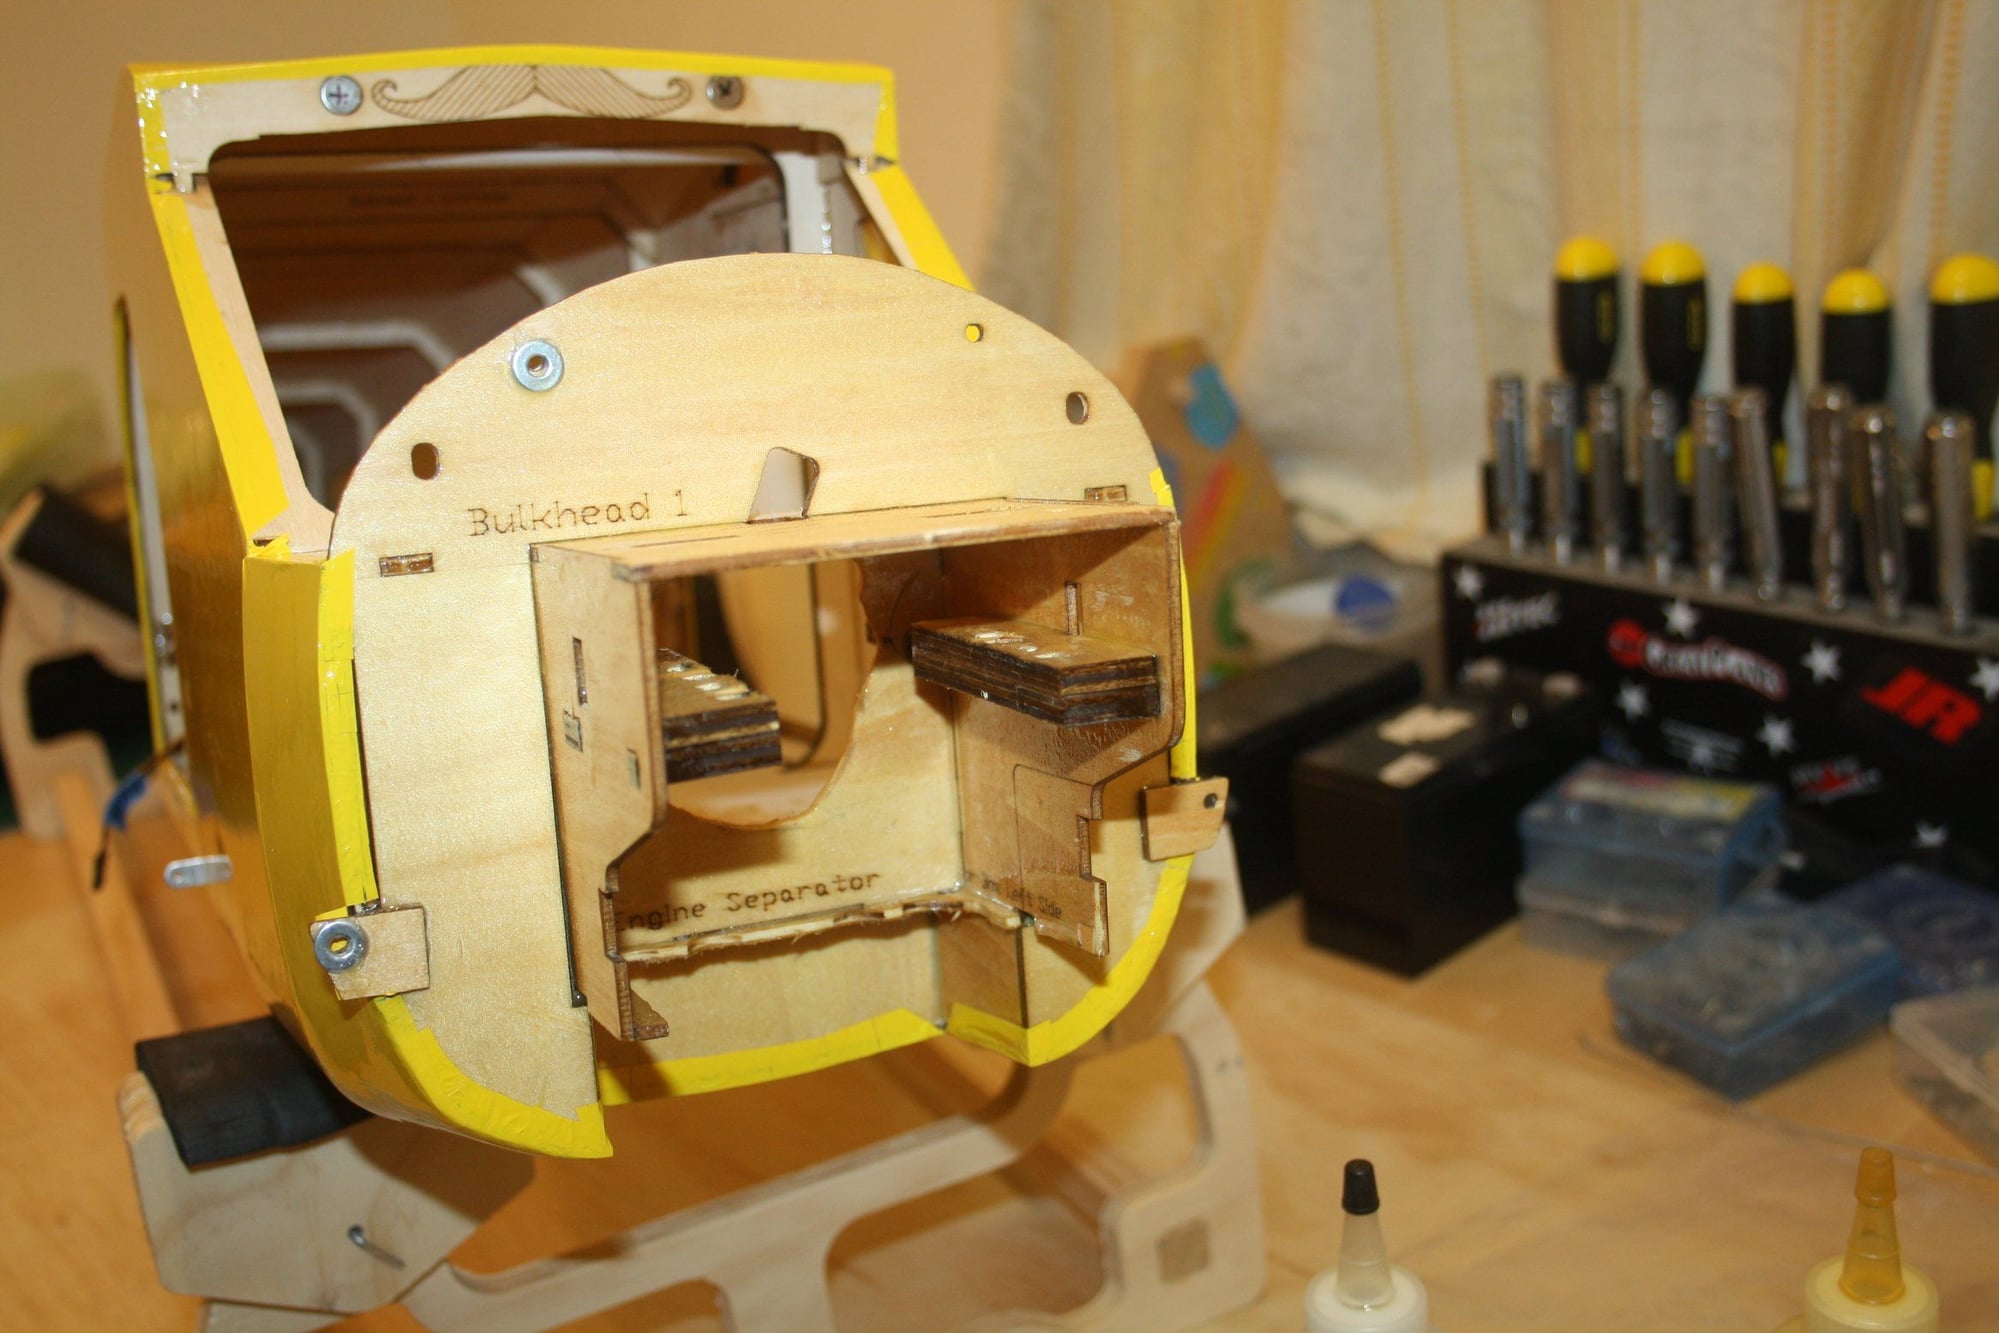
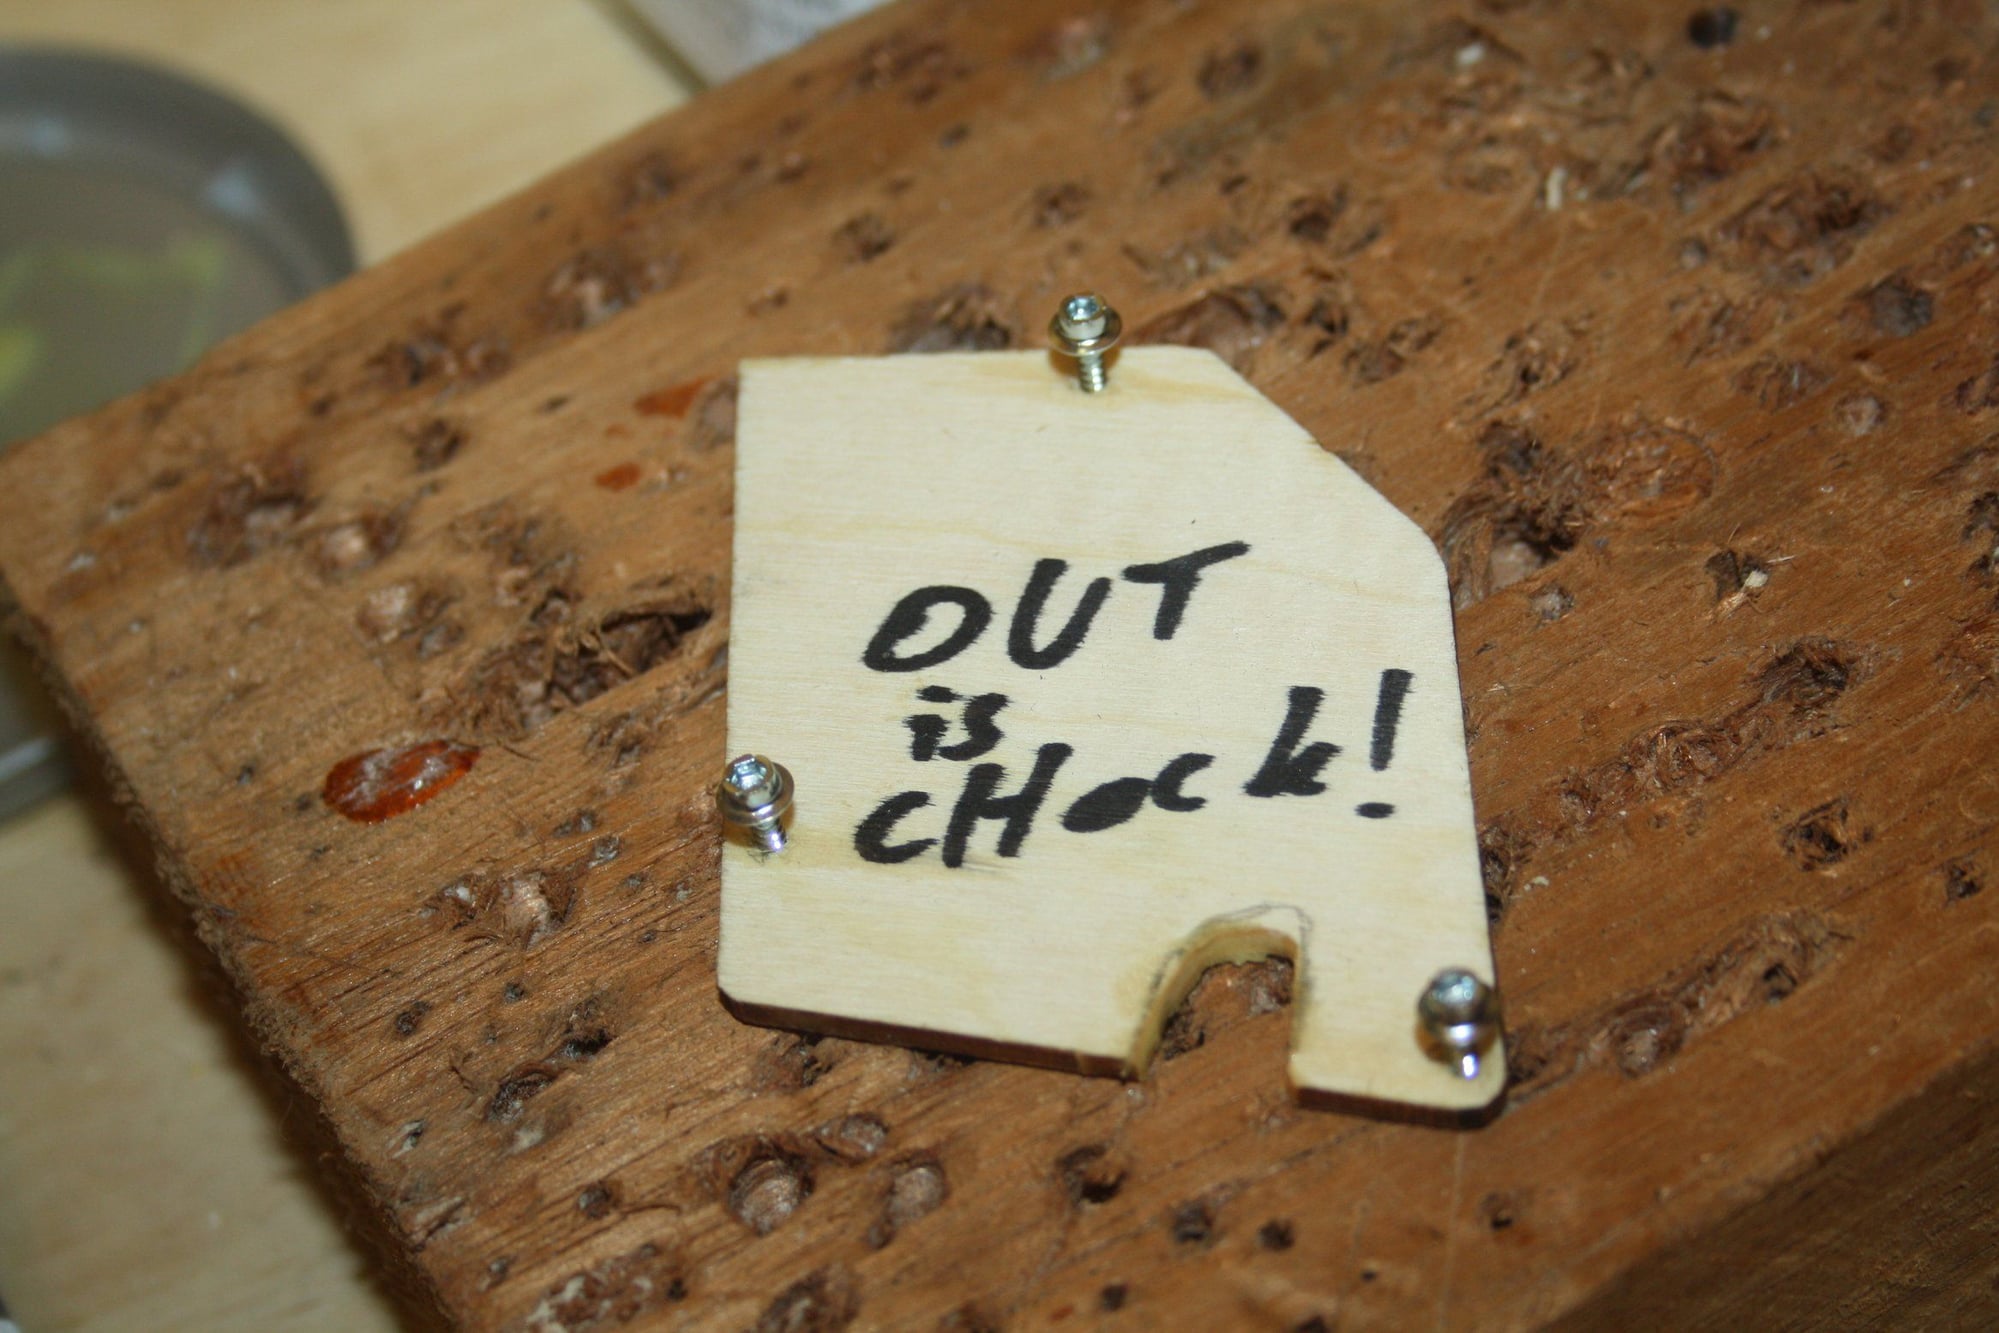
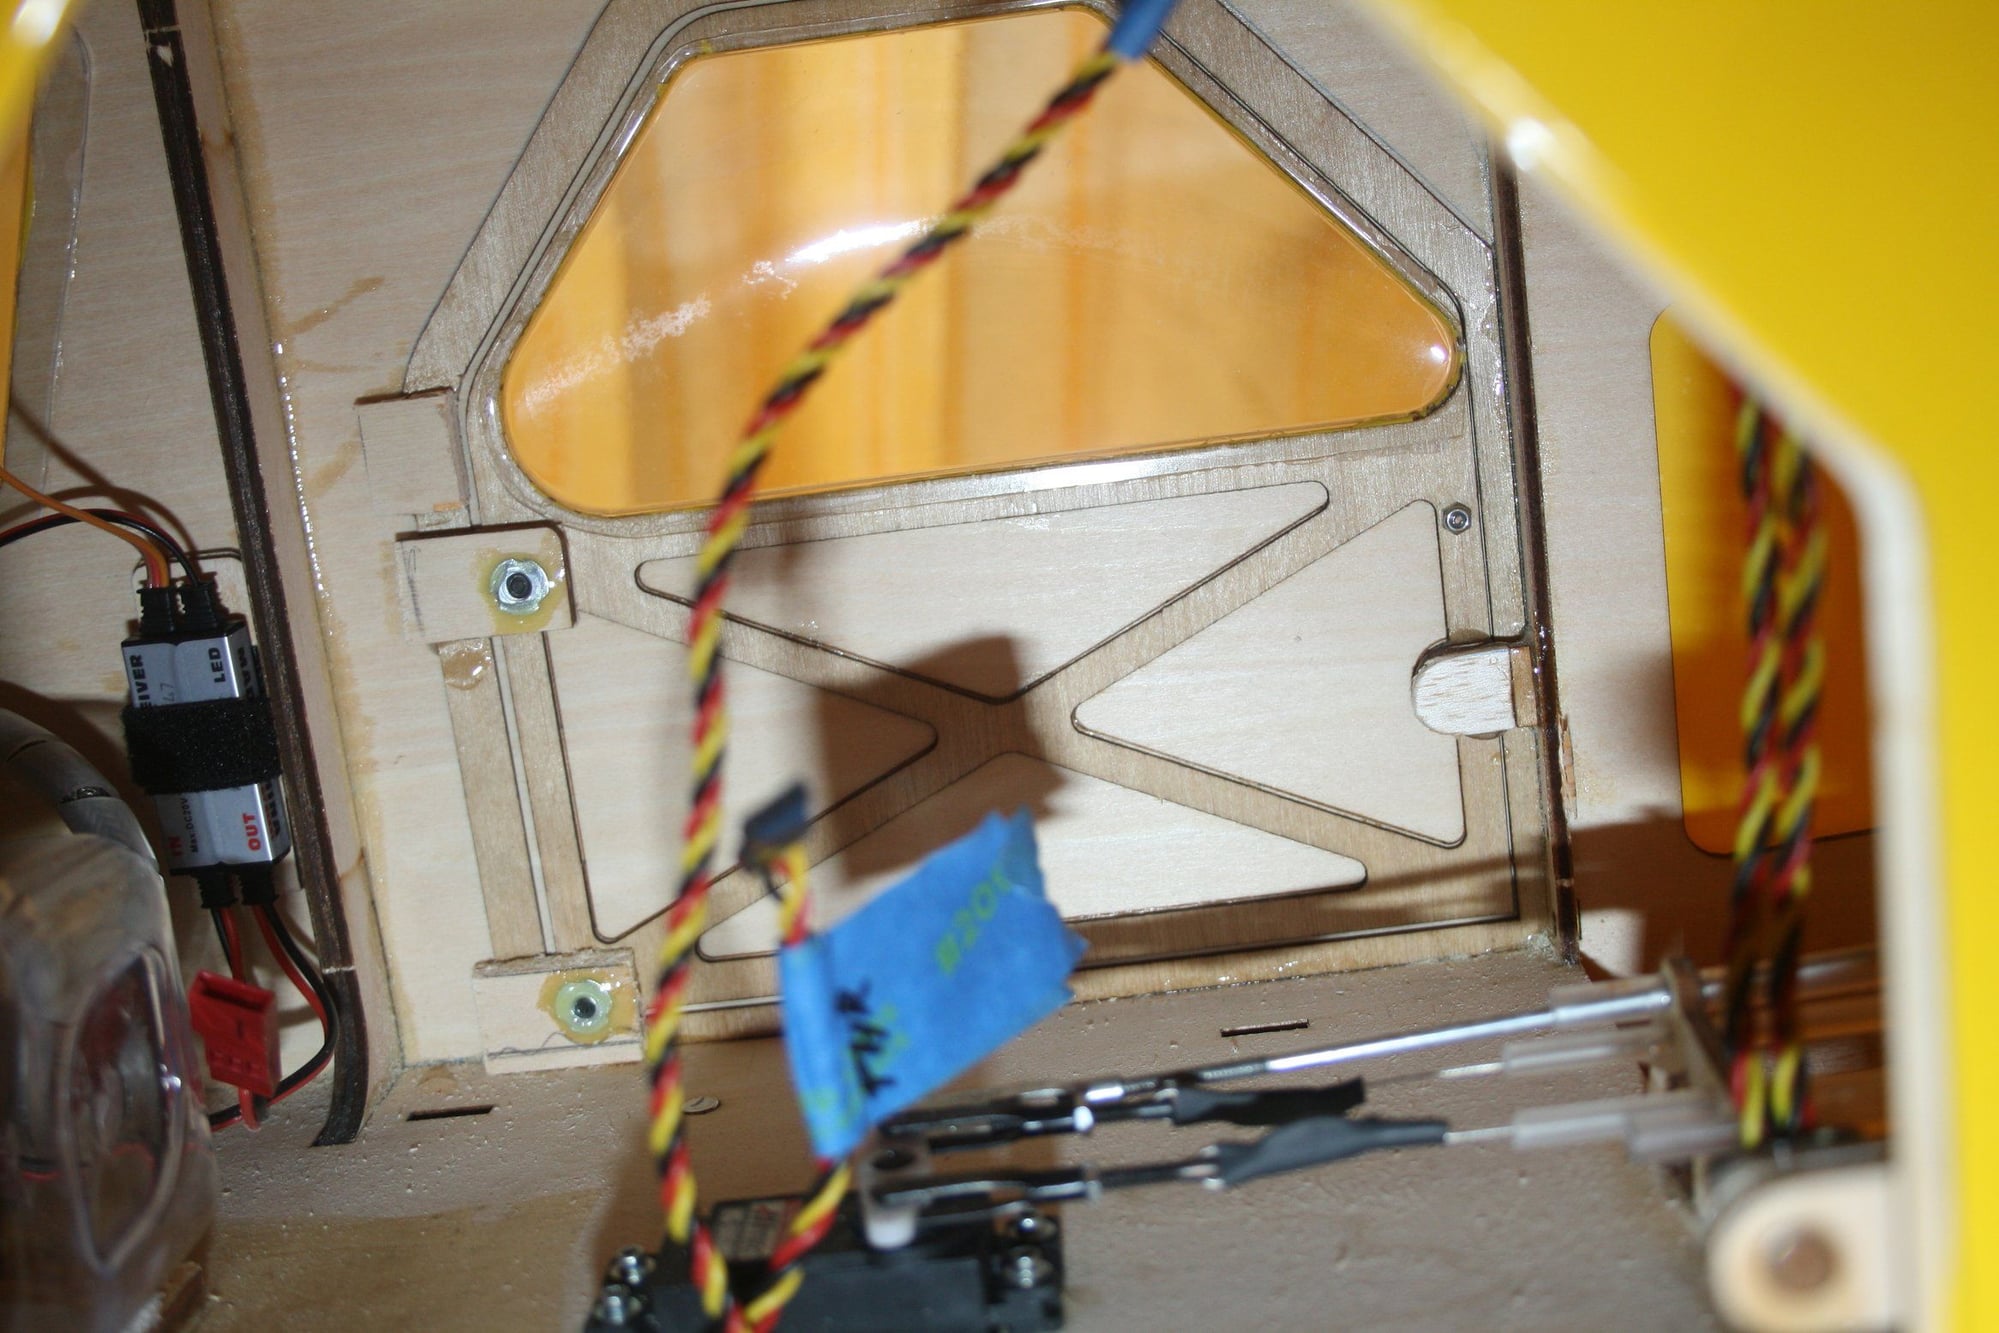
Since the hole in the back of the firewall is not required anymore, I made a plate to cover it and a small leaver to operate the chock,
With the looming CG crisis in the forefront of my mind, I installed the ignition battery as far forward as possible.


Cheers,
Eran
With the looming CG crisis in the forefront of my mind, I installed the ignition battery as far forward as possible.
Cheers,
Eran
12-24-2022, 03:32 AM
#92
Thread Starter
Next was an attempt to fit the accessories around the tail which were painted prior to cutting the access material which caused the paint to chip off. The fit was so poor that I decided to throw these parts to the bin. At this stage I lost all interest in making this model even semi-scale.


Cheers,
Eran
Cheers,
Eran
12-24-2022, 03:37 AM
#93
Thread Starter
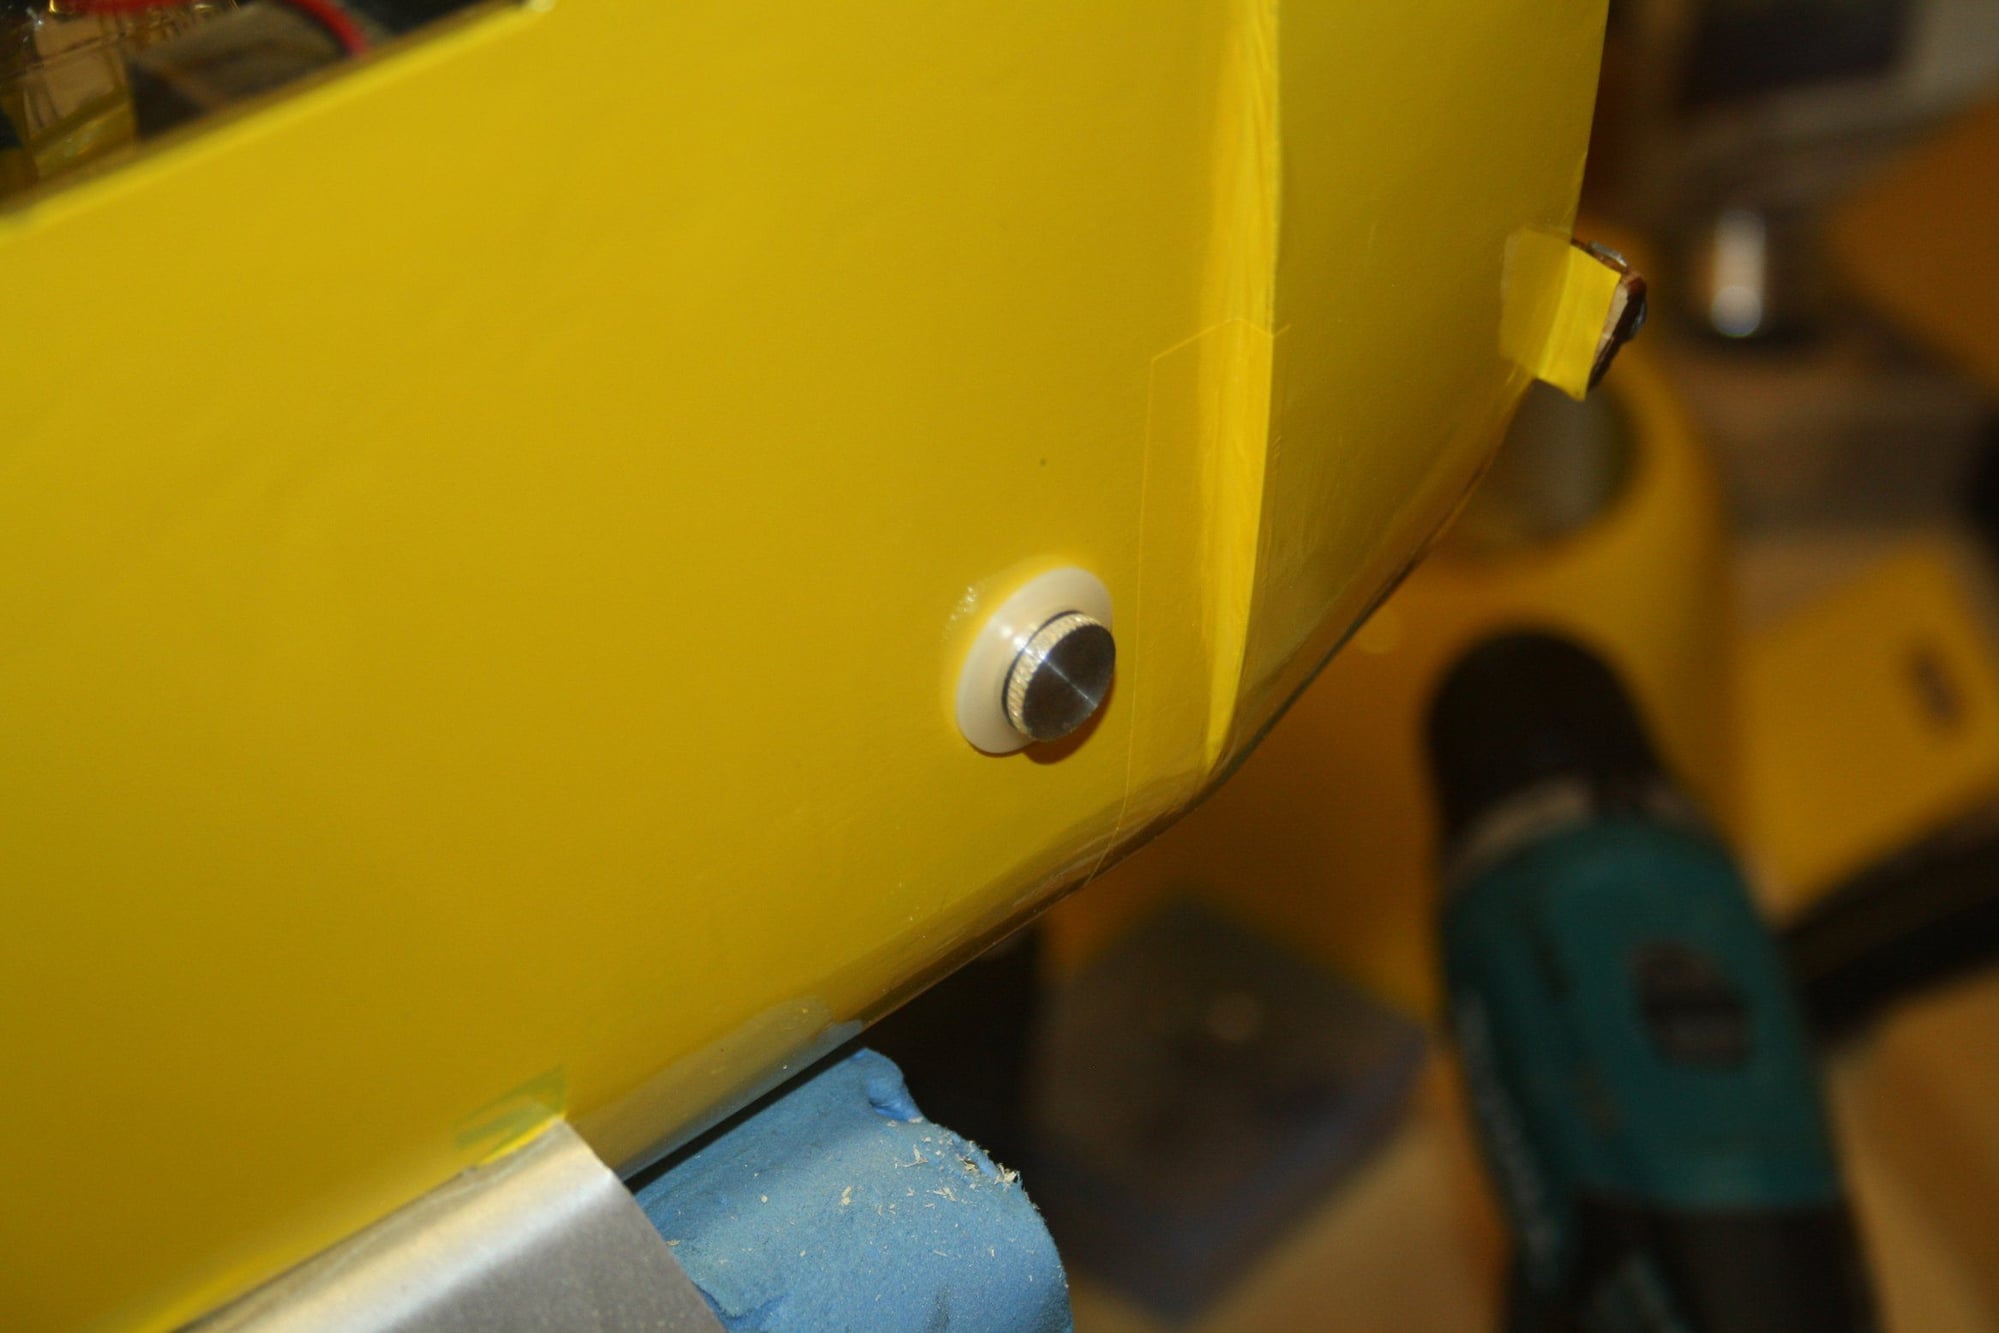
Received battery mounted as far forward as I could considering that I insert it in and take it out for every flying day (this battery is a common battery between many of my aeroplanes).
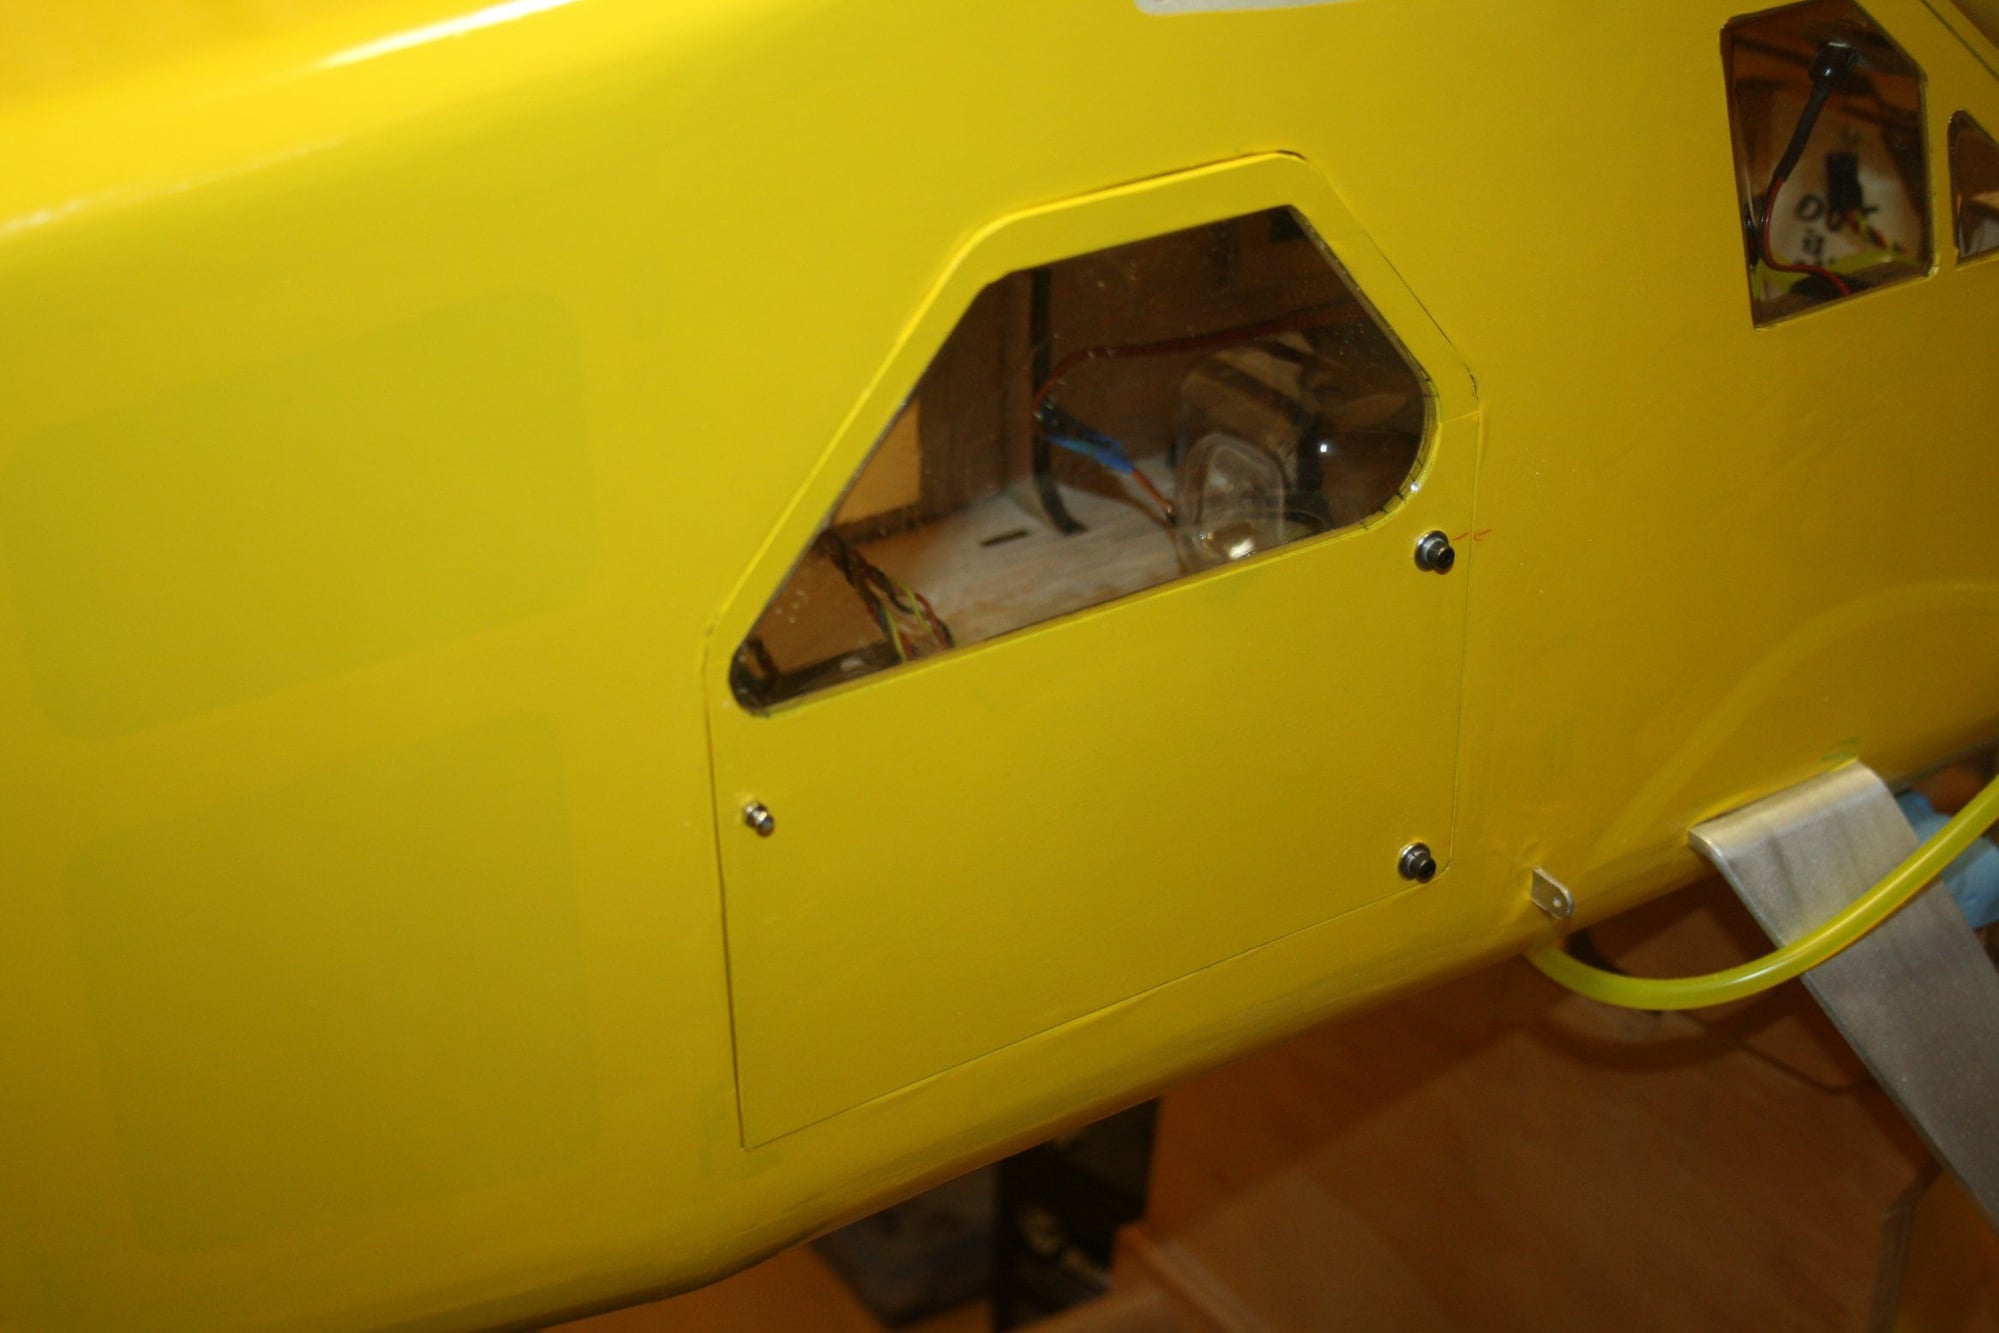
Optical kill switch is also installed in its own mount. I had very little faith in the hinged door proposed and decided to use 4-40 screws to hold it in place with a magnet on the tail side.


Cheers,
Eran
Optical kill switch is also installed in its own mount. I had very little faith in the hinged door proposed and decided to use 4-40 screws to hold it in place with a magnet on the tail side.
Cheers,
Eran
12-24-2022, 03:41 AM
#94
Thread Starter
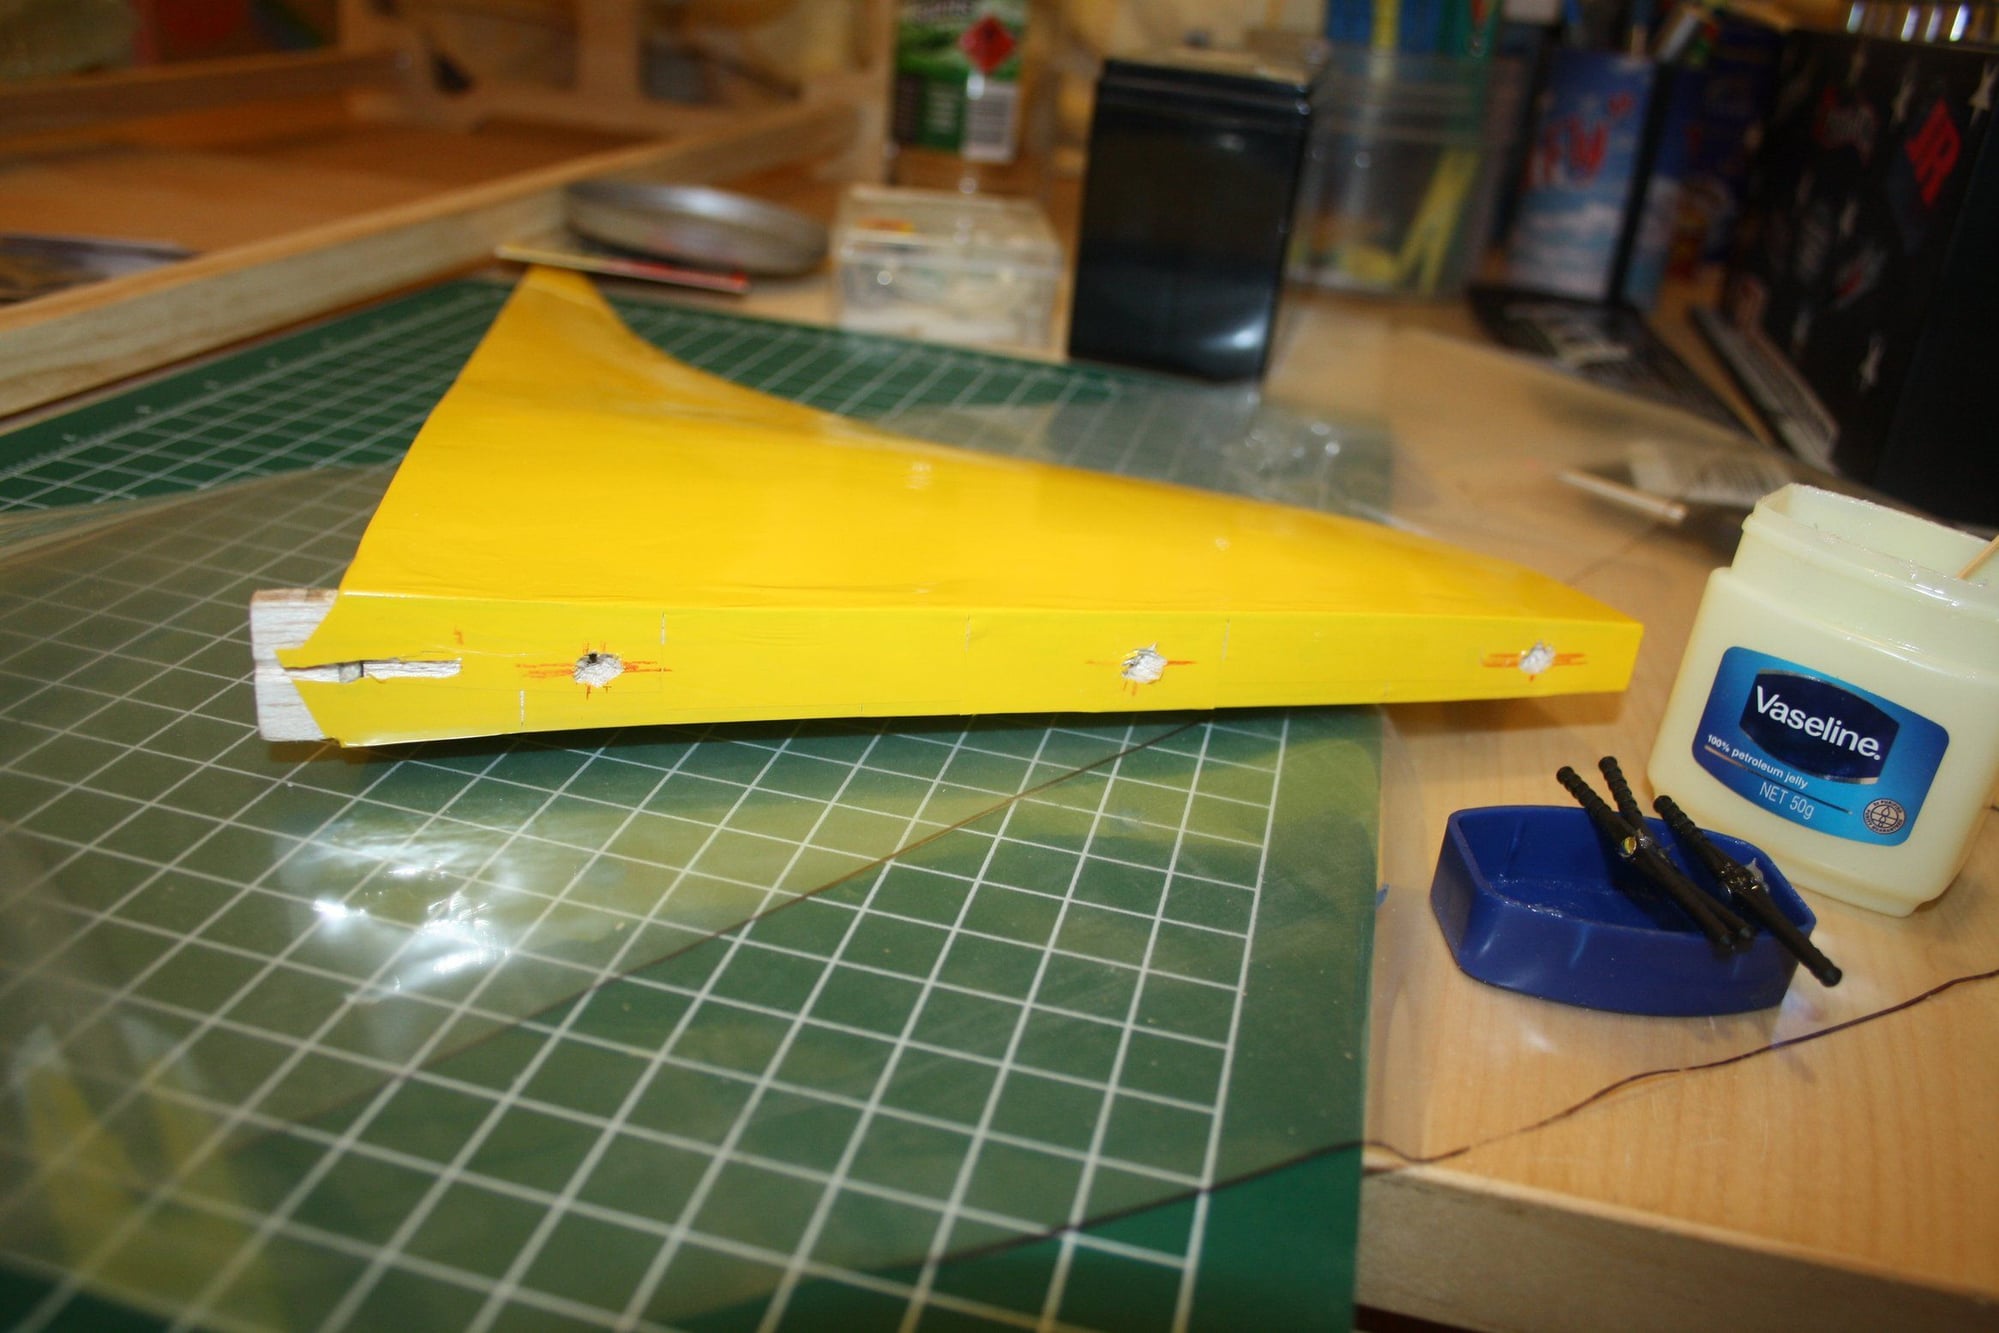
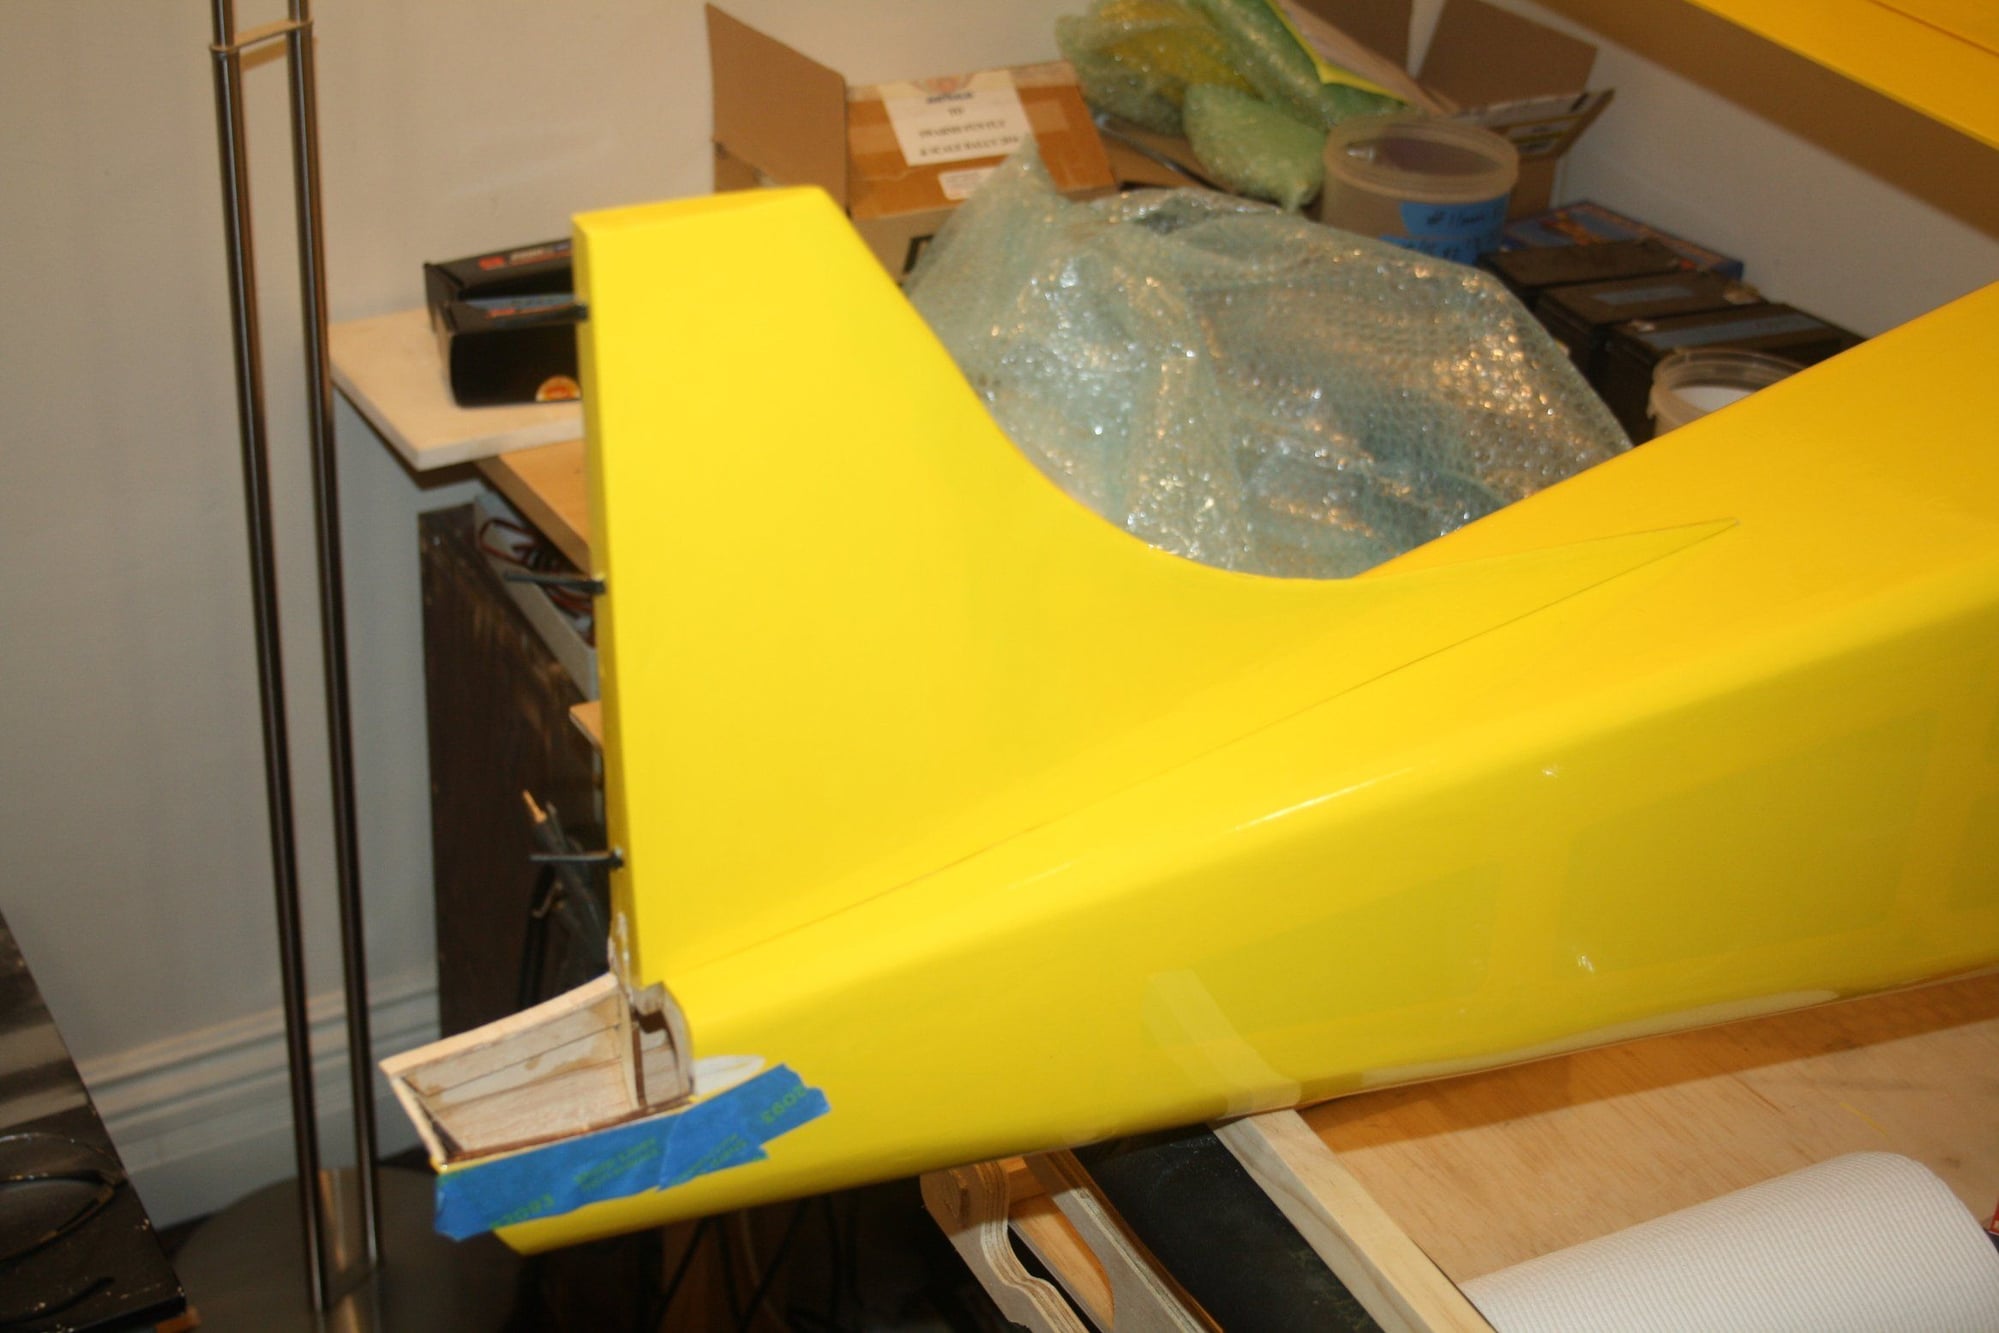
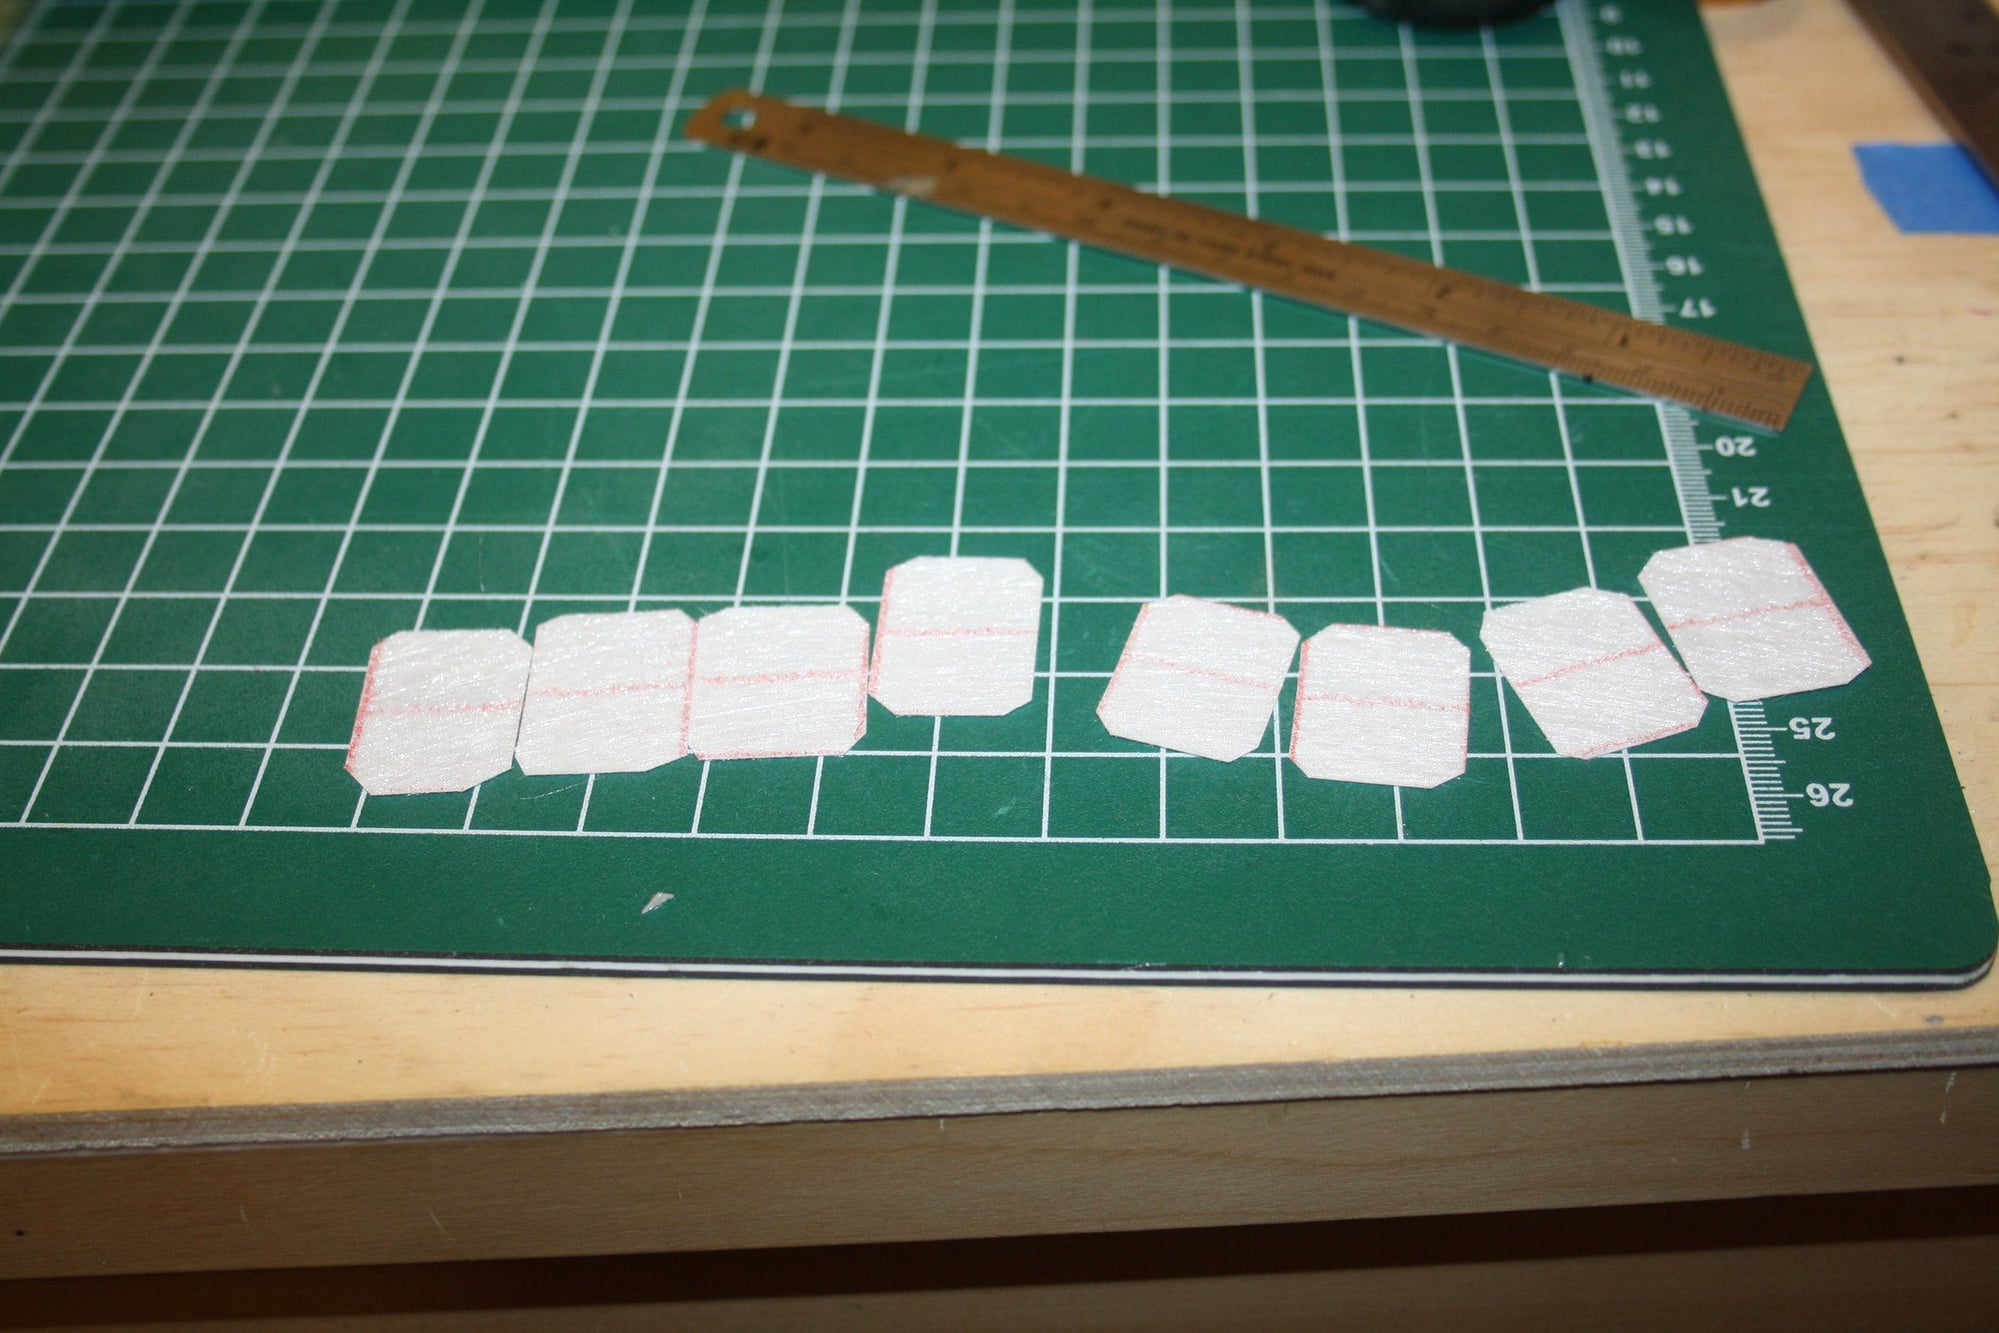
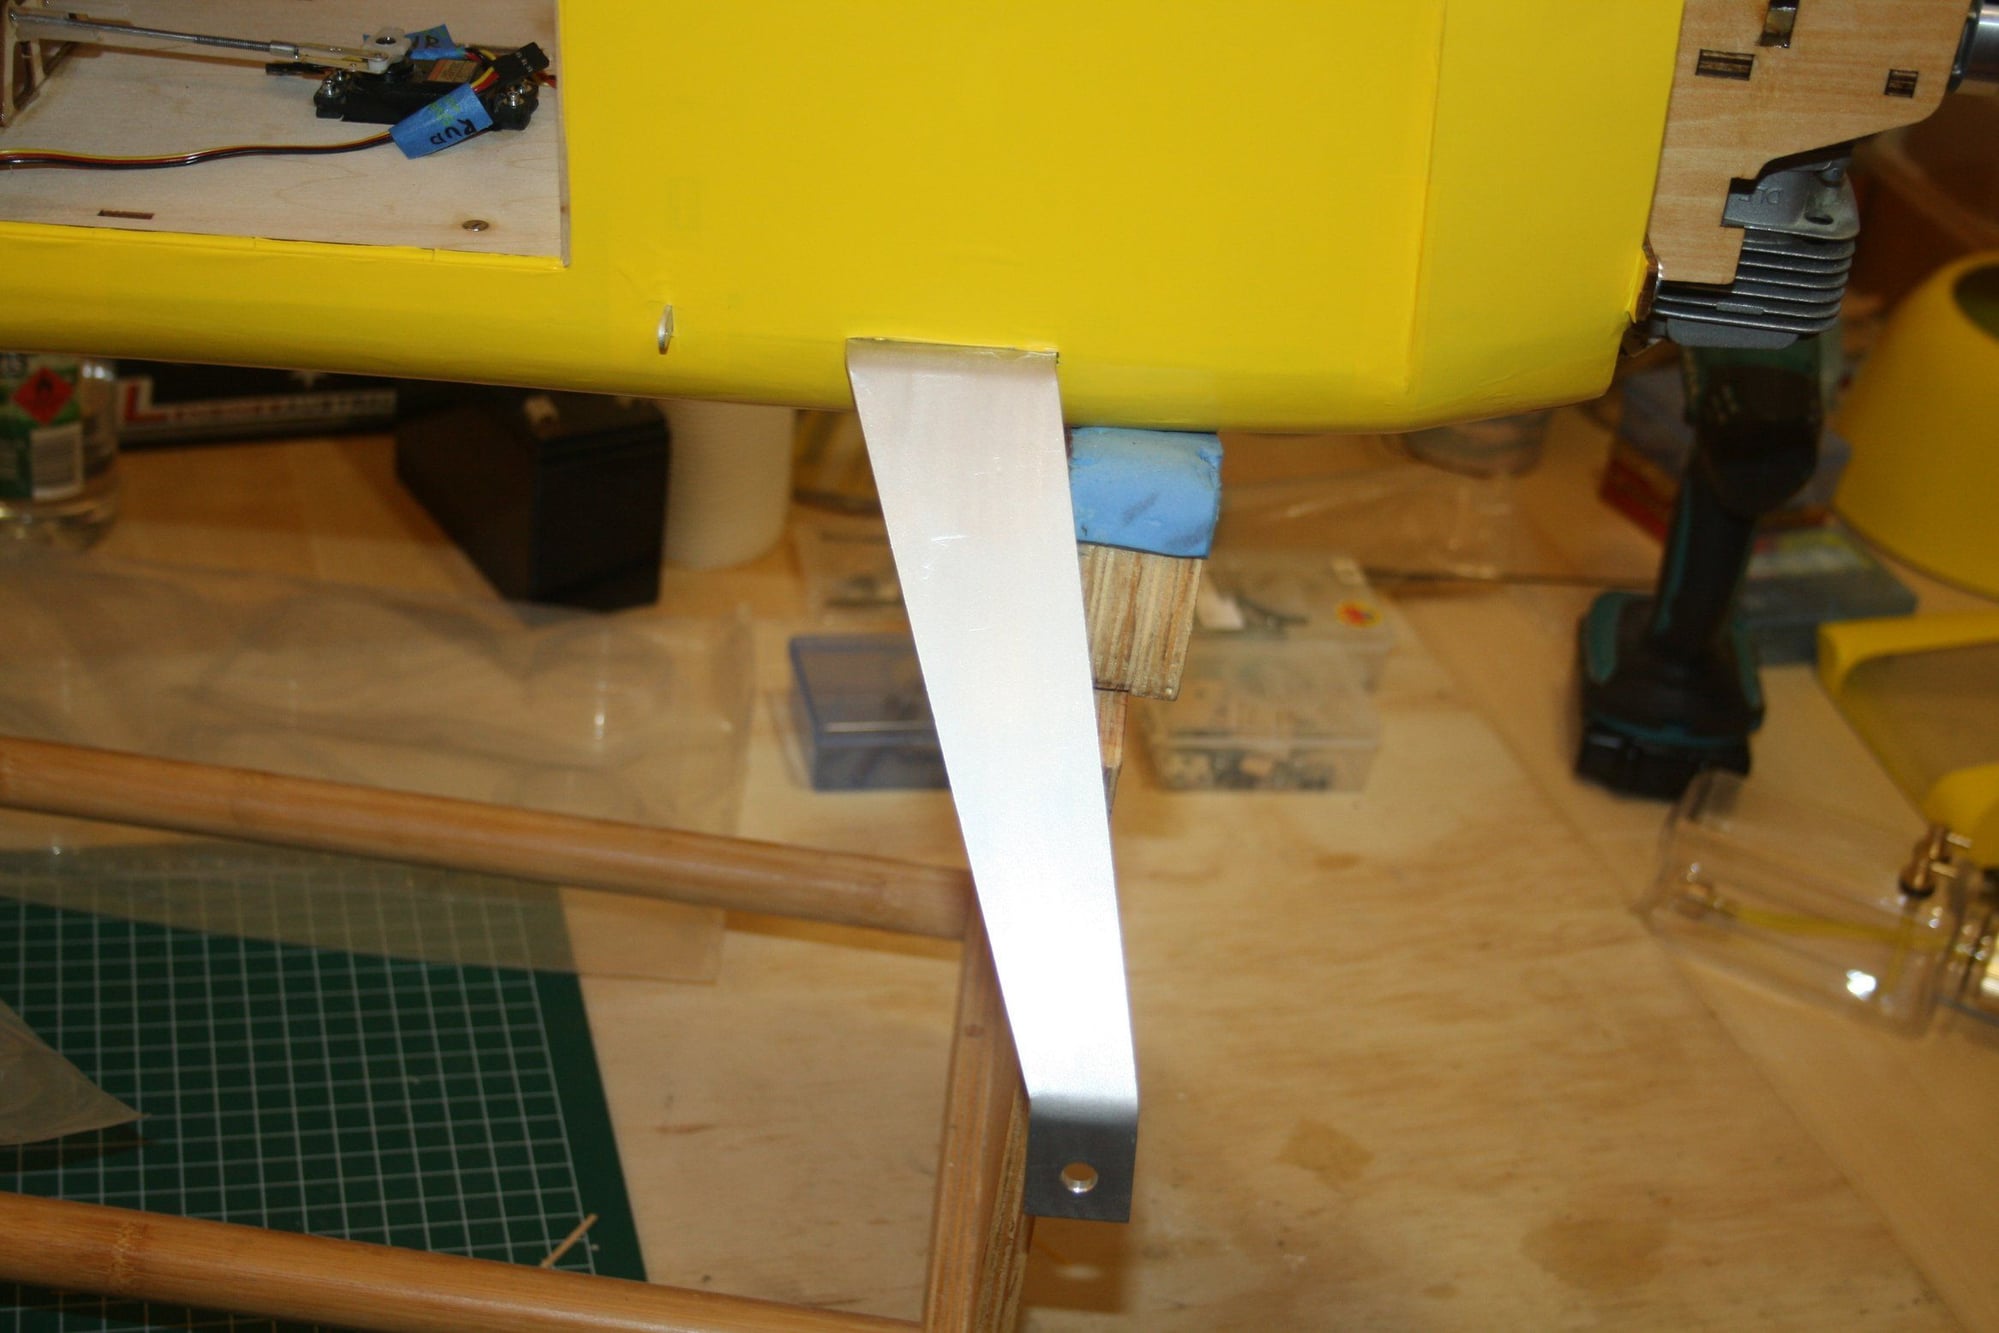
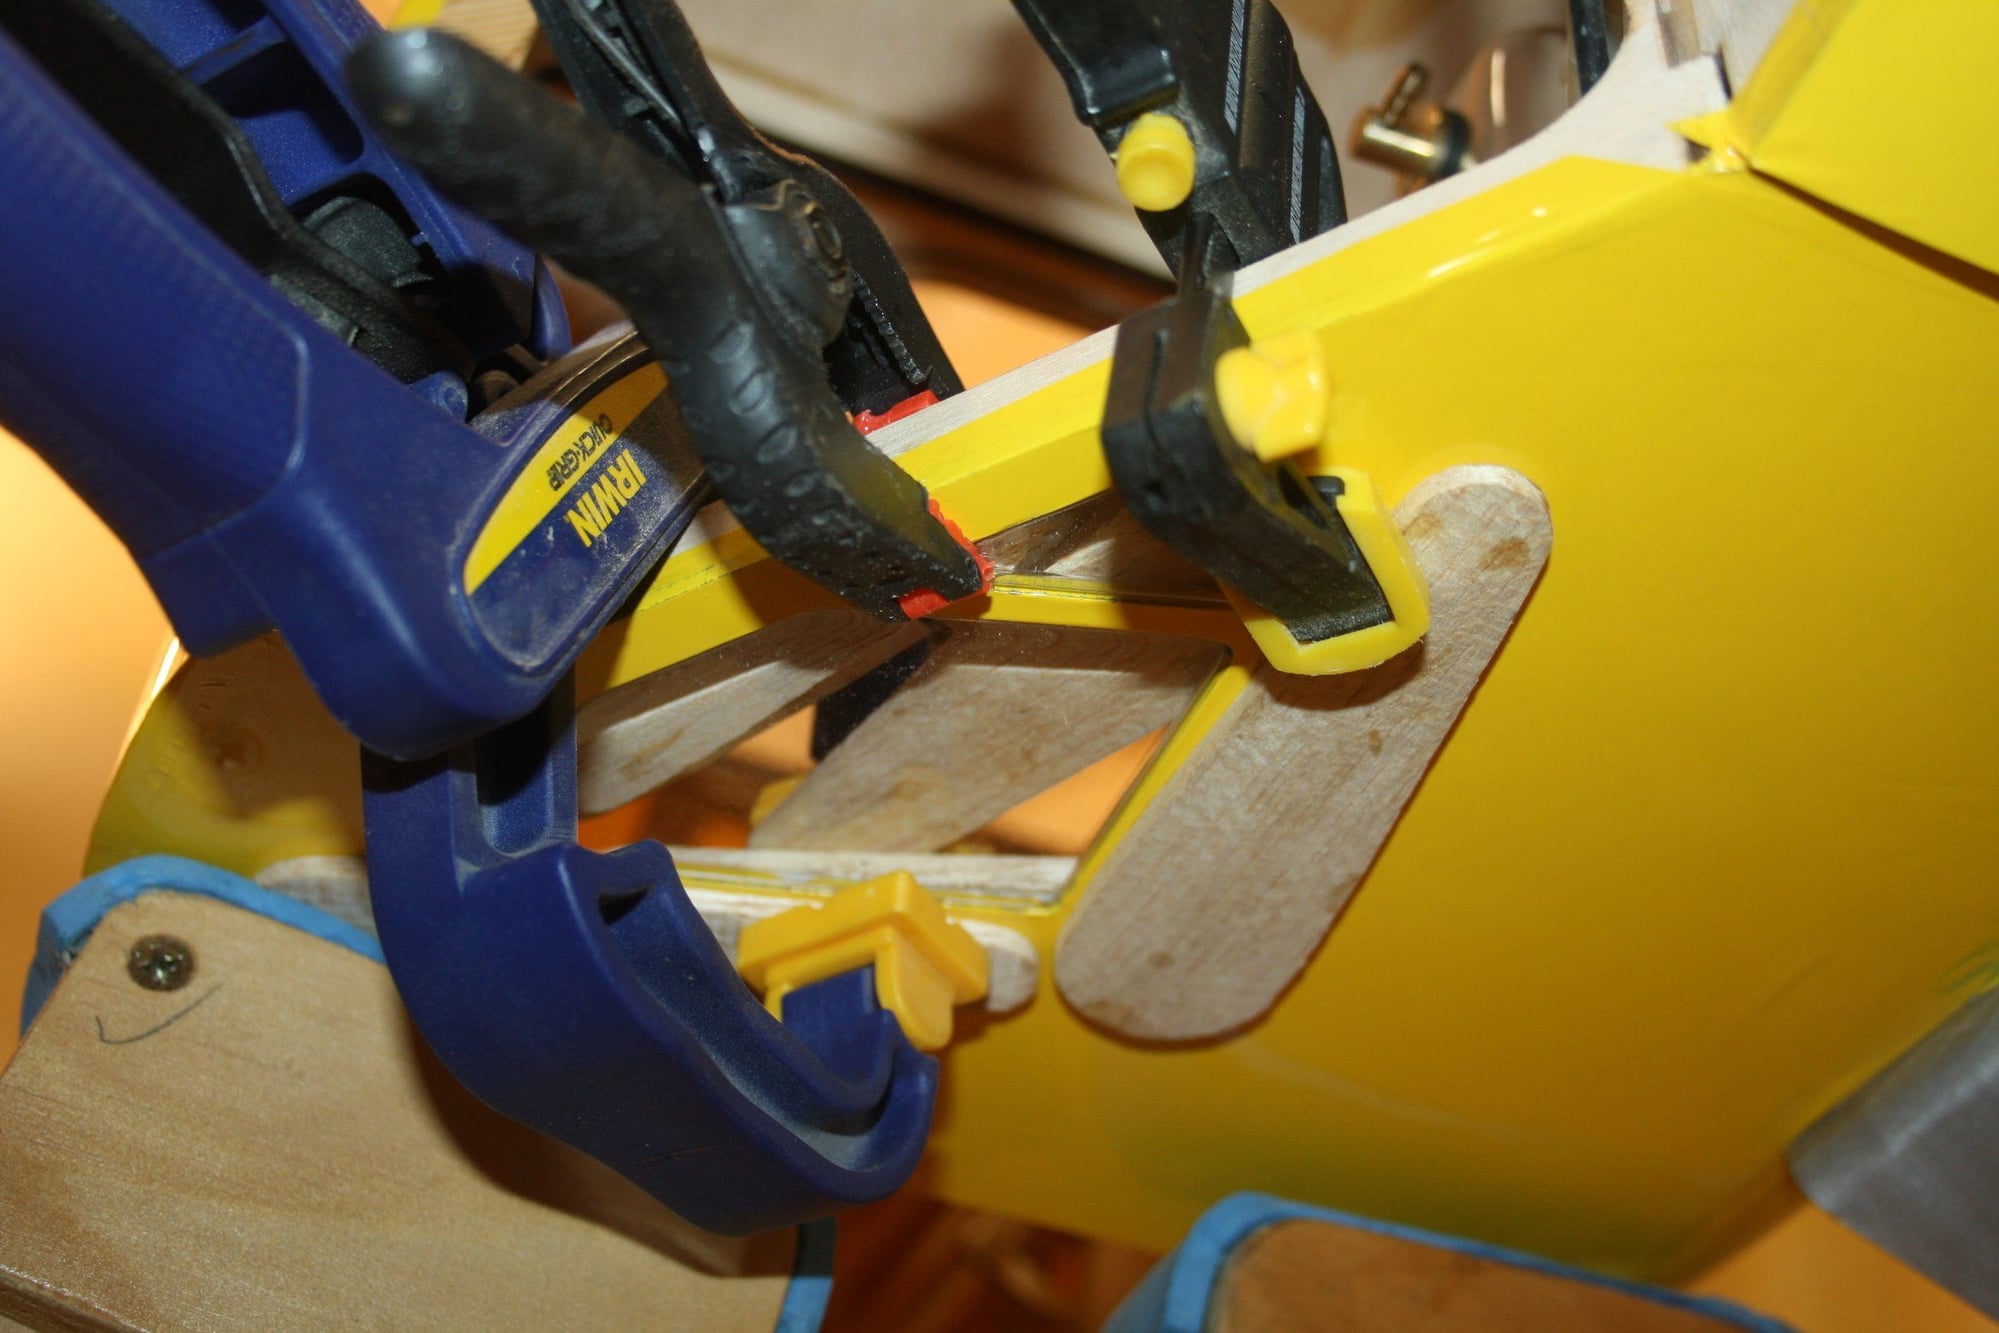
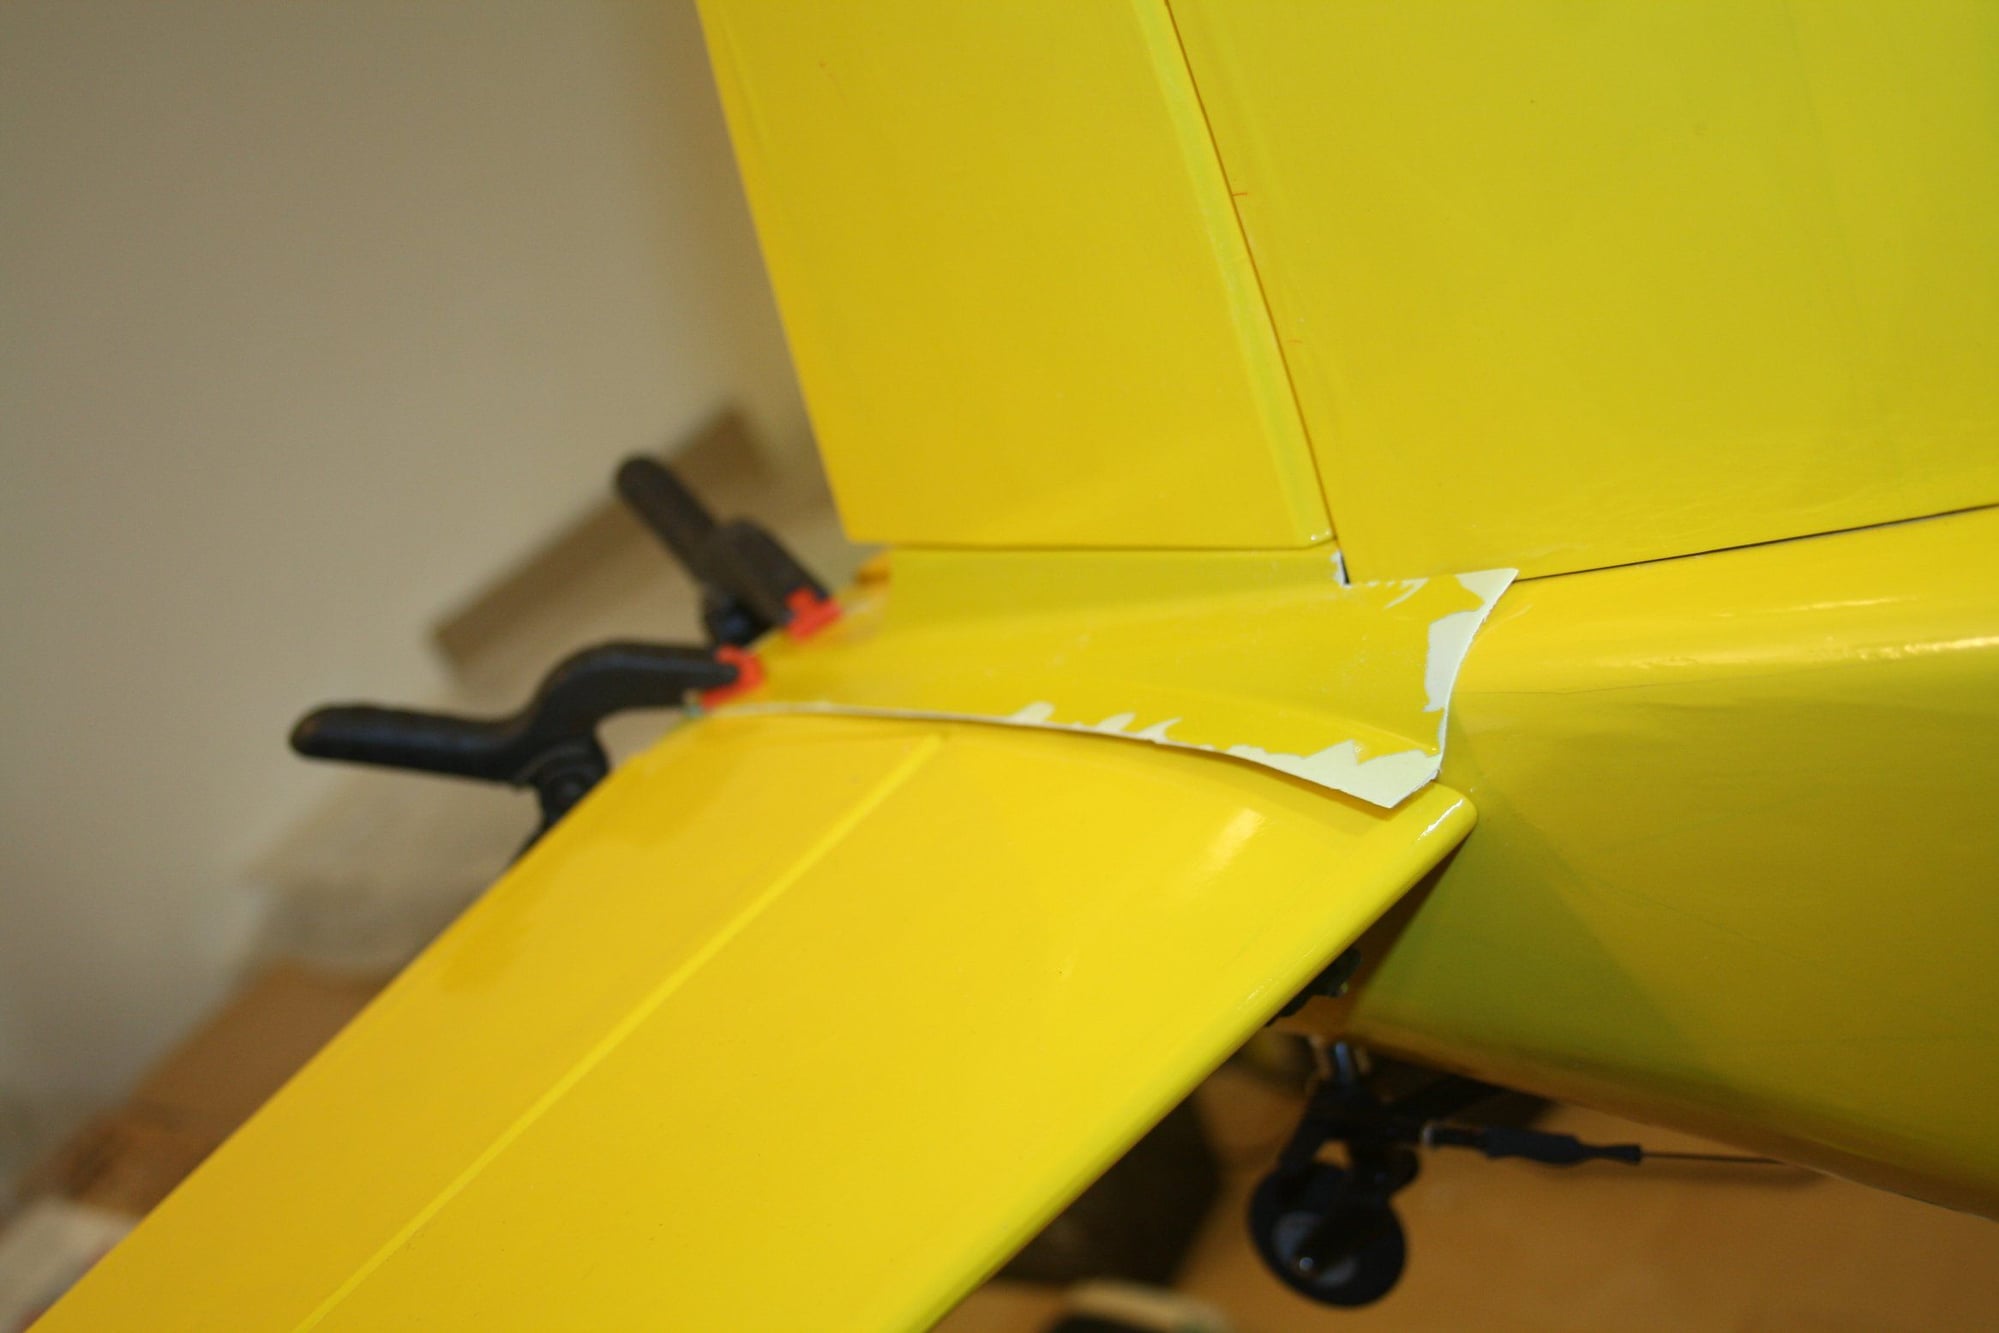
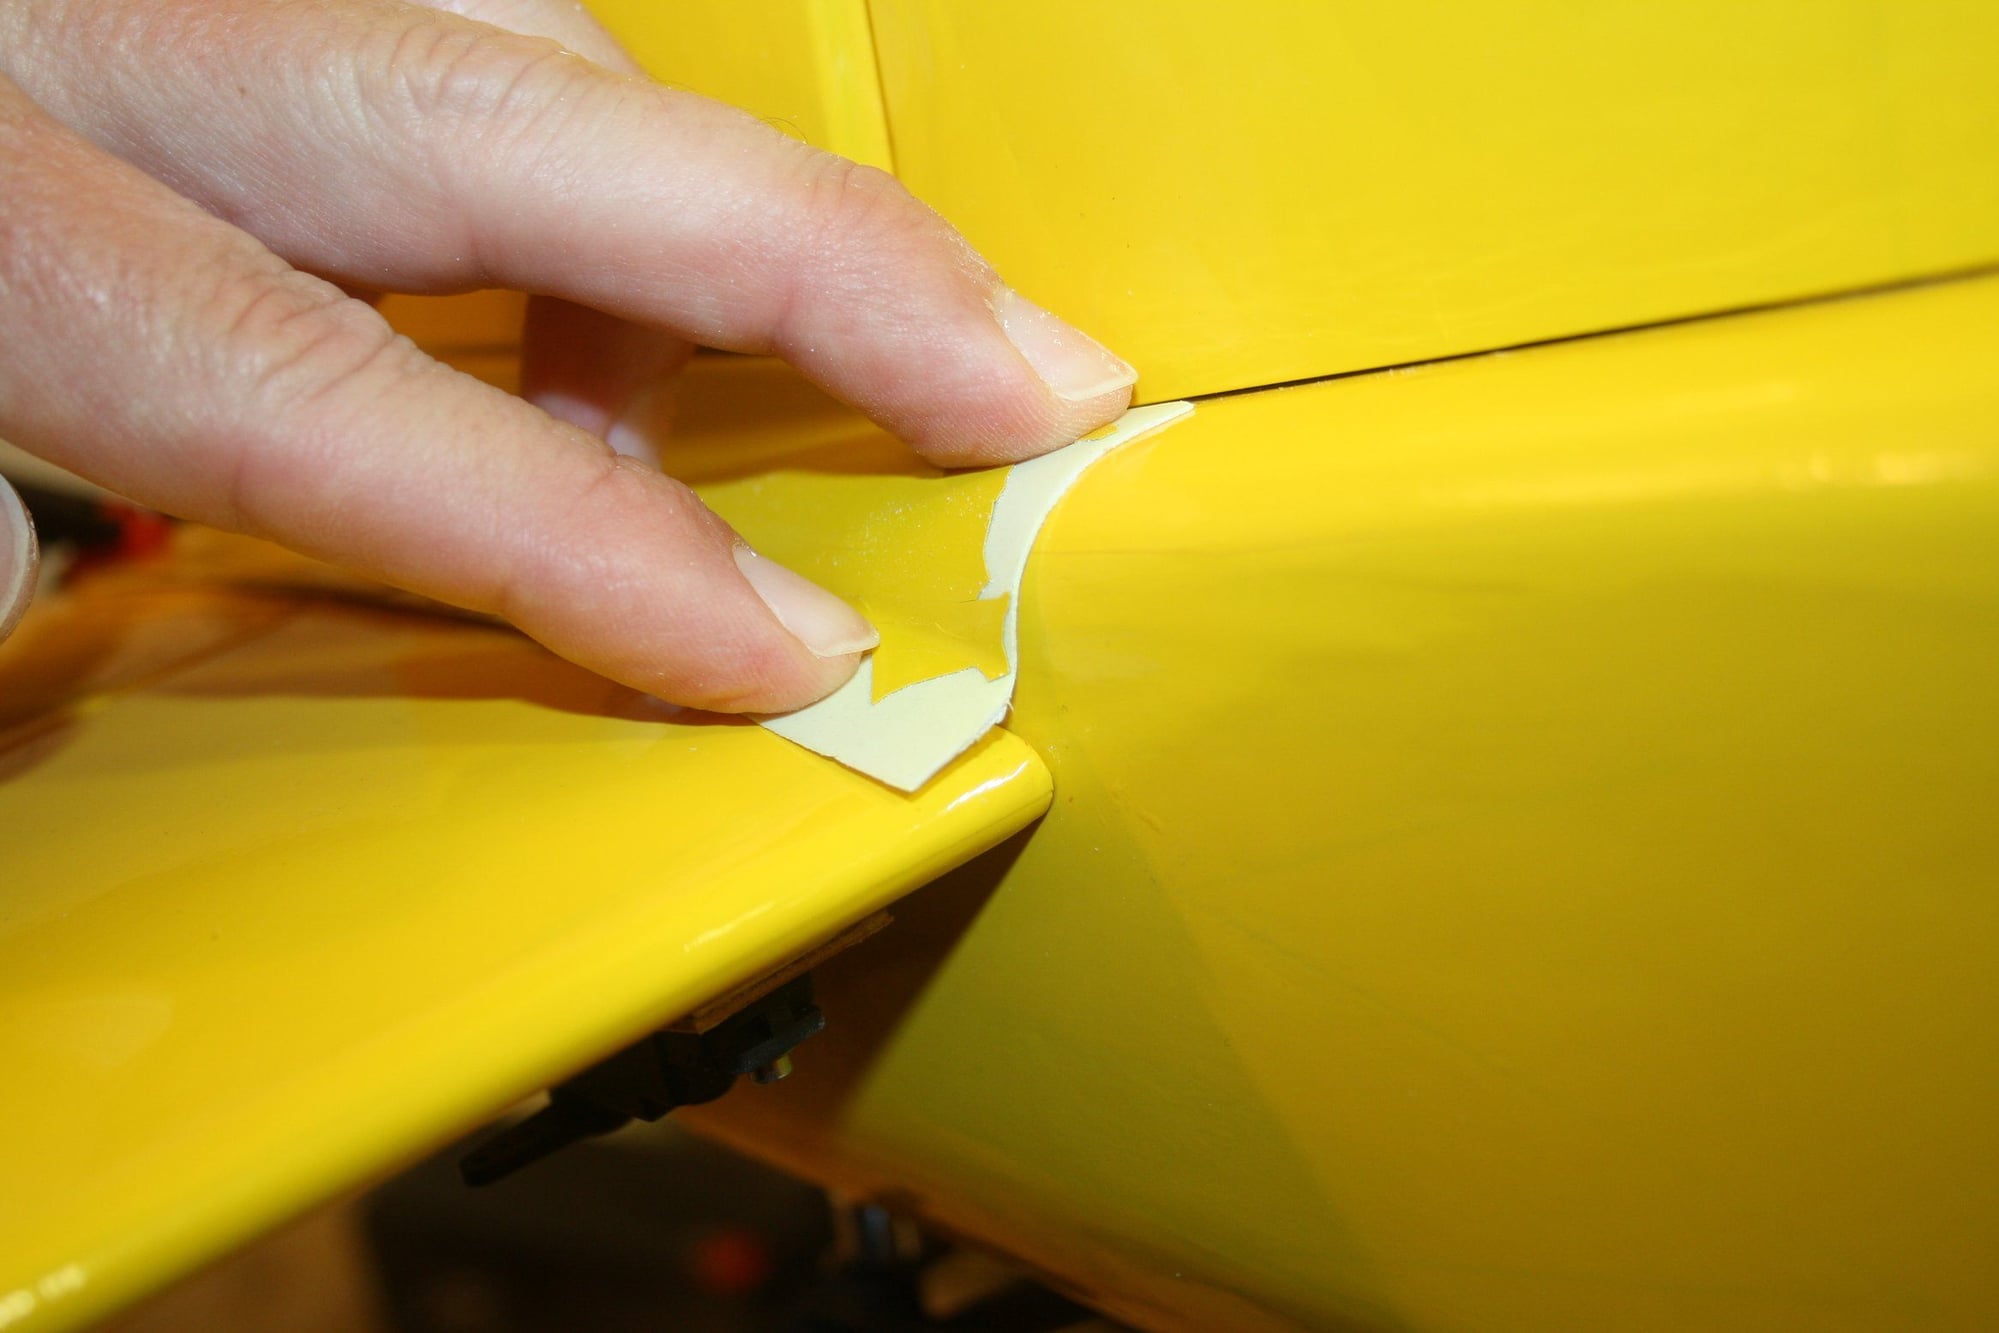
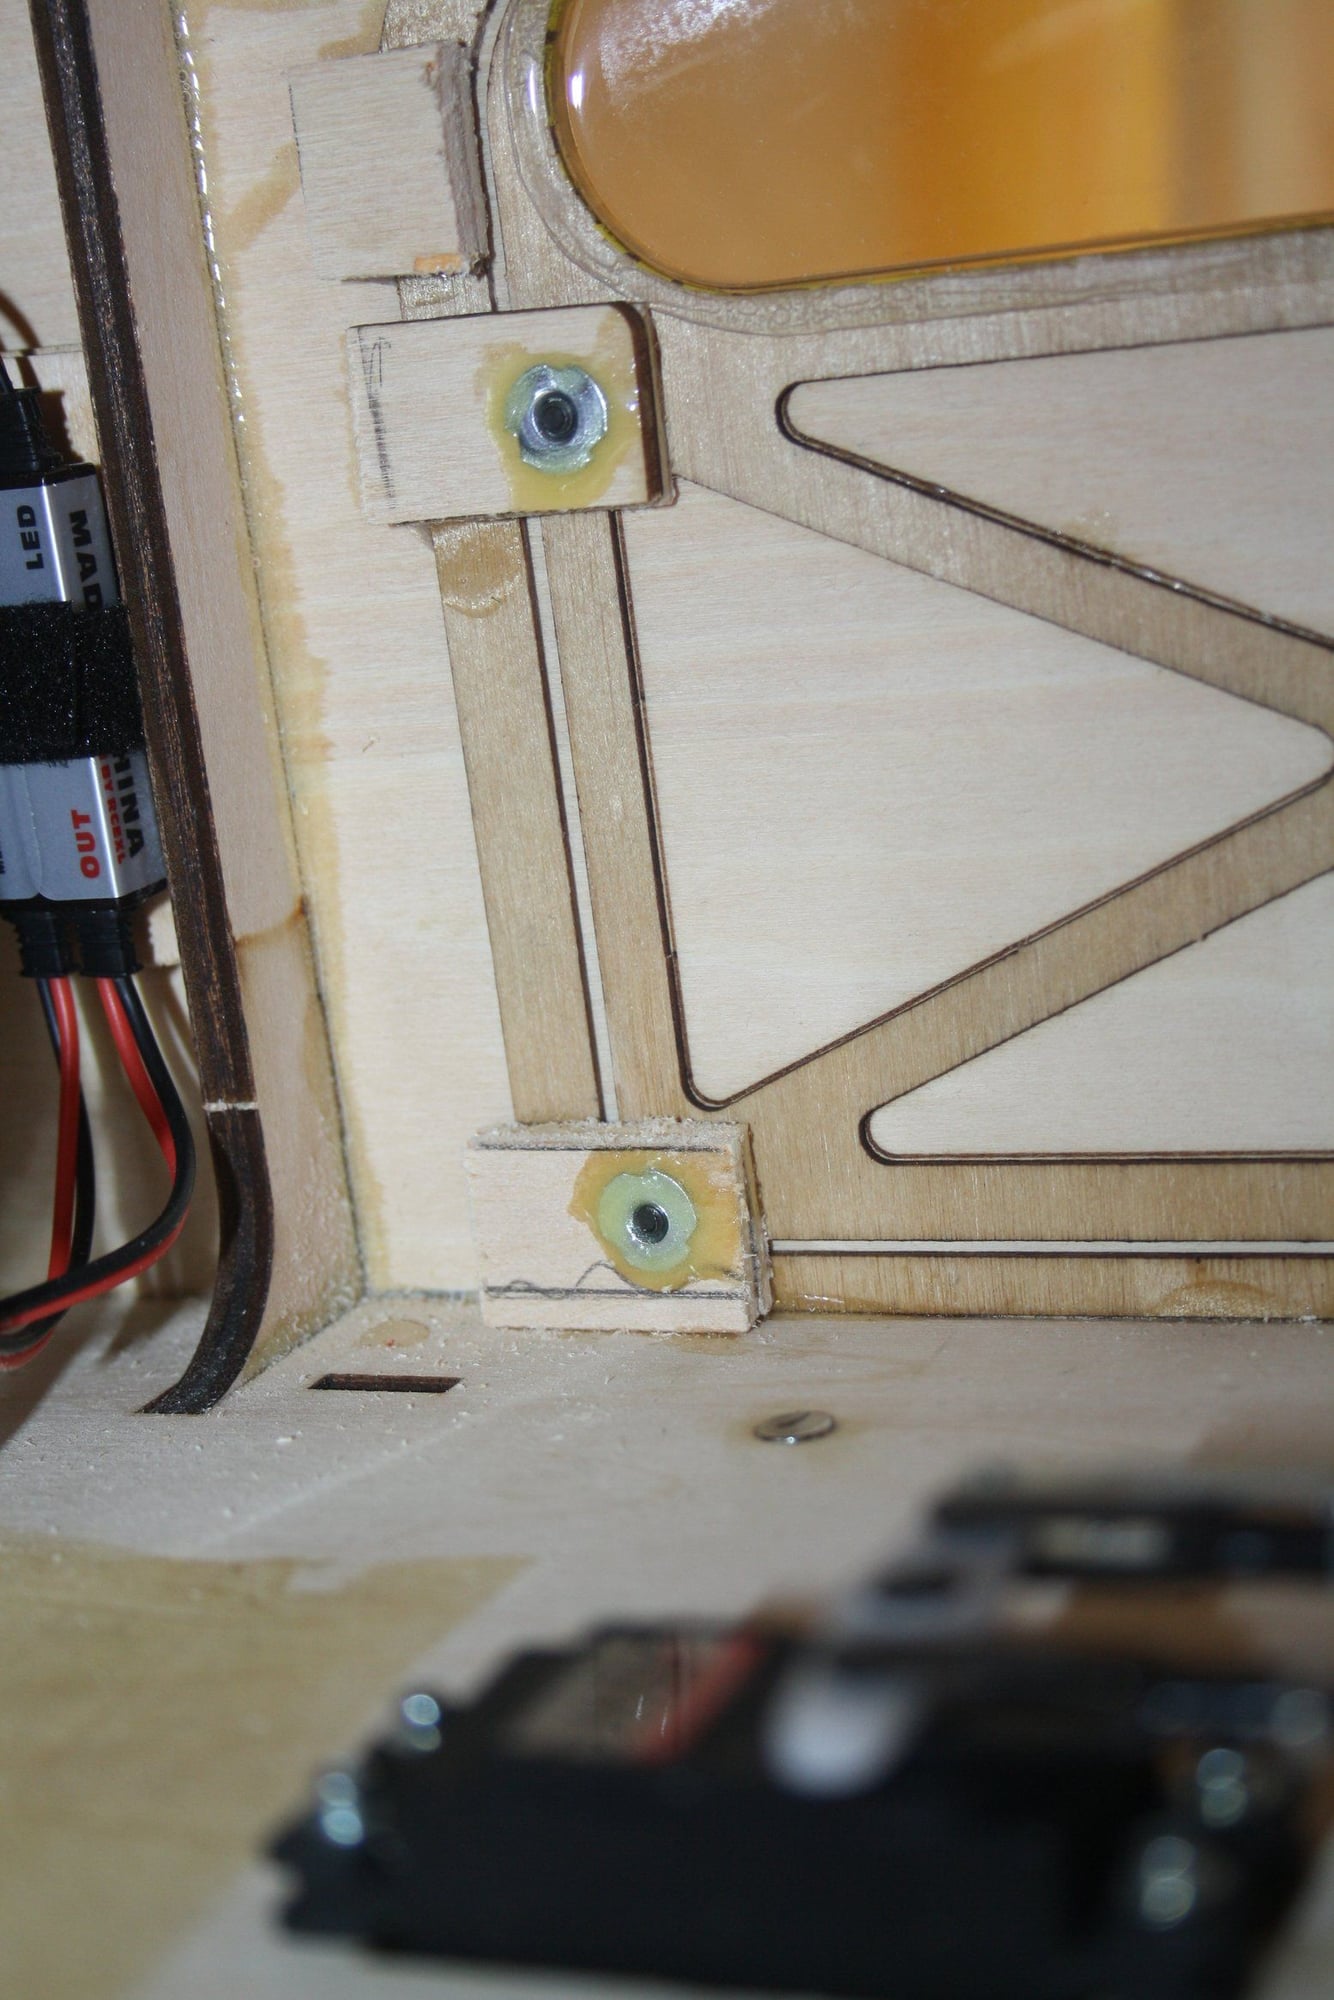
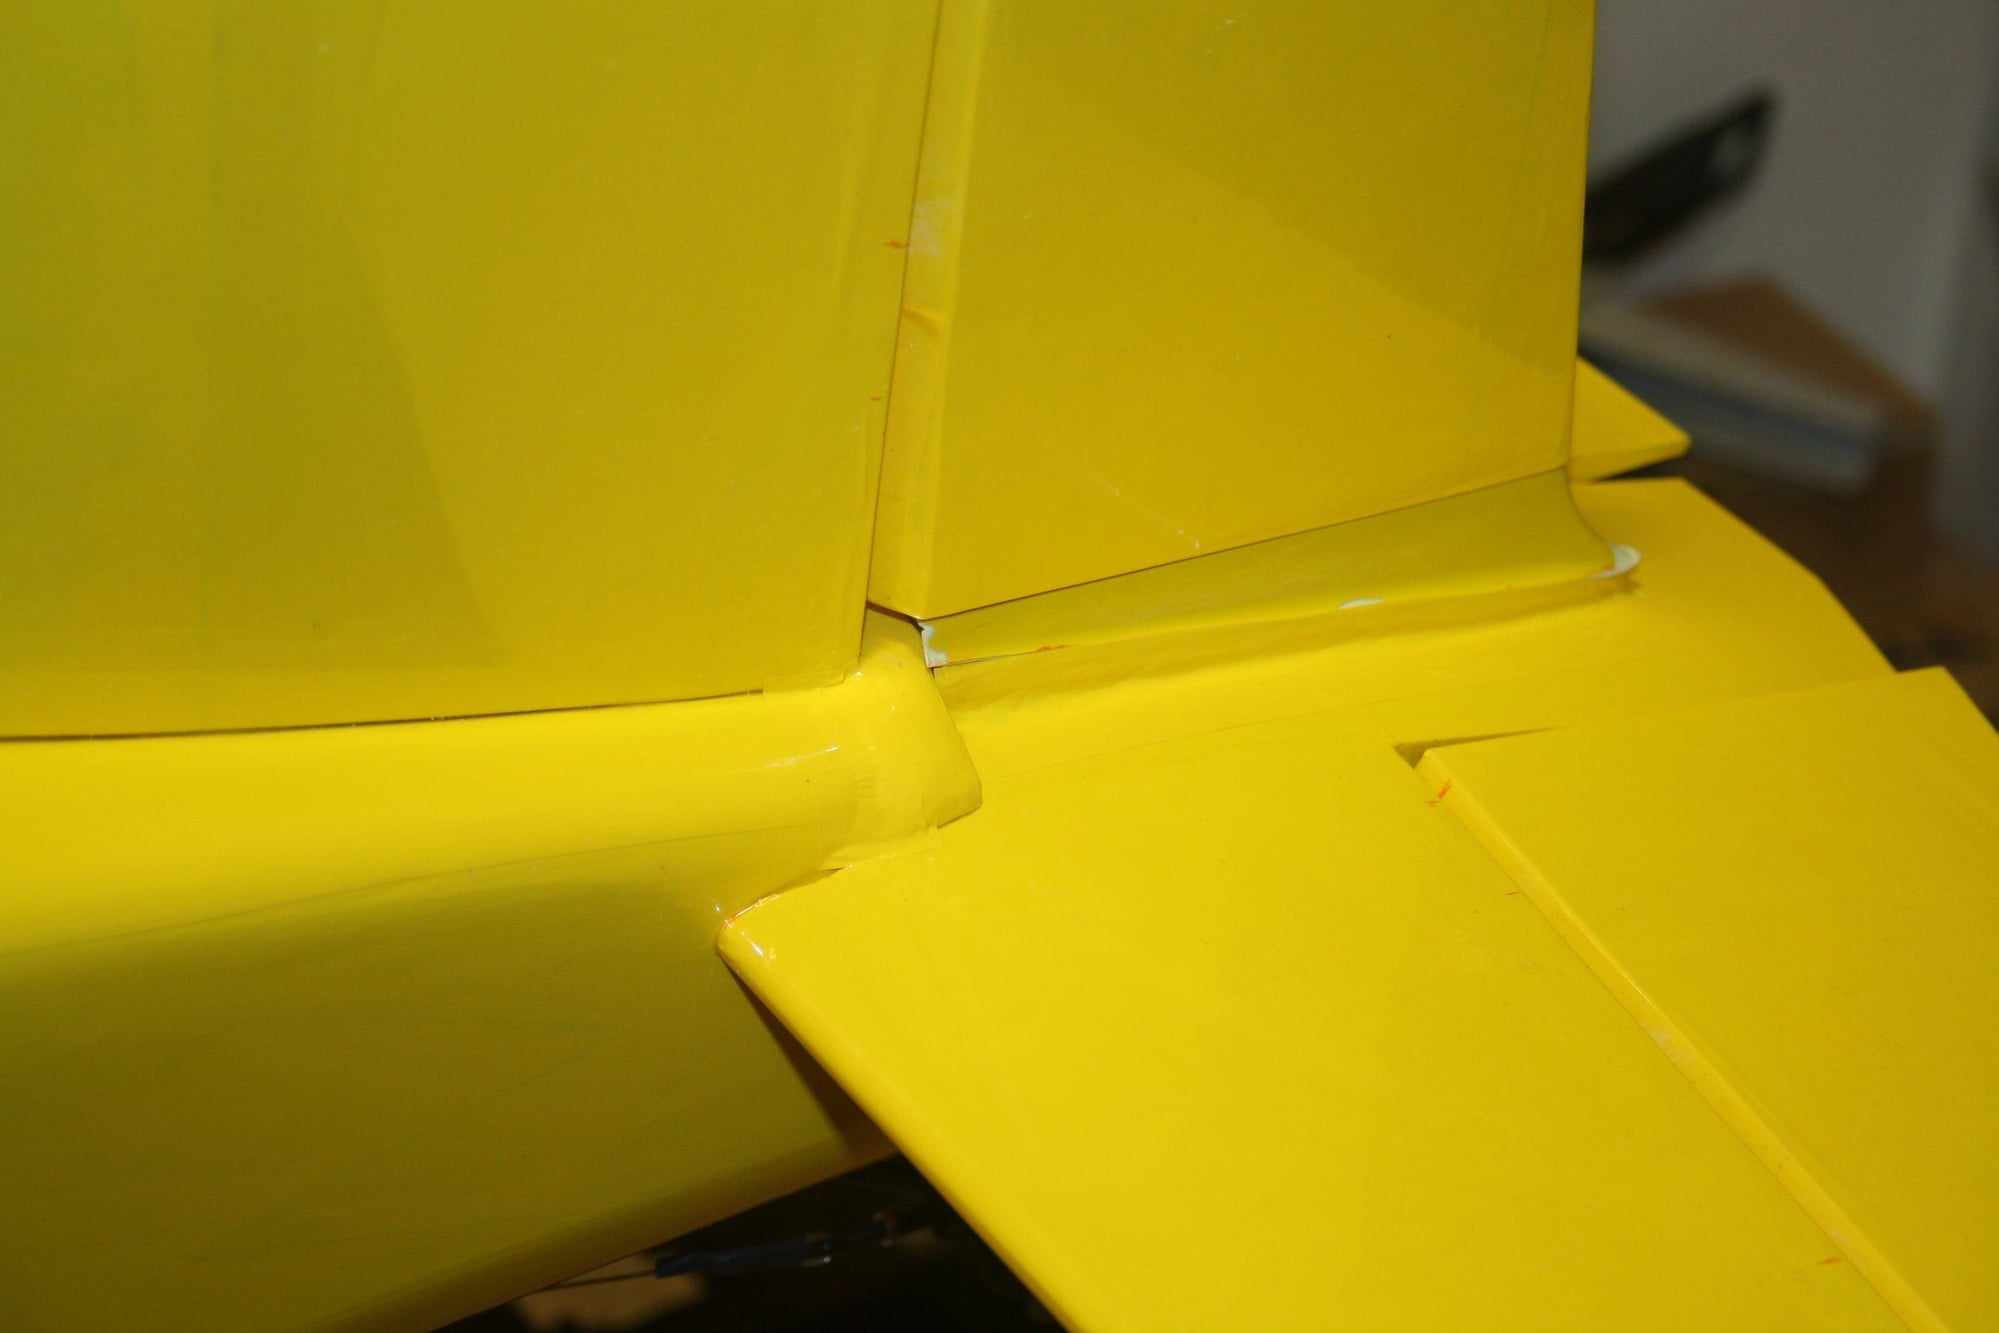
As the tail section looked ugly without the plastic fittings, I made my own "gap fillers" from balsa and used the top of the plastic fairing to reach under the rudder in a reasonable pleasing shape. I didn't bother with the cone at the bottom of the fuselage and just covered over the opening. I already have too much weight at tail as it is.
Also here couple of photos of the door brackets from the inside.


Cheers,
Eran
Also here couple of photos of the door brackets from the inside.
Cheers,
Eran
12-24-2022, 03:45 AM
#95
Thread Starter
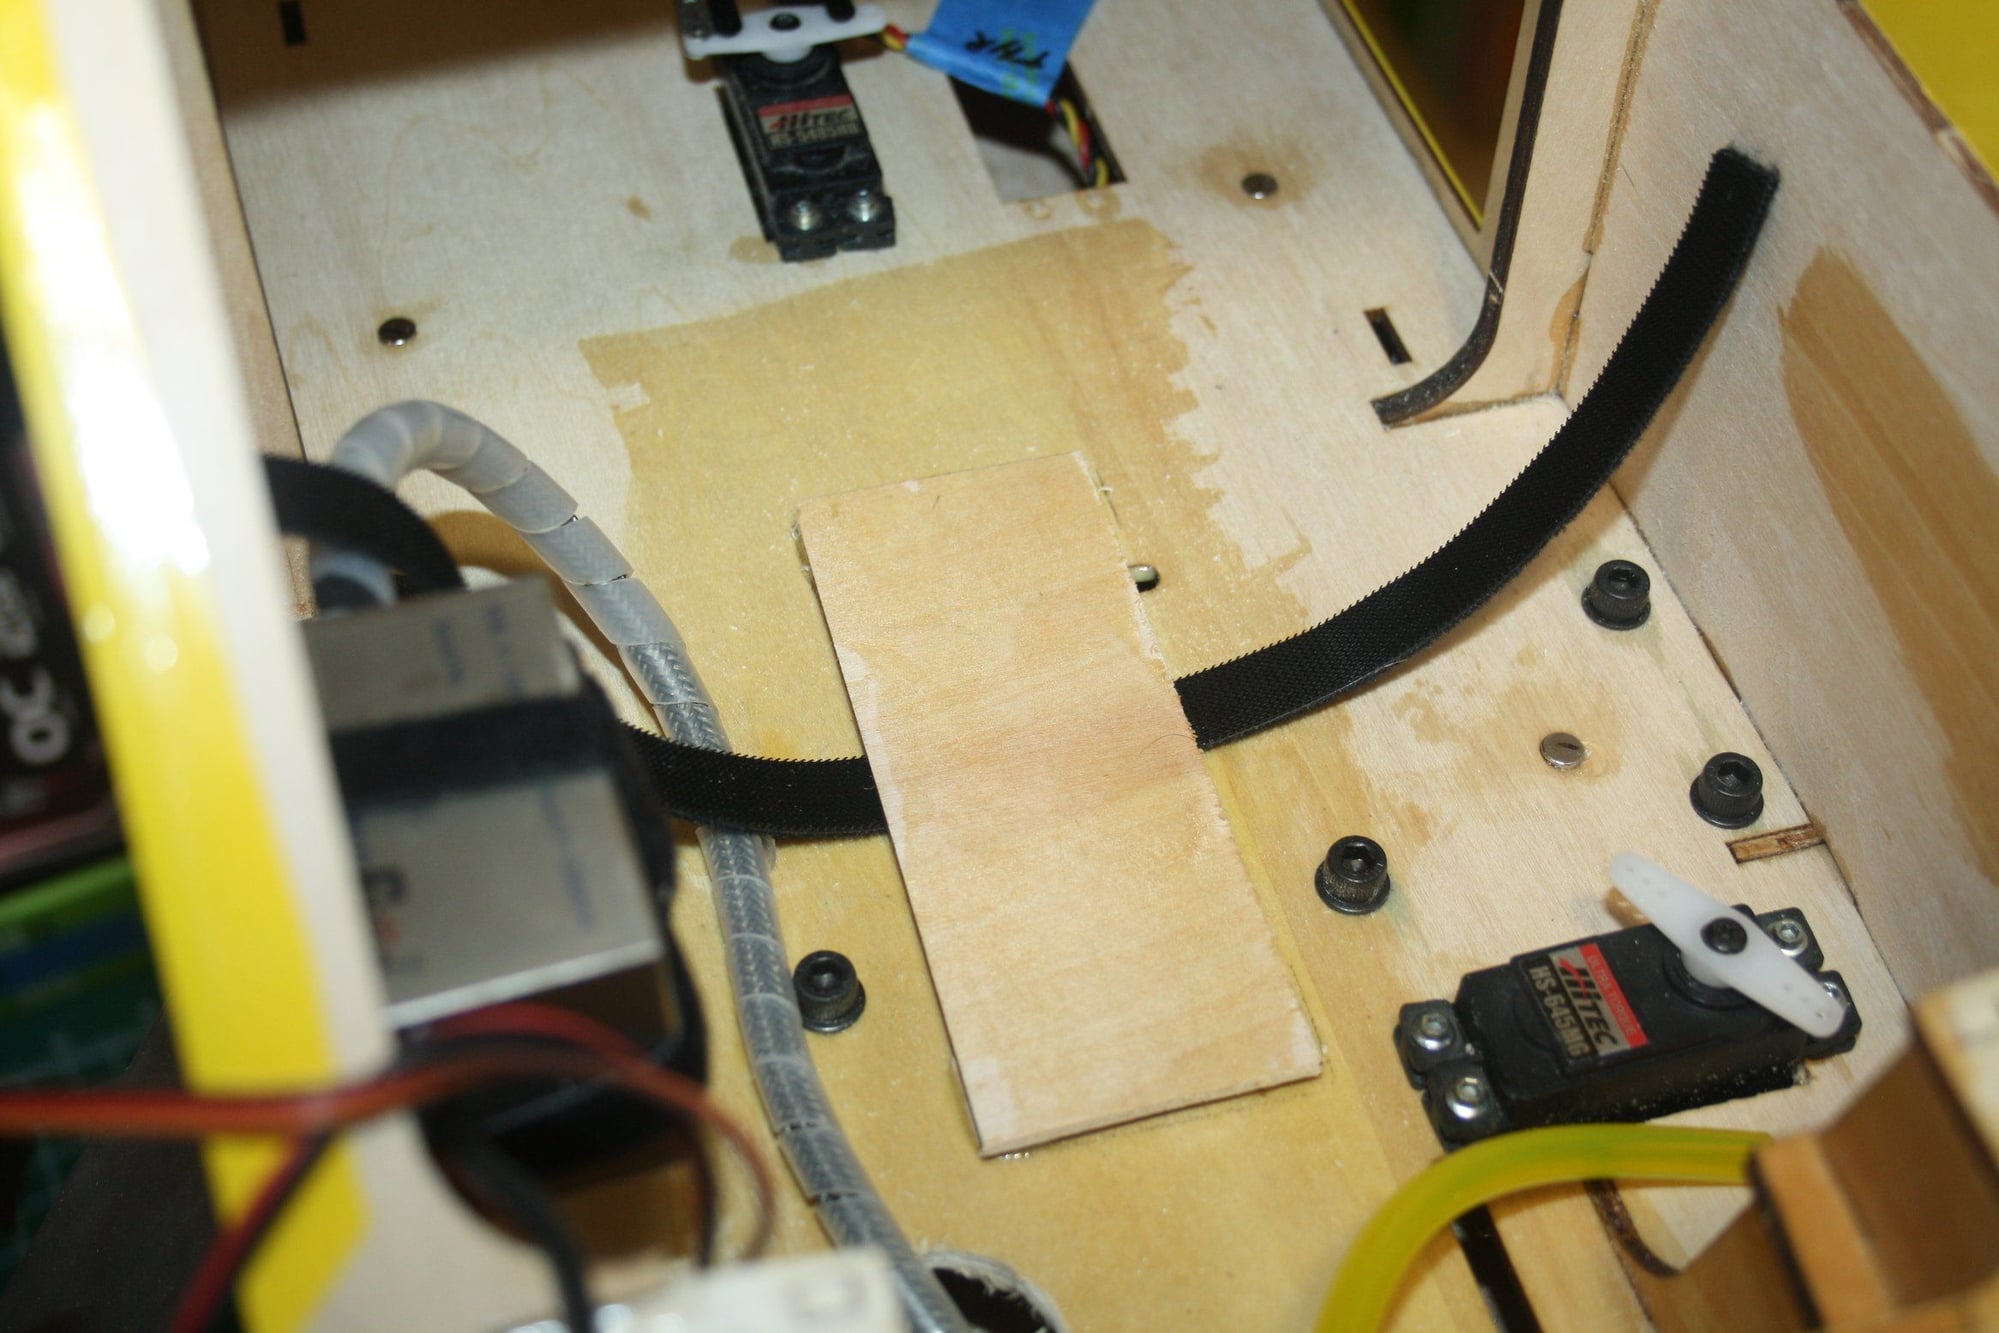
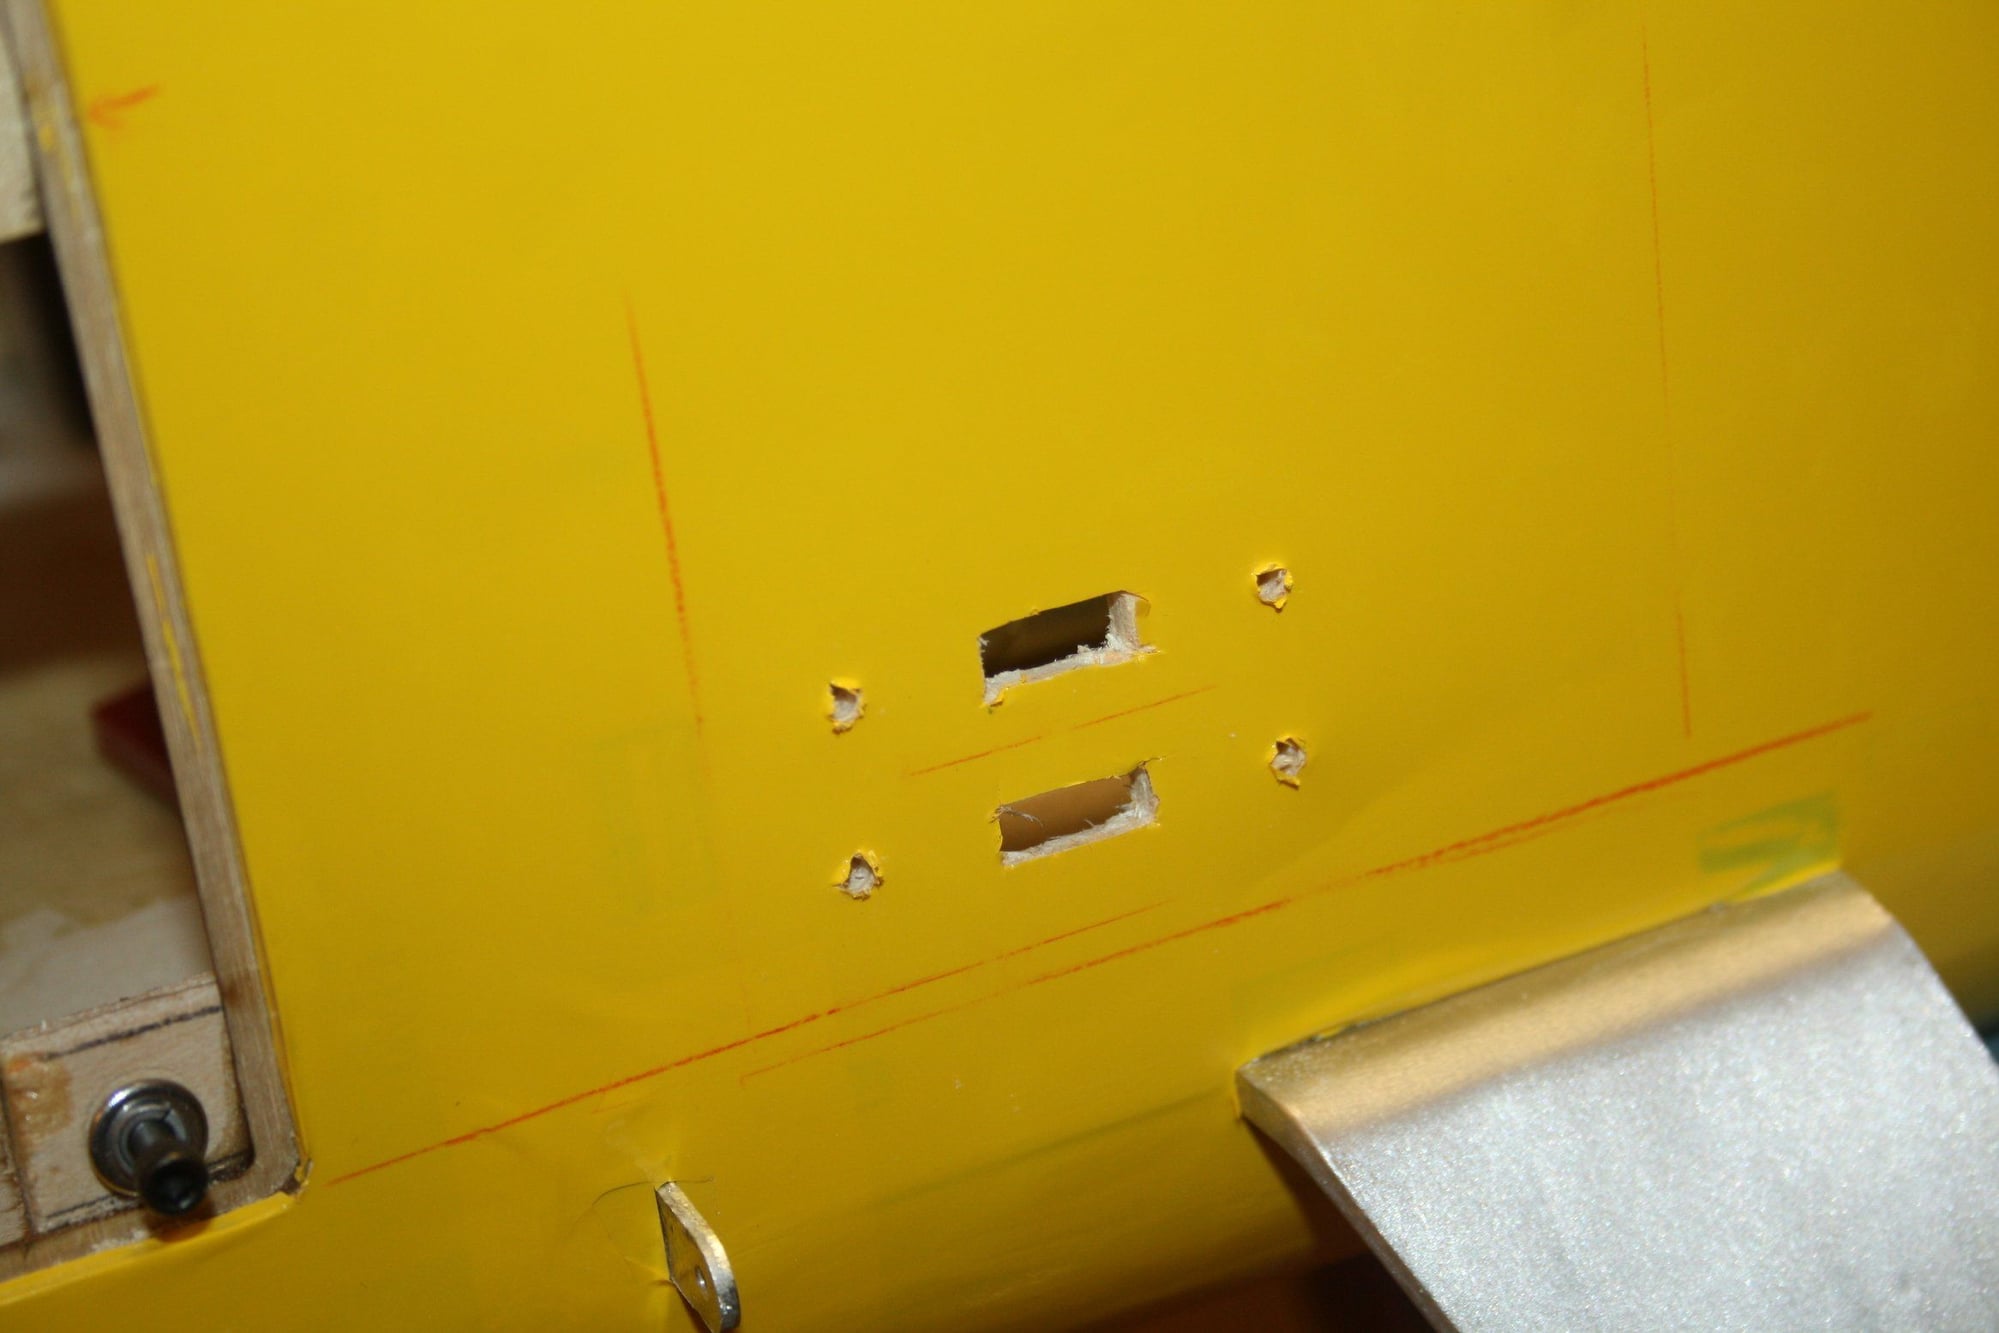
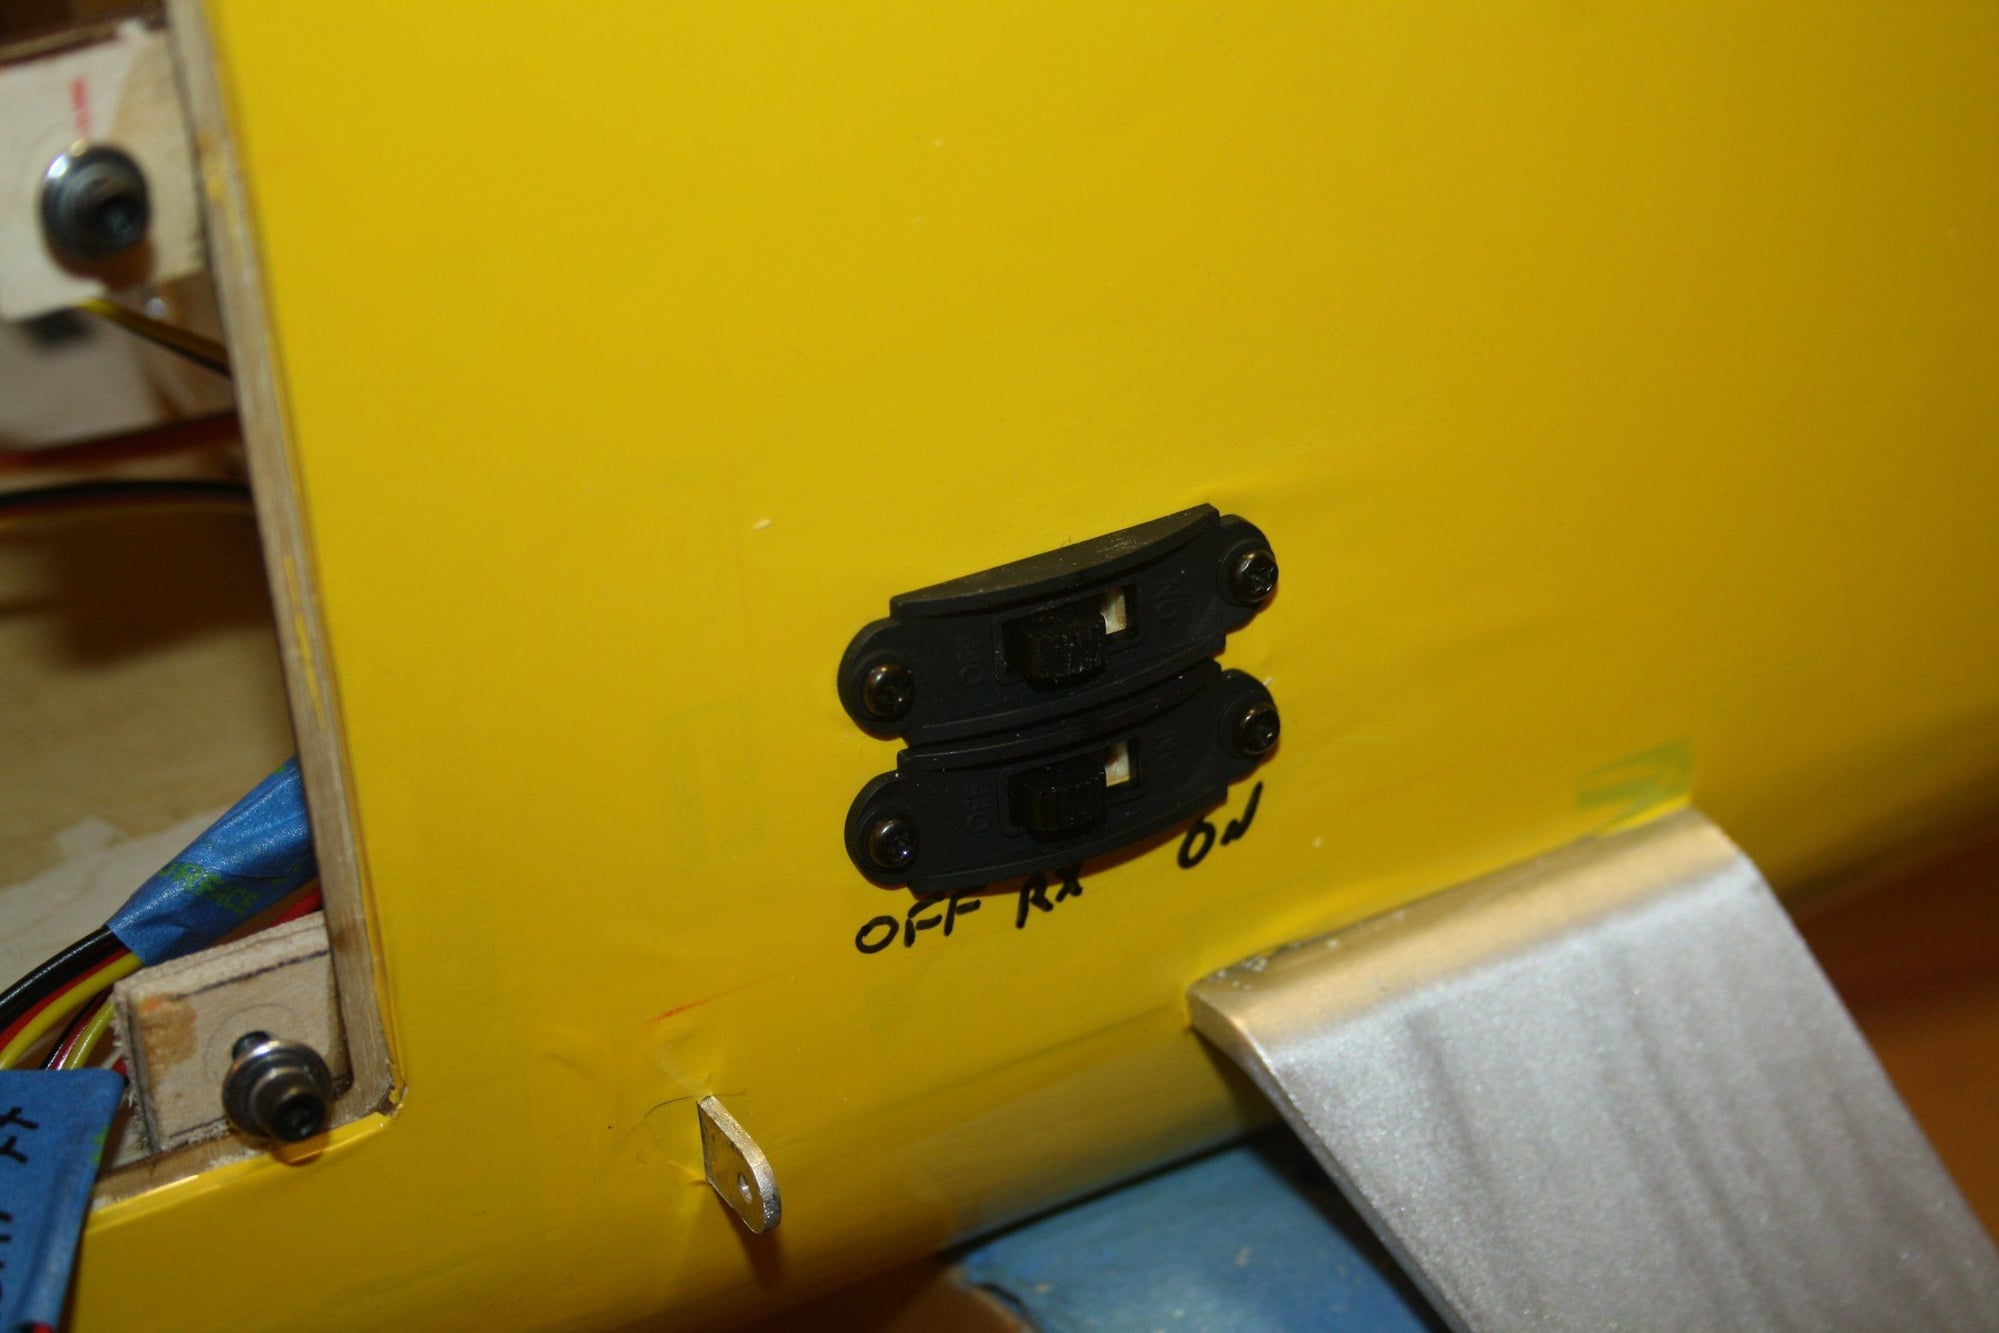
Fuel fill solution and switches installation. Please note that this location for the switches will interfere with the fibreglass covers for the landing gear (as if you can use it anyway... Another poorly made accessory).
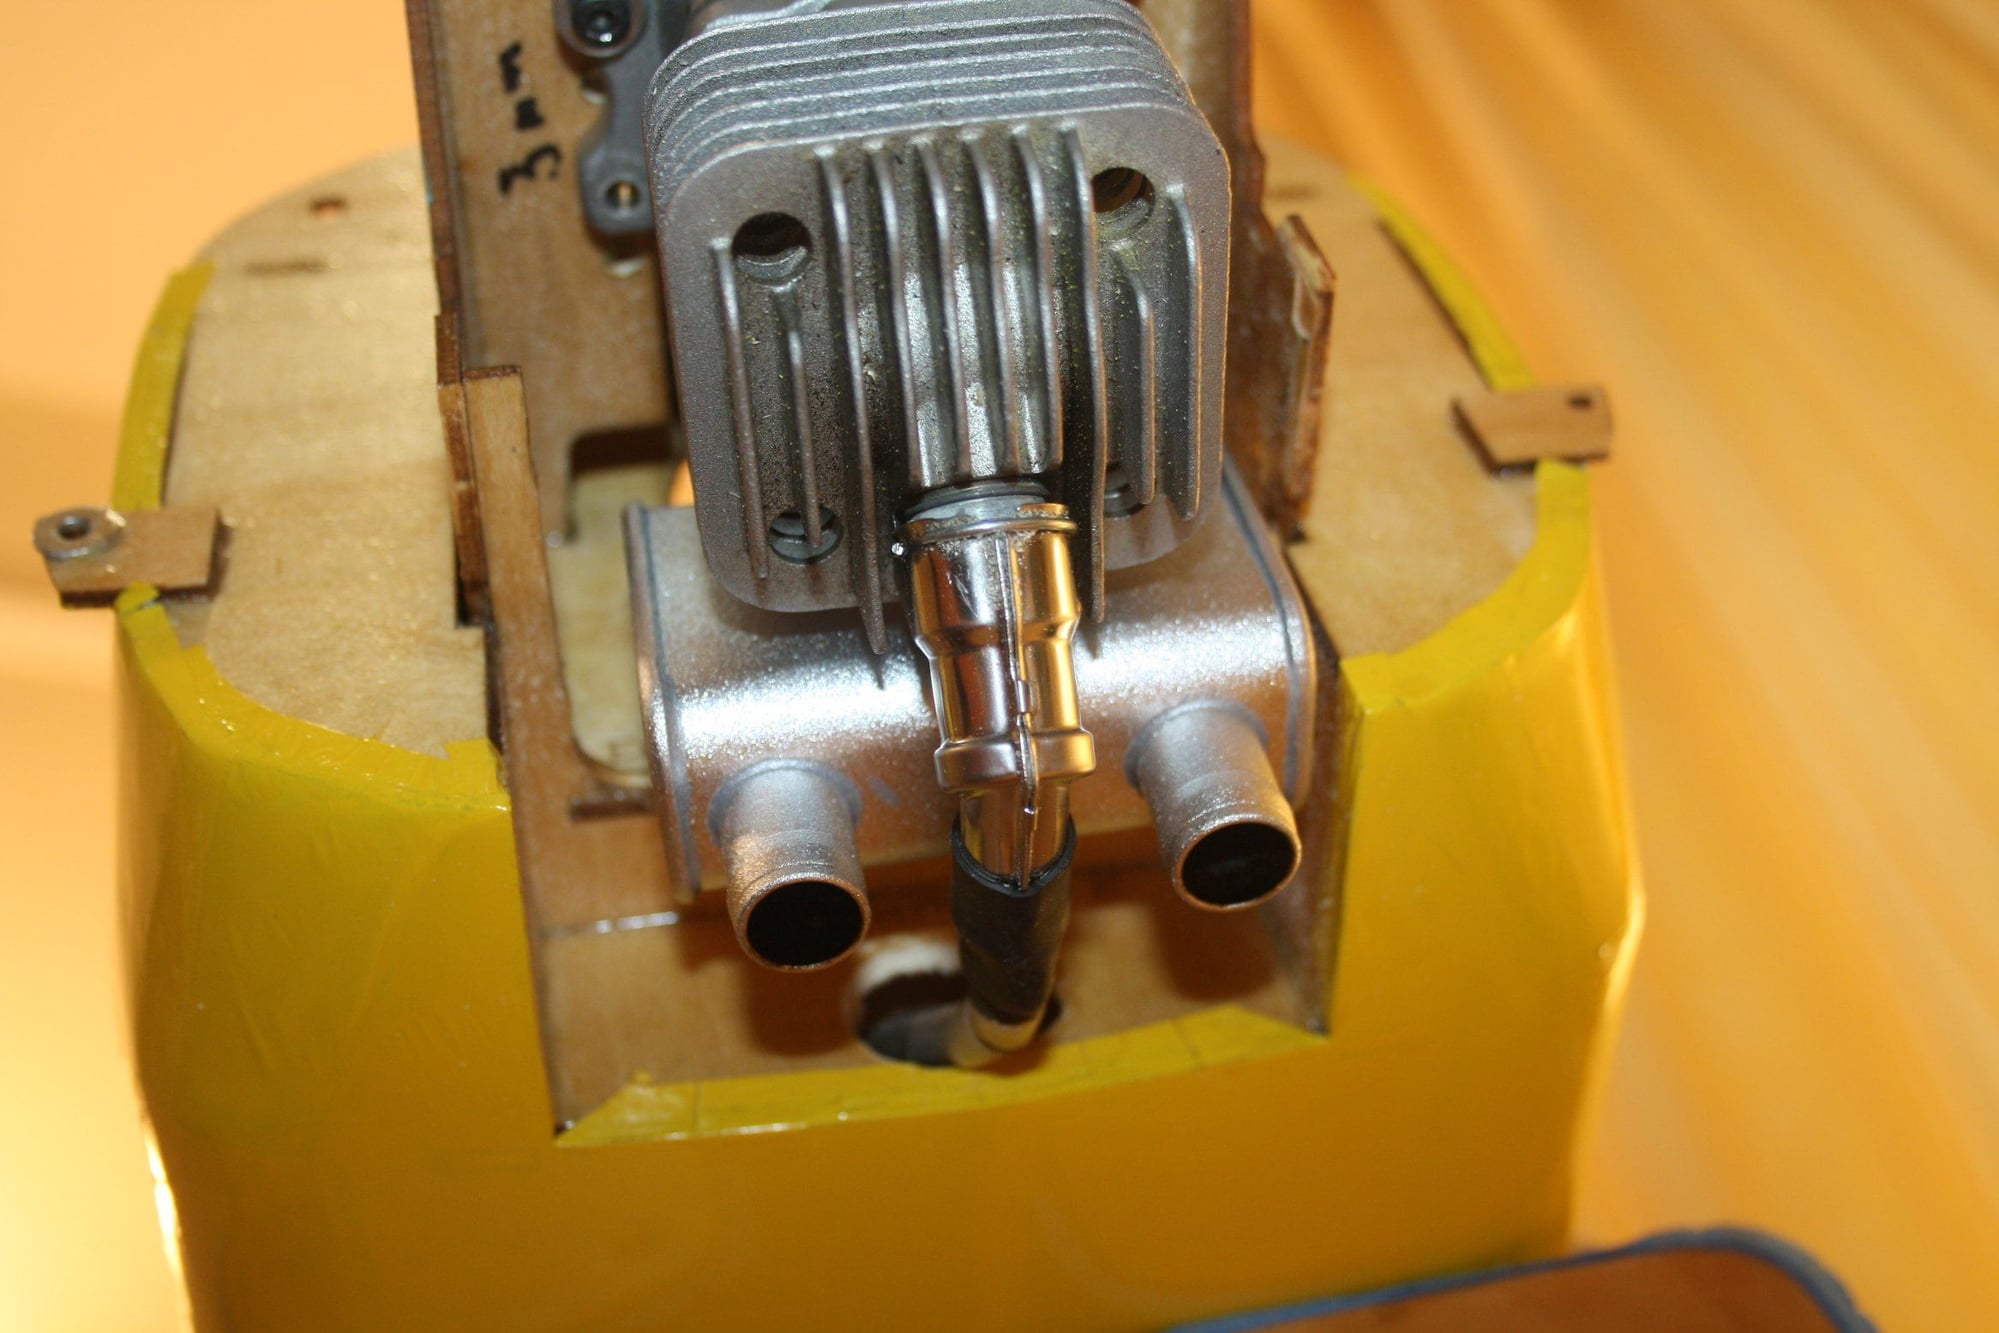
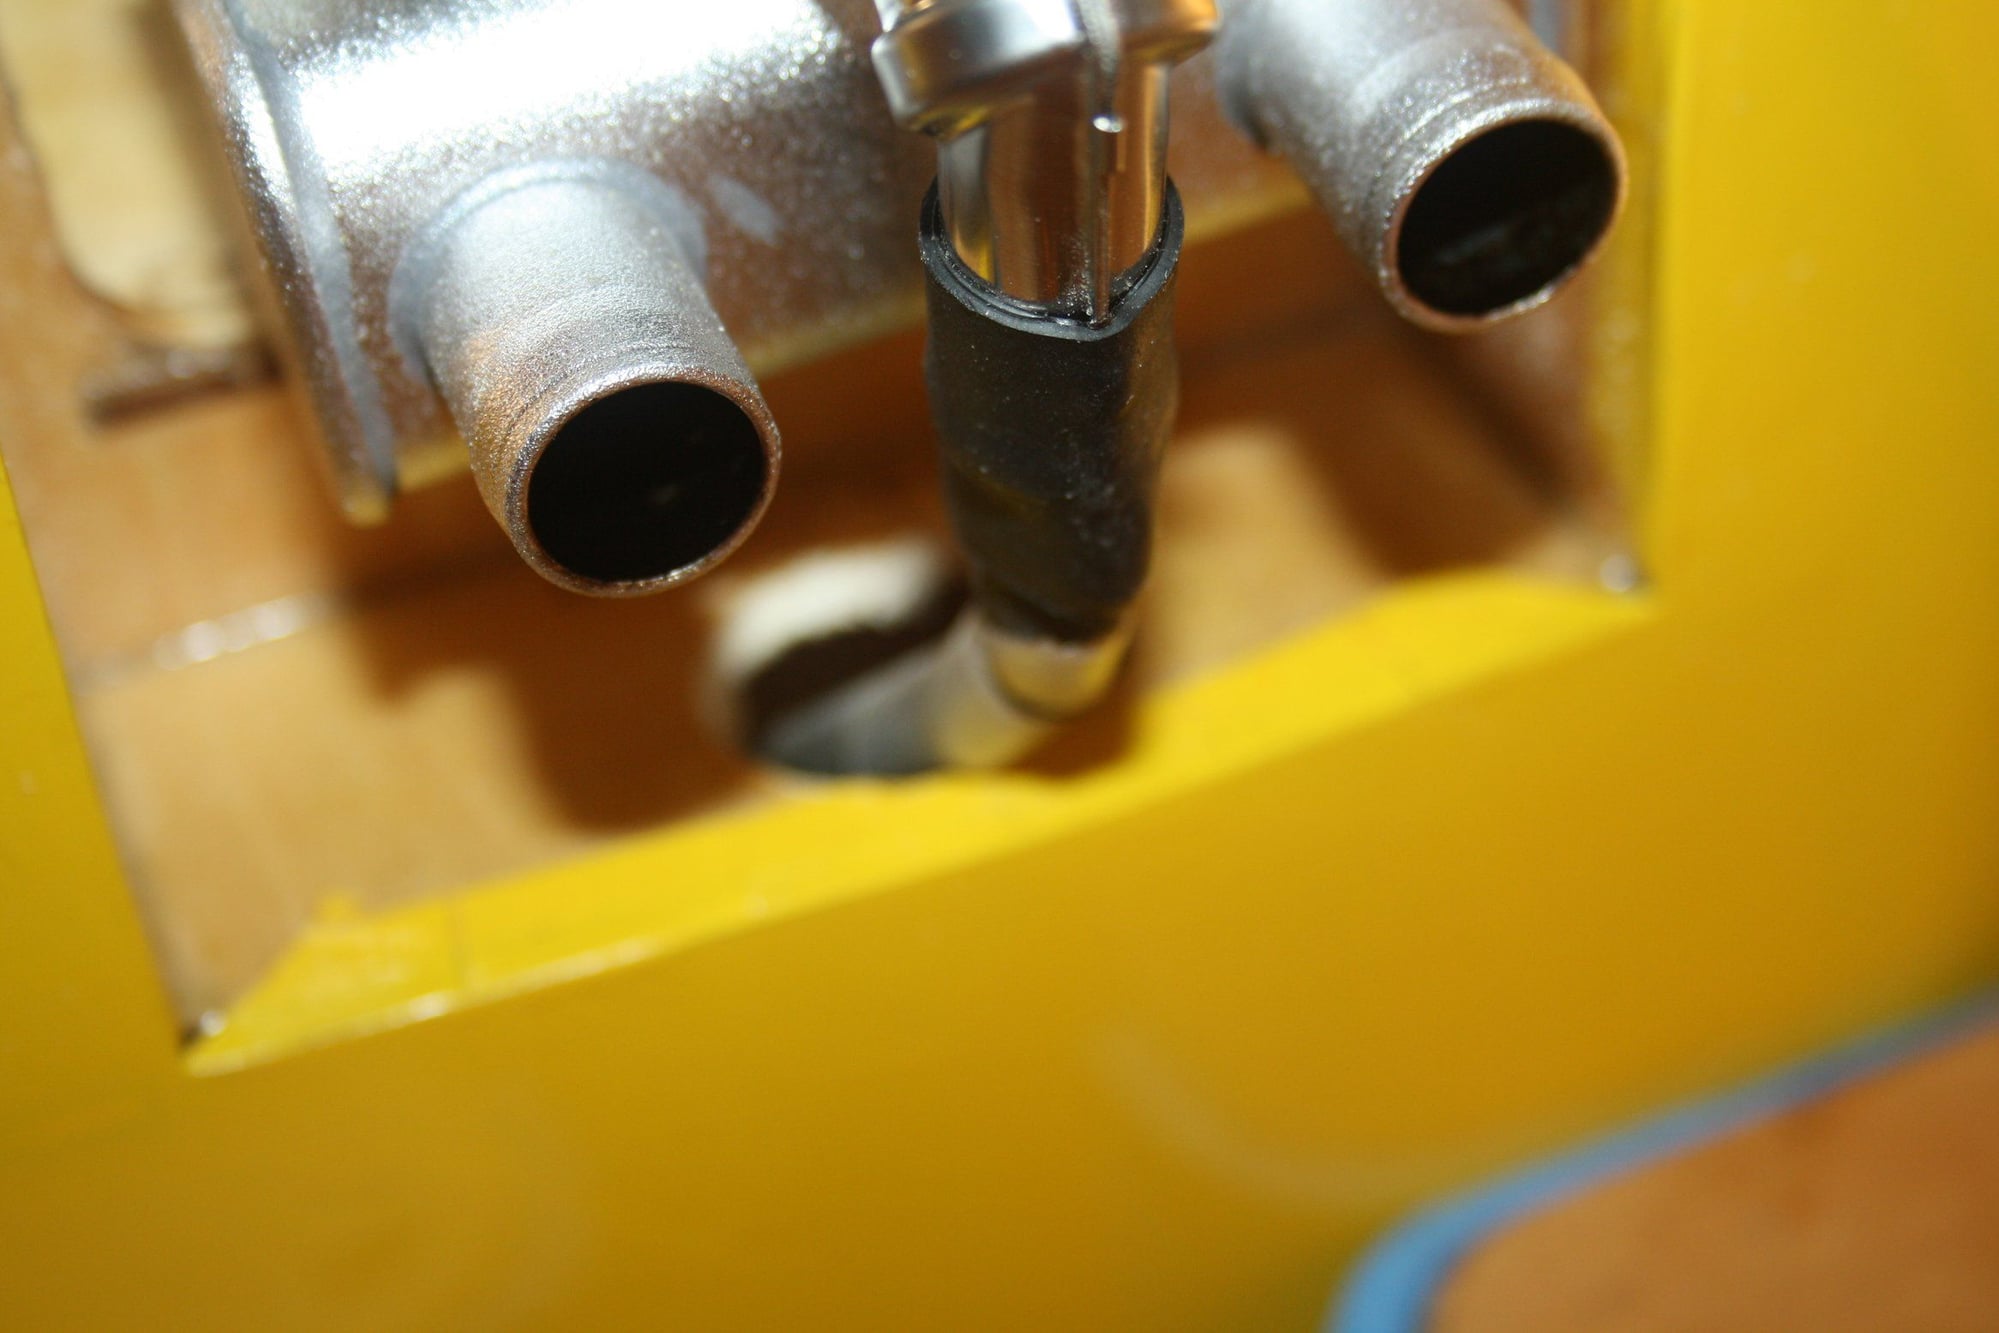
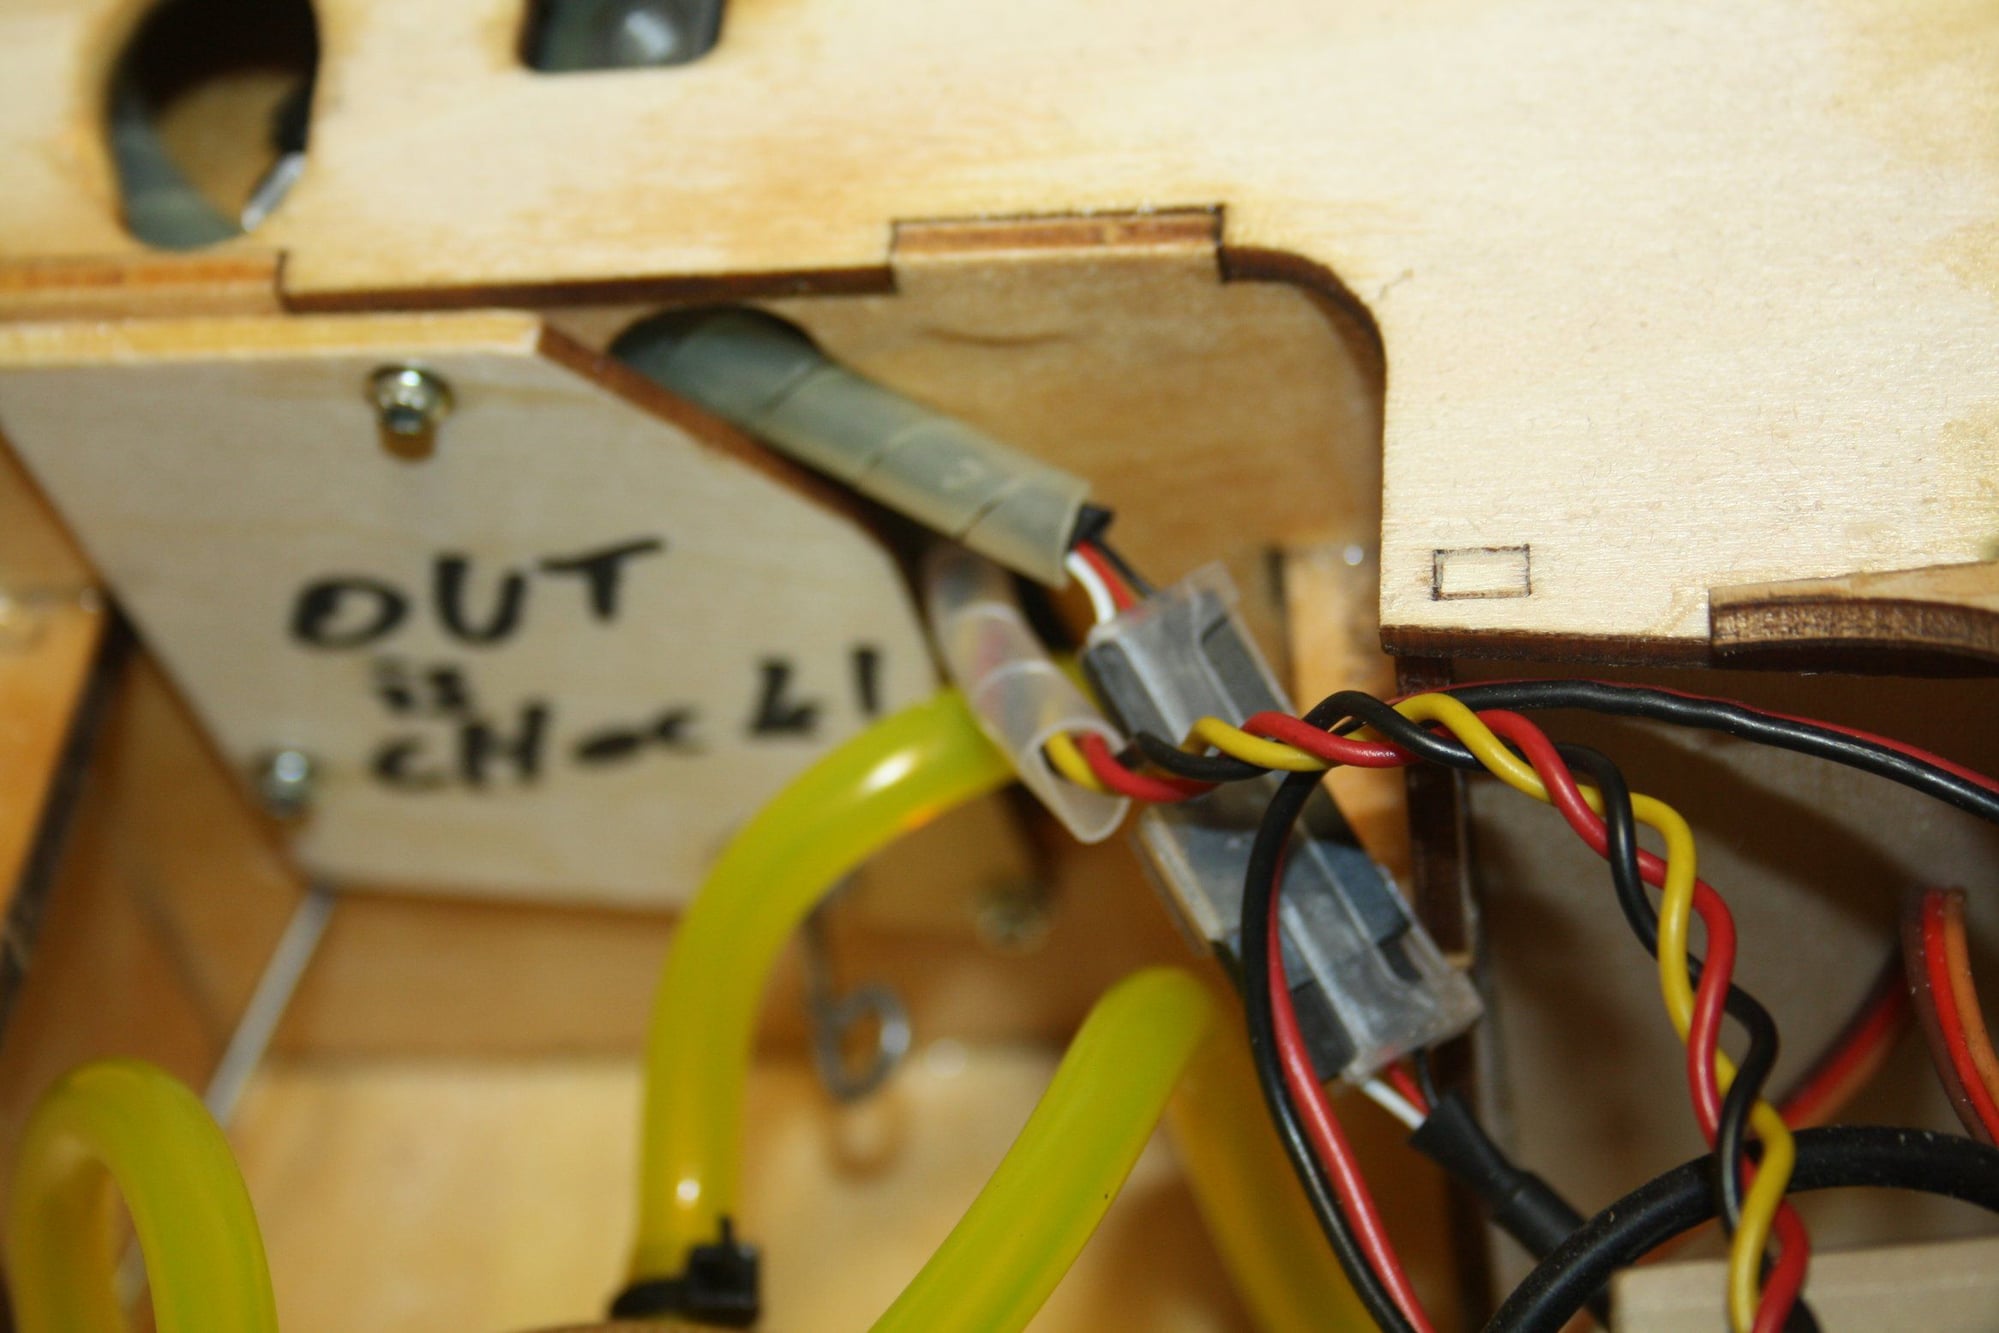
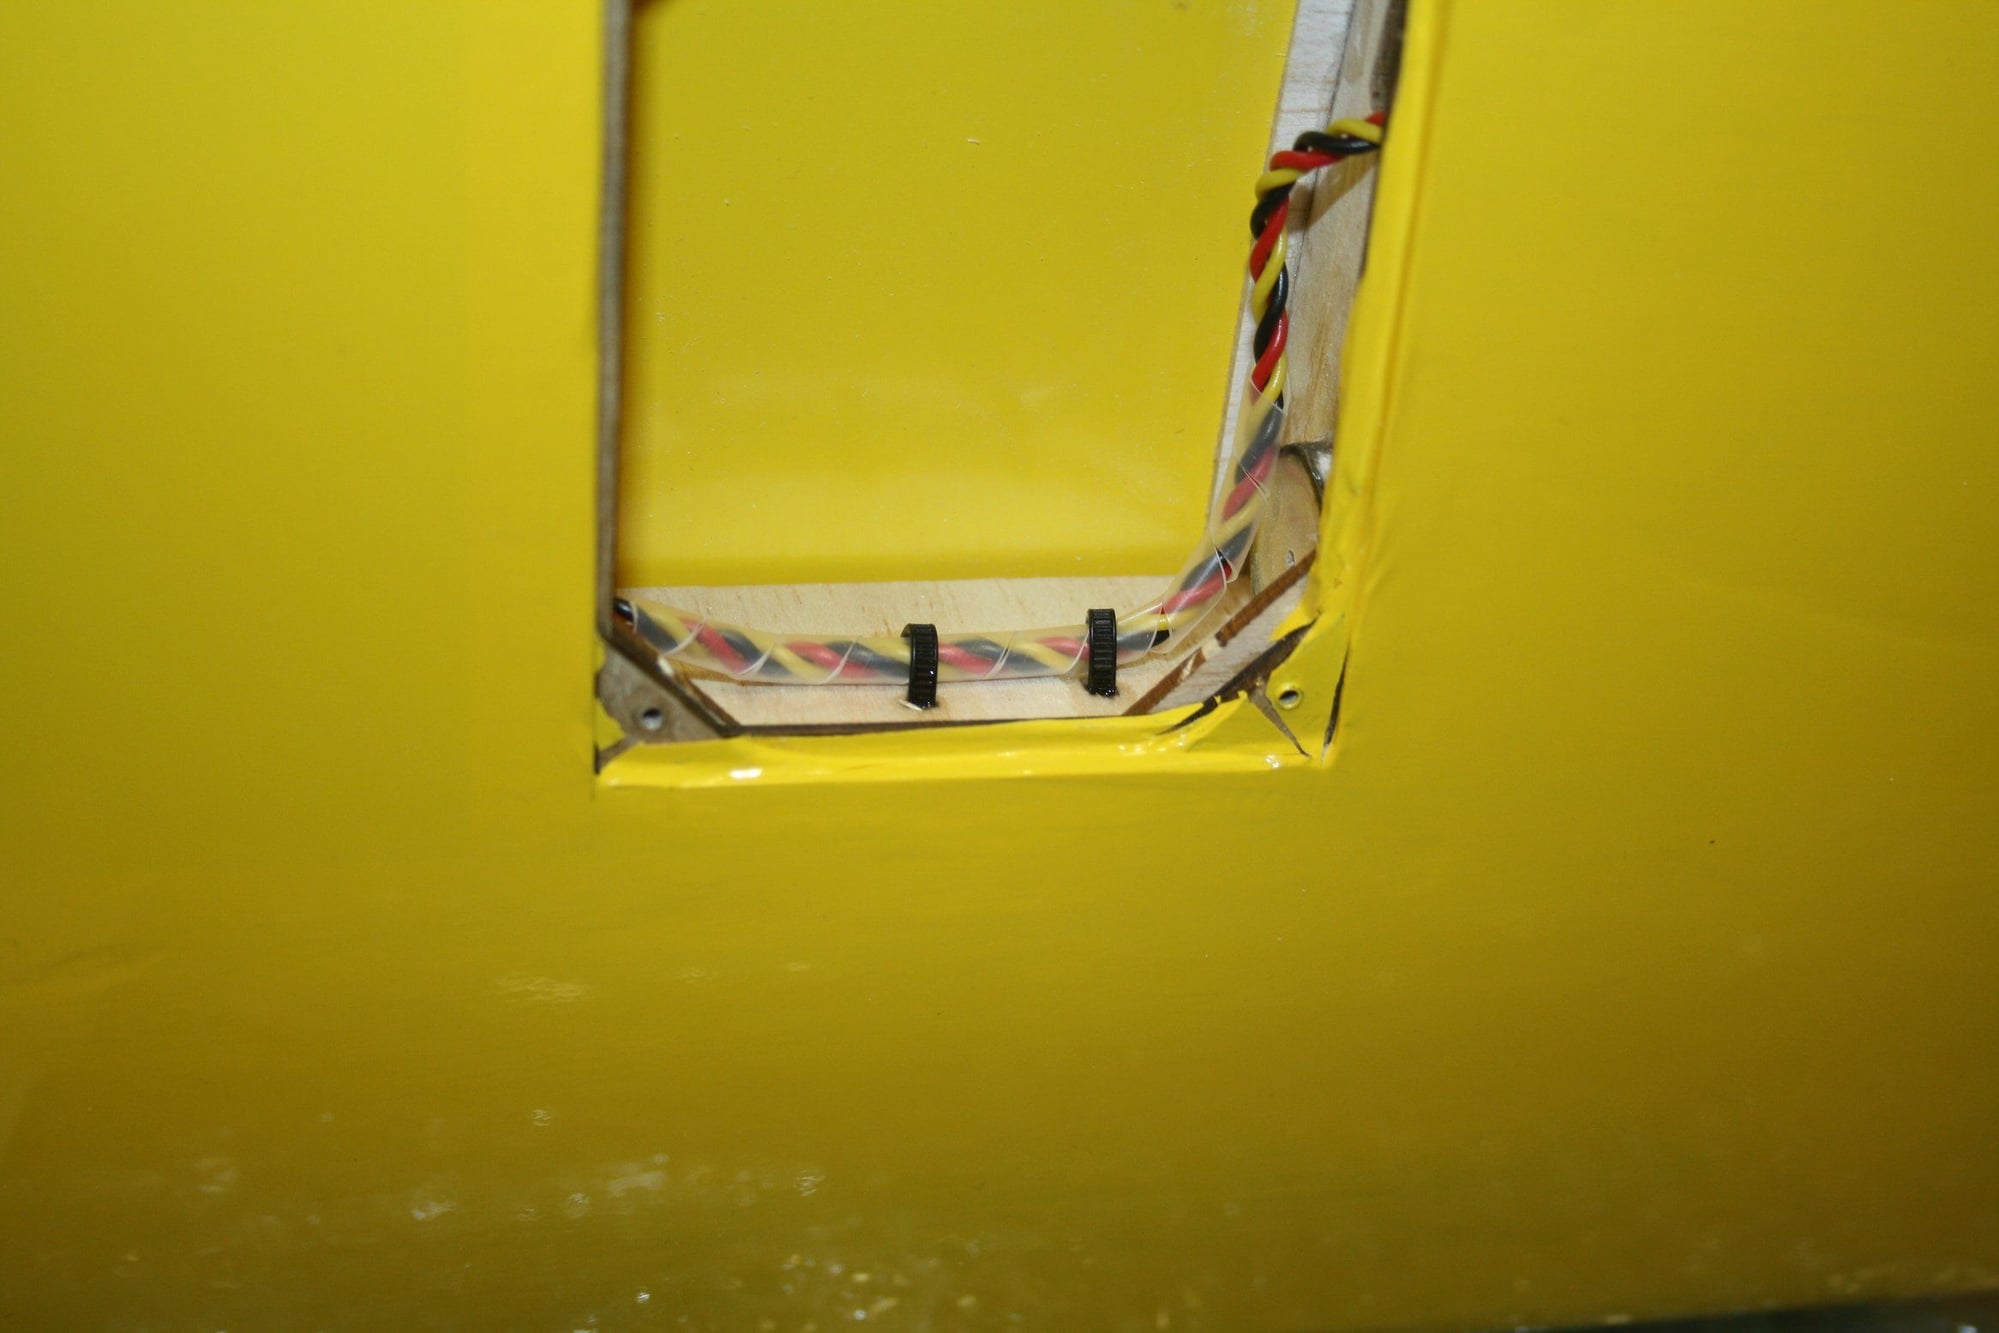
All electrical cables that are routed next to the engine were protected in plastic sleeve as shown in the photos.

Cheers,
Eran
All electrical cables that are routed next to the engine were protected in plastic sleeve as shown in the photos.
Cheers,
Eran
12-24-2022, 03:52 AM
#96
Thread Starter
Ailerons servos installation is reasonably straight forward. No thought was given to safely routing the extension cables around the flap servos. The manual suggest using "tape"... This sounds very secure, isn't it? In the photo is the solution I came up with. Flap control installation is as annoying as any discreet installation can be. Why the designer chose to do this considering that the ailerons control is exposed is beyond me...
The arm length as in the manual did not have enough travel to operate the flaps satisfactory. I replaced it with a longer arm that just fitted in the wing and this works OK.

Cheers,
Eran
The arm length as in the manual did not have enough travel to operate the flaps satisfactory. I replaced it with a longer arm that just fitted in the wing and this works OK.
Cheers,
Eran
Last edited by erans; 12-24-2022 at 04:06 AM.
12-24-2022, 03:56 AM
#97
Thread Starter
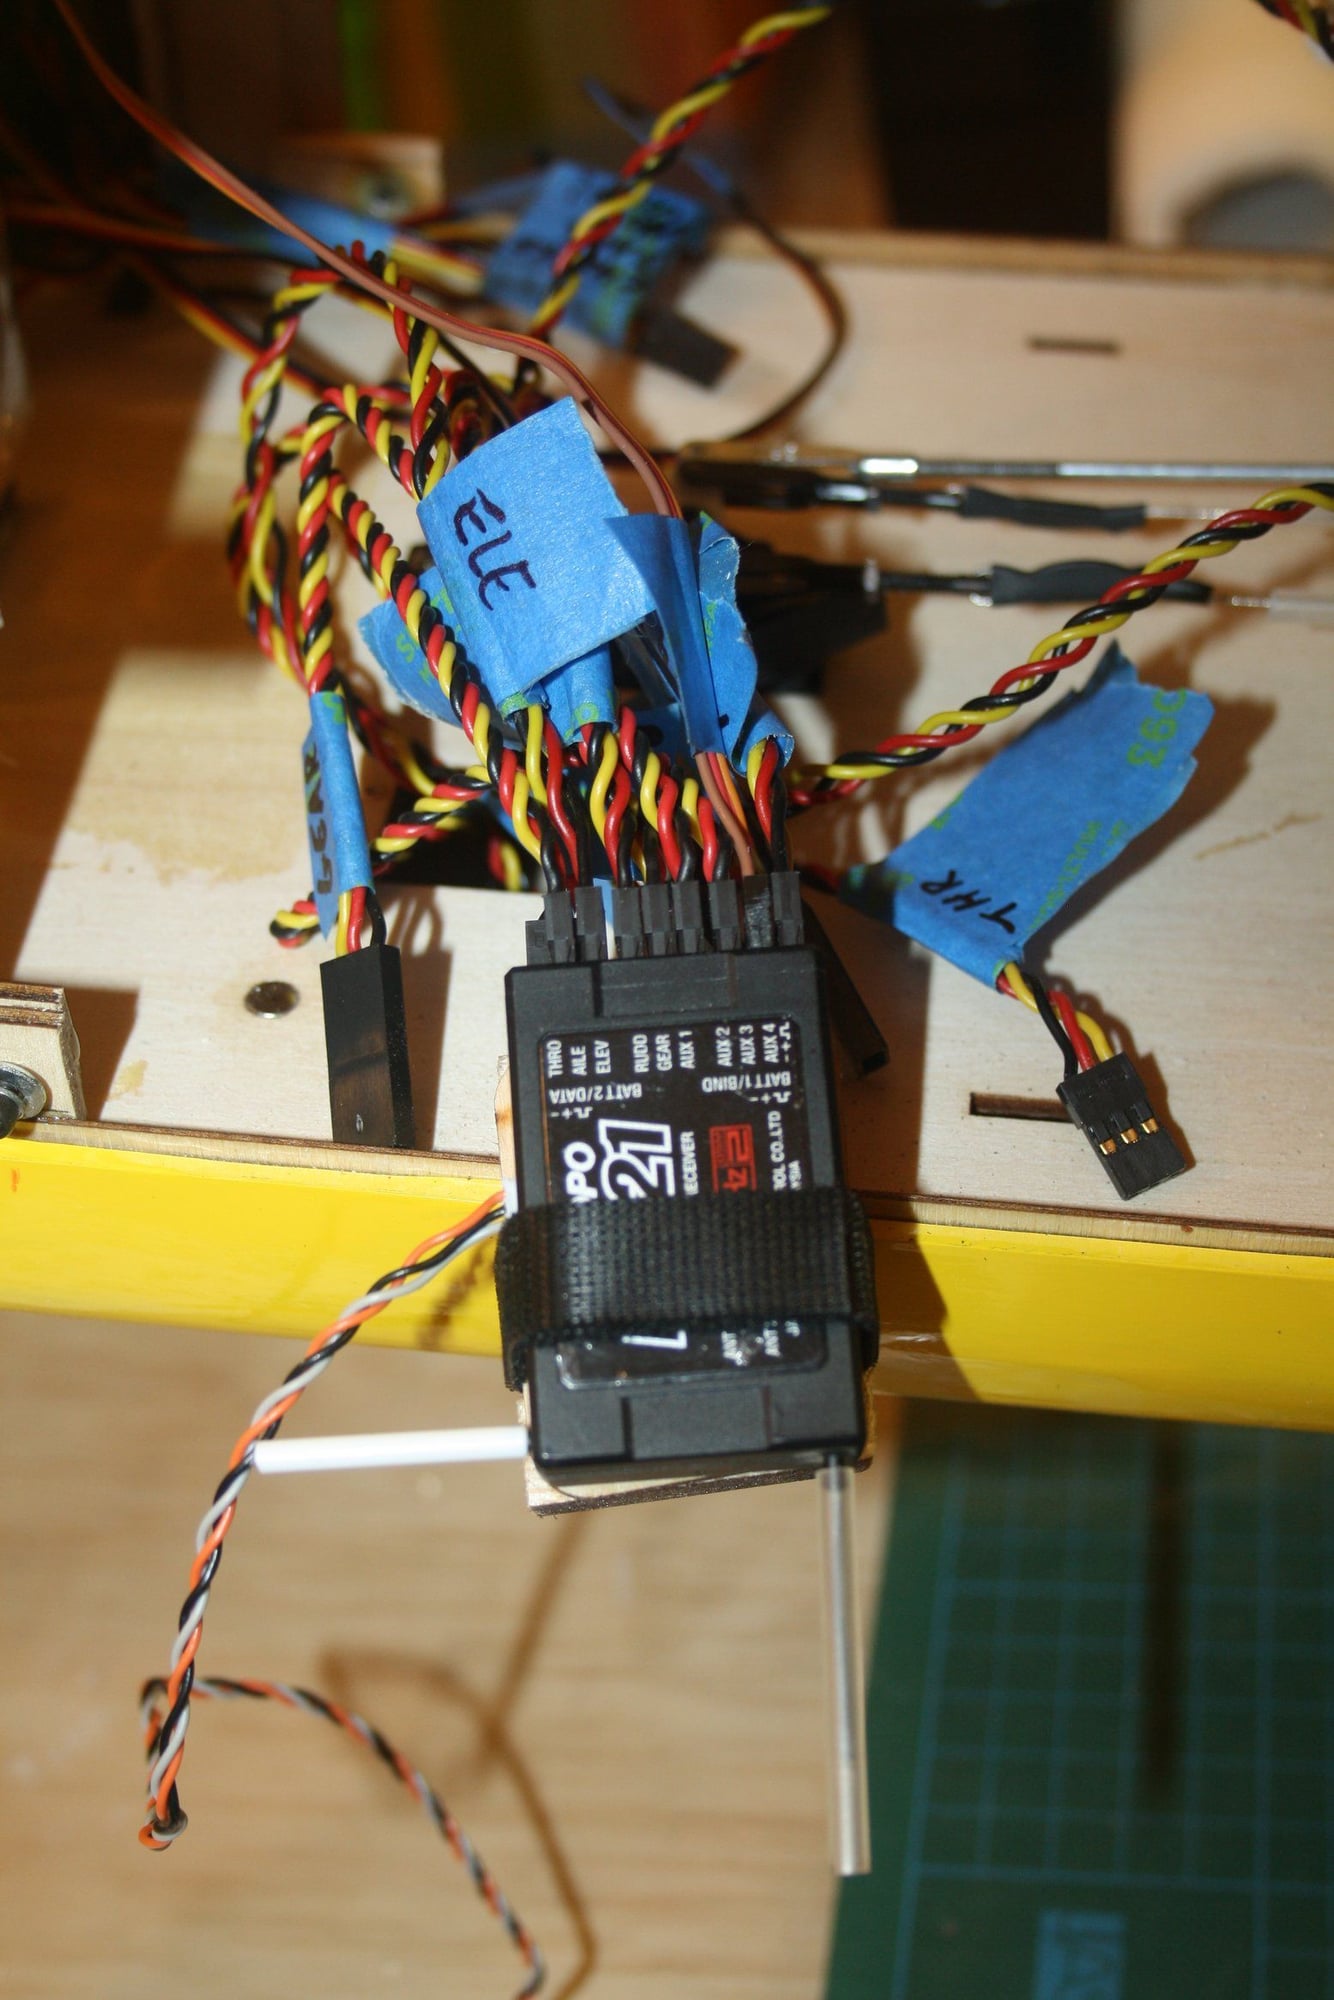
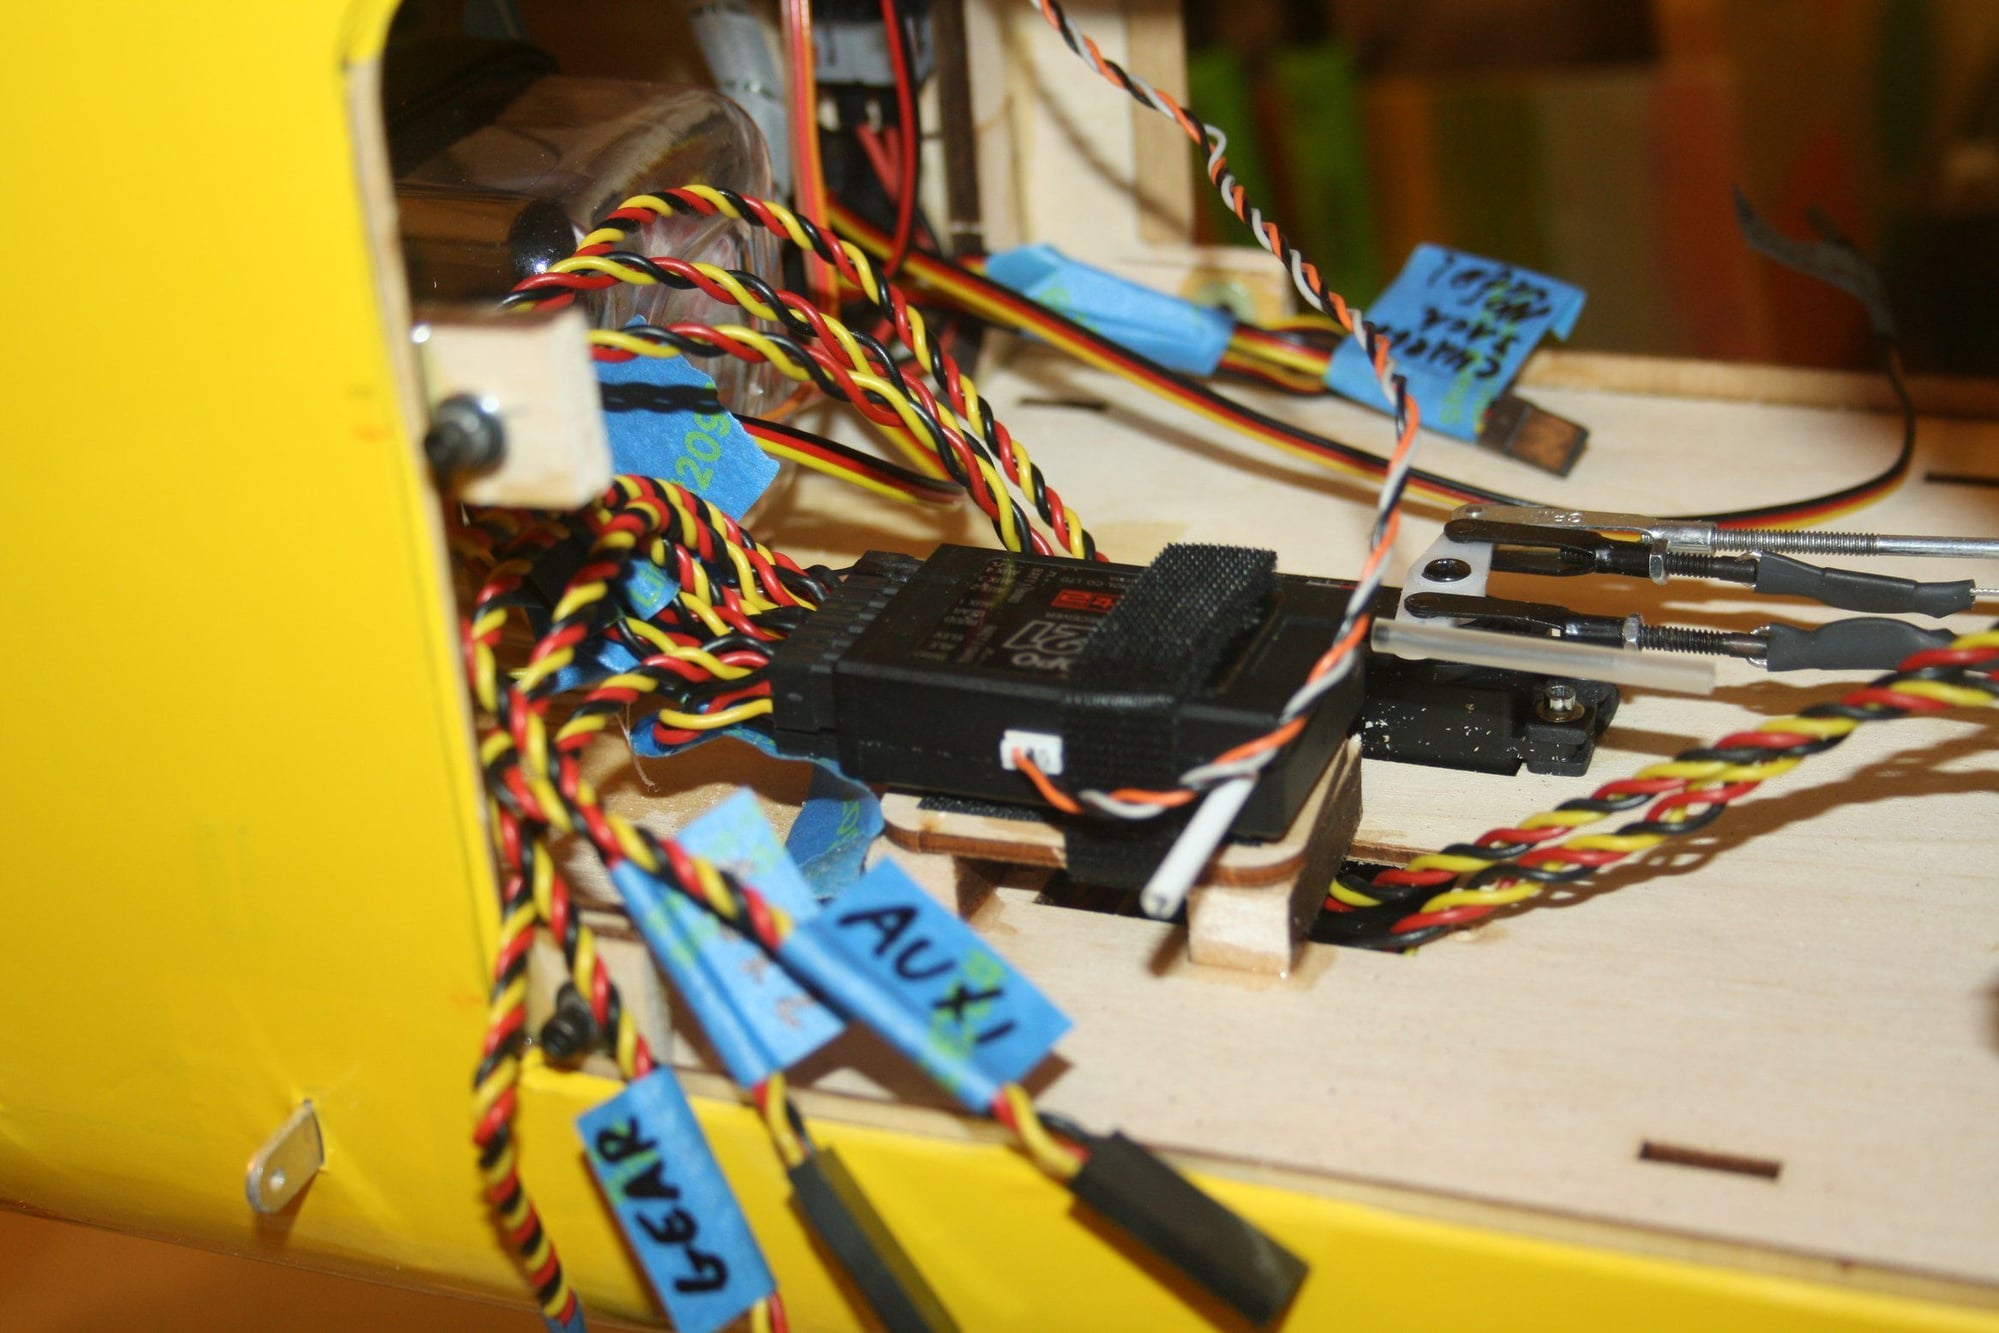
Received and satellite installed. All 9 channels are used. I did change the location of the satellite later as the cable was in the way when working through the door.
All control surfaces movements checked as per the manual.


Cheers,
Eran
All control surfaces movements checked as per the manual.
Cheers,
Eran
12-24-2022, 04:03 AM
#98
Thread Starter
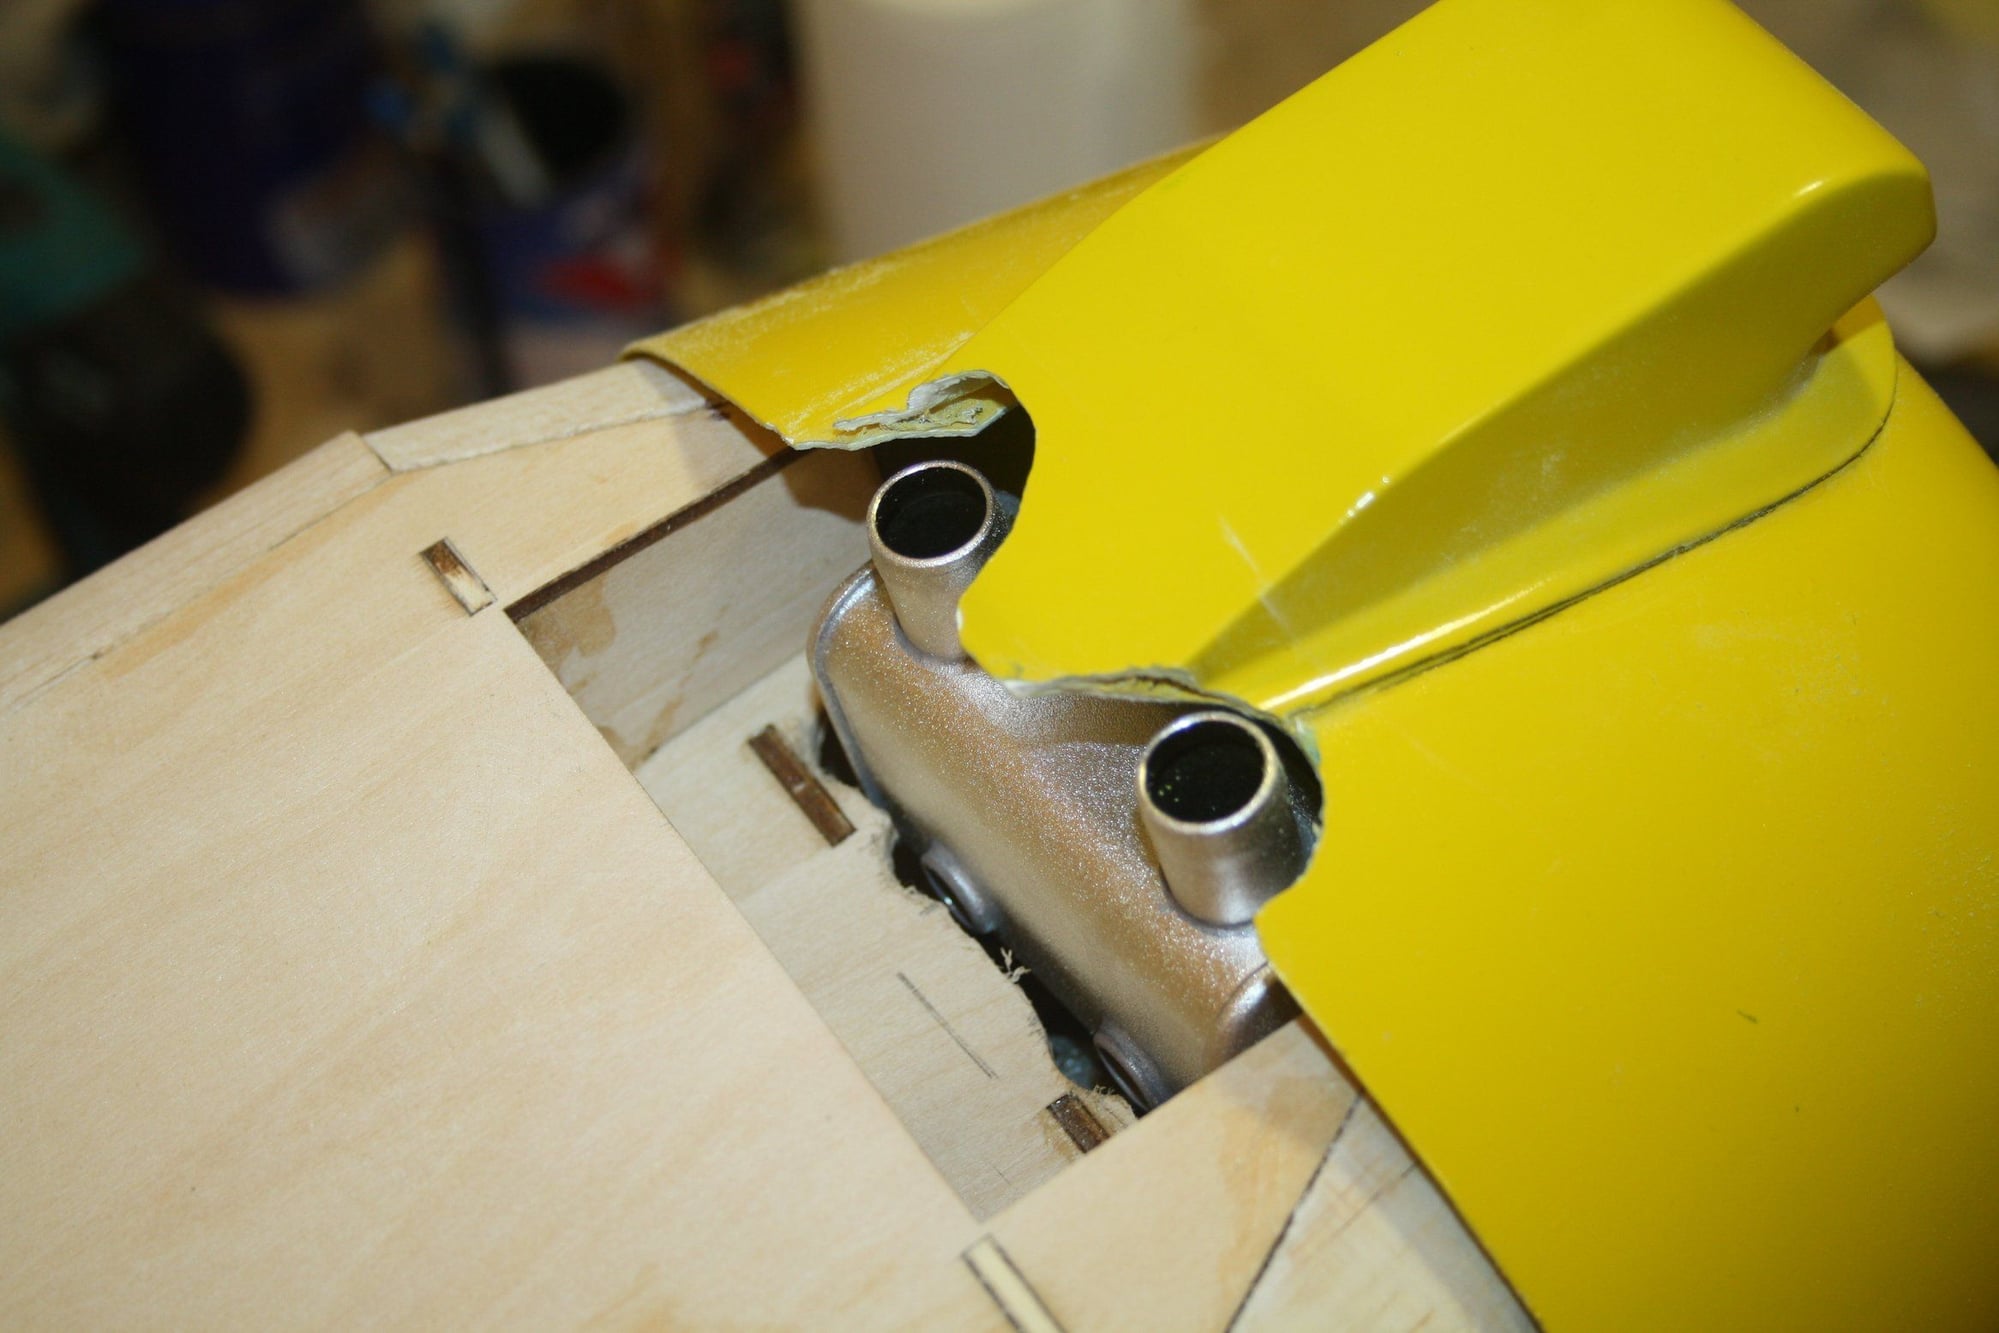
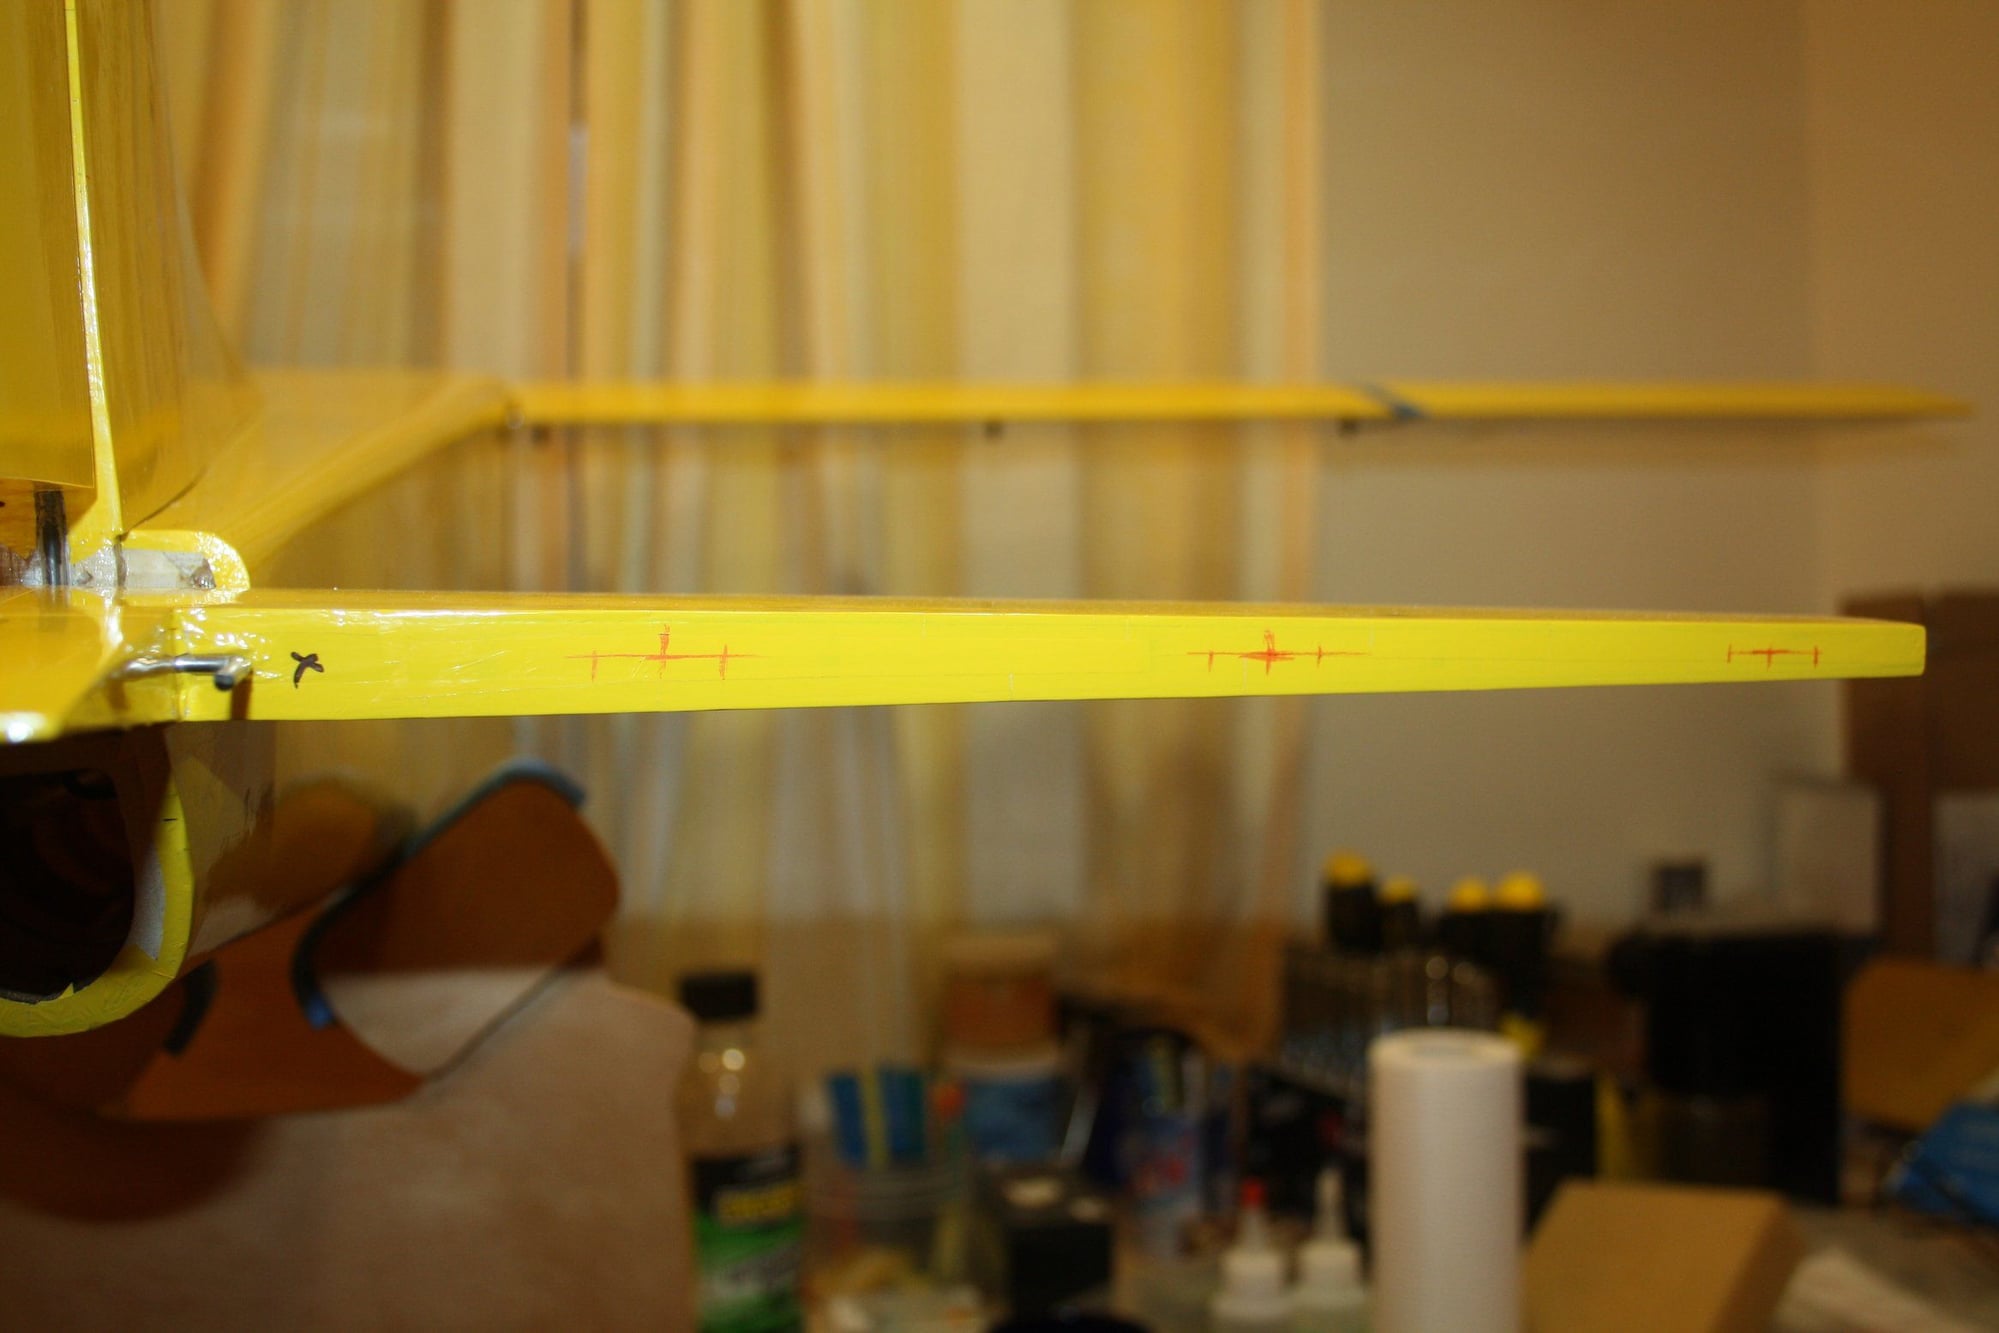
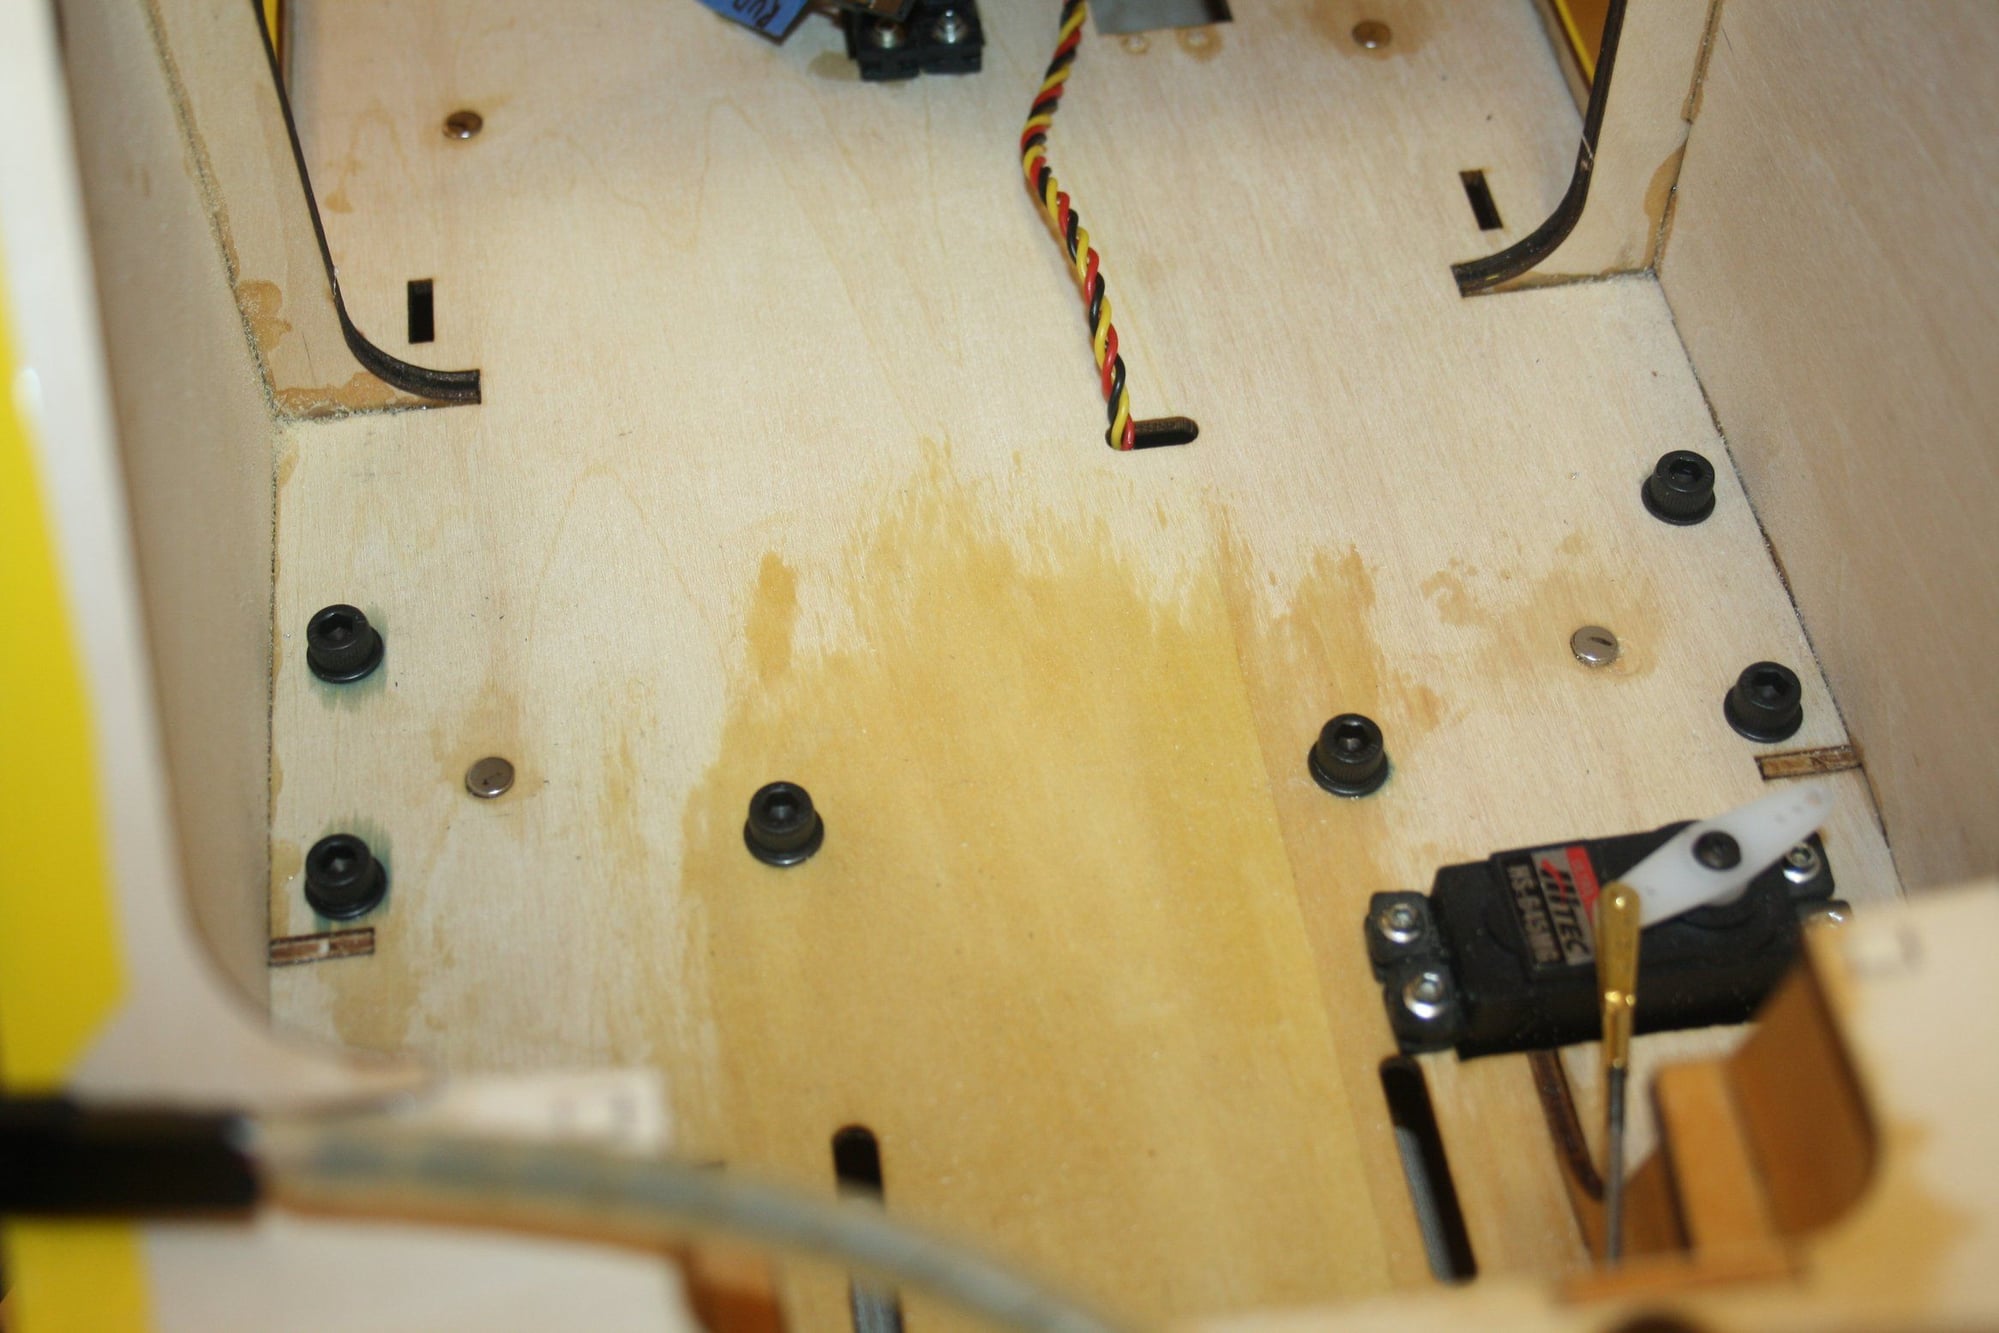
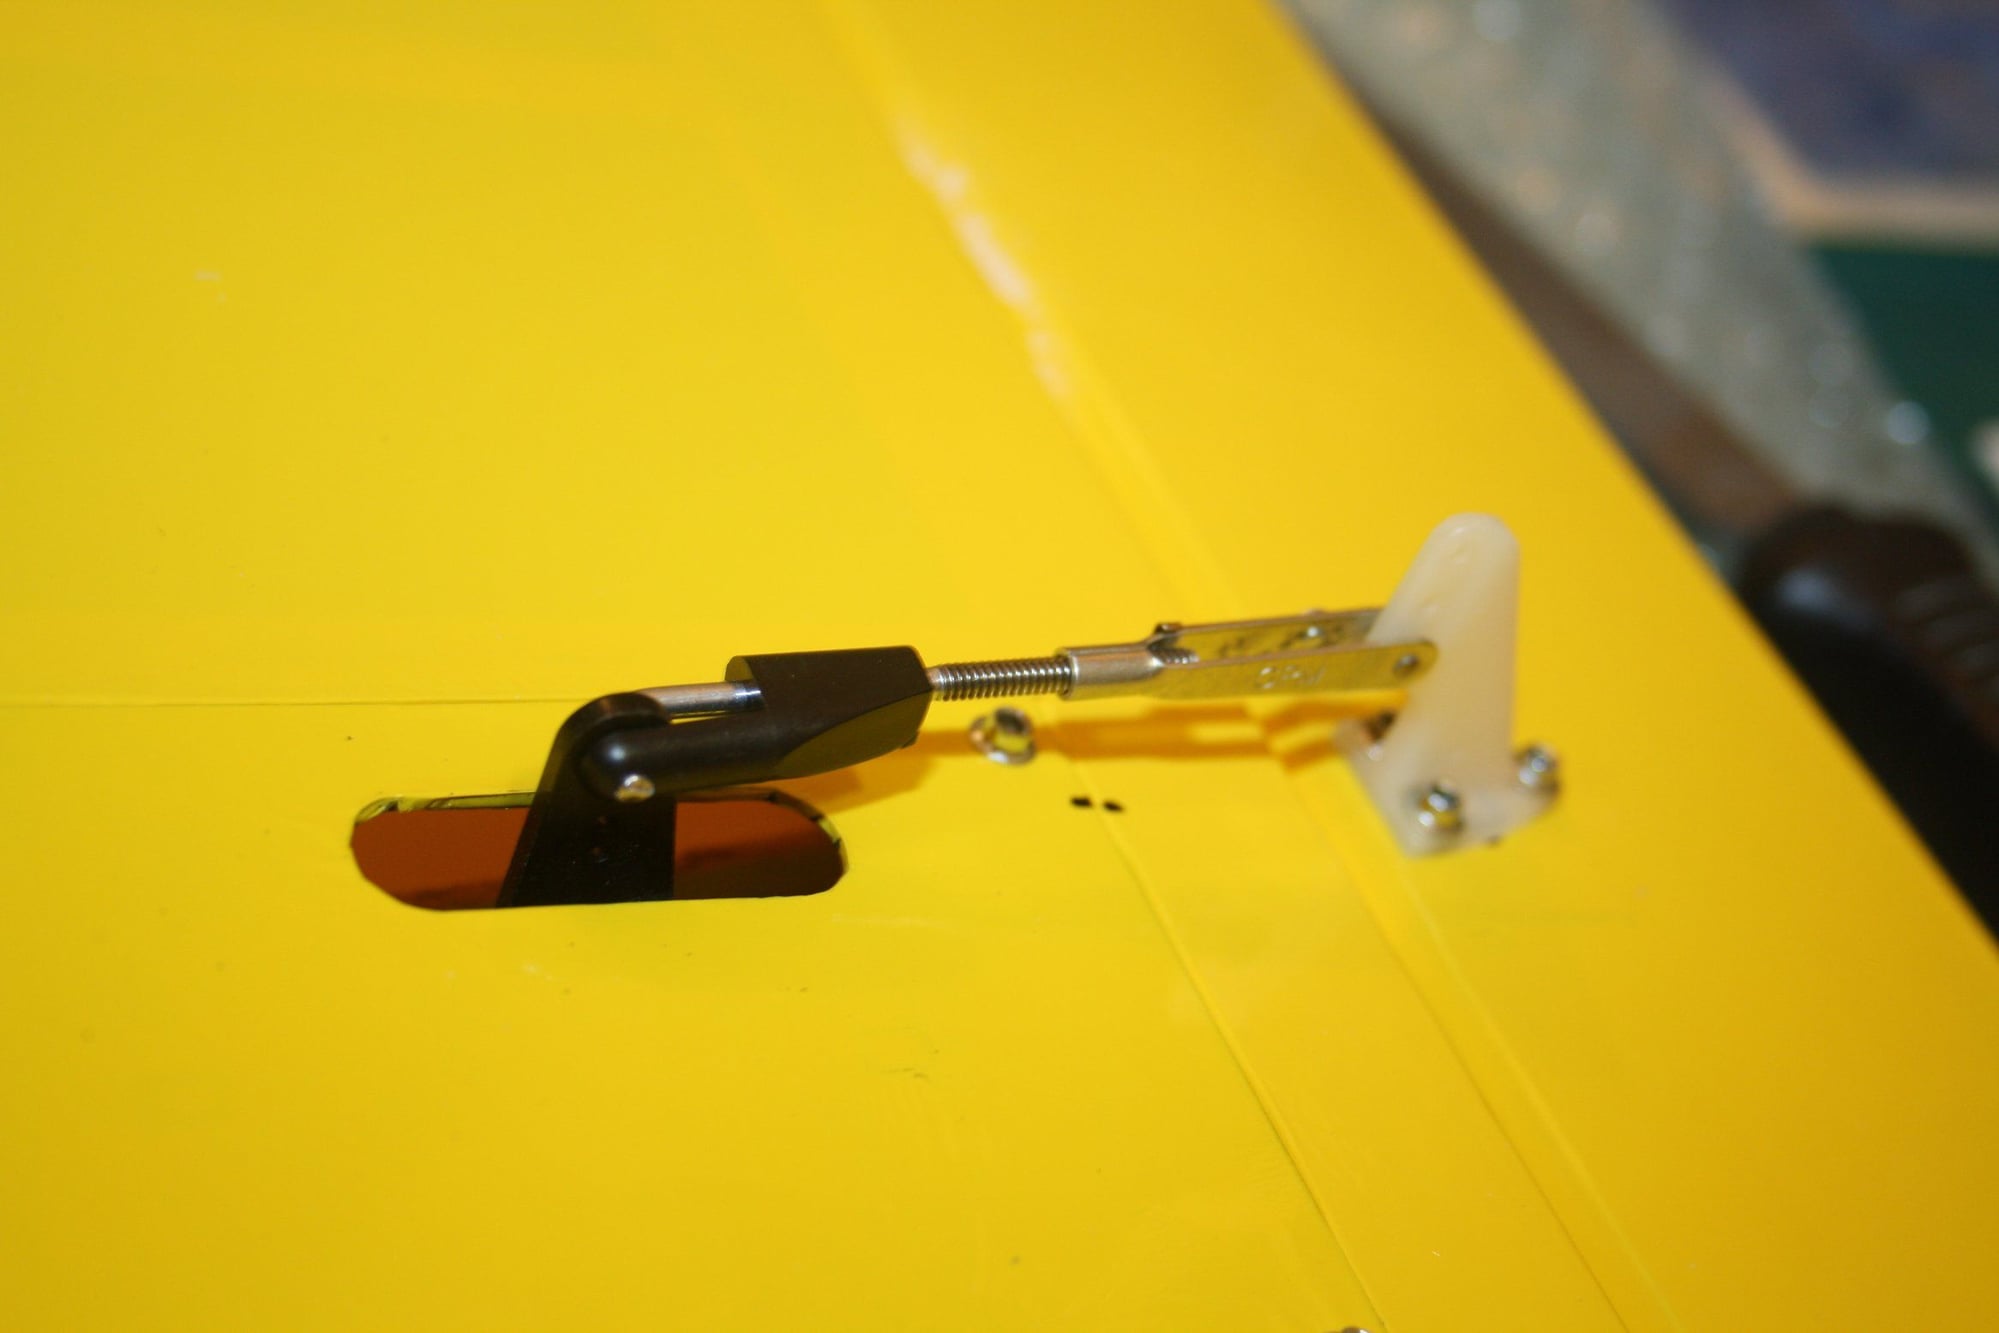
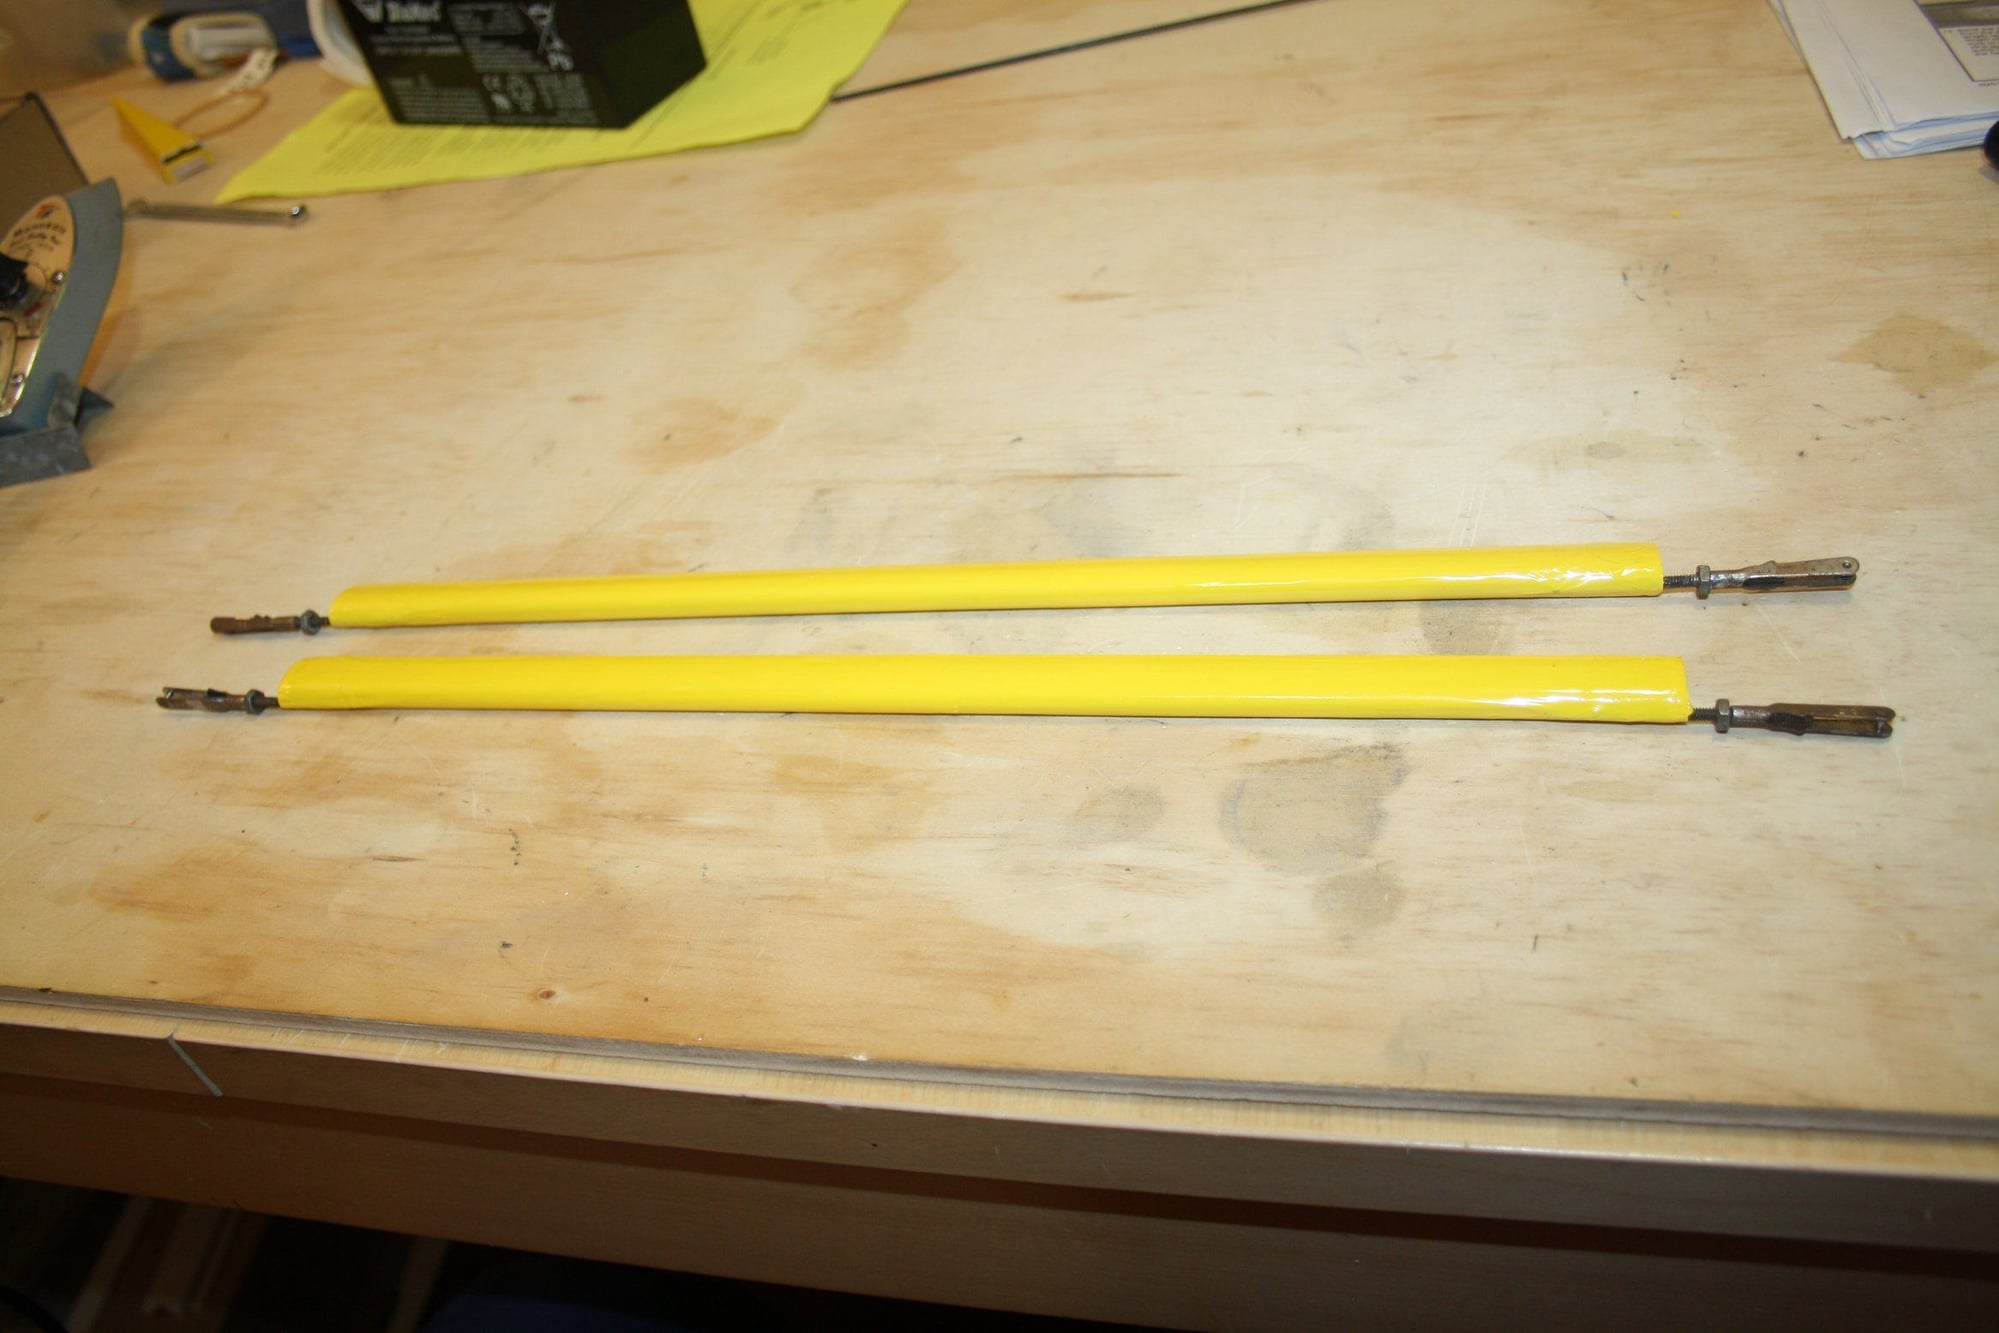
I could not believe my eyes when reading that the strut mount bracket is screwed into the spar. I decided to do it anyway as I was in no mood to open the wing to make a proper mounting location. Time will tell if intentionally weakening the spar was a good idea...
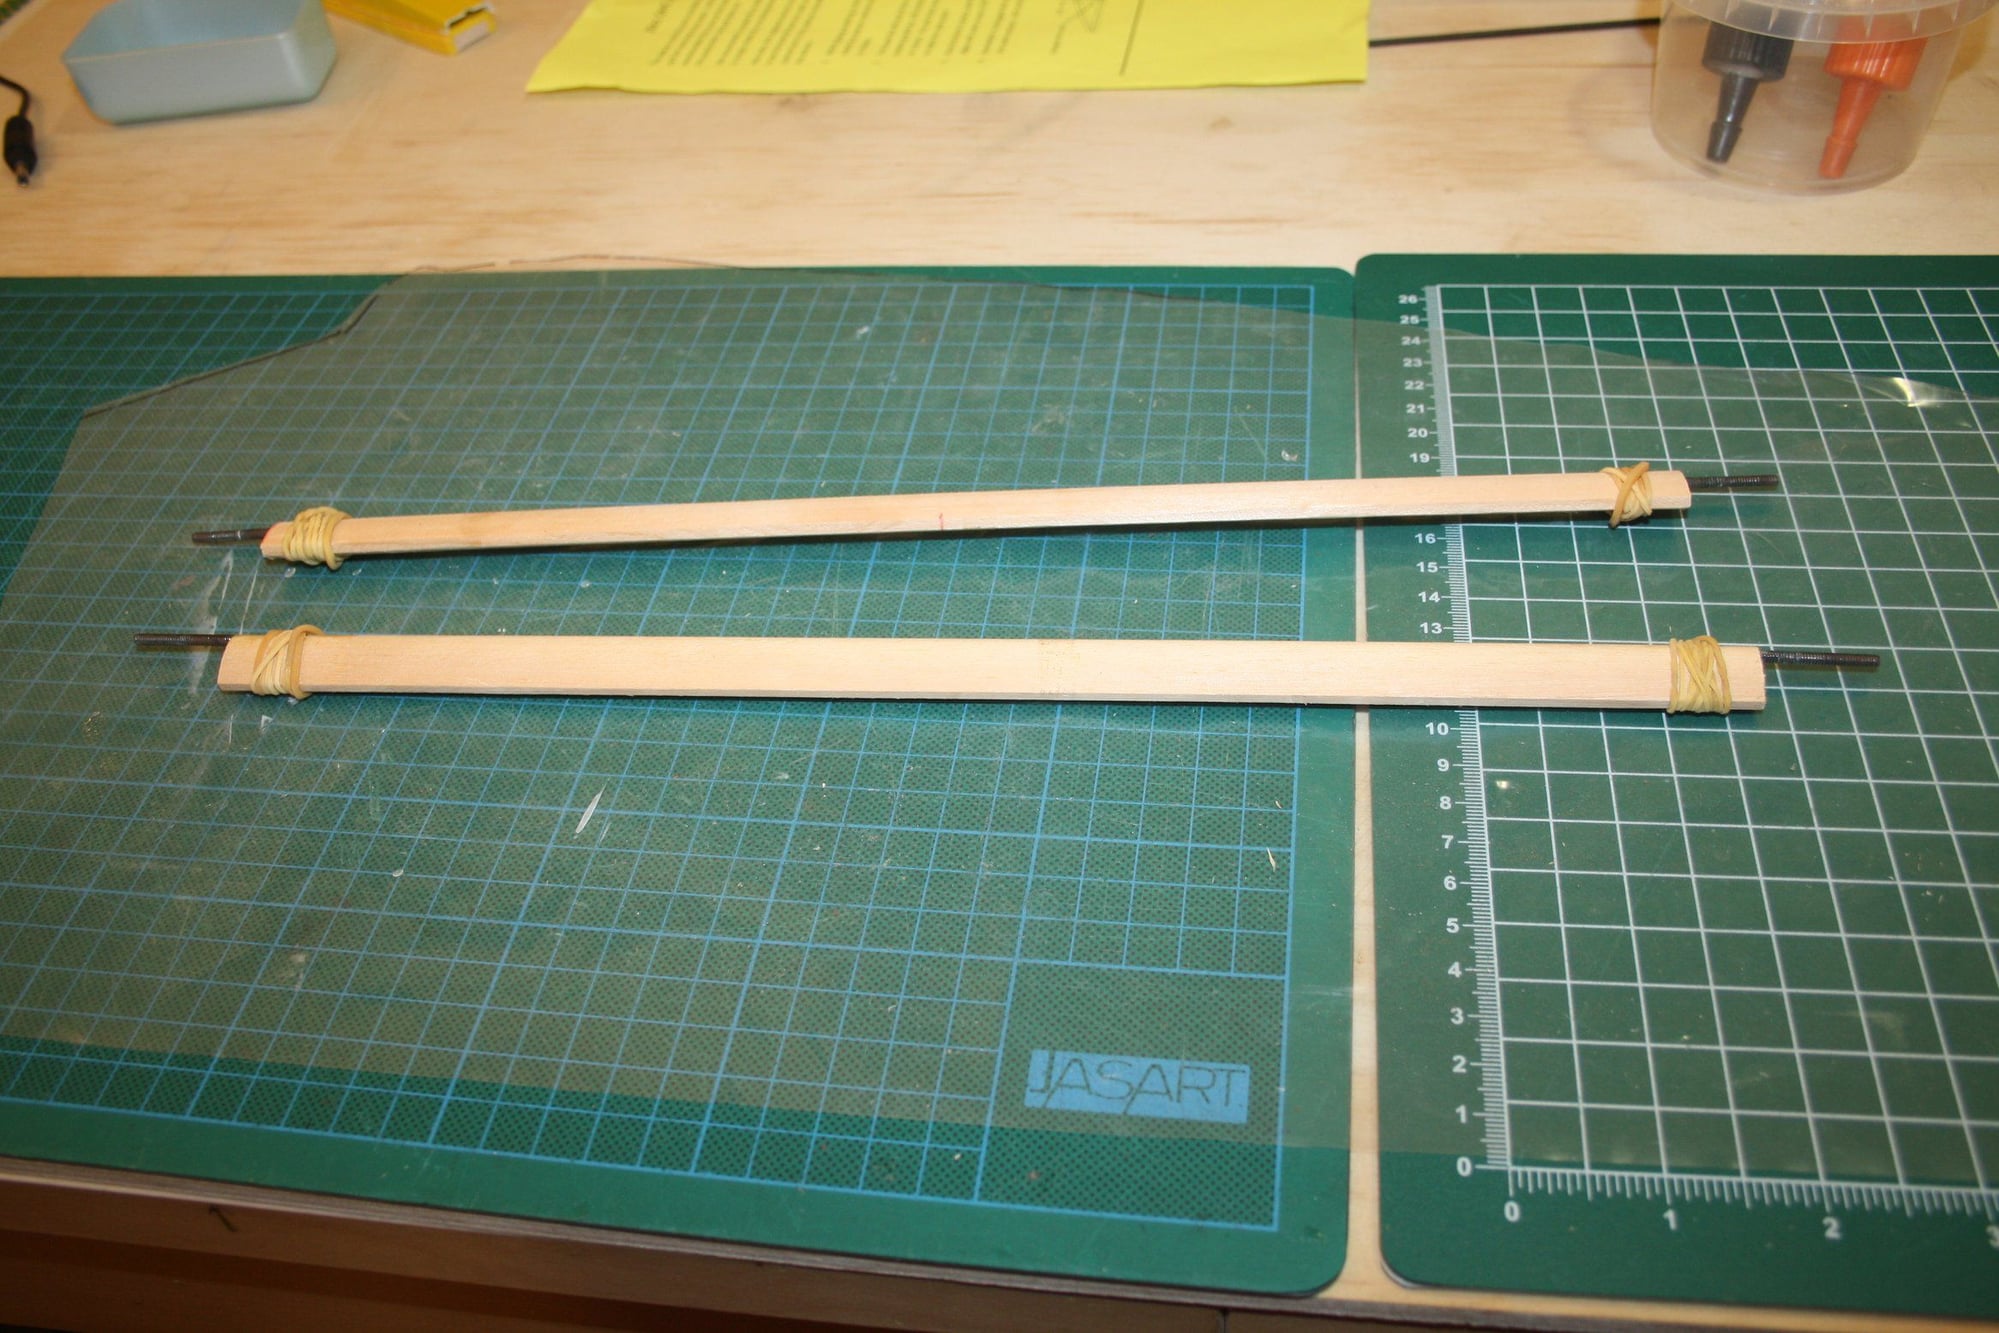
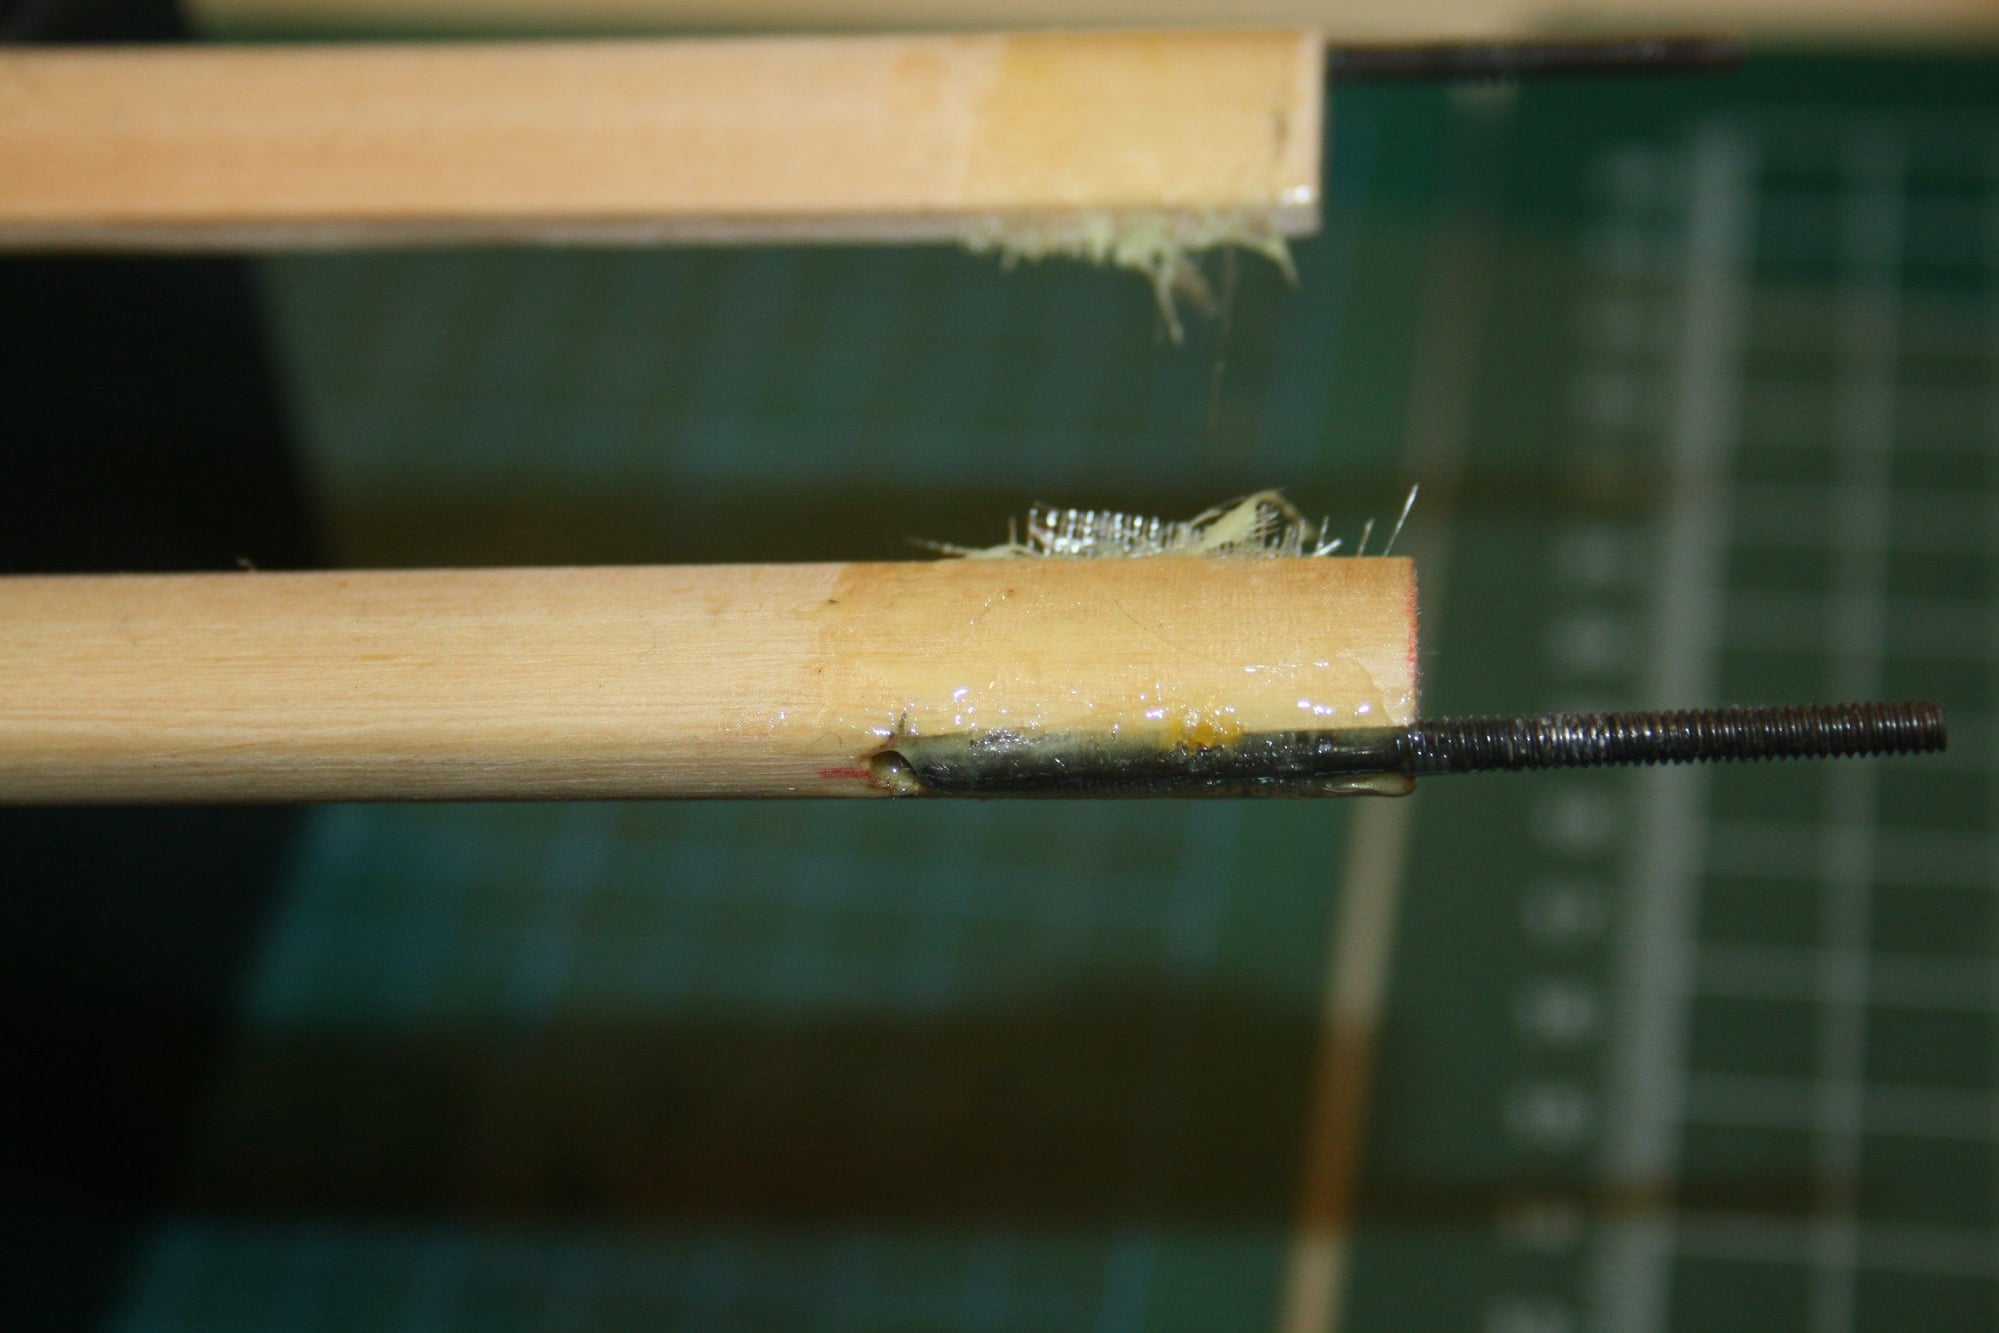
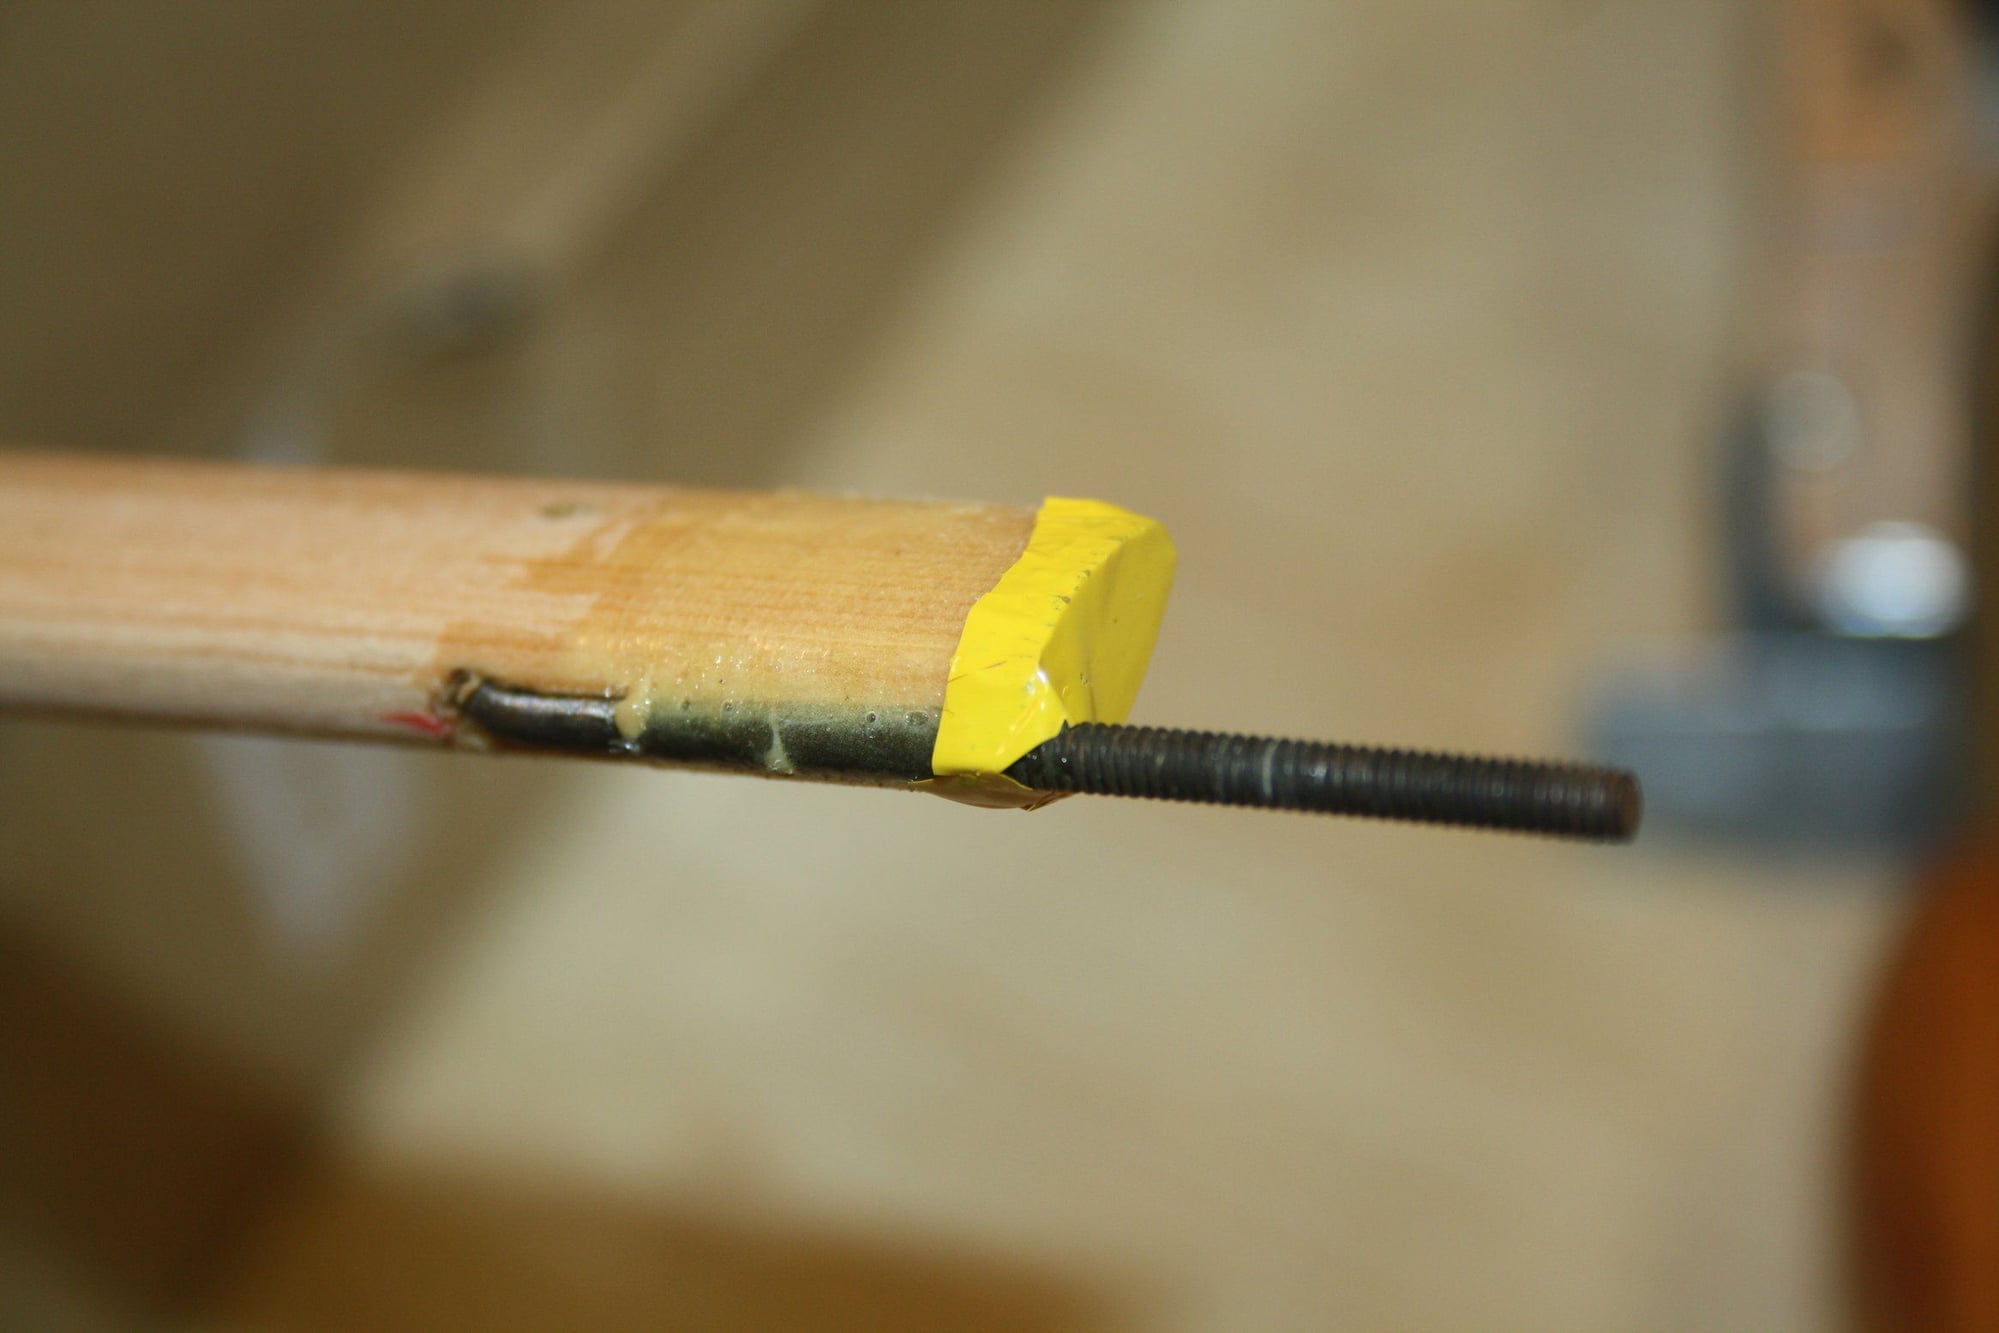
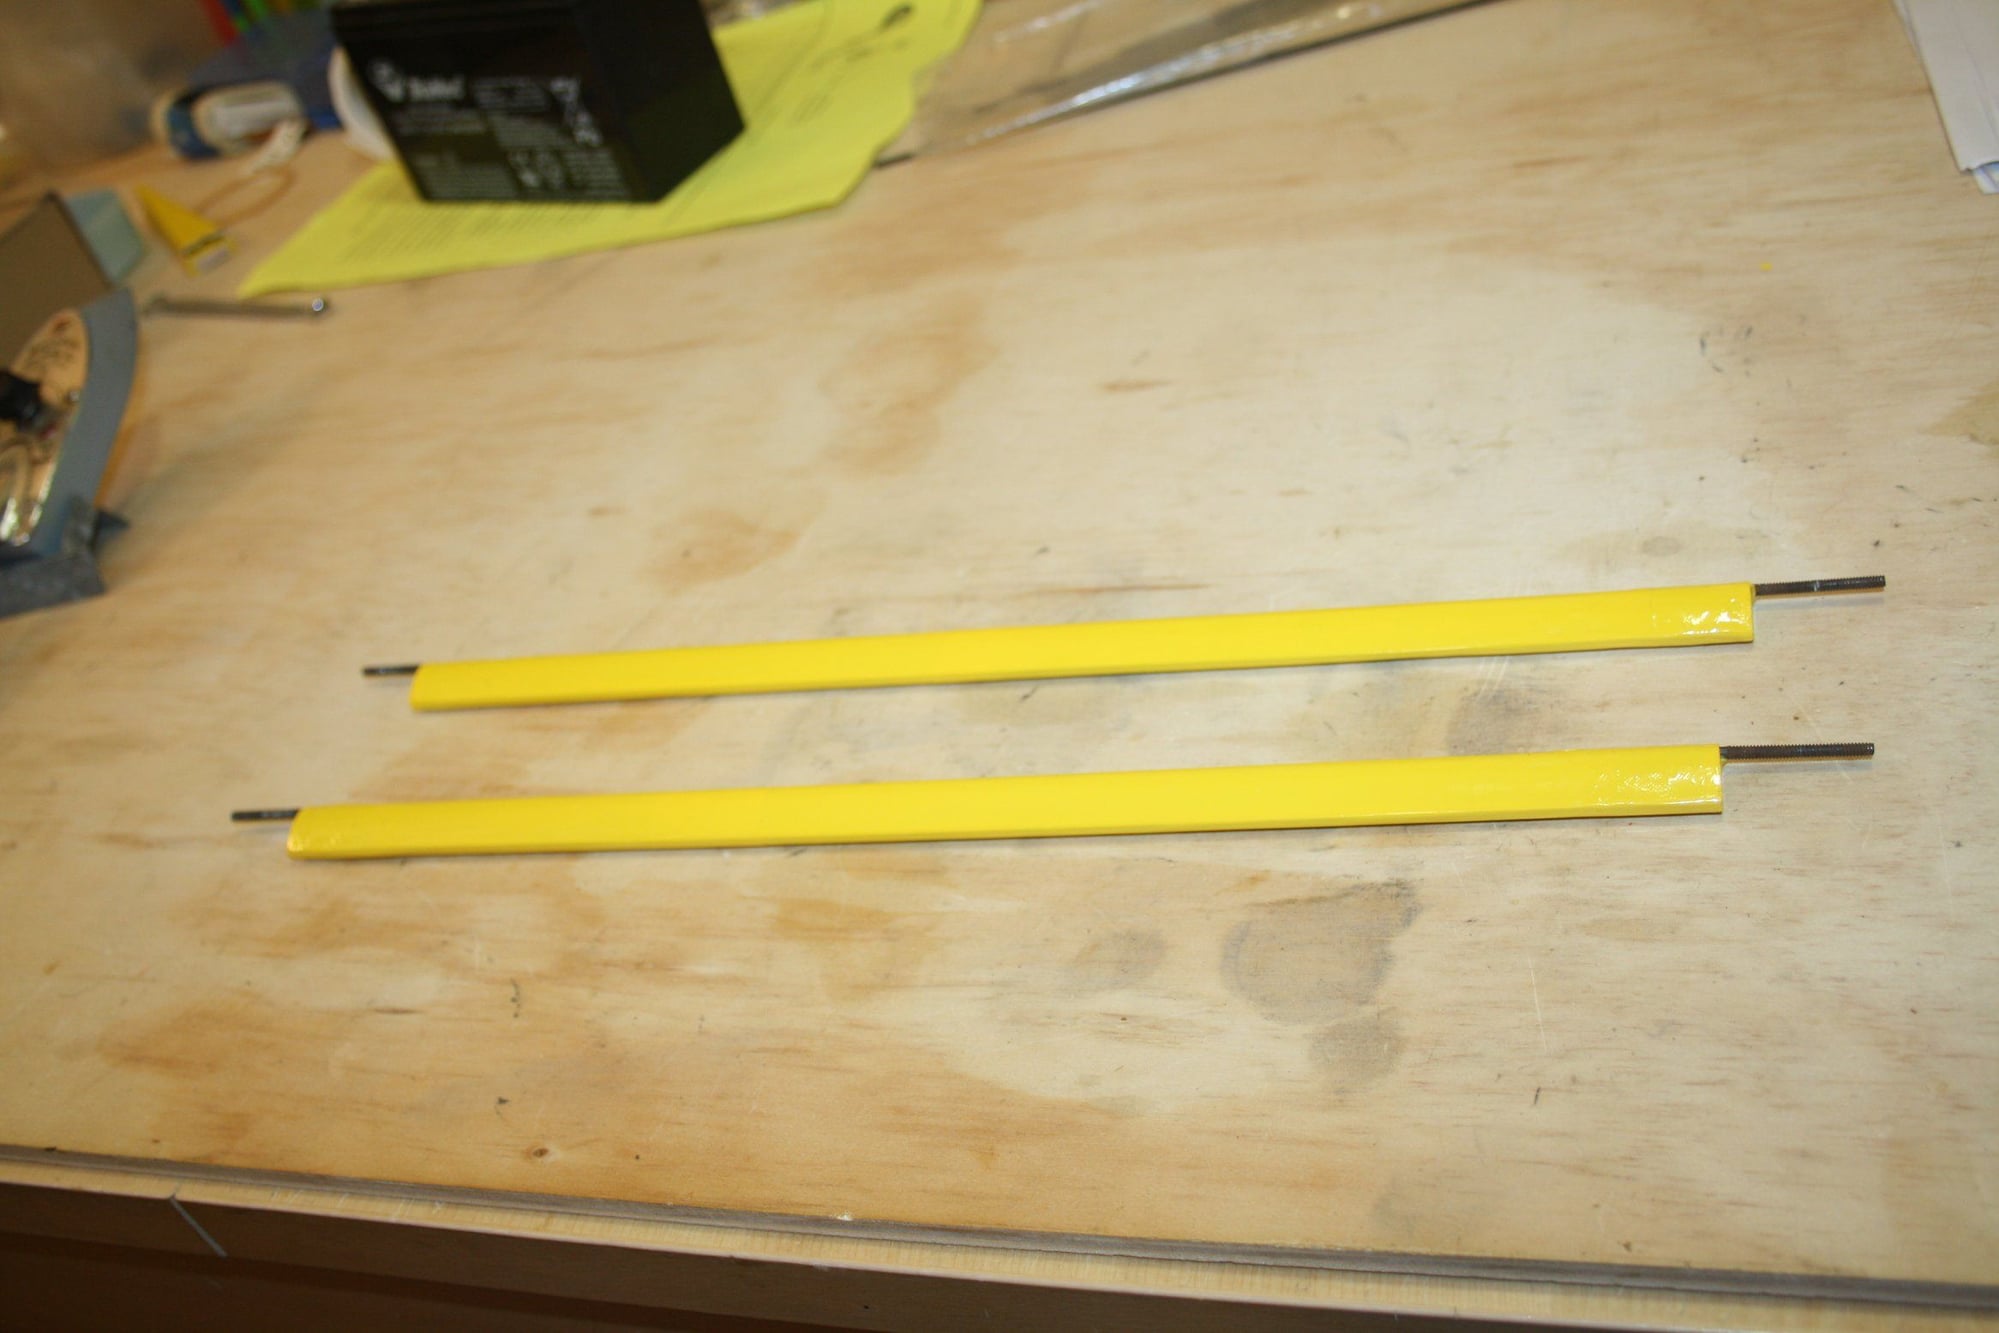
I also fibreglassed the wire to the strut as shown in the photos. As the struts are not functional I used some old 4-40 hardware.


Cheers,
Eran
I also fibreglassed the wire to the strut as shown in the photos. As the struts are not functional I used some old 4-40 hardware.
Cheers,
Eran


 12-24-2022, 04:16 AM
#100
Thread Starter
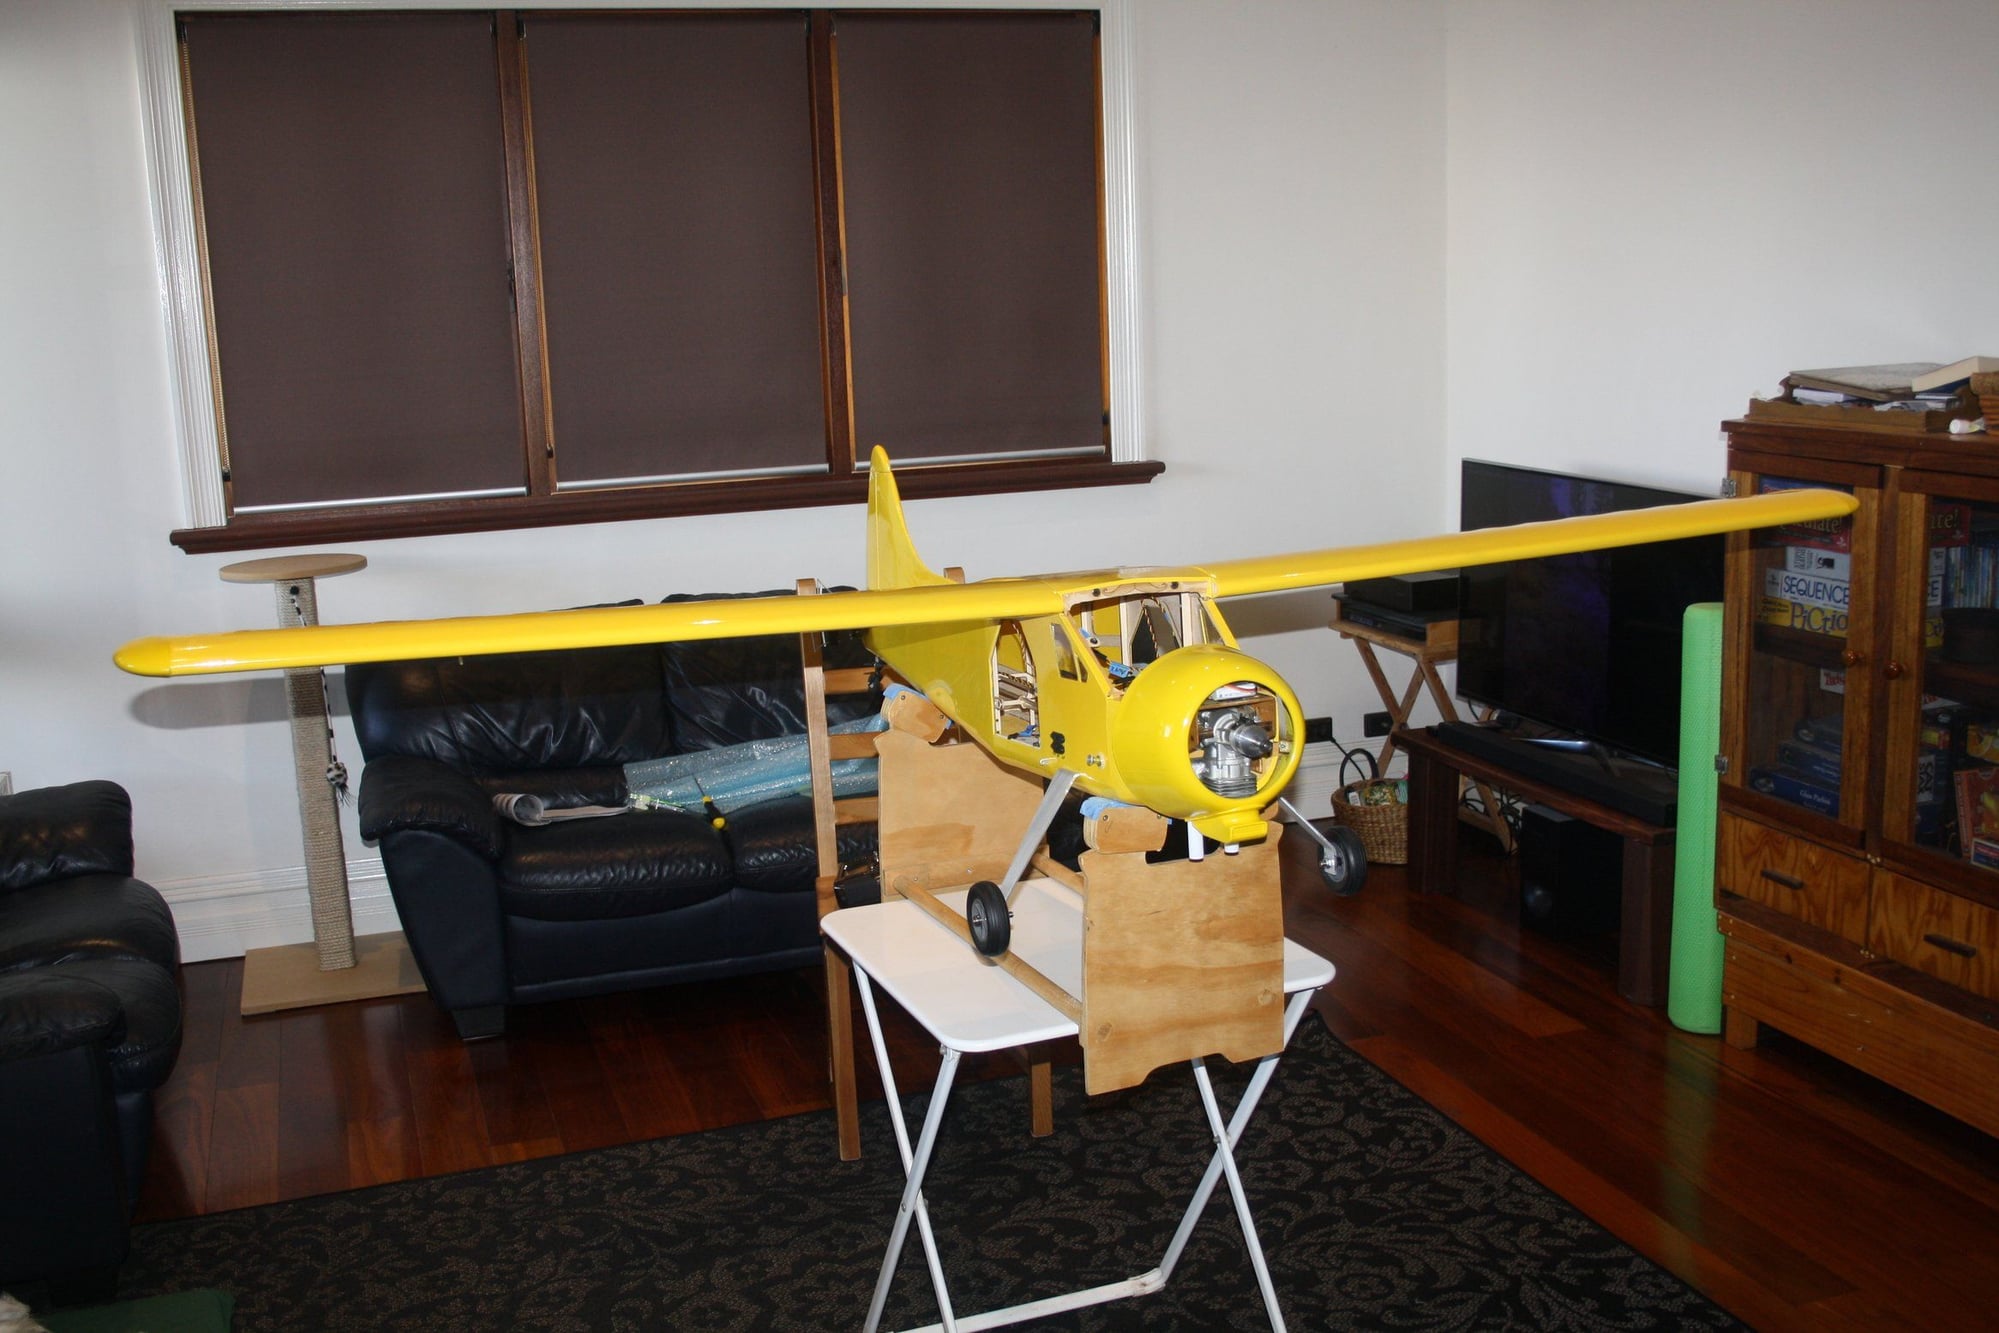
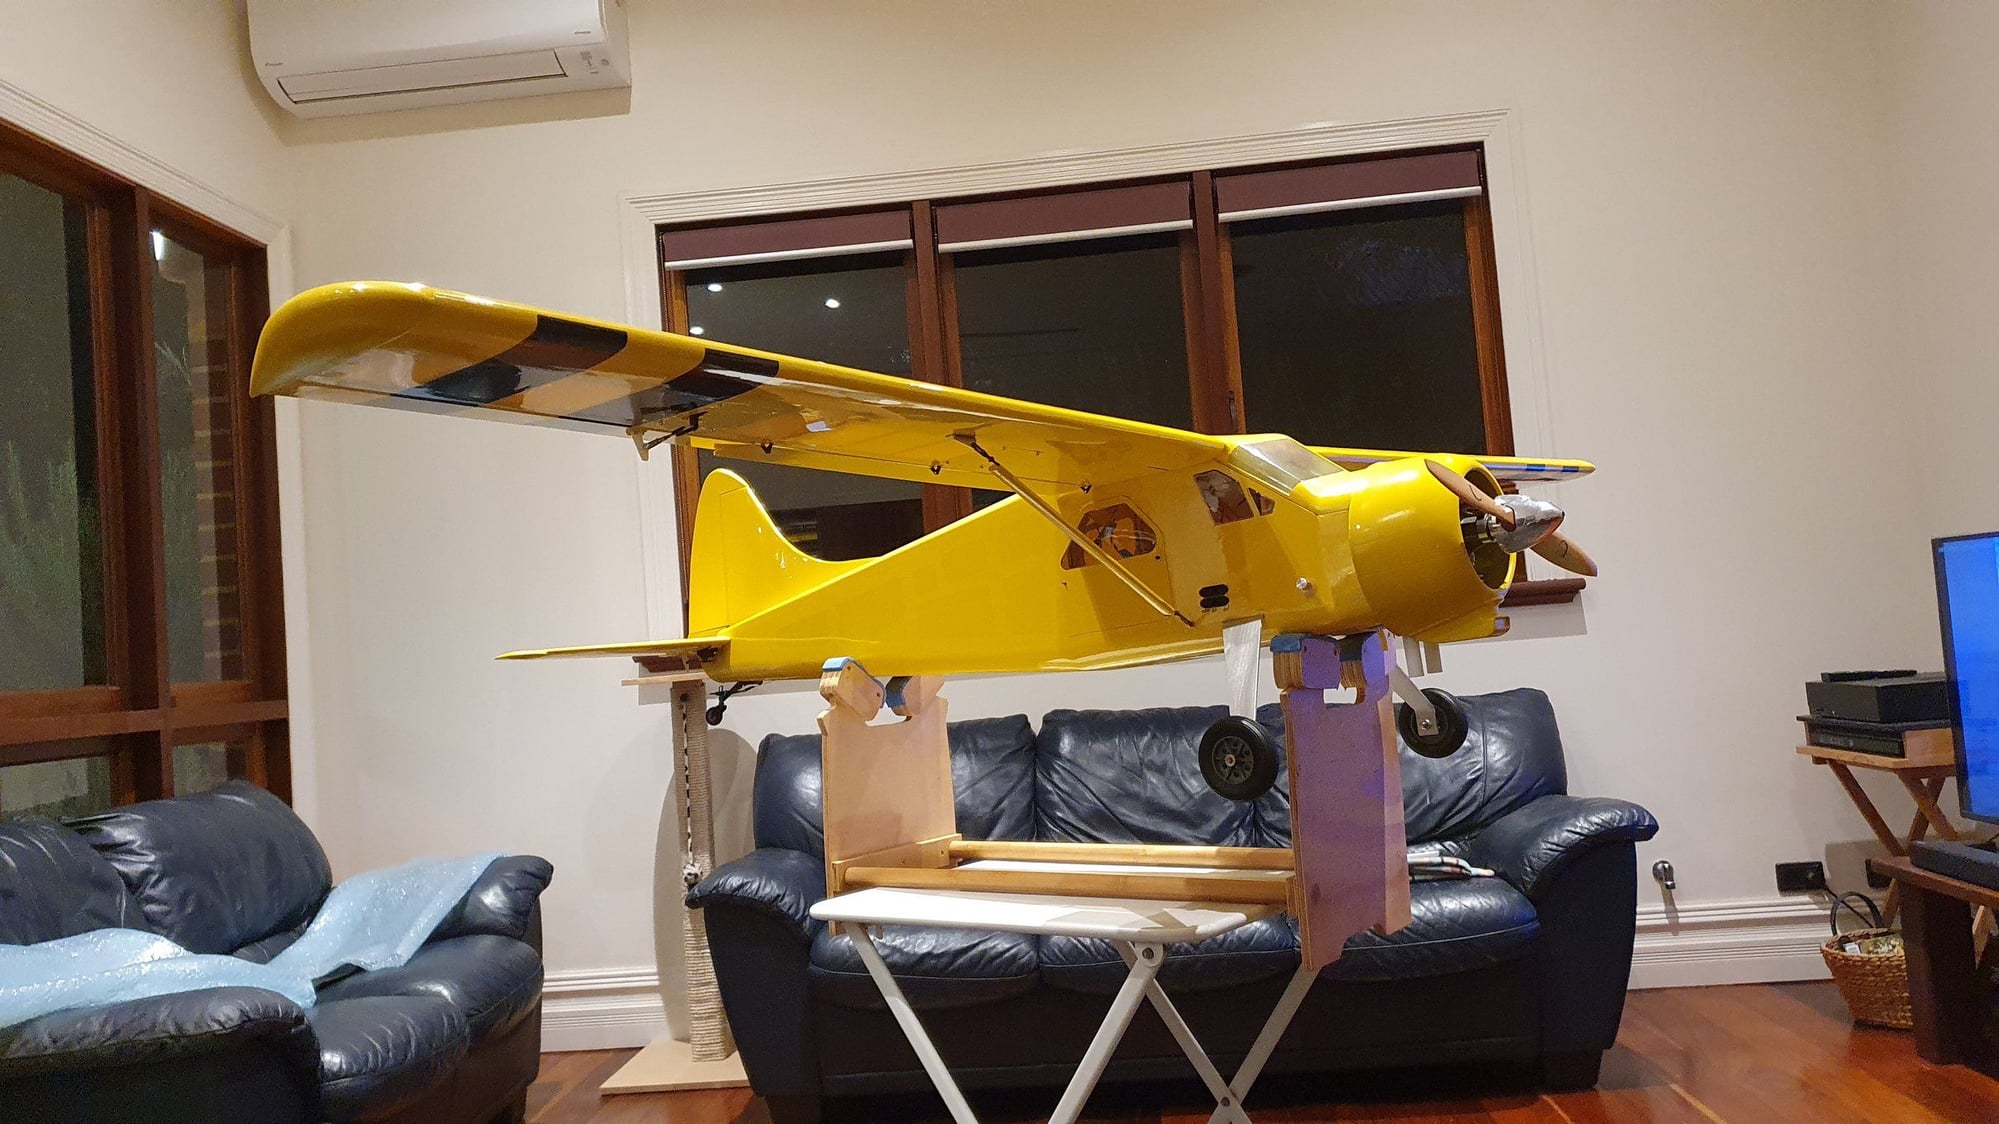
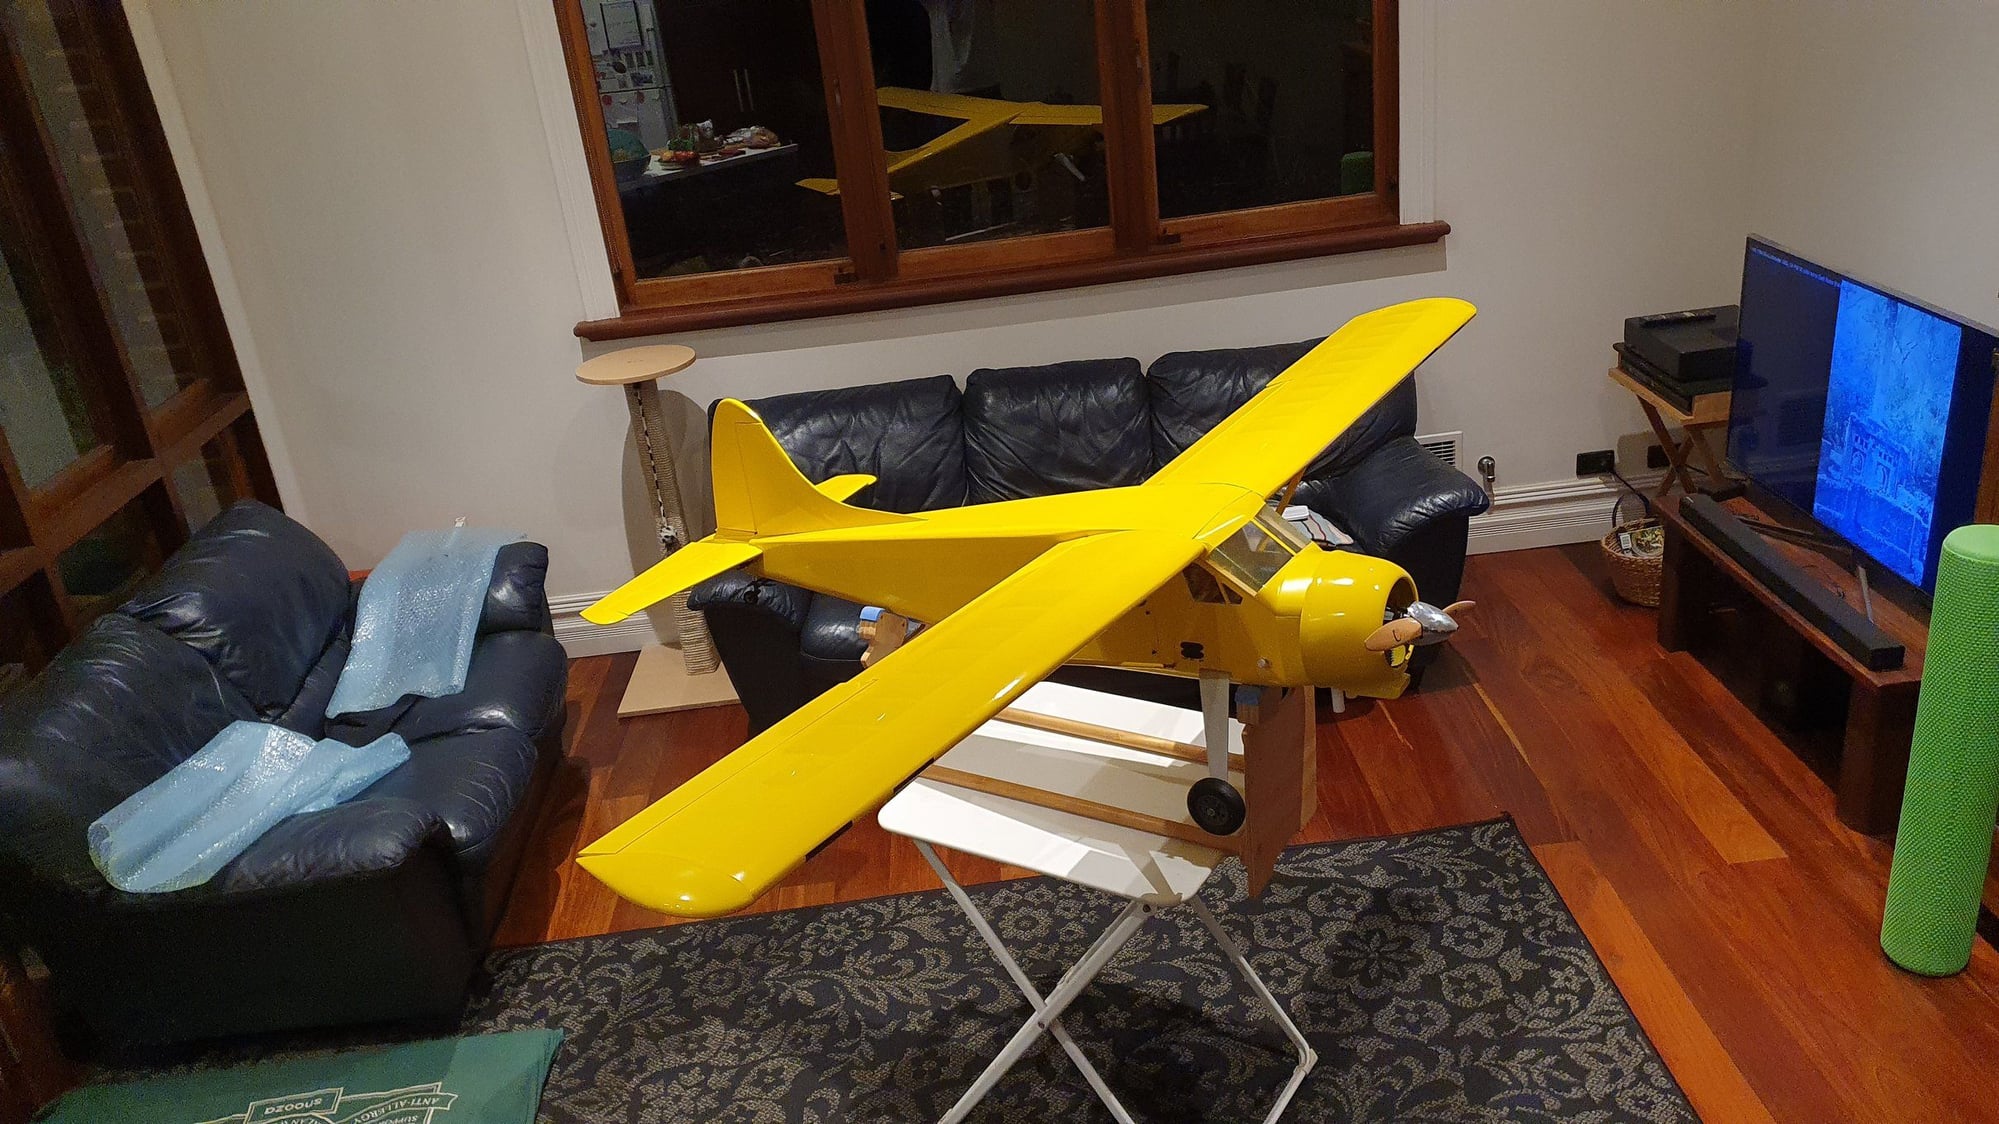
Some black trim on the bottom of the wing to assist with orientation for the first flight. If the aeroplane actually fly (and fly well enough), I may bother to do some more covering work.
As mentioned earlier, balance was way out with the aeroplane tail heavy. Unplanned two additional servos at the end of the tail were not going to improve the balance no matter what.
I had to install around 420g of weight on the engine mount to get the balance near the location prescribed in the plans. I will take a photo of this if the aeroplane survives the test flight (I forgot to take a photo when installing it). We hopefully will know by next weekend...


Cheers,
Eran
As mentioned earlier, balance was way out with the aeroplane tail heavy. Unplanned two additional servos at the end of the tail were not going to improve the balance no matter what.
I had to install around 420g of weight on the engine mount to get the balance near the location prescribed in the plans. I will take a photo of this if the aeroplane survives the test flight (I forgot to take a photo when installing it). We hopefully will know by next weekend...
Cheers,
Eran