


Sig Citabria Build


 10-19-2021, 06:34 PM
#253

Thread Starter
Yesterday, I used canopy glue to attach a strip of Monokote to a spare piece of window plastic to see if it would work. I tugged on it this morning, and it stuck, but I was able to pull them apart. Later, I looked at the glue directions and found it is supposed to cure 24 hours. I guess I have to try another experiment!
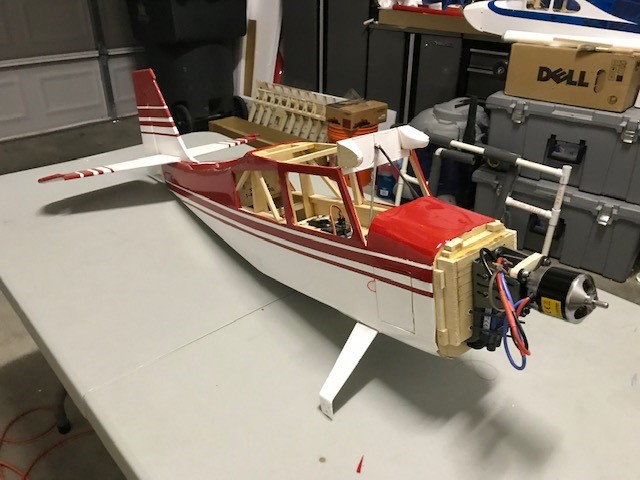
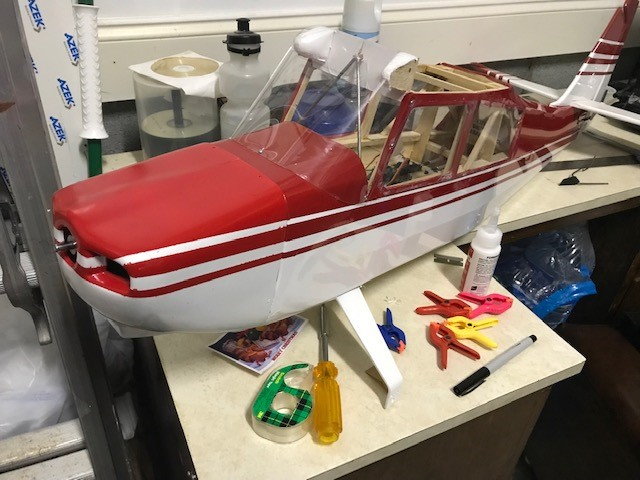
I already cut up the original cowling to fit a glow engine. My switch to electric meant that I had to purchase and assemble a second cowling. I was able to attach it to the fuselage today. Now, I need to find some paint for it! When I took the picture, I noticed that some of the covering is already lifting from the front edge of the hatch. I will need to see what I can do about that.
I already cut up the original cowling to fit a glow engine. My switch to electric meant that I had to purchase and assemble a second cowling. I was able to attach it to the fuselage today. Now, I need to find some paint for it! When I took the picture, I noticed that some of the covering is already lifting from the front edge of the hatch. I will need to see what I can do about that.
10-30-2021, 12:25 PM
#254
Thread Starter
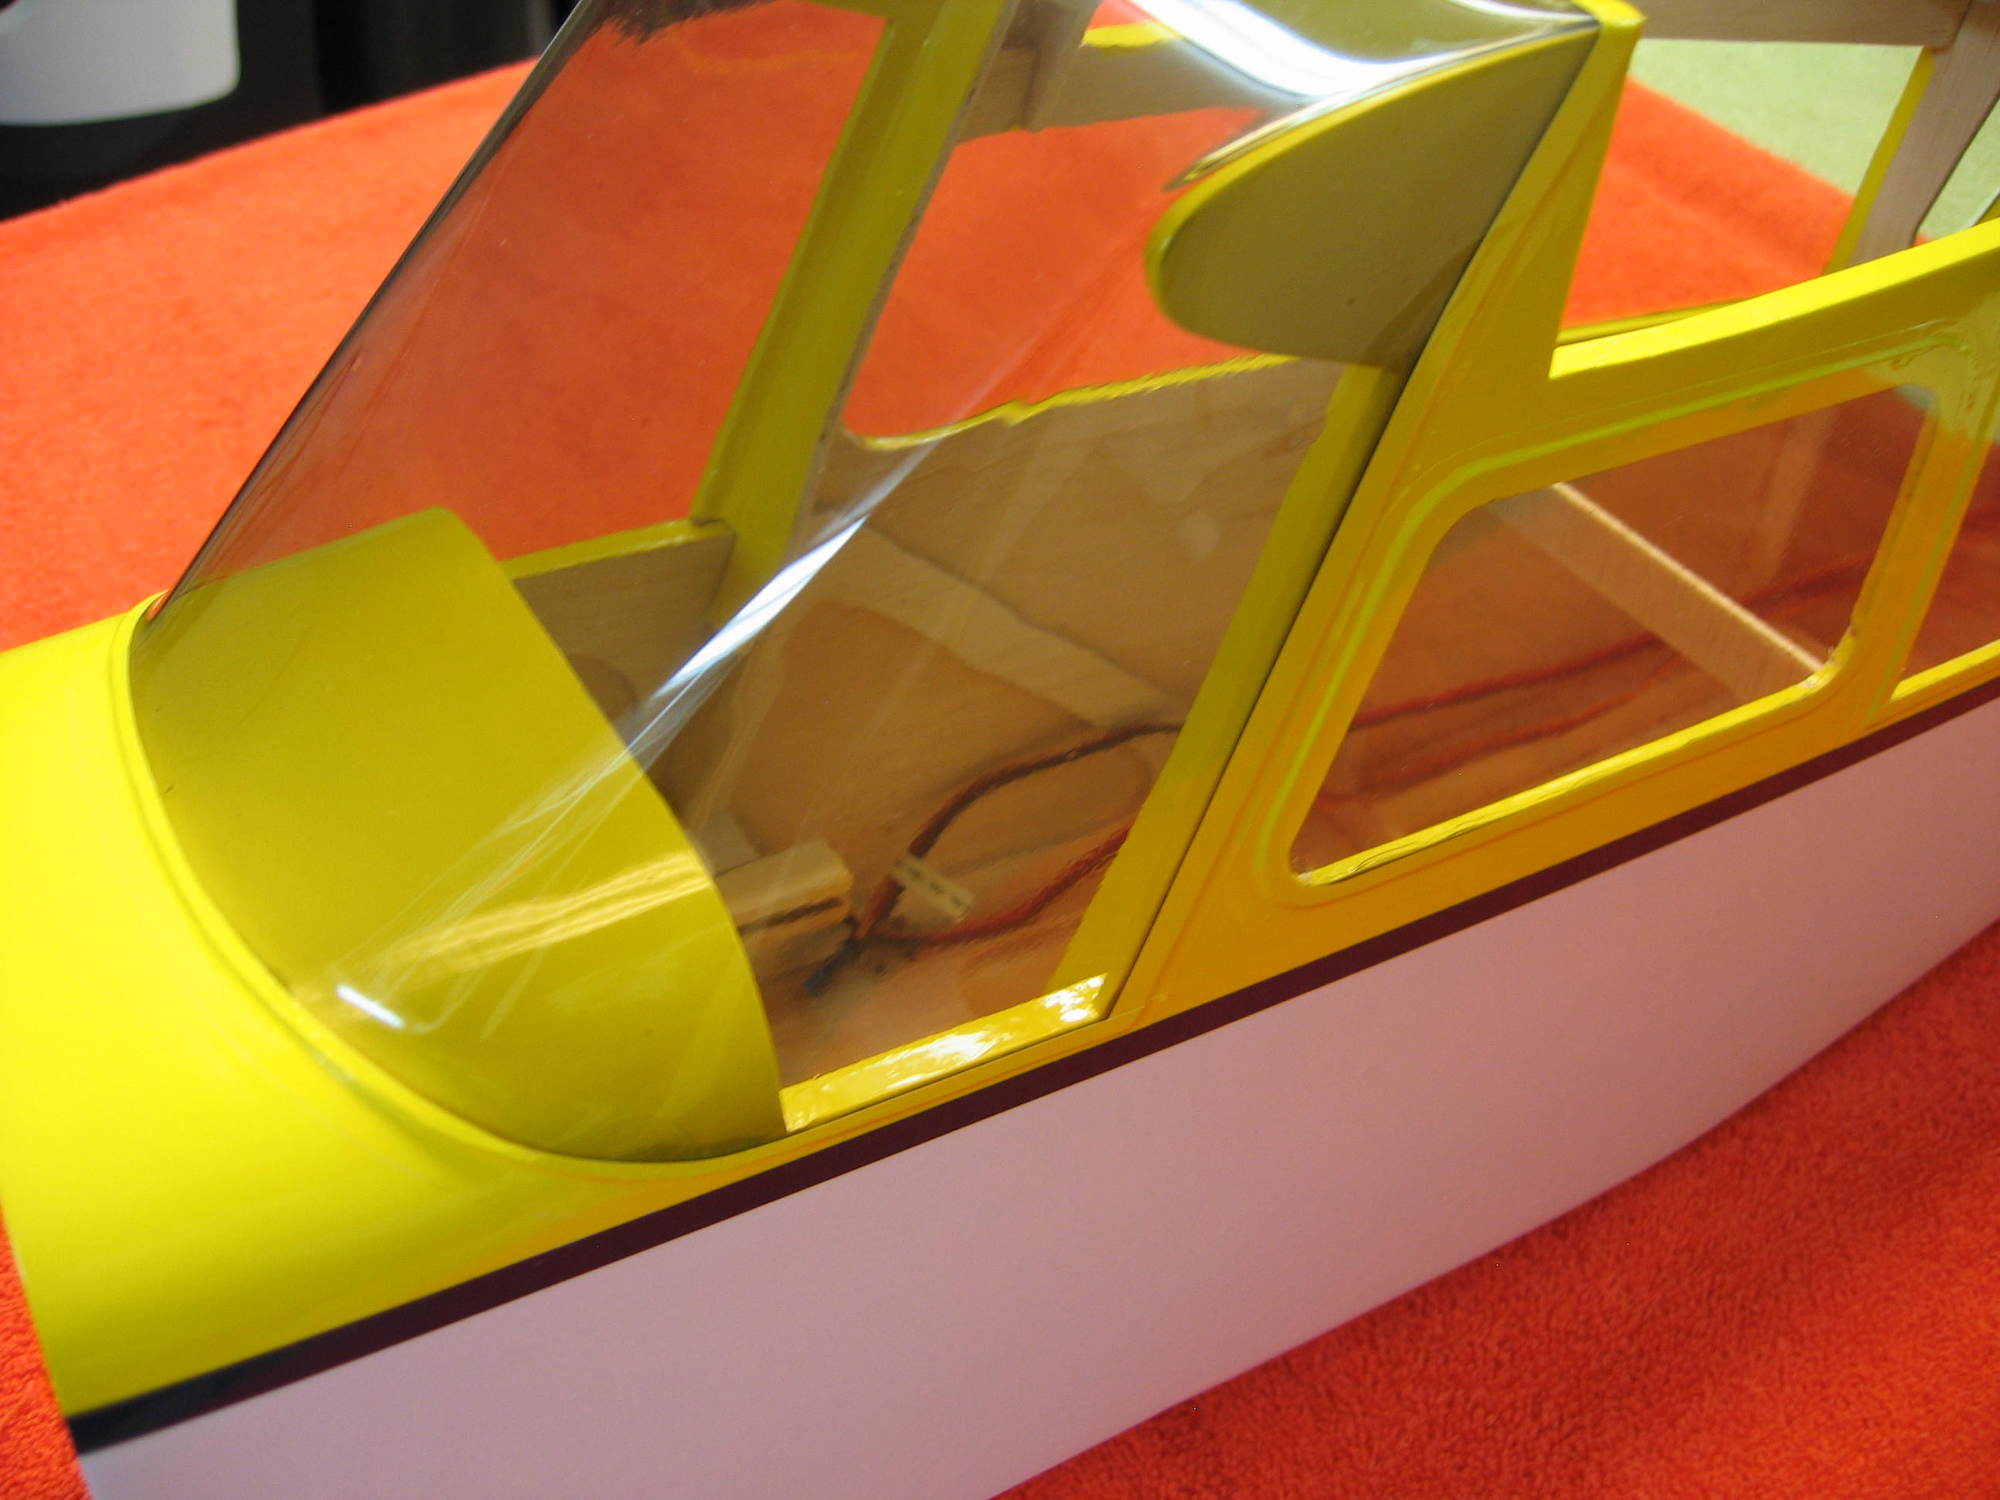
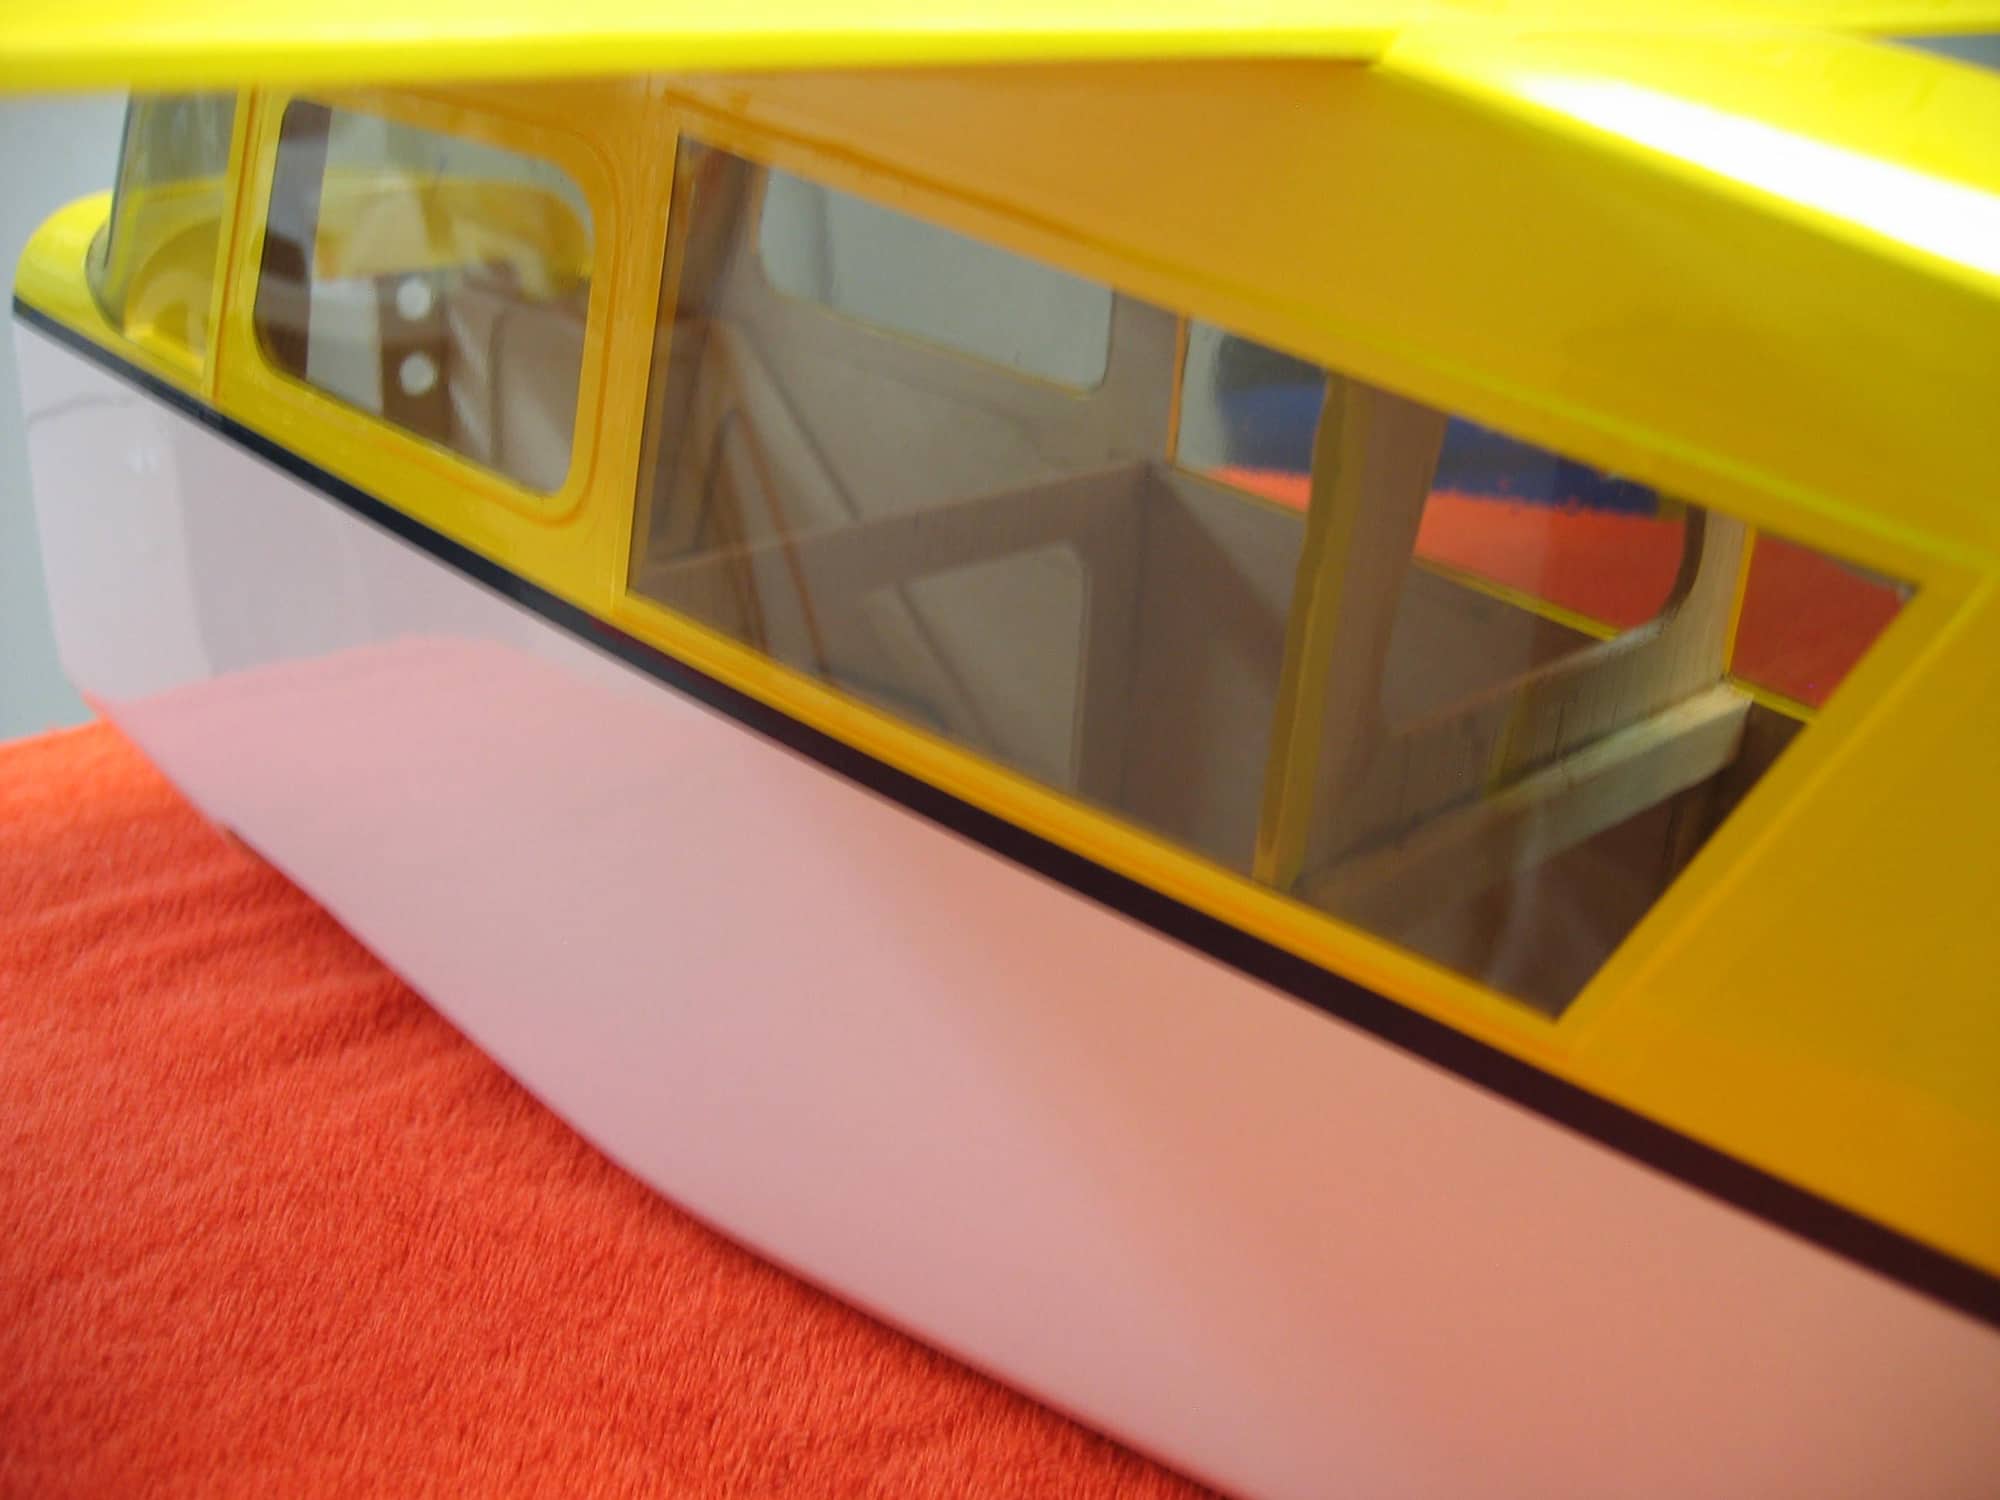
I glued on the side windows, but I am not happy with how they turned out! The CA fogged the plastic in a couple of places. I need to find some paint for the cowling, once I find some, I will also paint over the windows to cover the frame and the fogging. However, I am having problems finding pain that will match the covering. Can someone provide me with some advice?
I am contemplating how I will install the front window. I would like to avoid the fogging. I am starting to think that I might be able to use epoxy.
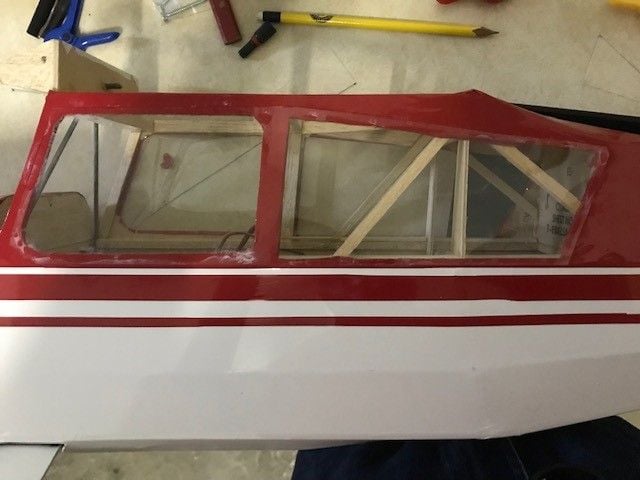
I am contemplating how I will install the front window. I would like to avoid the fogging. I am starting to think that I might be able to use epoxy.
The following users liked this post:
Starwolf2 (12-26-2021)
11-04-2021, 05:08 PM
#256
Thread Starter
Russmall, your plane looks great! I have some Zap Canopy Glue Formula 560. However, I tried gluing the canopy plastic to some covering and it did not stick well. That is why I ended up using CA. I take it the Pacer 560 works better.
How did you wrap the plastic around the pieces at the top that match the wings? When I cut the plastic following the template, it asked me to cut out that area.
I appreciate the help!
How did you wrap the plastic around the pieces at the top that match the wings? When I cut the plastic following the template, it asked me to cut out that area.
I appreciate the help!
11-05-2021, 12:08 PM
#257
Russmall, your plane looks great! I have some Zap Canopy Glue Formula 560. However, I tried gluing the canopy plastic to some covering and it did not stick well. That is why I ended up using CA. I take it the Pacer 560 works better.
How did you wrap the plastic around the pieces at the top that match the wings? When I cut the plastic following the template, it asked me to cut out that area.
I appreciate the help!
How did you wrap the plastic around the pieces at the top that match the wings? When I cut the plastic following the template, it asked me to cut out that area.
I appreciate the help!
The windshield on my plane was preformed in the kit (Great Planes) so I didn't have to do any cutting. Hope that answers your question.
12-17-2021, 10:54 AM
#258
Thread Starter
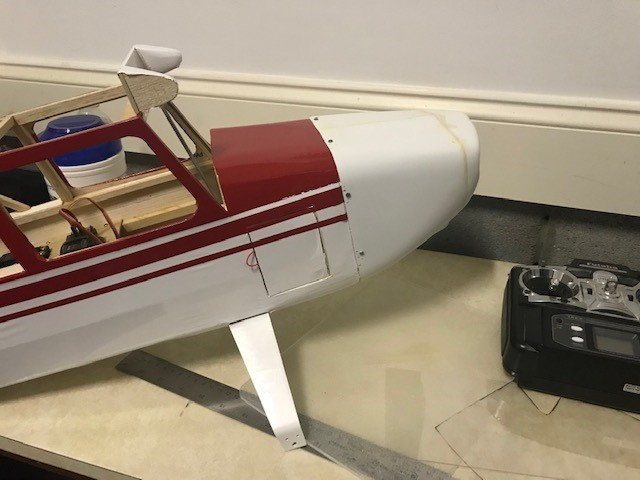
I finally installed the front window. The Zap glue would not hold it down. Russmall, I still appreciate your comment! I ended up using medium CA to attach the top piece of plastic. Then, I tried using the zap canopy glue along the top formers and at the front of the fuselage. That did not work very well. In the end, I decided to attach the canopy with a few #2 screws.
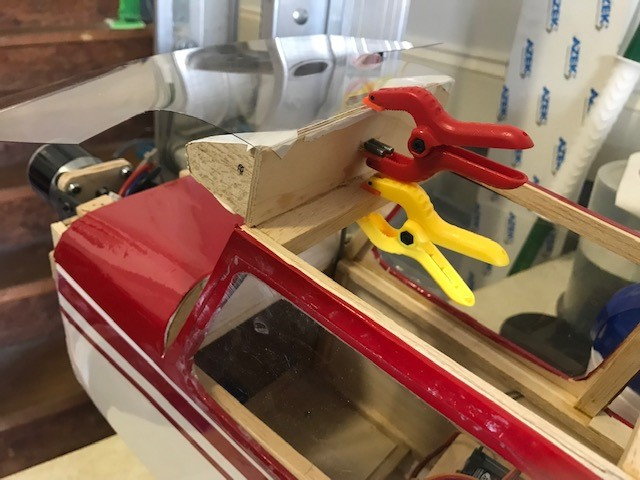
This is how I clamped the front of the windshield while I waited for the CA to dry.
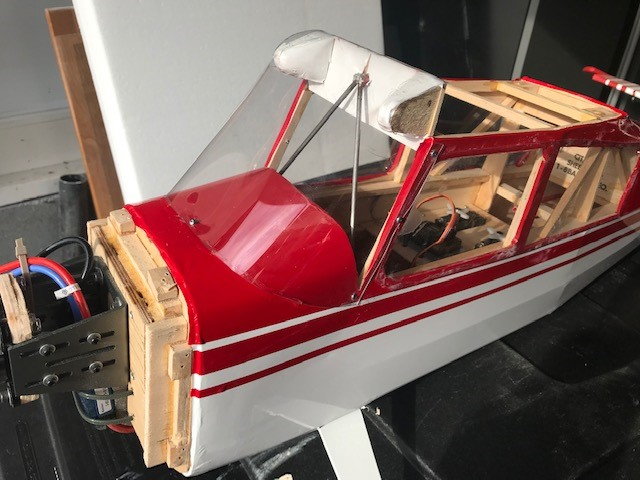
The final version.
This is how I clamped the front of the windshield while I waited for the CA to dry.
The final version.
12-17-2021, 10:59 AM
#259
Thread Starter
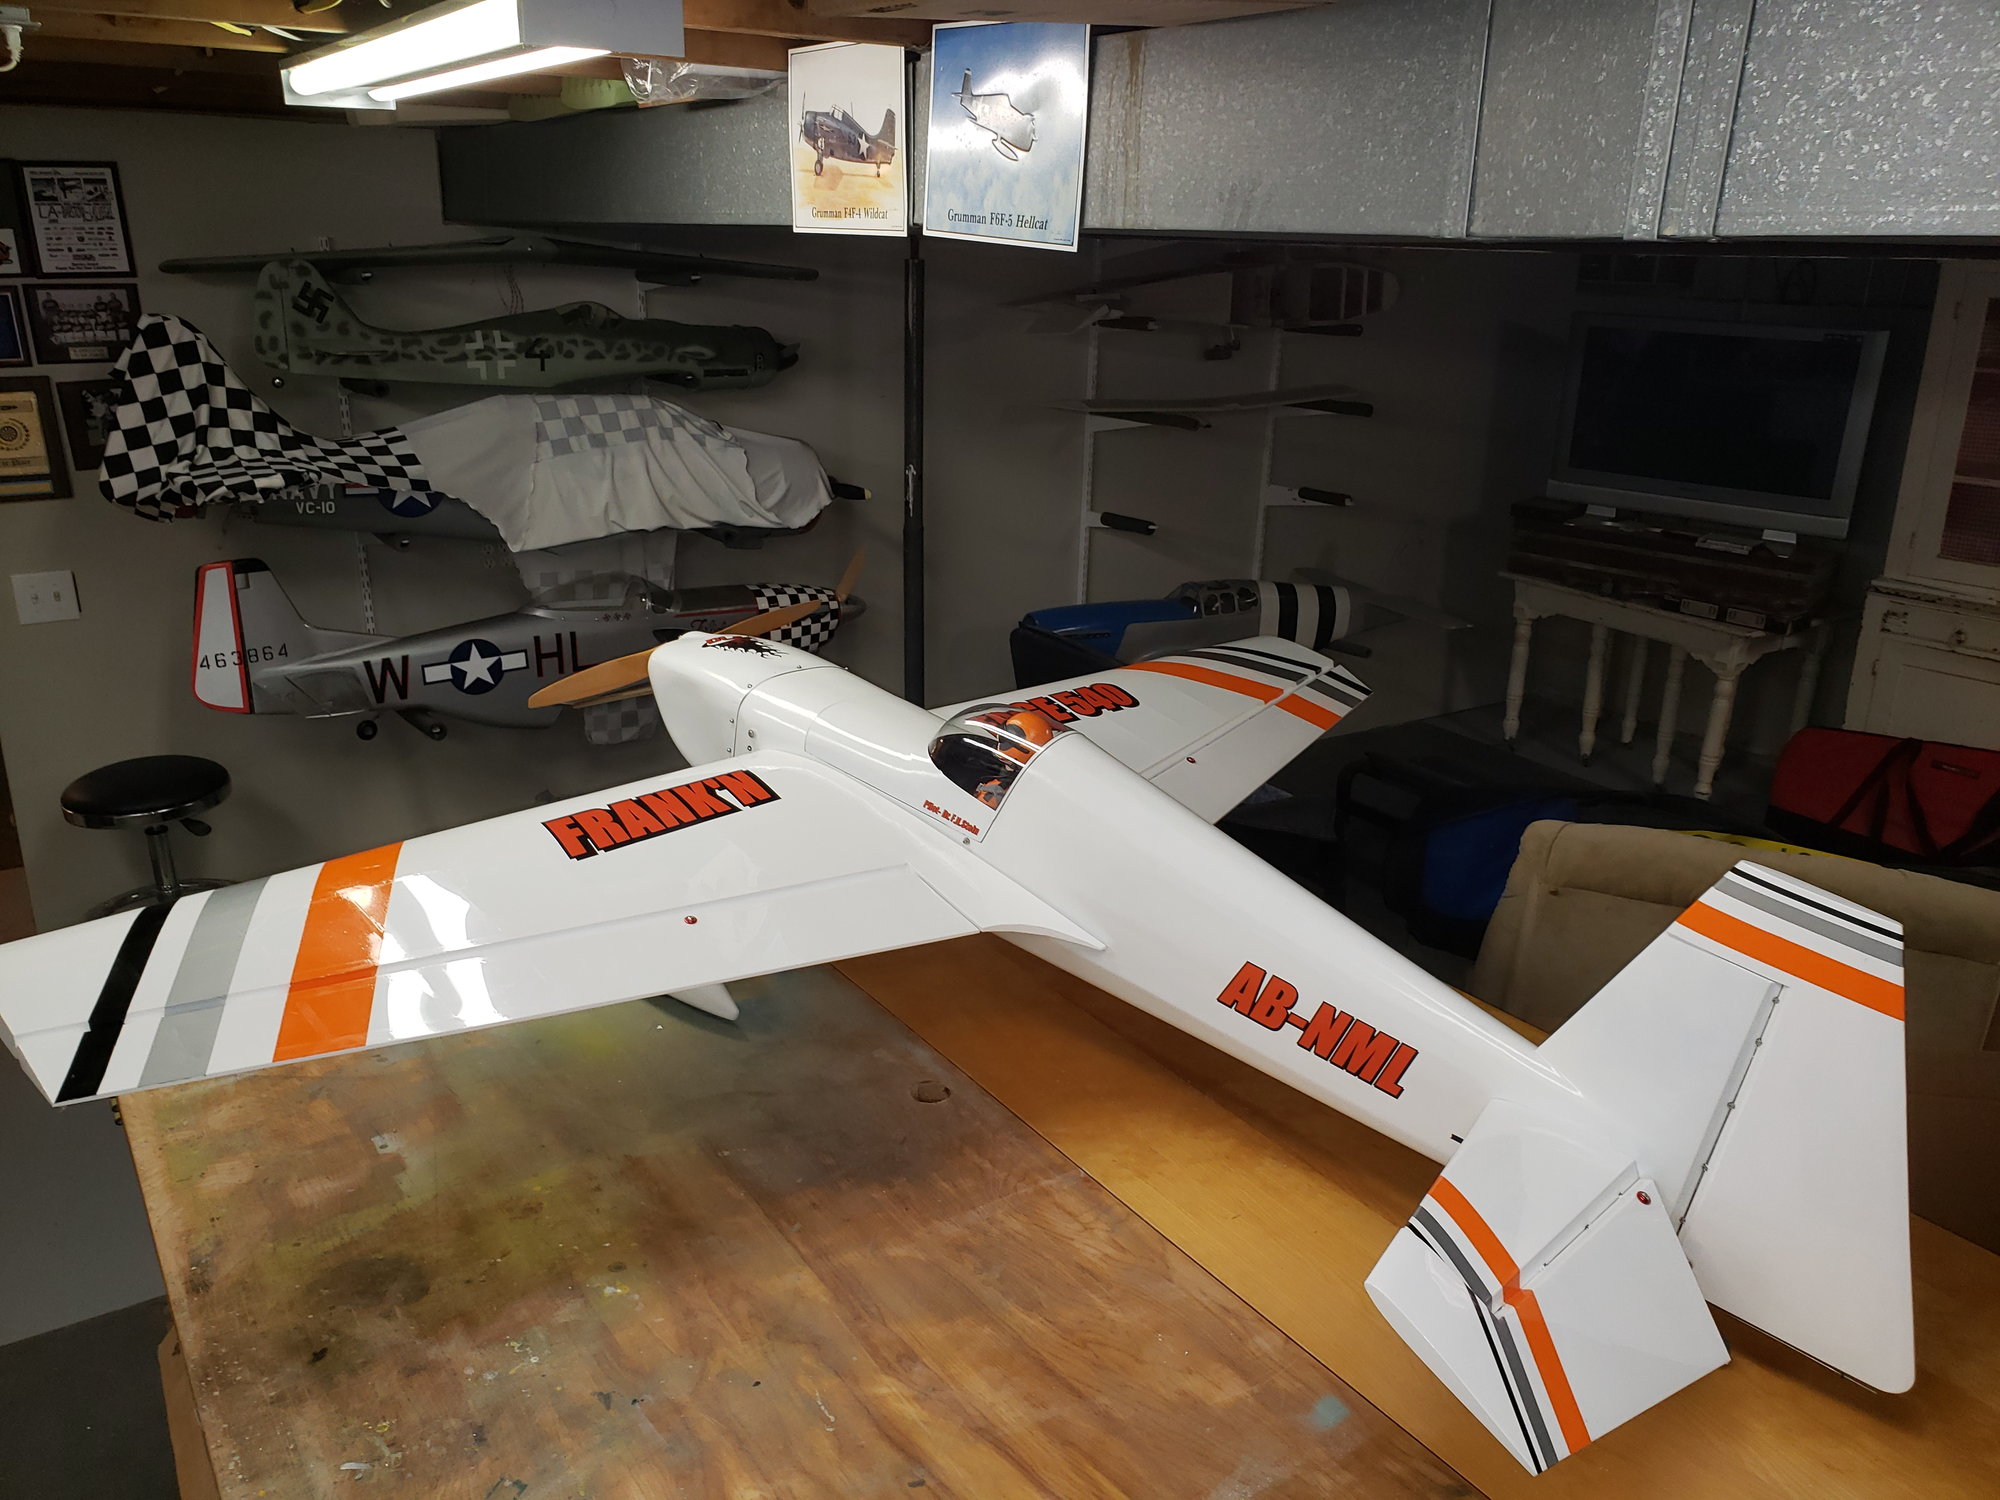
I purchased some Rust-Oleum spray paint from a local hardware store. I tried to match the colors of the covering with the color on the top of the spray paint. I painted the cowl white. Later, I applied painters tape to cover the white portions so that I could paint the red parts. It turned out ok, but there is some red that occasionally leaked out under the tape. The red color is a little more orange-ish than the covering, but I guess it is pretty close.

12-18-2021, 05:20 PM
#262


Rustoleum has too much grey, learned the hard way
The Krylon Appliance White is a pretty decent match with Ultracote White
More pics in this thead https://www.rcgroups.com/forums/thum...lery&t=3501579
The Krylon Appliance White is a pretty decent match with Ultracote White
More pics in this thead https://www.rcgroups.com/forums/thum...lery&t=3501579
Last edited by scale only 4 me; 12-18-2021 at 05:23 PM.
12-24-2021, 10:47 AM
#264
Thread Starter
It's Christmas Eve day. Everyone is doing there own thing and it is too early for me to start cooking. What better time is there to start working on the tail wheel? Or so I thought!
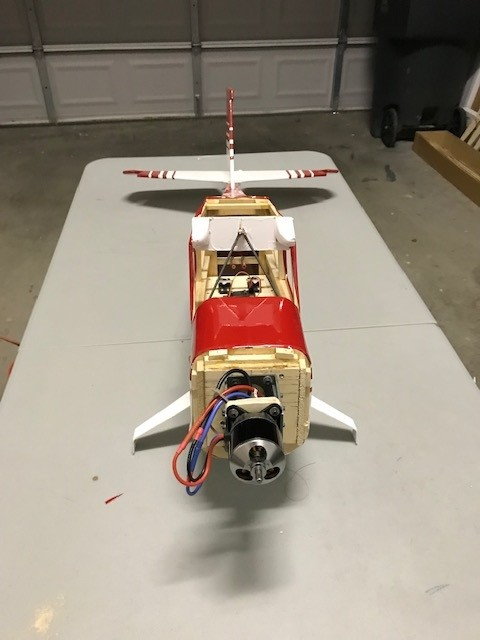
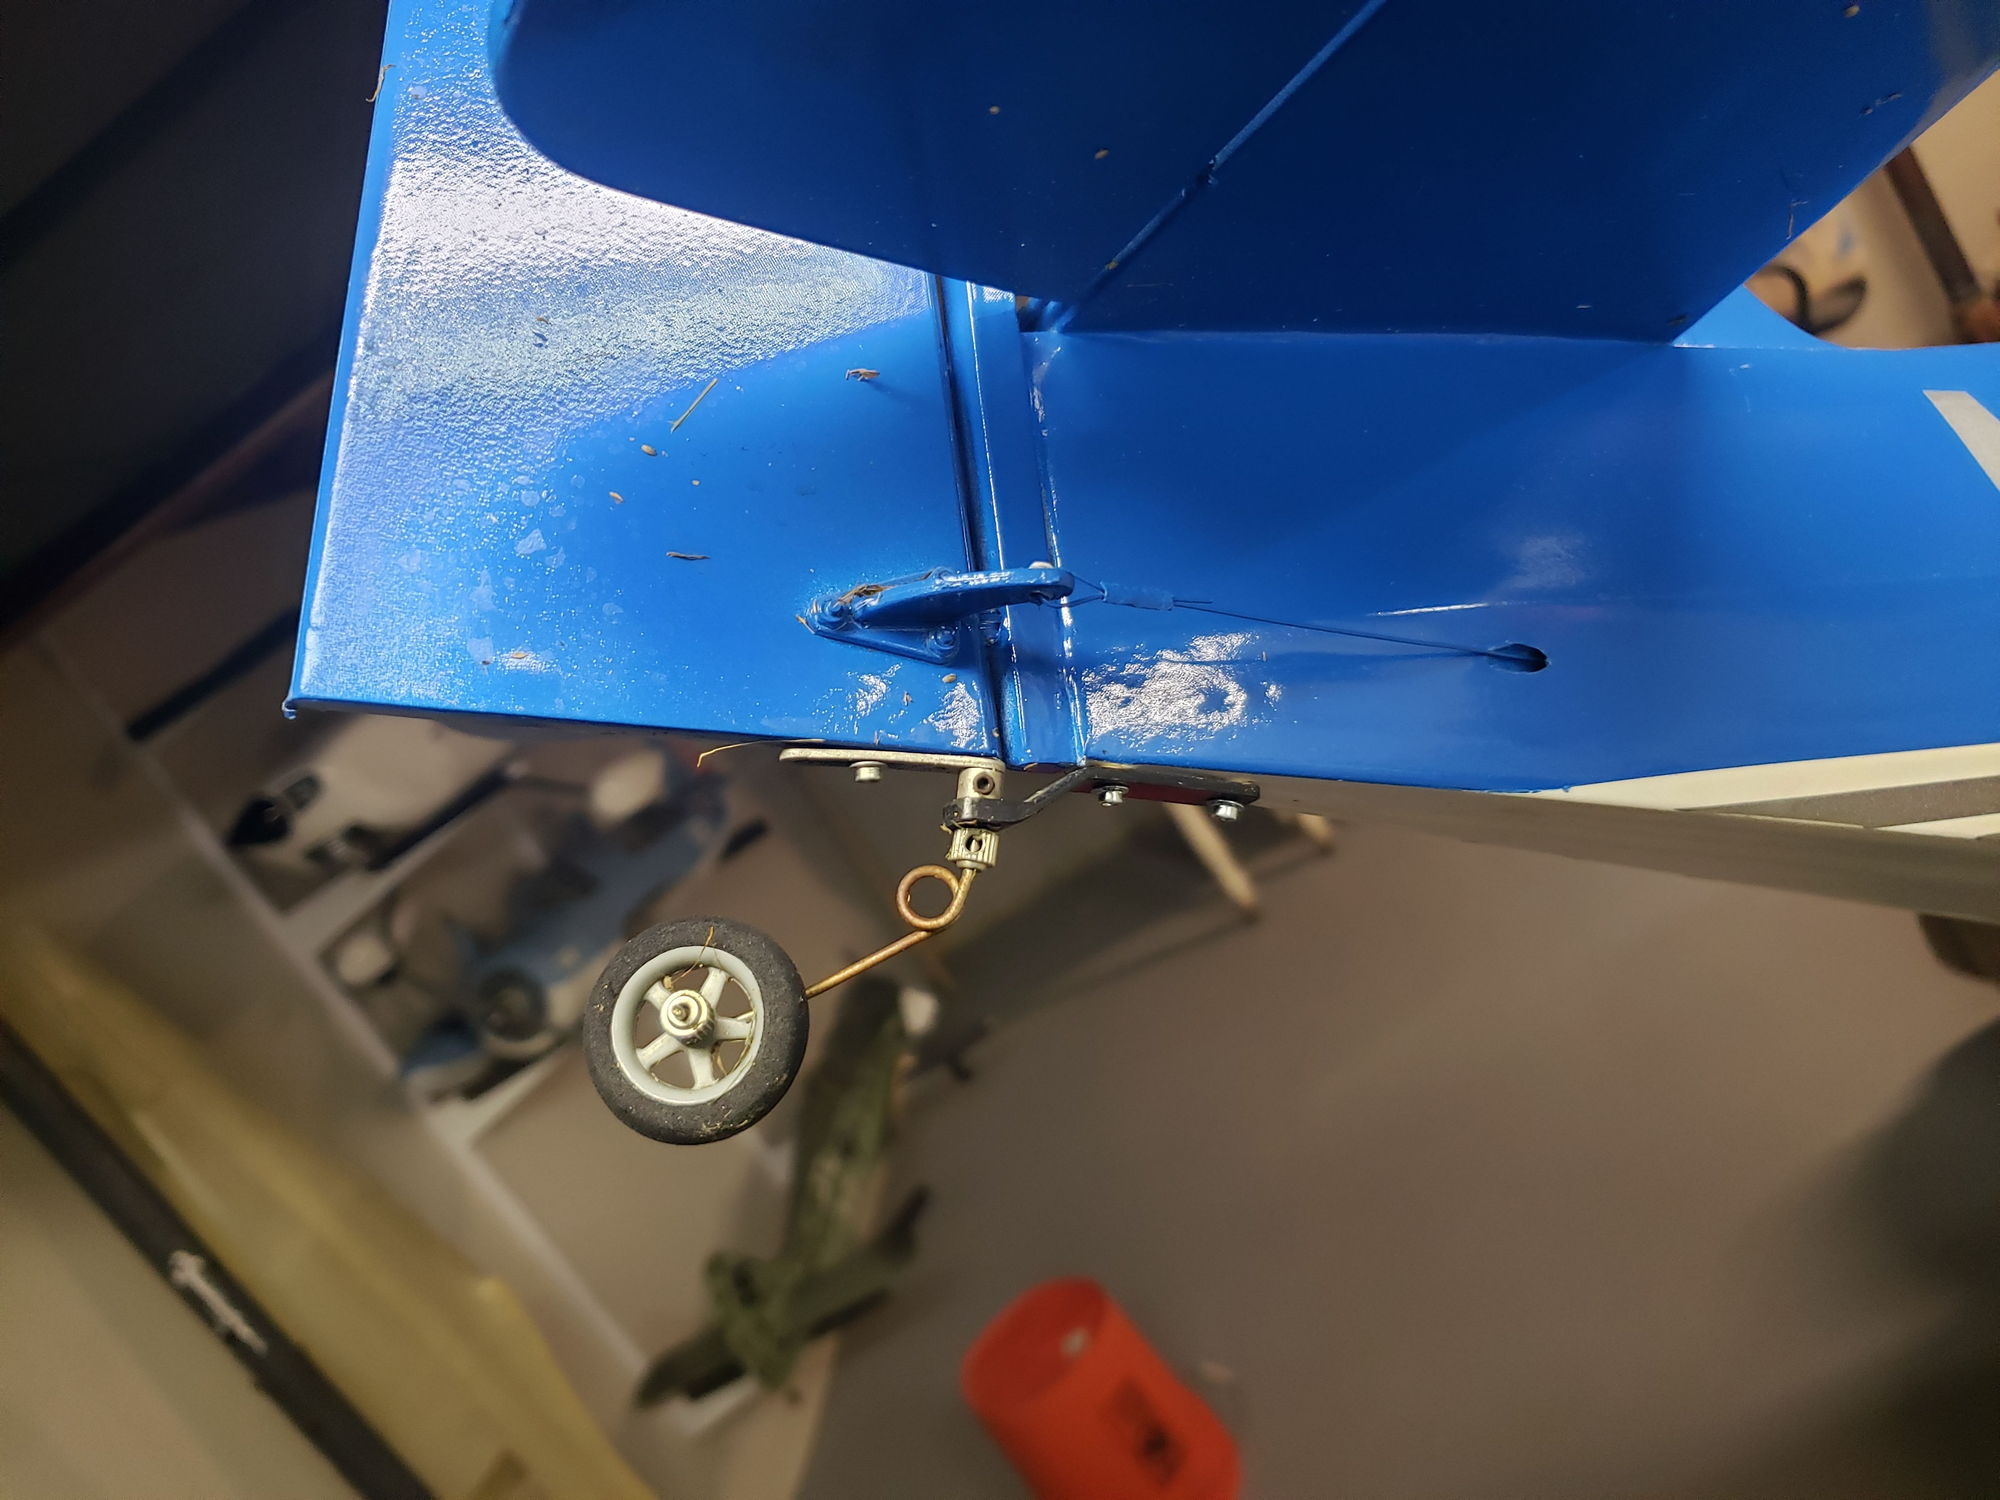
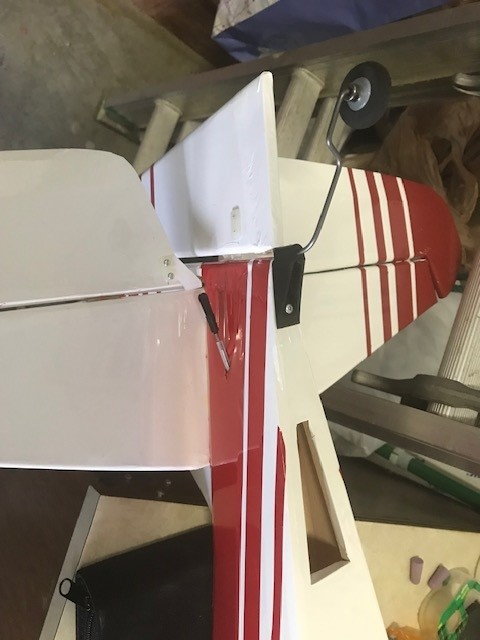
I looked at the fuselage and rudder, then the tail wheel mount and realized that I made a mistake somewhere along the line! It appears that I should have tapered the aft end of the fuselage far more so that it would be flush with the rudder. I have no idea how I missed that! What to do?
Well, I don't want to redo the fuselage, so I will have to come up with another way of attaching the tail wheel.
I should have just started cooking early...
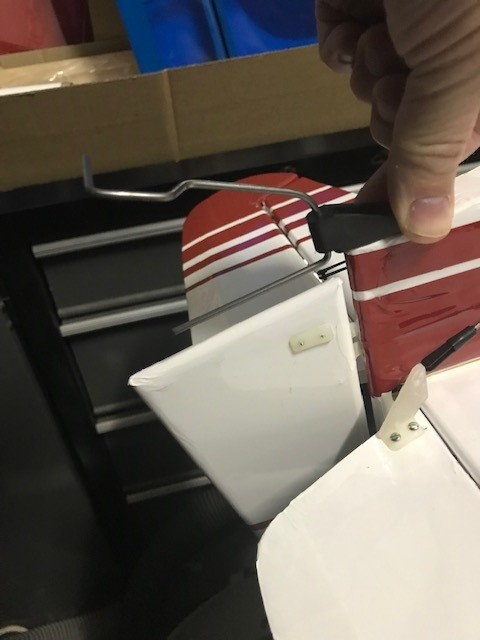
You can see the large gap between the wire for the tail wheel assembly and the bottom of the rudder.
Step 95 of the instructions shows the back of the fuselage just like this. Step 99 also shows a similar image.
I looked at the fuselage and rudder, then the tail wheel mount and realized that I made a mistake somewhere along the line! It appears that I should have tapered the aft end of the fuselage far more so that it would be flush with the rudder. I have no idea how I missed that! What to do?
Well, I don't want to redo the fuselage, so I will have to come up with another way of attaching the tail wheel.
I should have just started cooking early...
You can see the large gap between the wire for the tail wheel assembly and the bottom of the rudder.
Step 95 of the instructions shows the back of the fuselage just like this. Step 99 also shows a similar image.
 12-24-2021, 11:56 AM
#266
It's Christmas Eve day. Everyone is doing there own thing and it is too early for me to start cooking. What better time is there to start working on the tail wheel? Or so I thought!
I looked at the fuselage and rudder, then the tail wheel mount and realized that I made a mistake somewhere along the line! It appears that I should have tapered the aft end of the fuselage far more so that it would be flush with the rudder. I have no idea how I missed that! What to do?
Well, I don't want to redo the fuselage, so I will have to come up with another way of attaching the tail wheel.
I should have just started cooking early...
You can see the large gap between the wire for the tail wheel assembly and the bottom of the rudder.
Last edited by FlyerInOKC; 12-24-2021 at 11:58 AM.
The following users liked this post:
Starwolf2 (12-26-2021)
12-24-2021, 12:22 PM
#267
Senior Member
I've ran into that before, quick bending of wire will solve that. Bend the wire straight and remove from plastic mount. Then add a small wheel collar but don't tighten yet. Put the wire back through mount and eyeball up where your new bend will be. Bend the new 90 degree turn and set the wheel collar. The wheel collar should be below the mount to act as a load bearing since the straight run is longer now. Keeps pressure while taxiing off the rudder.
The following users liked this post:
Starwolf2 (12-26-2021)
12-26-2021, 03:03 PM
#268
Thread Starter
Thanks for all of the helpful ideas! One of the things I really like about these forums is that there are always people that are willing to help out!
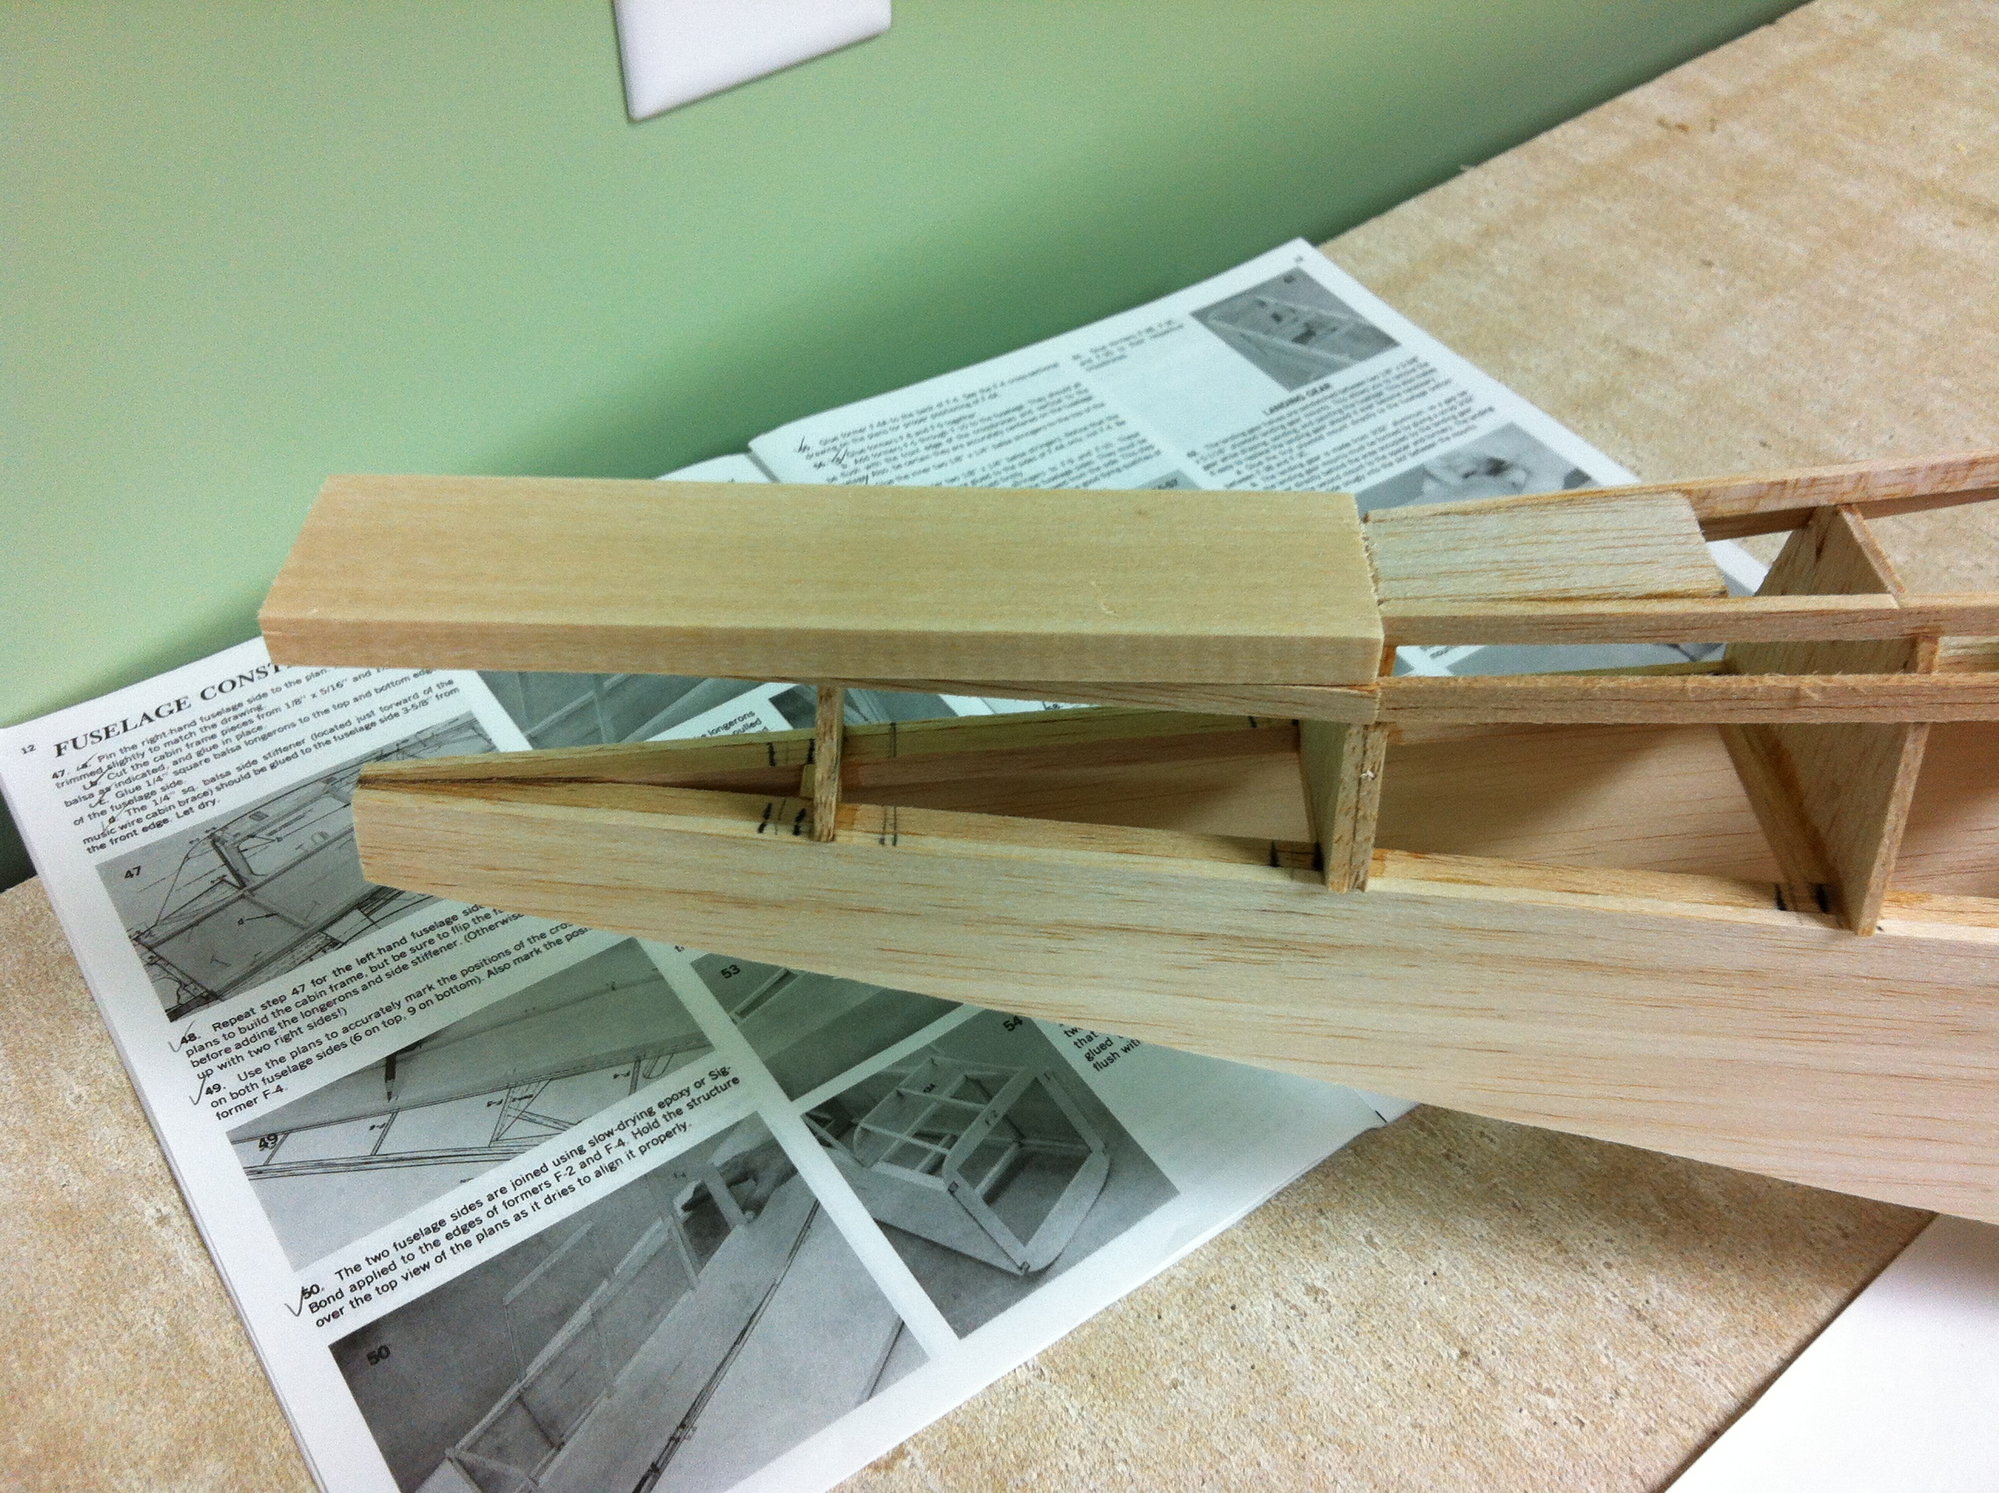
I first thought of straightening and rebending the wire. However, I thought it might look a little better if I built up the rudder a bit. First, I sandwiched 3 pieces of balsa together, with the middle piece being slightly shorter that the others. This formed a slot for the landing gear wire to fit in. Next, I cut away the covering on the bottom edge of the rudder so that I would have a flat piece to glue the sandwich on. After the sandwich dried, I trimmed it to the correct size and glued it in place. Then, I attached the gear and epoxied the wire in place. I hope to put on the covering tomorrow and to finish that step up.
I was also able to attach the front wheels today.
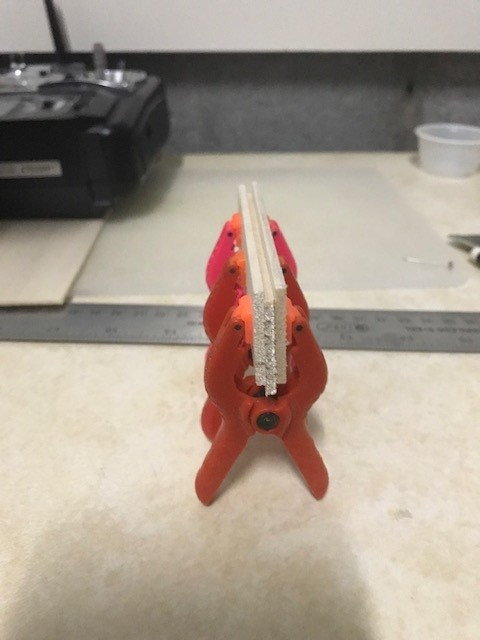
The sandwich.

Attaching the sandwich to the rudder
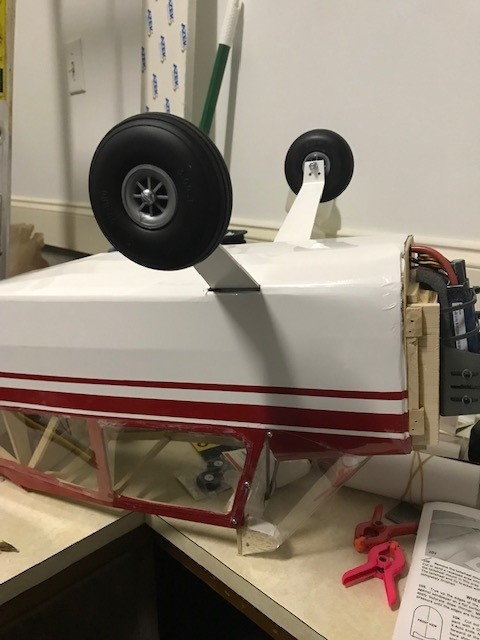
Wheels!
I first thought of straightening and rebending the wire. However, I thought it might look a little better if I built up the rudder a bit. First, I sandwiched 3 pieces of balsa together, with the middle piece being slightly shorter that the others. This formed a slot for the landing gear wire to fit in. Next, I cut away the covering on the bottom edge of the rudder so that I would have a flat piece to glue the sandwich on. After the sandwich dried, I trimmed it to the correct size and glued it in place. Then, I attached the gear and epoxied the wire in place. I hope to put on the covering tomorrow and to finish that step up.
I was also able to attach the front wheels today.
The sandwich.
Attaching the sandwich to the rudder
Wheels!
12-26-2021, 03:08 PM
#269
Thread Starter
Scale only 4 me, that is an interesting set-up on your plane. Is that the landing gear that came with your kit, or did you use your own setup? It looks easier to install than the wire that came with my kit. The wired requires making a groove to embed the wire in.
I am also curious about the linkage to the rudder. It looks like you have just a piece of wire going to the rudder. Would you please tell me how you built it?
Thanks!
I am also curious about the linkage to the rudder. It looks like you have just a piece of wire going to the rudder. Would you please tell me how you built it?
Thanks!
The following users liked this post:
Starwolf2 (12-26-2021)
12-27-2021, 10:29 AM
#271
Scale only 4 me, that is an interesting set-up on your plane. Is that the landing gear that came with your kit, or did you use your own setup? It looks easier to install than the wire that came with my kit. The wired requires making a groove to embed the wire in.
I am also curious about the linkage to the rudder. It looks like you have just a piece of wire going to the rudder. Would you please tell me how you built it?
Thanks!
I am also curious about the linkage to the rudder. It looks like you have just a piece of wire going to the rudder. Would you please tell me how you built it?
Thanks!
I believe that came with a Extreme flight extra 300 I crashed a couple years ago, I used it because it is light weight and can be removed quickly when the plane goes back to seaplane mode
Rudder is on a pull pull, because the rudders are linked to the pull pull water rudder system also
More pics at my build here https://www.rcgroups.com/forums/show...Champion-Scout
good luck
Last edited by scale only 4 me; 12-27-2021 at 10:32 AM.
12-28-2021, 08:24 AM
#272
Thread Starter
Scale only 4 me, your plane looks amazing! I liked seeing how you added the extra dowels to help support the front of the wing when it's attached to the fuselage. I may have to do that myself. I also liked seeing how you mounted the motor. That was a tricky step in my build! I haven't used Solartex, it looks like it might be worth trying on a future product. Thanks for sharing your build!
Last edited by Starwolf2; 12-28-2021 at 01:18 PM.
12-28-2021, 01:18 PM
#273
Thread Starter
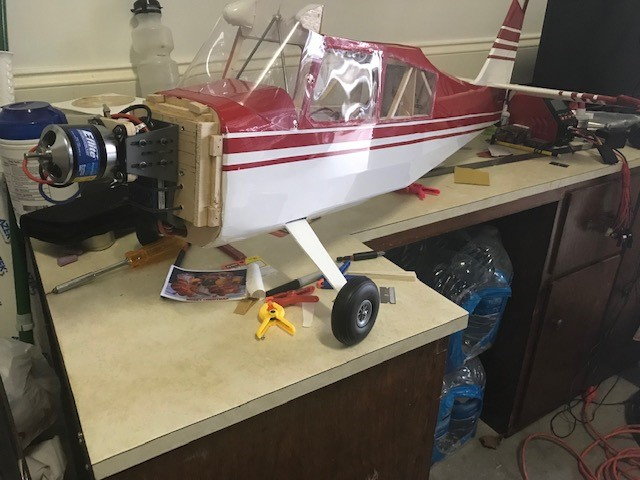
I sanded and covered the rudder extension. It turned out ok. I also cut a hole in the bottom for ventilation to help keep the battery cool. Then, I finally got to set it down on three wheels! That is a real benchmark in this project.
I was going to attach the propeller, but then found that I can't find my propeller reamer or balancer. I ordered them and will need to wait for their arrival.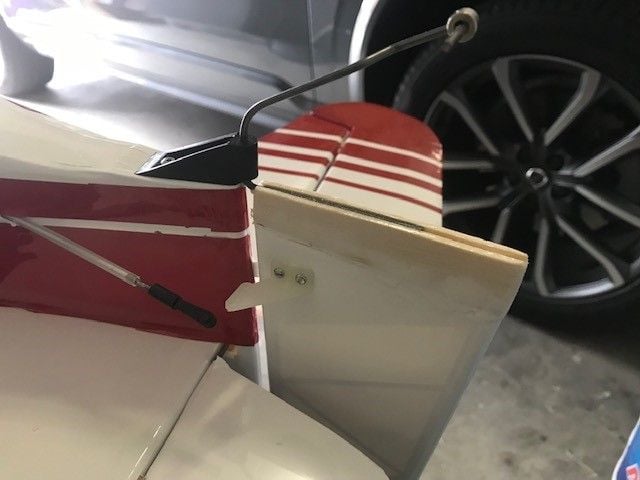
I was going to attach the propeller, but then found that I can't find my propeller reamer or balancer. I ordered them and will need to wait for their arrival.
01-01-2022, 05:44 PM
#275
Thread Starter
I received the prop and prop reamer yesterday, so I was able to balance and install the prop. I also added some trim around the windows to cover up the CA.
I attached the rudder and elevator control rods and started looking at the aileron servo. I made my own servo mount, trying to make it so that the servo could be removed in the future if needed. I still need to solder the spur to the aileron control rods.
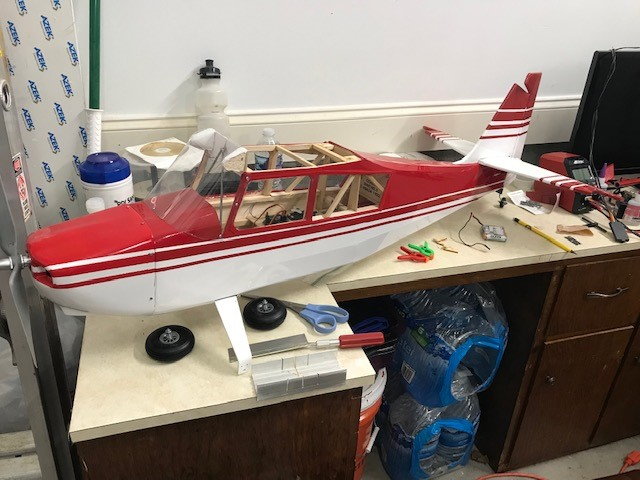
Prop and trim installed!
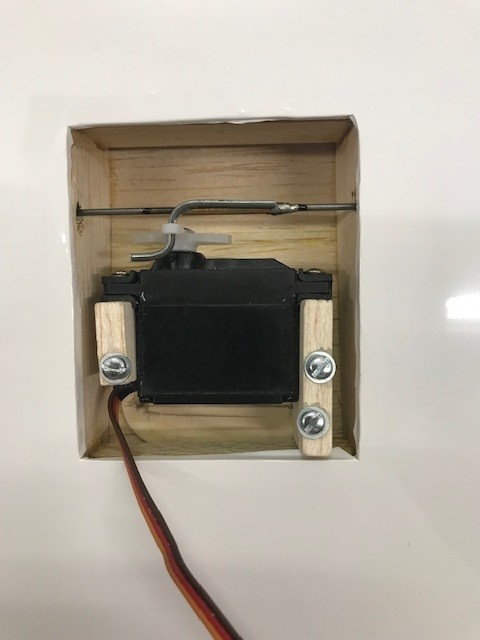
A test fit of the aileron servo and the spur that will be attached to the aileron rod.
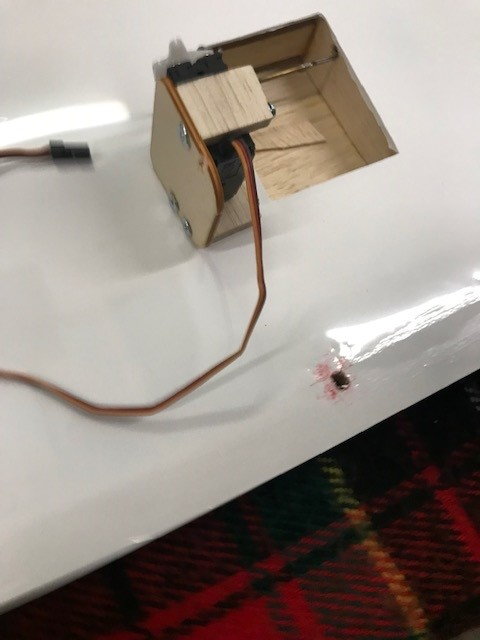
A side view of the mount. It also shows the blind nuts at the bottom of the mount.
I attached the rudder and elevator control rods and started looking at the aileron servo. I made my own servo mount, trying to make it so that the servo could be removed in the future if needed. I still need to solder the spur to the aileron control rods.
Prop and trim installed!
A test fit of the aileron servo and the spur that will be attached to the aileron rod.
A side view of the mount. It also shows the blind nuts at the bottom of the mount.