


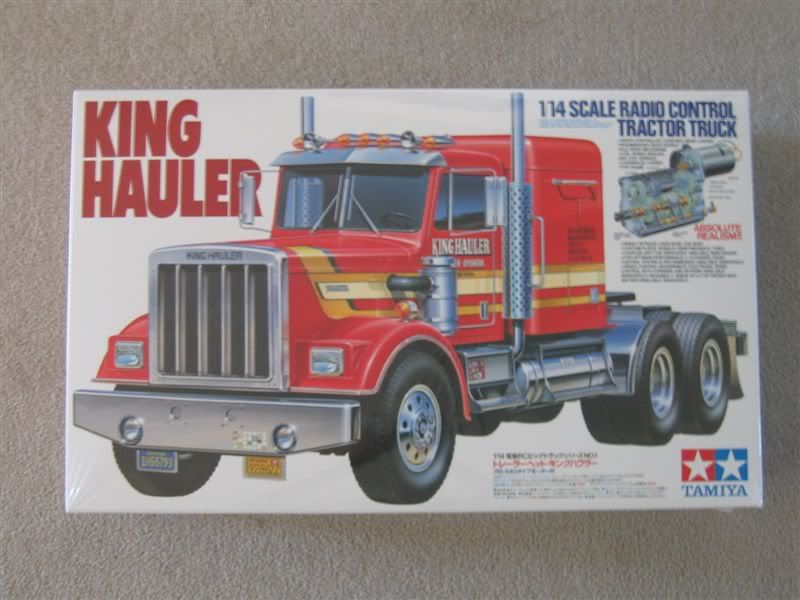
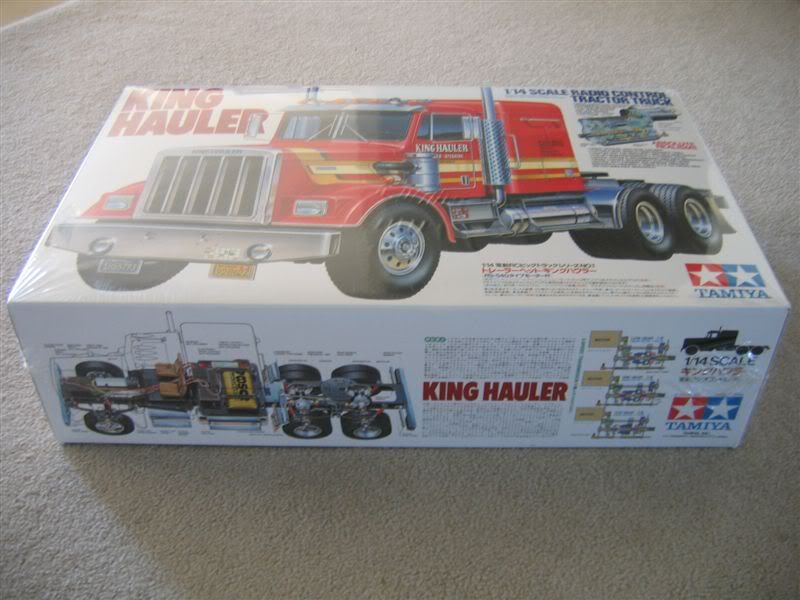
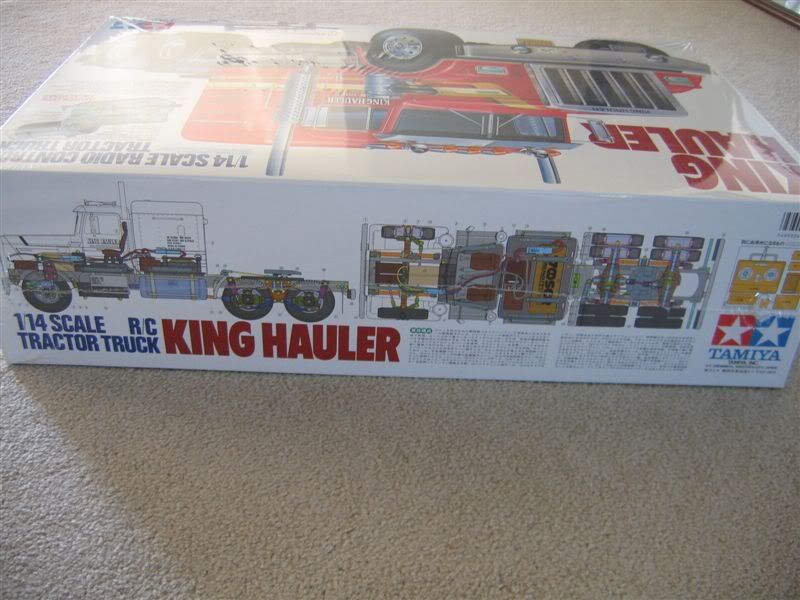
Paintstikker's Tamiya King Hauler "Kenworth T800H" Build
 04-18-2008, 01:03 AM
#1
Senior Member
Thread Starter

Join Date: Oct 2006
Location: Valley Springs,
CA
Posts: 4,897
Likes: 0
Received 0 Likes
on
0 Posts
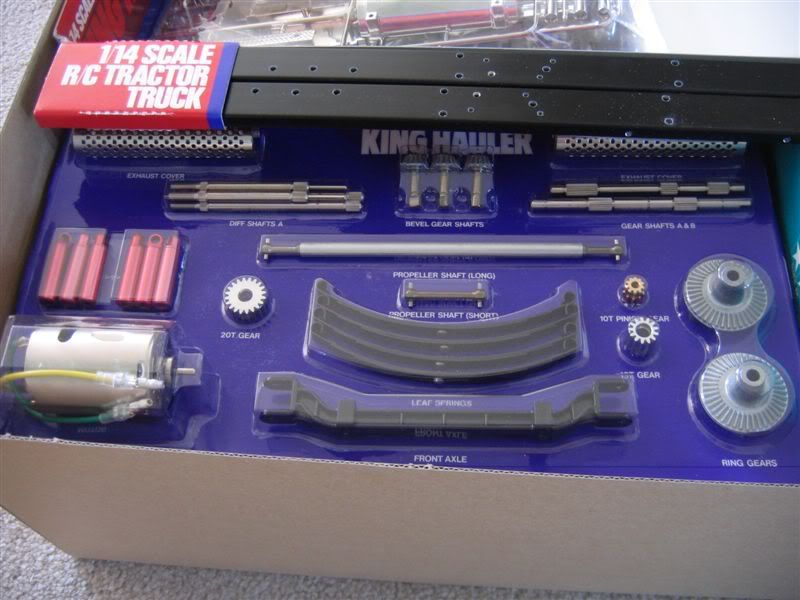
Well I finally got one of my planned projects running...
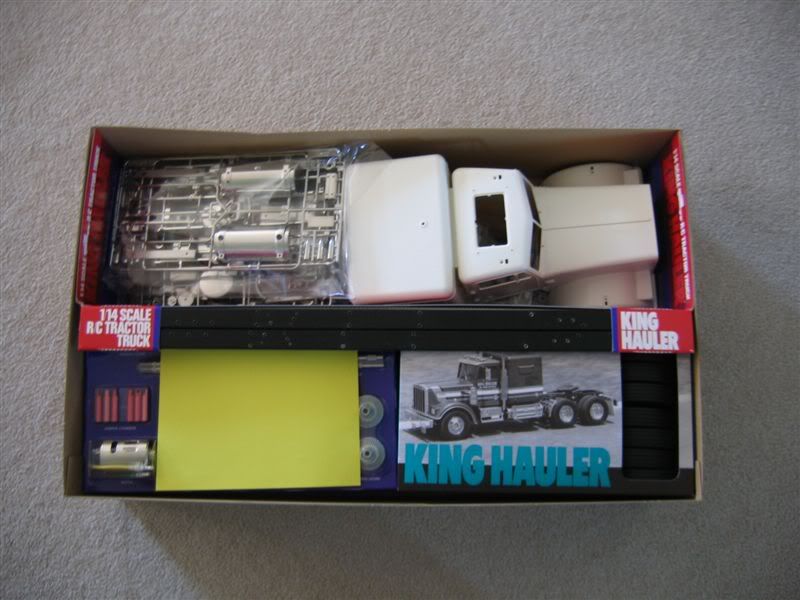
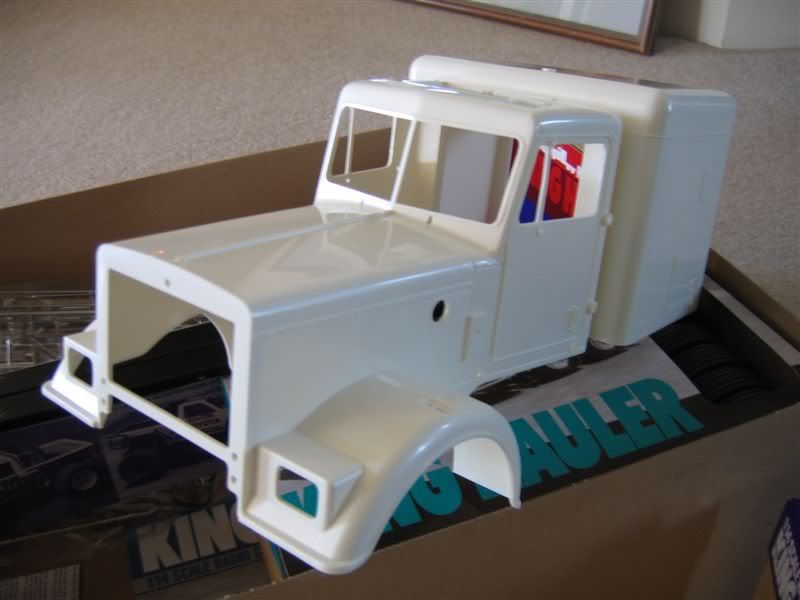
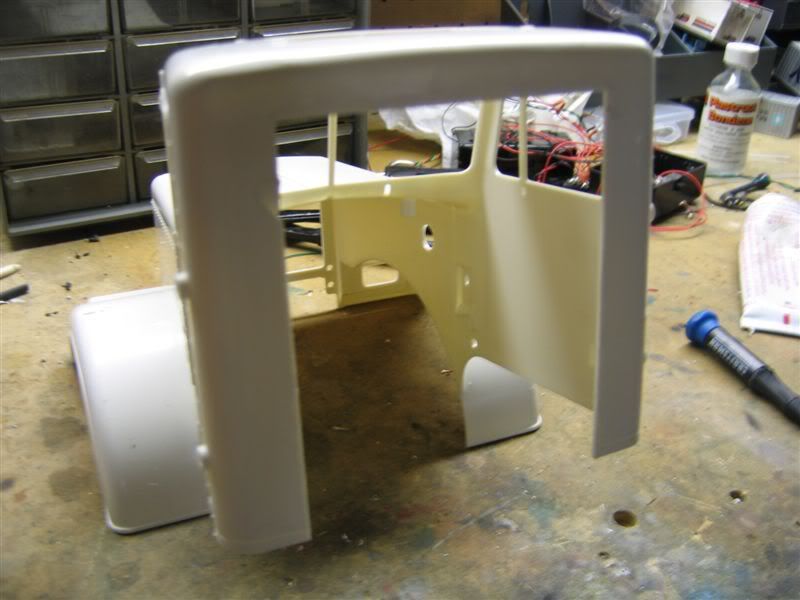
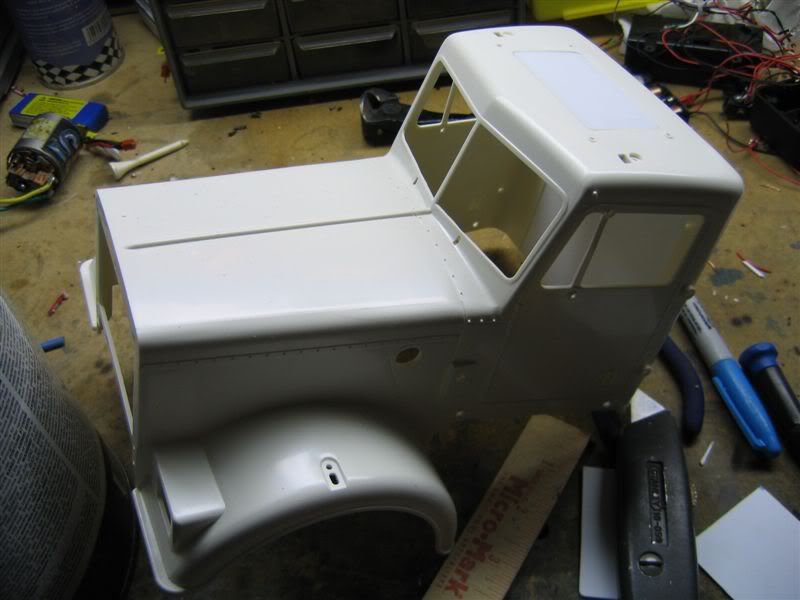
My King Hauler came in yesterday, so I plan to build it during down time at the military show I have my M35's at. I did, however, cut off the sleeper and fill in the back of the cab and the sunroof today so the putty would be nice and solid before I paint it.
The plans for the truck were to make it a day cab Kenworth T800H/W900B hybrid, along with a headache rack and a full function light kit and possibly sound unit installed. The MFU is not an option with the sleeper removed, it houses all the electronics. I probably will not change out the headlights so there are four just yet, I'll leave it until I have the other parts then just modify it later.
Sooner or later I'll construct a Fontaine Specialized lowboy trailer with the jeep and trailing bogie for it, and if I can get my hands on one a Mammoth dump truck to put on the trailer.
The photos won't be large this time round, with the amount I have and the 24k connection speed it'll take too long with anything else. There will be no update pictures after today until about Monday night, as I do not have internet access where the military show is held so I will not be able to publish photos to the web.


 04-18-2008, 09:13 AM
#8
Senior Member
Thread Starter
Join Date: Oct 2006
Location: Valley Springs,
CA
Posts: 4,897
Likes: 0
Received 0 Likes
on
0 Posts
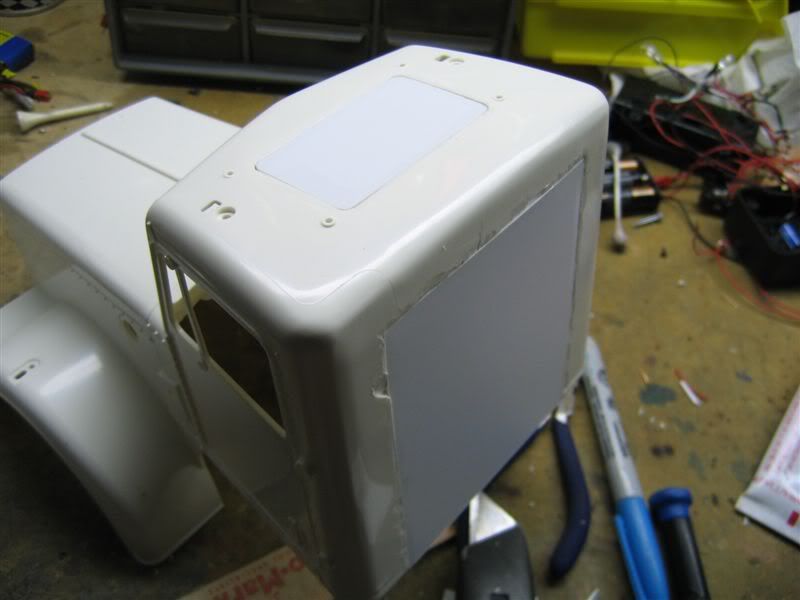
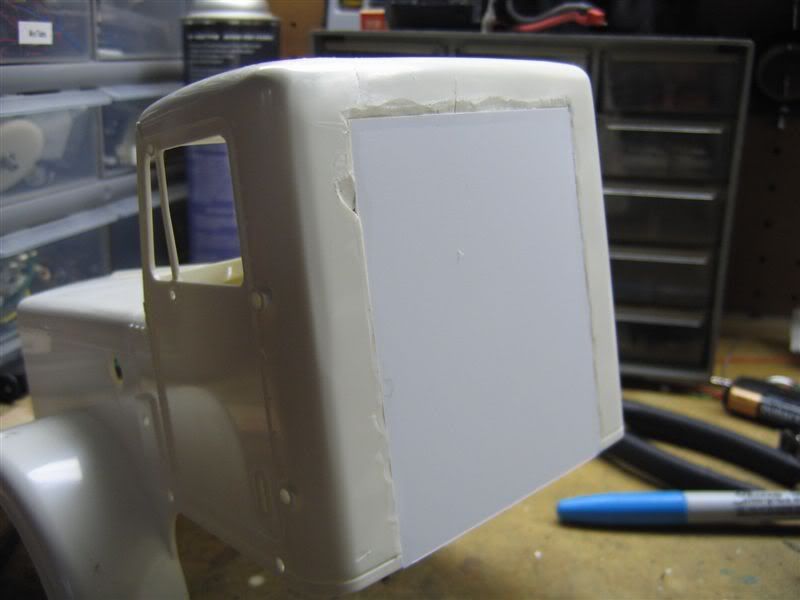
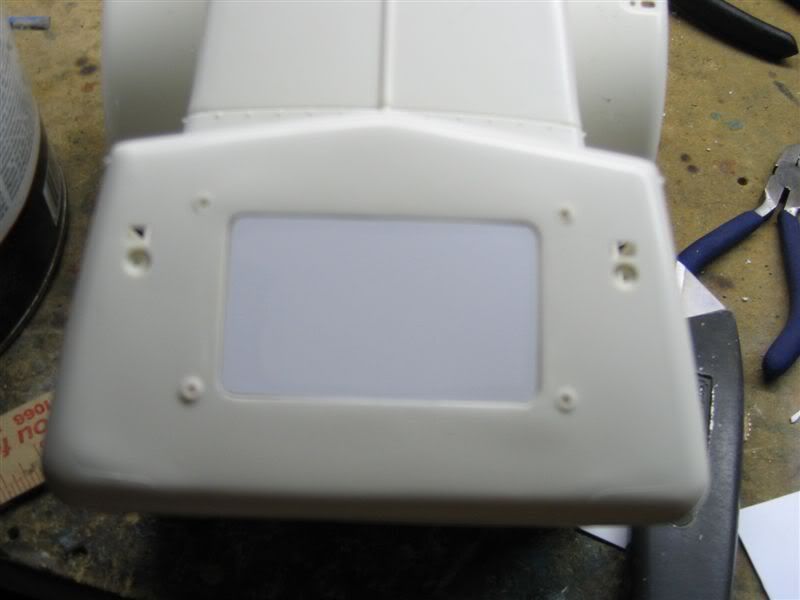
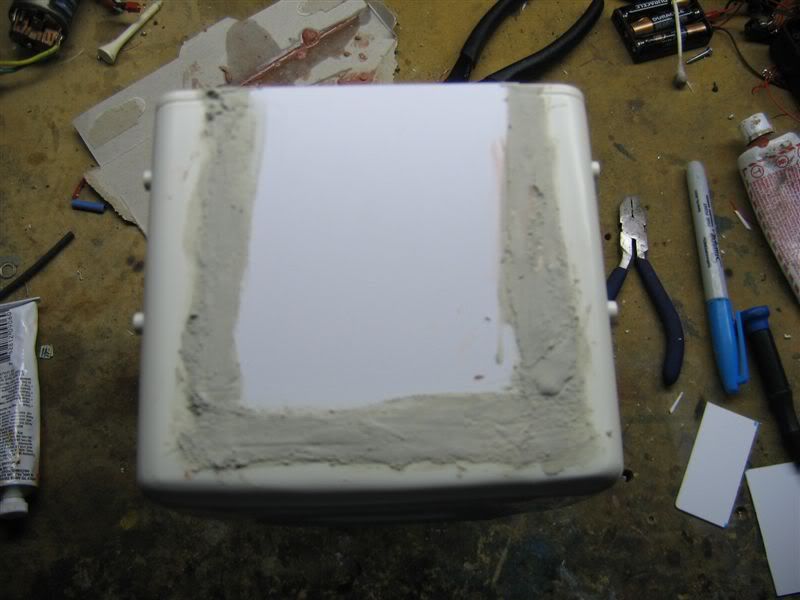
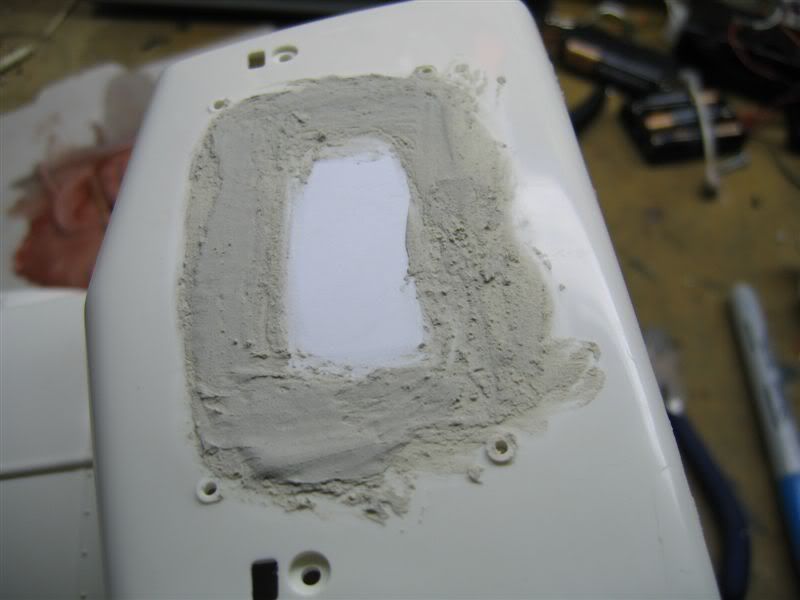
What are you using for the panels to fill in the cut area (the whiter of the white parts) ?
I probably have enough sheet to cover a 10ft. square table, and I one of those tool totes full of structural shapes and irregular sheet plastic...
04-21-2008, 12:01 AM
#9
Senior Member
Thread Starter
Join Date: Oct 2006
Location: Valley Springs,
CA
Posts: 4,897
Likes: 0
Received 0 Likes
on
0 Posts
Okay, I finally got most of the pictures up I'll put em' on tonight and add descriptions later.


 04-21-2008, 01:44 PM
#18
Senior Member
Thread Starter
Join Date: Oct 2006
Location: Valley Springs,
CA
Posts: 4,897
Likes: 0
Received 0 Likes
on
0 Posts
You are working faster than me
Looks great
Looks great
04-21-2008, 01:45 PM
#19
Senior Member
Thread Starter
Join Date: Oct 2006
Location: Valley Springs,
CA
Posts: 4,897
Likes: 0
Received 0 Likes
on
0 Posts
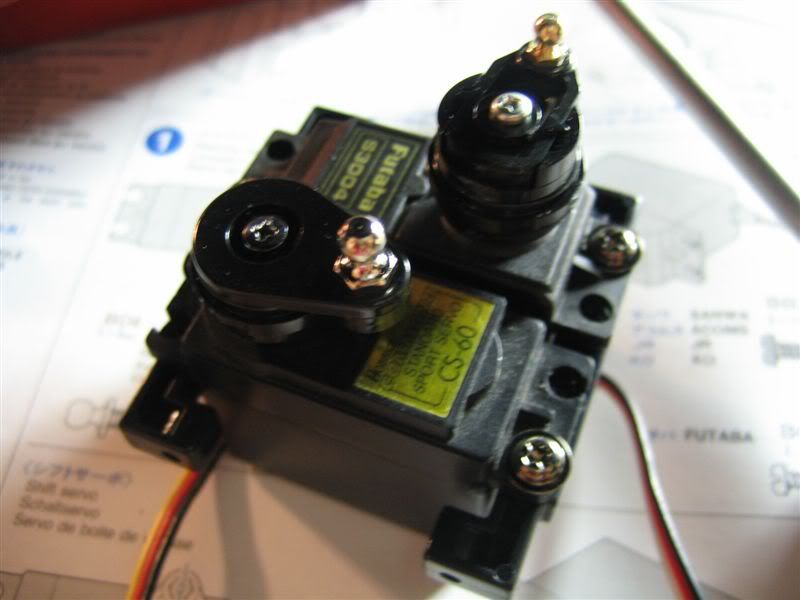
No ballbearings?!?
I have a sack of about 200 bearings I got from work, but they are all flanged and I didn't wanna grind the flanges off.
04-21-2008, 01:56 PM
#20
Senior Member
Thread Starter
Join Date: Oct 2006
Location: Valley Springs,
CA
Posts: 4,897
Likes: 0
Received 0 Likes
on
0 Posts
Well the pictures don't load from work, so I'll try to describe some pictures of the top of my head...
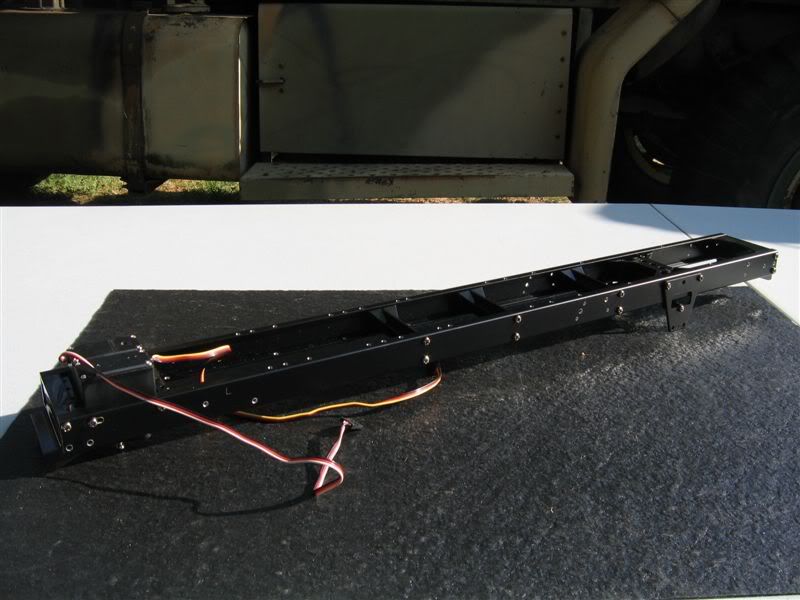
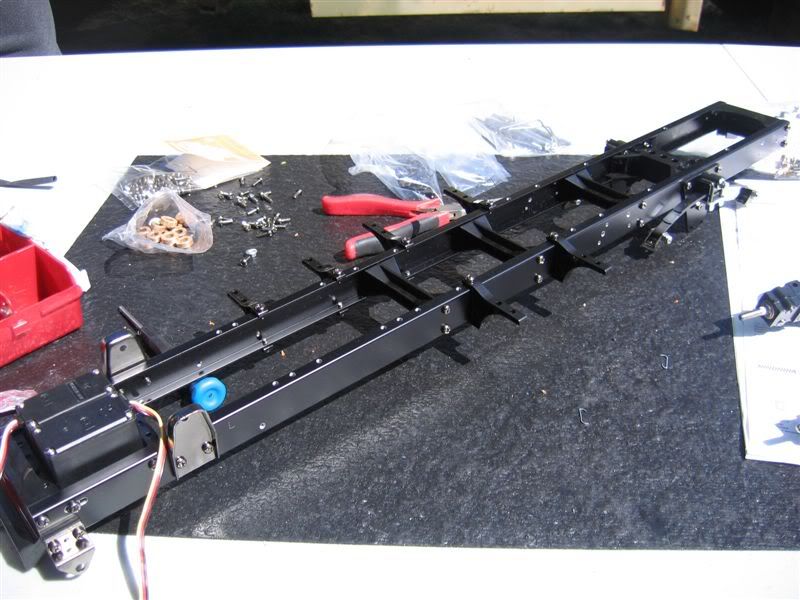
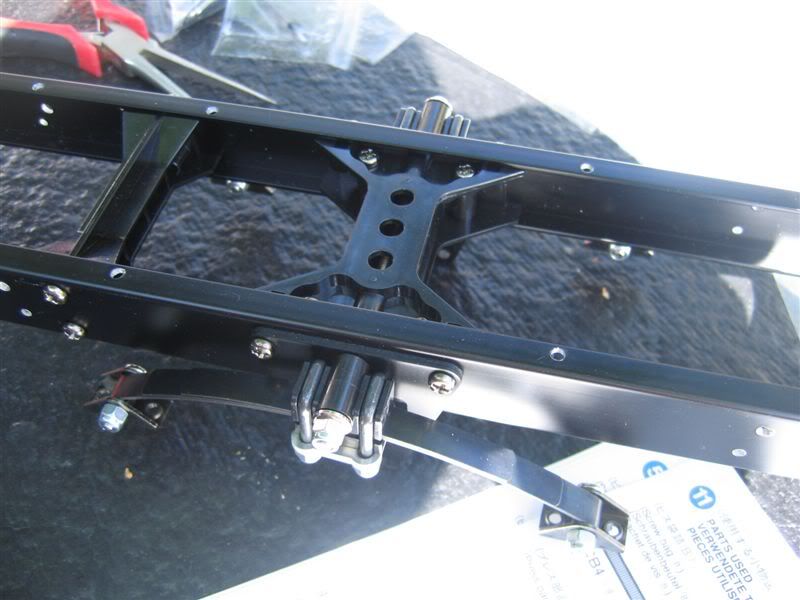
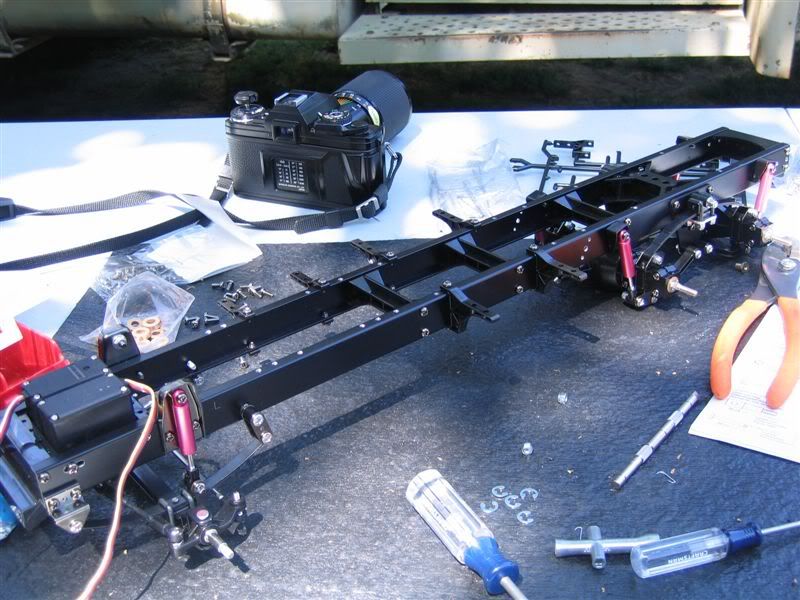
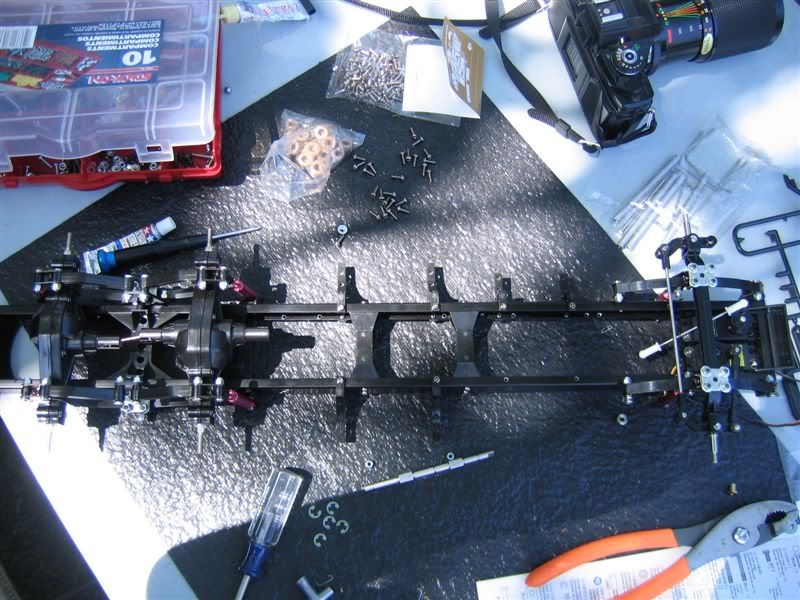
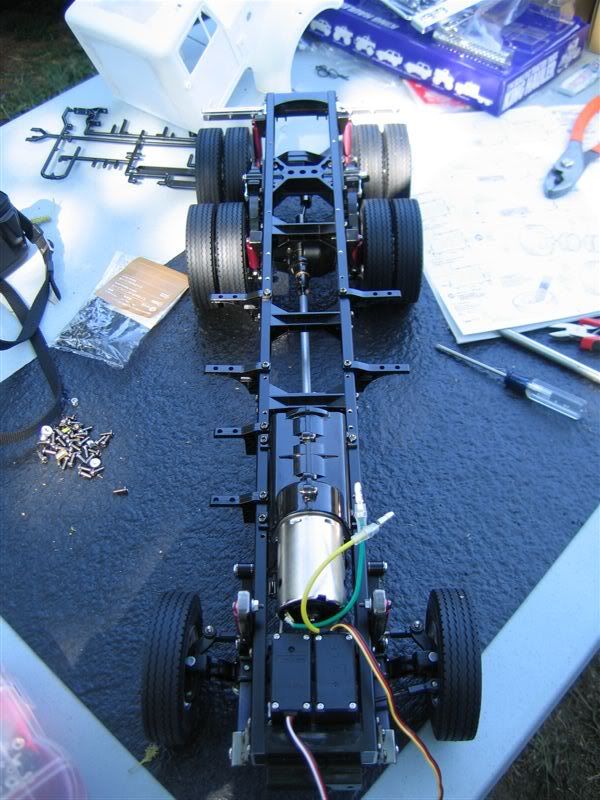
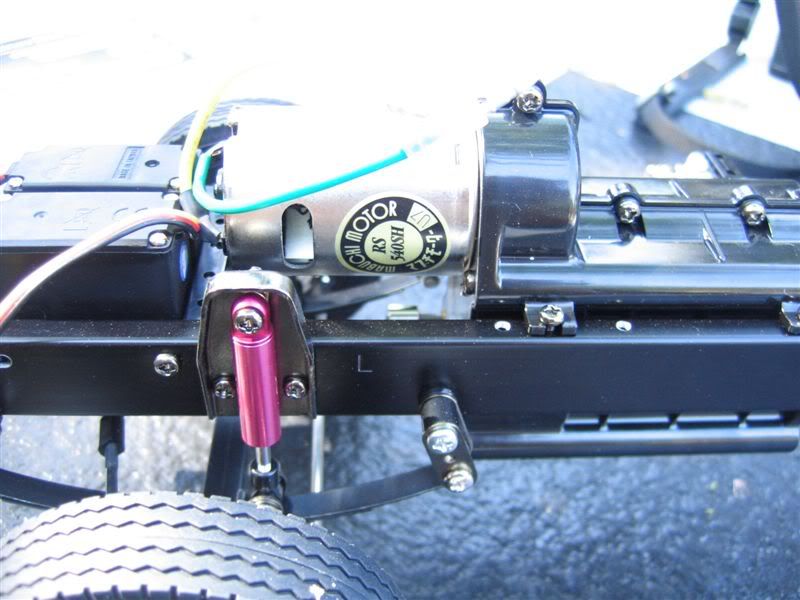
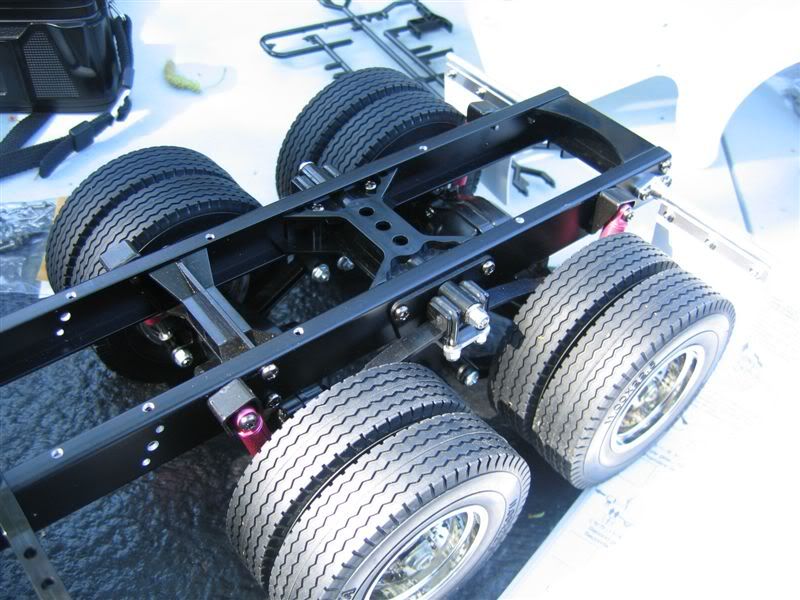
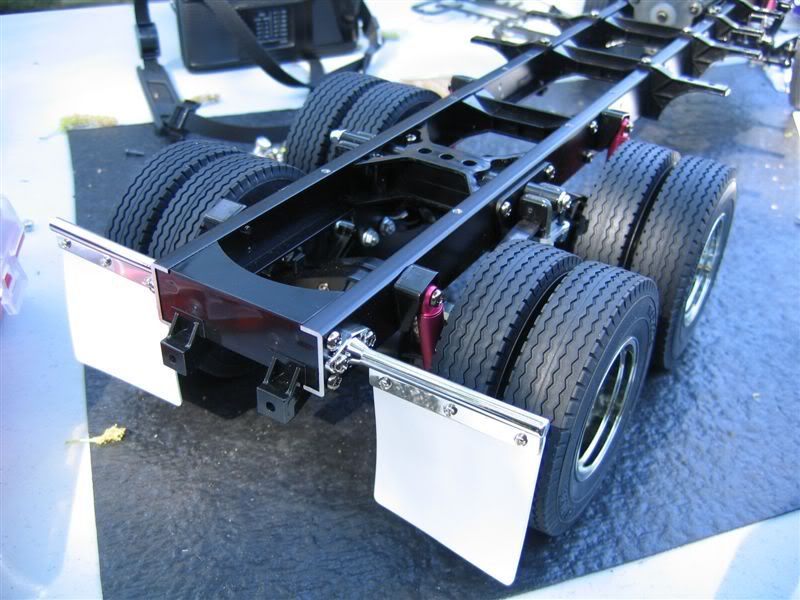
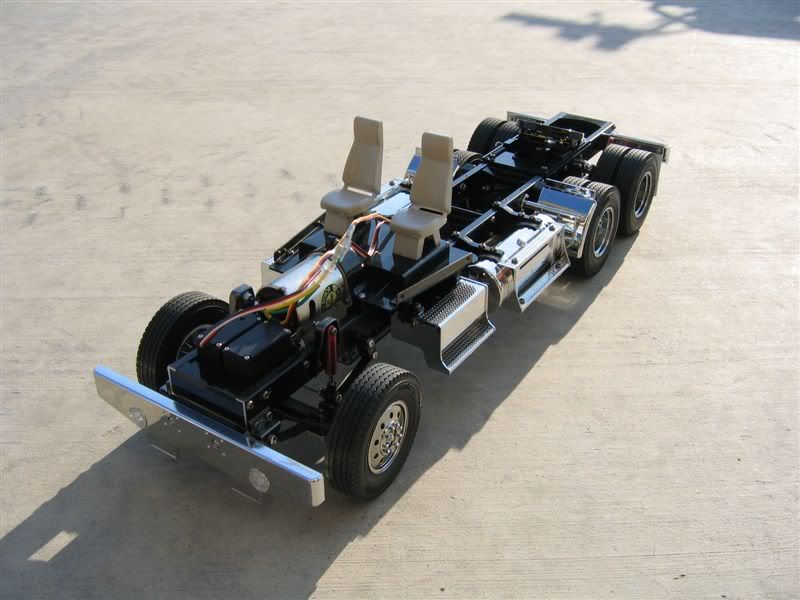
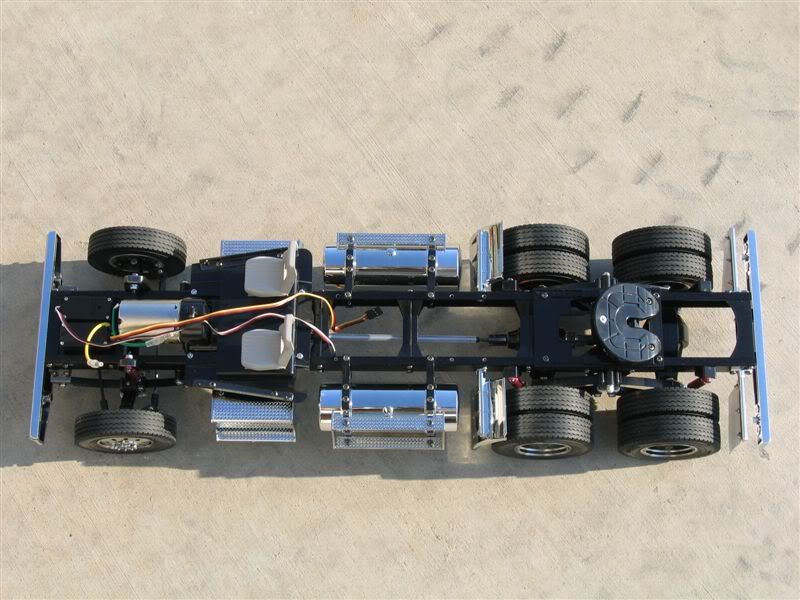
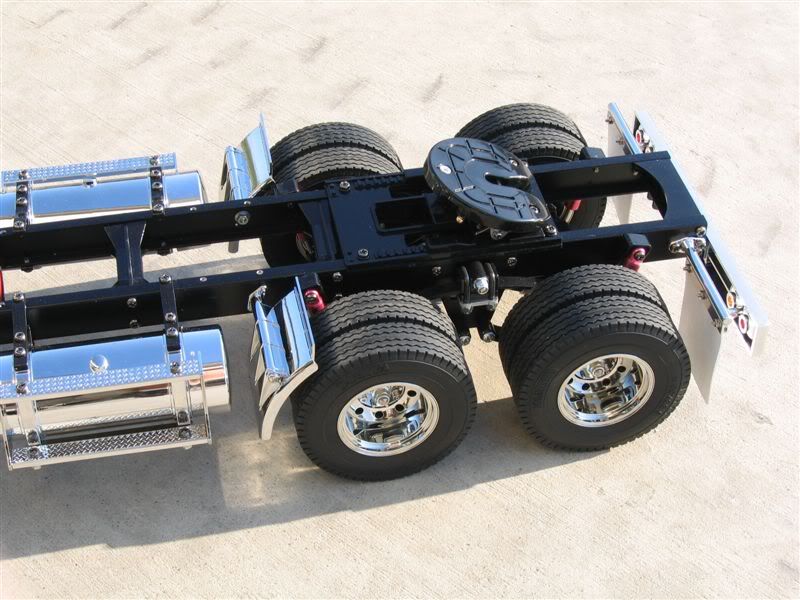
The chassis was done friday night (no running gear) and it took about and hour. It was 10 or so when some people that were camping pulled in, and it turns out I was using their electrical box for my lighting so I had to quit for the night (buddy was using my box and he was already sleeping I didn't wanna unplug any of his cords).
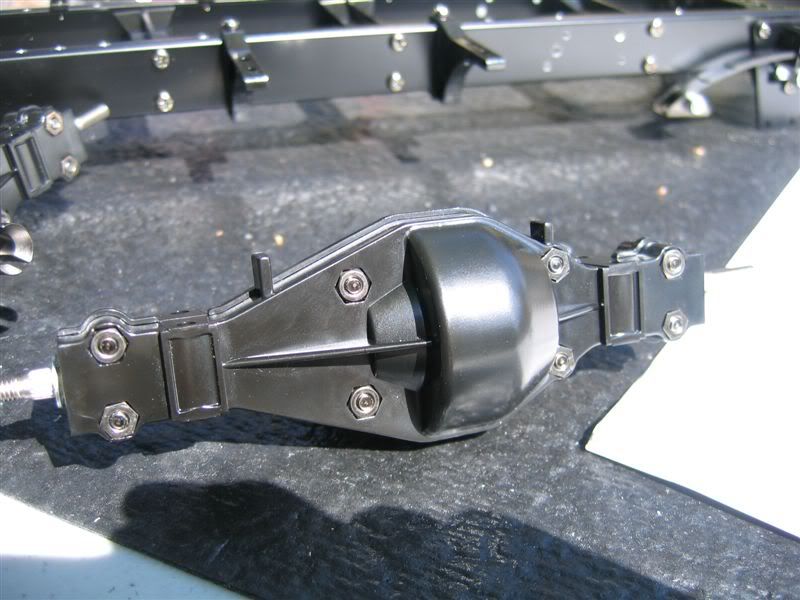
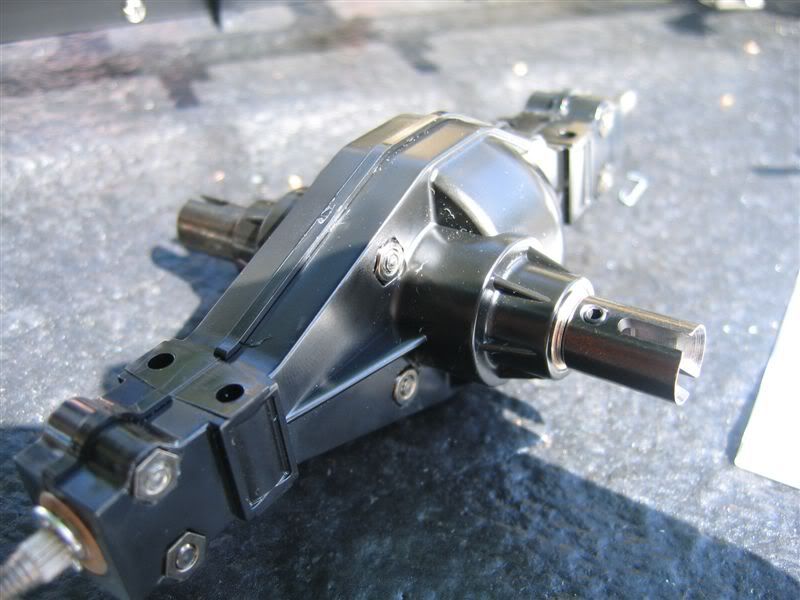
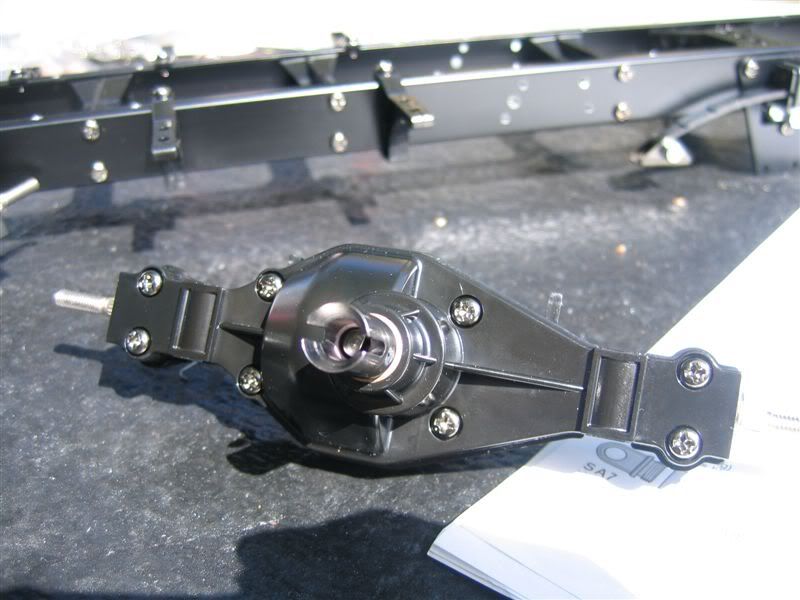
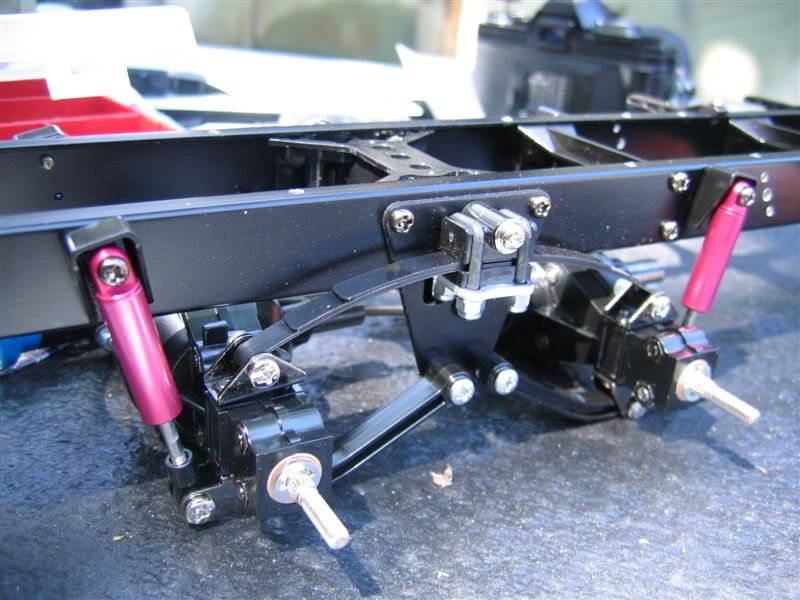
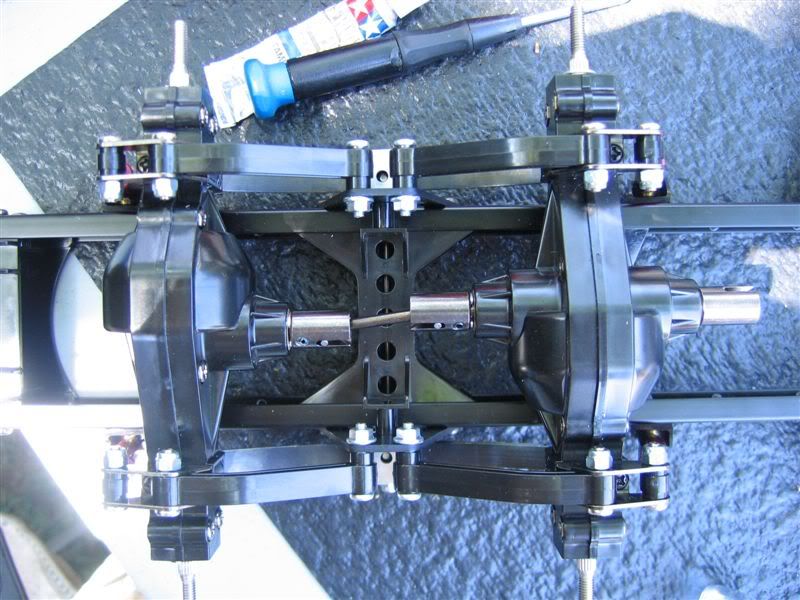
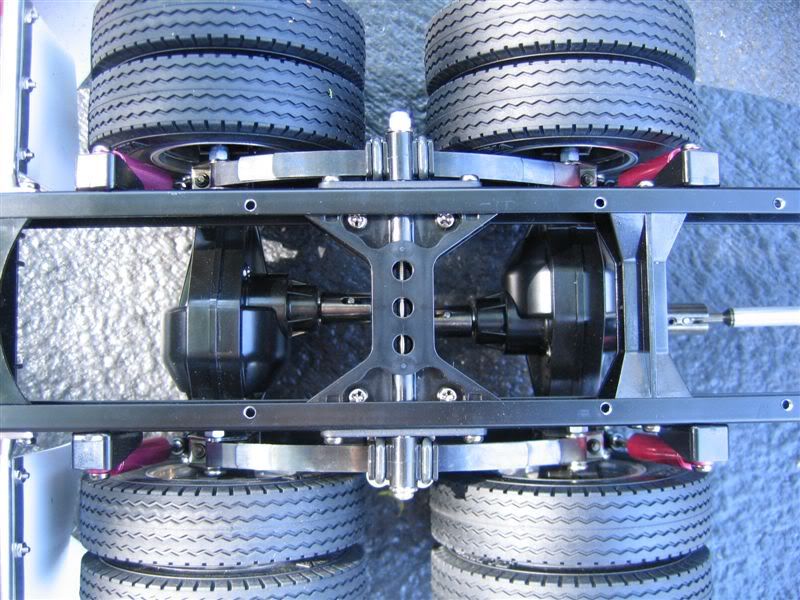
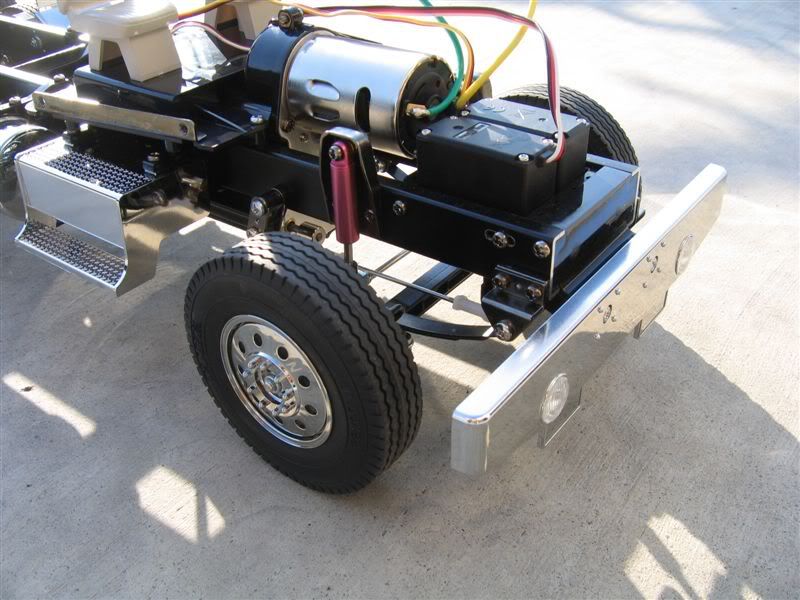
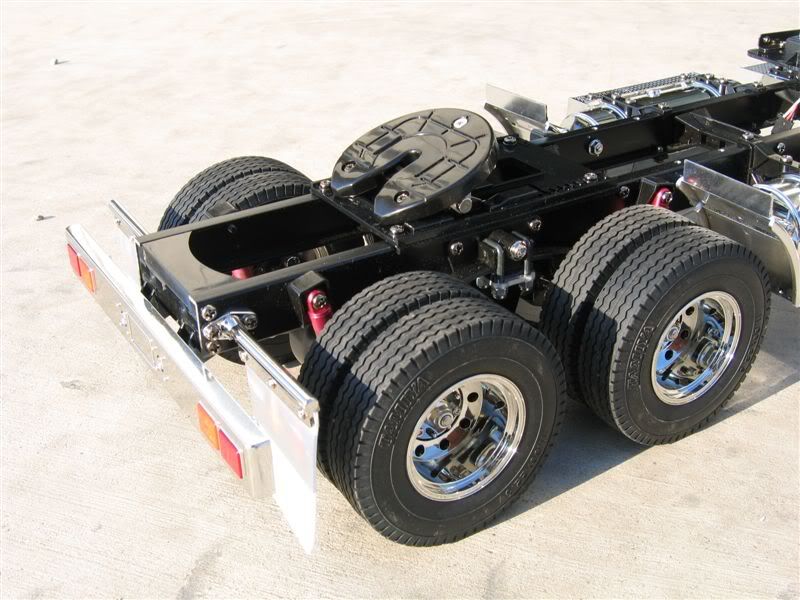
The axles took another couple hours, including mounting them on the axle.
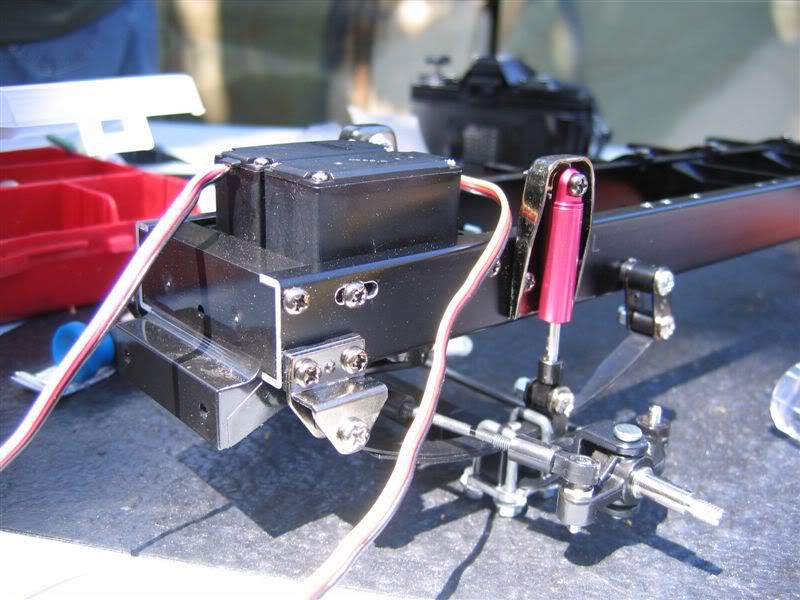
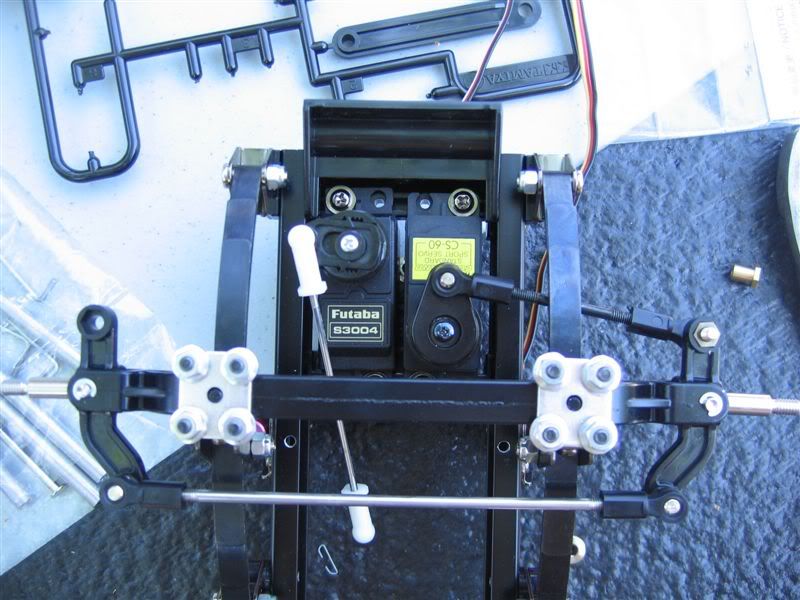
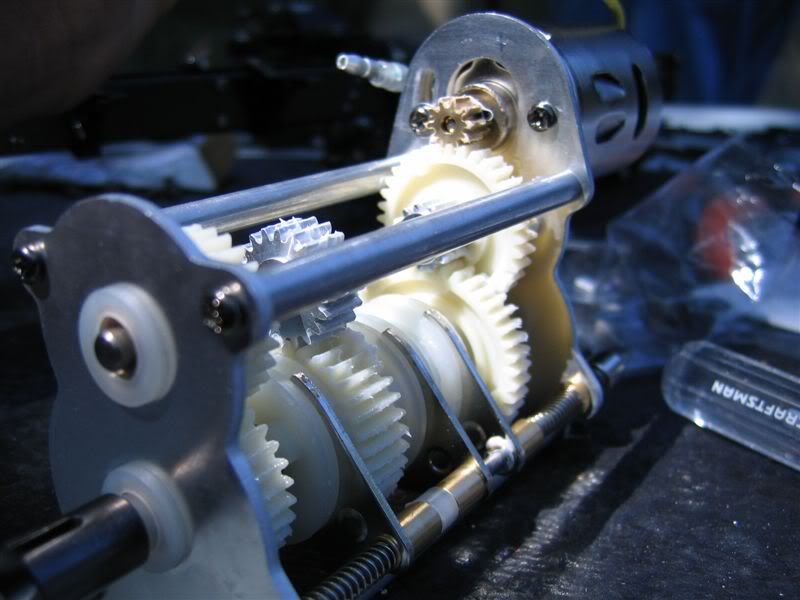
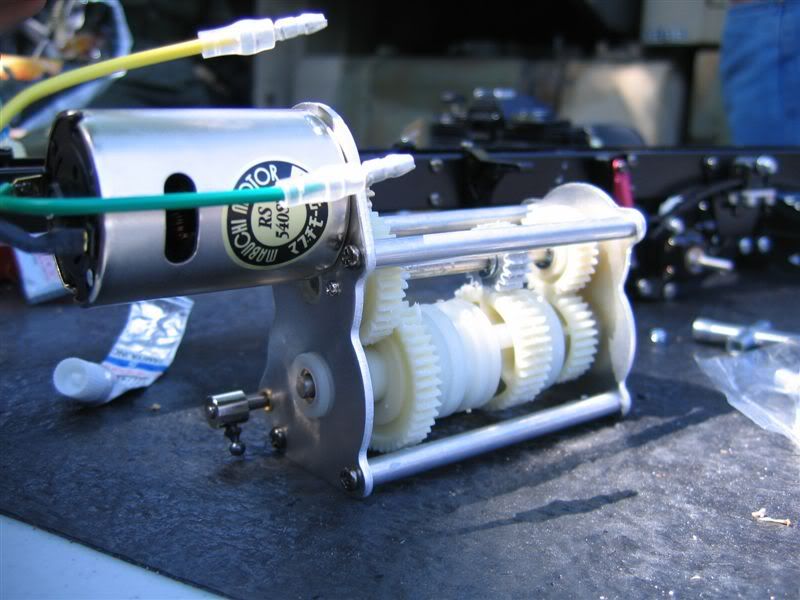
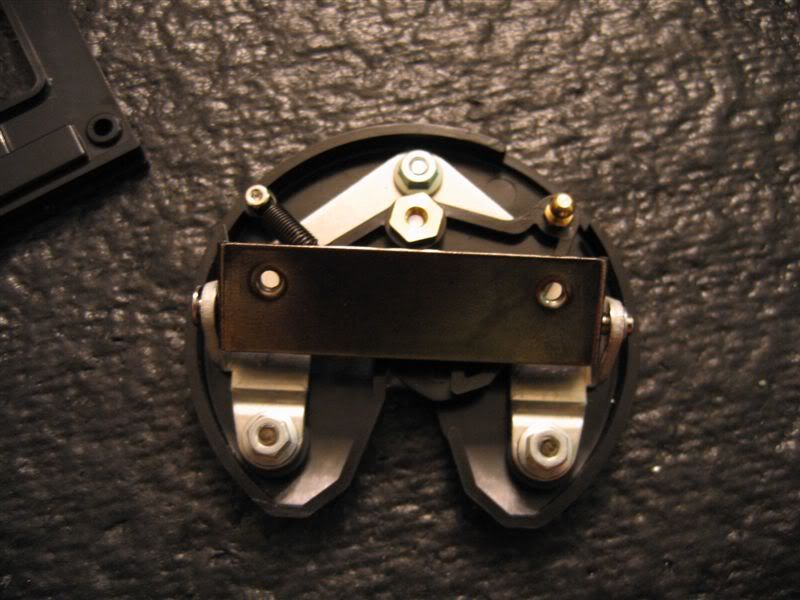
The transmission was the smoothest 3-speed build I done, although I did put the forks on the wrong way the first time but I realized it before I finished the tranny so that saved some headaches.
The body has it's first few white coats I didn't the putty areas perfectly smooth because I only had some clear Tamiya metal primer, the only primer on hand that was compatiable with Model Master paint. The only real purpose of it was to make the visual coats stick, I assume.
Headache racks (aluminum) from garden trucking are 90 bucks, so I think I'll just make my own from styrene and ABS. I still do not know how I'll produce the dual headlight buckets, I may just stick with the singles for now they look pretty good.
The grill and hood are too specific to a Peterbilt, but I'll just slap on some KW badges and call it a day, eh? Making completely new hanging headlights for a Pete is too much of a pain, so the KW is better in the long run.
The chassis was done friday night (no running gear) and it took about and hour. It was 10 or so when some people that were camping pulled in, and it turns out I was using their electrical box for my lighting so I had to quit for the night (buddy was using my box and he was already sleeping I didn't wanna unplug any of his cords).
The axles took another couple hours, including mounting them on the axle.
The transmission was the smoothest 3-speed build I done, although I did put the forks on the wrong way the first time but I realized it before I finished the tranny so that saved some headaches.
The body has it's first few white coats I didn't the putty areas perfectly smooth because I only had some clear Tamiya metal primer, the only primer on hand that was compatiable with Model Master paint. The only real purpose of it was to make the visual coats stick, I assume.
Headache racks (aluminum) from garden trucking are 90 bucks, so I think I'll just make my own from styrene and ABS. I still do not know how I'll produce the dual headlight buckets, I may just stick with the singles for now they look pretty good.
The grill and hood are too specific to a Peterbilt, but I'll just slap on some KW badges and call it a day, eh? Making completely new hanging headlights for a Pete is too much of a pain, so the KW is better in the long run.
04-21-2008, 02:22 PM
#22
Senior Member
Thread Starter
Join Date: Oct 2006
Location: Valley Springs,
CA
Posts: 4,897
Likes: 0
Received 0 Likes
on
0 Posts
Why is it called a "headache rack"?!
04-21-2008, 03:02 PM
#23
Senior Member
Join Date: Dec 2005
Location: NA, , NETHERLANDS
Posts: 4,194
Likes: 0
Received 0 Likes
on
0 Posts
ORIGINAL: paintstikker
Hehe, I believe the chassis took 8 hours and that was with random chats with passerbys at the military show. The body will take about 4 days since the paint has to dry before I can mask it off and do a different color.
Hehe, I believe the chassis took 8 hours and that was with random chats with passerbys at the military show. The body will take about 4 days since the paint has to dry before I can mask it off and do a different color.

 04-22-2008, 10:22 PM
#25
Senior Member
Thread Starter
Join Date: Oct 2006
Location: Valley Springs,
CA
Posts: 4,897
Likes: 0
Received 0 Likes
on
0 Posts
Well now instead of buying the Tamiya flatbed trailer, I can probably fabricate one from scratch if I wanted to - it would be much cheaper than 200 dollars as well. I still haven't decided if I wanna bolt/rivet it together, or weld it-making a good small weld may be tough for me.