


Pirotti Rebel Build
 04-08-2014, 10:57 PM
#1

Thread Starter

Well build is a bit strong...but you know what I mean.
I thought I'd do a small thread as there isn't much out there about this model. First off the quality of the kit and paint work is average. It's a little rough around the edges however structurally it looks sound and I love the lines of this model. With a small amount of extra work I'll be able to work with it.
Only half the wood formers are installed and you have to cut the openings for the gear add all the wing anti rotation pins etc... None of this is a problem but I was expecting it all to have been done. Looking at the instructions this was never the case so its my mis understanding.
First job is to clean everything up and do all the rigging jobs like the wing pins and fit the massive canopy.
Cheers, Alex
'The Little Jet Company'
 04-09-2014, 12:16 AM
#3
Thread Starter
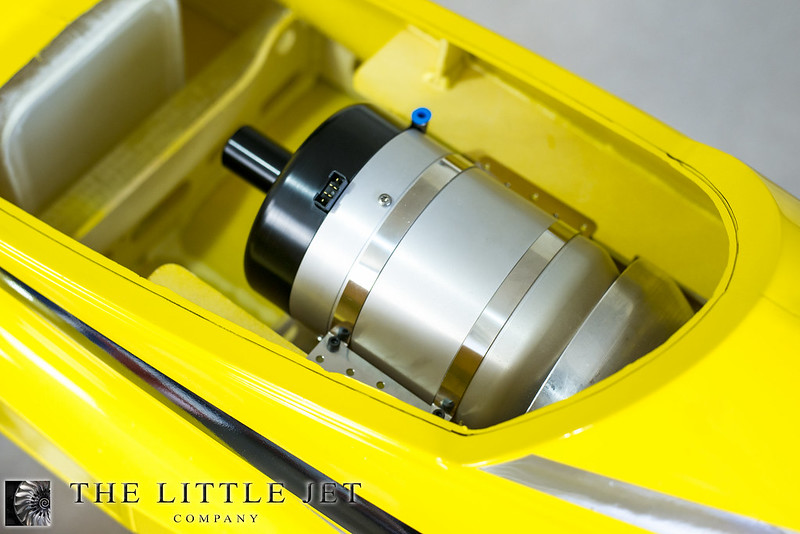
I'll post photos as I go. Starting with a bit of tidying up I've cut down the flange around the canopy and turbine area. Its a massive canopy and this looked really messy left as is. It's purely for aesthetics and those that know me will understand how my OCD couldn't cope with it being left 
Cheers, Alex
The Little Jet Company
Cheers, Alex
The Little Jet Company
Last edited by Alex48; 04-09-2014 at 12:18 AM.
04-20-2014, 10:53 PM
#6
Thread Starter
I've managed to make a start... I started by cleaning up the jagged hatch edges and fitting most things that require hysol, I've had to do lots of cutting with the dremel but so far no issues other than fitting the canopy which is a PITA, much like doing an UB canopy but worth the effort to get a perfect fit.
Cheers, Alex
The Little Jet Company
Cheers, Alex
The Little Jet Company
 06-04-2014, 09:08 AM
#10
Thread Starter
Hi guys, sorry for the lack of updates, I've been really busy on some other projects...
Anyway I can make some headway on this now. You have to install all the formers forward of the wing which isn't much of a hassle but everything requires work so it fits. The fit of all the wooden parts is decidedly average but easily overcome.
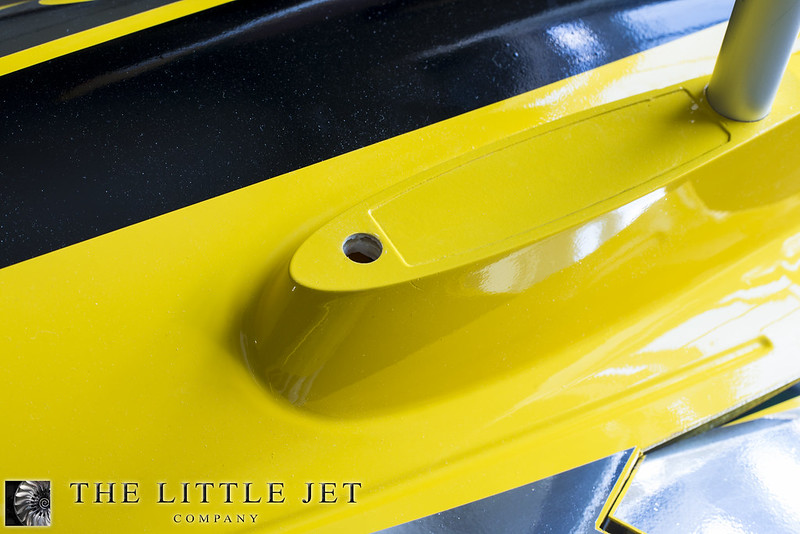
Next on the agenda is to fit the wings and stabs. You have to glue the anti rotation pegs into the roots and make an appropriately sized hole in the fuselage. To say the fit is great would be a lie because it isn't. The starboard wing has a 2mm gap at the front yet flush at the back something isn't square during its fabrication, the other wing and the stabs are again very average in terms of fit.
Having put the model together and taken a few steps back, I really love its lines, like most sport jest the gear ruins its looks but the flying side of things will sort that out.
The hole for the anti rotation pegs in the stab.
Anyway I can make some headway on this now. You have to install all the formers forward of the wing which isn't much of a hassle but everything requires work so it fits. The fit of all the wooden parts is decidedly average but easily overcome.
Next on the agenda is to fit the wings and stabs. You have to glue the anti rotation pegs into the roots and make an appropriately sized hole in the fuselage. To say the fit is great would be a lie because it isn't. The starboard wing has a 2mm gap at the front yet flush at the back something isn't square during its fabrication, the other wing and the stabs are again very average in terms of fit.
Having put the model together and taken a few steps back, I really love its lines, like most sport jest the gear ruins its looks but the flying side of things will sort that out.
The hole for the anti rotation pegs in the stab.
Last edited by Alex48; 06-04-2014 at 10:25 AM.
06-06-2014, 12:22 AM
#11
06-06-2014, 12:30 AM
#12
Join Date: Apr 2013
Location: holland, NETHERLANDS
Posts: 474
Likes: 0
Received 0 Likes
on
0 Posts

 06-07-2014, 11:41 PM
#18
Thread Starter
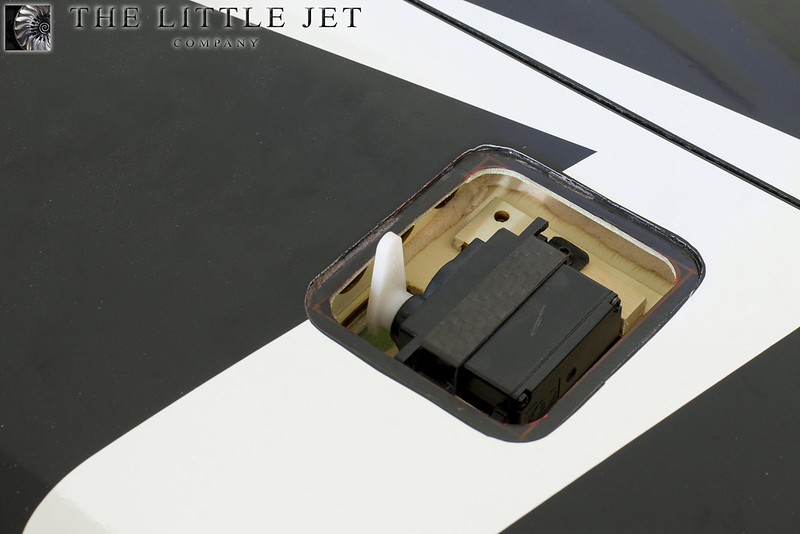
Once the holes are cut the servos are held in with carbon straps but you need to install the supplied ply blocks either side of the servo. They are made in two lengths so as to clear the servo cable. I thought it was a nice touch and had clearly been thought about by the manufacturer.
06-08-2014, 12:19 AM
#19
Join Date: Apr 2013
Location: holland, NETHERLANDS
Posts: 474
Likes: 0
Received 0 Likes
on
0 Posts
Alex,
Witch servo's are u using?
And as i got it right, you are gona use an 140N turbine, what's your idea on an 140N size for this bird?
Will it chew up the airframe or does it looks ridged enough?
With a bit of luck i will pick up mine coming Tuesday, just before i set of to work
Witch servo's are u using?
And as i got it right, you are gona use an 140N turbine, what's your idea on an 140N size for this bird?
Will it chew up the airframe or does it looks ridged enough?
With a bit of luck i will pick up mine coming Tuesday, just before i set of to work
06-08-2014, 12:39 AM
#20
Thread Starter
I'm using JR8411's all round which I've used for years on models this size. The airframe is sound structurally, the 140 will be fine with my flying style which isn't out and out speed but I like good vertical performance. I have onboard telemetry for IAS so I'll set a limit as I don't fancy going too quick with this.
Cheers, Alex
Cheers, Alex
 06-13-2014, 06:54 AM
#23
Still big enough Edwin
I even managed to build a 3mtr twin and 3mtr Hercules in a 4 x 2mtr room at my old flat
So this is even large for me
Build is going good over here, tail servo`s etc. are finished, busy with the ailerons and flaps now.
Also ordered the Electron Retracts Rebel gear set.
So almost everything will be in the house to complete the Rebel.
Grt,
Berto.
06-13-2014, 11:29 PM
#24
Thread Starter
All the servos are installed, the model is using the PowerBus system from PowerBox through a Royal SRS so all the inputs are through the bus system. Not necessary for a model like this in-fact the Royal SRS is overkill but I'm using this as a base for some PowerBox tutorial videos.
Next is to install the gear, all you get is this small opening so you have to cut the wheel wells... It does mean that you can install what gear you like and cut the wing appropriately. I'm using the recommended gear which at 800 euros is overpriced IMO but it seems to work well.
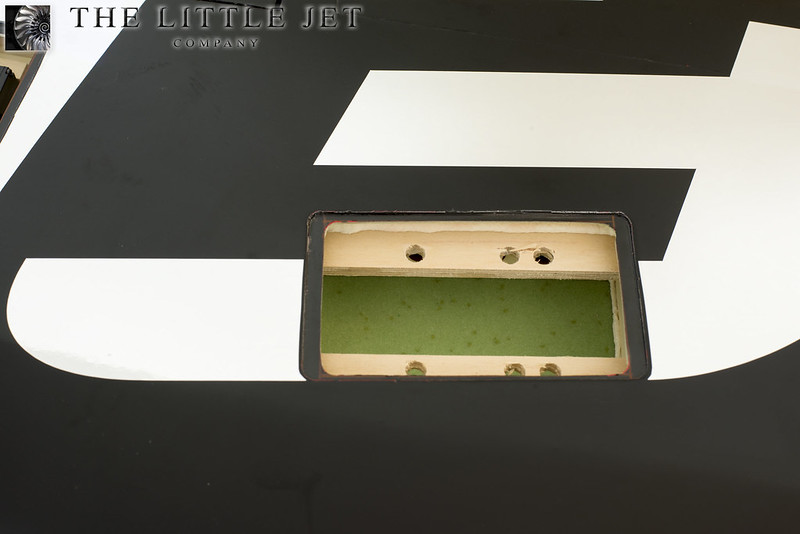
Next is to install the gear, all you get is this small opening so you have to cut the wheel wells... It does mean that you can install what gear you like and cut the wing appropriately. I'm using the recommended gear which at 800 euros is overpriced IMO but it seems to work well.