


Scale finishing my BVM Hun
 07-24-2021, 07:20 PM
#201

My Feedback: (13)
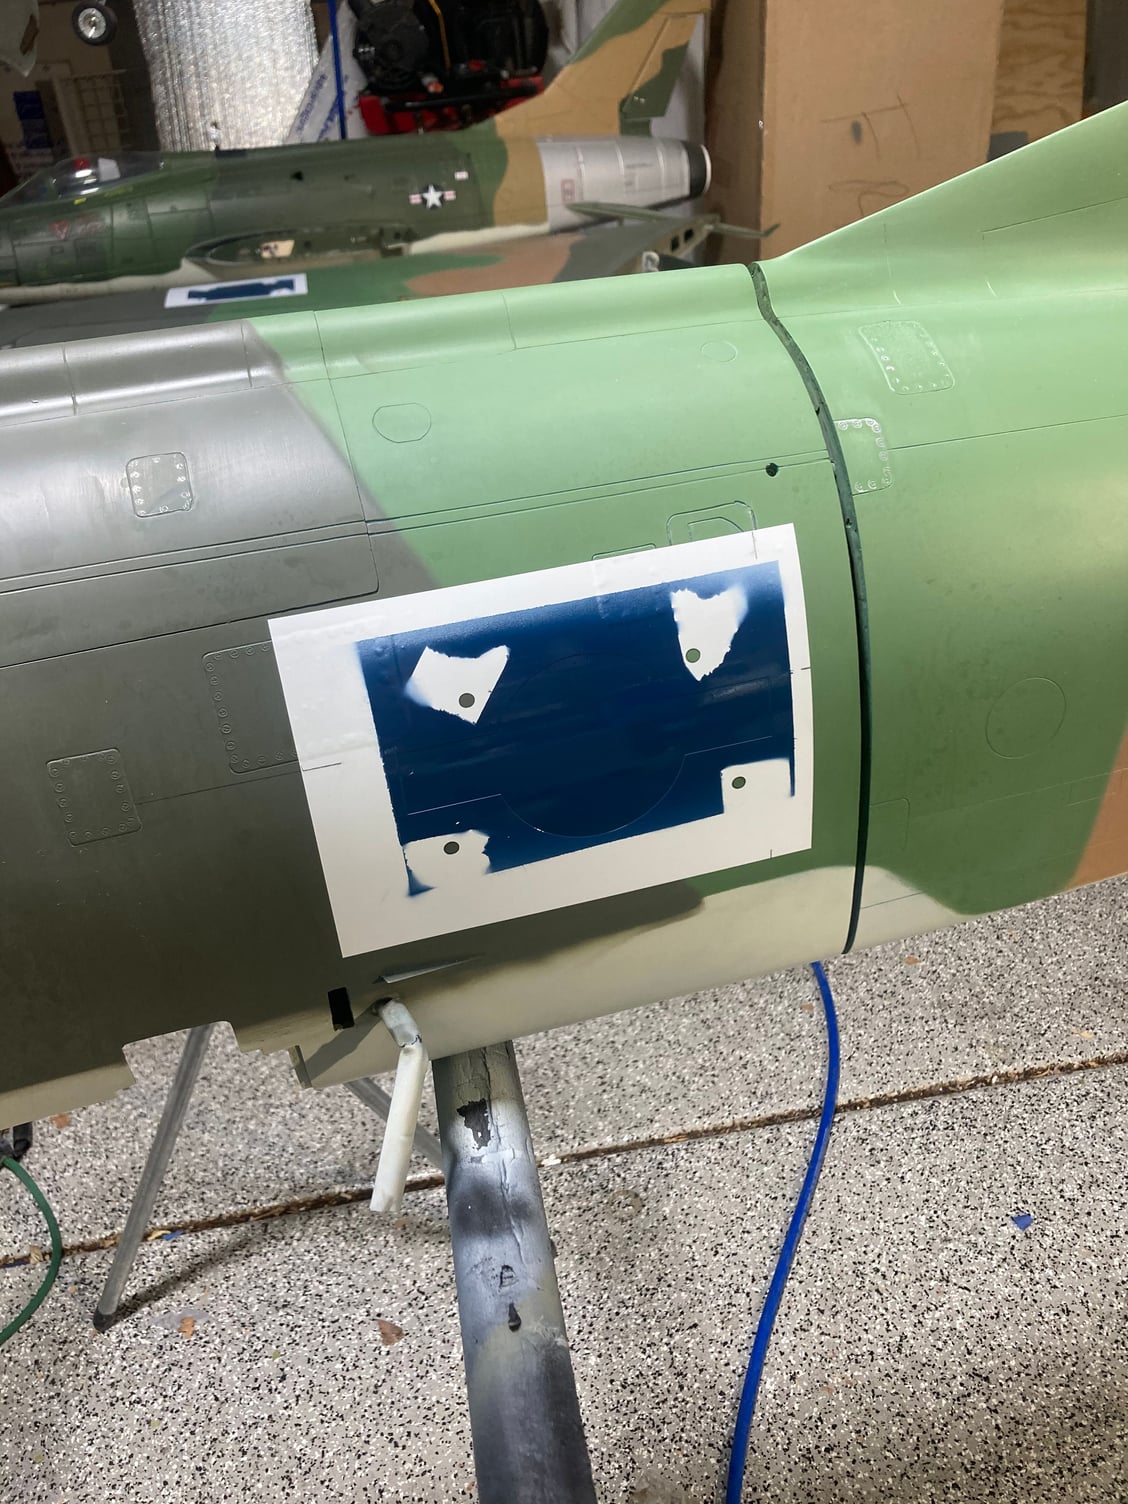
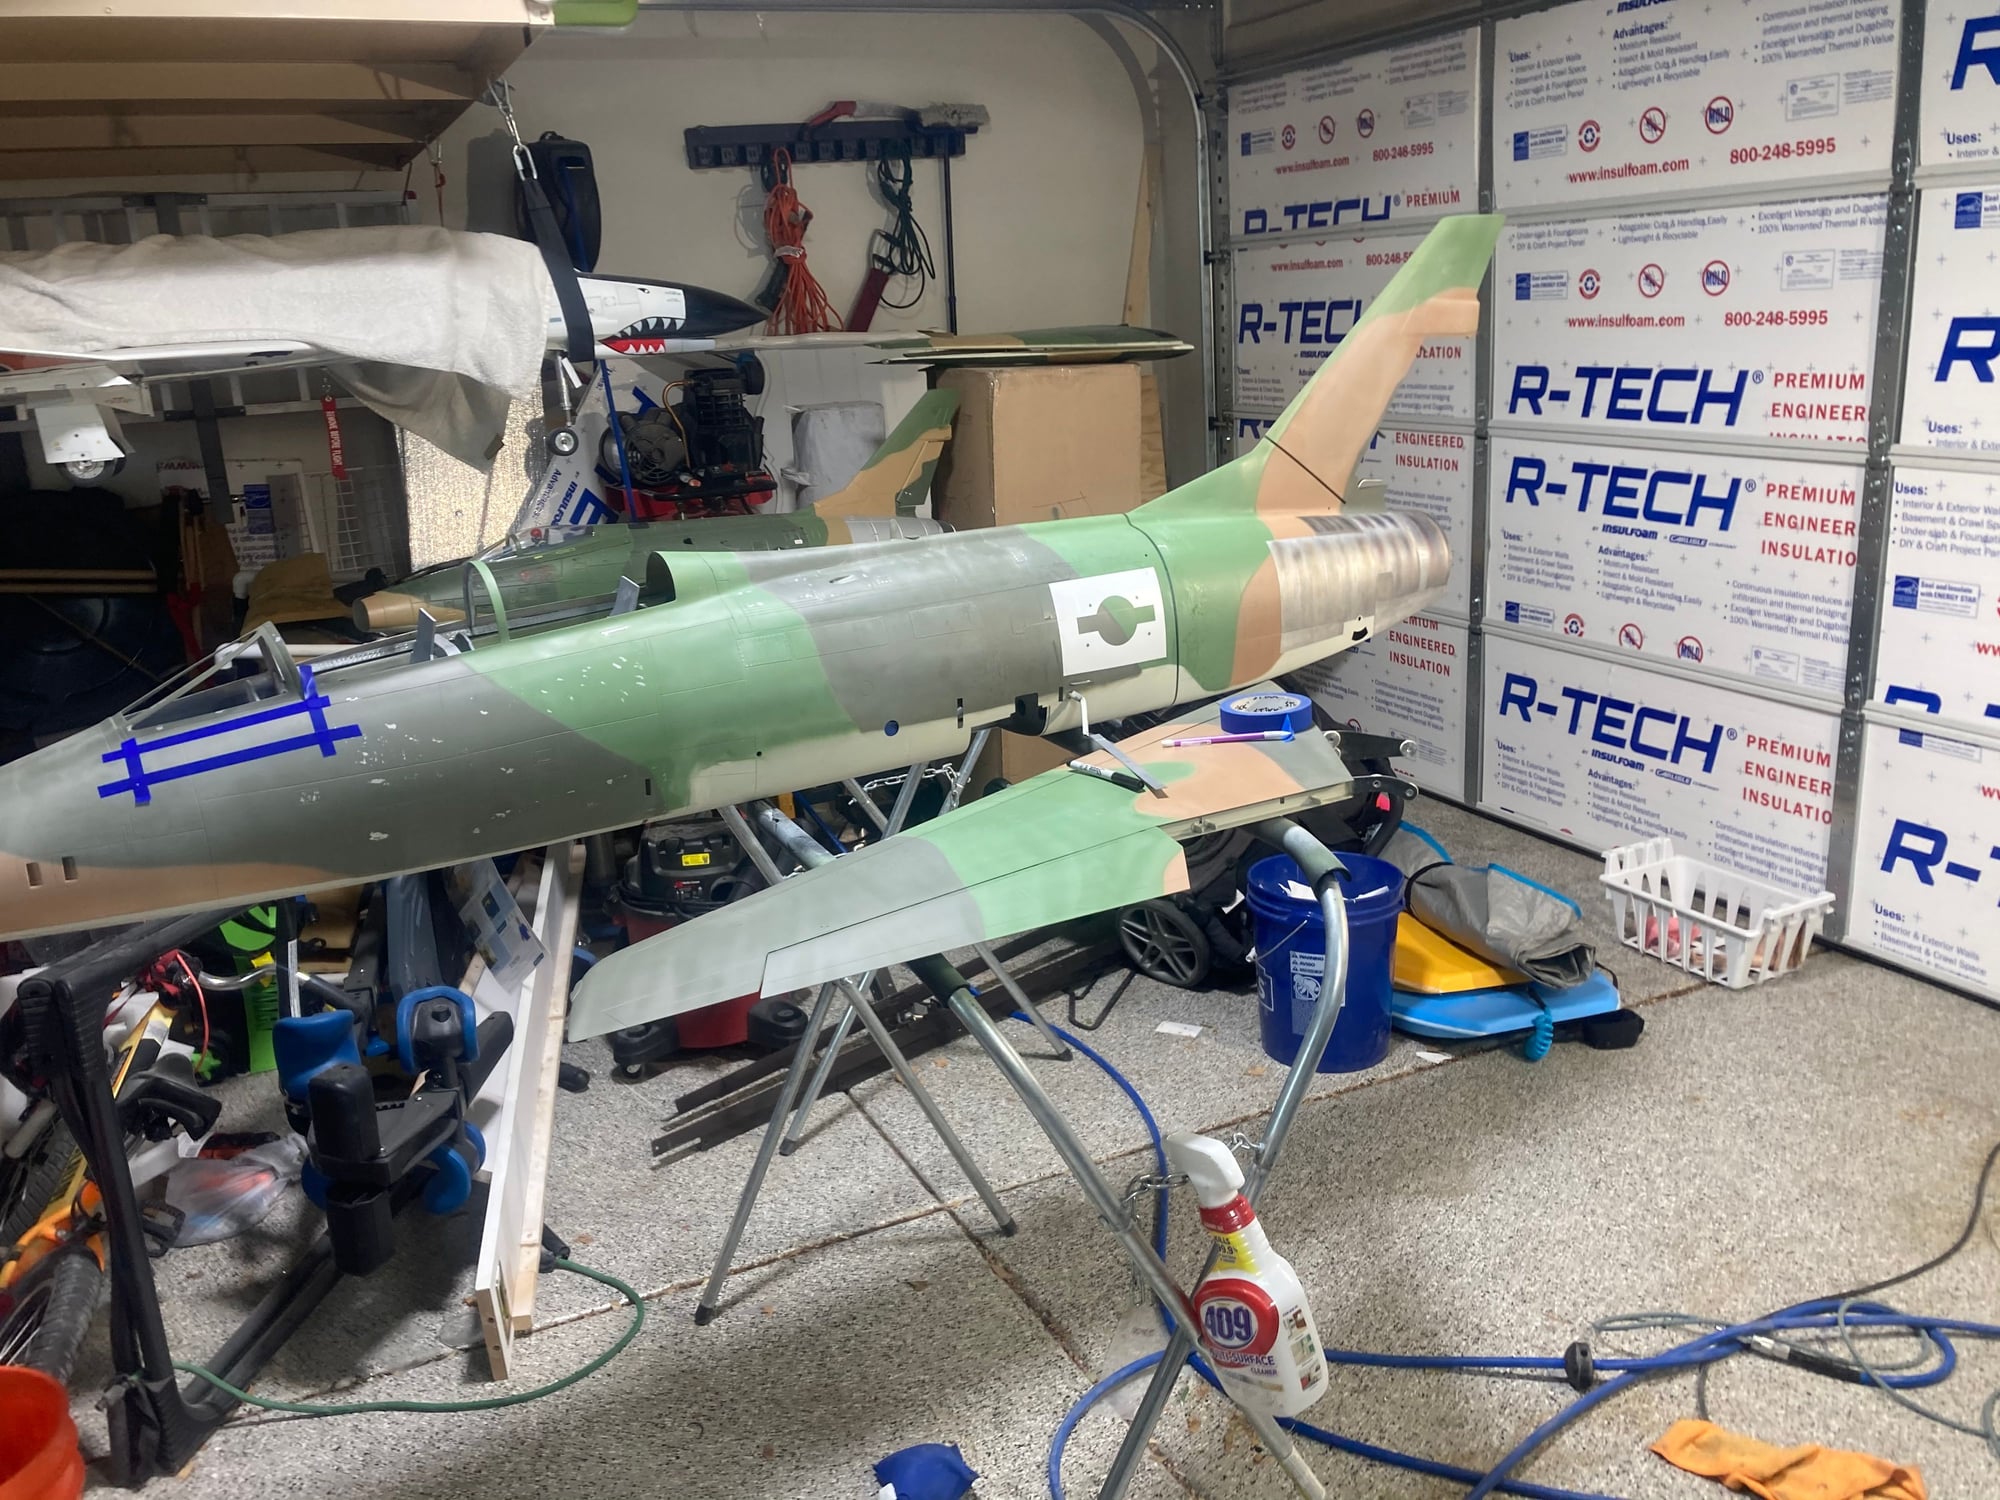
once I had a cool shop I started working on the paint mask stuff. Namely the tail numbers, pilot name, stars/bars etc. Thankfully my buddy Dave P. Is a whiz at those and made some great/custom masks for me
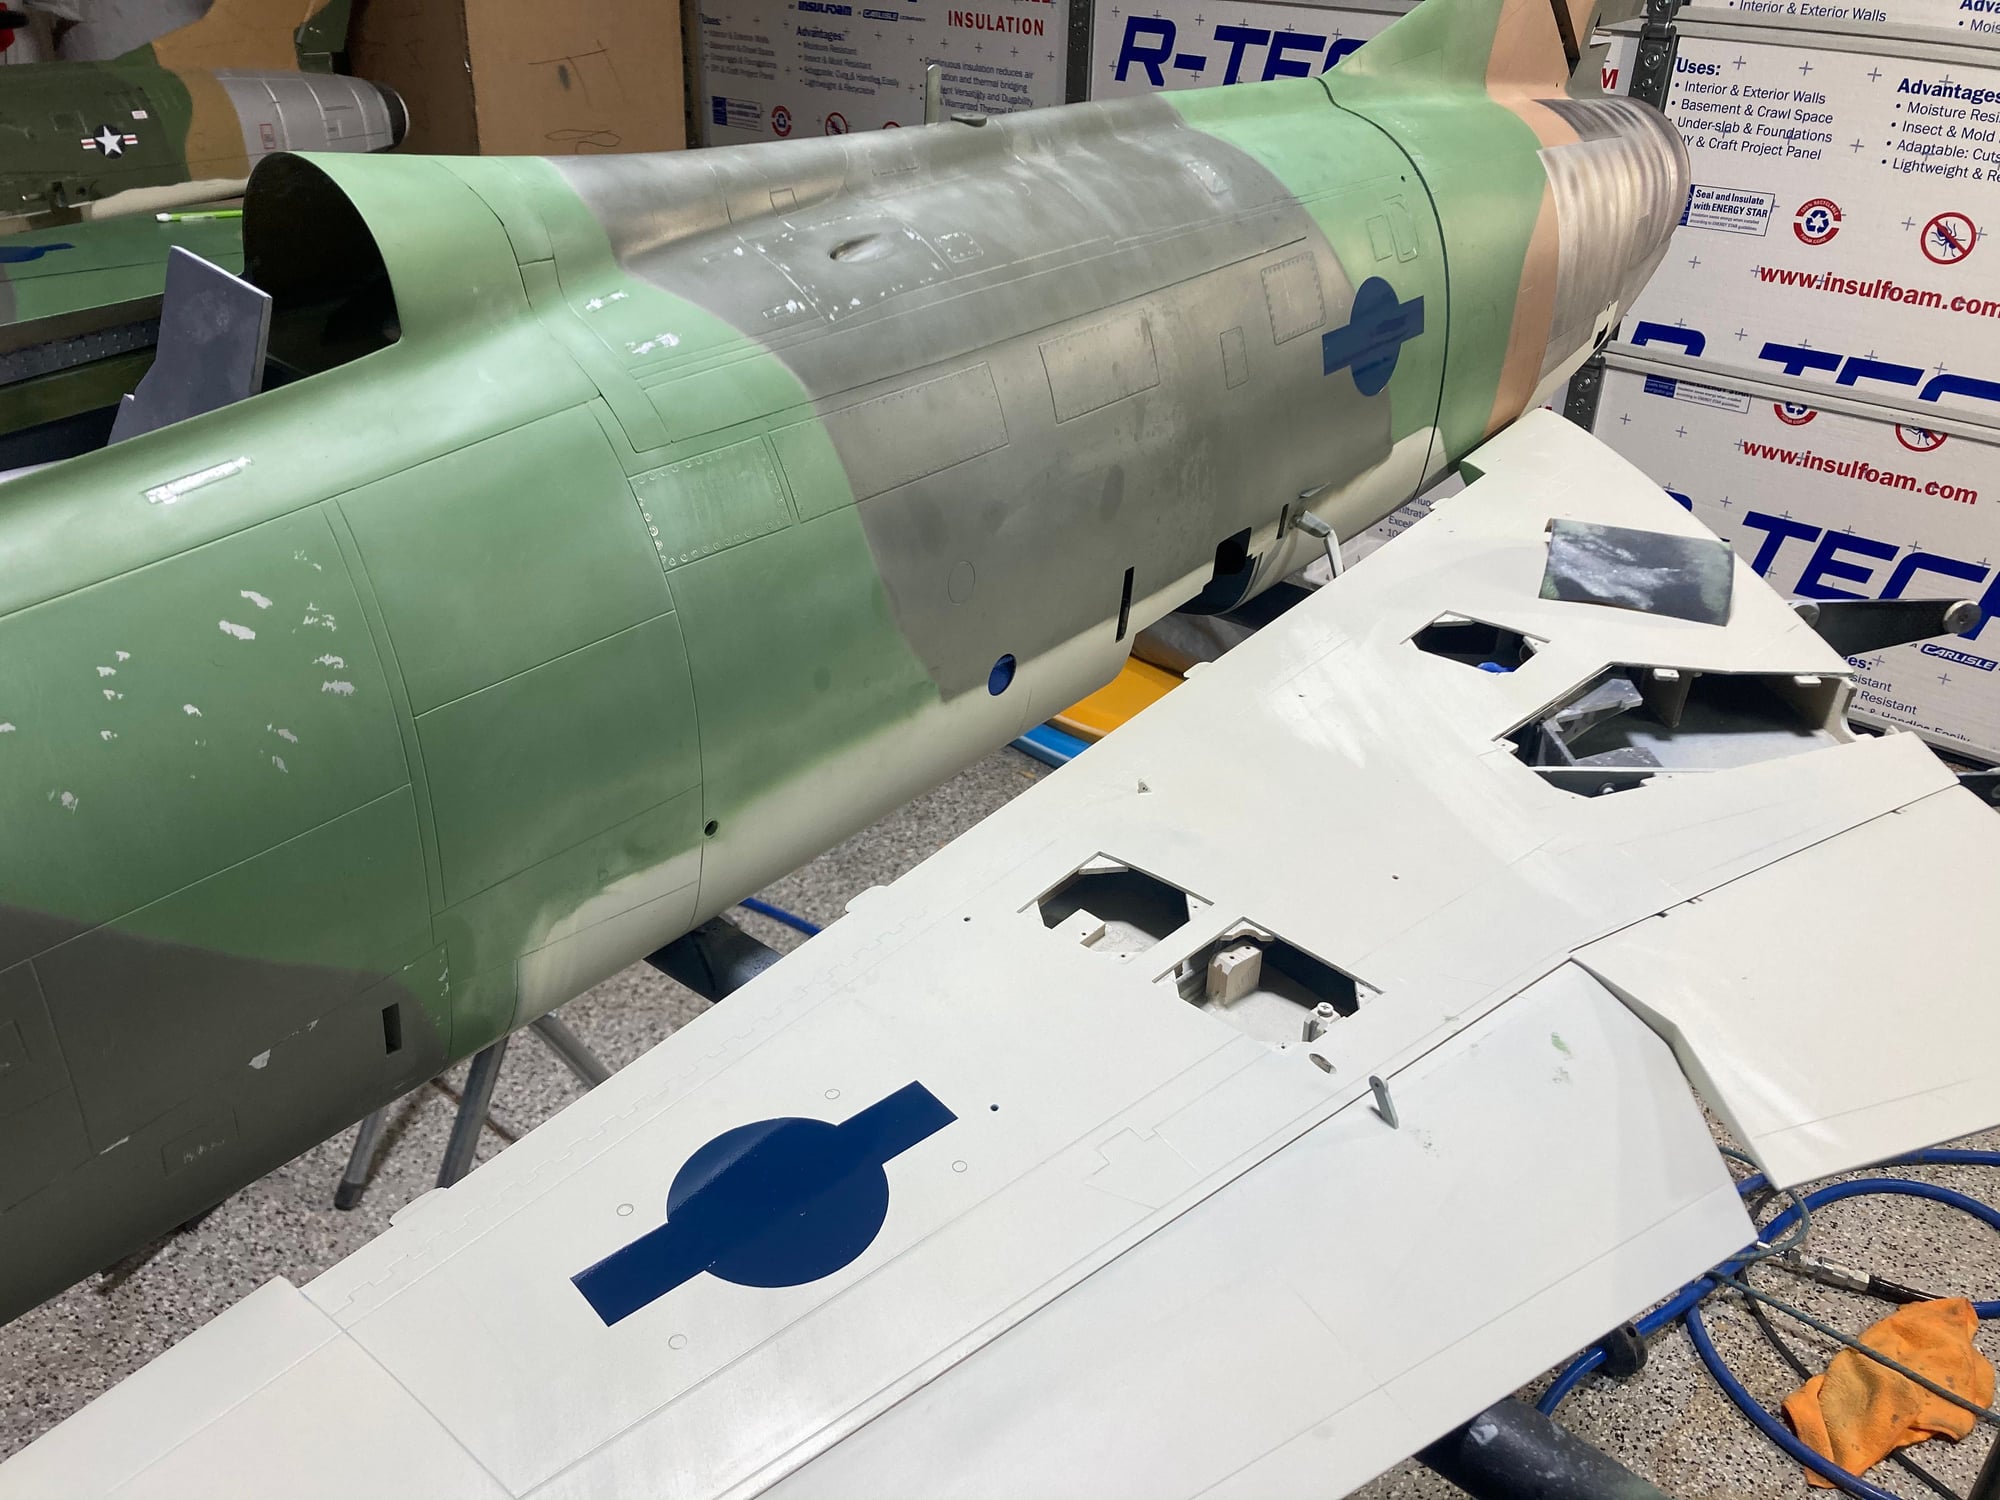
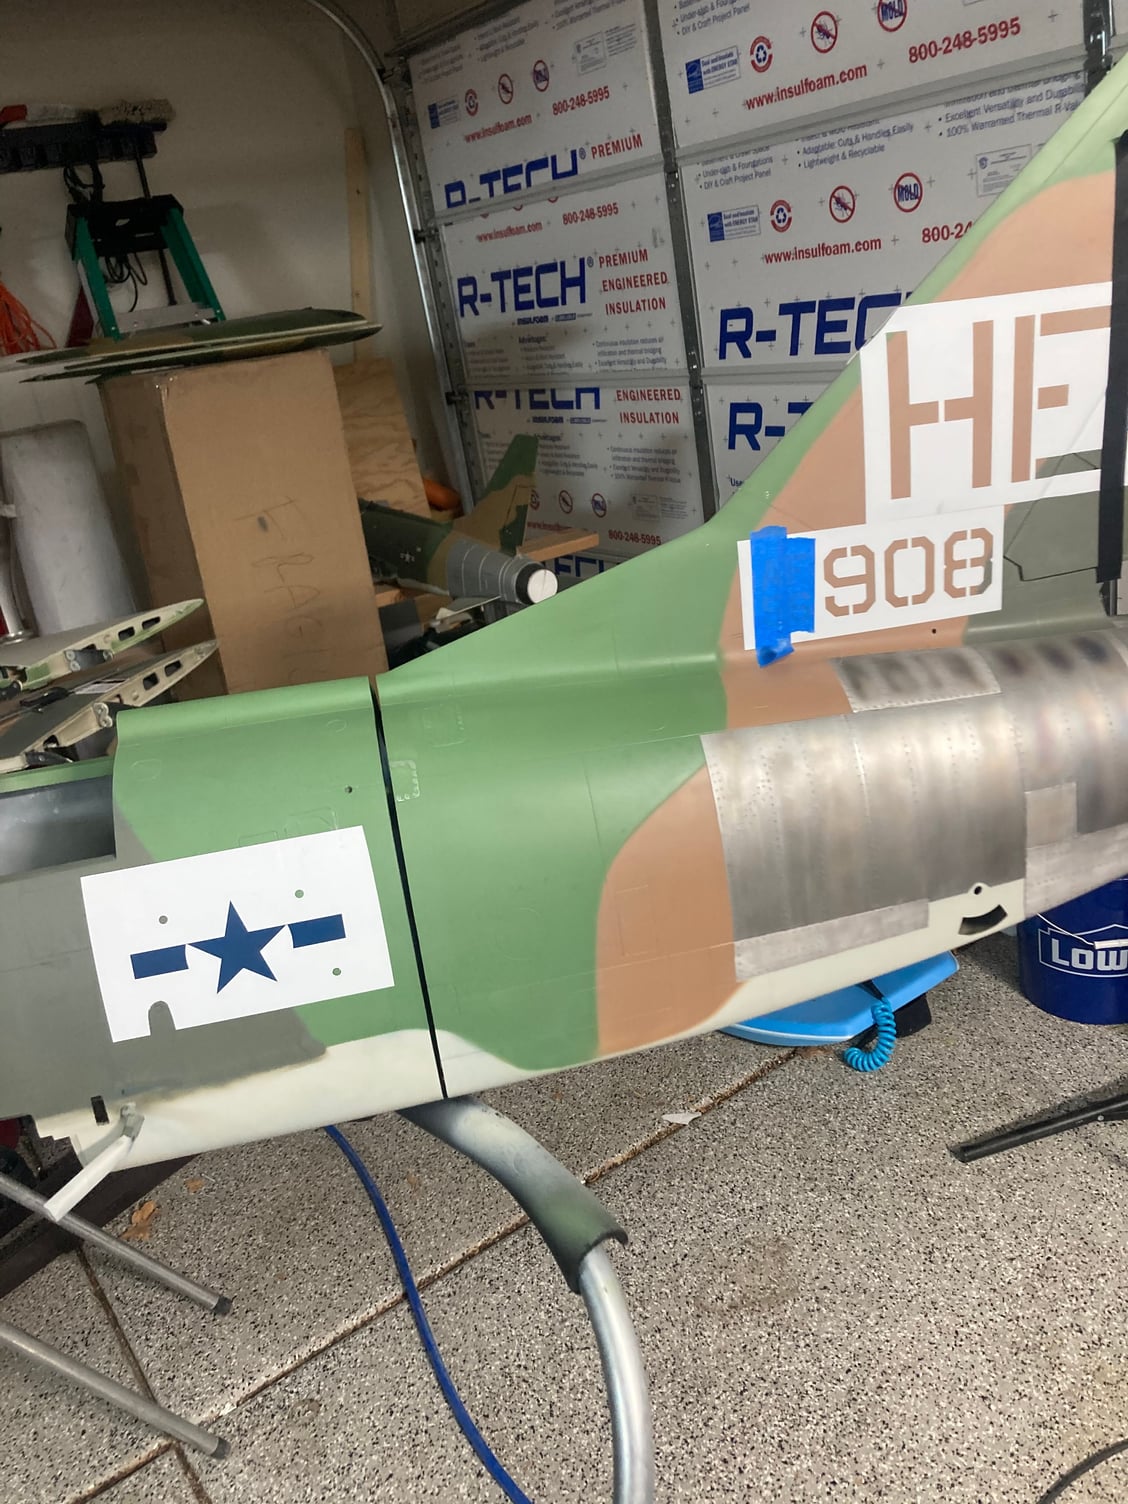
First layer of stars/bars
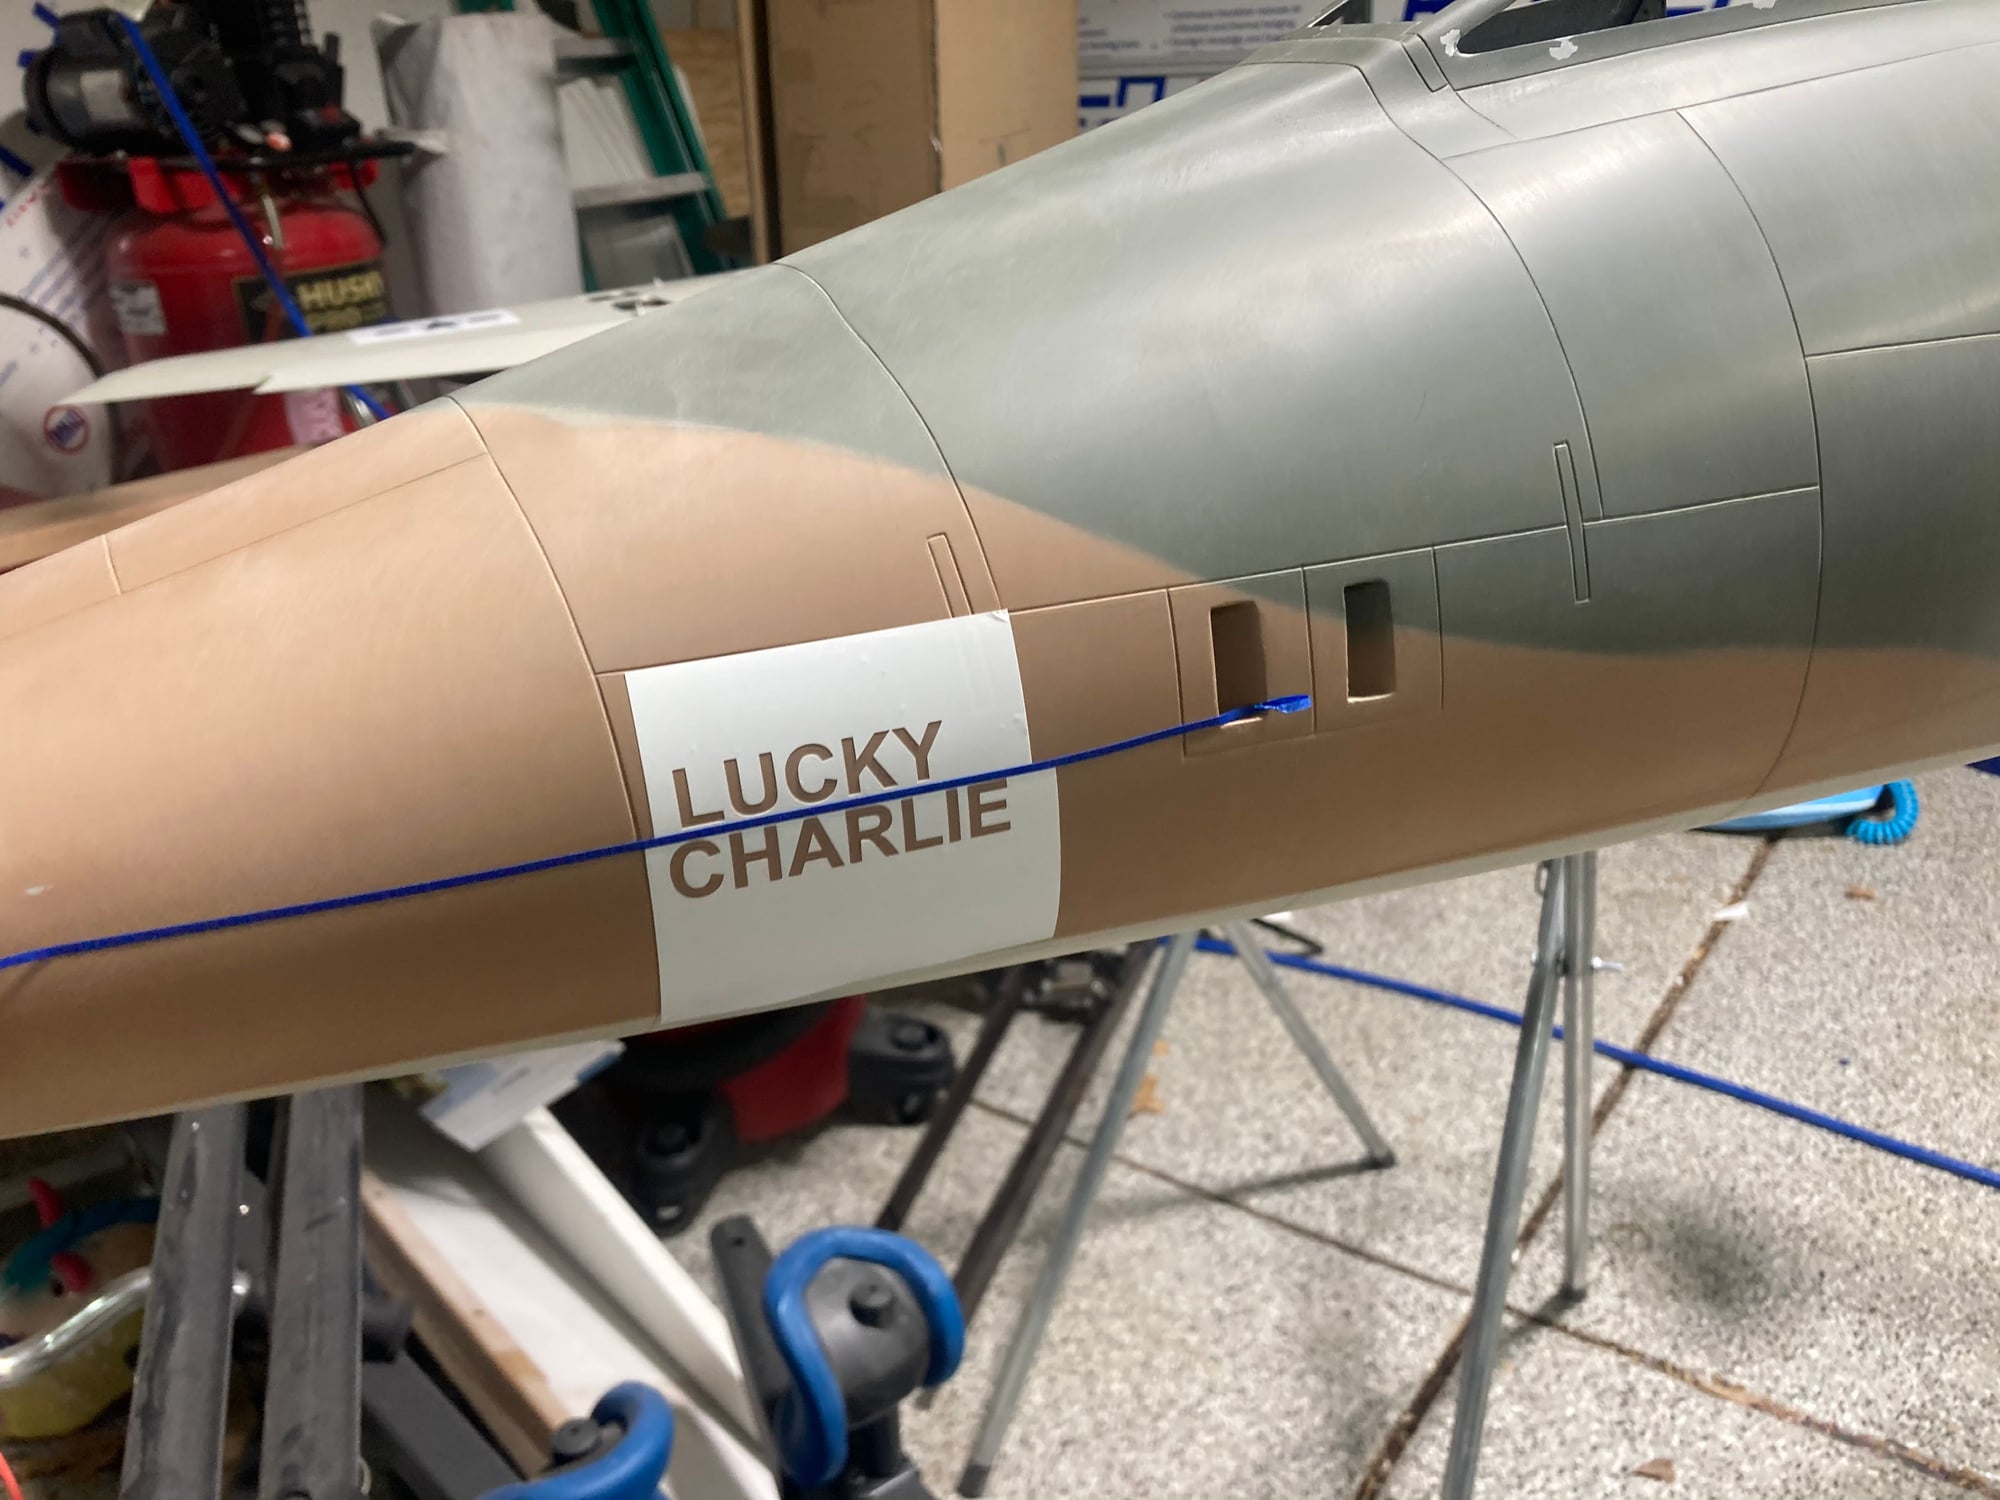
Nose art

Tail area
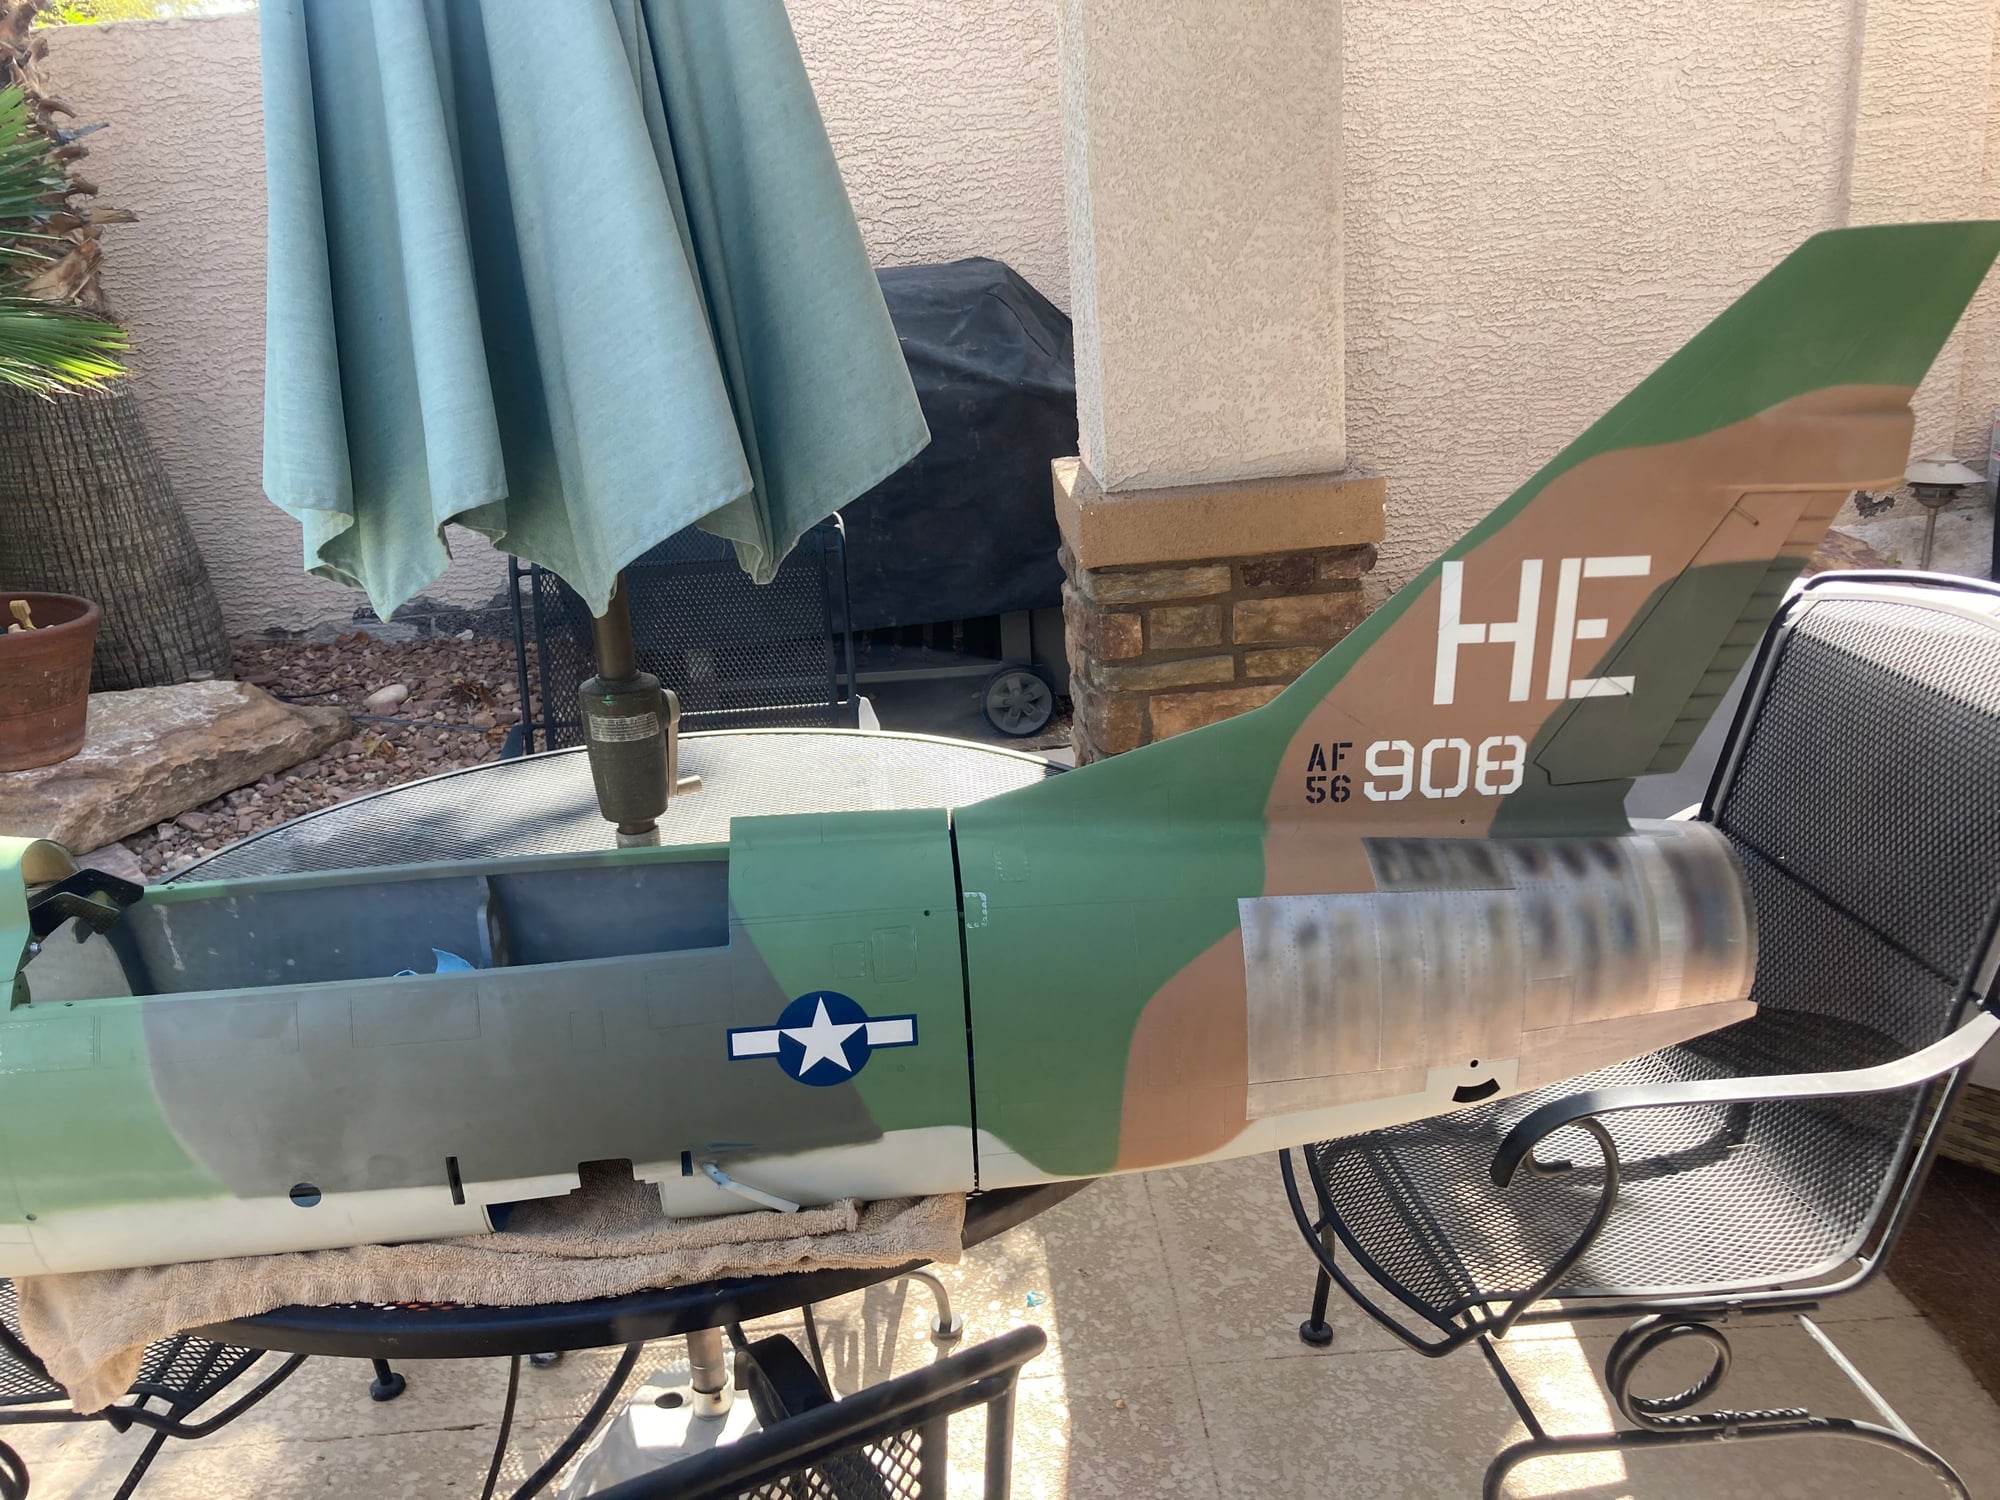
Finished product
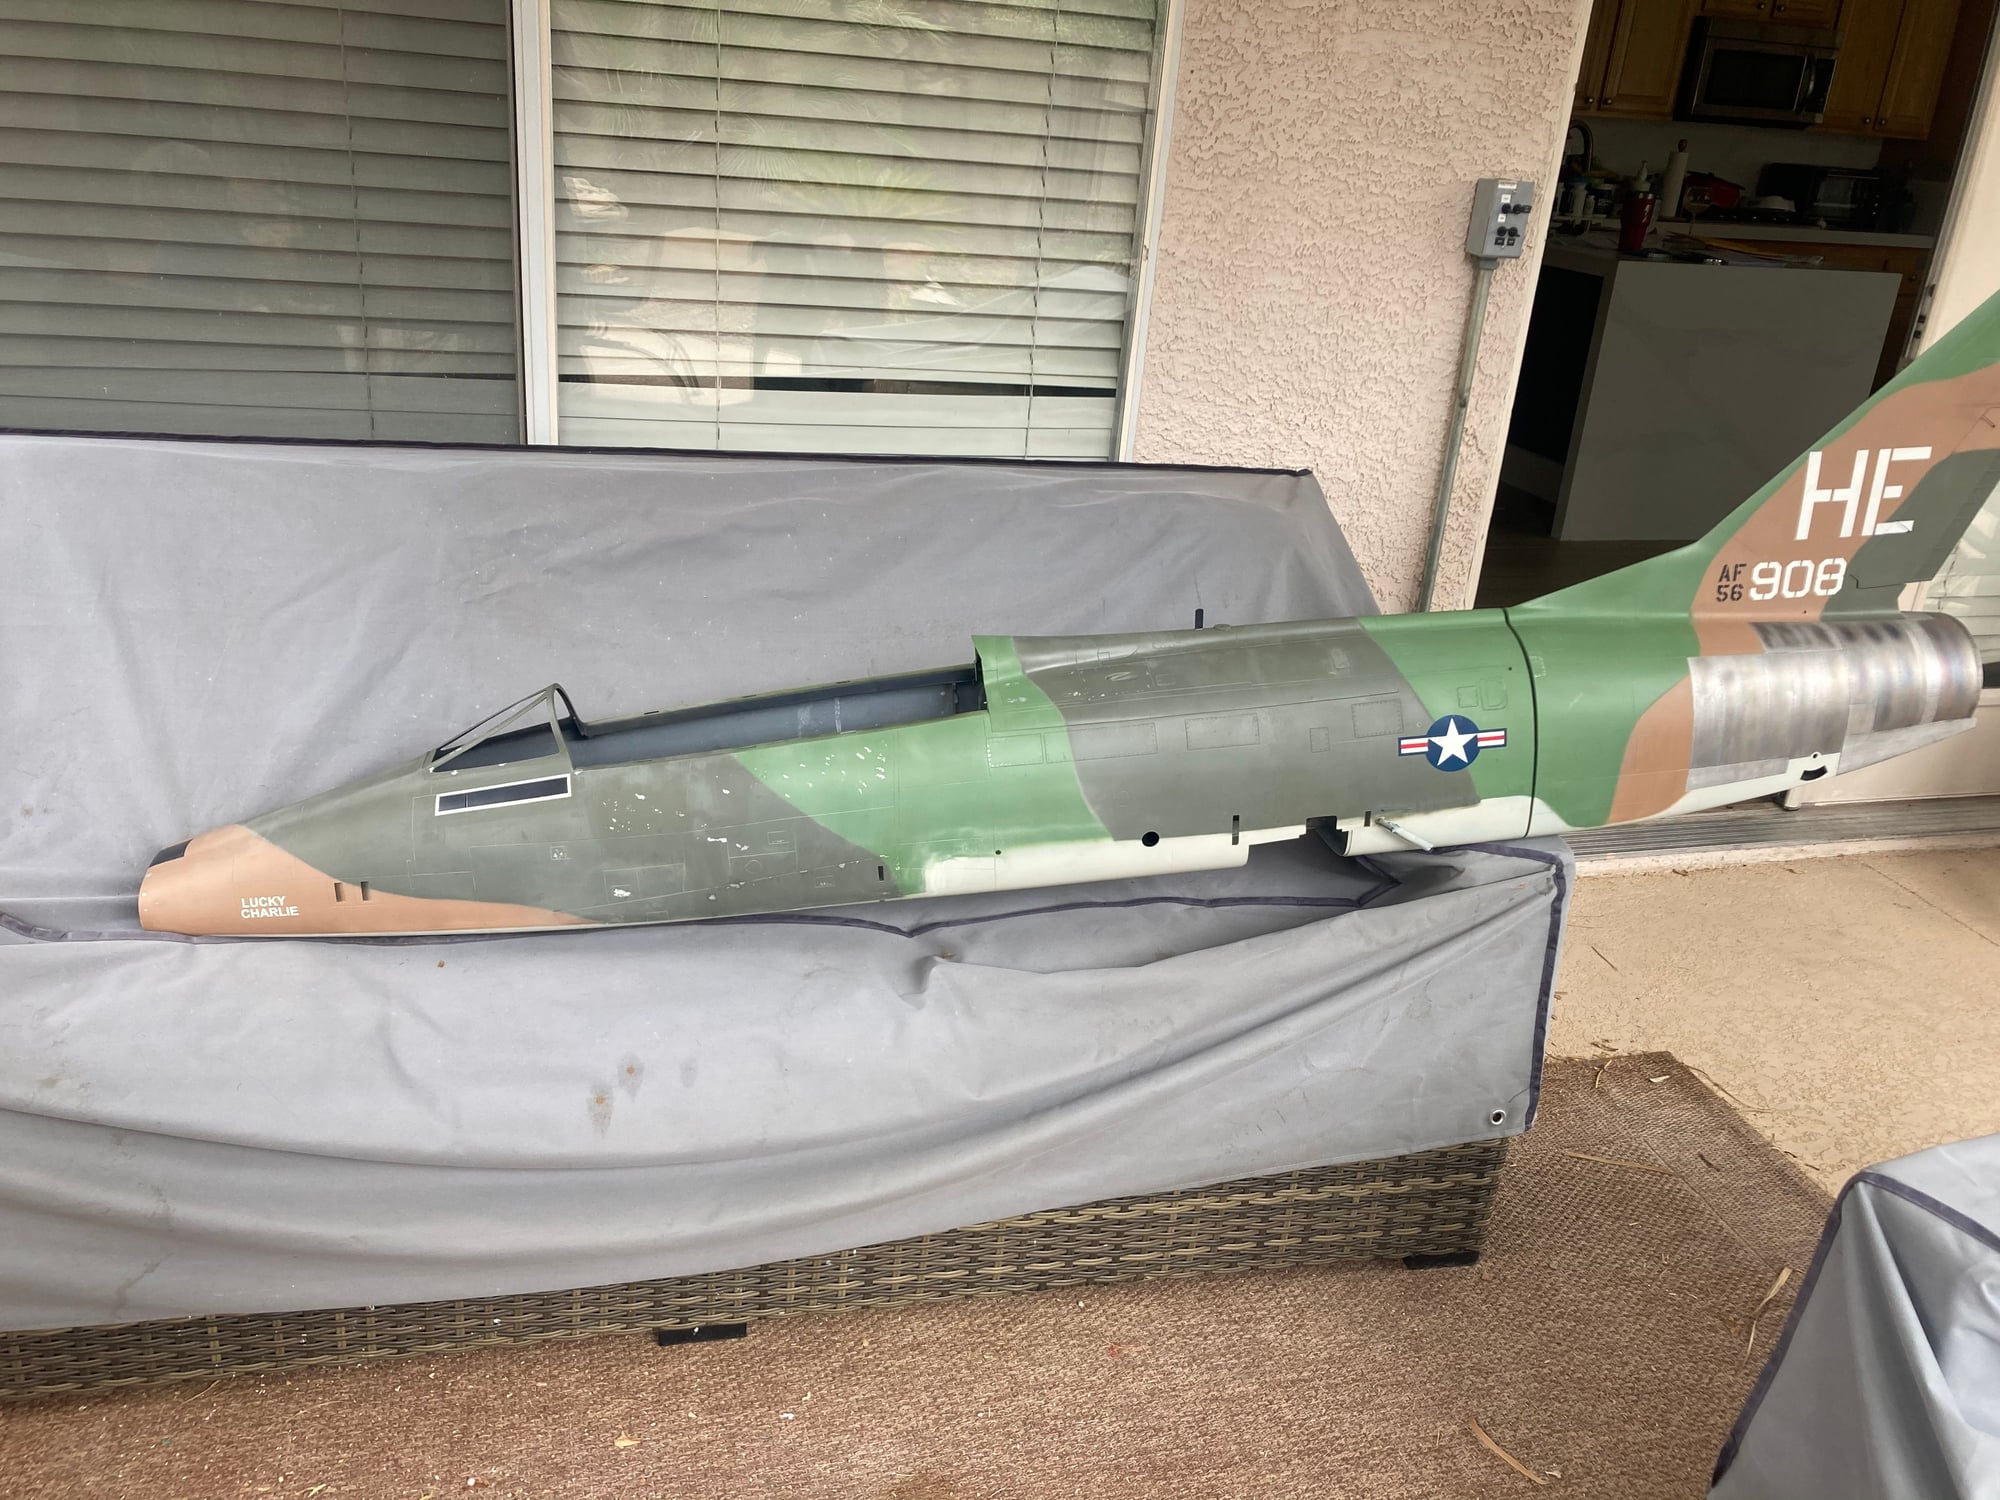
Outside for the paint to cure in the heat
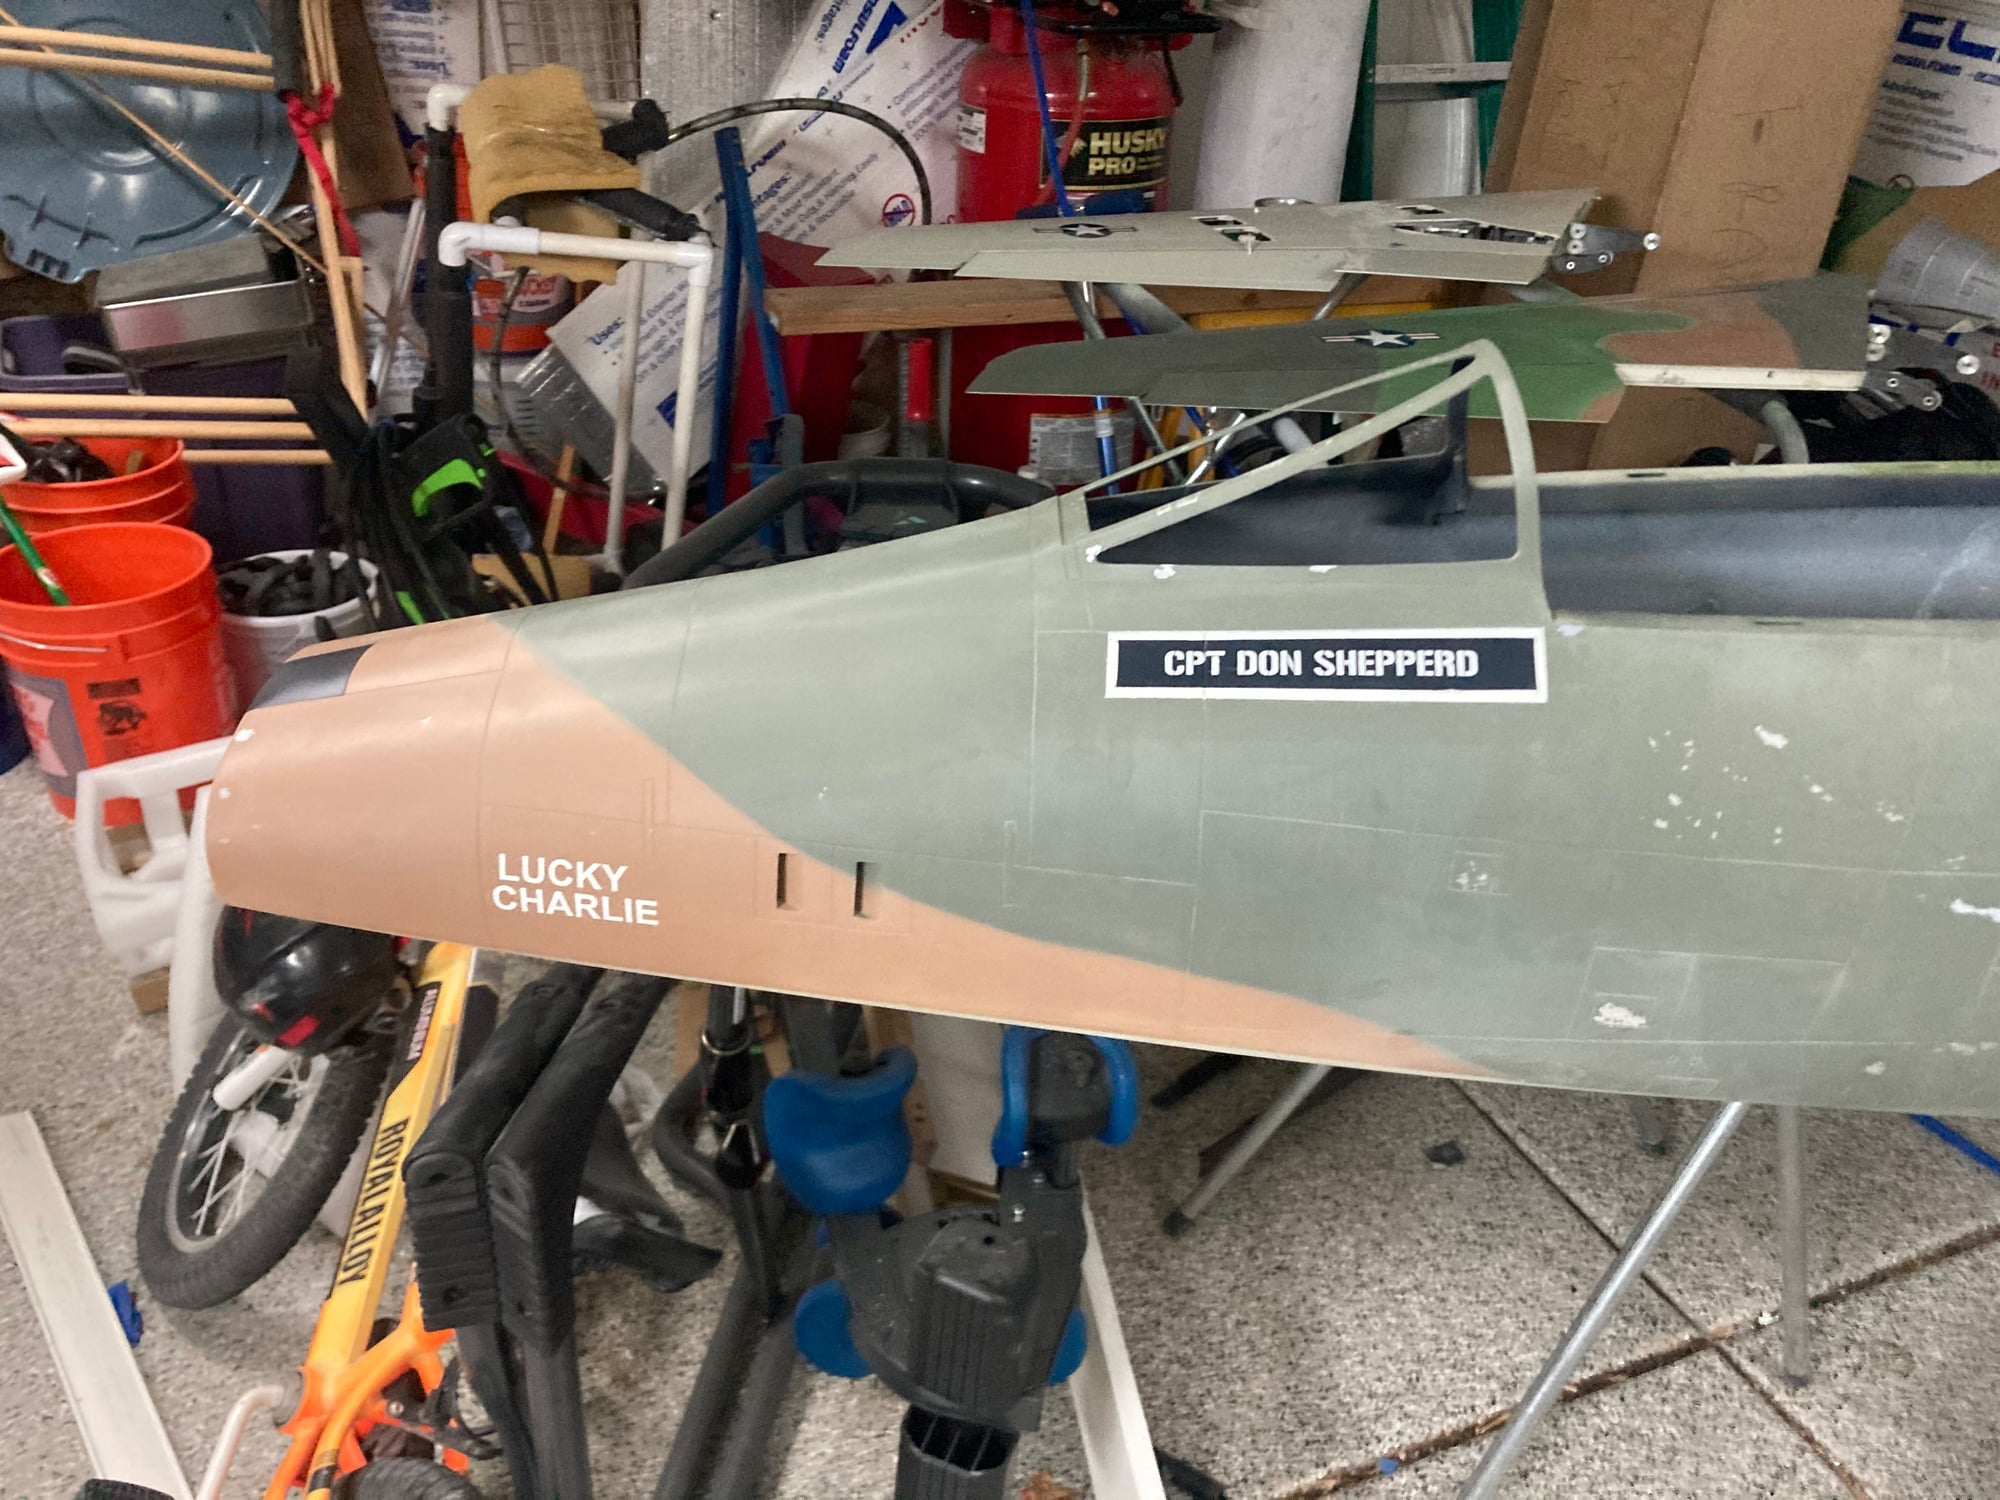
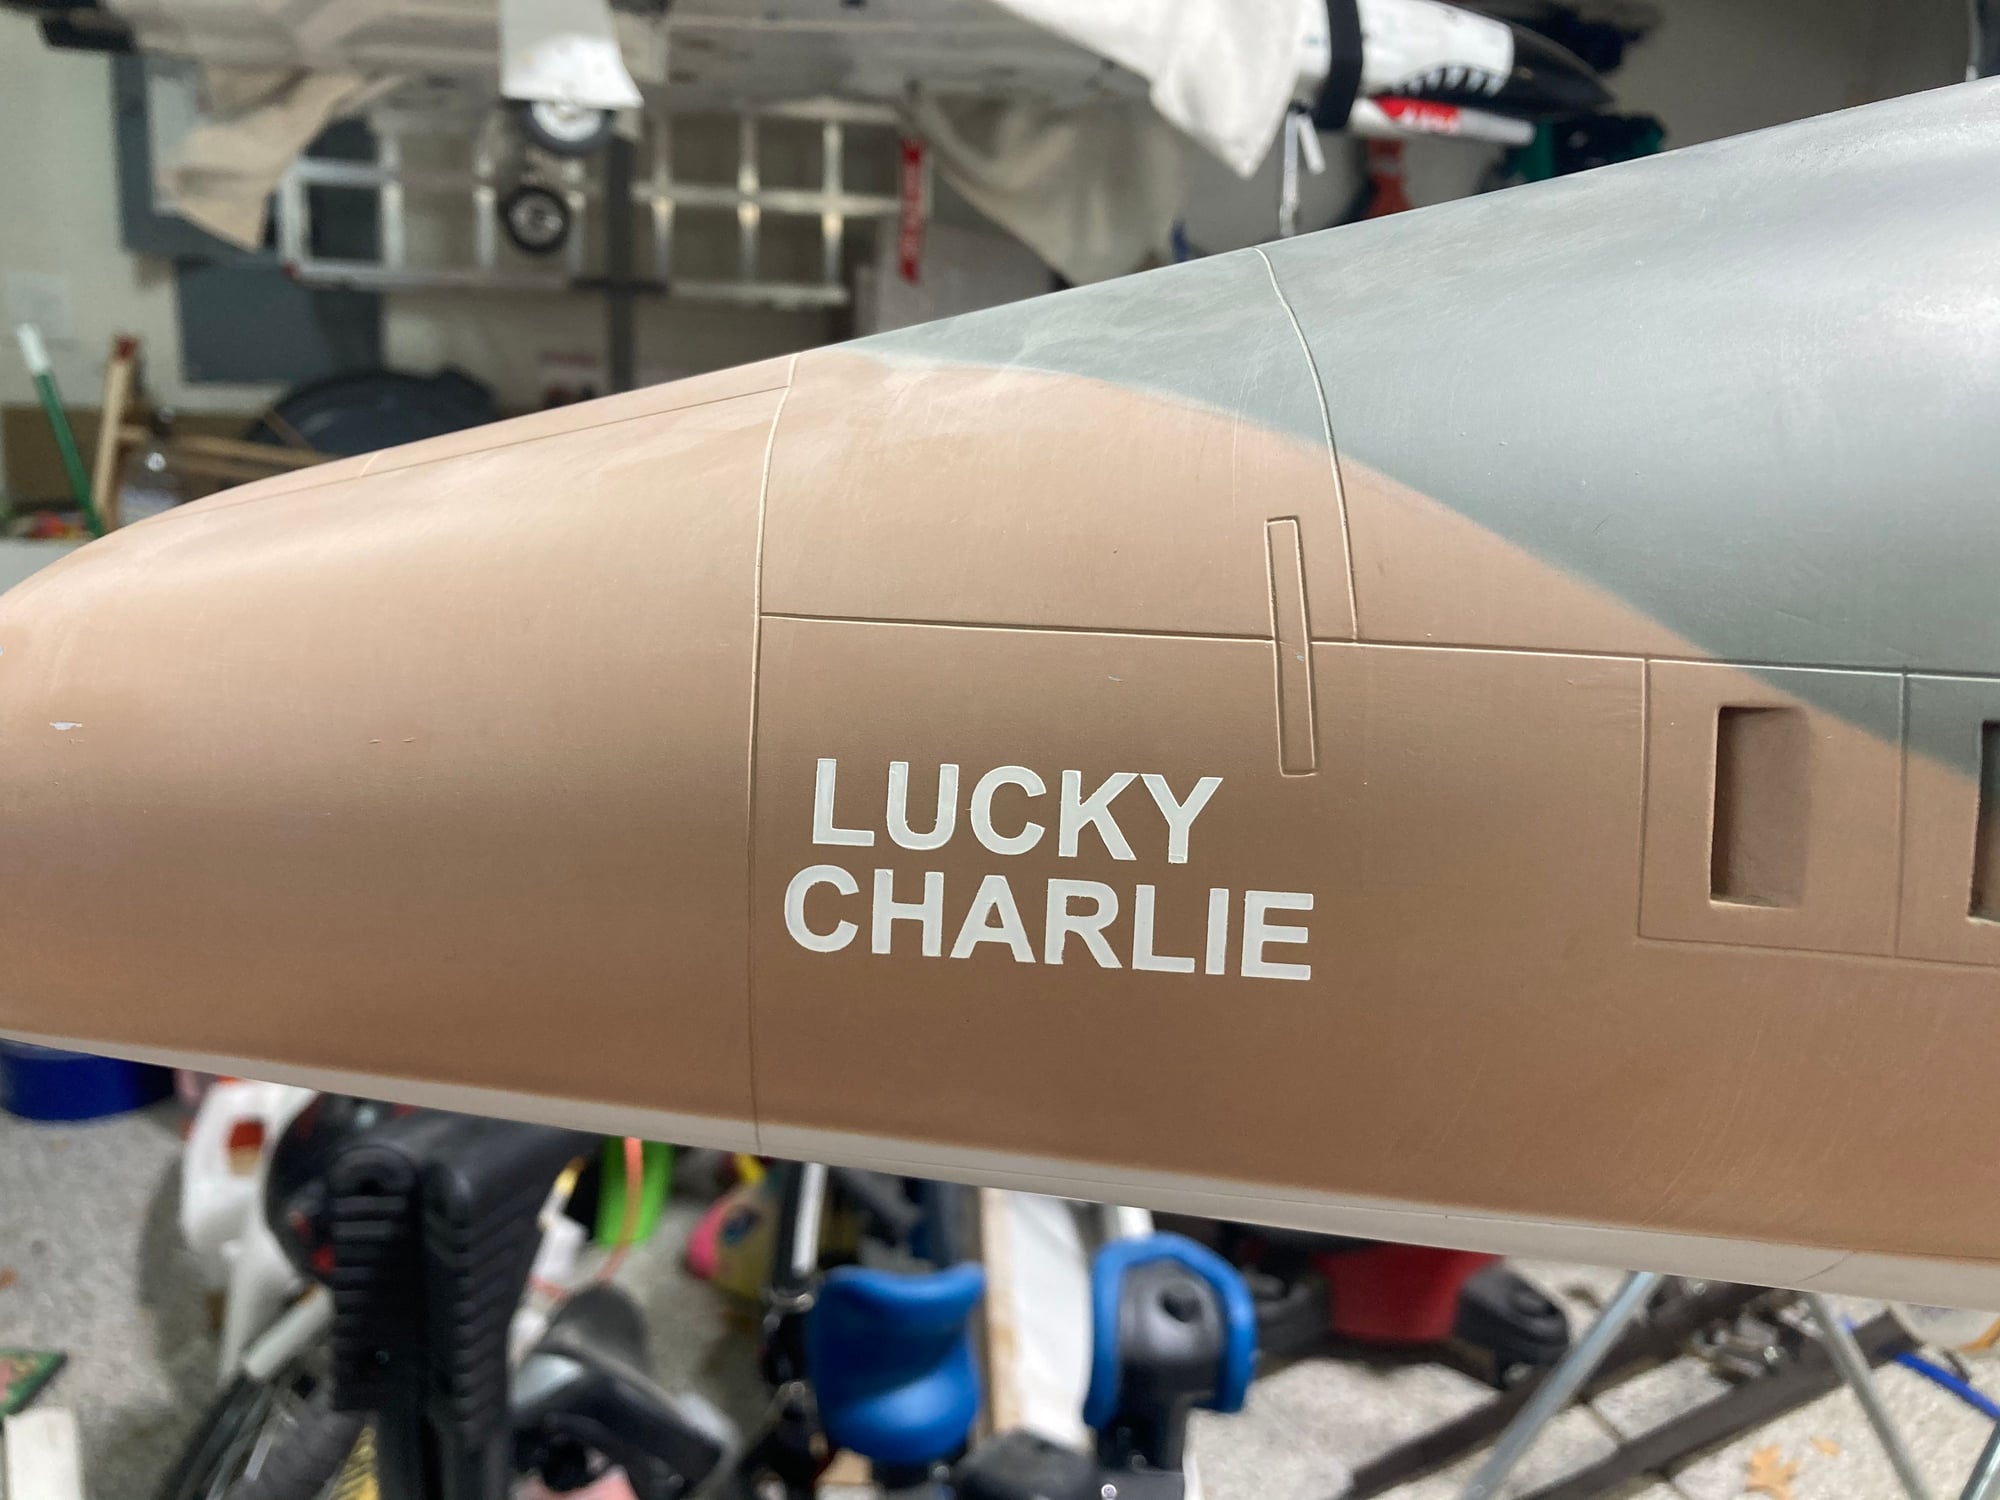
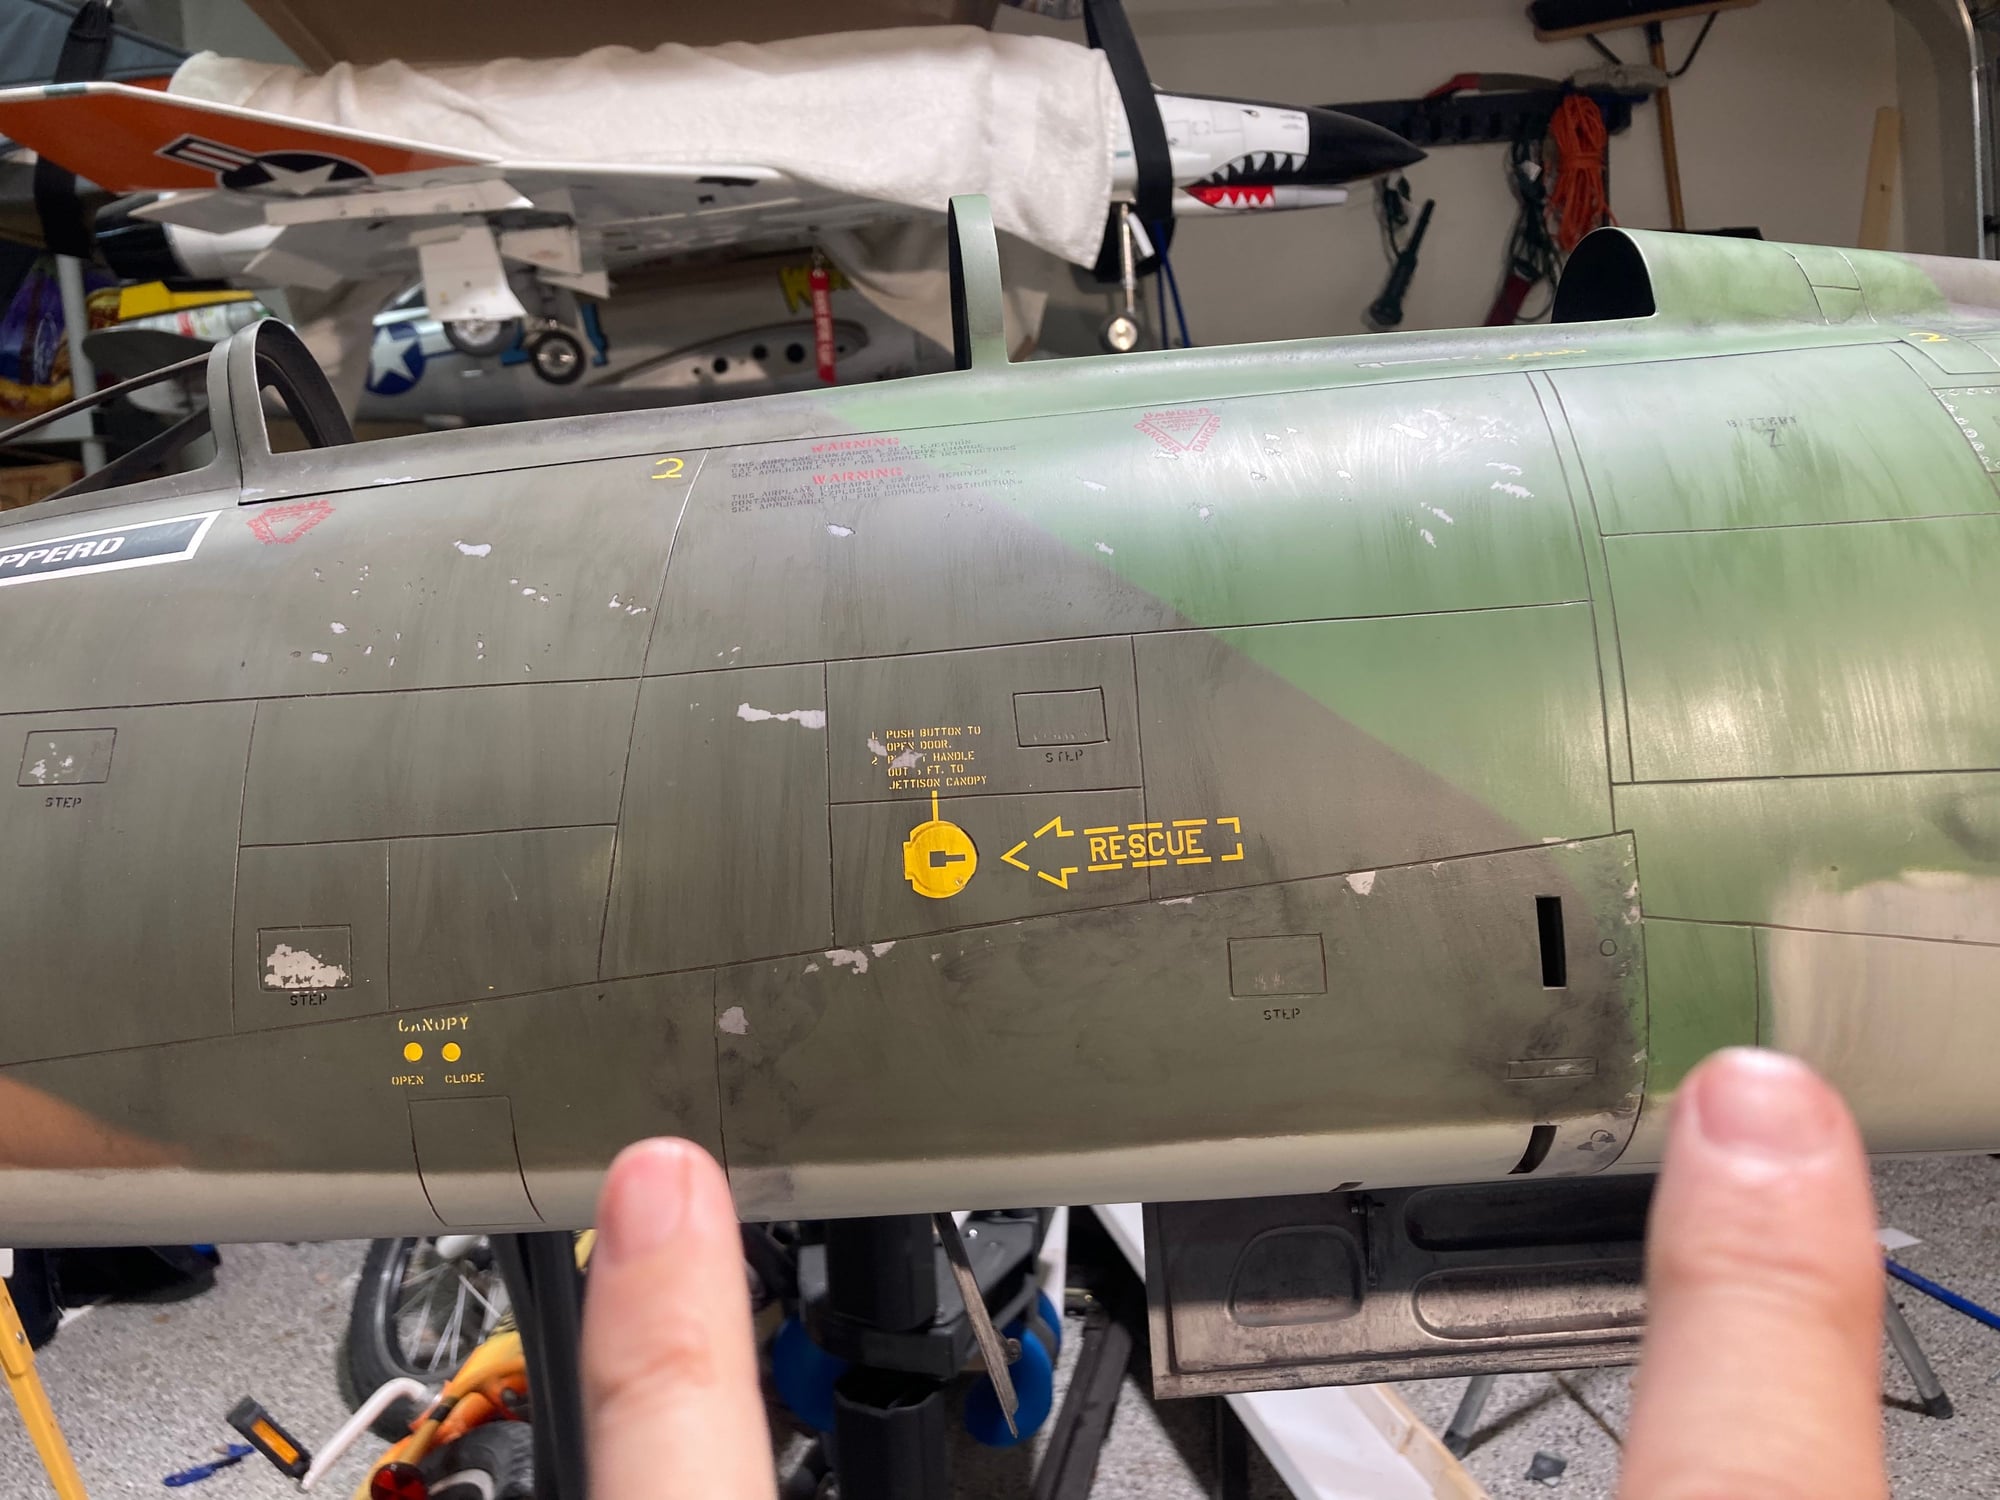
Name area done. Notice the chipping where the ladder goes. I thought it looked too heavy at first but then comparing to FS pics it�s actually way too little. Crazy. Paint from 60 years ago in a combat zone lives a rough life
First layer of stars/bars
Nose art
Tail area
Finished product
Outside for the paint to cure in the heat
Name area done. Notice the chipping where the ladder goes. I thought it looked too heavy at first but then comparing to FS pics it�s actually way too little. Crazy. Paint from 60 years ago in a combat zone lives a rough life
Last edited by ozief16; 07-24-2021 at 07:29 PM.

The following users liked this post:
Halcyon66 (07-27-2021)
The following users liked this post:
Halcyon66 (07-27-2021)
07-24-2021, 07:43 PM
#203
My Feedback: (13)
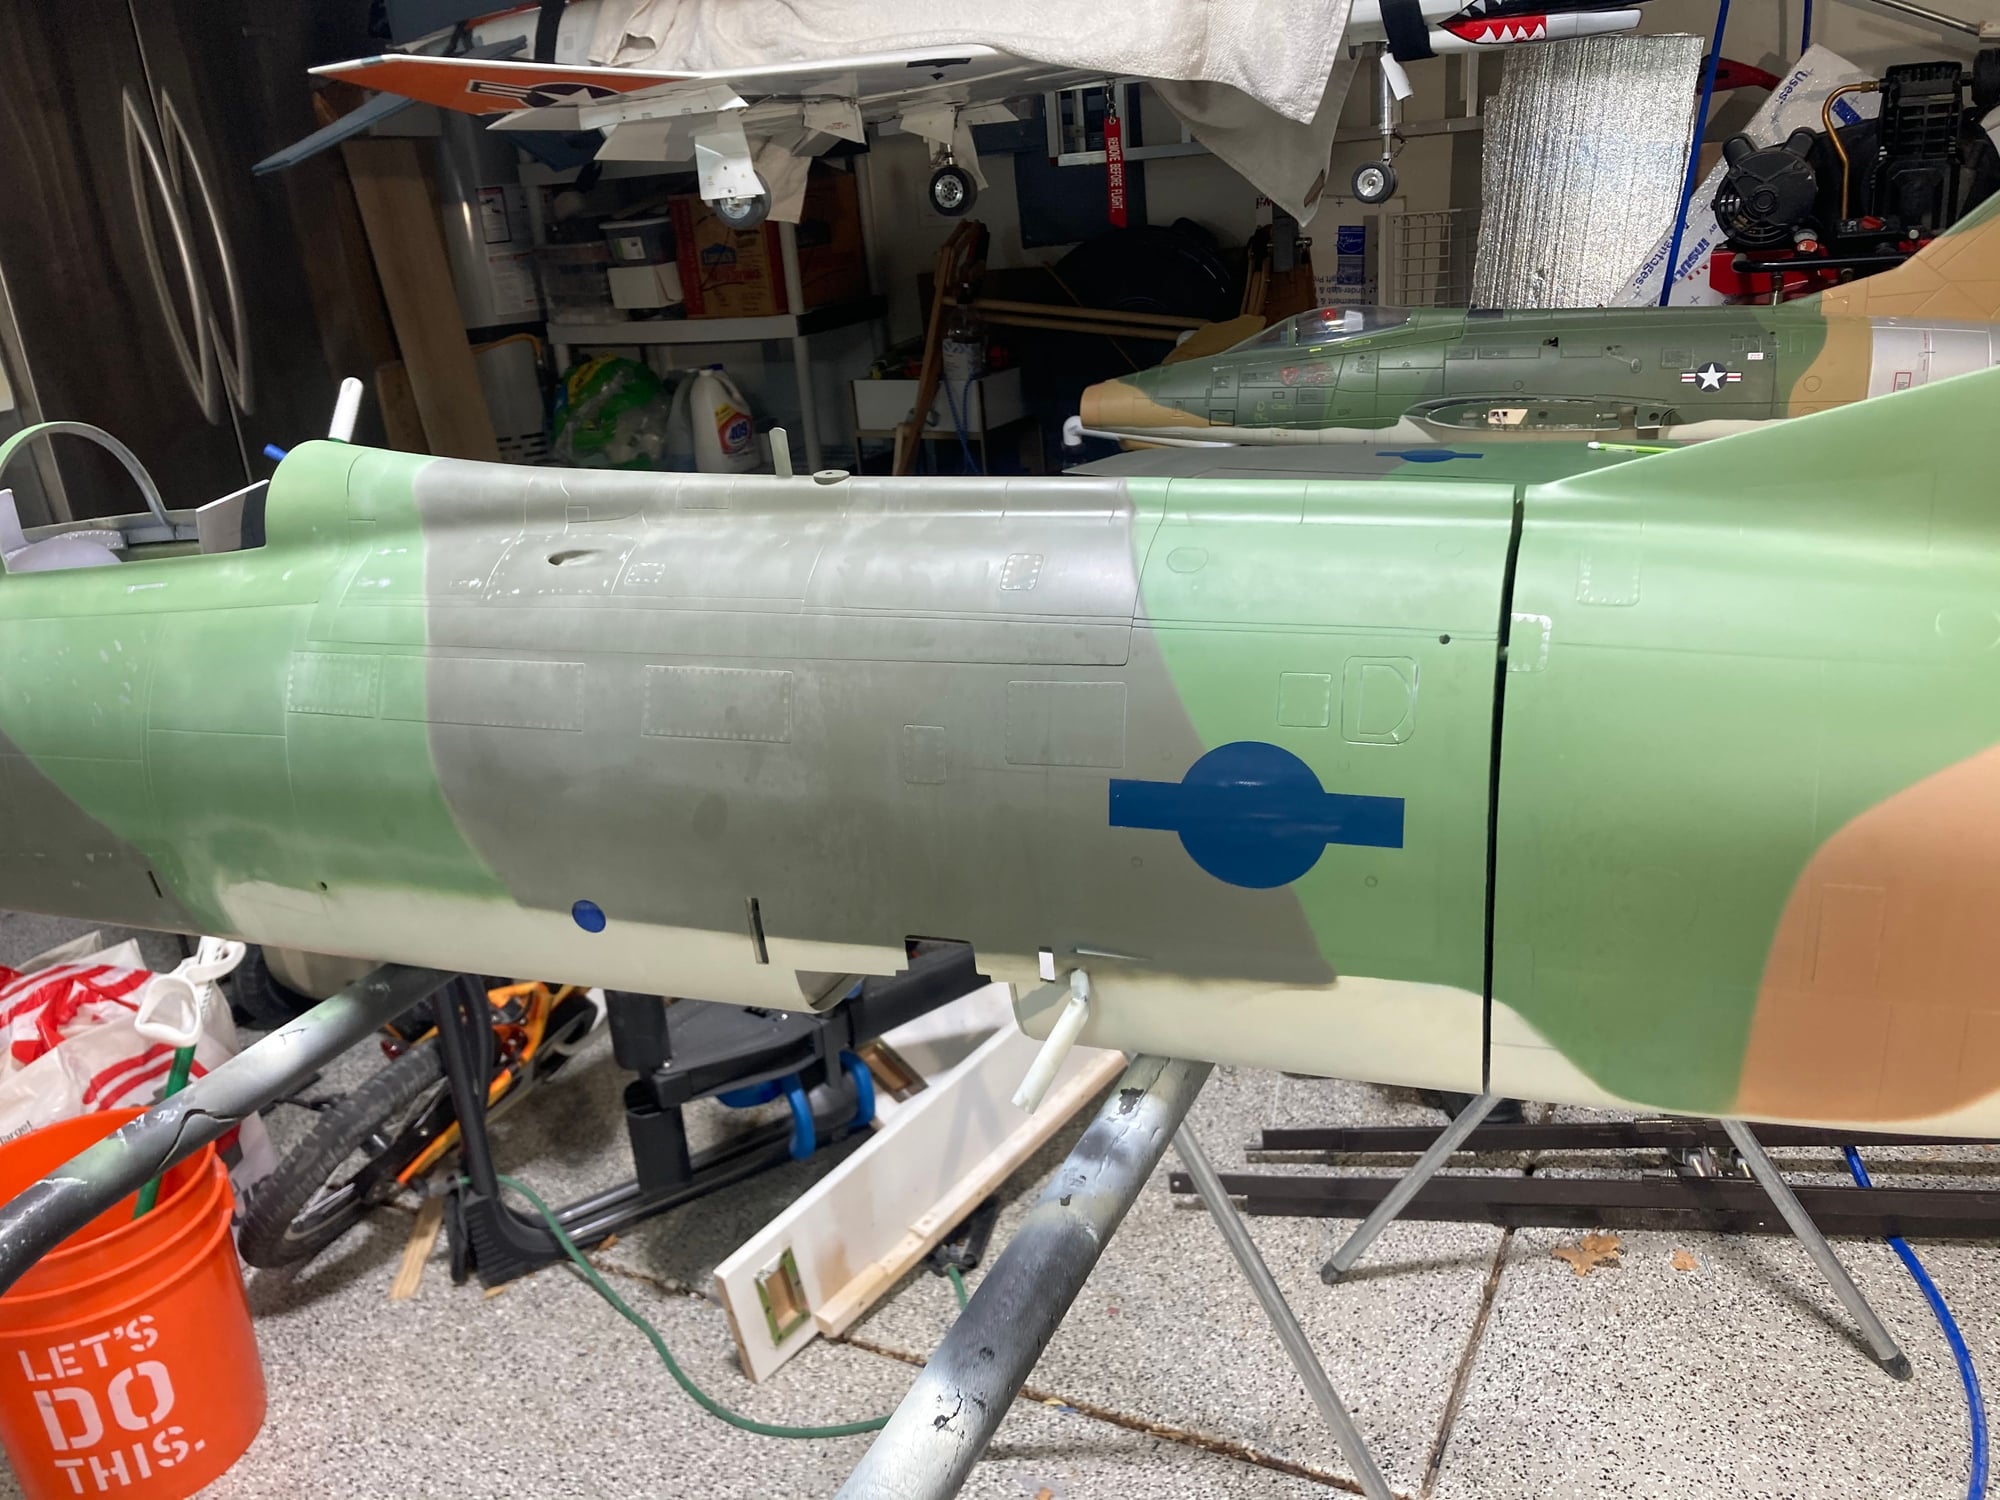
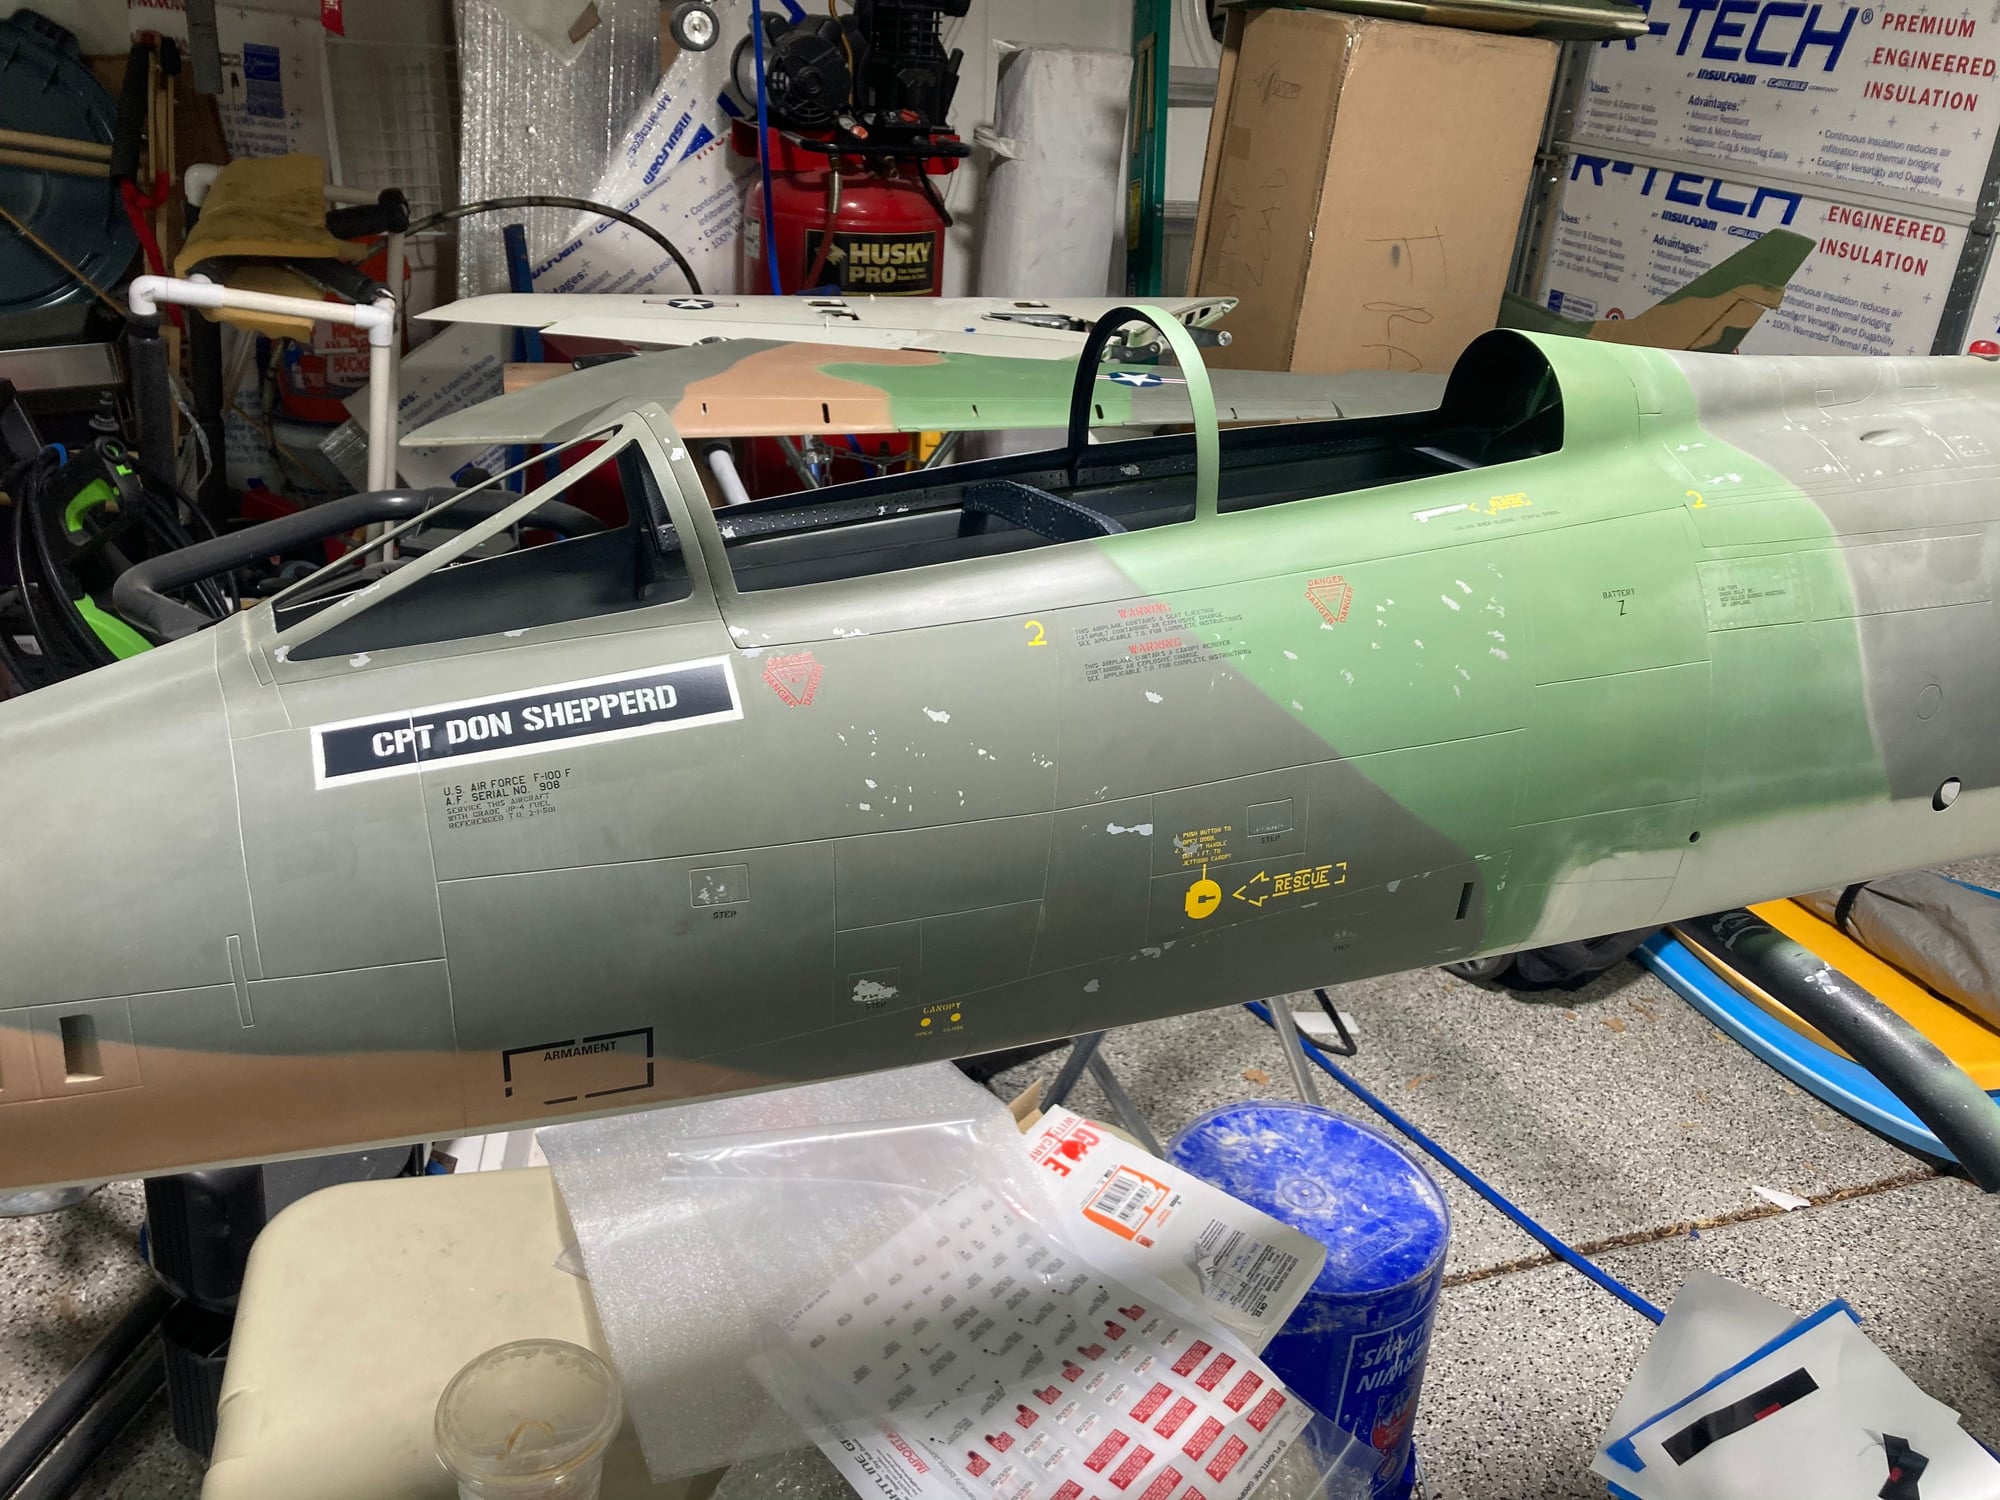
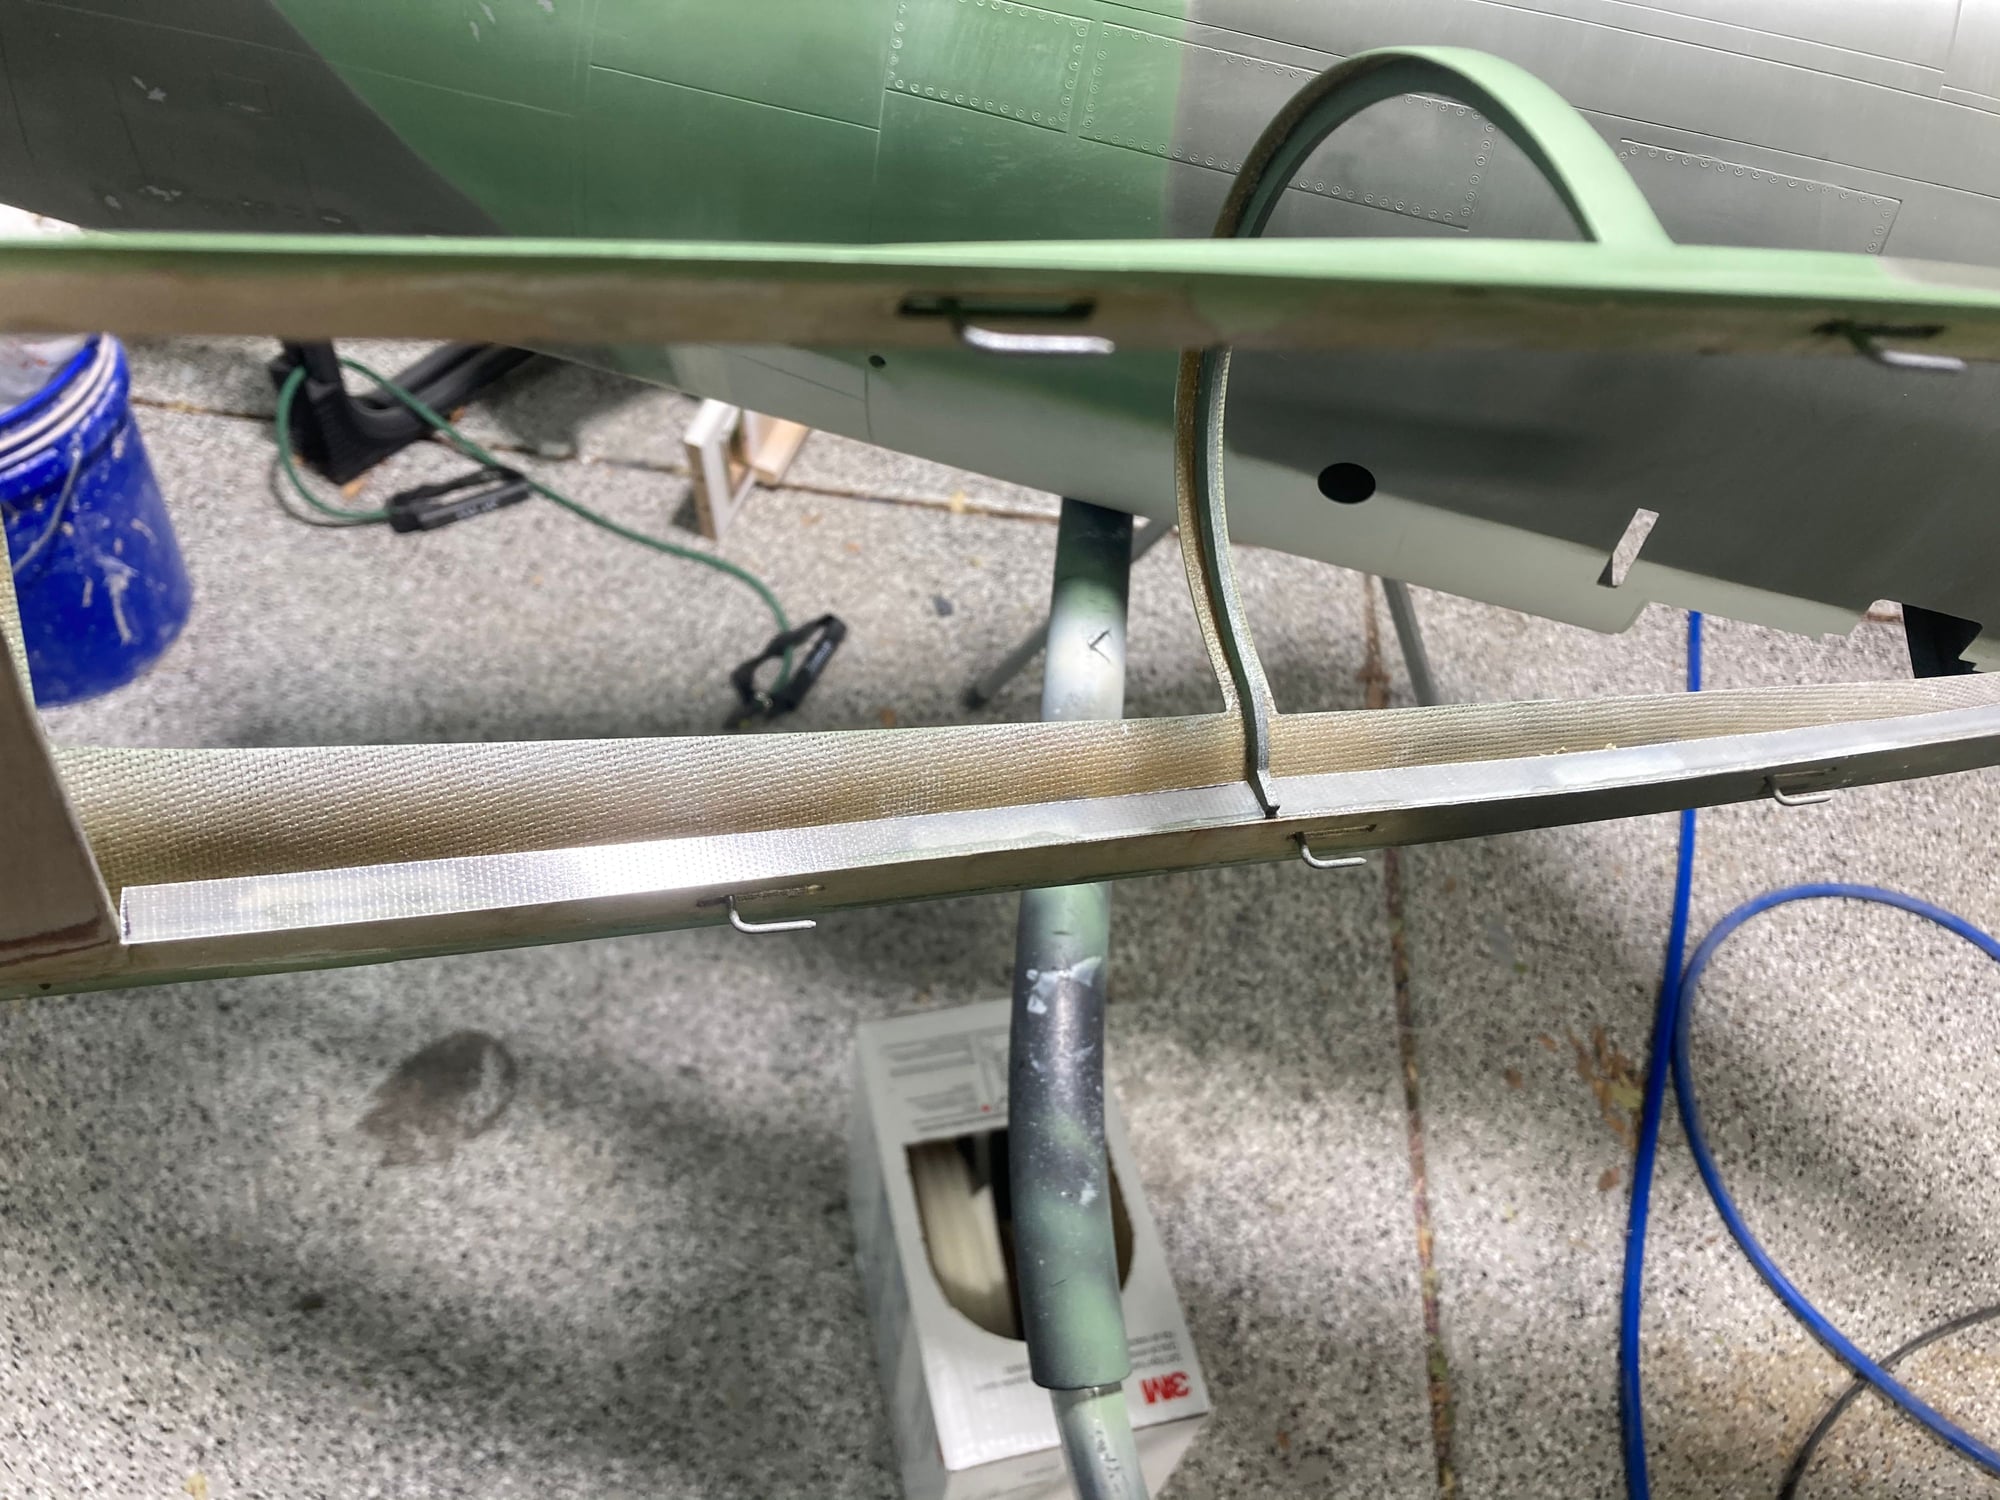
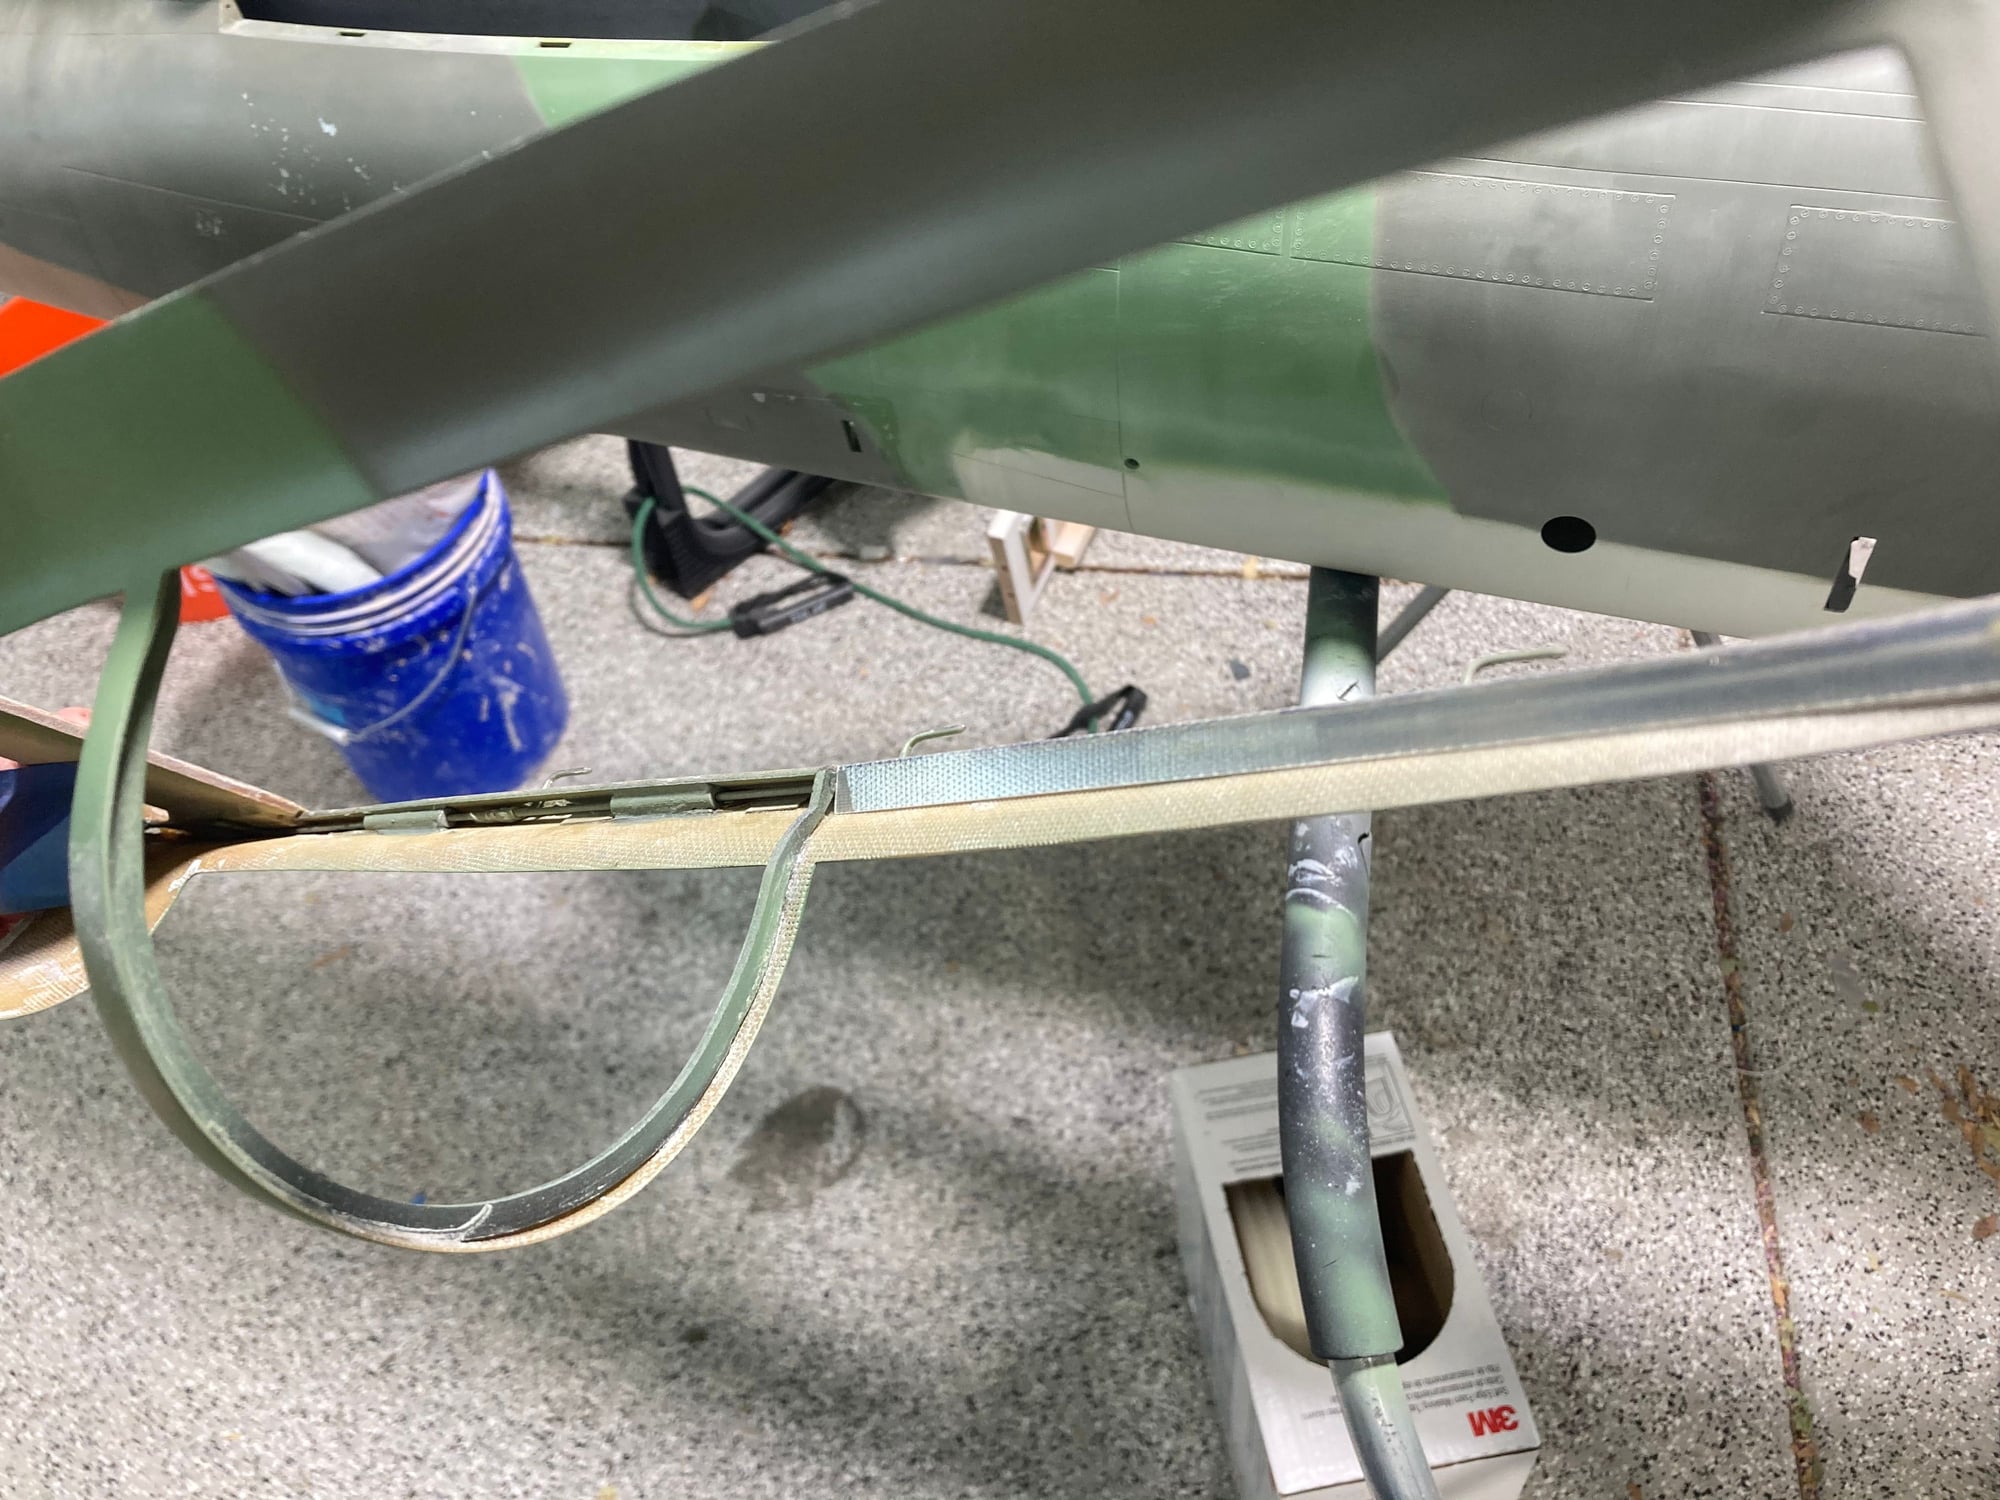
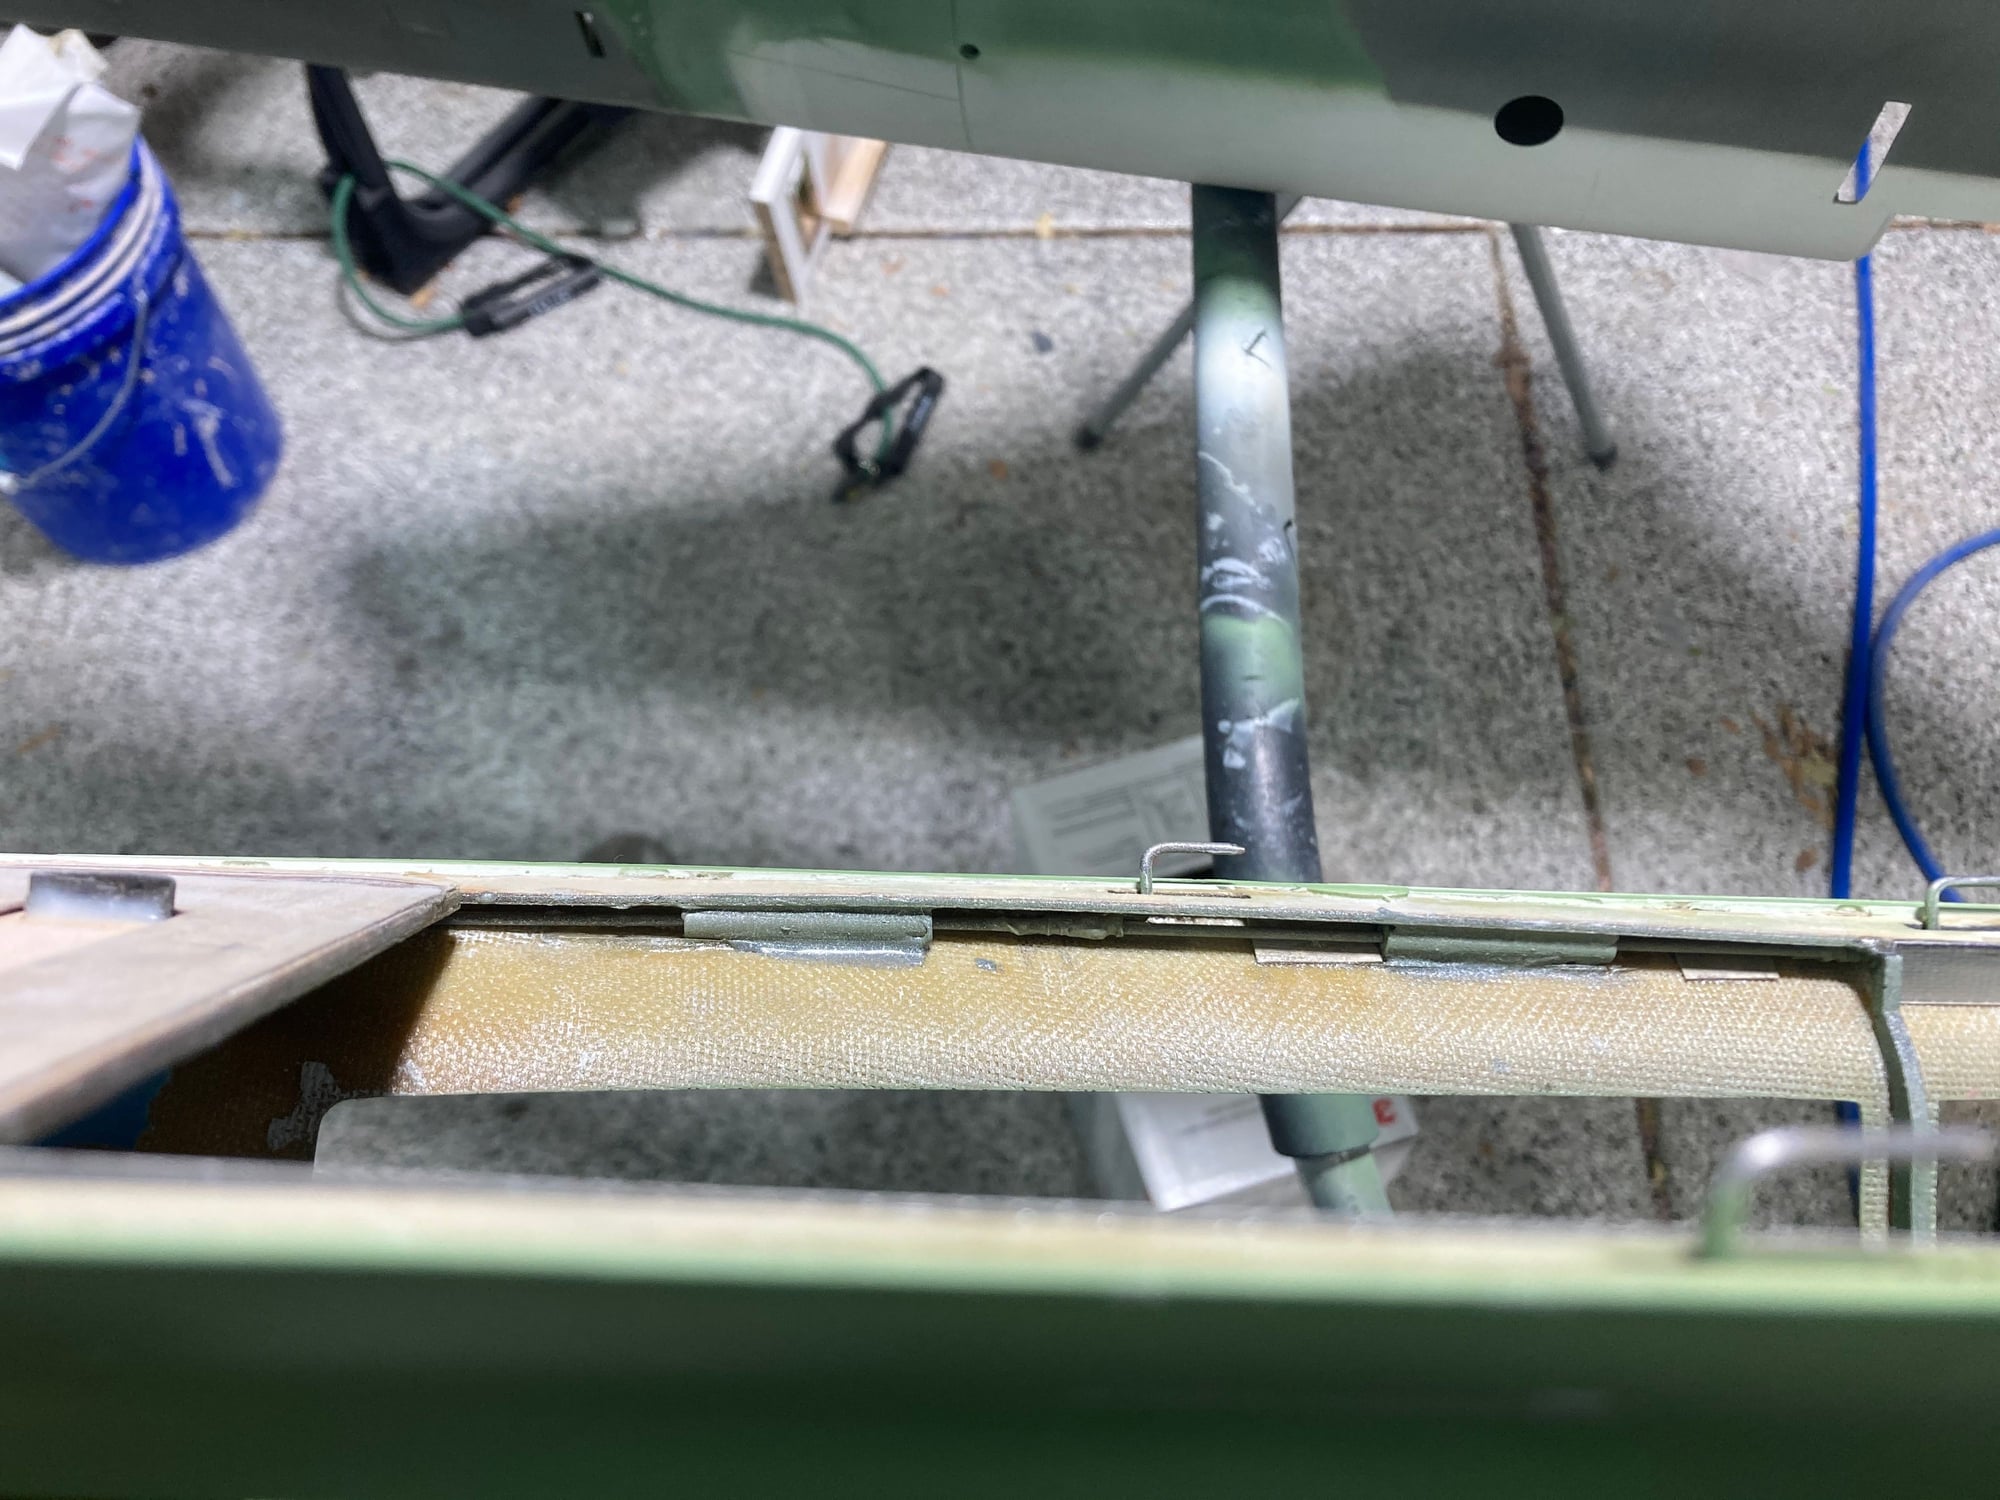
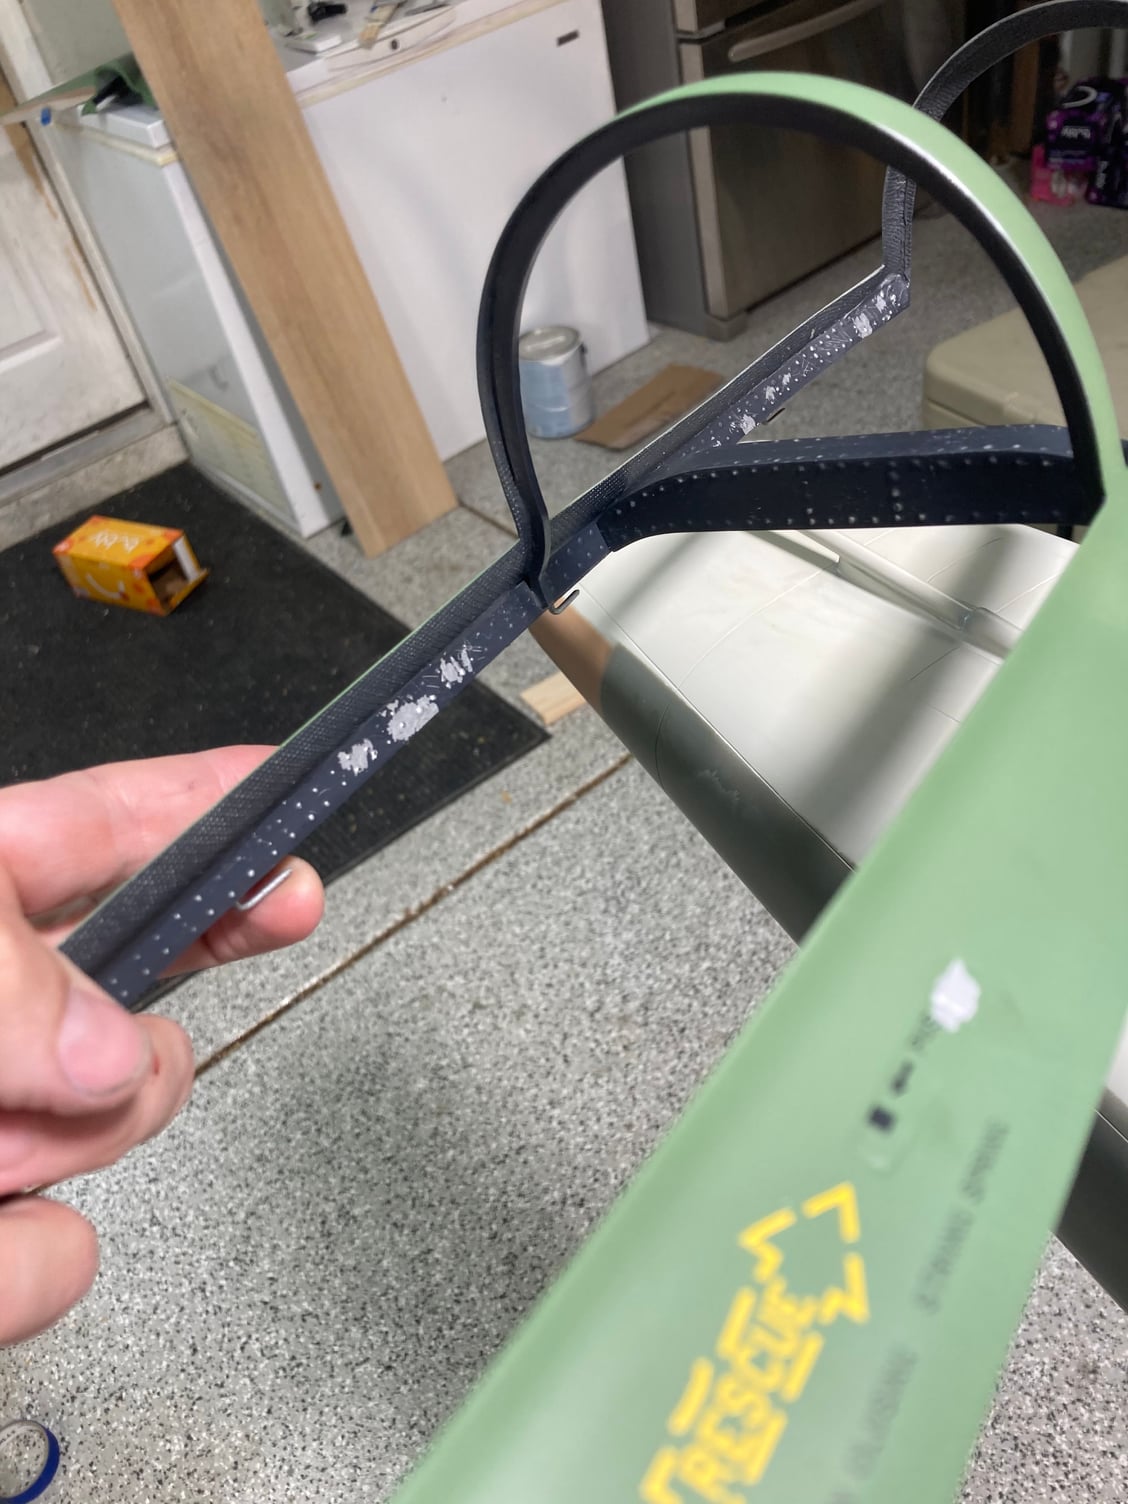
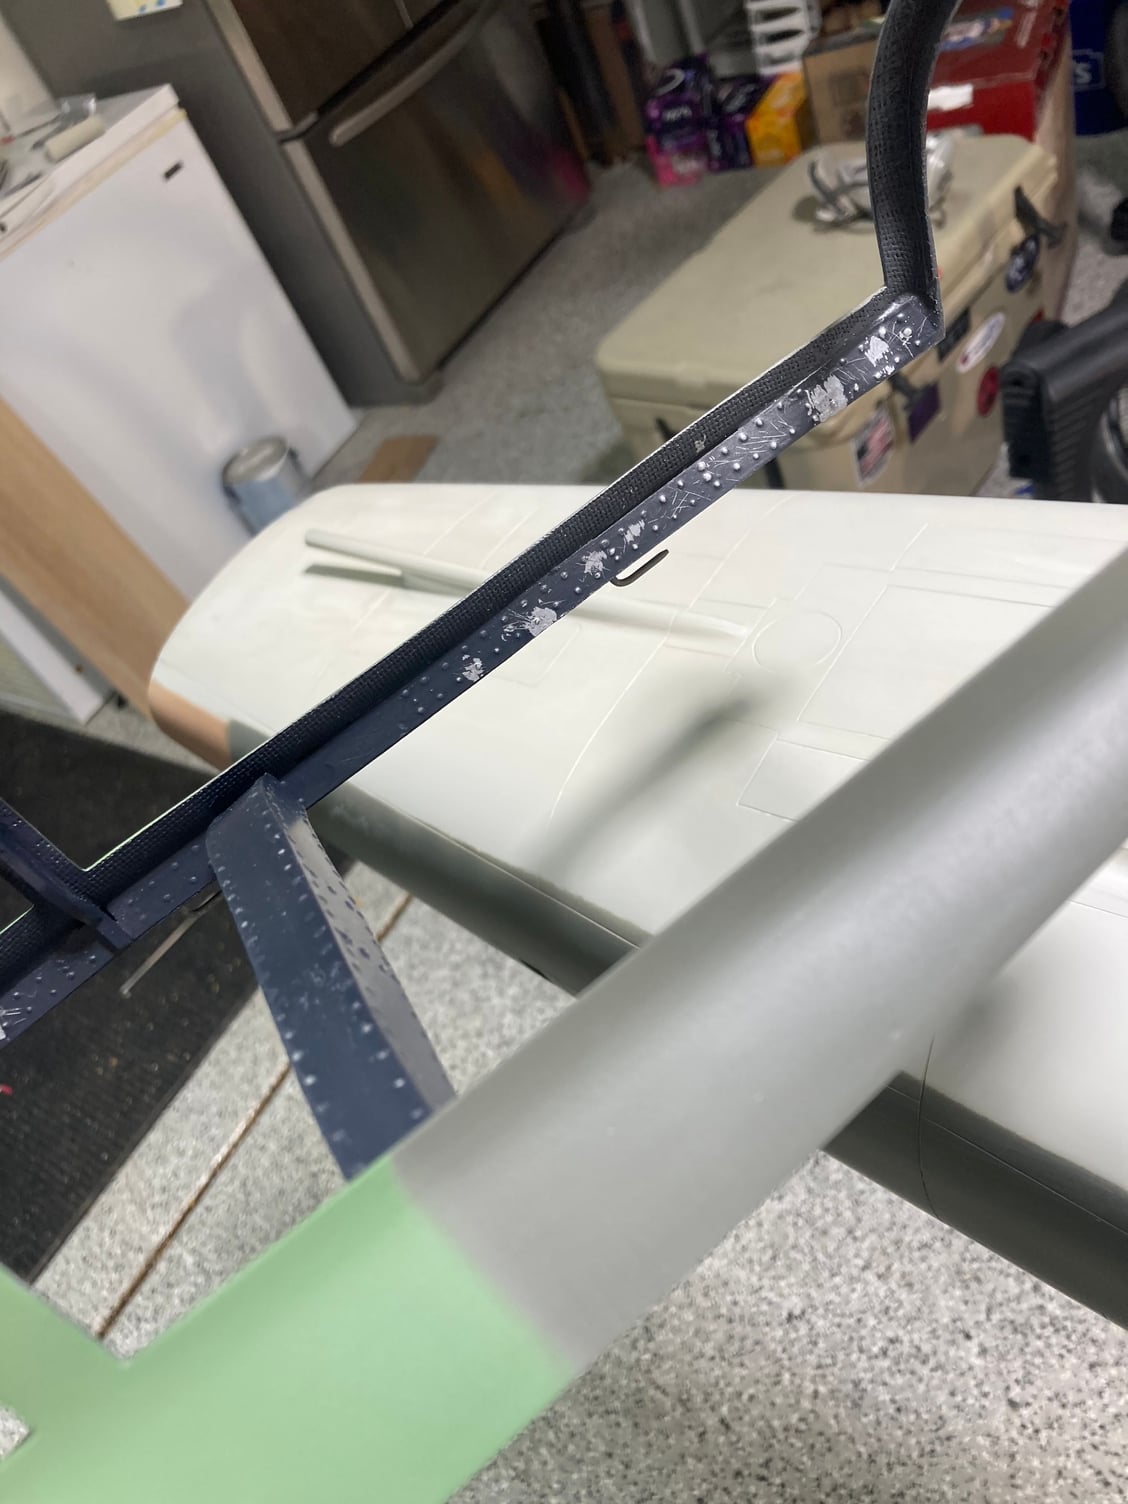
One this I forgot to mention: I�m looking at FS photos I noticed how noticeable the canopy rails and their rivets were on the FS. I used polyply/G10 to line the inside of the canopy and then canopy glue for the rivets. The piece across the canopy was created from pics and then my interpretation. Once the rivets were dry the pieces got painted with solver paint, and then black which I knocked back to silver in appropriate areas. Ironically I noticed the left side is more beat up than right...then it hit me...most guys wear their watches on the left side!
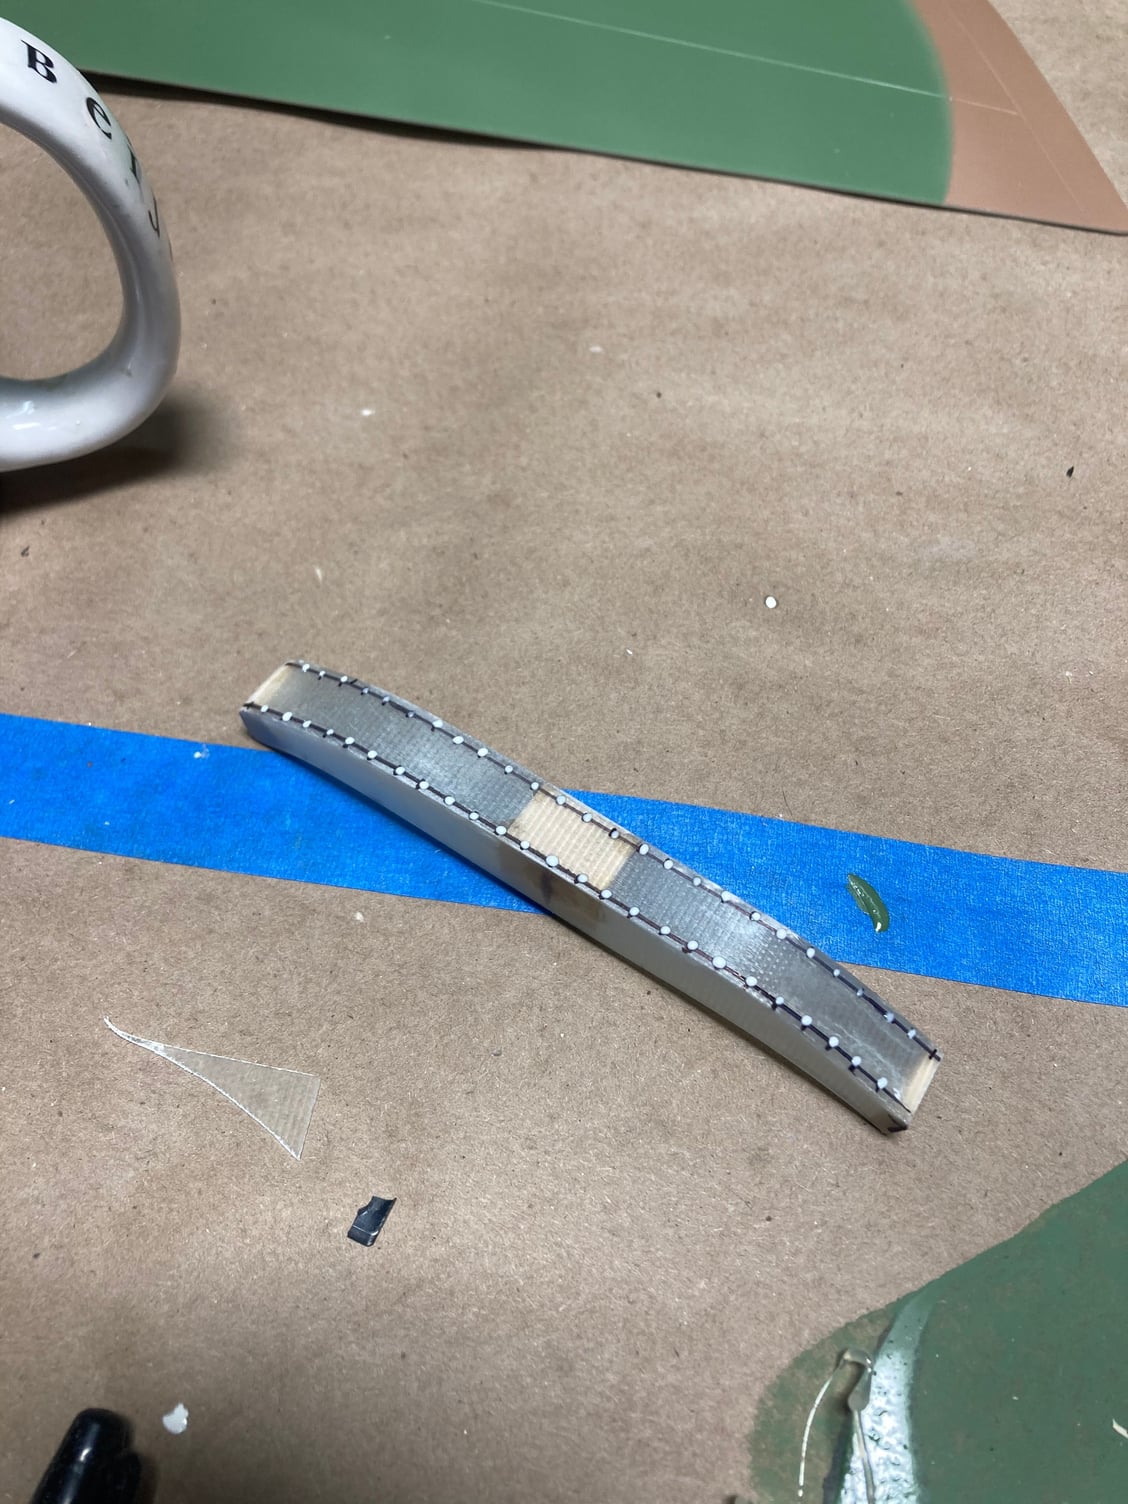
Cross piece
Rails before rivets
Prior to anything
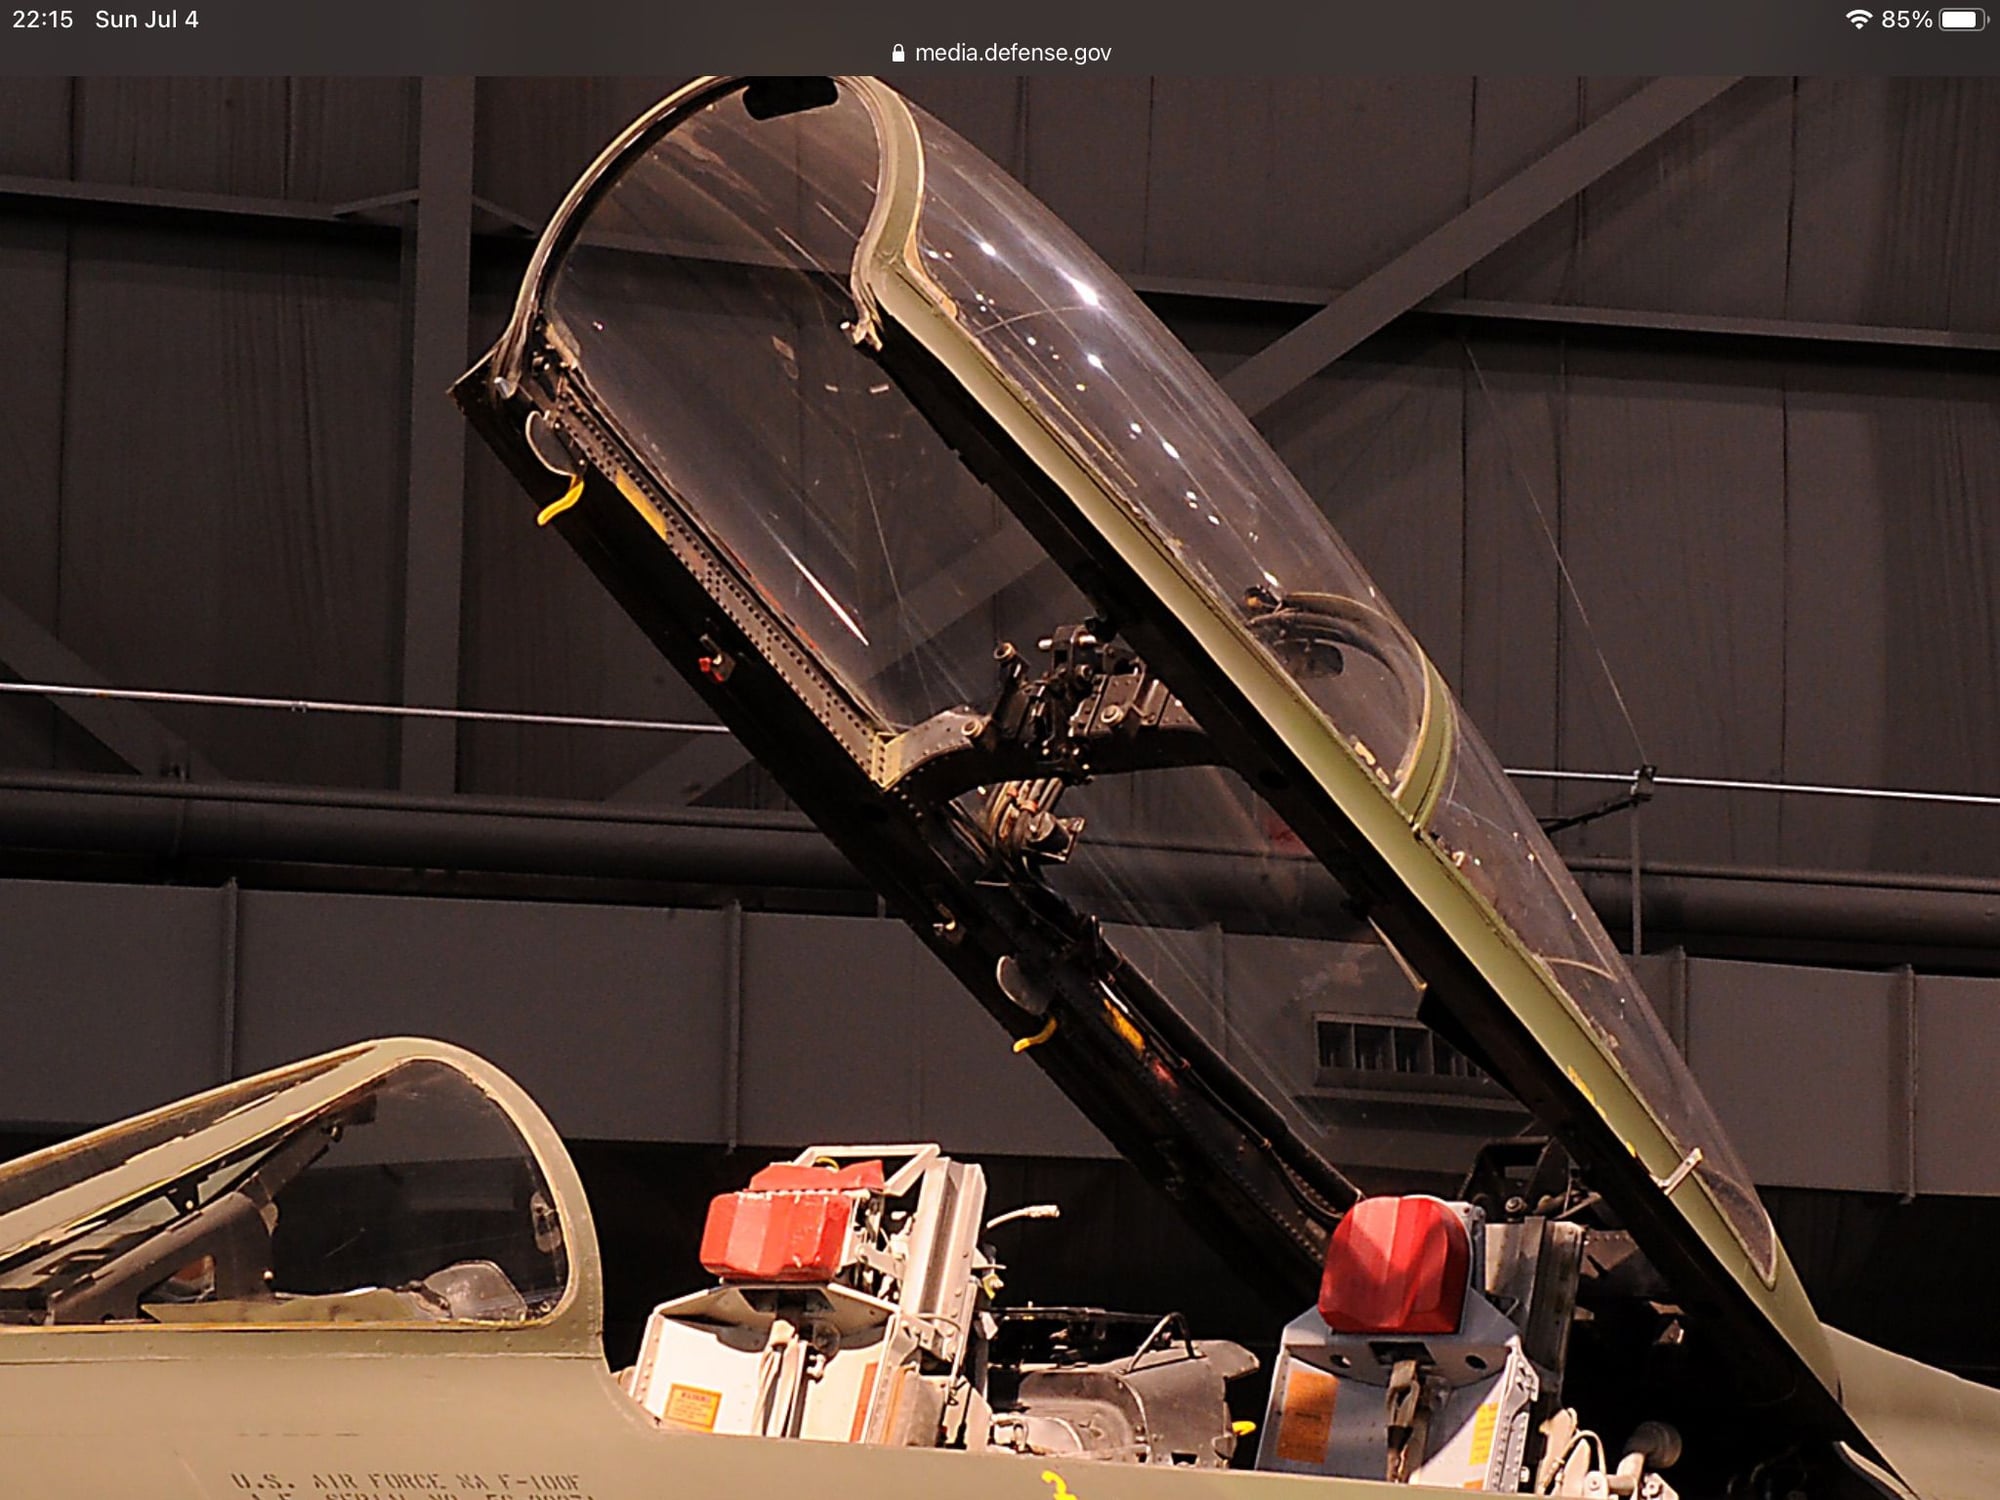
Full scale
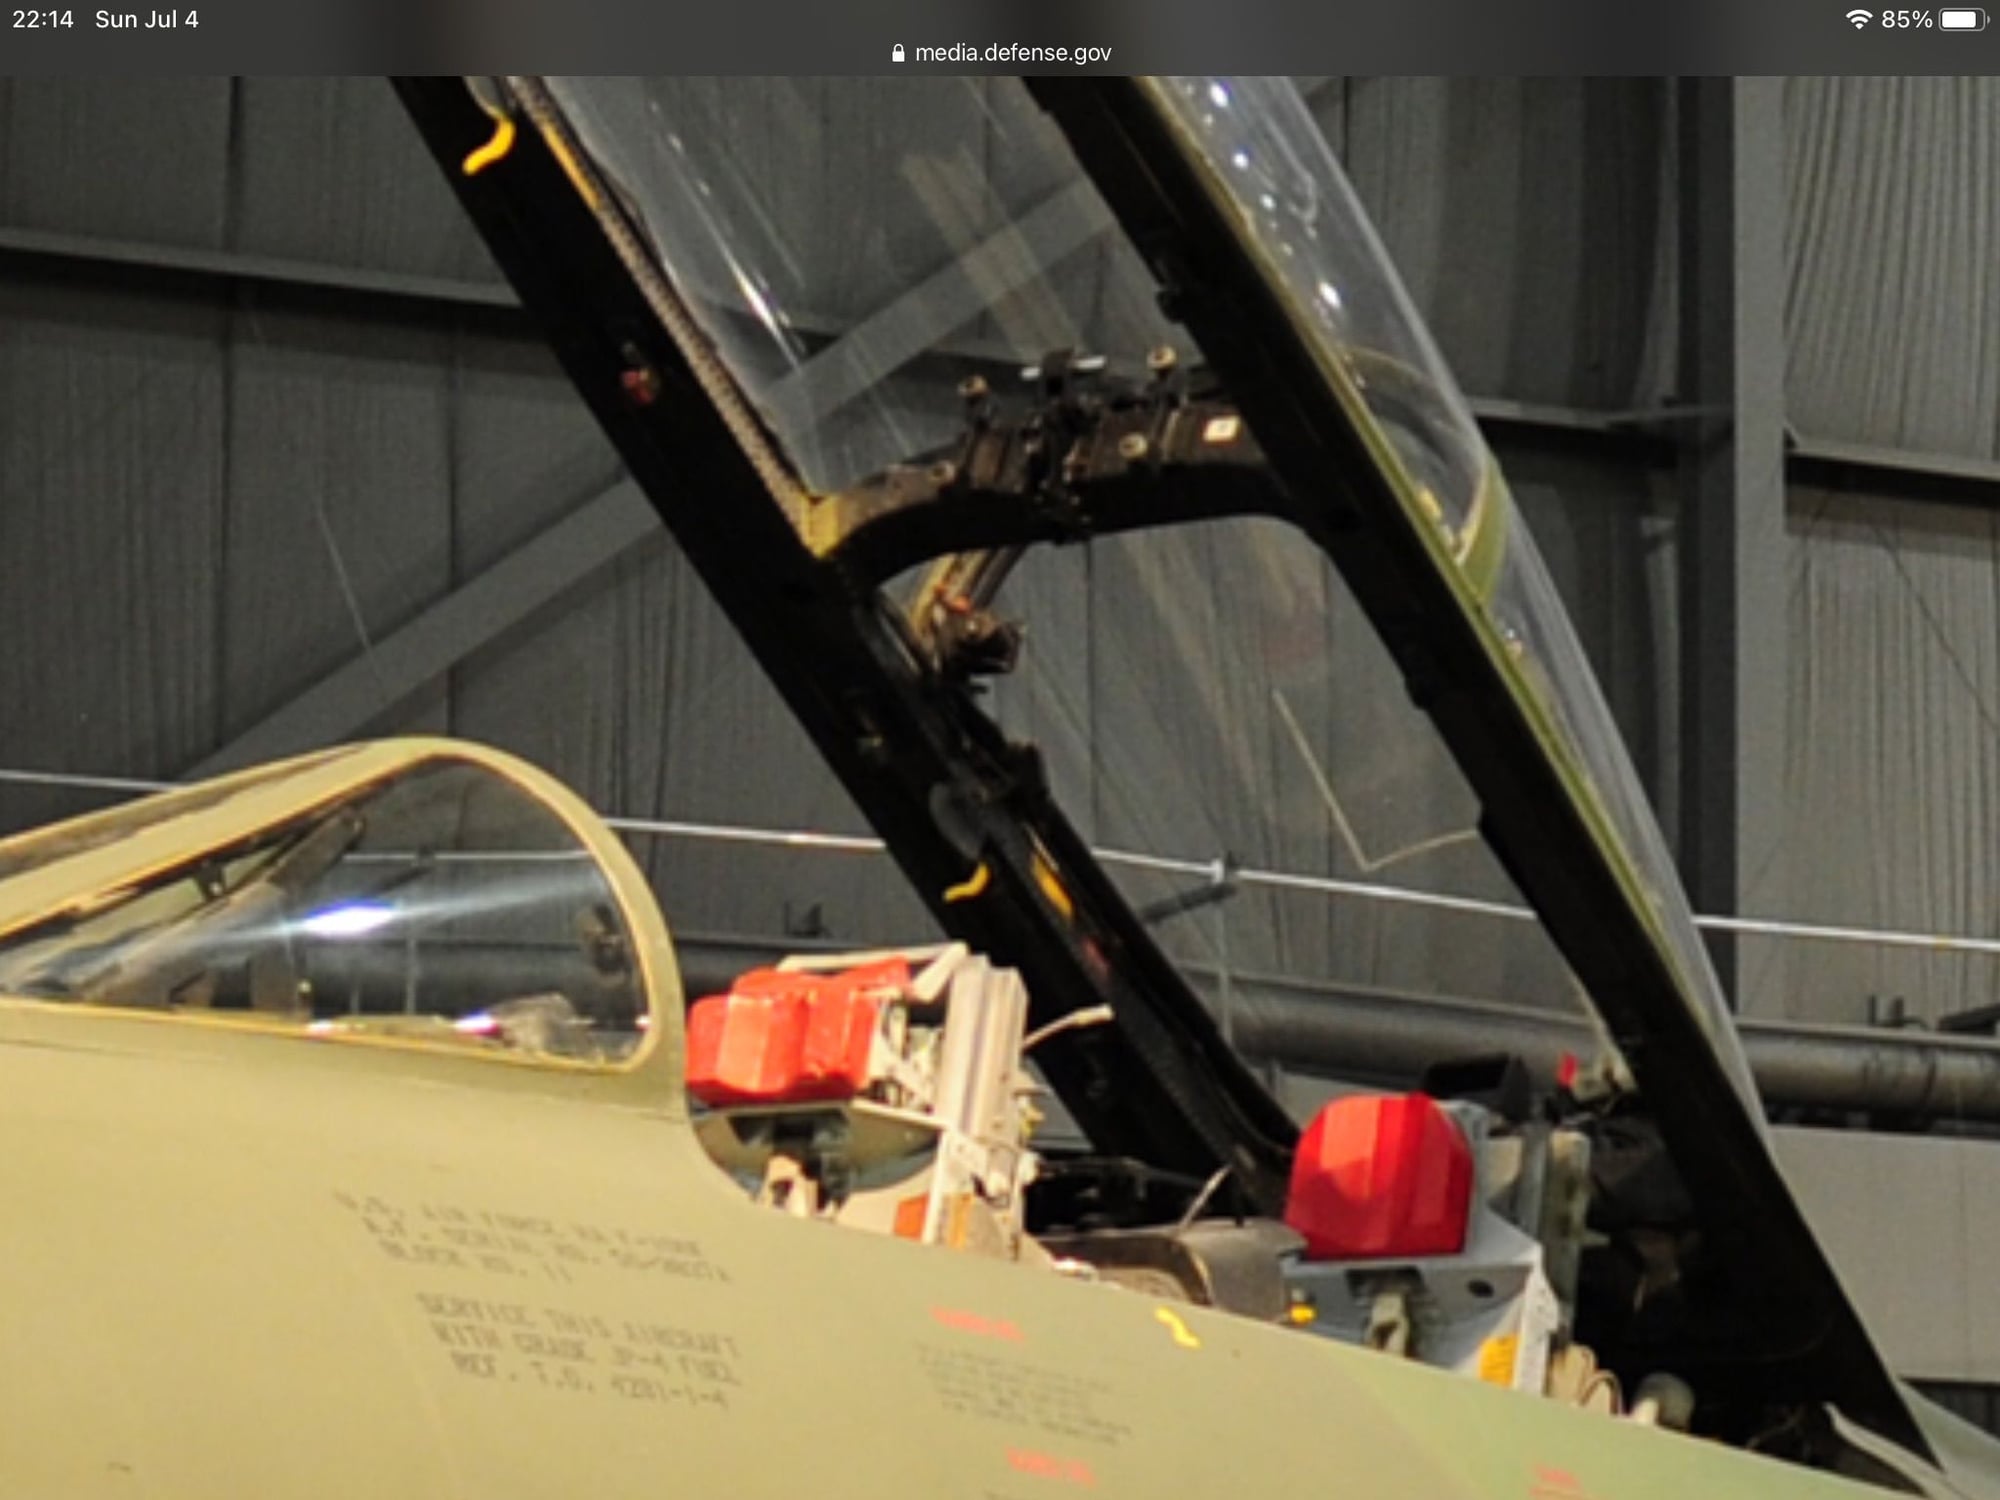
Fullscale
Cross piece
Rails before rivets
Prior to anything
Full scale
Fullscale


The following users liked this post:
Auburn02 (07-27-2021)
07-27-2021, 05:15 AM
#209
Thanks. One more question, where you're knocking down the color to reveal the silver underneath, are you just chipping at the cured paint with a blade or did you use another tactic like attaching wet salt to the silver before spraying the color, etc?
 07-27-2021, 07:04 PM
#211
My Feedback: (13)
Like Tom said the 0000 steel wool or gray Scotchbright pads work wonders
for the silver o wish I had done salt. I used Vaseline which worked great except it introduced a petroleum product that led to some stuff not sticking and having to be redone. Also when I went to knock it off the Vaseline was soft and hard to knock the pint down where I think a hard chunk of salt would be easier
for the silver o wish I had done salt. I used Vaseline which worked great except it introduced a petroleum product that led to some stuff not sticking and having to be redone. Also when I went to knock it off the Vaseline was soft and hard to knock the pint down where I think a hard chunk of salt would be easier

 07-28-2021, 09:20 PM
#214
My Feedback: (13)
Sean/Pat
Thanks guys. I think this is my one big project so I�m trying to do the best I can on it
Pat-youre not kidding about those guys. 28% shoot down rate, 6 generals, two AF chiefs of staff, one astronaut, the first guy to fly around the world unrefueled, and all trying to stop bullets from getting far enough south to hurt Americans...pretty amazing crowd

 I like the hot section coloring...And I like how you're cleaning up the interior of the canopy frame.
The following users liked this post:
yeahbaby (08-02-2021)
 08-14-2021, 09:35 PM
#218
My Feedback: (13)
Ok BV Hun gurus...did anyone counterbalance the stabs?
the clear is done and magically filled in all the weathering I�d done with the Scotchbrite pads. Damnit!!! I went back at it tonight with scotchbrite and the weathering all popped back through thankfully!
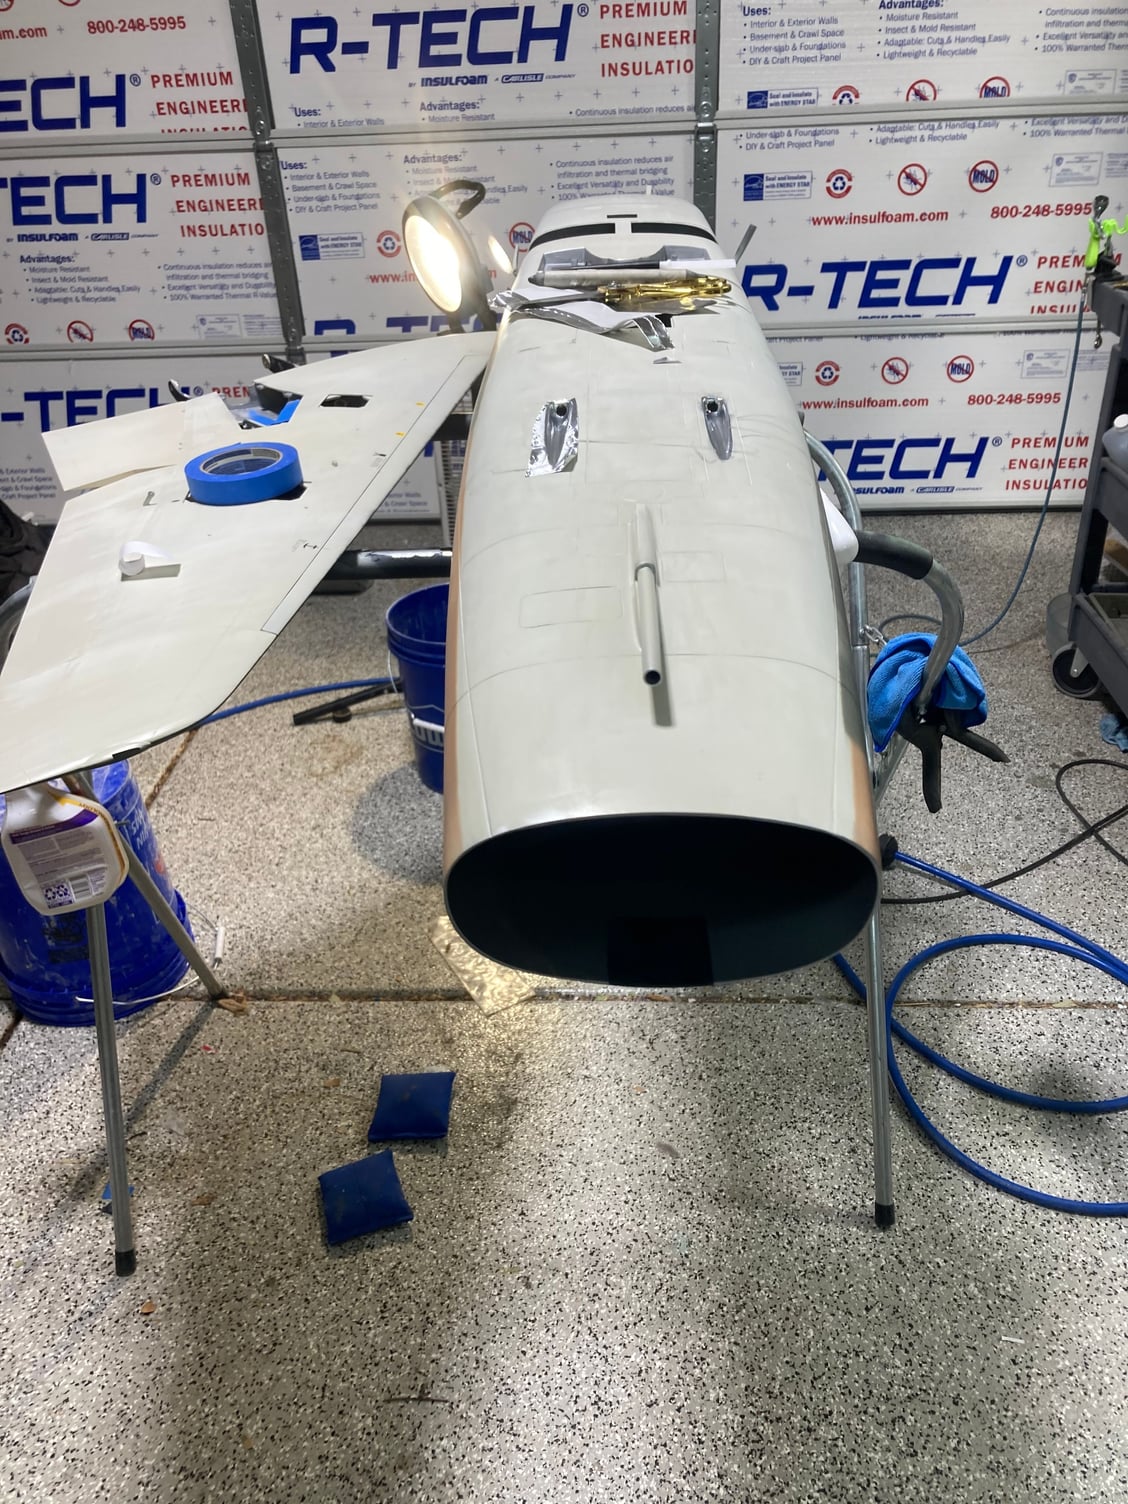
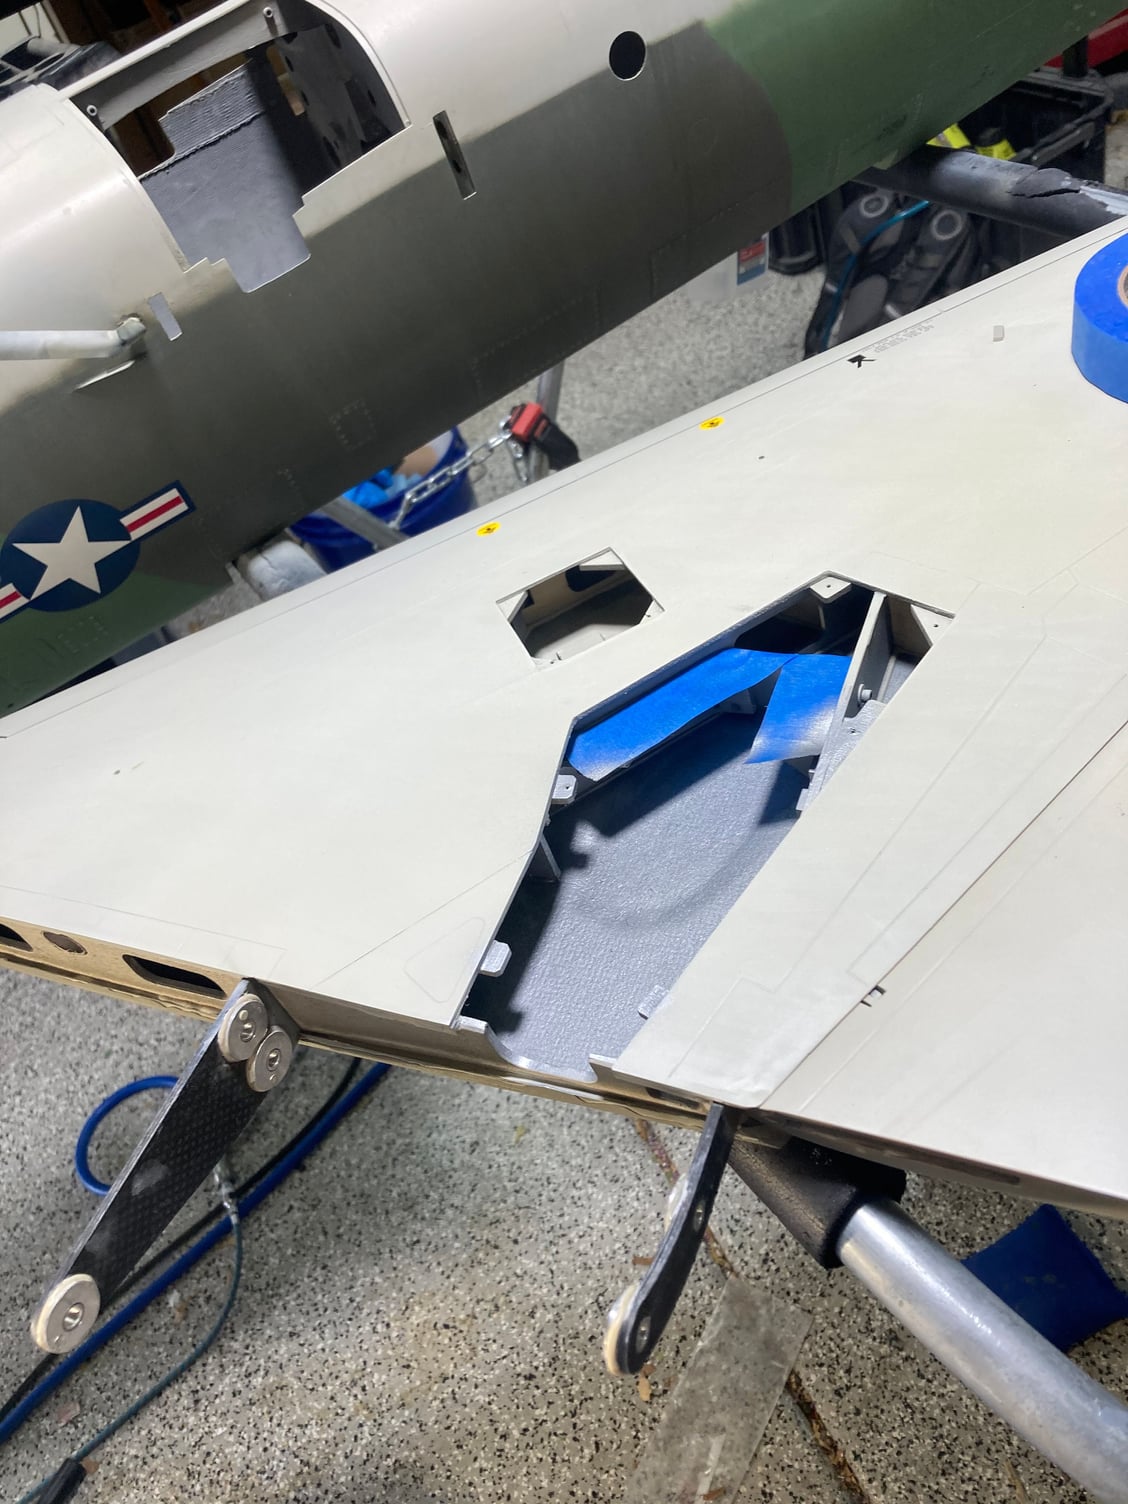
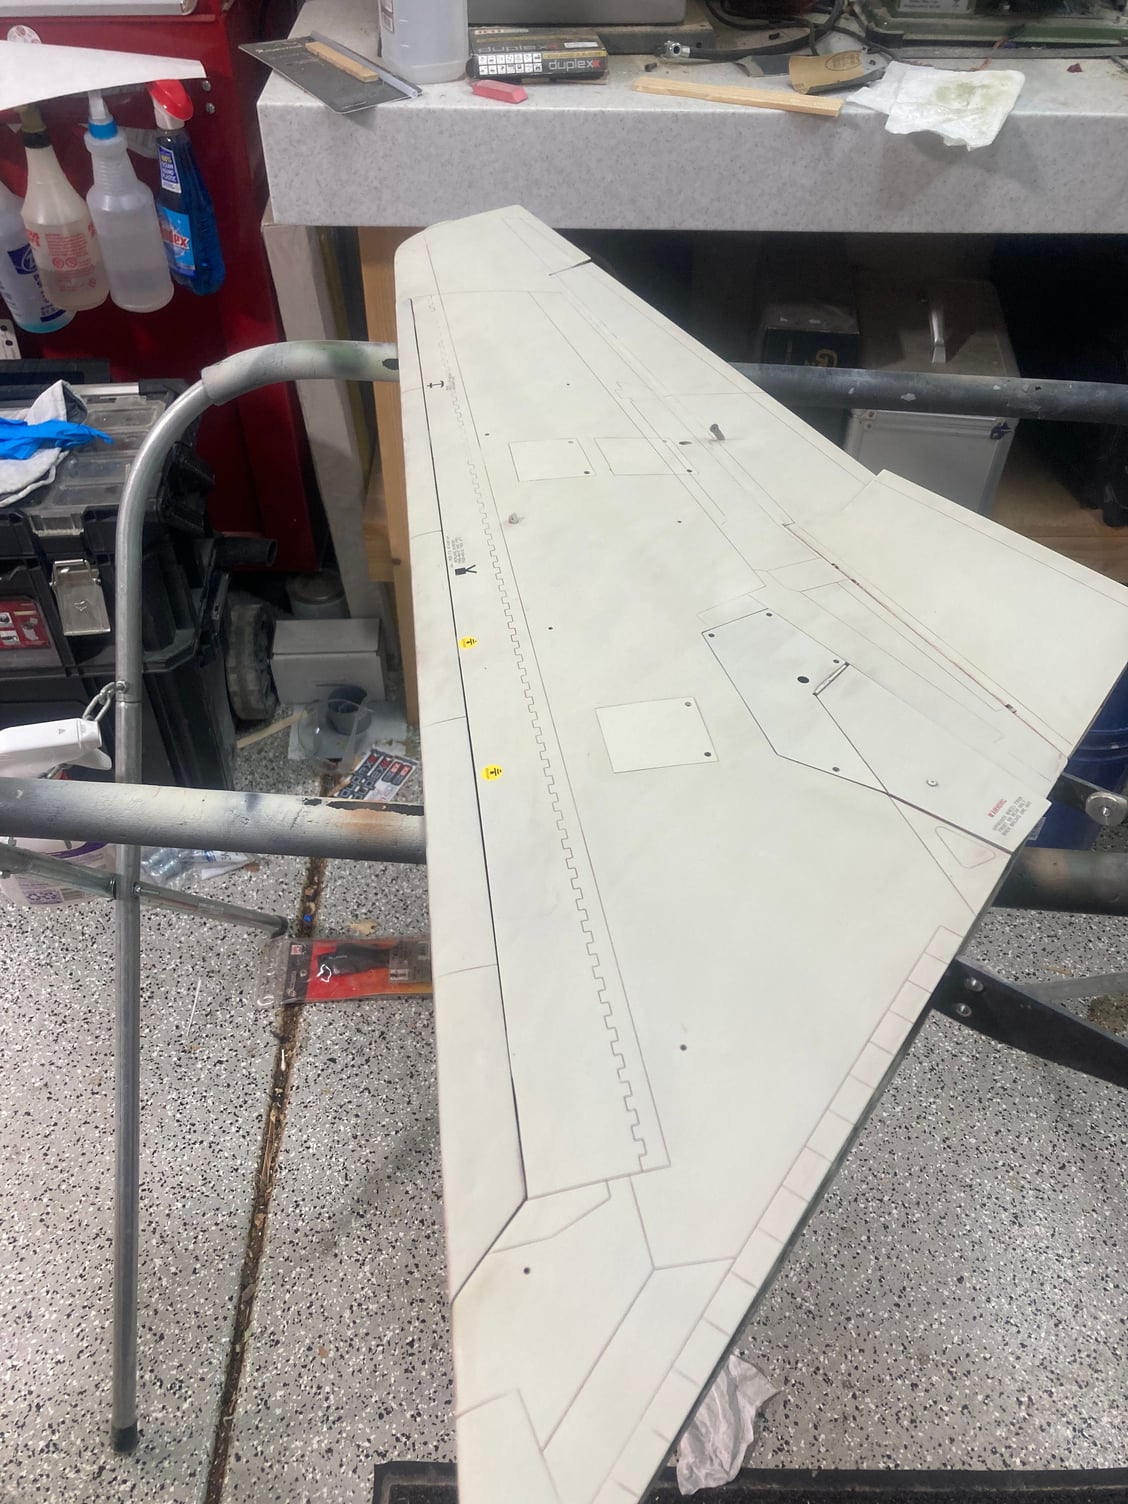
I glued in the wing lights and installed the servo covers tonight. Next step is to drag dirty paint across all of it!!
the clear is done and magically filled in all the weathering I�d done with the Scotchbrite pads. Damnit!!! I went back at it tonight with scotchbrite and the weathering all popped back through thankfully!
I glued in the wing lights and installed the servo covers tonight. Next step is to drag dirty paint across all of it!!
 08-17-2021, 09:46 PM
#221

I always mass balance, yet also just as important is no sloop or moment in the surface or play in the servo and link.
I agree on the finish looking great.
Regards,
I agree on the finish looking great.
Regards,
08-21-2021, 02:21 PM
#222
My Feedback: (13)
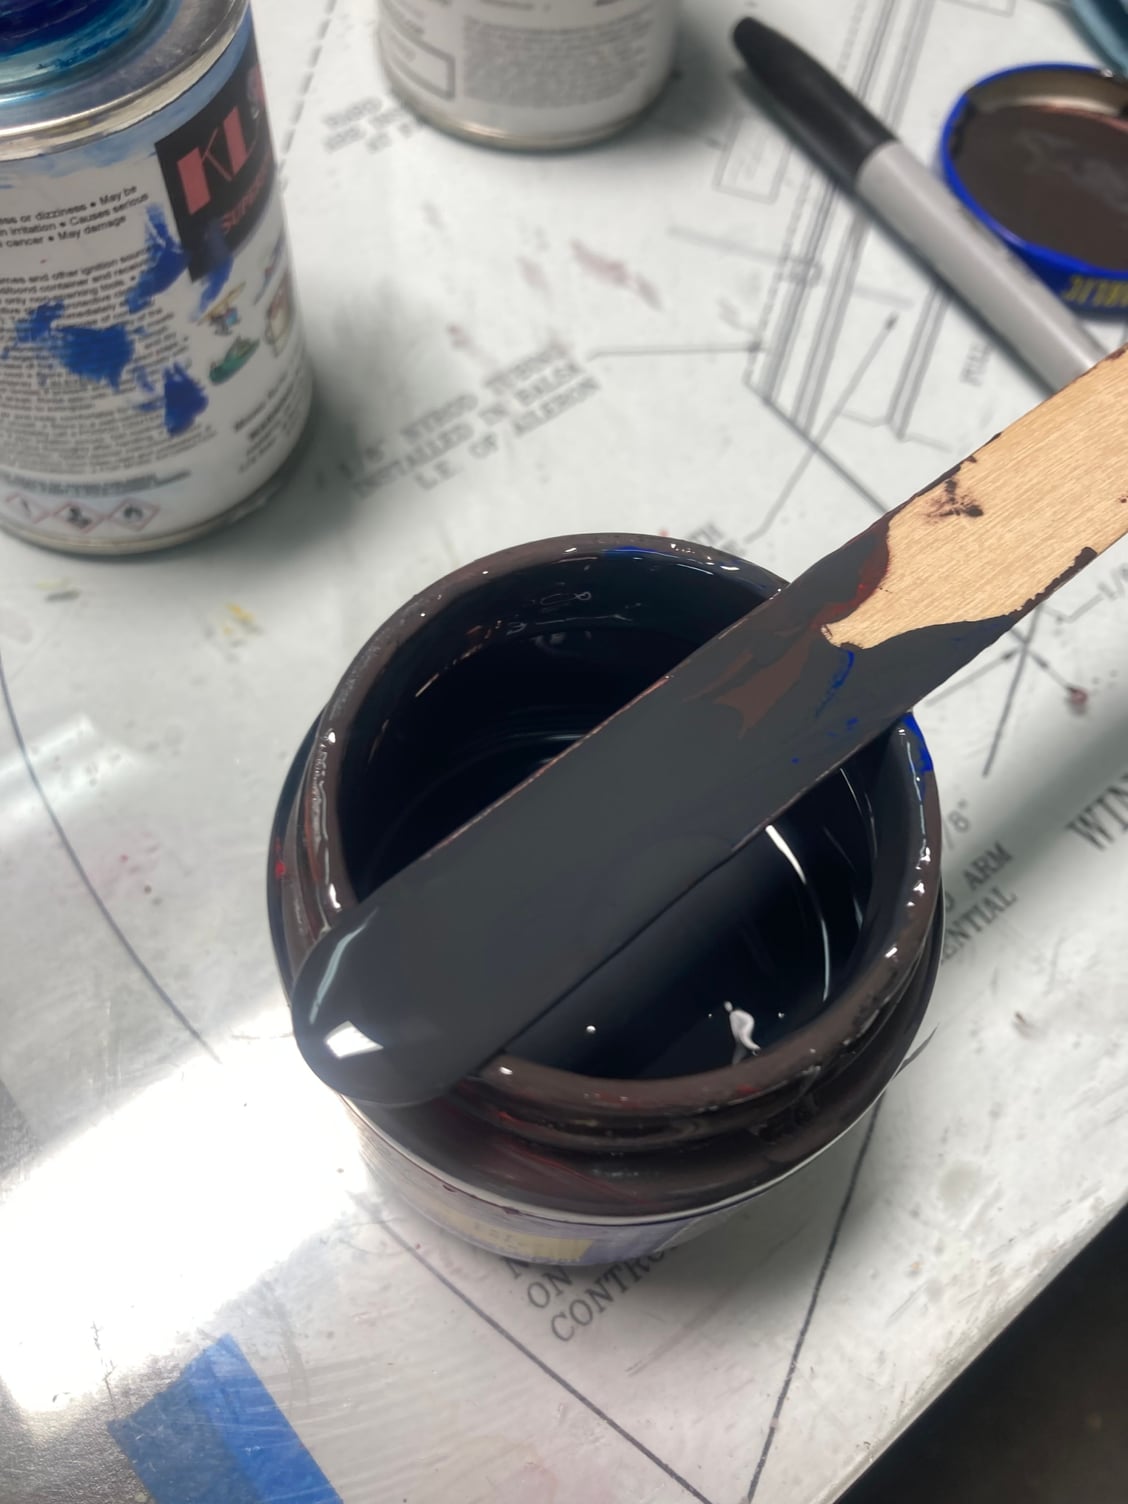
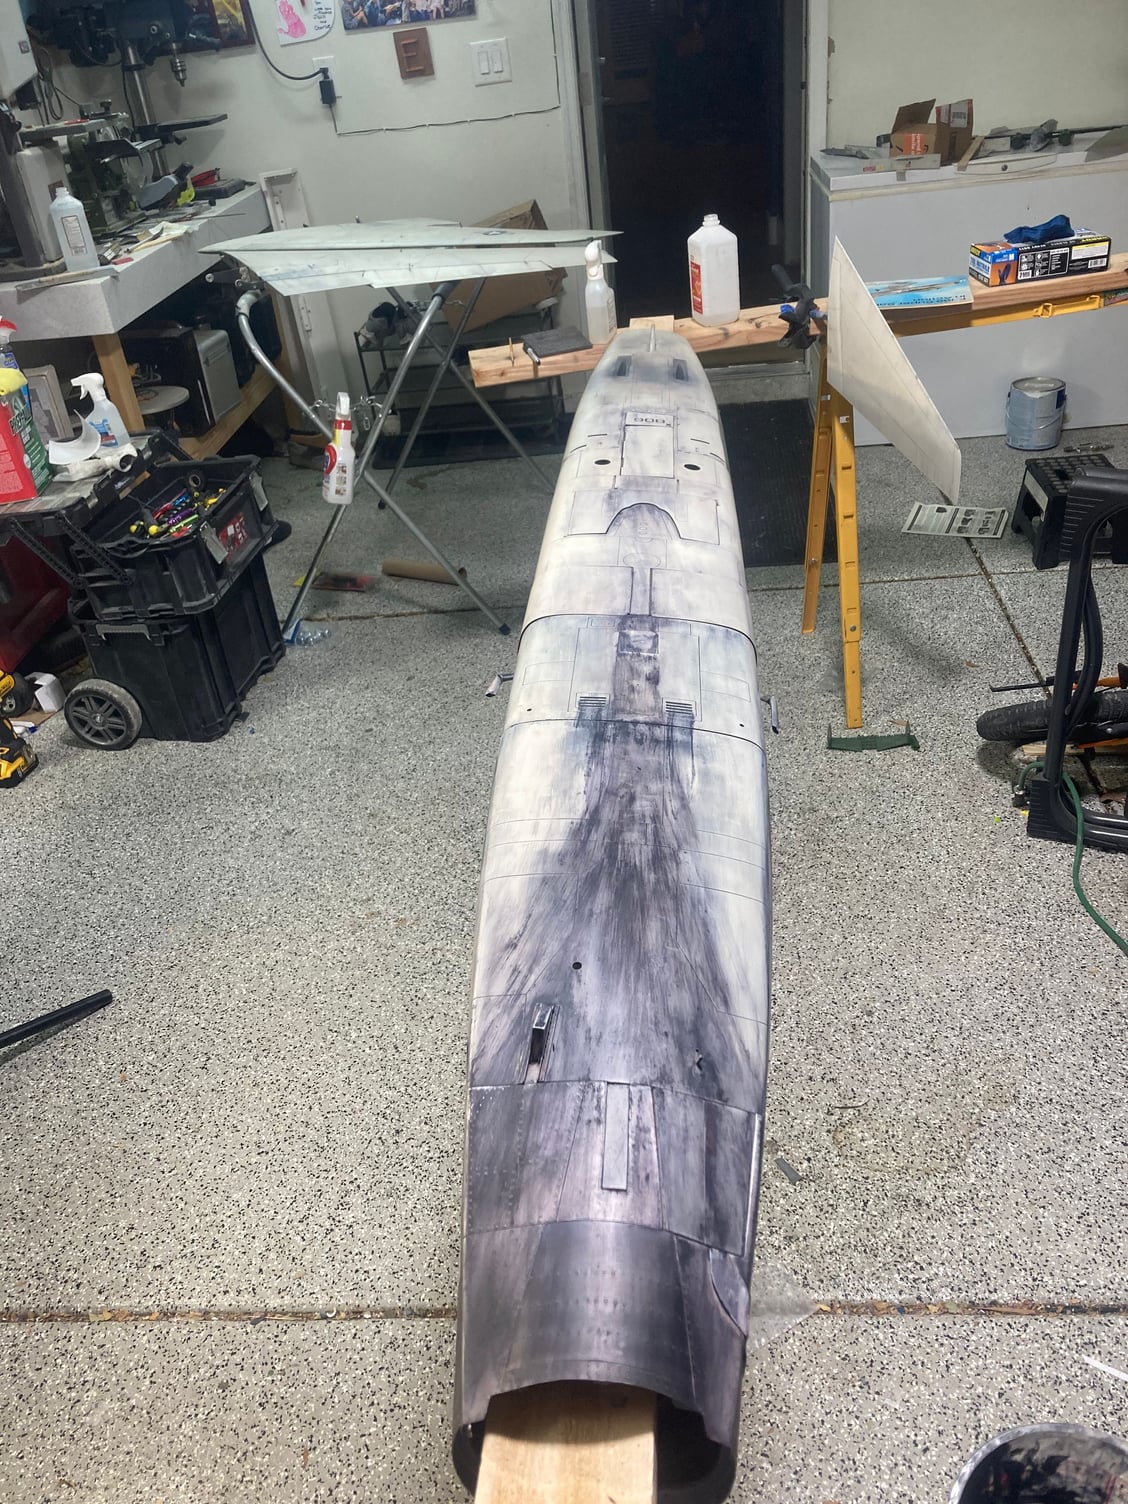
I started with the first round of washes this week. Burnt umber (melted chocolate in the bowl, dirty hydraulic flieyonce sprayed color). One part black. One part red. Half part yellow.
I sprayed it on and then wiped almost all of it off. The idea was to create the grunge that gets stuck on planes in corners
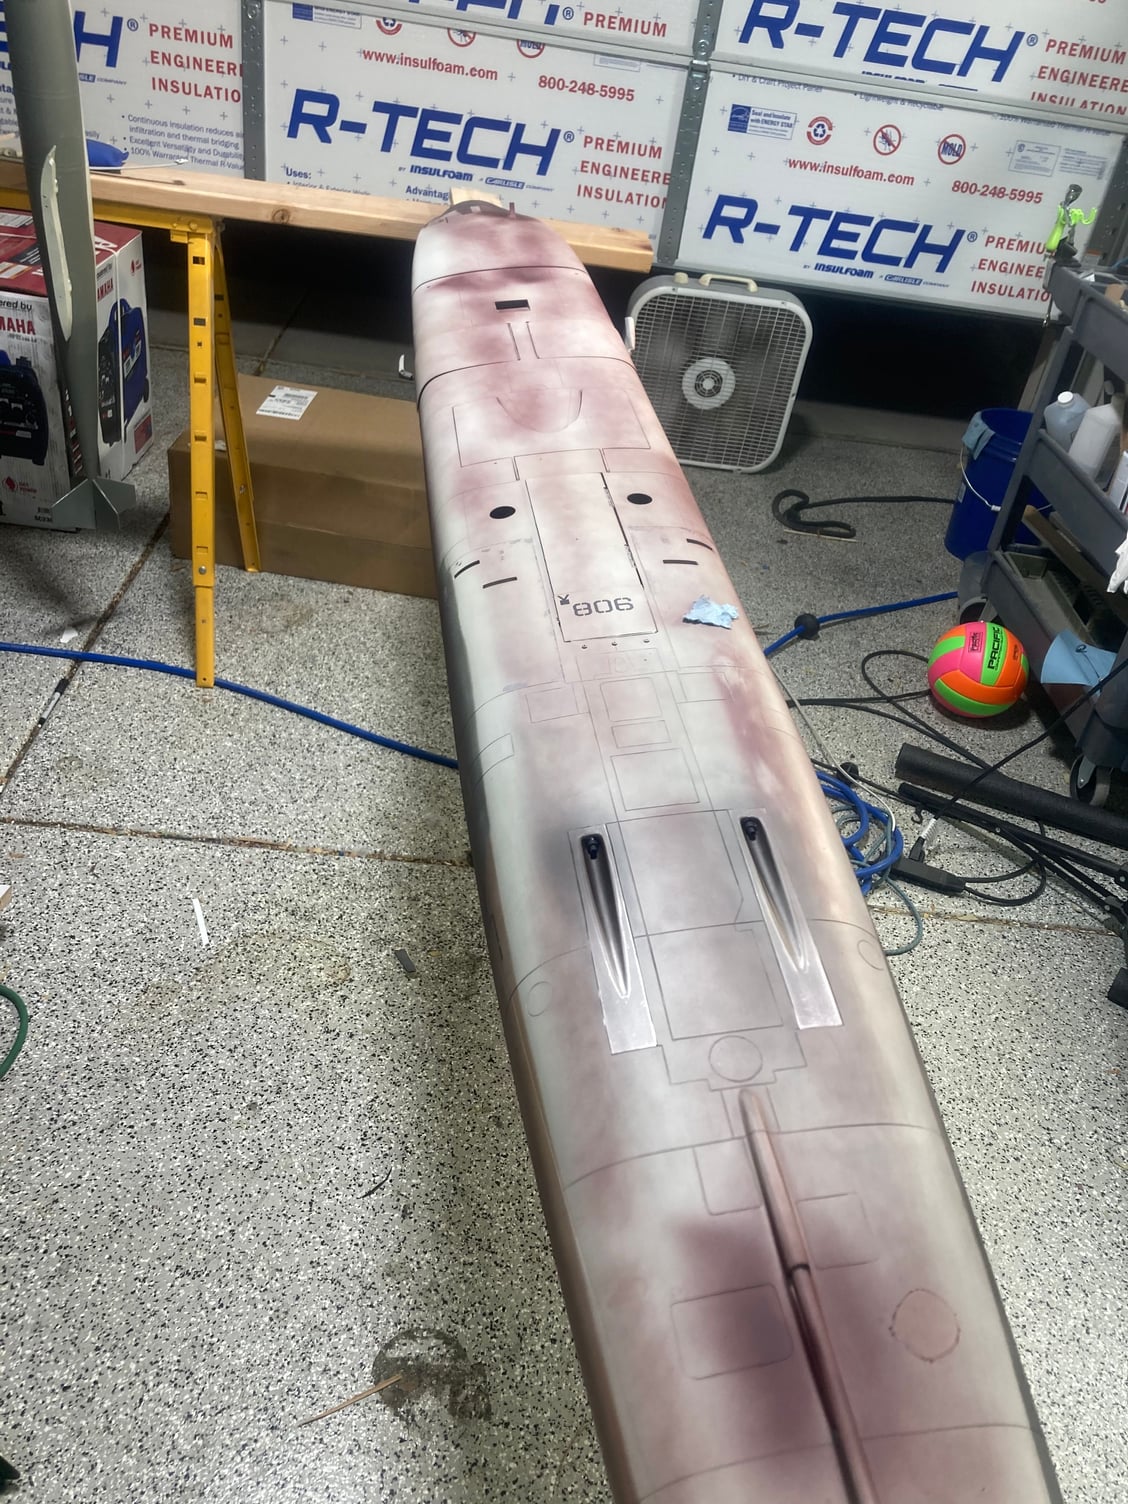

Before and after wiping on the stabs

I sprayed it on and then wiped almost all of it off. The idea was to create the grunge that gets stuck on planes in corners
Before and after wiping on the stabs
08-29-2021, 04:16 PM
#223
My Feedback: (13)
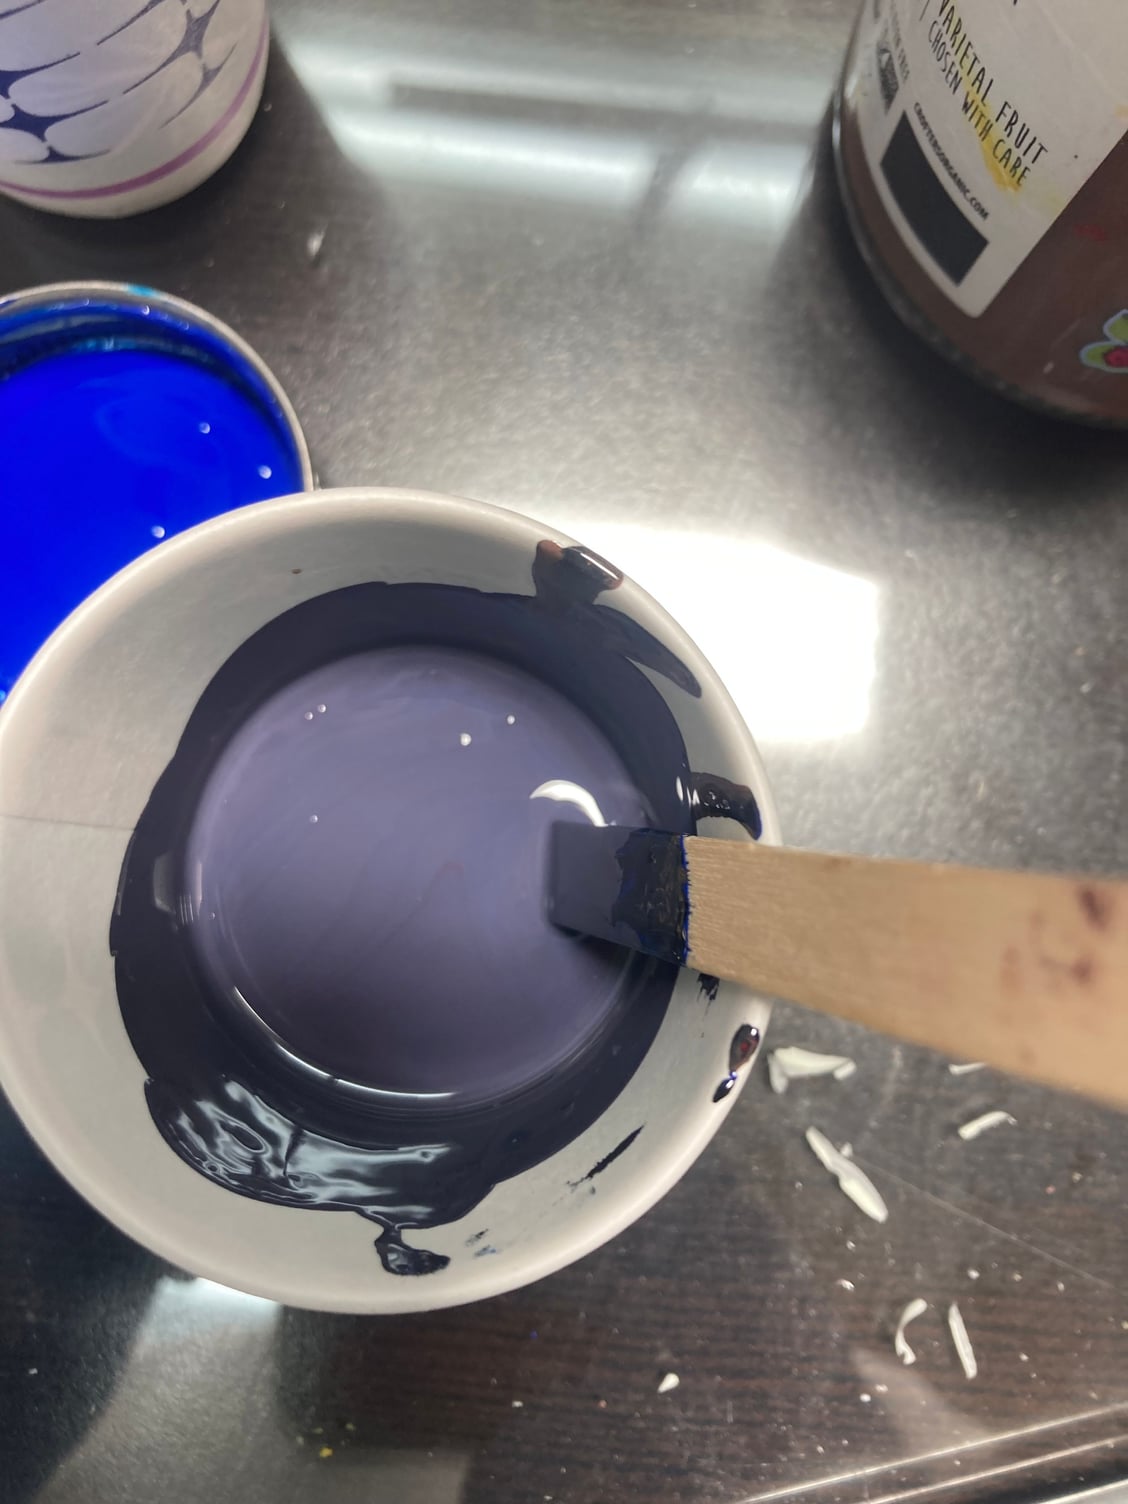
I did the next wash�the ash colored one. Mixing the color was troublesome (for me) but I got the color right�basically orange with a liberal helping of blue. That was then sprayed on the whole plane and mostly wiped off and streaked where appropriate. FS photos helped greatly here as well as personal experience for where to put it
The correct ash color
Too purple. Throw it away
The correct ash color
Too purple. Throw it away
Last edited by ozief16; 08-29-2021 at 04:39 PM.
08-29-2021, 04:23 PM
#224
My Feedback: (13)
My buddy george mentioned that I was obsessing over every square inch and once I saw it all together it would all make sense so I slid it together for a win
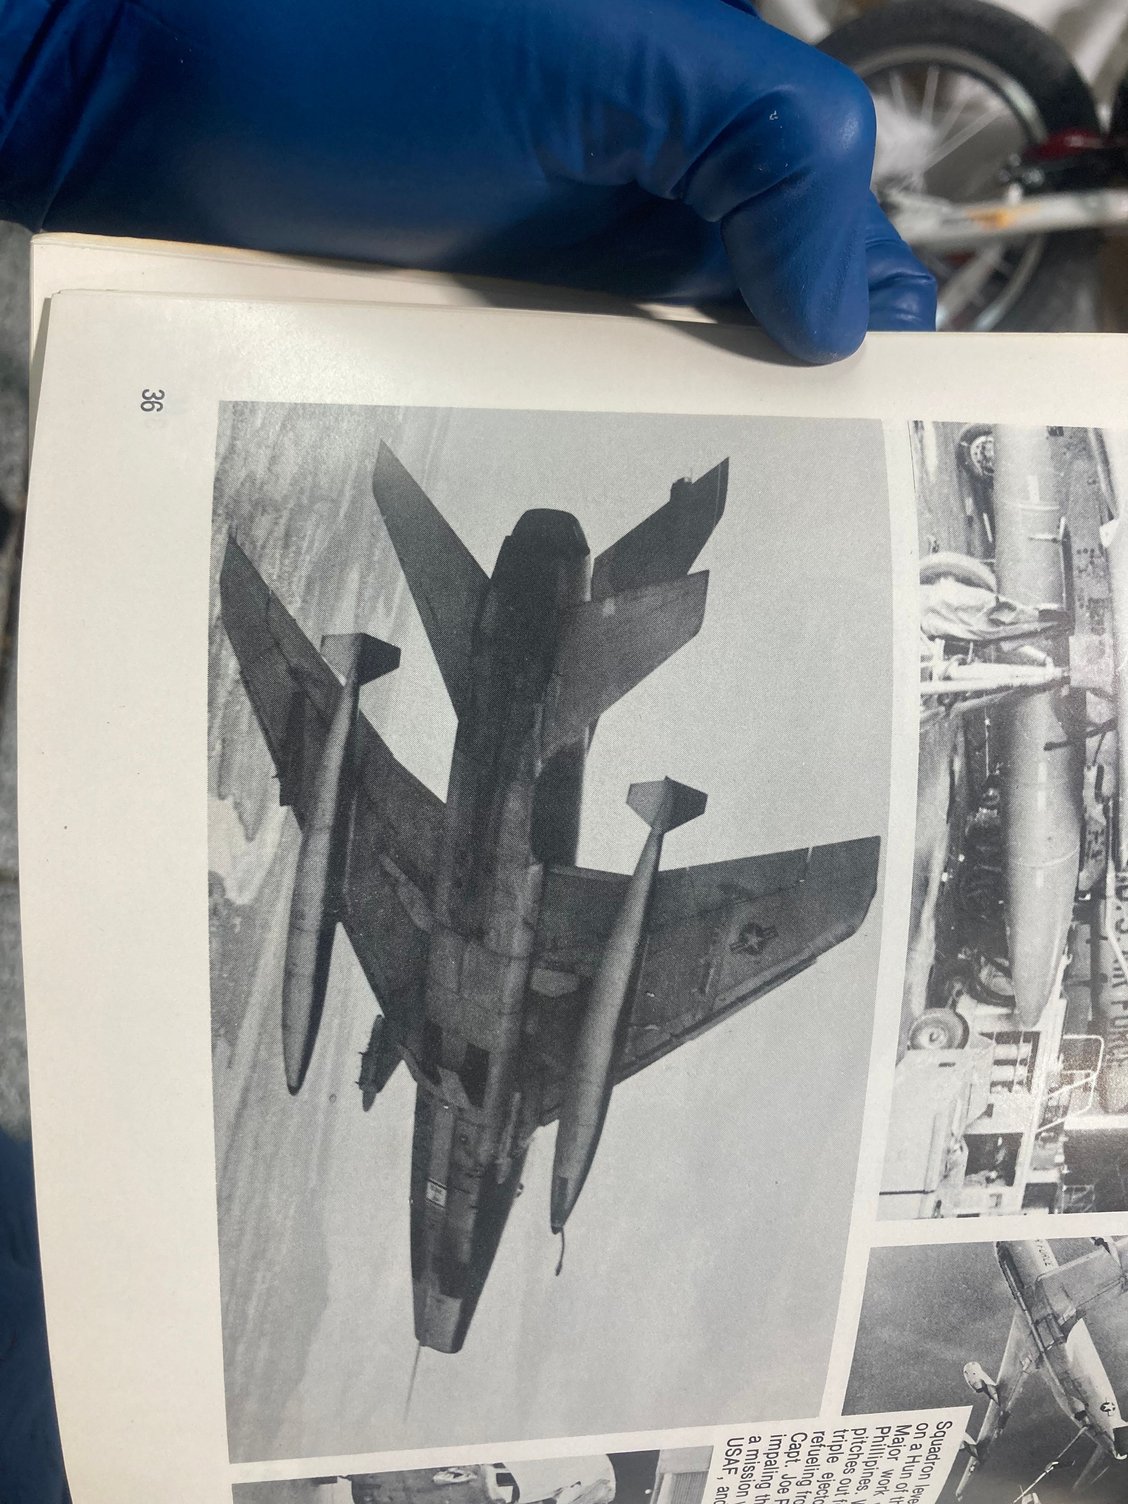
One of the FS pics I used to create the centerline stripe that fans out back by the stabs

Earlier rendition that got mostly erased (back to Rogers comment about me redoing work-Roger you know me!!)
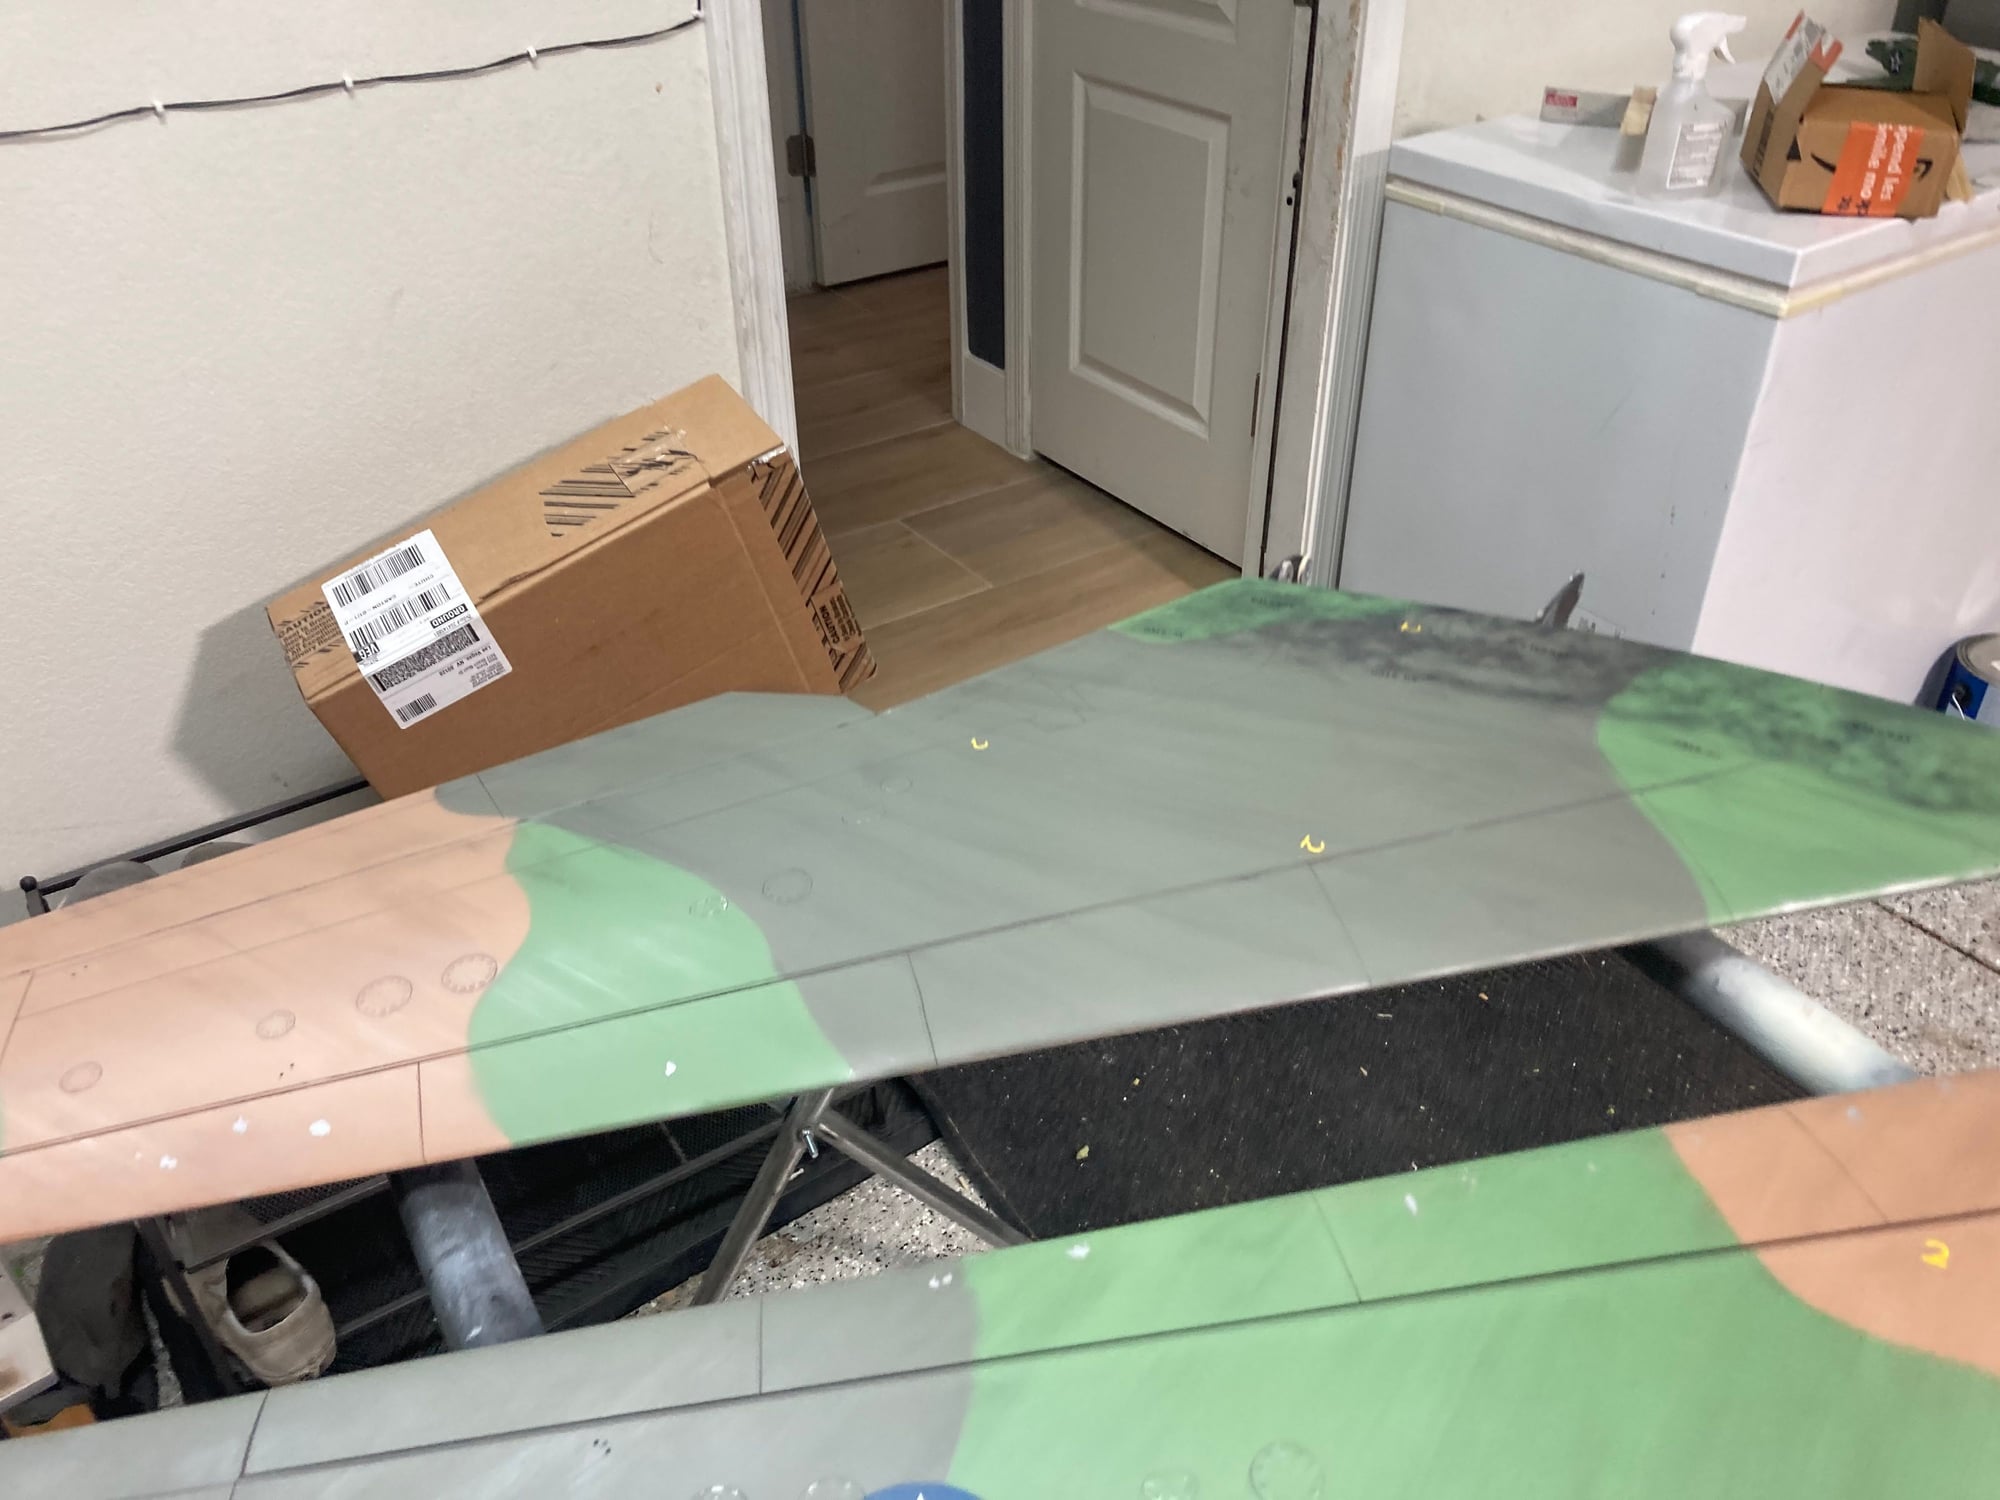
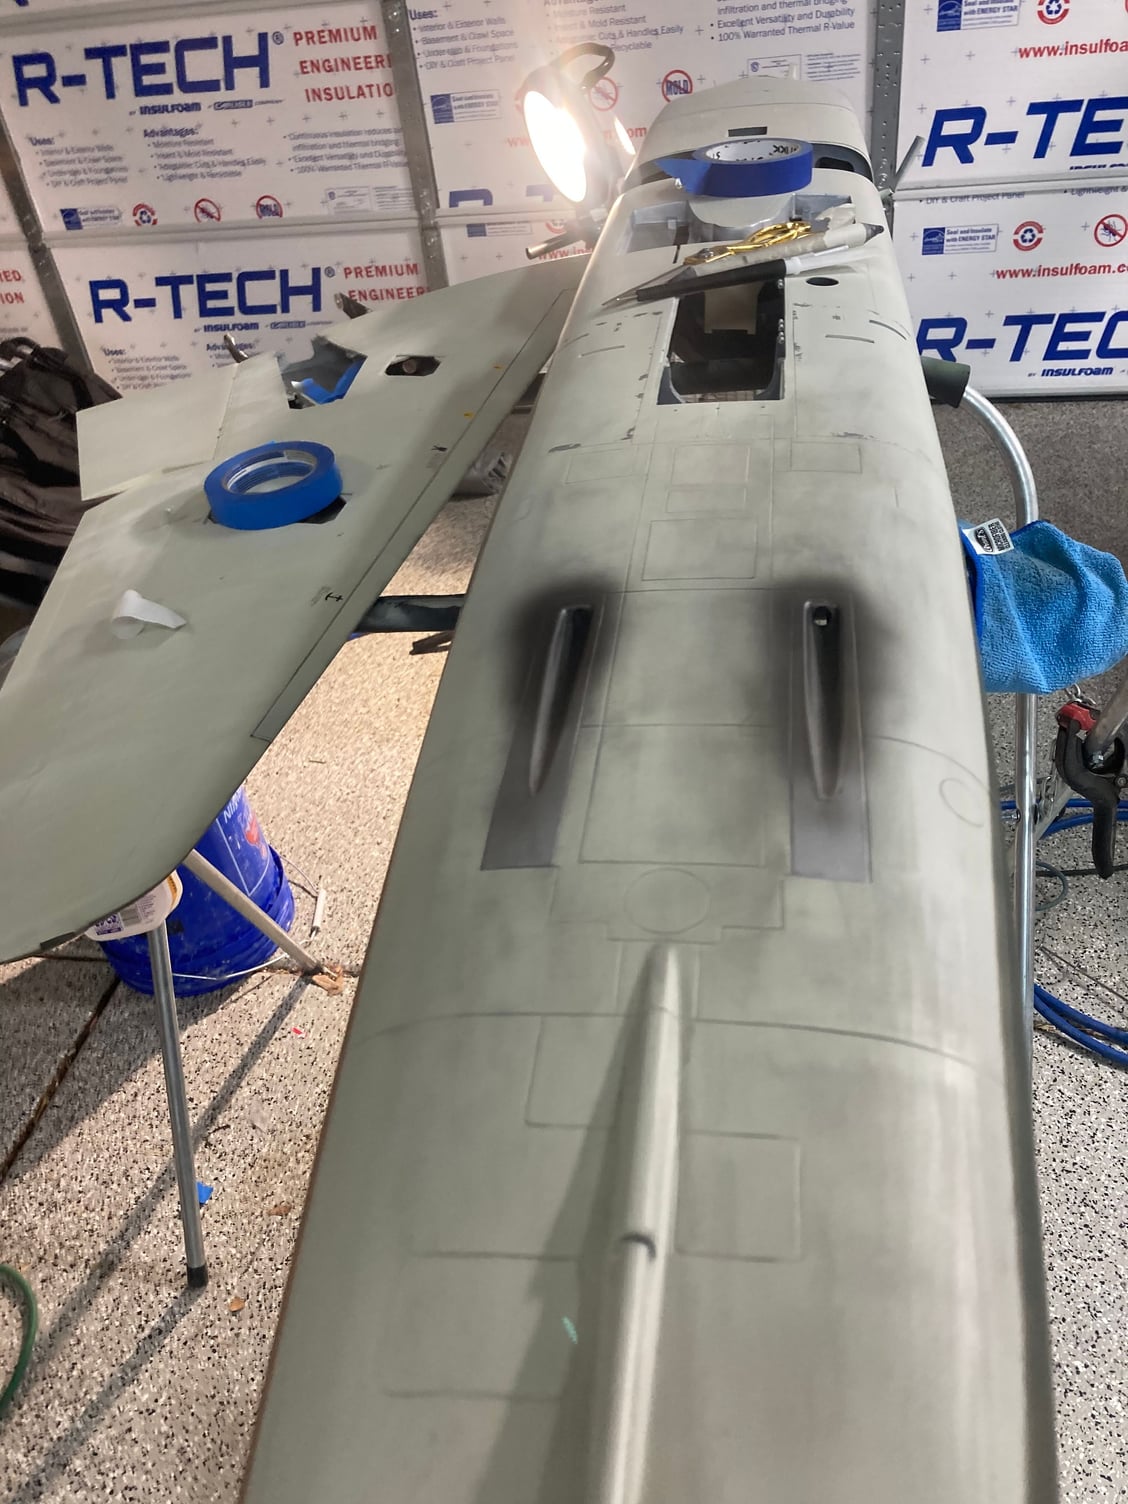
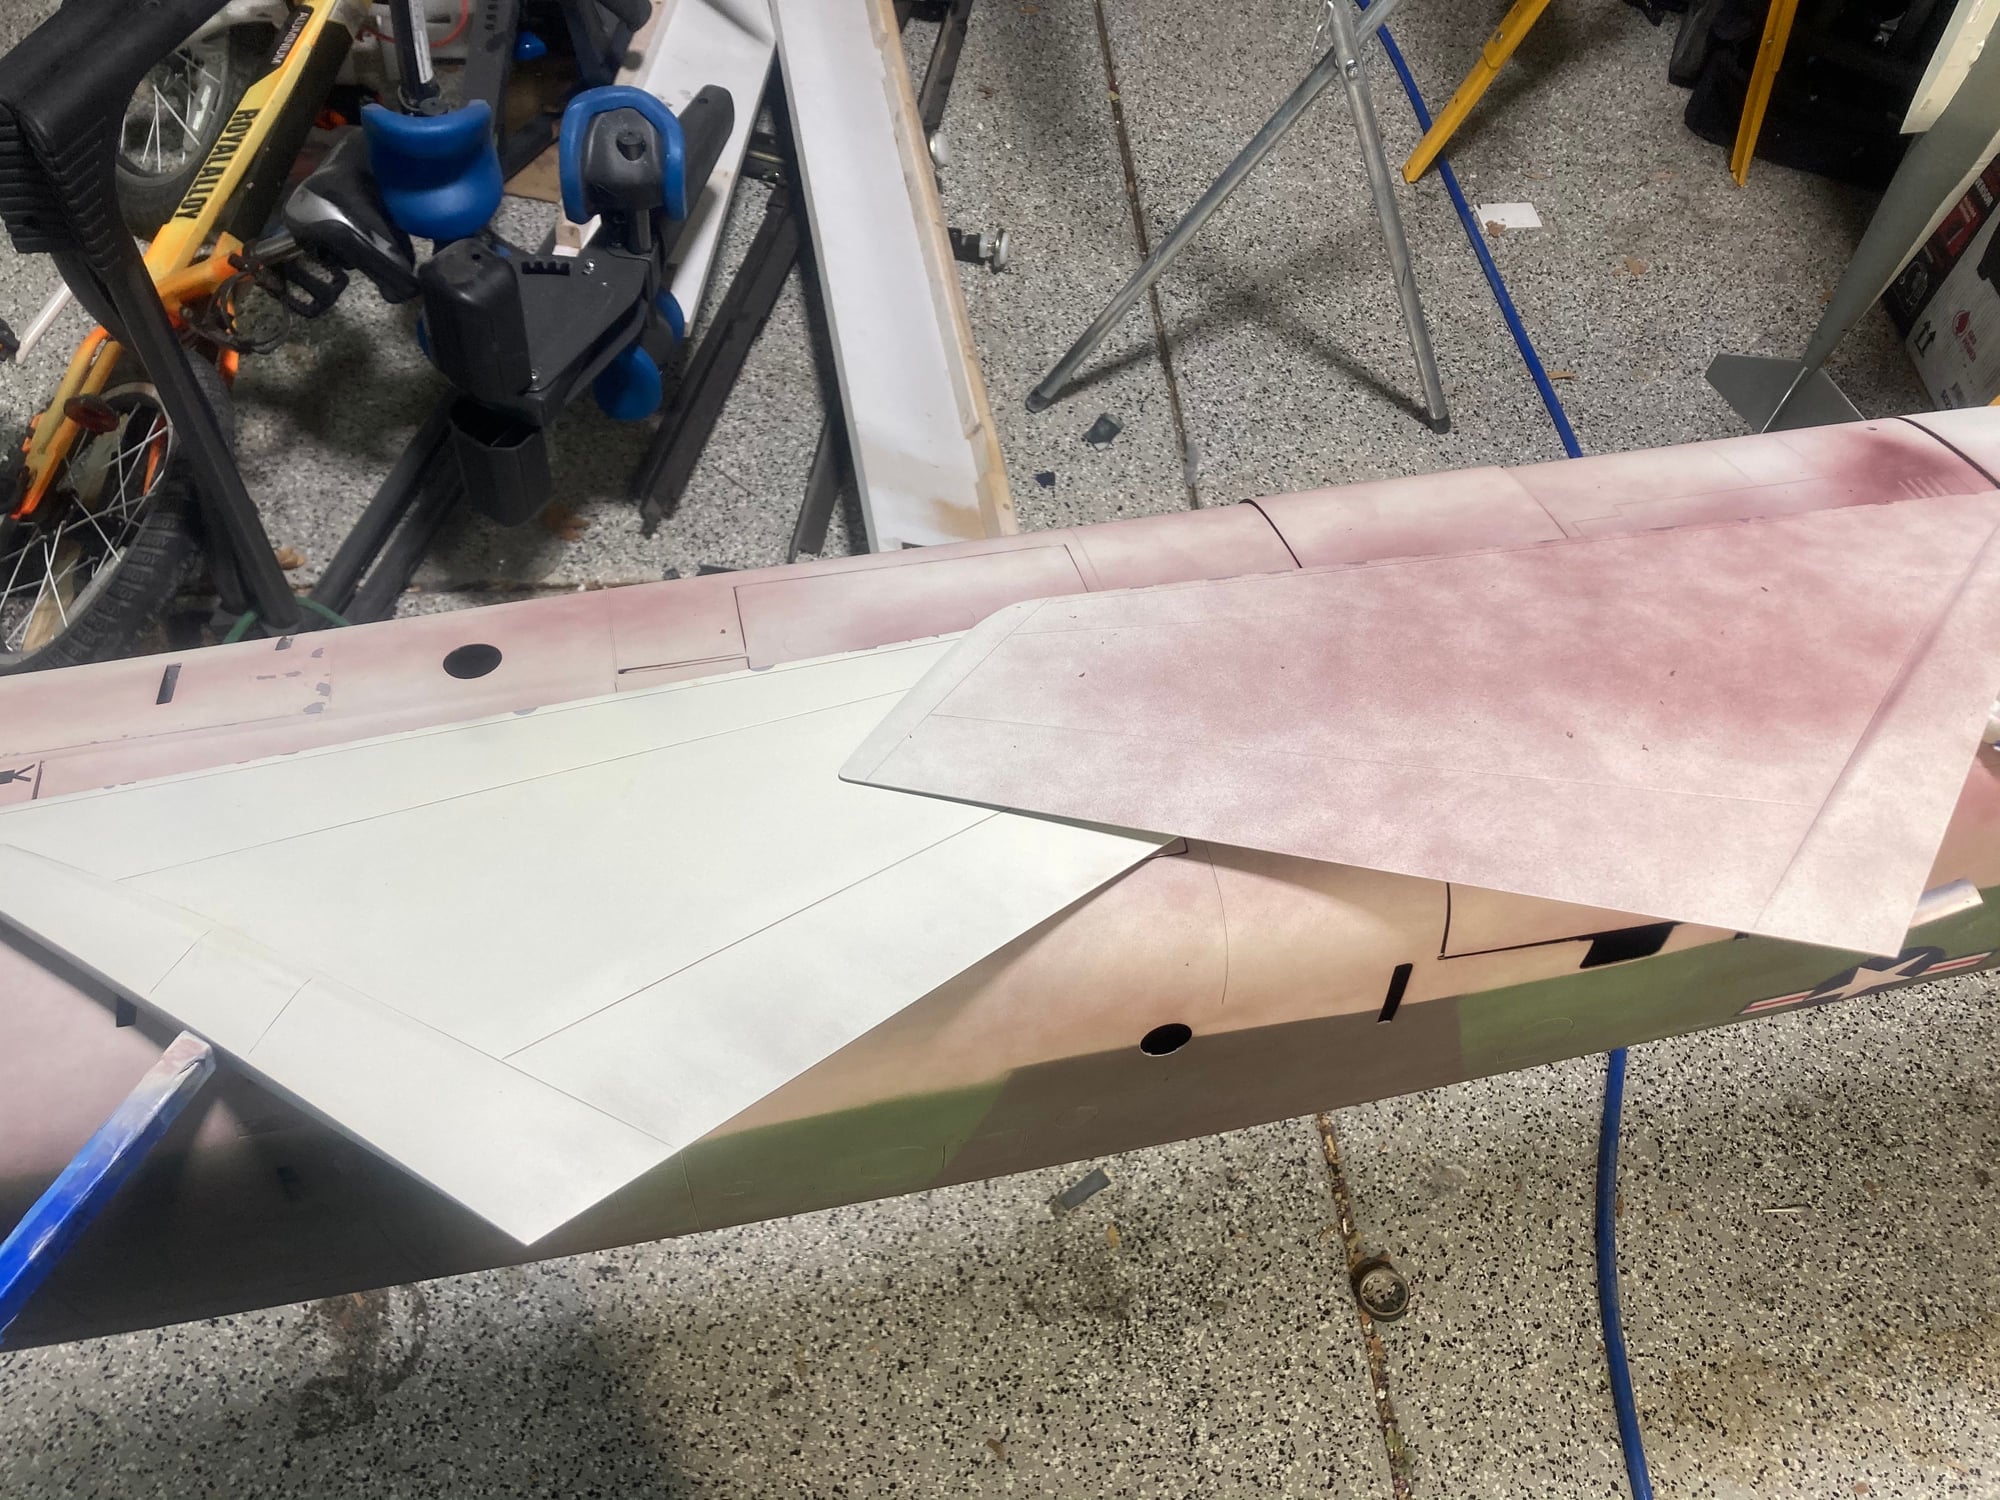
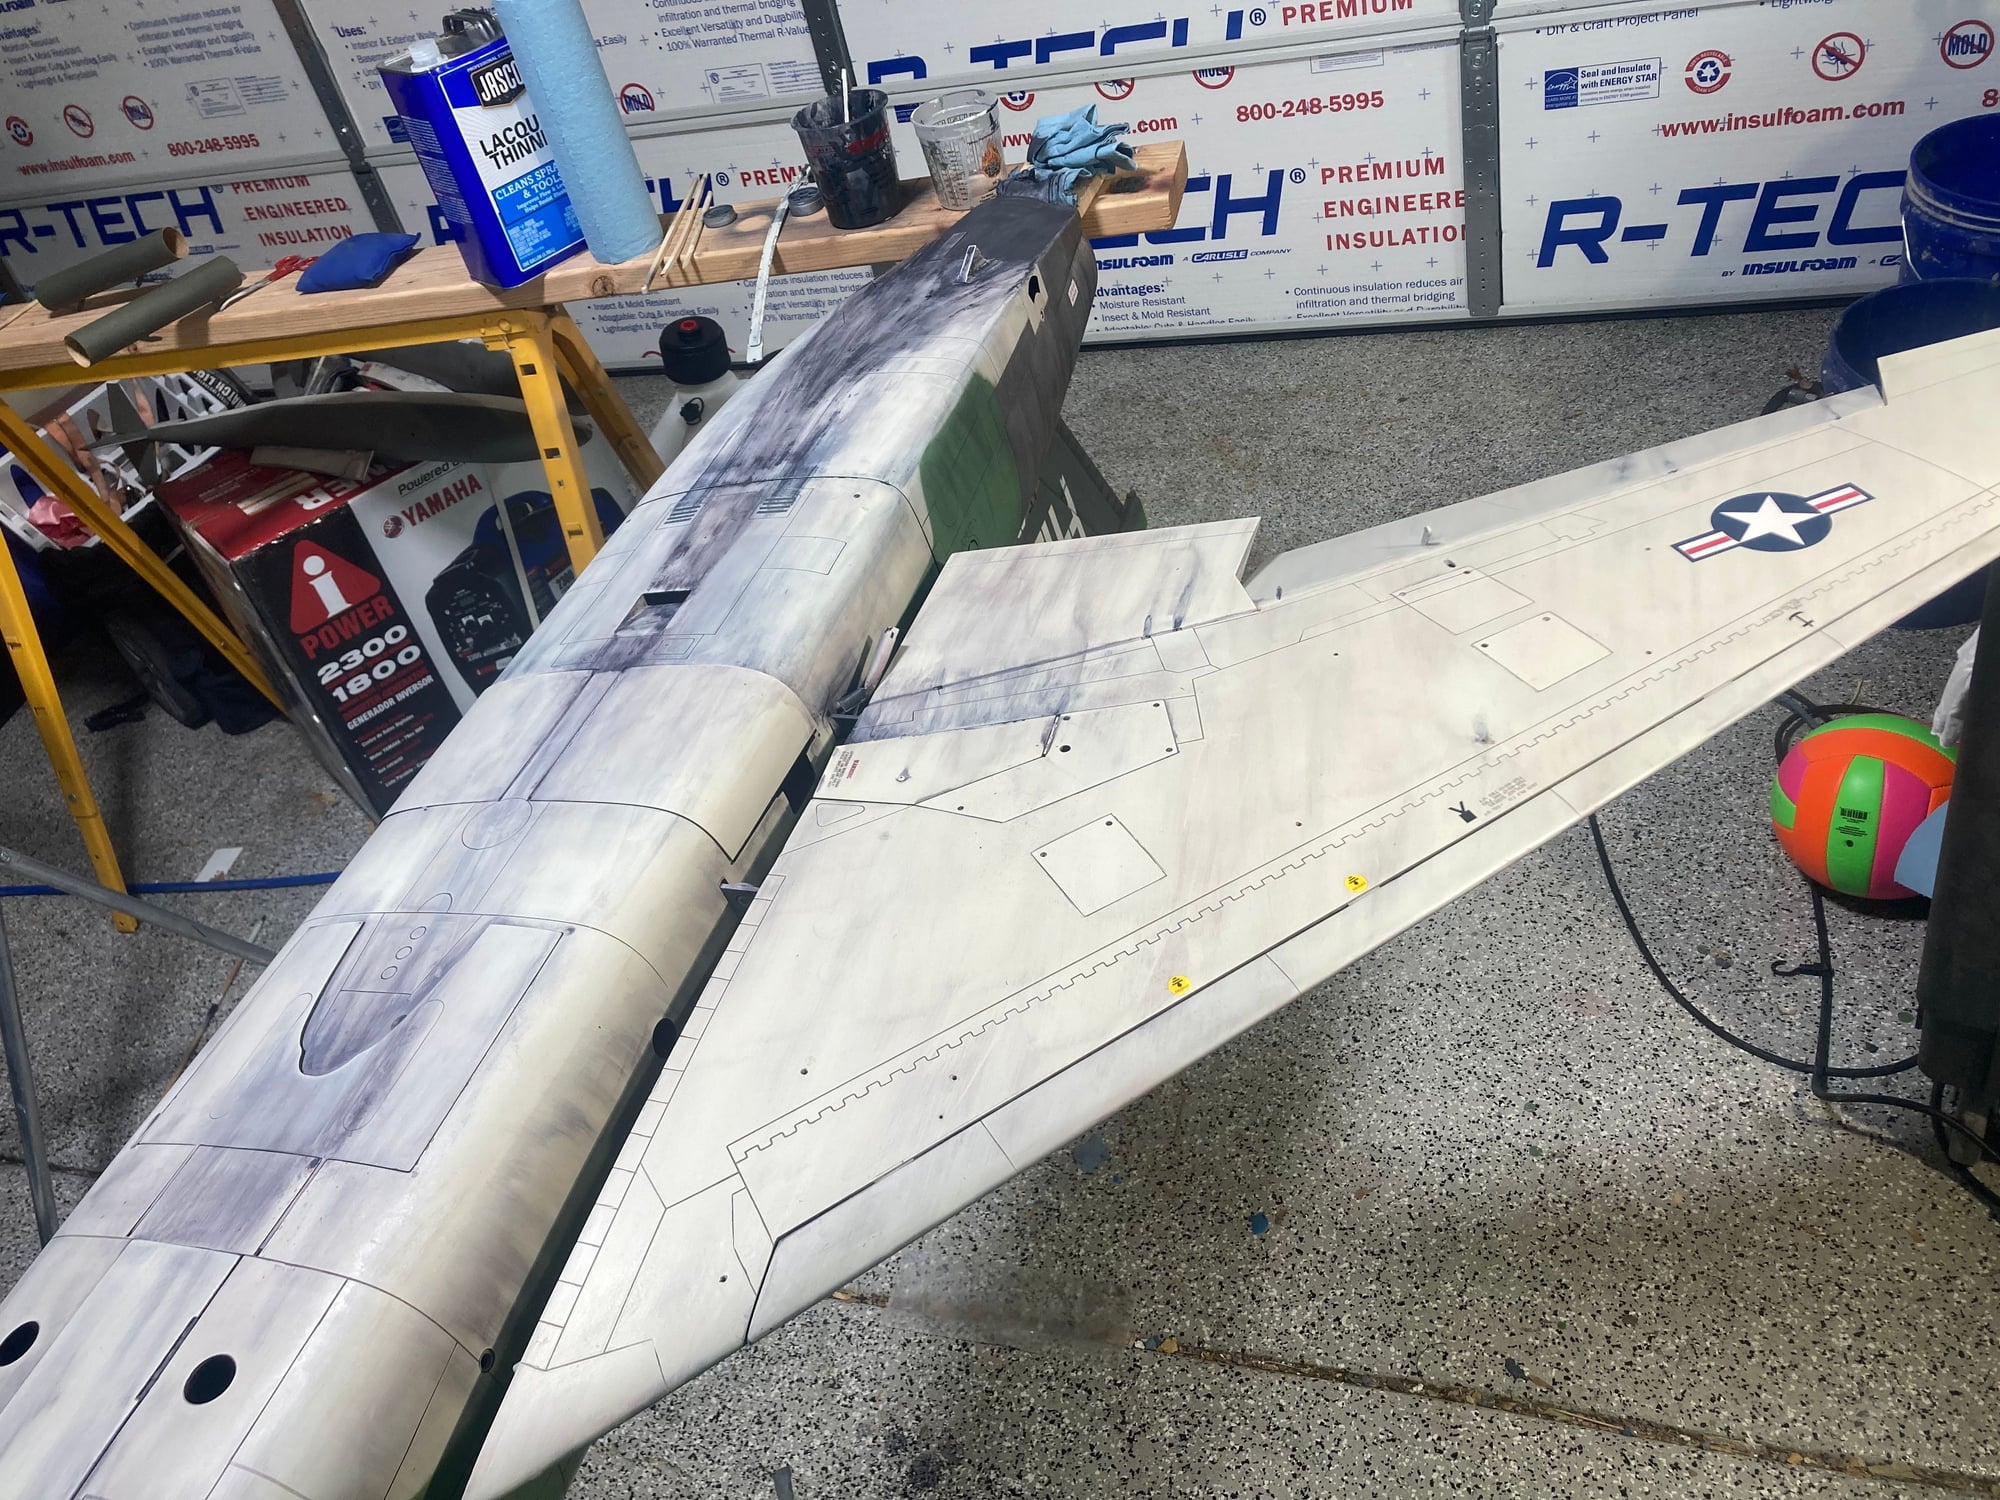
Tops of the wings. The outboard streaking was softened some. The inboard dirty area was a walkway they used regularly to access the panels on top of the fuse
In between my fingers was a gun bay panel that got dropped often and therefore got dirty with dirty hands
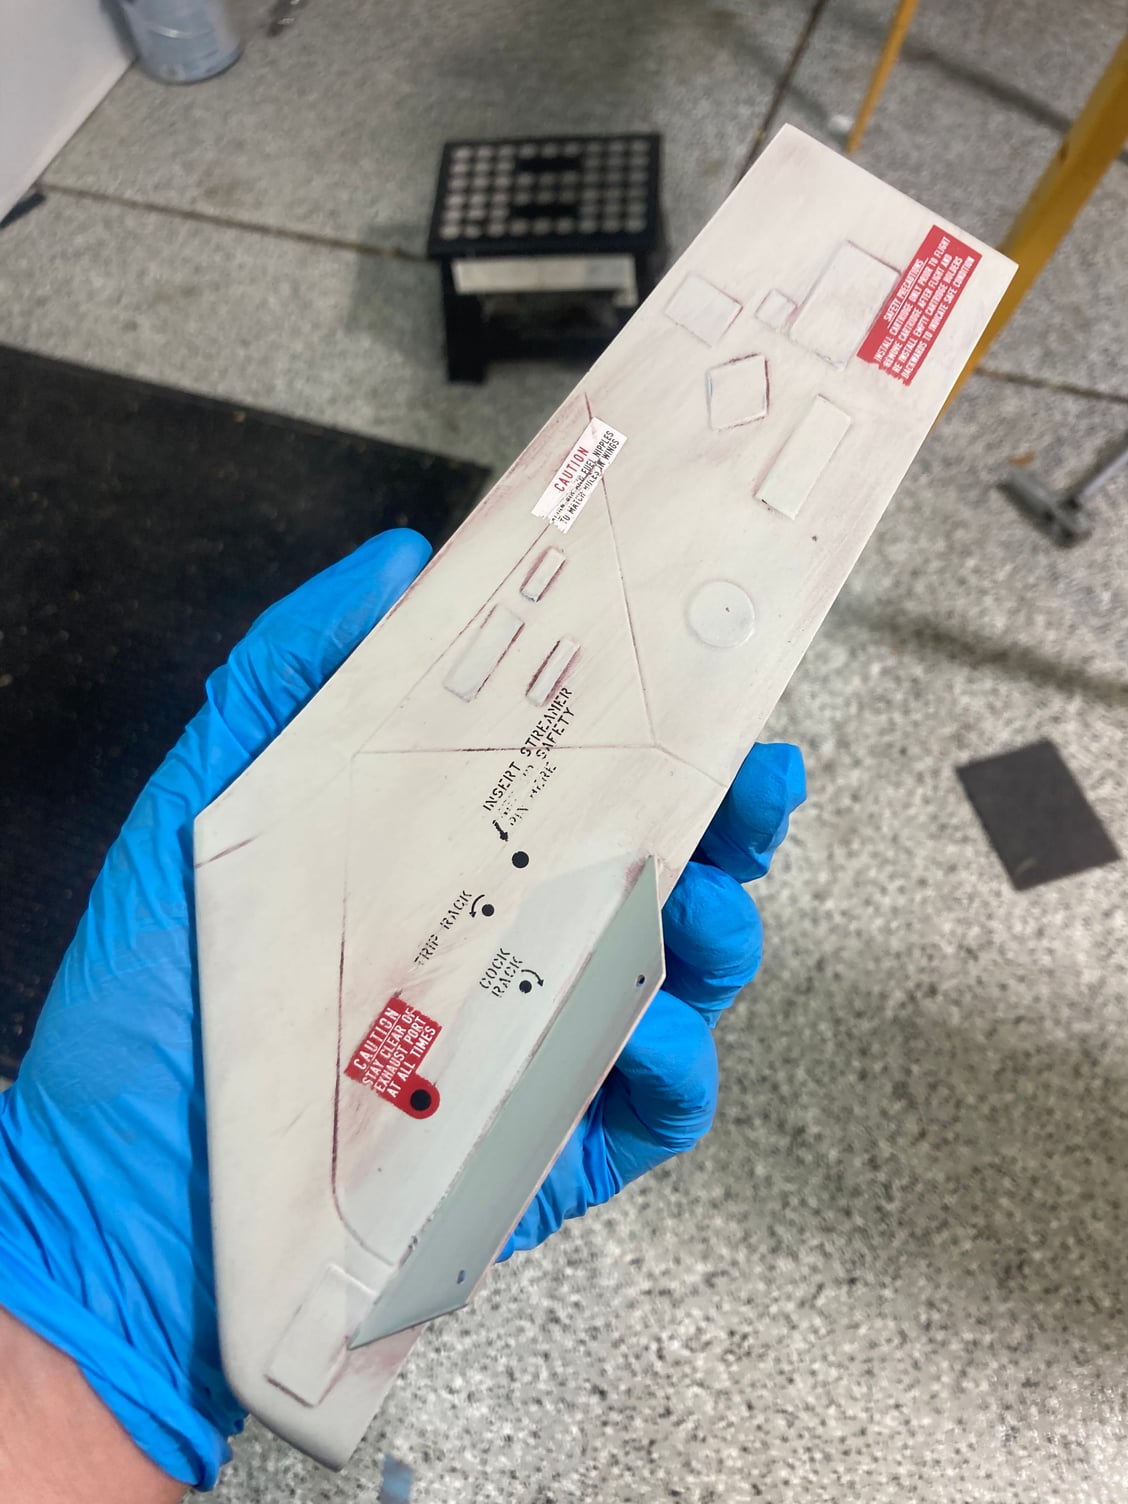
A pylon before the dark wash
Last edited by ozief16; 08-29-2021 at 04:34 PM.
The following users liked this post:
Viper1GJ (08-29-2021)