


FB 1/7th F15 scale build
 09-17-2015, 10:05 AM
#1


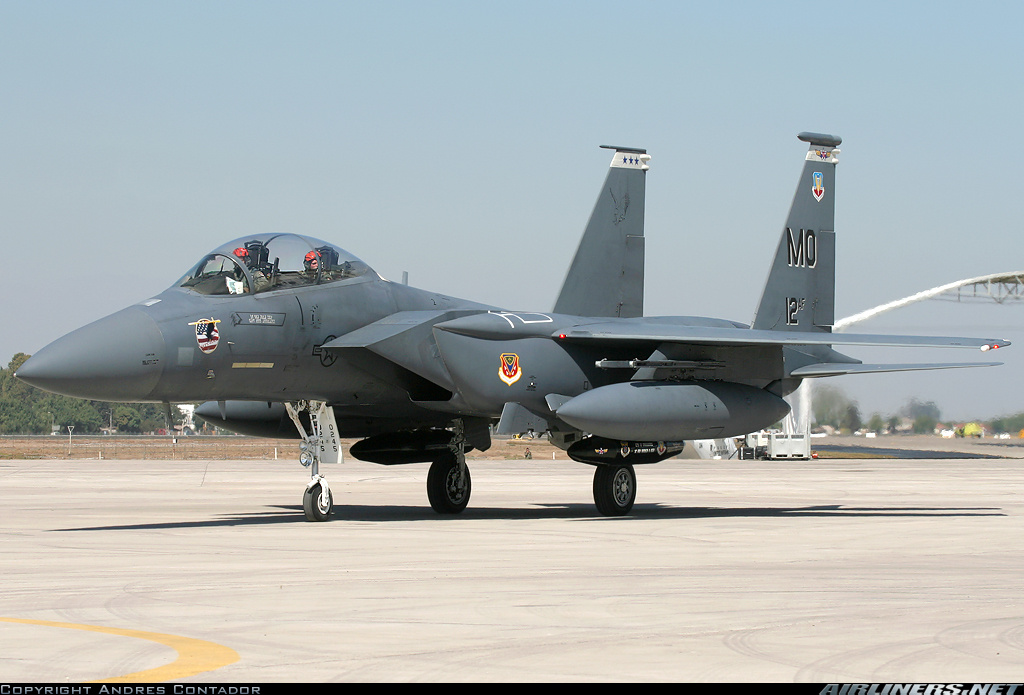
After the long wait finally got my plane! Going to do this one in the 911 Scheme. I want to go very scale with this one for competition. Some of my goals are no visible hatch latches, Movable inlets, All lights, and all hidden linkages. Also plan on filling the gap where the fuse joins together.
 09-17-2015, 10:10 AM
#2
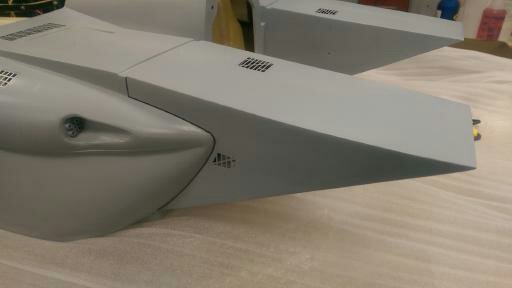
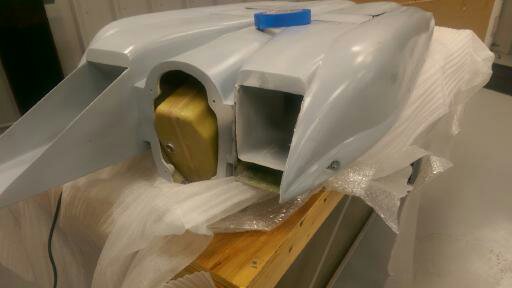
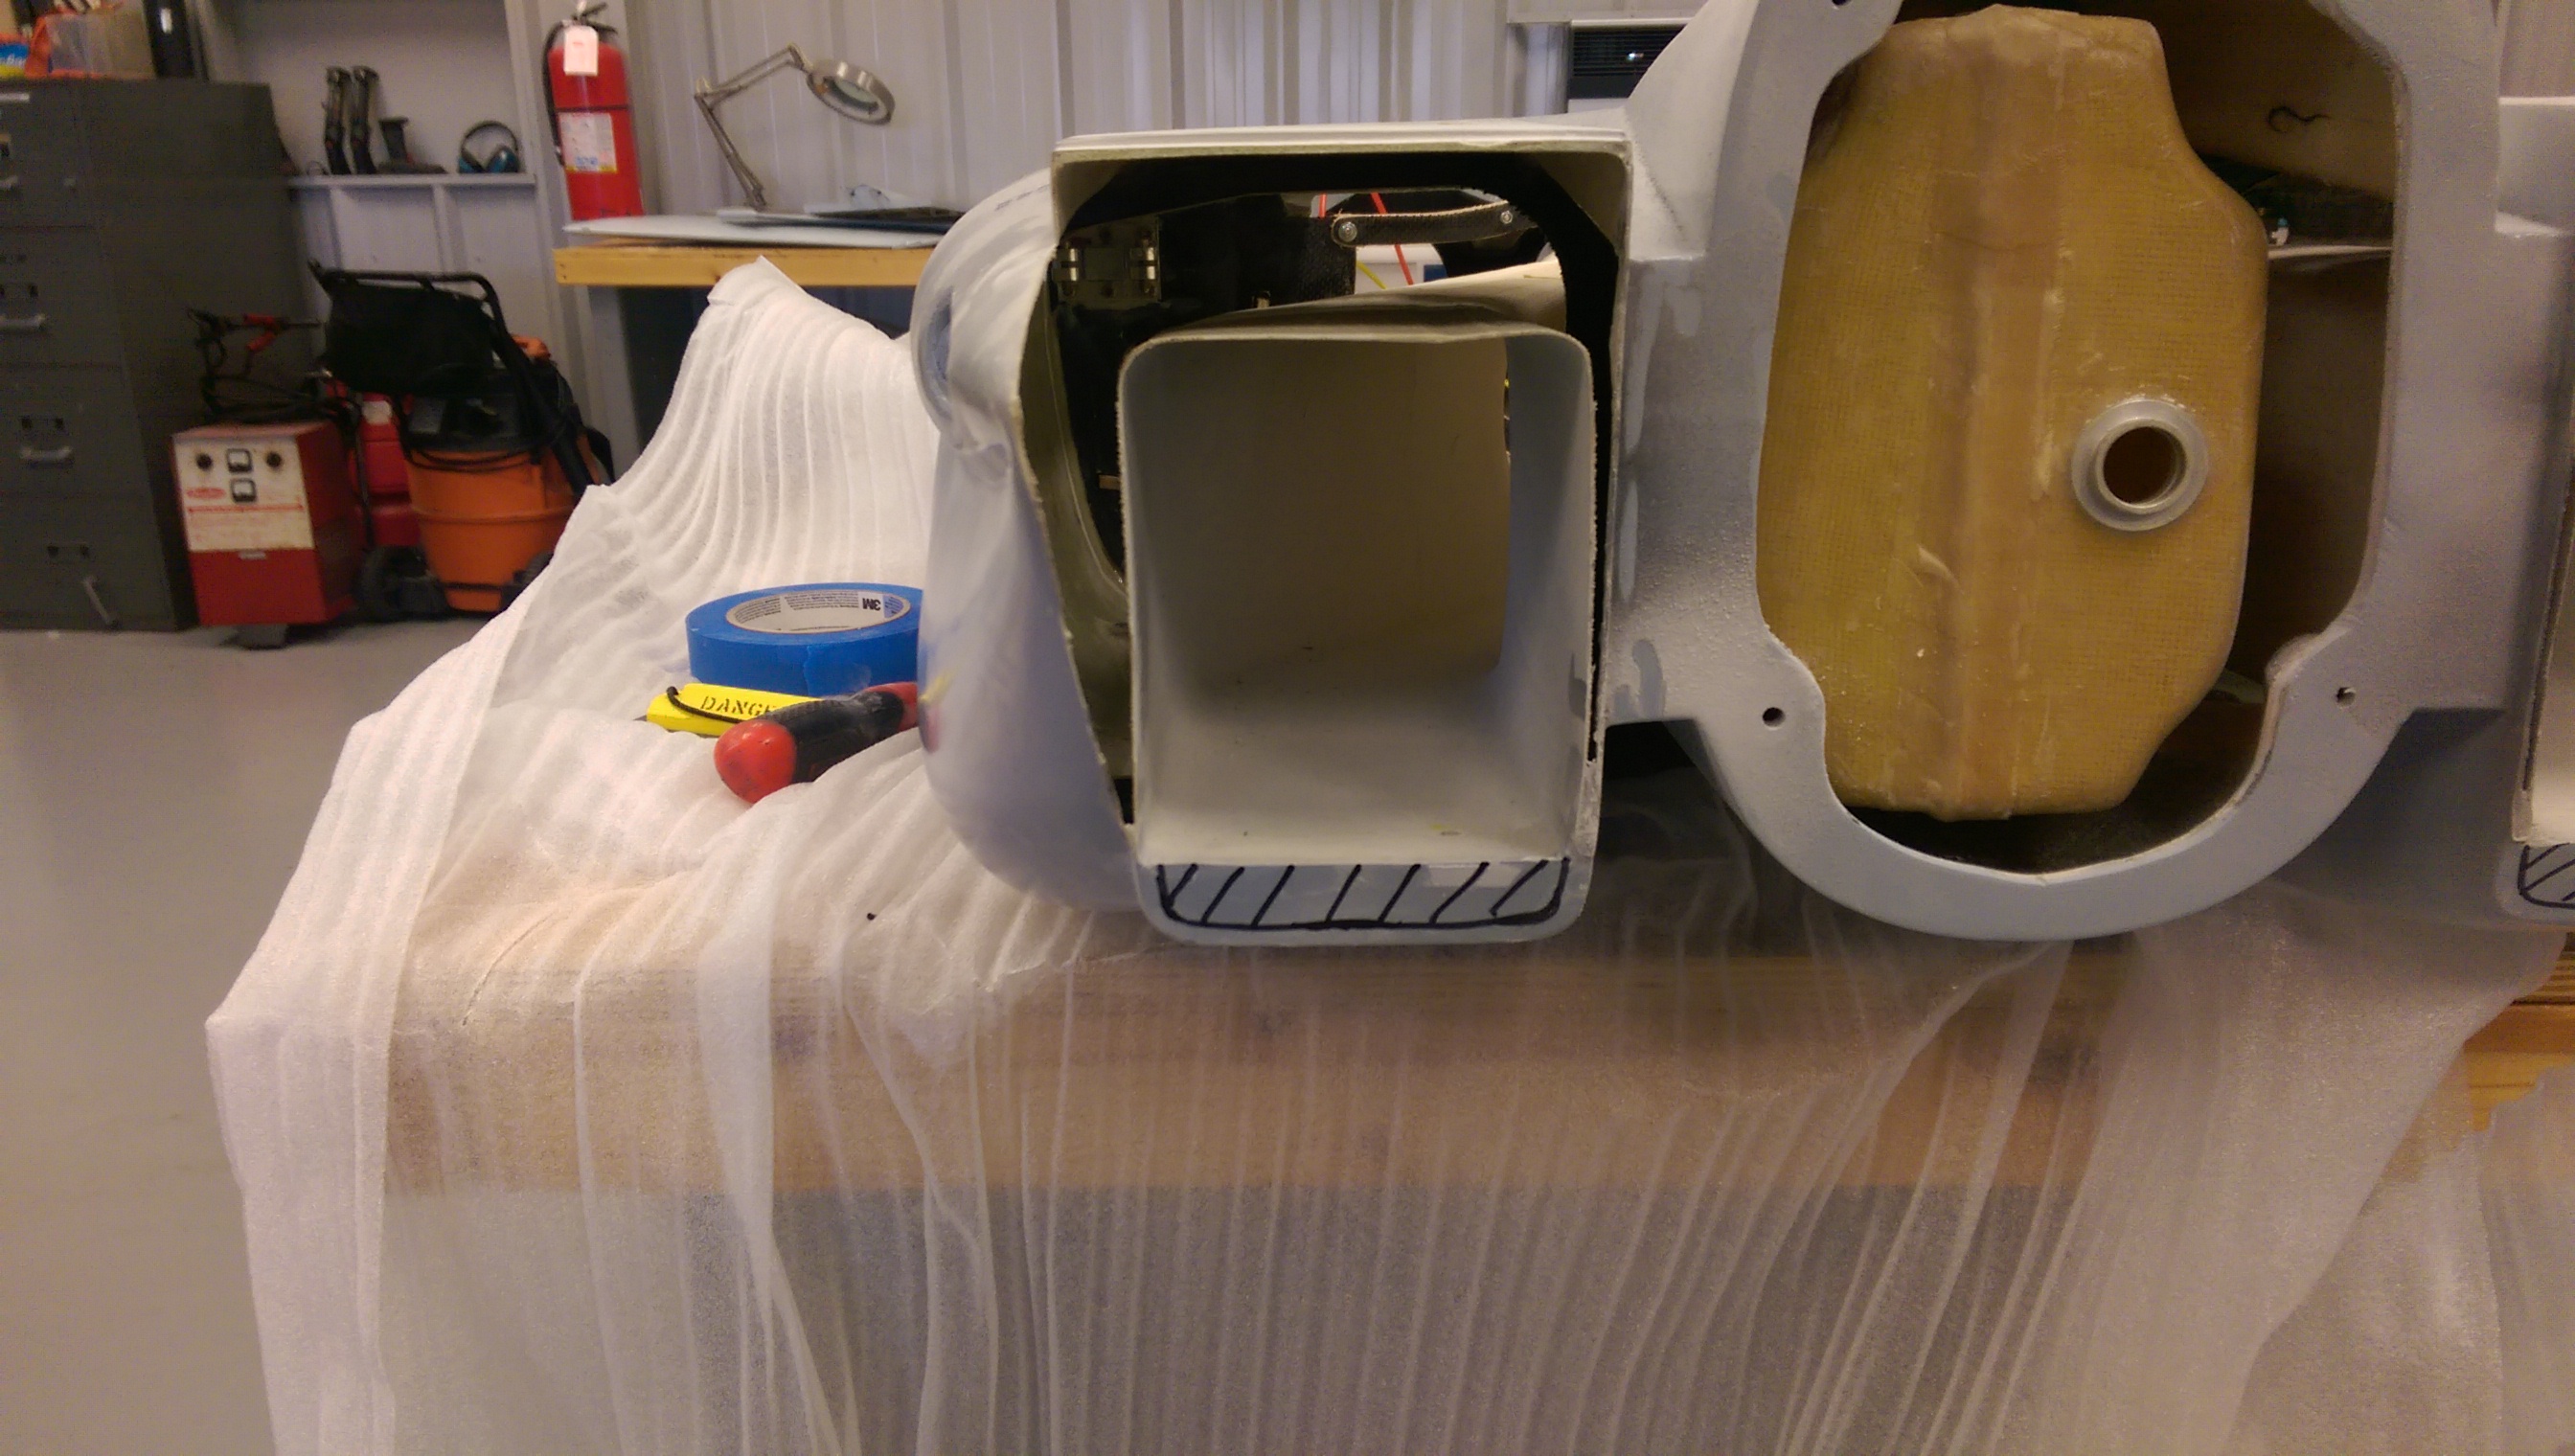
unboxing the plane very happy with it. Starting first on the inlets. Its going to be a huge pain but should be worth it in the end. I also noticed the bottom of the inlet is not even close to scale. So going to hack off the bottom of it and then try and redo some of the intake ducting. This is looking like its going to take allot of time to make right. Also happened to see the gun only has 4 gun barrels. The F15 has 6 so thats going to get removed and will make a new one from scratch. 

The work on this one will be kinda slow at first because I have another plane to finish building for Barry then I will be 100% onto this plane. Plan is to have it done and dialed in by FLjets.
The work on this one will be kinda slow at first because I have another plane to finish building for Barry then I will be 100% onto this plane. Plan is to have it done and dialed in by FLjets.
09-17-2015, 10:15 AM
#3
Some have asked me why bother with the inlets. The main reason is if I enter this for scale this model has them partially down. This will never happen on the ground so you cant match your pics with the model and that's points off in scale competition. On the F15 when the engines are off they default to the full open position. After engines are running they go to full down. For the most part they are down going slow and move up with airspeed. I will simulate this the best I can and more importantly it will be full open when engines are off to match scale documents.
Last edited by gunradd; 09-17-2015 at 12:10 PM.

 09-23-2015, 06:34 AM
#10

My Feedback: (1)
Gunradd
I have one and the gear have been a big pain. The biggest problem is the rotating pin that the strut plugs into breaks and is not up to the challenge. I even had one break on taxi. The original one was a one piece machined part. The new one is two pieces laser welded and completely not up to challenge. After several pics and proof Feibao finally has admitted there was a change and is making new batch and sending me new parts. I also had to work on retract mechanism and modify to get to work.(Worked fine on ground but not in air do to air pressure) Giant issue is elevator mechanism was hand tight and will fail. I had to cut open back of plane to reach parts remove locktite and tighten. Good news is the plane flys great once you get issues worked out. Another issue are the wings clamps, they get loose as well. You need to build and bracket them so wing stays in place.
God luck with your project
09-23-2015, 06:41 AM
#12
Kevin thanks for the info!! Jose from Global had the same problem with the elevator mechanism and showed me where he cut into the skin to gain access. Thanks for the heads up.
For the gear pins I hope mine is the one piece since I just got it but with my luck its not. Guess I will need to dig into that more. I am planning on adding a second gear valve on the upside on the mains so they have 2 supplies of air and adding a 3rd large air tank for the gear. I hope that will get the job done.
For the gear pins I hope mine is the one piece since I just got it but with my luck its not. Guess I will need to dig into that more. I am planning on adding a second gear valve on the upside on the mains so they have 2 supplies of air and adding a 3rd large air tank for the gear. I hope that will get the job done.
09-23-2015, 08:26 AM
#14

I'm wanting to replace those black rubber stoppers on one of my tanks, wondering of the large metallic inserts from Chief would be large enough. The BVM ones are too small.
David
09-23-2015, 08:38 AM
#15
Just curious, how did you install the jamnuts on the vent fittings? How did you reach all the way back there?
I'm wanting to replace those black rubber stoppers on one of my tanks, wondering of the large metallic inserts from Chief would be large enough. The BVM ones are too small.
David
I'm wanting to replace those black rubber stoppers on one of my tanks, wondering of the large metallic inserts from Chief would be large enough. The BVM ones are too small.
David
 removed mains and nose to flat spot axles and tighten all the loose stuff and locktite.
09-26-2015, 05:42 PM
removed mains and nose to flat spot axles and tighten all the loose stuff and locktite.
09-26-2015, 05:42 PM
#22

http://www.bigplanes.nl/contents/en-...-airplane.html
Icame across this hydraulic kit for rc kit looks nice but havent heard about them. I dont know why i want to go hydraulic. But i am thinking about it. I have the same kit just fej befor honeycomb
David
Icame across this hydraulic kit for rc kit looks nice but havent heard about them. I dont know why i want to go hydraulic. But i am thinking about it. I have the same kit just fej befor honeycomb
David
09-27-2015, 04:52 PM
#23
Looks nice with the wheels painted! Any issues with the disassembly/reassembly of them?
Have any of you got a lot of slop in the nose gear turning mechanism? If so any ideas for fixing? I have not had mine apart yet...
Also, heard from a few guys who have flown them that it needs a stiffer nose gear spring to keep the AoA from going negative on takeoff roll .. I've been there/done that with other planes .. Kevin .. did you have that experience? Also, can you briefly describe the mod you had to make regarding air resistance on the gear?
Many thanks,
Dave
09-28-2015, 03:13 AM
#24
Looks nice with the wheels painted! Any issues with the disassembly/reassembly of them?
Have any of you got a lot of slop in the nose gear turning mechanism? If so any ideas for fixing? I have not had mine apart yet...
Also, heard from a few guys who have flown them that it needs a stiffer nose gear spring to keep the AoA from going negative on takeoff roll .. I've been there/done that with other planes .. Kevin .. did you have that experience? Also, can you briefly describe the mod you had to make regarding air resistance on the gear?
Many thanks,
Dave
Have any of you got a lot of slop in the nose gear turning mechanism? If so any ideas for fixing? I have not had mine apart yet...
Also, heard from a few guys who have flown them that it needs a stiffer nose gear spring to keep the AoA from going negative on takeoff roll .. I've been there/done that with other planes .. Kevin .. did you have that experience? Also, can you briefly describe the mod you had to make regarding air resistance on the gear?
Many thanks,
Dave
My nose gear trunion has allot of slop and I assume that's the part your talking about. This part is only for scale looks and does not do anything for the nose nose gear. So its ok to have slop. I also see the trunion slides on the top when the gear is retracted to make sure you dont tighten that securing screw to much.
09-28-2015, 04:20 AM
#25
They are super nice. Very large = requires a 1" DIA hole in the tank for the metallic sleeve, to be hysoled permanently in place. They come with three nipples, two are straight and other one is a 90 deg elbow. The fitting requires two nipples, one facing into the tank for the fuel pick up line, and one facing outside for the fuel "supply" line.....you can either use the 90 deg or the straight nipple for this, then the remaining one is used for tank venting.
I think its a good solution for tanks wiith oversized rubber stops like yours. I'm only using it on my "main" tank.
David