Skymaster 1:7.5 F-4 Phantom


 12-15-2021, 09:25 AM
#329
Hi,
Ah, ok. I see. Are people having that problem due to airflow over the door opening them or pressure from inside? In the past, I've built little 'ramps' or 'spoilers' to aerodynamically push the door closed. They were pretty diminutive, and unless you were a crew-chief on the FS, you wouldn't know they weren't scale. On a bigger plane, I even made some that was basically an inverted airfoil about 1/4" wide, sandwiched between two 1/16" ply vertical walls about 1/4" tall. The whole thing was a 1/4" cubed and looked like some kind of raised intake grill. Kept the doors closed tight at speed, but relaxed enough when you slowed down as not to be an impediment to the rams opening the doors.
12-15-2021, 09:40 AM
#330
 12-16-2021, 12:18 PM
#332

My Feedback: (1)
Hi,
Ah, ok. I see. Are people having that problem due to airflow over the door opening them or pressure from inside? In the past, I've built little 'ramps' or 'spoilers' to aerodynamically push the door closed. They were pretty diminutive, and unless you were a crew-chief on the FS, you wouldn't know they weren't scale. On a bigger plane, I even made some that was basically an inverted airfoil about 1/4" wide, sandwiched between two 1/16" ply vertical walls about 1/4" tall. The whole thing was a 1/4" cubed and looked like some kind of raised intake grill. Kept the doors closed tight at speed, but relaxed enough when you slowed down as not to be an impediment to the rams opening the doors.
Ah, ok. I see. Are people having that problem due to airflow over the door opening them or pressure from inside? In the past, I've built little 'ramps' or 'spoilers' to aerodynamically push the door closed. They were pretty diminutive, and unless you were a crew-chief on the FS, you wouldn't know they weren't scale. On a bigger plane, I even made some that was basically an inverted airfoil about 1/4" wide, sandwiched between two 1/16" ply vertical walls about 1/4" tall. The whole thing was a 1/4" cubed and looked like some kind of raised intake grill. Kept the doors closed tight at speed, but relaxed enough when you slowed down as not to be an impediment to the rams opening the doors.
12-17-2021, 04:21 AM
#334

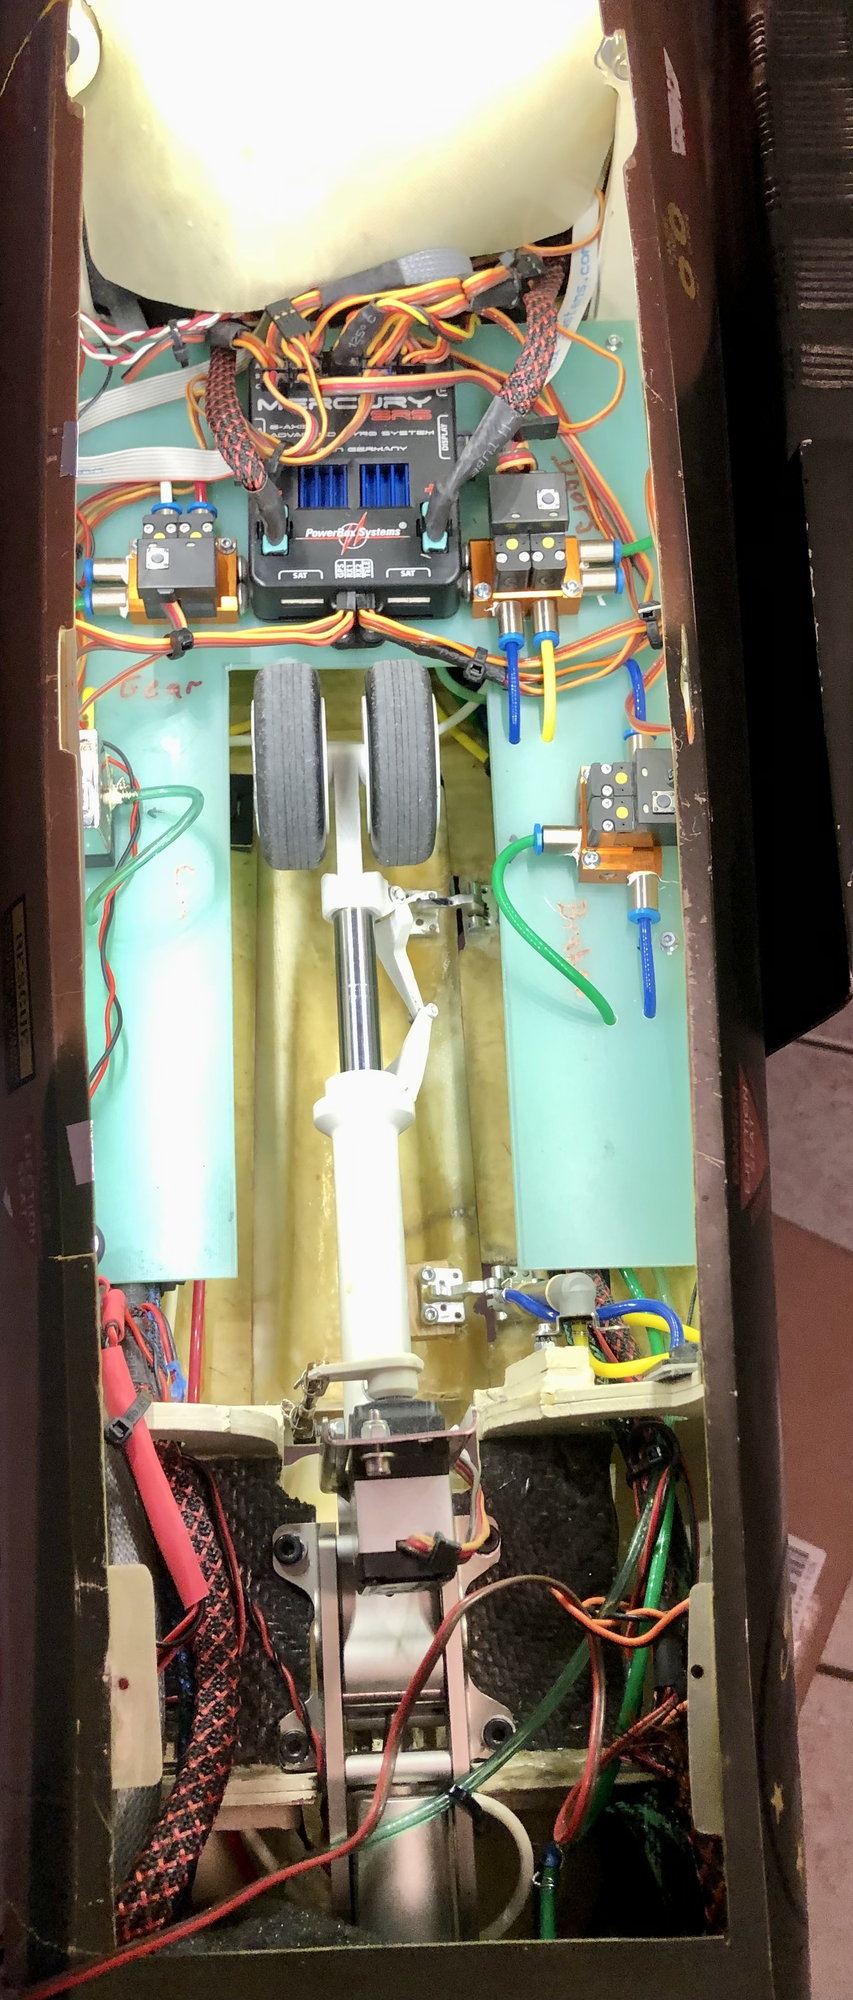
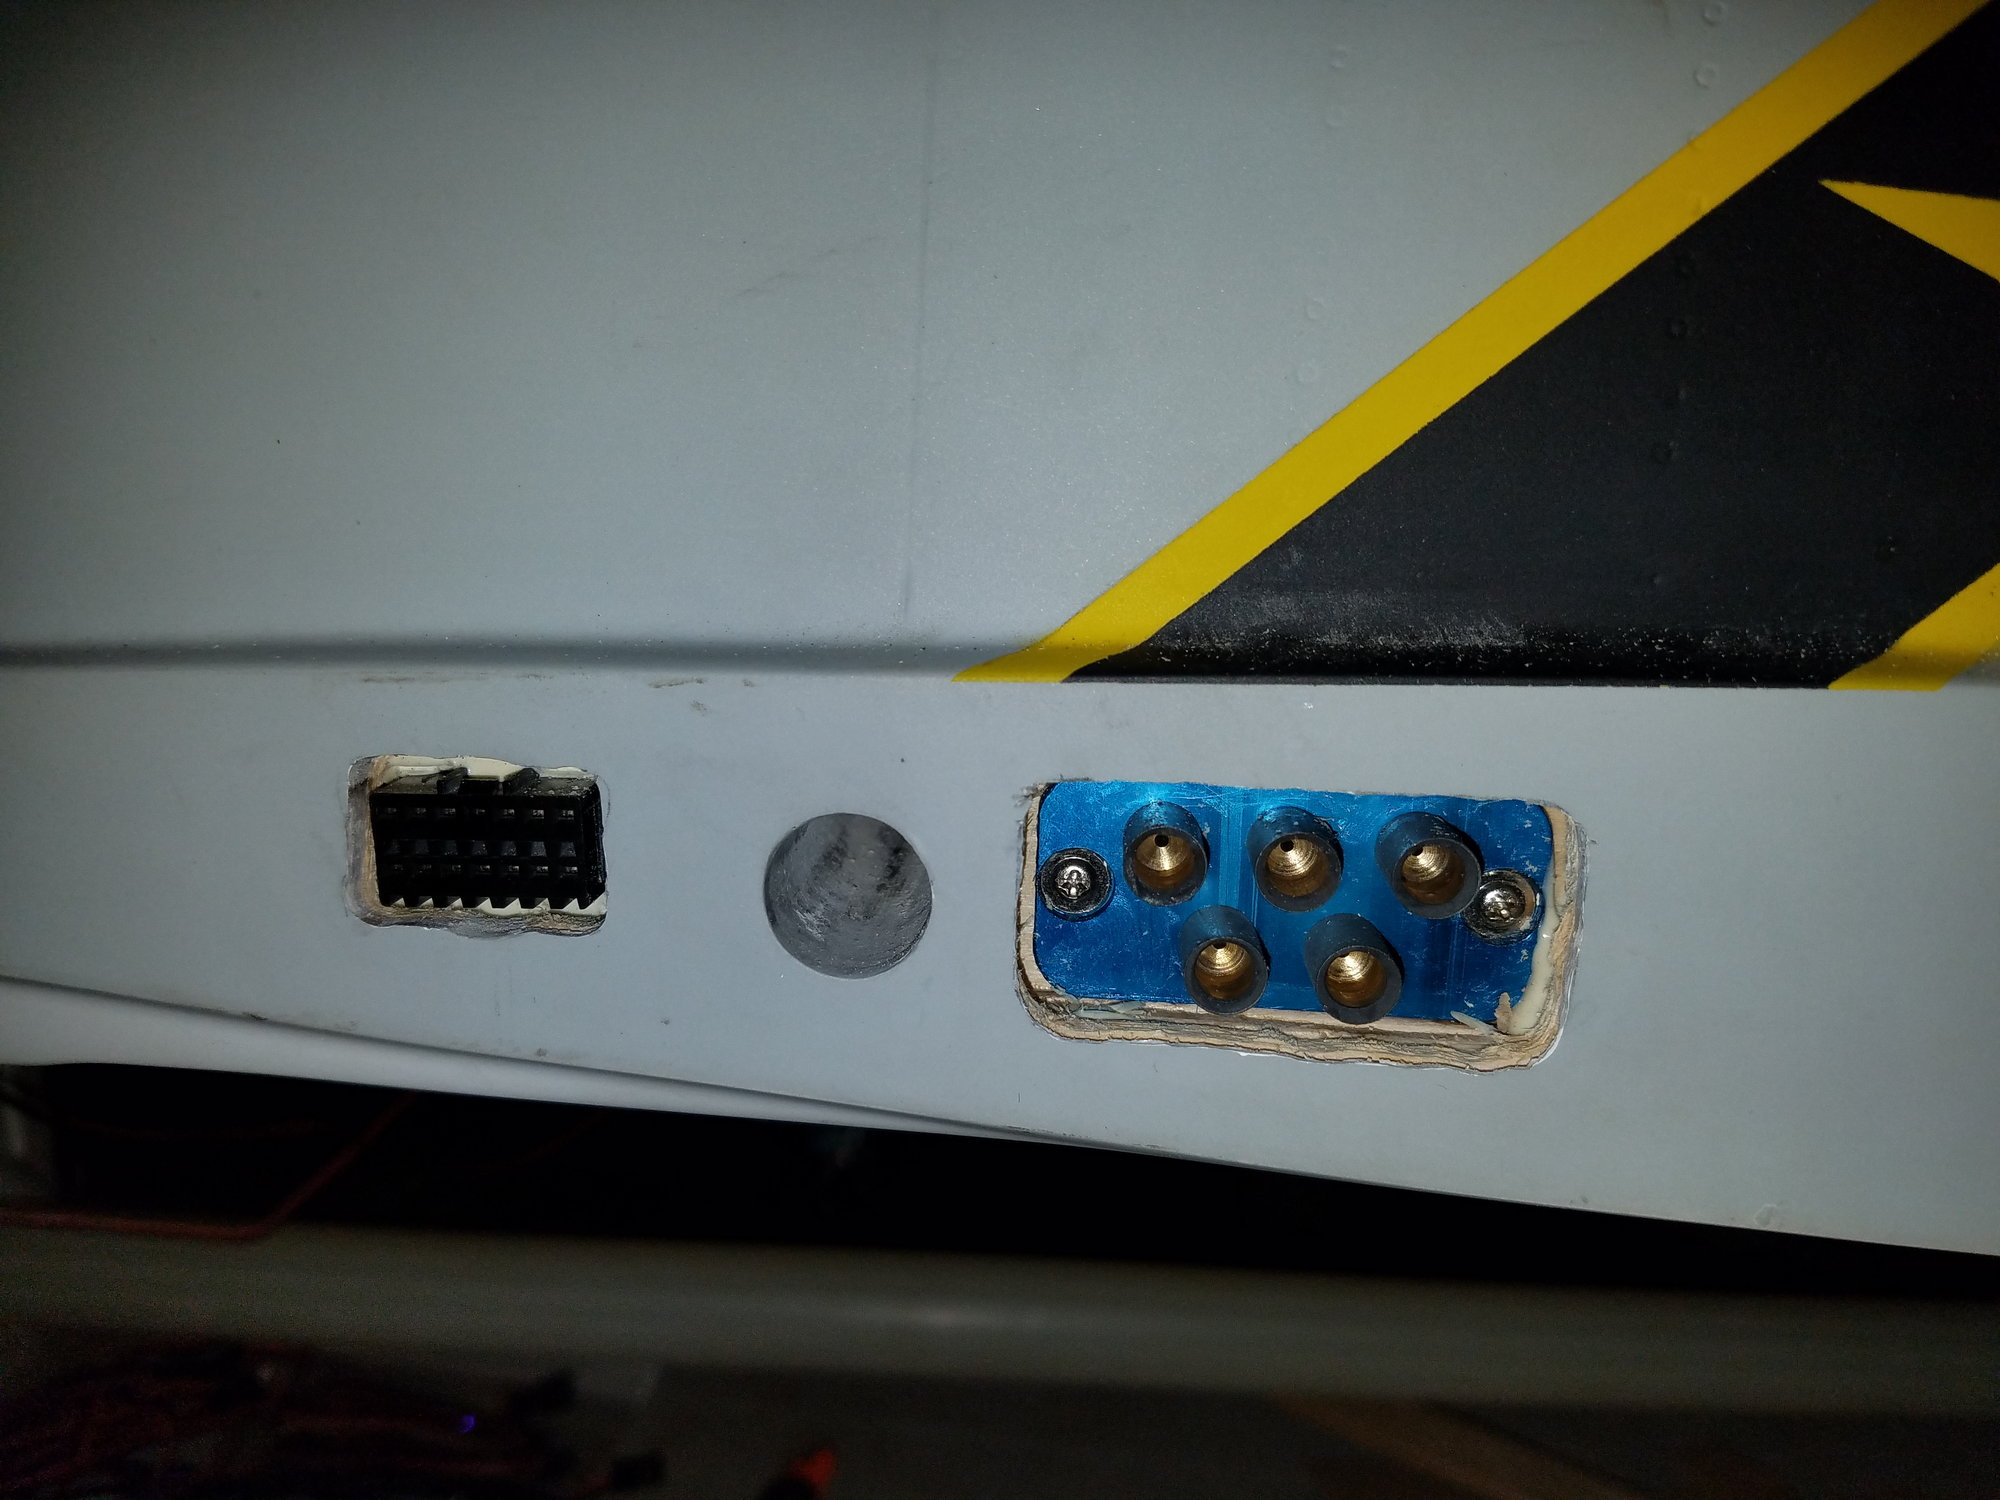
Mercury SRS in the center. Flanking it with EvoJet dual valves for retracts and doors.
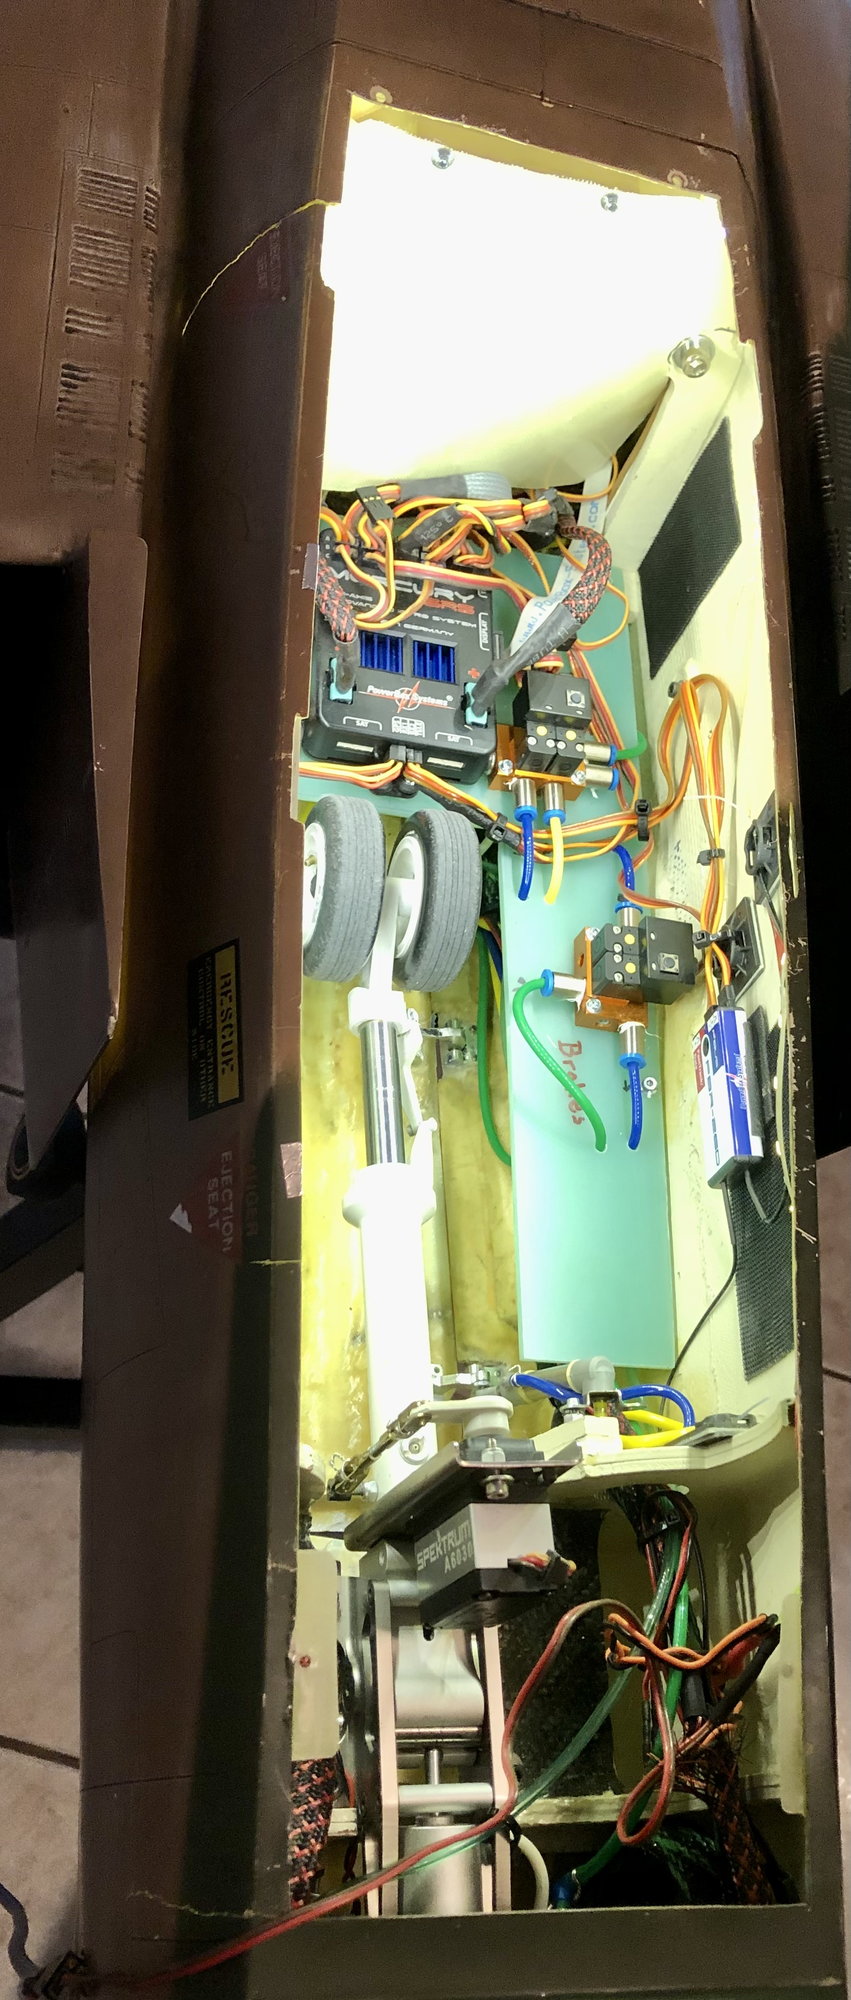
EvoJet dual Brake valve. This valve is true proportional with single air line from the valve to it's respective side.
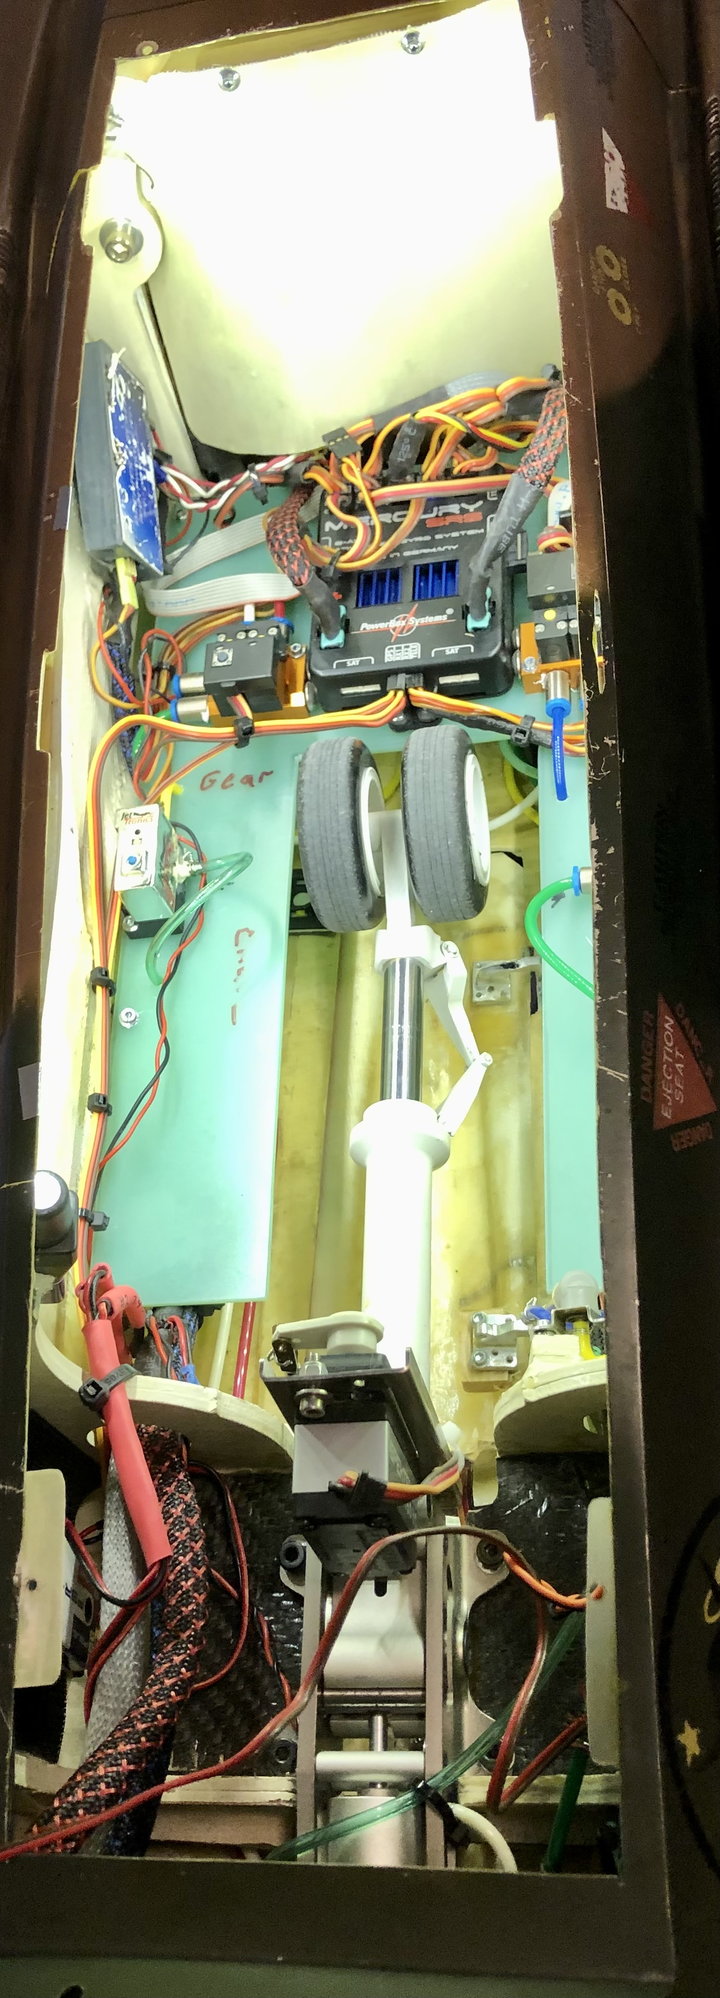
The Jetronic single valve is for the chute
12-17-2021, 04:31 AM
#335
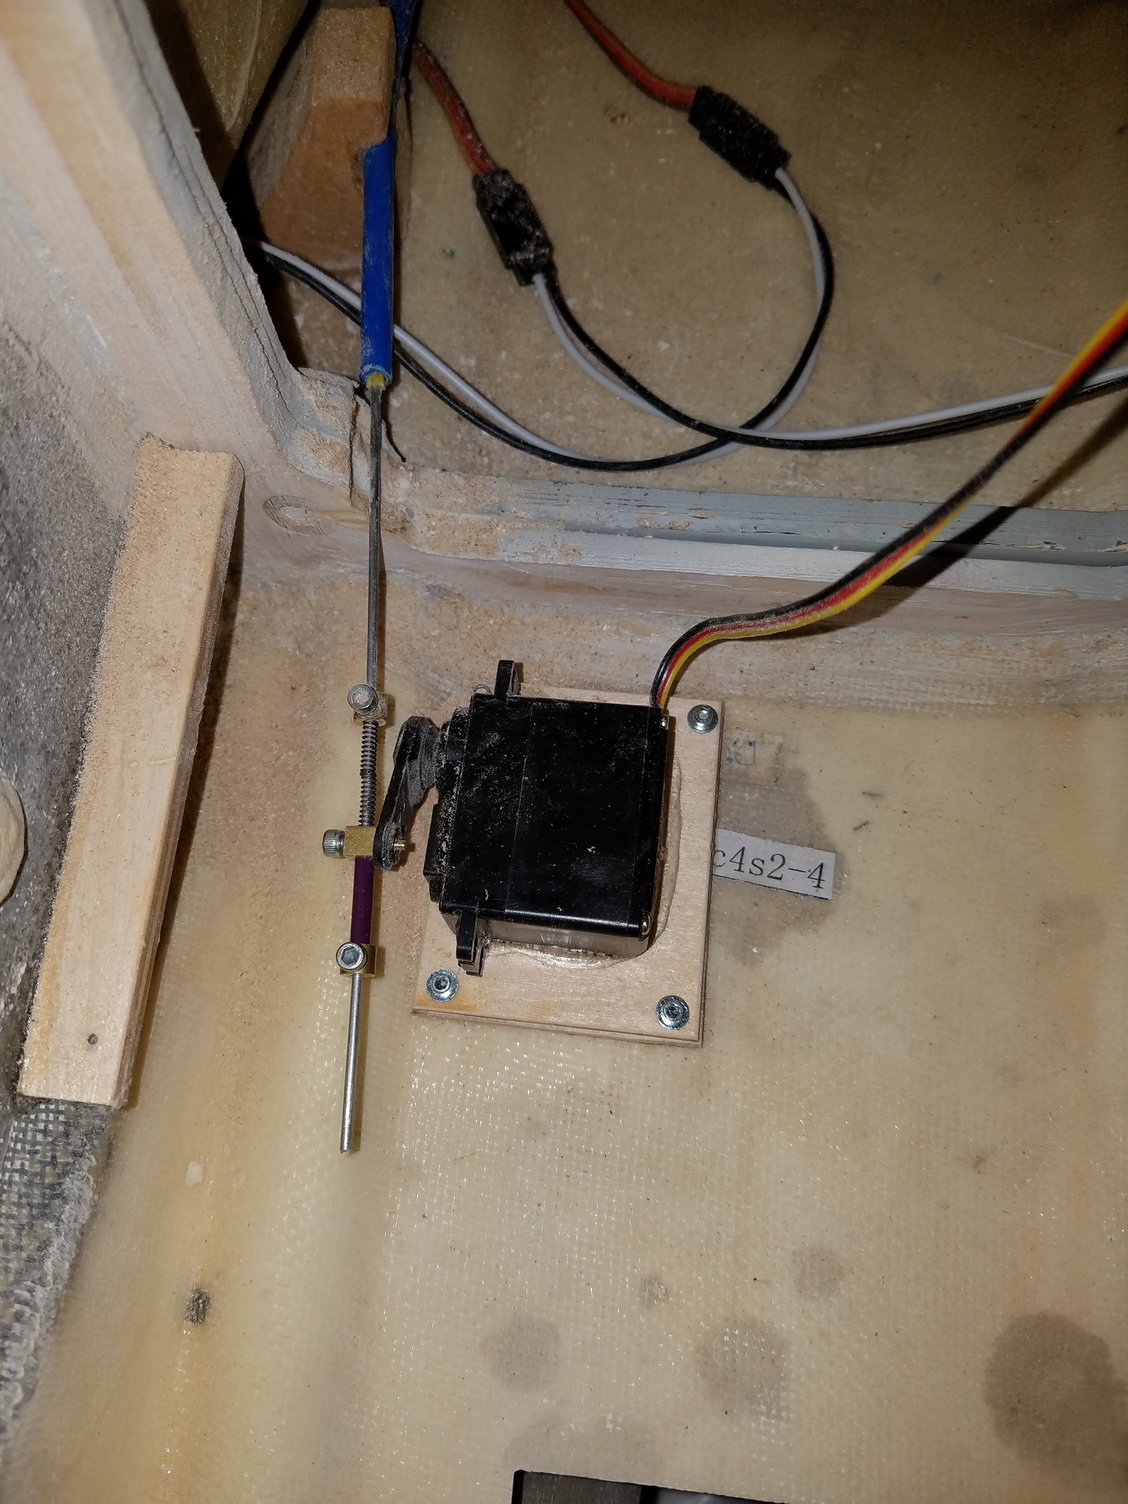
As I mentioned in the previous post. I don't want to remove the cockpit when at the flying field.
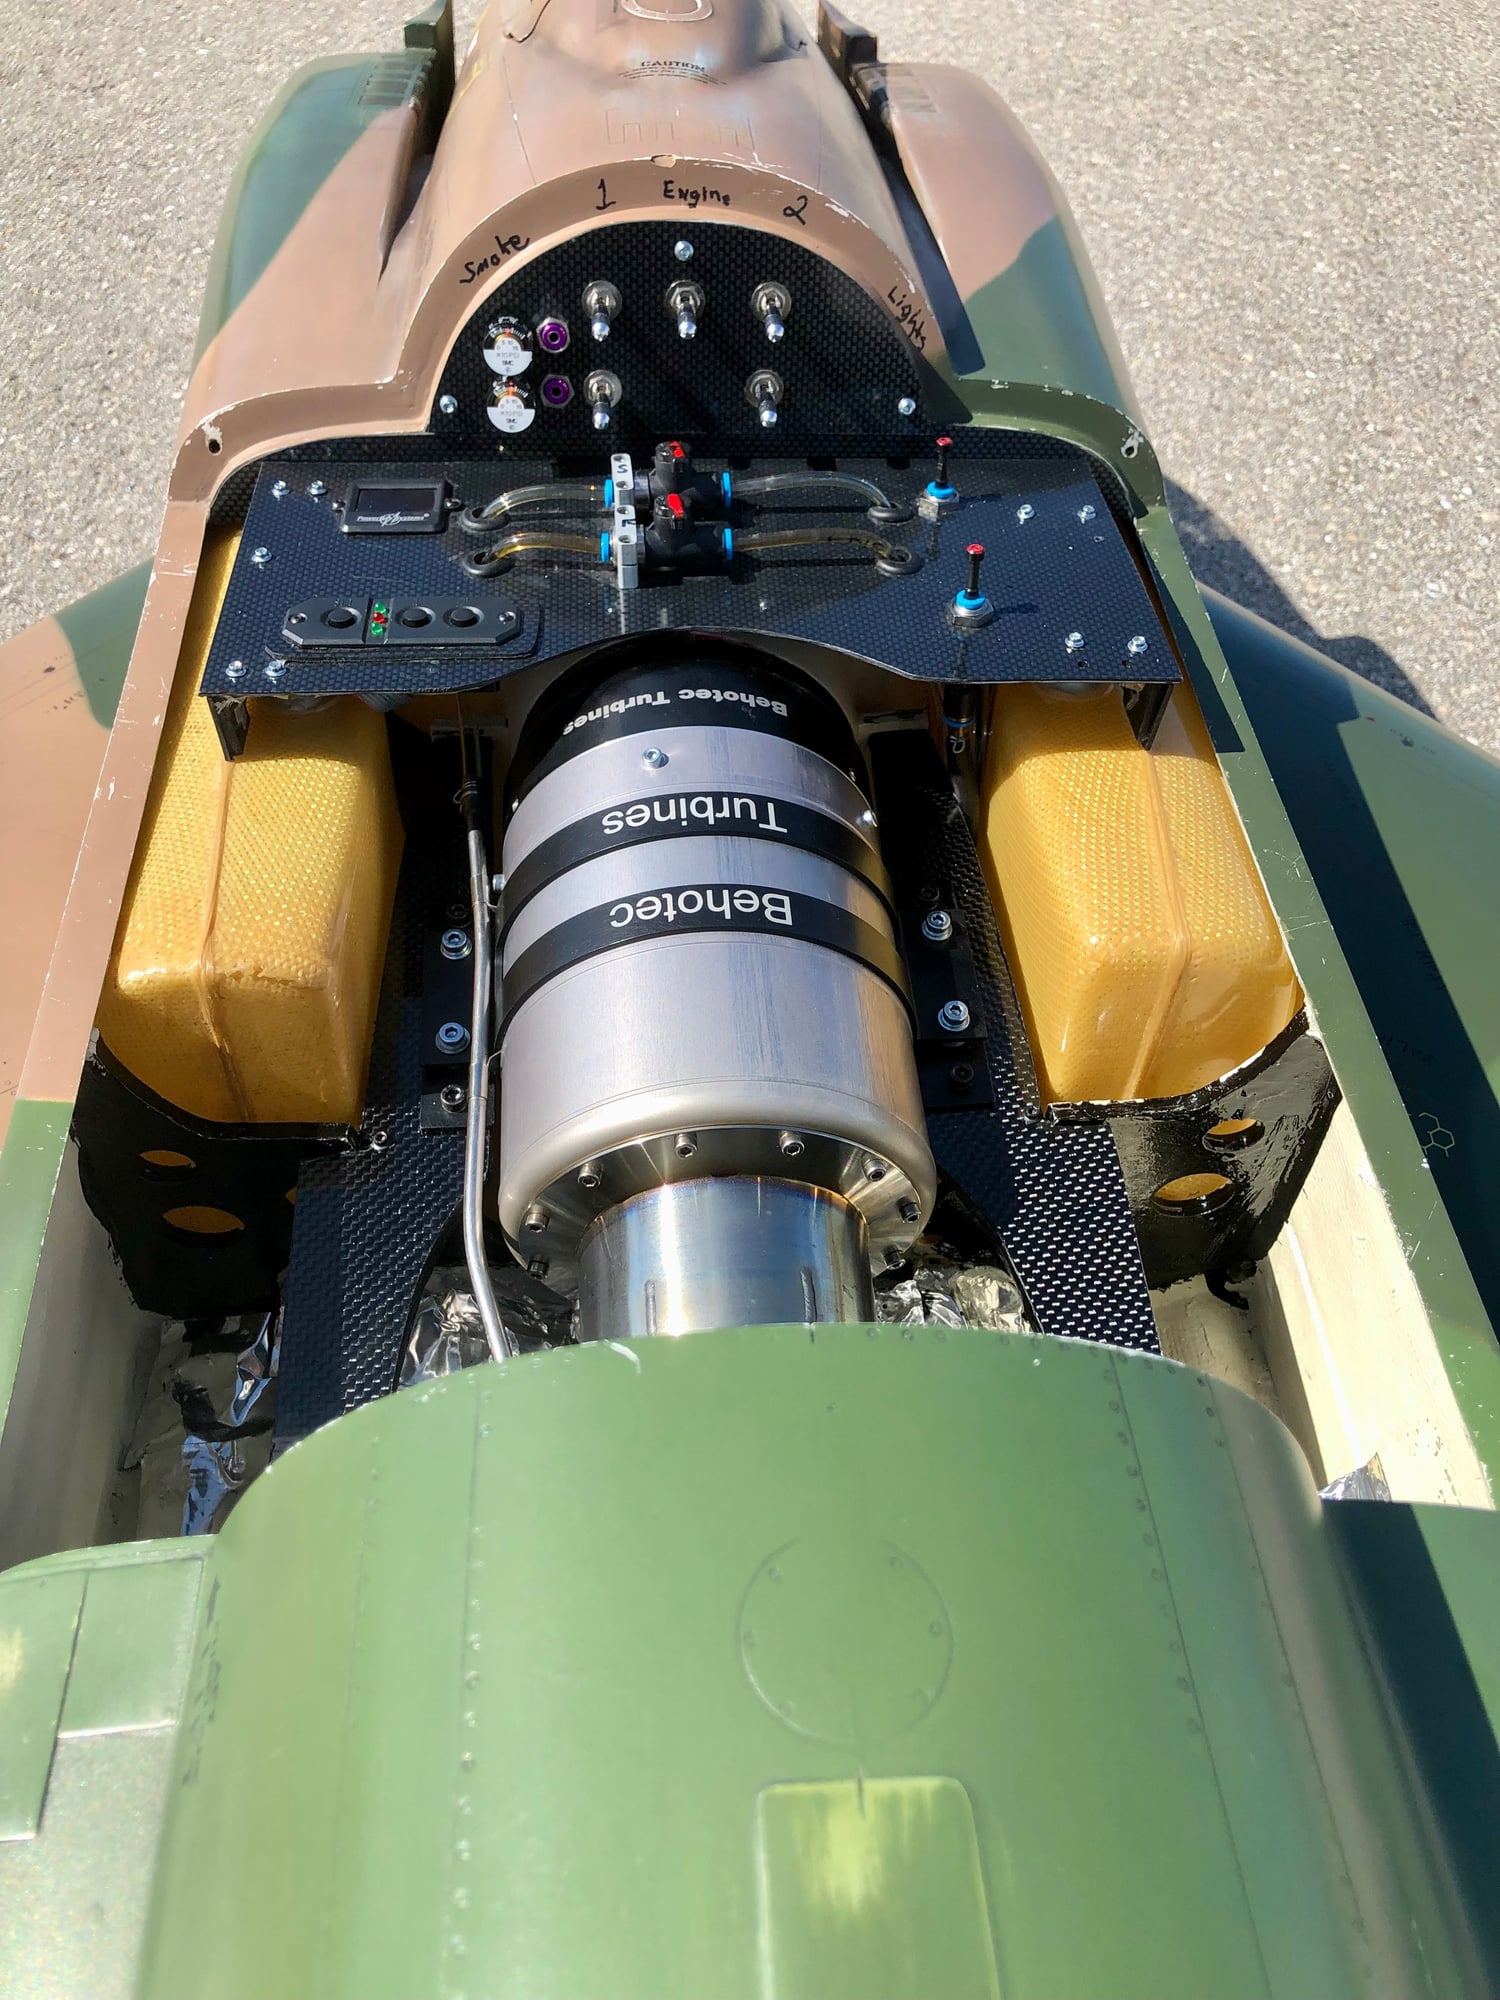
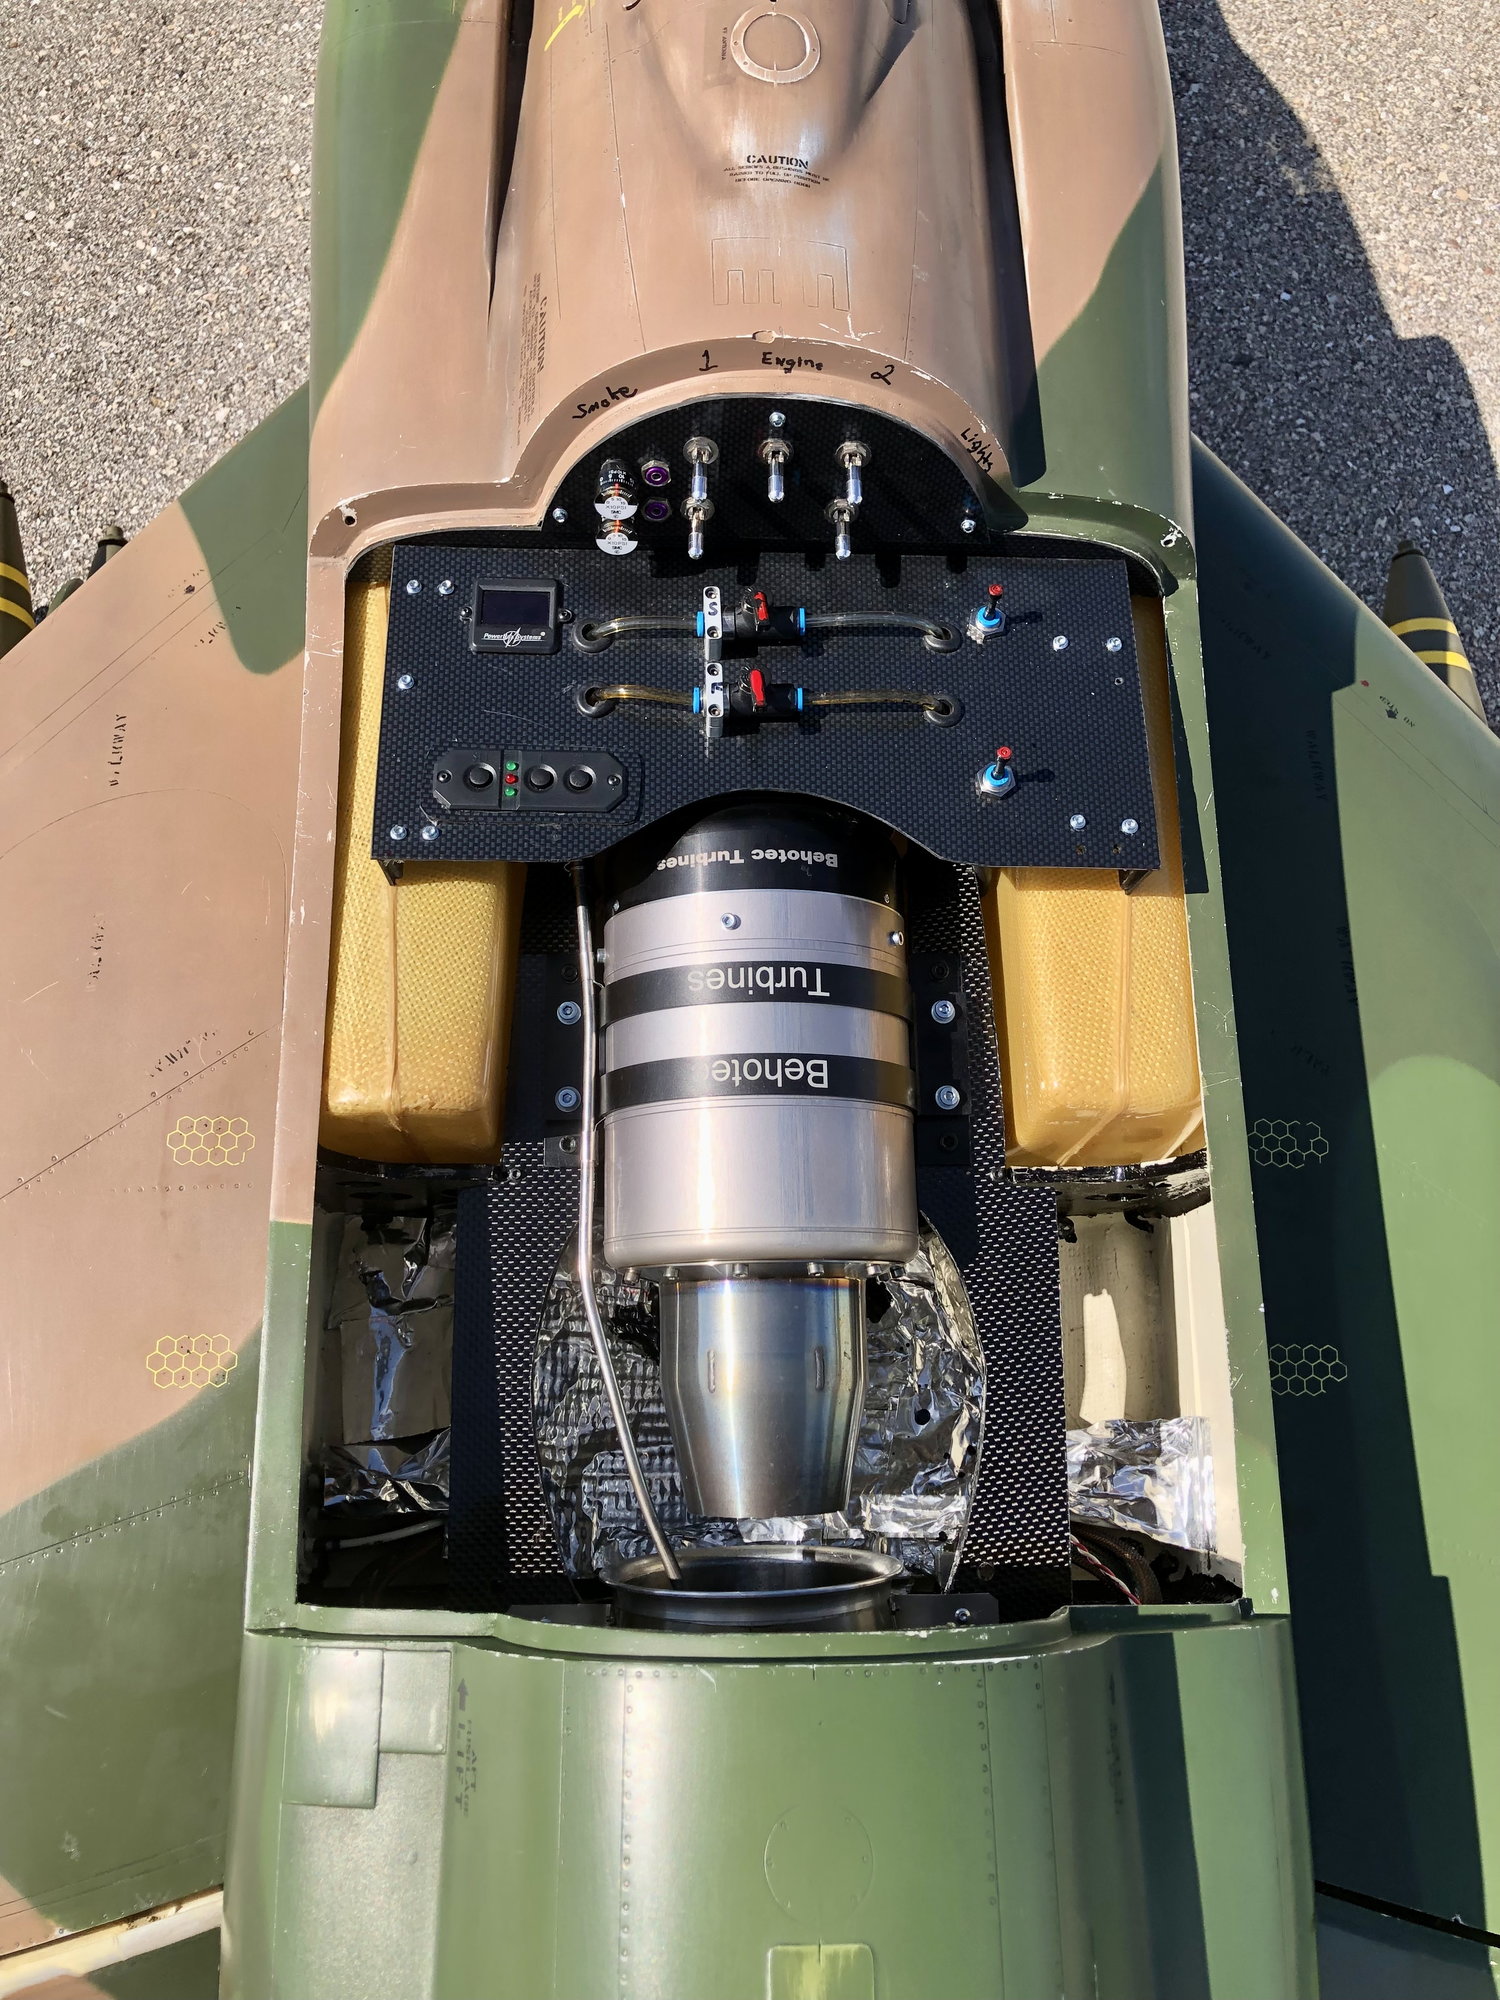
Notice the Master "Locking Bat Switches". These switches are used in full scale. Top row from left to right. #1 Battery, Engine Battery, #2 Battery. Bottom row left to right is; Smoke Battery, Lights. The two fueling station is smoke and fuel. Air gages and valves for brakes and gear. The the PB switch and screen. I only use the PB switch for programming. Otherwise it stays ON. The Bat switches are the Masters.
The carbon fiber look is the fake plastic laminated to G10 for strength. Then the whole panel is fastened with heavy duty Velcro.
12-17-2021, 10:33 PM
#337
Guys,
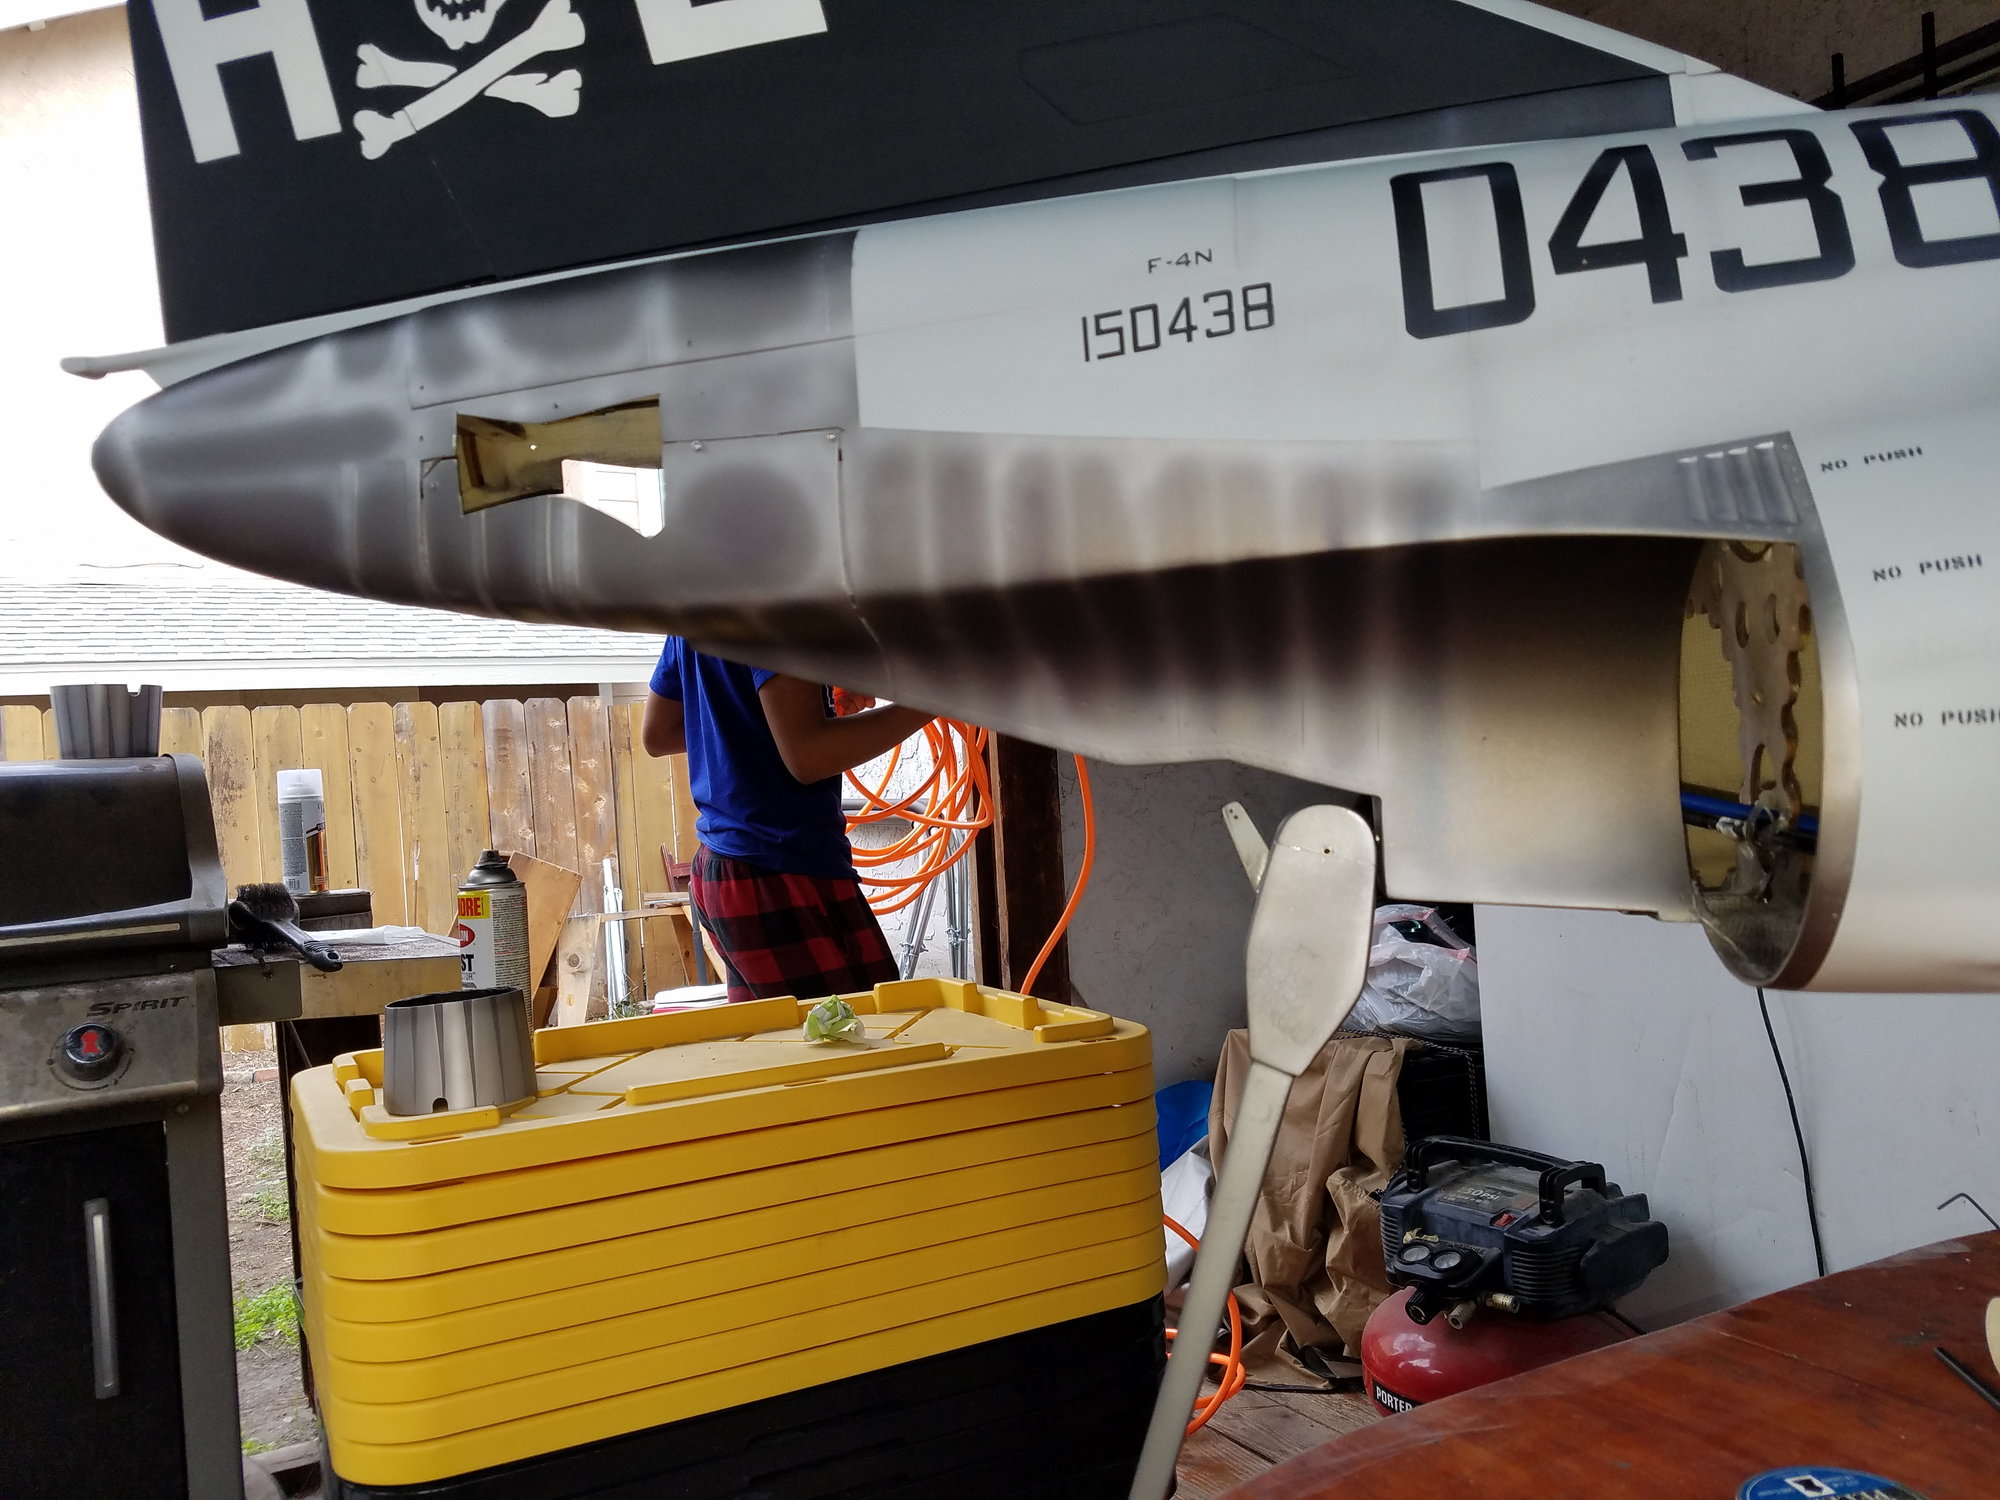
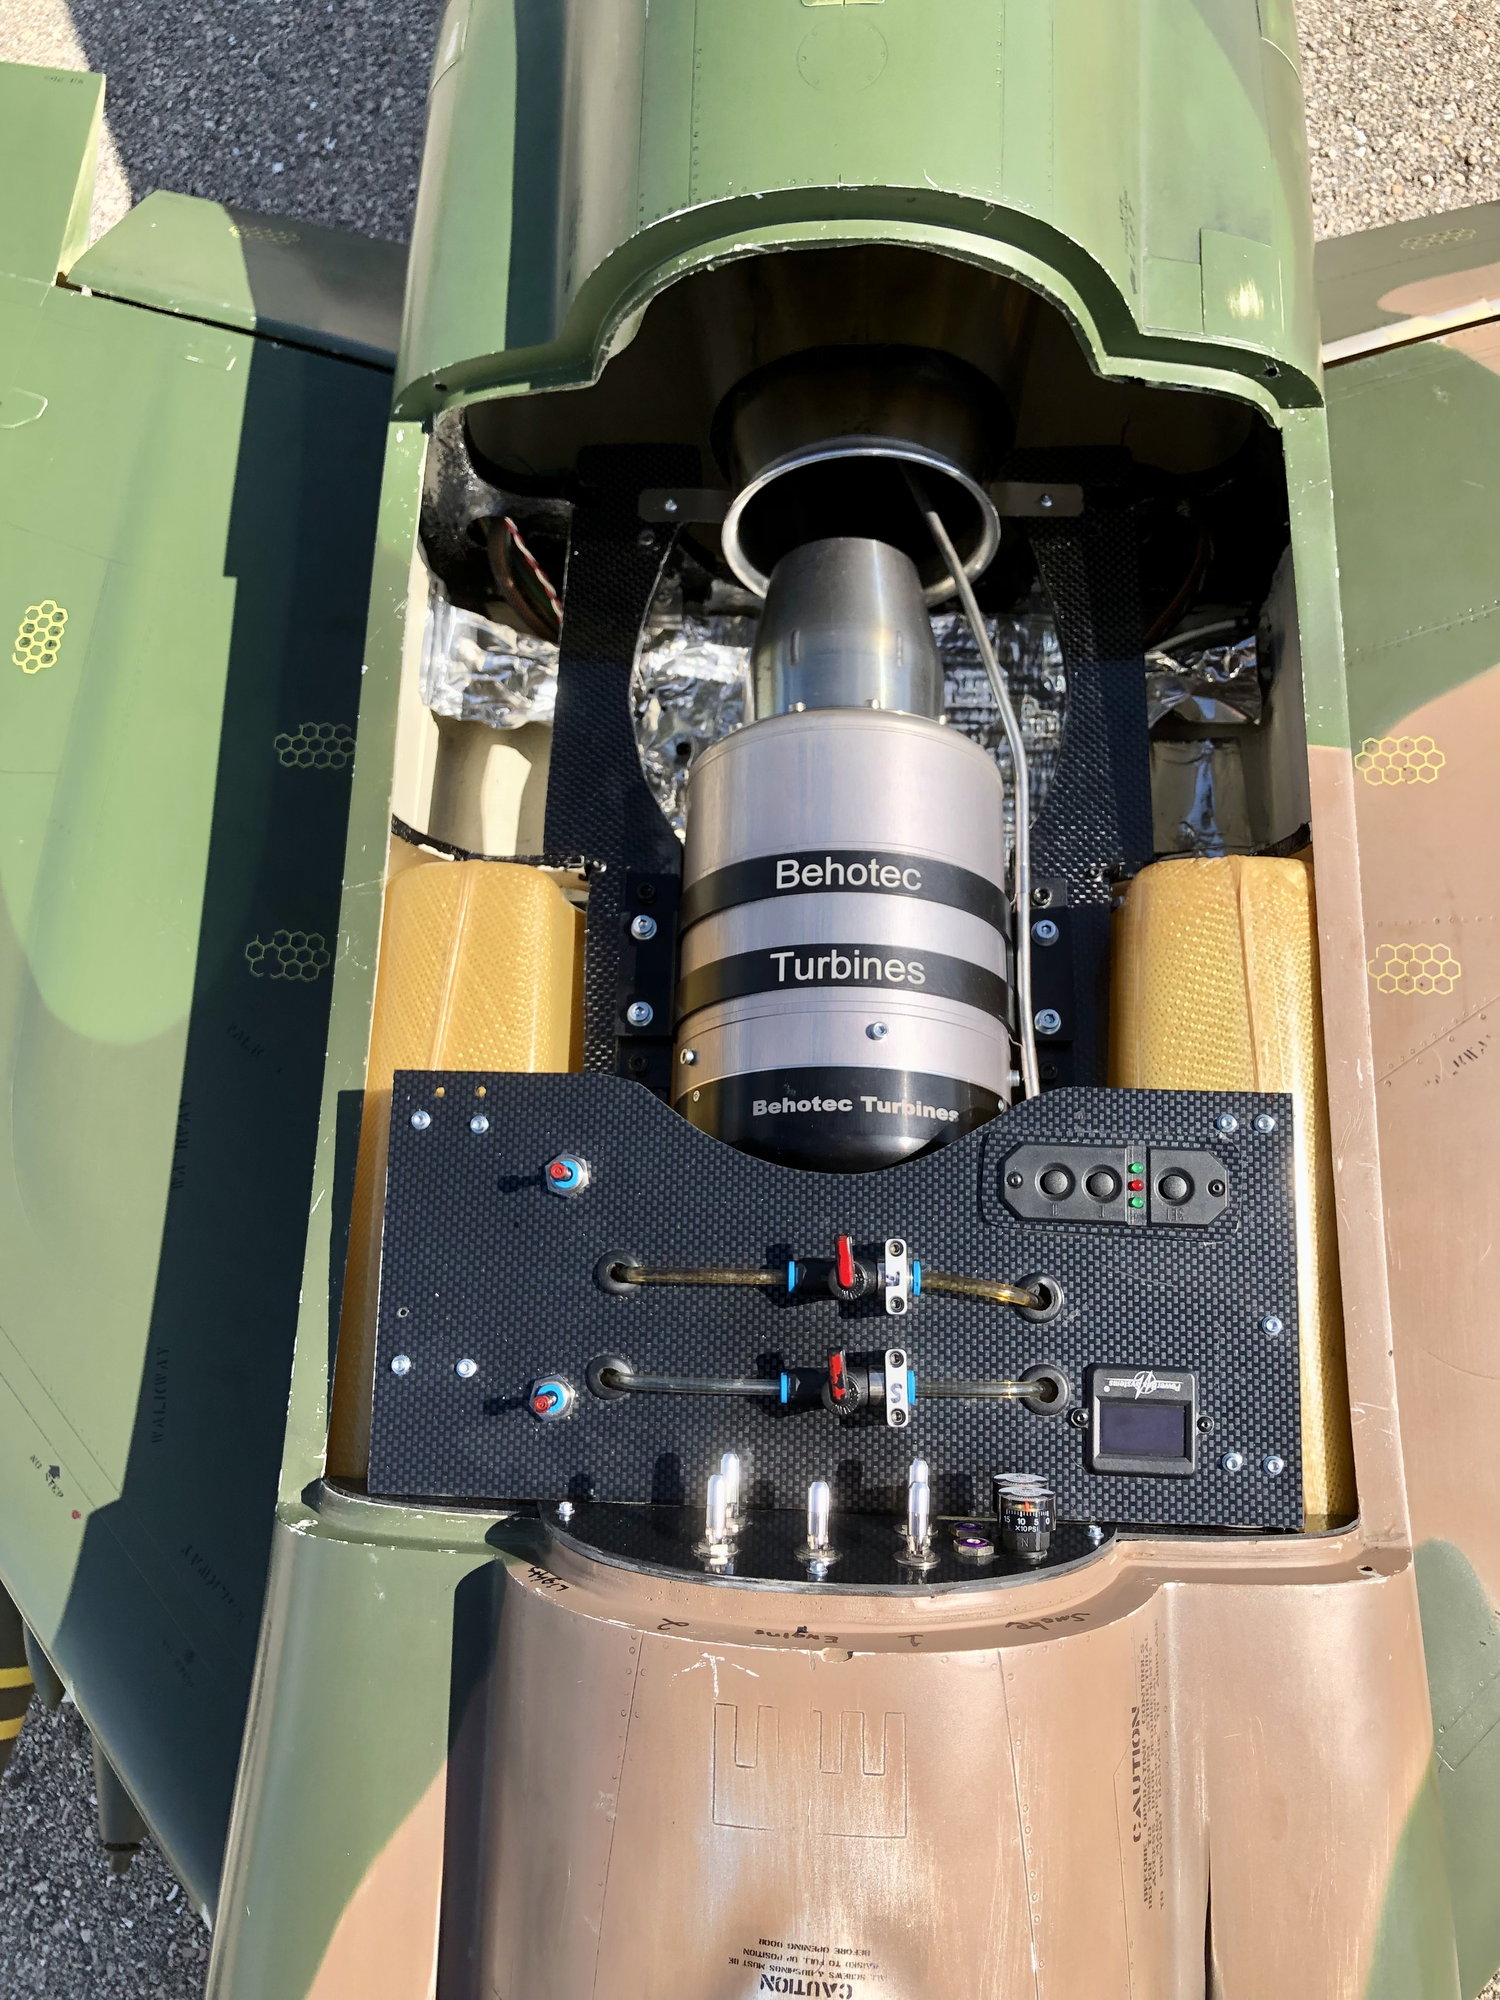
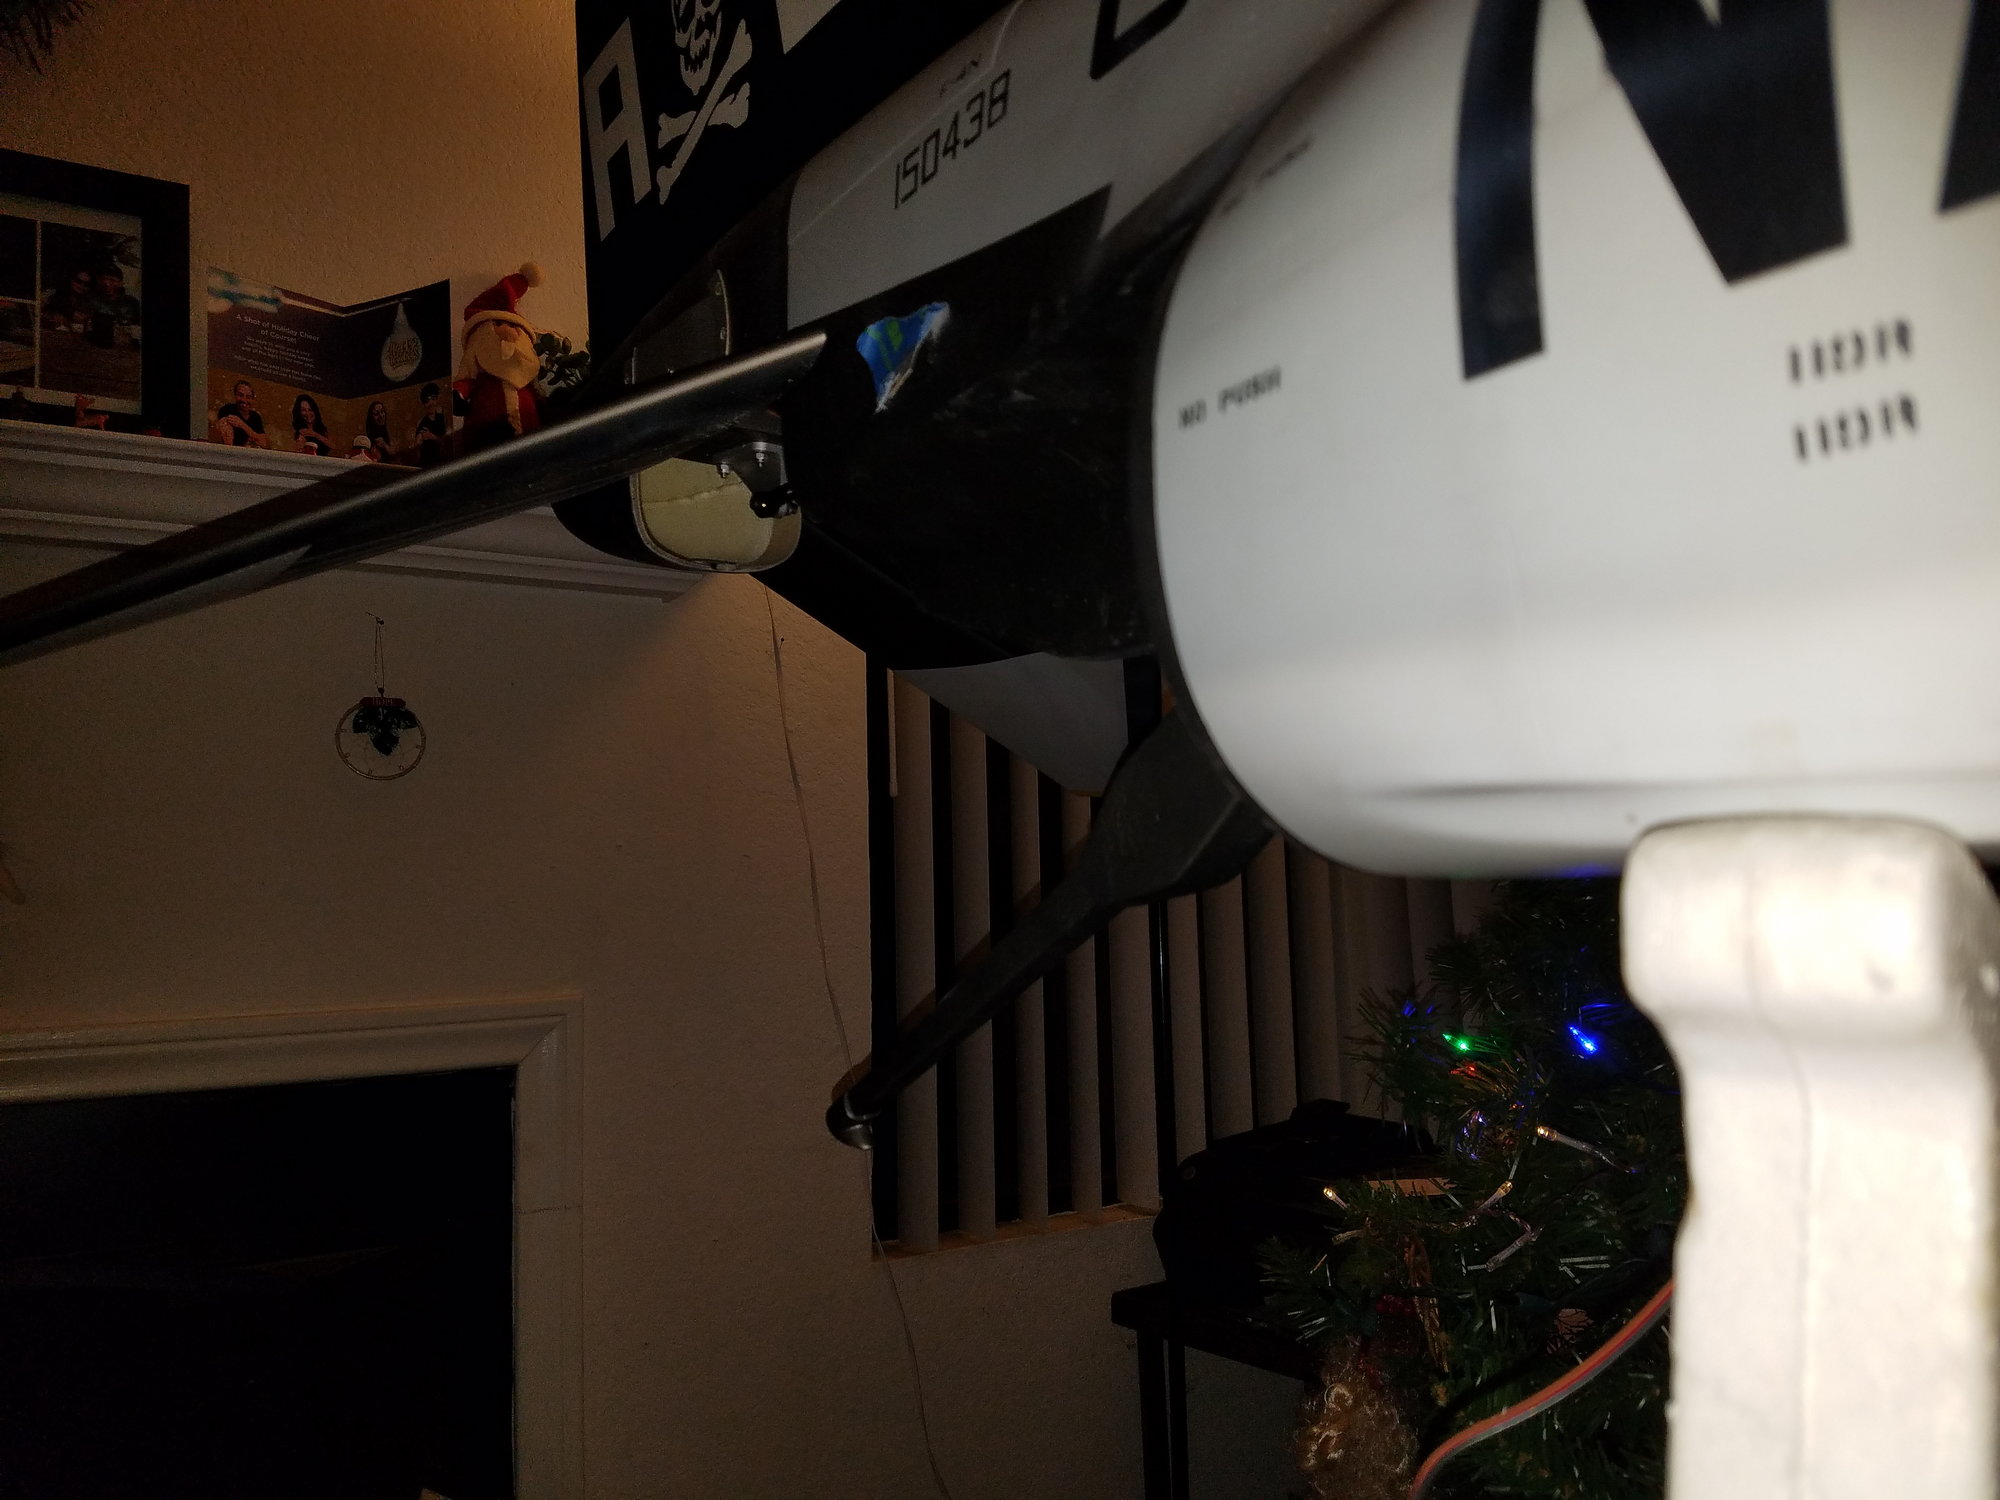
With the stock pipe, I've read that the bend should angle downward. This one has a written 'UP' indication on the 'top' of the pipe, but the exhaust side is definitely not thrusted downward. What's the scoop on this?
With the stock pipe, I've read that the bend should angle downward. This one has a written 'UP' indication on the 'top' of the pipe, but the exhaust side is definitely not thrusted downward. What's the scoop on this?
12-18-2021, 05:01 AM
#338
The Tam pipe doesn't have the up or down bend in the pipe at the rear. I have the engine and pipe tilted down a good 5 degrees. The exit of the pipes are as low as can exit the exhaust cones.
Last edited by RCFlyerDan; 12-18-2021 at 08:49 AM.
12-18-2021, 06:13 AM
#339
This past week, I was fortunate enough to fly with Marvin from Miami. Besides an excellent pilot, he is an excellent photographer.

Off on a mission
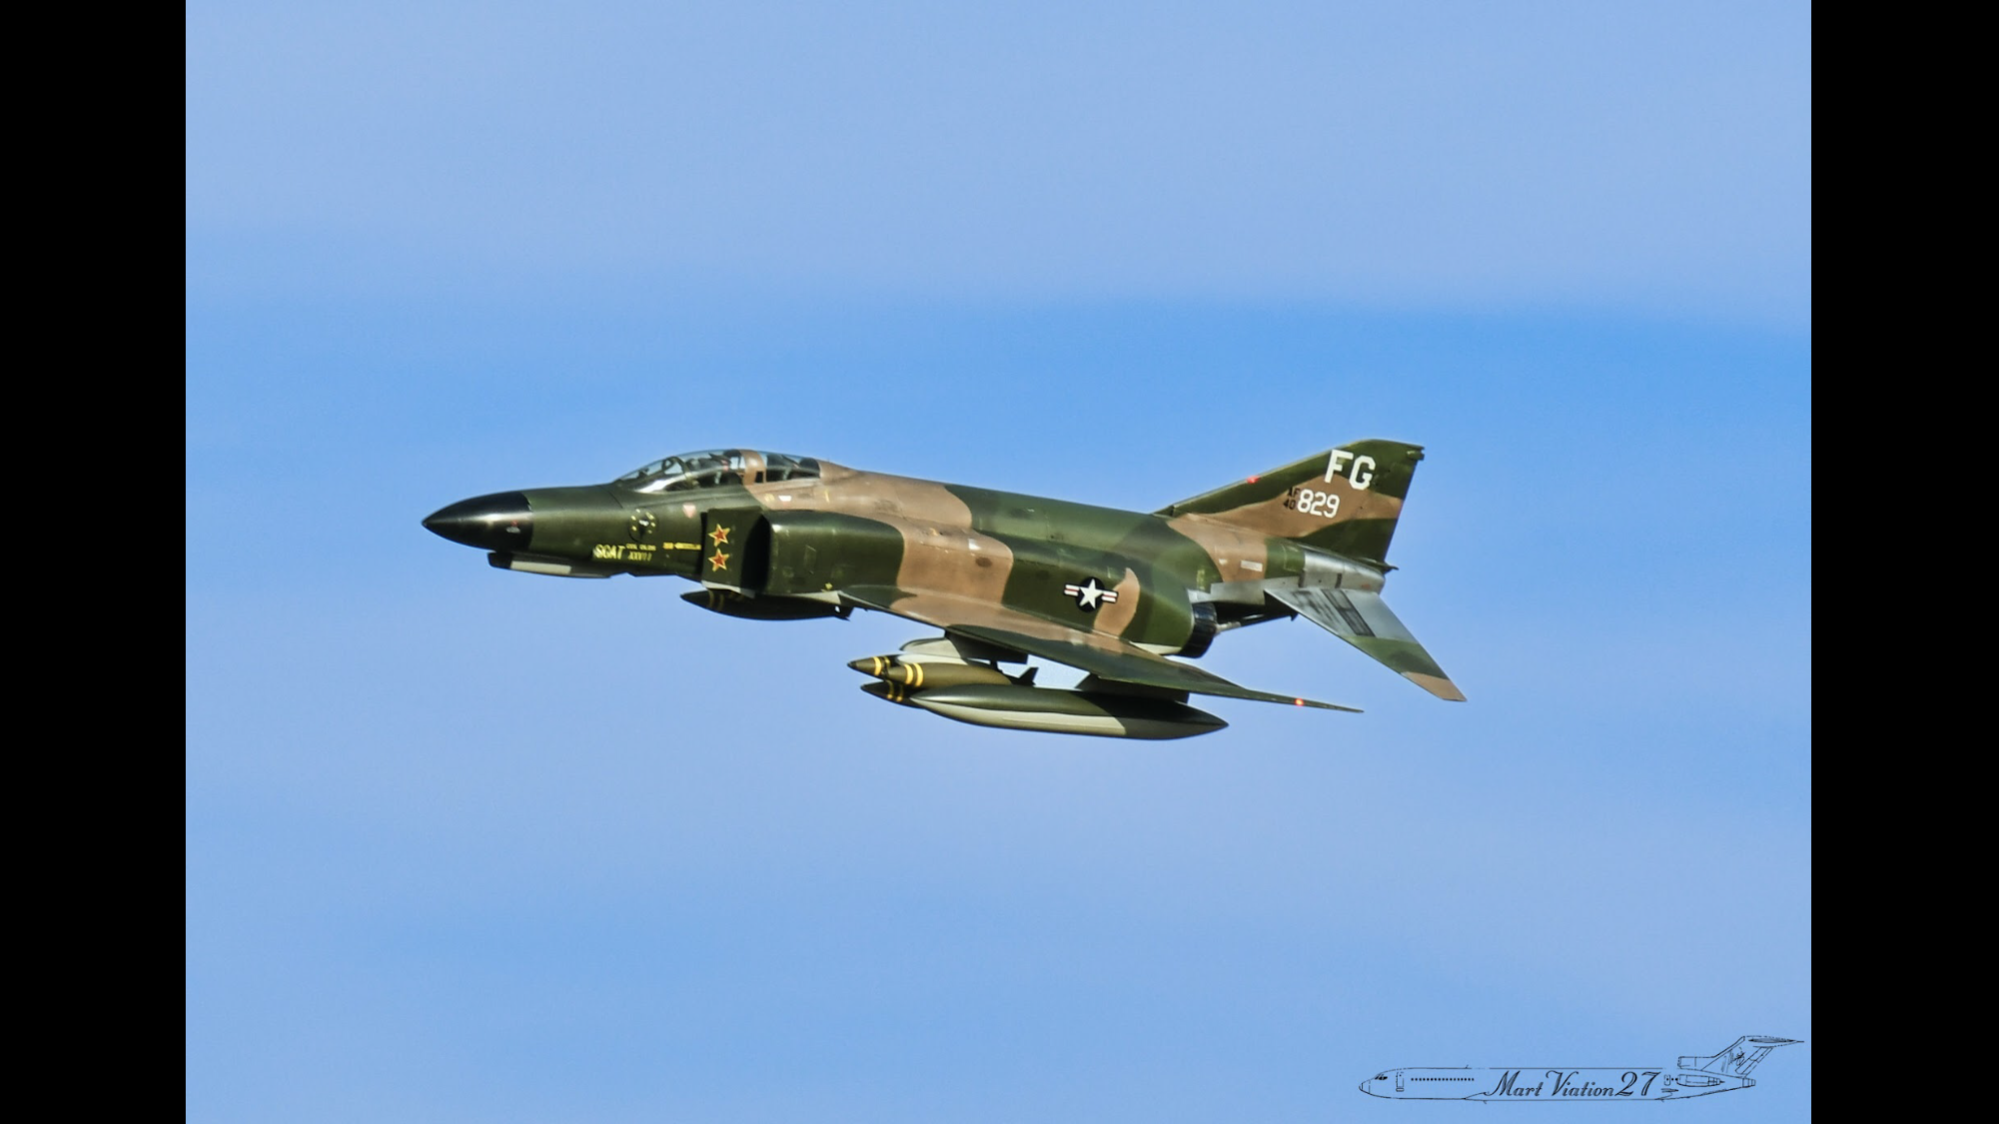
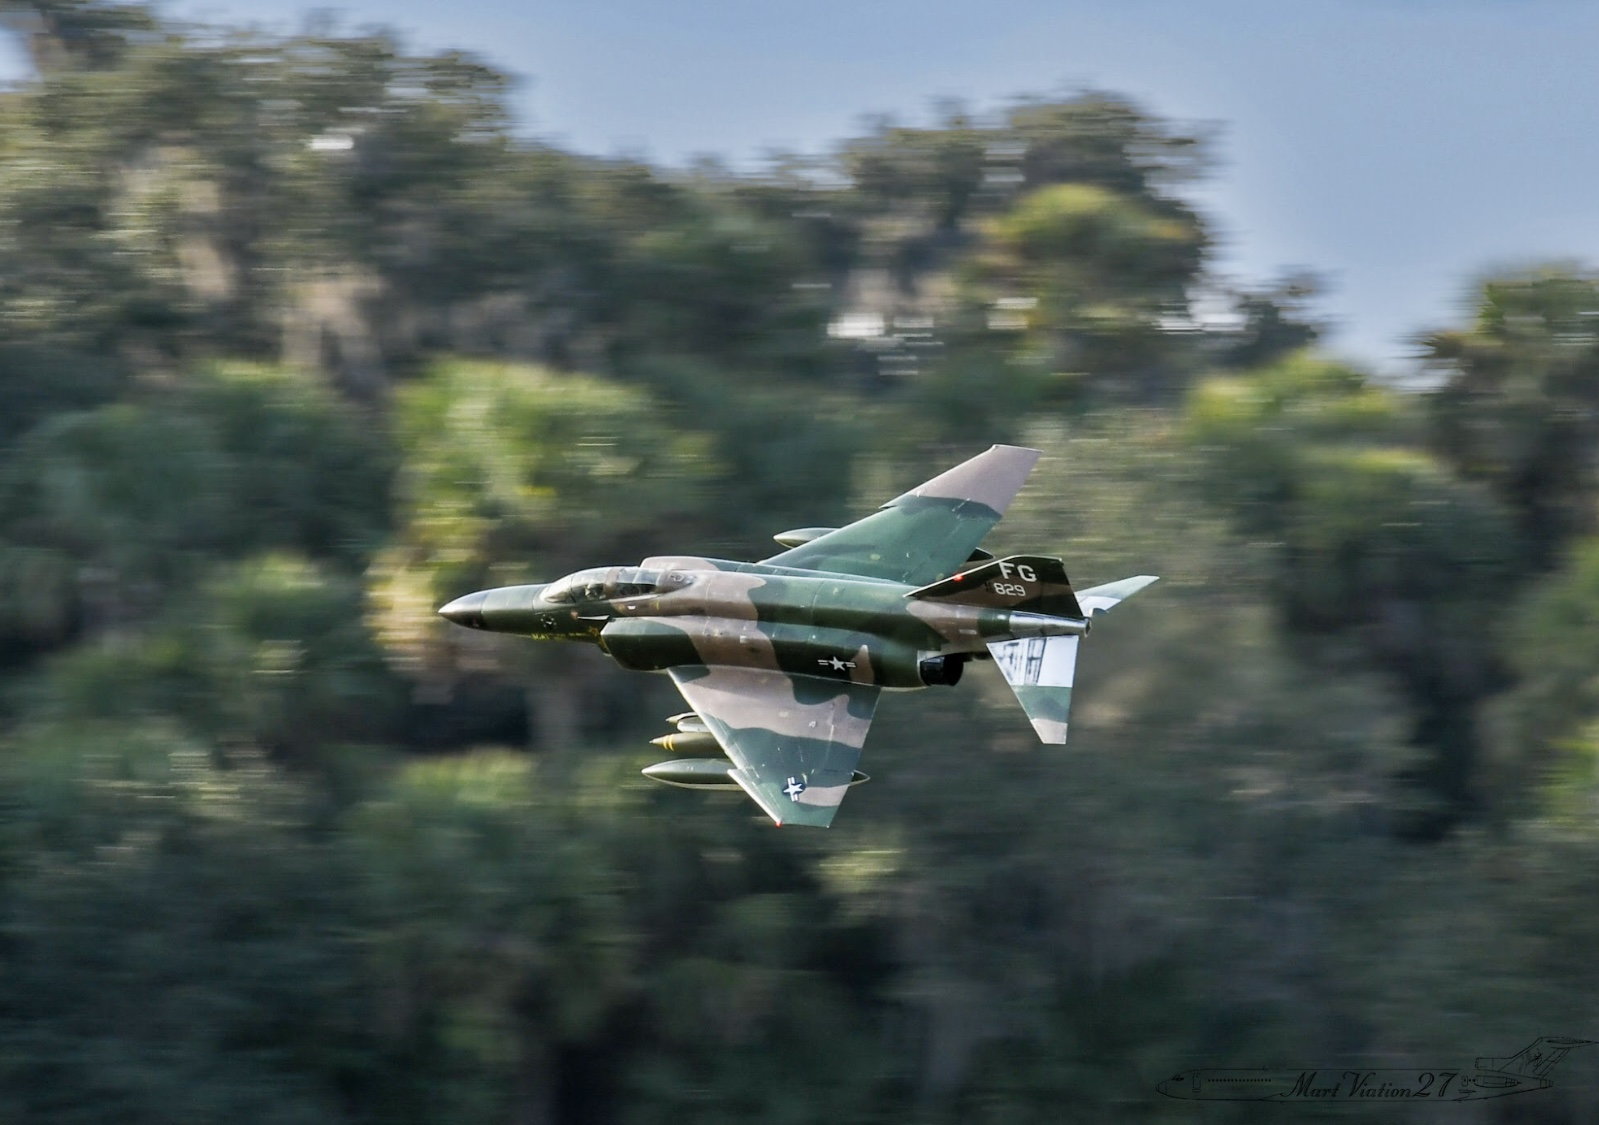
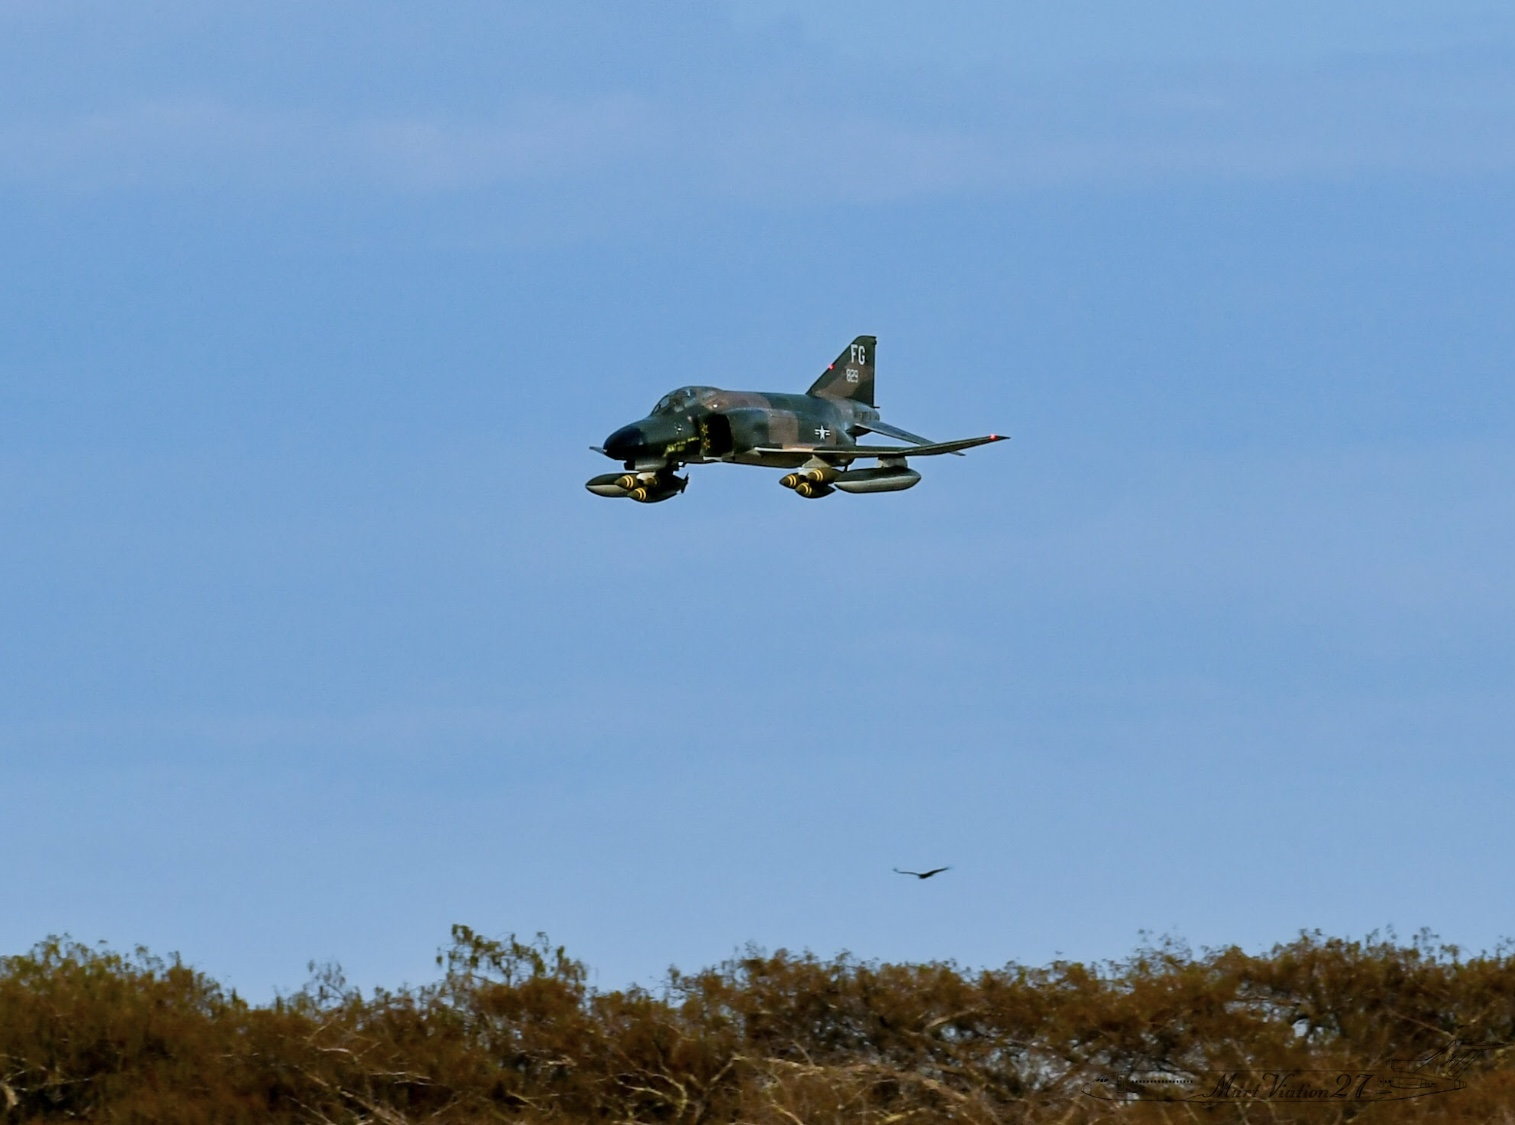
This was a real low pass
I thought it was neat how he caught it turning into us. He gave me directions on how to come in on one runway, fly and arc around us, and exit the crossing runway.

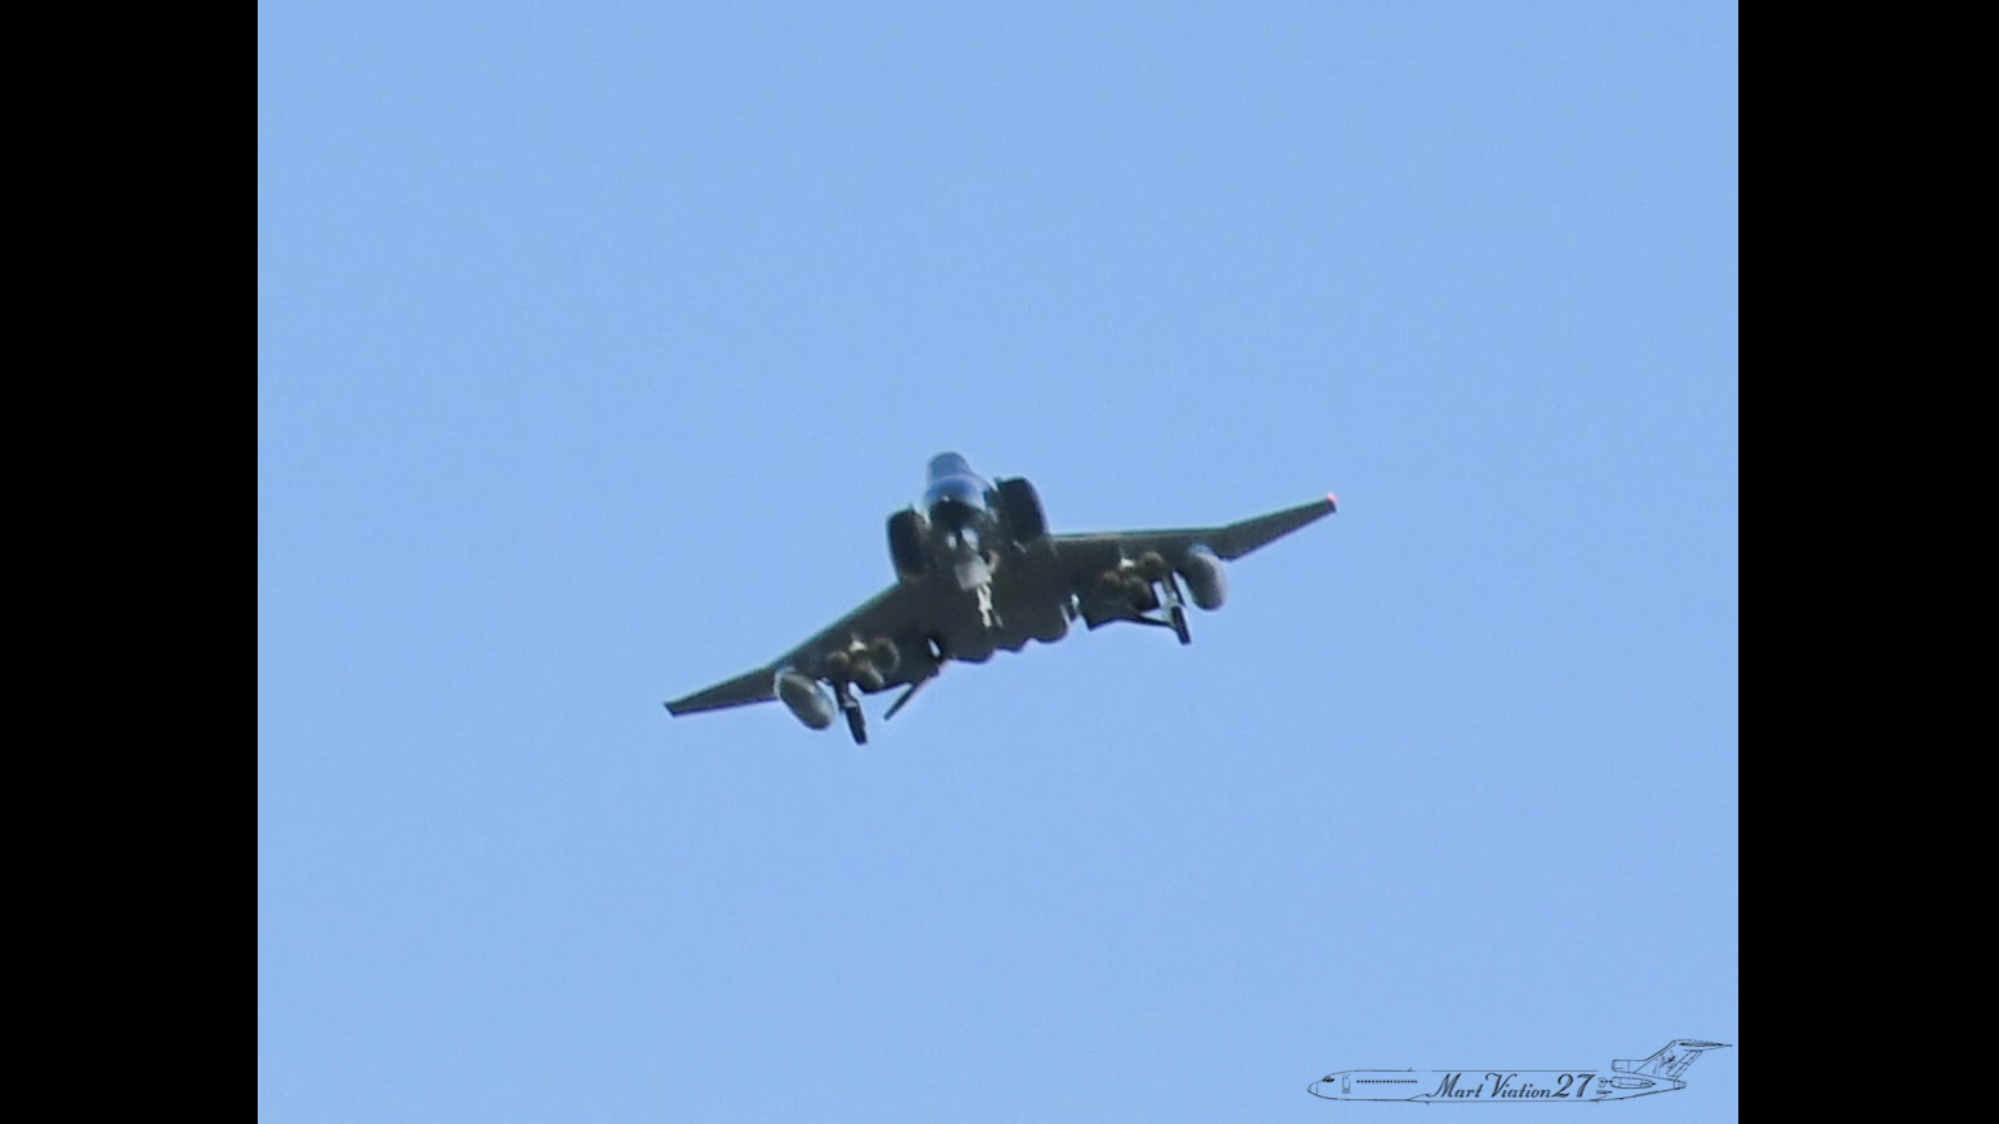
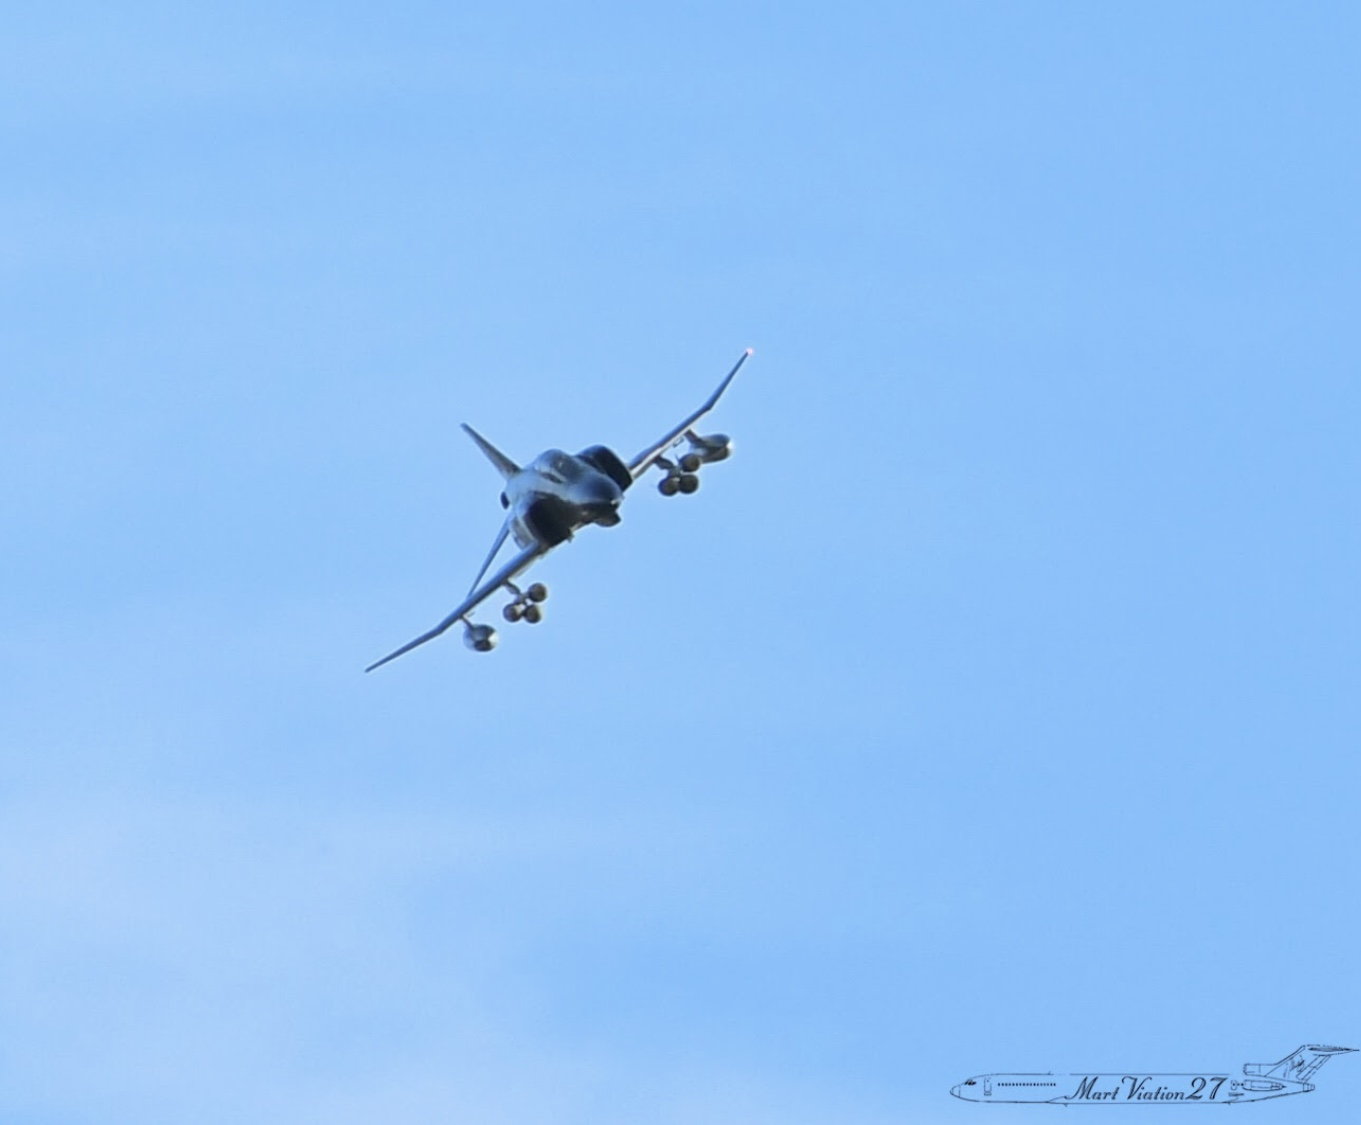
Gear check.
Off on a mission
This was a real low pass
I thought it was neat how he caught it turning into us. He gave me directions on how to come in on one runway, fly and arc around us, and exit the crossing runway.
Gear check.
 12-19-2021, 09:19 PM
#347
 12-20-2021, 11:42 AM
#348
Hi,
Any of you guys dress up the exhaust area? I've been looking at some of the dazzling airbrush work on plastic models with metalizers and burnt this/burnt that. I'd love to see what you guys have done to yours.
Any of you guys dress up the exhaust area? I've been looking at some of the dazzling airbrush work on plastic models with metalizers and burnt this/burnt that. I'd love to see what you guys have done to yours.
12-20-2021, 11:50 AM
#349
Those pics are awesome.
Regards,
Regards,