


CARF Joker build thread

 12-17-2018, 10:02 PM
#502

Thread Starter
I’ve used the match box plenty of times, the original Classic Flash still has one on the flaps and it works perfectly. The Micro match is tiny and setting with a blue com easy, so either!
 12-24-2018, 02:38 AM
#504
Thread Starter
175mm is a little nose heavy if you do it tank empty. The balance moves with fuel. If you want to balance it tank near empty and hopper full I would go 180-185mm
Are you using a gyro? I have played with mine and I got to the point it was too tail heavy in the last minute of flight. I have not measured it since as balance is pilot dependant.
Dave
Are you using a gyro? I have played with mine and I got to the point it was too tail heavy in the last minute of flight. I have not measured it since as balance is pilot dependant.
Dave
12-25-2018, 05:10 PM
#505
Join Date: Dec 2010
Location: , SINGAPORE
Posts: 46
Likes: 0
Received 0 Likes
on
0 Posts
Thanks, Dave.
That is informative. I don't think I will be using a gyro and I will start with 180mm. I'm still in the midst of building... waiting for parts here and there...
Just fried one of the main retracts... JP is sending me a replacement actuator.
Kind regards,
kekelala
That is informative. I don't think I will be using a gyro and I will start with 180mm. I'm still in the midst of building... waiting for parts here and there...
Just fried one of the main retracts... JP is sending me a replacement actuator.
Kind regards,
kekelala
01-08-2019, 07:09 PM
#506
My Feedback: (2)
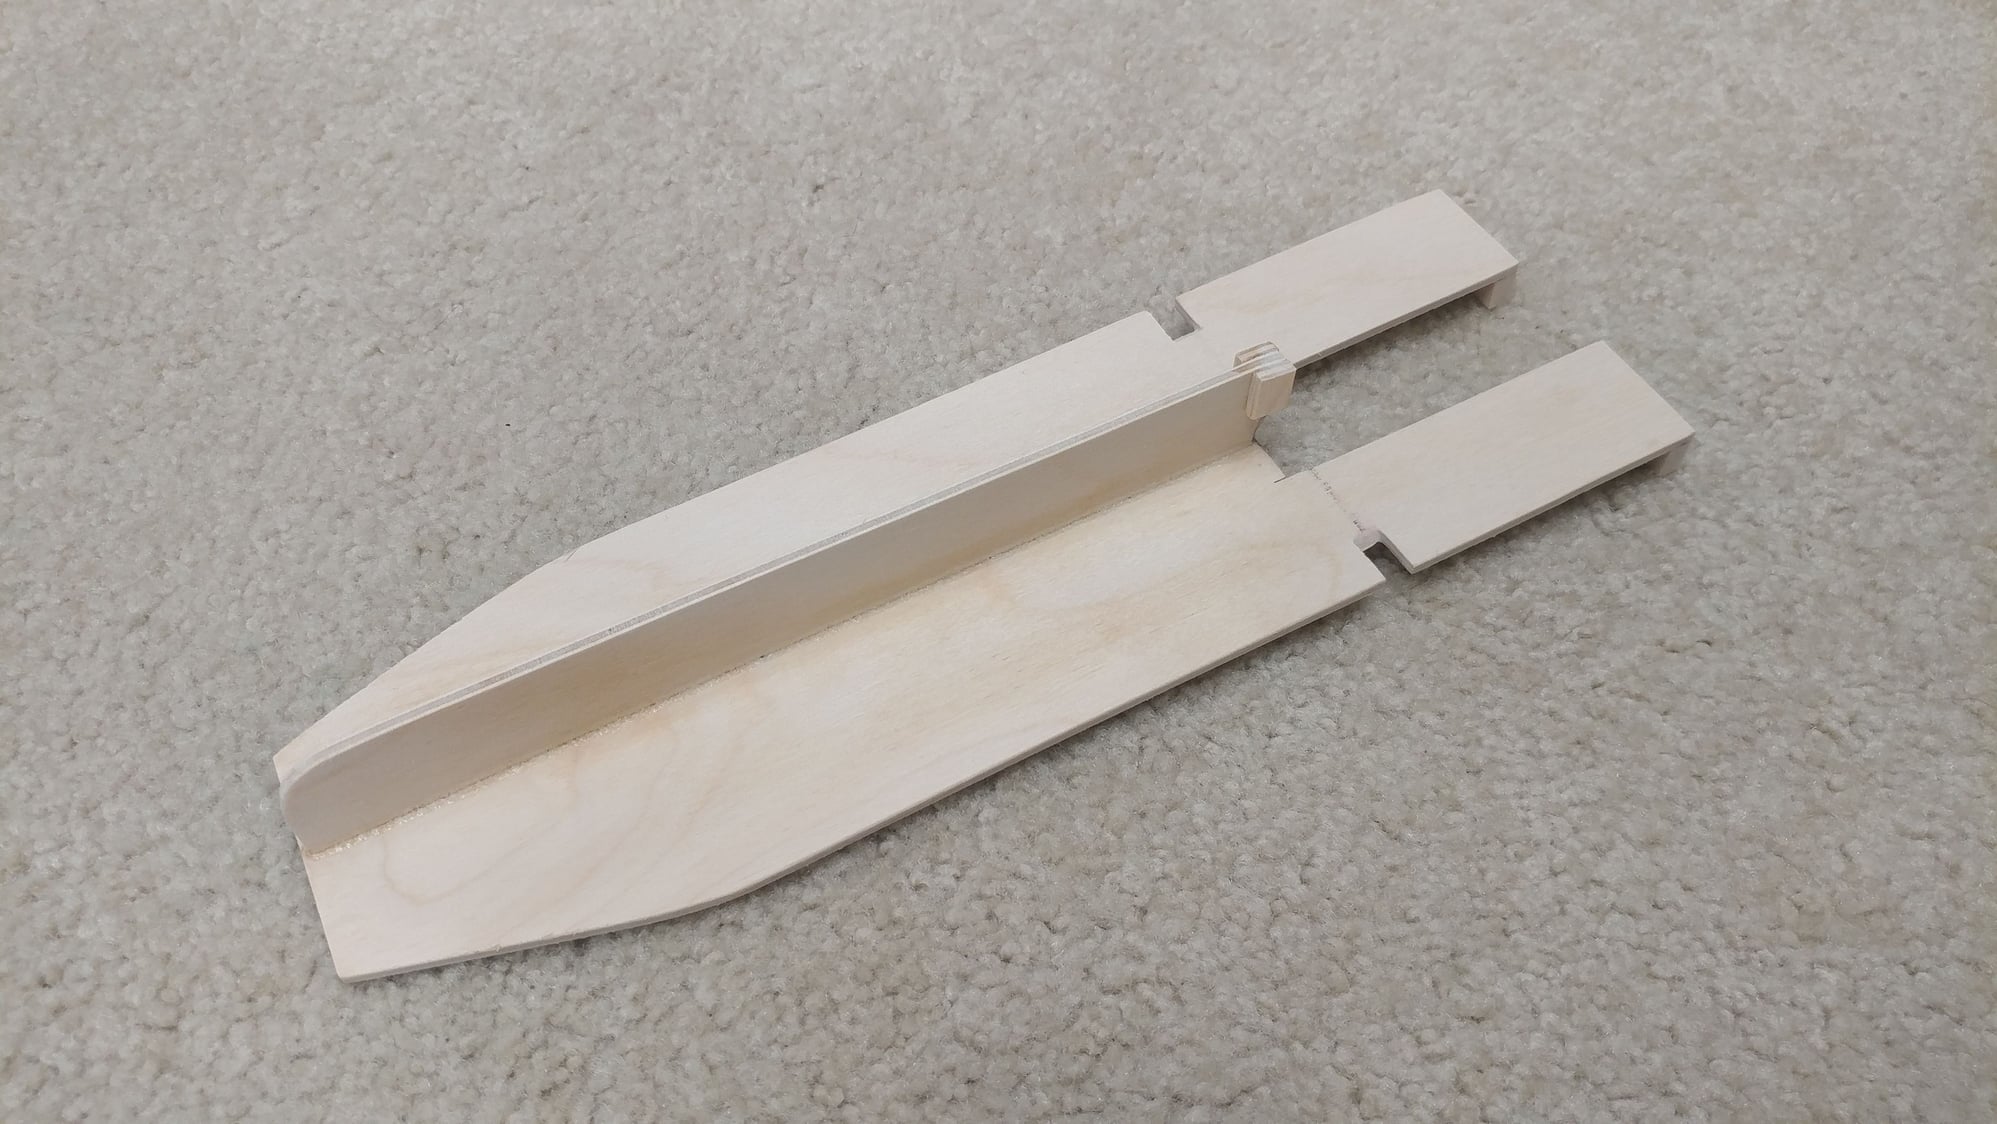
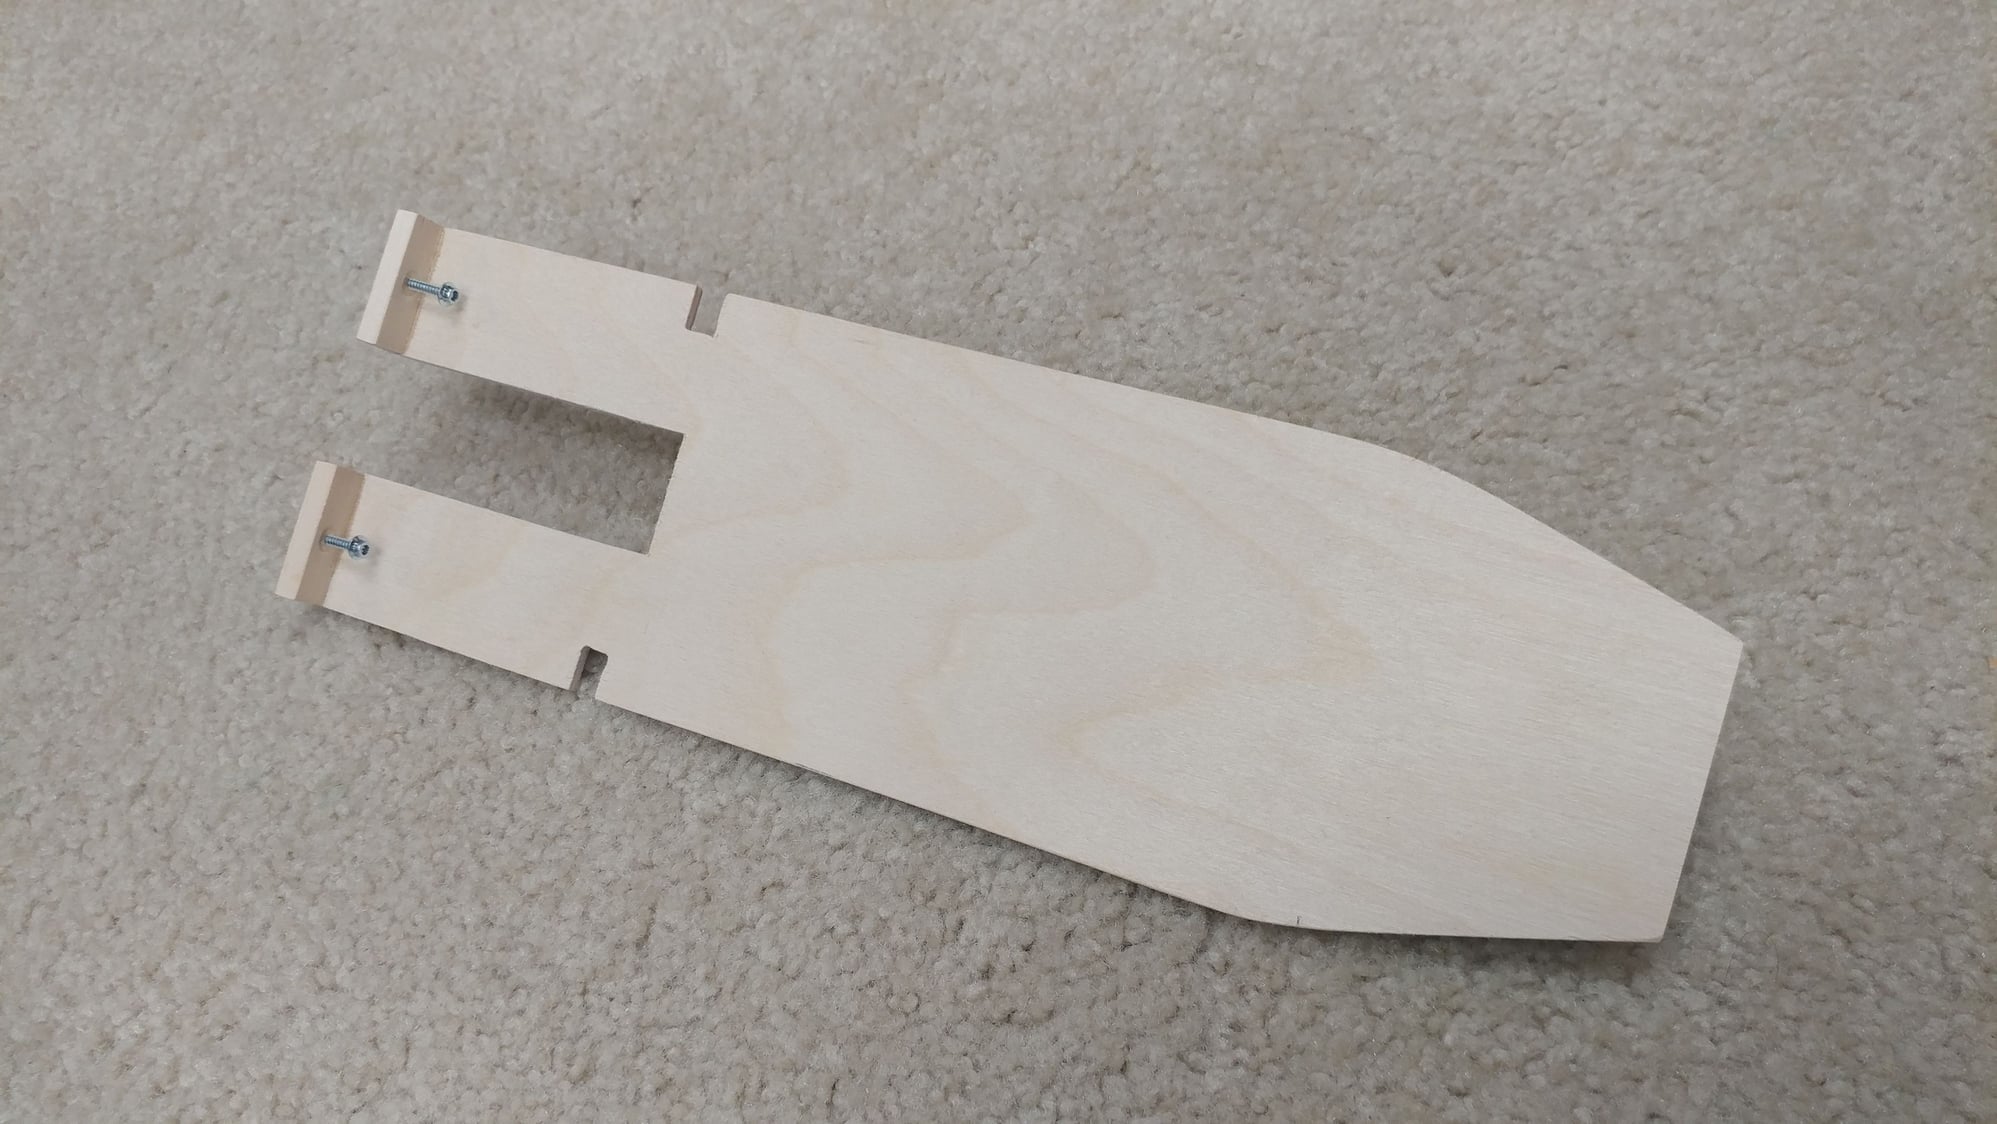
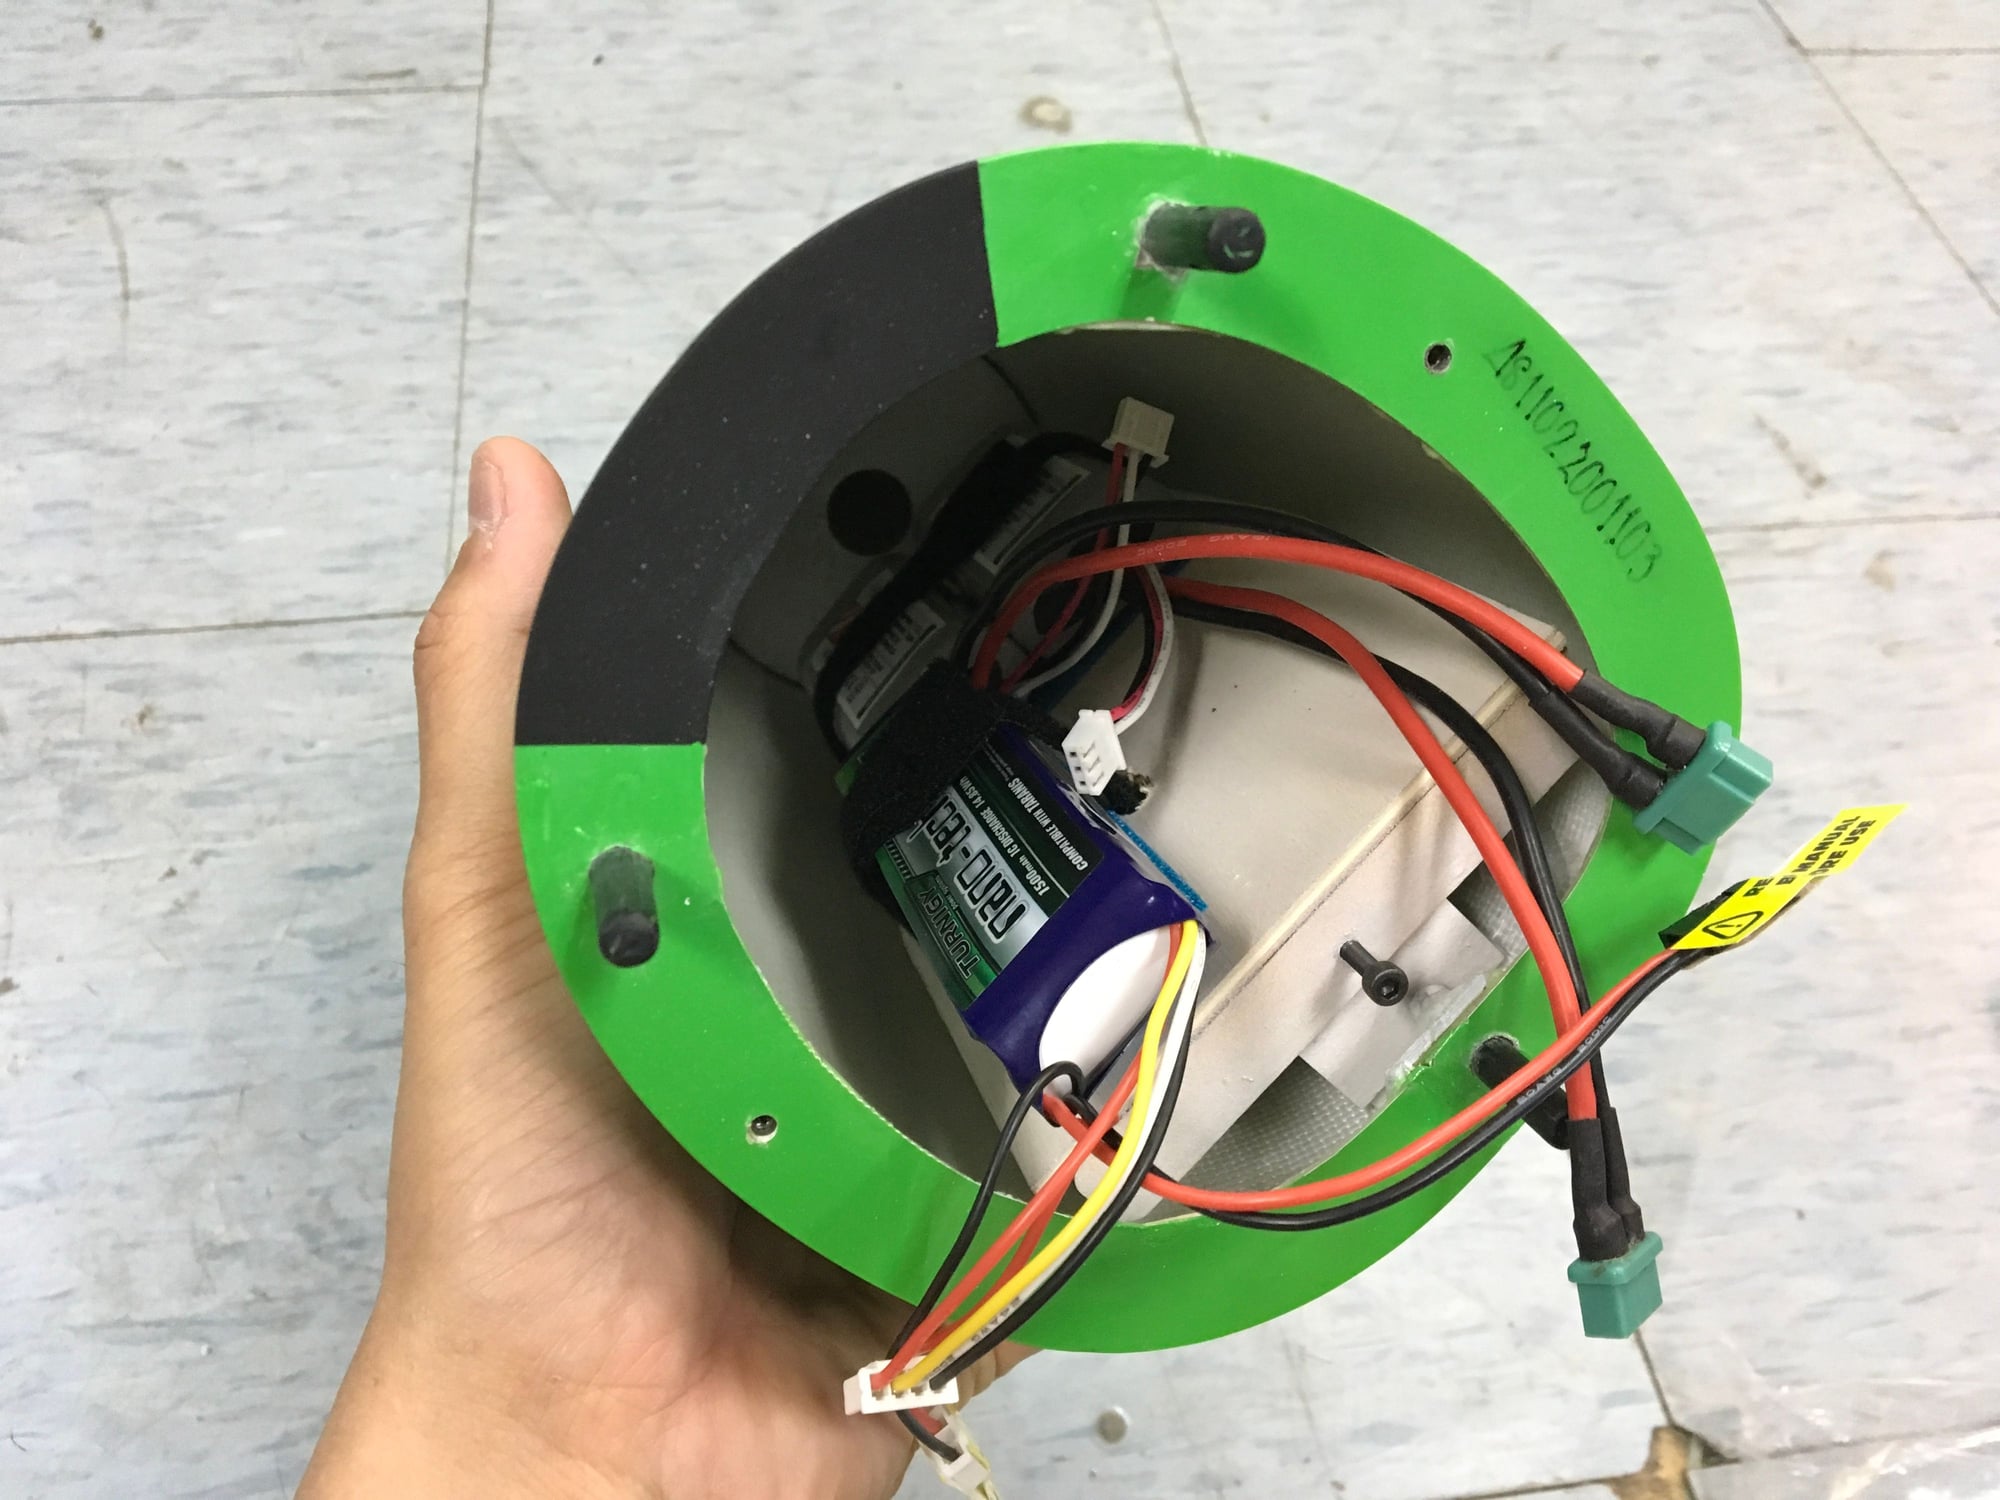
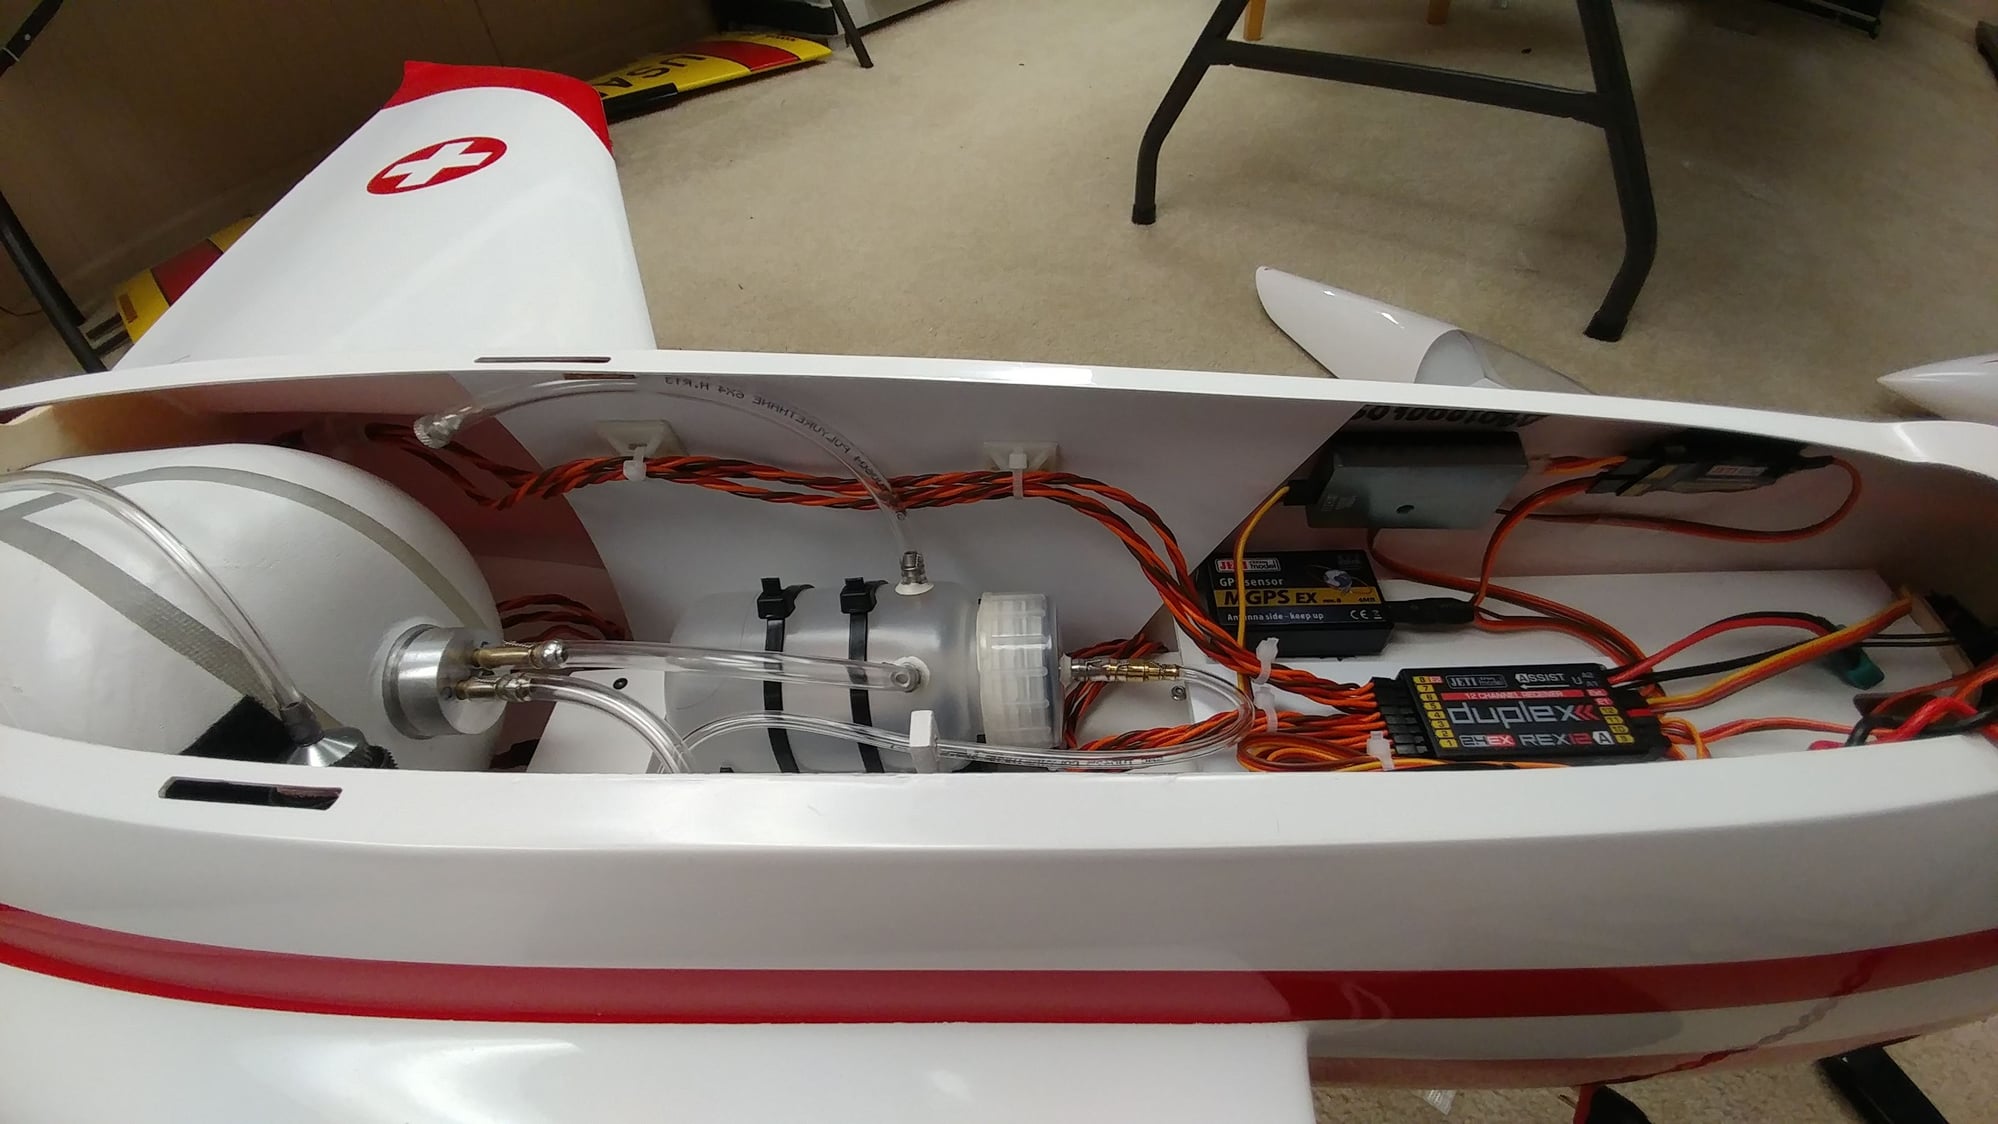
Decided to design a removable front battery tray (its not completely done yet). Not much room on the fuse tray for batts but I also dont like the idea of having to take the nosecone off to get to the batts...so we will see if it stays depending on final CG...


 01-09-2019, 06:46 AM
#513
Thread Starter
When I first built mine I left the batteries in the nose cone and decided once the balance was sorted I'd sort how I was going to charge it. I continue to take the cone off with the std two M3 cap heads and a wiha 2.5mm ball driver extended with a section of exhaust silicon! It takes 20 seconds to take the nose off.
I have no cradle and I'm just about right with two small Rx batteries and a 2700 2s ECU pack.
Dave
I have no cradle and I'm just about right with two small Rx batteries and a 2700 2s ECU pack.
Dave
01-09-2019, 05:04 PM
#516
Join Date: Dec 2010
Location: , SINGAPORE
Posts: 46
Likes: 0
Received 0 Likes
on
0 Posts
Last edited by kekelala; 01-09-2019 at 05:19 PM. Reason: Wrong link
01-09-2019, 05:12 PM
#517
Join Date: Dec 2010
Location: , SINGAPORE
Posts: 46
Likes: 0
Received 0 Likes
on
0 Posts
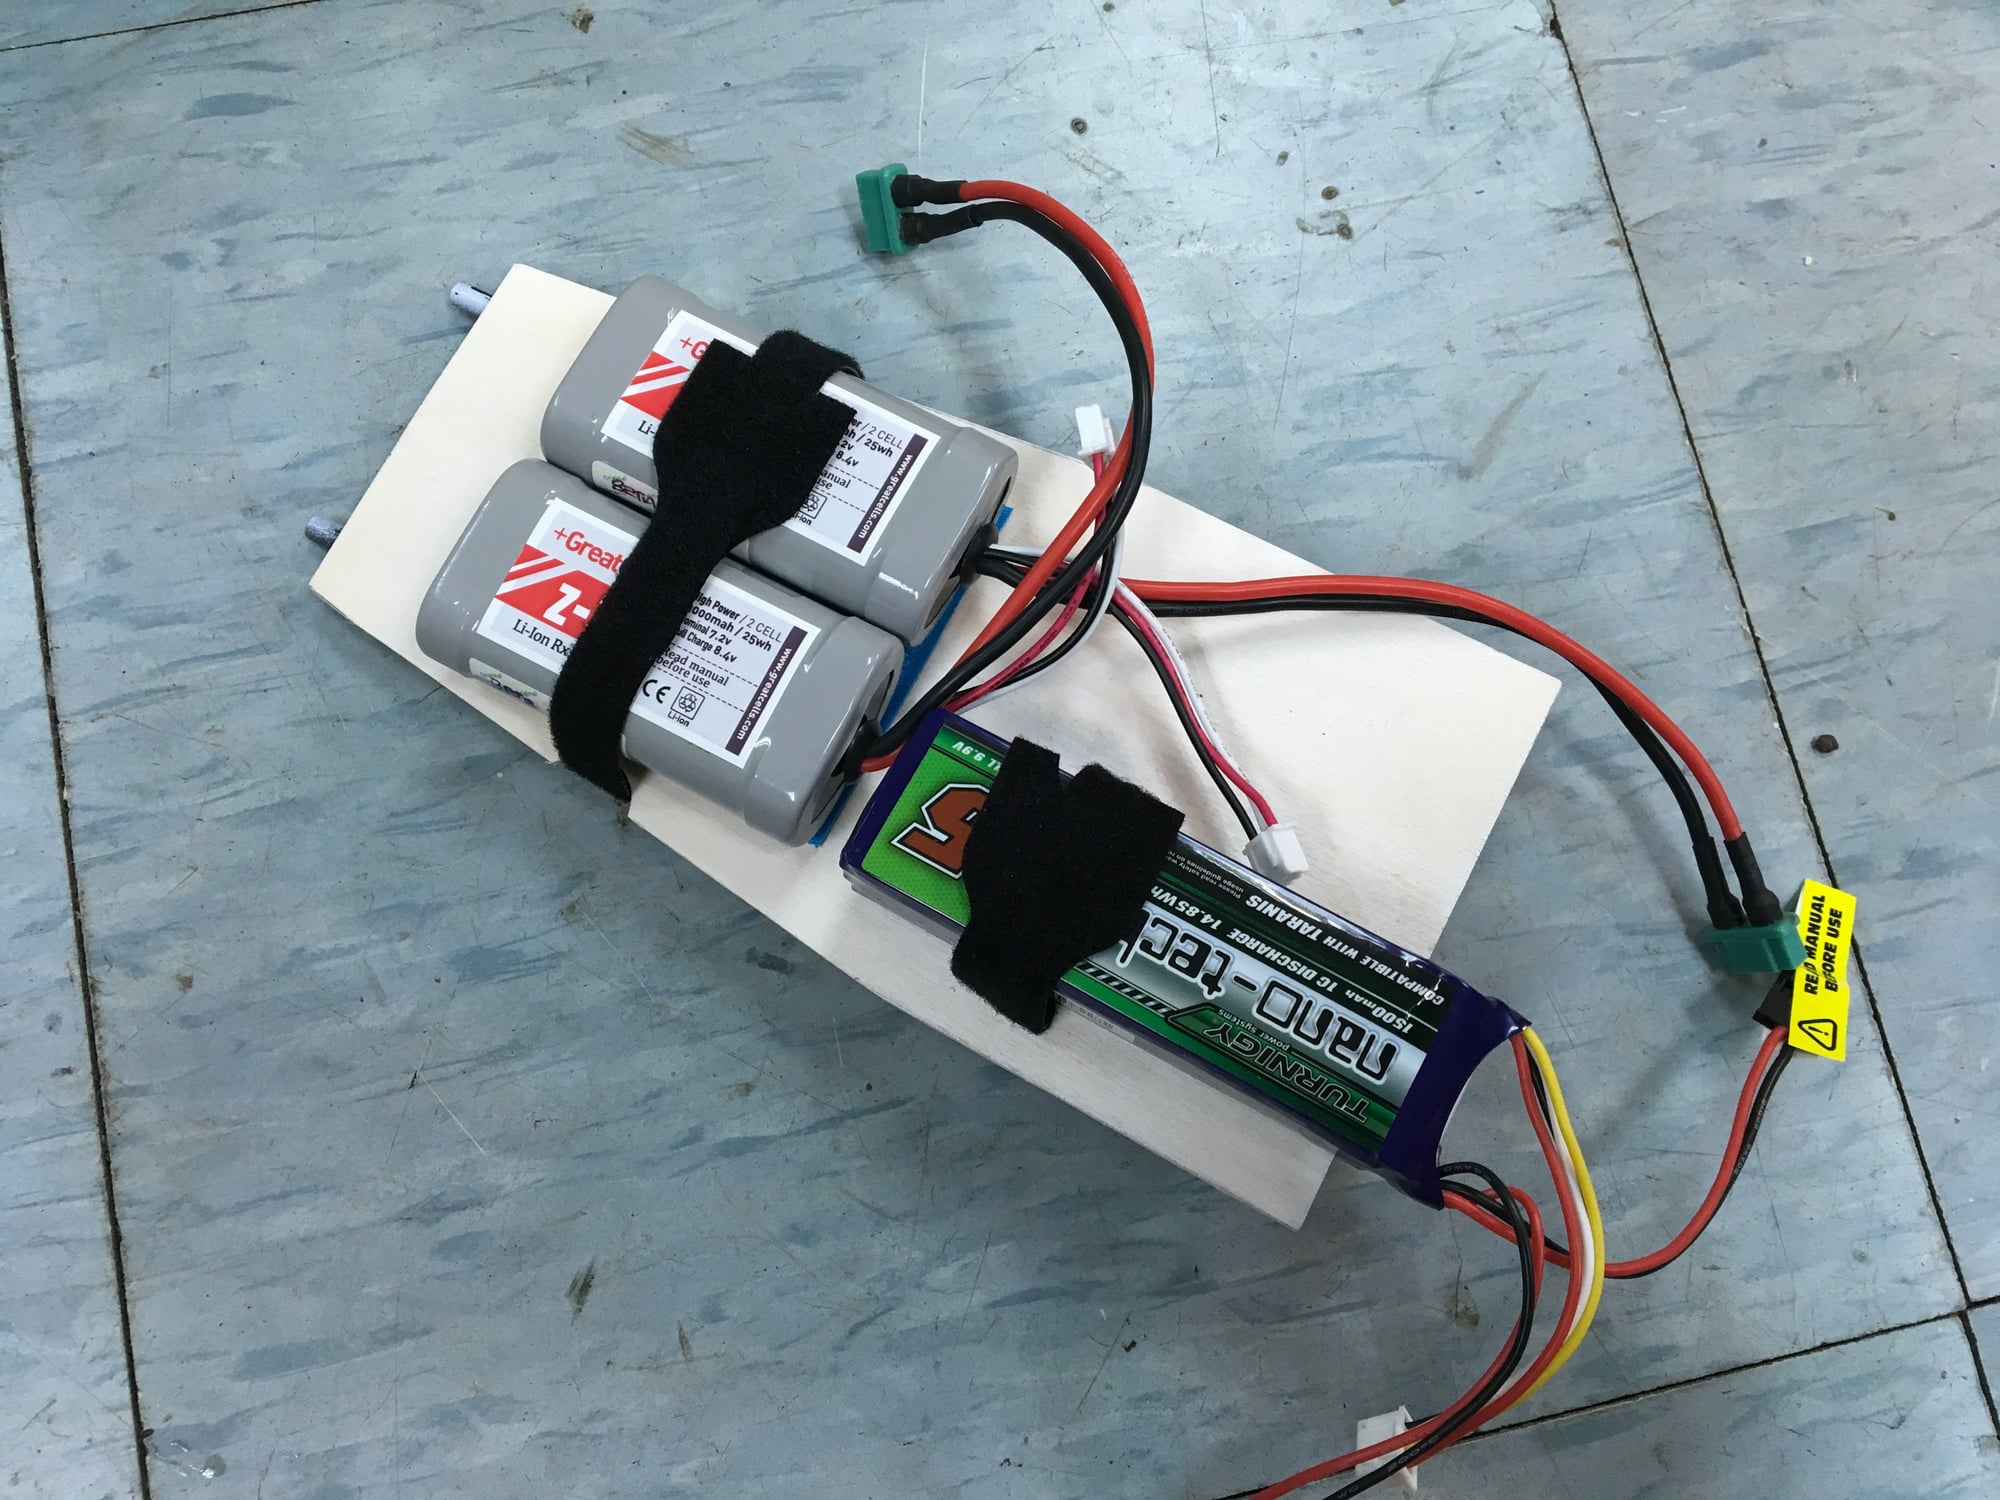
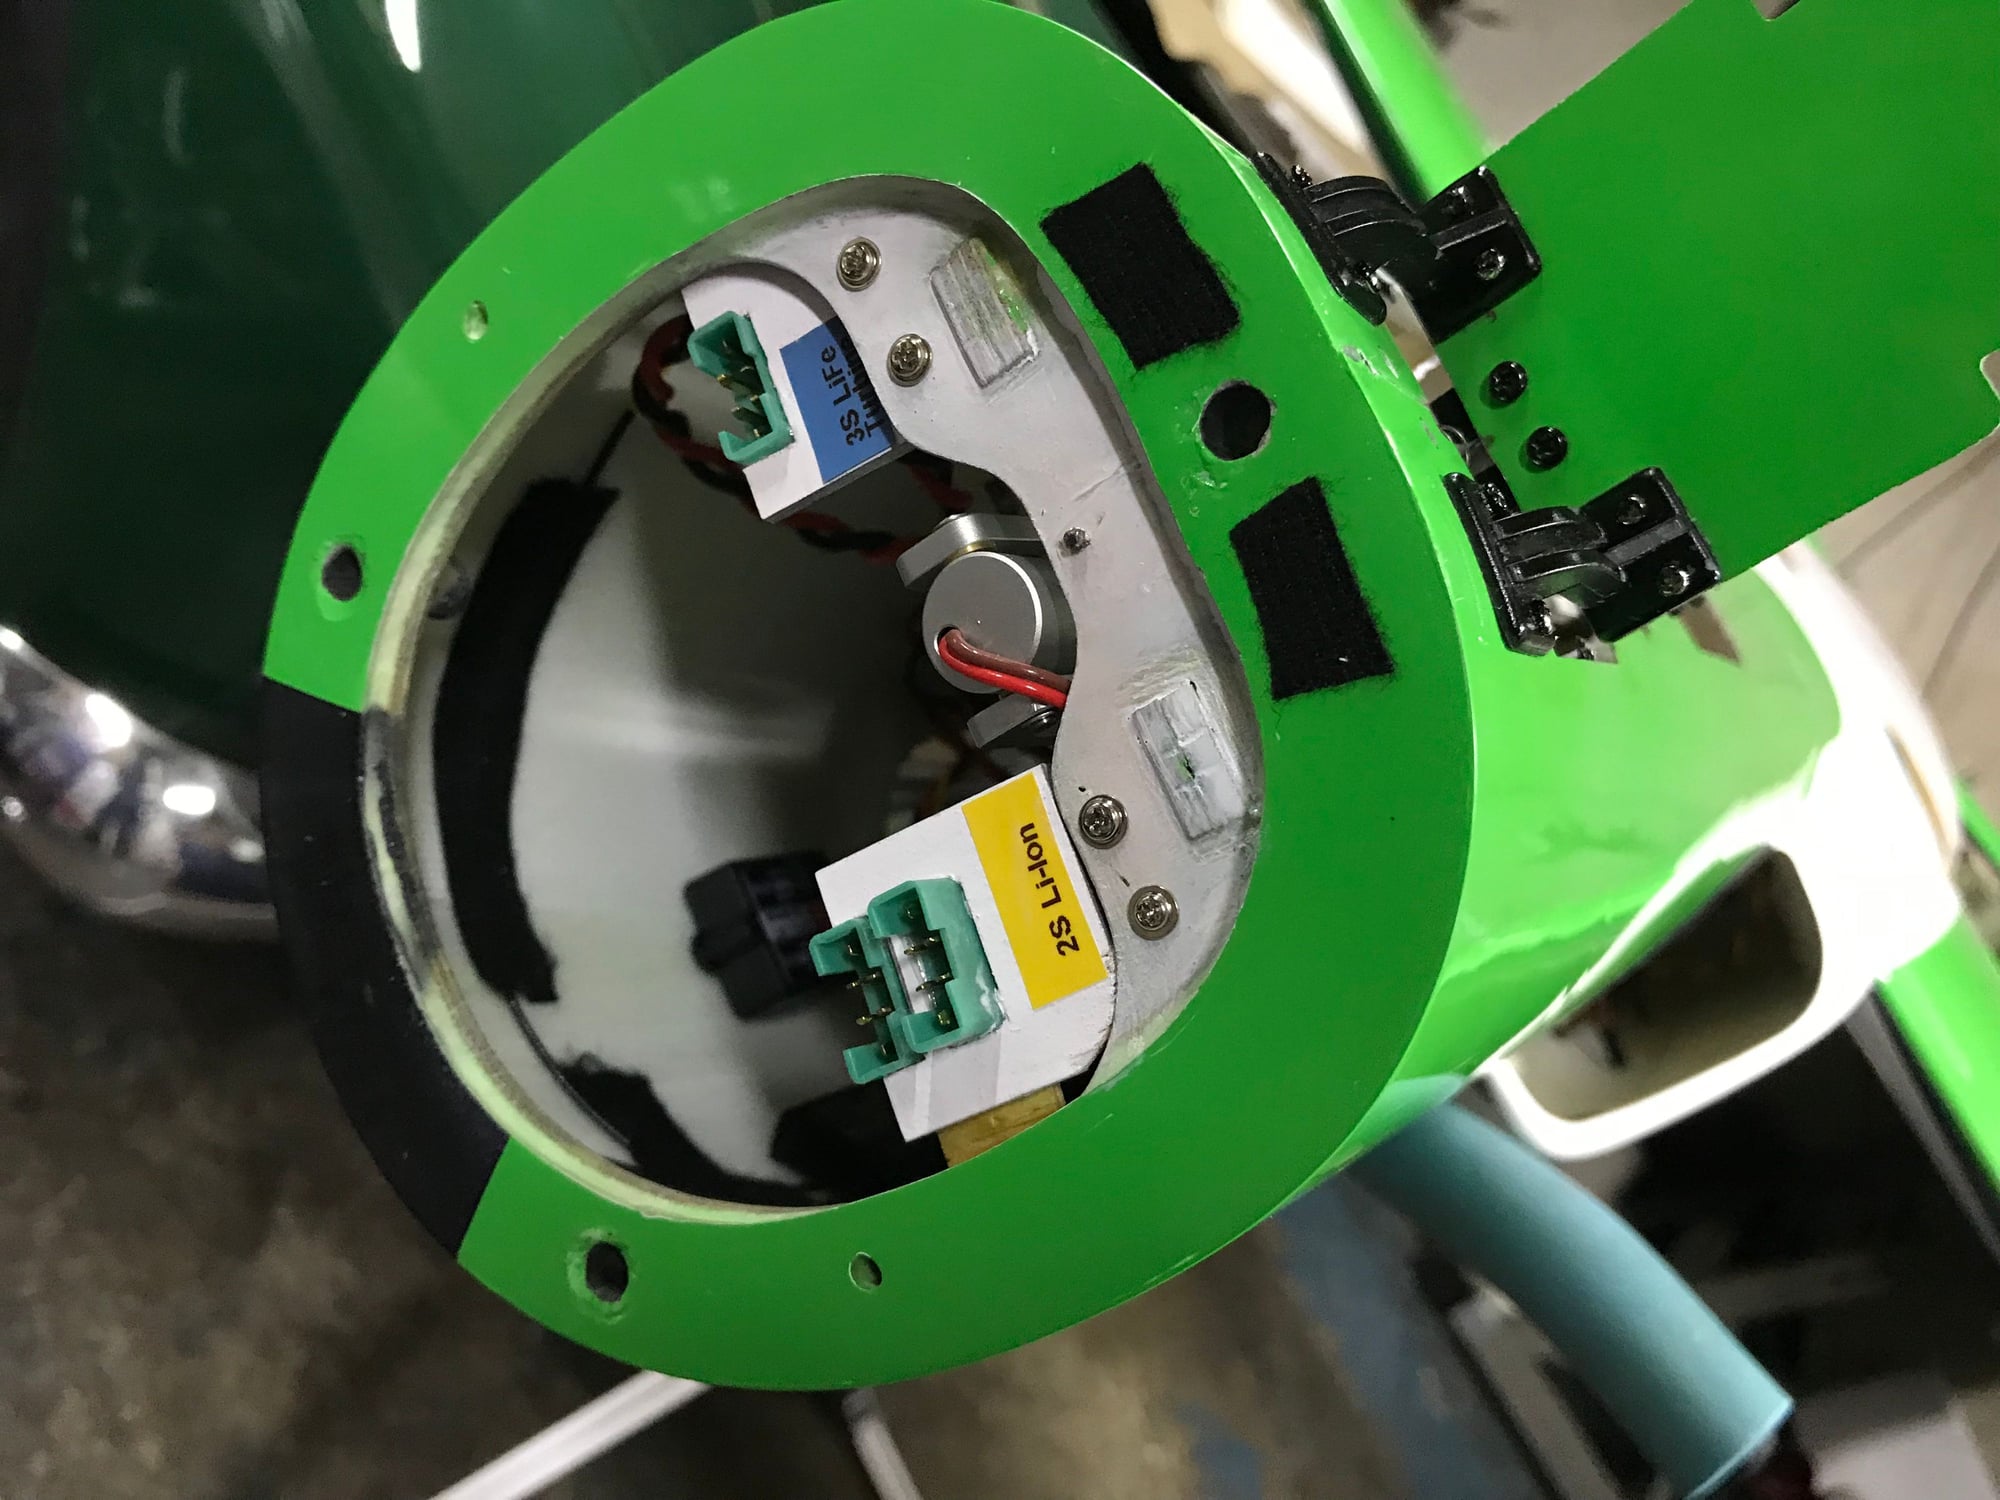
Hi jcterrettaz, it's perfect @ 175mm as per factory's standard. But Dave mentioned 180-185mm and I am going to maiden at 180mm. I think my nose is light because each GreatCells Li-Ion weighs only 107g @ 3000mah, and Turnigy LiFe for turbine is only 1500mah. I can still shift the batteries aft to "lighten" the nose.
01-09-2019, 05:24 PM
#518
My Feedback: (3)
Hi Itc, they are Unilights "Jet-medium Set" https://www.unilight.at/shop/en/sets...chtungsset.php
I tried finding those batteries you mentioned here in the USA, but haven�t found a dealer or importer.
01-09-2019, 05:33 PM
#519
Join Date: Dec 2010
Location: , SINGAPORE
Posts: 46
Likes: 0
Received 0 Likes
on
0 Posts
Meanwhile we are trying to get a "Dangerous Goods" account approval from DHL to ship worldwide, you may PM your address to get the batteries delivered to you from Singapore.
01-09-2019, 06:10 PM
#520
My Feedback: (3)
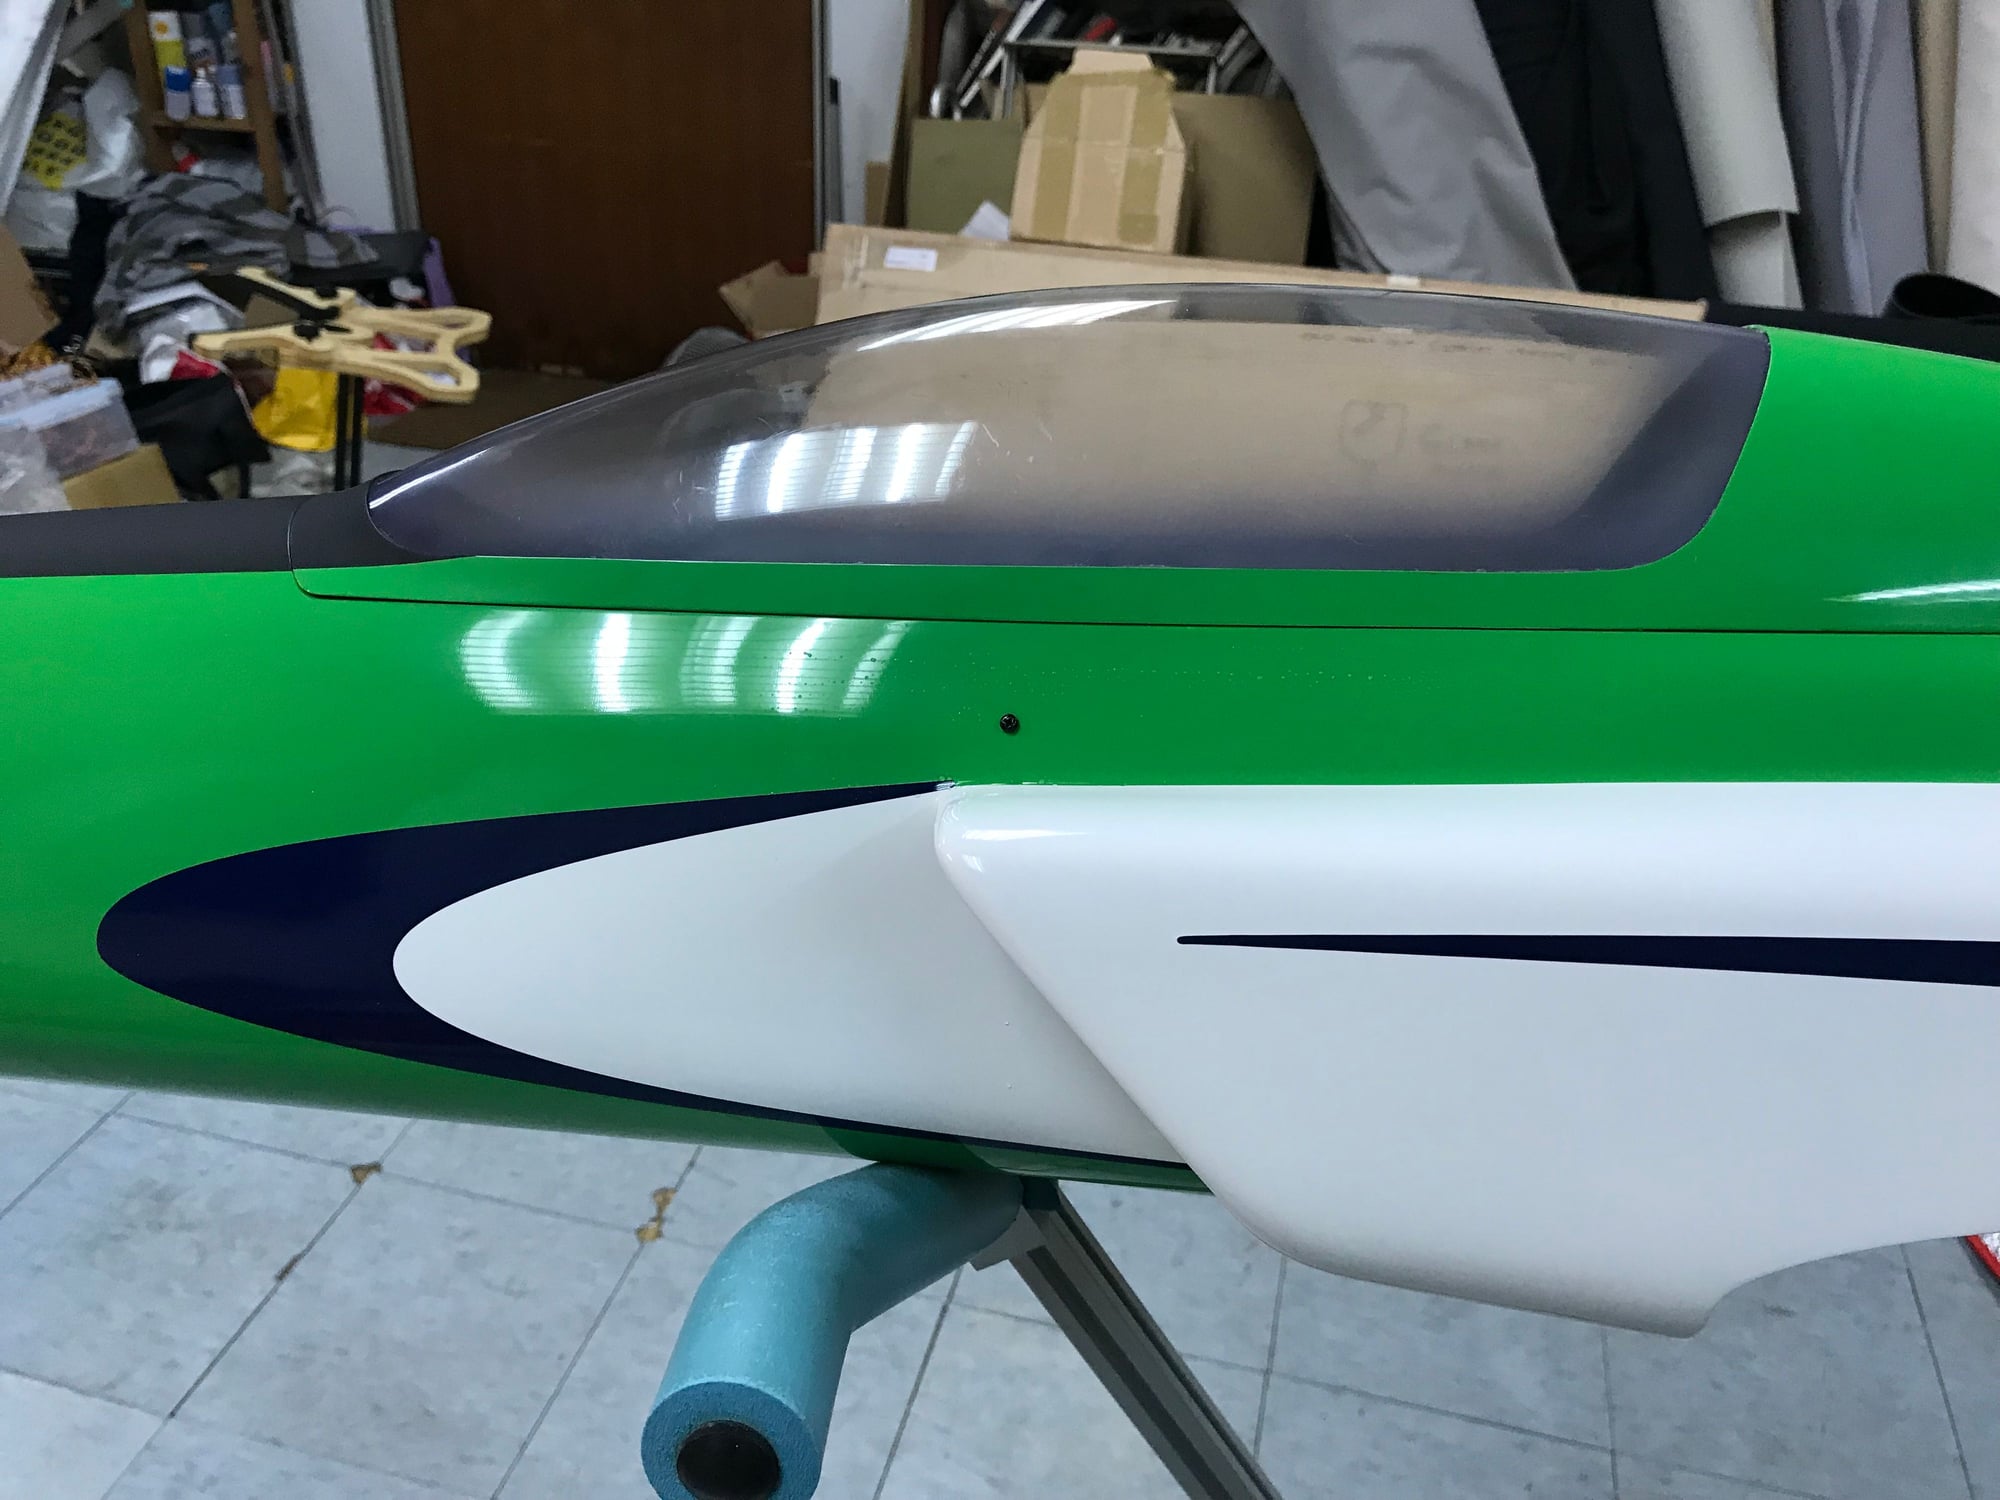
Don't mention. The wingtips are too slim for the lights unless I mount them on the bottom of the wings. But I think it is nothing wrong for a sport jet to have the navigational lights on the fuselage itself.
Meanwhile we are trying to get a "Dangerous Goods" account approval from DHL to ship worldwide, you may PM your address to get the batteries delivered to you from Singapore.
Meanwhile we are trying to get a "Dangerous Goods" account approval from DHL to ship worldwide, you may PM your address to get the batteries delivered to you from Singapore.
On the sides by the air inlets? If so, I missed it since I thought they were a reflection from the landing gear lights
I will PM you my commercial shipping address; I�d like to try a couple of those packs.
01-09-2019, 06:51 PM
#521
Join Date: Dec 2010
Location: , SINGAPORE
Posts: 46
Likes: 0
Received 0 Likes
on
0 Posts
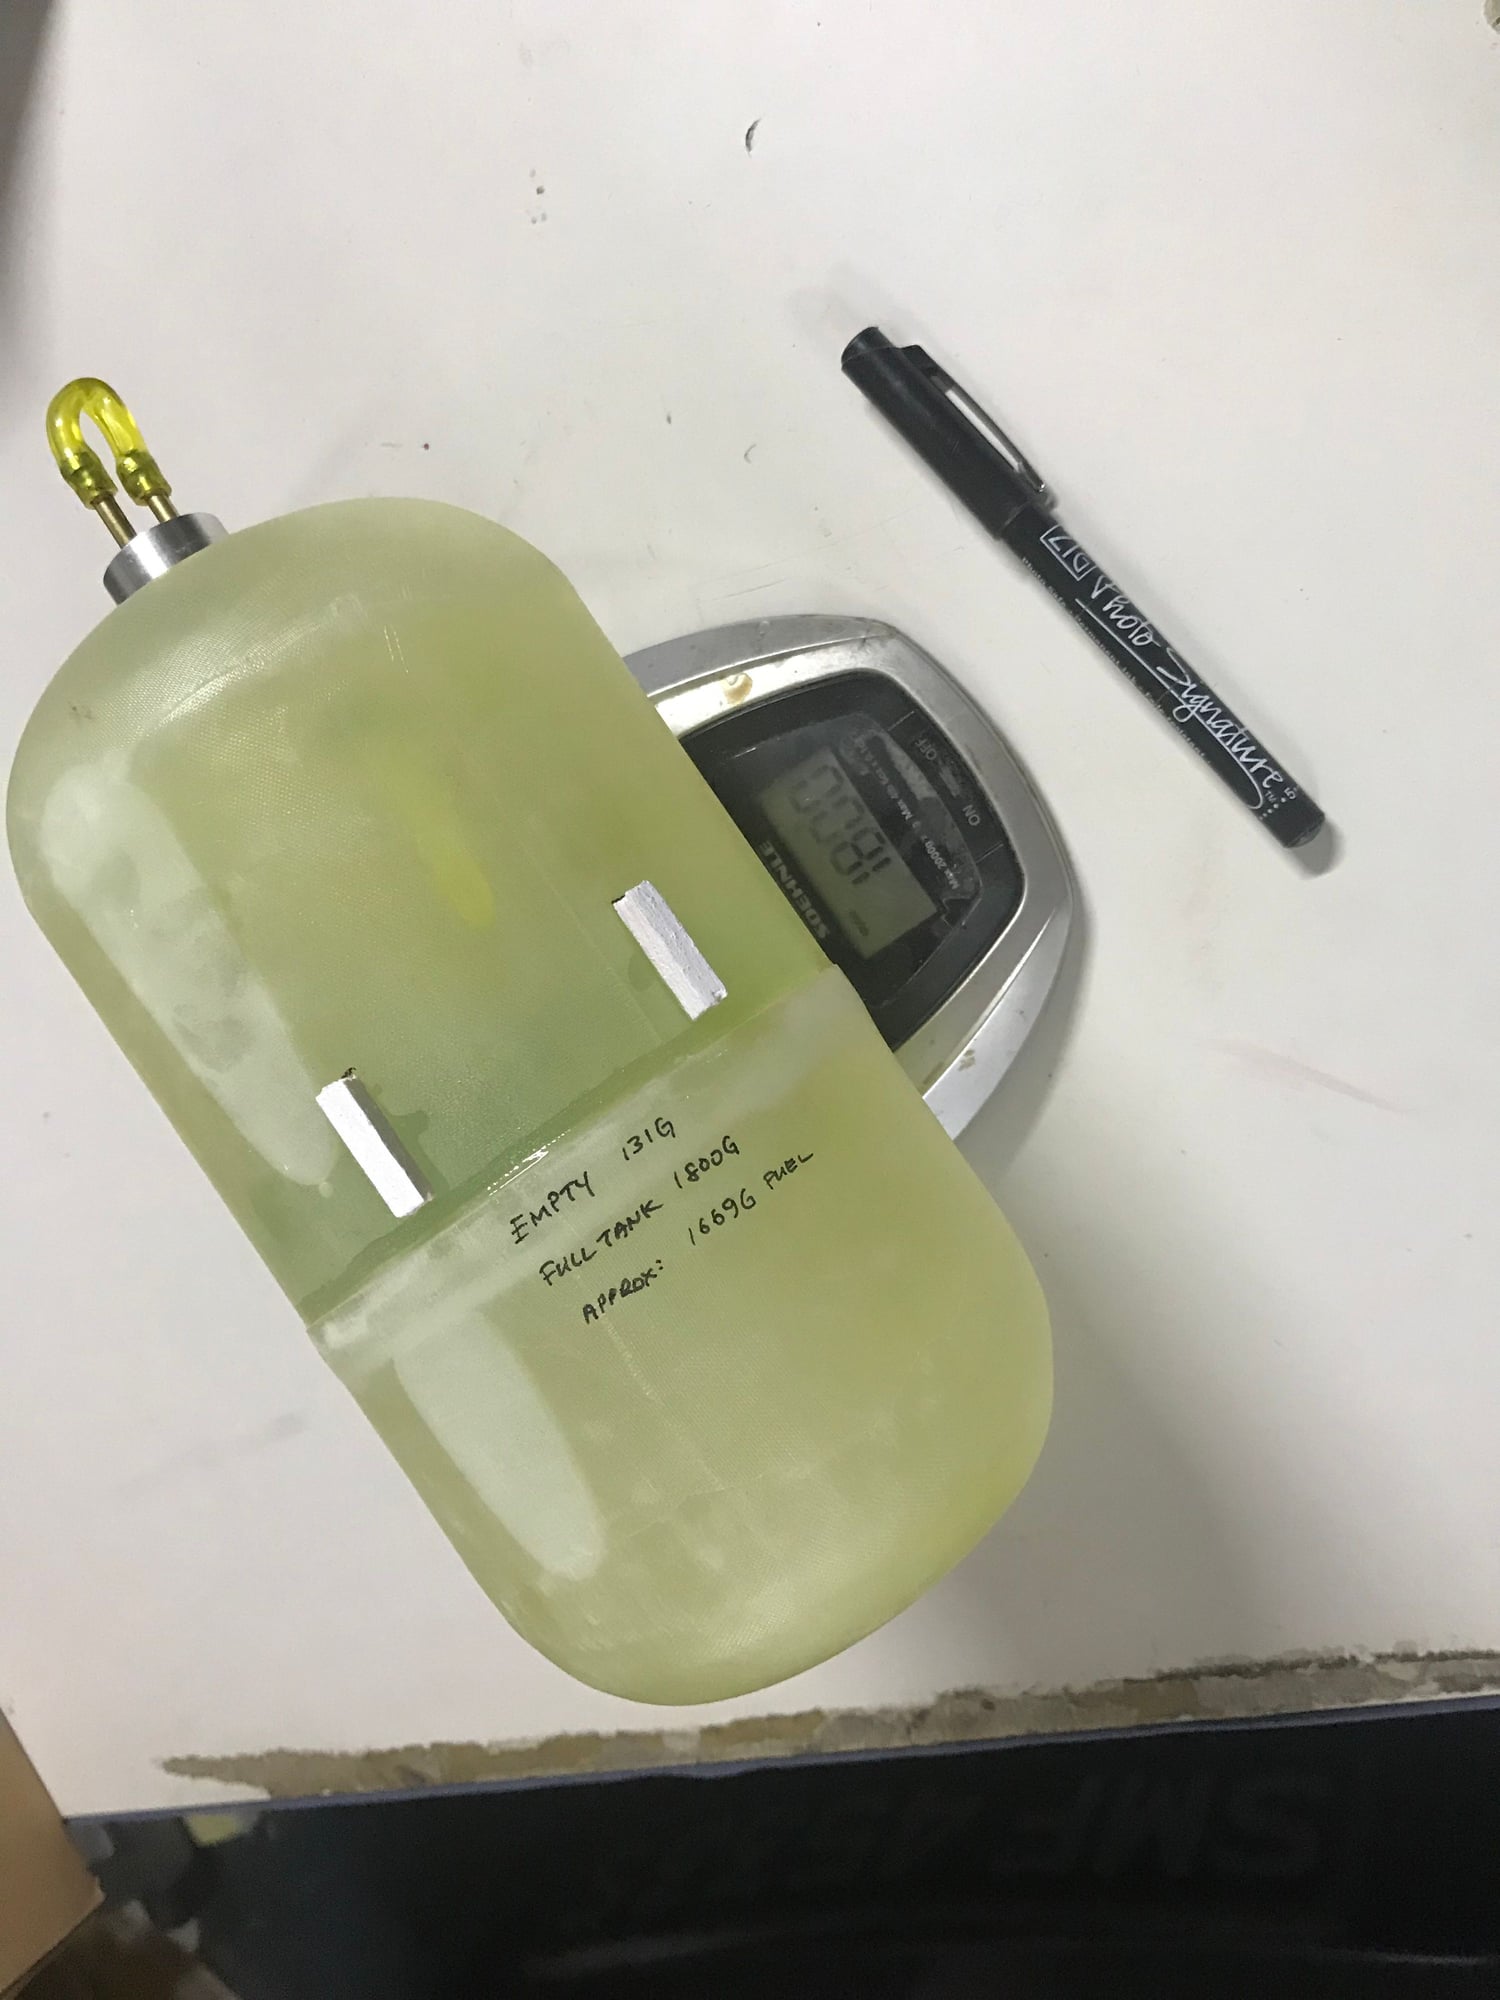
The weight of full tank of diesel premixed with DTE-Lite oil.
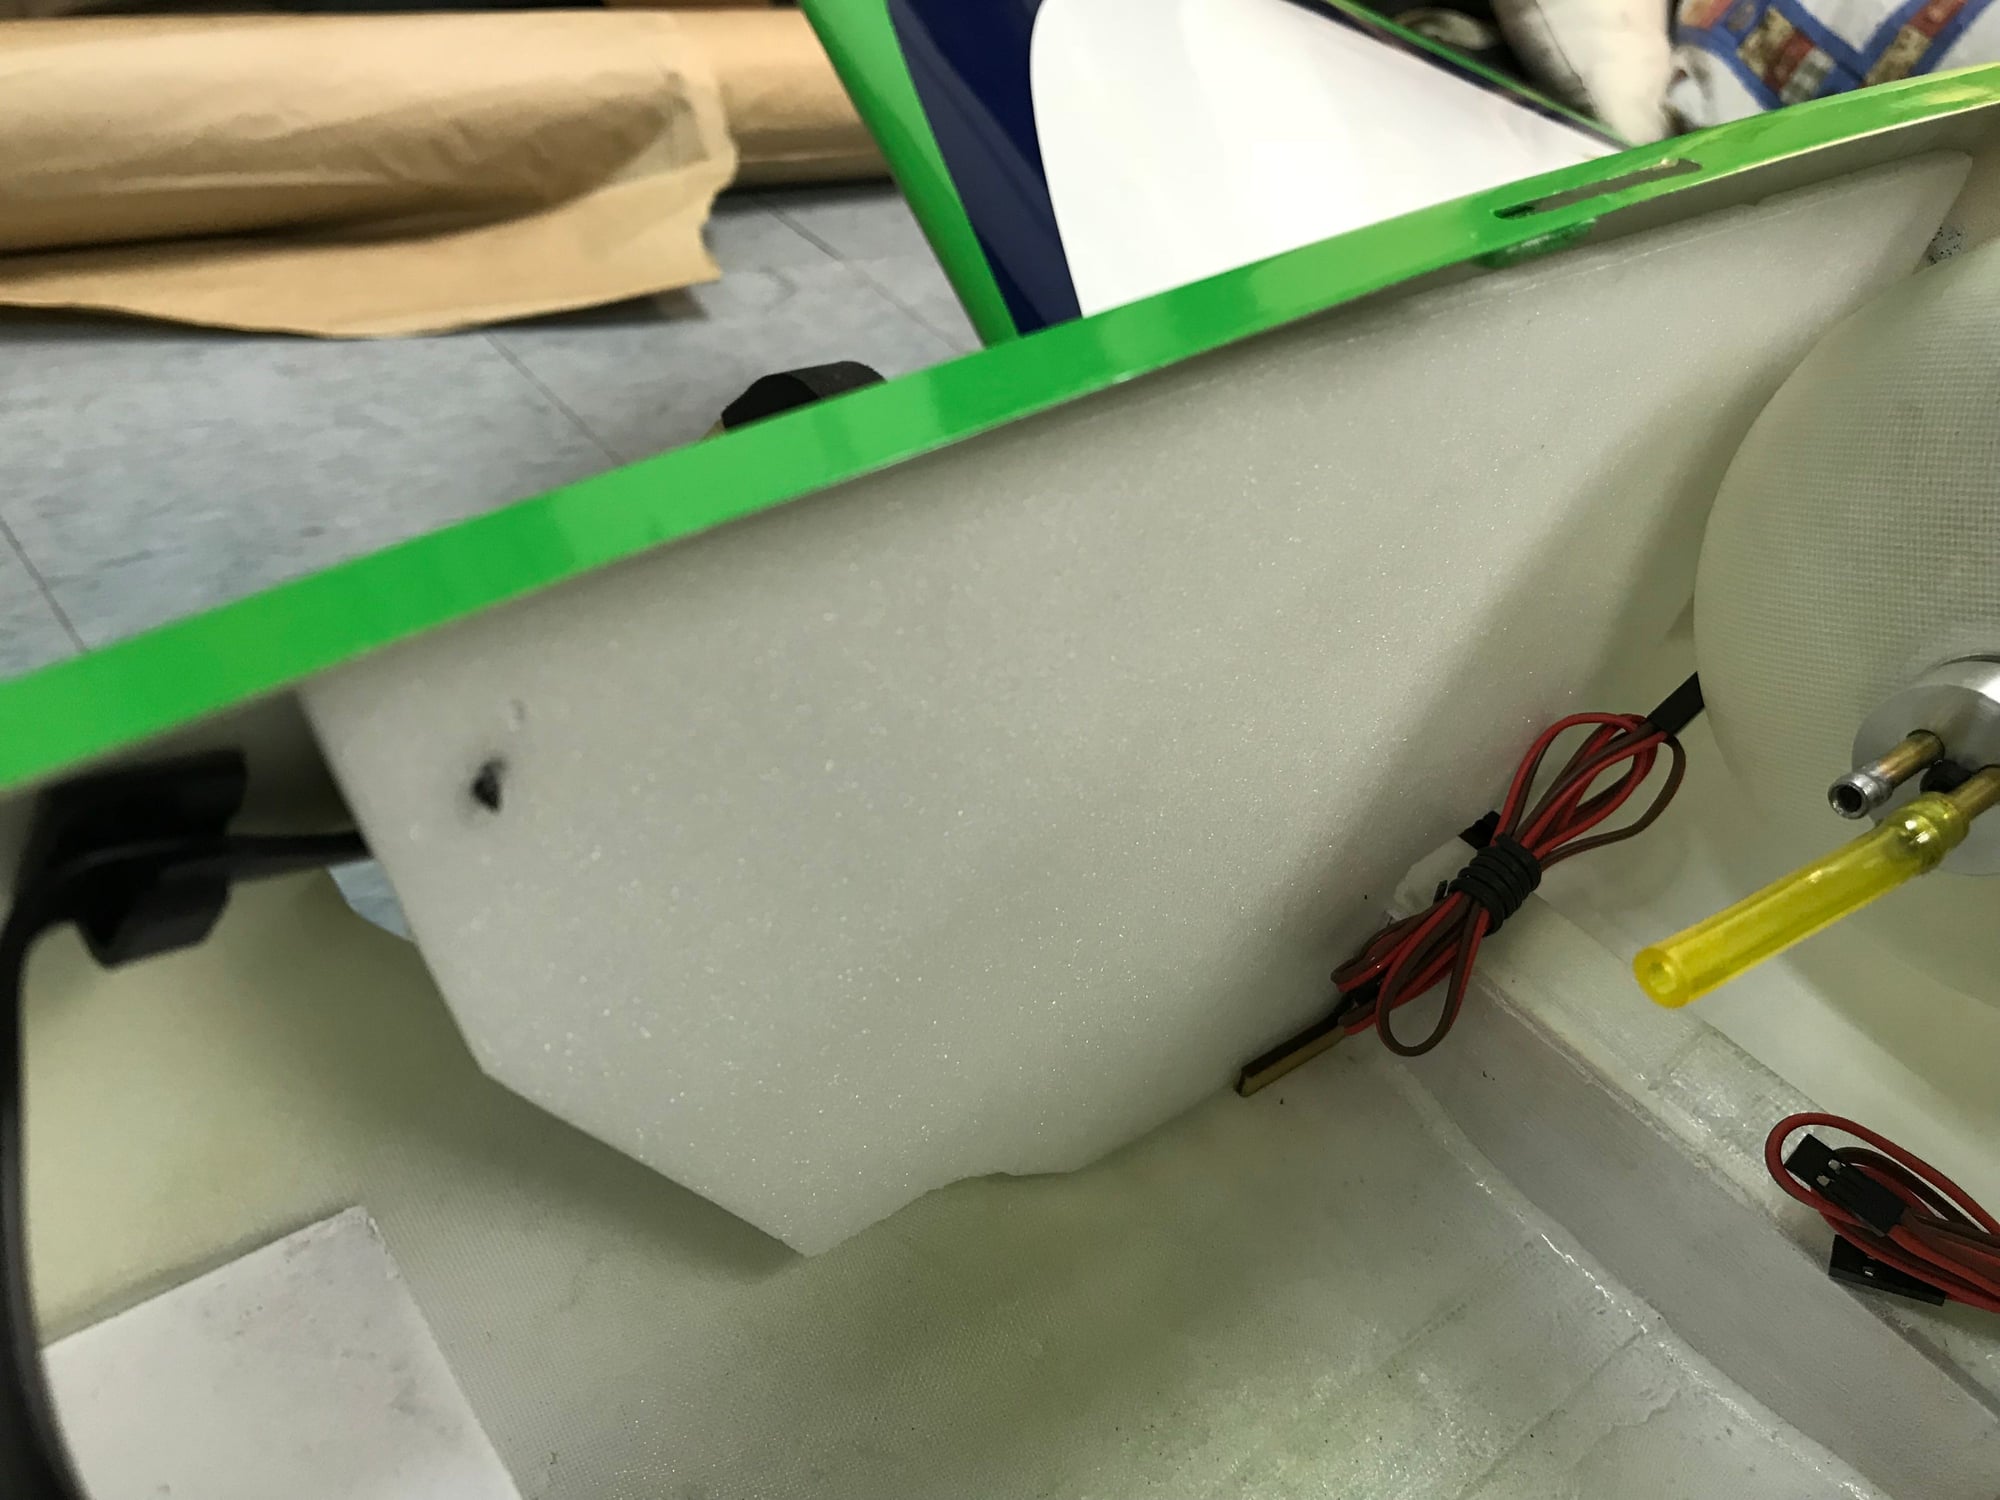
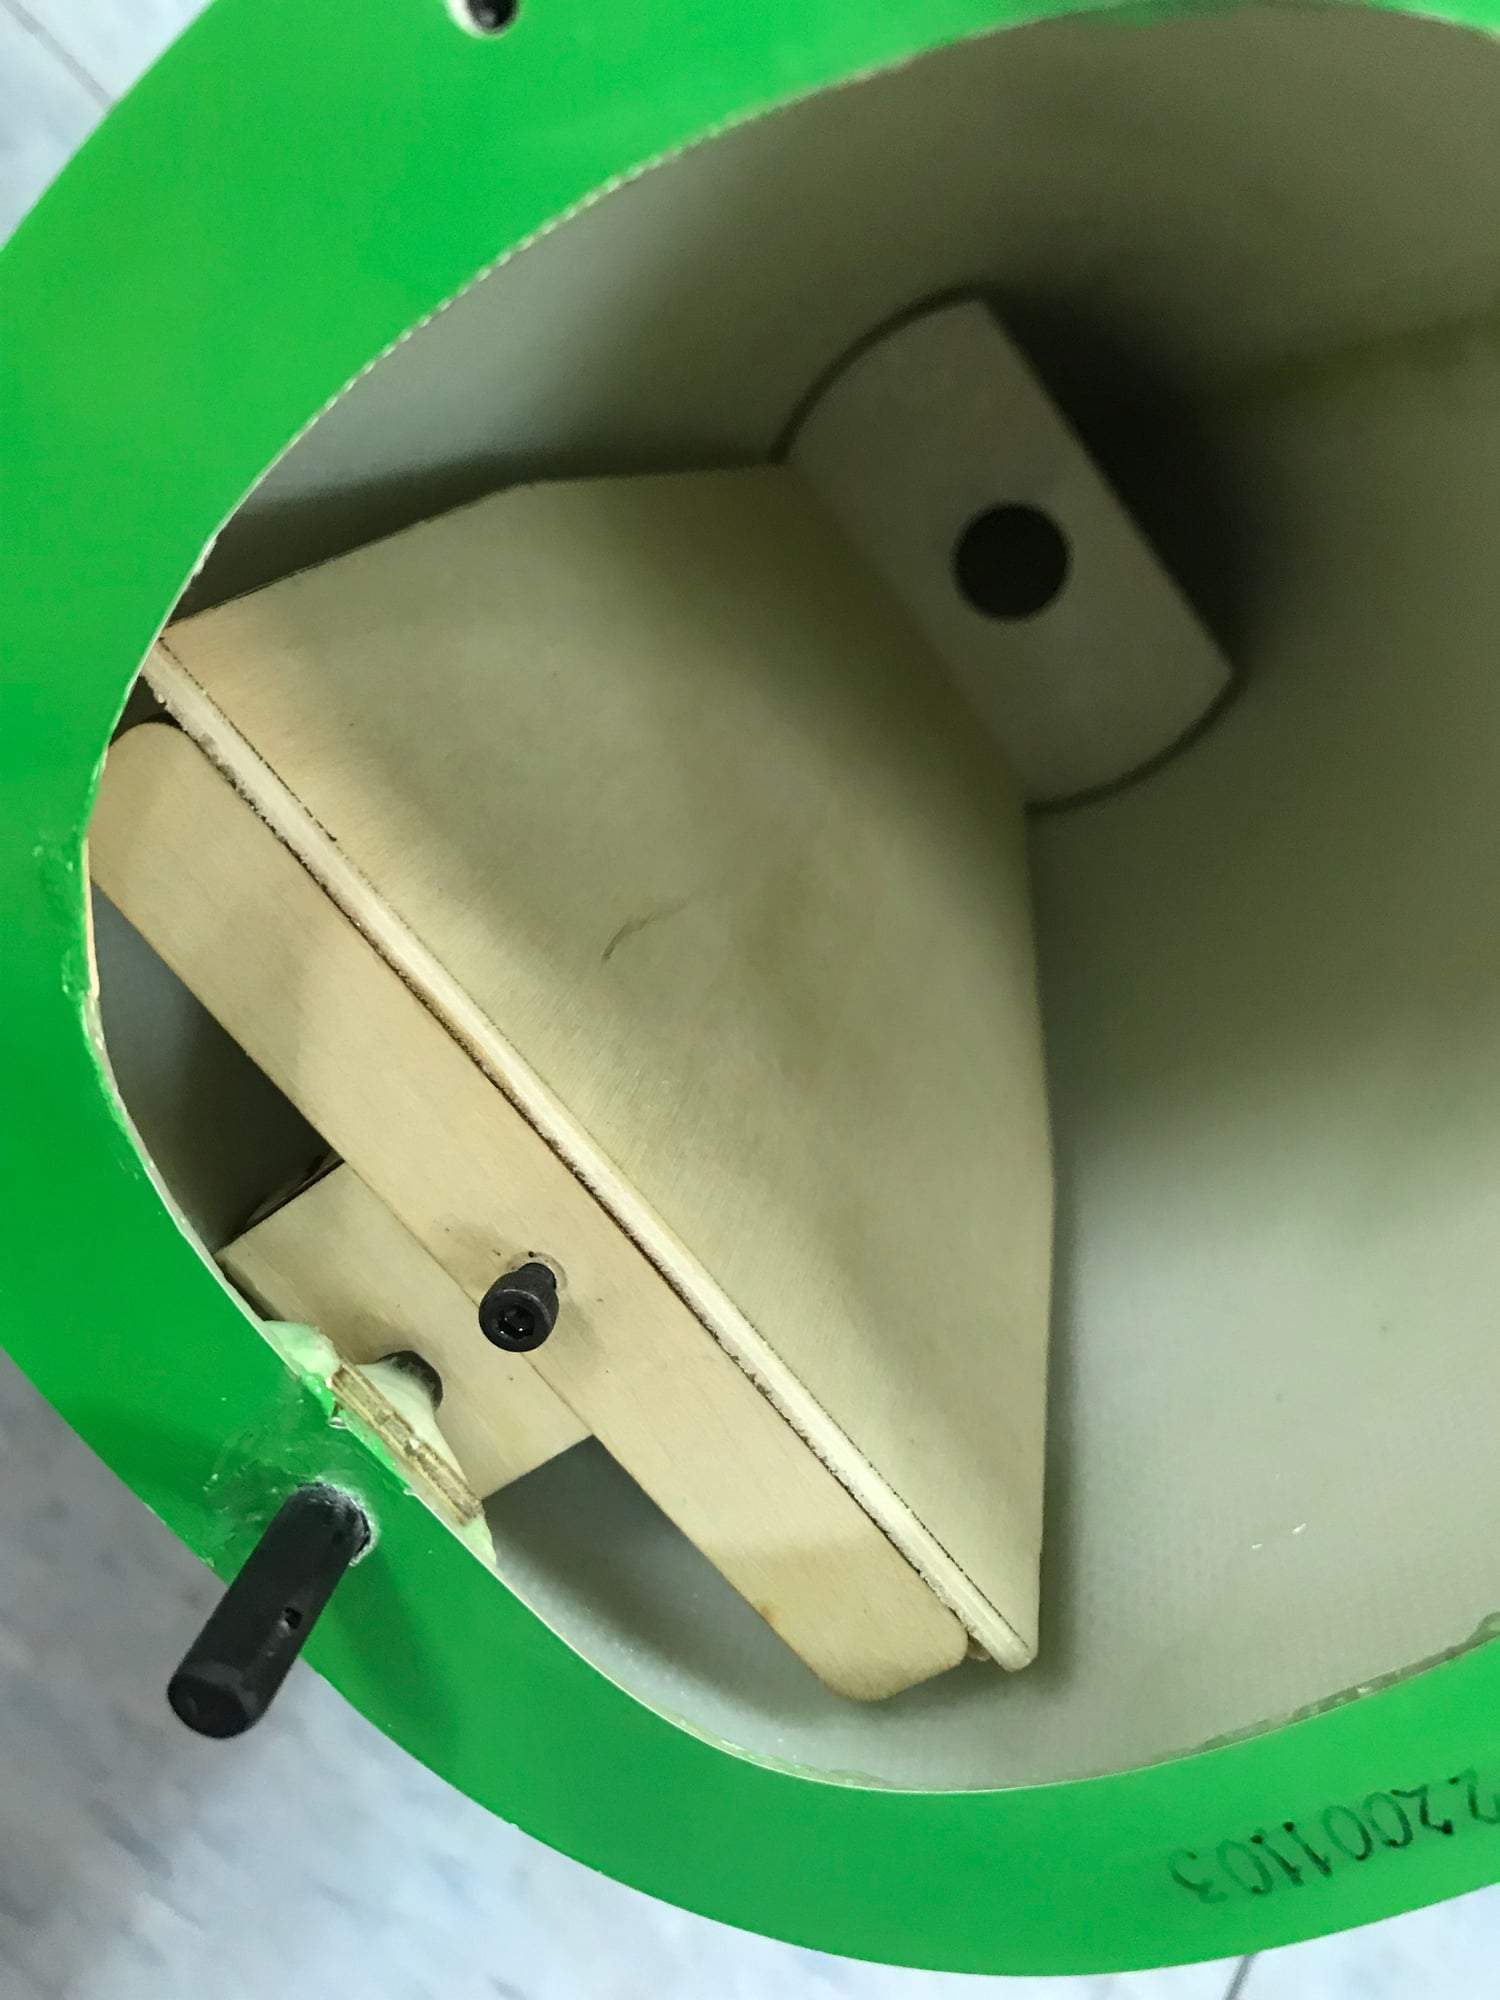
Removable depron foam (held by a screw from the outside fuselage) used as a cover to "guide" the air into the turbine suction at the rear. No complicated ducting works here and lightweight.
The depron foam also serves as a cover to hide the wiring and tubing mess from the outside.
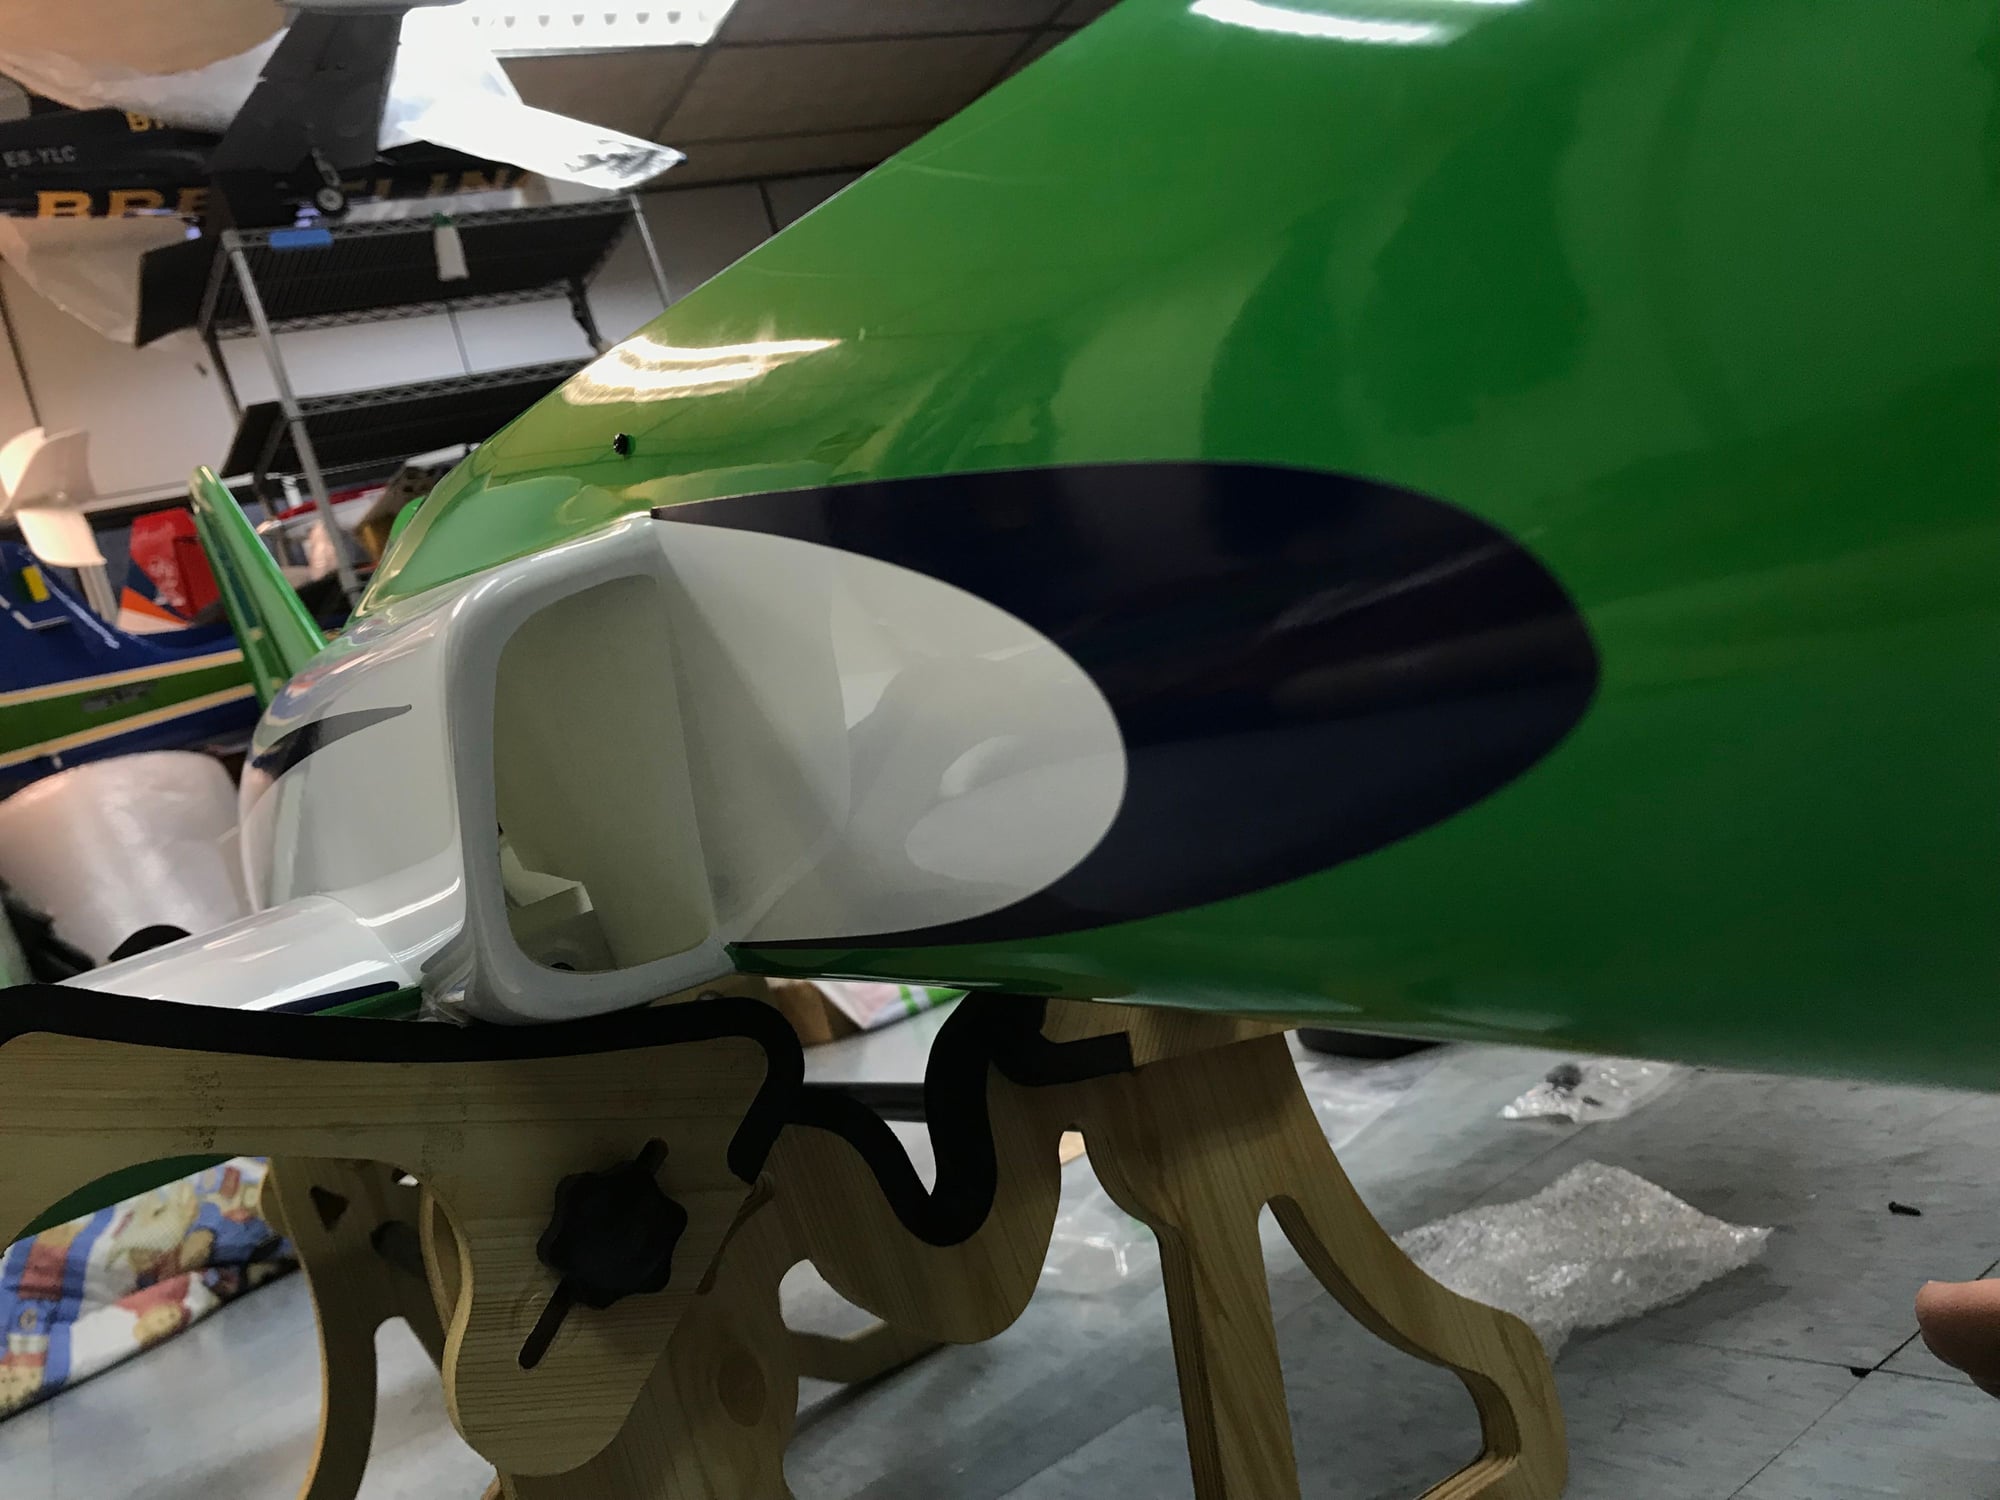
White paint jobs on the cabin interior. Black paint over all control surface horns too.
Concealed the factory's white epoxy.
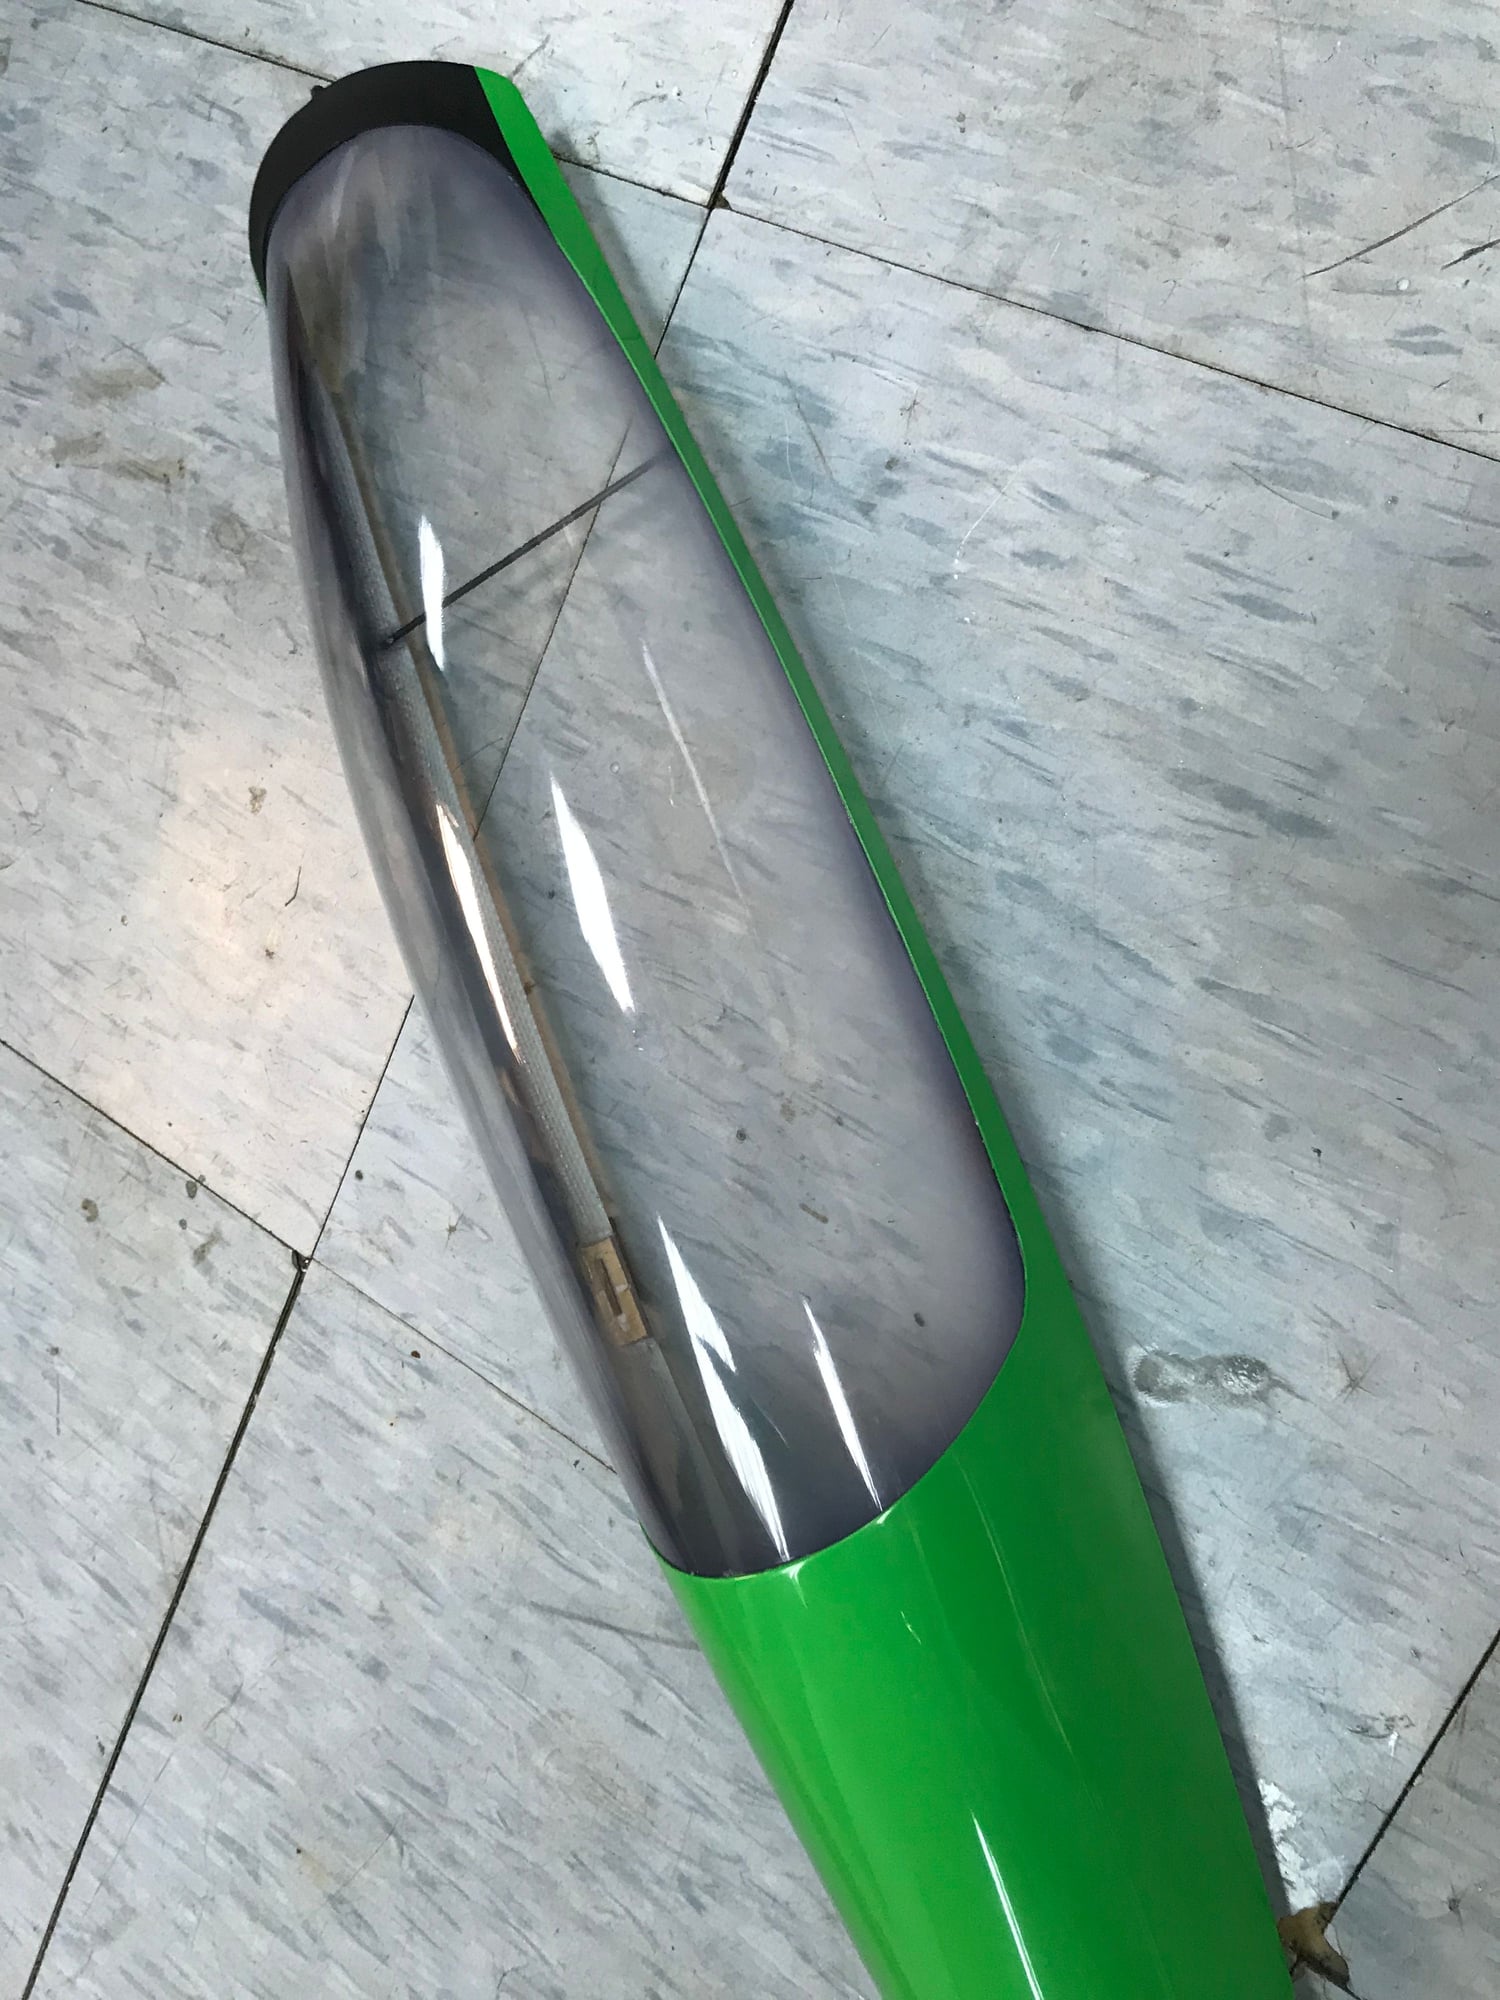
Slightly tinted canopy with a gradient of black/dark blue mix.
Thinking of putting a Batman inside at the end of the build but I want to keep the plane as light as possible at the mean time, prior to maiden.
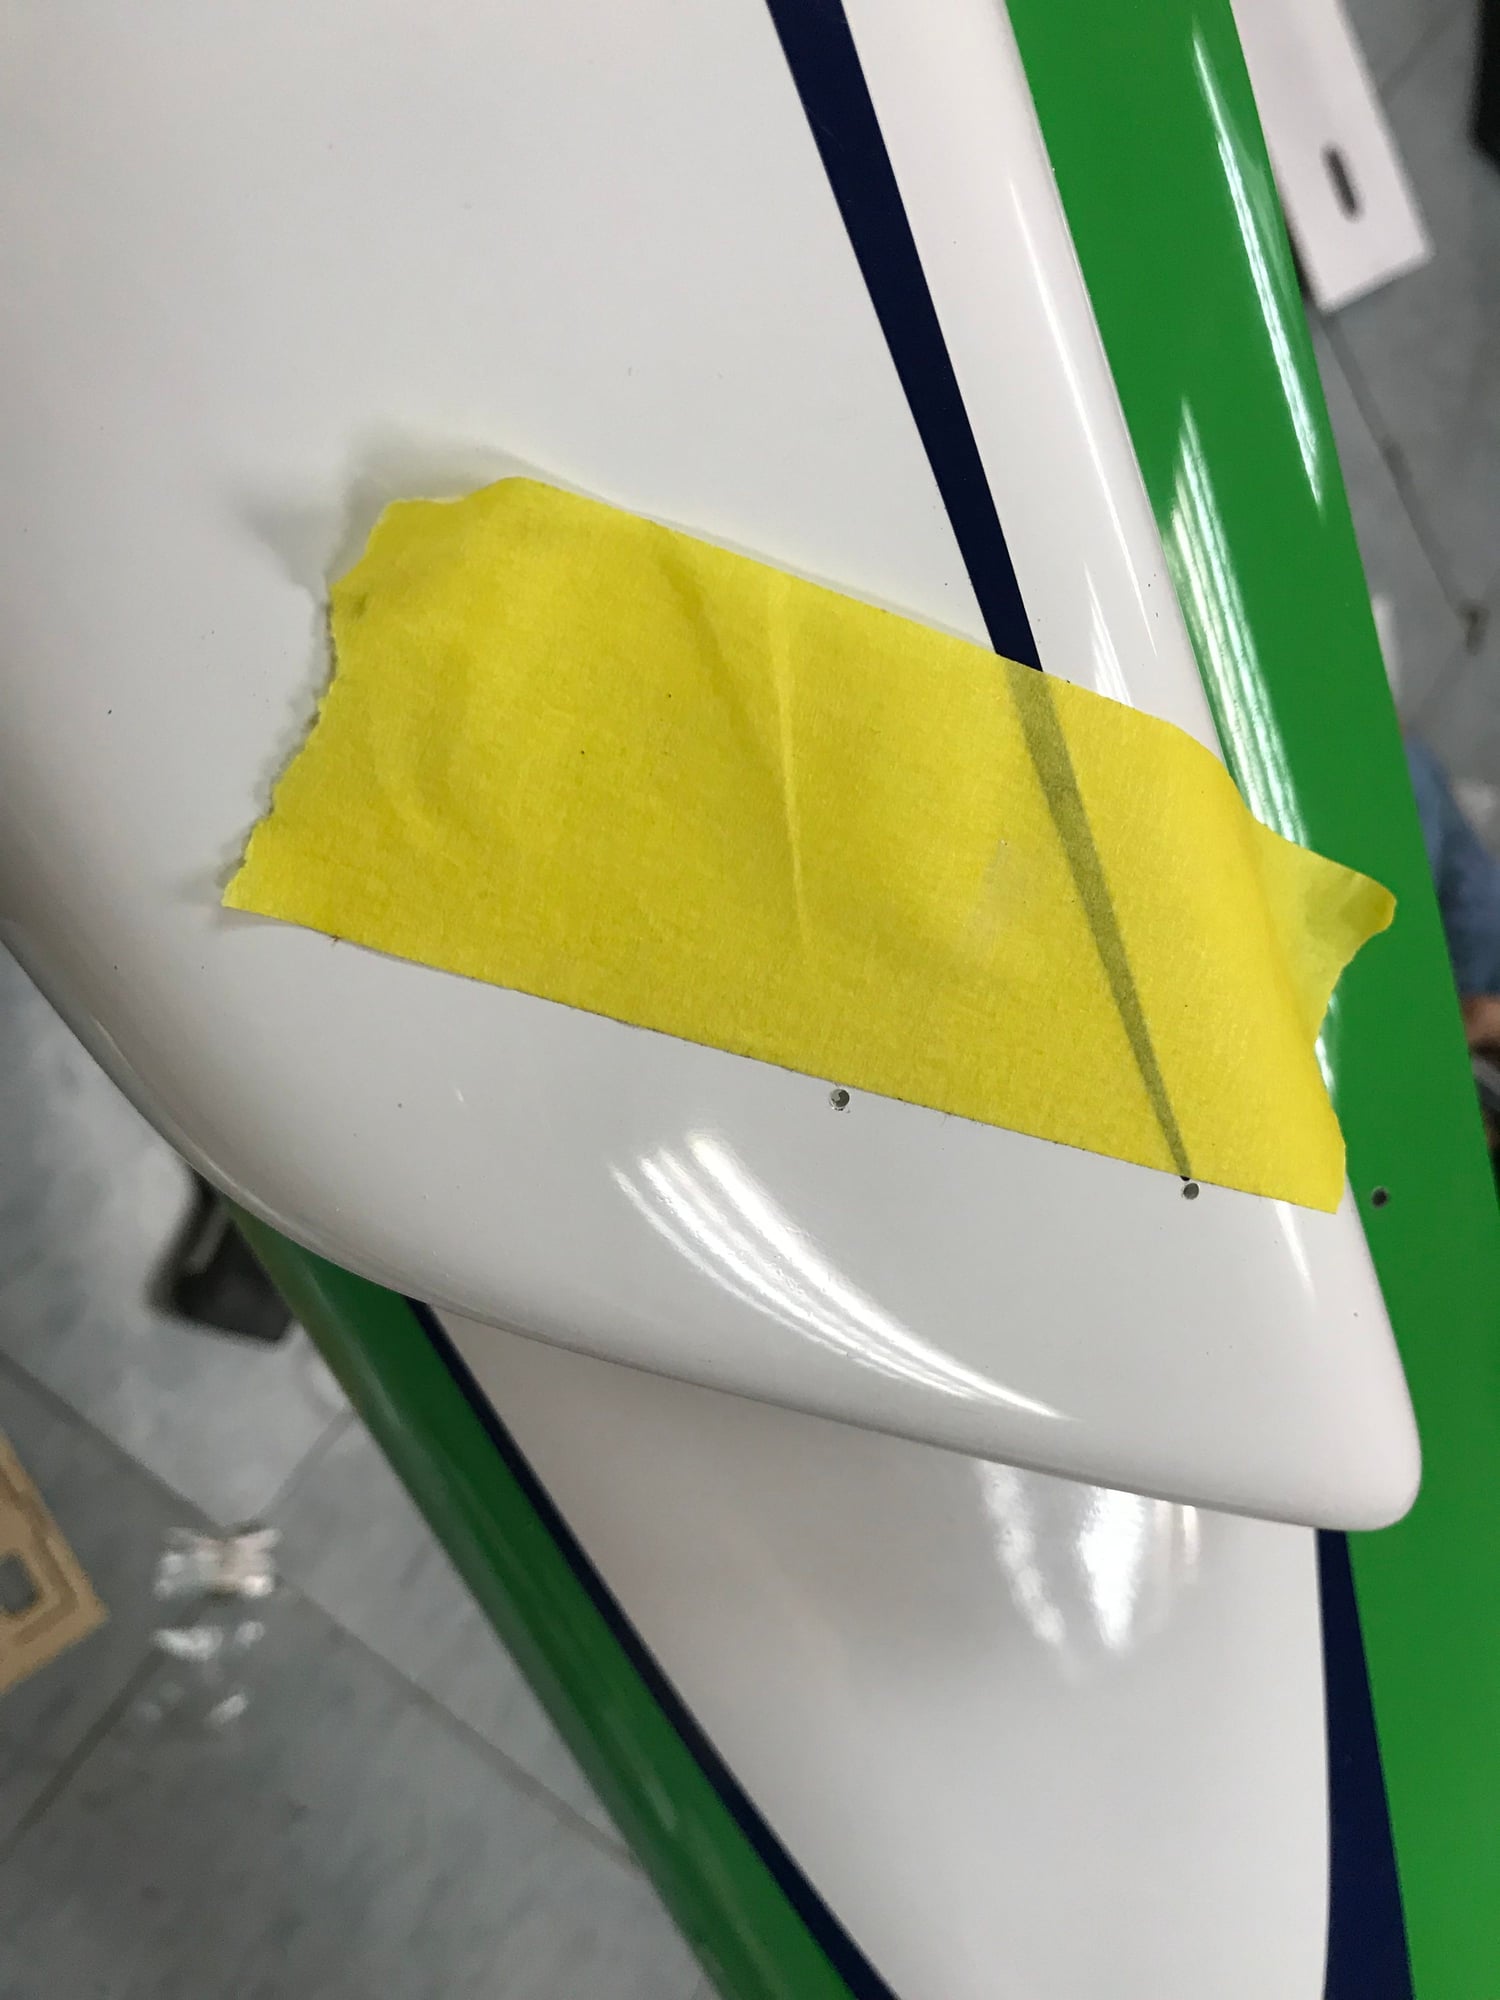
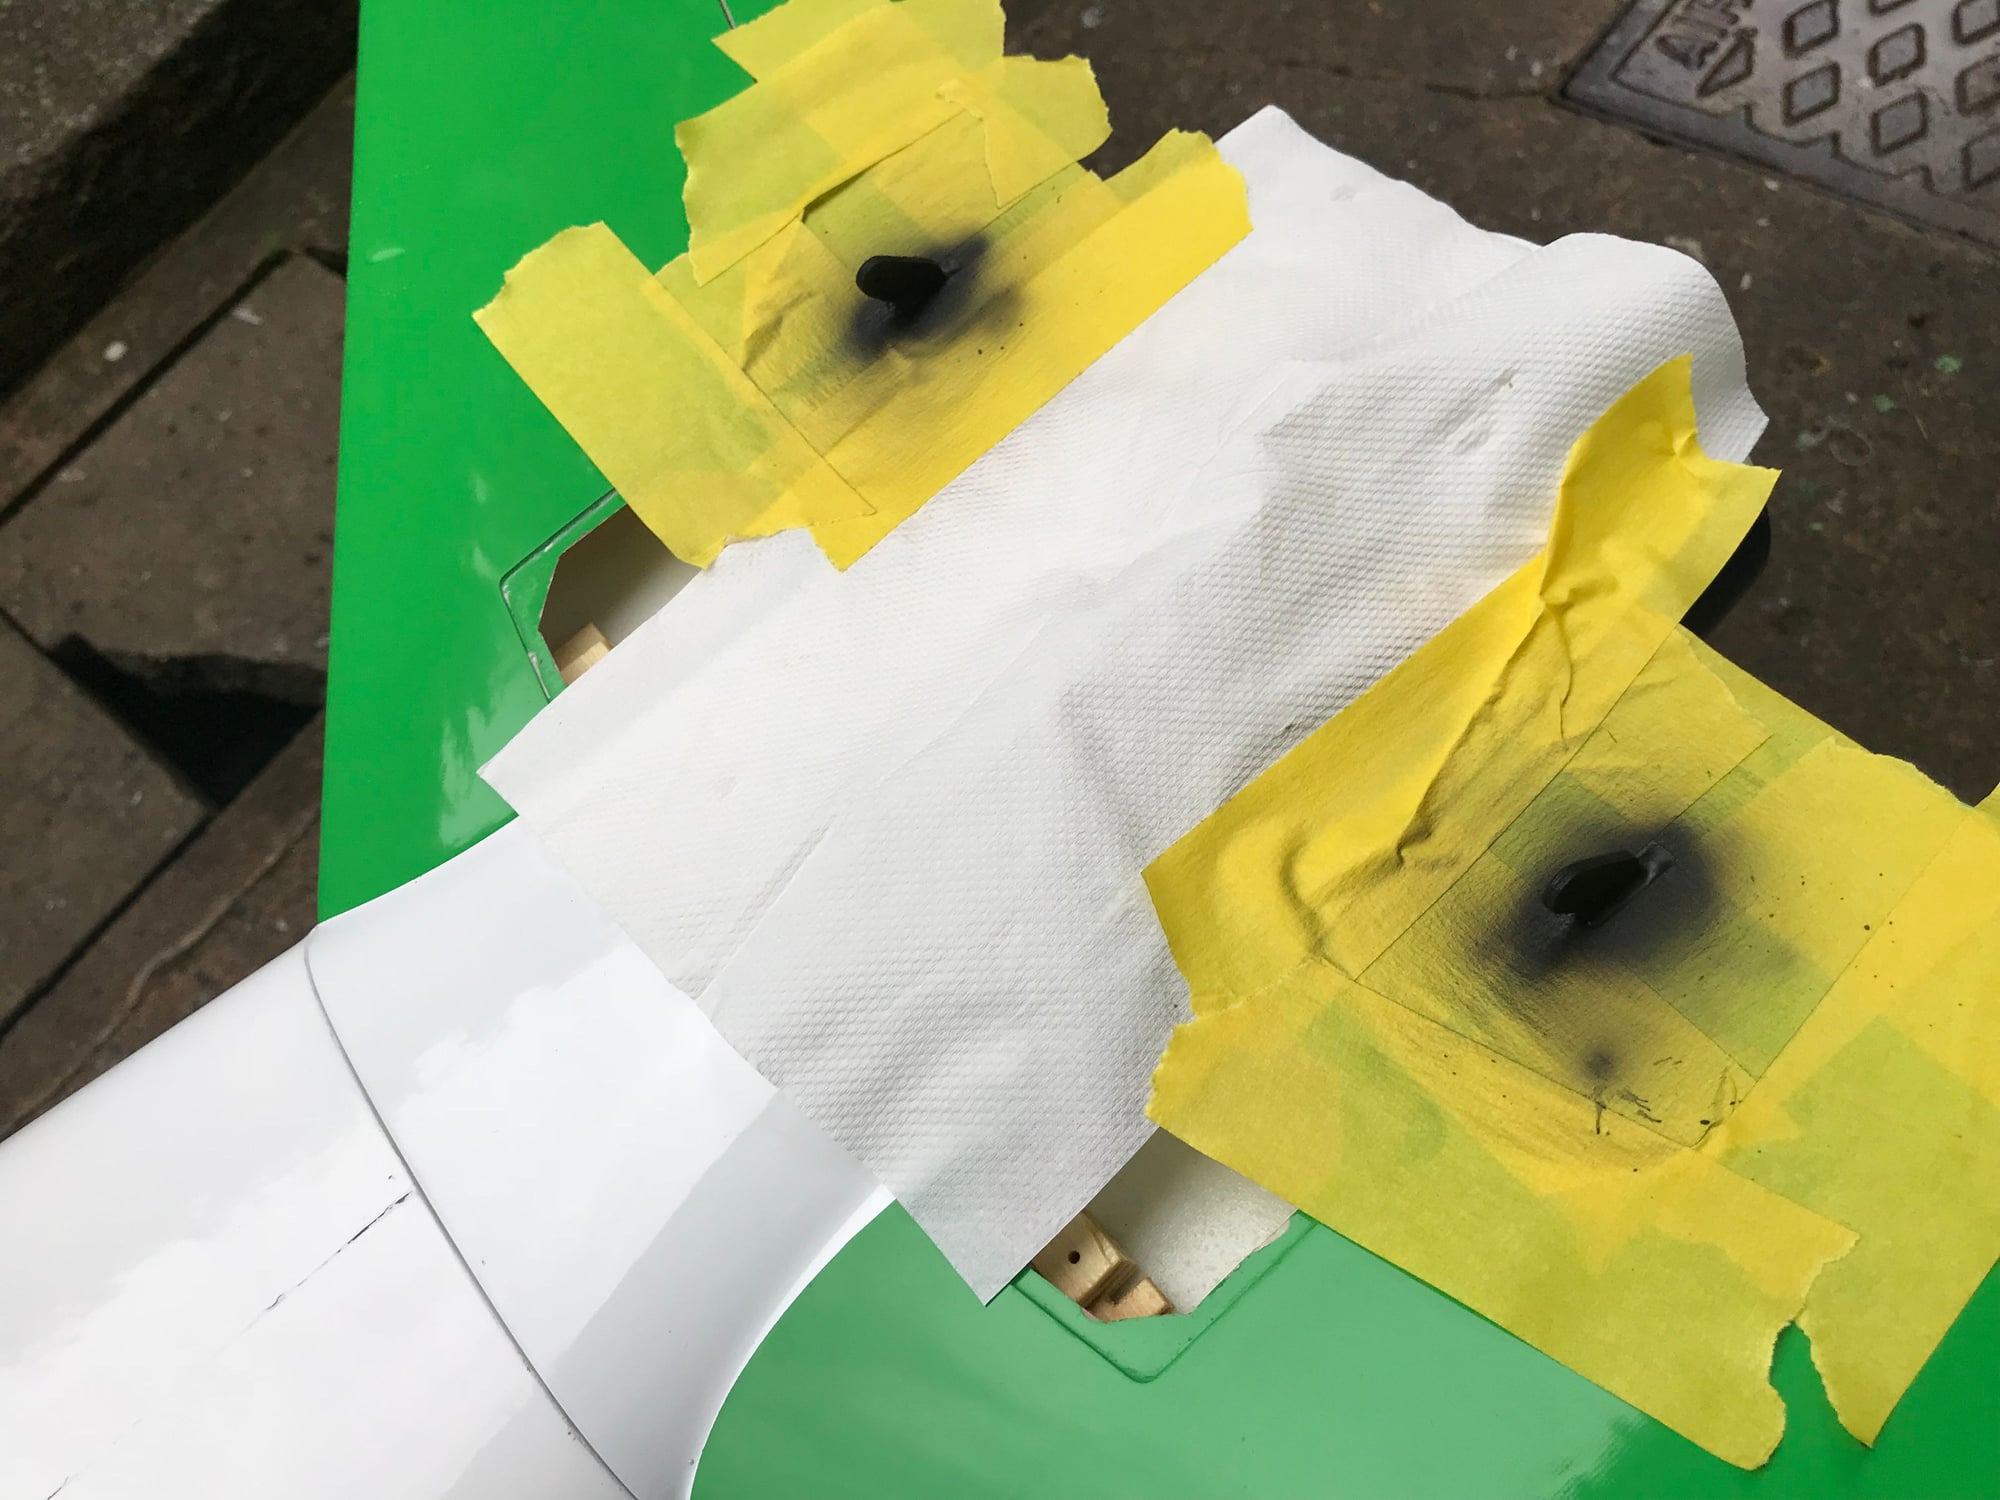
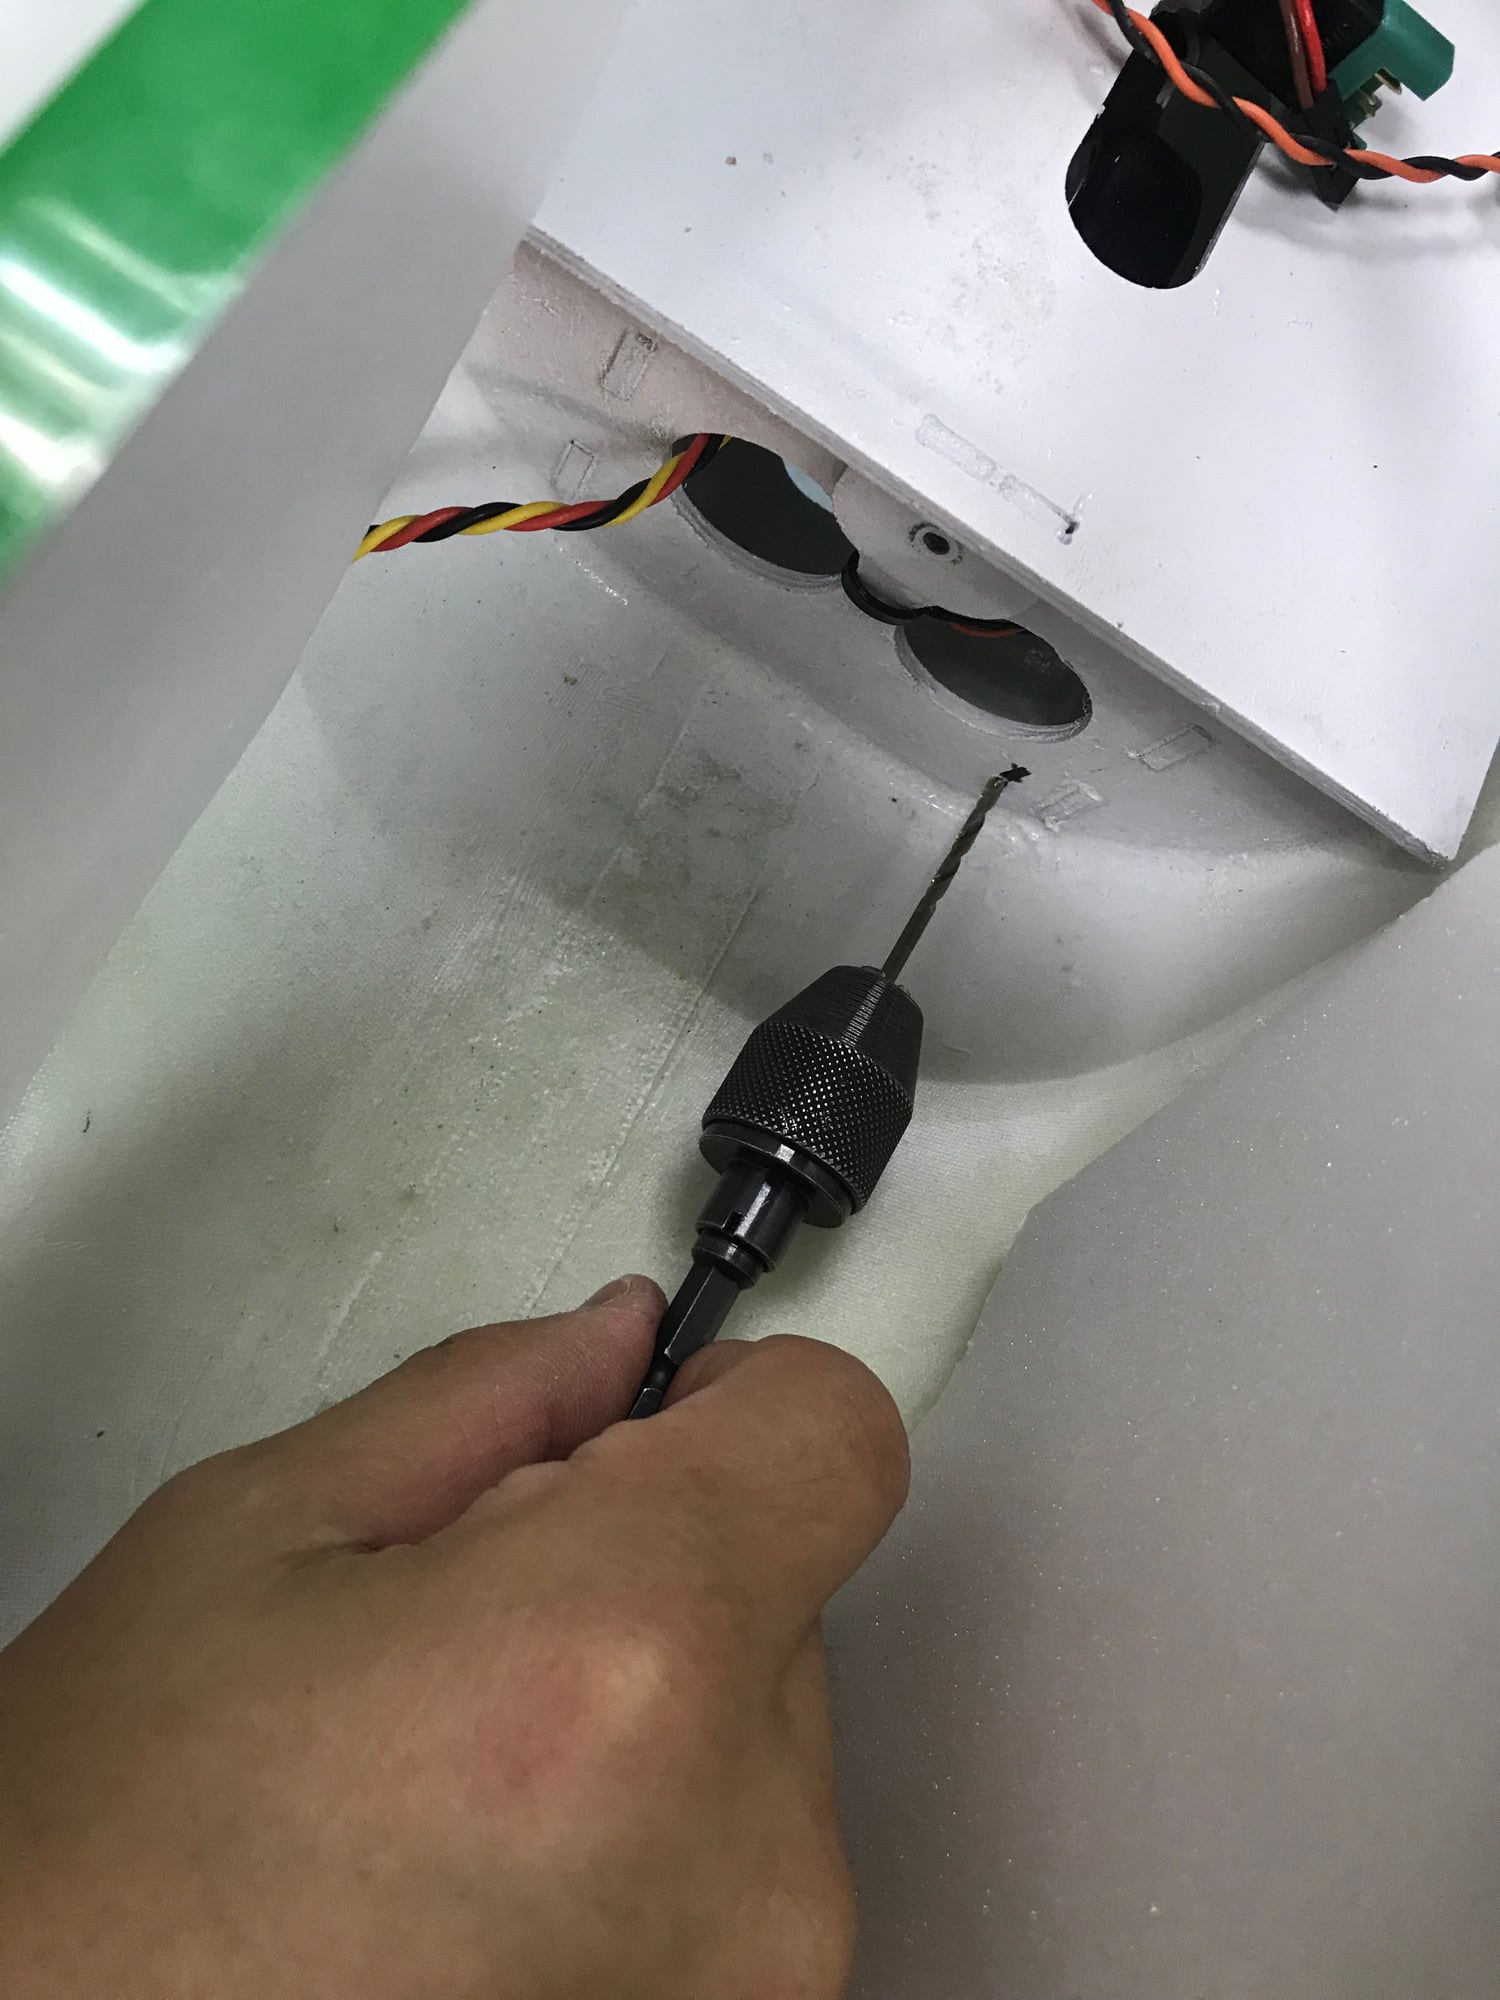
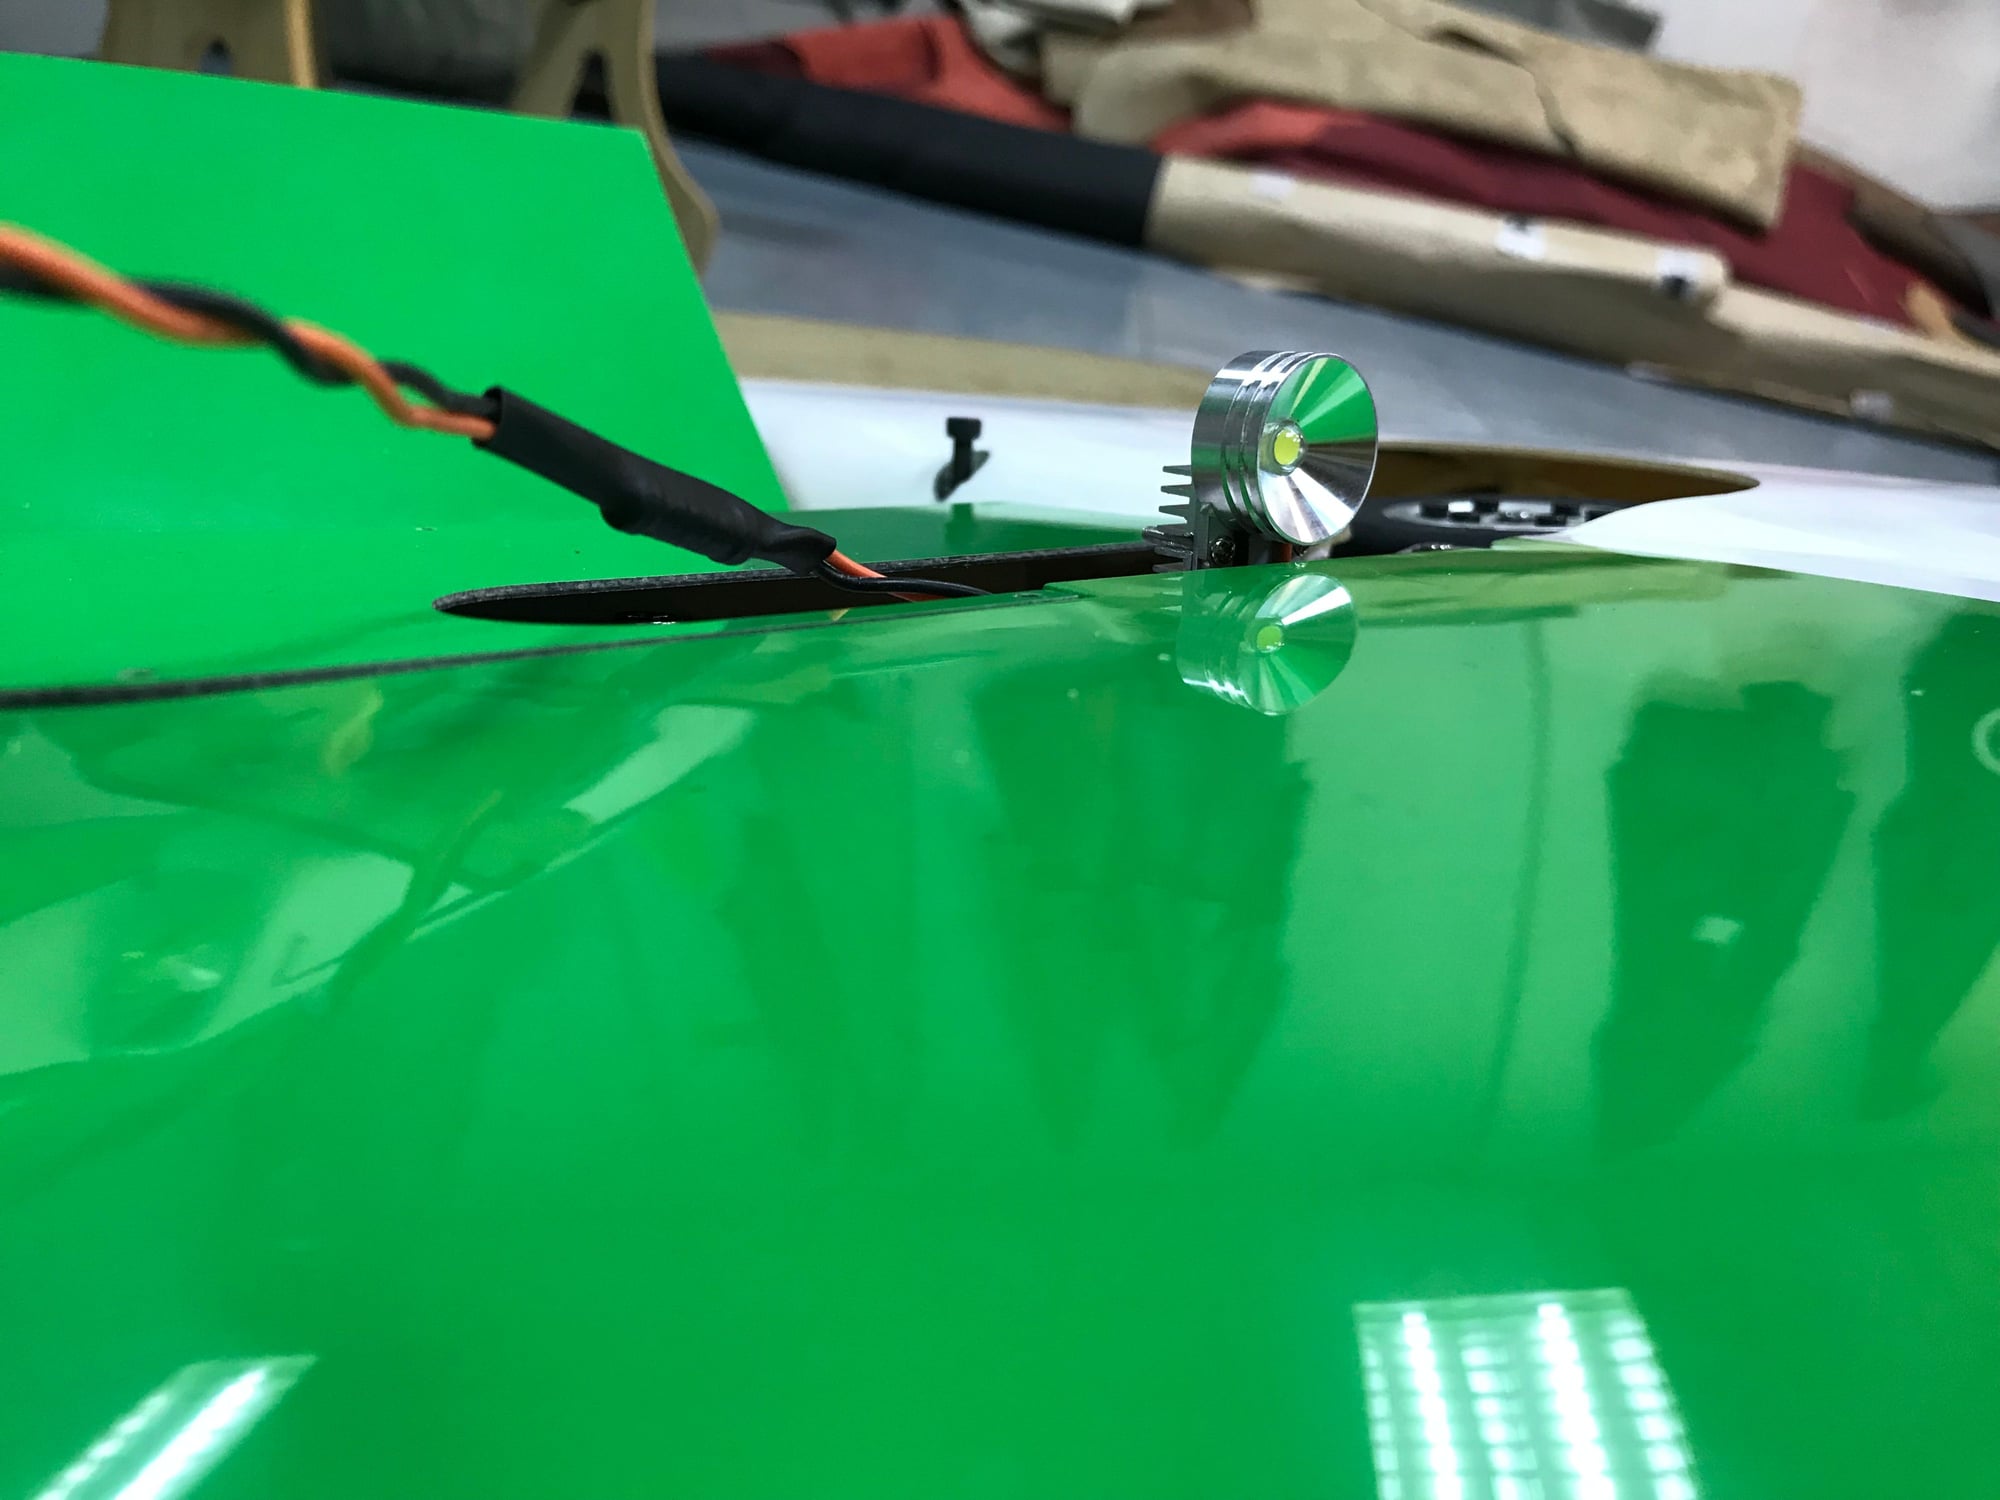
Drilled tiny holes for navigational light wires to go thru.
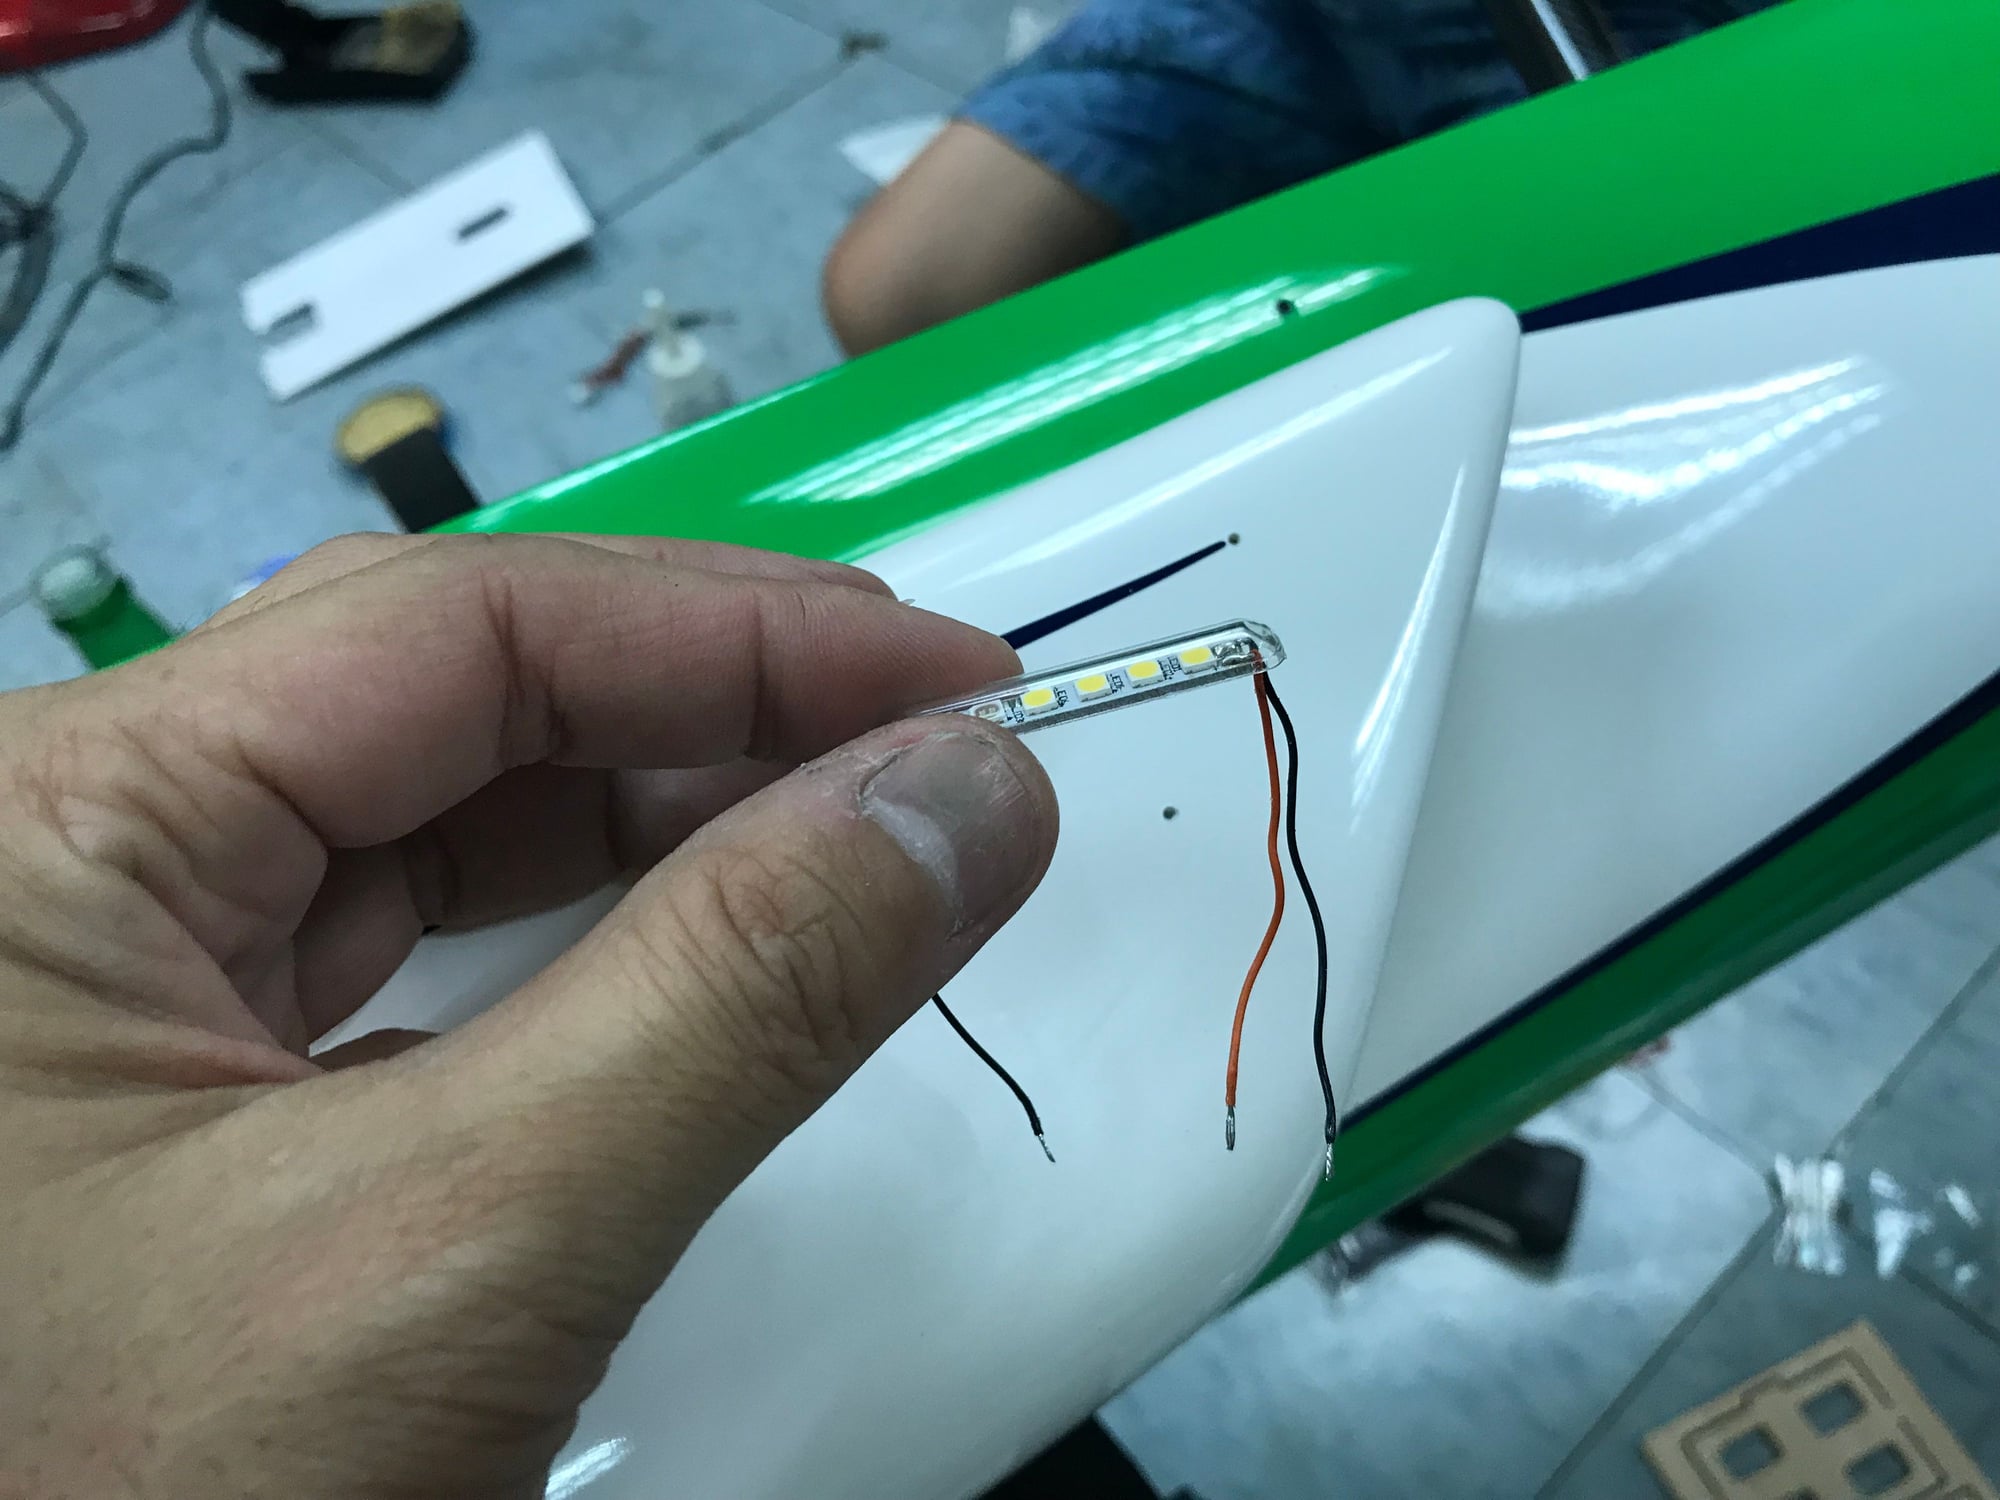
Unilight's navigational light.
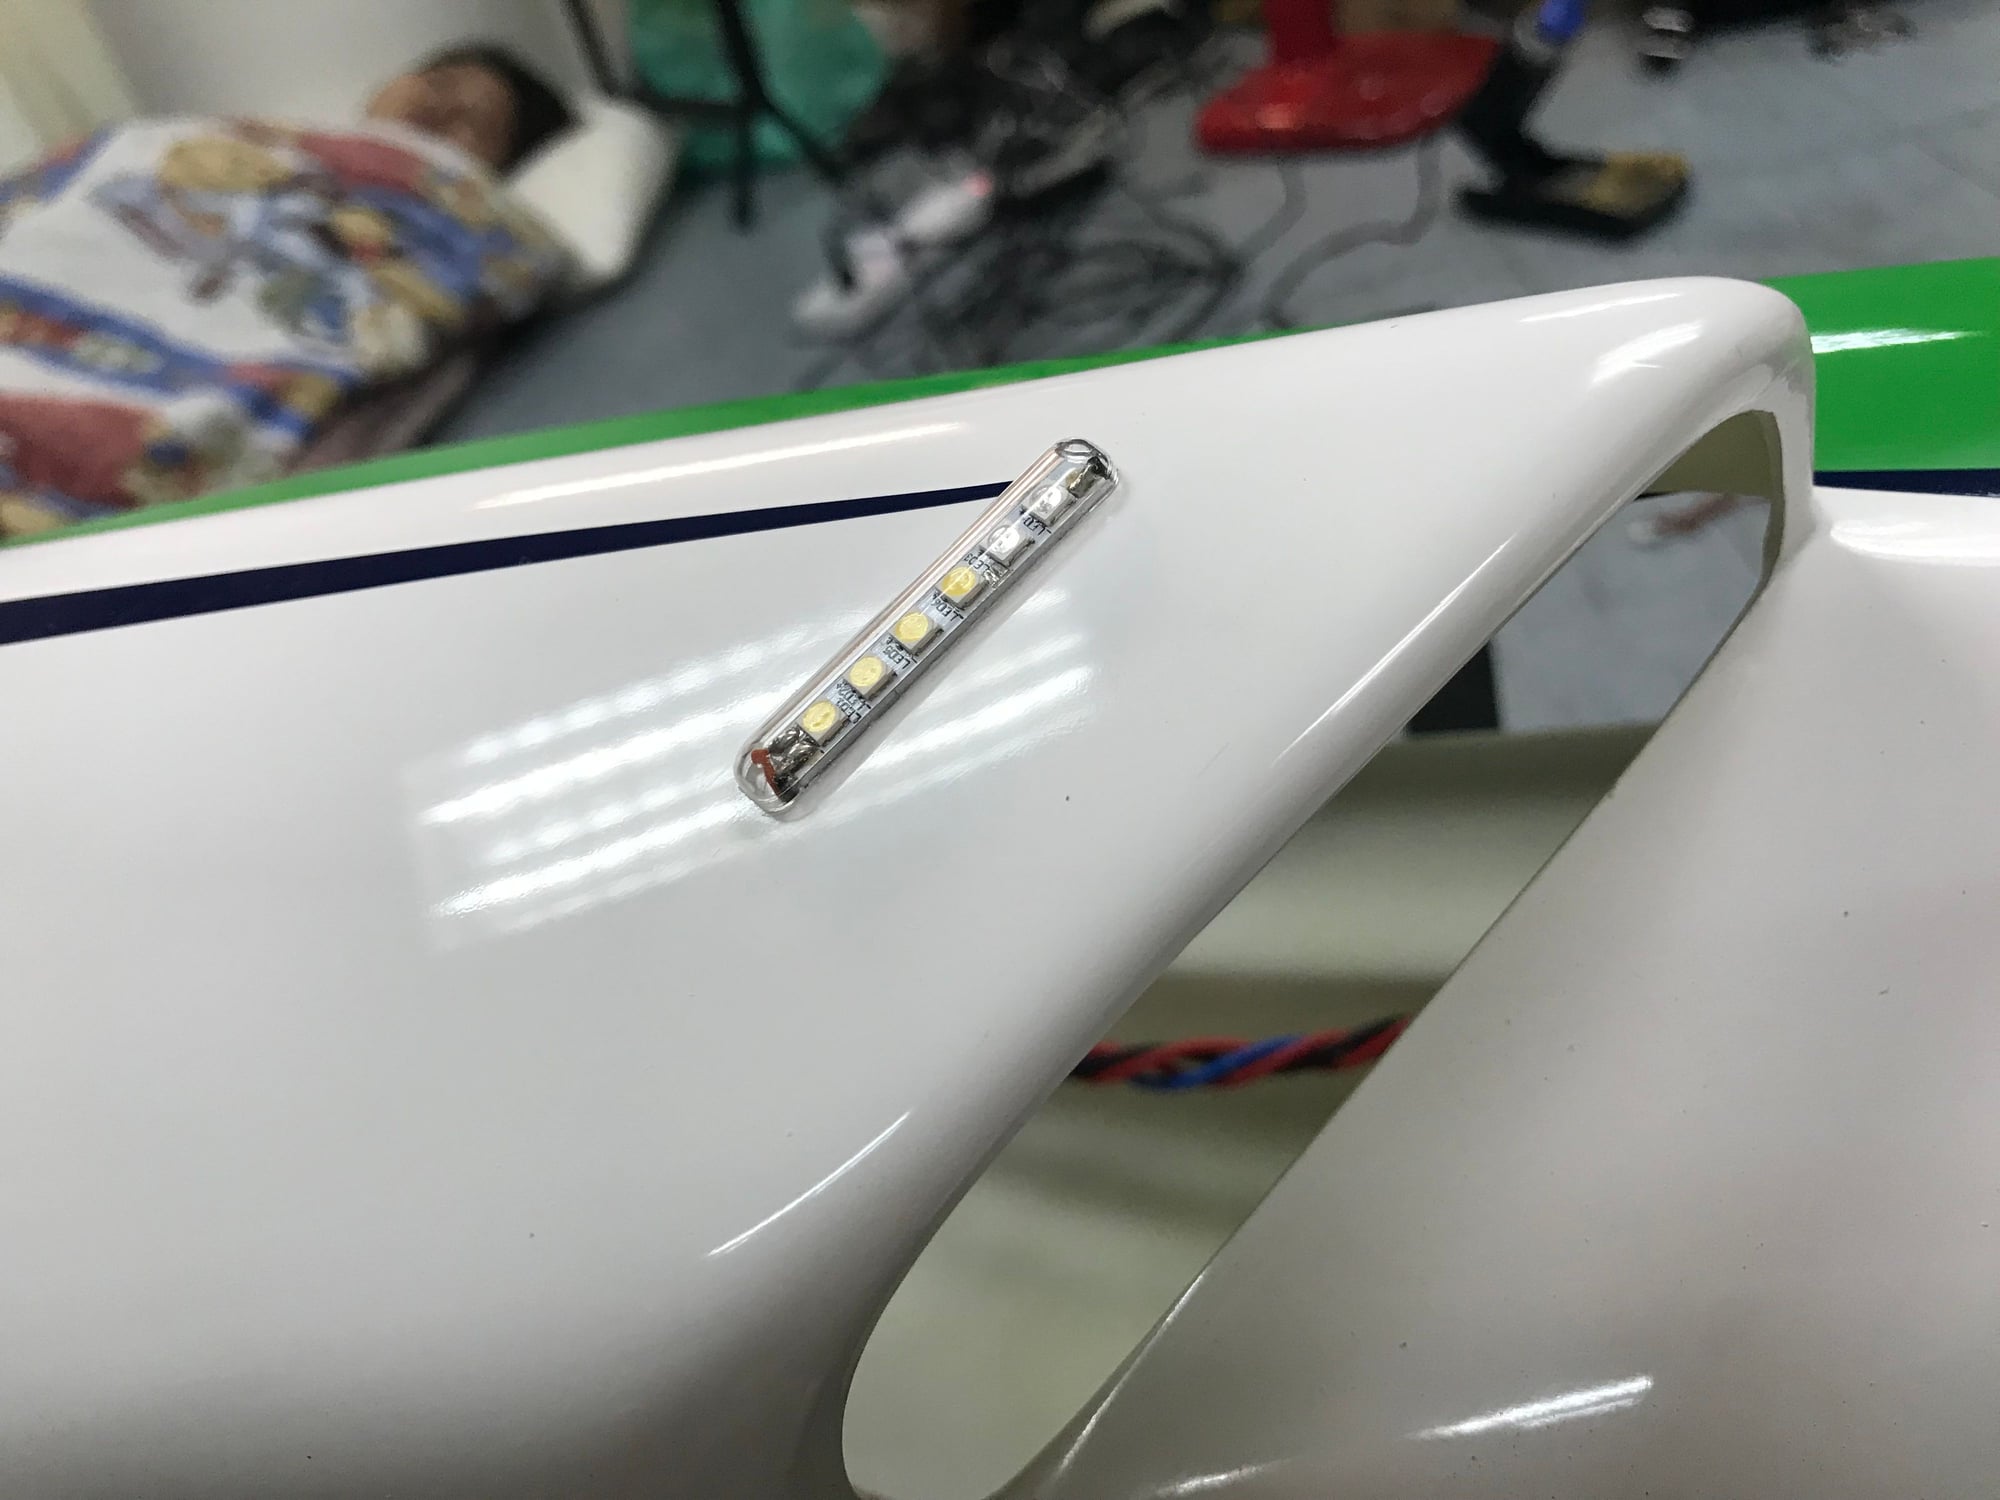
Here's the light installed.

Heat shield - thin copper adhesive tapes along with a 1.5mm foam tape beneath them, sandwiching the servo wires of the tail of the inner fuselage.
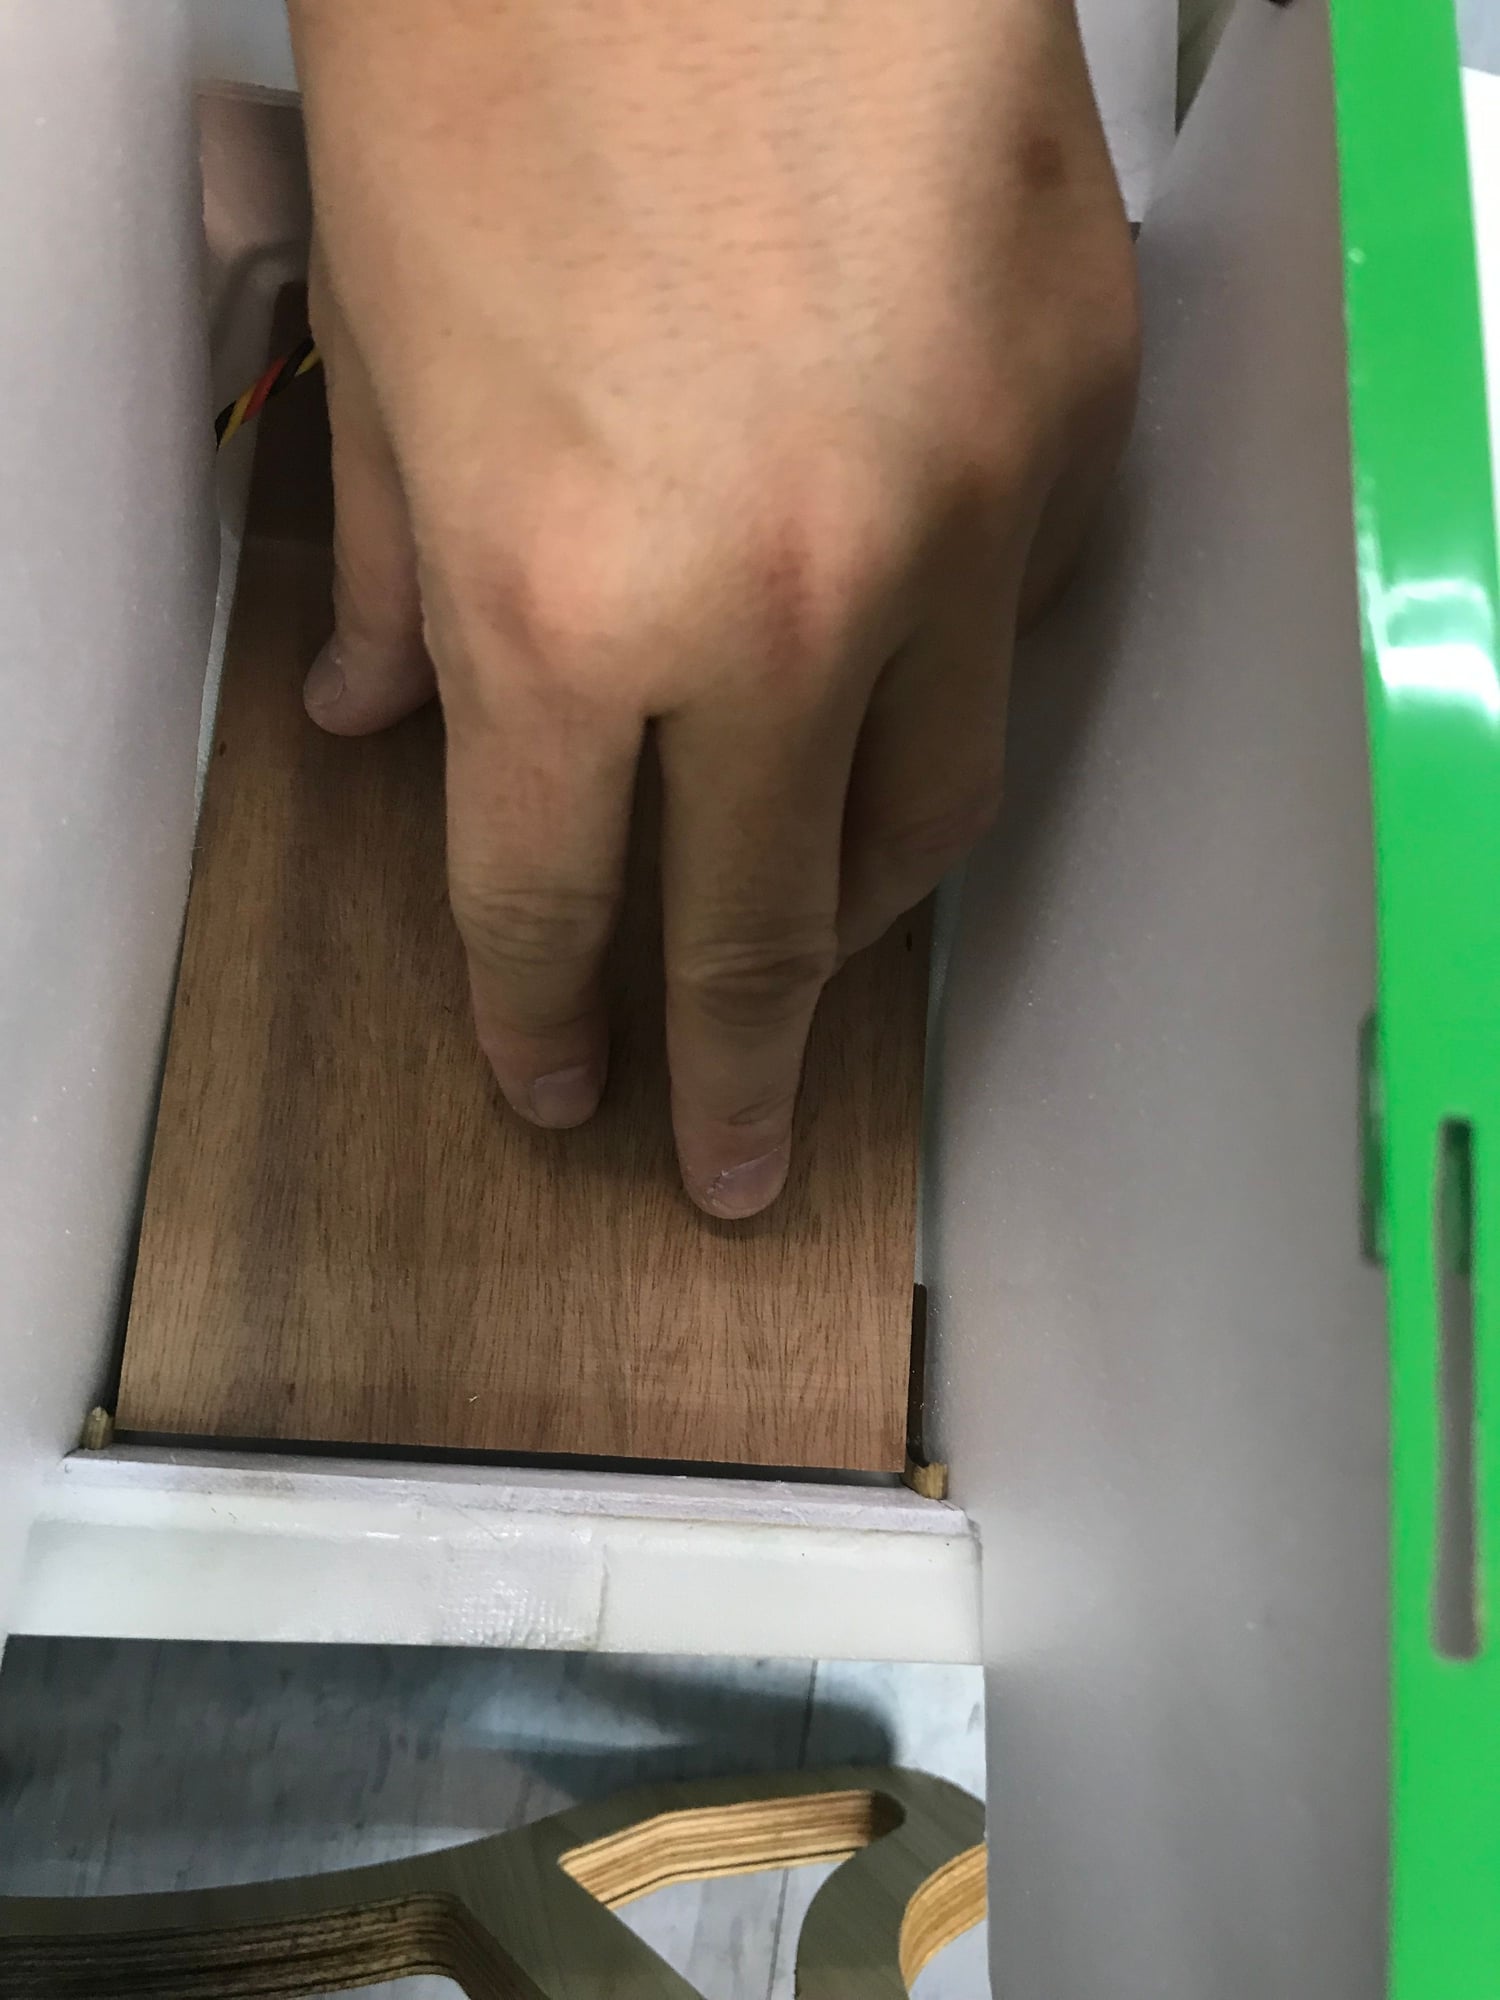
Trying out and see how the equipment tray would look like in the middle of the cabin.
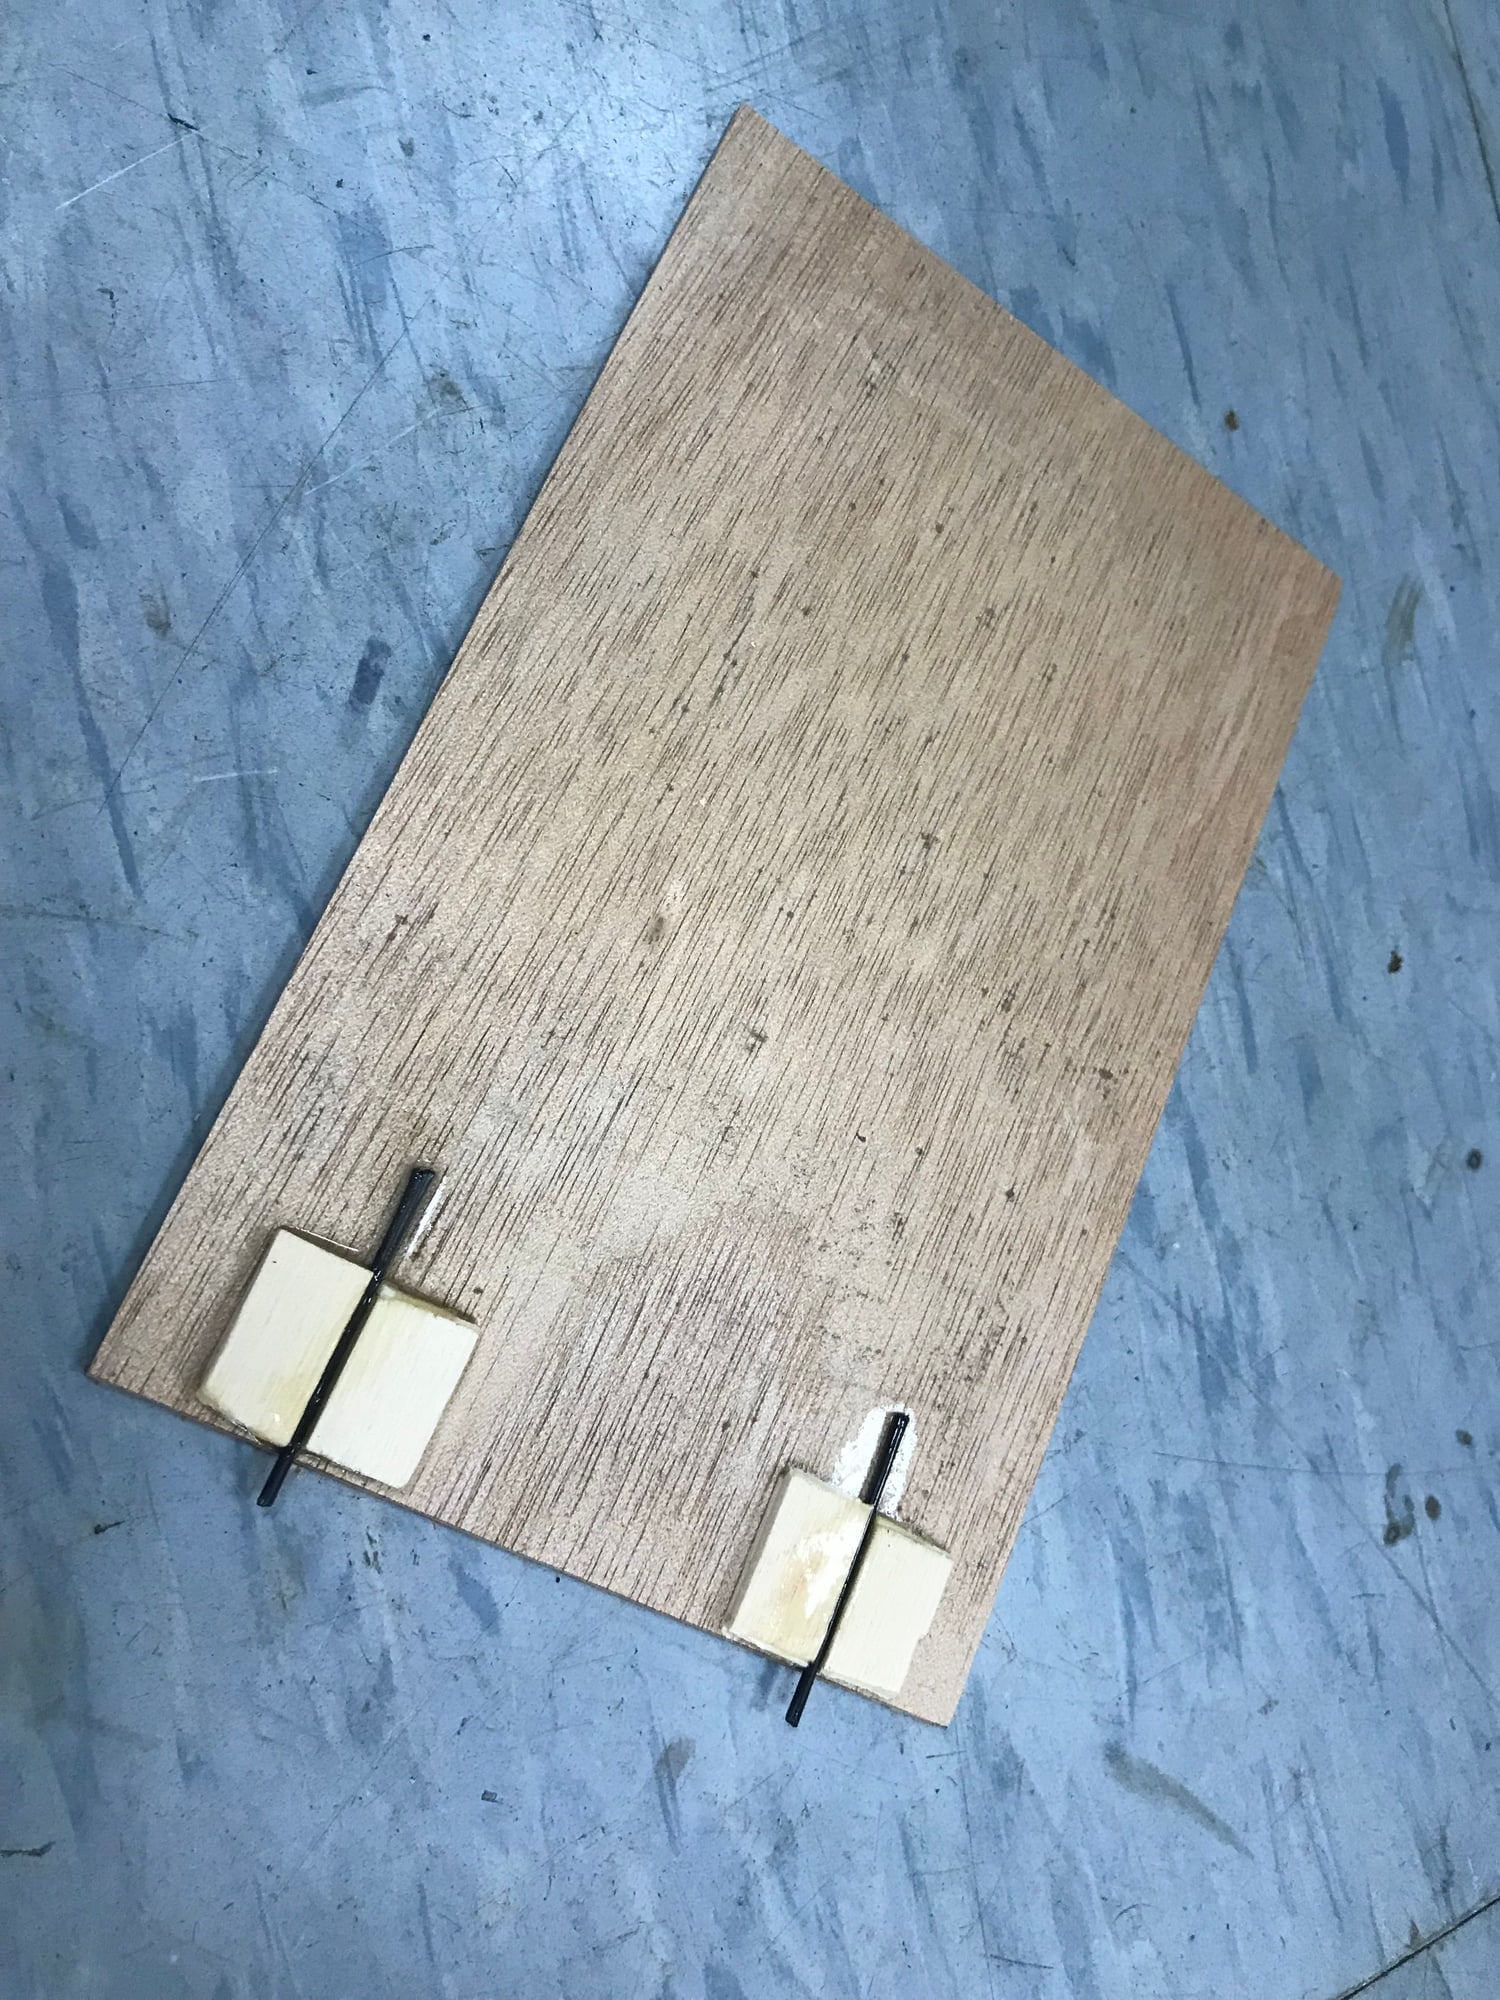
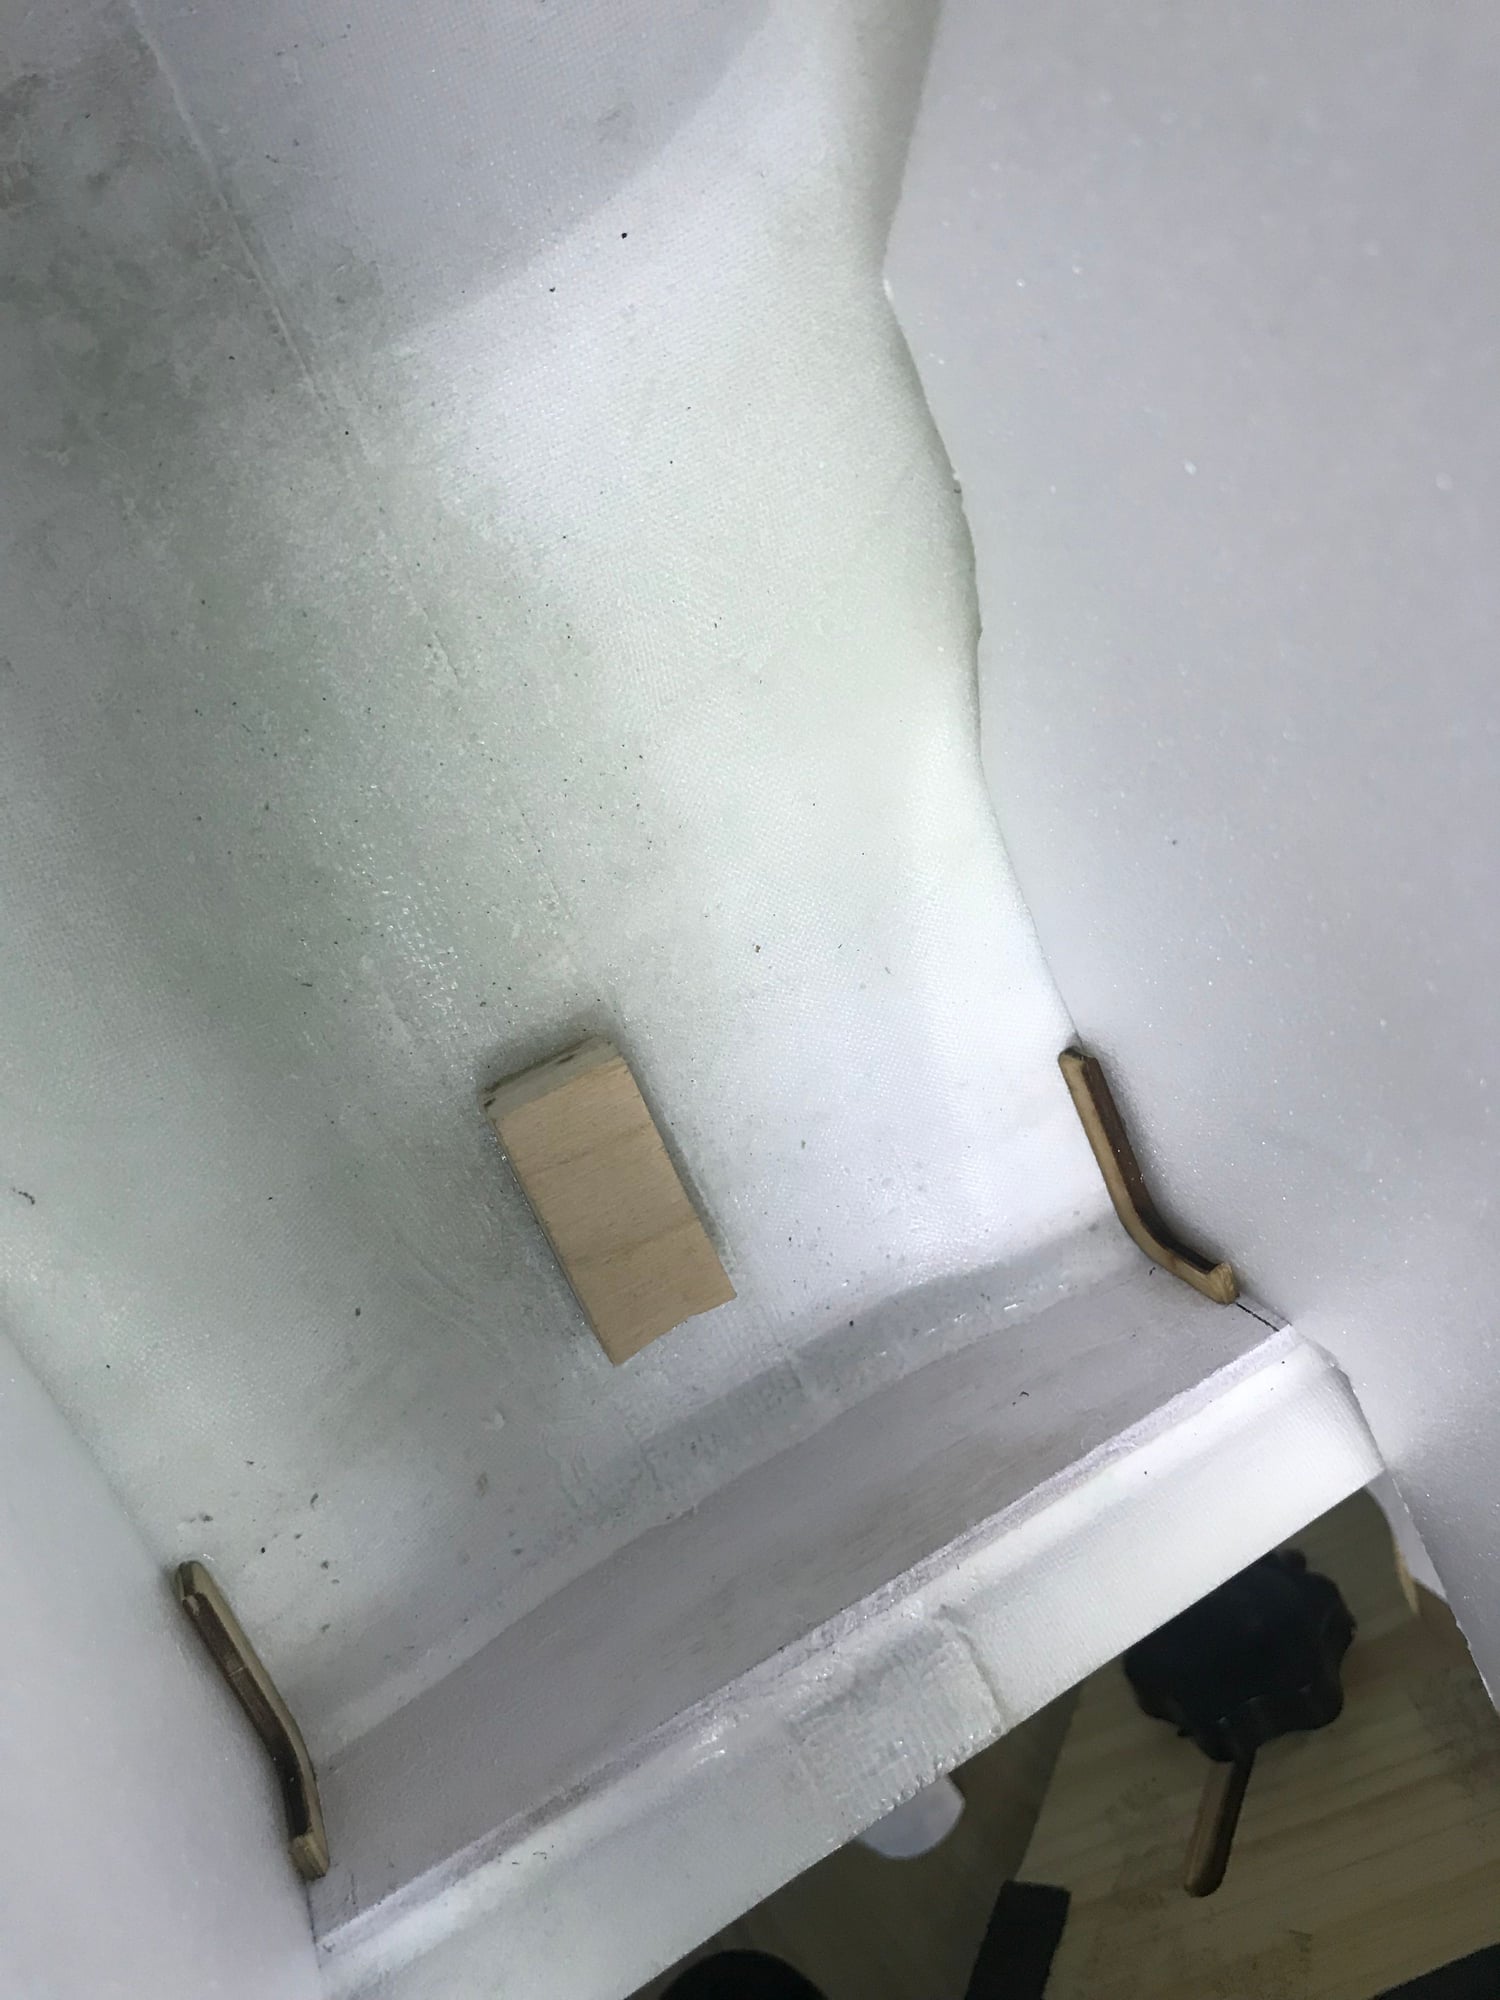
Epoxied 2 carbon pins to the panel as secured with some balsa woods.
Here's how it look like from the top.
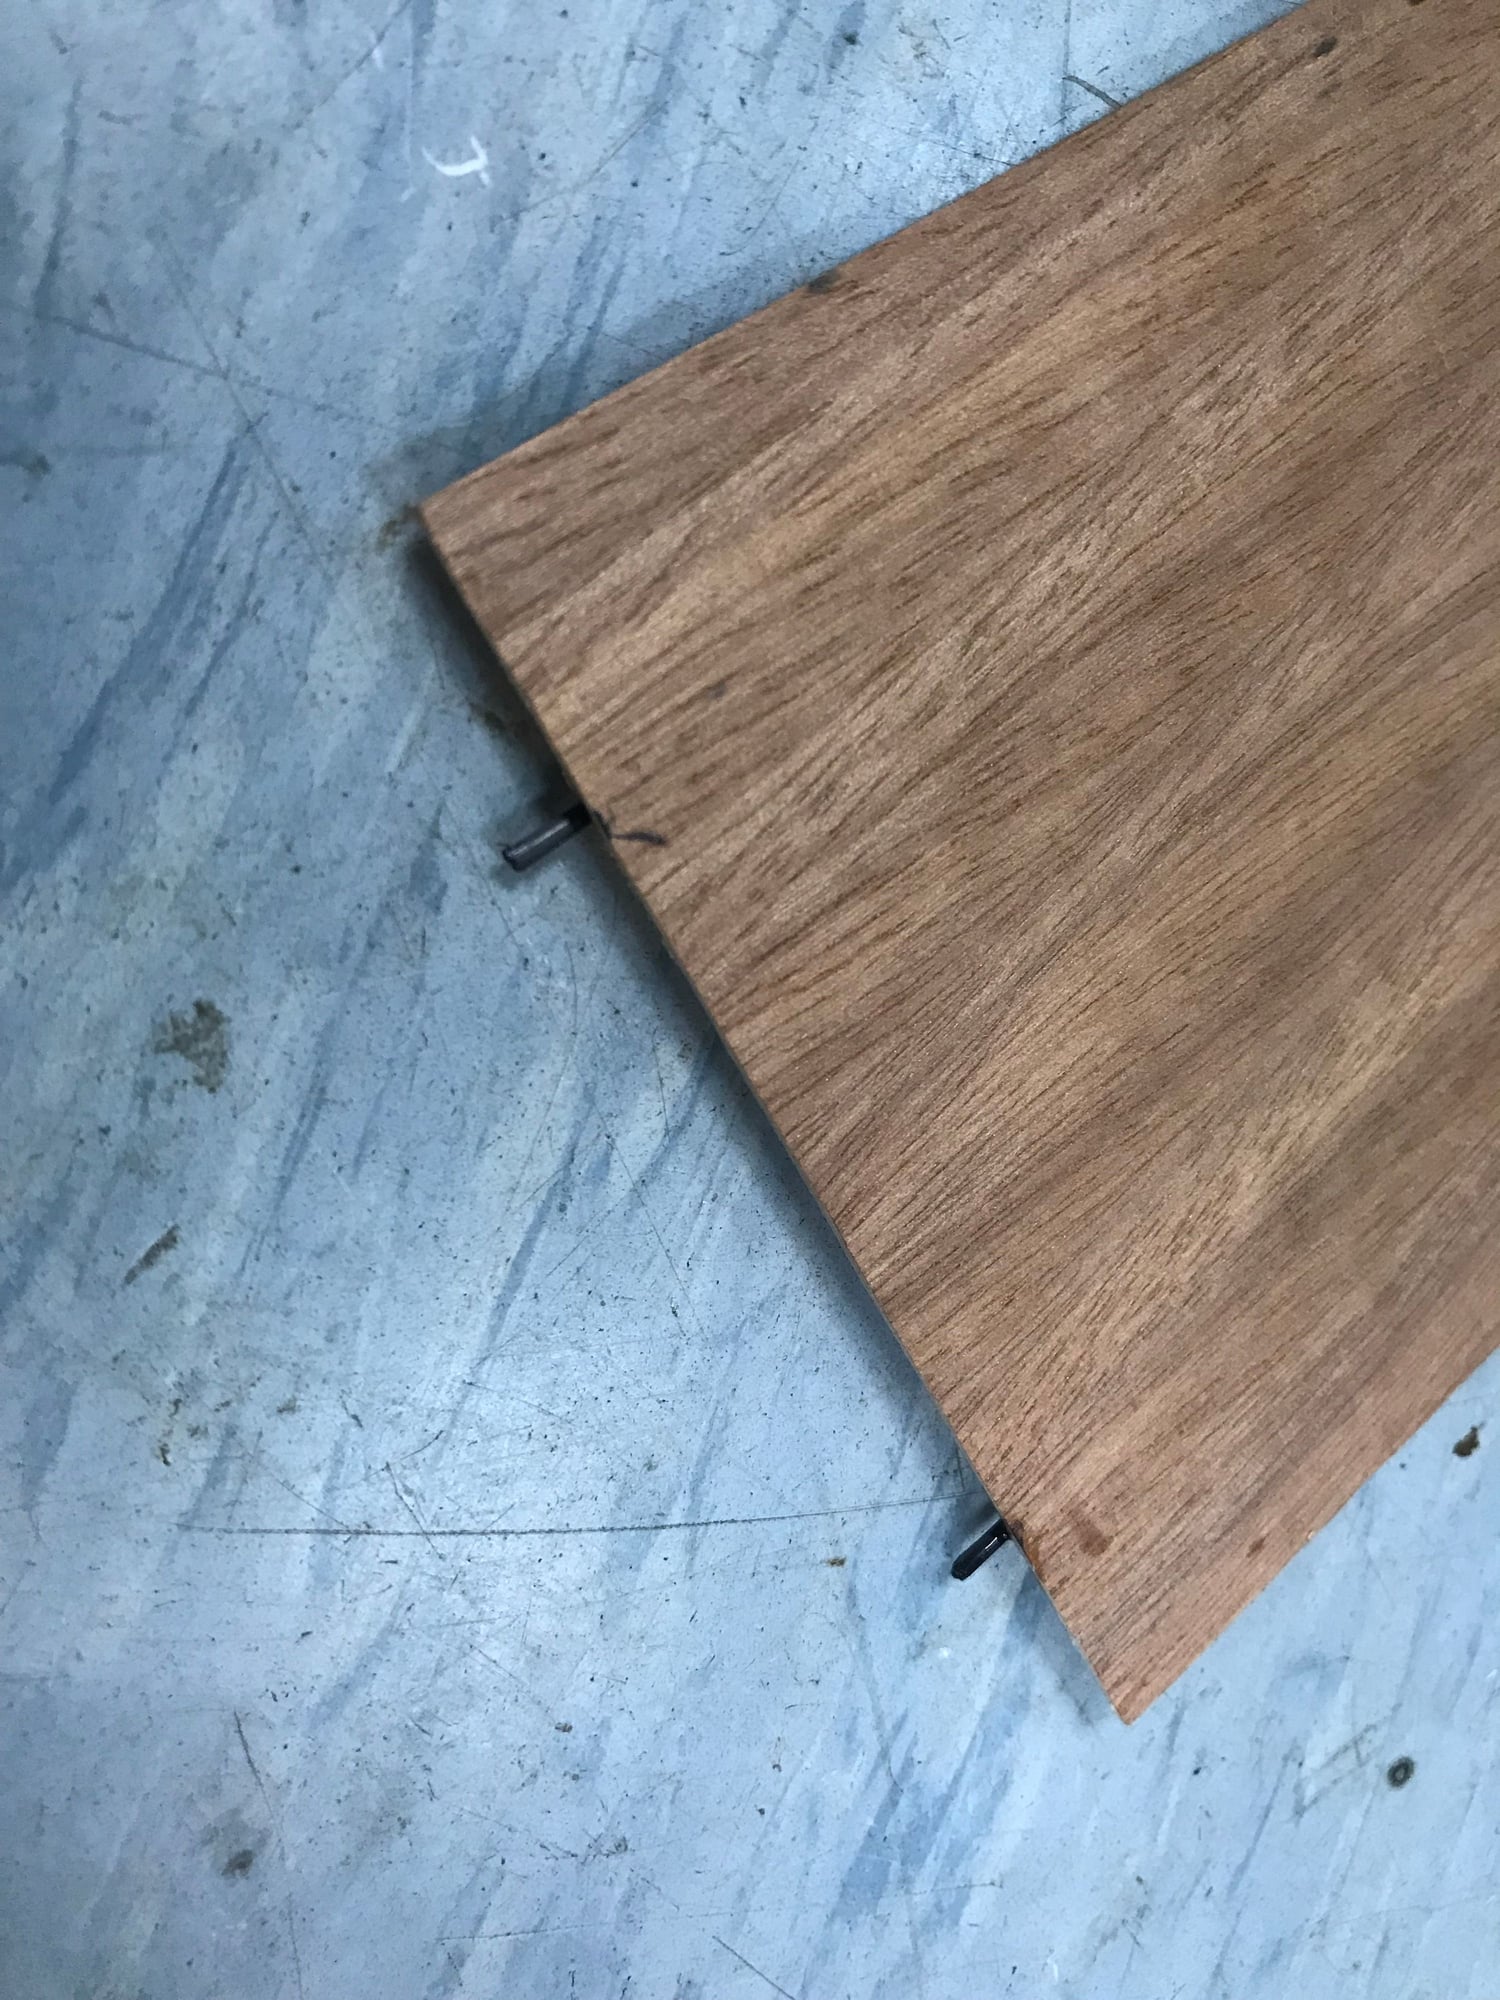
Holes for the pin insertion were marked and hand tapped.
Epoxied a small, thick plywood for the tray to sit and tray to be secured by a tapping screw.

CA-coated and finally painted white.
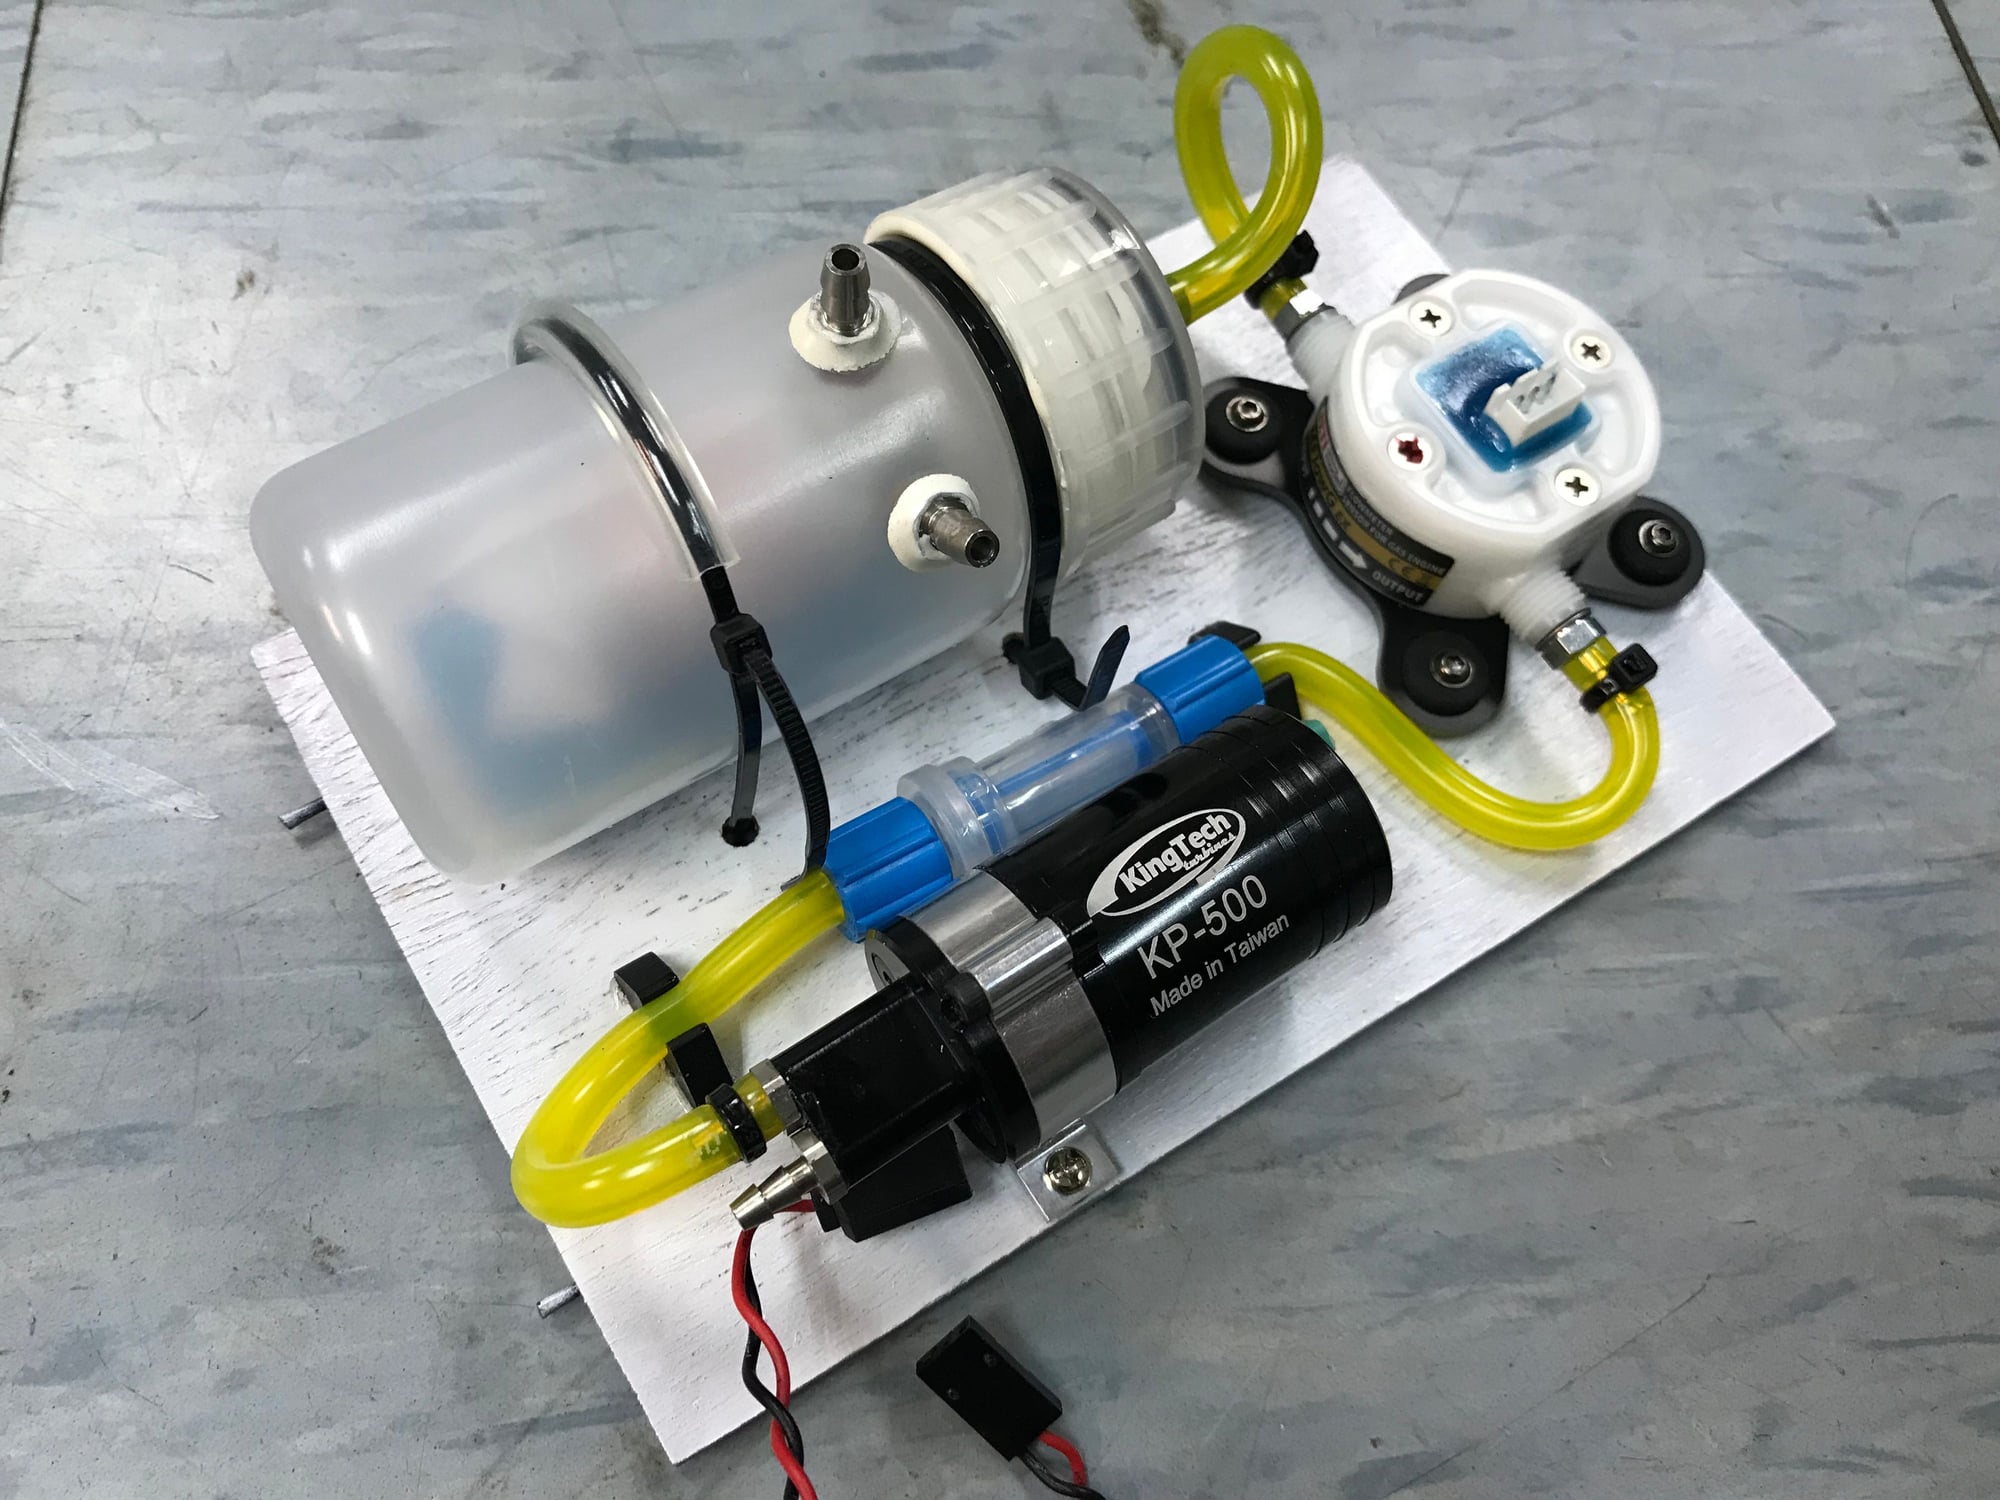
Equipment installed.
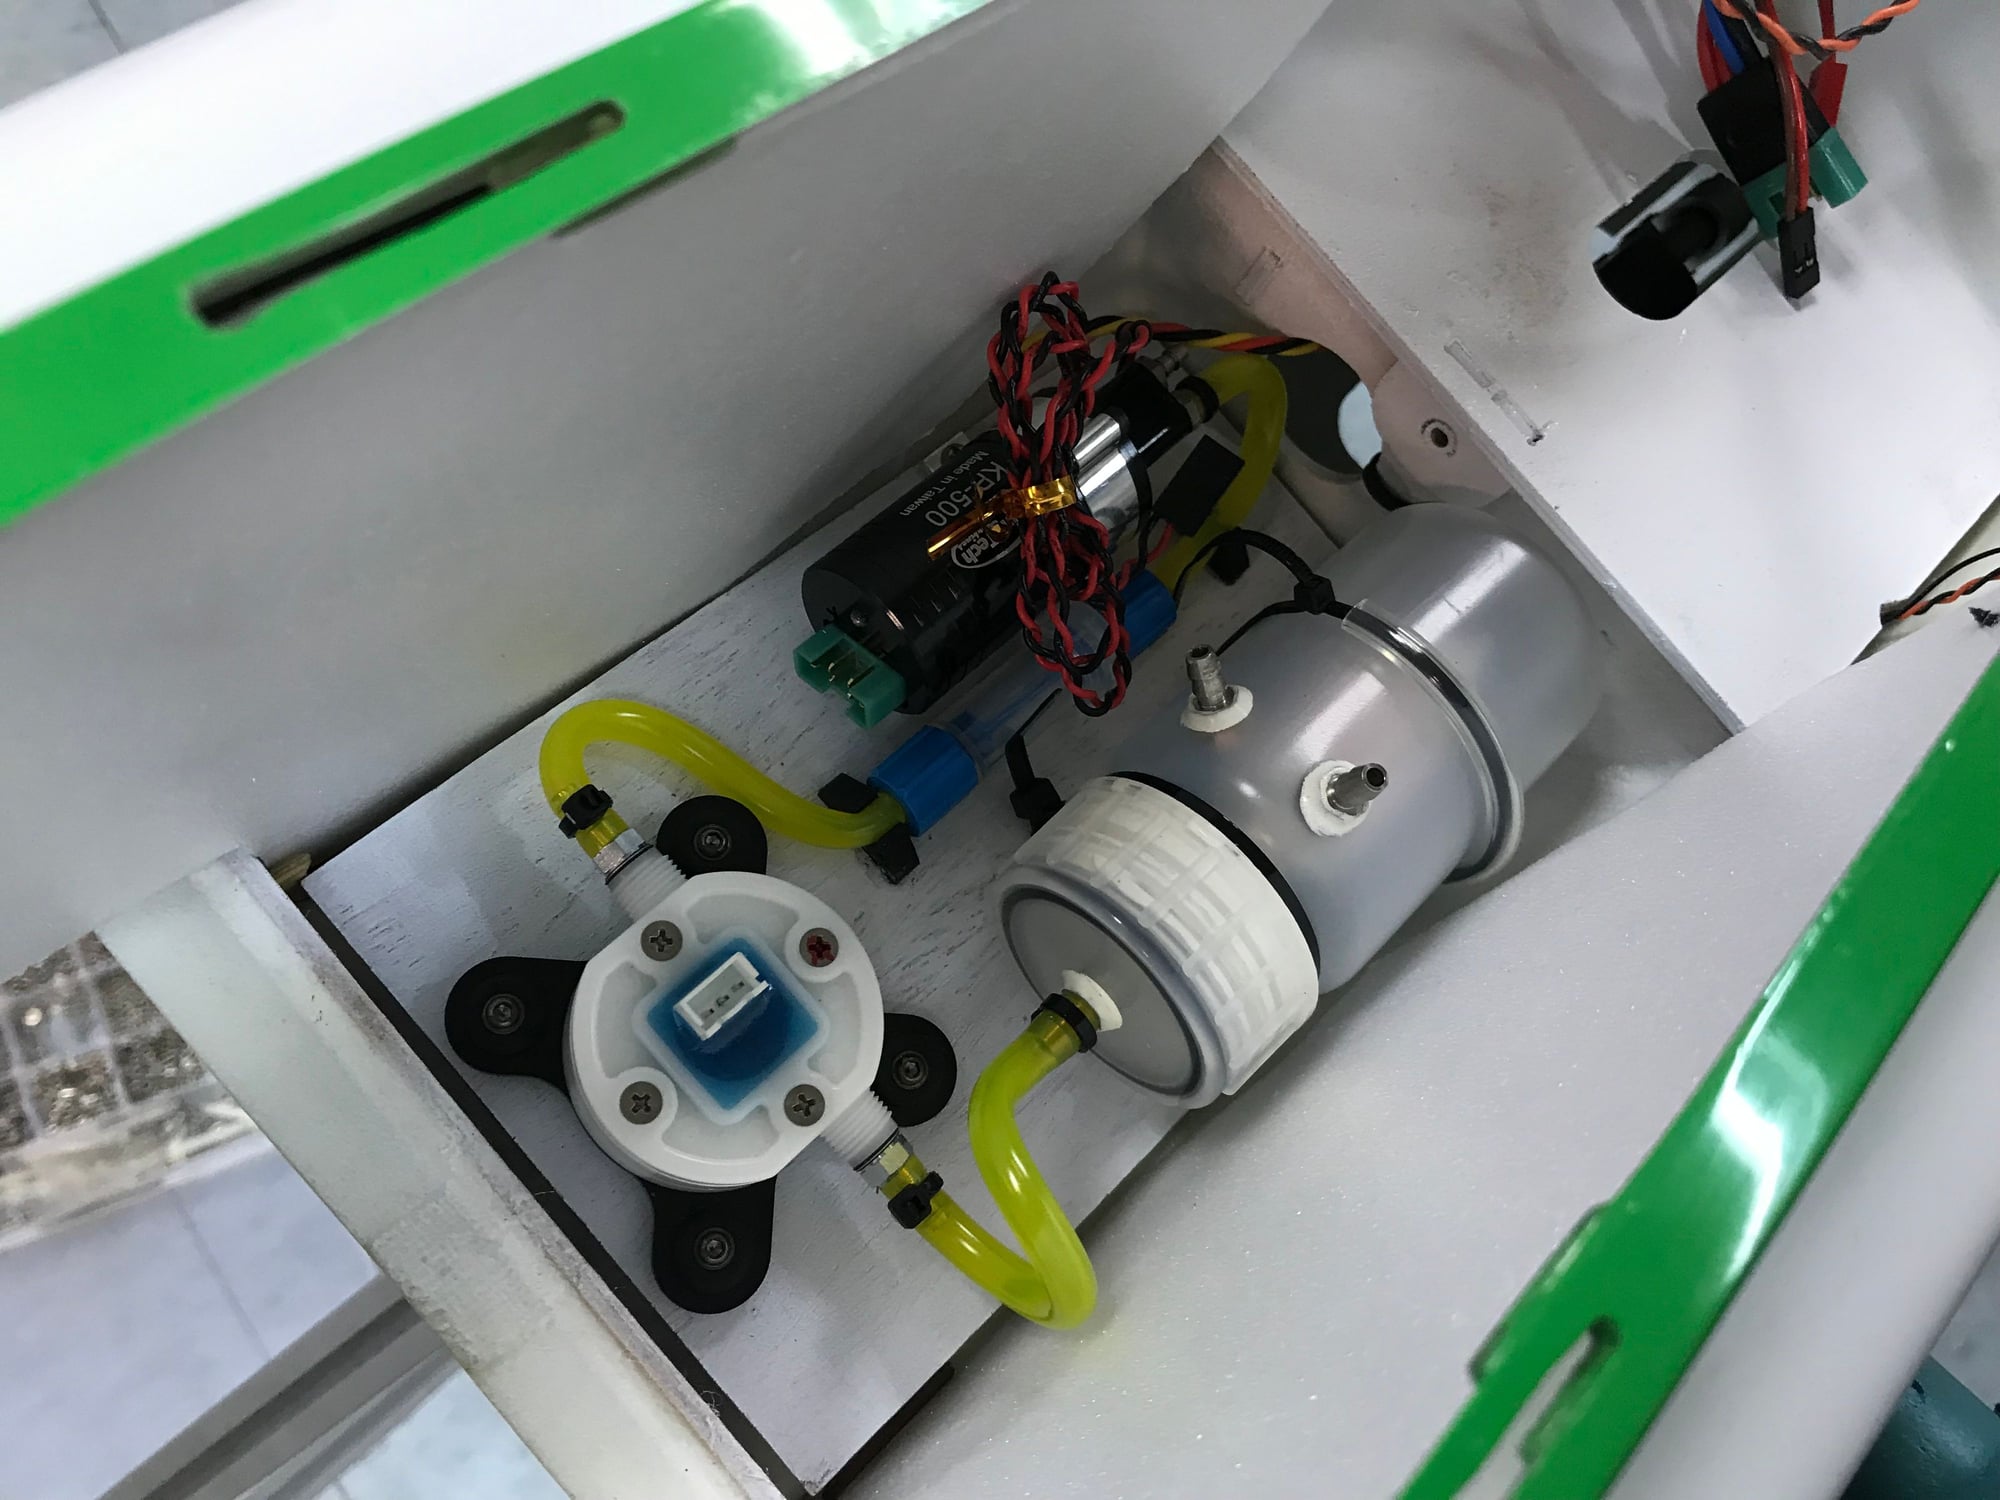
There it goes. Removable for maintenance with a screw.
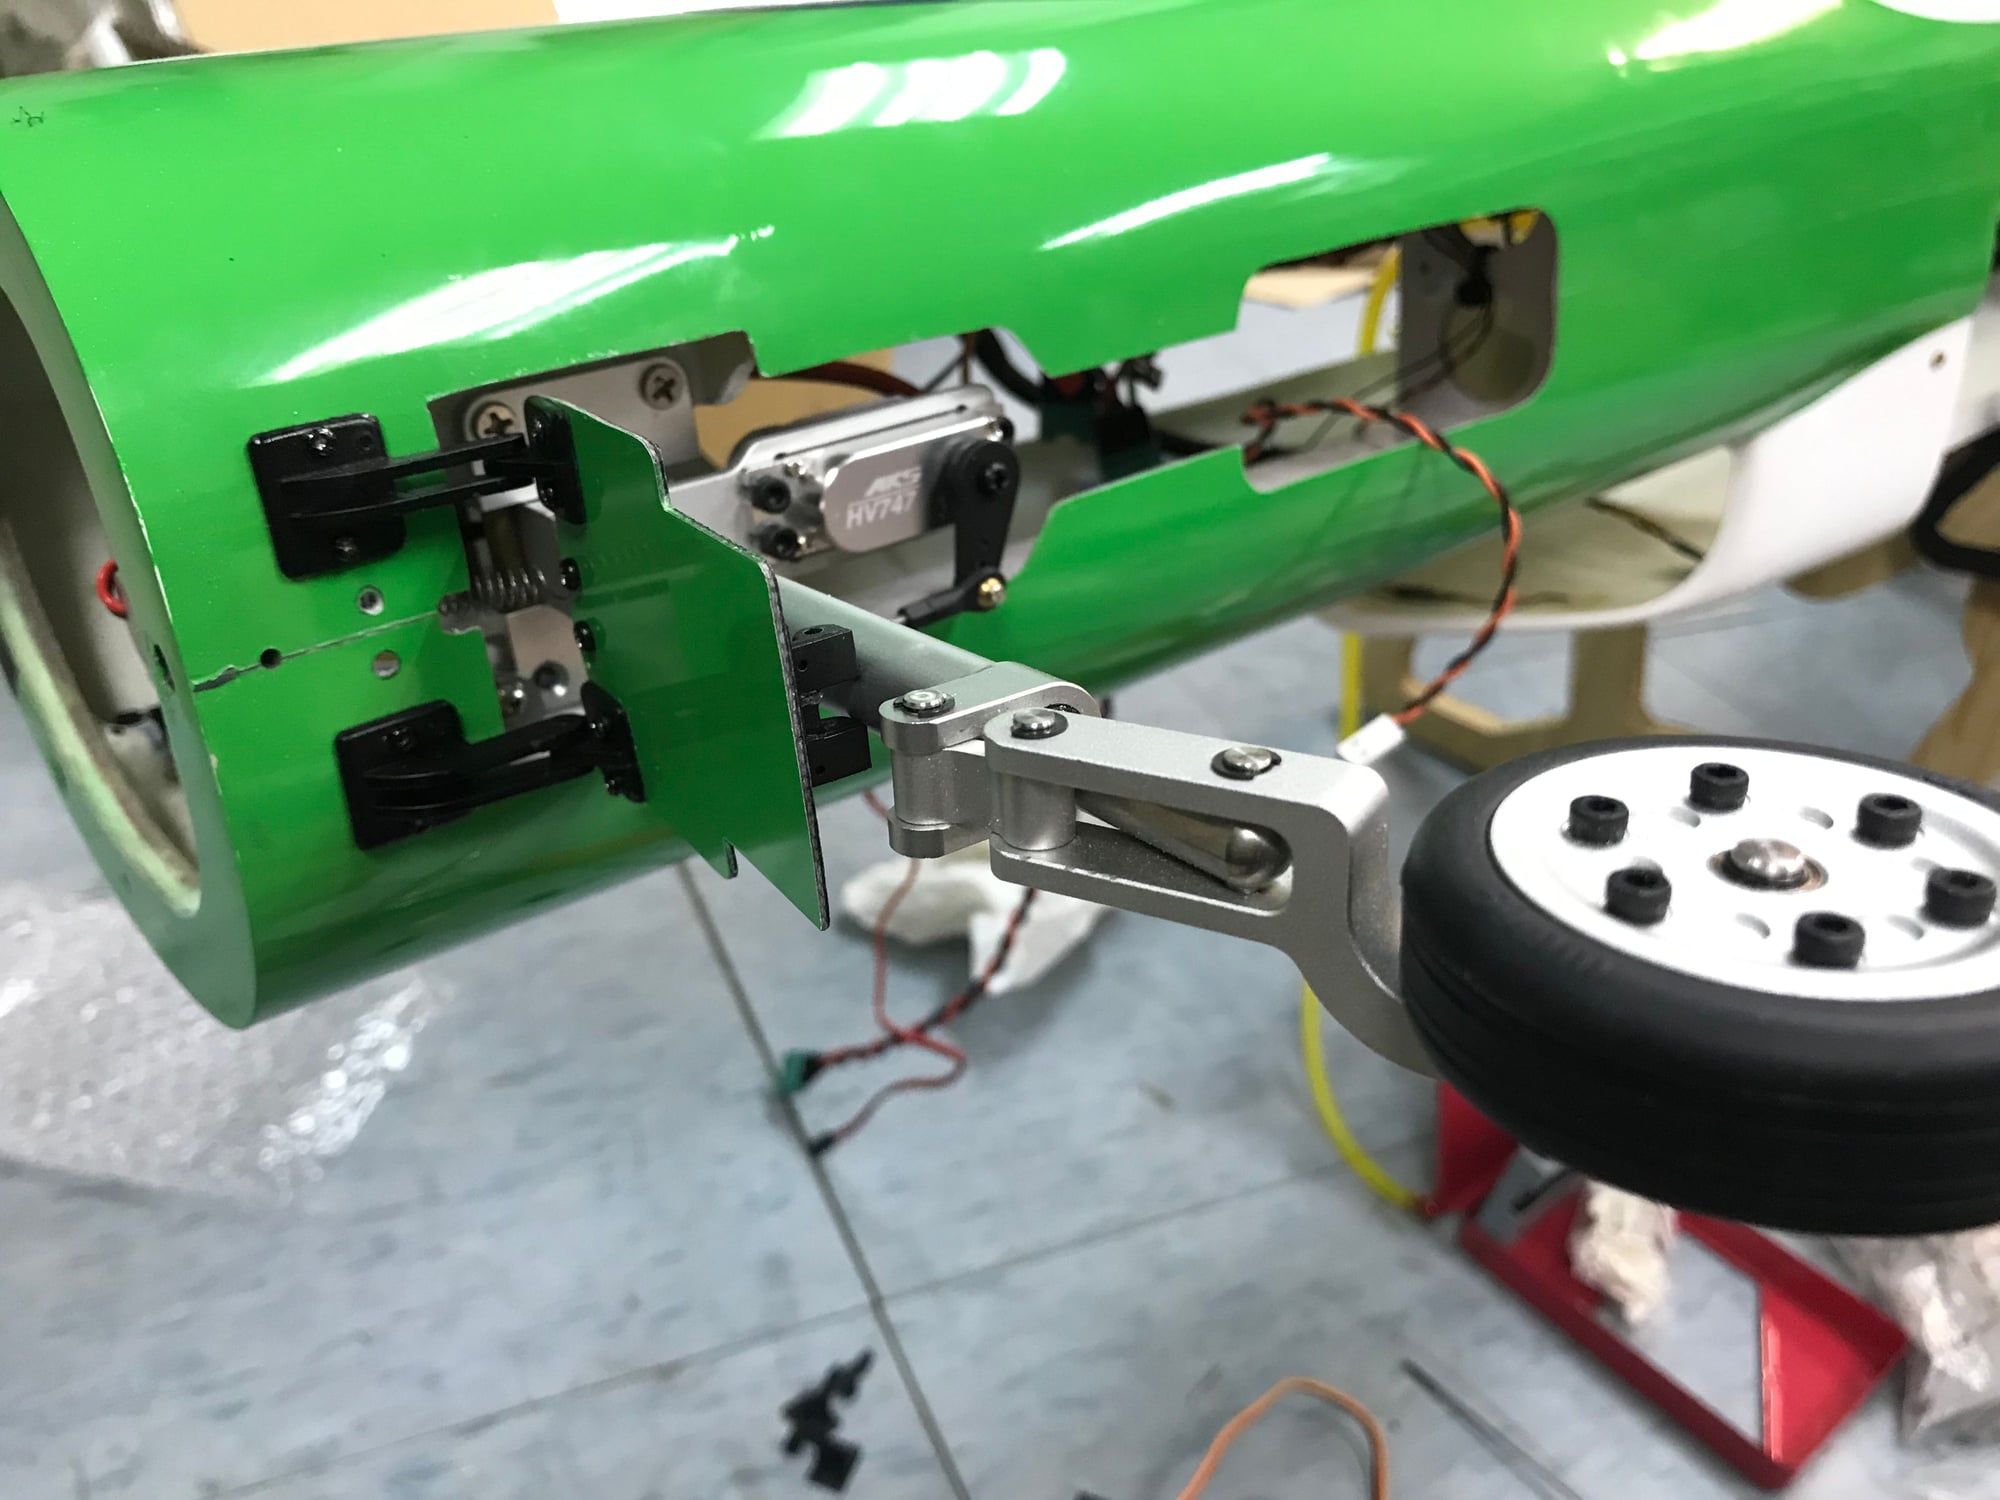
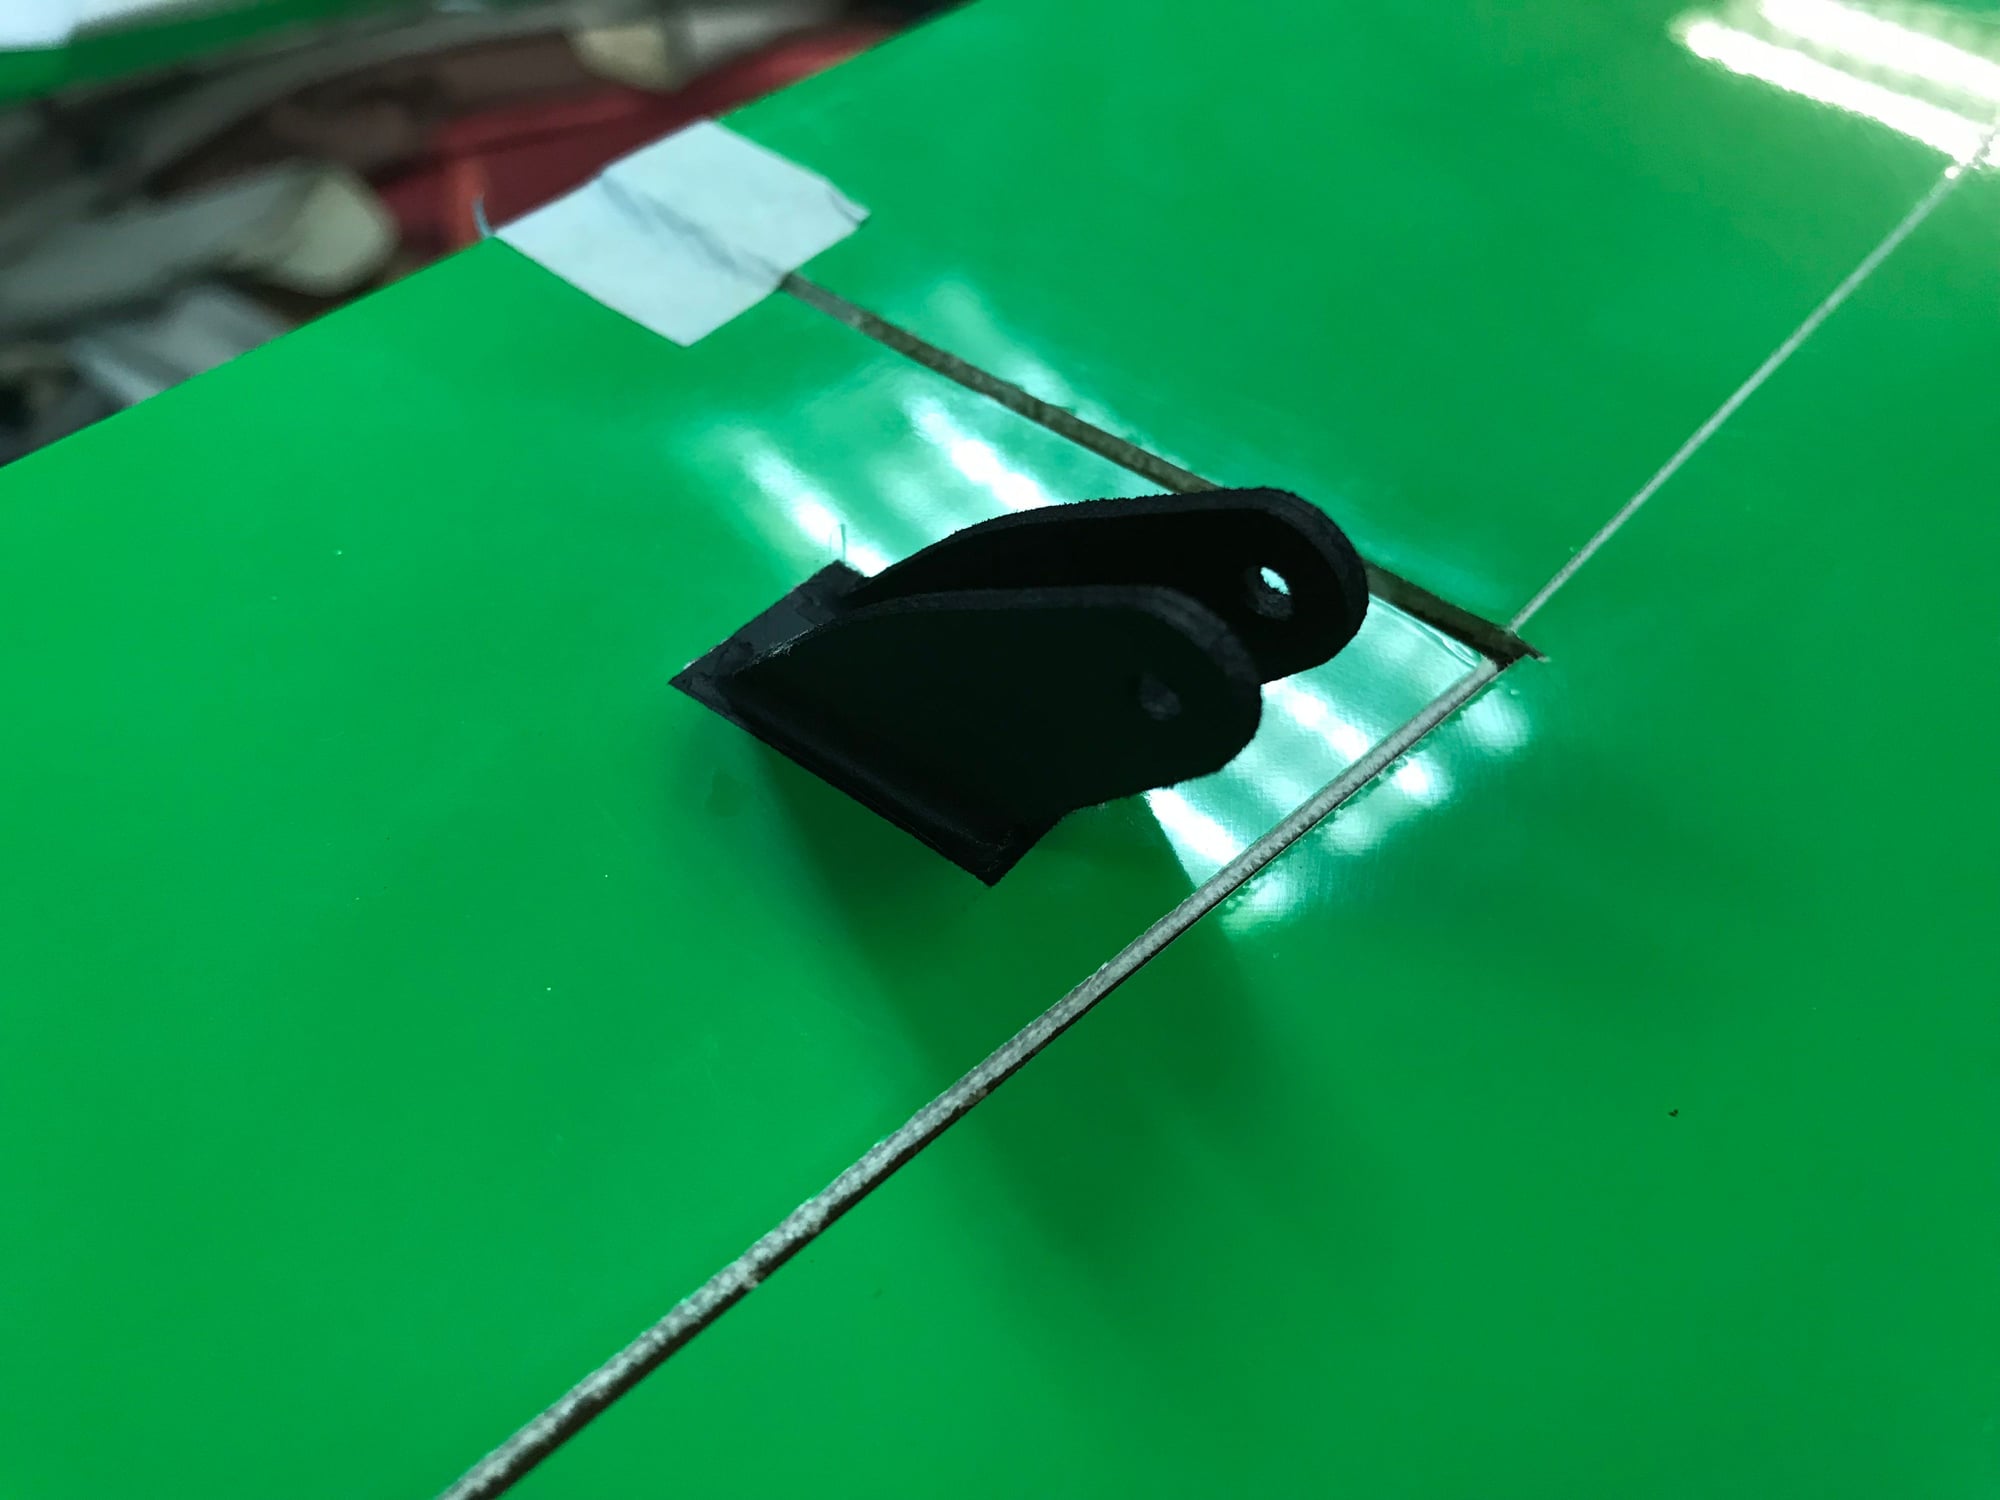
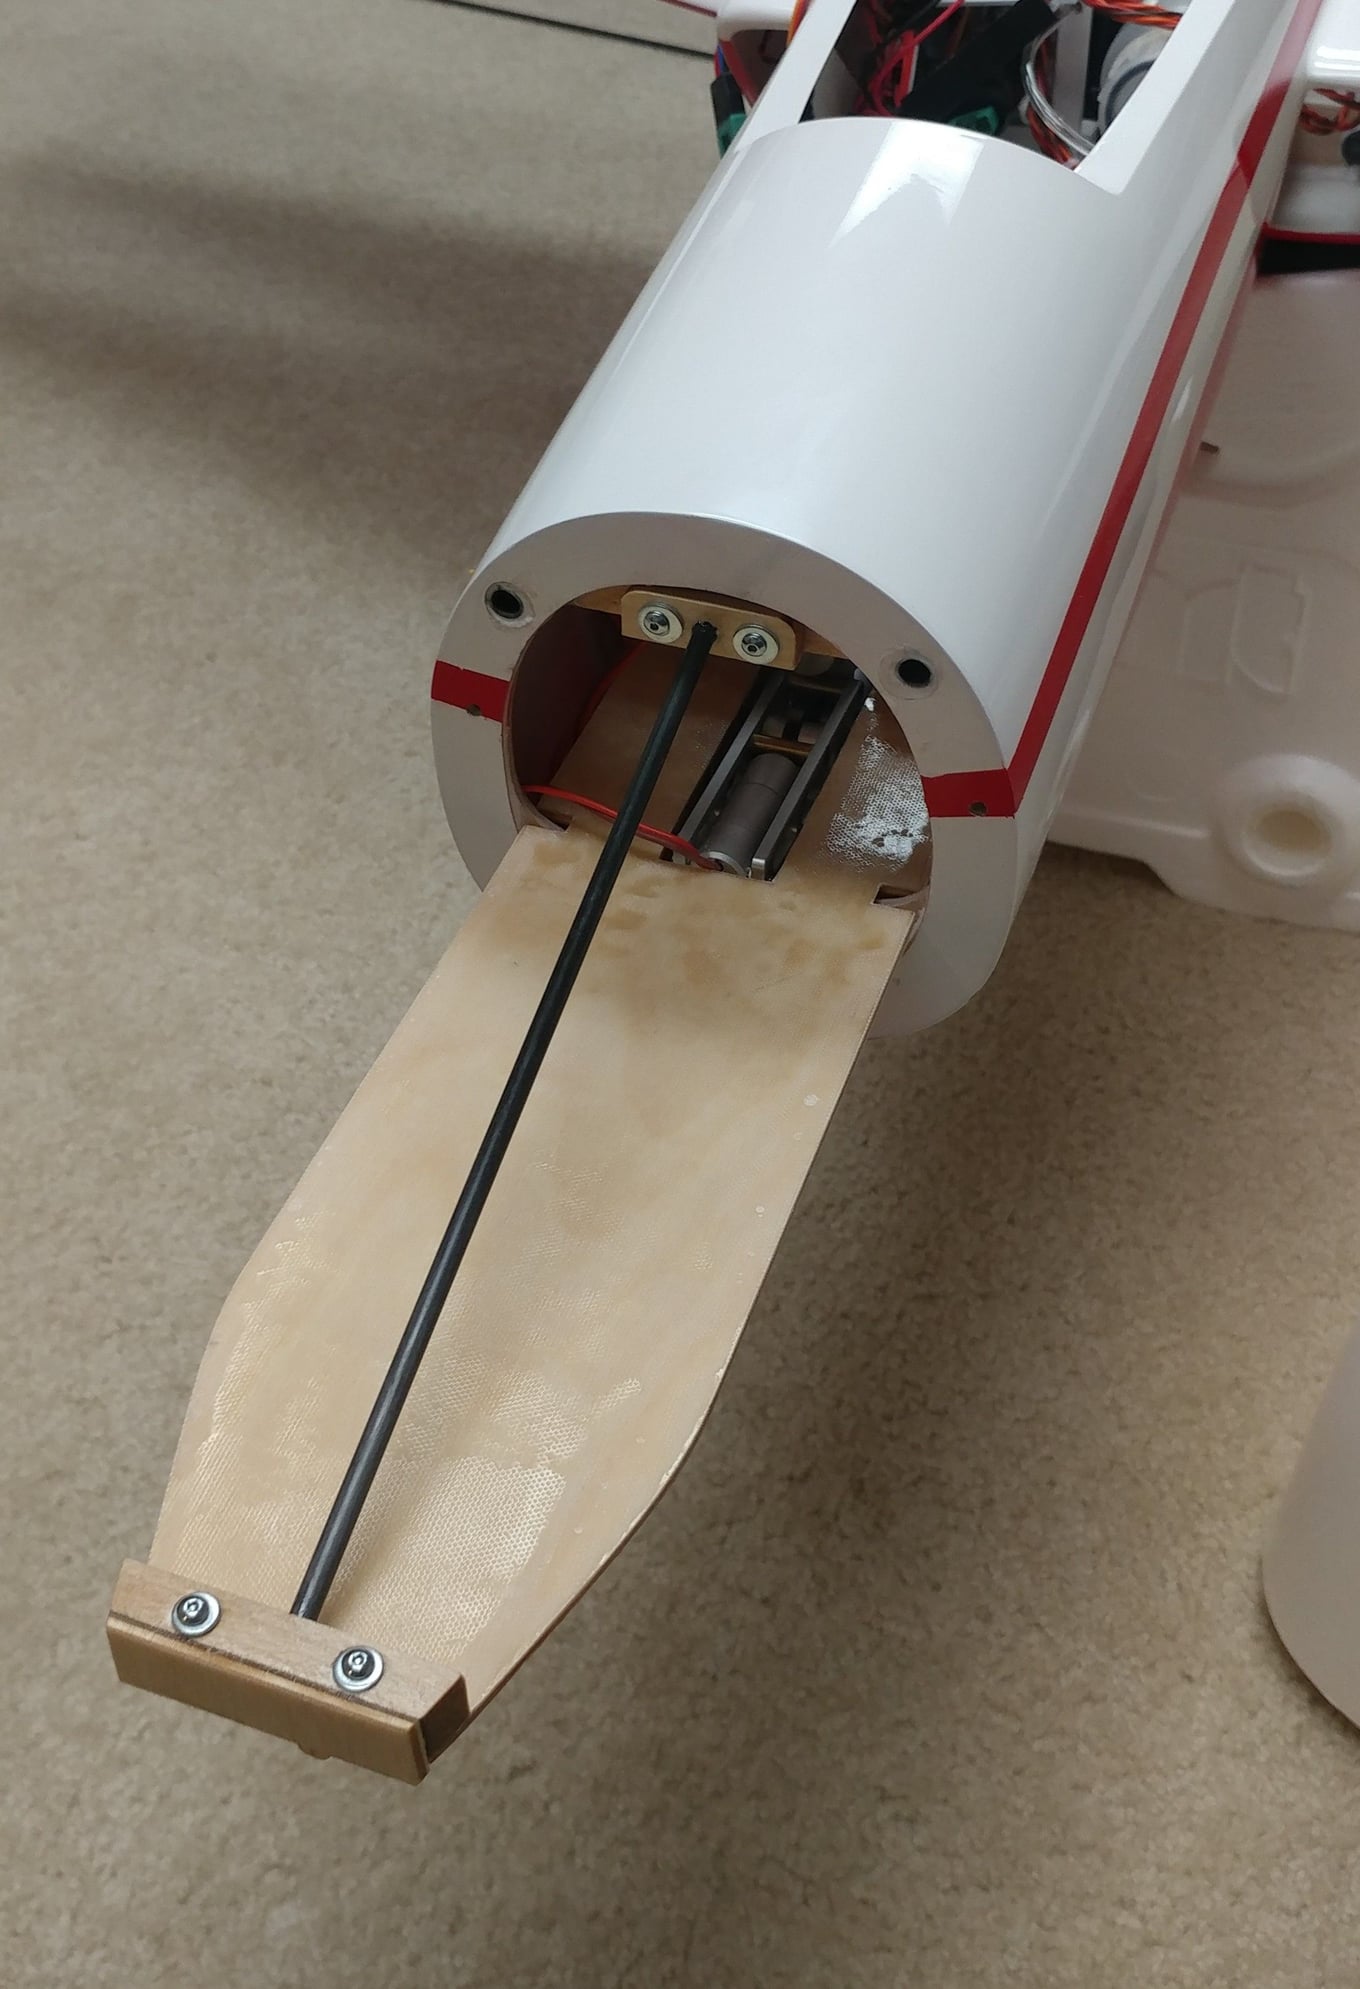
Nose gear and its door held by hinges.
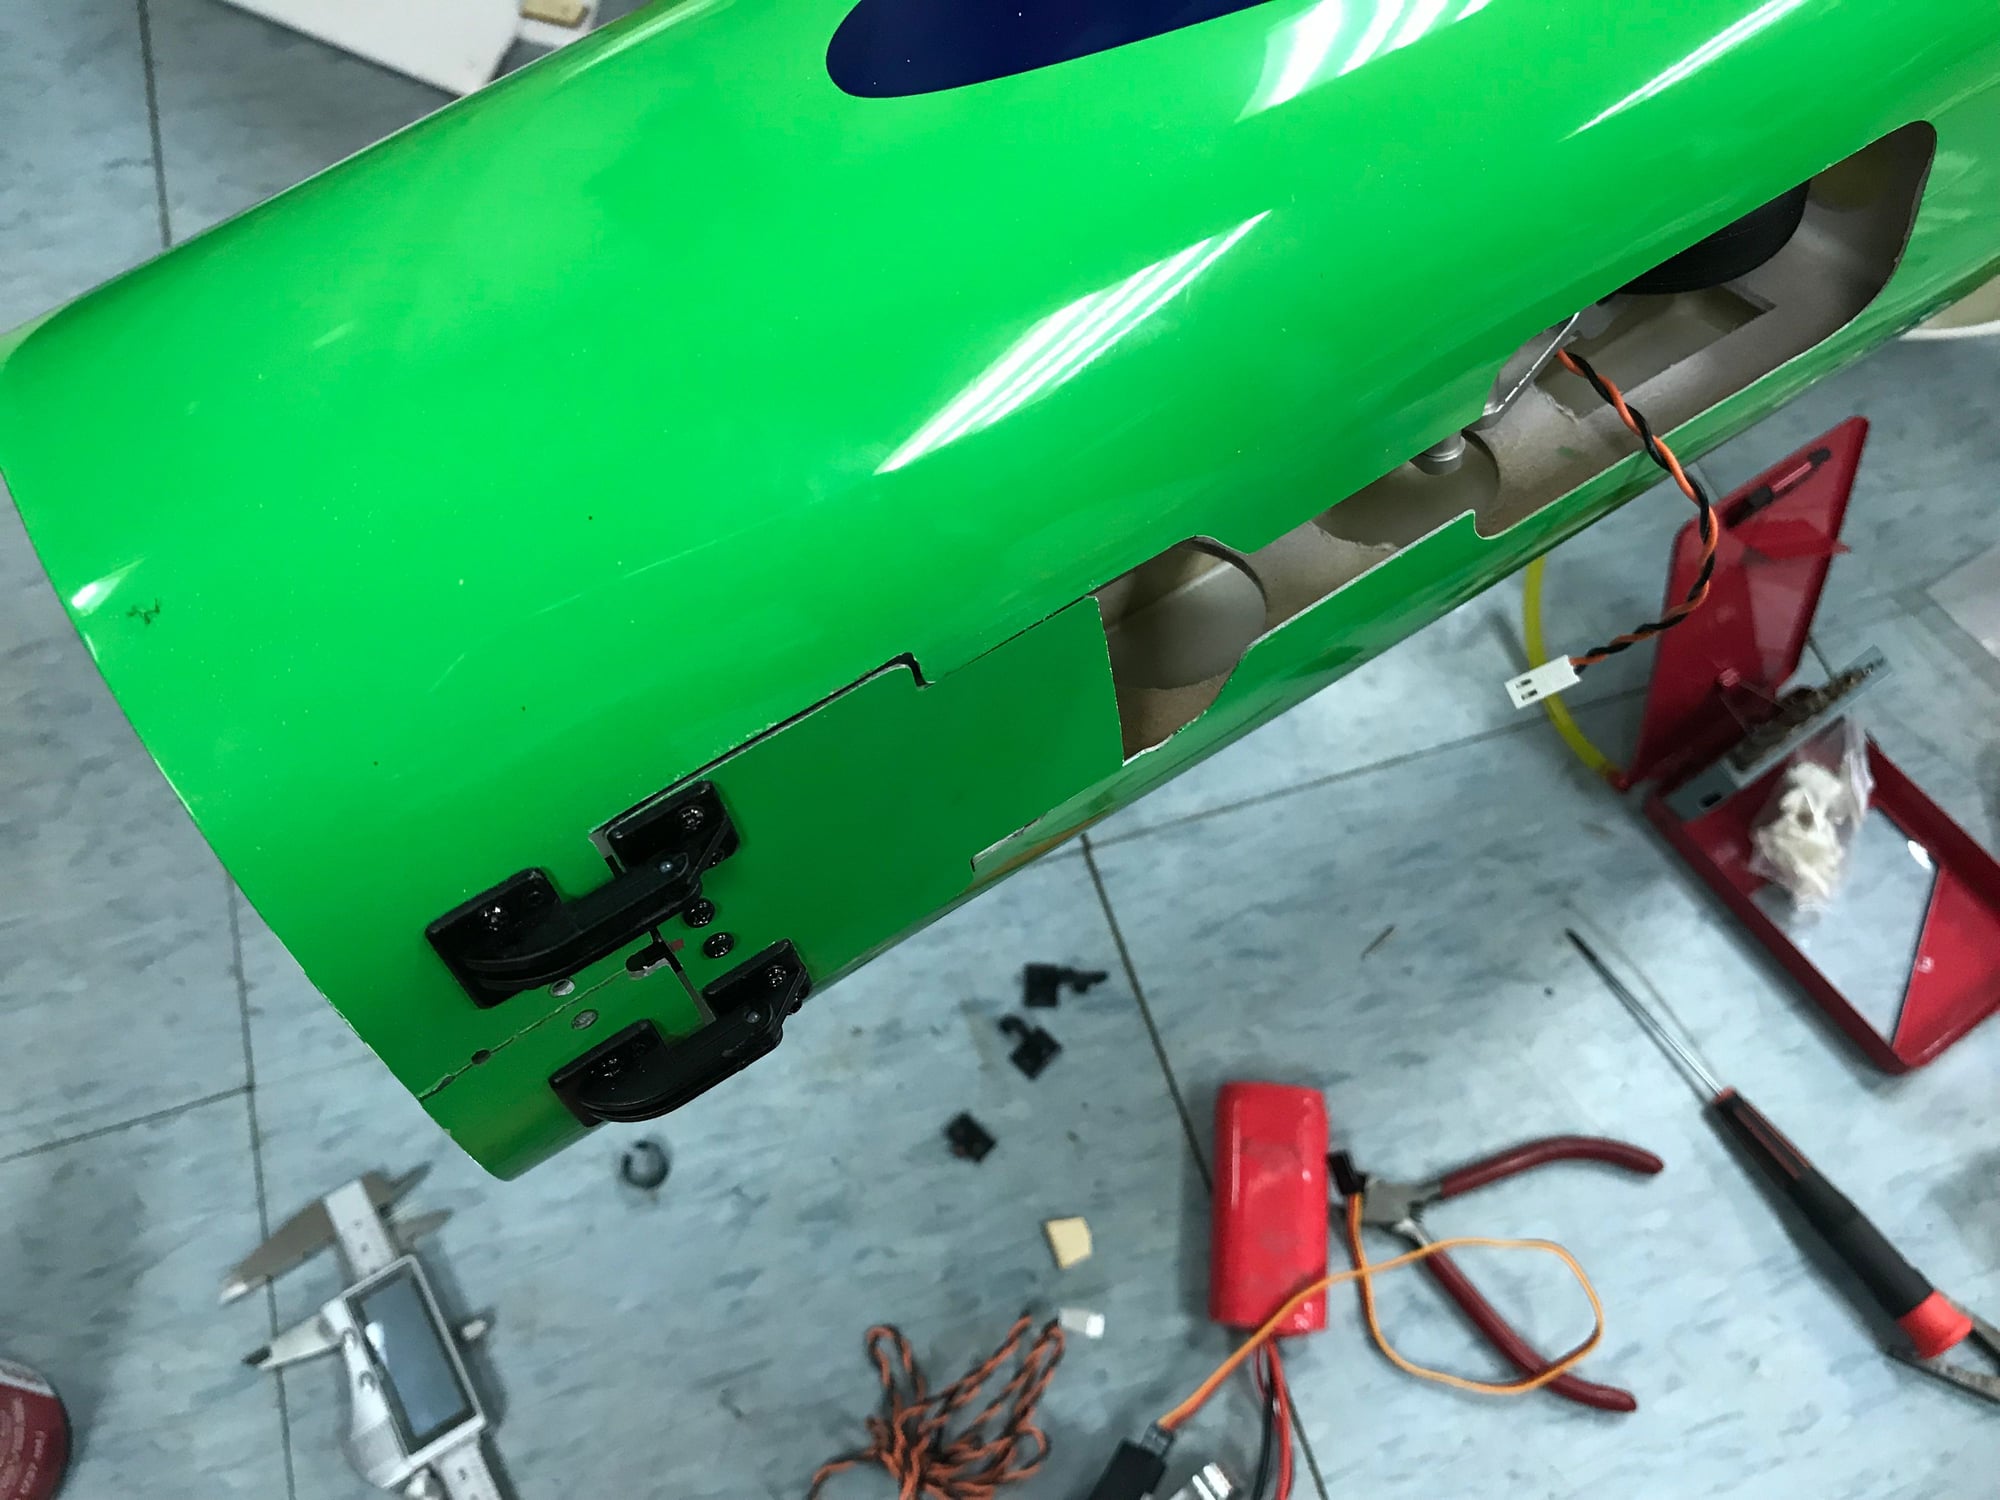
Door closed. Tension is from a spring hidden inside.
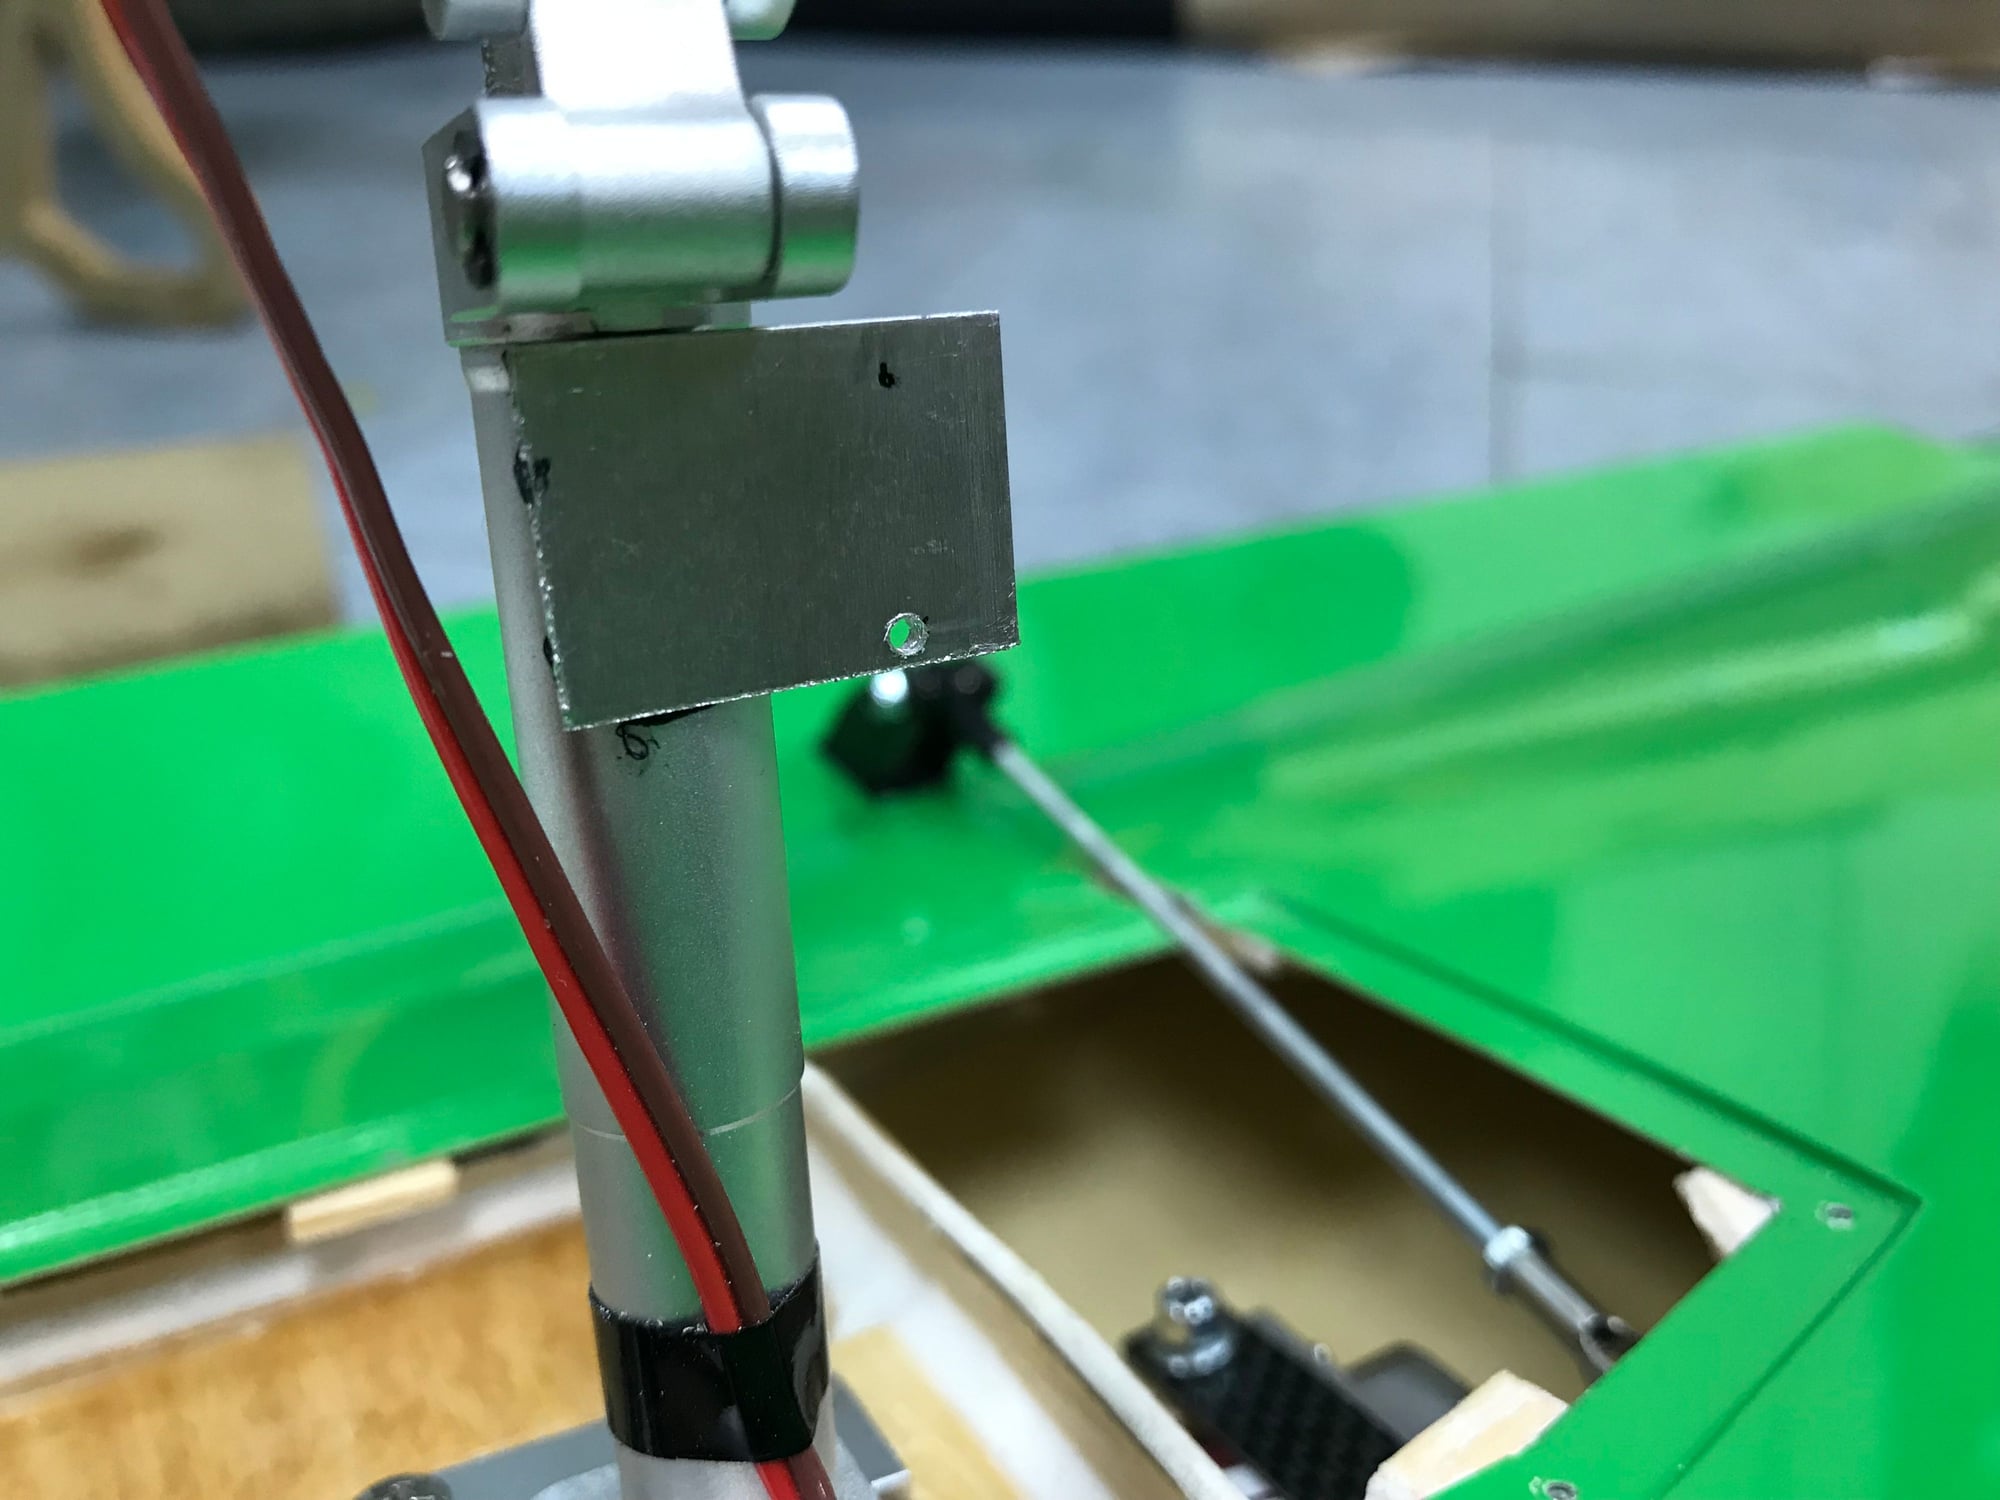
Made an aluminum frame on the main legs for landing lights.

Landing lights installed. Removable. Serviceable.
When the legs are closed, the light is still functional while flying. Downside is that it would cause some aerodynamic drags here.
01-09-2019, 07:01 PM
#522
Join Date: Dec 2010
Location: , SINGAPORE
Posts: 46
Likes: 0
Received 0 Likes
on
0 Posts
Hi Itc, as shown in the above pictures. Yes, they are near the inlets of the air intakes.
 01-09-2019, 08:11 PM
#524
Join Date: Dec 2010
Location: , SINGAPORE
Posts: 46
Likes: 0
Received 0 Likes
on
0 Posts
01-10-2019, 05:39 AM
#525
My Feedback: (2)
"Hi Kevin. I admire your work which is clean and neat. I almost gotten the Swiss scheme but I thought no, I�ve already got a Red/White scheme plane".....
Thanks. I had to custom order the swiss scheme because it looked so good on my spark, and i didnt really like the other schemes too much. Glad I did. It looks better in person and was only 100 bucks extra.
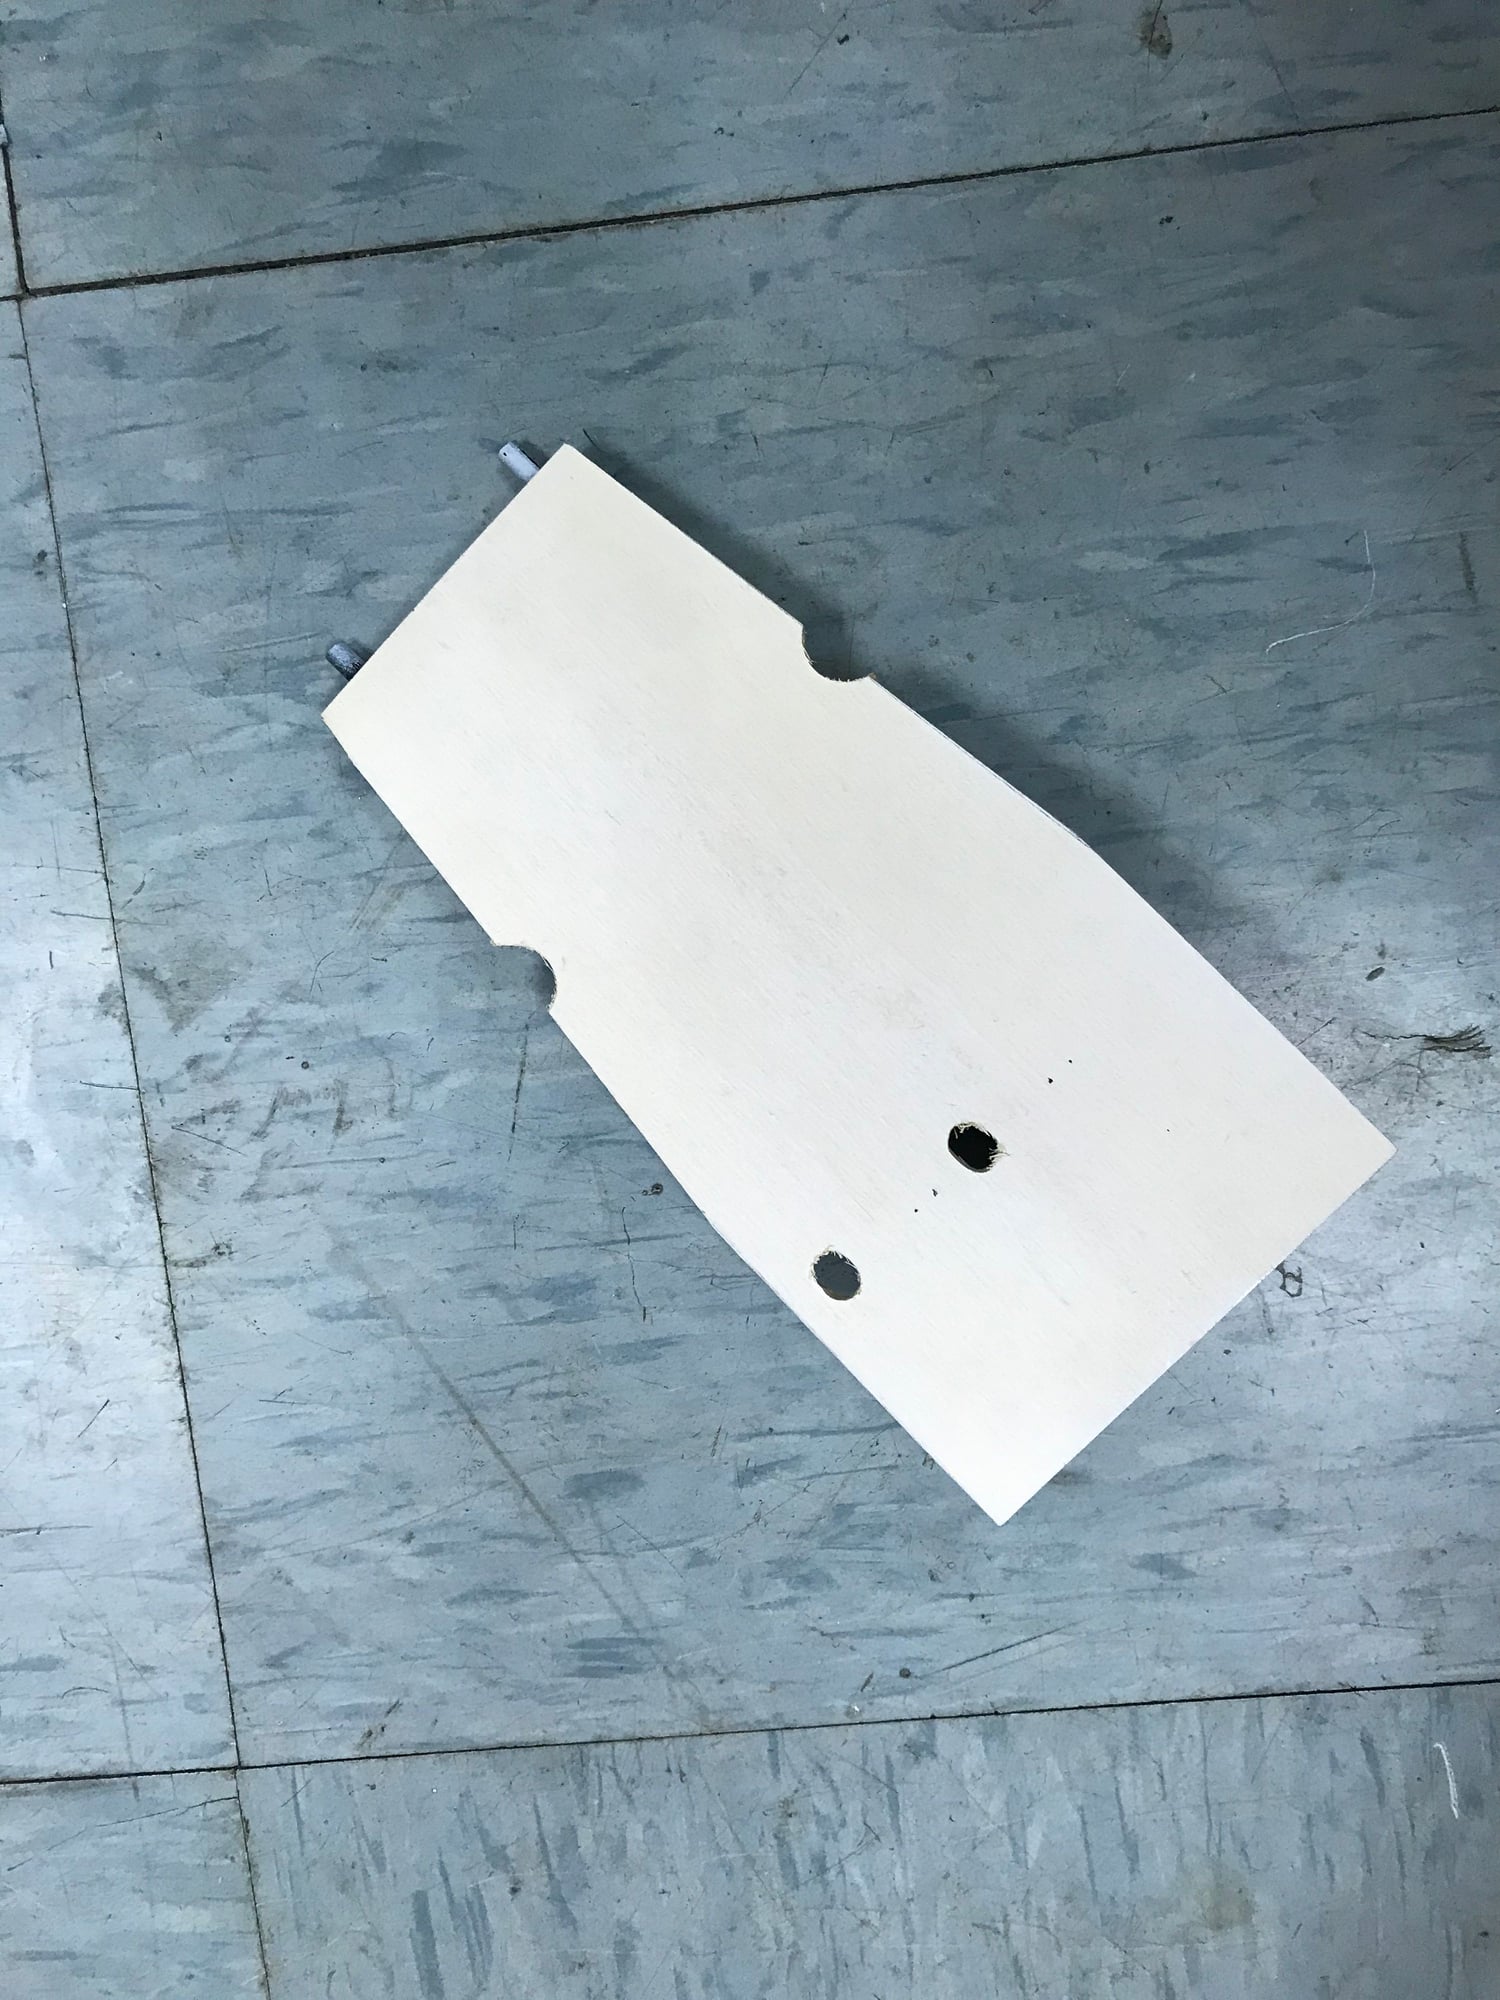
The battery tray is done just needs a bit of velcro for the batts...
Thanks. I had to custom order the swiss scheme because it looked so good on my spark, and i didnt really like the other schemes too much. Glad I did. It looks better in person and was only 100 bucks extra.
The battery tray is done just needs a bit of velcro for the batts...